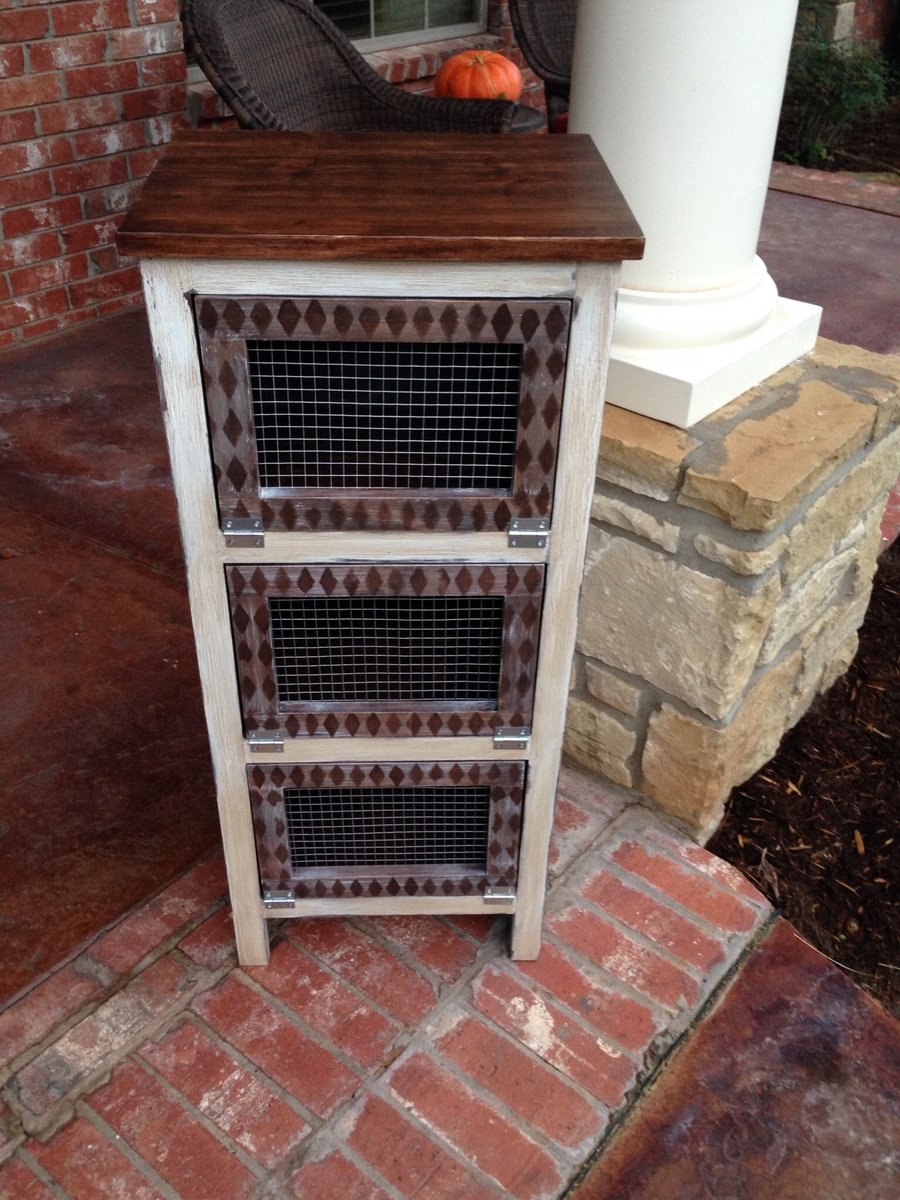
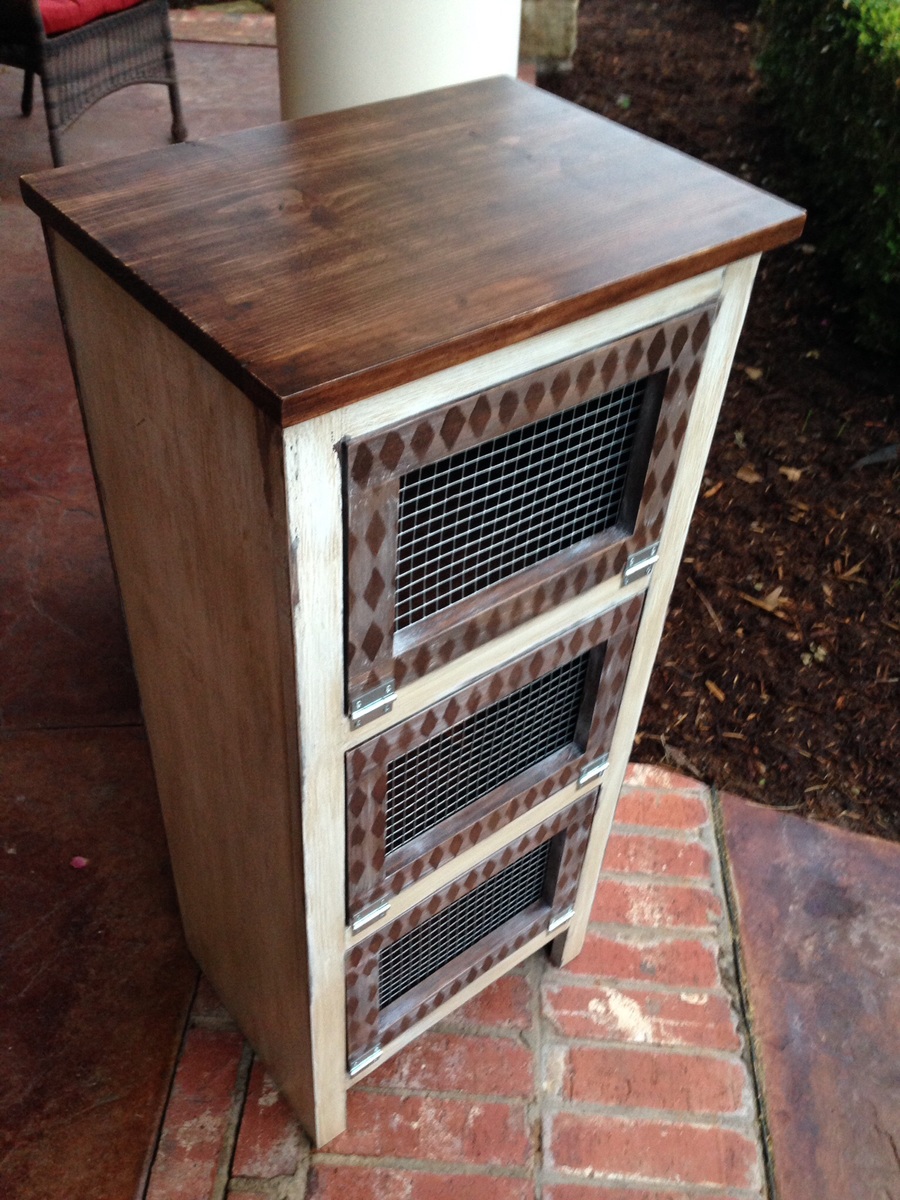
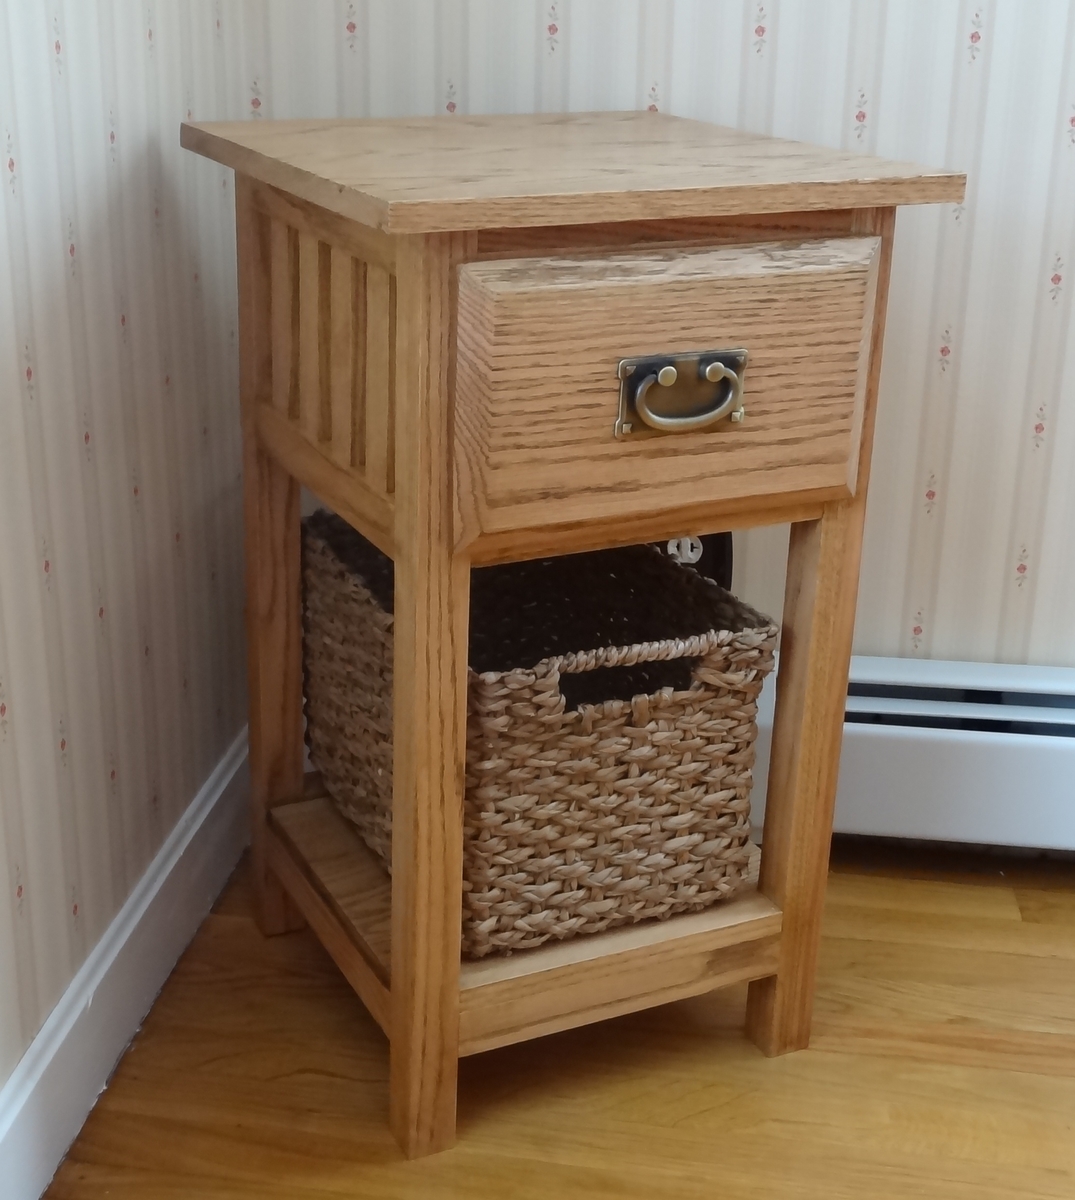
RHYAN END TABLE - Entertainment stand
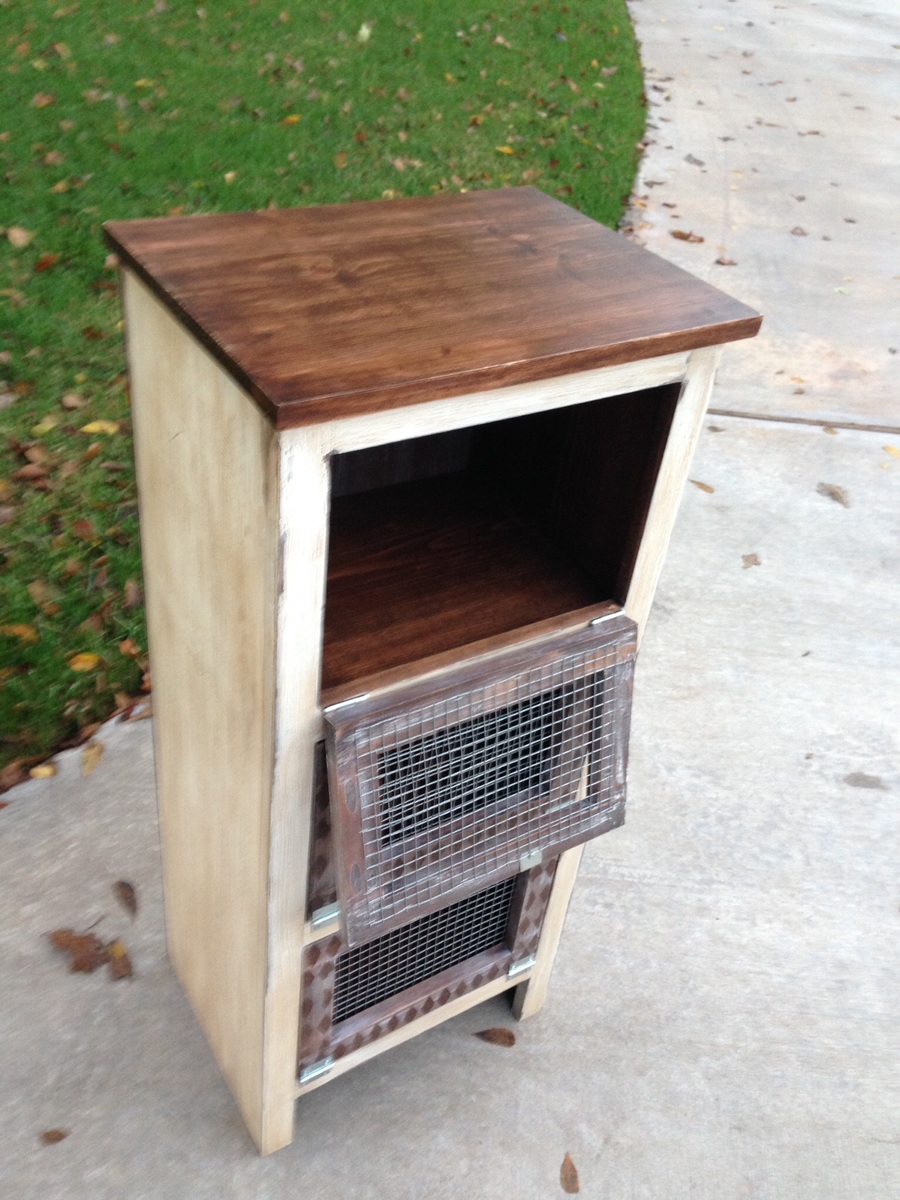
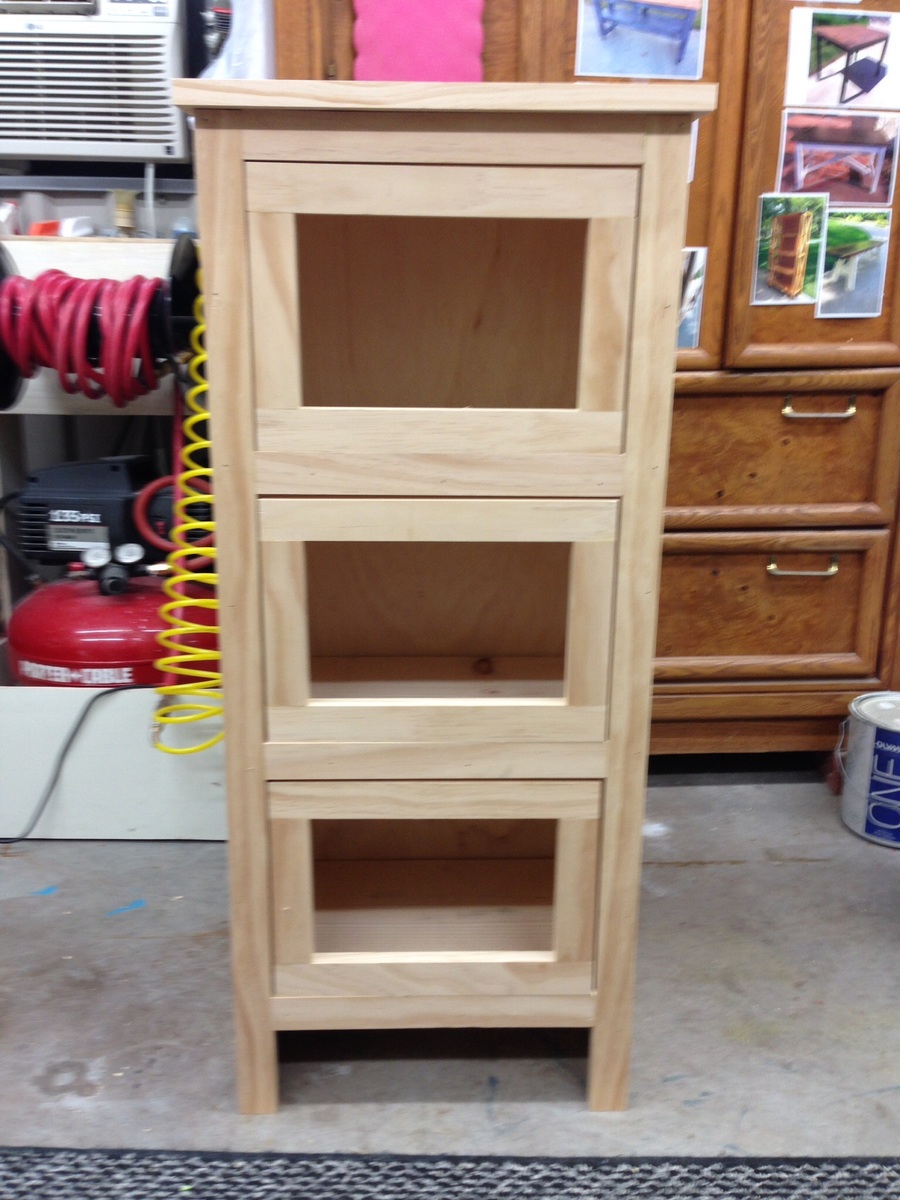
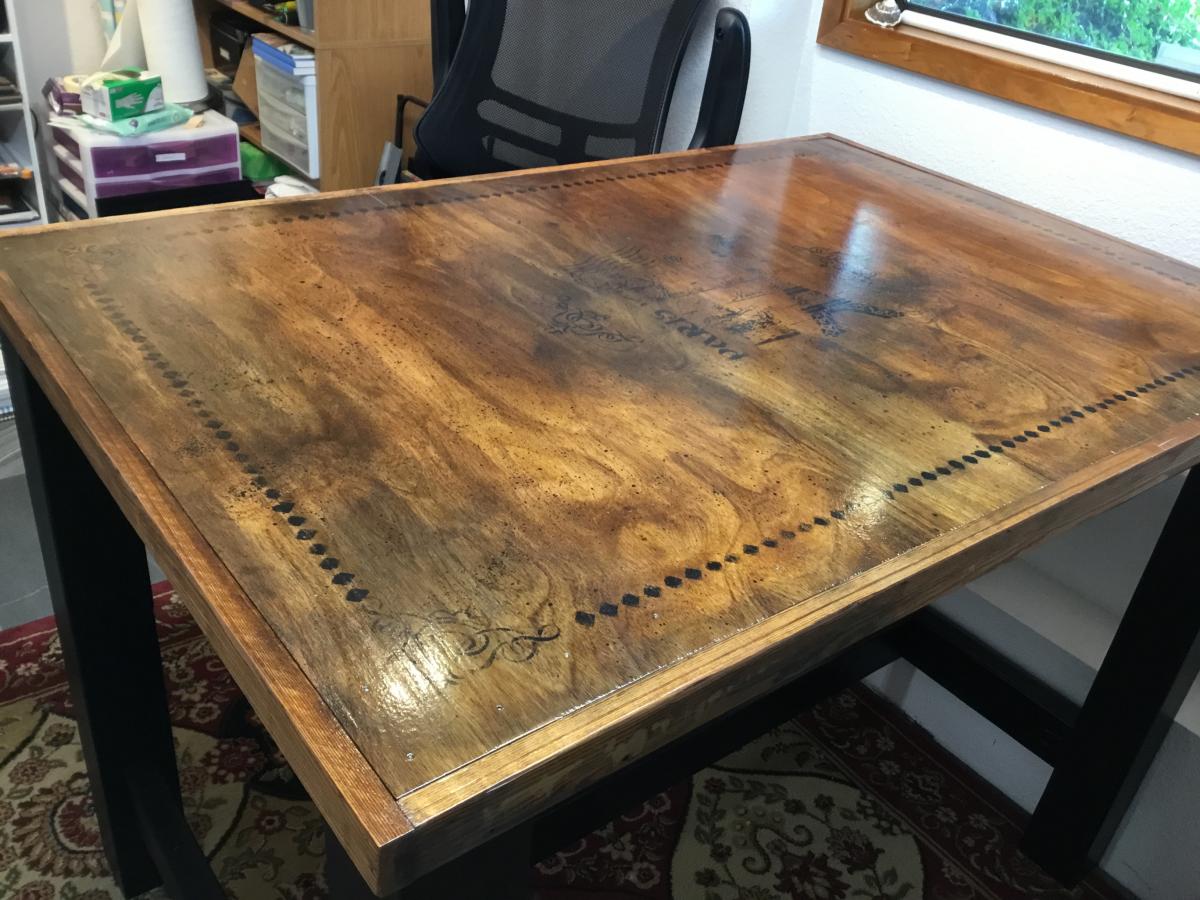
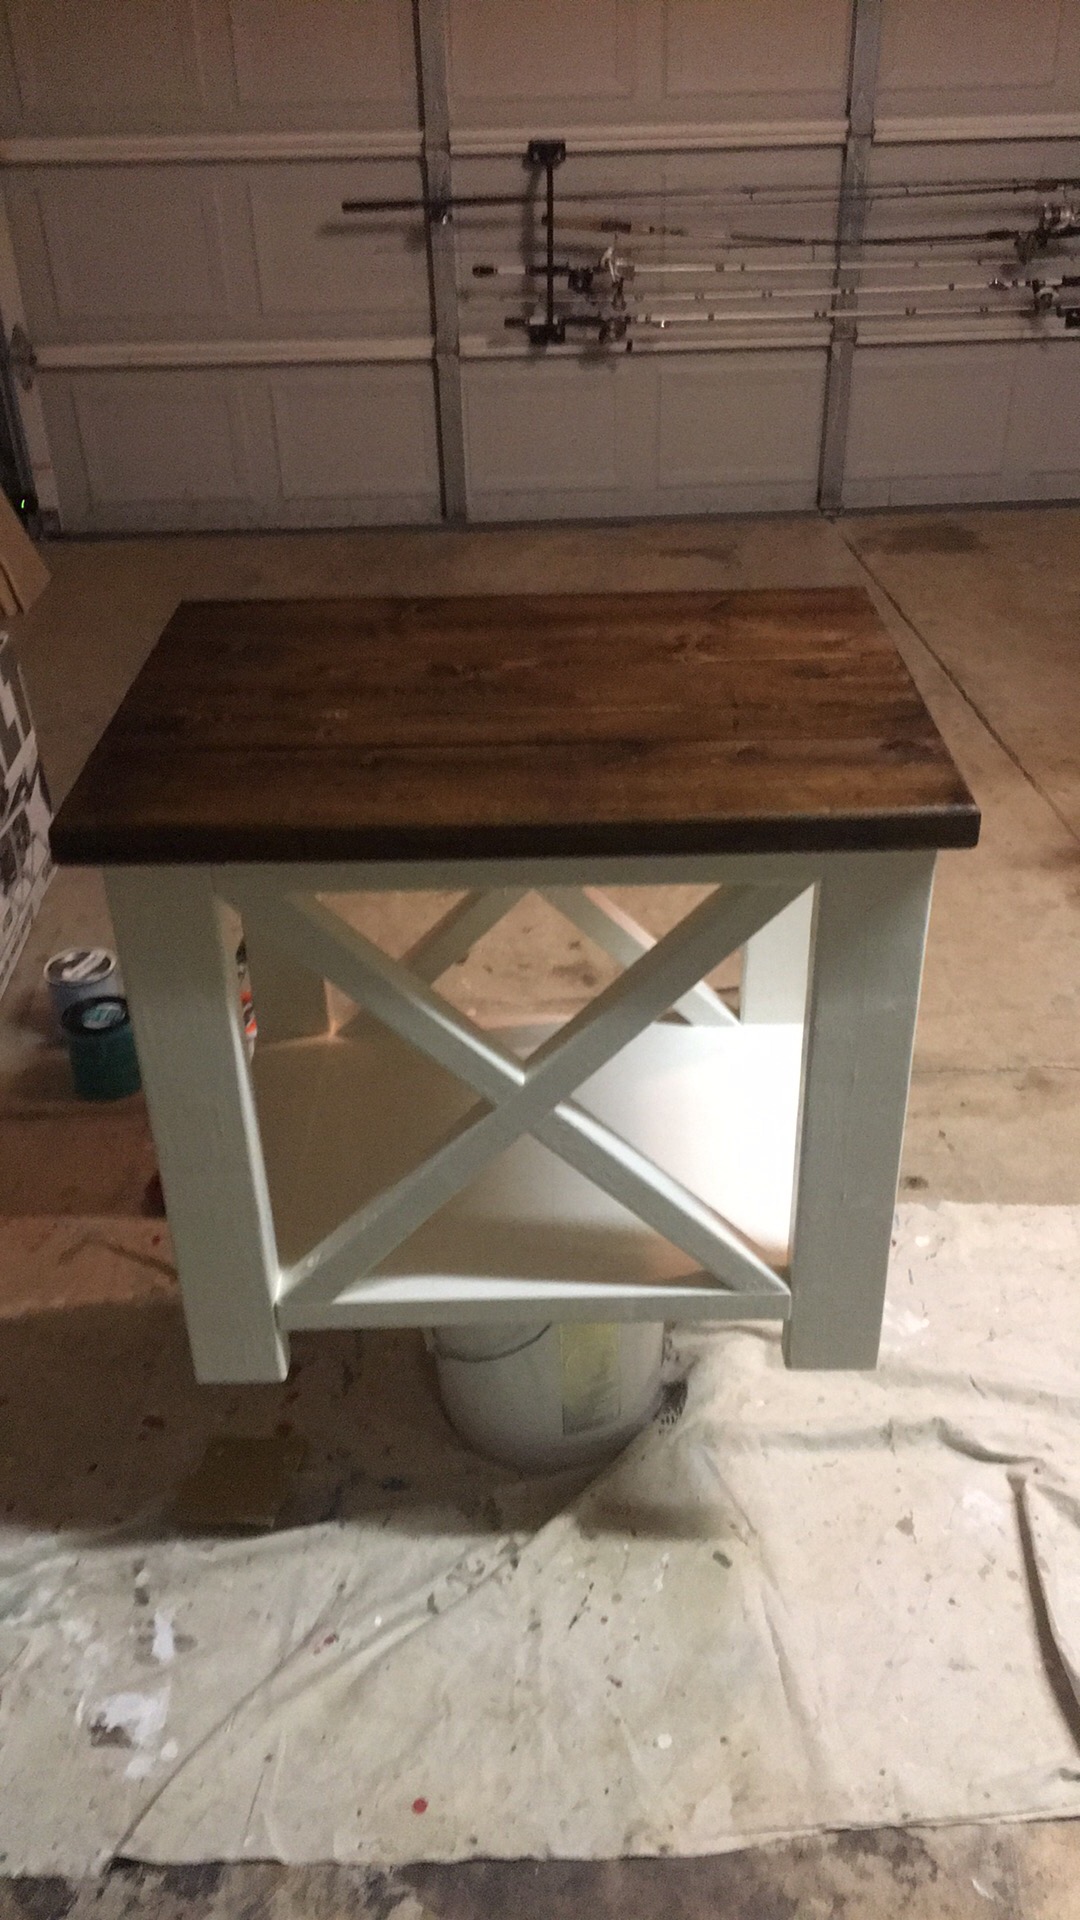
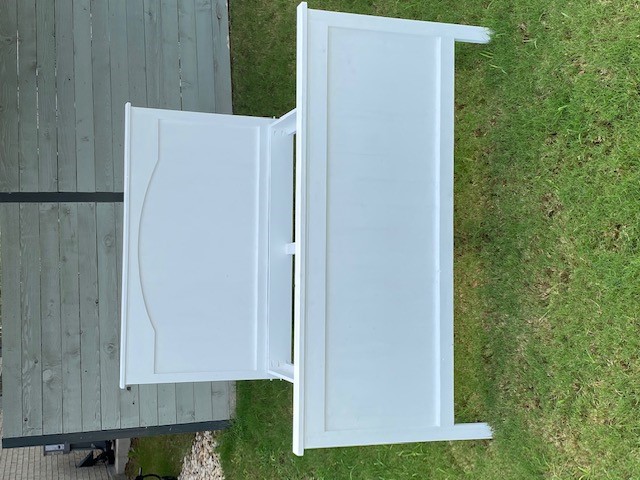
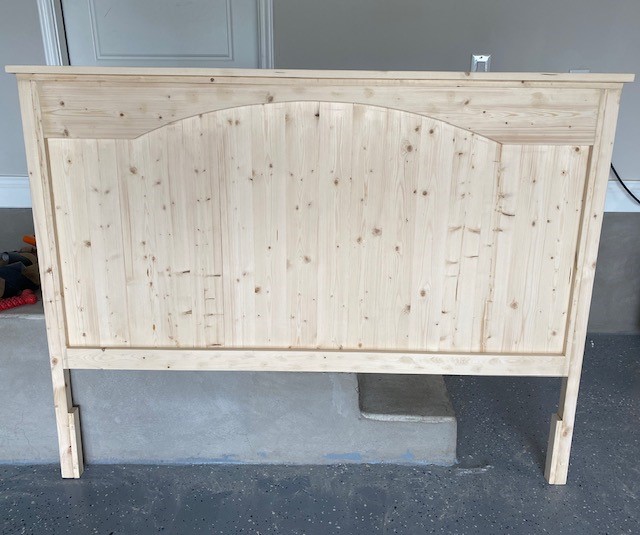
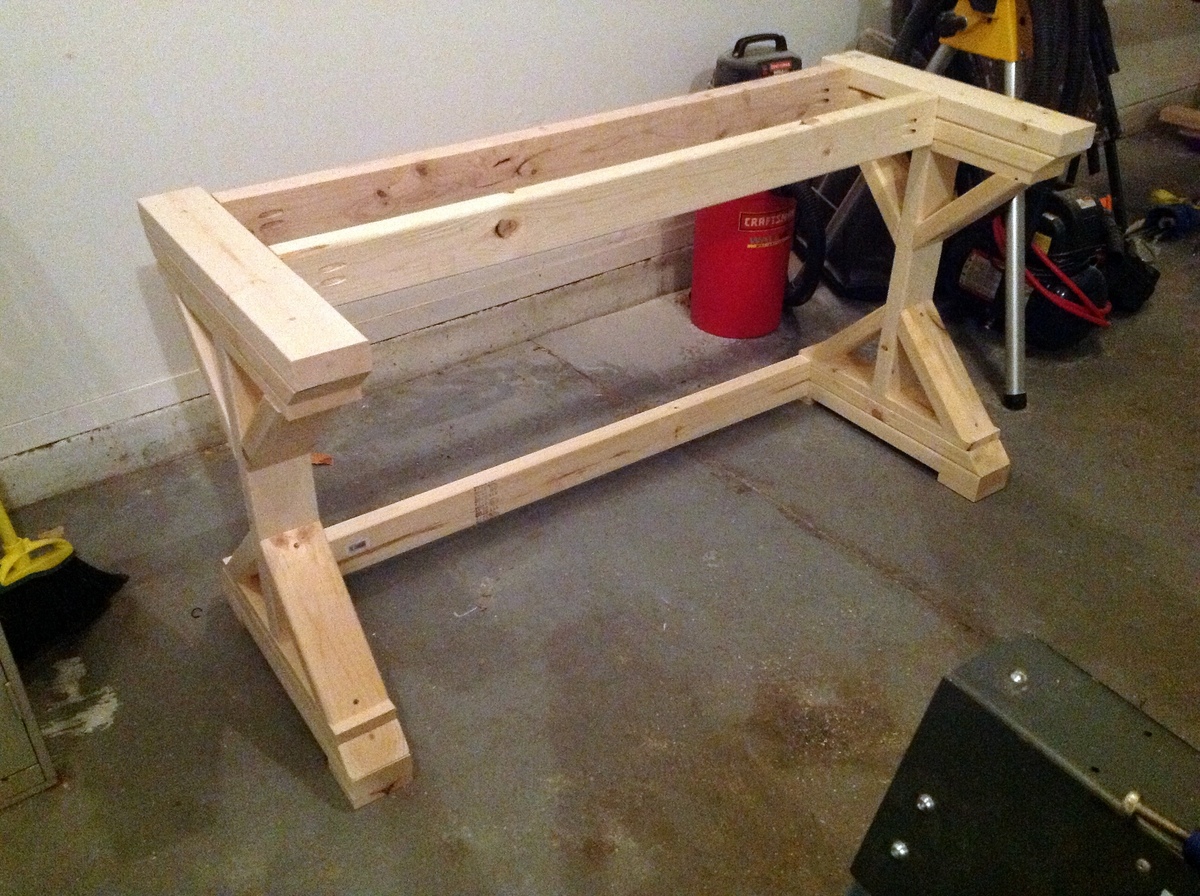
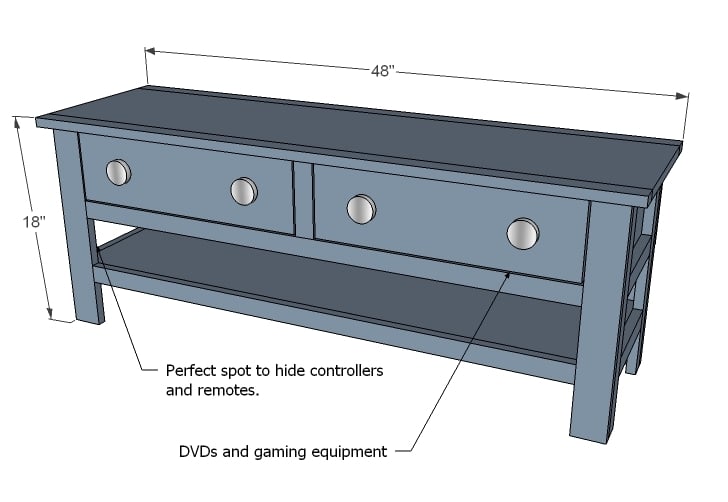
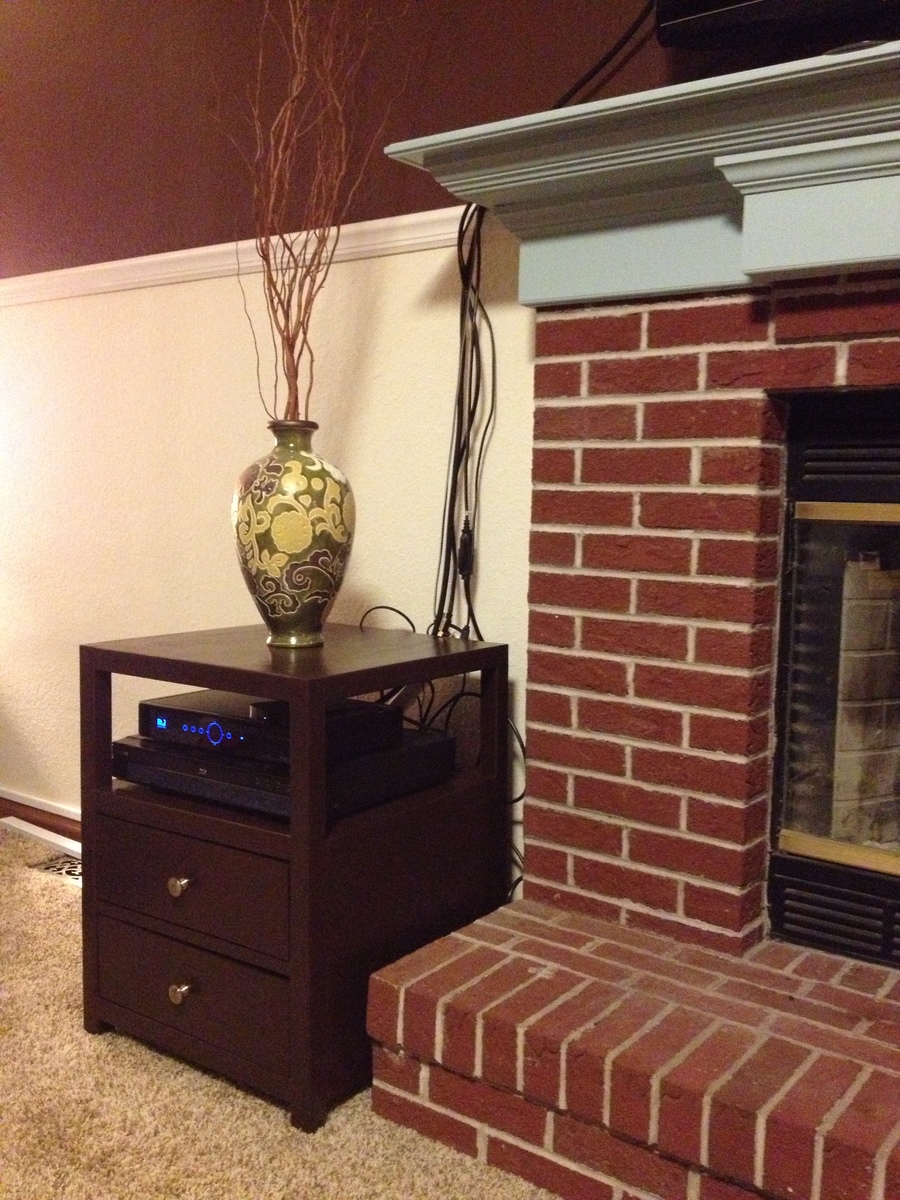
I was looking for a small entertainment stand that would fit our blu-ray player and cable box, but also some drawers to hold dvd cases. This looked perfect. I have some woodworking experience but not a lot. I've never built anything with drawers before and I was a little nervous about it. The drawers were definitely the most challenging part and took some modification. If I built it again, I'd rip an extra 1/4" off the drawer sides so they'd fit better vertically. Other than that though, the plans were great. The project turned out very nice and I'm very happy with it.
Thanks for the great plans. I got your book for Christmas!
Estimated Cost
< $50
Estimated Time Investment
Weekend Project (10-20 Hours)
Finish Used
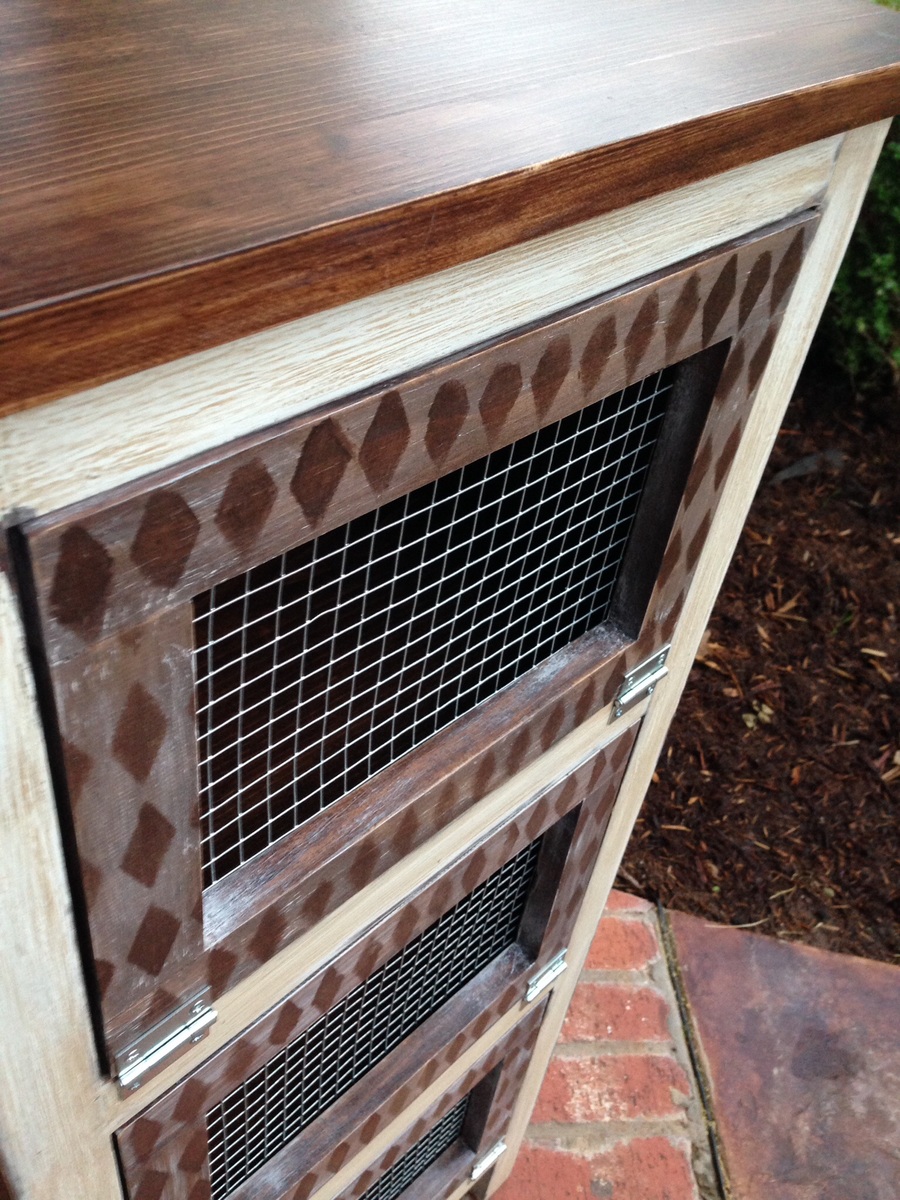
Leftover Rust-Oleum Cabinet Transformation Kit - espresso color
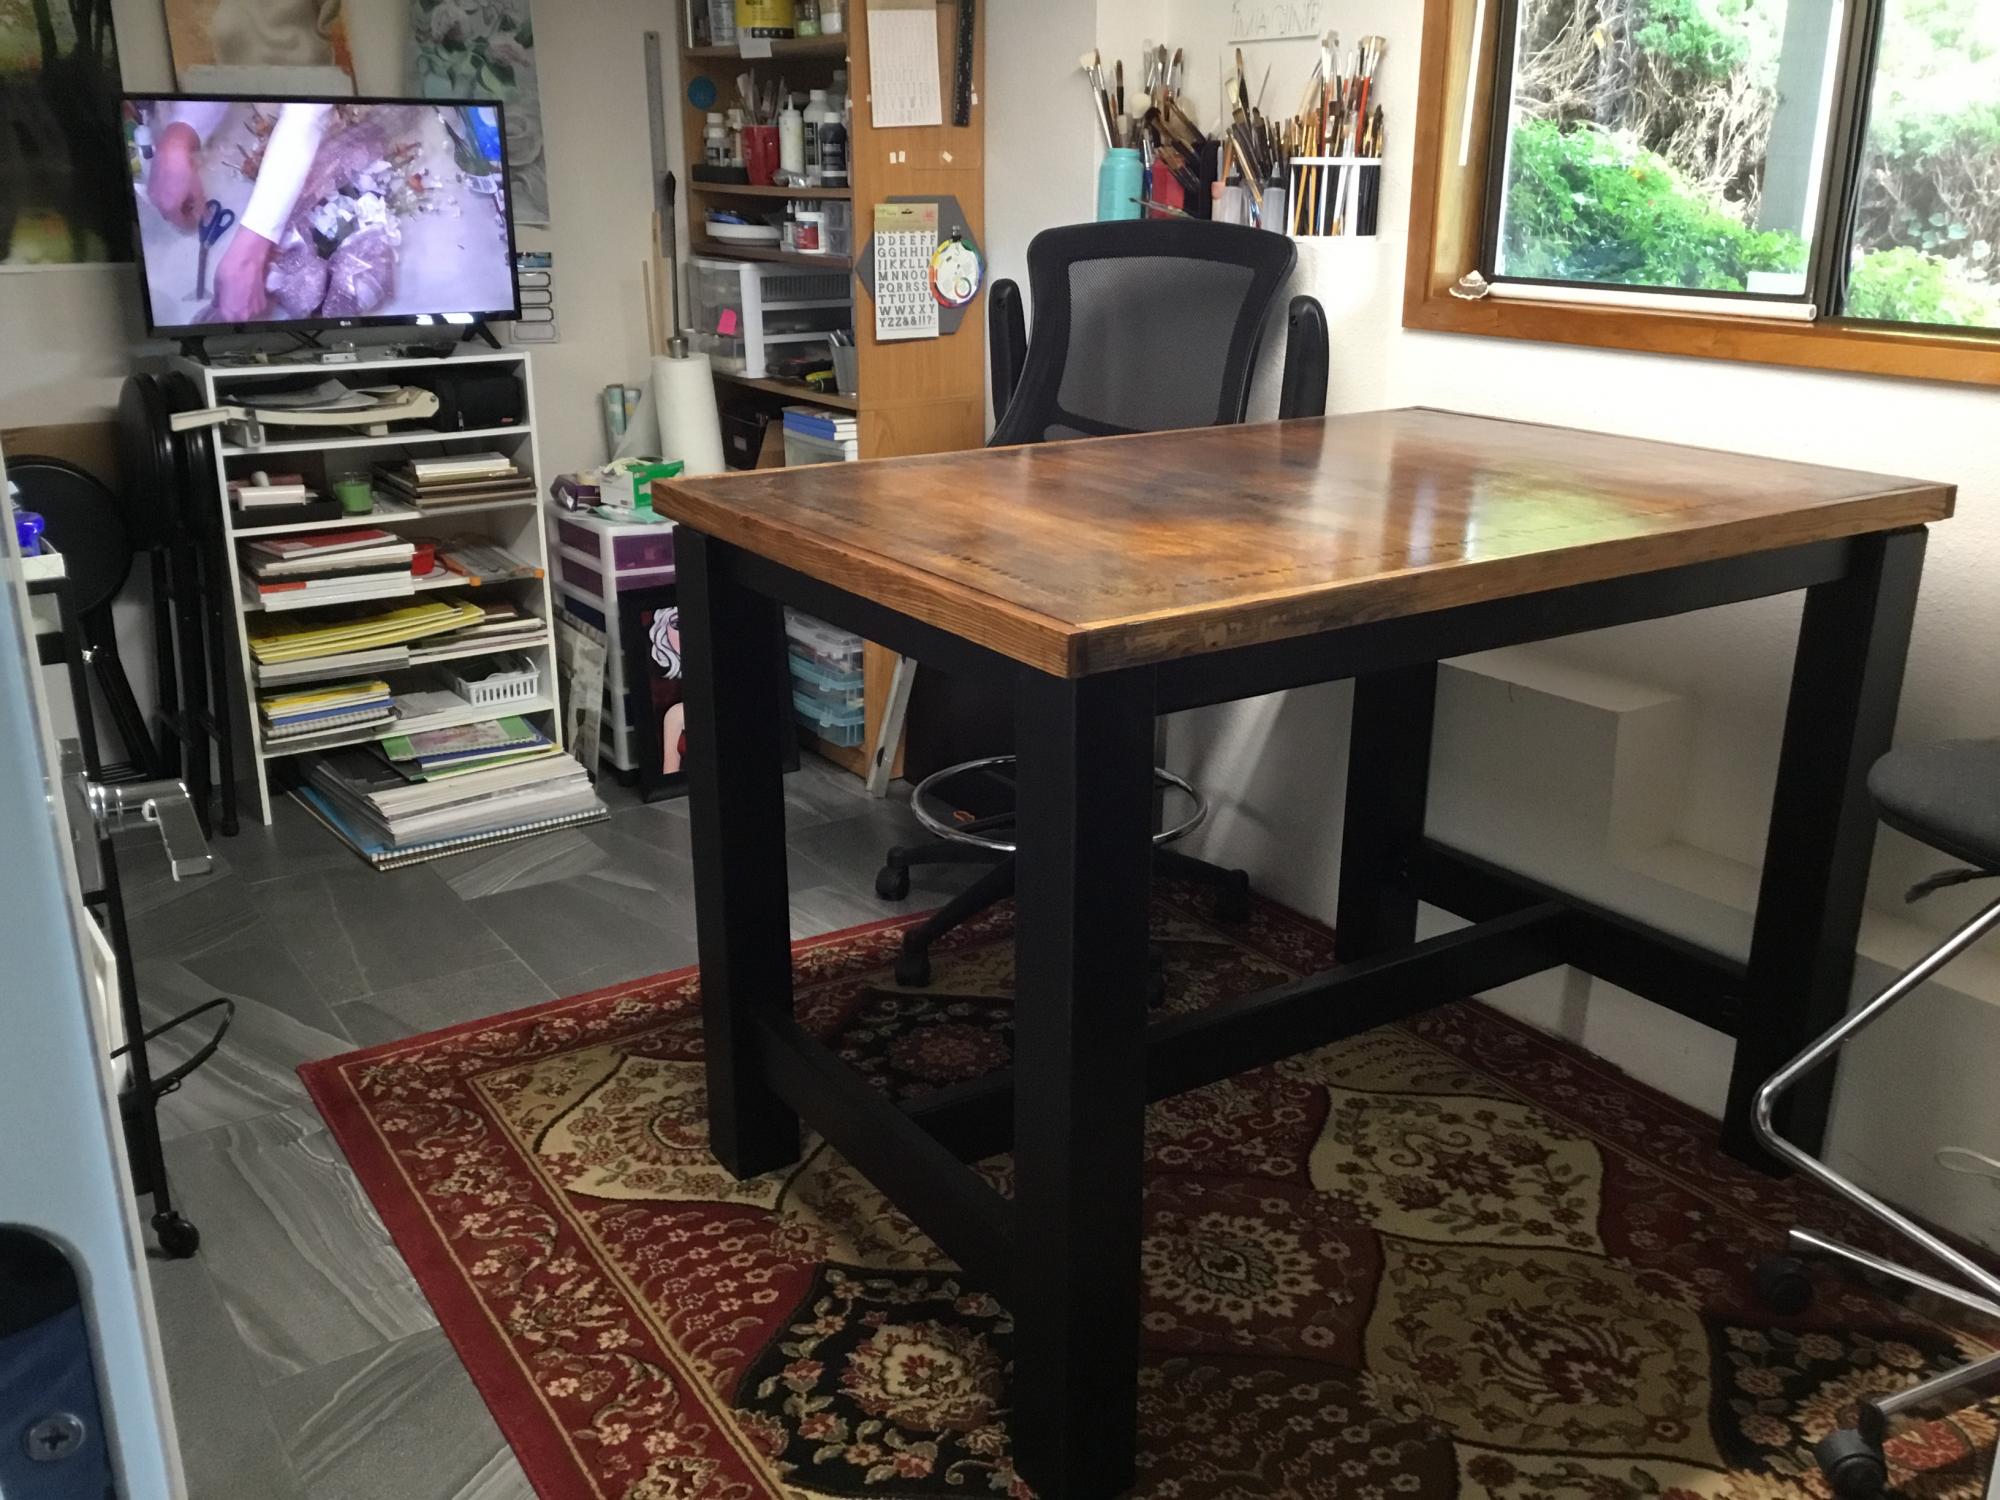
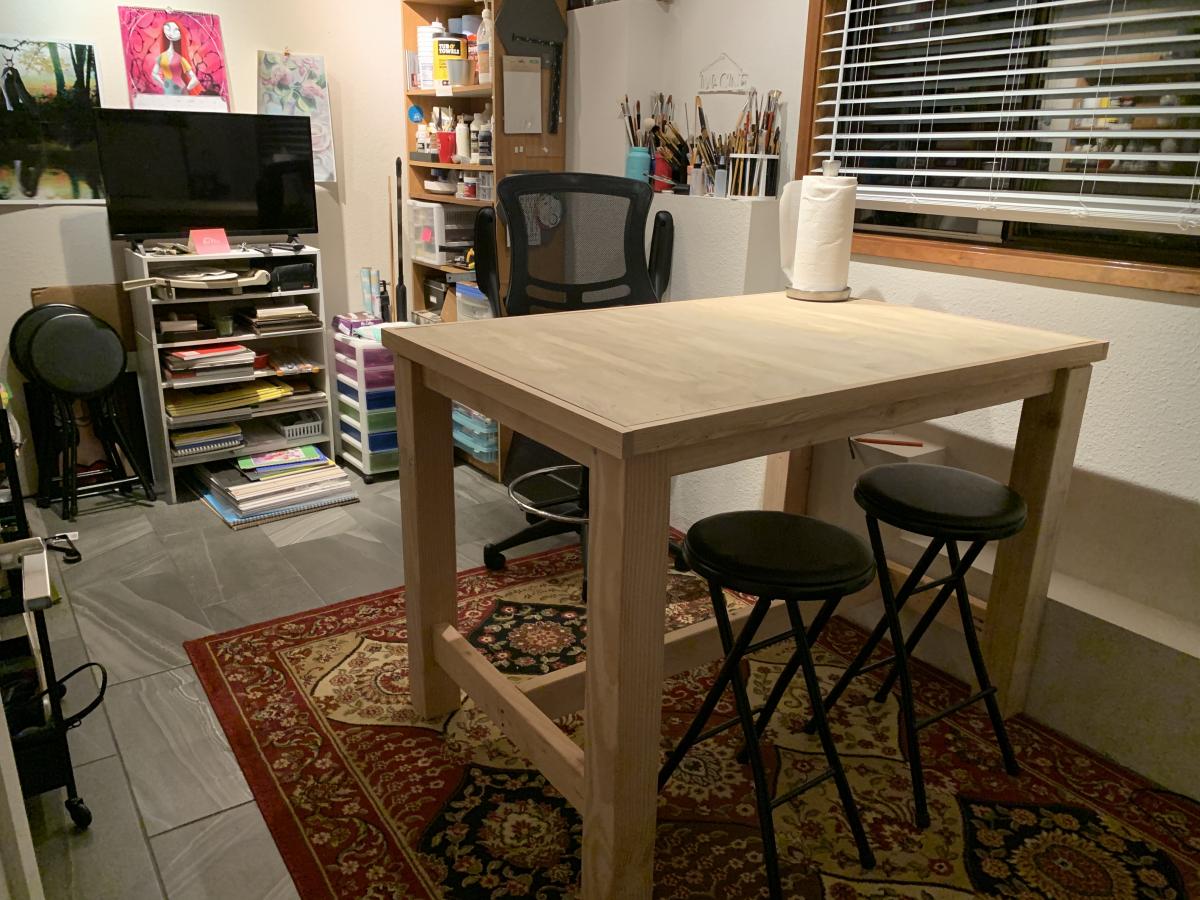
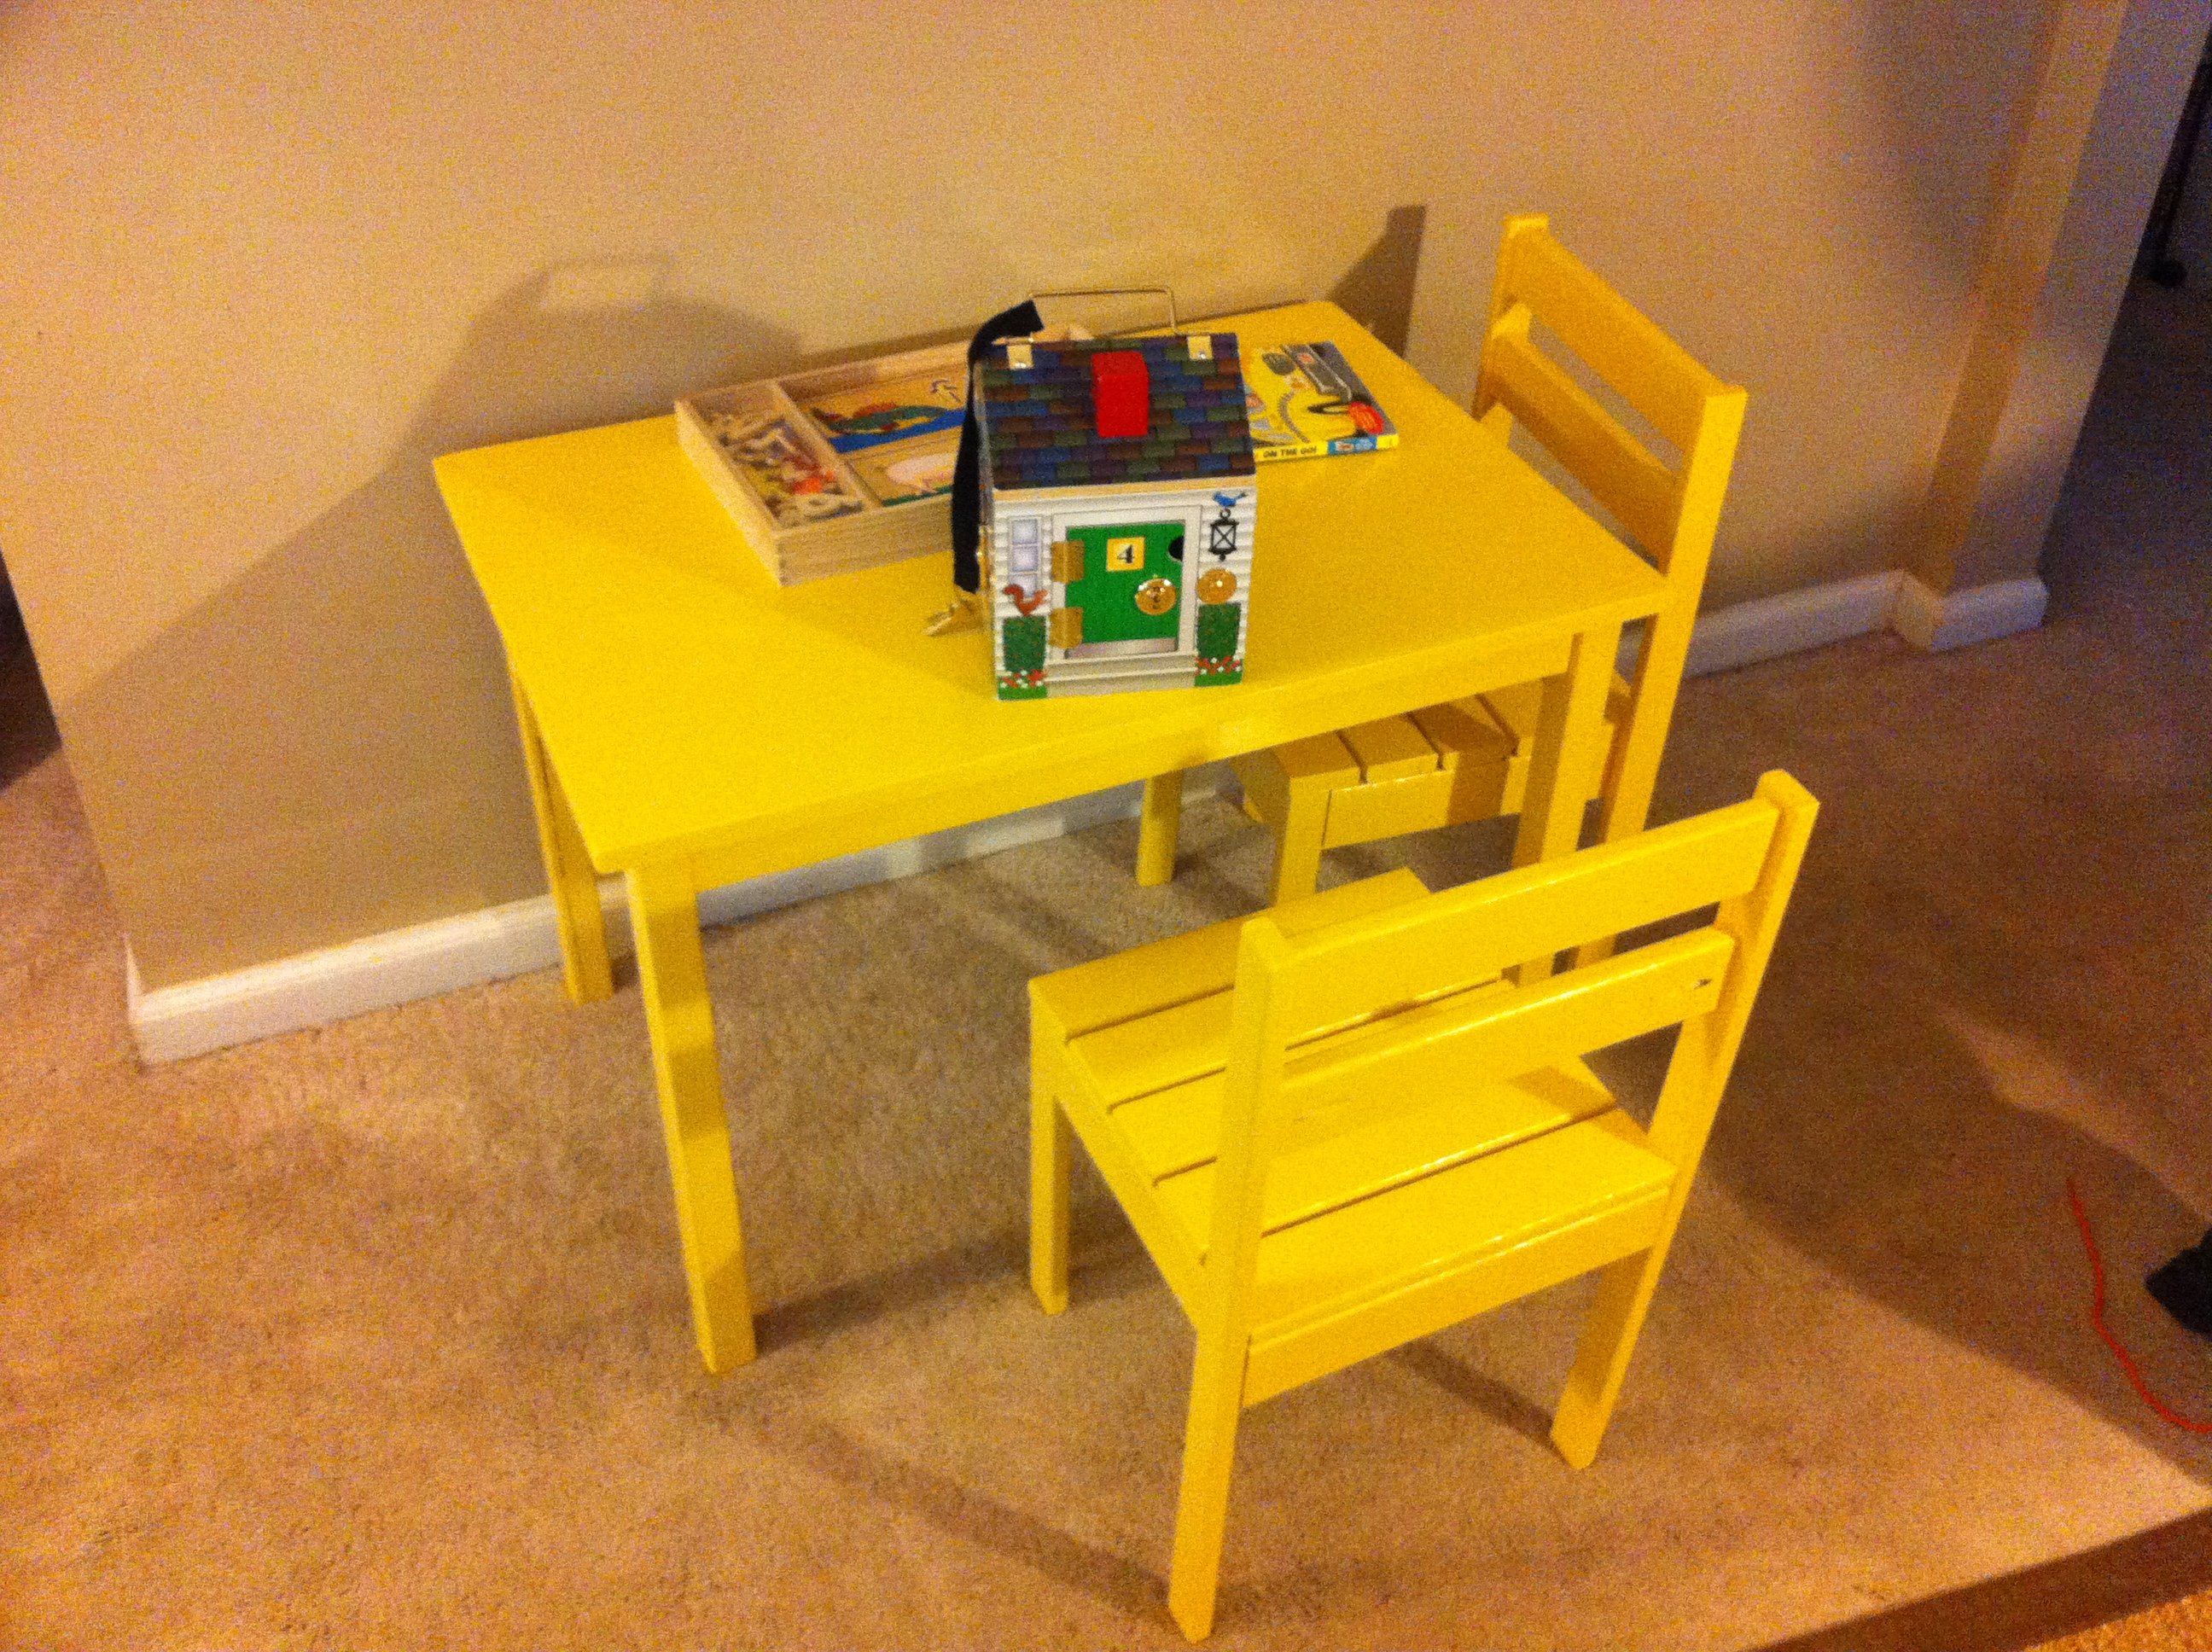
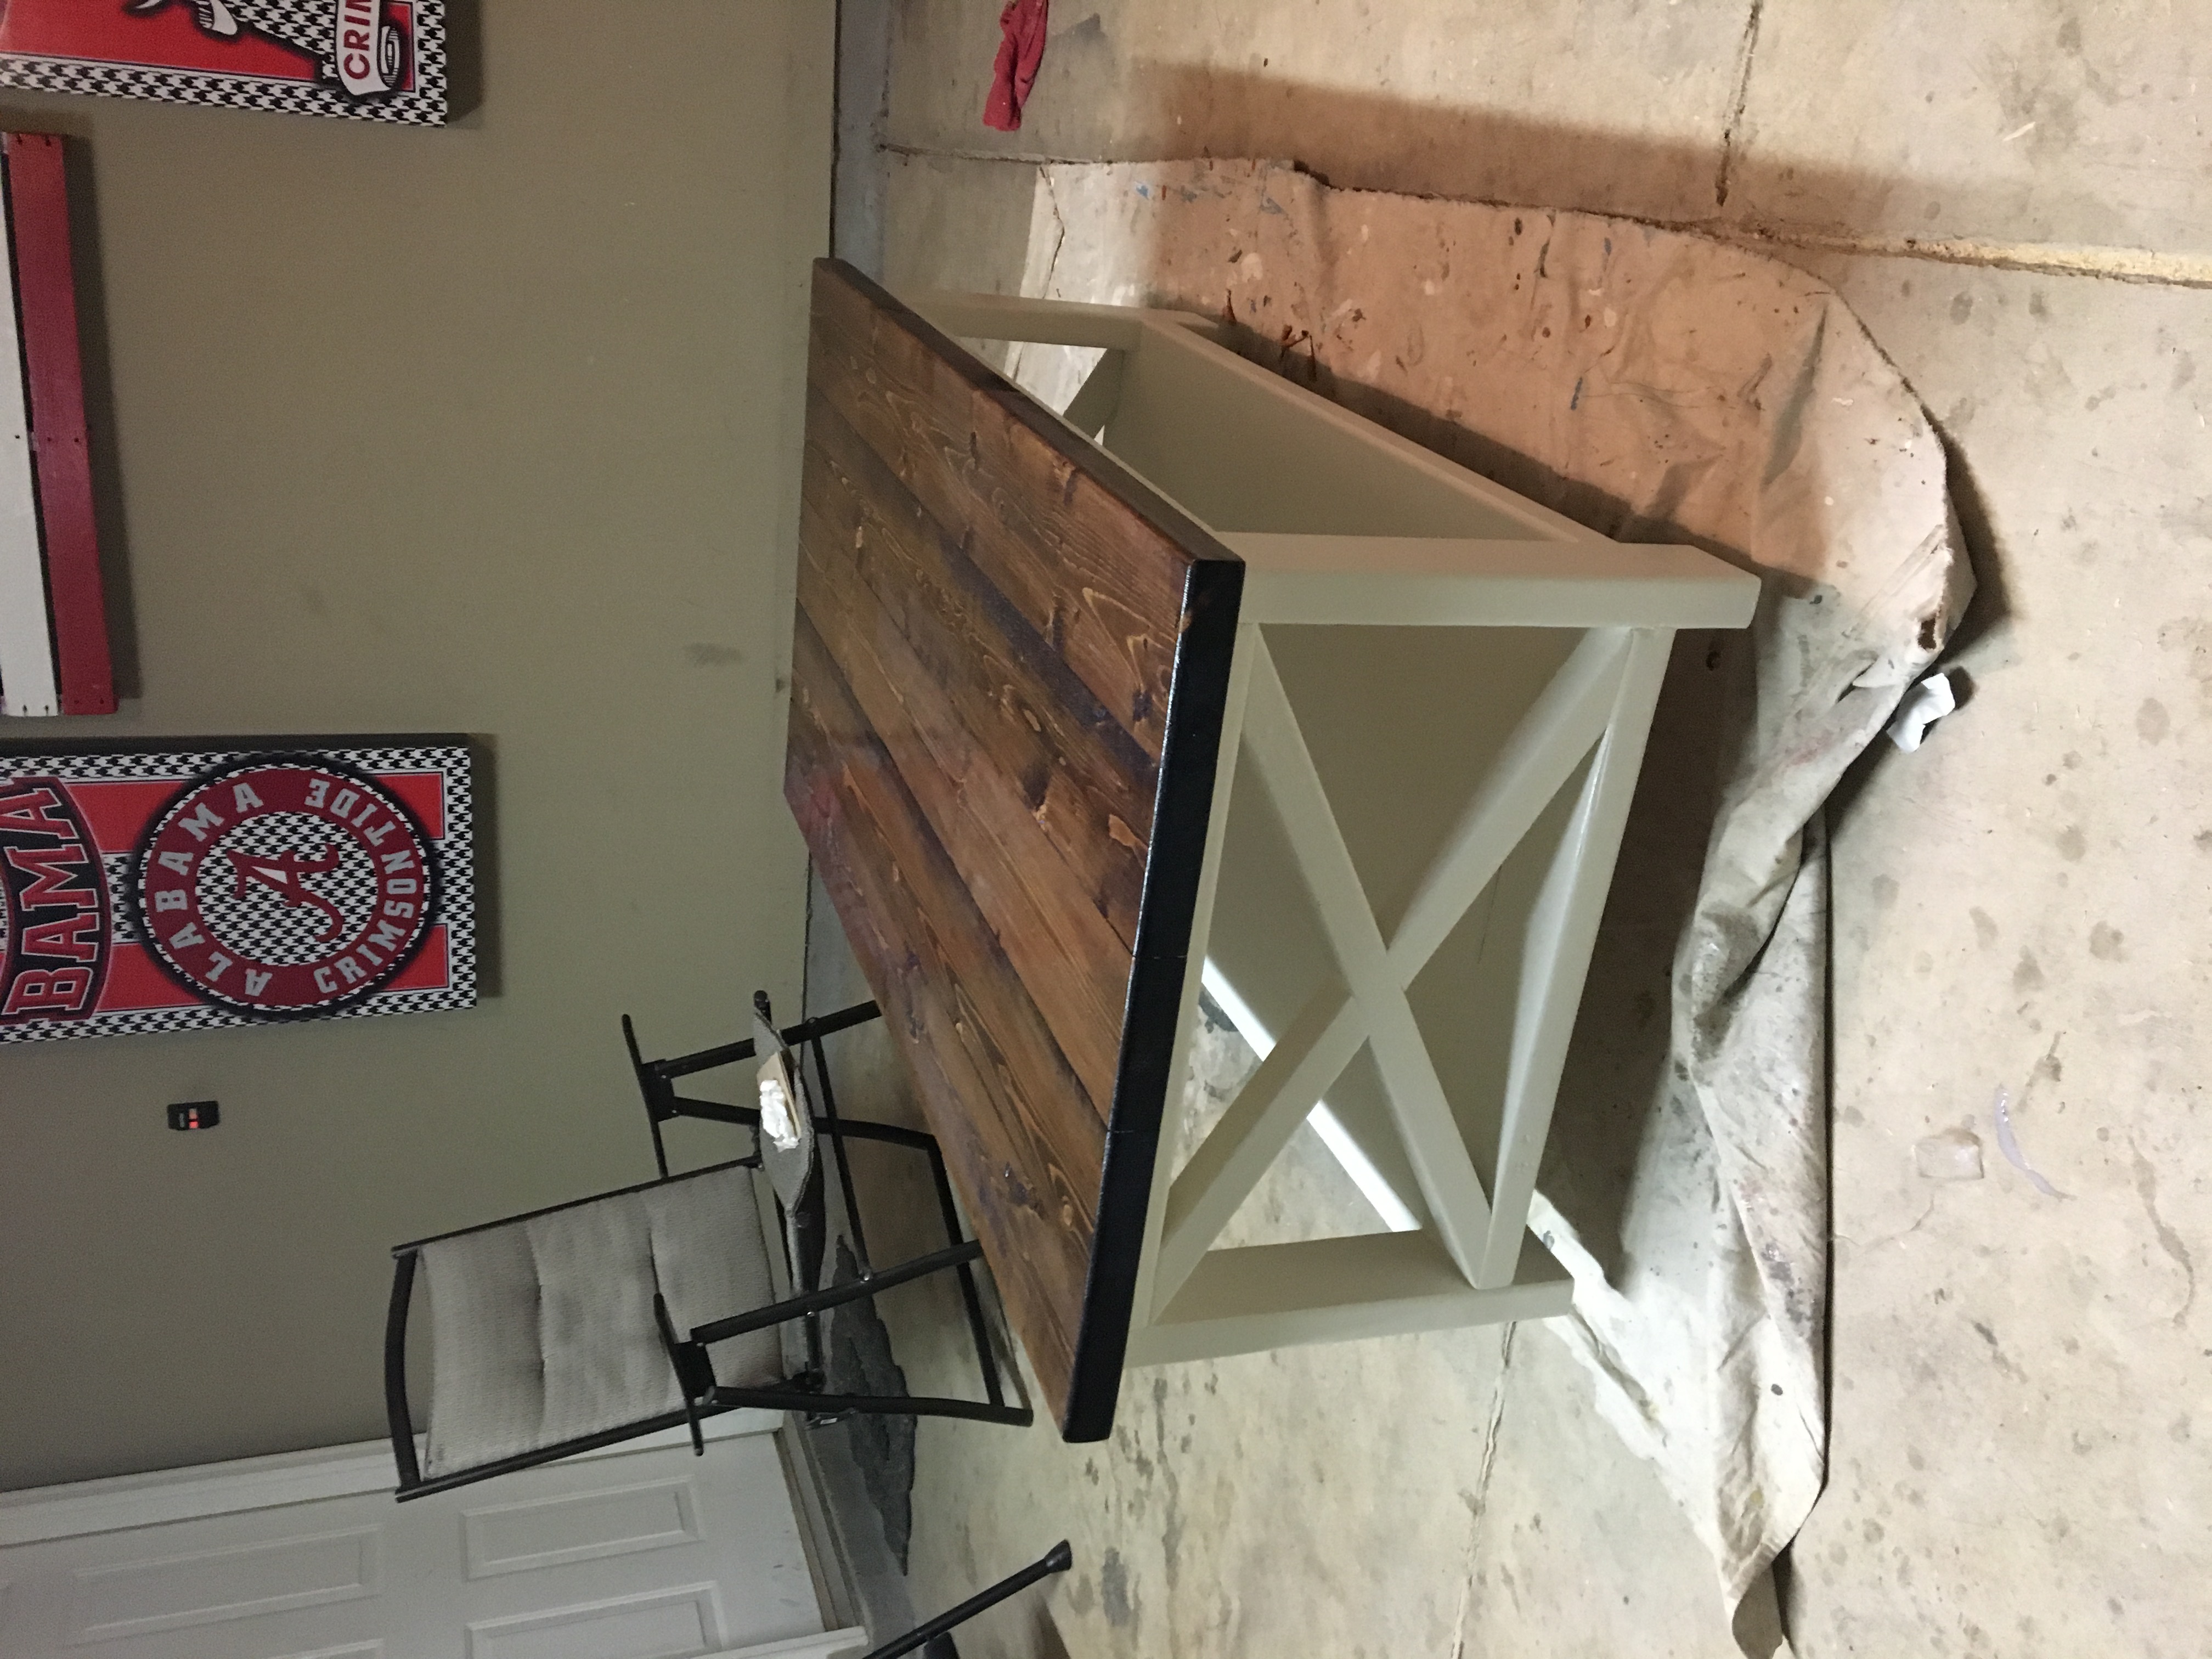
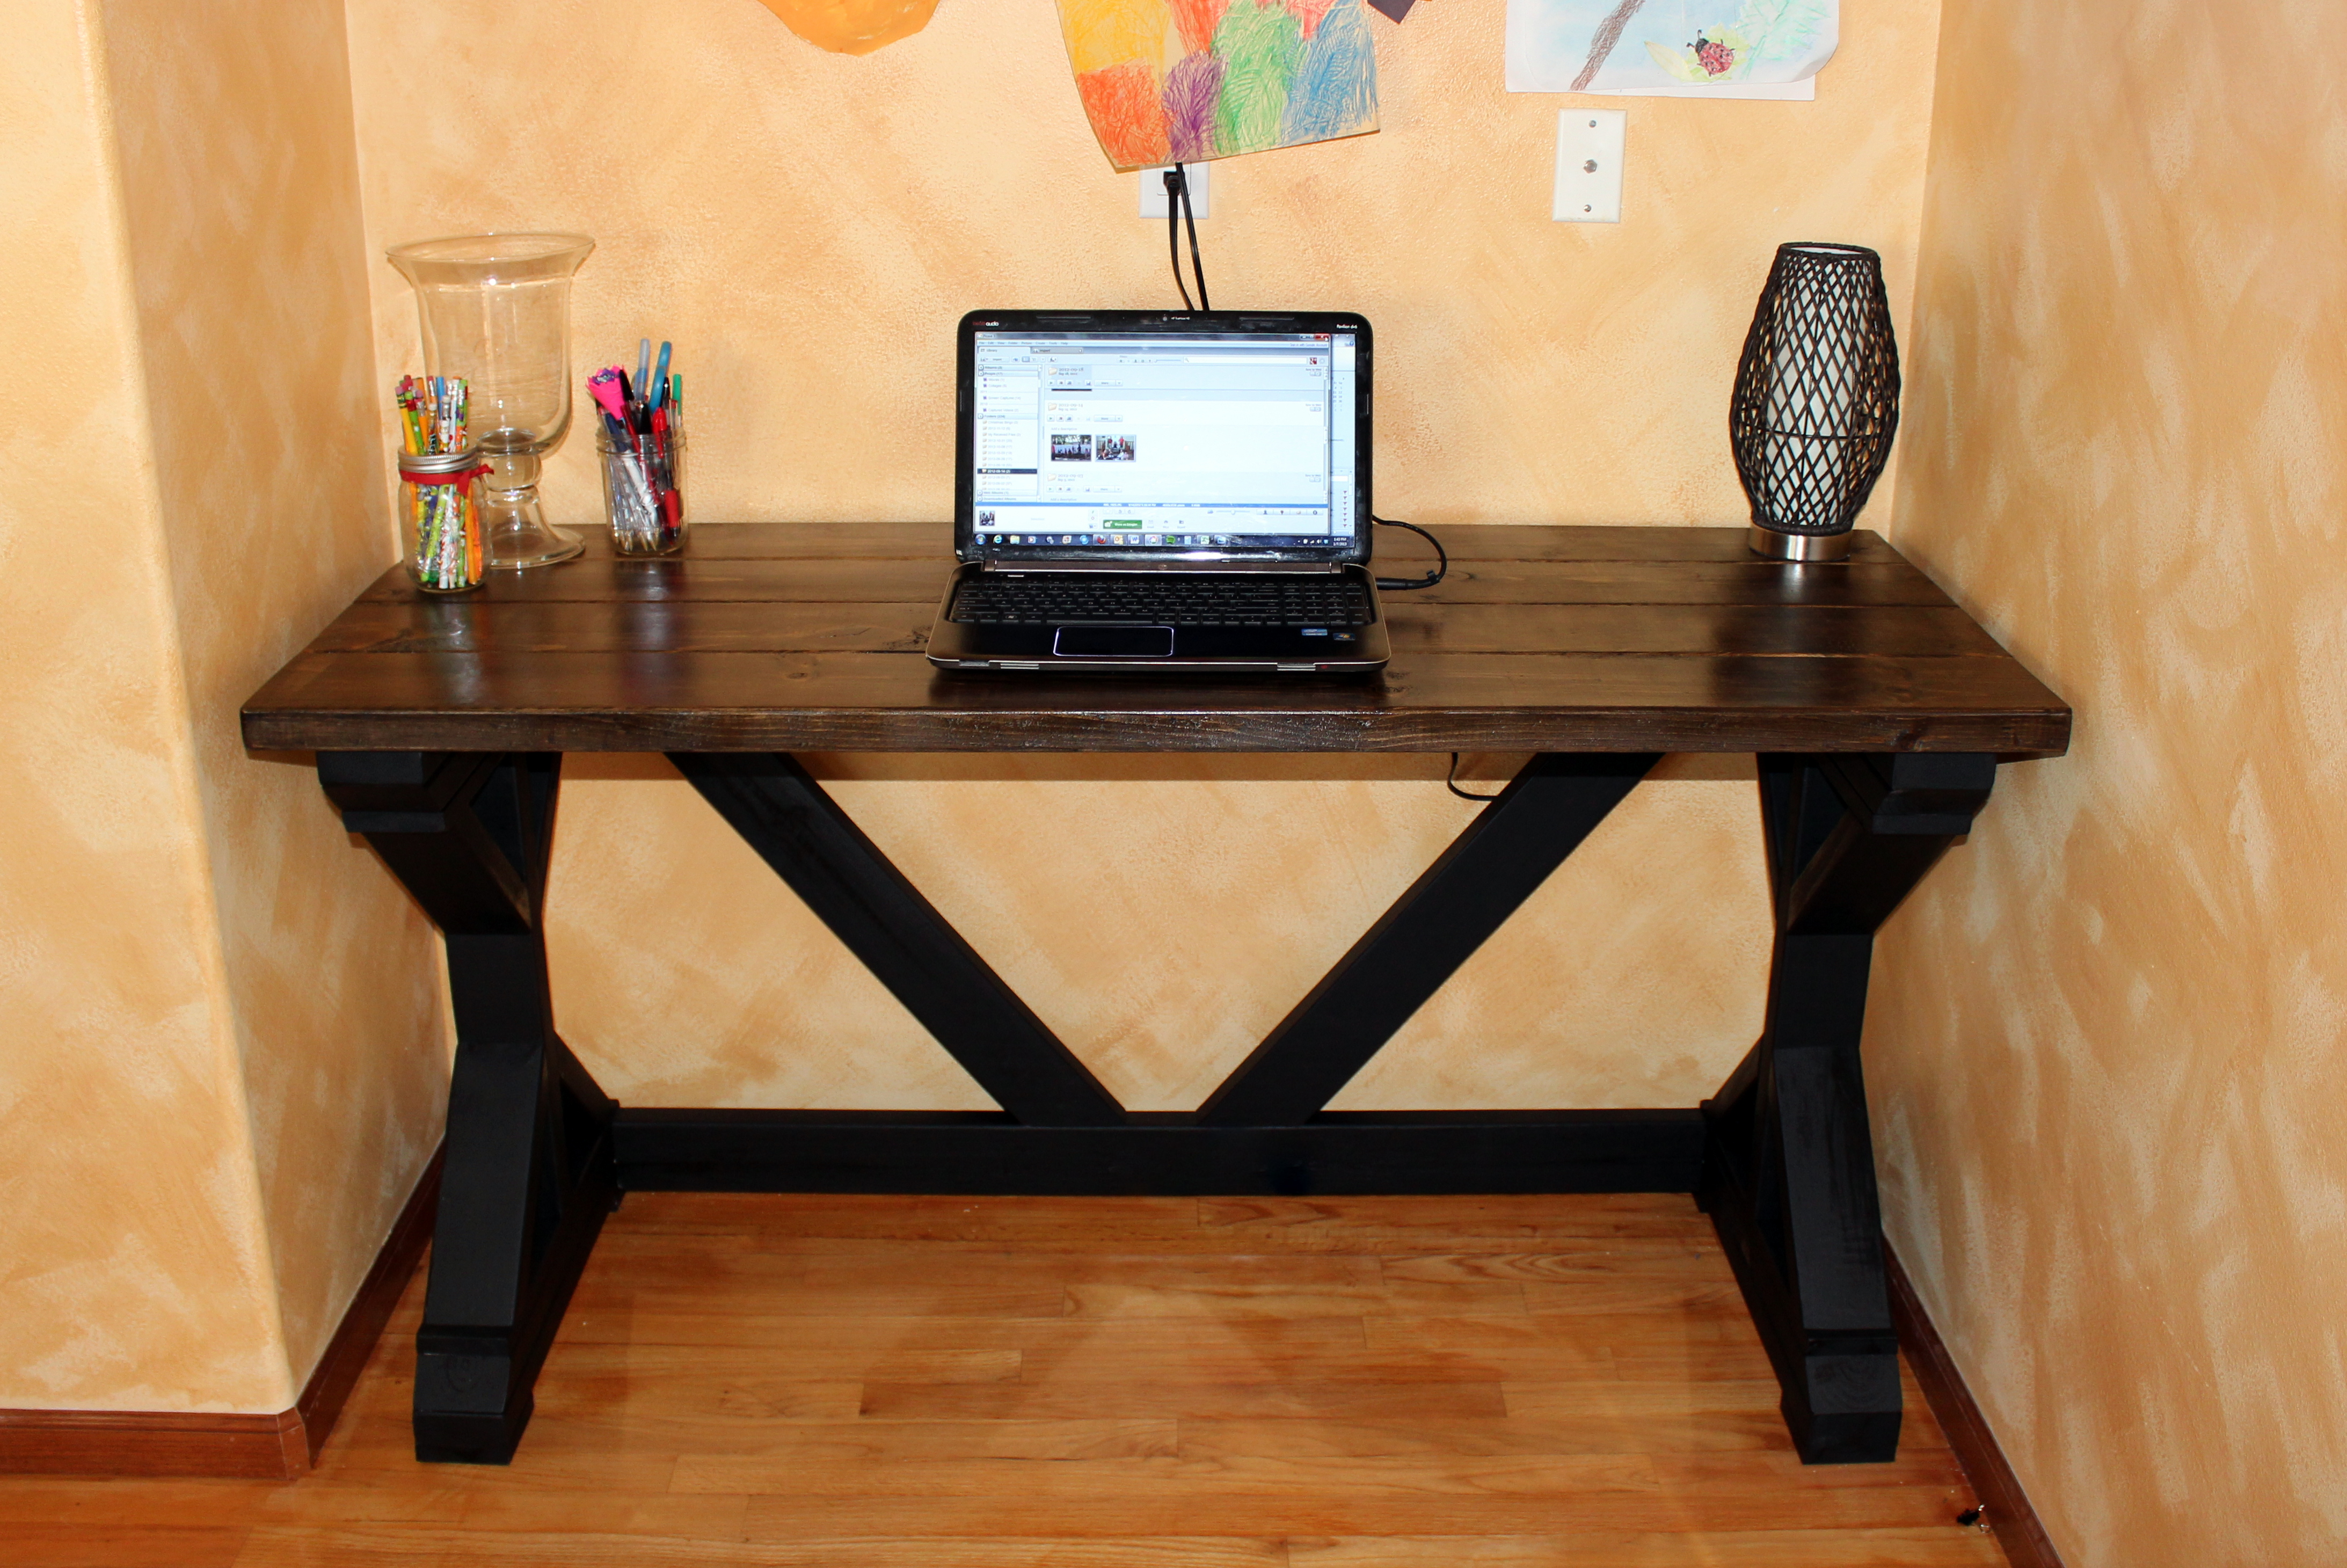
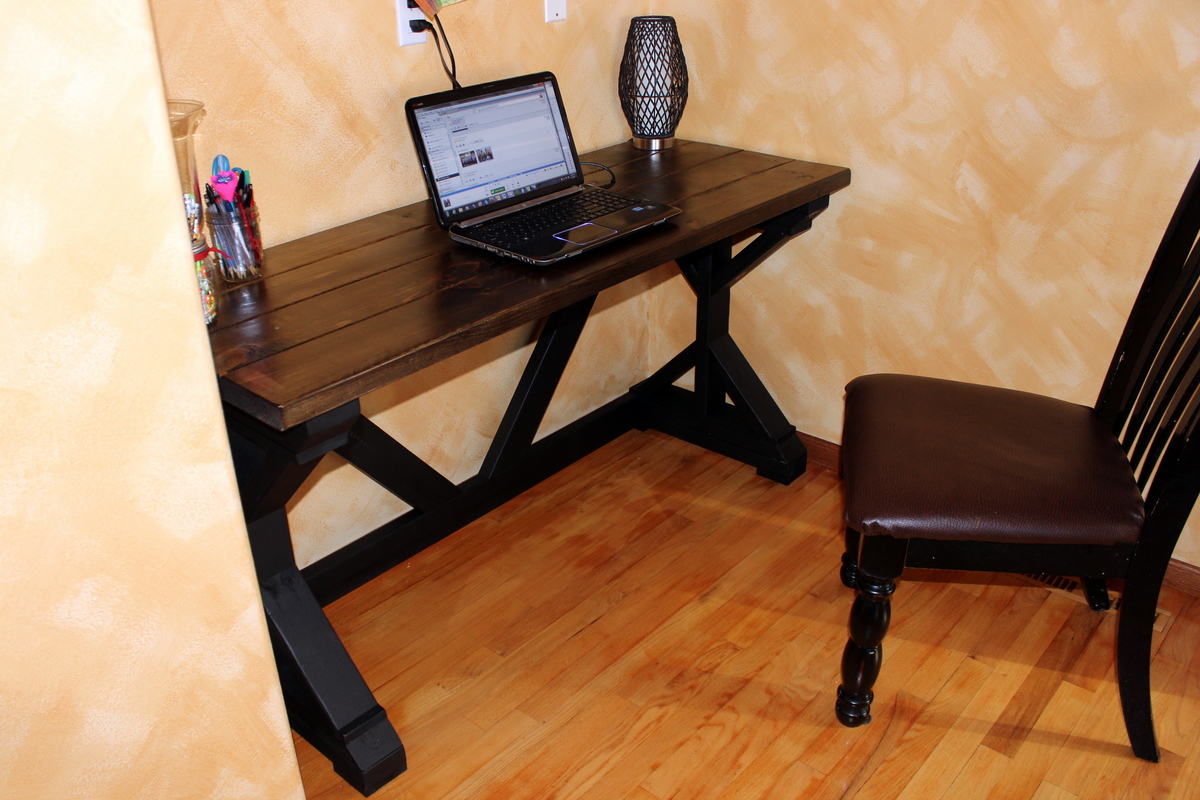
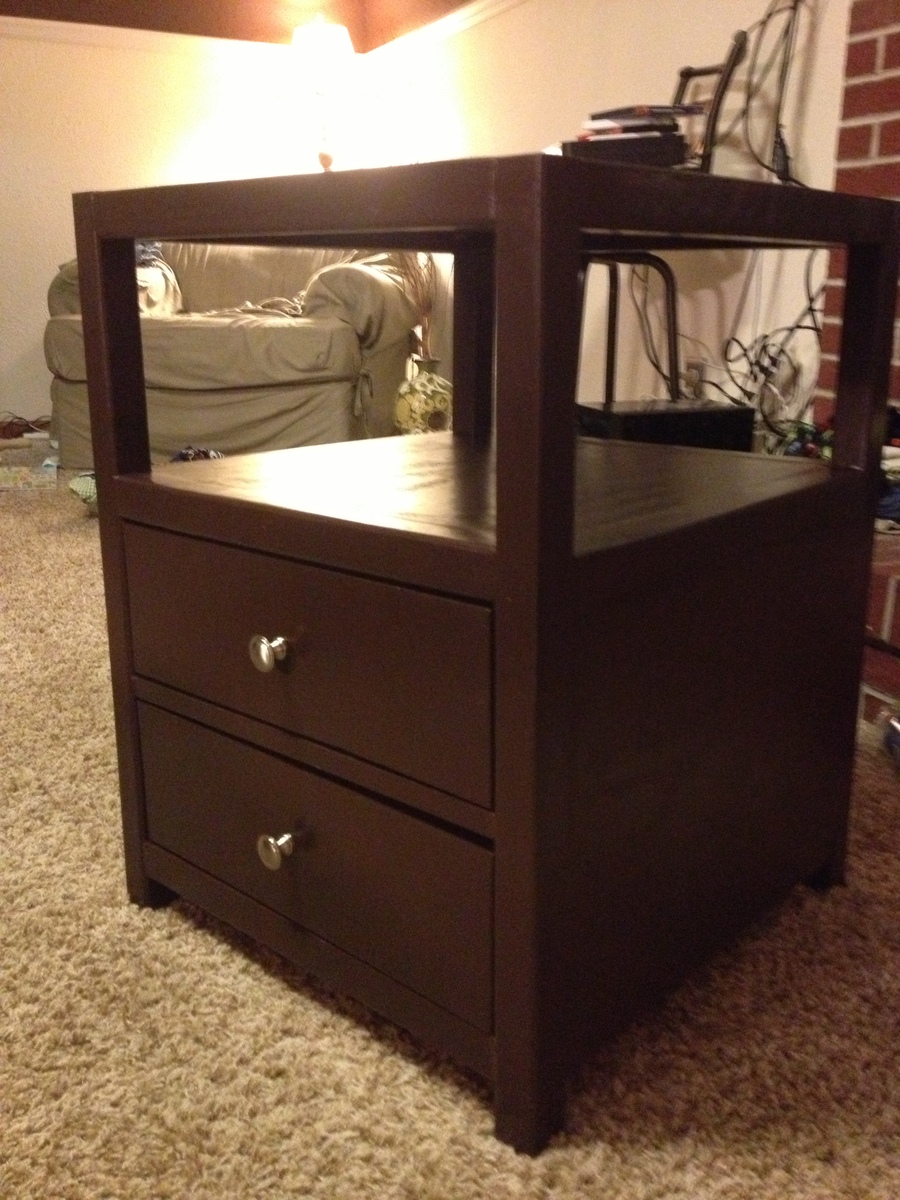
I finished it with a dark espresso finish from a Rust-Oleum Cabinet Transformation Kit I had left over. I also refinished our coffee table and other end table with this, so it all matches and looks great. (that kit is awesome btw. I used it originally for our bathroom vanity and had a ton left over, and still do).
I finished it with a dark espresso finish from a Rust-Oleum Cabinet Transformation Kit I had left over. I also refinished our coffee table and other end table with this, so it all matches and looks great. (that kit is awesome btw. I used it originally for our bathroom vanity and had a ton left over, and still do).
Recommended Skill Level
Intermediate