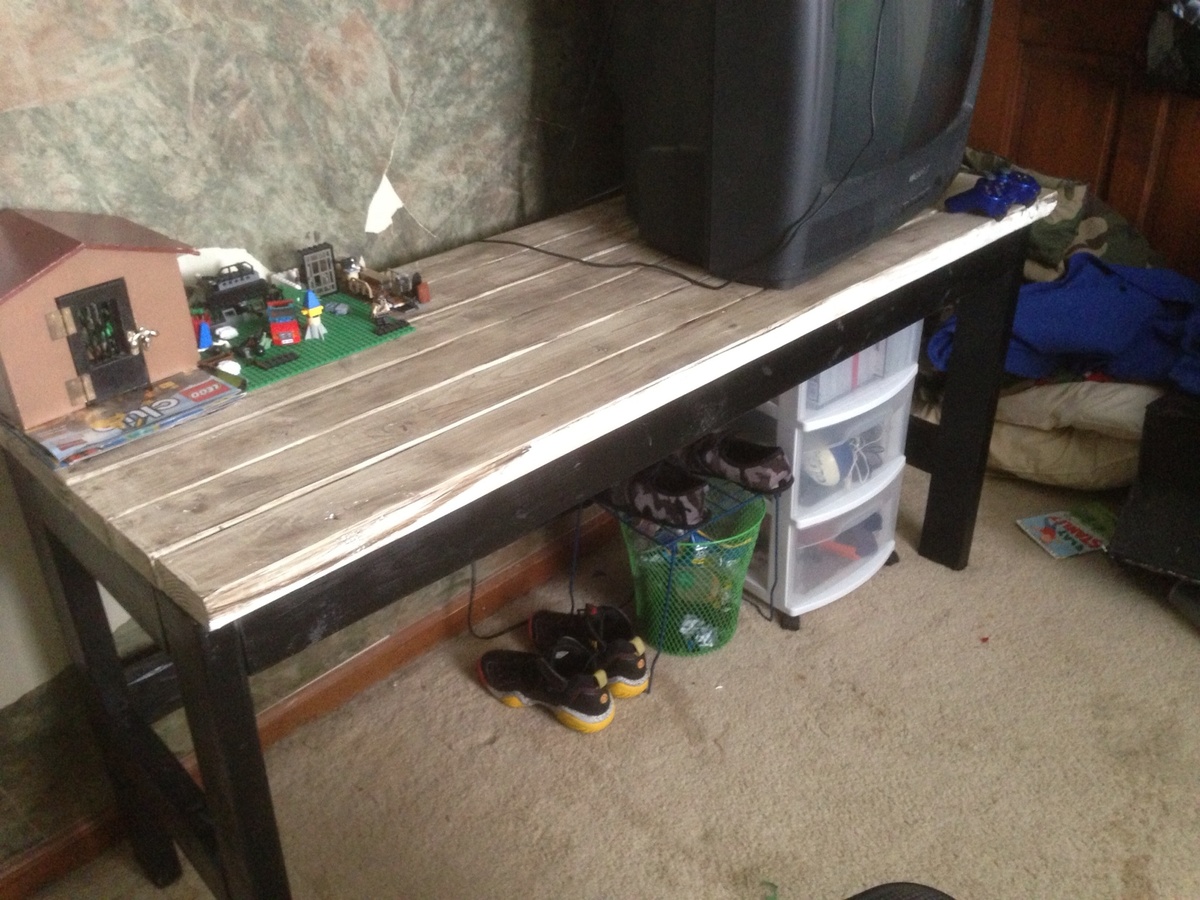
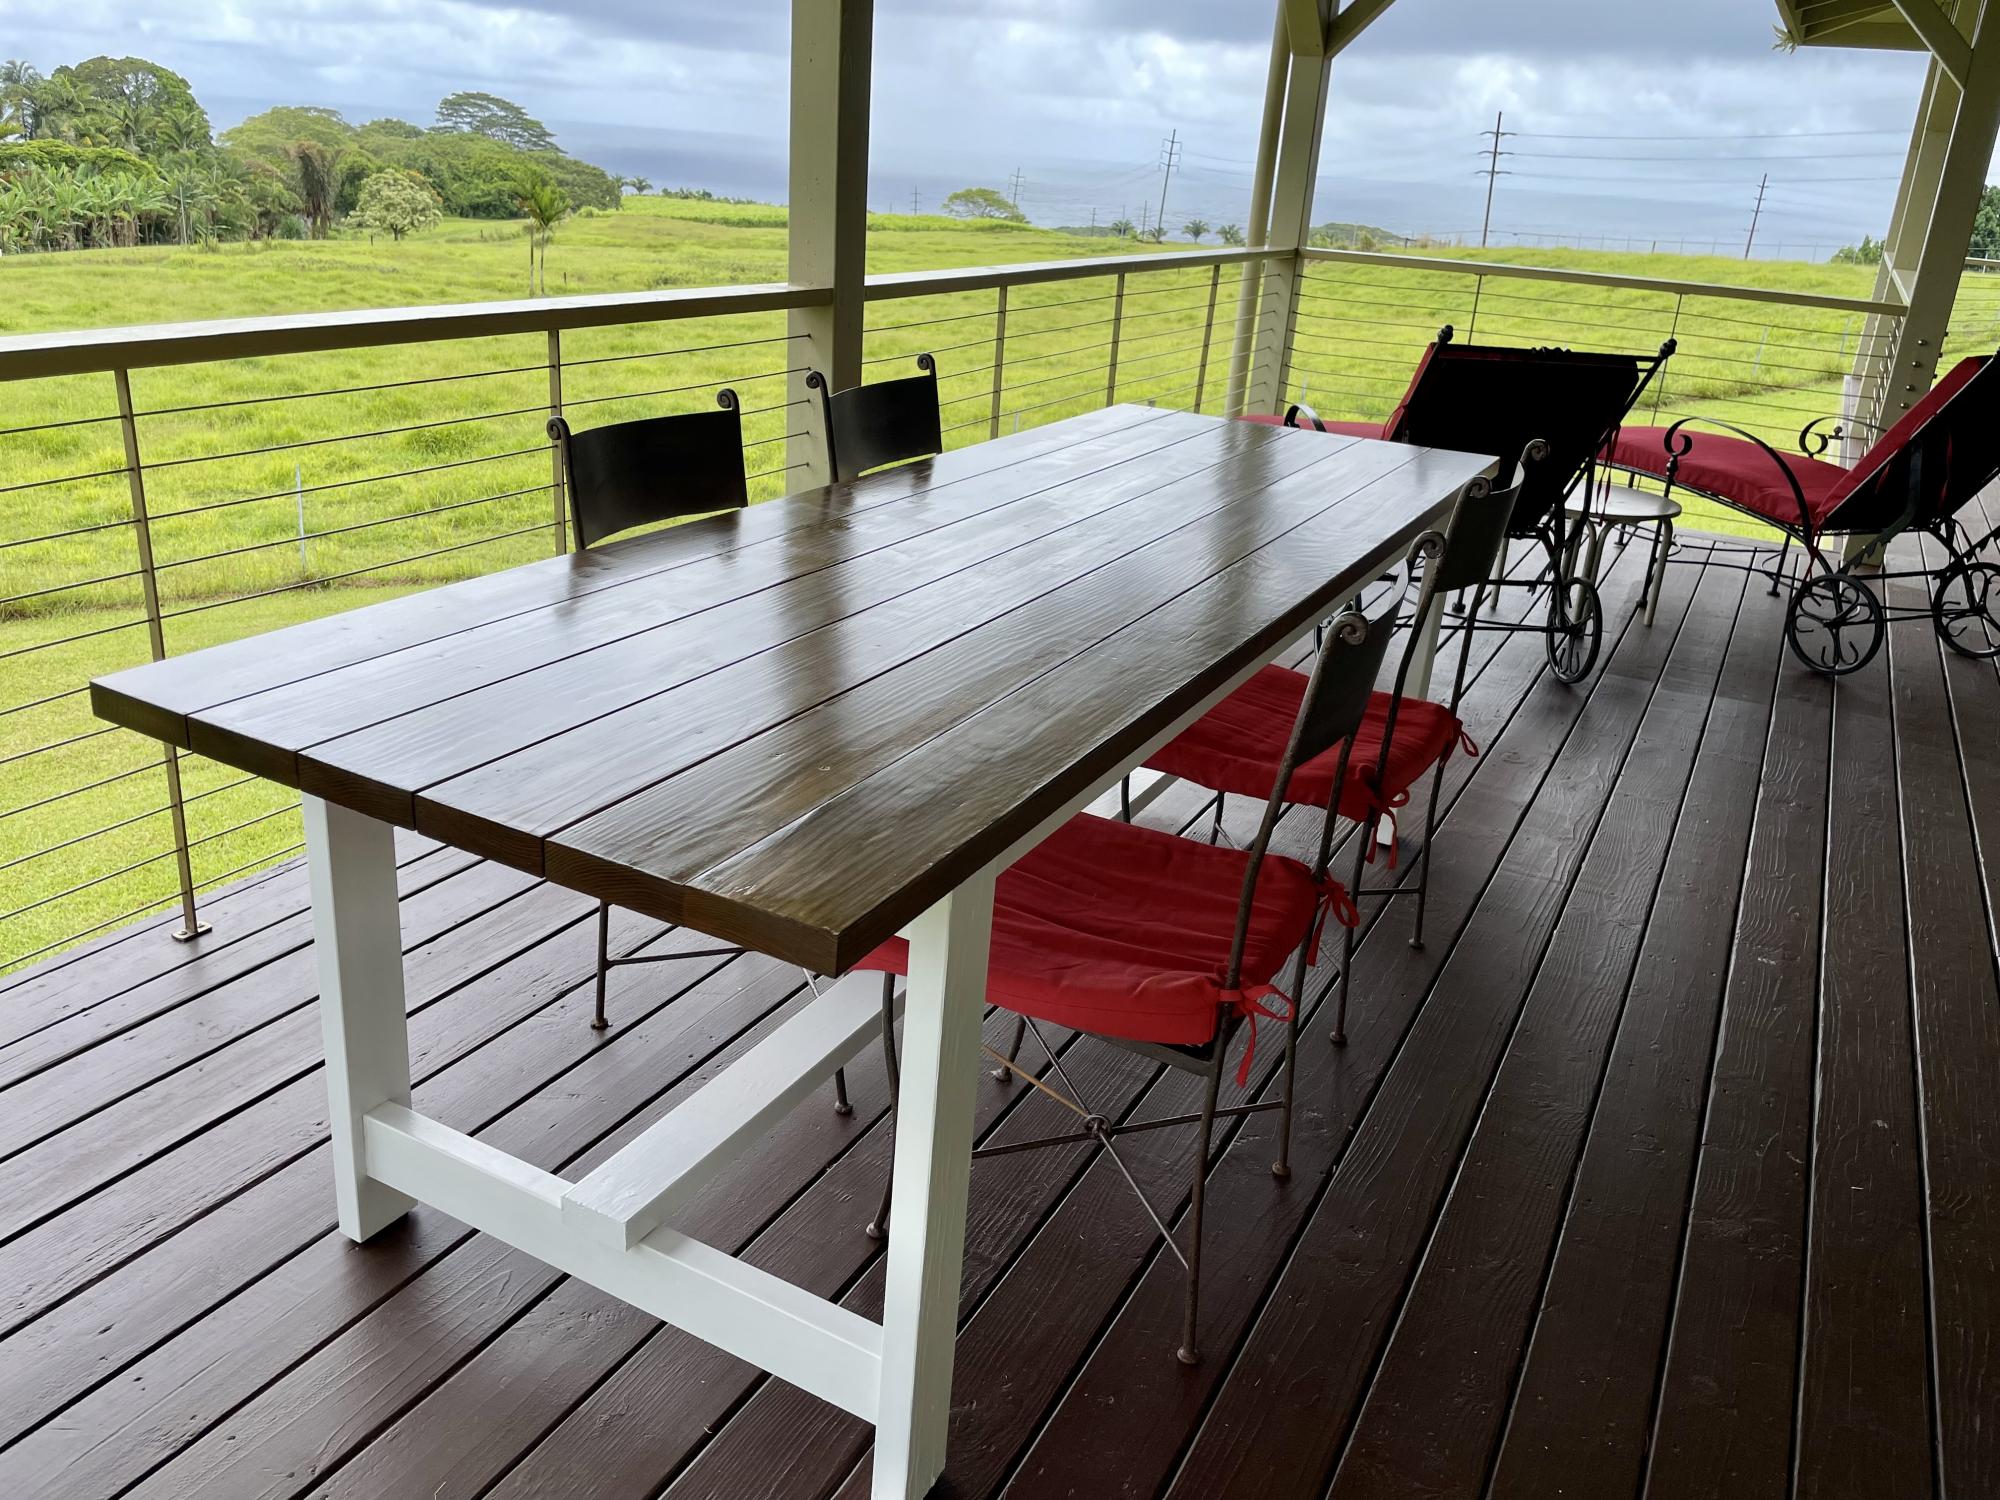
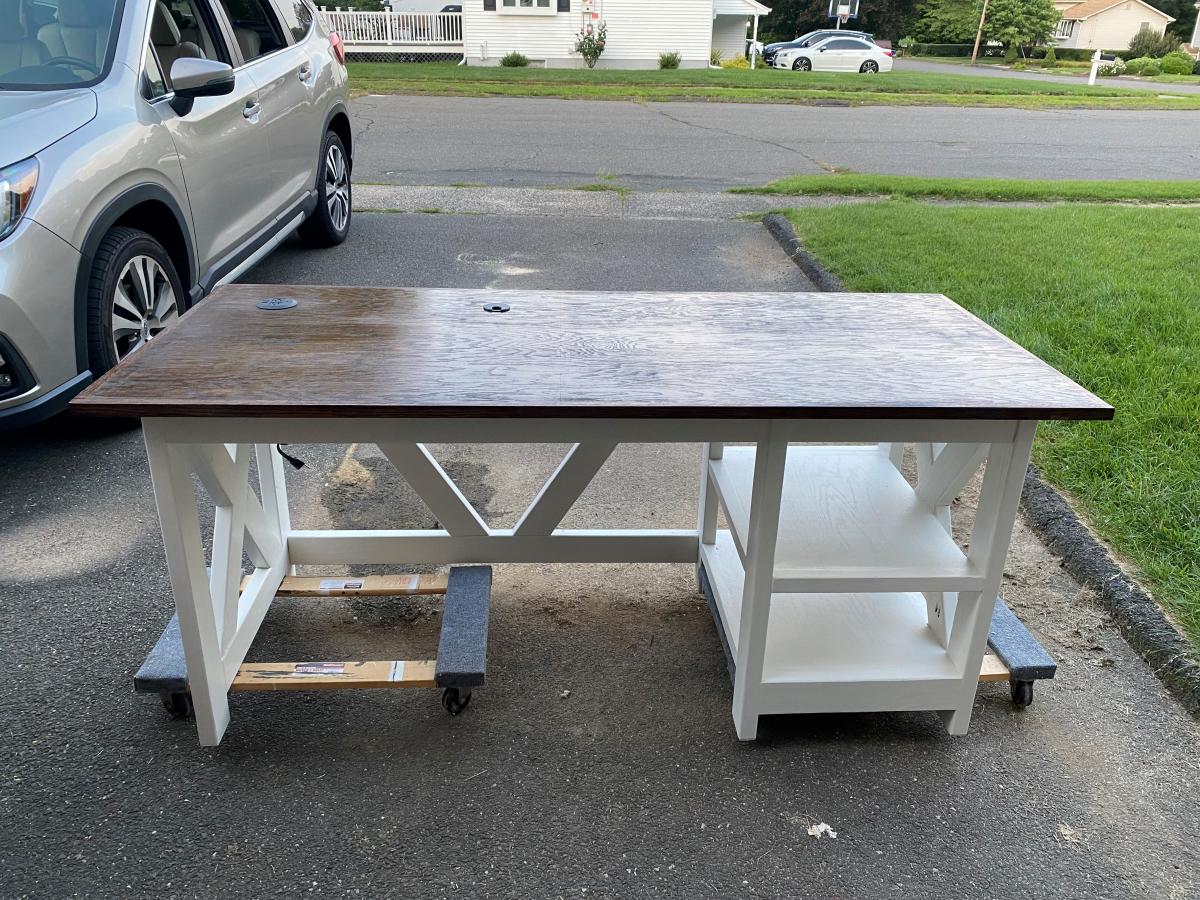
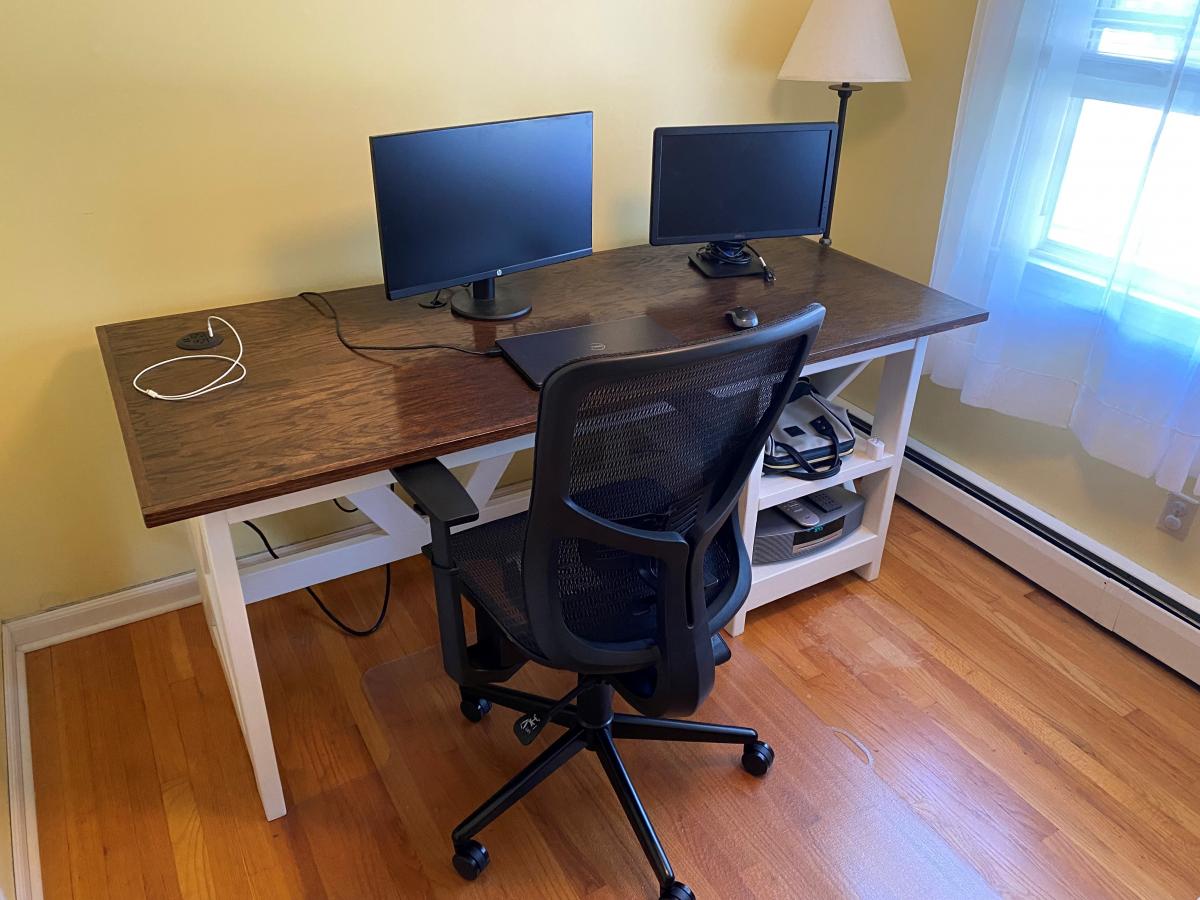
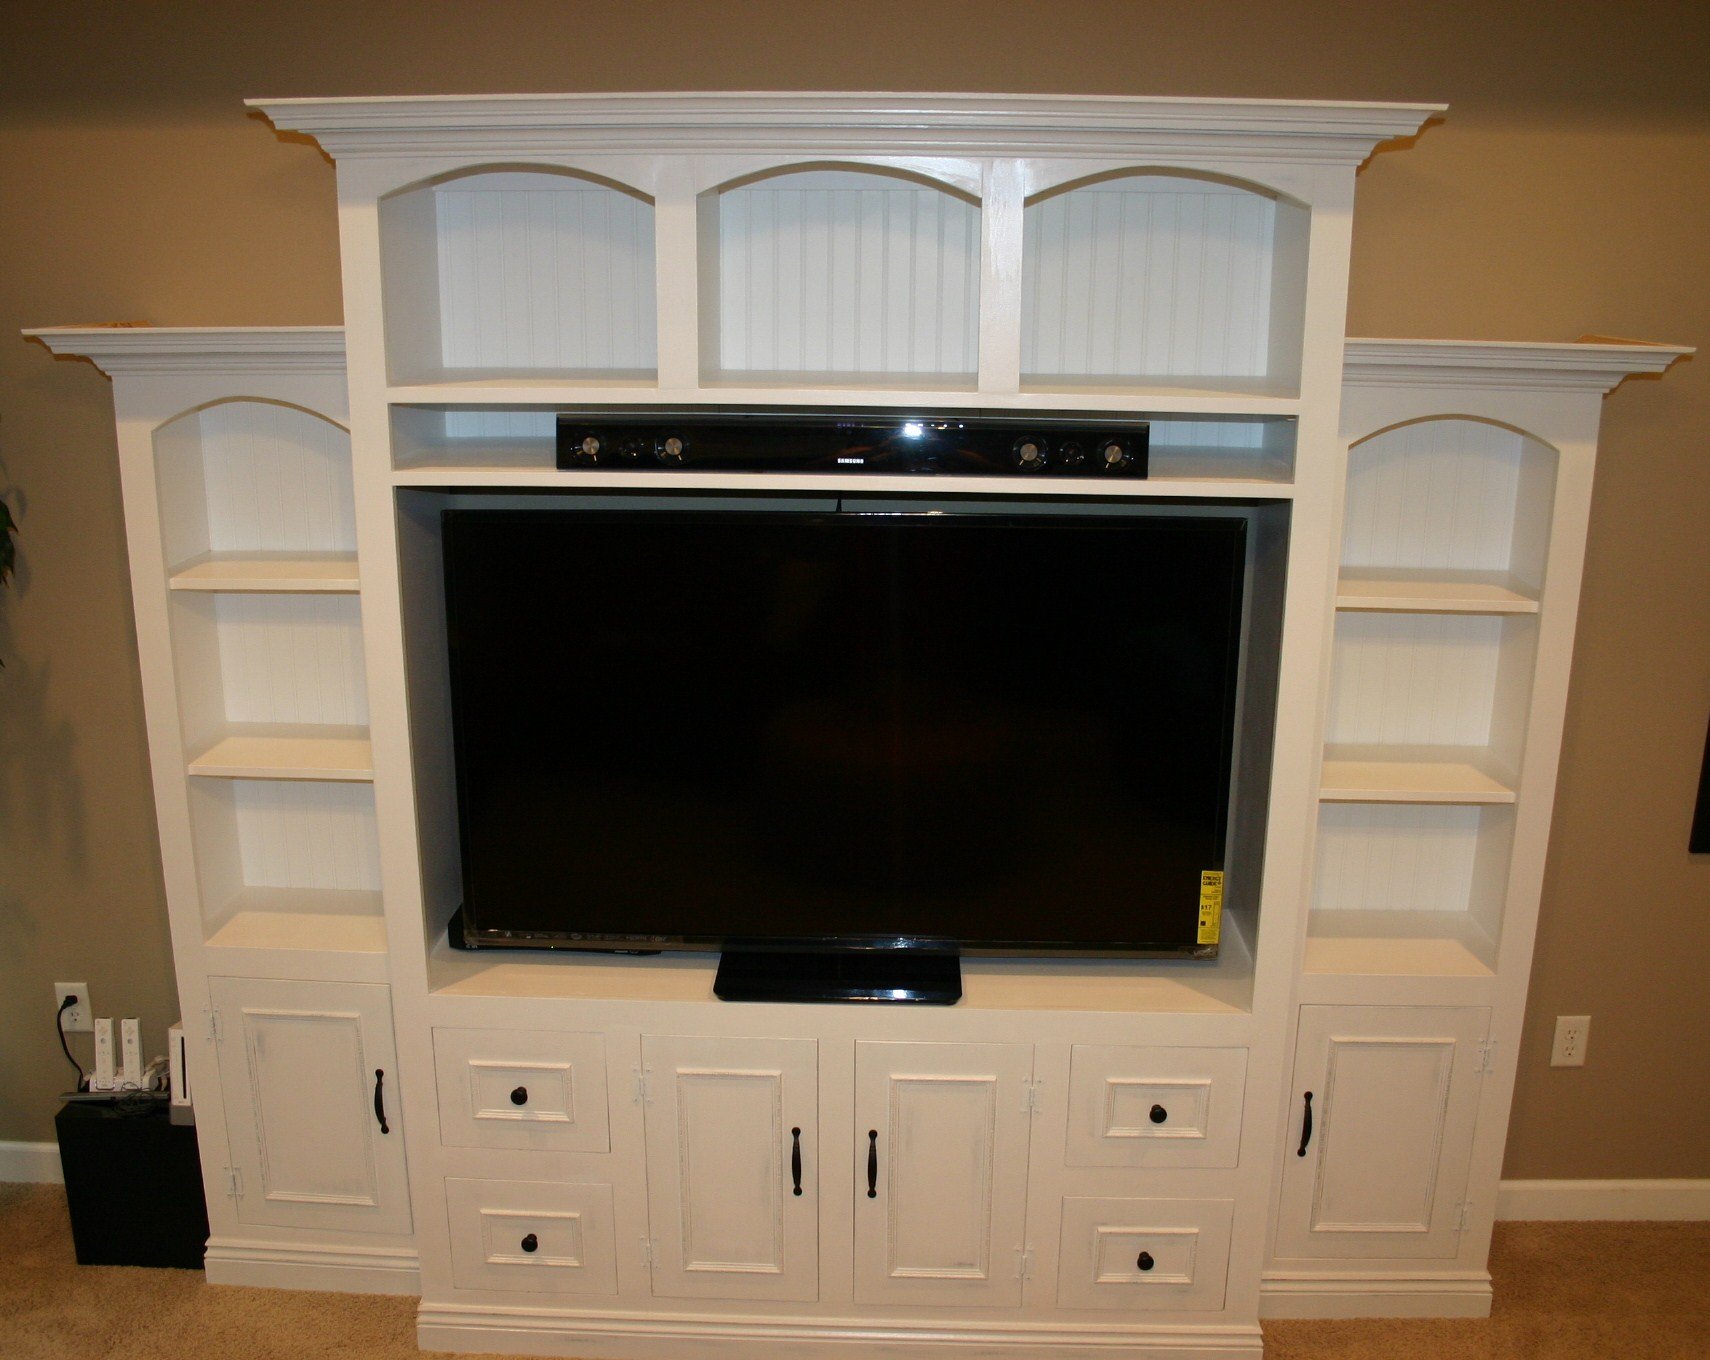
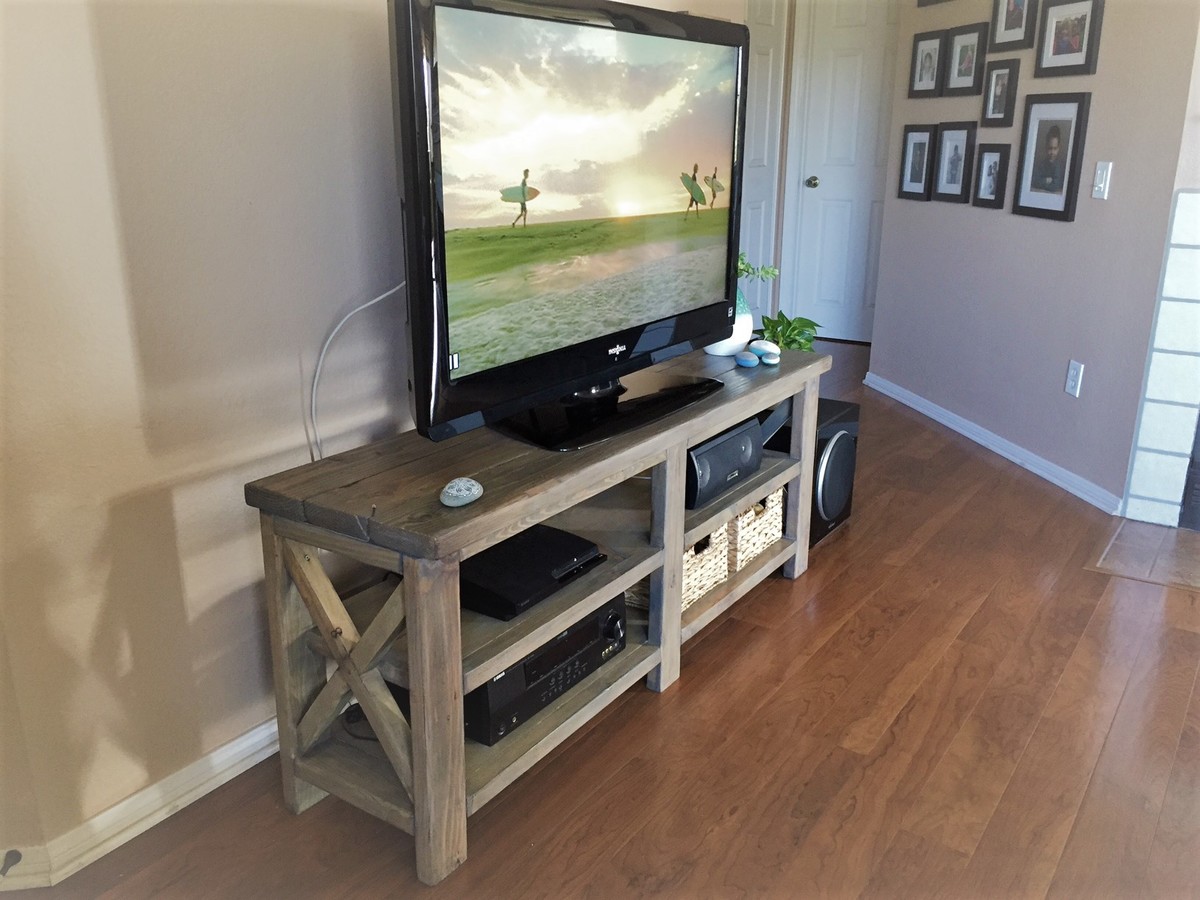
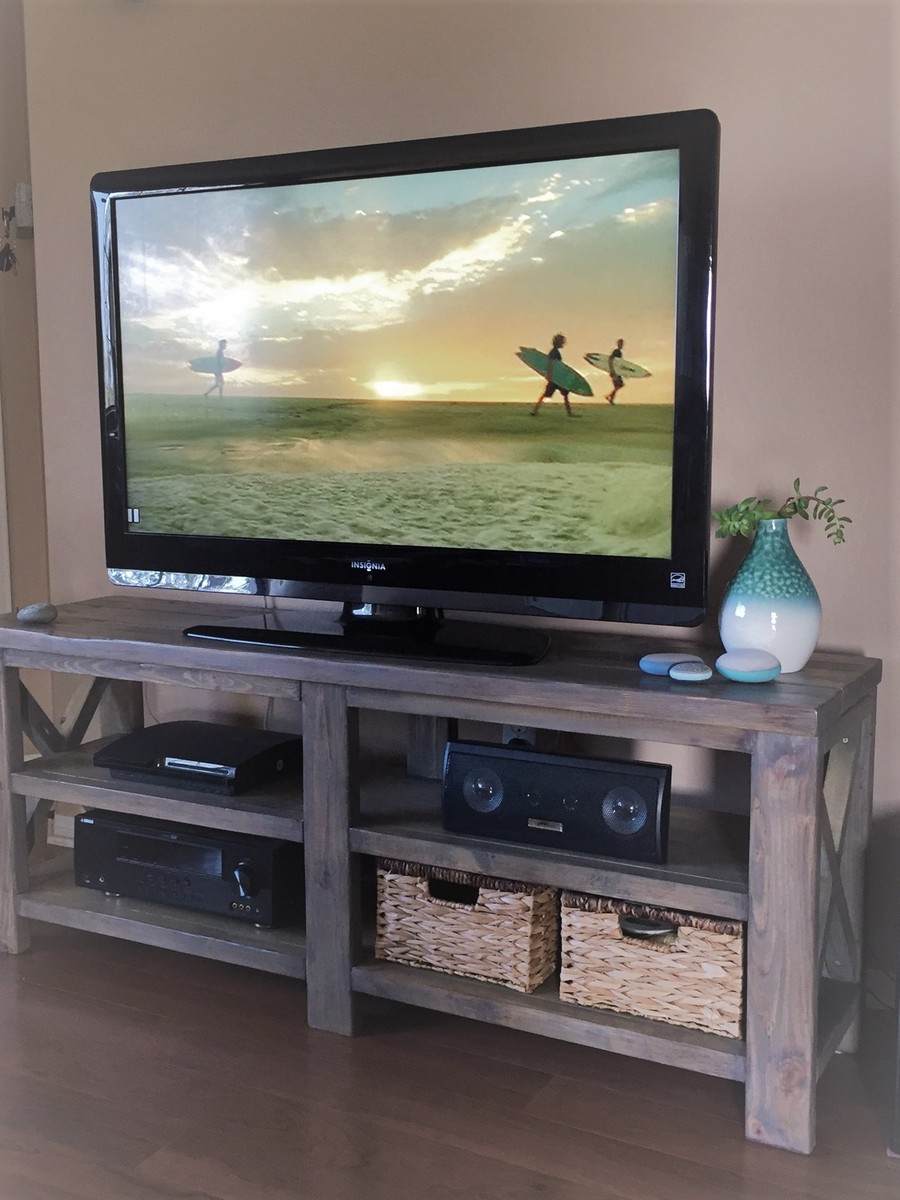
My girlfriend requested I make this stand for our TV which is 46". (It looks like something she wanted from a furniture store that was being sold for around $1,100.) I followed the plan, but customized the size. My table is 60" long and 24" high.
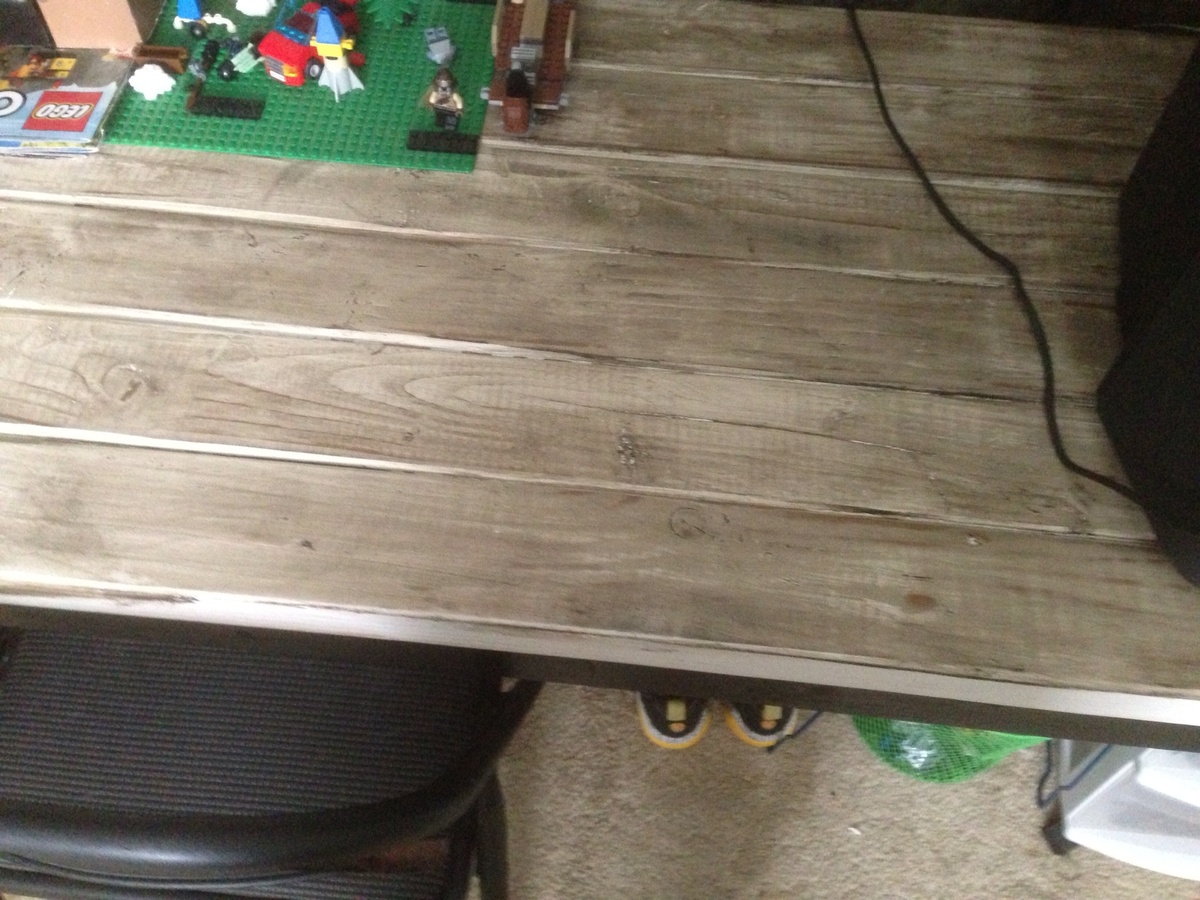
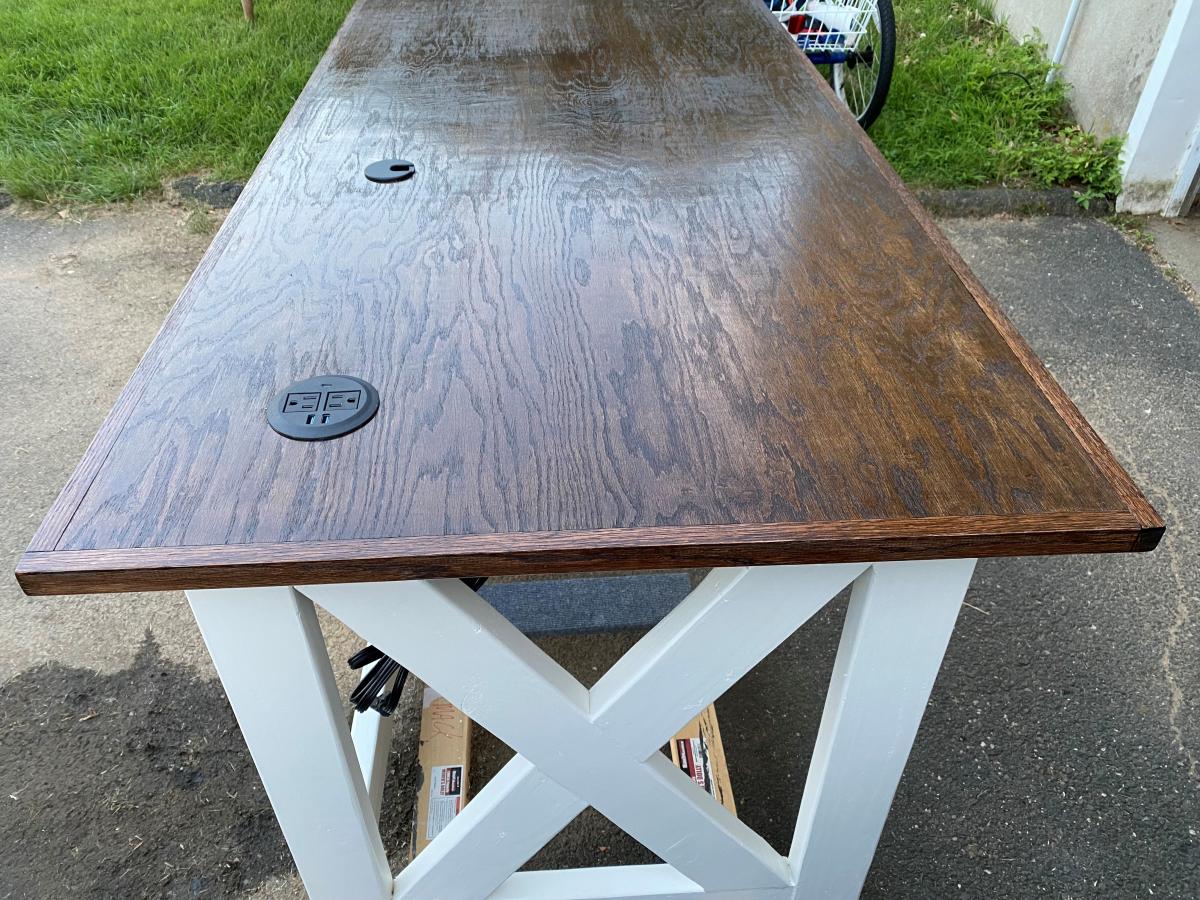
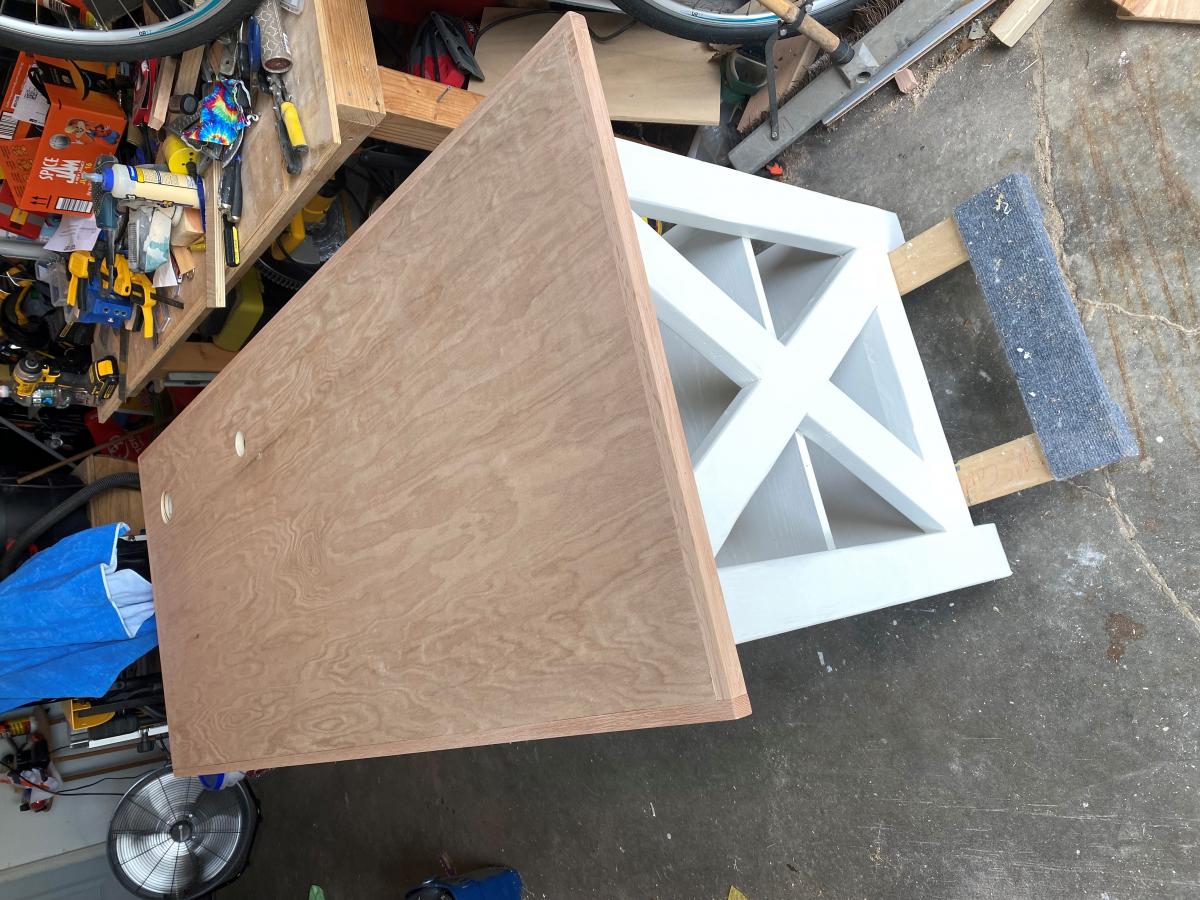
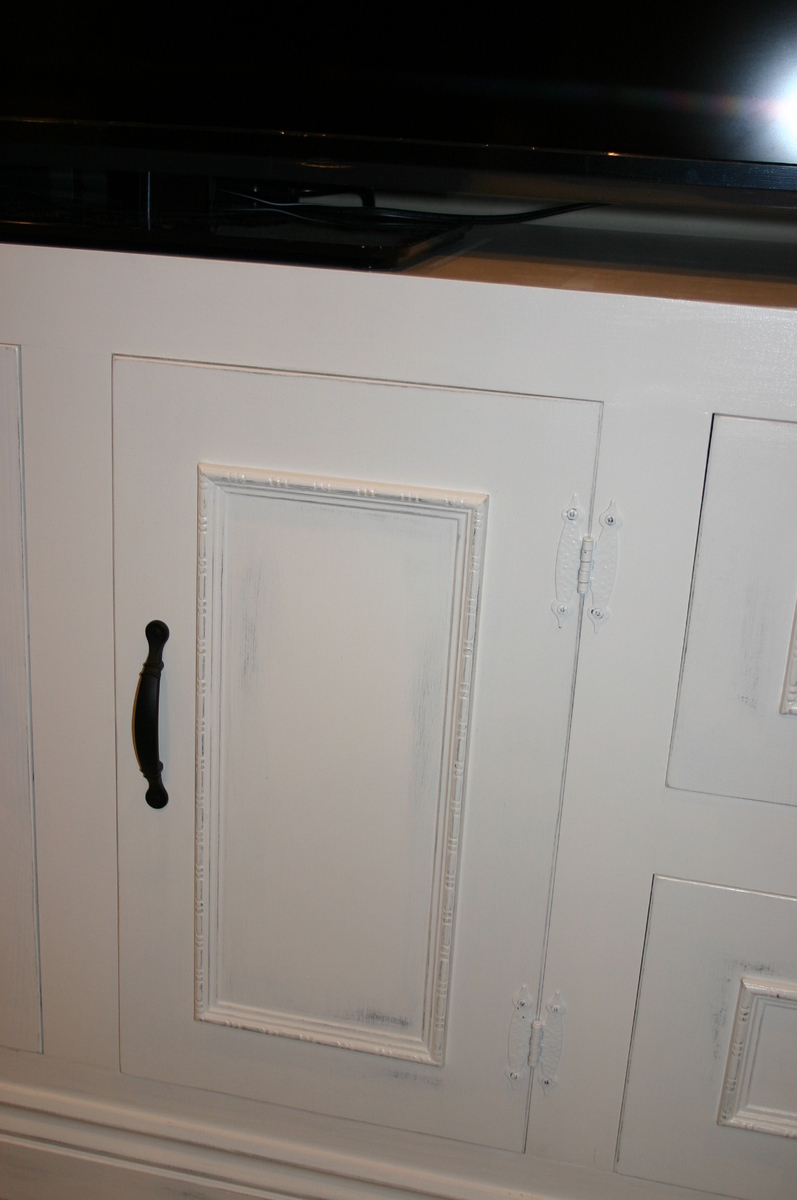
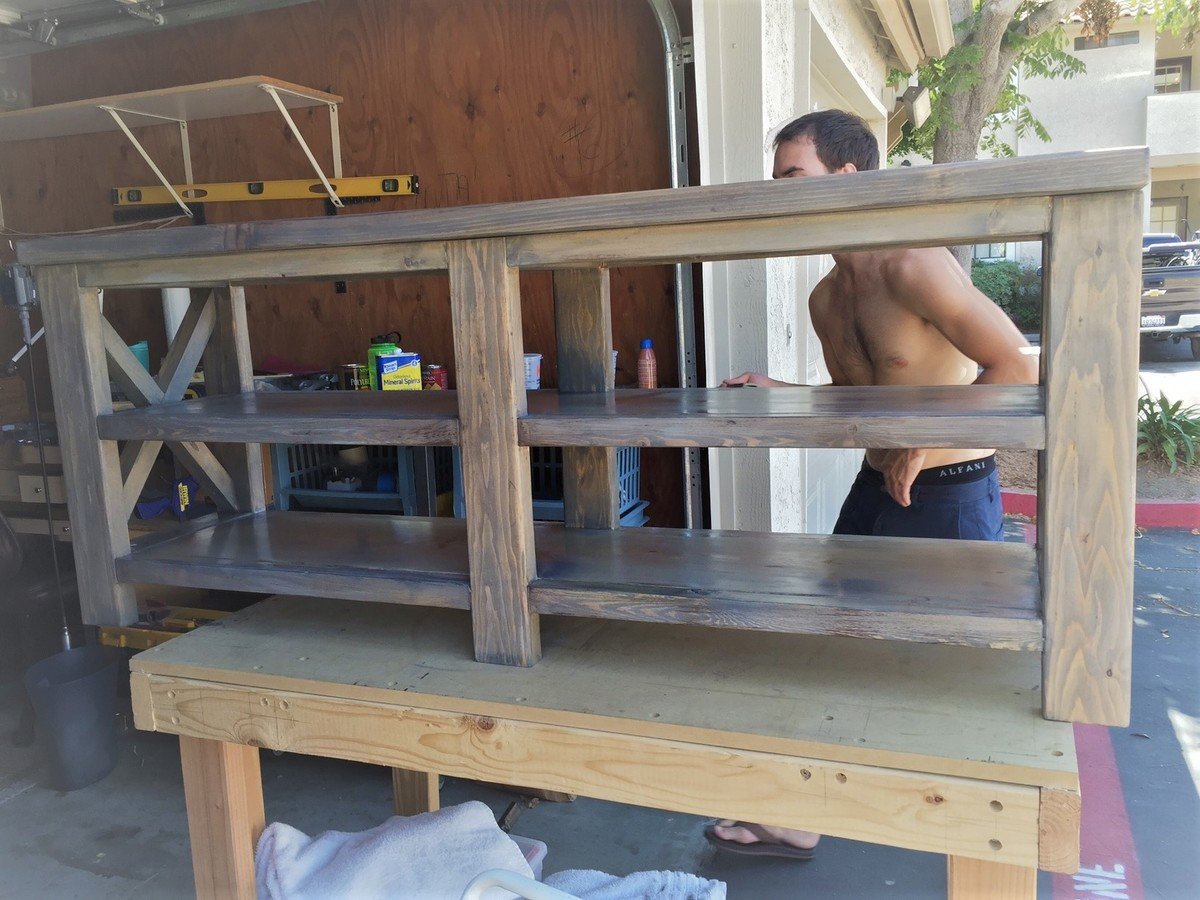
We wanted to make a weatherbeaten "driftwood" look. The Classic Gray was darker and had more opacity with one coat than expected, so we stopped at one coat. Classic Gray is a lot "cooler" in tone before the clear coats, because the clear polyurethane I used has a warm tint to it. (In the future, I also want to try the crystal clear Minwax Polycrylic, which would not warm the tone of the gray.) After the stain, we added some brown dry brushstrokes to make it look rustic or aged.
I lightly sanded between each of the clear coats. Two coats on the under parts and three coats on the top.
I added felt pads that I cut to fit to protect our floors from scratching.
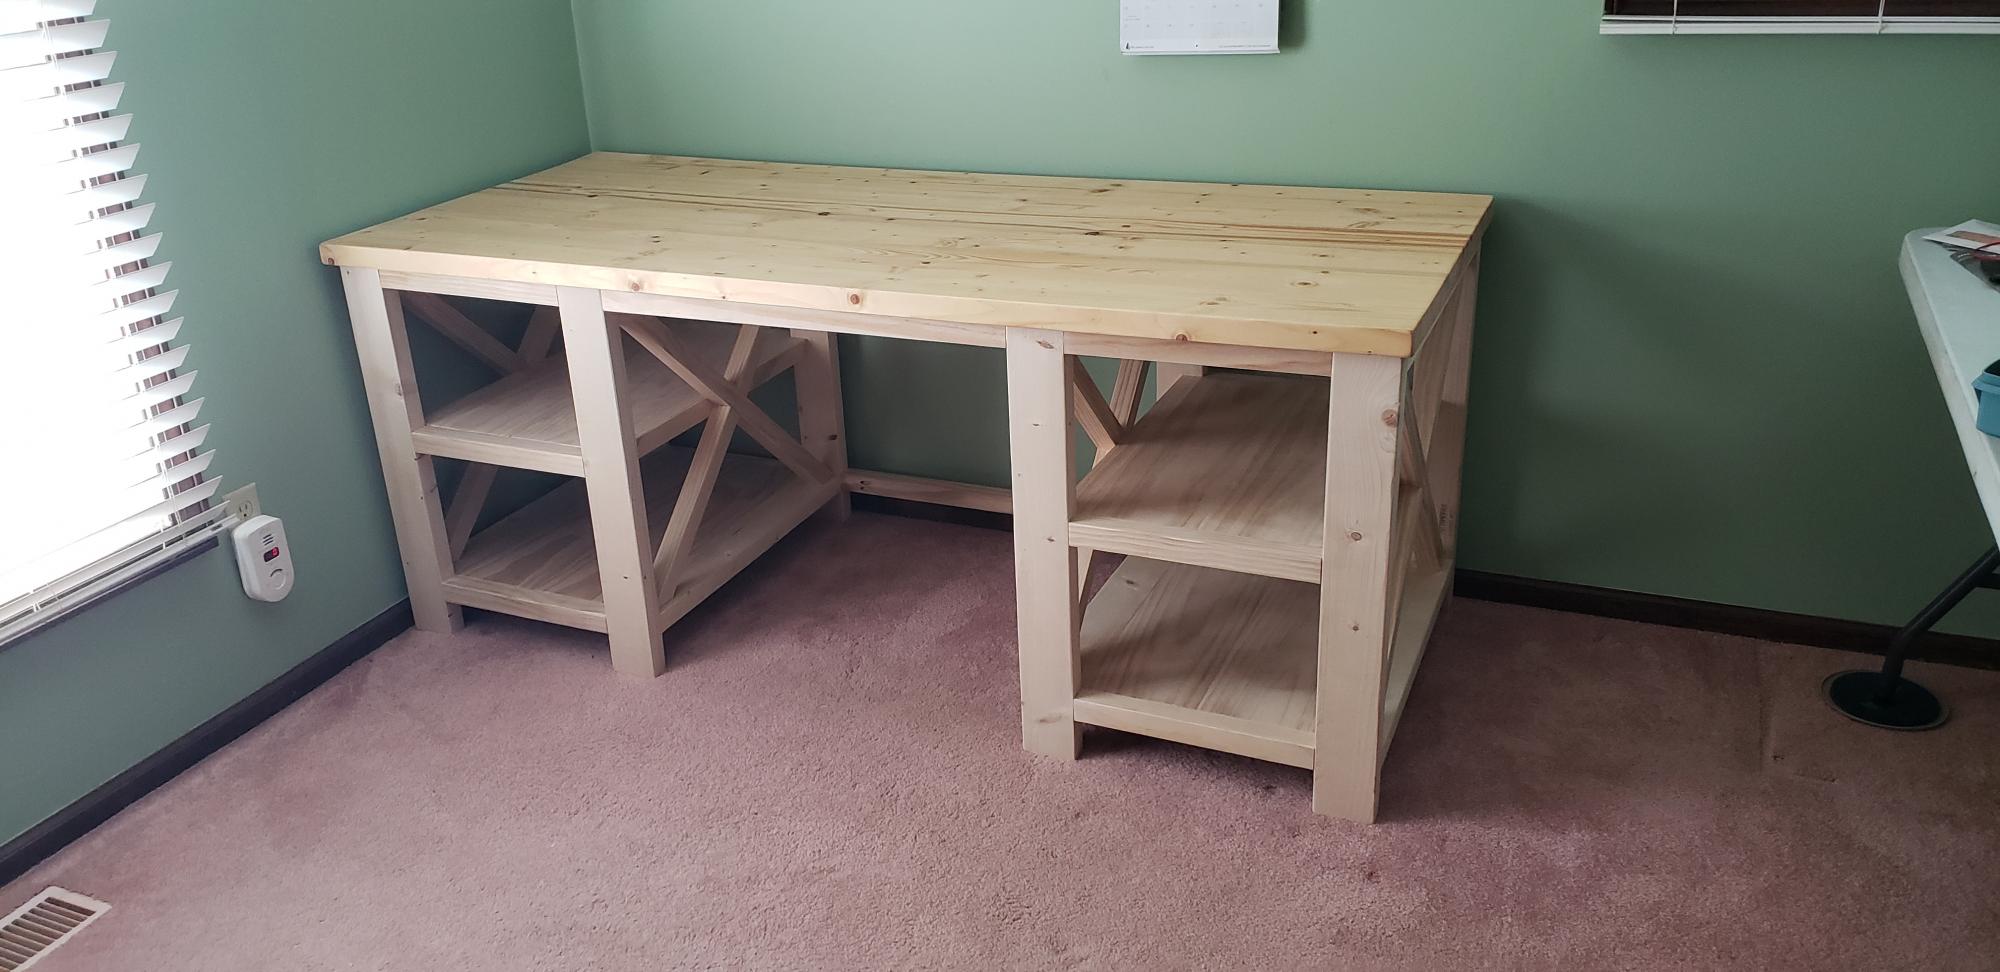
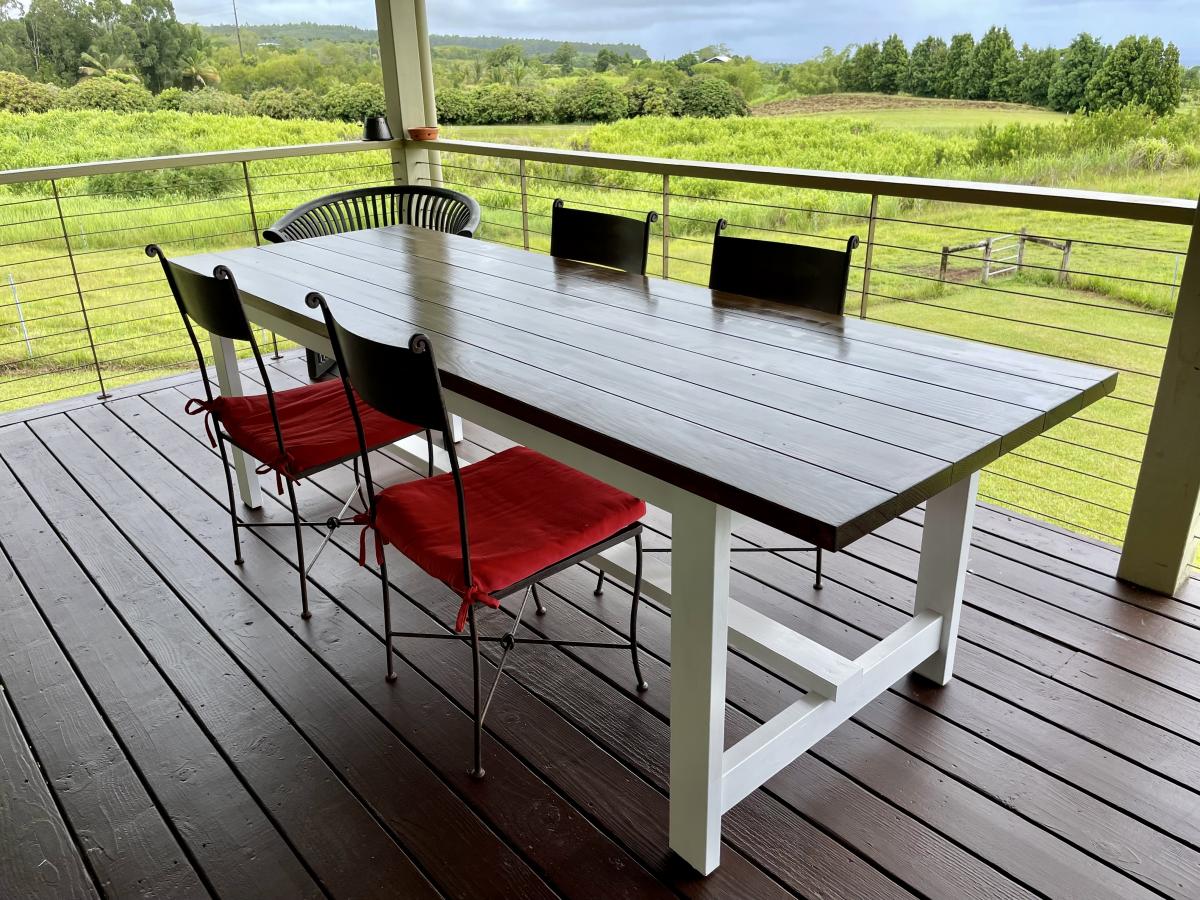
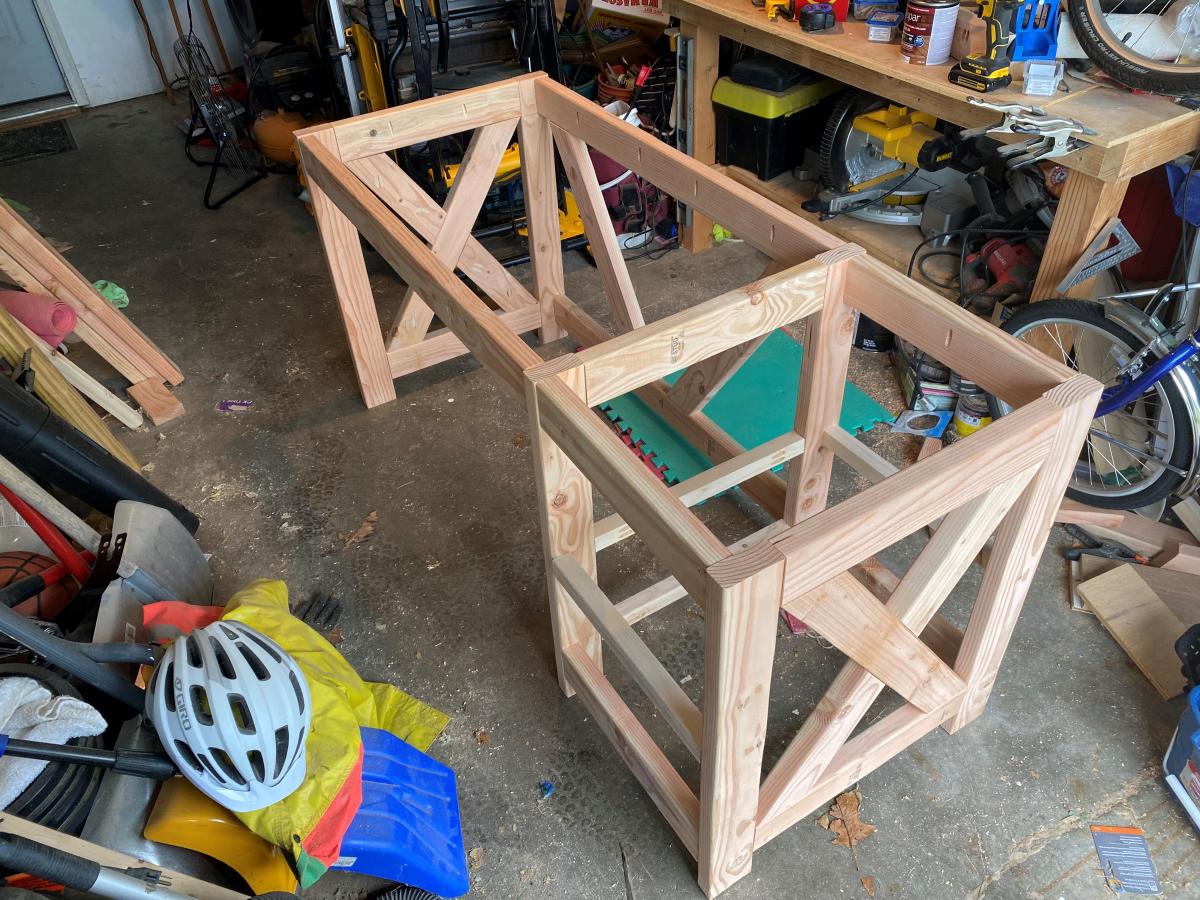
The wood is part pine and part common board.
Girlfriend loves it! It is a huge hit. Lots of compliments from neighbors as I worked, too.