Wall shelf cubby
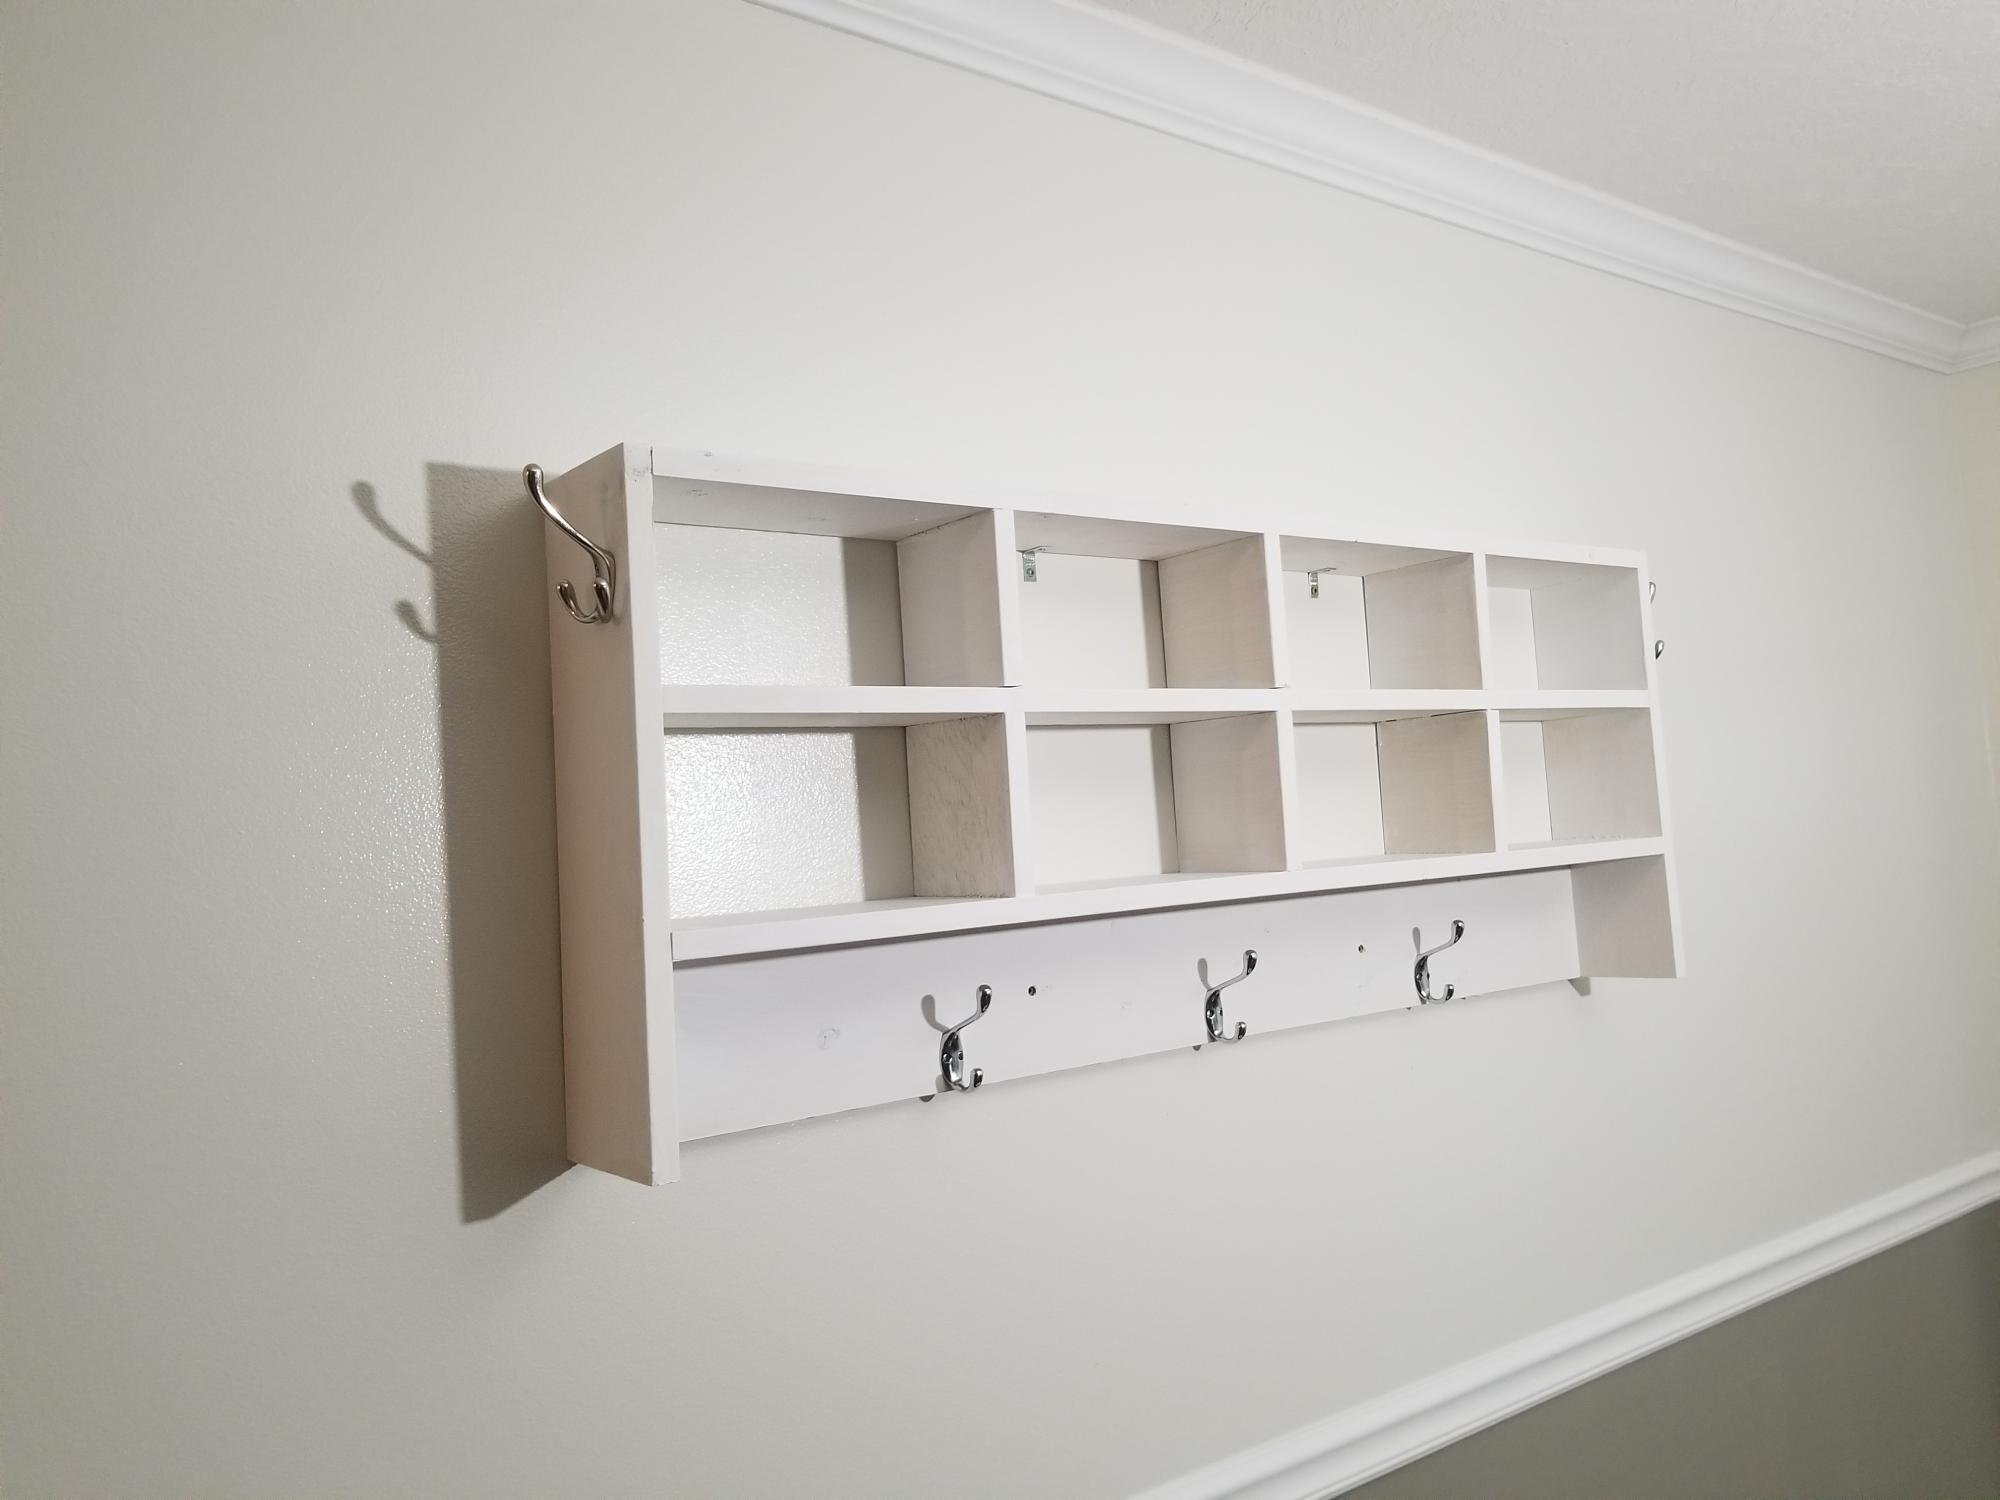
Quick and easy build thanks for the plans it really made this very quick and easy. The kids love this for their school stuff!
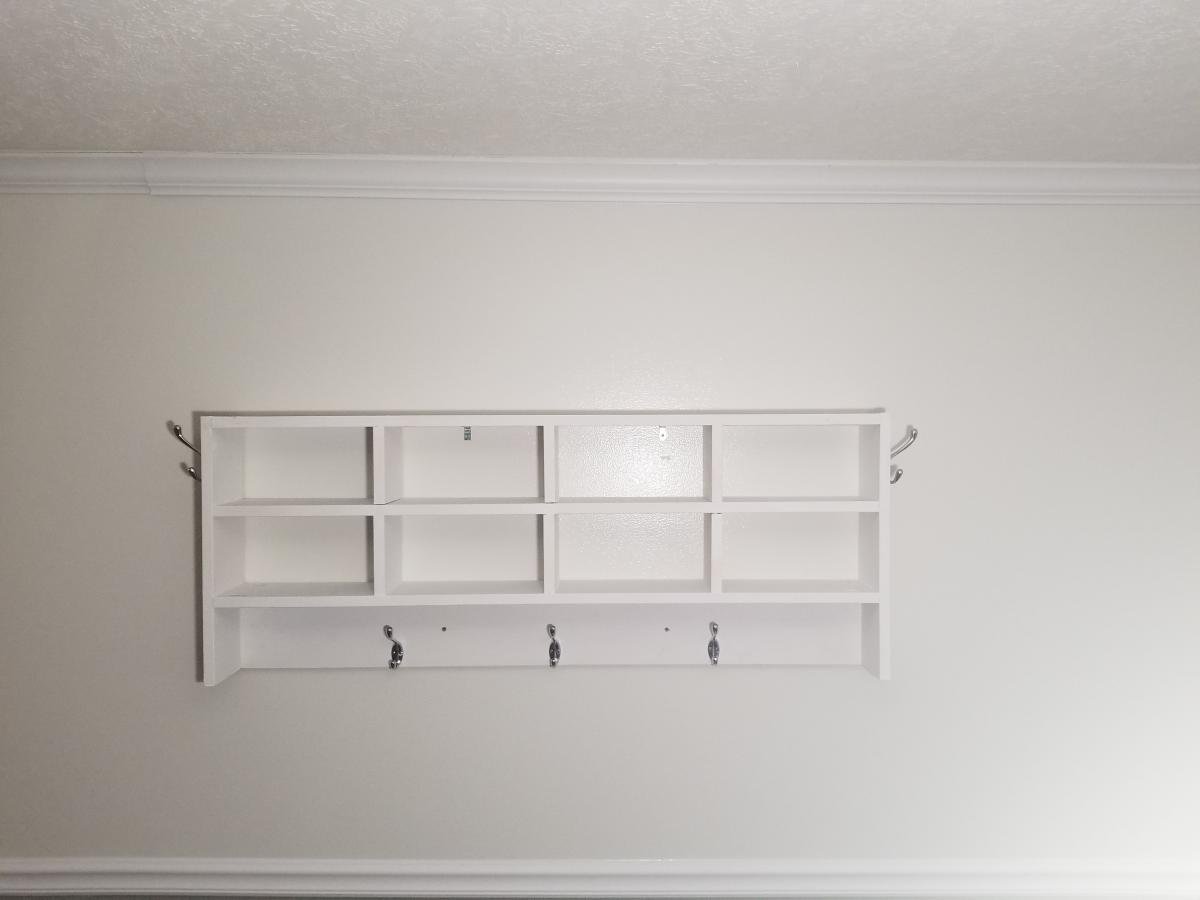

Quick and easy build thanks for the plans it really made this very quick and easy. The kids love this for their school stuff!

I was so inspired by this site, I just had to try something out for my self! Being a beginner it was a little difficult trying to get the notches perfect without the correct tools! A table saw is neccessary but me and the fiance kept at it! After all assembled we banged up the table with some heavy duty chains, Gave it two coats of Minwax Dark Walnut, and finished with 2 coats of Minwax Poly Satin finish. We left out center support so we could get it in the house and installed once it was in, this is one heavy sturdy piece of furniture!
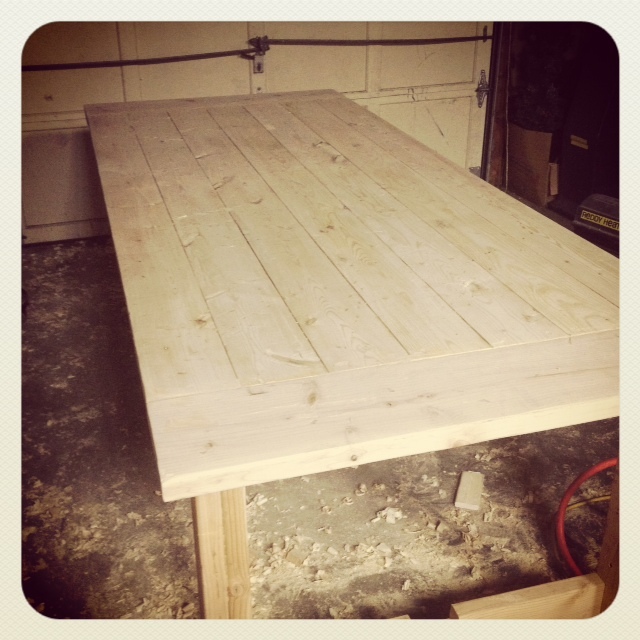
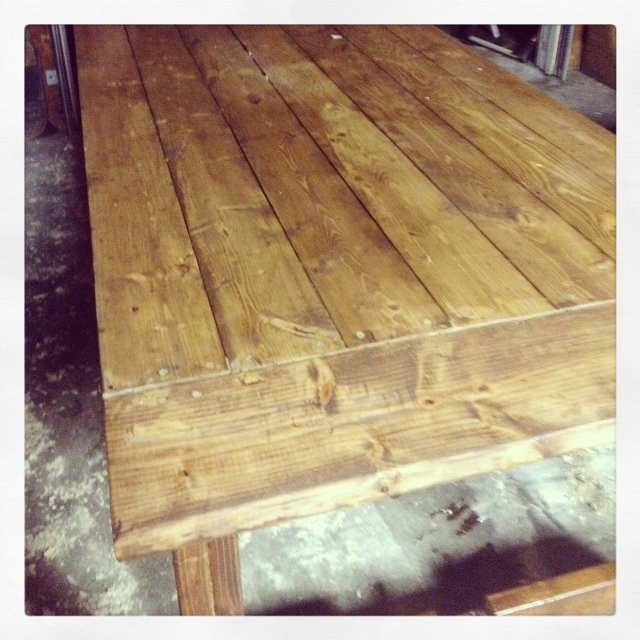
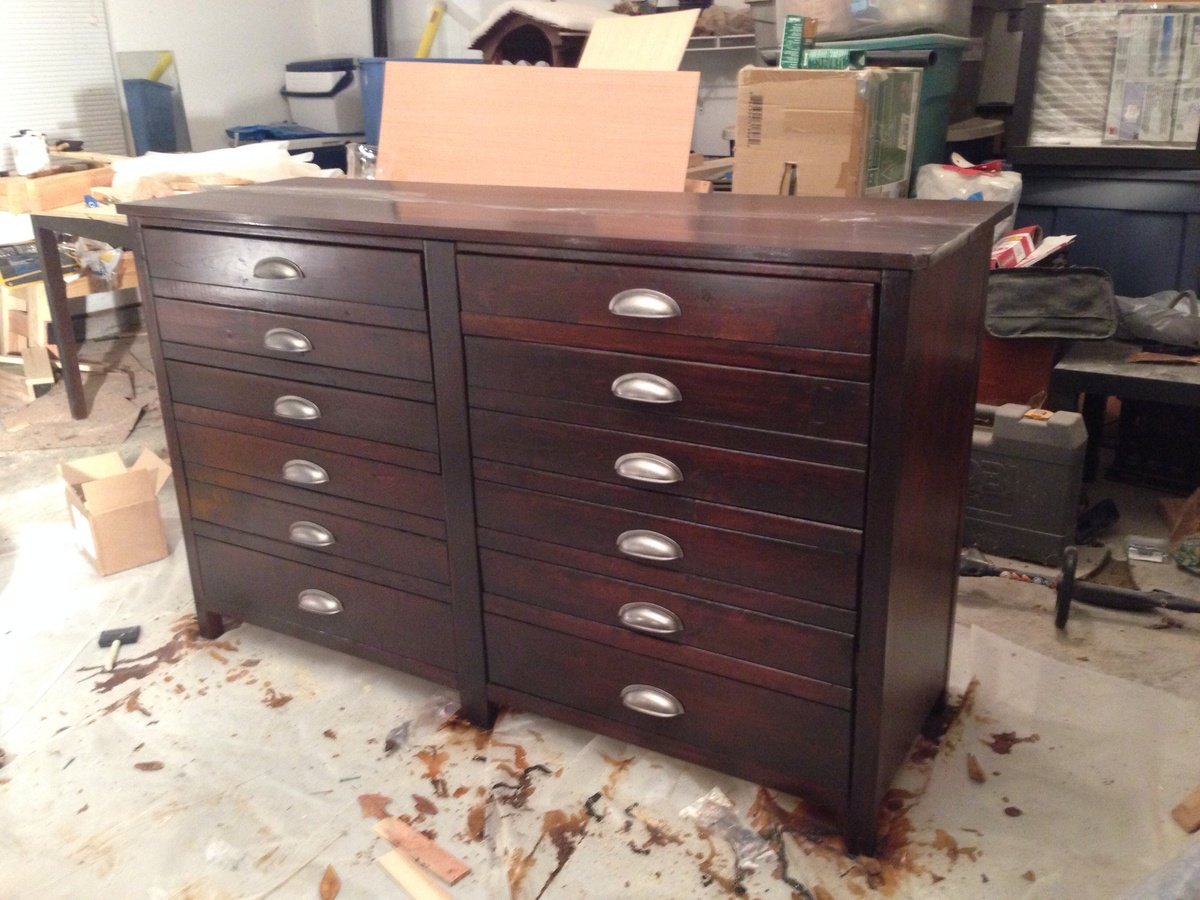
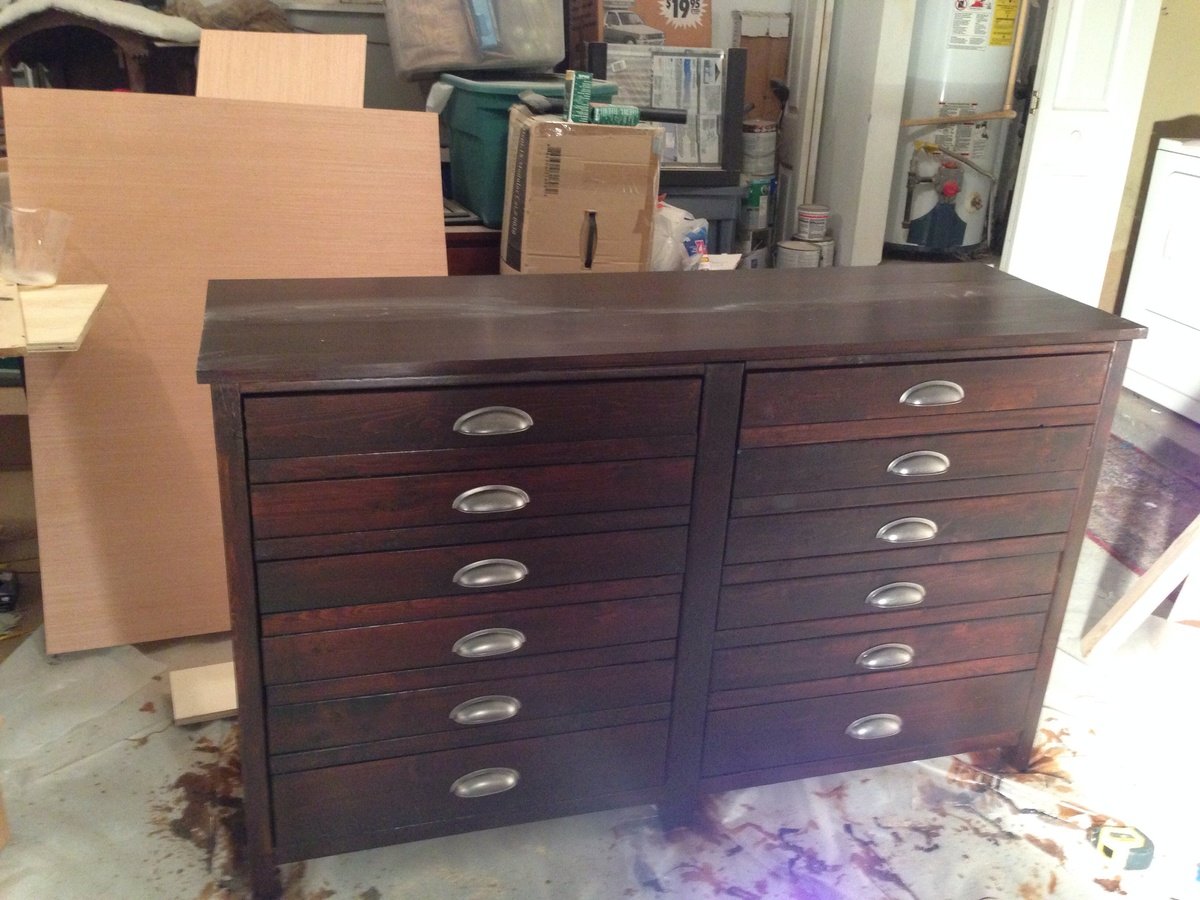
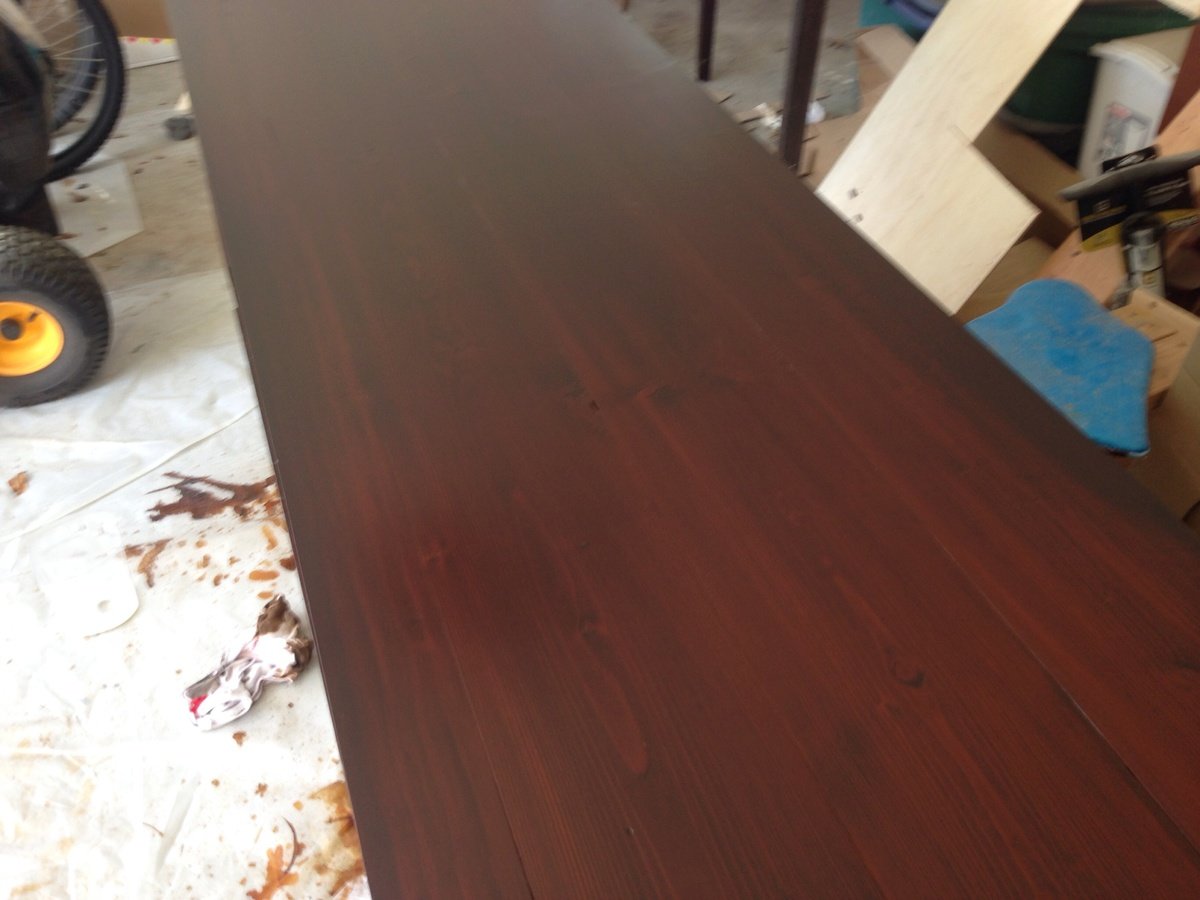
Printers console
Fri, 11/21/2014 - 09:23
Only for $85 that is awesome! This is great work!
My husband and I built this for a wedding gift. We love the plans, so easy to follow and alter measurements. This one is white washed with monogram design.

Thanks Ana for all you do here on your site and help bring out the inner woodworker in all of us. This is now my third project (first brag post) that I have done off your site. I took one of your Farmhouse X designs and modified it slightly to create this Entryway Bench for my daughter as a Christmas present and potential future keepsake for the grandkids. The bench measurement are 6'L x 18"H x 16"D.
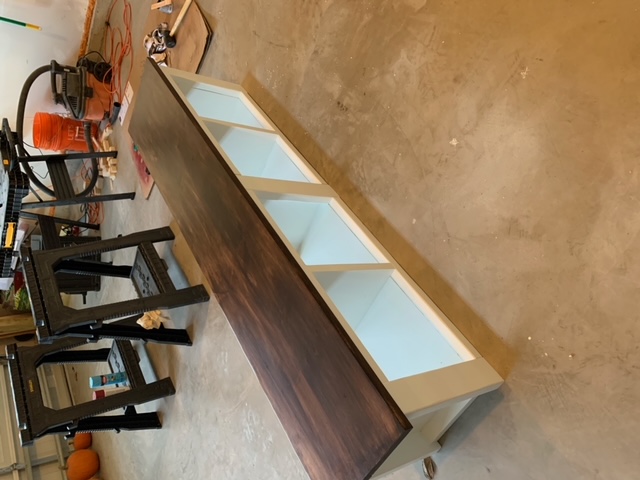

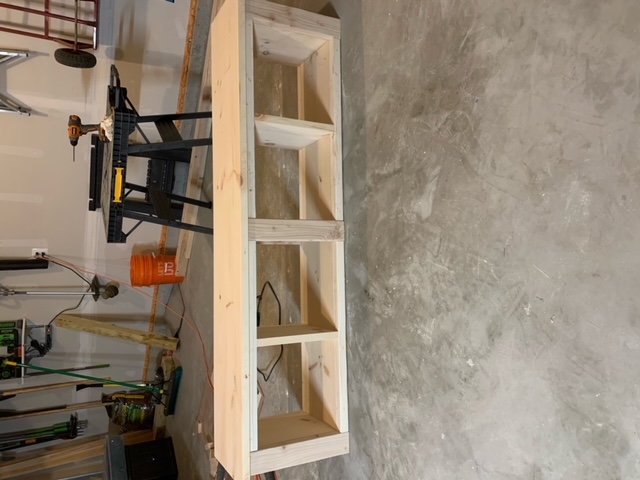
Fri, 12/11/2020 - 09:46
It looks fantastic, and will be enjoyed by all! Thanks for sharing:)
Wed, 12/16/2020 - 08:29
Thank you. I am looking forward to my next project.
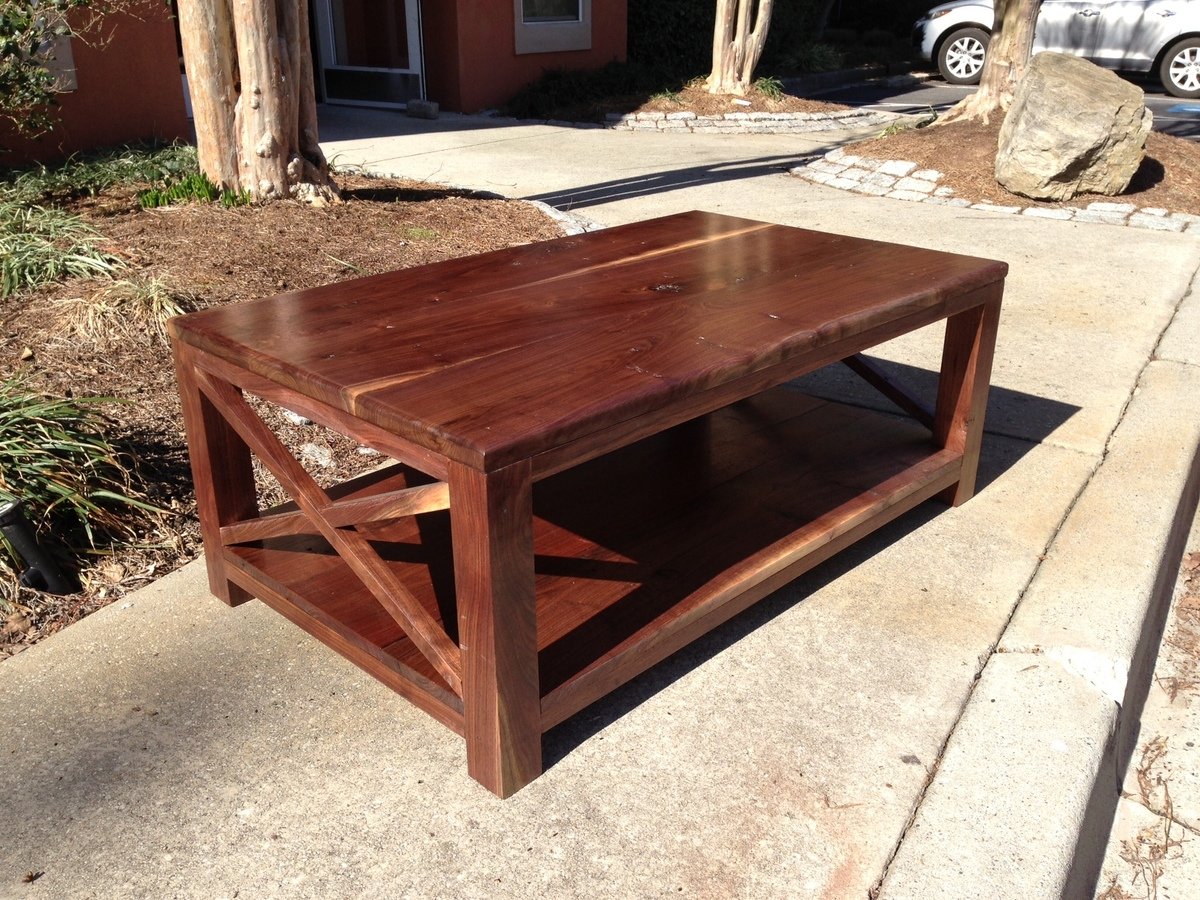
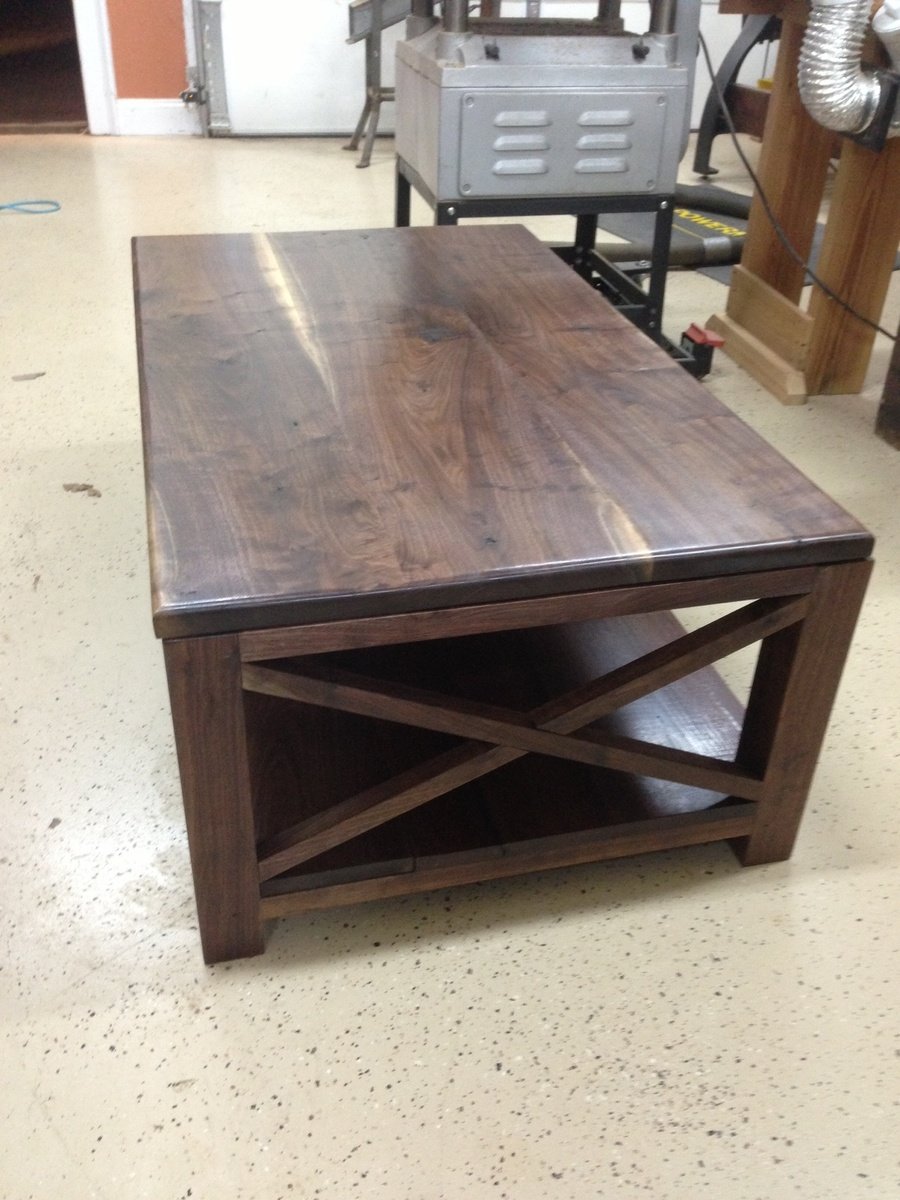
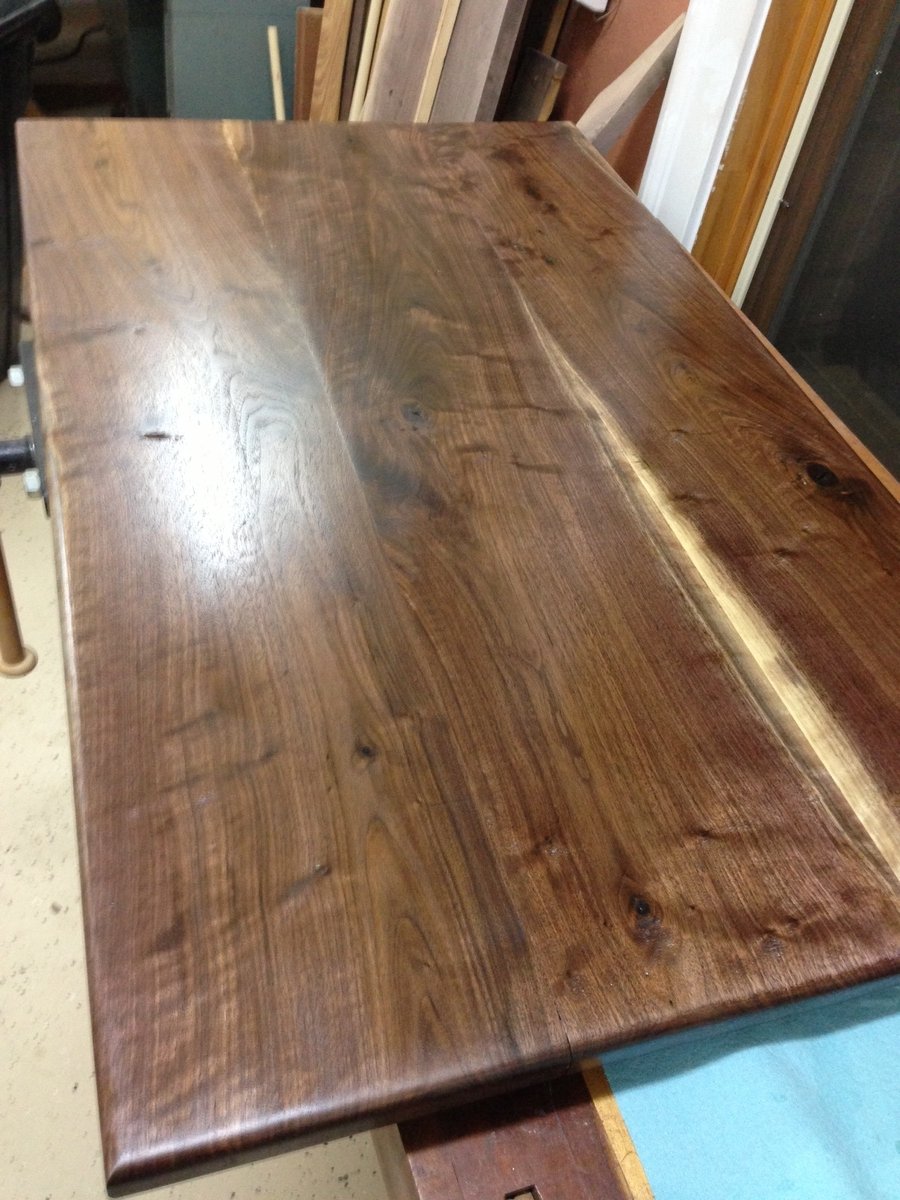
My daughter and I chose this design for a table for her new apartment. I happened to have some walnut lumber available, so we decided to use that, and it turned out a little less rustic than some of the tables, but it is exactly what she wanted. It was a great project to do with her and we both had a good time, plus she has a piece of furniture she is proud of.
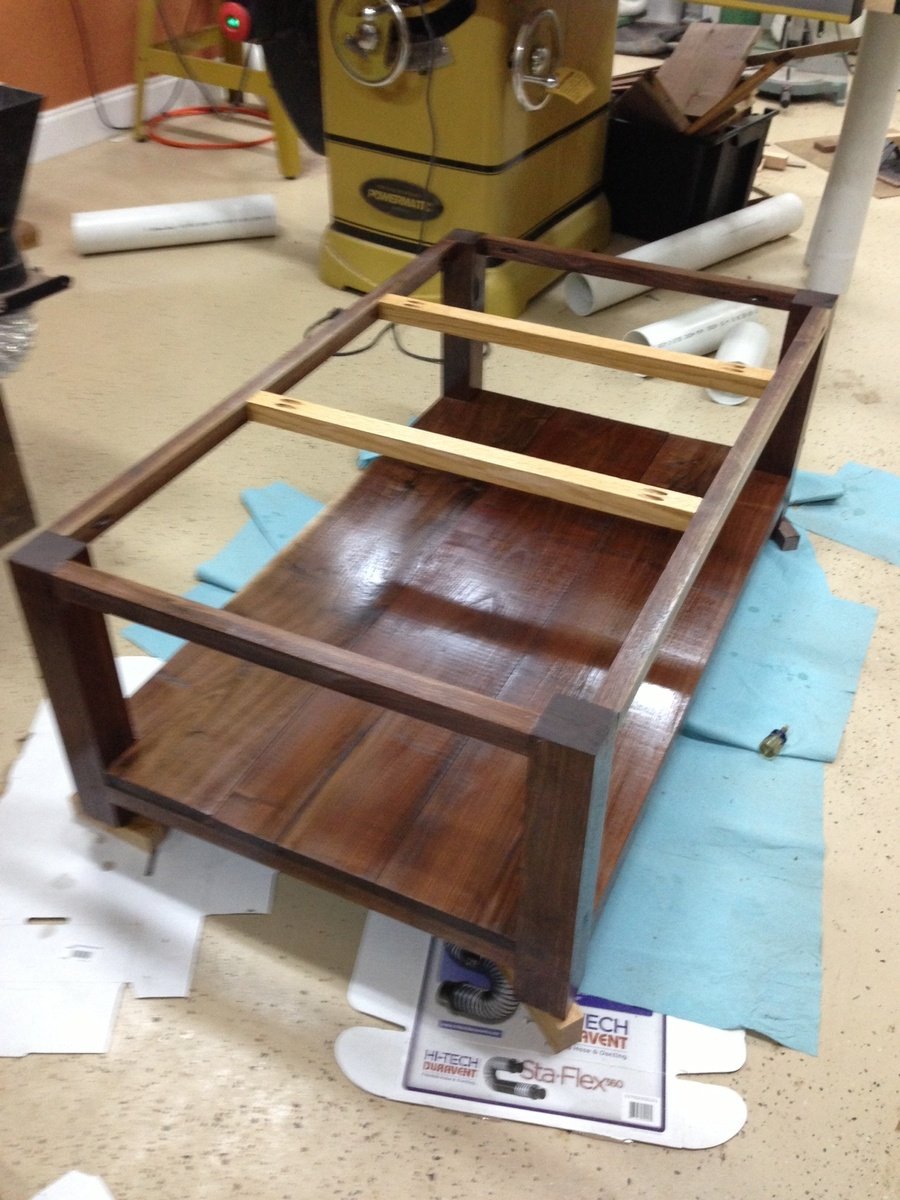
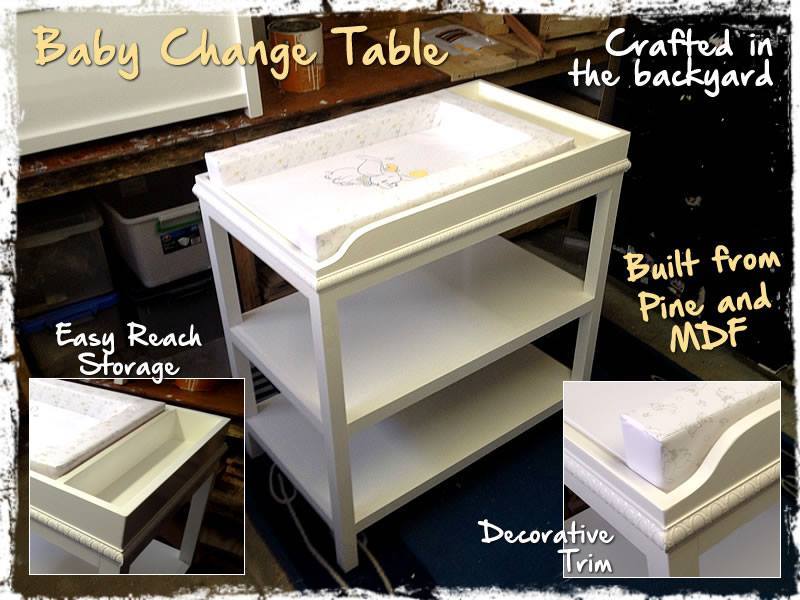
I used MDF and Pine for the build. It's a simple 3 tiered design with a small easy access storage section on top. One end of the top tier has been shaped so that the baby doesn't hurt it's feet when kicking around. The change table also has a decorative trim to jazz it up a bit.
This was first major woodworking project. I used mostly select pine, a little knotty pine and some spruce studs from a local hardware. For the headboard panels I used tongue and groove pine boards. I used Benjamin Moore primer and paint for finish.
Tip 1: make sure to measure your hallway and doors before trying to bring this from the shop or garage into the house. If building in the bedroom, make sure to plan for the day you want to move it. I ended up taking mine apart to get it through the bedroom door and ruined the finish on all my legs.
Tip 2: I added blocks behind the legs because I didn't feel like the legs would be sufficient support. I also created by own rear legs similar to the front for more support.
Tip 3: the instructions on how to mount the headboard to the bed aren't really clear / don't work. I had to add some extra 2x4 material to the rear legs (on the inside) in order to have something for the bolts to go through. Once your headboard and bed are built, you'll have to be creative and come up with something.
Tip 4: I added support legs under the cross supports to hold the weight of the mattresses better.
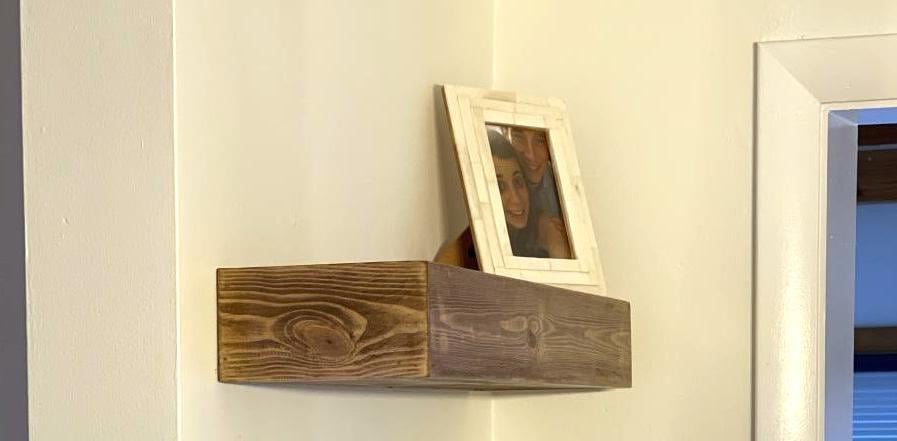
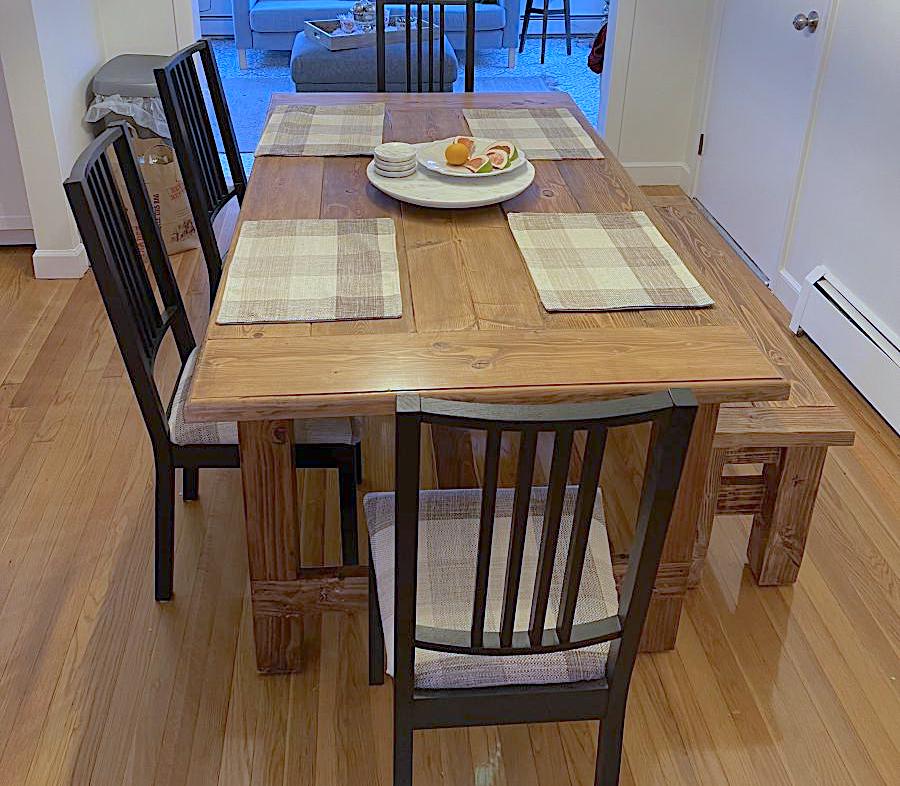
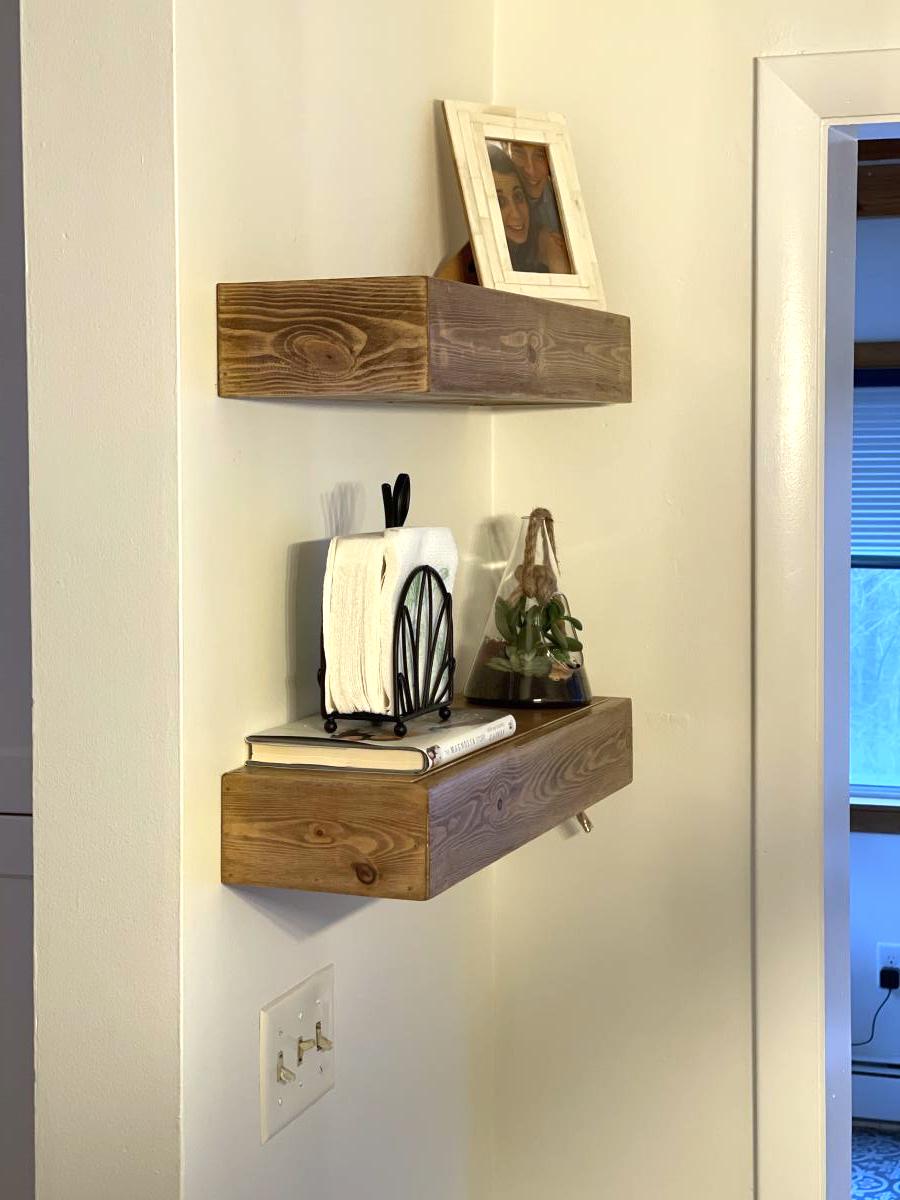
My daughter wanted to create the Farmhouse look for her New England home. Had so much fun building the Table, Bench and Floating shelves. The Plans were perfect, and of course customizable (she wanted it a little shorter). My next project is a real workbench for my garage. I think the only issue is the New Jersey winters.
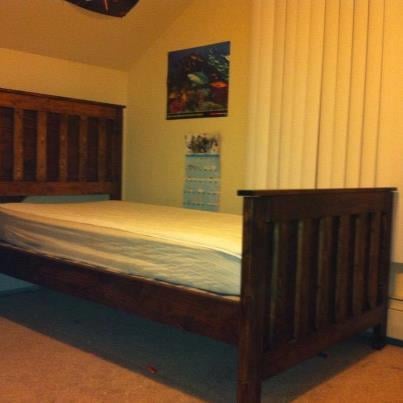
My wife and I began the Kentwood bed last weekend as a project for 1) our oldest boy needed a new bed 2) a family project and 3) a project that would count for my oldest Weblos project to earn a building badge. After reading up on it about a month ago and finally finding the last Kreg jig in town (fairbanks, ak) we purchased the wood and began the building. This plan calls it a weekend project which it would have been if I had not been in school and other family engagements to get too during the weekend. So the weekend project turned into a two weekend endevor. After much hard labor and buying two cans of stain ( as the first can took a dive onto the garage floor and stained more floor than my project) the finally result is pictured. My wife and I love the look and sturdiness of this bed. After completion and final assembly my only addition or change to this plan would be to suggest using hardware attaching the side rails to the head and foot board, so there is less wear and tear on your project. Thanks for the plans!
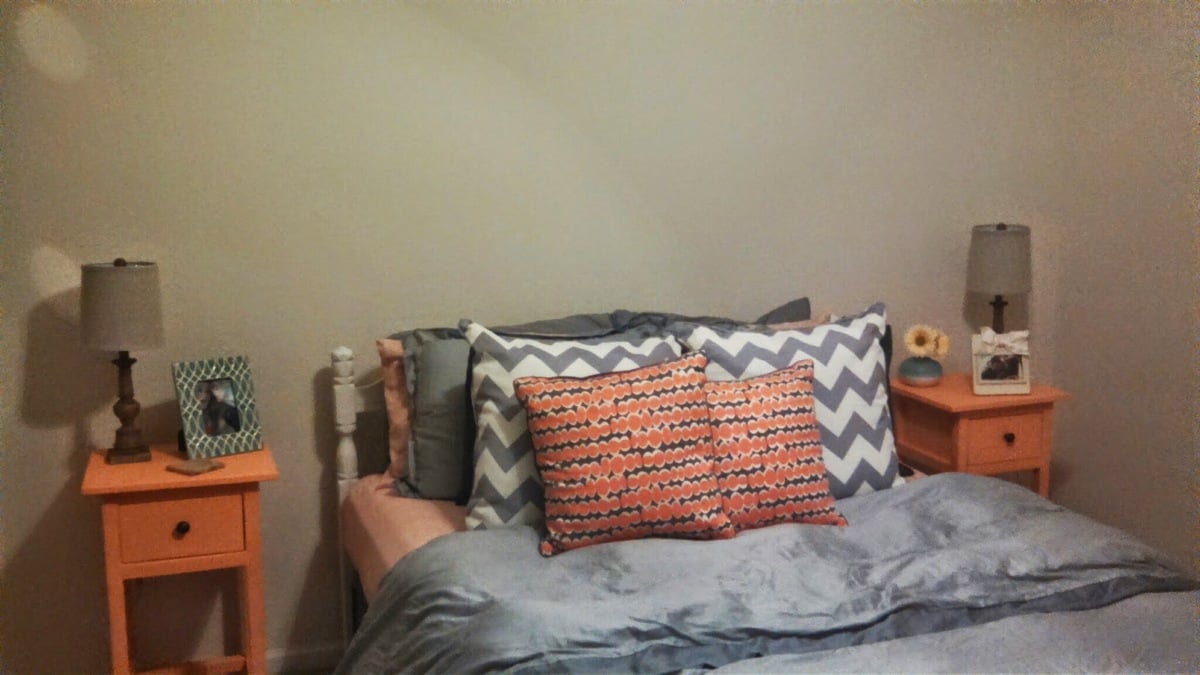
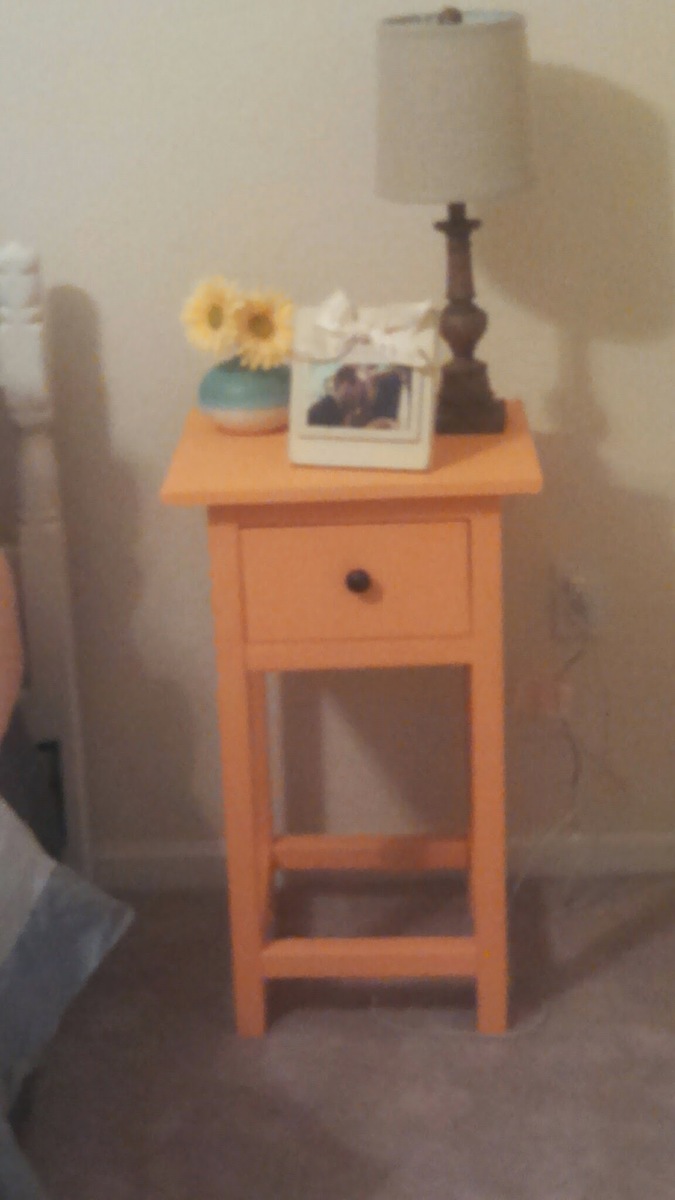
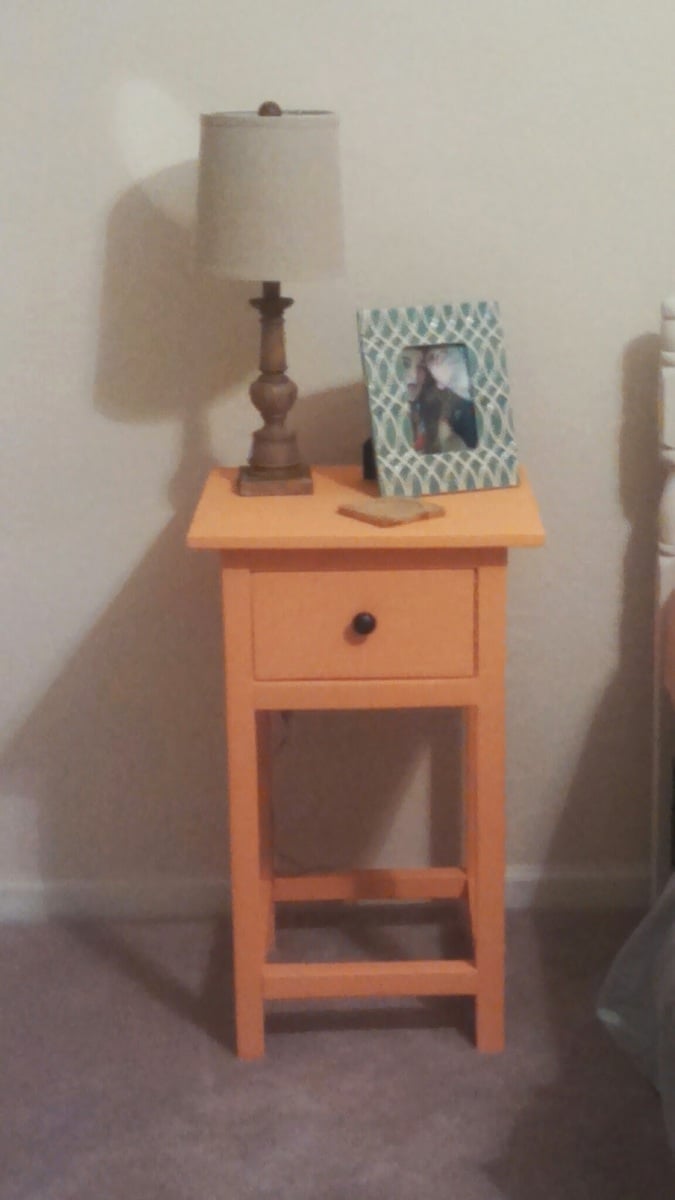
This project made from http://ana-white.com/2013/05/plans/mini-farmhouse-bedside-table-plans was a birthday gift for our daughter who was moving into her own apartment and preparing for an approaching marriage. This is exactly what she requested. While I did use Ana’s posted plans you may see some slight modifications.

Slimmed down version of the original plan. 60" x 11" x 35". Super happy with how it turned out!

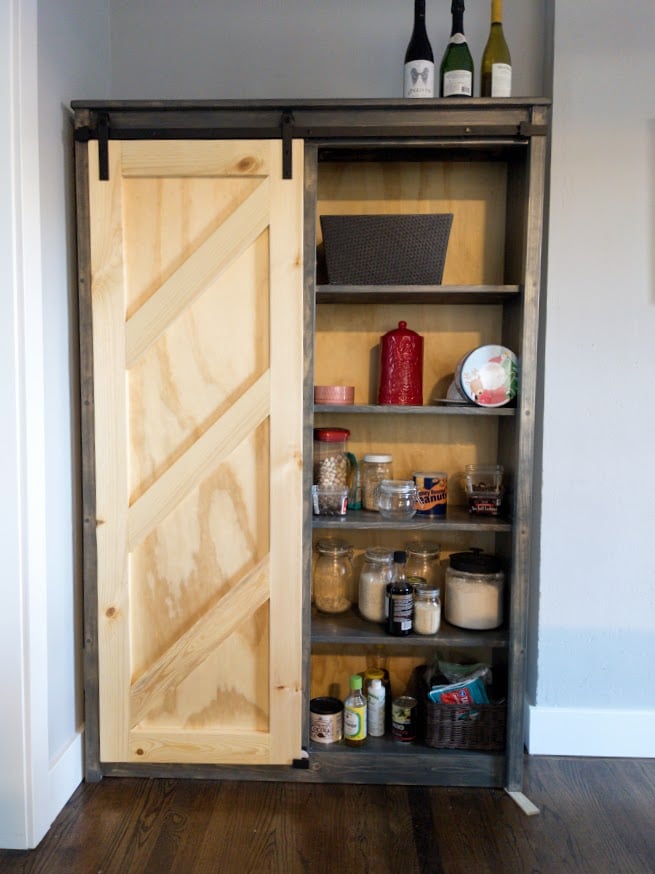
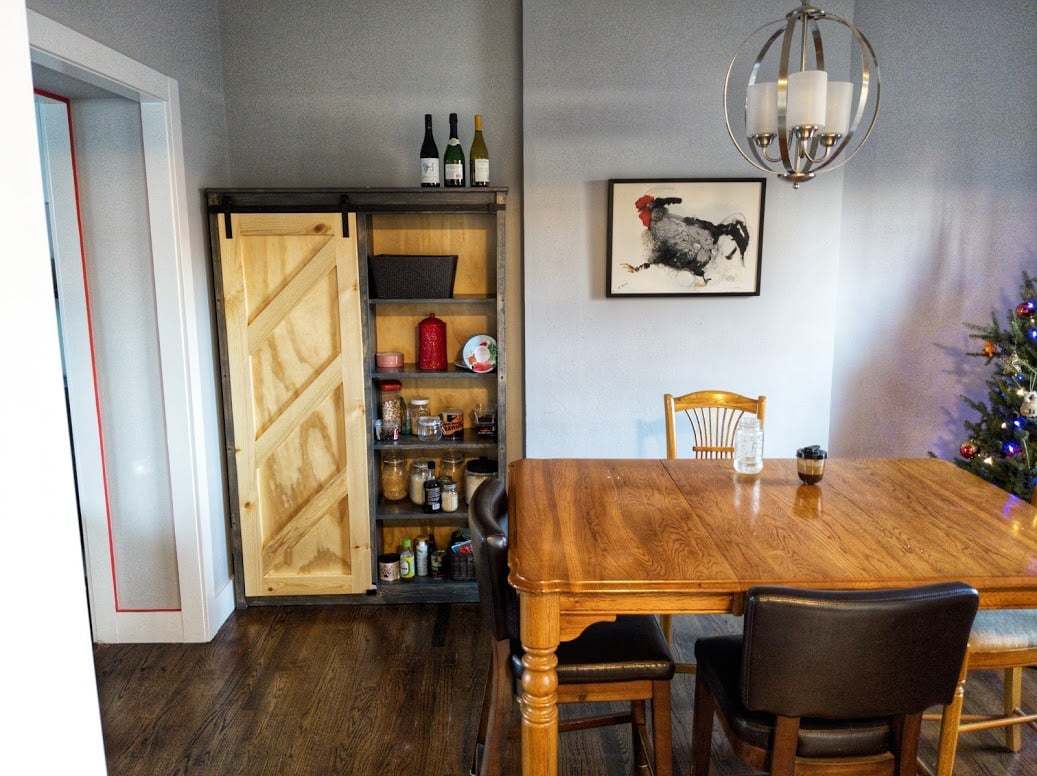
Despite relatively high ceilings, we have a small, pantryless kitchen and needed more shelf space. Couldn't be happier with how this turned out. Besides taking off 2 inches in width to make sure it would fit in the space, I followed the measurements exactly.
Made just one modification with the instructions involving the face frame. I first assembled it together per the instructions, but it was just not lining up with the carcass well at all when I went to attach it. Before the glue got too dry, I made the quick decision to take the face frame apart and just apply the individual pieces of it one at a time to the carcass. I figured this could maybe leave some very small gaps where the face frame pieces joined each other, but that seemed better than what it would look like leaving it as is, with almost no section flush with the carcass. This ended up being the absolutely right choice. Everything was very very close to flush and there ended up being virtually no gaps. If I ever built again, I would do the same and attach each piece like that.
My only other struggle was at the very end attaching the barn door hardware. Nothing wrong with the hardware or the instructions, I just ended up installing the rail too high up on my first attempt. Because this piece has a top that slightly overhangs and gives that nice little lip, it means there is a maximum height which you can't go above when installing the rail hardware. If you go too high, like I did, the rollers that are attached to the door will physically not fit on the rail, b/c that lip will be in the way. This might be very obvious to most people but I thought I'd mention it. Once things clicked, I just had to get some new measurements and redrill the holes a bit lower(but not too low b/c then you will have a gap!).
I decided to leave the door natural wood after seeing someone else's finished piece posted here and given how dark my stain was, I also left the plywood back panel natural. It's still a bit light now and it may even take 2 or 3 years, but I know pine can do a decent job darkening up.
Lastly, I did put a whole quart of satin polyurethane on this over 5 coats. Each coat but the last was cut with %50-%25 paint thinner applied with a foam brush. Yes it did take a long time but seeing it up close, it was absolutely worth it. I would recommend it for anyone making this project.
Mon, 12/21/2020 - 13:29
It looks like you made an excellent choice, love the two tone finish too! Thanks for sharing:)
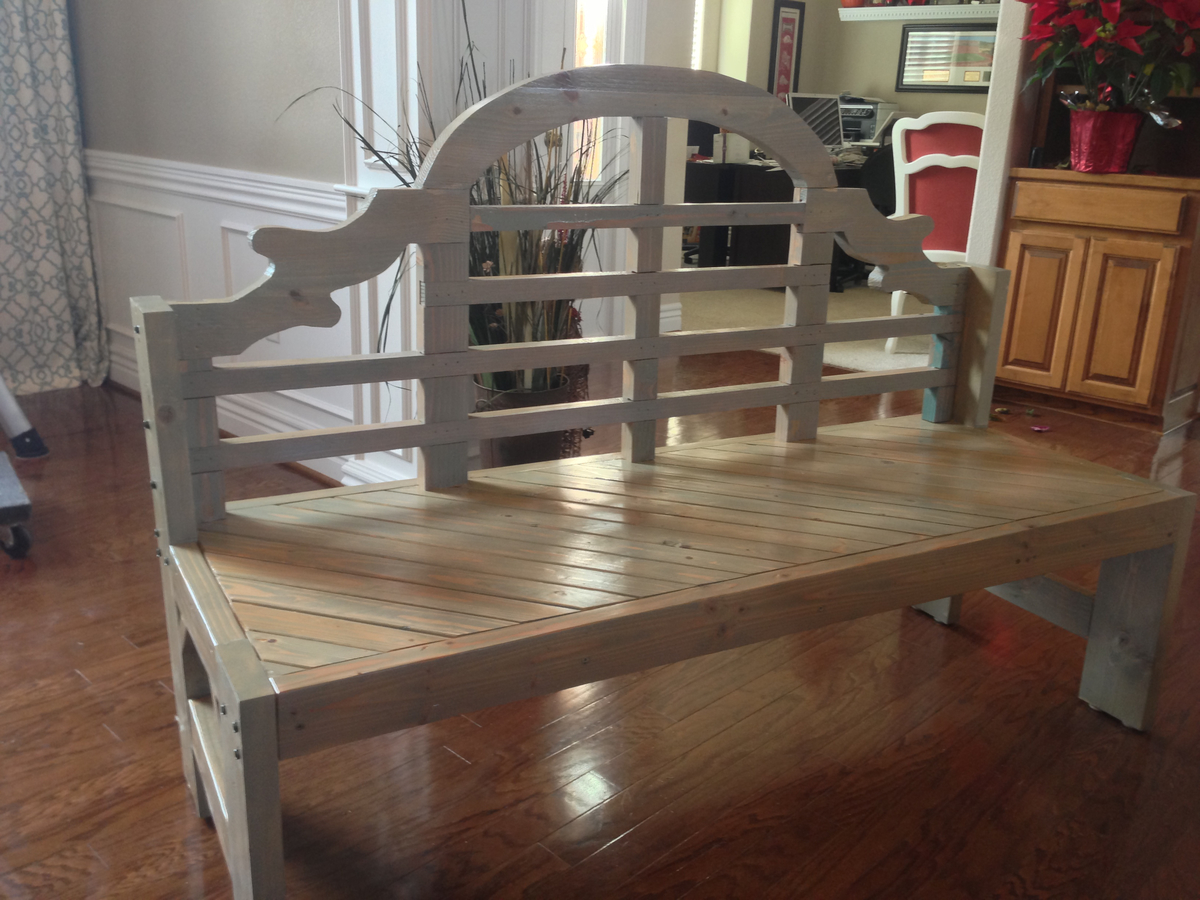
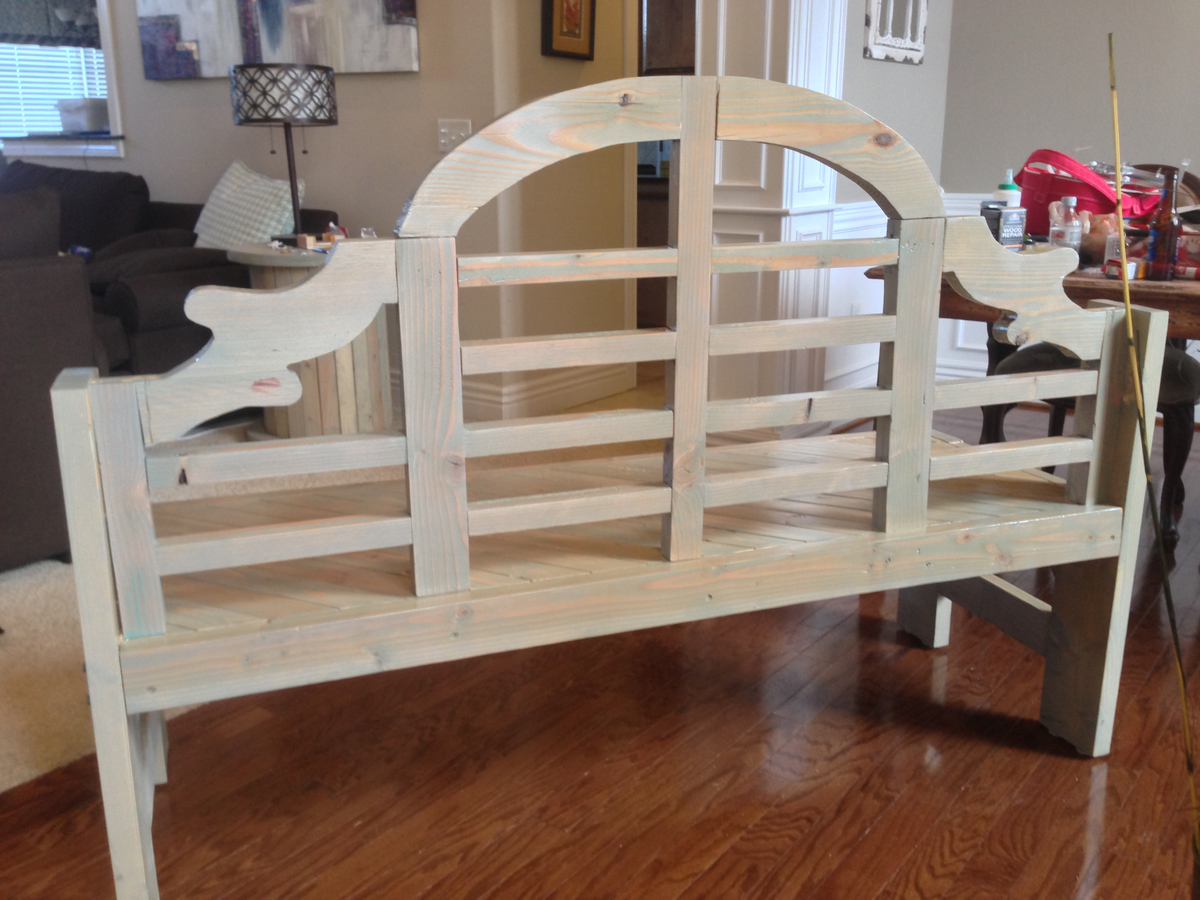
My wife wanted a bench for one side of our dining room table. After looking at prices to purchase, I decided to see if I could build it. This was my first wood working project and I built the bottom half using only a circular saw. By the time I decided on the design for the back, and actually figured out how to build it, 18 months and many other building projects had passed. This is the final piece.
I decided to build a dining table after finding Ana's site and being encouraged from the straight forward plans and great brag posts. Thank you for the encouragement, Ana!
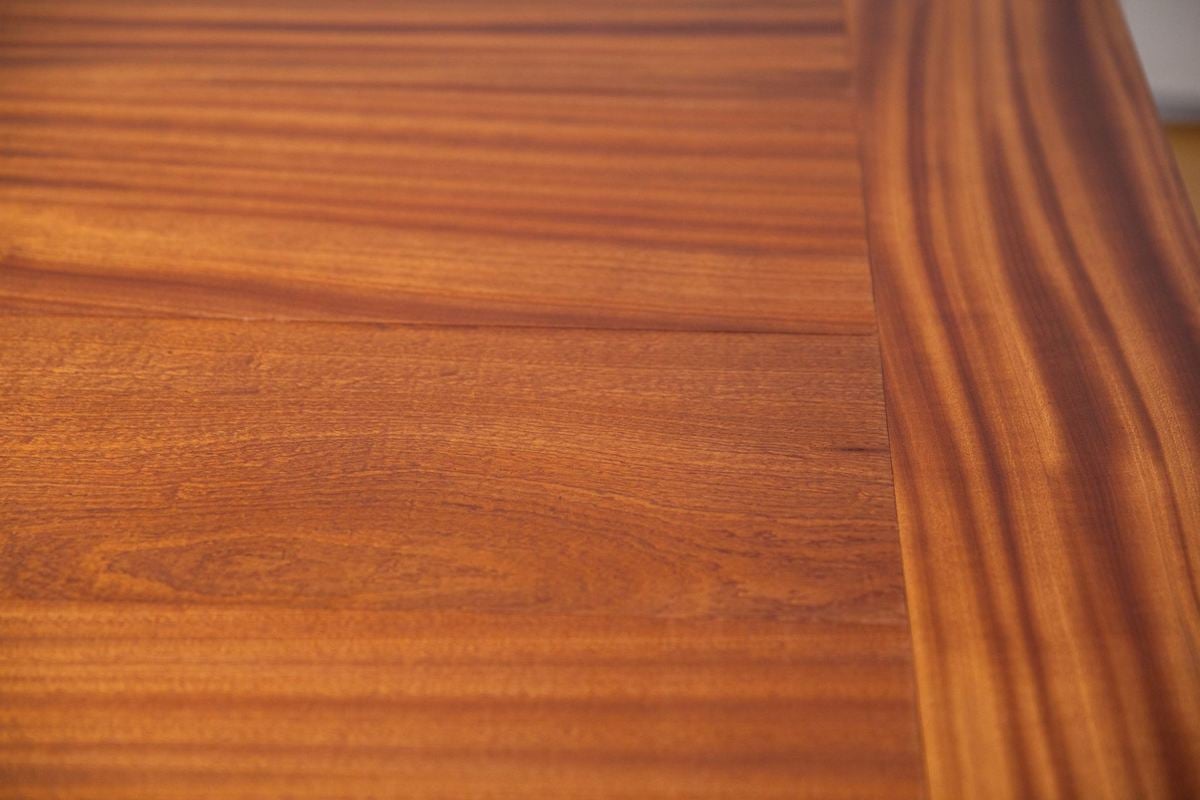
This project took much longer than anticipated since we changed around the plans, used mahogany which is unforgiving, and I'm a bit of a perfectionist so we spent a lot of time on each step to make sure things were correct. In terms of modifications, we used 1x12, 1x10 and 1x8s on the table top. We only made two pedestal legs so we could fit chairs on the end. The overall dimensions are 96.5" x 46.5" x 29". We kind of fell into those dimensions after having to change things to make sure the breadboards fit properly.
I'm happy to share any additional plans/information with folks who want to build a similar table. We didn't use a stain but rather just 3 coats of MinWax Wipe-On Poly. It really brought out the beauty of the grain and color of the wood!
Thank you again, Ana! I hope future generations will keep this table and think it's cool that their family made it. I'm planning to have a plaque engraved with our names and the date to attach to the table as well.
Fri, 05/22/2015 - 20:41
Out of all the pedestal table plan variations yours is my favourite. Not only because of the beautiful wood but I like your modification of the base the best. Can you tell me what is the inner width between the two pedestal legs? Also how many people can you comfortably fit around that table and how many can you squish around? If you have a moment to answer my questions, thanks so much.
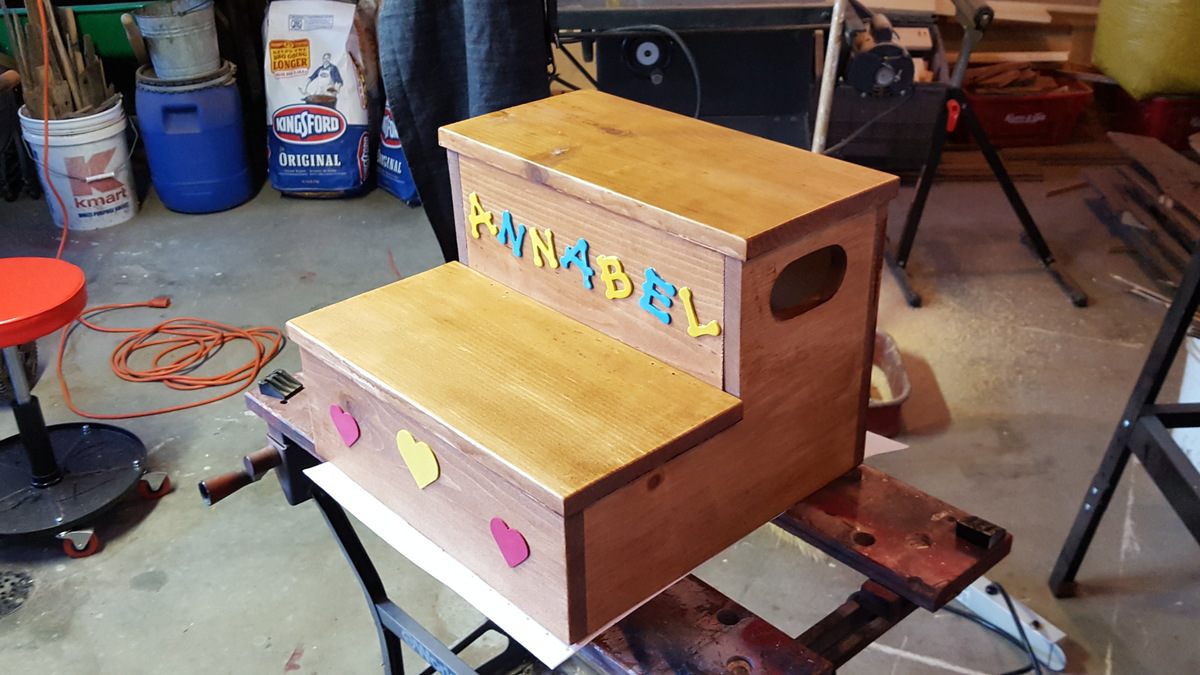
I built this step stool for my granddaughter after looking at quite a few different plans on the internet and not really finding exactly what I wanted.
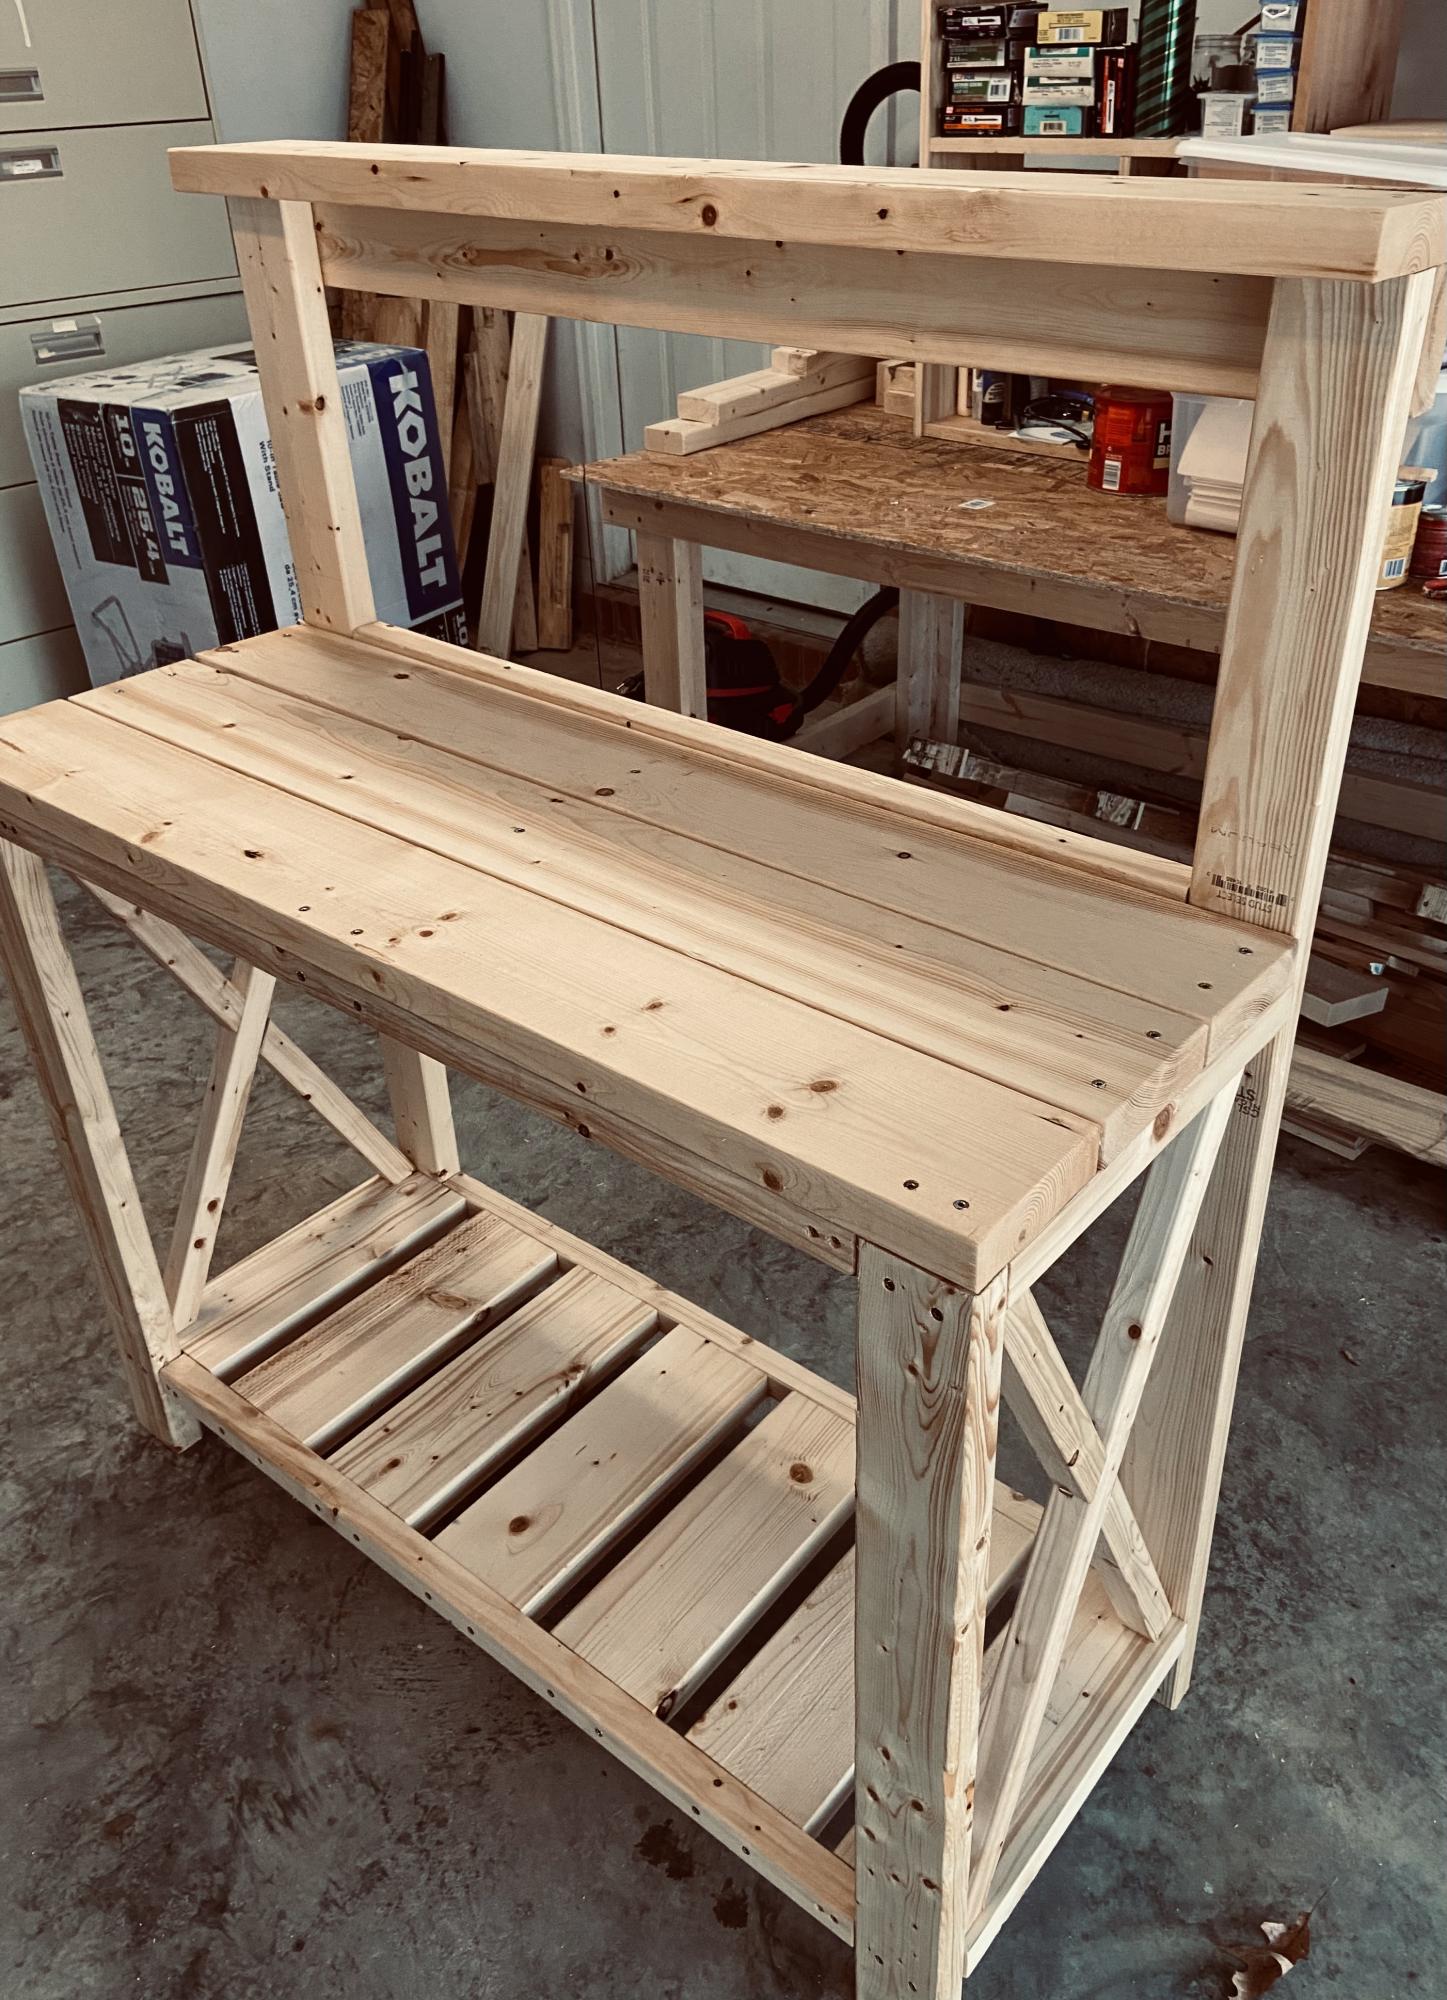
I am a complete newbie to anything woodworking. I just turned 60 and used a drill for the first time about 9 months ago. Thanks to Anna and her plans and videos, I have developed some some self confidence in this art and absolutely loving it.
Farmhouse coffee table and king size bed is next.
Thank YOU Anna!!! You totally rock!!!!!!!!
In reply to Amazing! by Ana White Admin
Tue, 01/19/2021 - 14:31
Awwwww thank you sooooo much! That means so much coming from you! I appreciate you. 🤗🤗
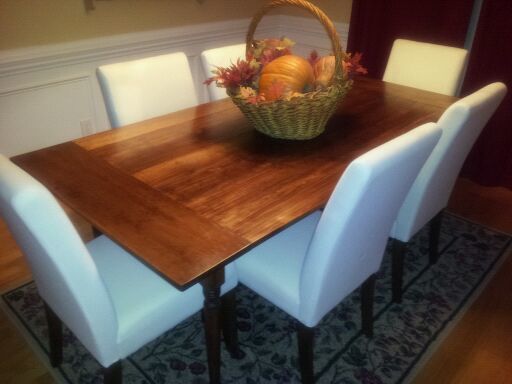
We used the Farmhouse Table plans but made a few modifications to get the look my wife was looking for. We've since built a cupboard to go with it.
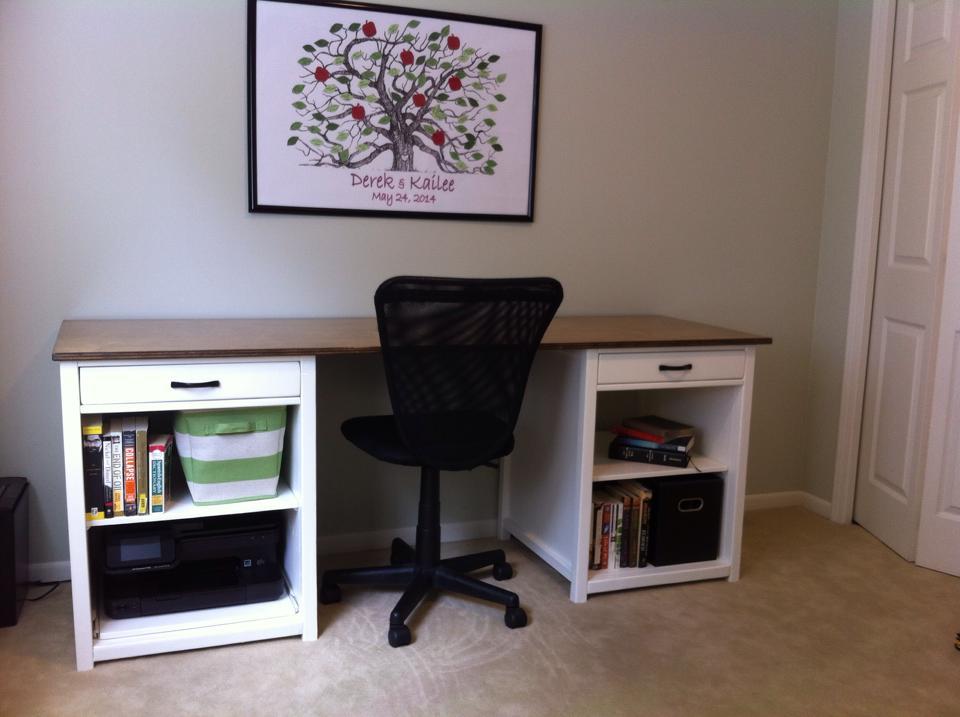
My husband is finishing up his last year of graduate school and needed a big desk for all of his engineering homework.
We changed the plans a bit by making the shelving unit a bit narrower (just wide enough to fit our printer), adding a second shelving unit (which then made the whole desk longer) and making the desk deeper so it would be easier to fit more stuff on top. We also added a sliding shelf so we could pull out our printer.
It ended up being about 72" long, 24" deep, and each shelving unit was about 20" wide.
This desk ended up driving up crazy. Drawers are SO difficult to get exactly square and perfectly lined up. The left one turned out a little bit crooked but we gave up on it and left it like that. This is the major reason I ranked this project as intermediate. In my opinion paint is more difficult than stain, because it filled in some of the gaps between the wood pieces but not all of them.
Our maple plywood for the desk top took our stain kind of funny so I spent a lot of time trying to sand out the messy parts. The polyurethane also went on funny, but when I finally had the third coat perfect and ready to go, someone left a paint can on top of the desktop before the poly was completely dry. I had to sand out the mark and start all over again with the poly. Argh.
Even with all the frustrations, we ended up very happy with this desk. If you look super close you can see the little mistakes, but from a normal distance the desk looks great! My husband can spread out with all of his homework!
Used wood top instead of concrete.
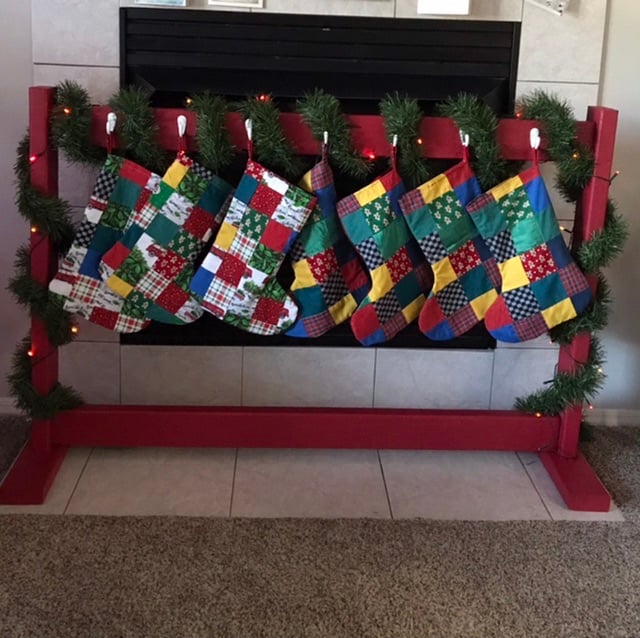
I wanted to show you the stand we made this year, using your plans. It was a big hit! I made the base pieces 15” long for added stability since we put 7 hooks on it and plan to add more to the “backside” as our family is growing.
Thank You for sharing !
Comments
Ana White Admin
Sun, 12/06/2020 - 20:12
Nice cubby!
This looks great, lots of storage!