Community Brag Posts

Small Kentwood Bookshelf

Submitted by Anonymous (not verified) on Sun, 10/09/2022 - 15:15

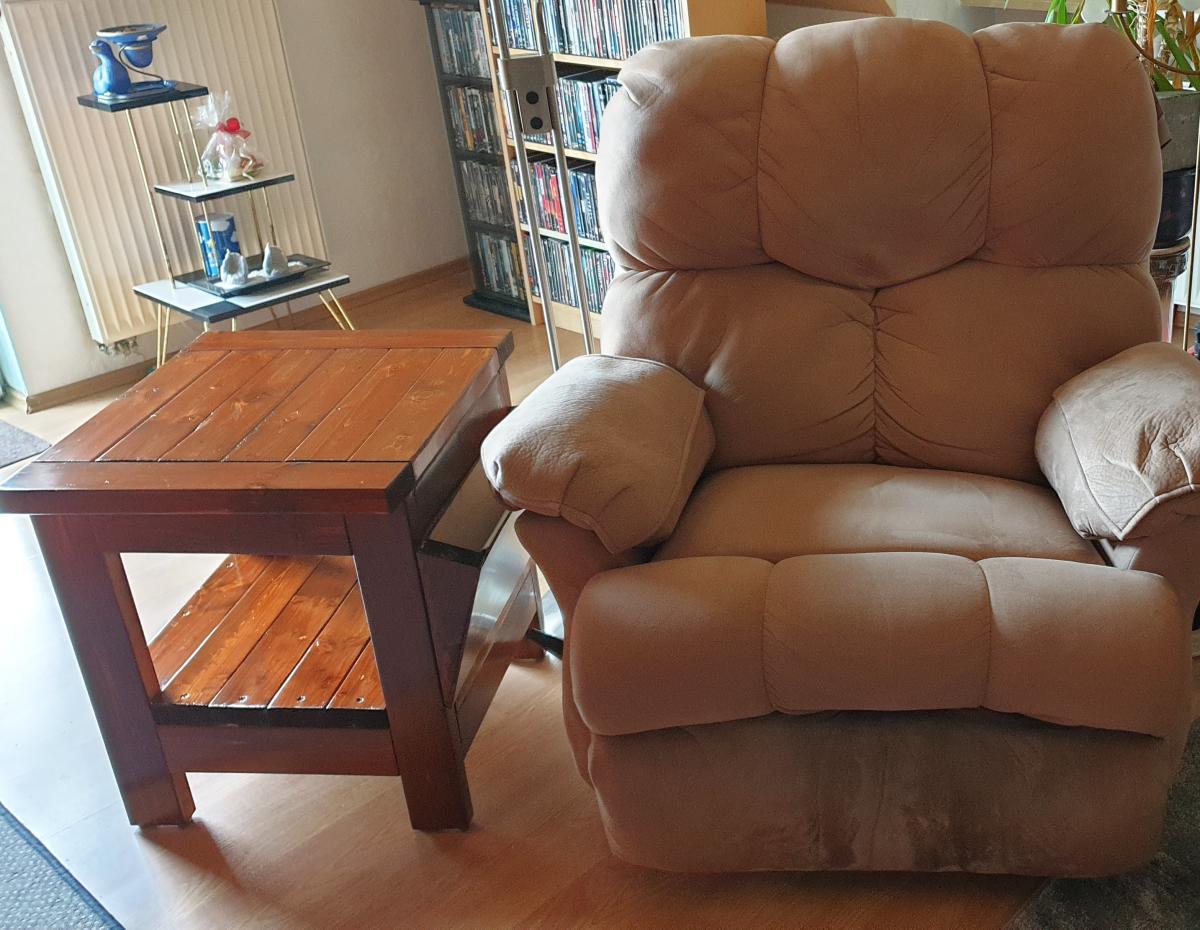
Made from pine with Special Walnut for the stain. I didn't need a tall bookshelf, so I modified a little. Thank you Ana!

Comments

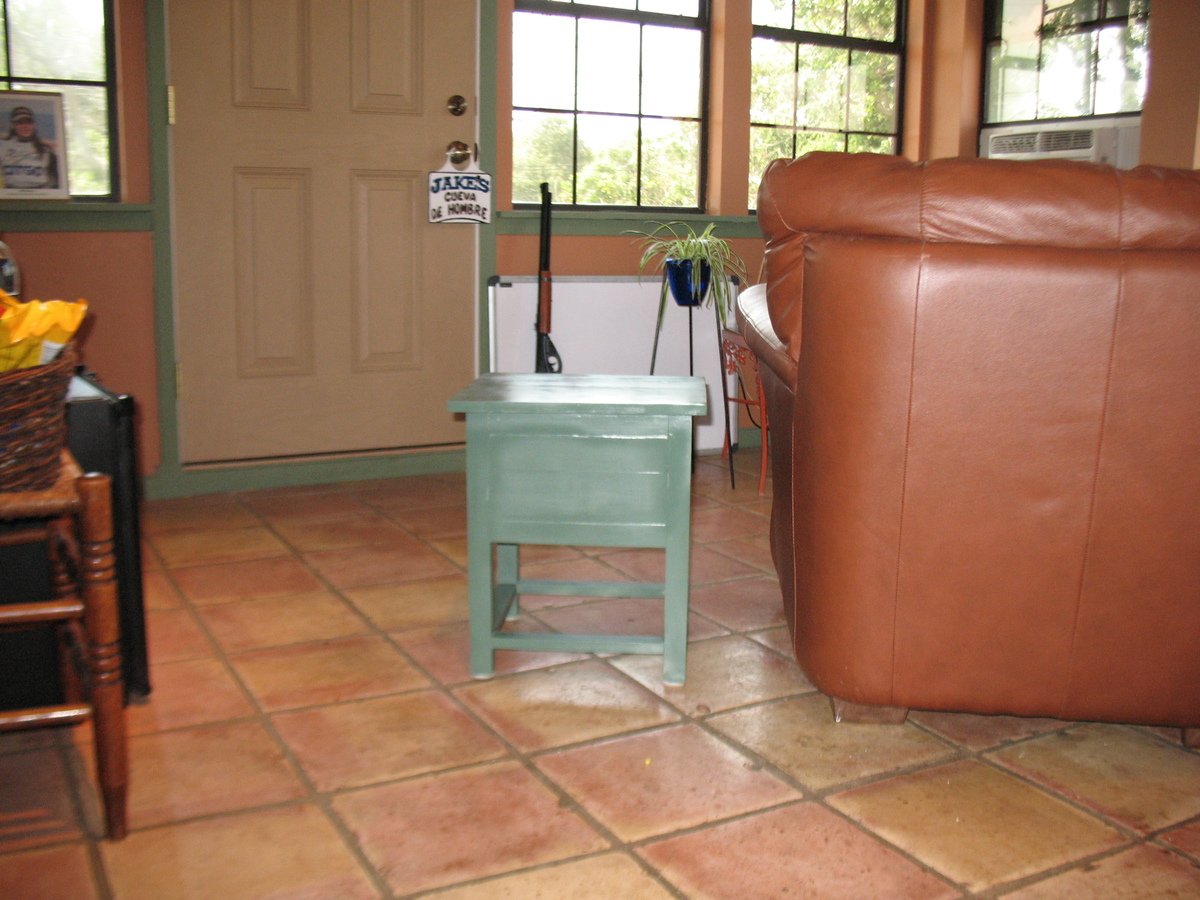
Little Helper Tower

My husband made the little helper tower for my son. After using it for a day I asked him to add a seat so that my son could eat lunch at the counter while I worked in the kitchen. I LOVE this tower!!!

Built from Plan(s)
Estimated Cost
$25
Estimated Time Investment
Afternoon Project (3-6 Hours)
Recommended Skill Level
Beginner

Comments

fethiye

Fri, 08/26/2011 - 09:20

This is what custom furniture is all about! If you had a store bought tower, I bet you would not even think about messing with it to add that seat. It looks great and now it is multi-purpose!

VelvetSky

Sun, 08/28/2011 - 20:25

I have a two year old who is going to need this soon. Does your son try to stand up while the seat is in place? Do you have any trouble with him trying to get out of it? Would love to know because my son is always climbing on stuff. I am worried he might fall. I wonder if I could put a seat belt in it. hmmm....I am a first time parent so maybe I am a little paranoid. lol
But it looks so cool. I want one.

Titabehm (not verified)

Tue, 12/13/2011 - 09:54

I absolutely love the idea!!! We have a real small house and we are always looking for ideas that will help to maximize the space and functionality of our furniture. My husband built a couple of months ago the tower and our 2 kids (2&4) can climb in there at the same time and help me to cook, wash dishes or just look what I'm doing around the kitchen. It is a little bit crowded when both are in there but they learned to make it work for both :). Thank you for sharing your idea... it is awesome!

Huthbert

Sun, 11/09/2014 - 13:23

Love the added seat!  Seriously awesome!  Thinking about adding that mod to mine!

A Lady's Treasure Trunk

Submitted by JoanneS on Mon, 09/16/2013 - 14:32

This is my vision of what a fine lady’s treasure trunk might have looked like back in the days of pirates. It is made from the Pirate’s Treasure Trunk plan. I used another alternative hinge for this one. It is a 2 ¼” radius quarter-circle of heavy craft leather, attached to the box top with some super glue and decorative furniture nails. The bottom acts as the pivot, and is attached with a furniture nail.

The decorations are made from craft leather, and attached with super glue and furniture nails. The keyhole escutcheon is made from a piece of foam shelf liner, cut to the shape of the keyhole template from the plan, and spray painted gold.

The finish for this is 2 coats of Clark & Kensington paint (white, with a little brown stain mixed in to make it a cream color).

This build was nearly free – the furniture nails were left over from the prototype build, the wood was scrap, and the paint was left over from previous projects. The craft leather is from Michael’s (cost was about $3.99 - I think it was on sale, but couldn’t find it on the web site to attach a link, so a picture of the packaging is attached).

I’ll be using this one for trinkets, and it’s not going to get heavy use, so this was a good project for trying out the leather hinge idea. I’ve wanted to try that for a while. Not sure how durable it will be over time, but I think it looks cool. :)

Built from Plan(s)
Estimated Cost
Wood (free - scrap). Finish (free - left overs). Craft Leather: $3.99
Estimated Time Investment
Afternoon Project (3-6 Hours)
Finish Used
2 Coats Clark & Kensington paint (white with some brown stain added to make a cream color). Topcoat: Minwax polycrylic in satin. Trim: craft leather and furniture nails. Keyhole escutcheon: Gold spray paint.
Recommended Skill Level
Beginner

Comments

yurra-bazain

Tue, 09/17/2013 - 03:18

I love how you added text to your photos! =D It communicates the idea behind your plan so well. :) The leather has a fascinating look on this one; I do so like it in white and with the softer leather; truly a lady's touch. :)

JoanneS

Tue, 09/17/2013 - 17:51

Or as they say in pirate-speak: Thank ye so much! I be glad ye like them! Many hearty thanks fer postin' a comment! :)

JoanneS

Wed, 12/03/2014 - 18:28

Yes I think that is a very good idea!  I'm going to try that for the next one I do with leather.  Thanks for commenting!  :)

Aquarium stand for the snake cage

My husband and I bought a milk snake a few years ago. We had the cage sitting on our kitchen table. My husband was up north visiting his family and it irritated me. So I went out to the garage to see what we had. We had some tongue and groove and some misc. Pcs of scrap pallet wood. I slapped the stand itself together in a day. 3 years later, I completed it with the live edge shelf trim and the canapy, again using live edge. The pine log Pcs are left over from our basement knee wall ledge. 

Estimated Cost
$30
Finish Used
Left raw. The live edge is coated in thick polyurethane to keep the bark solid and complete.
Recommended Skill Level
Beginner

Handmade by Tessa

Submitted by Anonymous (not verified) on Thu, 01/10/2019 - 18:22

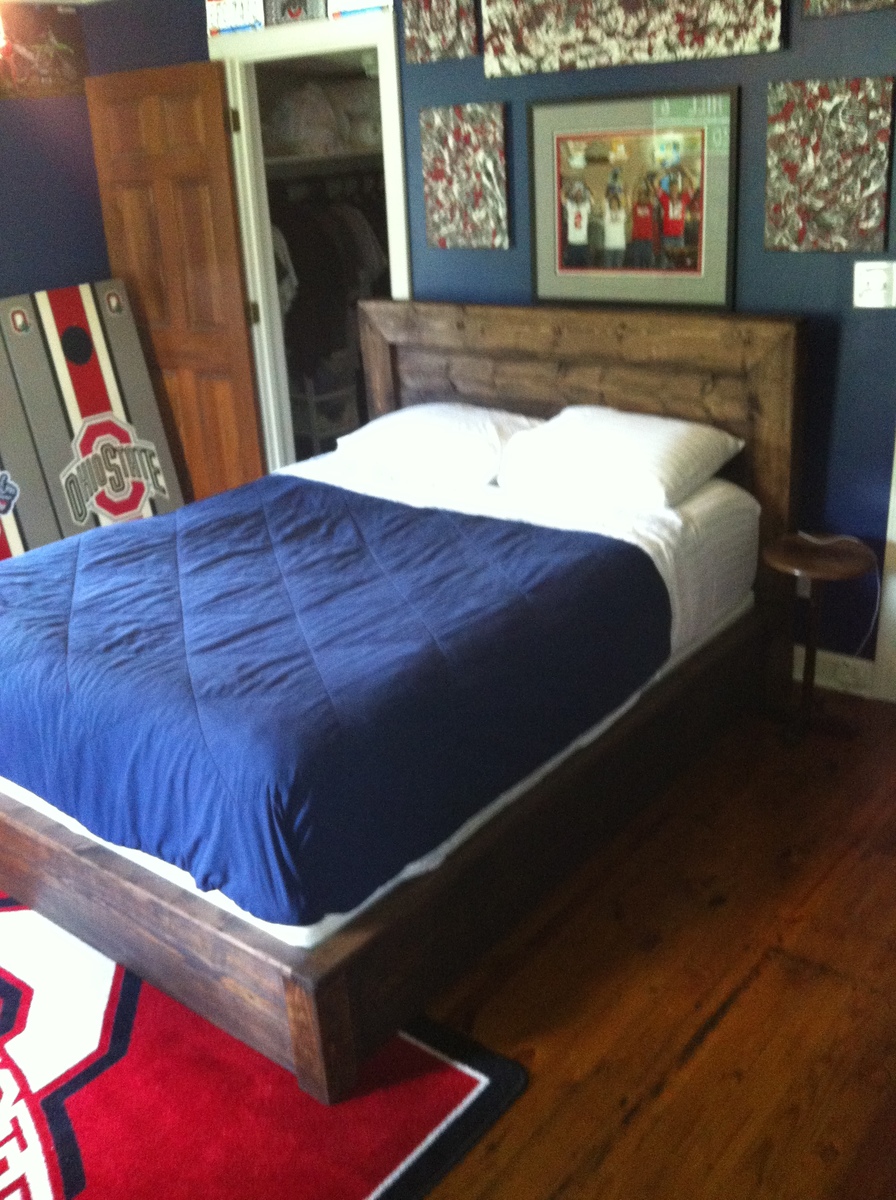
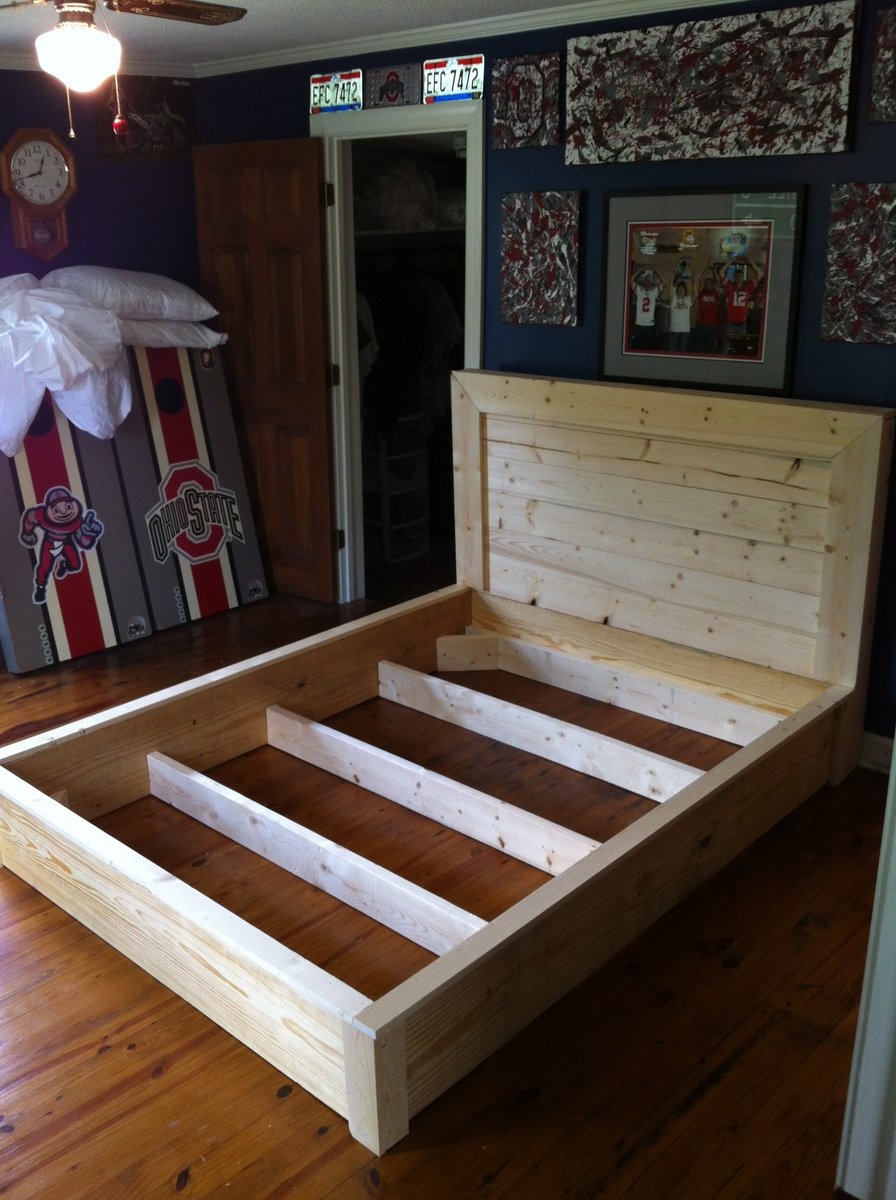
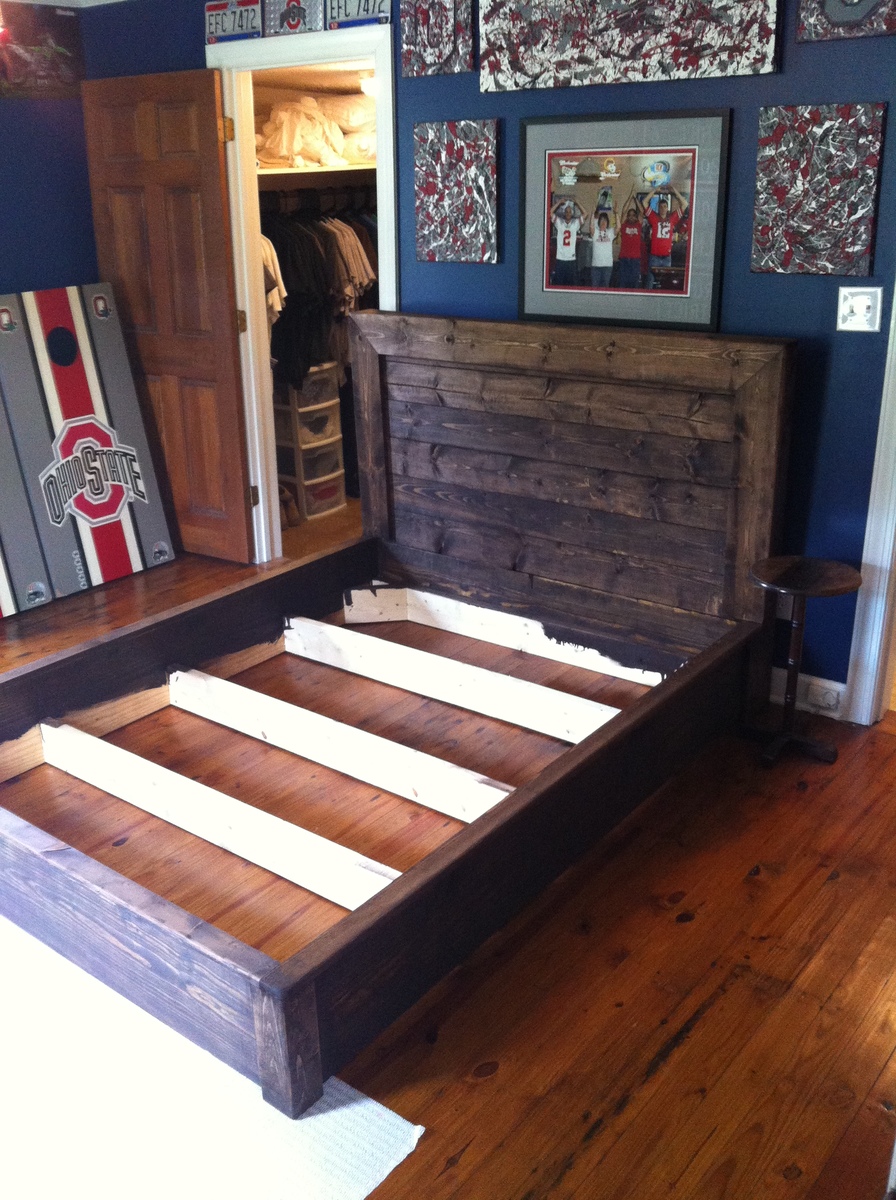
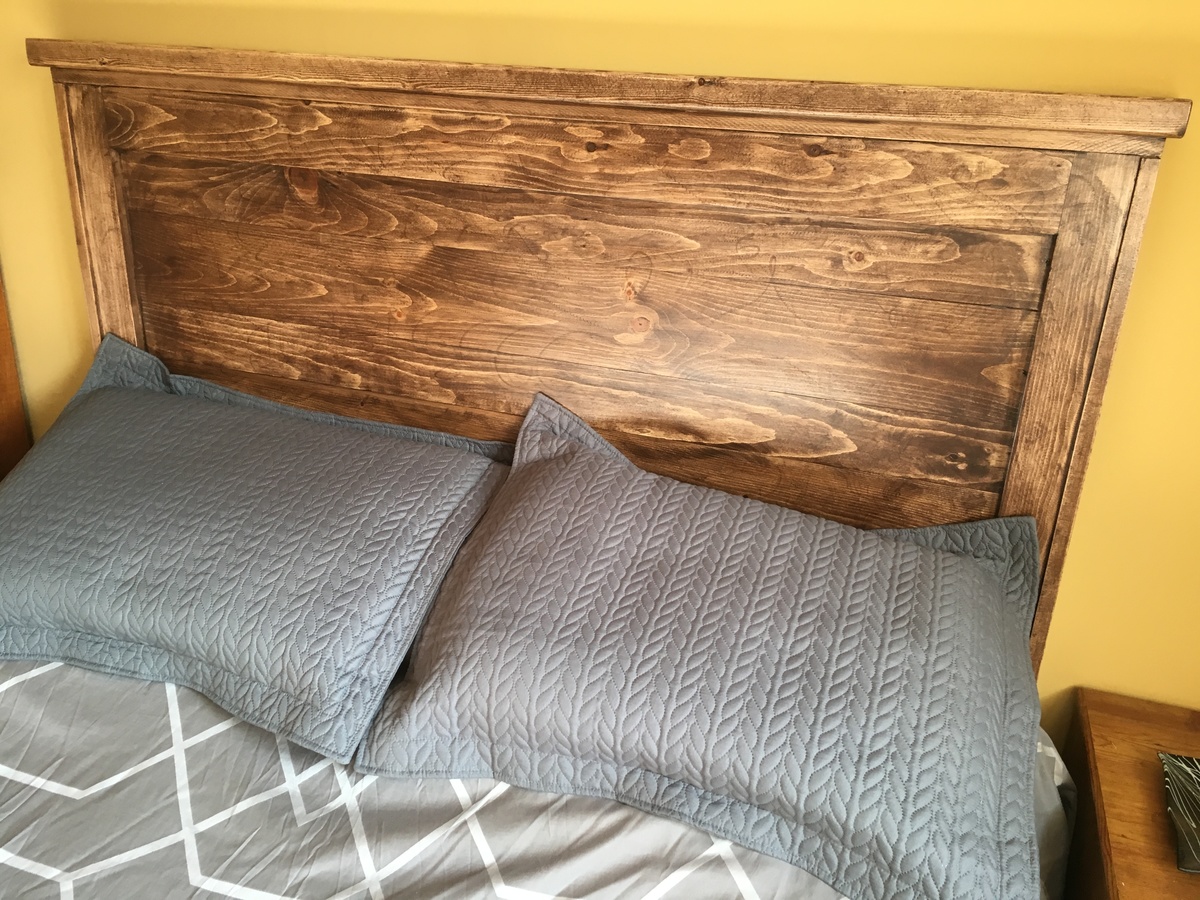
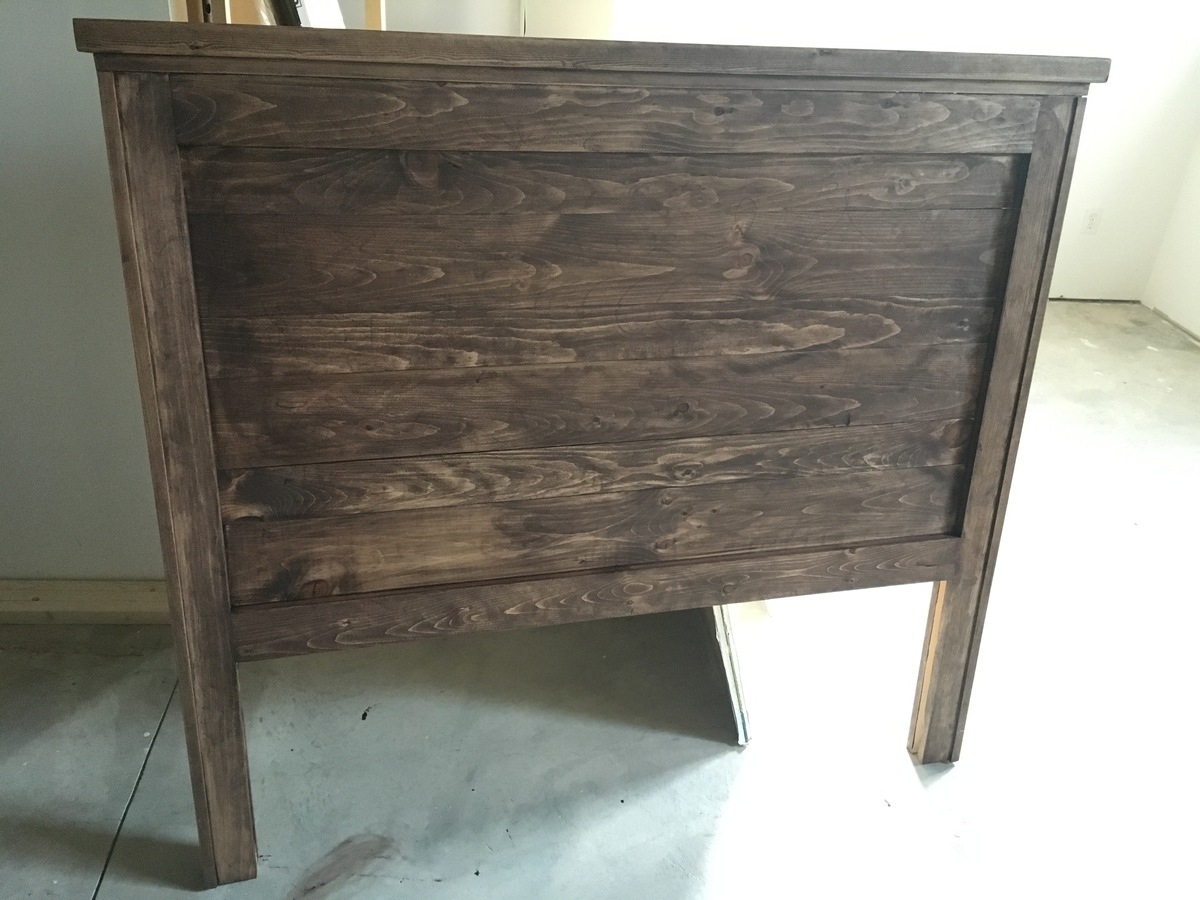
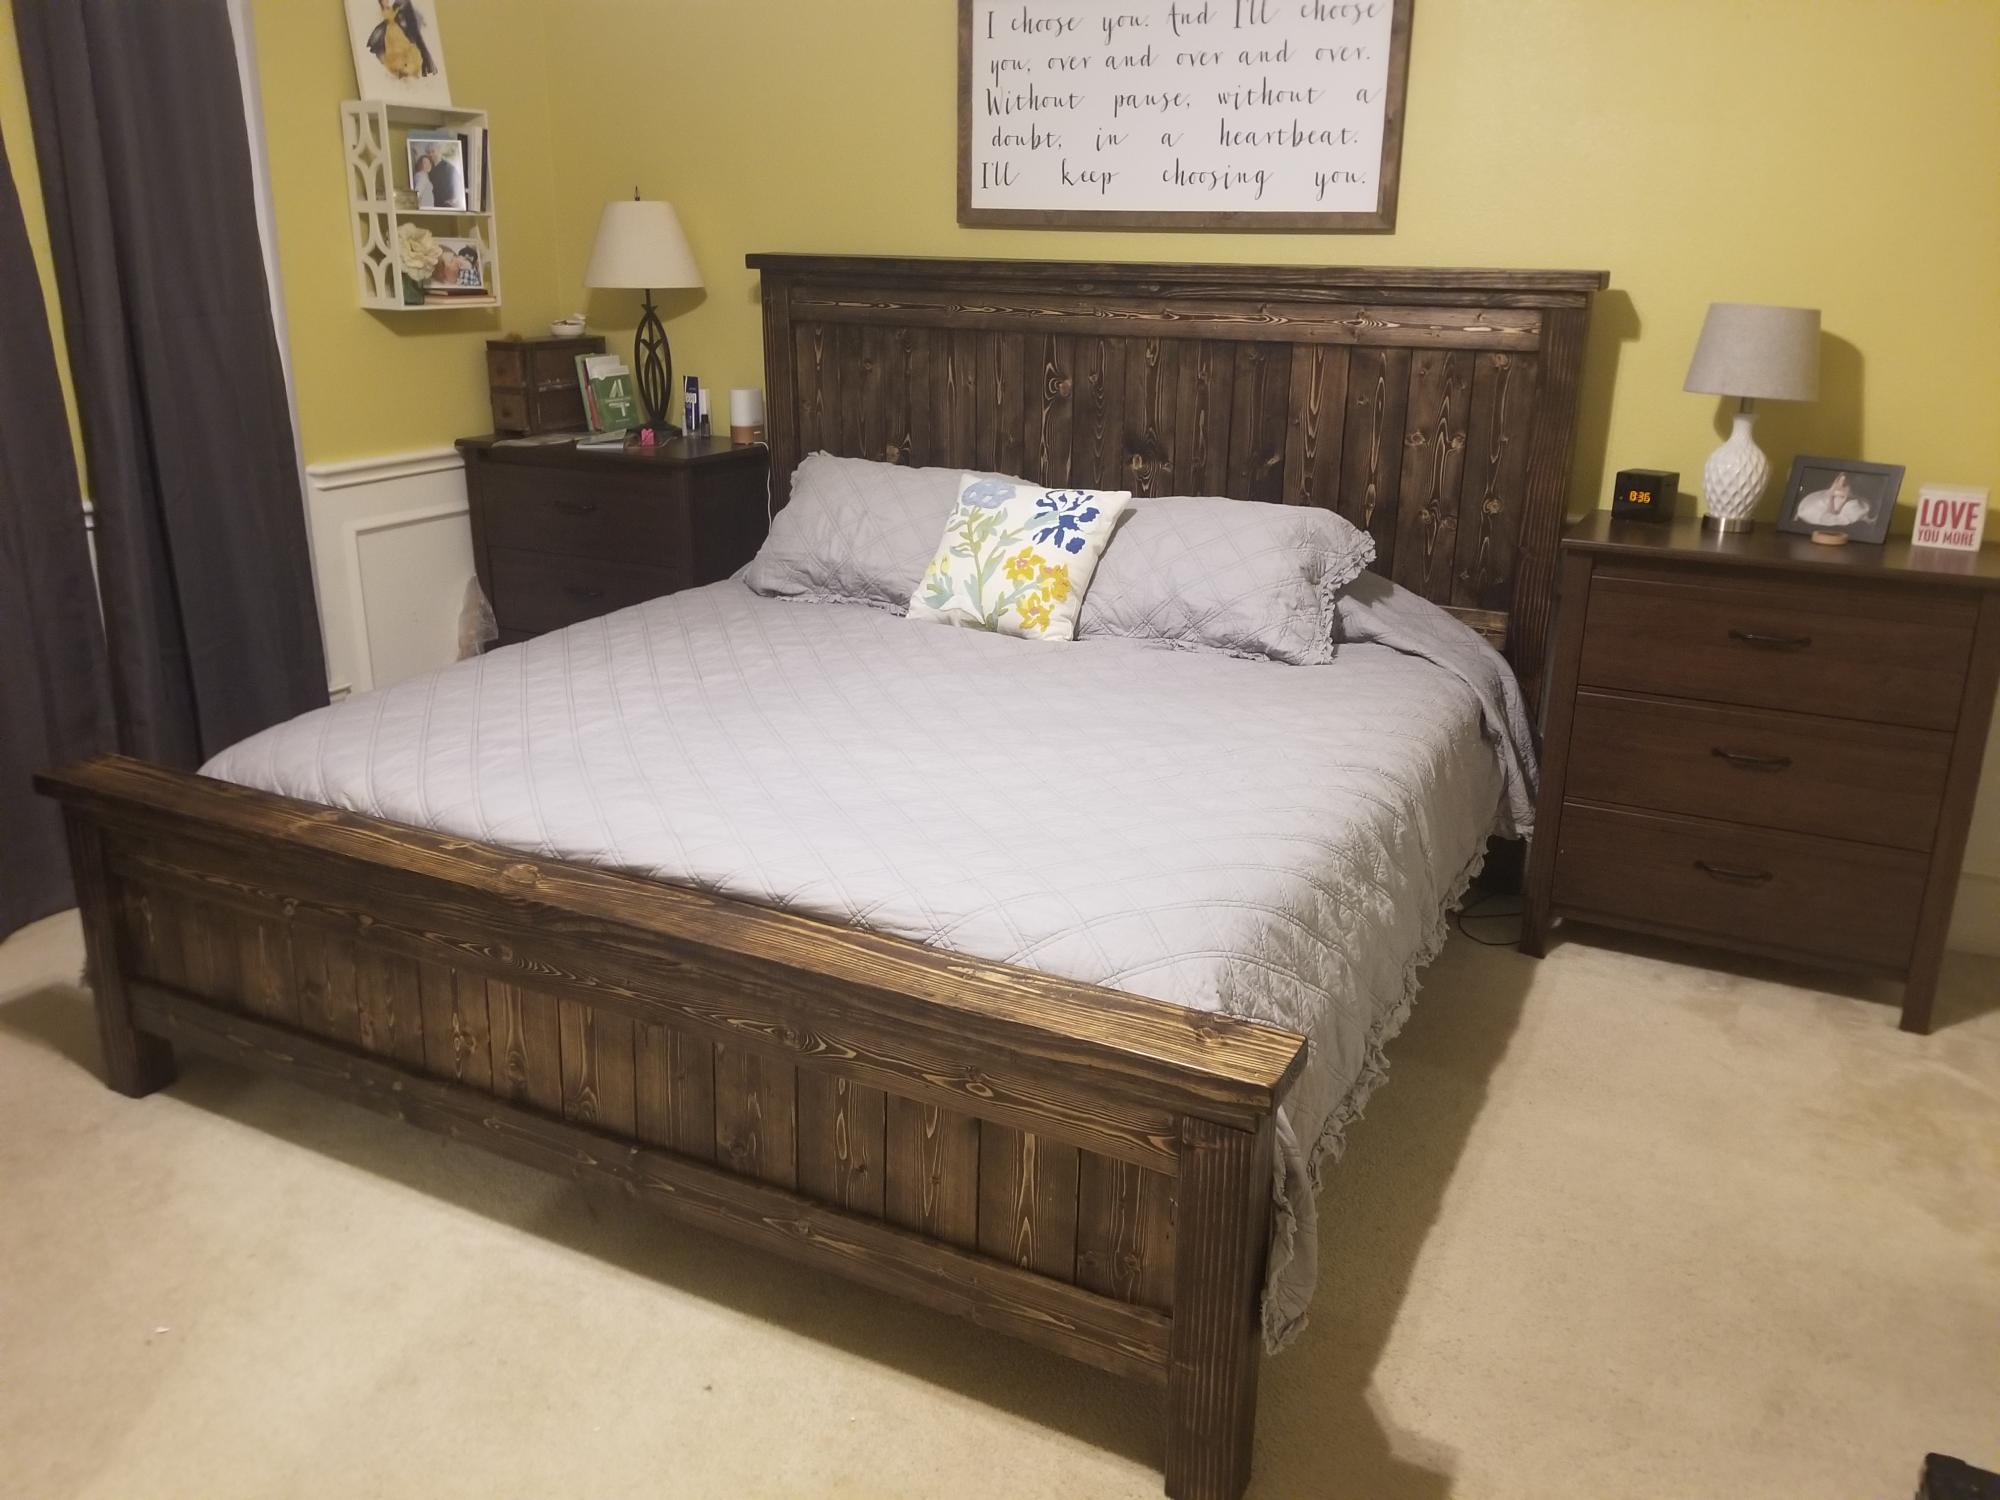
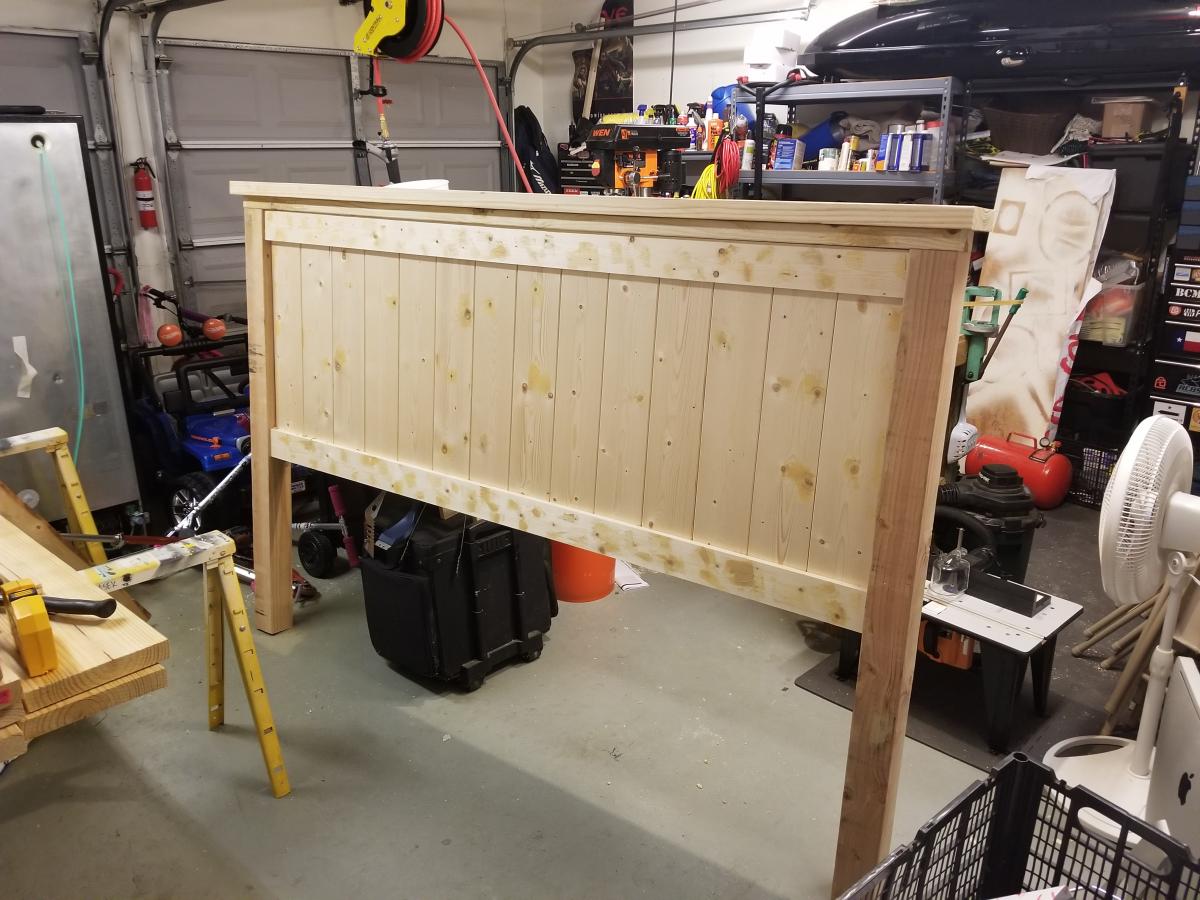
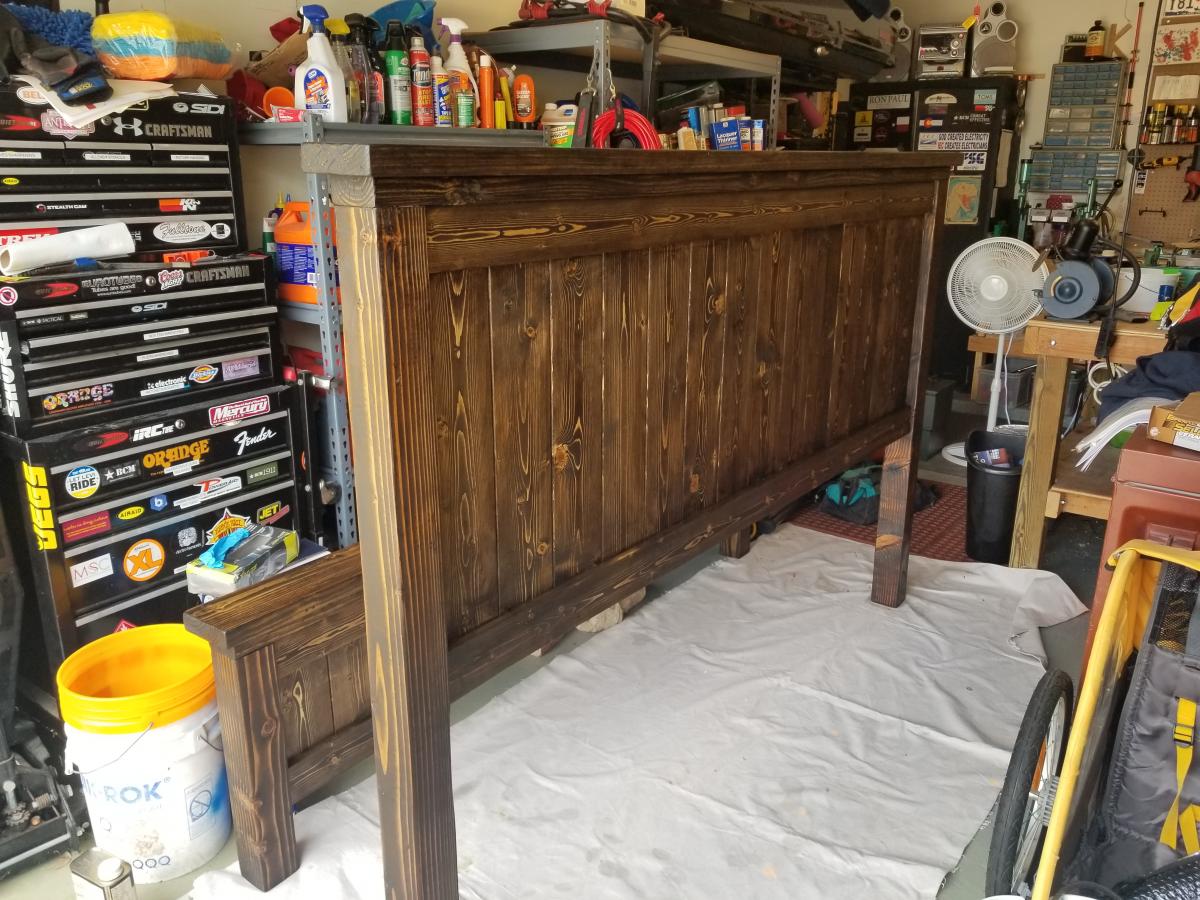
Reclaimed wood headboard. Cost: $100. Time: 4 hours. 

Recommended Skill Level
Starter Project

Master Bedroom Transformation

I have a large master bedroom, but a severe lack of furniture. I love love love my king bed, but couldn't find any night stands to meet my needs or budget. So I built the farmhouse bedside tables! I love how large and tall they are, adequately flanking my large bed. I missed the mark on matching the stain color of my bed, but I worked so hard on these tables, I still love them.
I call this a master bedroom transformation because I also painted, added new bedding, and new lamps during this project. I'm so excited for my husband to come home from his month-long business trip to see all that I have accomplished in his absence!

Built from Plan(s)
Estimated Cost
Approximately $100 for both tables.

Estimated Time Investment
Weekend Project (10-20 Hours)
Finish Used
Minwax Golden Oak Stain and Minwax Semi-Gloss Polyurethane.
Recommended Skill Level
Beginner

Farmhouse Table

Submitted by lmorlok on Wed, 09/18/2013 - 16:00

I made this with the help of my dad. This was my first project and it turned out so well! Such a great addition to the house, it really warms up the room. So glad I found this!

Estimated Time Investment
Week Long Project (20 Hours or More)
Recommended Skill Level
Intermediate

Yellow Washer Dryer Pedestals

Submitted by Anonymous (not verified) on Mon, 01/14/2019 - 05:43

Built off Sausha’s Washer/Dryer Pedestals Plans, project was easy and quick.  We removed closet doors to the hall laundry (gross), installed new trim & installed a cabinet overhead.  Came out pretty great.

Estimated Cost
$75
Estimated Time Investment
Afternoon Project (3-6 Hours)
Finish Used
Yellow Paint
Recommended Skill Level
Beginner

Essential Wood Outdoor Chair Frame for Standard Chair Cushion

Submitted by Anonymous (not verified) on Sat, 11/05/2022 - 14:11

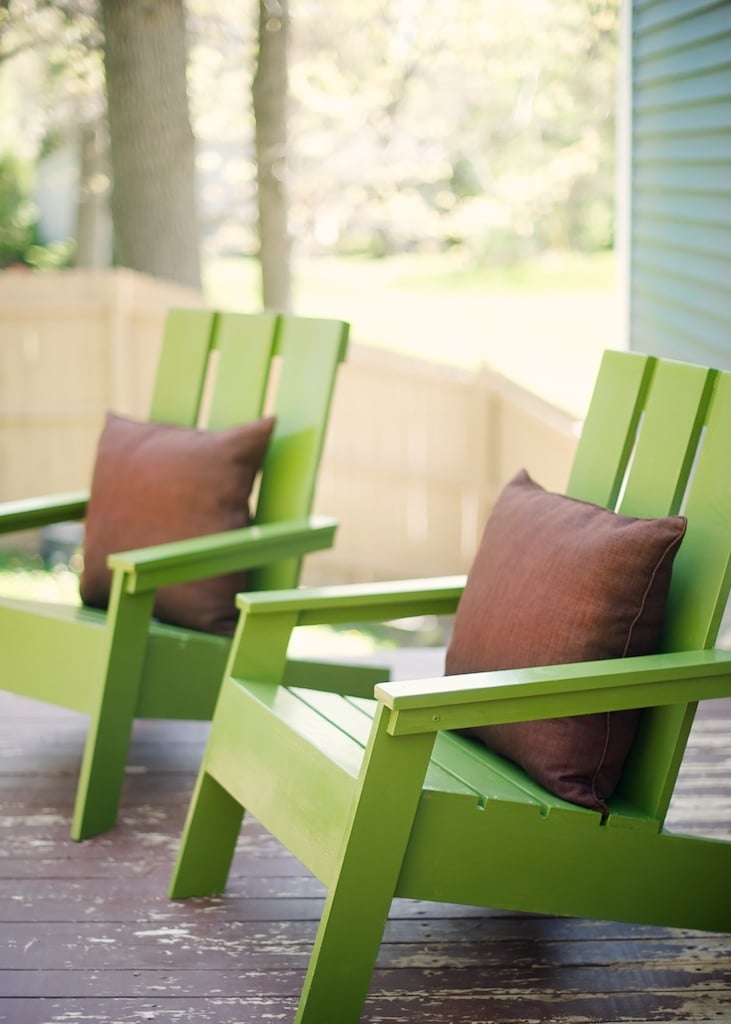
Beginner here and I enjoyed this one quite a bit. I played with the angle of the back and finally perfected it on chair three and four. I put the last bottom slat a little closer to the front to create more of a back angle. I also added a third back support position of the bottom slats are essential for comfort so you’re not sitting on a slat. My cushions need to be a bit thicker because you can definitely feel it. Overall, I enjoyed this project. Longest part was making all the cuts, and then painting because I use the sprayer and had to clean it. Thanks Anna!

Comments

Bedside Tables

Submitted by takahler on Wed, 08/31/2011 - 10:03

This is our very first building project from plans. We loved them. Our first night stand twisted because our 2x2s weren't as straight as we thought they were. With a few times of repositioning them, it turned out fine. The 2nd night stand went together much quicker and easier.

We are hooked! Thank you Ana for great plans!

Estimated Cost
$52 each
Estimated Time Investment
Weekend Project (10-20 Hours)
Finish Used
Dark Walnut Stain and polyurethane
Recommended Skill Level
Intermediate

Comments

3 drawer rolling dresser

Submitted by Kamabrewer on Fri, 09/20/2013 - 17:07

Super fun and easy! This was my first kreg jig build! Not sure how I got by before I got one!

Built from Plan(s)
Estimated Cost
$130
Estimated Time Investment
Day Project (6-9 Hours)
Finish Used
Dark walnut wiped off after 5 min.
Recommended Skill Level
Beginner

Comments

Jewelry Boxes

Submitted by yhaas on Sat, 11/28/2015 - 06:55

I made these boxes for my daughters for Christmas. I used maple, and I rabbeted the drawers and backs so that the plywood would sit flush. On the first box, I attempted to join with dowels, but as a novice, that didn't work well, and I converted to a few countersunk screws. On the second box, I used glue and nails as the plan suggested, which was much better. Installing the box hinges and lock was the most finicky part of the project.

Built from Plan(s)
Estimated Cost
$150
Estimated Time Investment
Weekend Project (10-20 Hours)
Finish Used
The dark wood is stained with Goudey stain - San Miguel Oak. Goudey is a family-run Toronto business, and they make beautiful stains. For the finish, I used Tried and True varnish oil. Hardware was from Lee Valley Tools.
Recommended Skill Level
Beginner

Comments

JoanneS

Wed, 12/02/2015 - 14:28

Gorgeous jewelry boxes!  You did a beautiful job, and I'm sure your daughers will love them!  Love the finishes too!

Aged turquoise

Submitted by Anonymous (not verified) on Sat, 01/19/2019 - 09:09

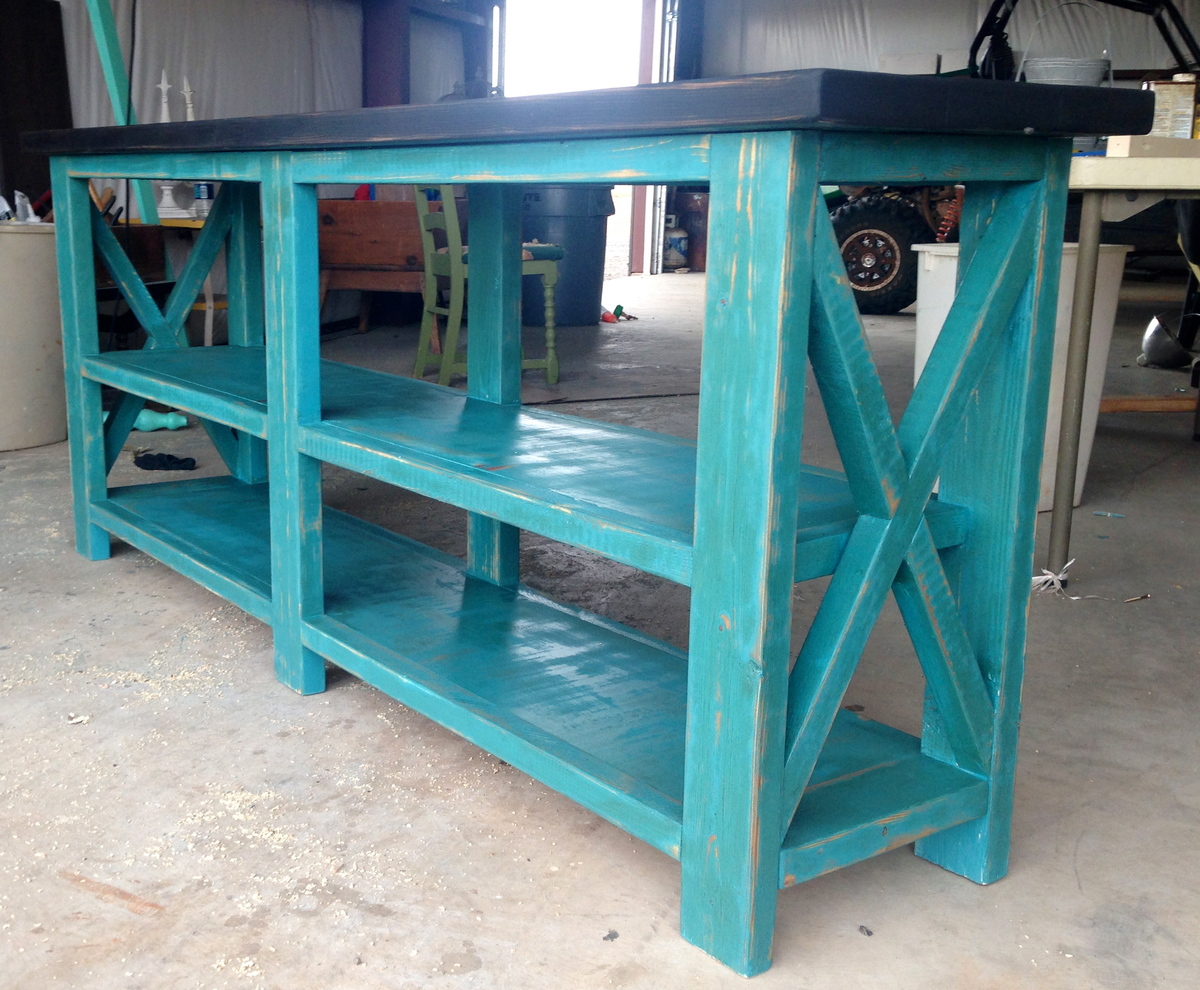
Aged rustic turquoise 

Built from Plan(s)
Estimated Time Investment
Day Project (6-9 Hours)
Finish Used
To be auctioned
Recommended Skill Level
Beginner

Cabin Bed

Submitted by coskam14 on Fri, 11/18/2022 - 17:29

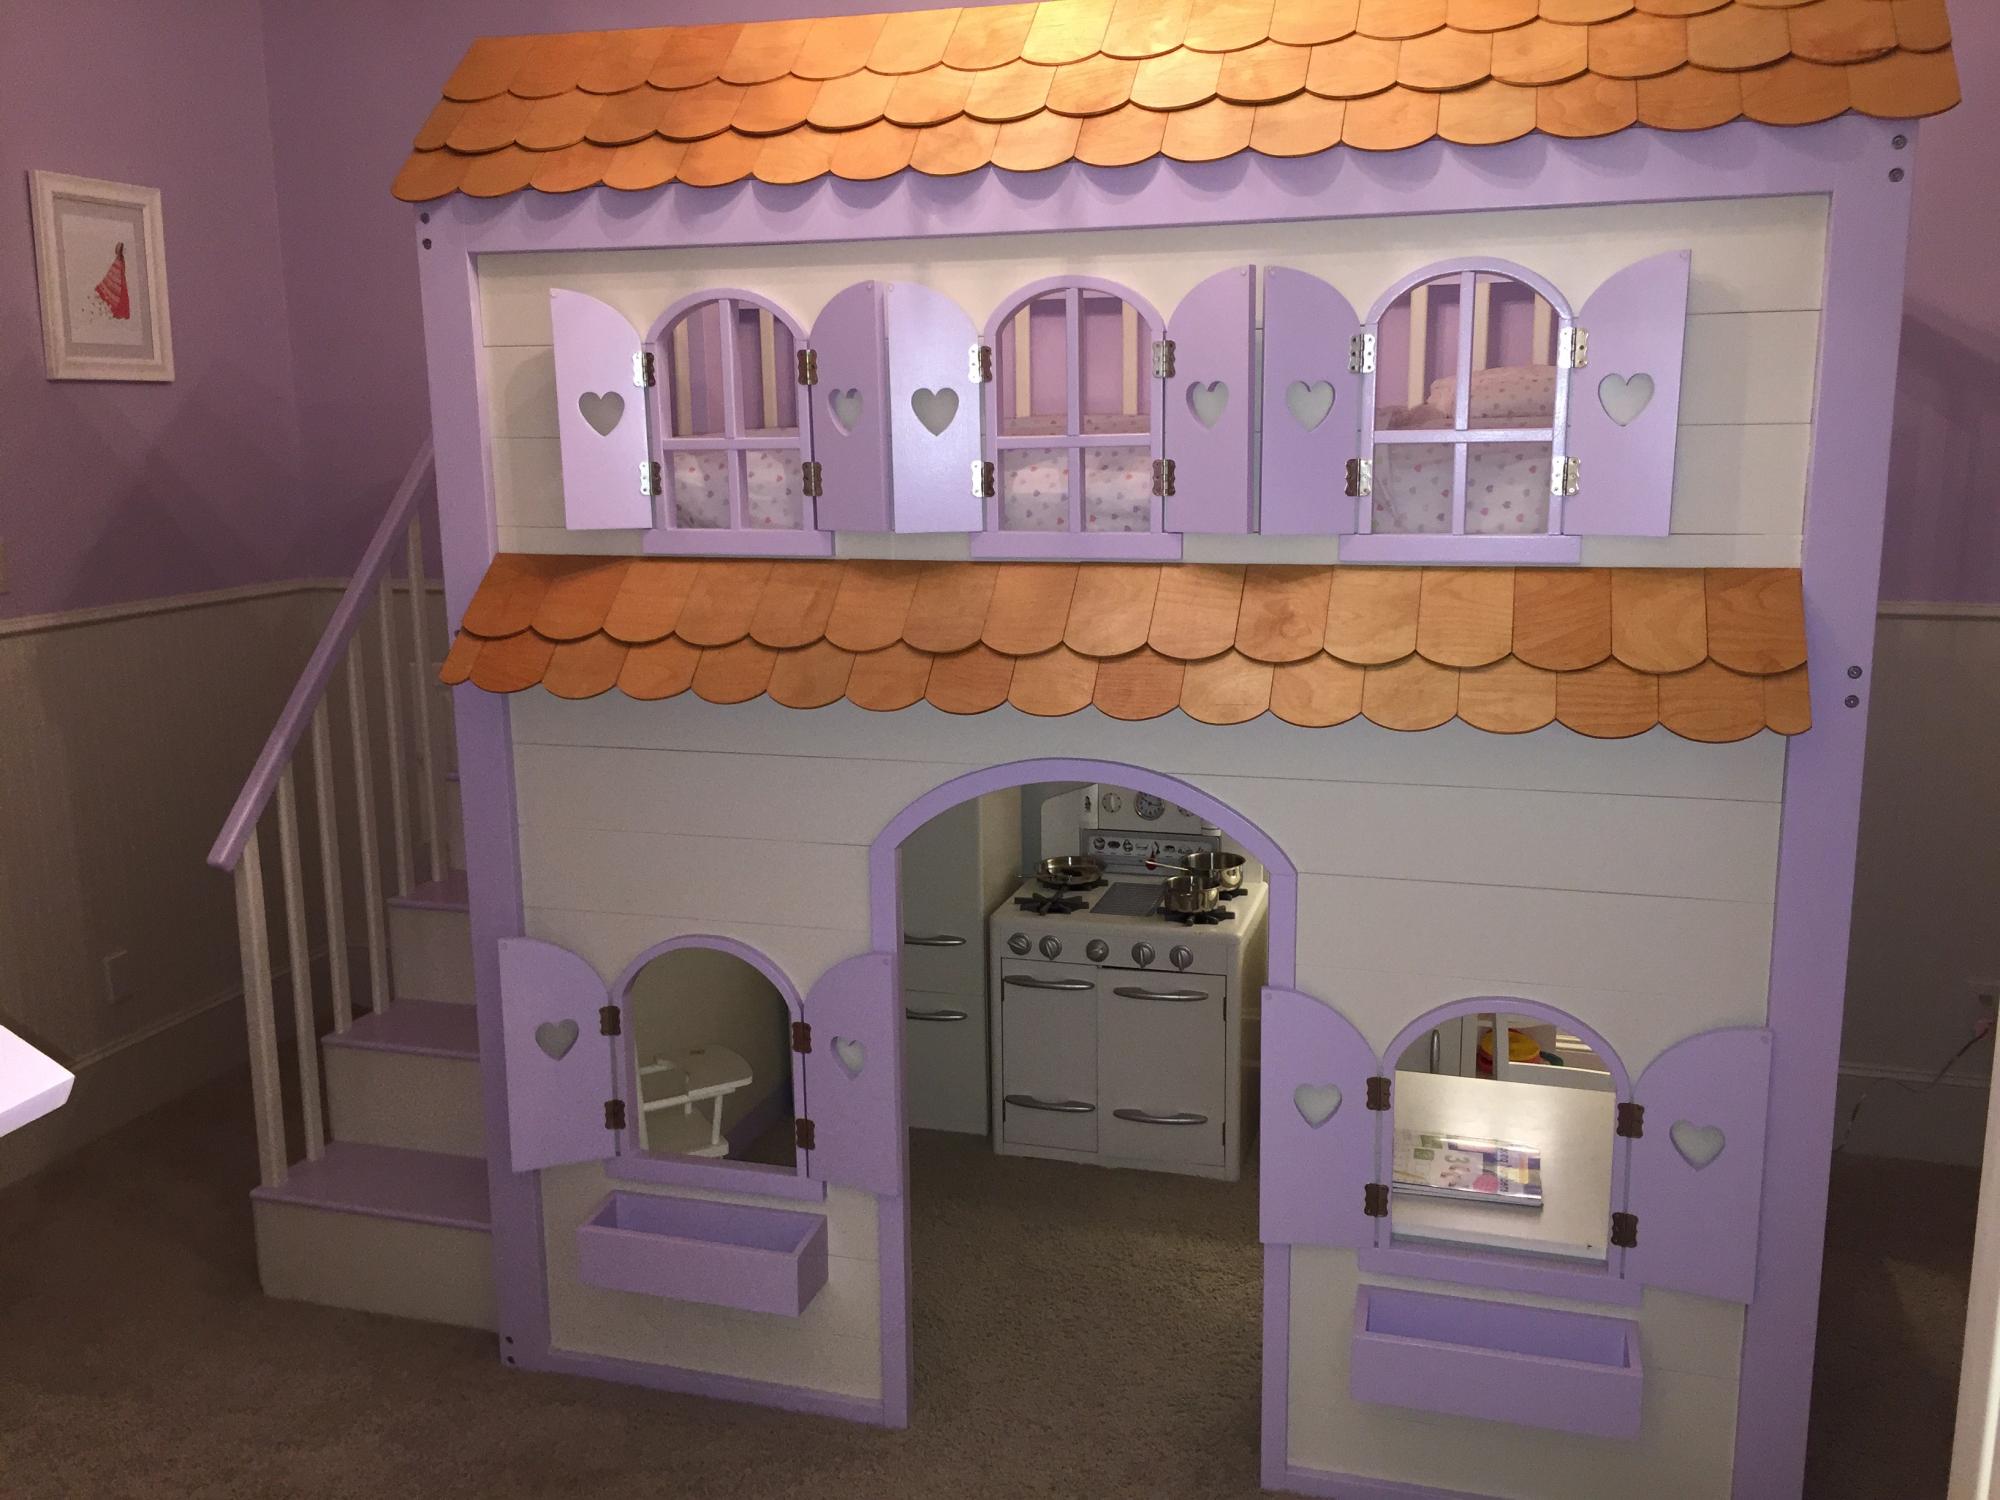
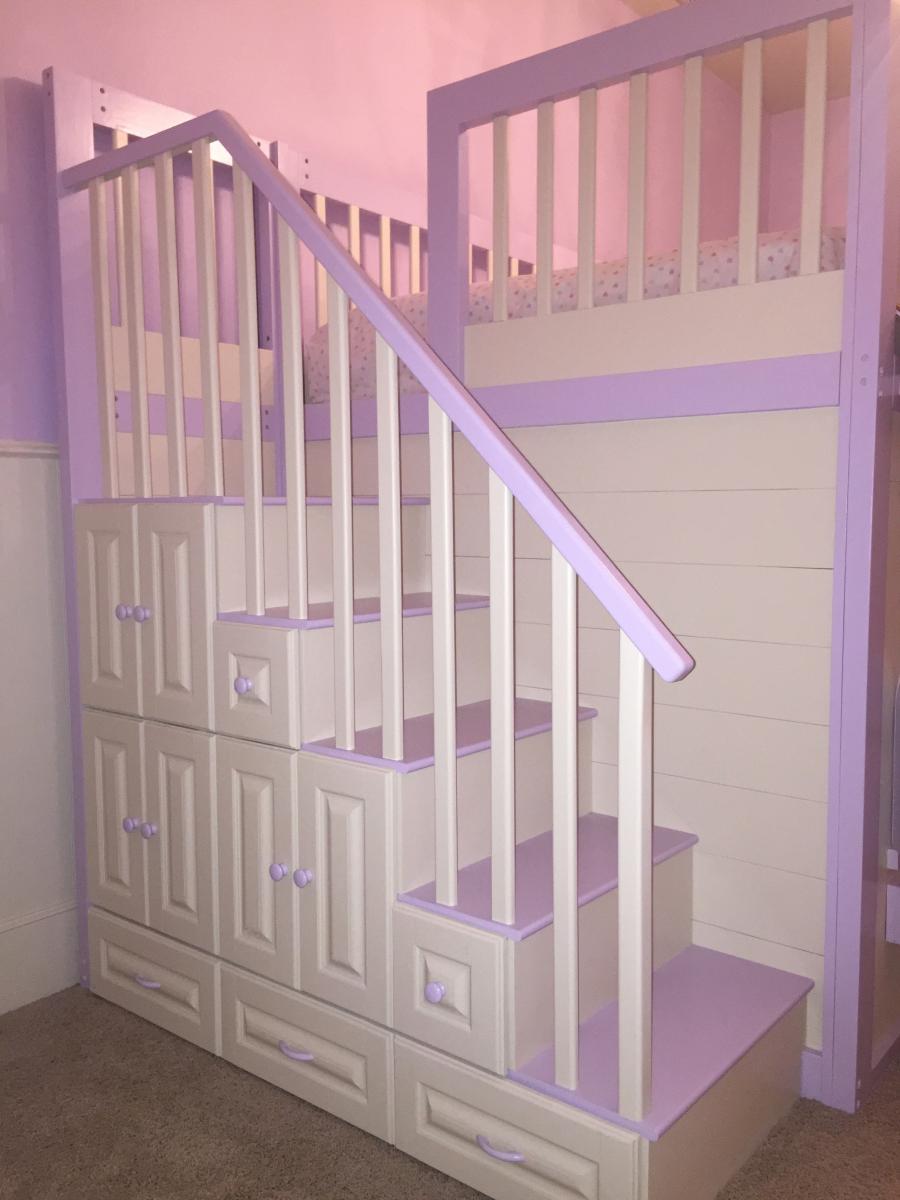
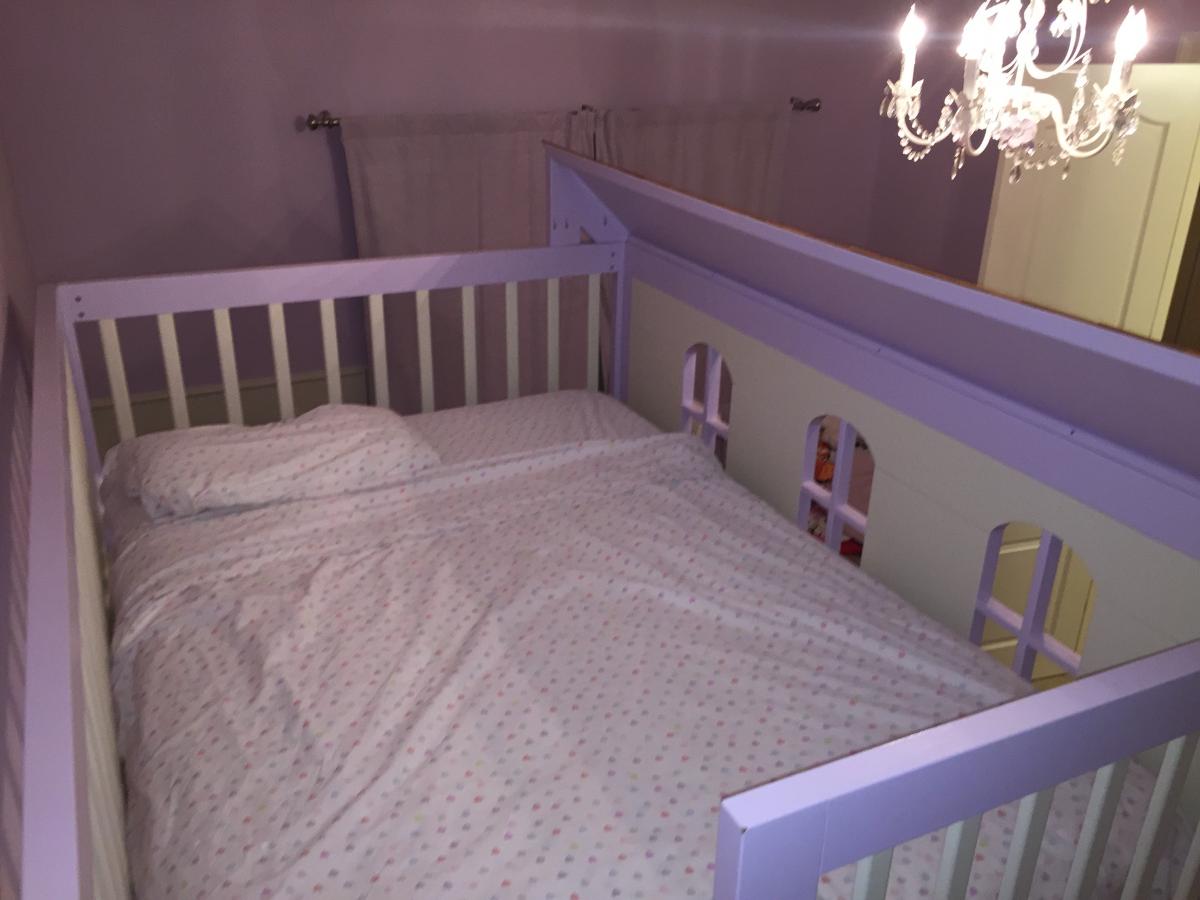
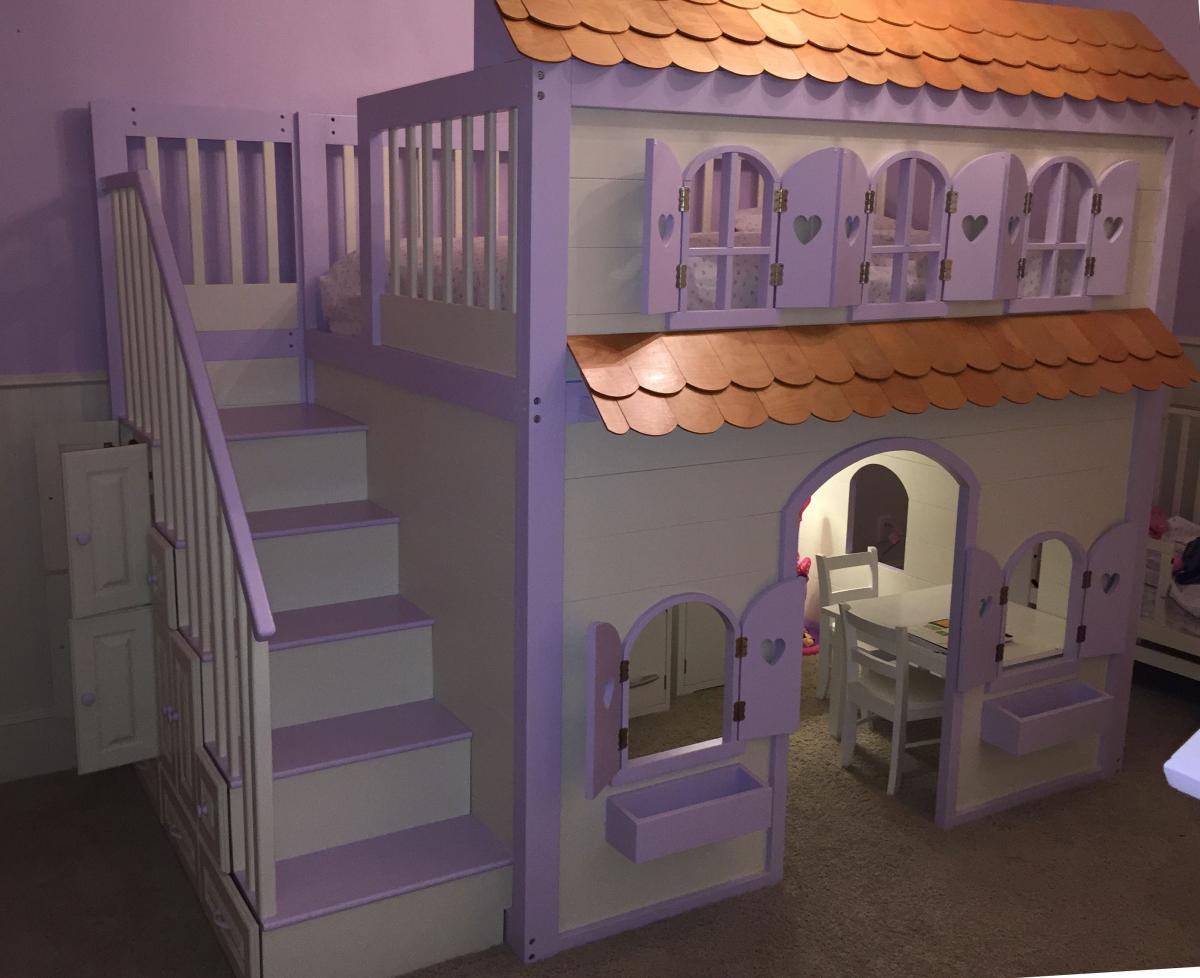
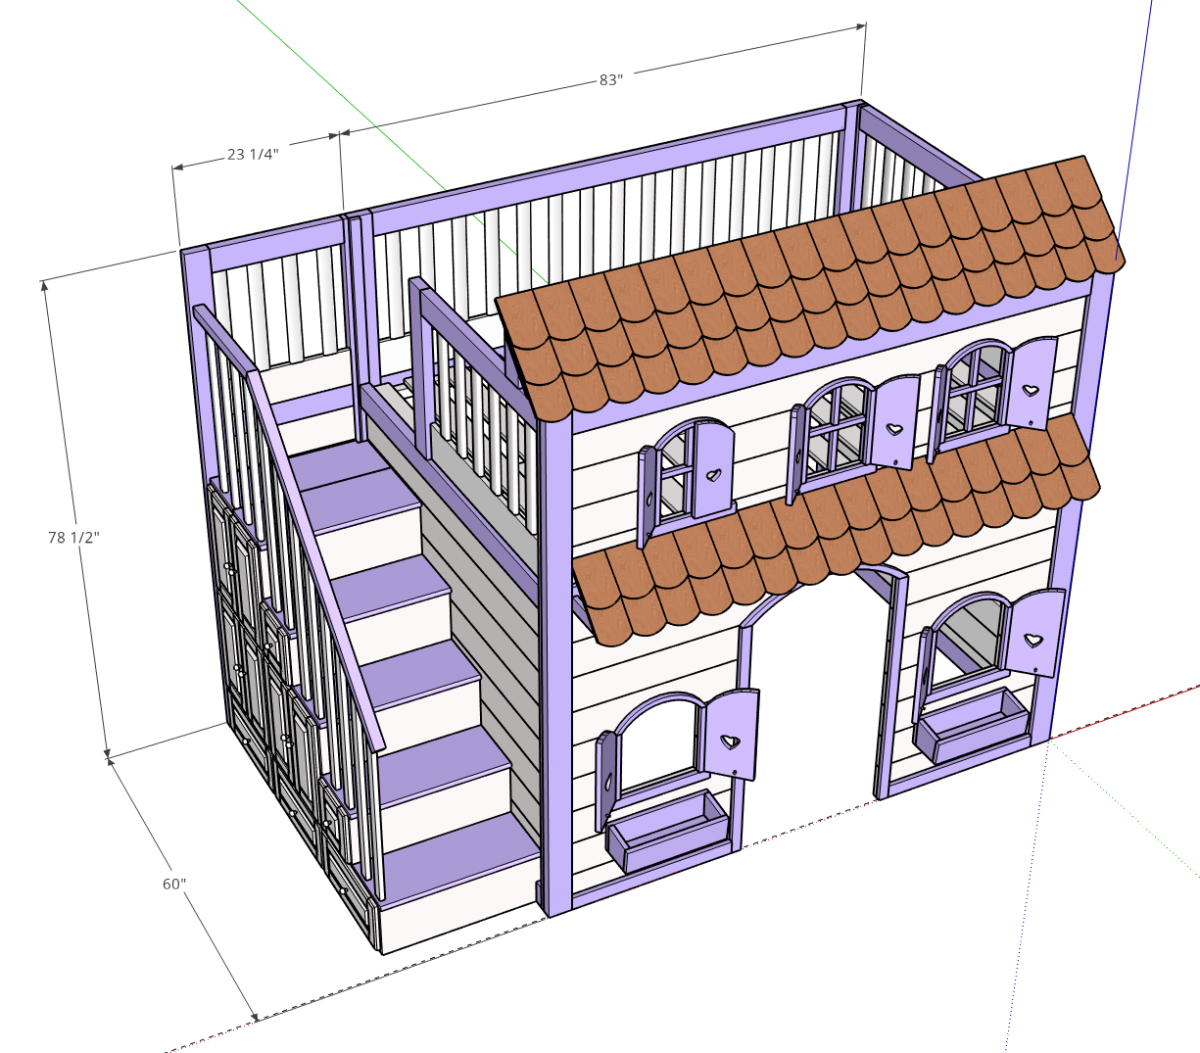
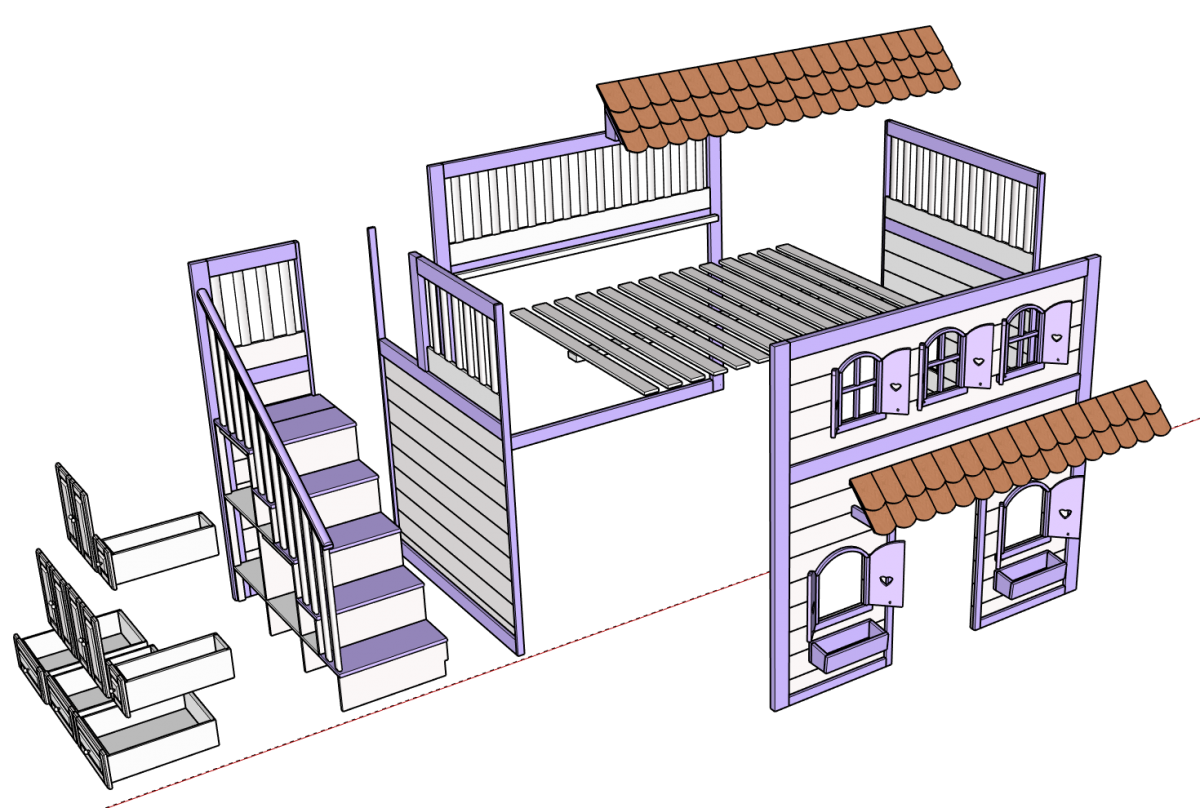
Cabin Bed for toddler. Alternate take on the Jen Woodhouse bed. Built to fit the space

Built from Plan(s)

Comments

step stool #2

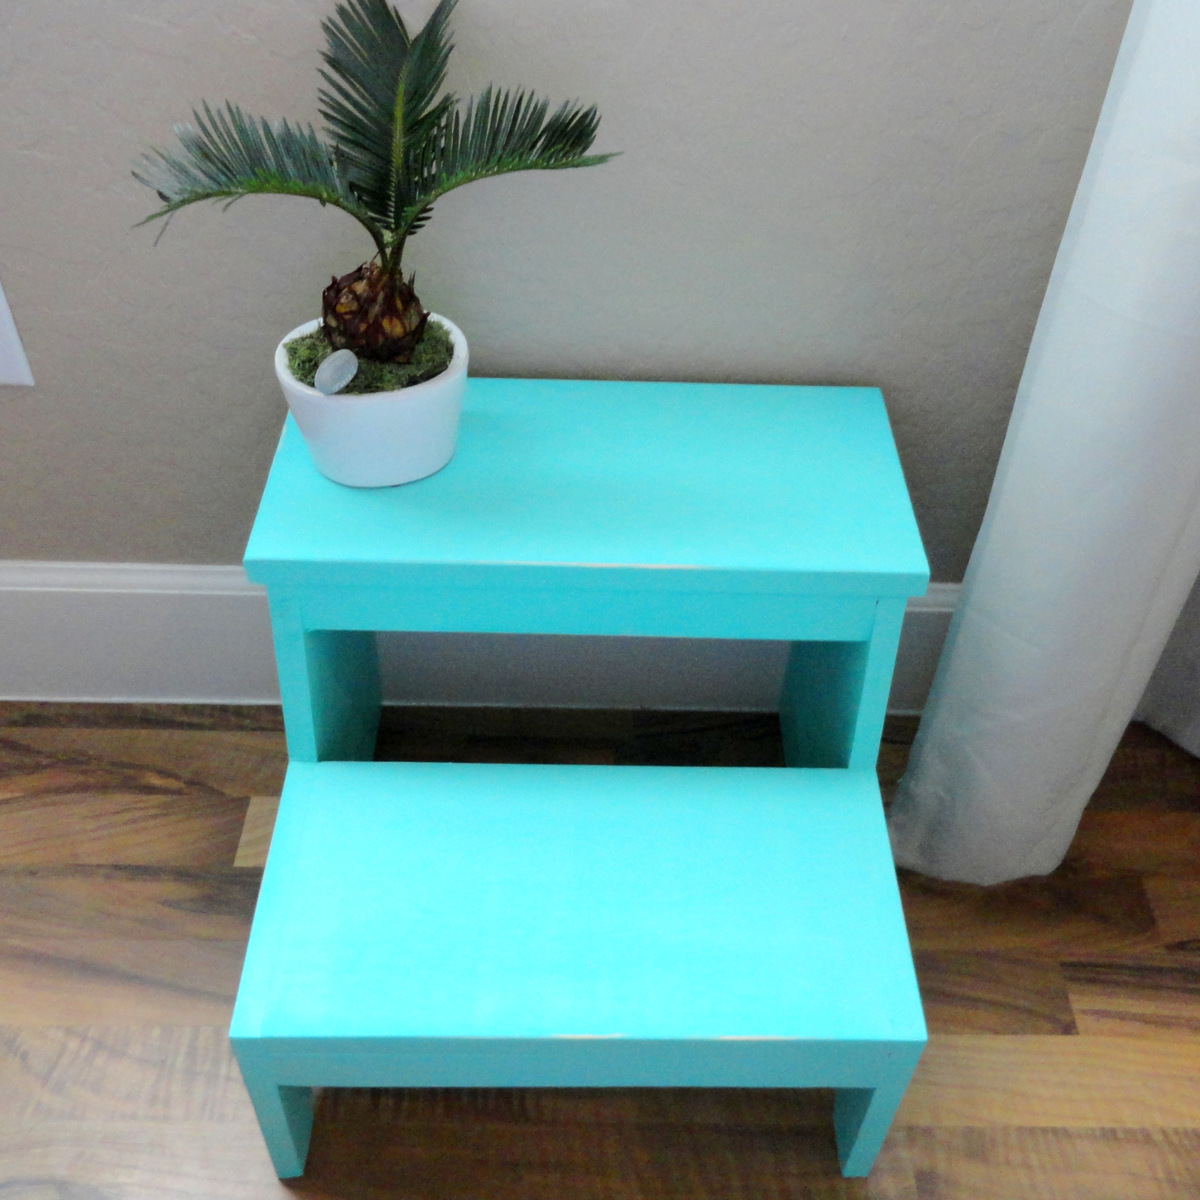
kids step stool made using scraps, personalized with name and flowers

Estimated Cost
$0
Estimated Time Investment
Afternoon Project (3-6 Hours)
Finish Used
1. prime
2. two coats Behr watermelon
3. satin poly
Recommended Skill Level
Beginner

Comments

West Elm Outdoor Sectional

My husband surprised me by making this sectional after I found the plans on your site. THANK YOU! We love it! It's been the centre of many cocktails and conversations over the years!
Note: cost includes the cost of the outdoor cushions which were purchased at Lowes Canada and slightly modified.

Estimated Cost
$800.00, including cushions
Estimated Time Investment
Weekend Project (10-20 Hours)
Finish Used
Left as is. This sectional sits outside all year long (we store the cushions indoors over the winter).
Recommended Skill Level
Beginner

Farmhouse table

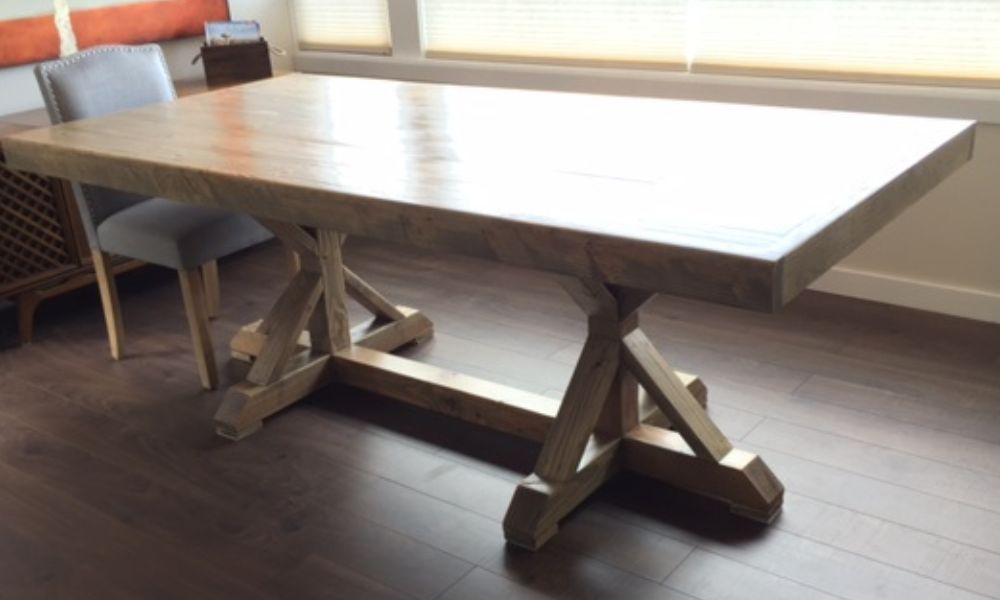
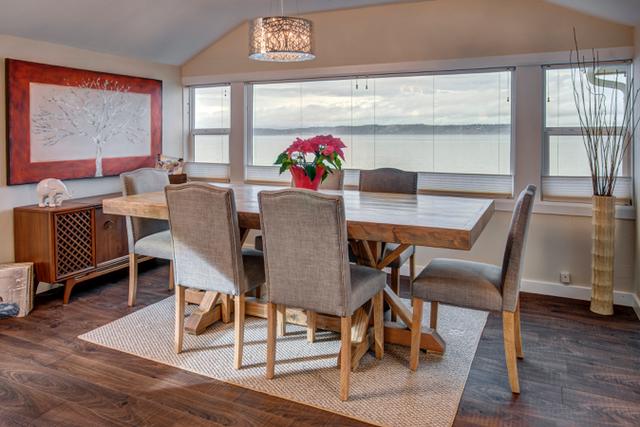
My husband built this table, making slight alterations to the plan to make it smaller. He also picked out beautiful walnut planks from a local exotic wood shop. This made the top have slightly different dimensions, too. The top is finished with teak oil and wax. The bottom part of the table was painted a solid gray. We're thrilled with the results. It's so sturdy!

Estimated Cost
About $300. The walnut cost more than typical lumber. It's worth it.
Estimated Time Investment
Weekend Project (10-20 Hours)
Finish Used
Teak oil in Medium, Howards wax and feed on top. HGTV Sherwin Williams paint in flannel gray
Recommended Skill Level
Beginner

Modified salsa console buffet

Submitted by Anonymous (not verified) on Tue, 01/22/2019 - 16:25

Made a little smaller than original plans and completely out of oak  

Built from Plan(s)
Estimated Cost
400 (oak is expensive)
Estimated Time Investment
Weekend Project (10-20 Hours)
Finish Used
Minwax early american.
Recommended Skill Level
Intermediate

Fireplace with hidden Mantle storage and side bookshelves

Submitted by ibseenu on Thu, 12/01/2022 - 14:30

Thank you Ana for you Fireplace design as it was exactly what I needed! We’ve lived in our house for 3 years now and I’ve wanted a fireplace ever since. Your plan was perfect and with a few modifications I made it come to life. My 9yr daughter as I was almost done building thought there should be a shelf for books and movies below the fire place. It gave me the idea of adding storage on the sides. I had already had the idea of the mantle storage and just used a floating shelf idea and made that. This was a lot of fun!! It took me a little over a week to build. But can’t wait to build something else for our house… like the mudroom!
Amy

Comments

jtemperley

Sun, 01/08/2023 - 19:02

That looks awesome! My husband and I are planning on doing this as well. I do have a question, as I see you have carpet just like us. Did you cut out the carpet where you built out, and if so how did you go about that, or did you just build on top of it?