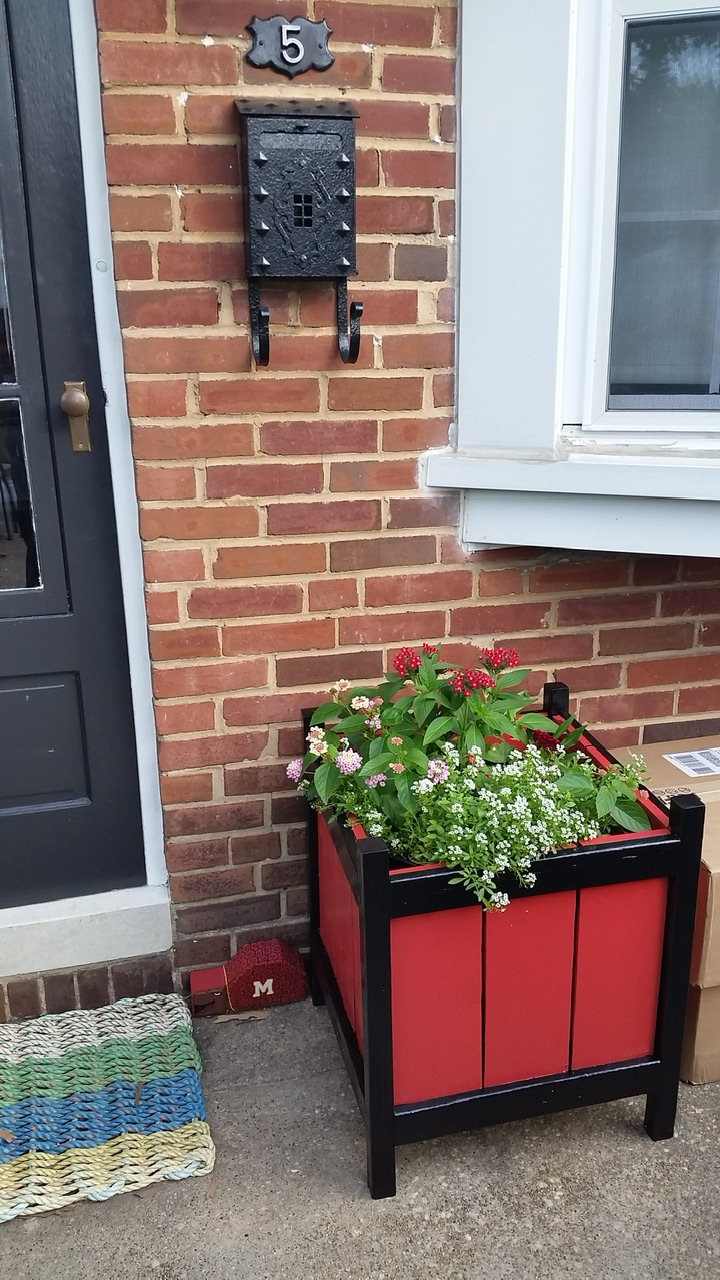
Cedar planter
Thanks for the plans!
Built from Plan(s)
Thanks for the plans!
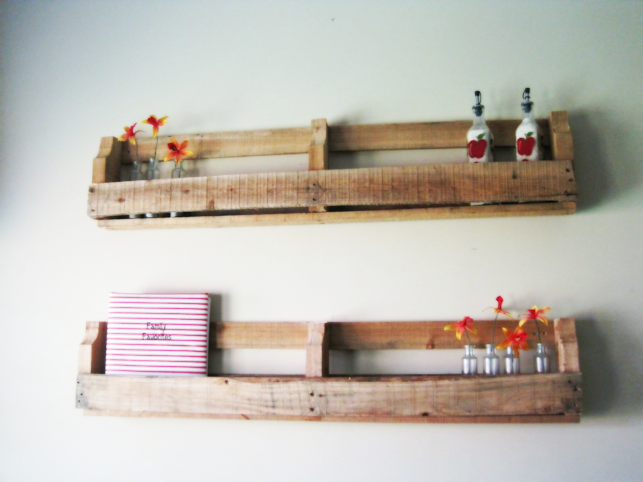
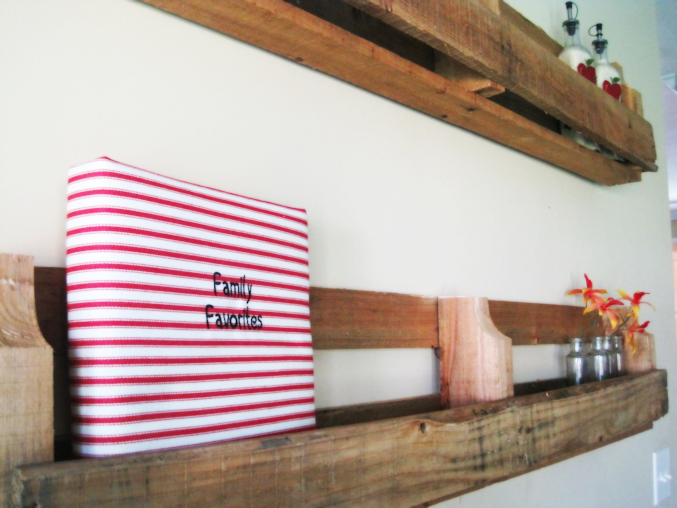
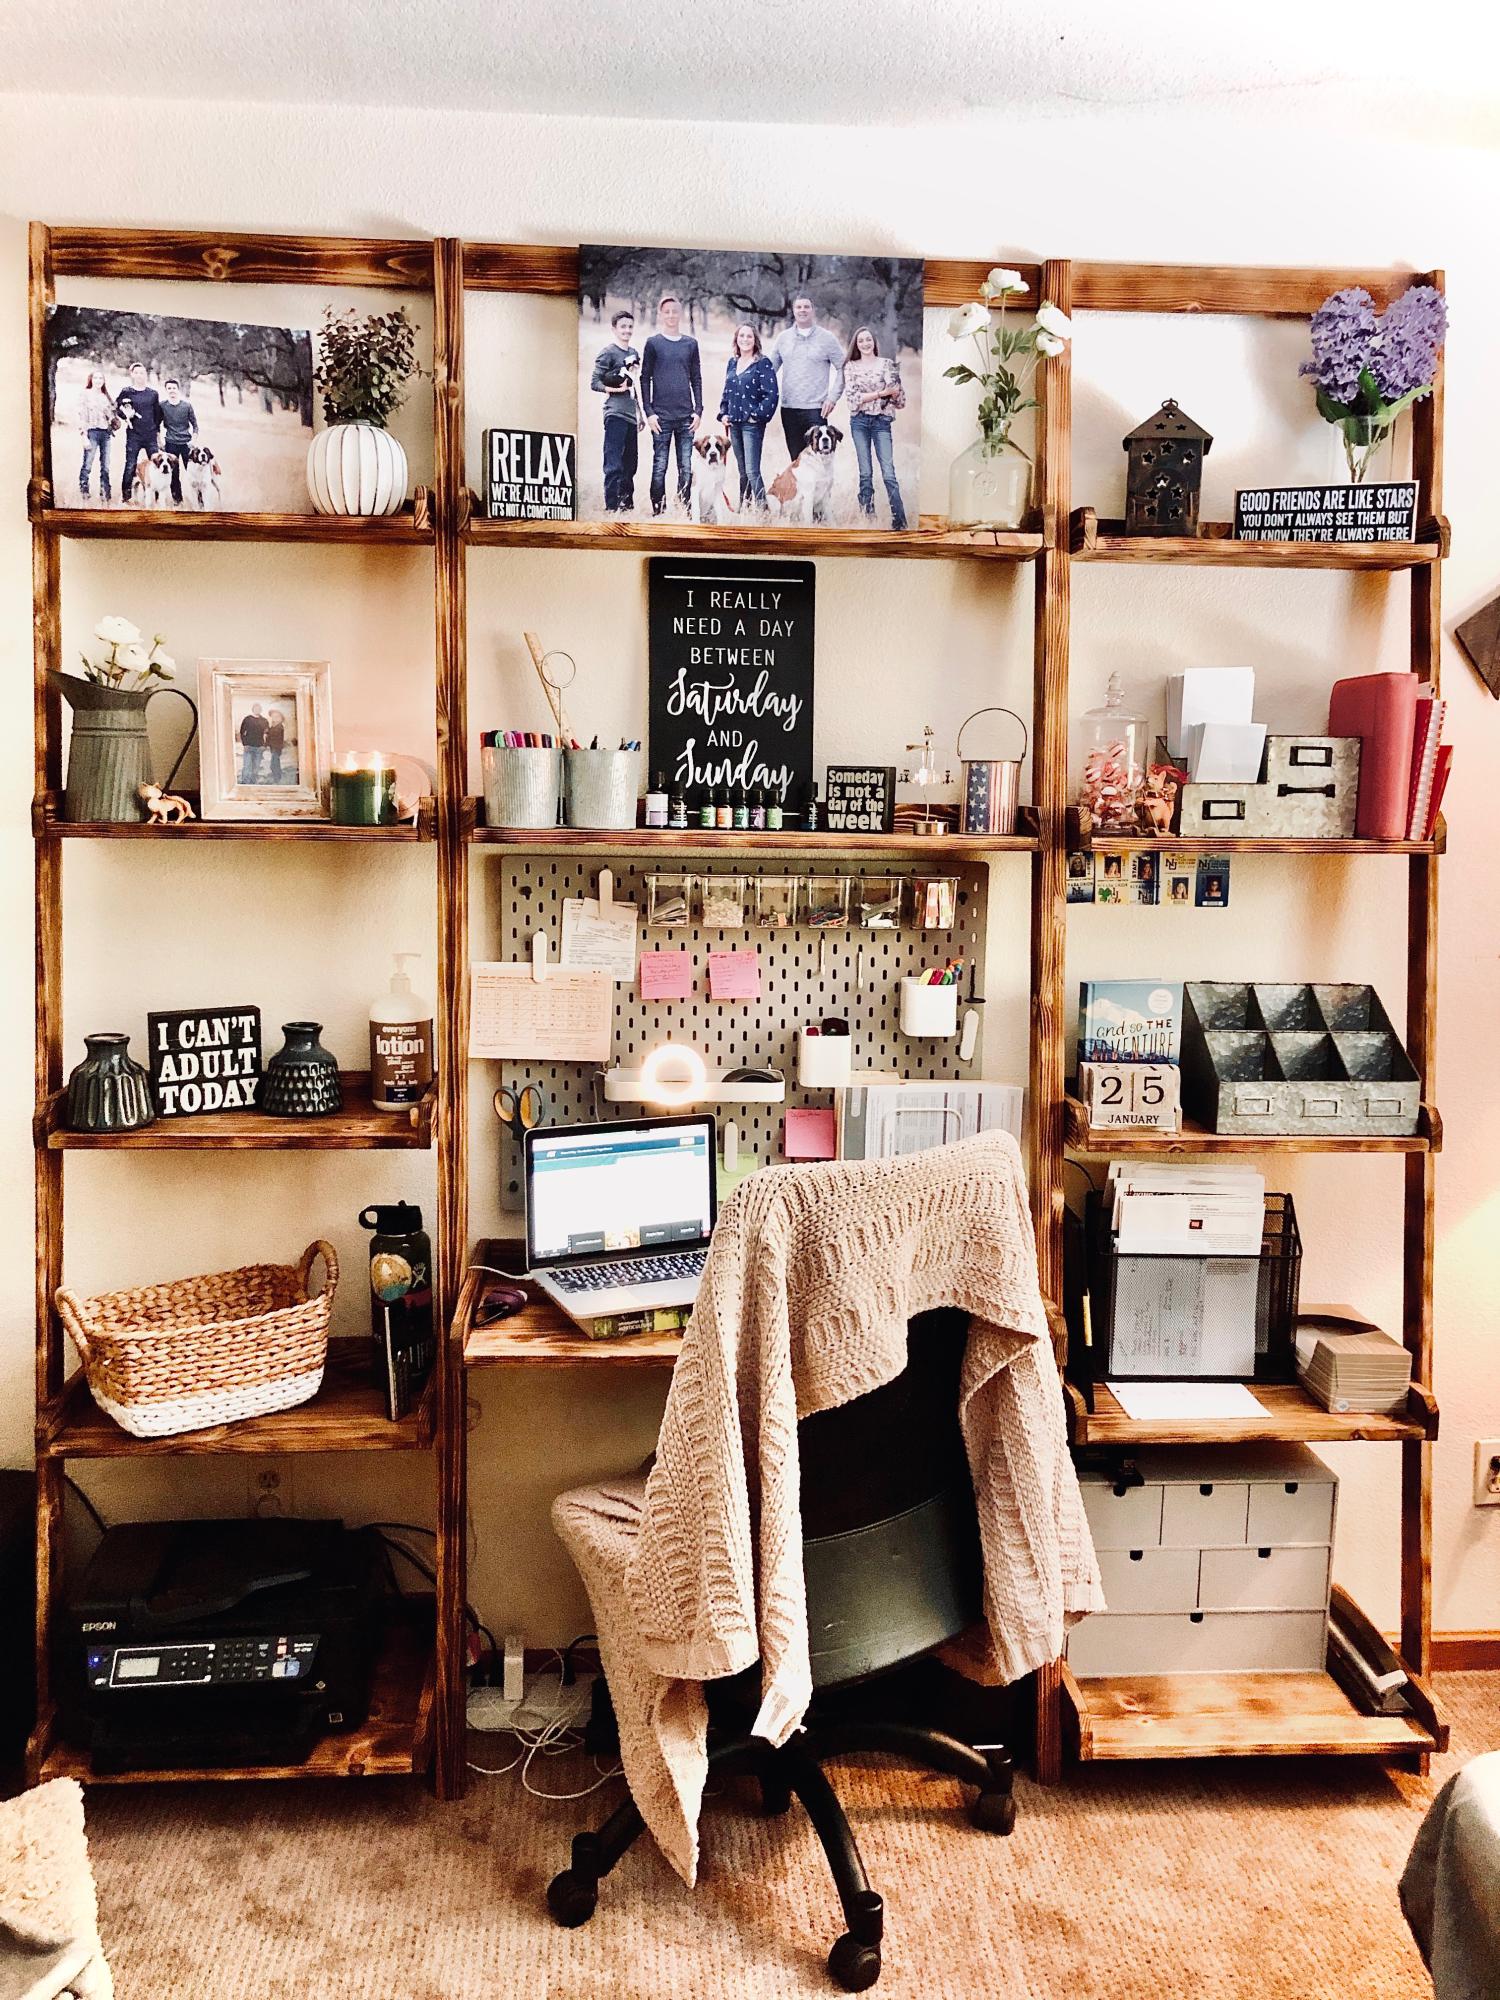
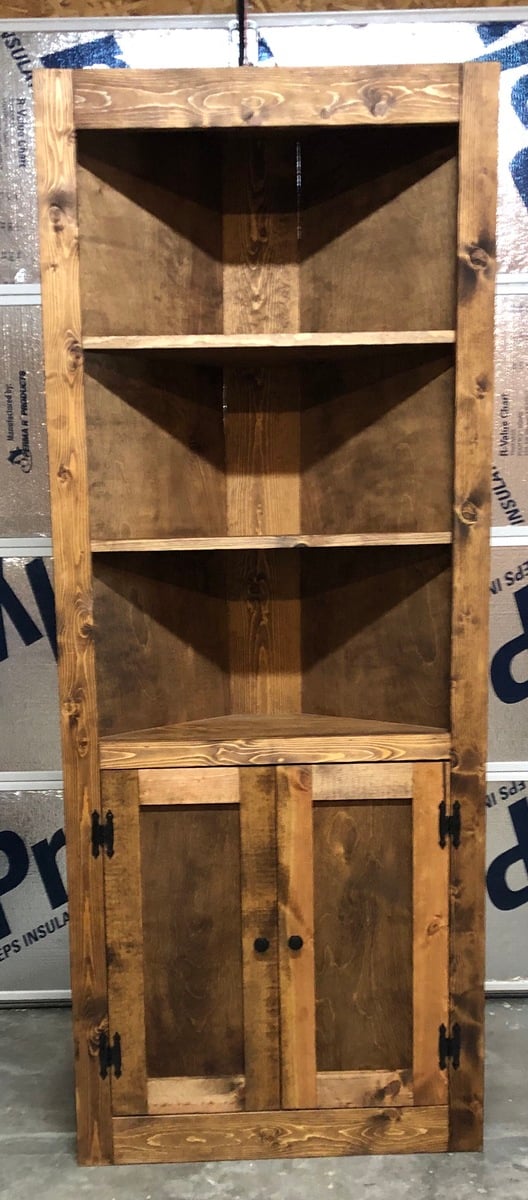
Love these shelves.... Best part about them is they were completely free but add such a great country feel to my country style kitchen...
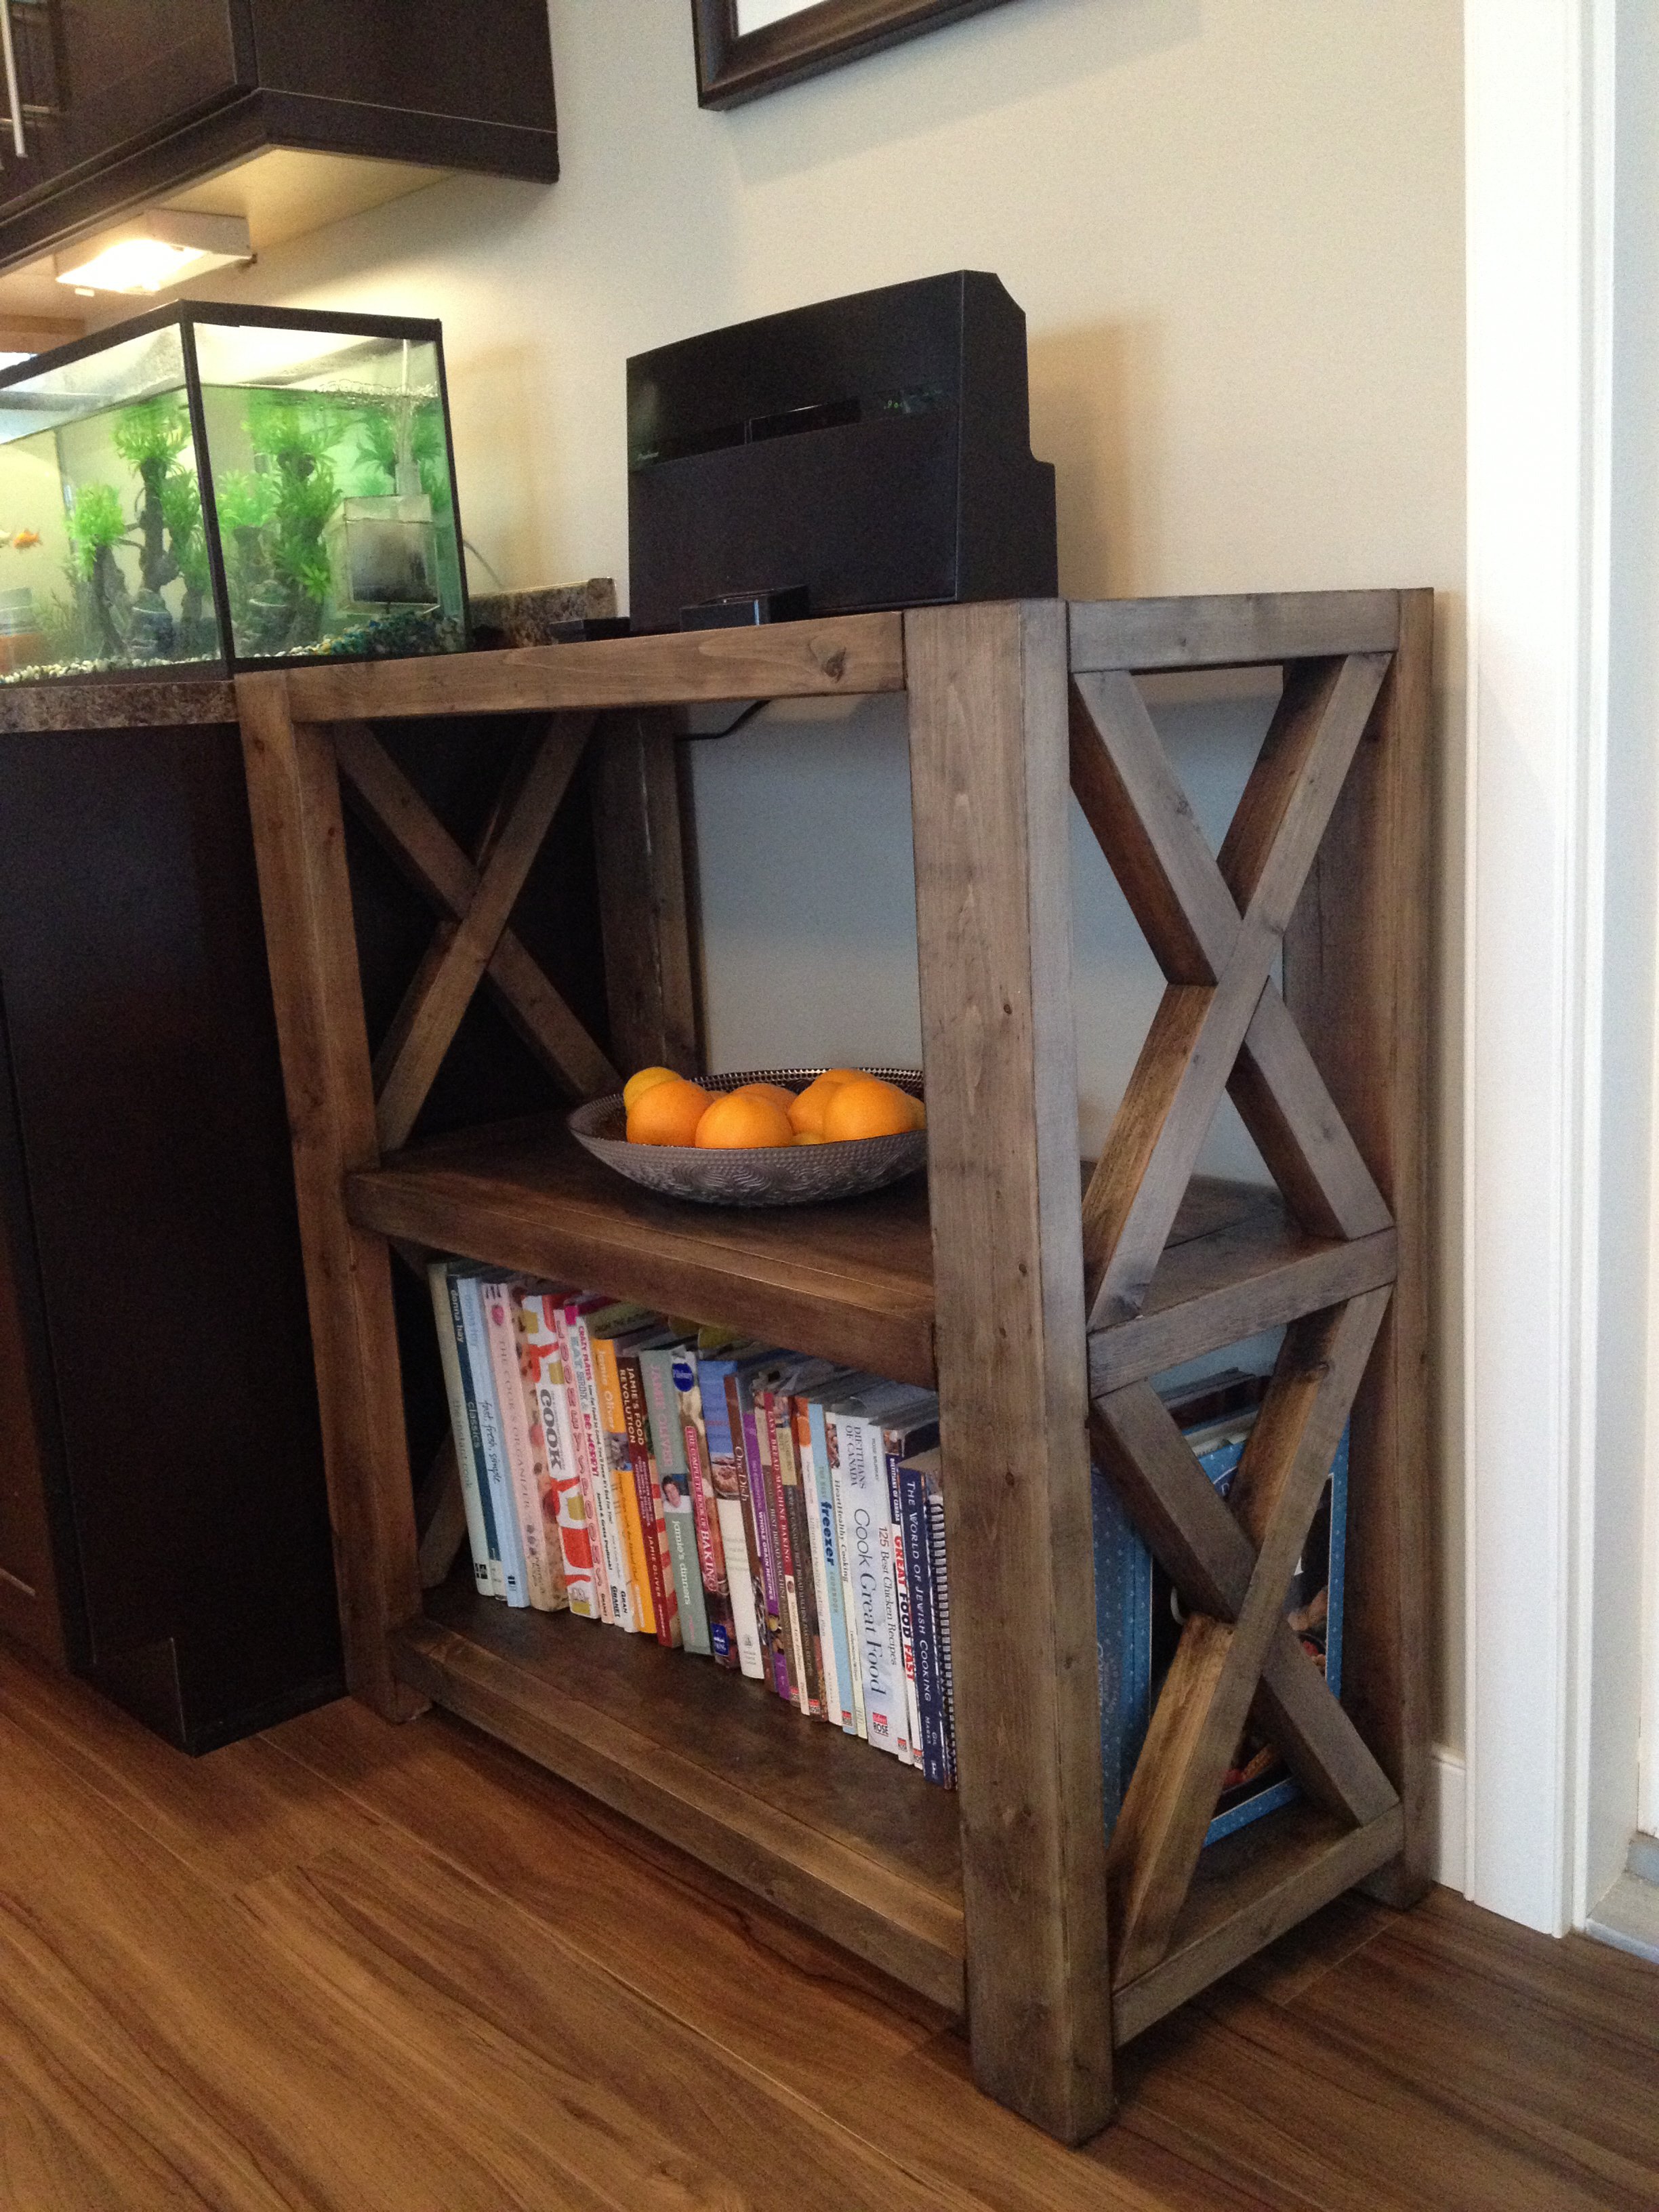
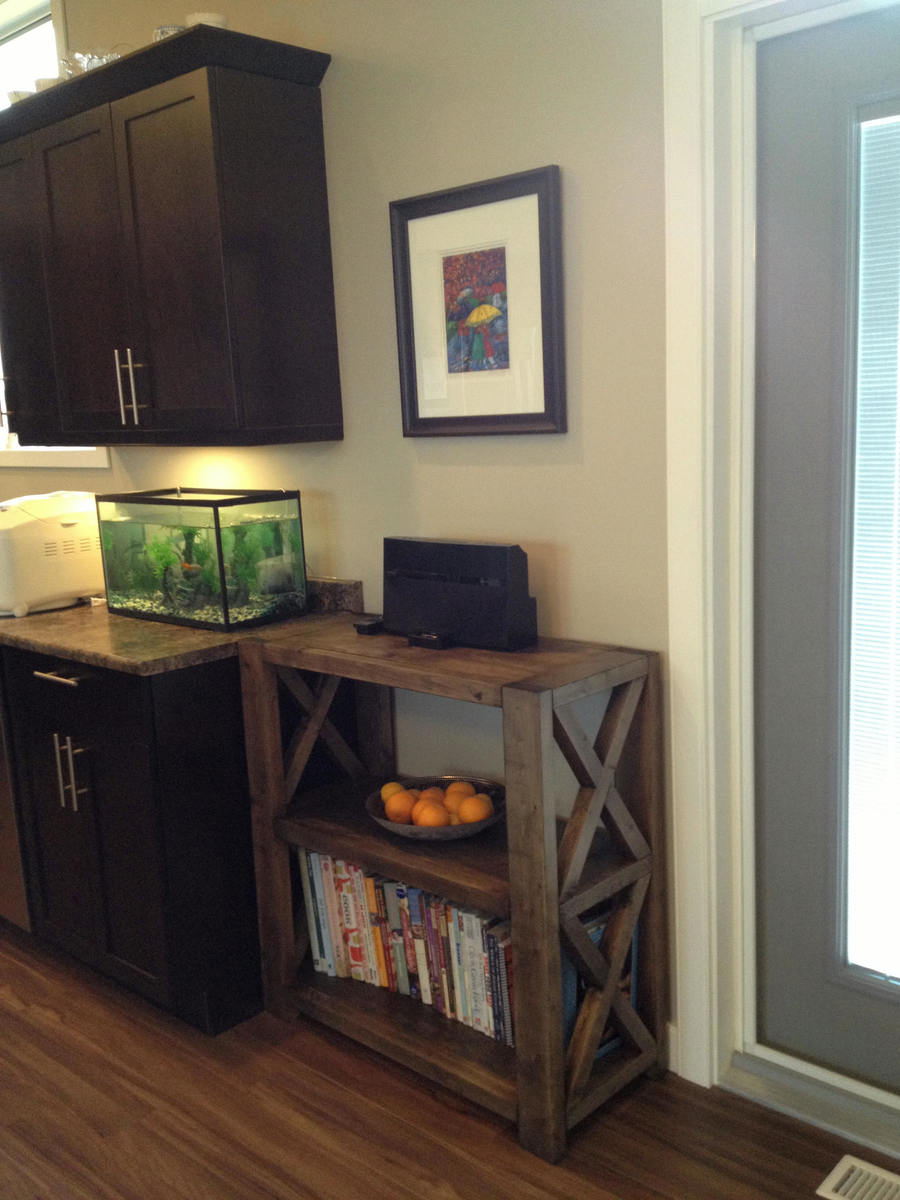
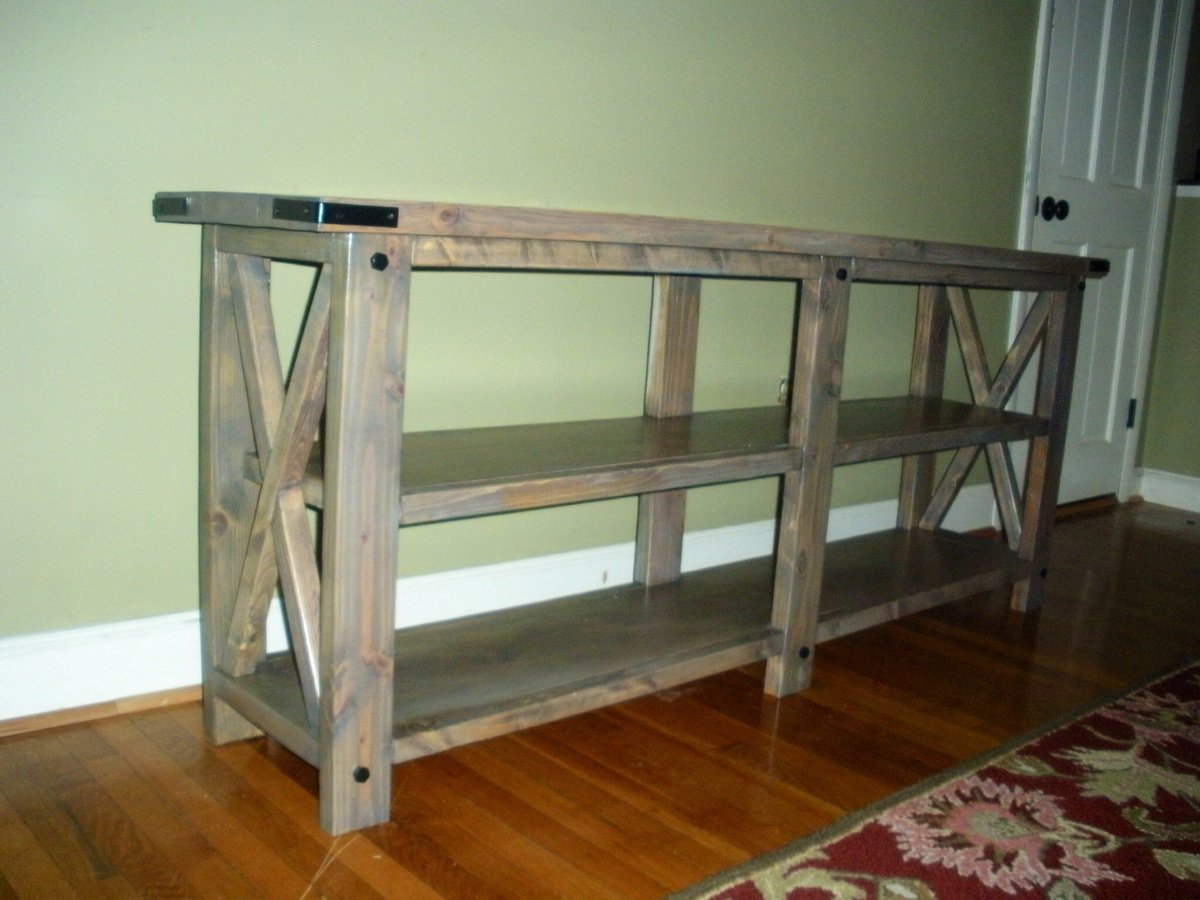
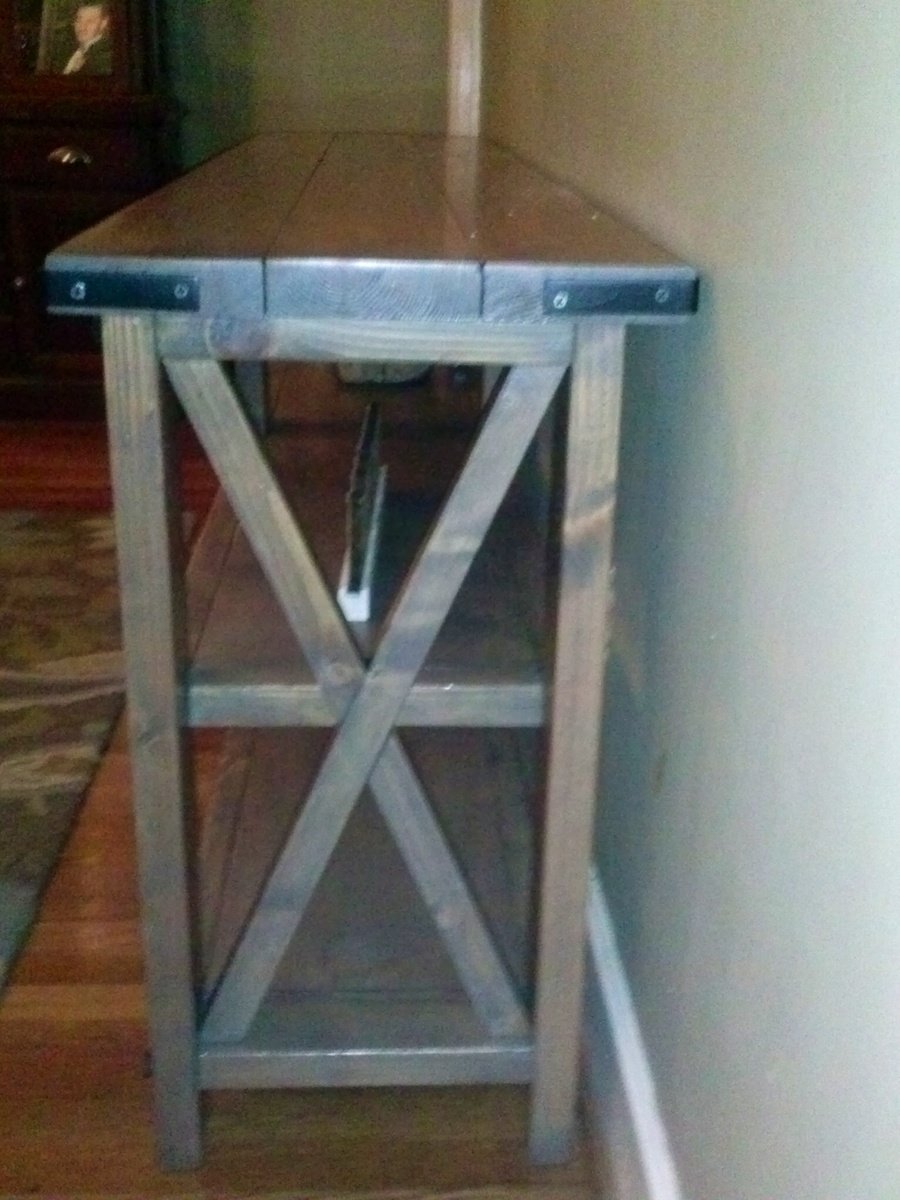
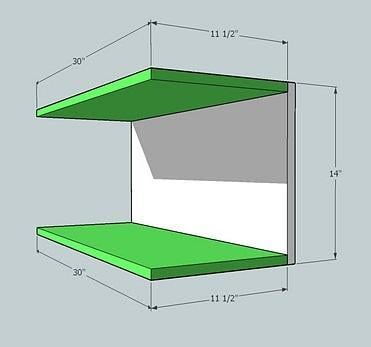
I've loved the Rustic X series from the first plan (the console table) but none of them were things I needed for my home. So when I saw the Rustic X Tall Bookshelf I was thrilled since I have been needing a cookbook shelf in my kitchen, and had been trying to design my own using some form of the X construction. I still needed to customize it, but it was much easier to do from the existing plan. I made it half the height since I wanted it to be flush with my counter, and also wanted it narrower. I had leftover 1 x 12s from another project so I used those, and decided to make two Xs instead of one because of the narrower width. I cut the X's to fit, and used wood glue and 2" nails to secure them from the bottom. Perfect fit for my space!
Sun, 12/22/2019 - 18:07
What is the cut list for this modified, shorter version?
мой первый проэкт
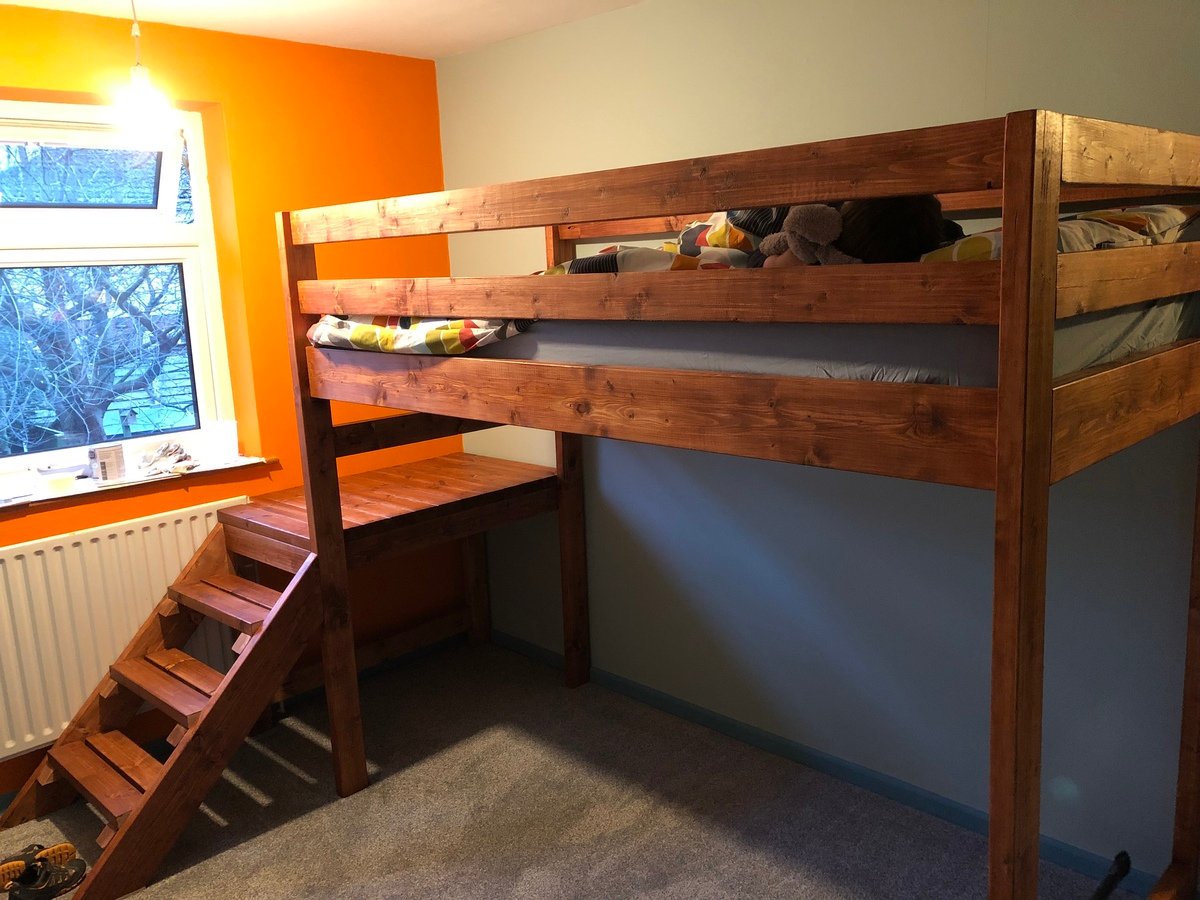
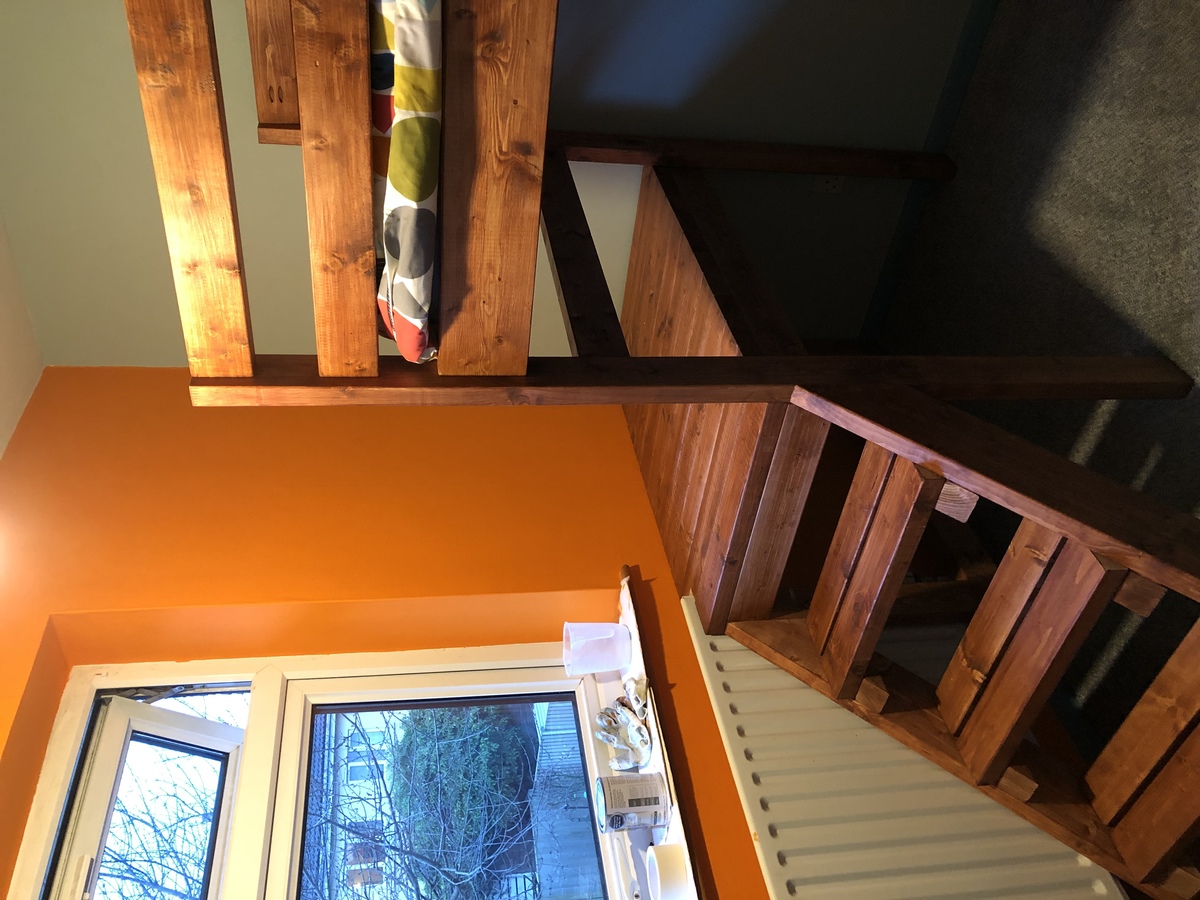
We had to change to a slightly different size wood as the sizing of the original plan would have been very expensive in the UK.
We also had to adjust to a different mattress size (90x190cm).
We also had to work around a radiator. We left no gaps on the platform.
Huge hit and very pleased with the result.
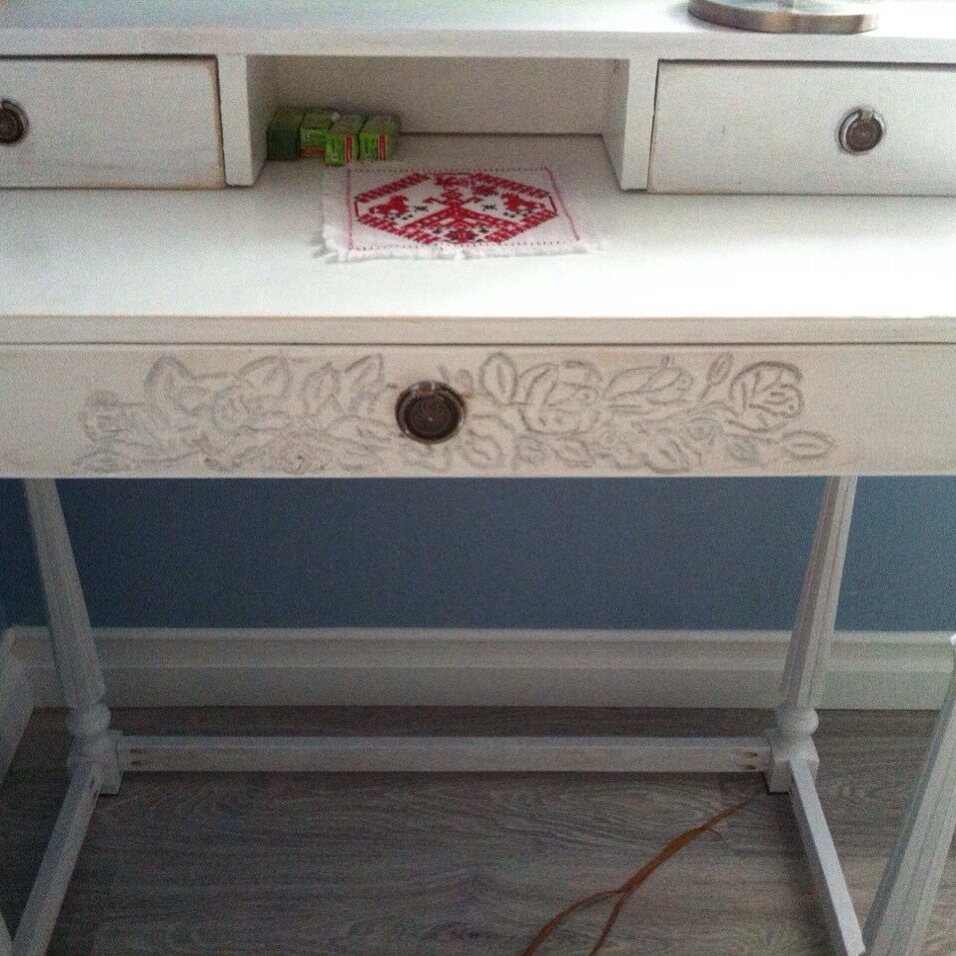
Absolutely love this desk. We changed the shelf heights just a bit and made the center ladder more to my height needs. We burned the wood before staining.
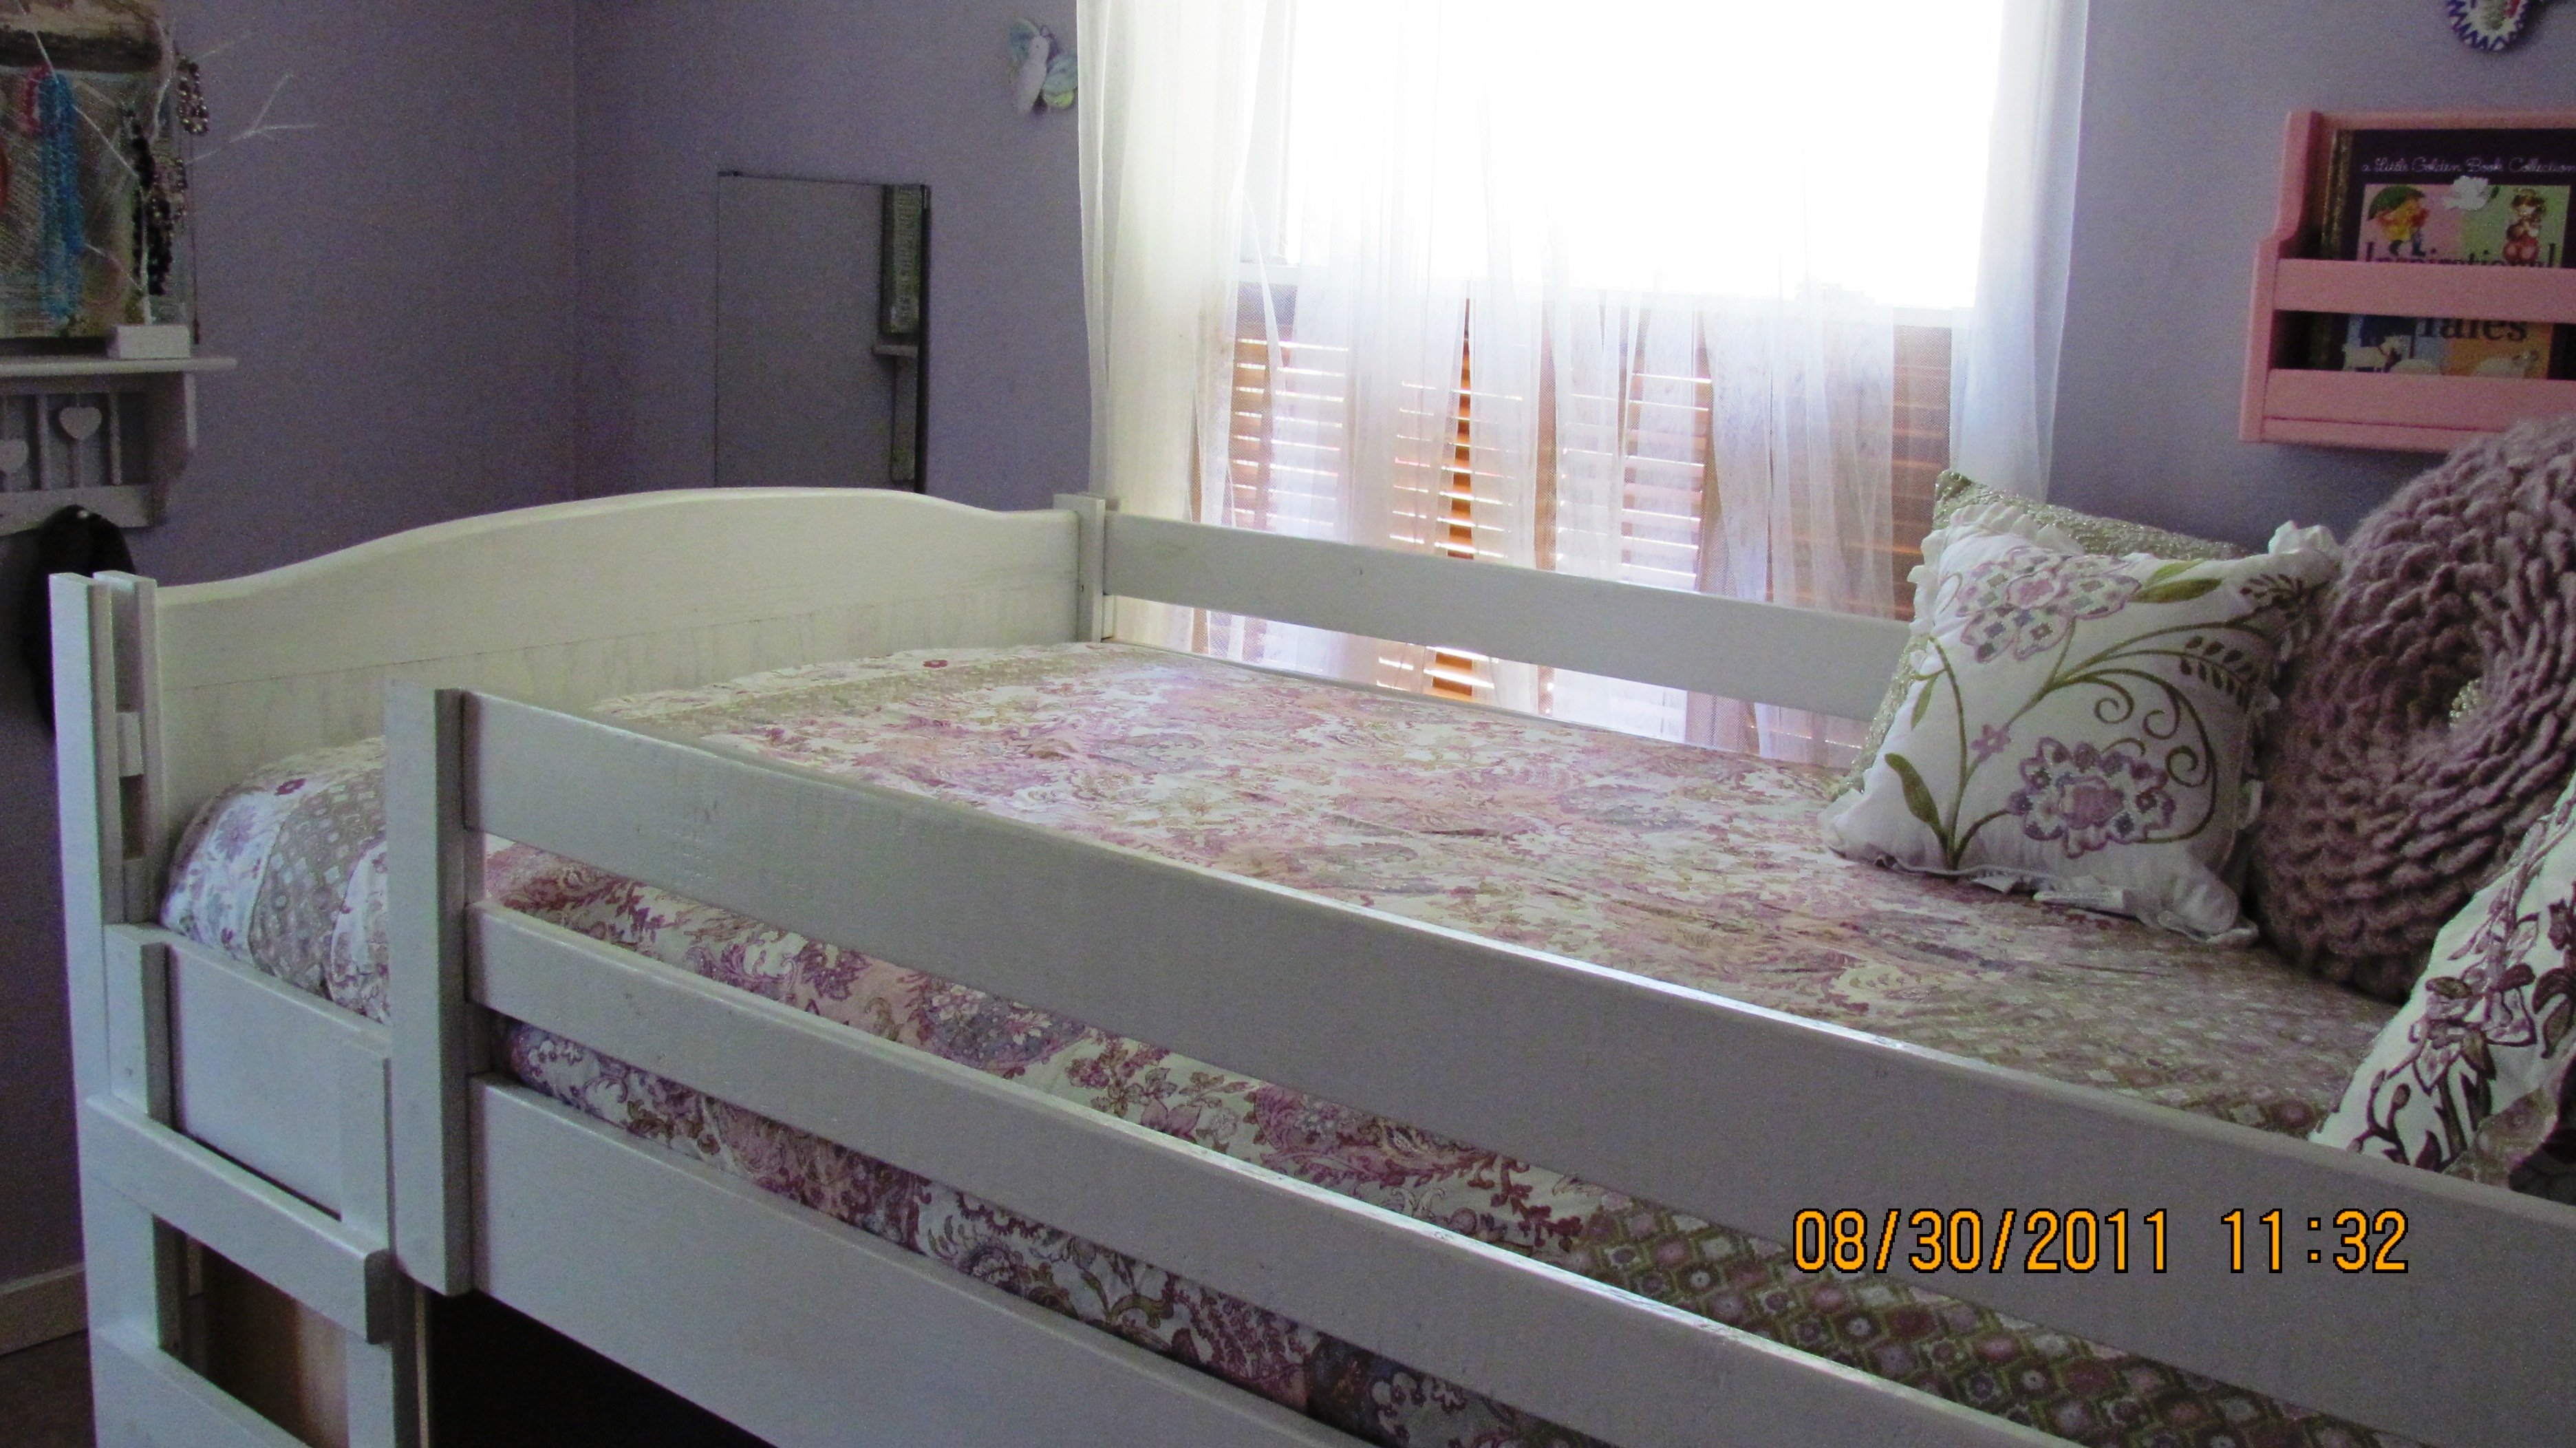
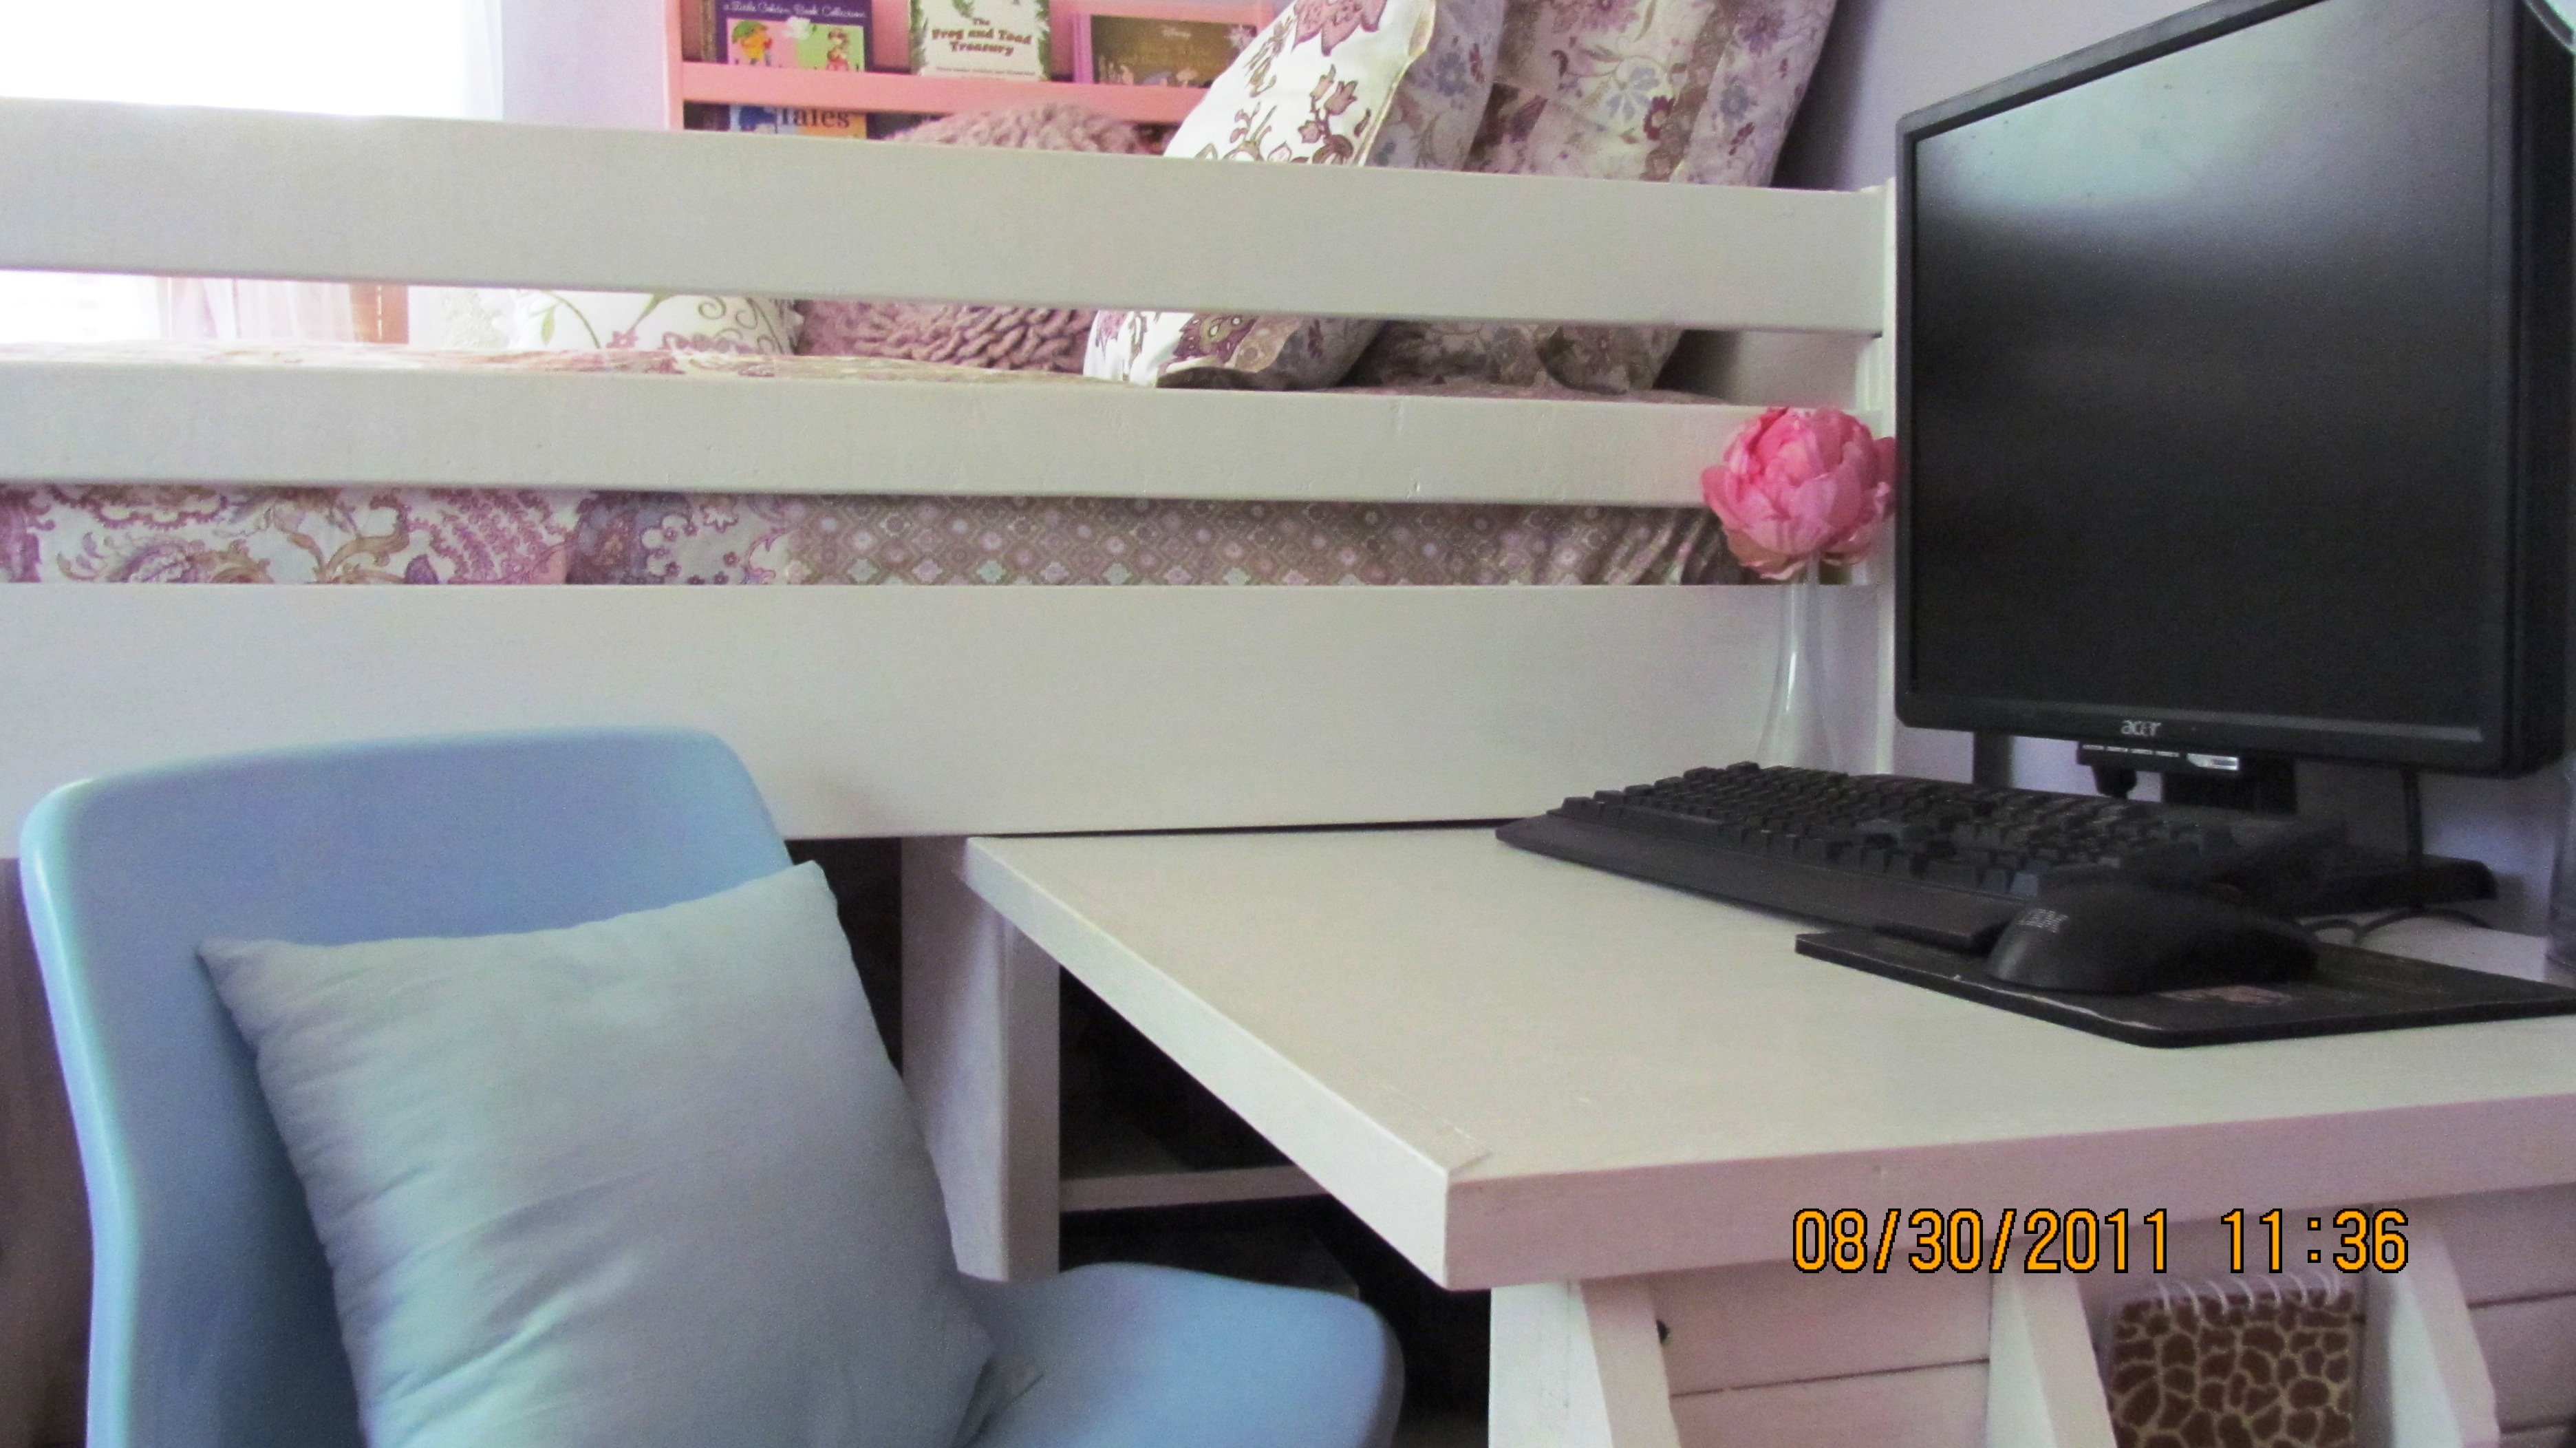
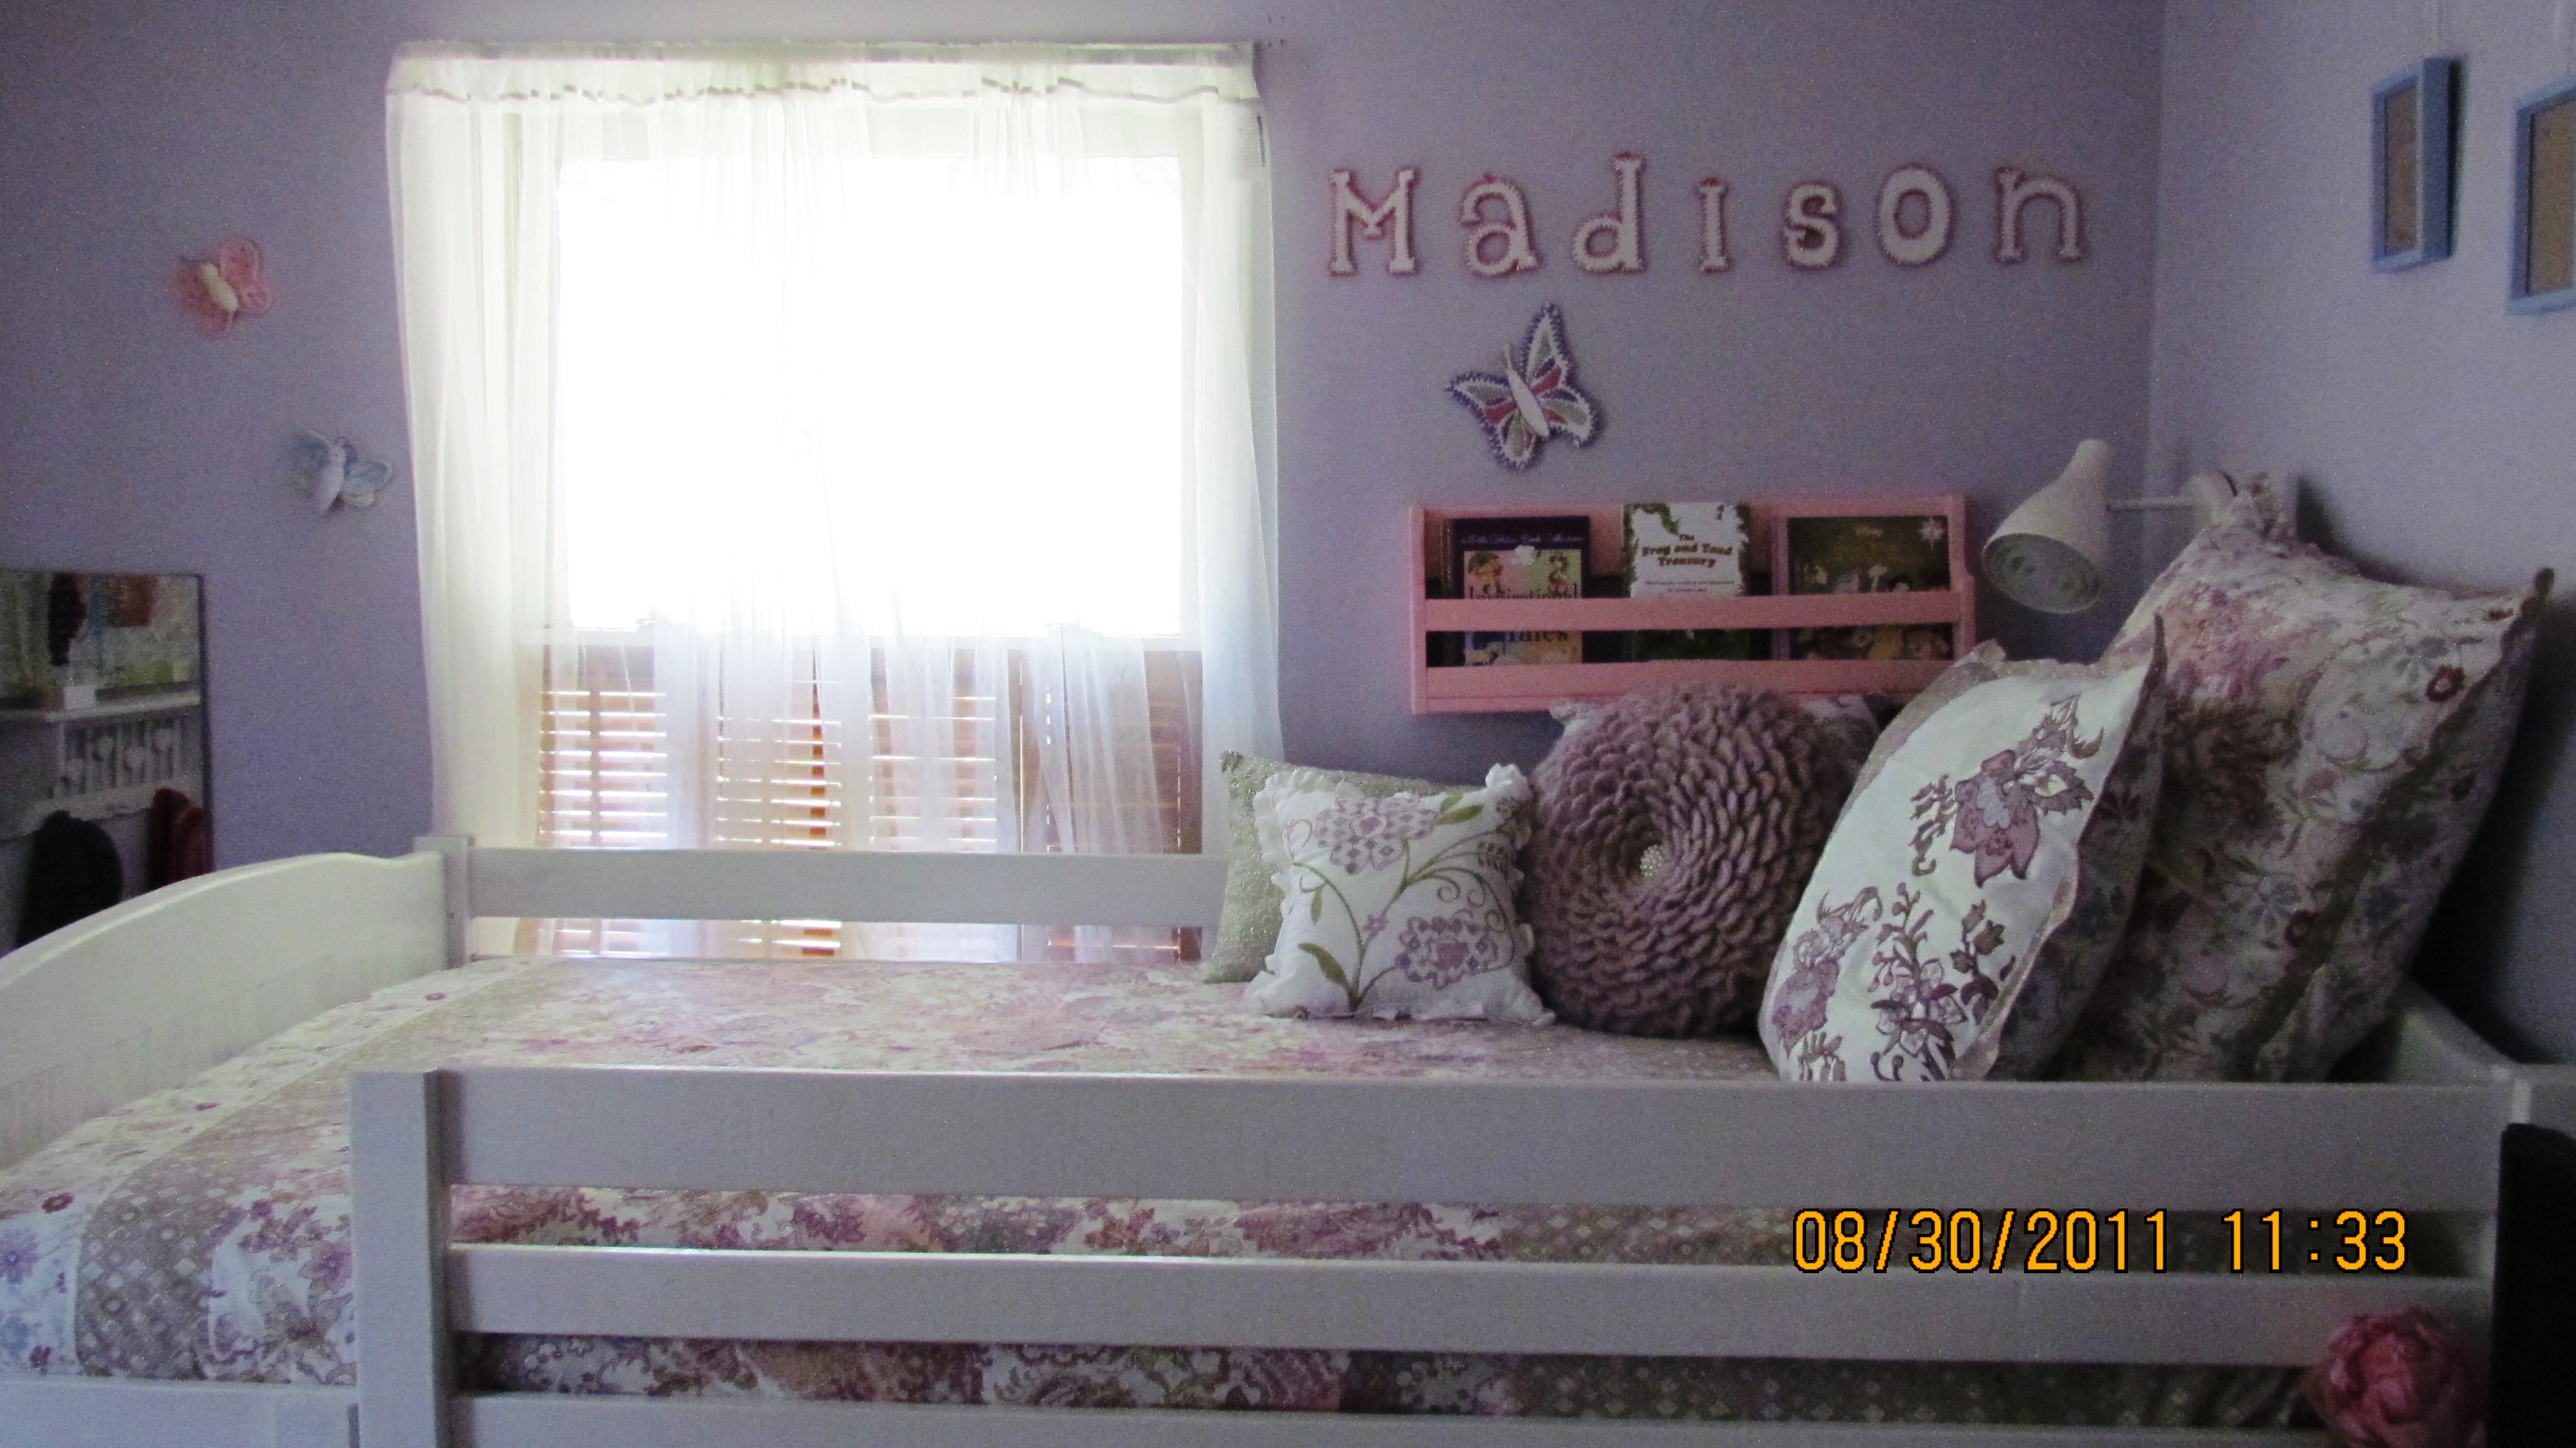
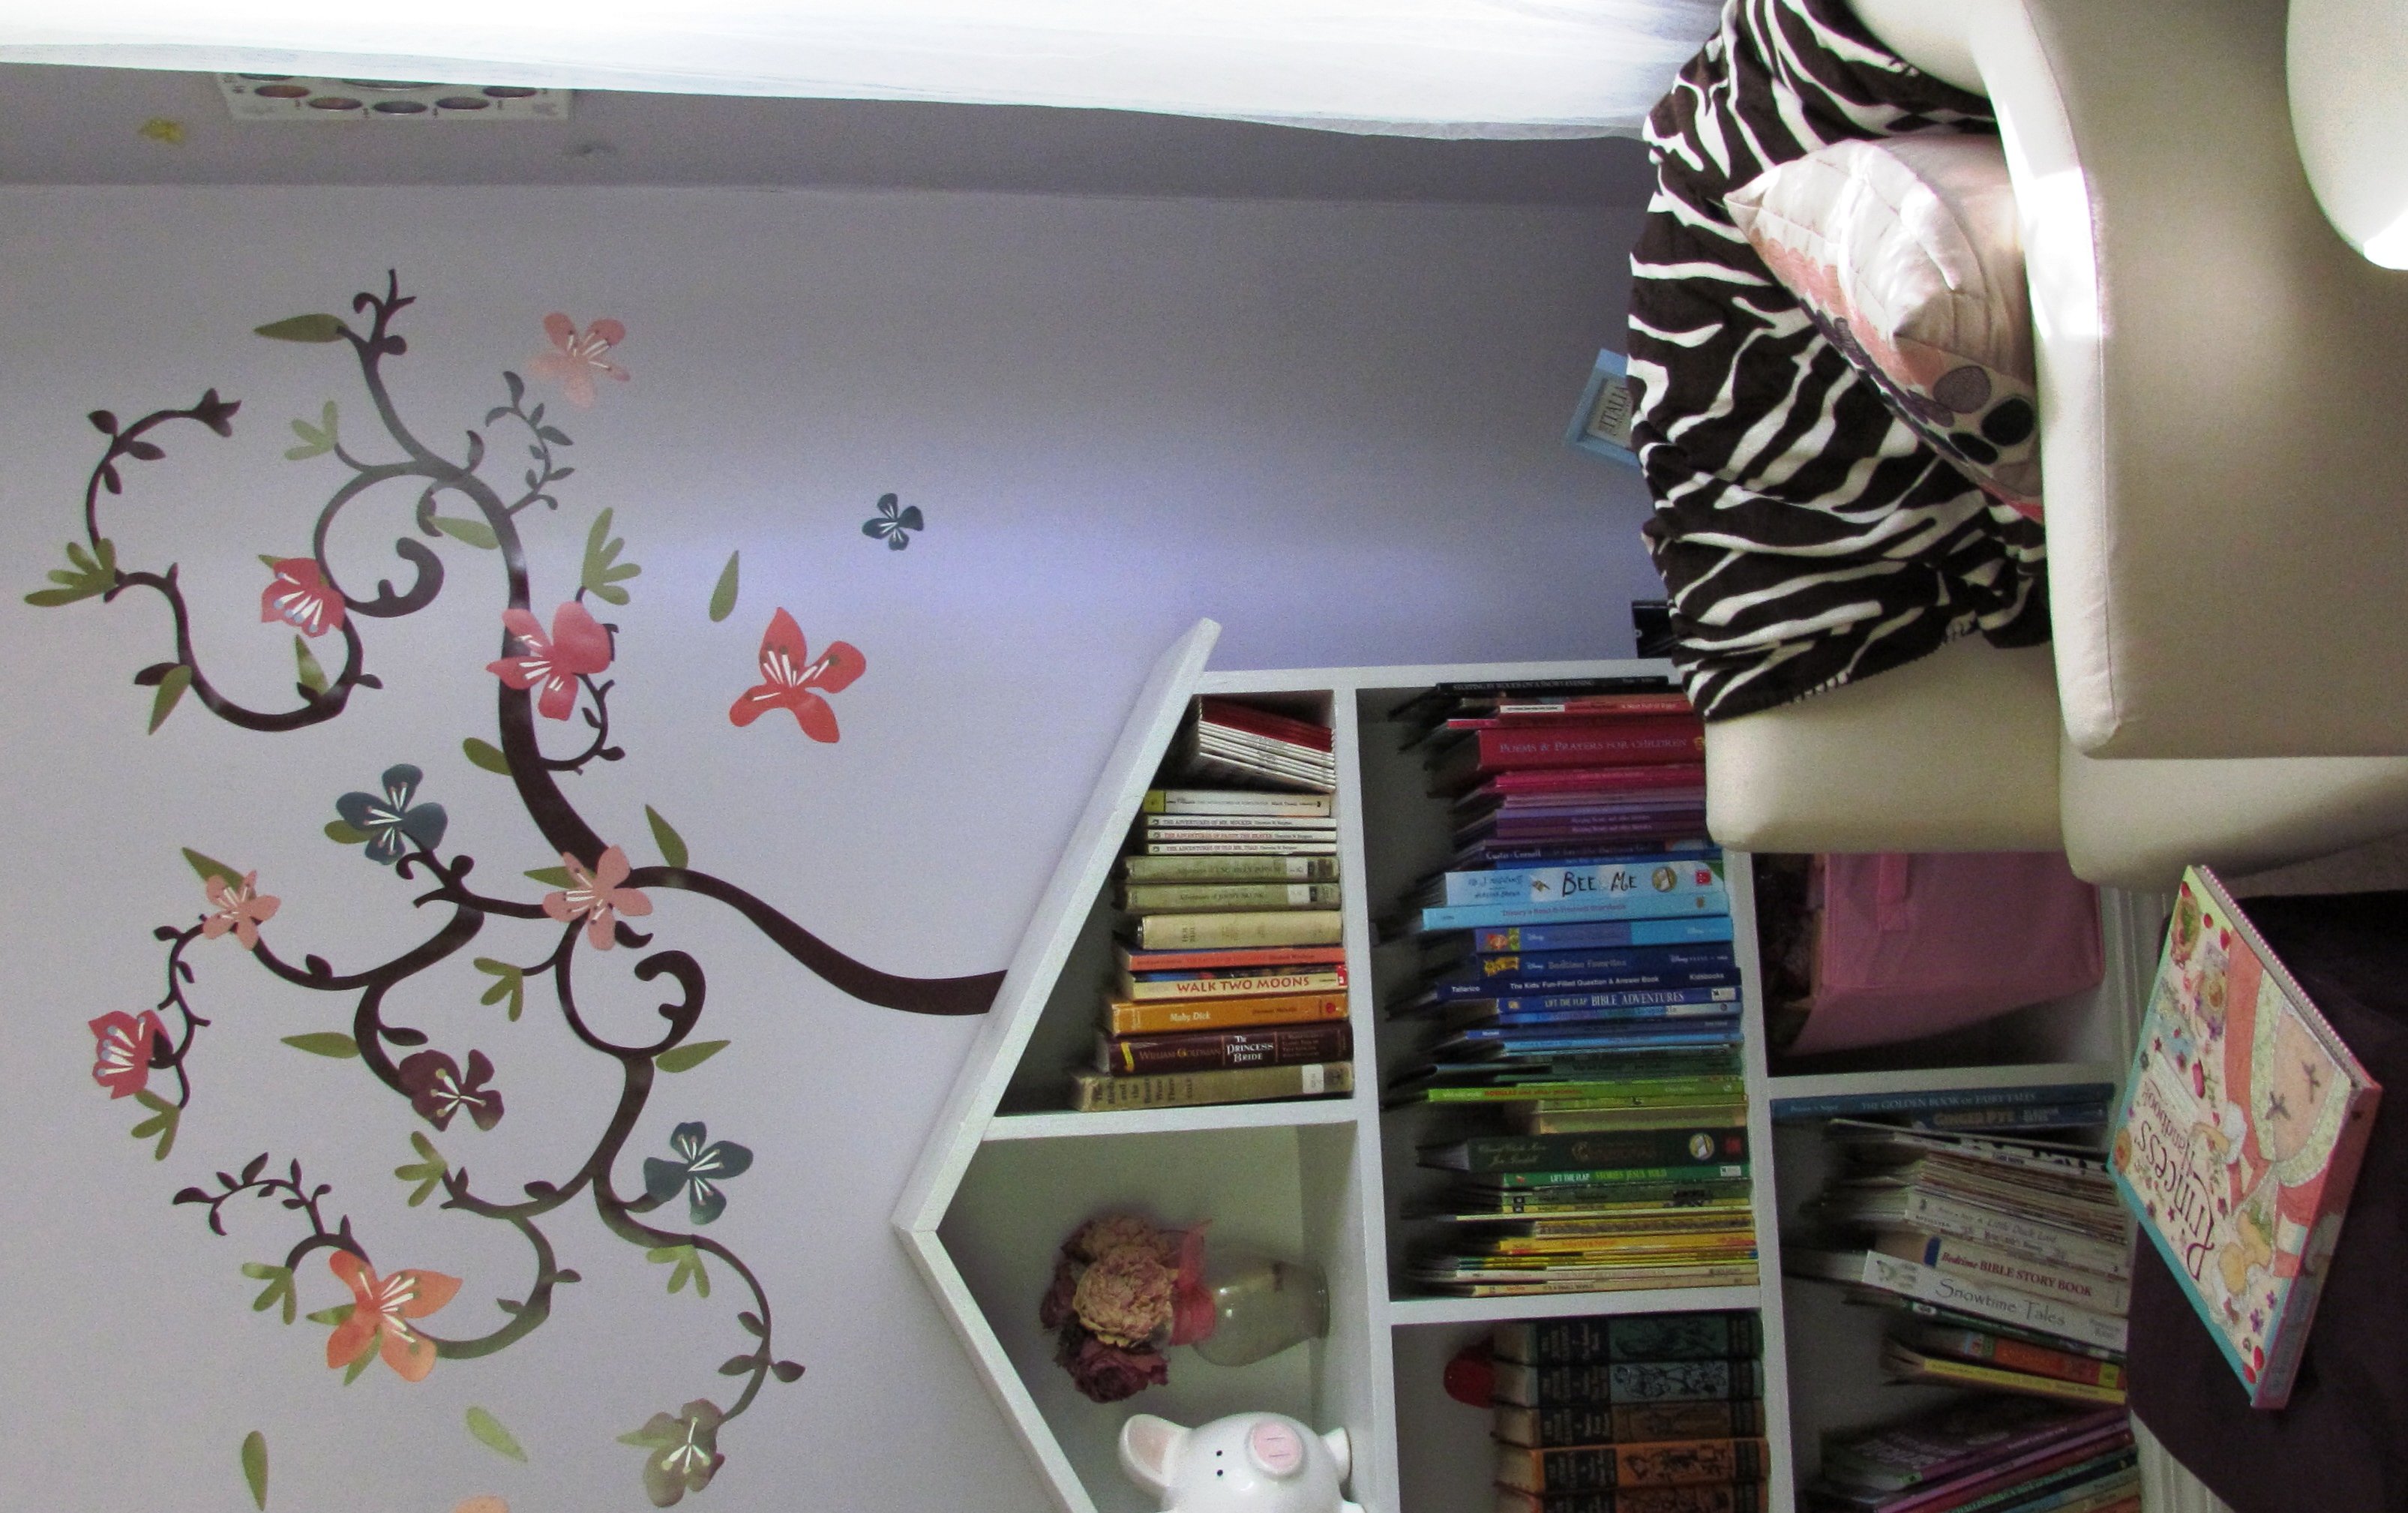
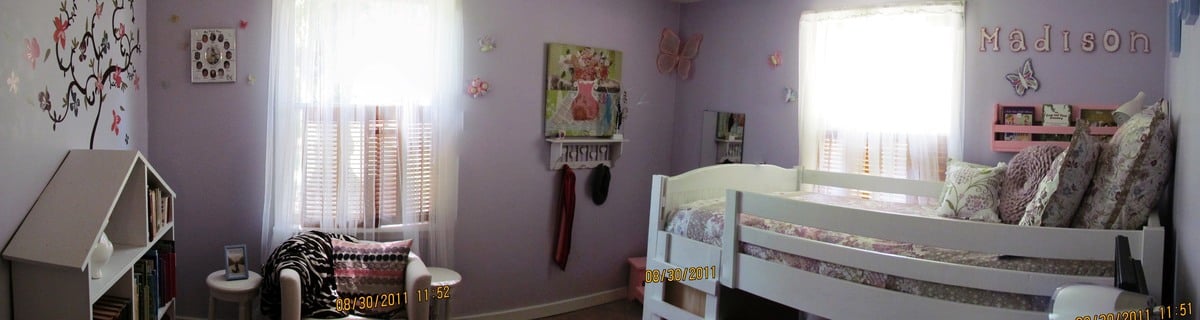
To celebrate my daughter beginning Kindergarten, I built her a school-appropriate bedroom. Inspired by the Junior Loft Bed on the Walmart.com website, I modified Ana's Chelsea Bunk plan by changing the height and adding a built-in desk unit. The bed is 27.5" from the floor to the bottom of the siderail and has an overall height of 43". The desk section has a custom-built cabinet designed to fit her oddly shaped computer unit.
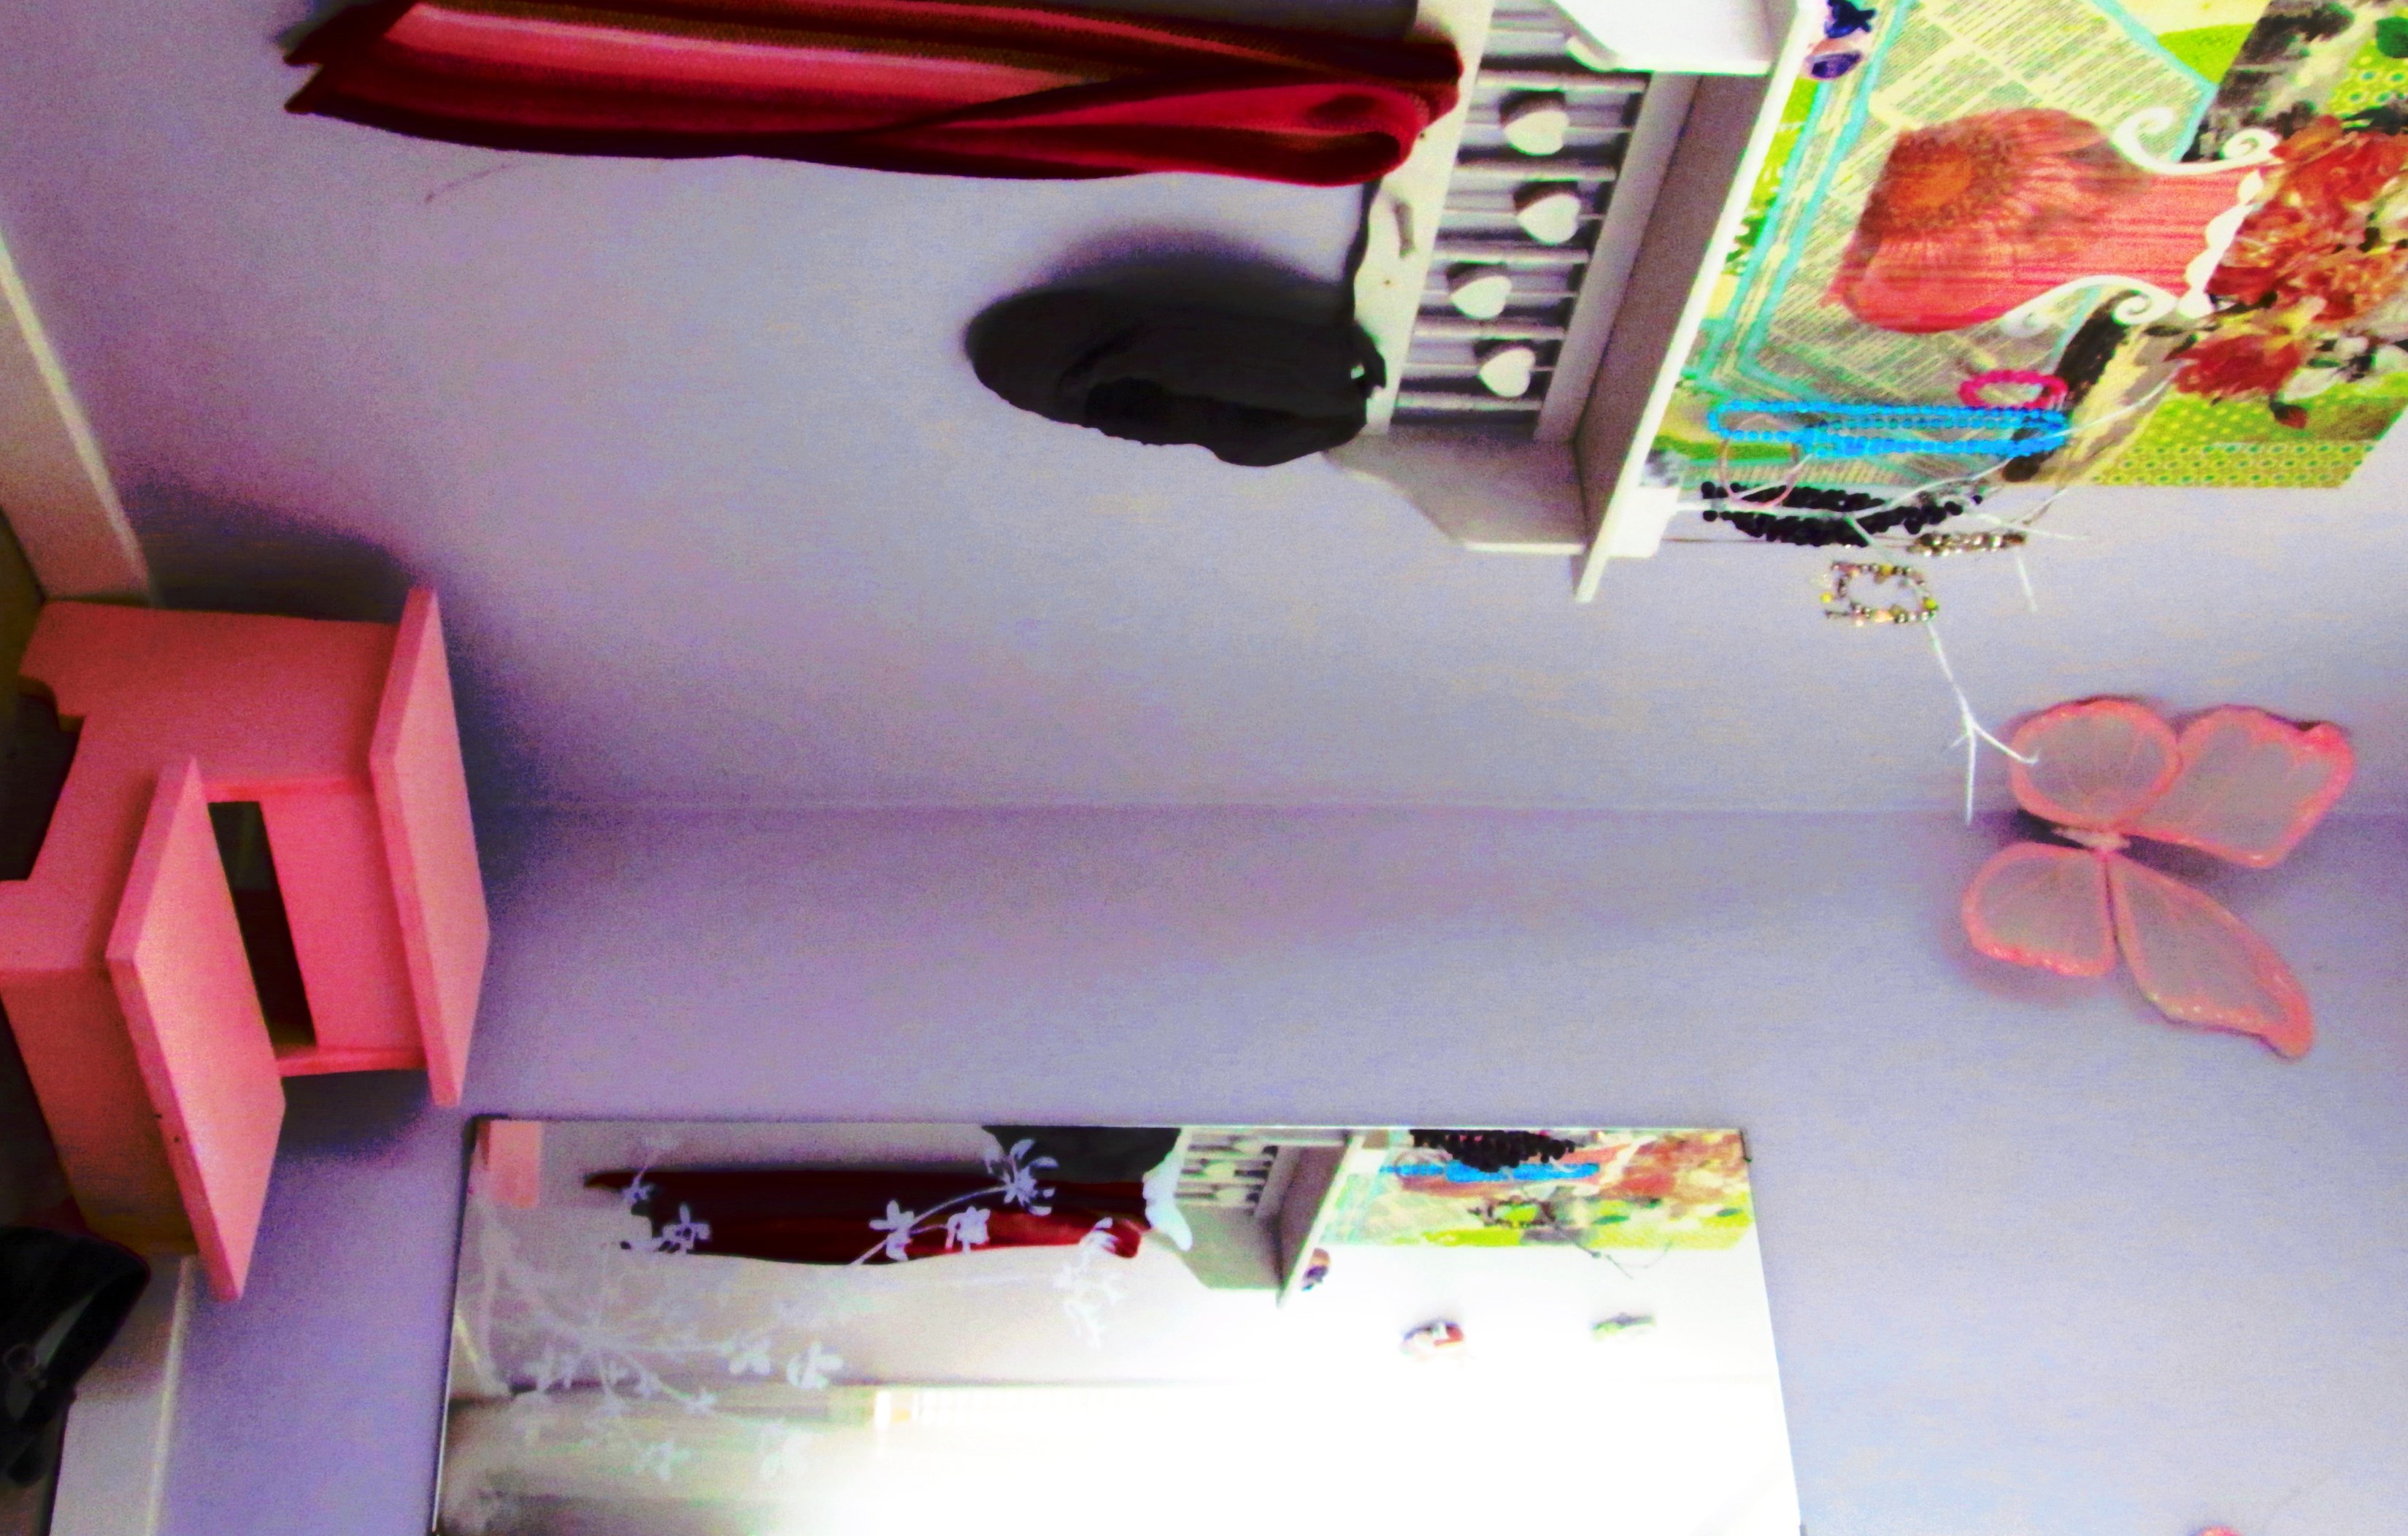
The room is divided into separate "nooks" with an overall emphasis on reading (she LOVES to read). There is the reading nook with her bookcase and comfy chair, a dressing nook with her stool and mirror, her study nook with her computer and school supply cubbies, and her sleeping nook.
Other modified Ana features in this room include the dollhouse bookcase, flat-wall book holder, numbered cubbies on the wall, and the vintage step stool.

Wed, 08/31/2011 - 13:17
What a nice bedroom!
How did you make use of the space under the bed?
Wed, 08/31/2011 - 19:13
Right now I have the cabinet base for the desk, a large container full of accessories for her dollhouse, a large dollhouse, and a 3-drawer chest (Rast from Ikea) all under the bed with plenty of room to crawl around and play/sit/hide/etc.
Lifting the bed up off the ground really doubled the storage space in this small room (10x10 feet!)

My wife and I were expecting our first so we had to downsize from a queen to a full. While my wife was away for a week on a trip, I put this together. She always talked about a canopy bed and I think it turned out nice. I made a few modifications to Anna's design. The canopy is higher, I used edge support for the bed and I used dowels for everything with the exception of the lag bolts connecting the canopy to the bed. This was my first furniture project (other than shelves).


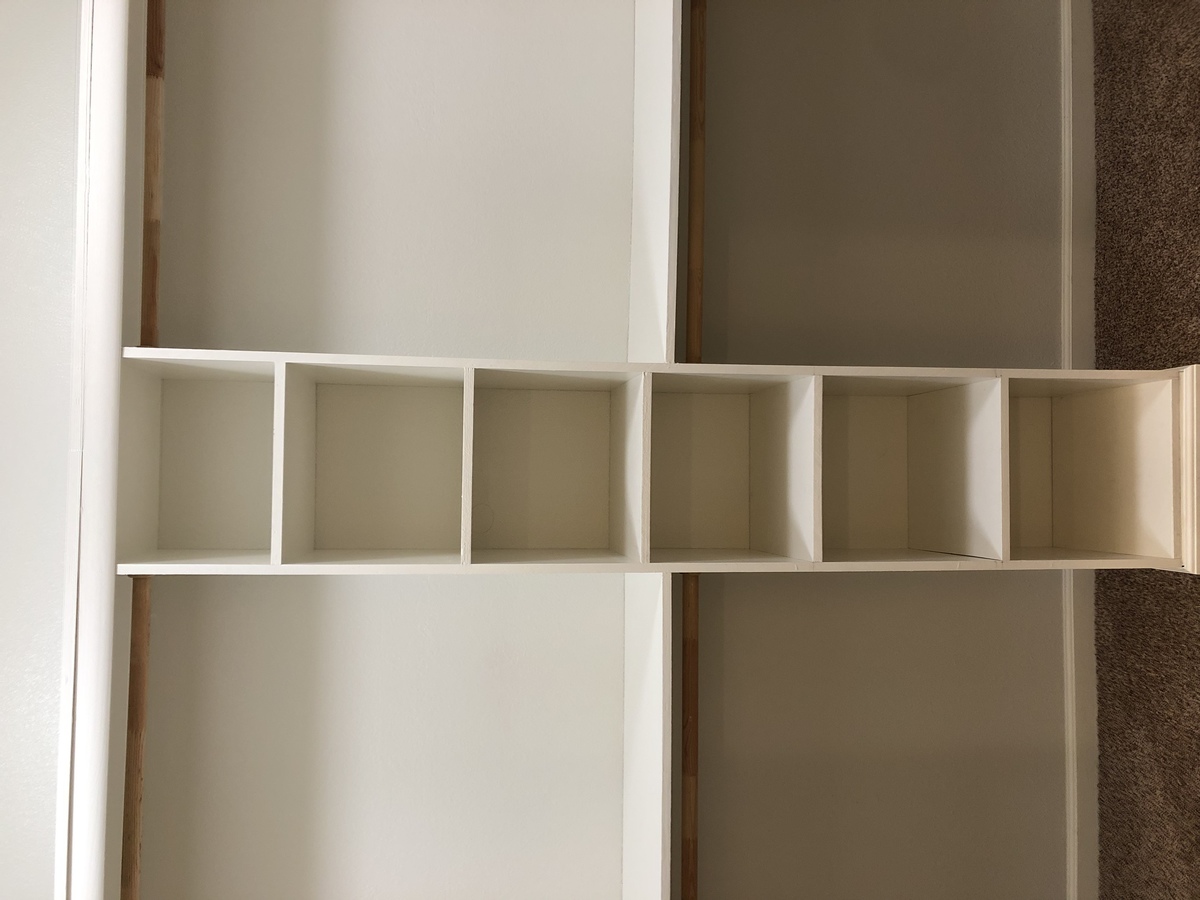
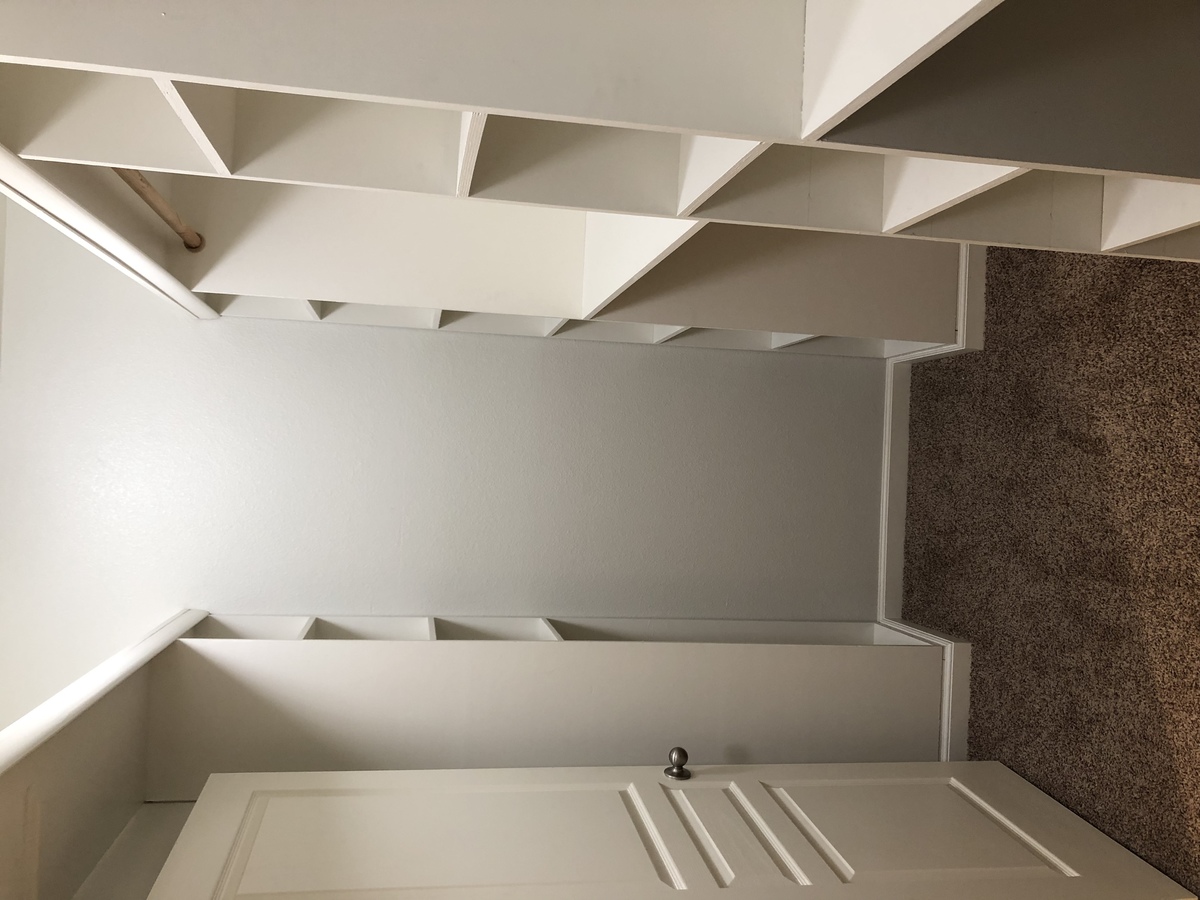
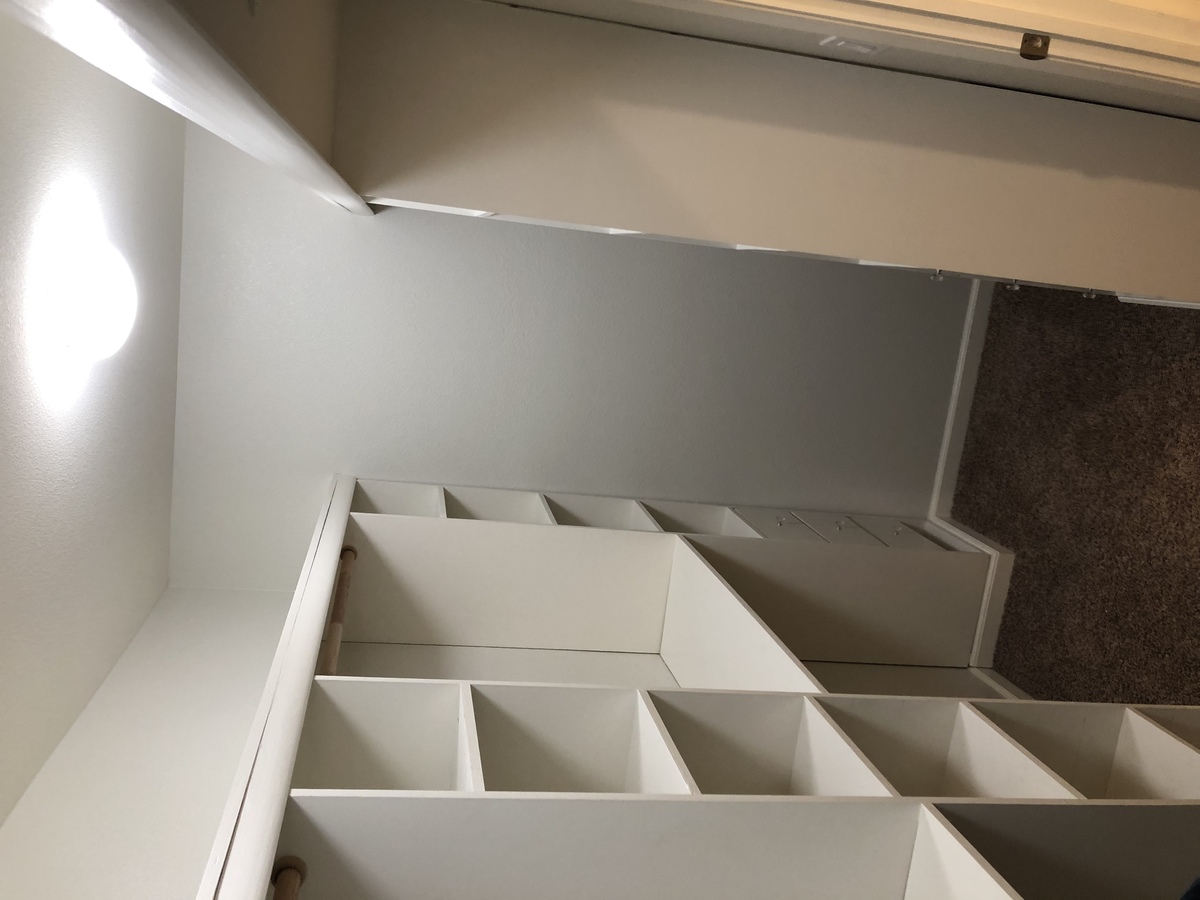
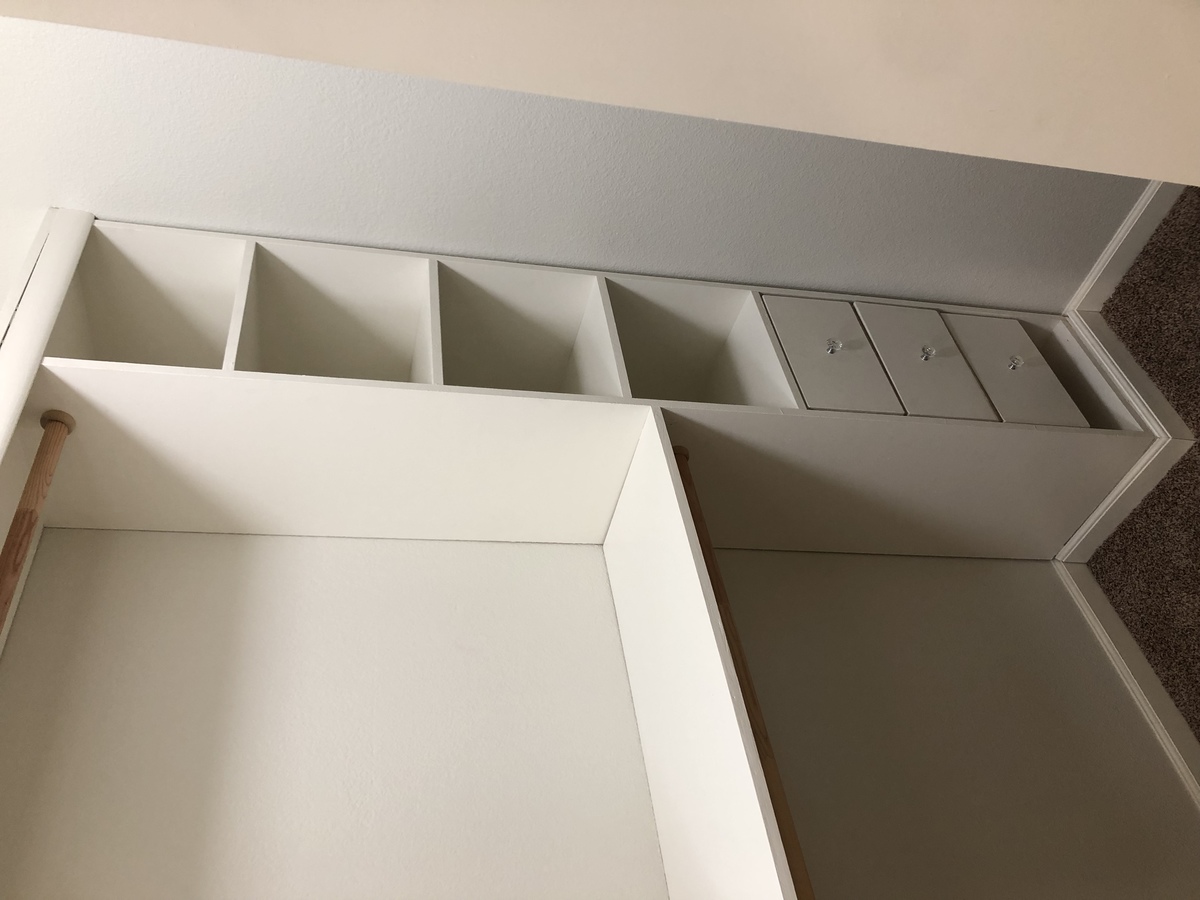
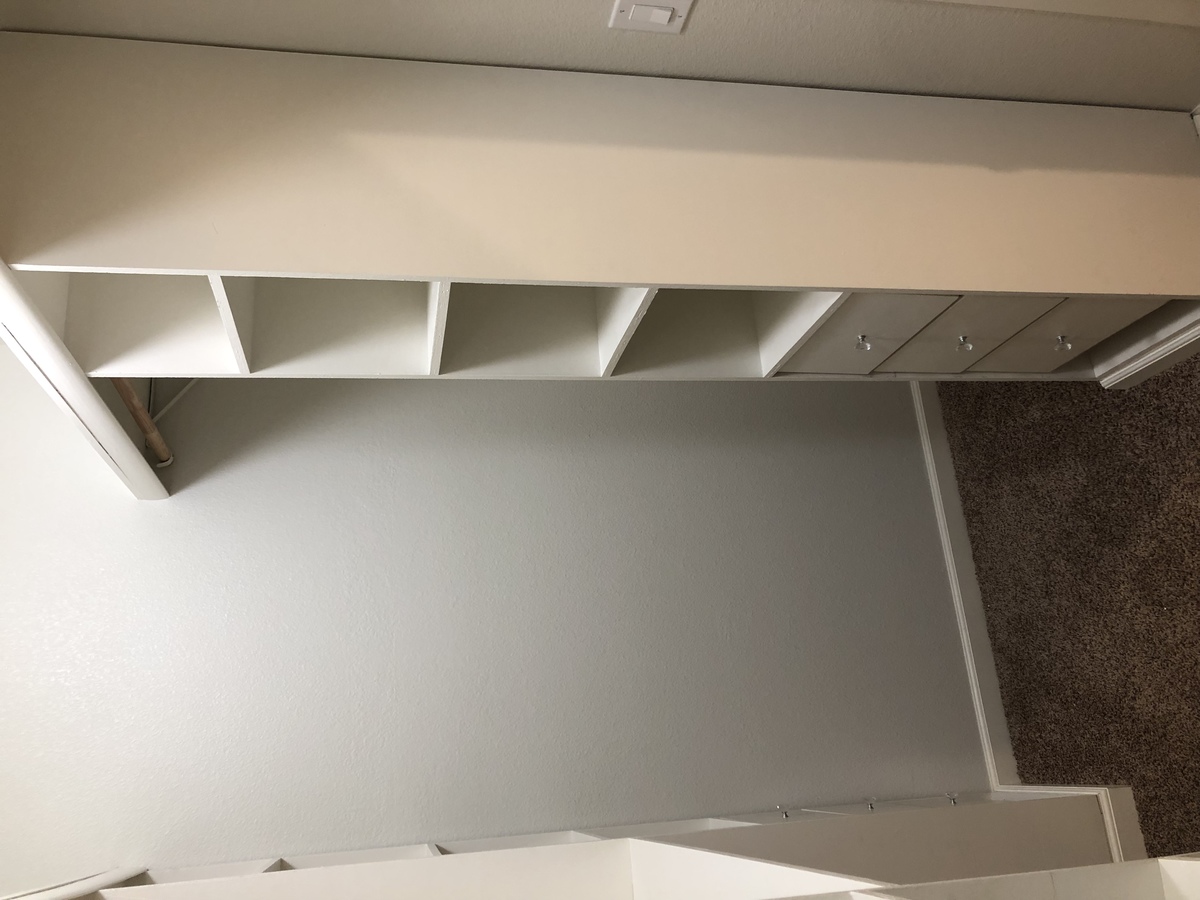
We took the original plans and made them work for our 5’6” x 11’ closet. We added a ft to the top because we have tall ceilings. We made 5 towers to create a u shape with shelving on the top. I also left one small bar long to hang dresses and the rest we double hung. We adjusted cubbies and drawers based on where we needed them. We were able to save by using old drawer slides from a falling apart ikea dresser. (We cut them down with a grinder). We had an overflowing closet mess and now we have a beautiful closet. I wish the directions had a little bit more detail like average clothes hanging heights and bar distance from the wall. There was also no link to the suggested drawers or cubbies but we found them with a simple search.
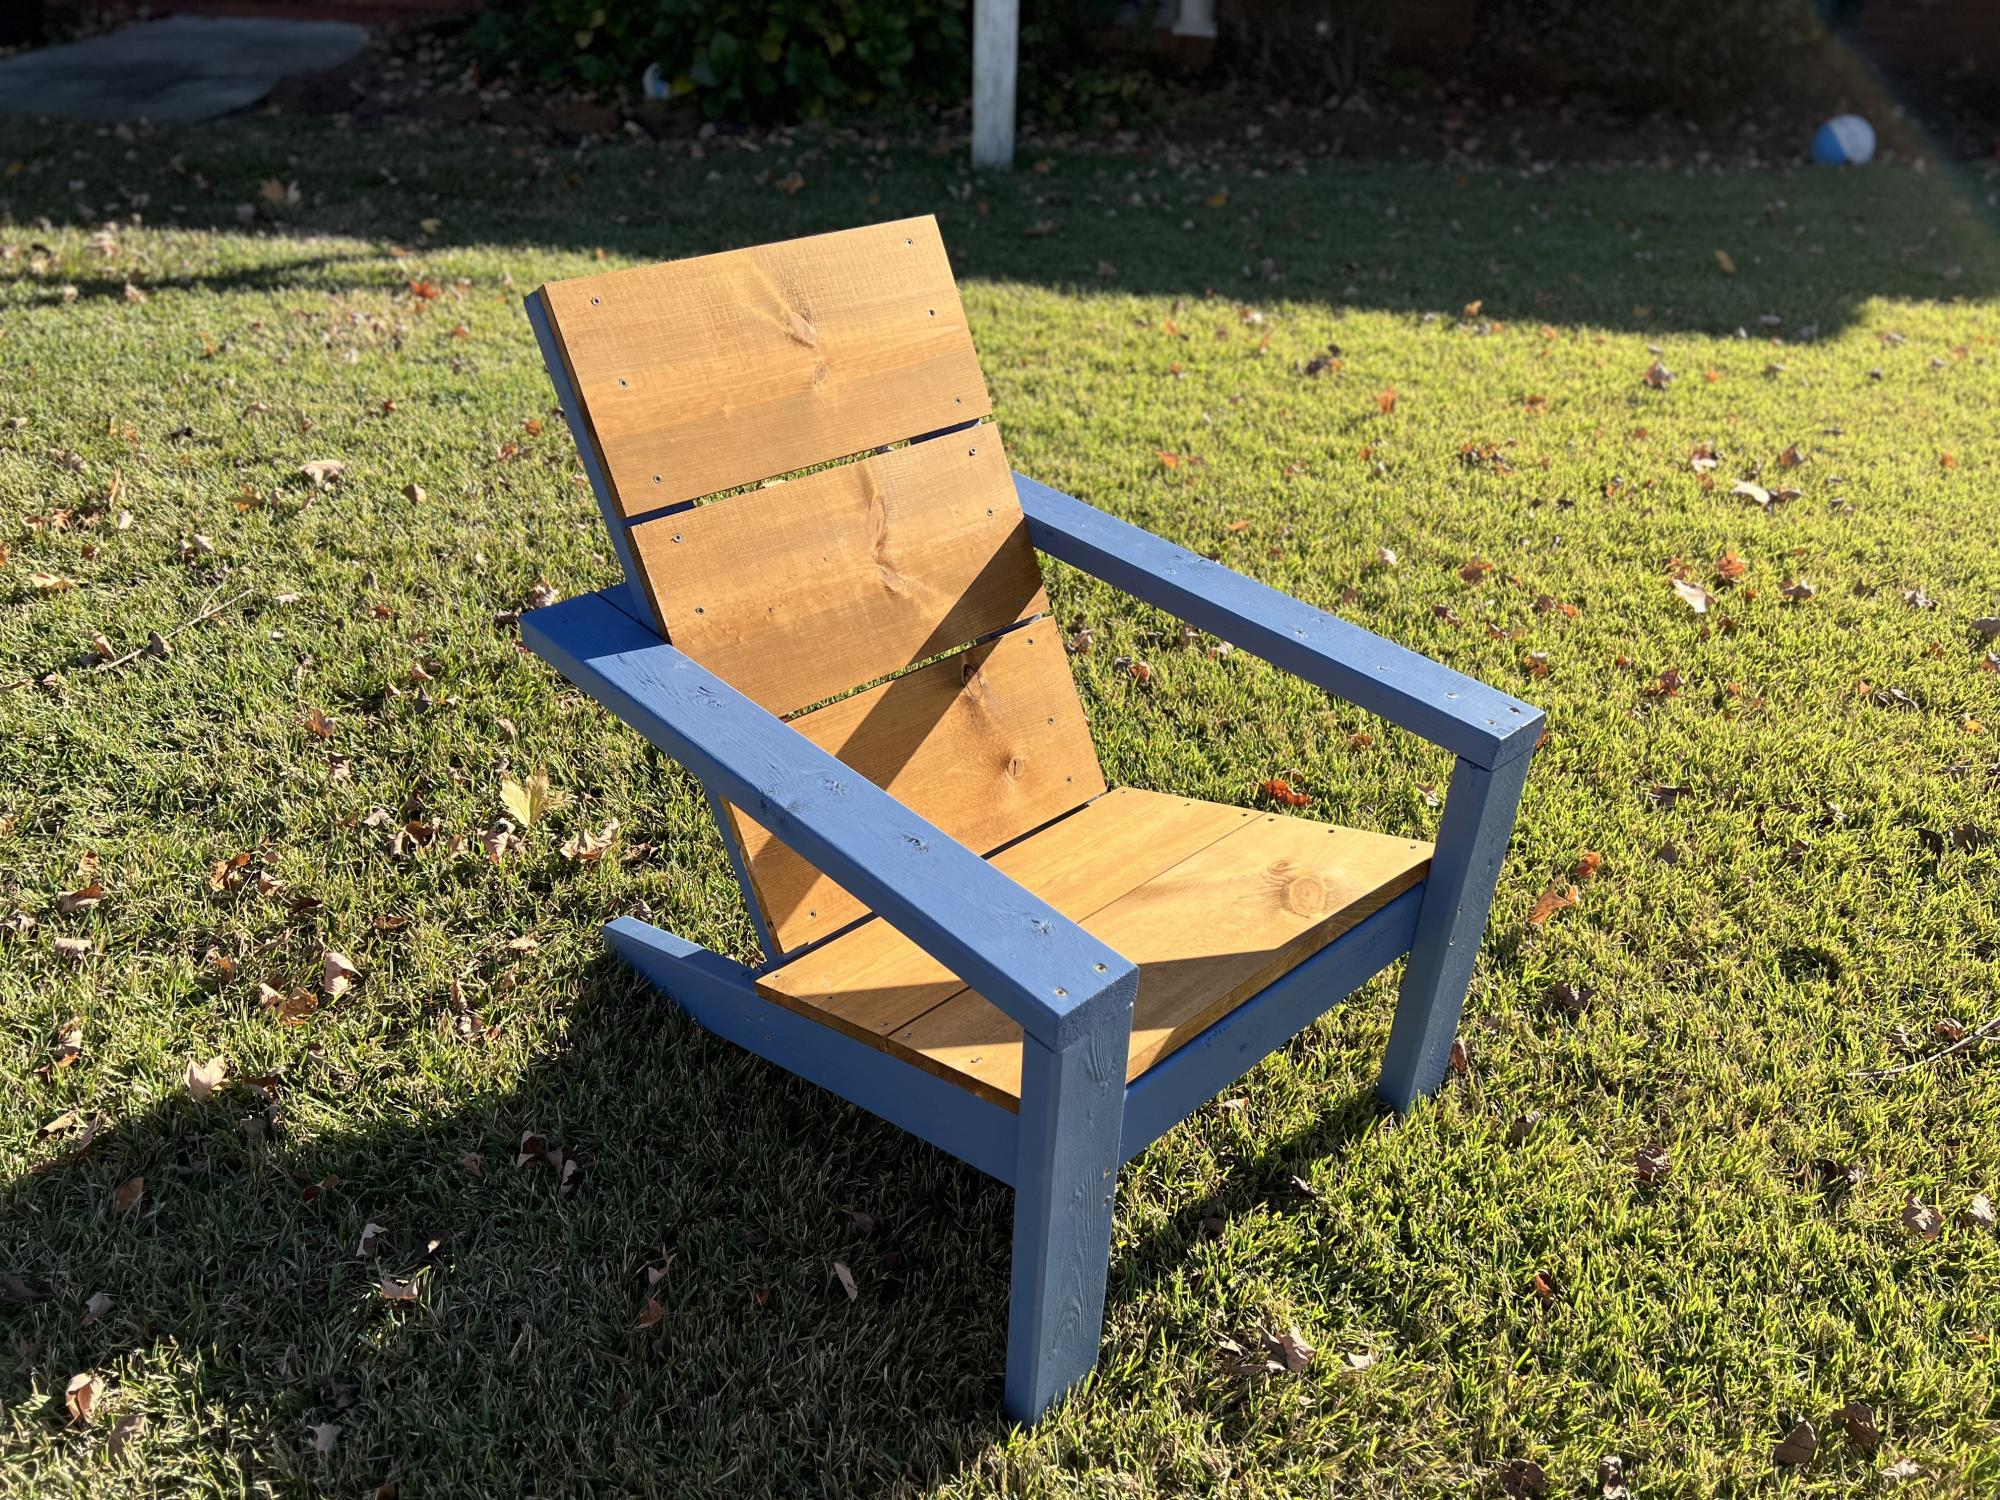
Easy build, turned out great. Our first project like this. We built 4!
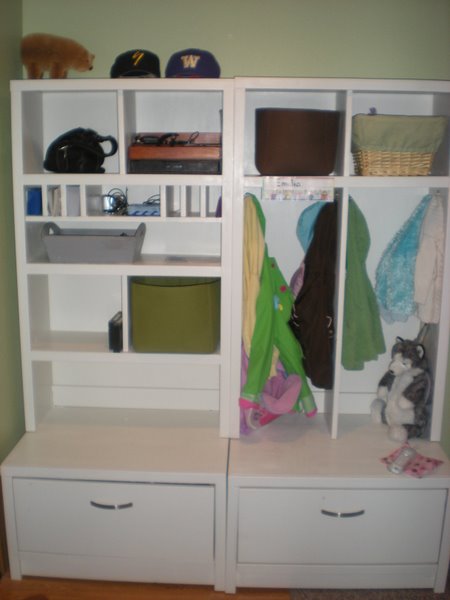
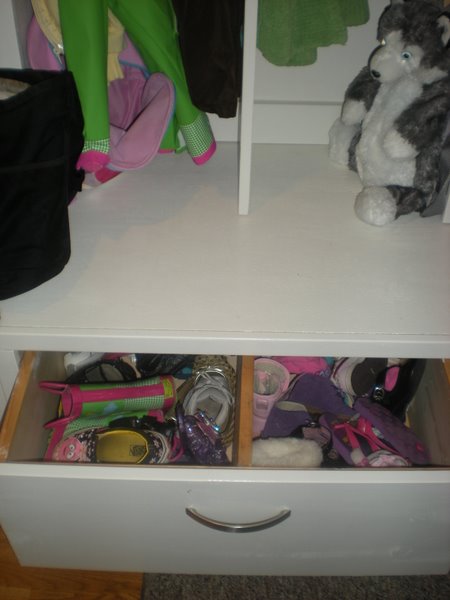
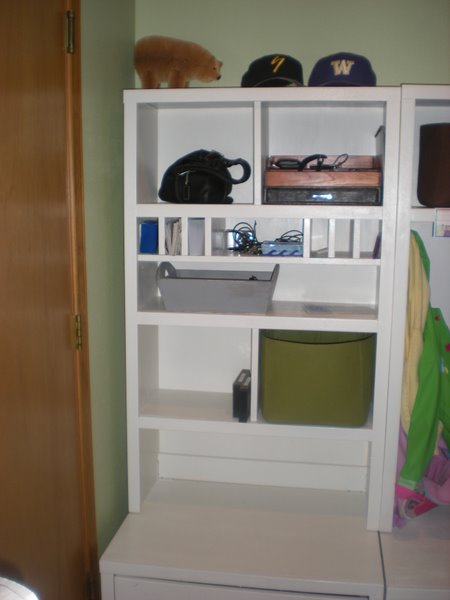
This is the greatest website ever! Thank you so much Ana White! Anyway, this was my first project. Our family room was a mess - shoes everywhere, coats strewn, you name it. We don't have a mud room - you just walk in from the garage to BAM, the family room. So the mess needs to be contained and organized and the Braden Shoe Drawer, Locker and Mail Sorter/Phone Charger was our answer! I would have loved to have done the locker-mail sorter-locker layout but space is limited in the room so I was only able to make one locker. I did make a 3rd drawer, per Ana's awesome wood cutting instructions and that drawer is in a storage closet. So, pay attention to her cutting instructions - she knows what she's talking about! I had some left over wood (1x10) and used that as a divider in the shoe drawer to keep each kids' shoes separate.

Sat, 09/03/2011 - 10:04
Just love the divided drawer and this whole set! What am amazing project! So proud of you! The finish is just perfect too!

Sat, 09/03/2011 - 12:59
This looks great for a first build! The drawers are great for hiding the shoes and I love the mail sorter. Awesome job!
Thu, 12/01/2011 - 13:26
I'm new to Ana's site & I desperately need to find a Mud Room Locker System & since I don't have an office downstairs I either need a desk put in my kitchen or a mail sorter system of some kind! You did a fabulous job but I have to admit that I'm terrified to even start this project!!!!! I'm afraid that I'll make a huge mess of it!!!! Any suggestions for a newbie???? Thanks a million!
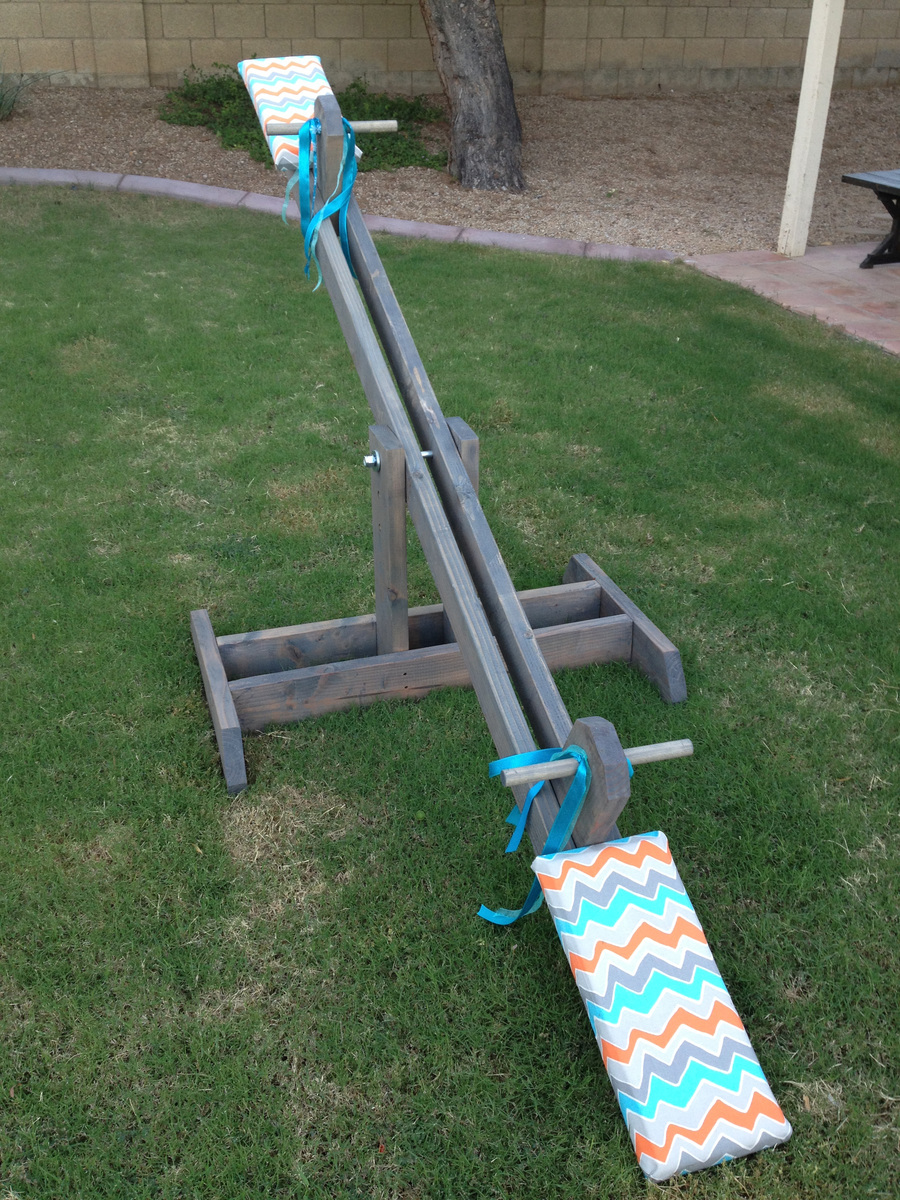
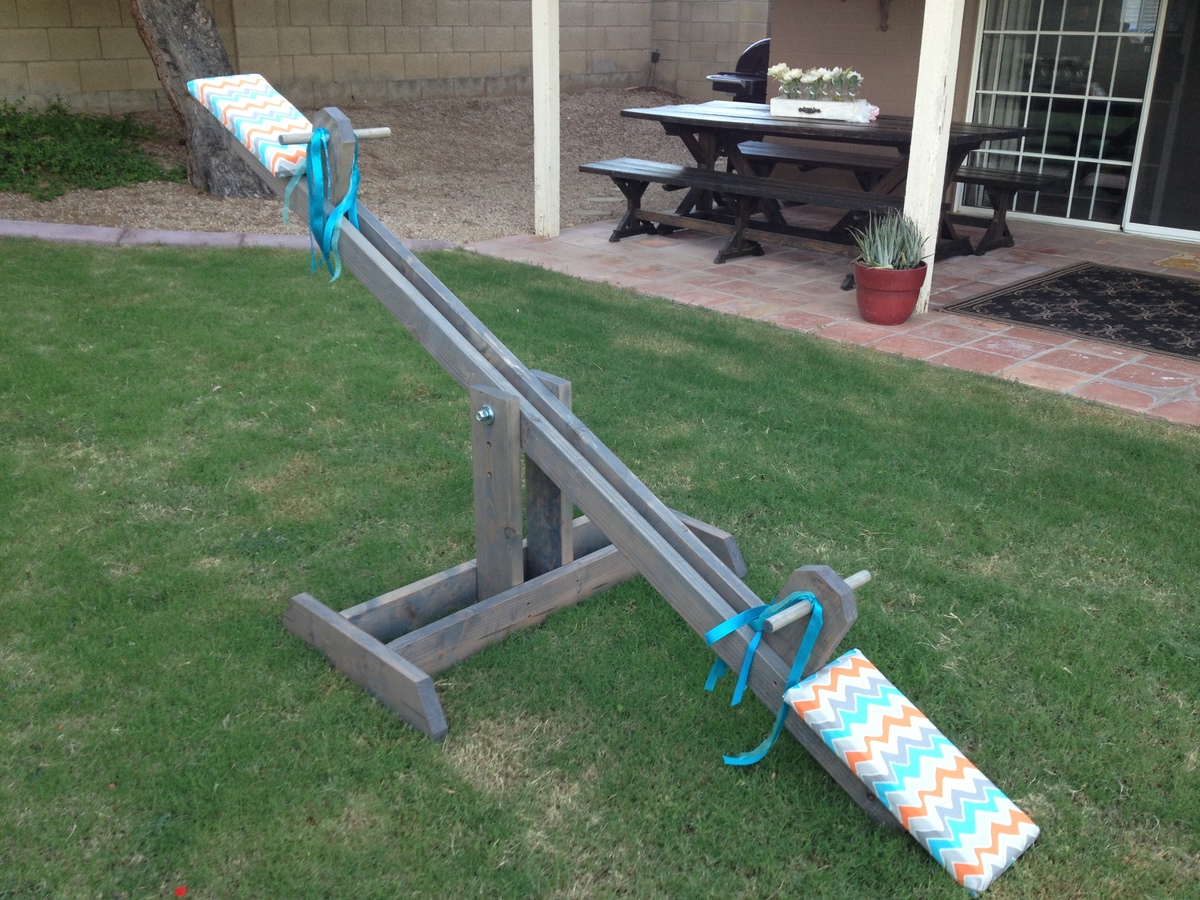
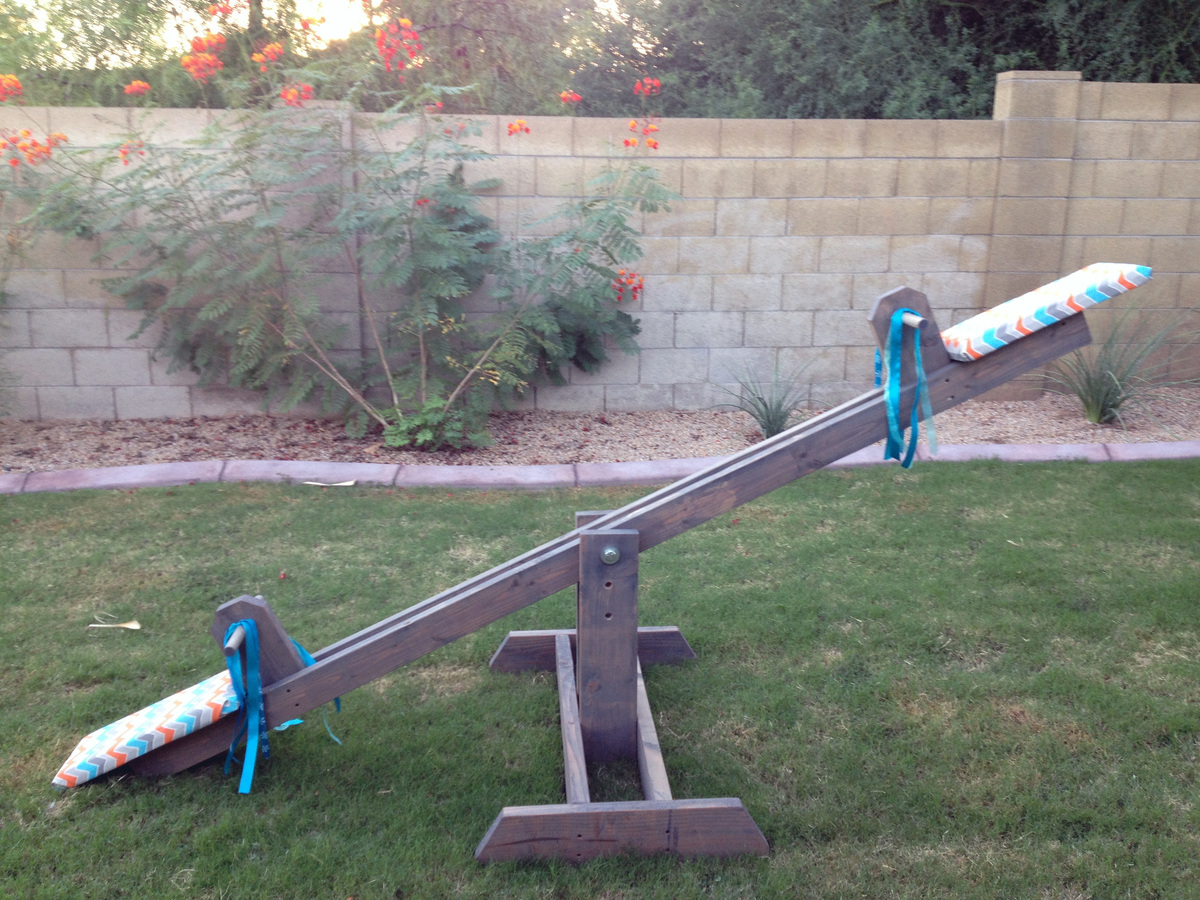
My husband built the seesaw and I applied the finish and covered the seats. This project was very easy and built in one weekend, including drying time for the stain. I used Minwax stain in Classic Grey and did not use a clear coat over the stain. I bought the canvas seat fabric at Hobby Lobby for $5.00 and used 2 inch foam cushion, which was about $3.00. I had some left over ribbons from another project that I tied to both sides of the handles to make the seesaw look festive for the birthday party! The project ended up costing about $50.00 in materials. My daughter Cwen loves it!
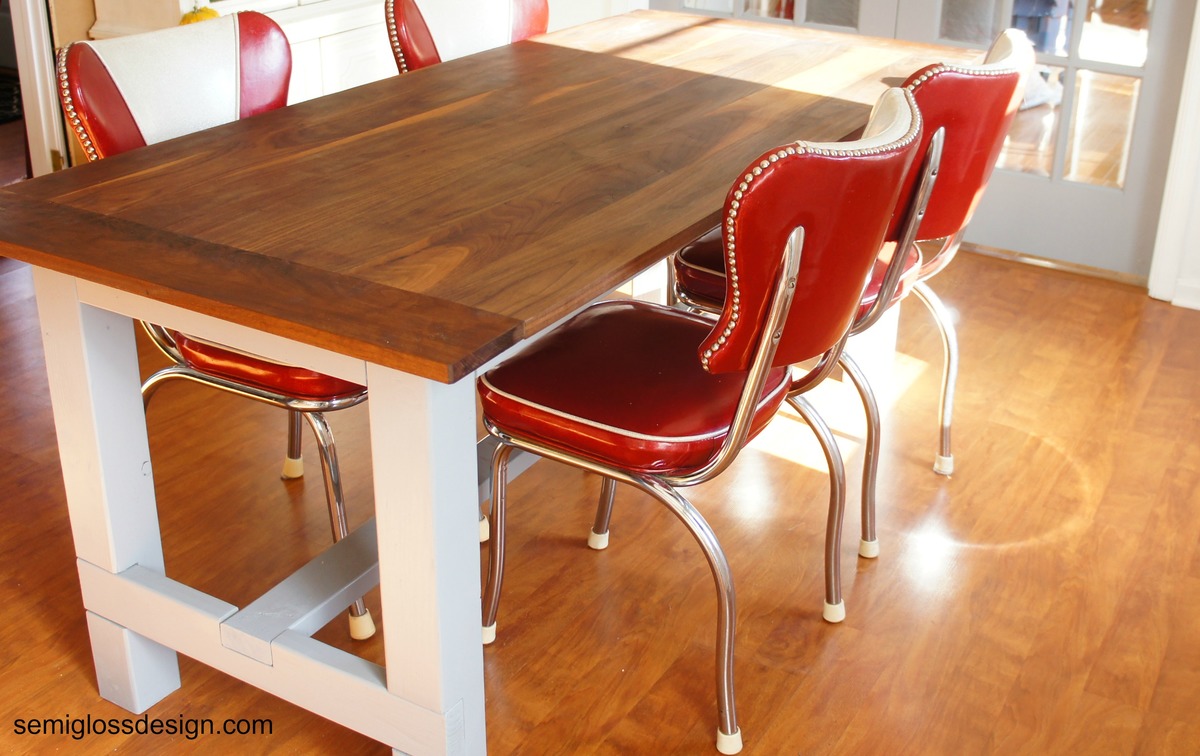
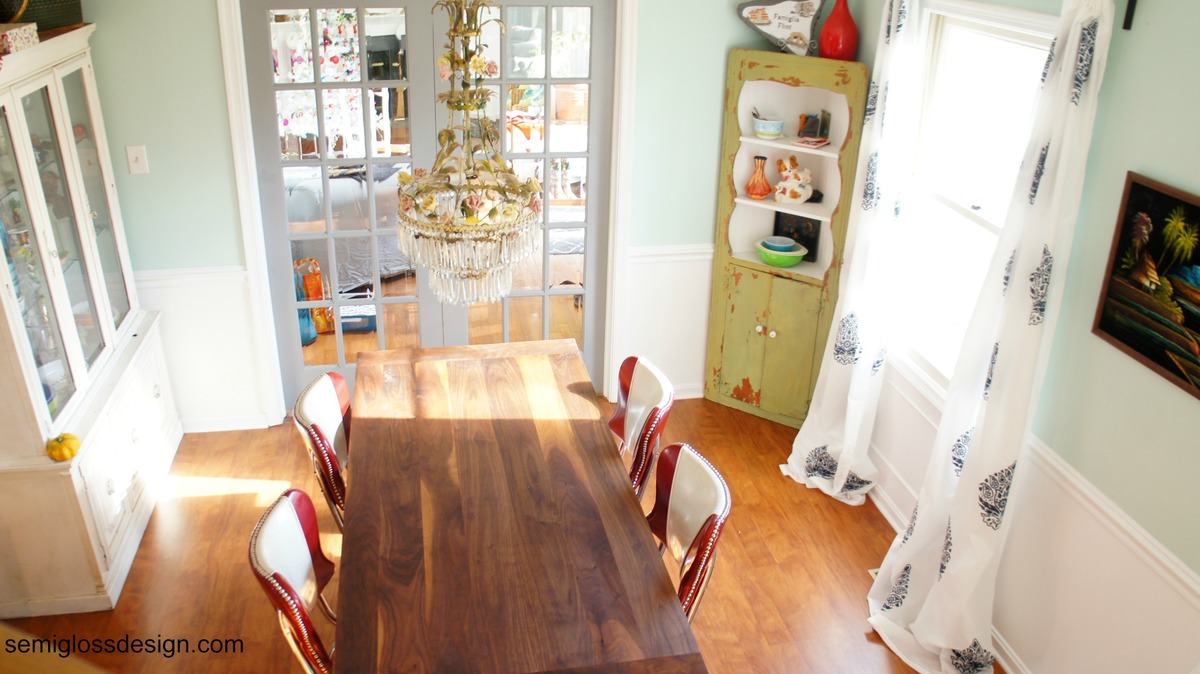
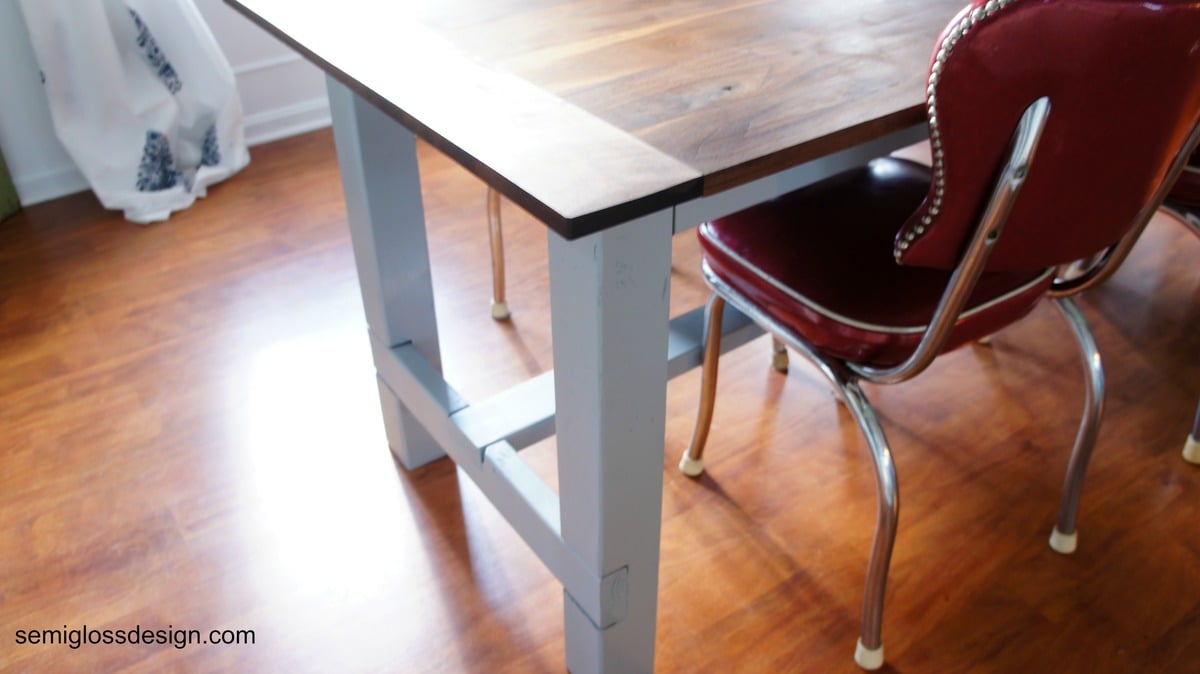
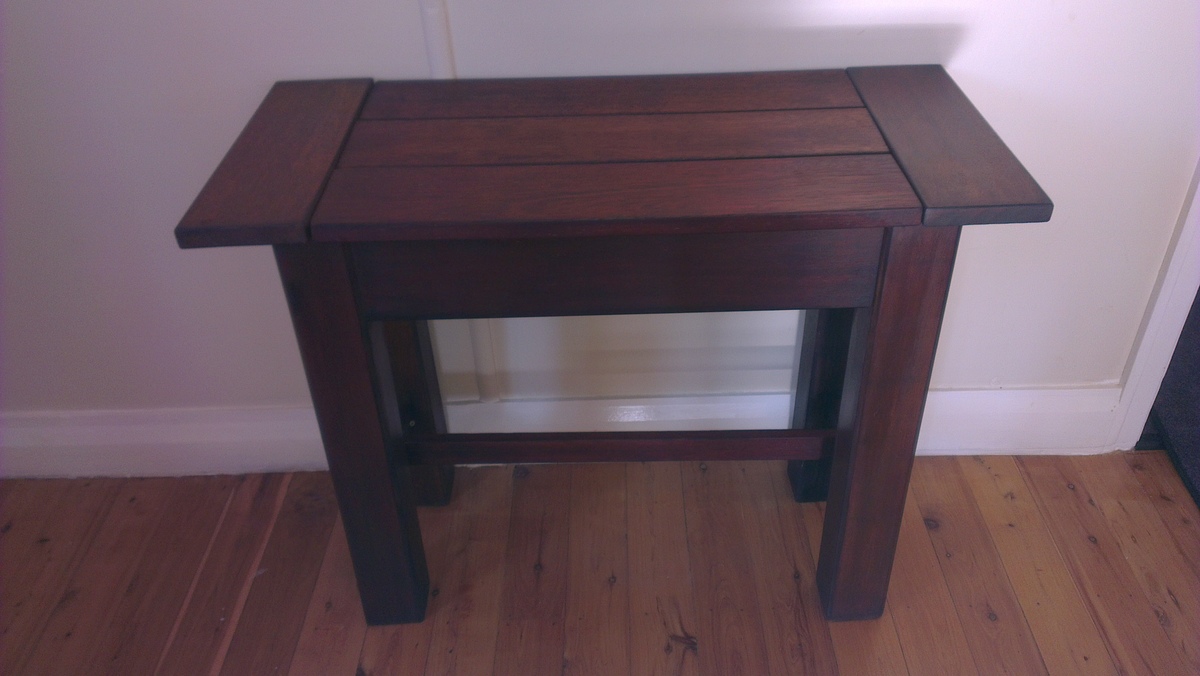
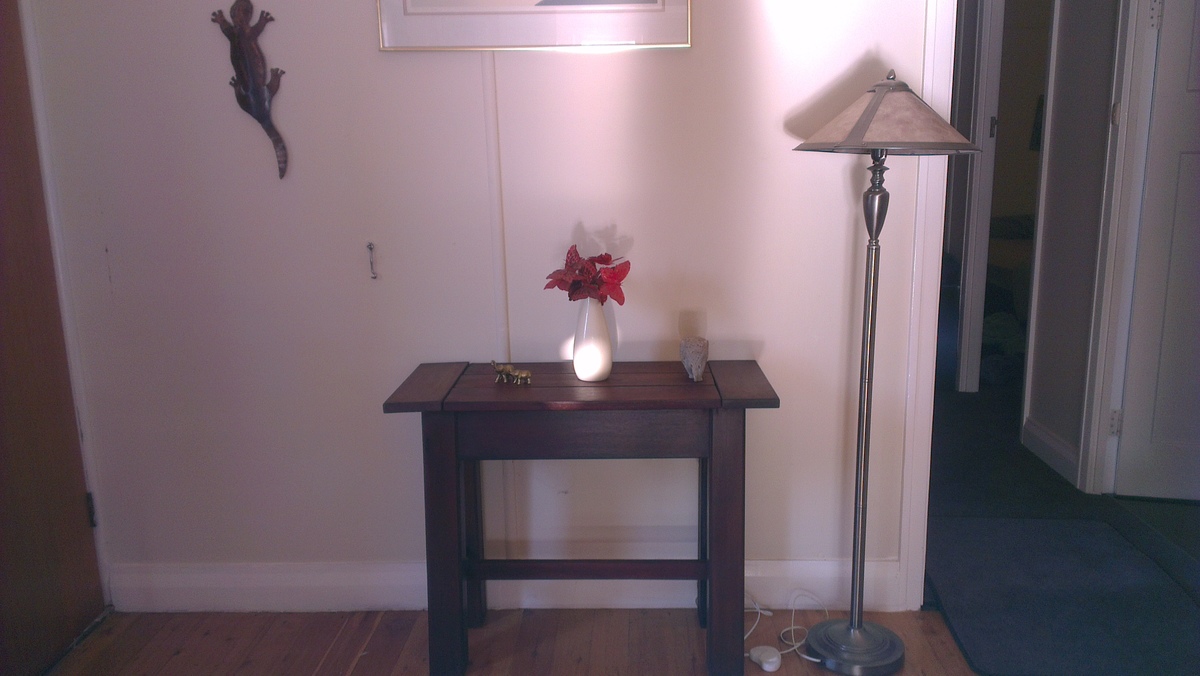
My husband built this table, making slight alterations to the plan to make it smaller. He also picked out beautiful walnut planks from a local exotic wood shop. This made the top have slightly different dimensions, too. The top is finished with teak oil and wax. The bottom part of the table was painted a solid gray. We're thrilled with the results. It's so sturdy!
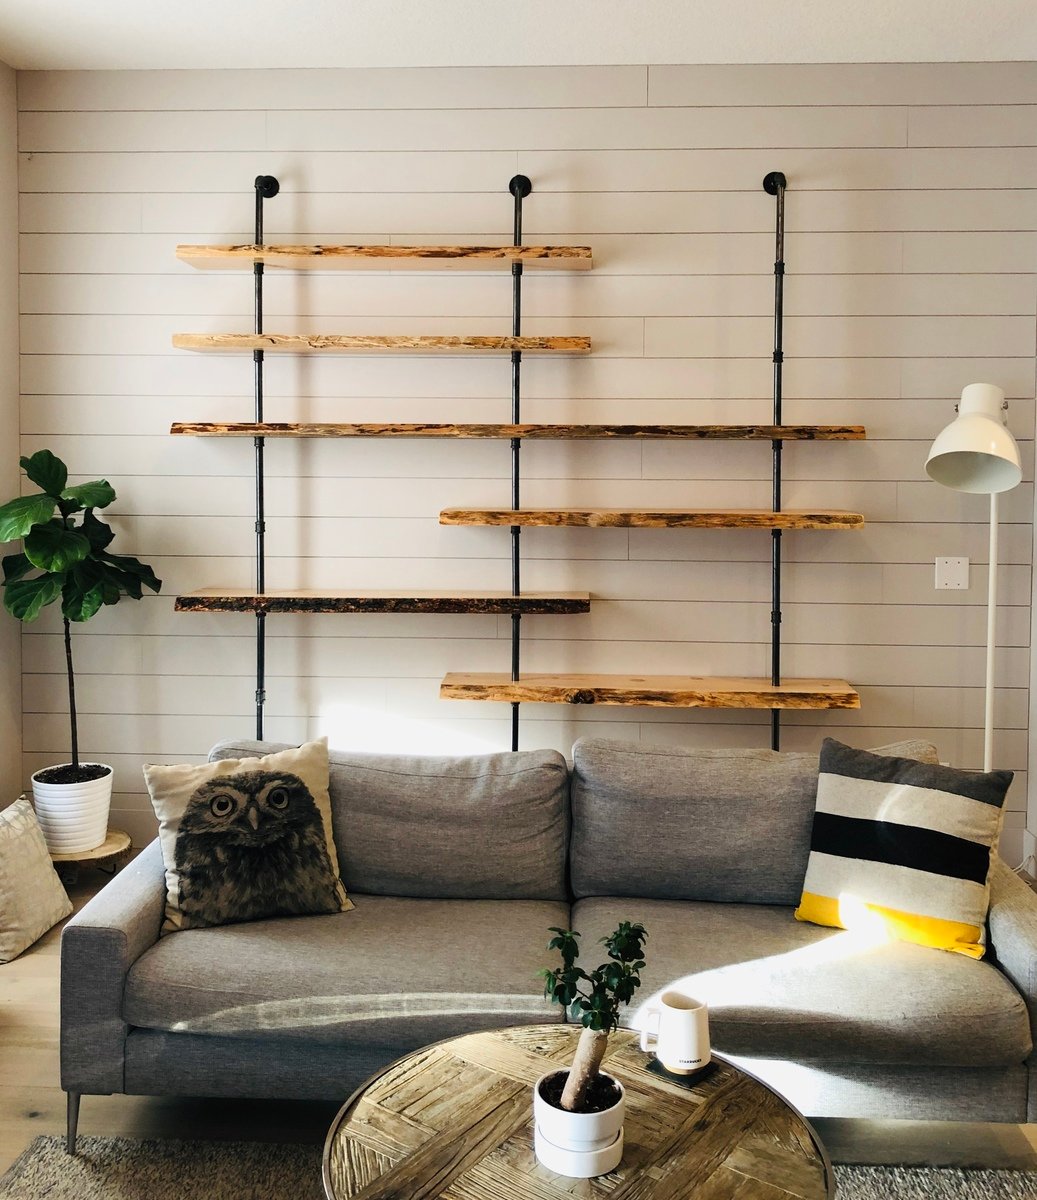
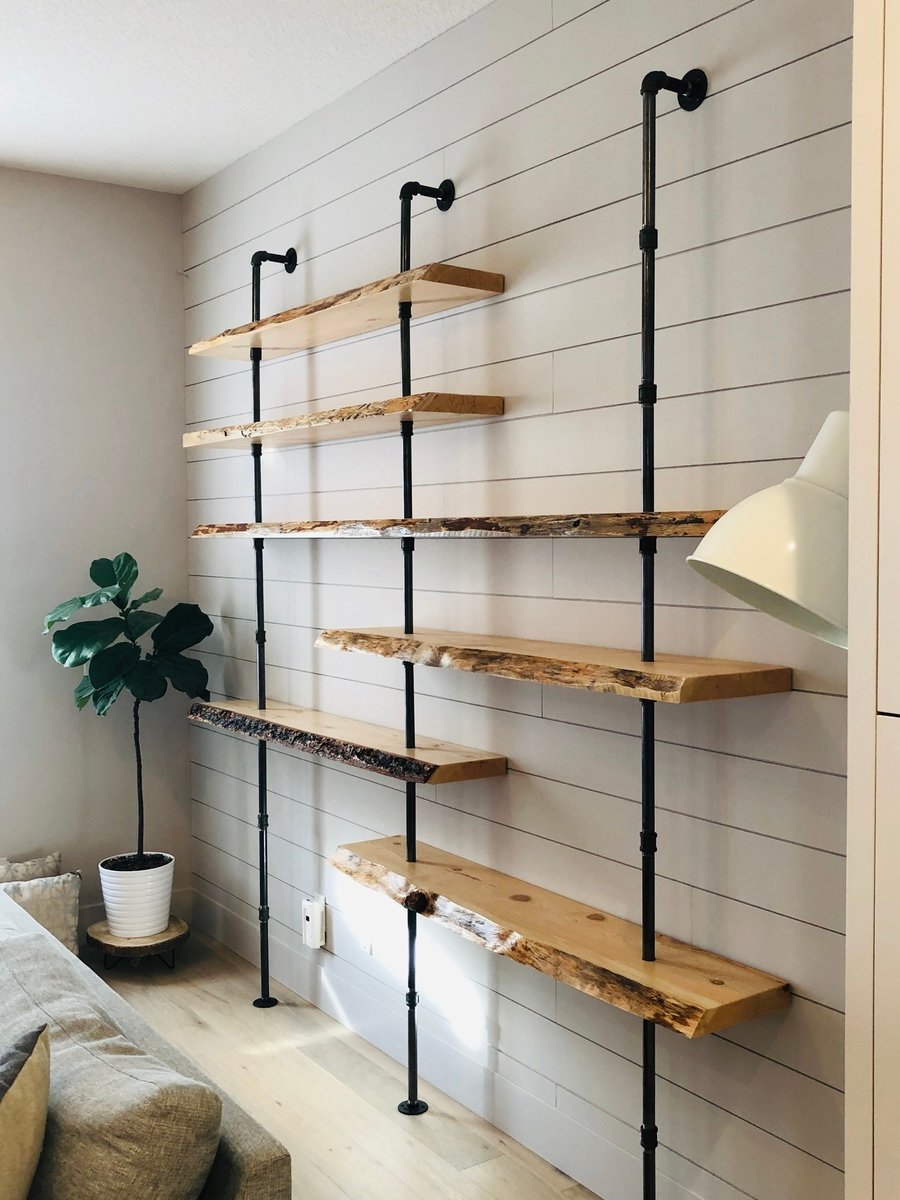
I began the project by ripping 6” strips of sanded pine plywood. I attached those to the walls using brad nails and wood glue. Filled the holes with glaziers putty and sanded lightly once dry. Primed and painted to finish.
I then had a local mill rough cut the lumber for the shelves. I stripped the bark (except one which I loved so I left it on) and sanded at 120, 180 and 220. I drilled 1 1/4” holes to fit the pipe through and finished the wood with 4 coats of Varathane Diamond Finish clear coat.
I used Varsol and some elbow grease to remove the black coating on all the gas pipe.
Finally i pieced it all together!
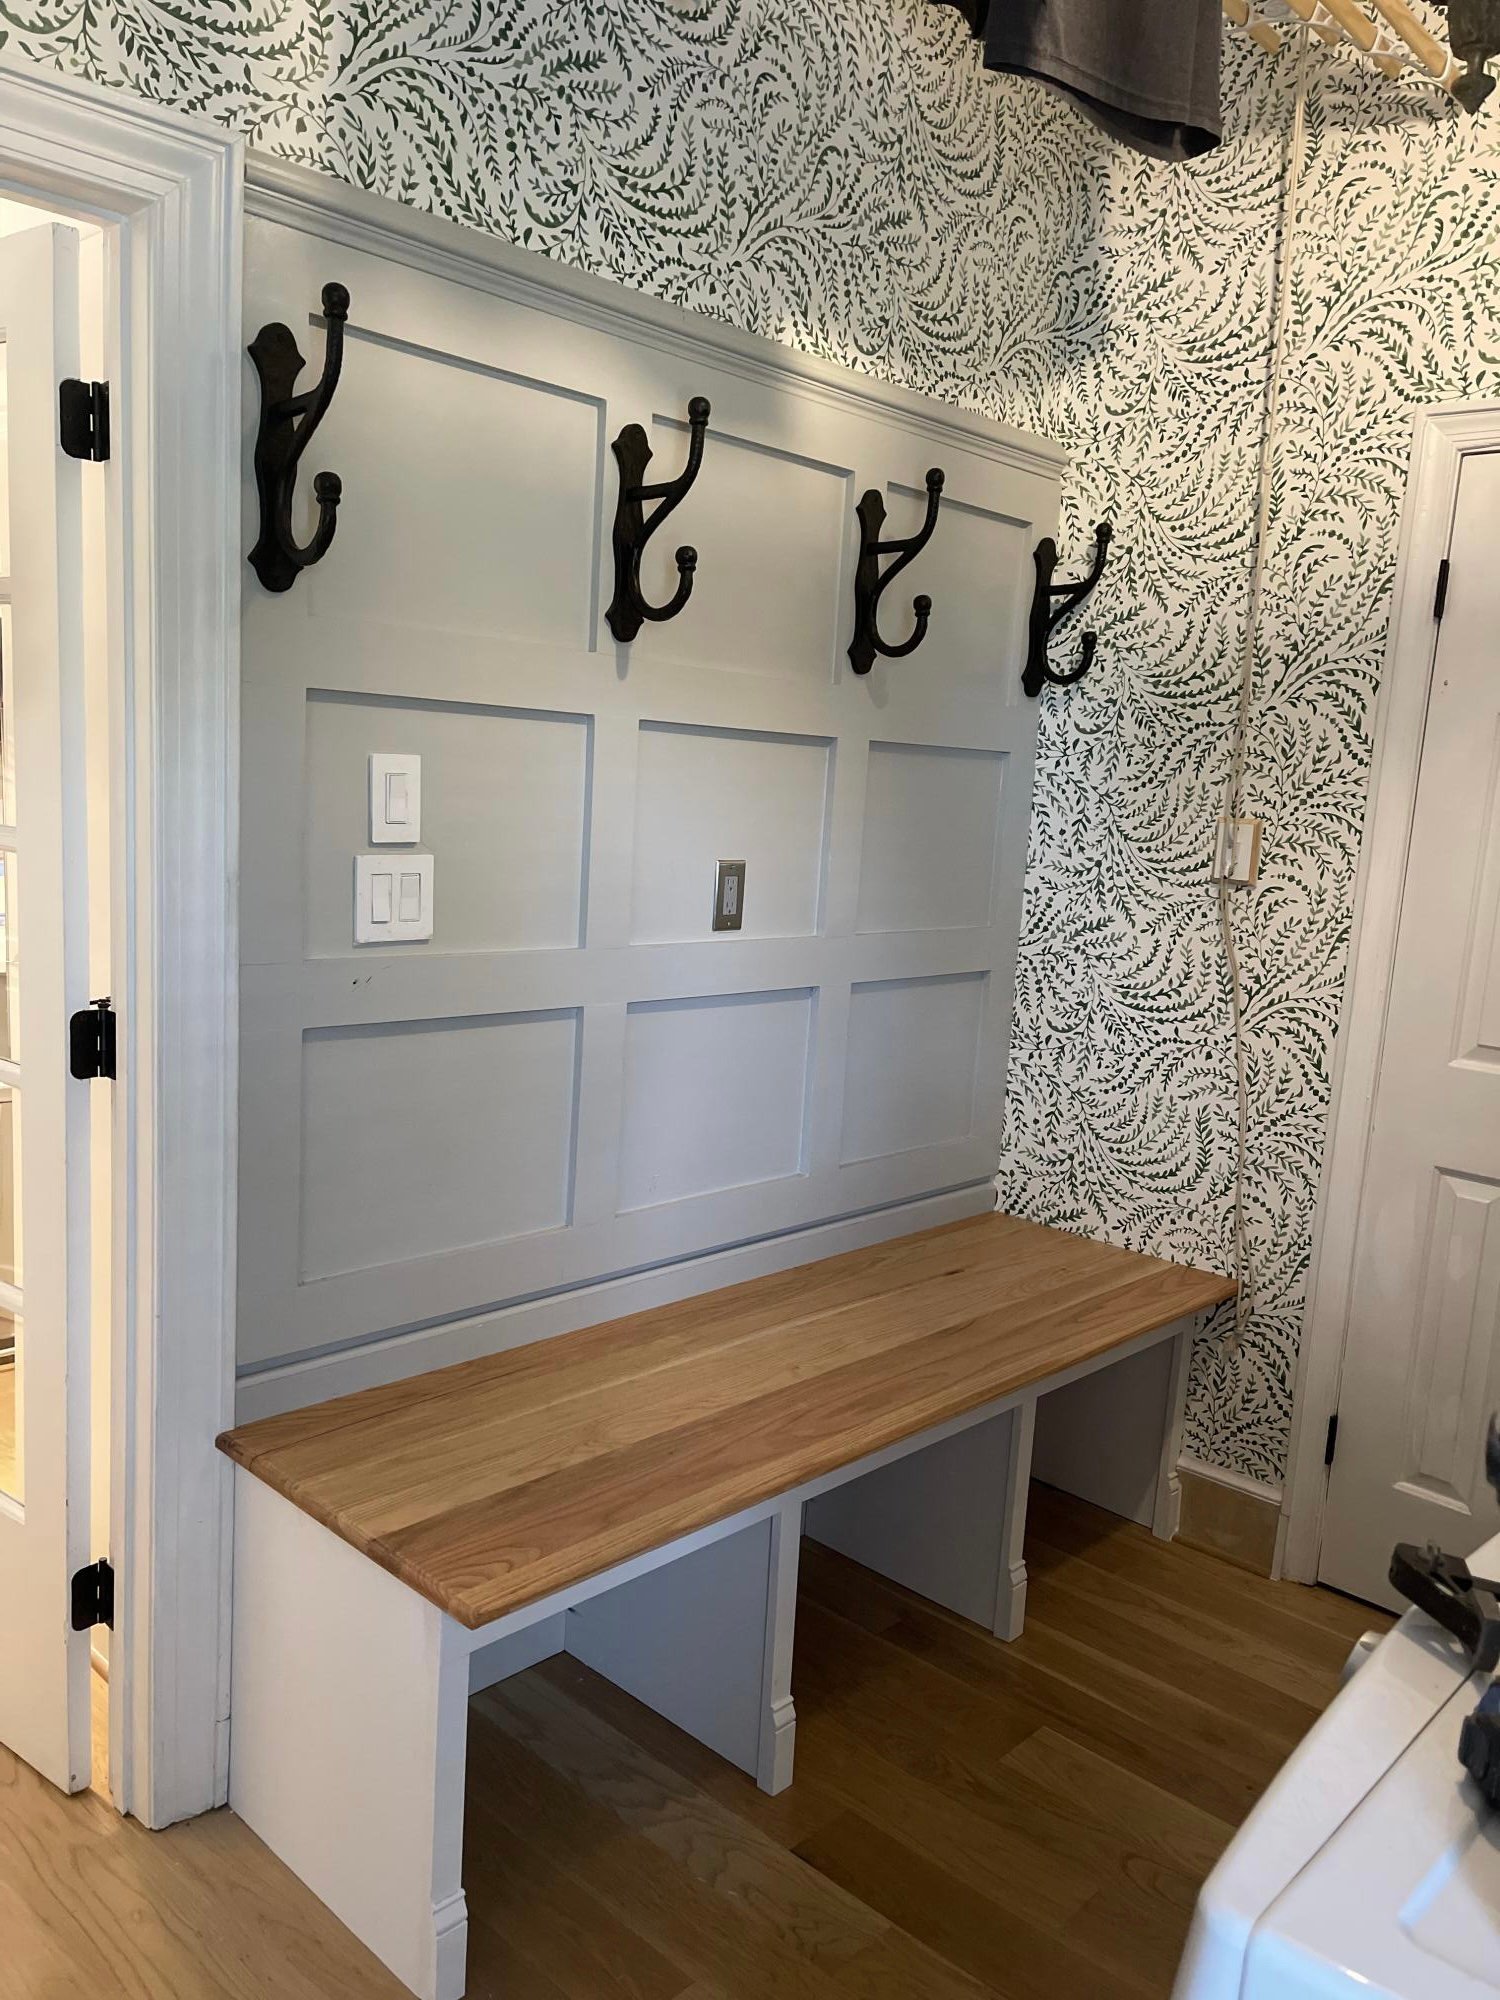
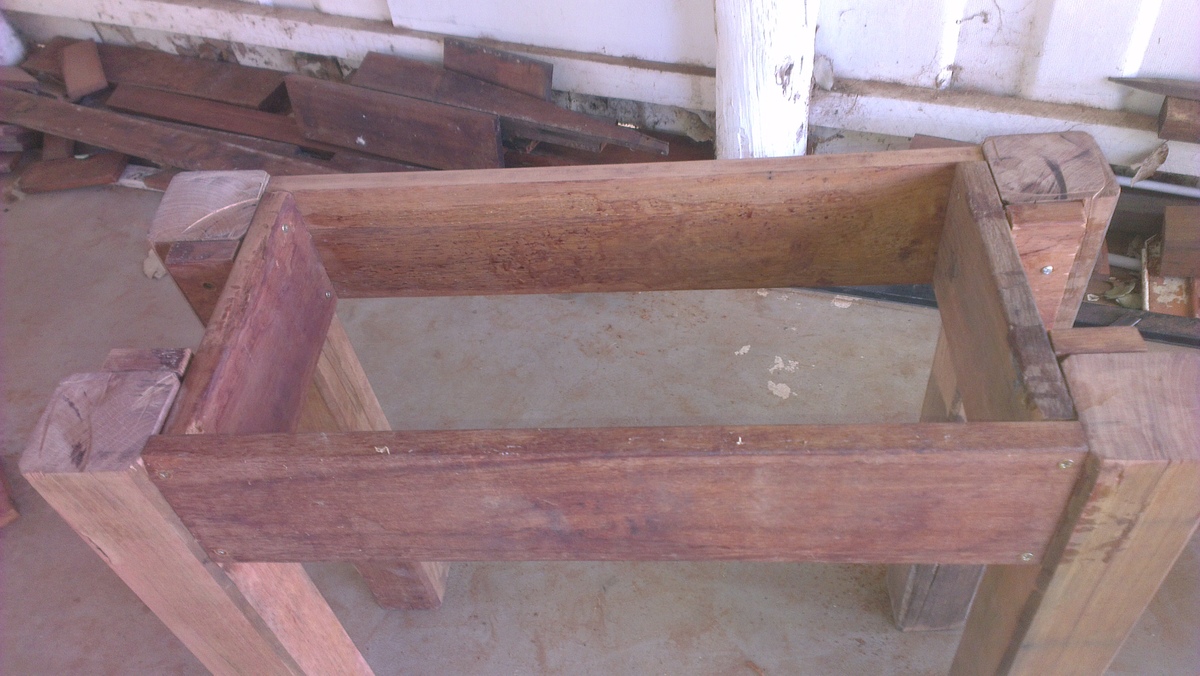
Ana I came across your open bottom garage bench design and really liked the concept. Inspired by your design I put this together in our laundry/mudroom and am really pleased with the result. As you described, being able to clean under it is a huge benefit and the whole bench was less than $200 even with the solid oak boards I joined and edge routed for the top. Thanks for the inspiration and all of your project posts.
Fri, 12/02/2022 - 08:34
WOW, this is gorgeous! Absolutely love the color choice the oak top and the hardware, bravo!
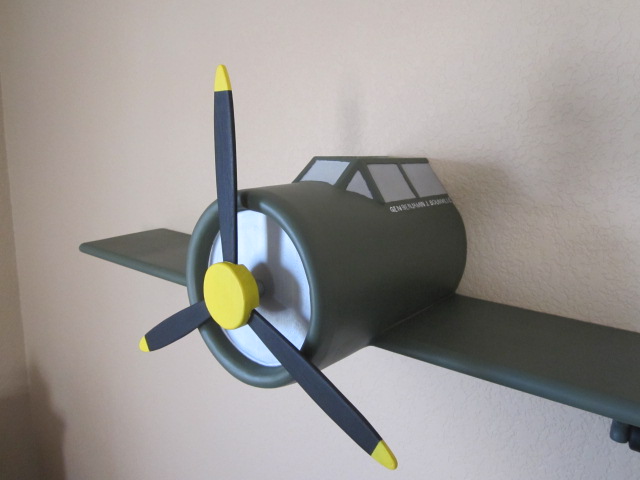
This is a shelf based on the fighter planes from the pre-WWII era. I built it for my son's nursery. I stumbled onto Ana White's plan "Plane Old Shelf", got inspired, and it evolved into what it is. If you have any questions, feel free to contact me.
Mon, 09/05/2011 - 22:38
I love this! I would love to make a version of this. Can you please post what you used to make the fuselage and landing gear out of? Also, how did you attach it to the wings?
Thu, 09/08/2011 - 13:46
Thanks! The fuselage is made out of bender board. I don't remember the exact thickness but it was the thinnest they had at Michael's. You would think I would remember. I had to do the fuselage twice. My daughter stepped on it and put a hole through it.
The wings were actually one long wing. I build a frame around the wing and then wrapped the bender board around it. It may not be the best way, but it is all I could think of.
Thu, 09/08/2011 - 17:14
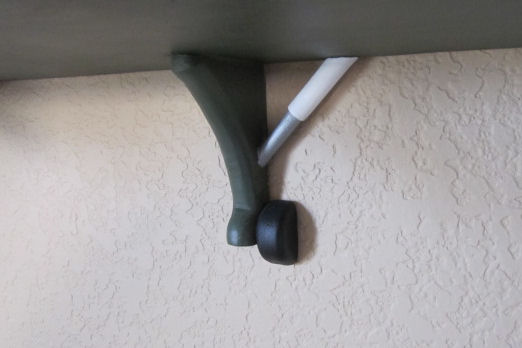
The Landing gear was made out of a 1x6 I had. The struts were two sizes of oak dowels.

Thu, 10/30/2014 - 17:07
I undersand the shelf and the landing gear. I can make the canopy and propeller, no problem. I don't understand how the main fusulage was made with the curved edge. I tried searching for the bender board that was mentioned above with no luck. Could you point me in the right direction?
Thanks,
Jordan
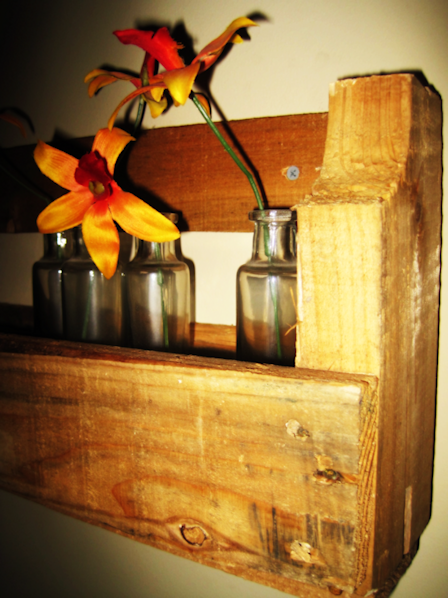
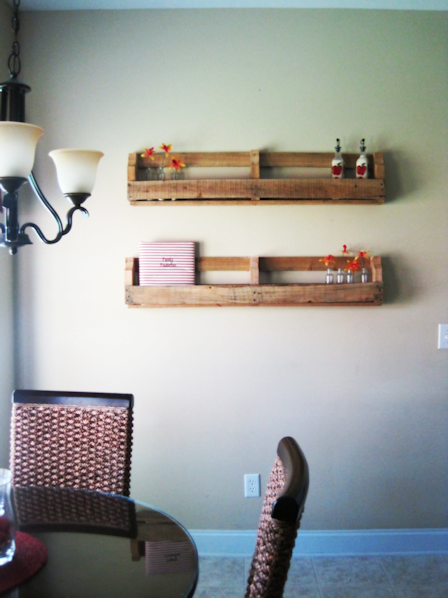
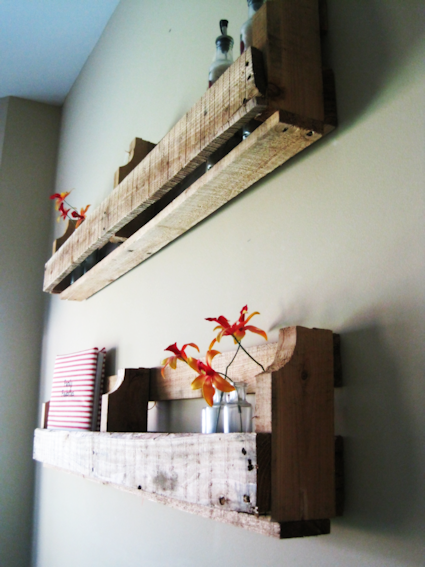
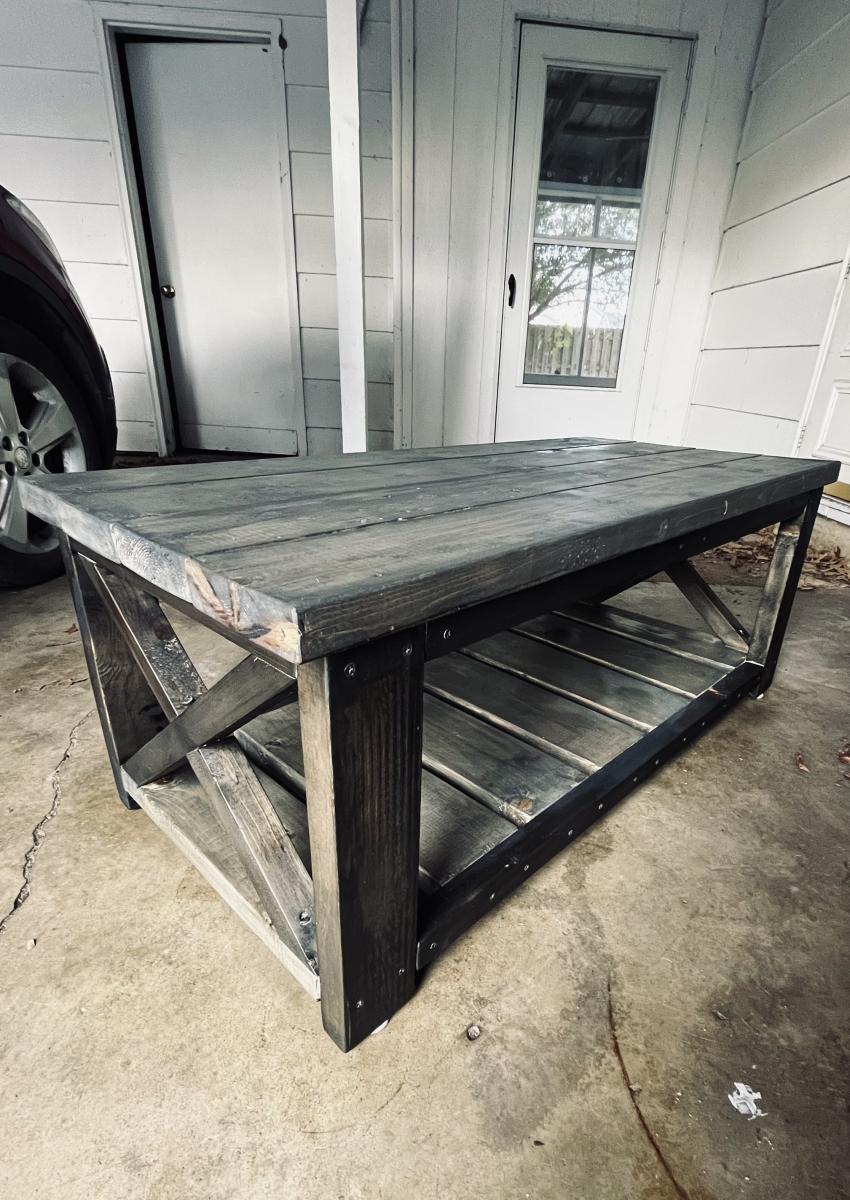
Created from recycled decking timber
This was one of my favorite projects!!! I never could of completed this project without the guidance of Ana's blog and Hilary From the Friendly House. Thank you!!!
This took about 7 hours over the week after work.

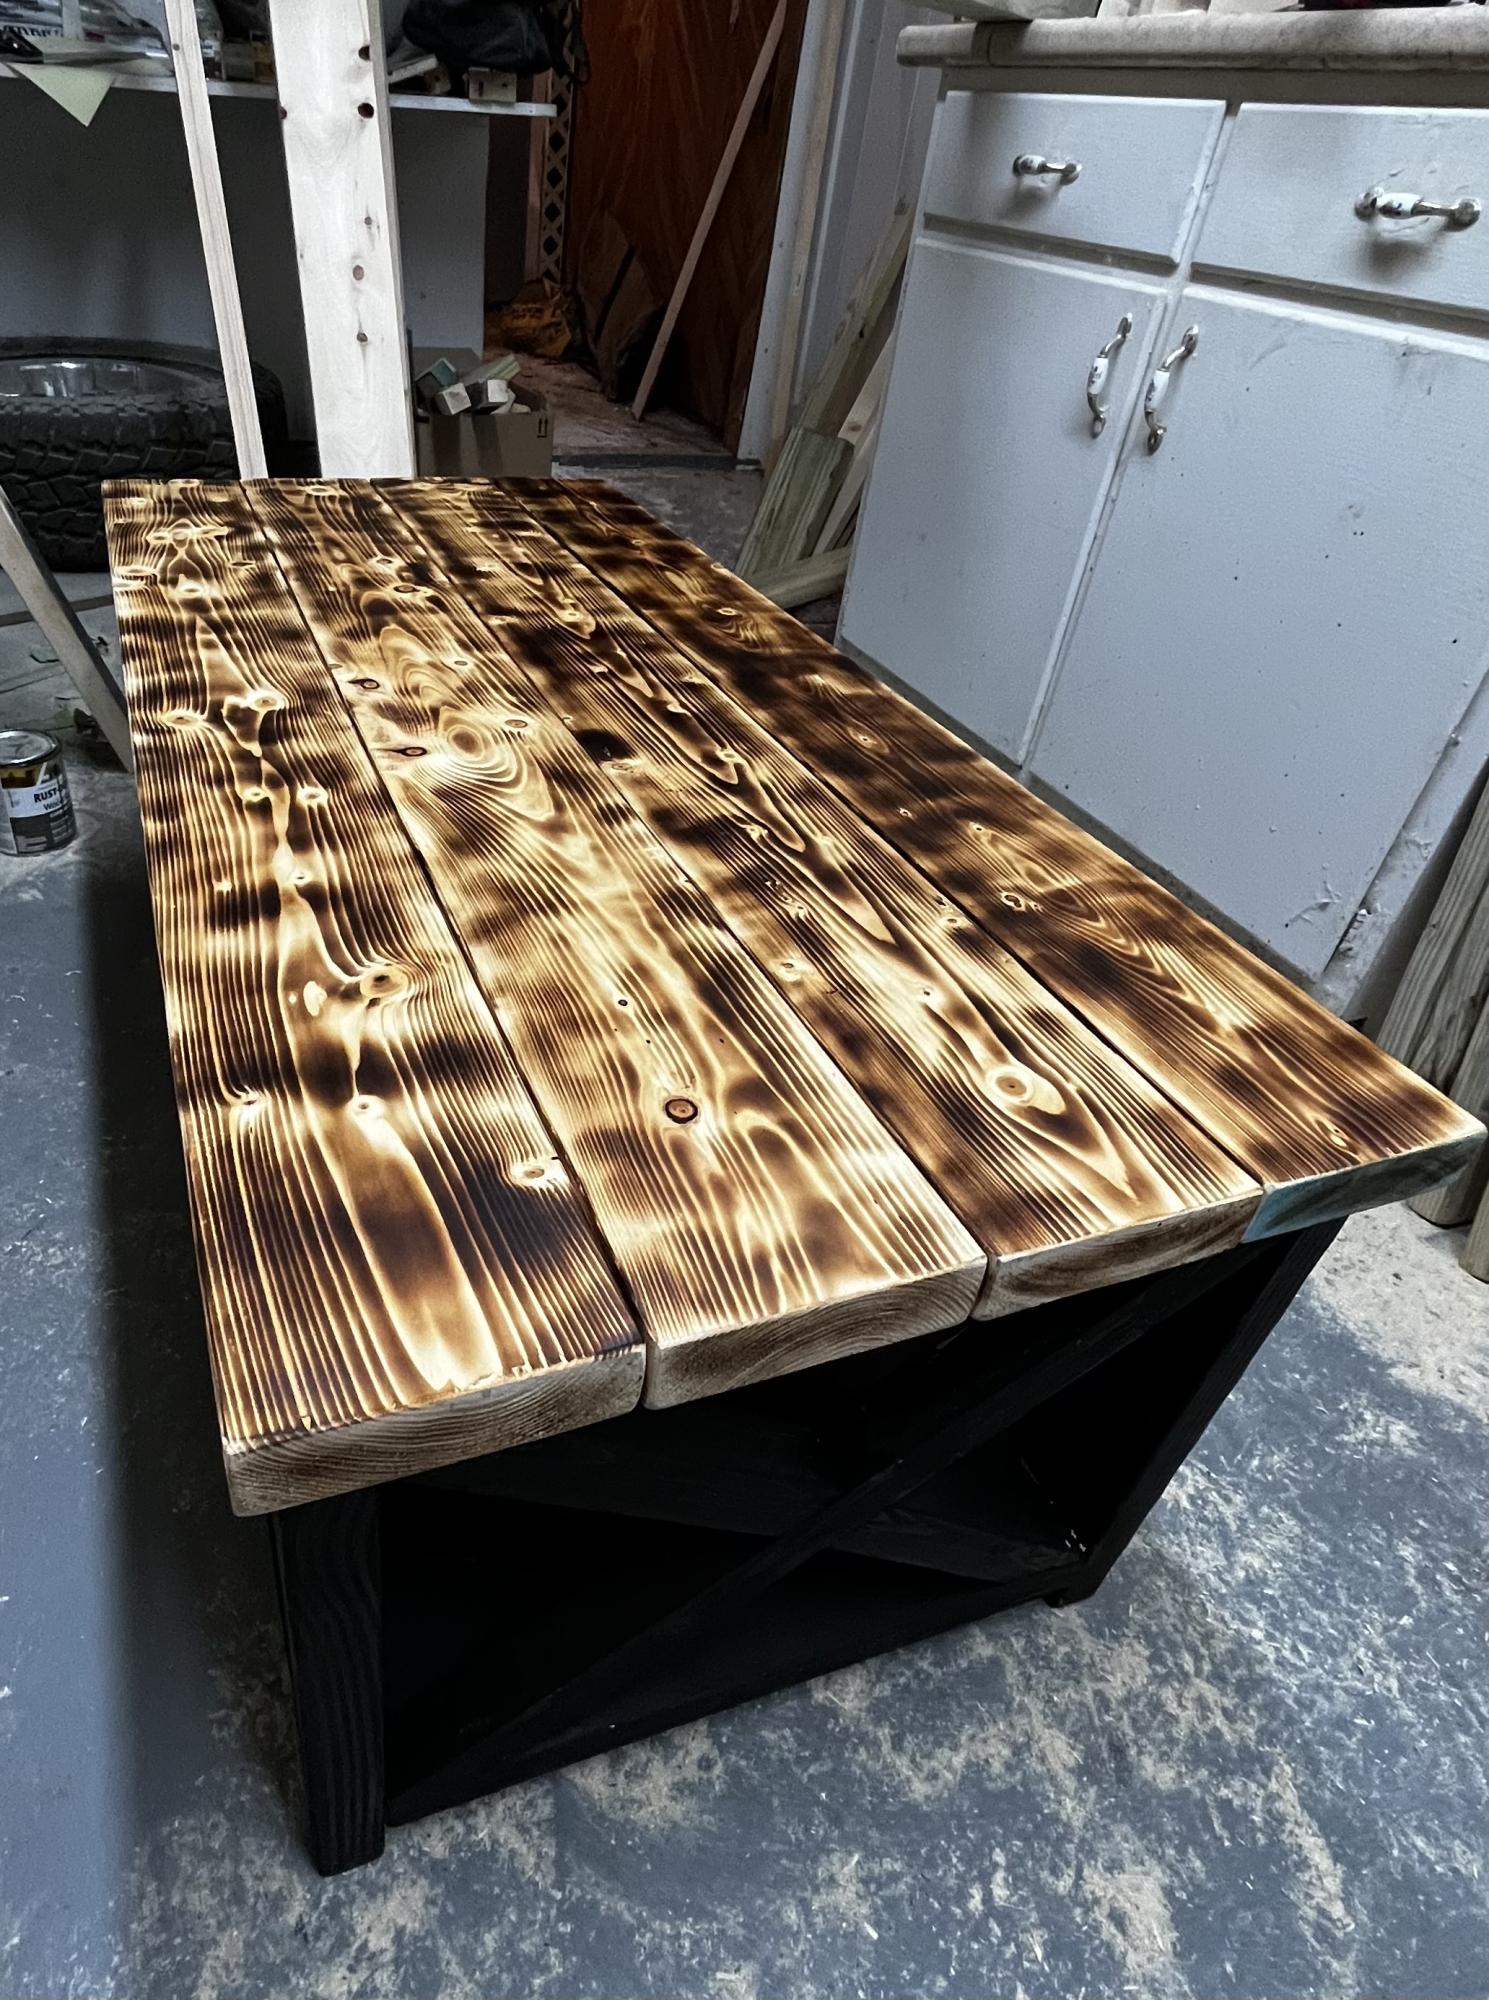
Working a full time job, I was still able to finish each table within a week (taking a couple hours a day to cut, build, sand, burn, stain, ect). These are my second and third tables that I’ve ever built and looking forward to making more.
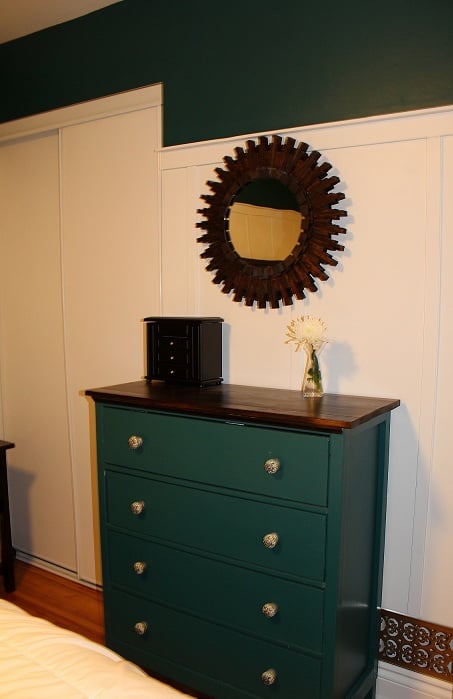
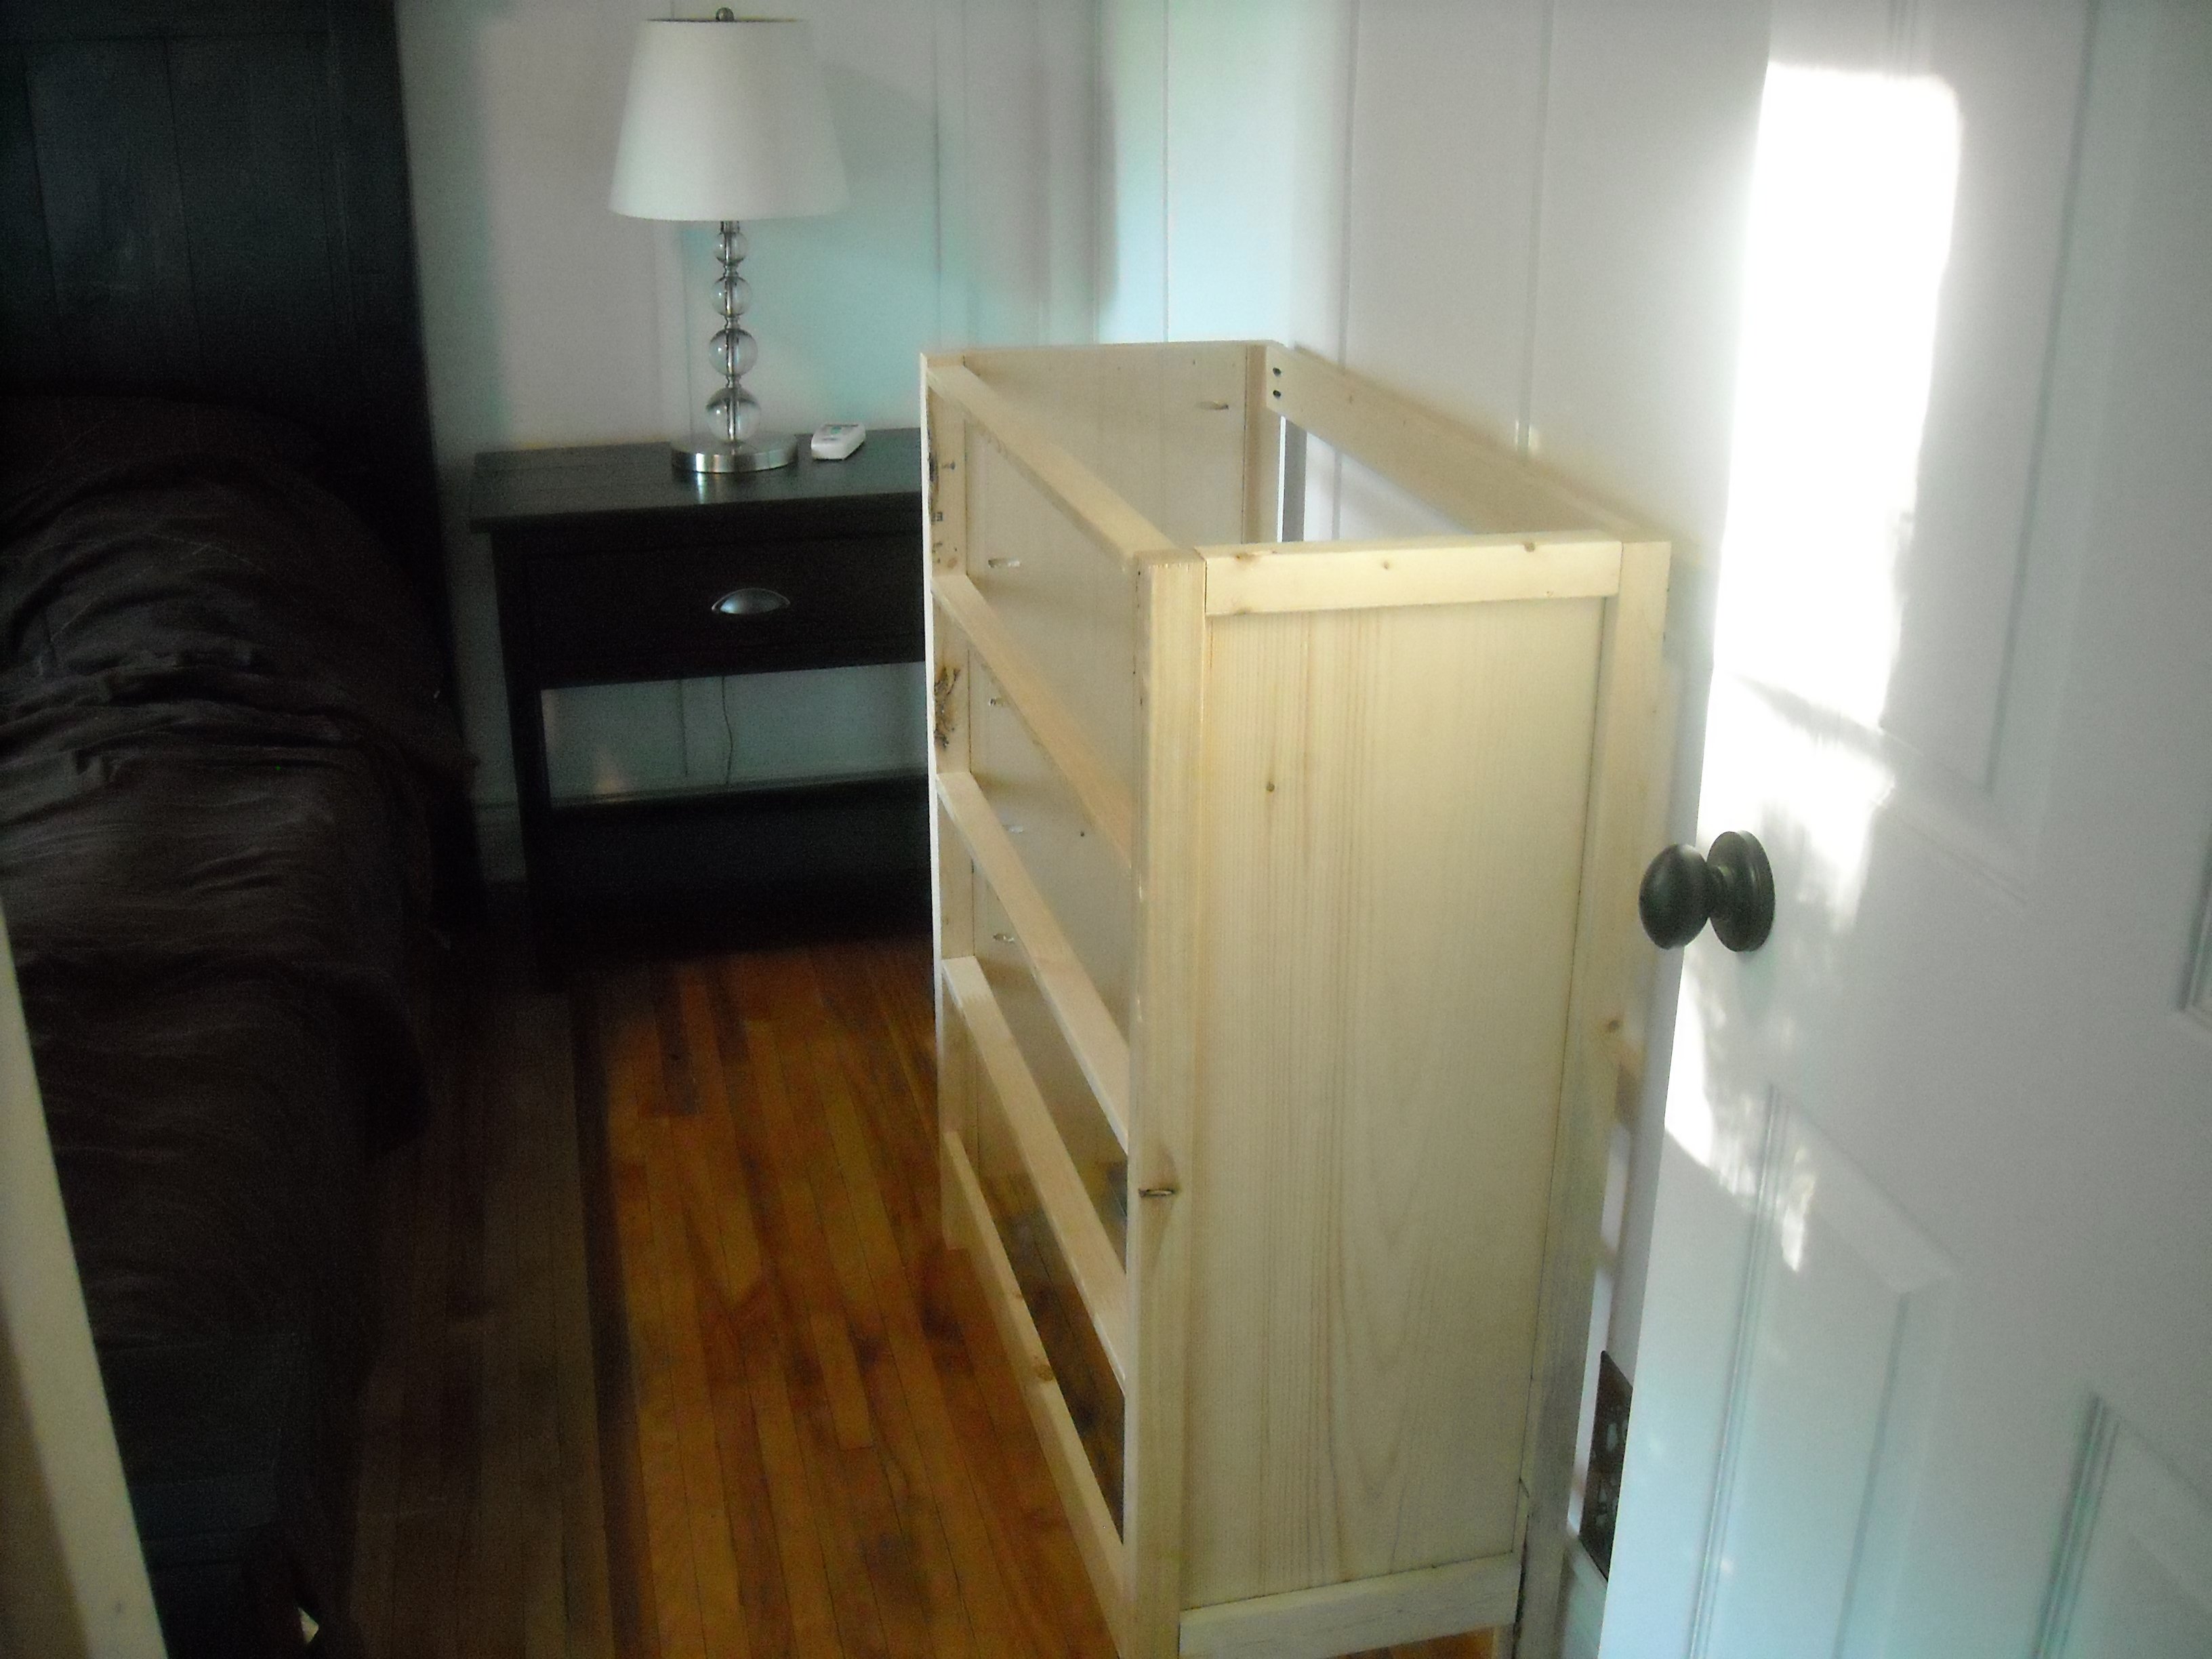
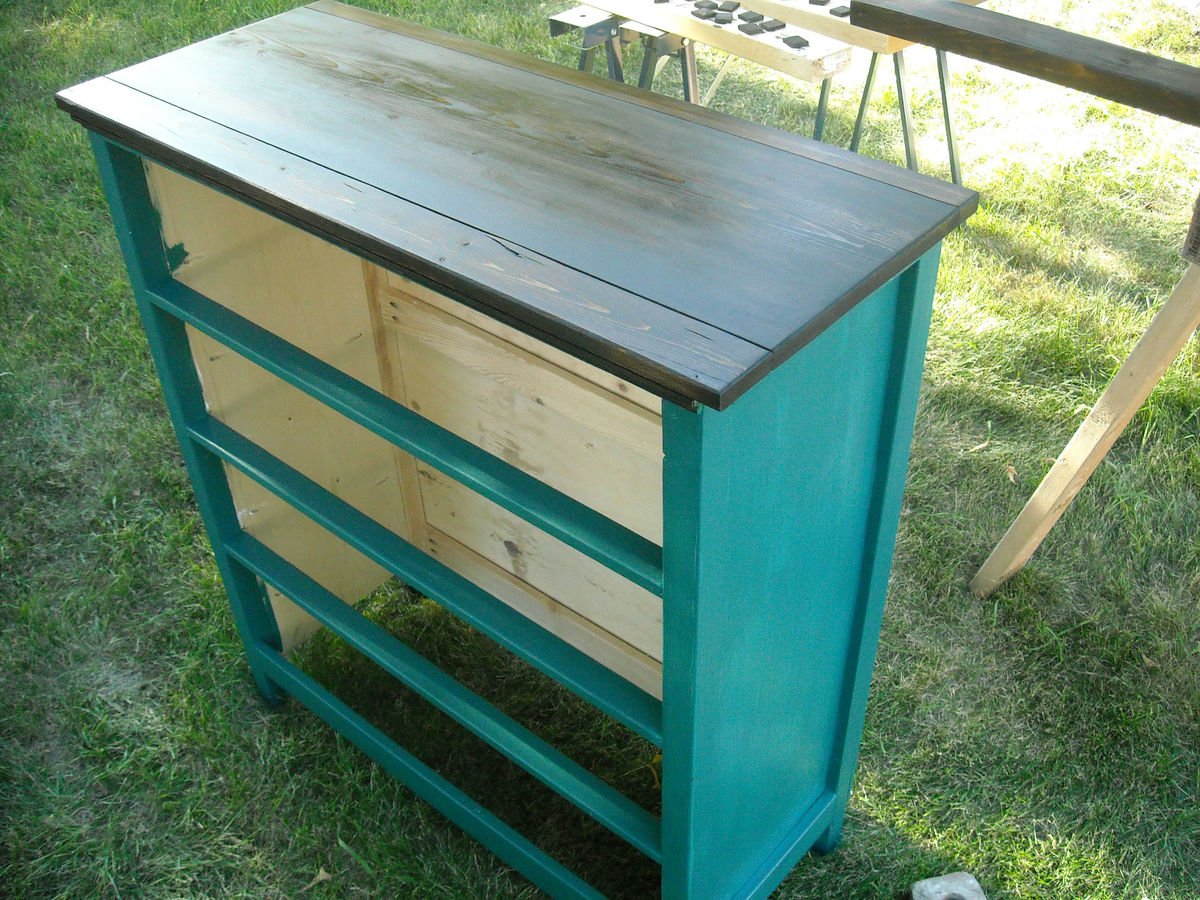
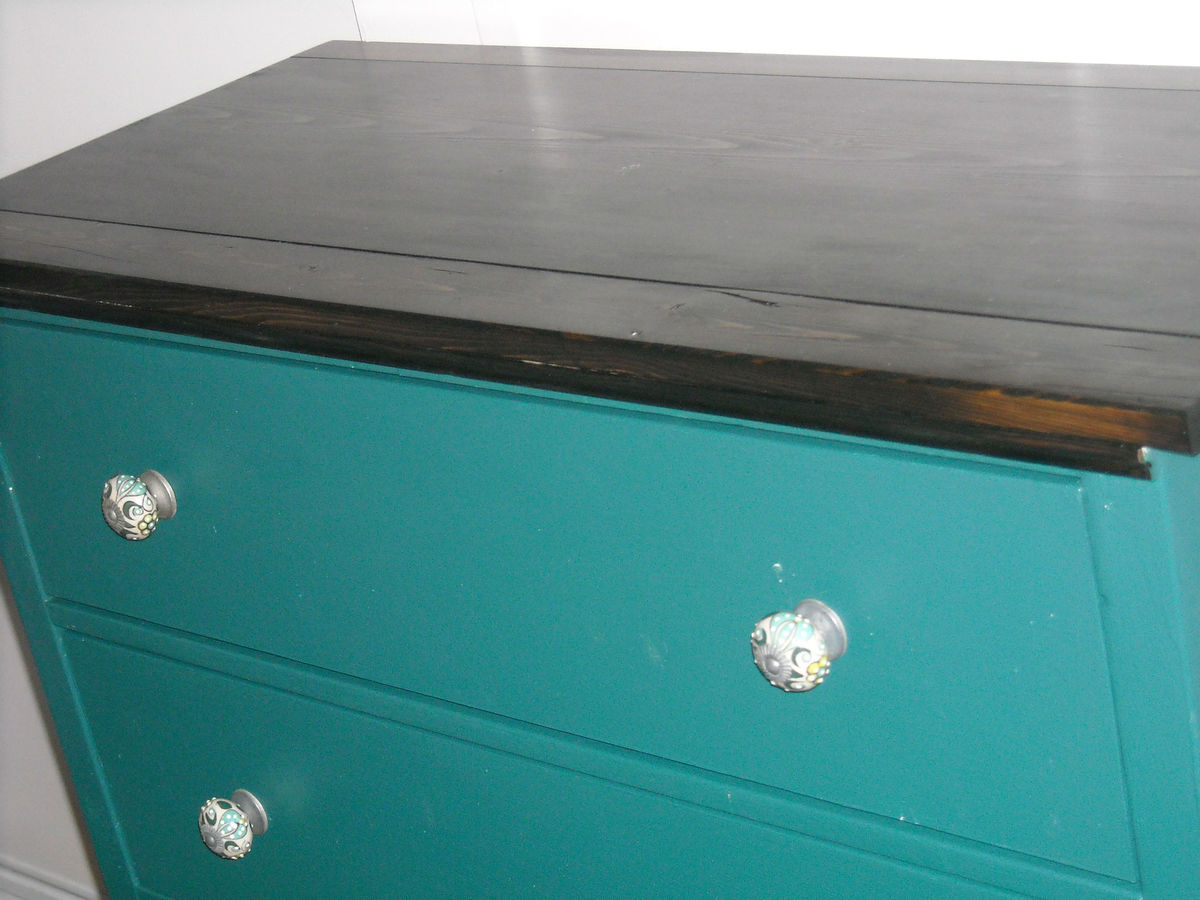
This was our last furniture build to complete our DIY bedroom makeover. We have a small space, so the dimensions of the Beach Cottage Dresser were perfect. We used mostly spruce, because we were going to paint the project. We used leftover accent paint from the walls and stained the top to match to rest of the furniture we've built. This was our third project.


Comments
Ana White Admin
Wed, 10/19/2022 - 08:31
FUN!
The pop of color at the front door looks awesome:)