Second Project - Garage Shelving
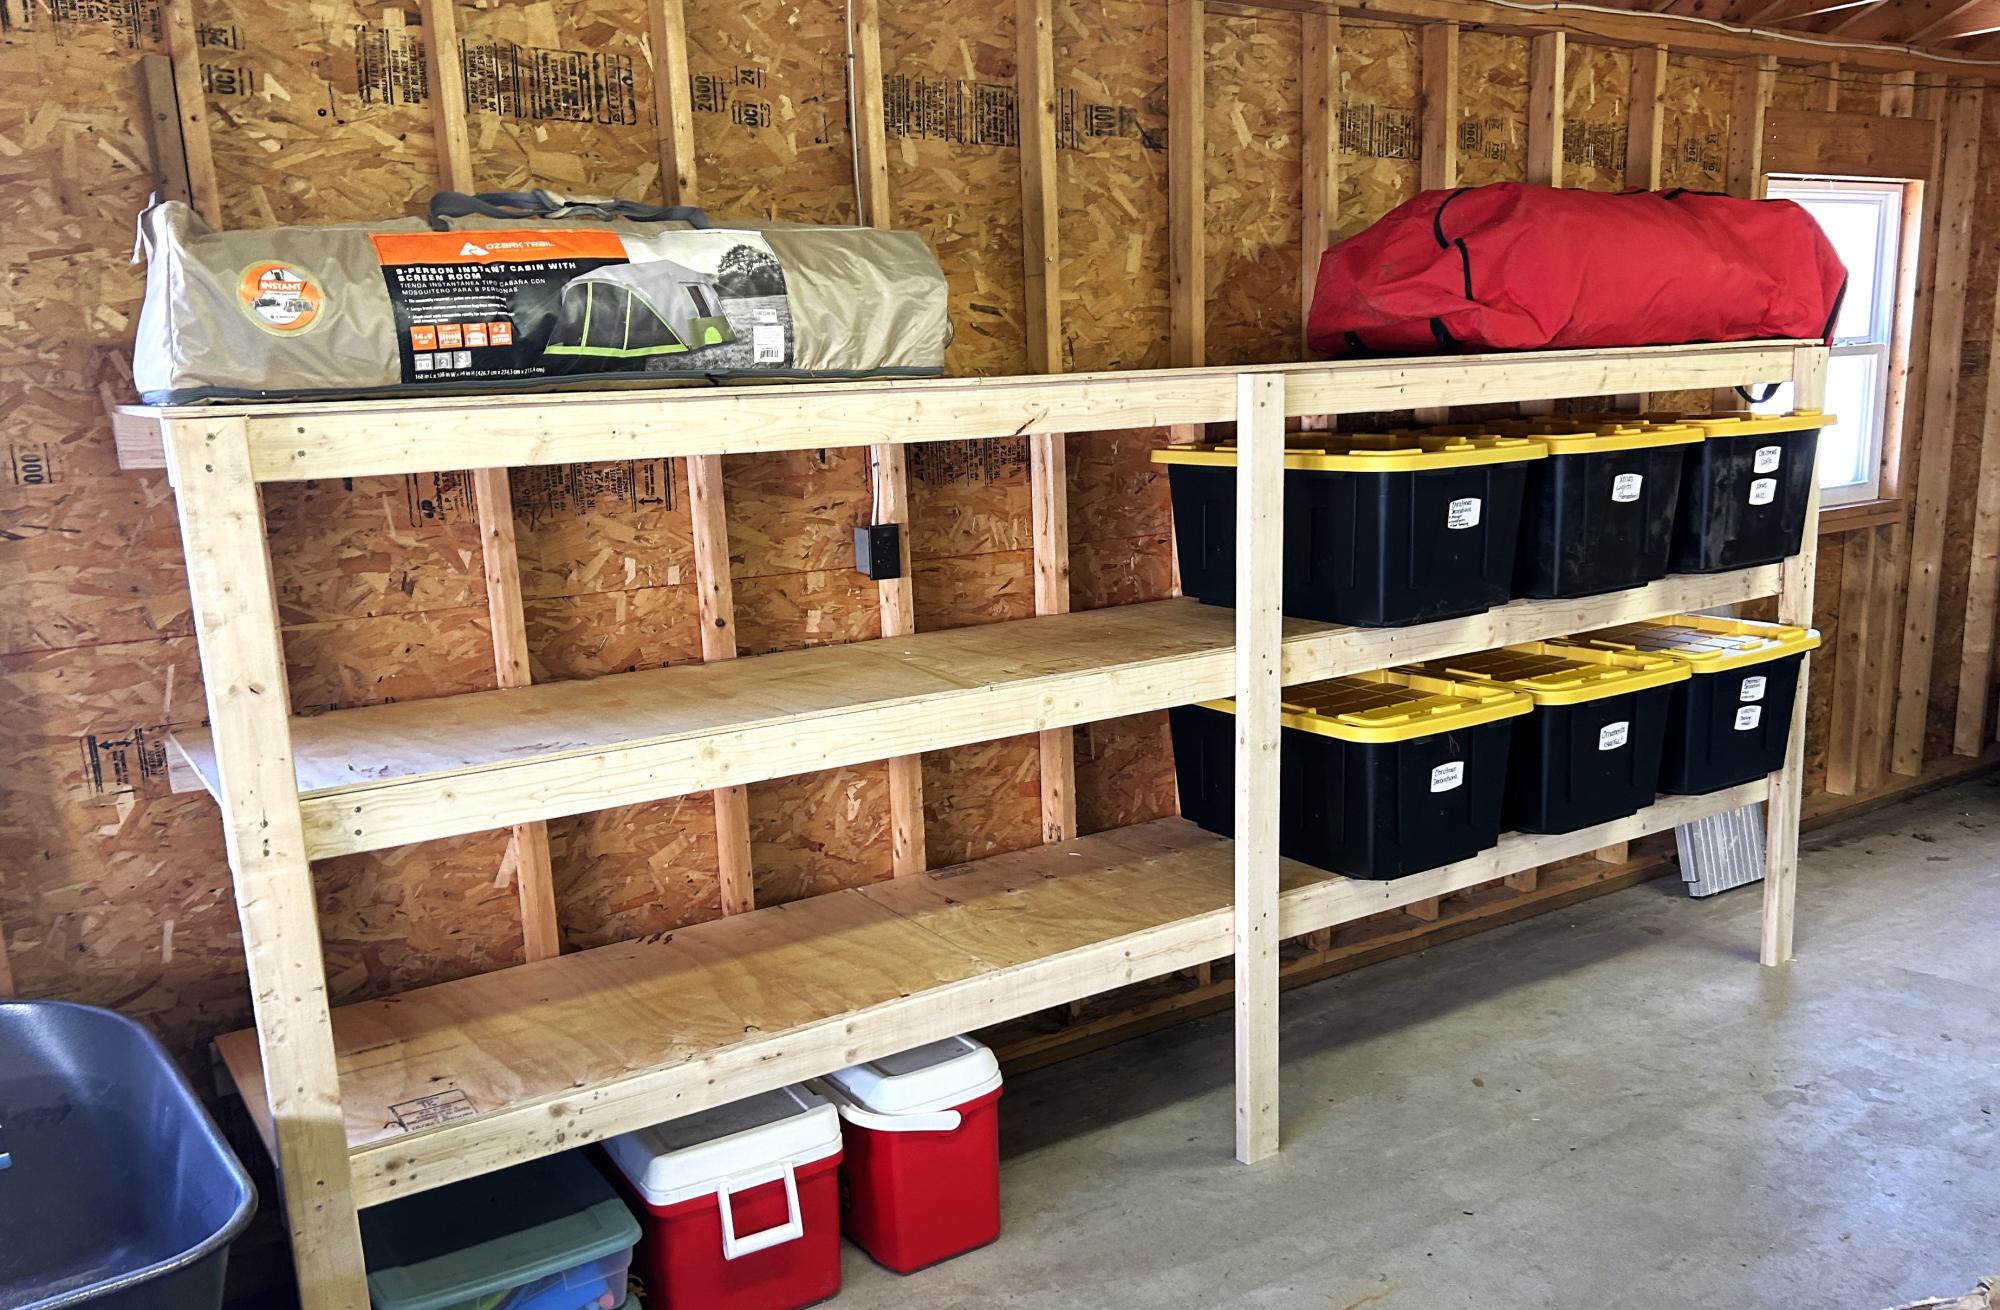
This was my second project (first was a work bench) and it came out great.
W. Knight

This was my second project (first was a work bench) and it came out great.
W. Knight
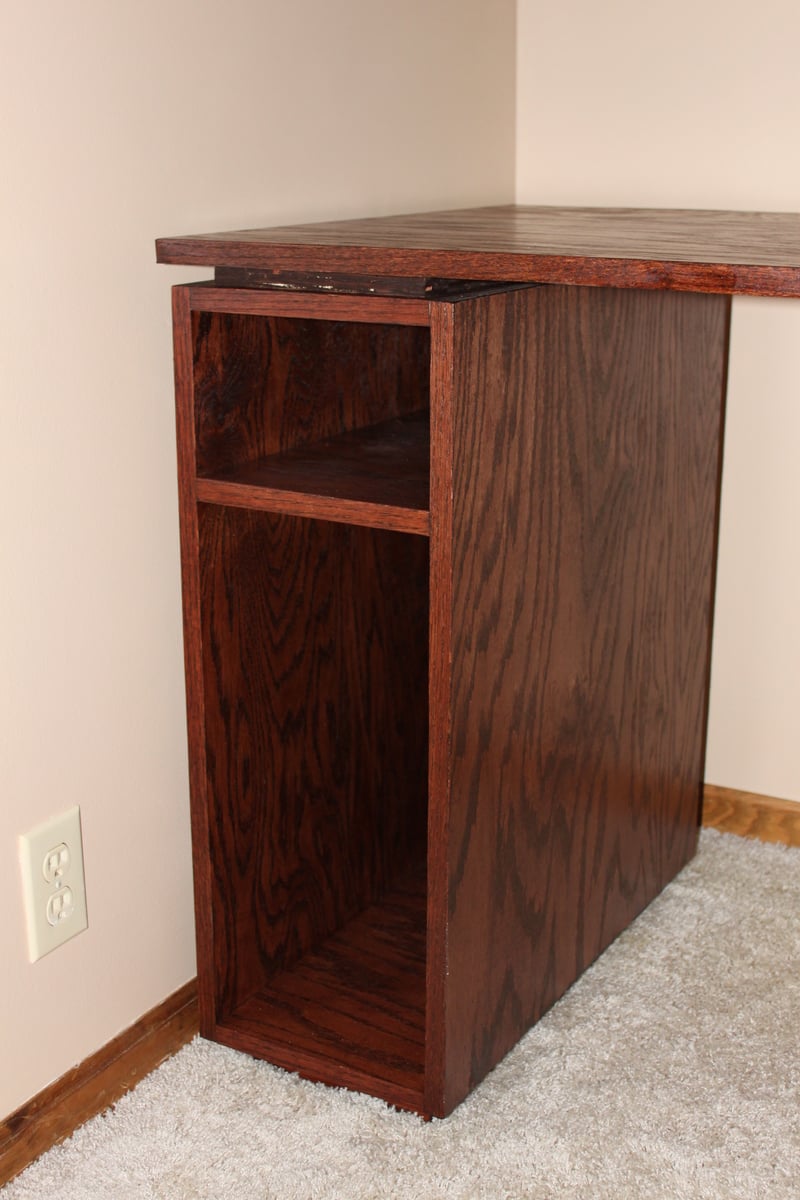
When my husband and I both started grad school, we needed space for both of us to work on our computers at the same time (after the baby went to bed!). I couldn't find exactly what we wanted to fit the space, so we built it! We got the Kreg Jig, which worked wonderfully! You can see some pocket holes in the picture, but they were hidden once we put all our stuff on the shelves. Our space was smaller than Ana's, so we made the two end units narrower (they still fit our CPUs and we used a doorknob hole drill bit to put cord management holes in the back panel). We love it! We built our deck before, but this was our first foray into furniture-making. We had fun and it turned out so well that we have a list of things to build next (we're thinking a murphy bed).
Free, quick, and easy!
Mon, 06/23/2014 - 05:47
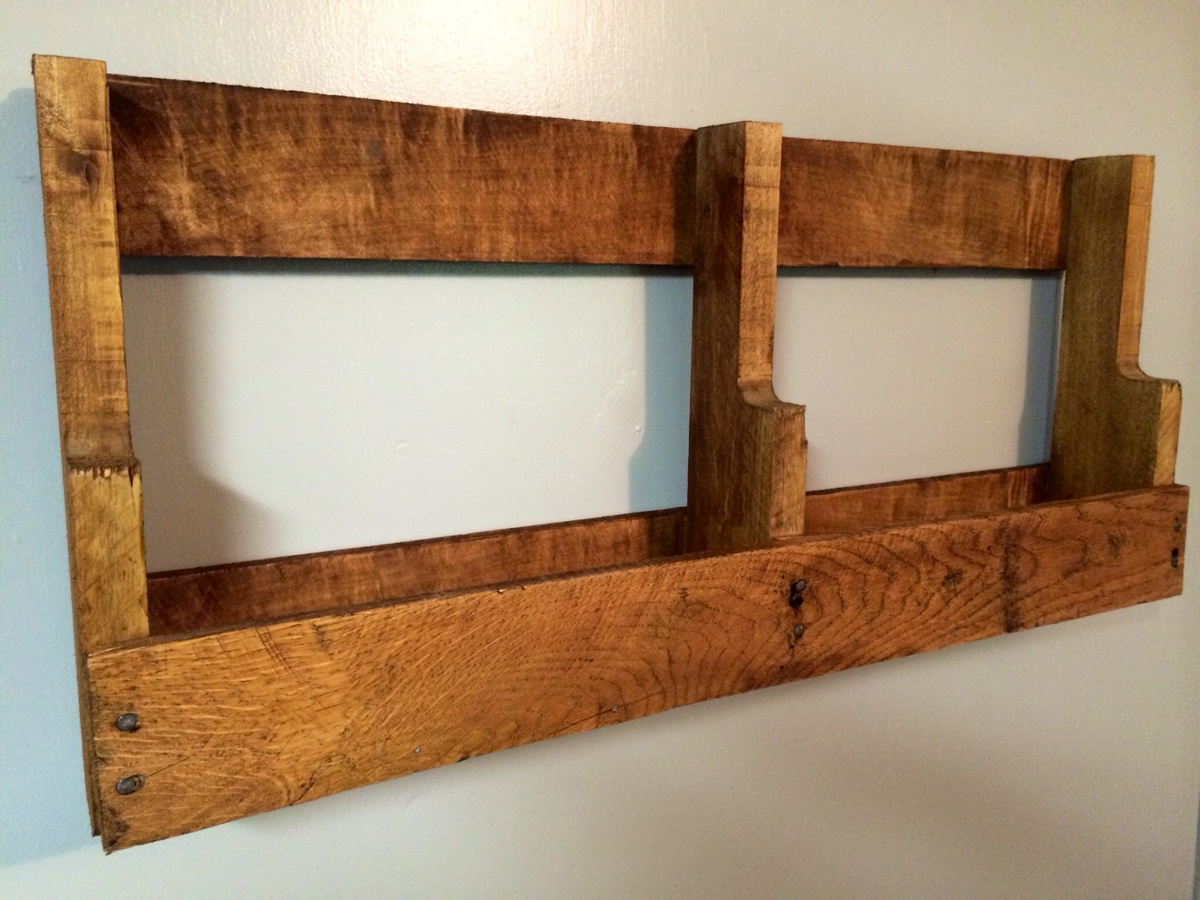
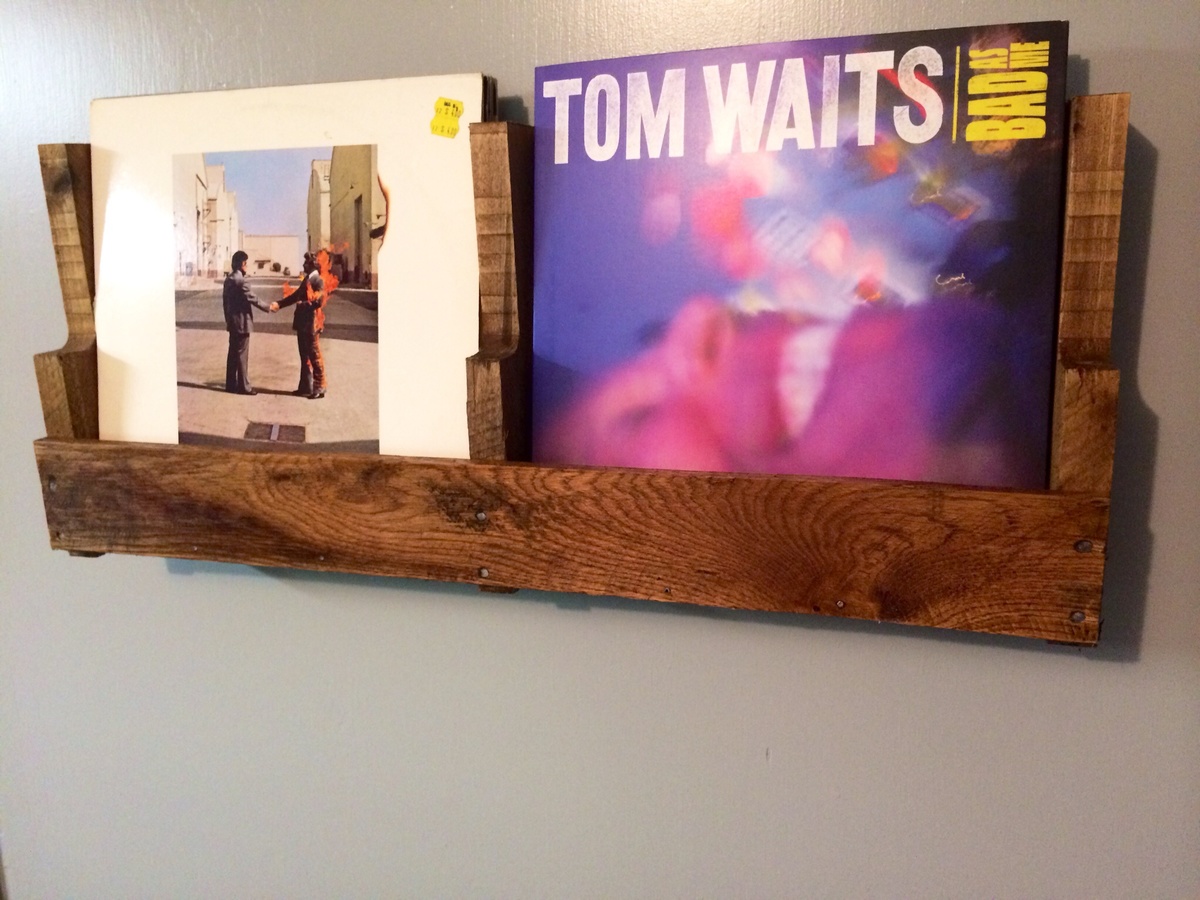
Very cool shelf and record holder for my mom cave. Free, easy, and stylish.

Simply fun project, and so Nice in USE! Used pine all the way!
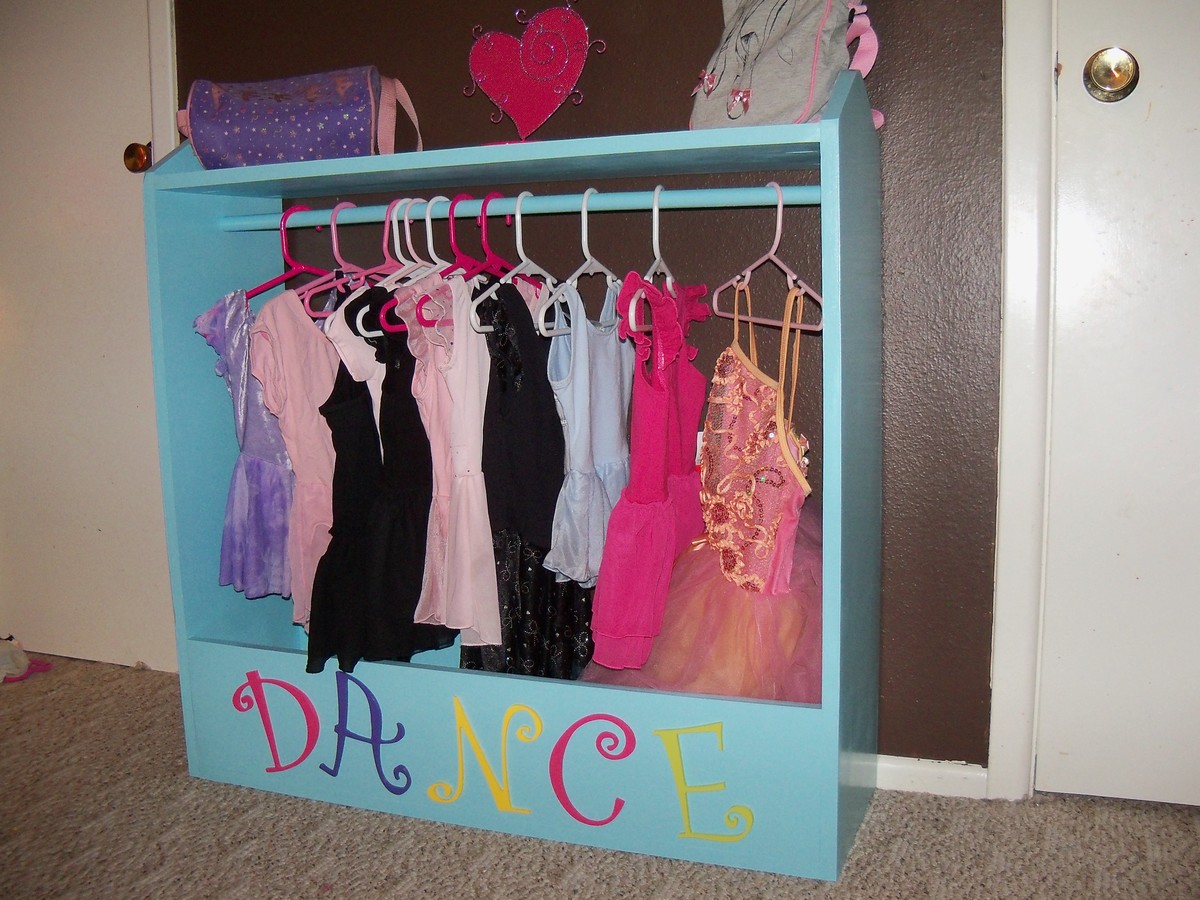
I used the project plan for dress up storage to make a place to put my girls dance things! I have five girls and they are all in dance. We had all the dance leotards, ballet shoes, tap shoes, tights, etc... stuffed in one box! Thanks Anna for sharing this plan! Its so useful, and a great addition to their room. Not to mention sooo cute!
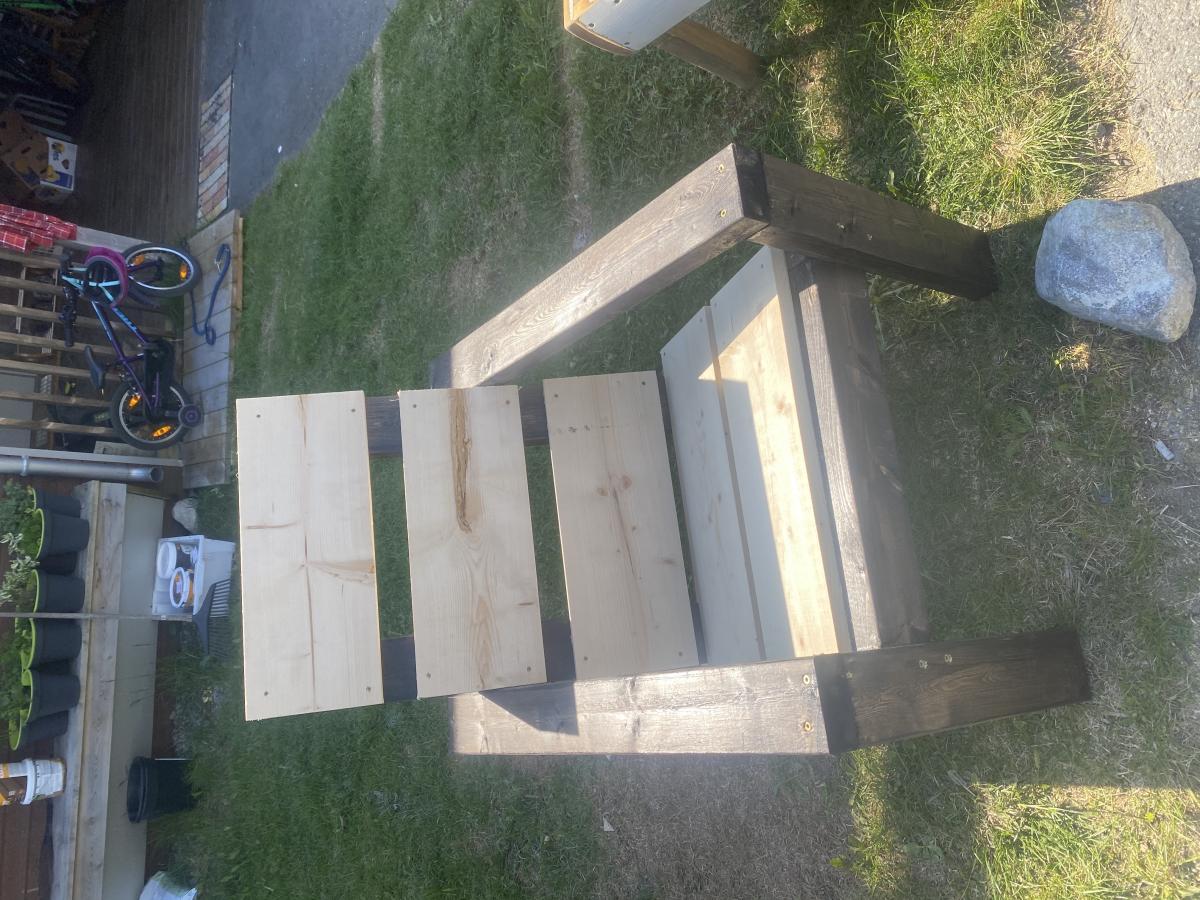
Made this Pallet from scratch with standard 2x4's and 1x4 pine boards. Stained the 2x4's a medium dark and used white chalk paint on the 1x4's. Project came out very nice and the wifey loved it. Happy Wife, Happy life.
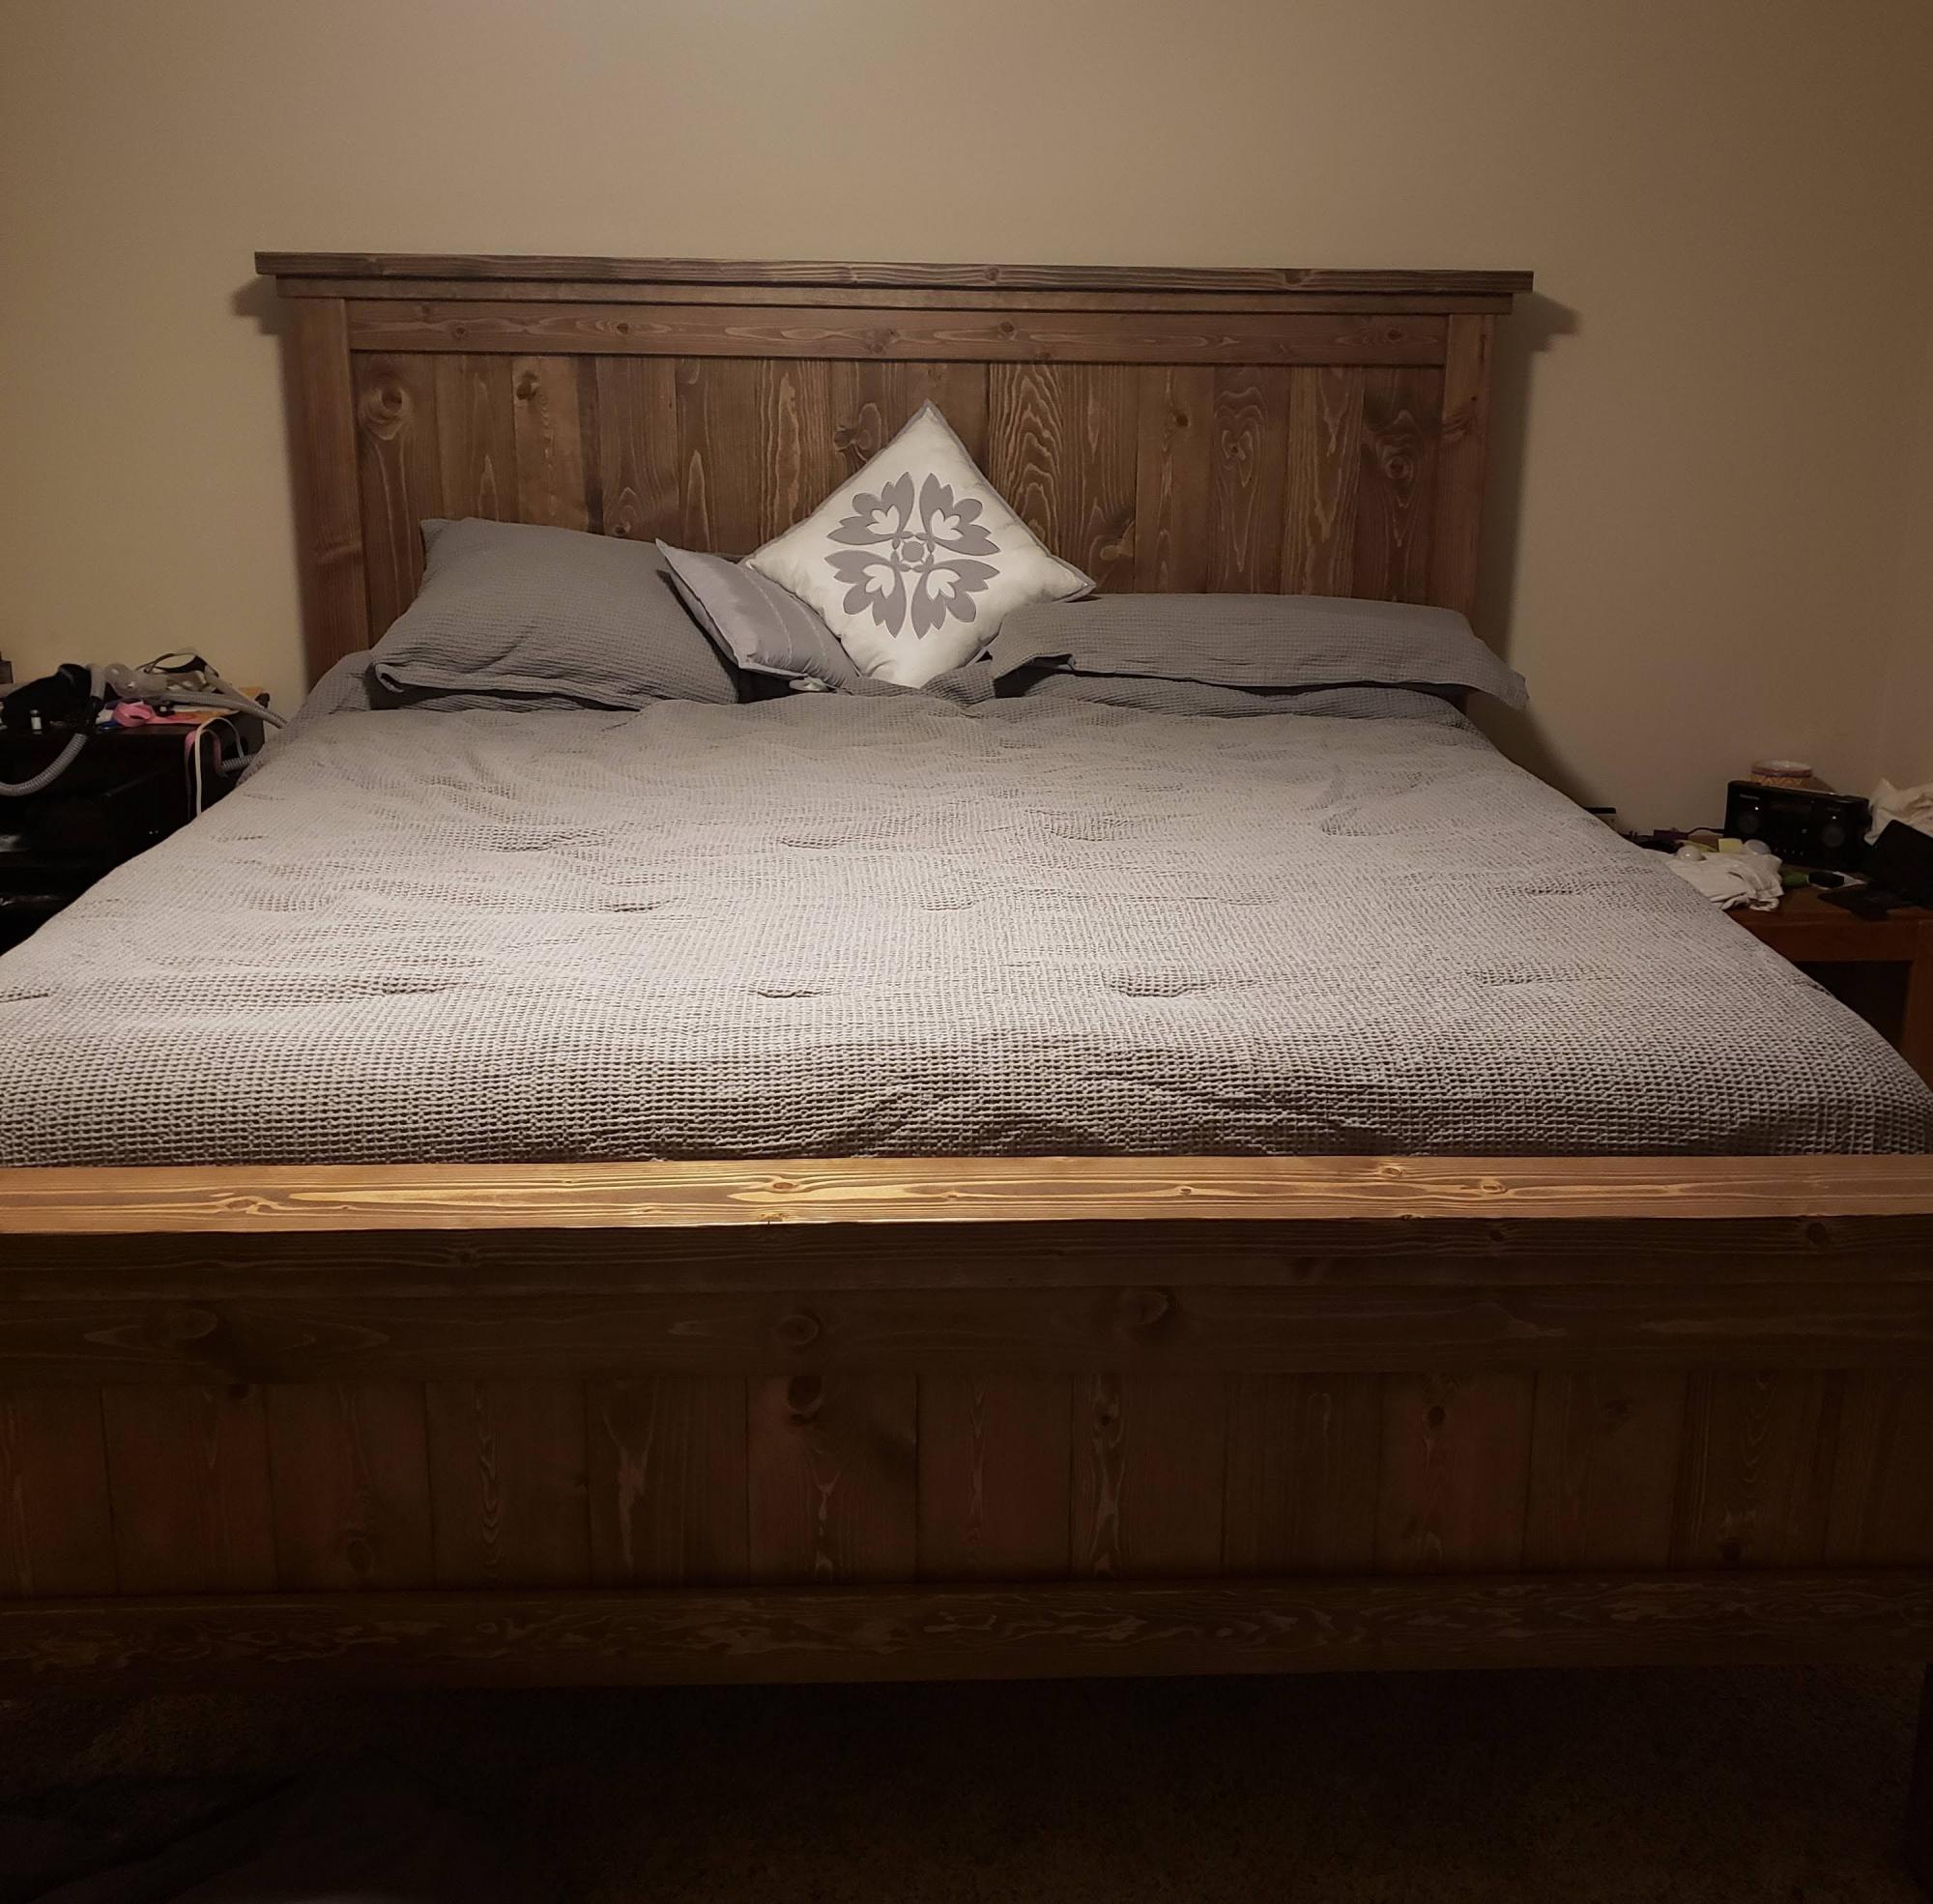
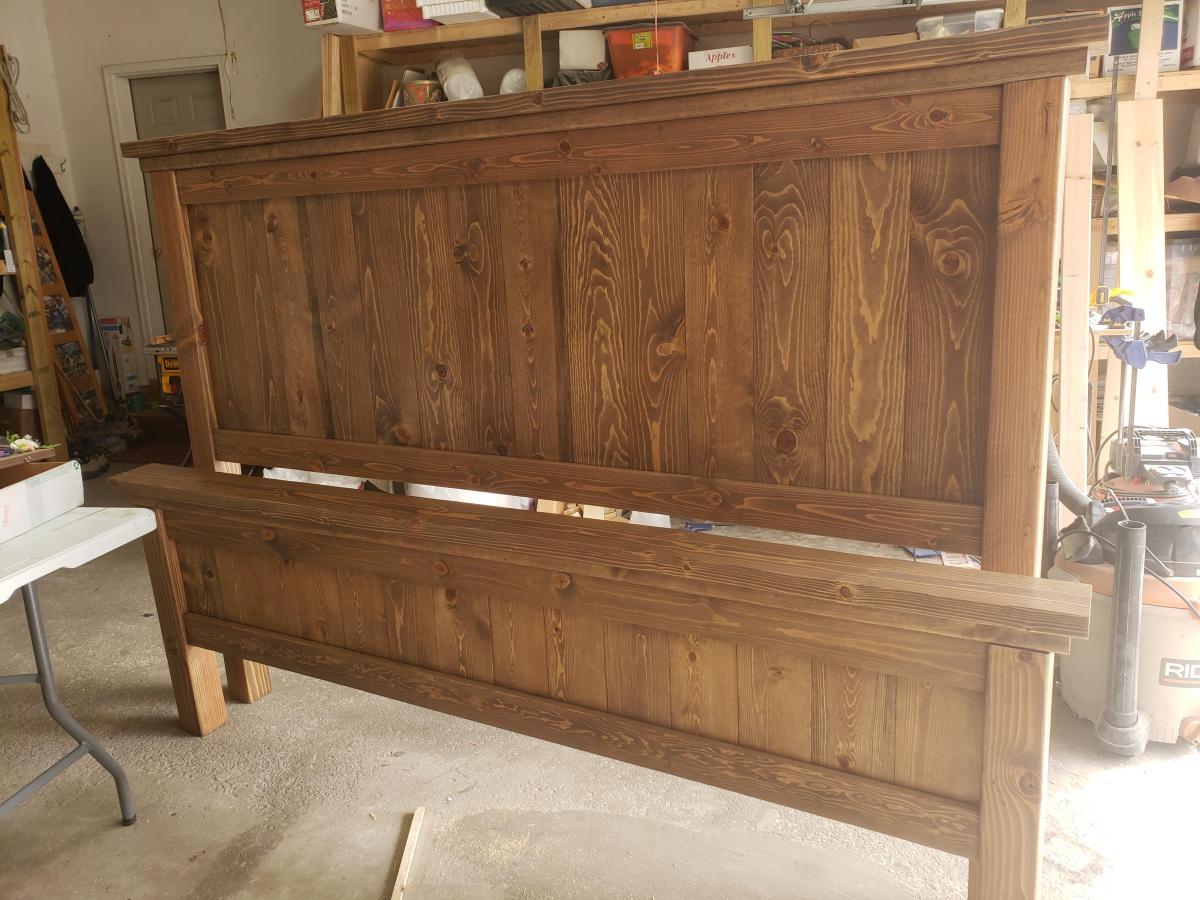
I used Ana's updated farmhouse king bed plans, but I added a few extra inches to the height because I thought it looked low....I may have added a couple inches to much lol. Good thing we're tall in this house

I made a couple changes to the plans to better suit my needs, but Ana's plans were my inspiration! And my veggies that were outgrowing their jiffy pots are happy to have a new home!!!

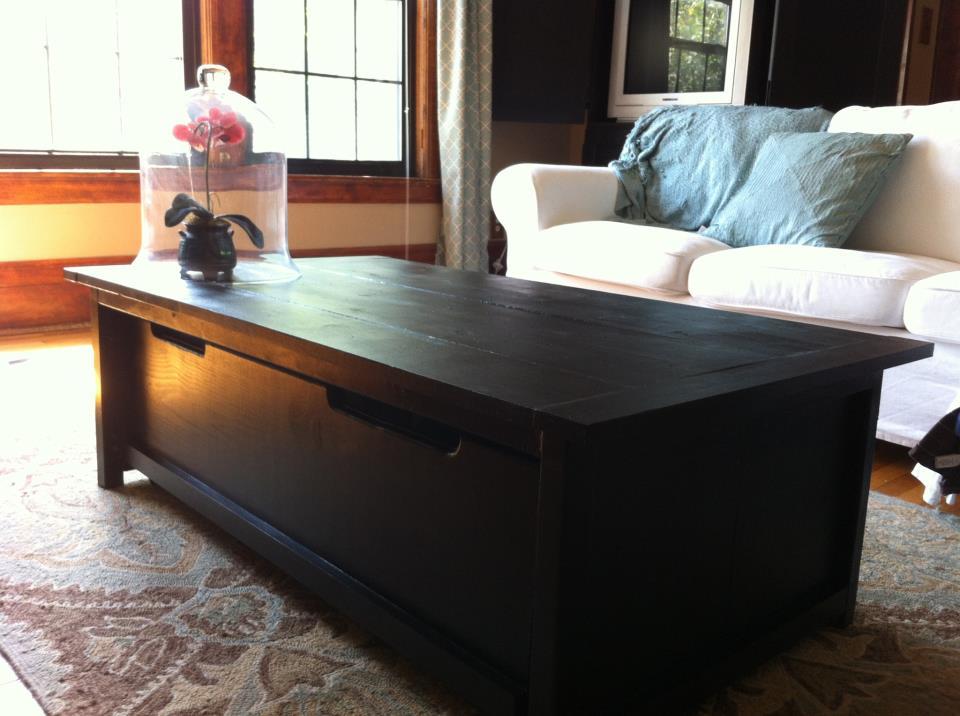
After buying materials for a not so baby friendly antique factory cart coffee table, which I unhappily had to veto, my husband was able to quickly assemble this table and it sat unfinished for a few months. He painted it a black semi-gloss inside and out.
It fits the boppy, lots of blankets and 4 fabric cubes to hold toys, rings, burp cloths... perfect to hide at least some of the baby stuff that has taken over our home.
And now I NEED the apothecary trundle coffee table for the den!
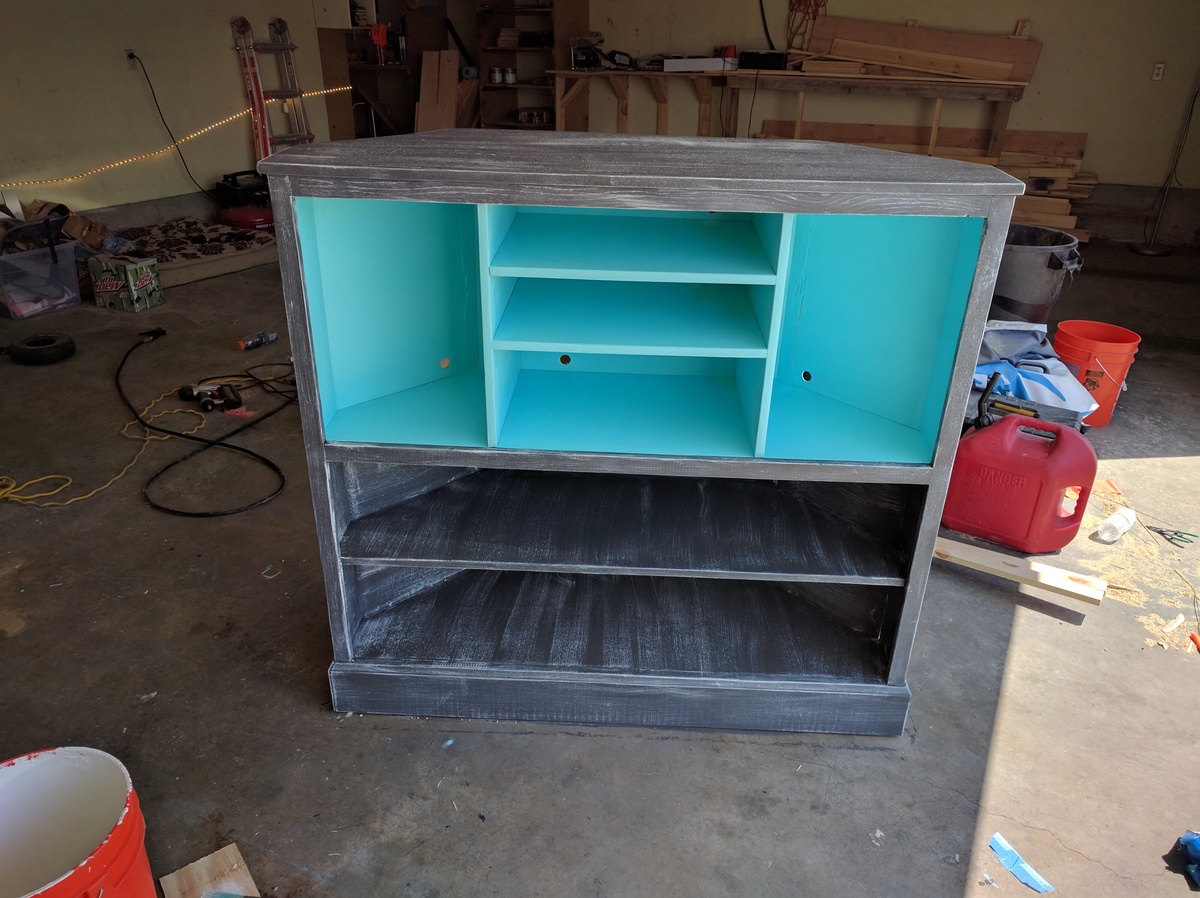
This project was so much fun. I had to make adjustments for the size of my systems, but it was well worth it. I will be adding the doors later after our baby is old enough to crawl. Thank you so much for sharing this project!

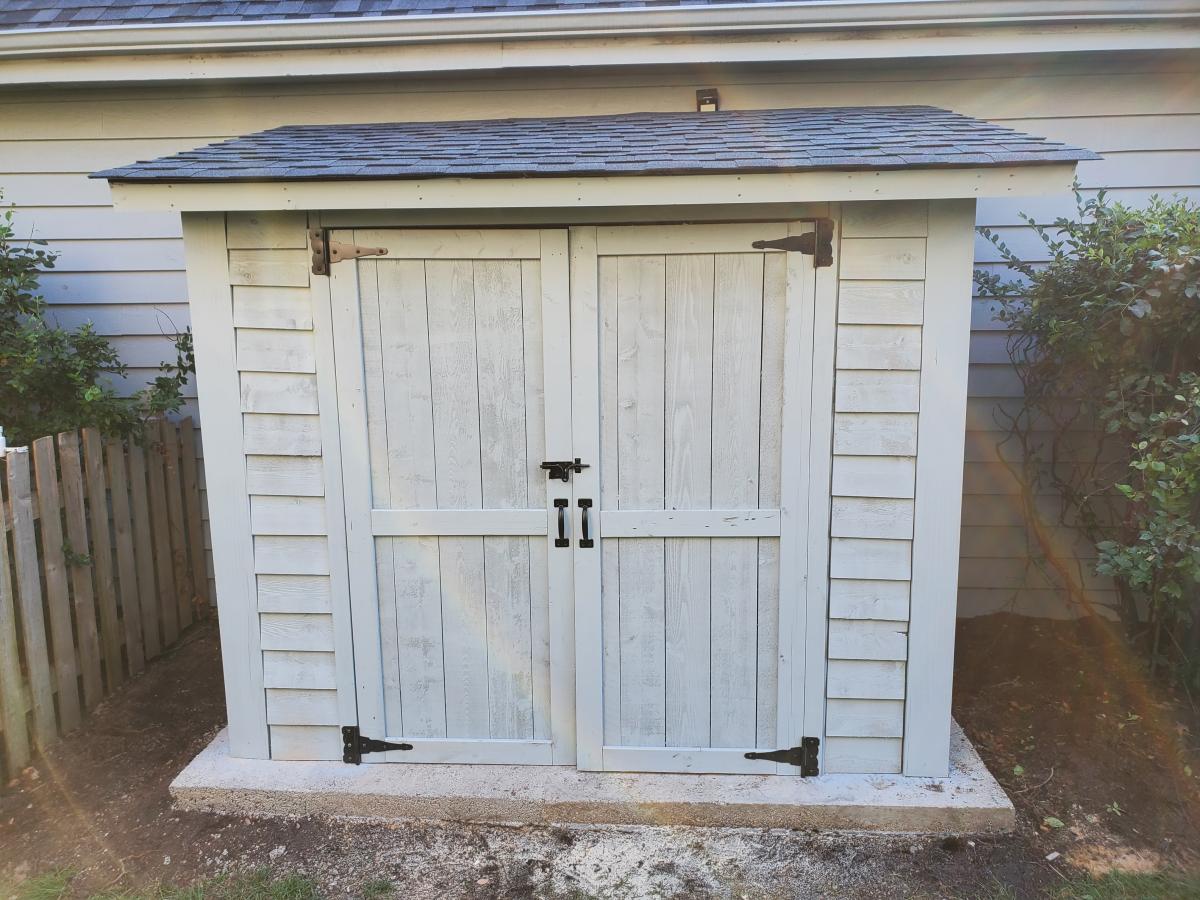
Thank you for the plans, shed turned out great! My association required me to match the siding color, roof color, and anchor to a concrete slab. So I poured 25 bags of 80lbs concrete to make a 9x5 slab. Redid the plans for an 8x4 shed, built the frame with 2x4s and not 2x2's, installed flashing, ice/water shield + felt + matching shingles since I'm near Chicago, and used a flexio finishing sprayer to paint the shed. Saved some $ by using 2 Redwood Grain Fiber siding panels for $22 each at HD.
All in all very happy with my shed and all my dangerous yard tools and woodworking tools can be put away from my toddler.
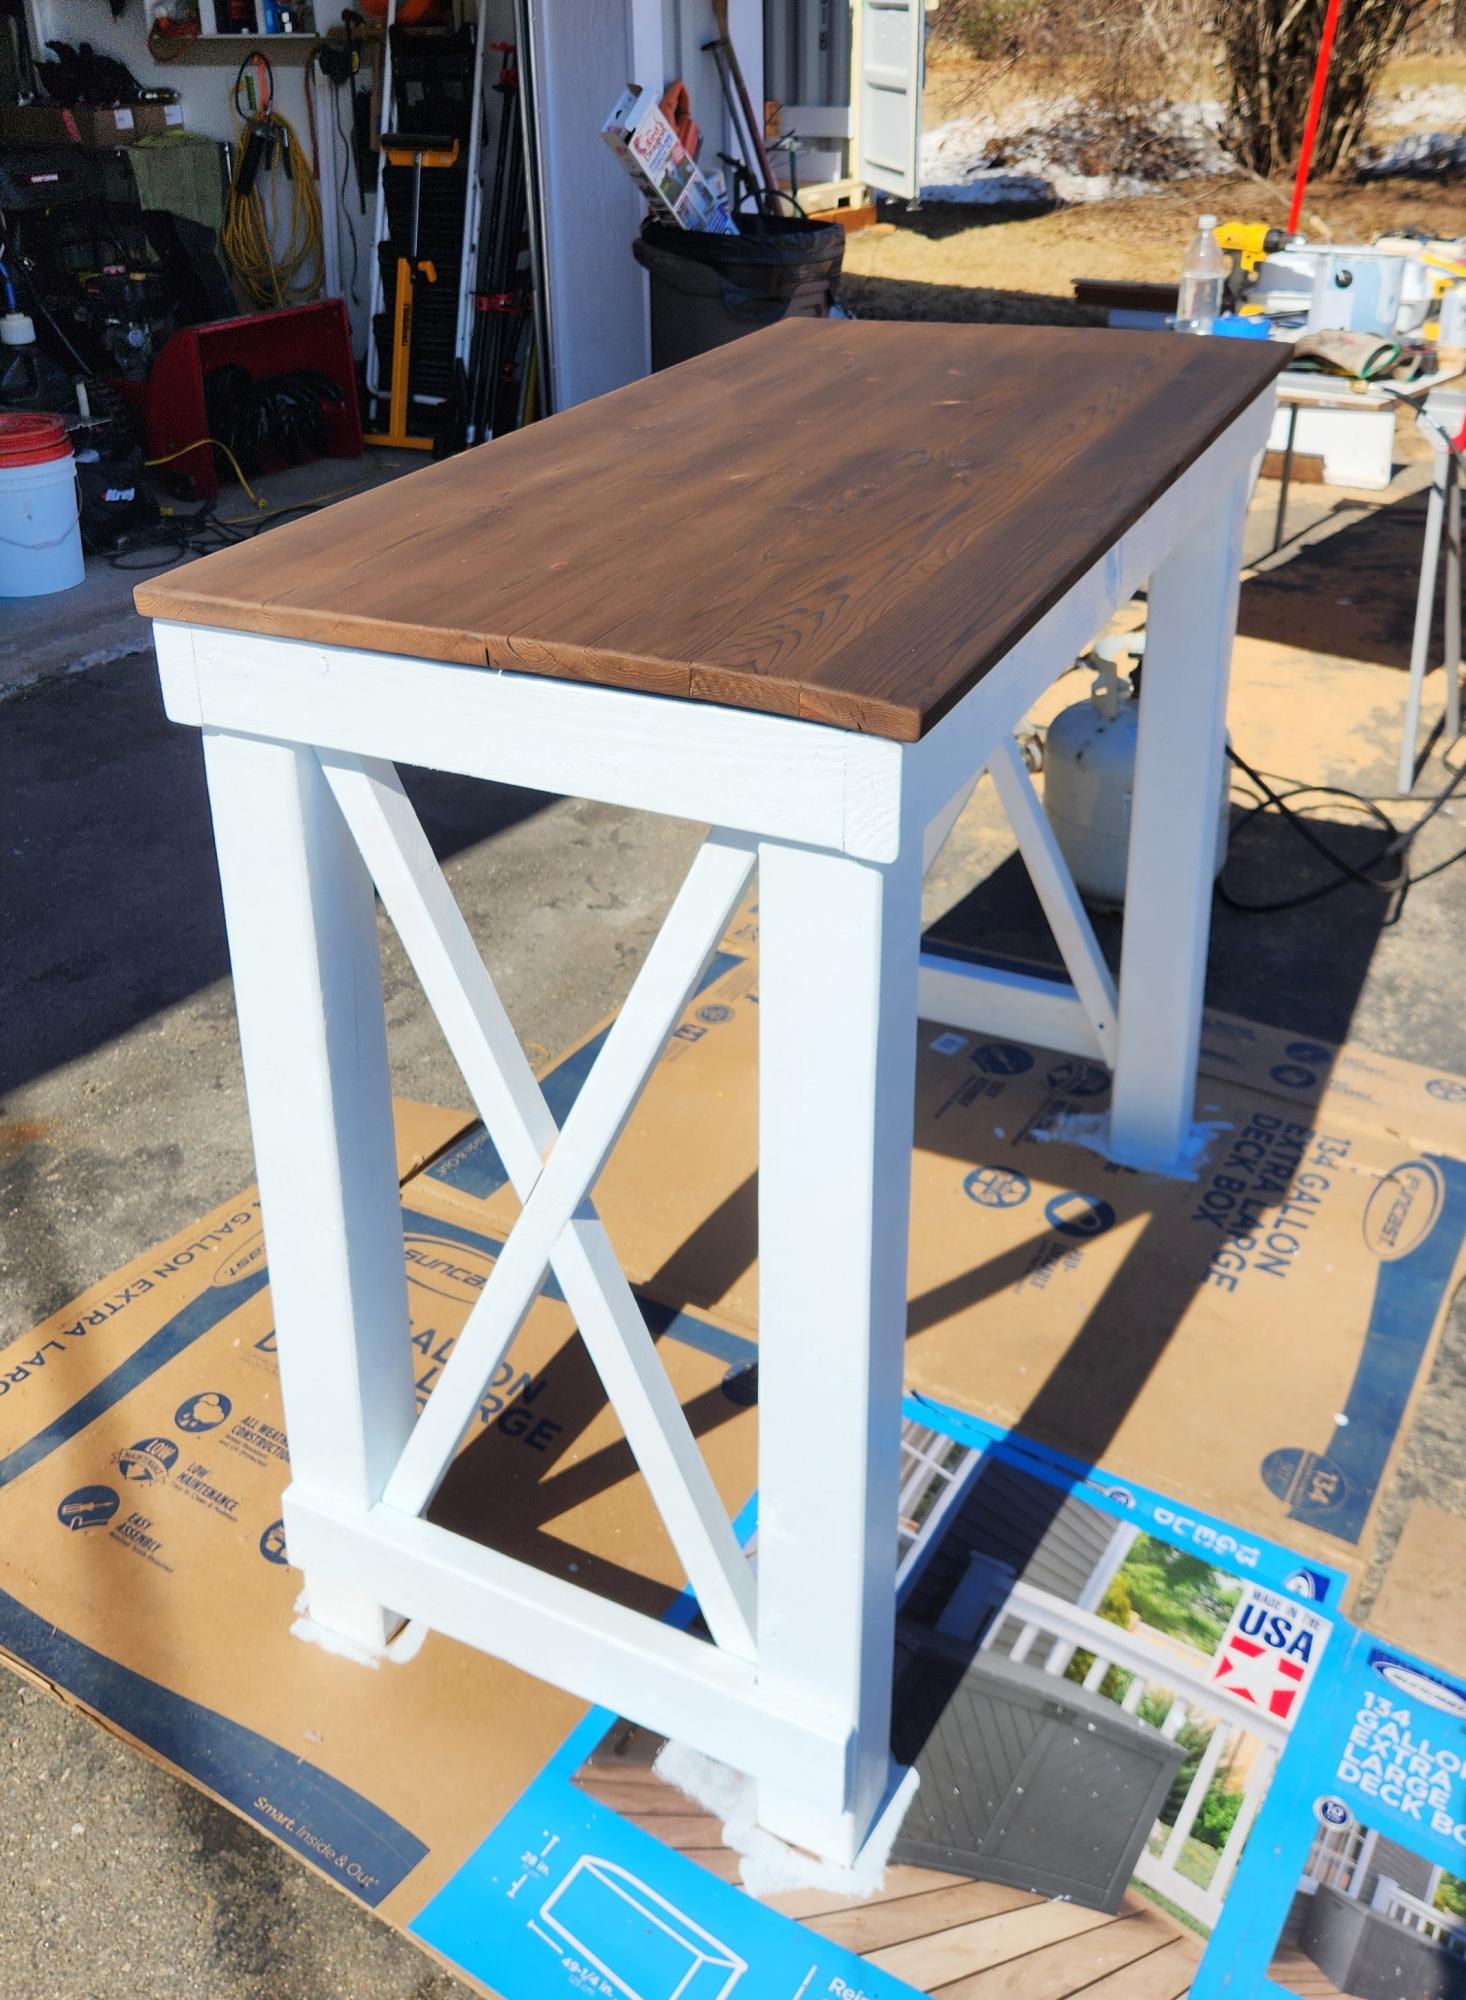
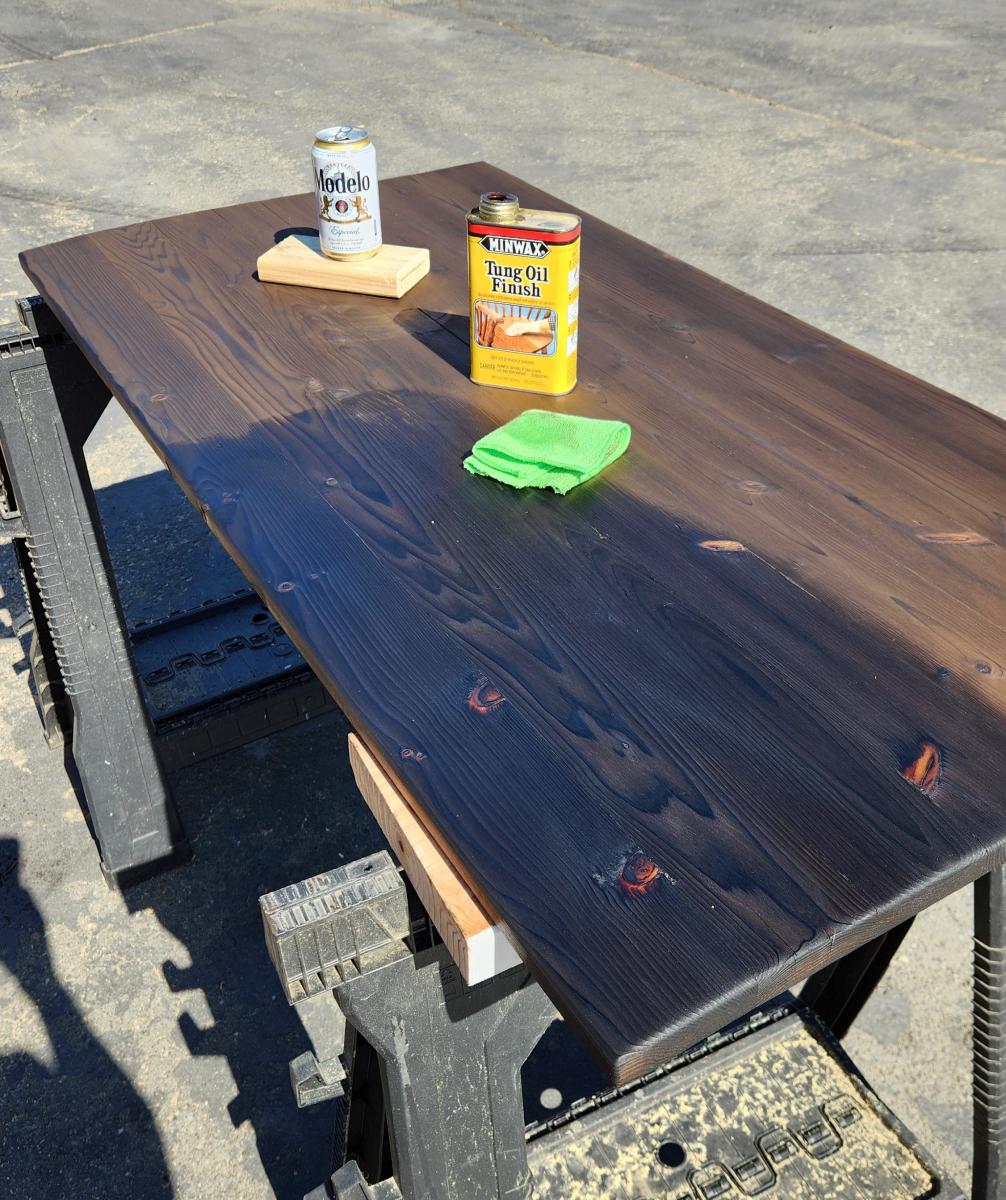
I saw this table and nesting grill station on your FB page. I changes it up a little bit, but the concept is perfect for my back yard deck.
Dharris
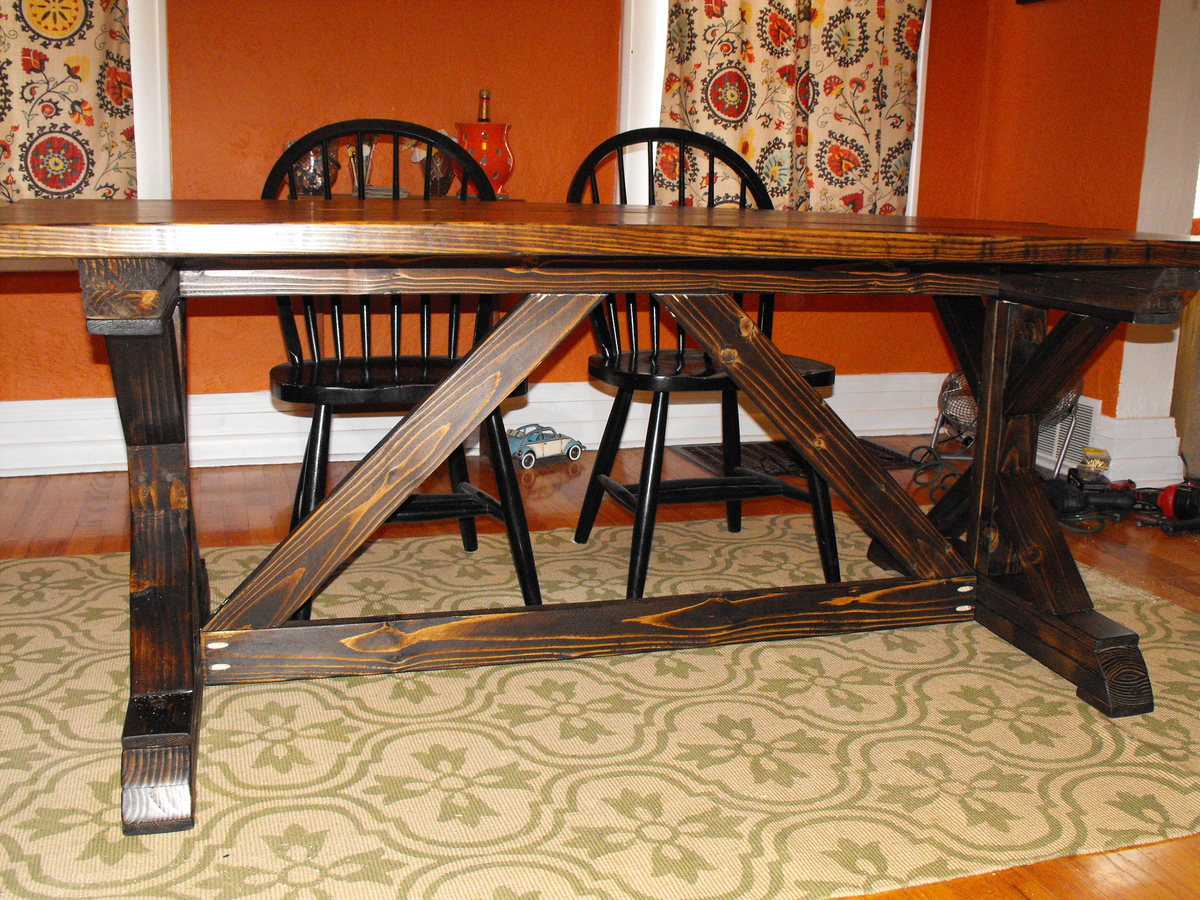
I started looking for a farmhouse table months ago at antique stores and on Craig's list but never could find exactly what I was looking for at a reasonable price. A friend had pinned an Ana White plan on pinterest. I sent my boyfriend a link to the plans for the fancy farmhouse table and he decided to build it for my birthday!!! It took him a few afternoons and turned out exactly how I wanted it. It was fun to build and not too hard. We shorten the length to 6.5feet to fit in the dining room. I used Minwax dark walnut 2716 as the finish. I topped it with two coats of poly. It fits perfect and looks amazing!

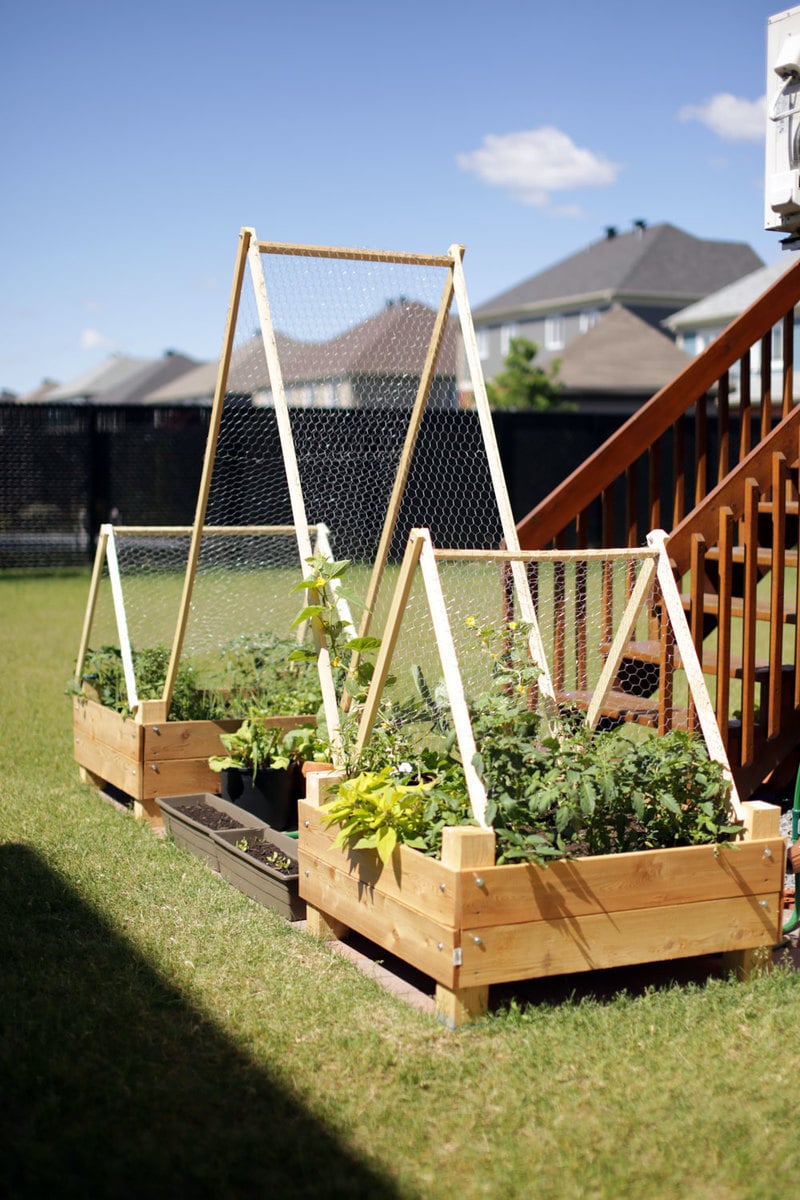
We wanted a small garden to fit on the back patio stones and this plan fit well. We reduced the height because we have 3 small children to "help" water the plants. The trellis was hoping that we could extend the amount of produce we could grow. They're very heavy, sturdy and straightforward to build. Thanks very much!!
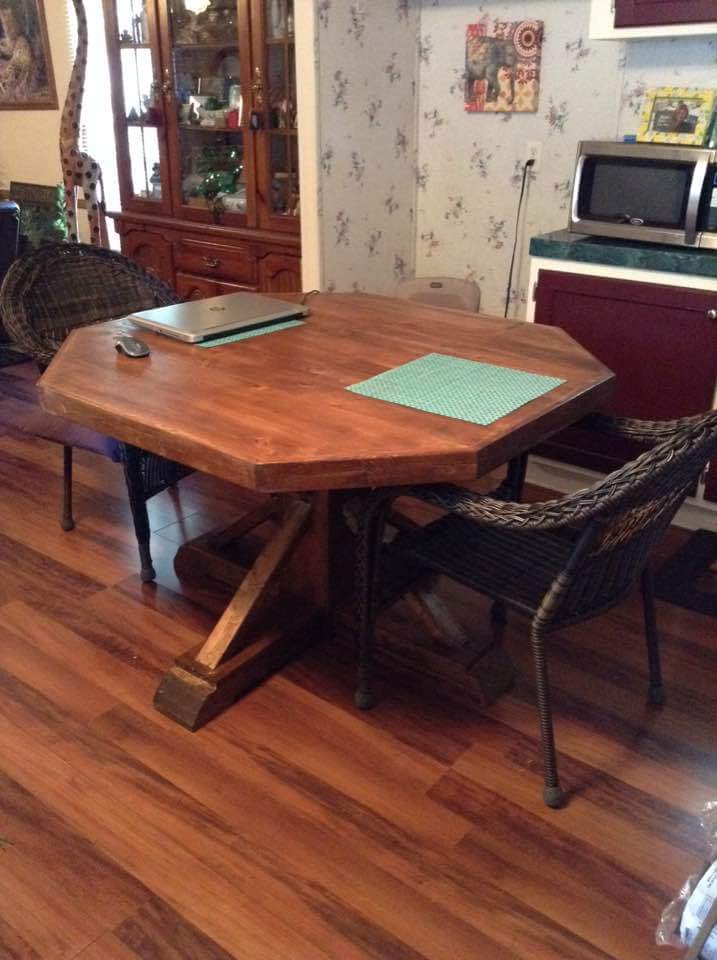
I changed the size a little smaller to fit the area but turned out great
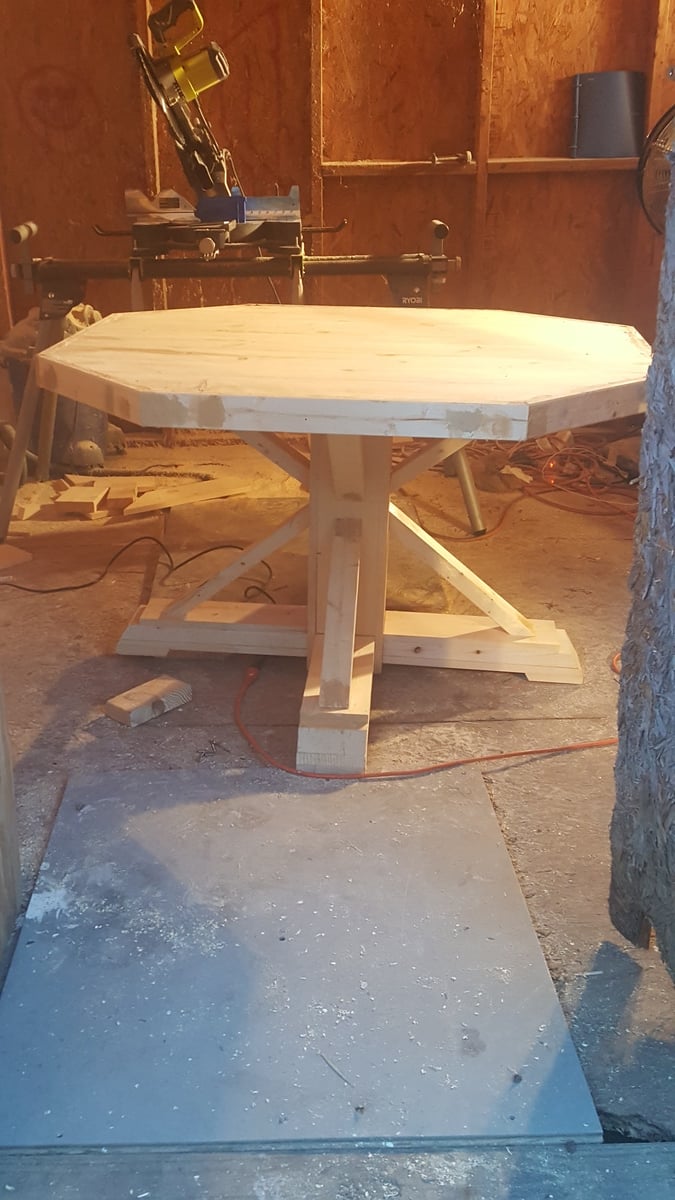
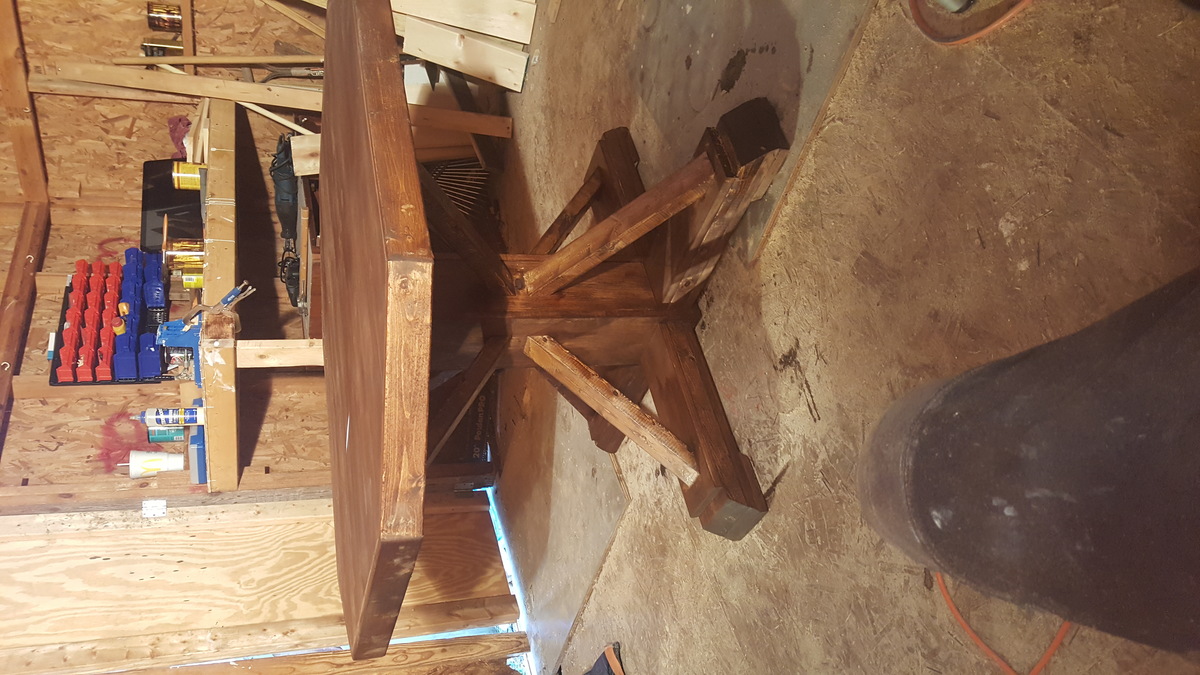
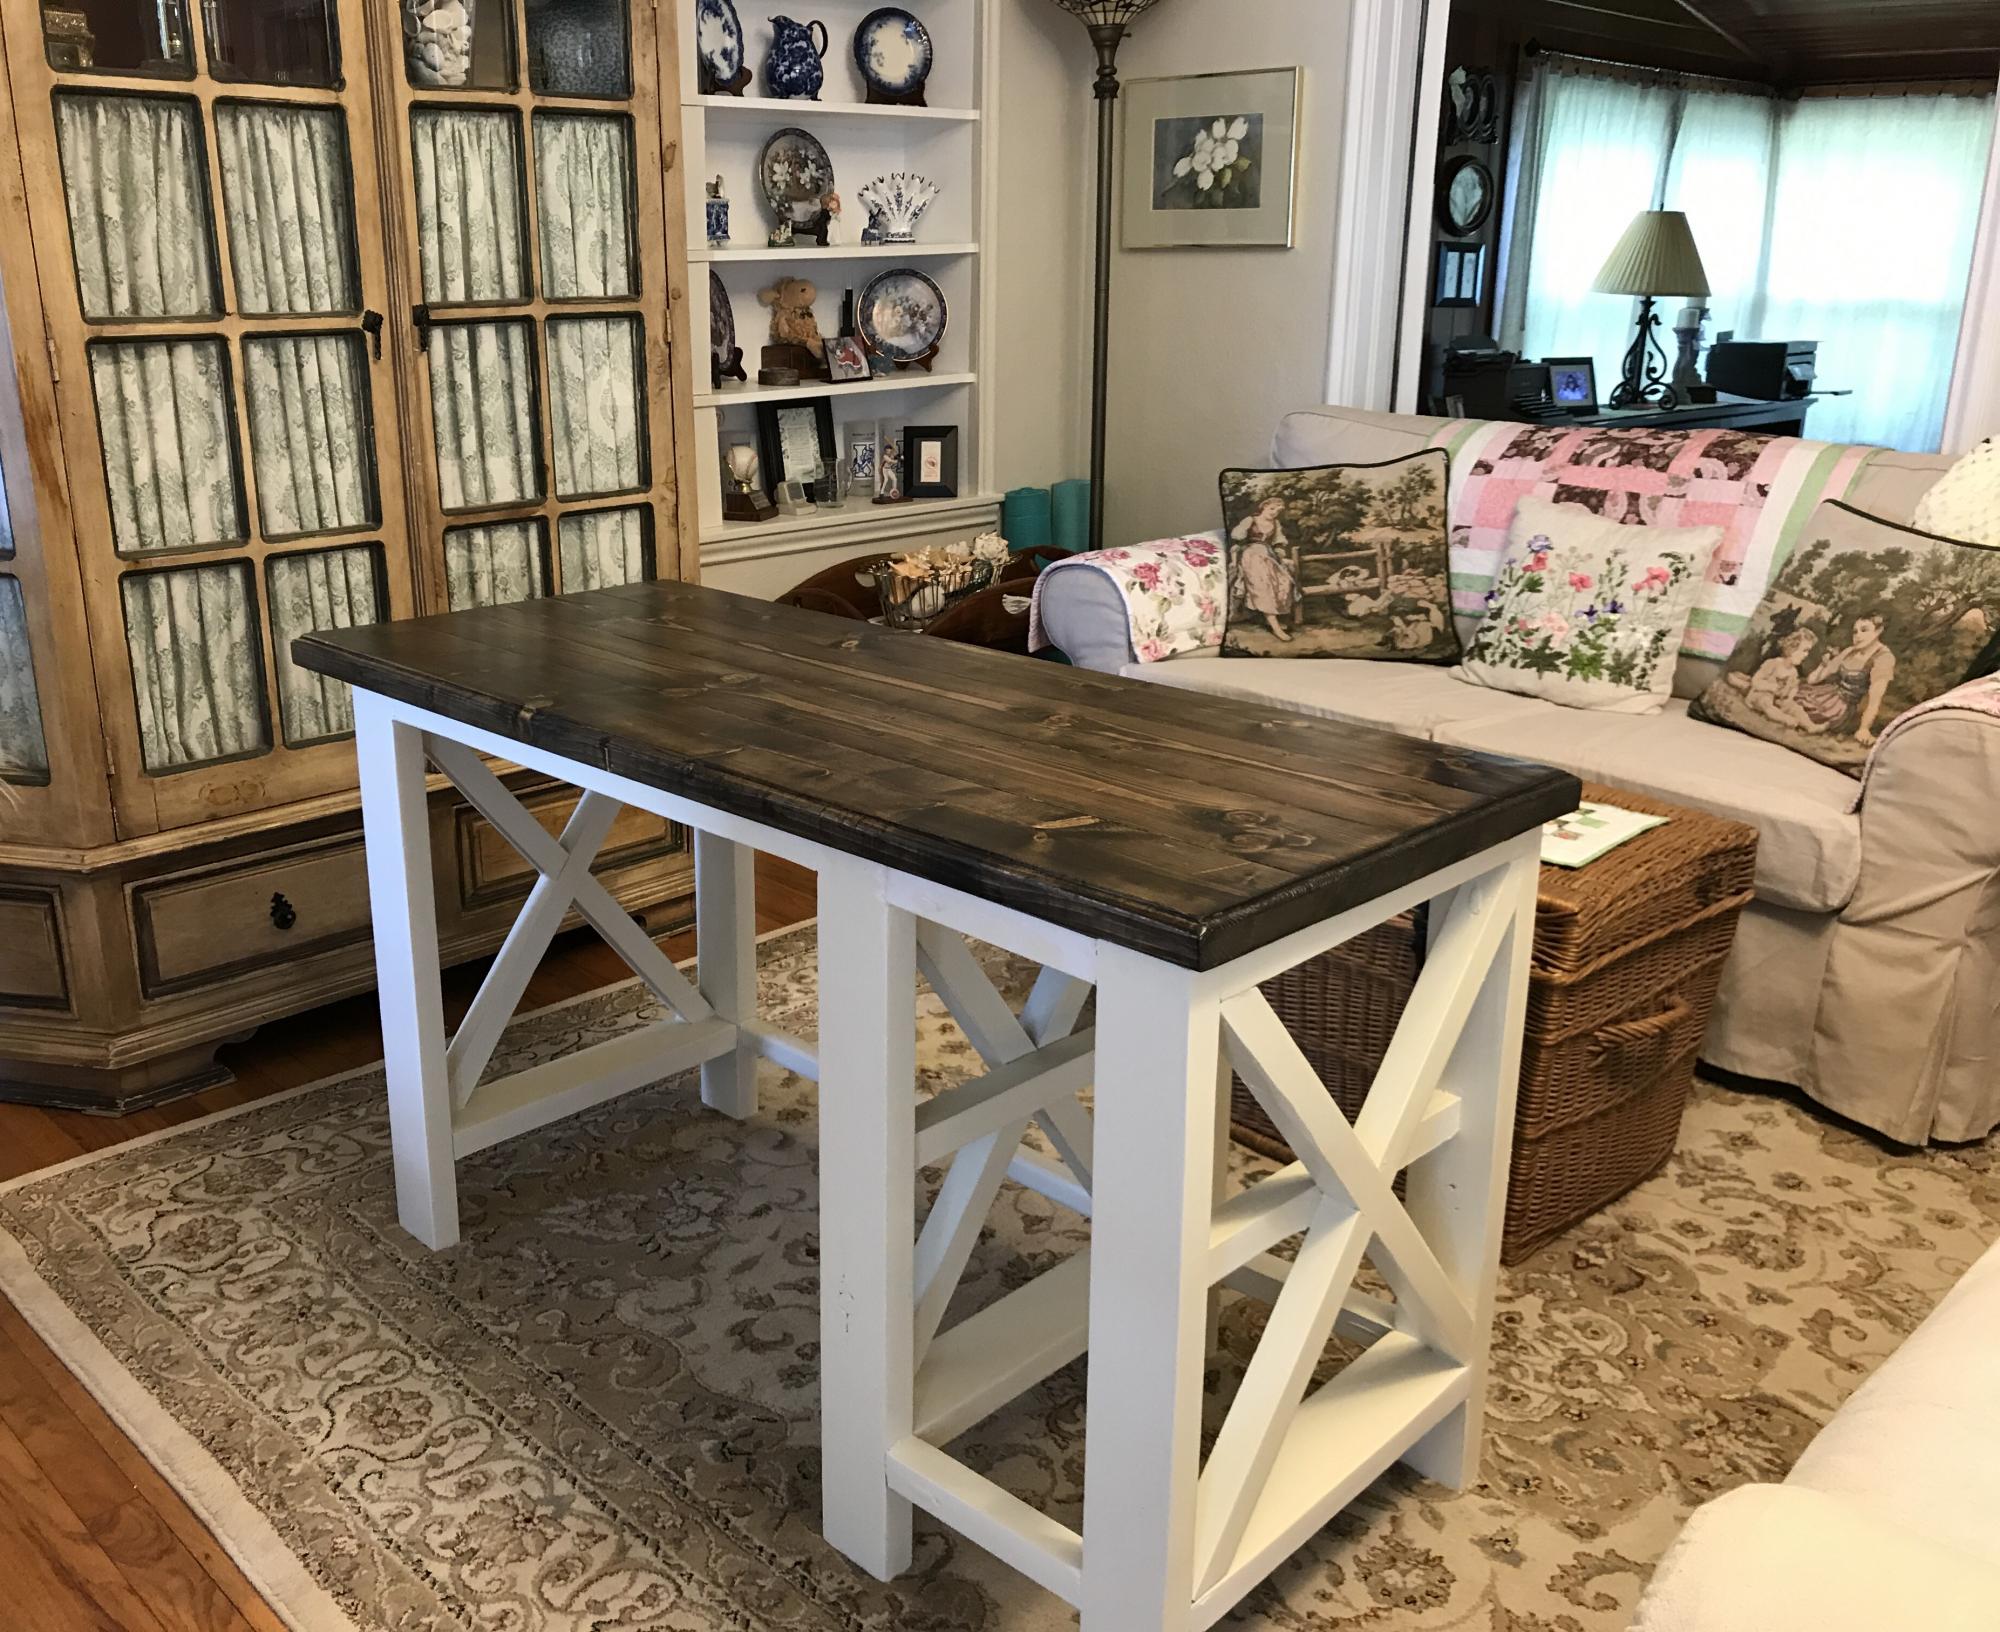
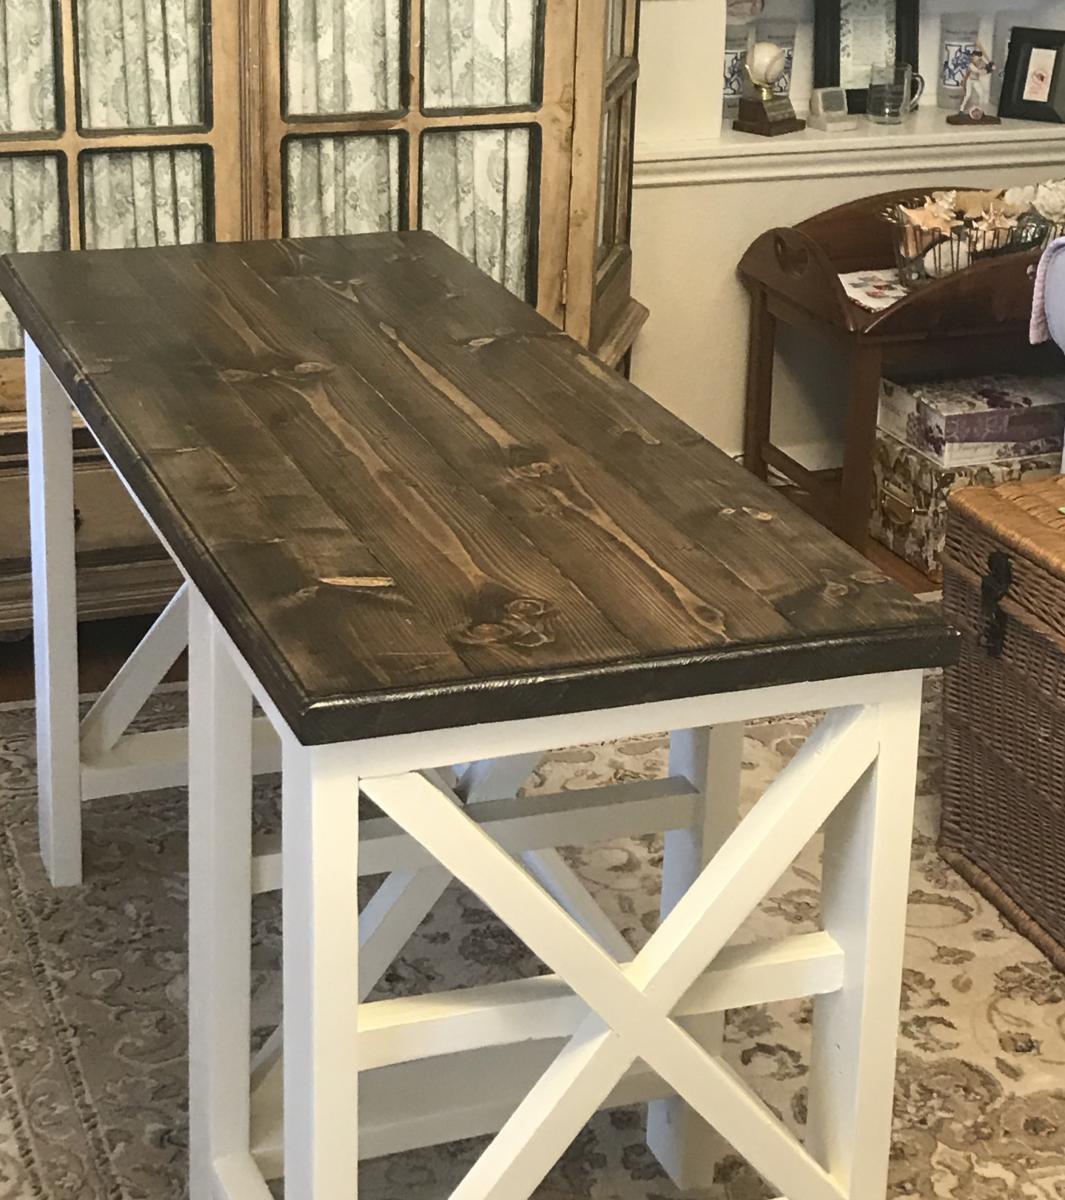
X style desk with 2 shelves. Painted antique white with expresso stained top.
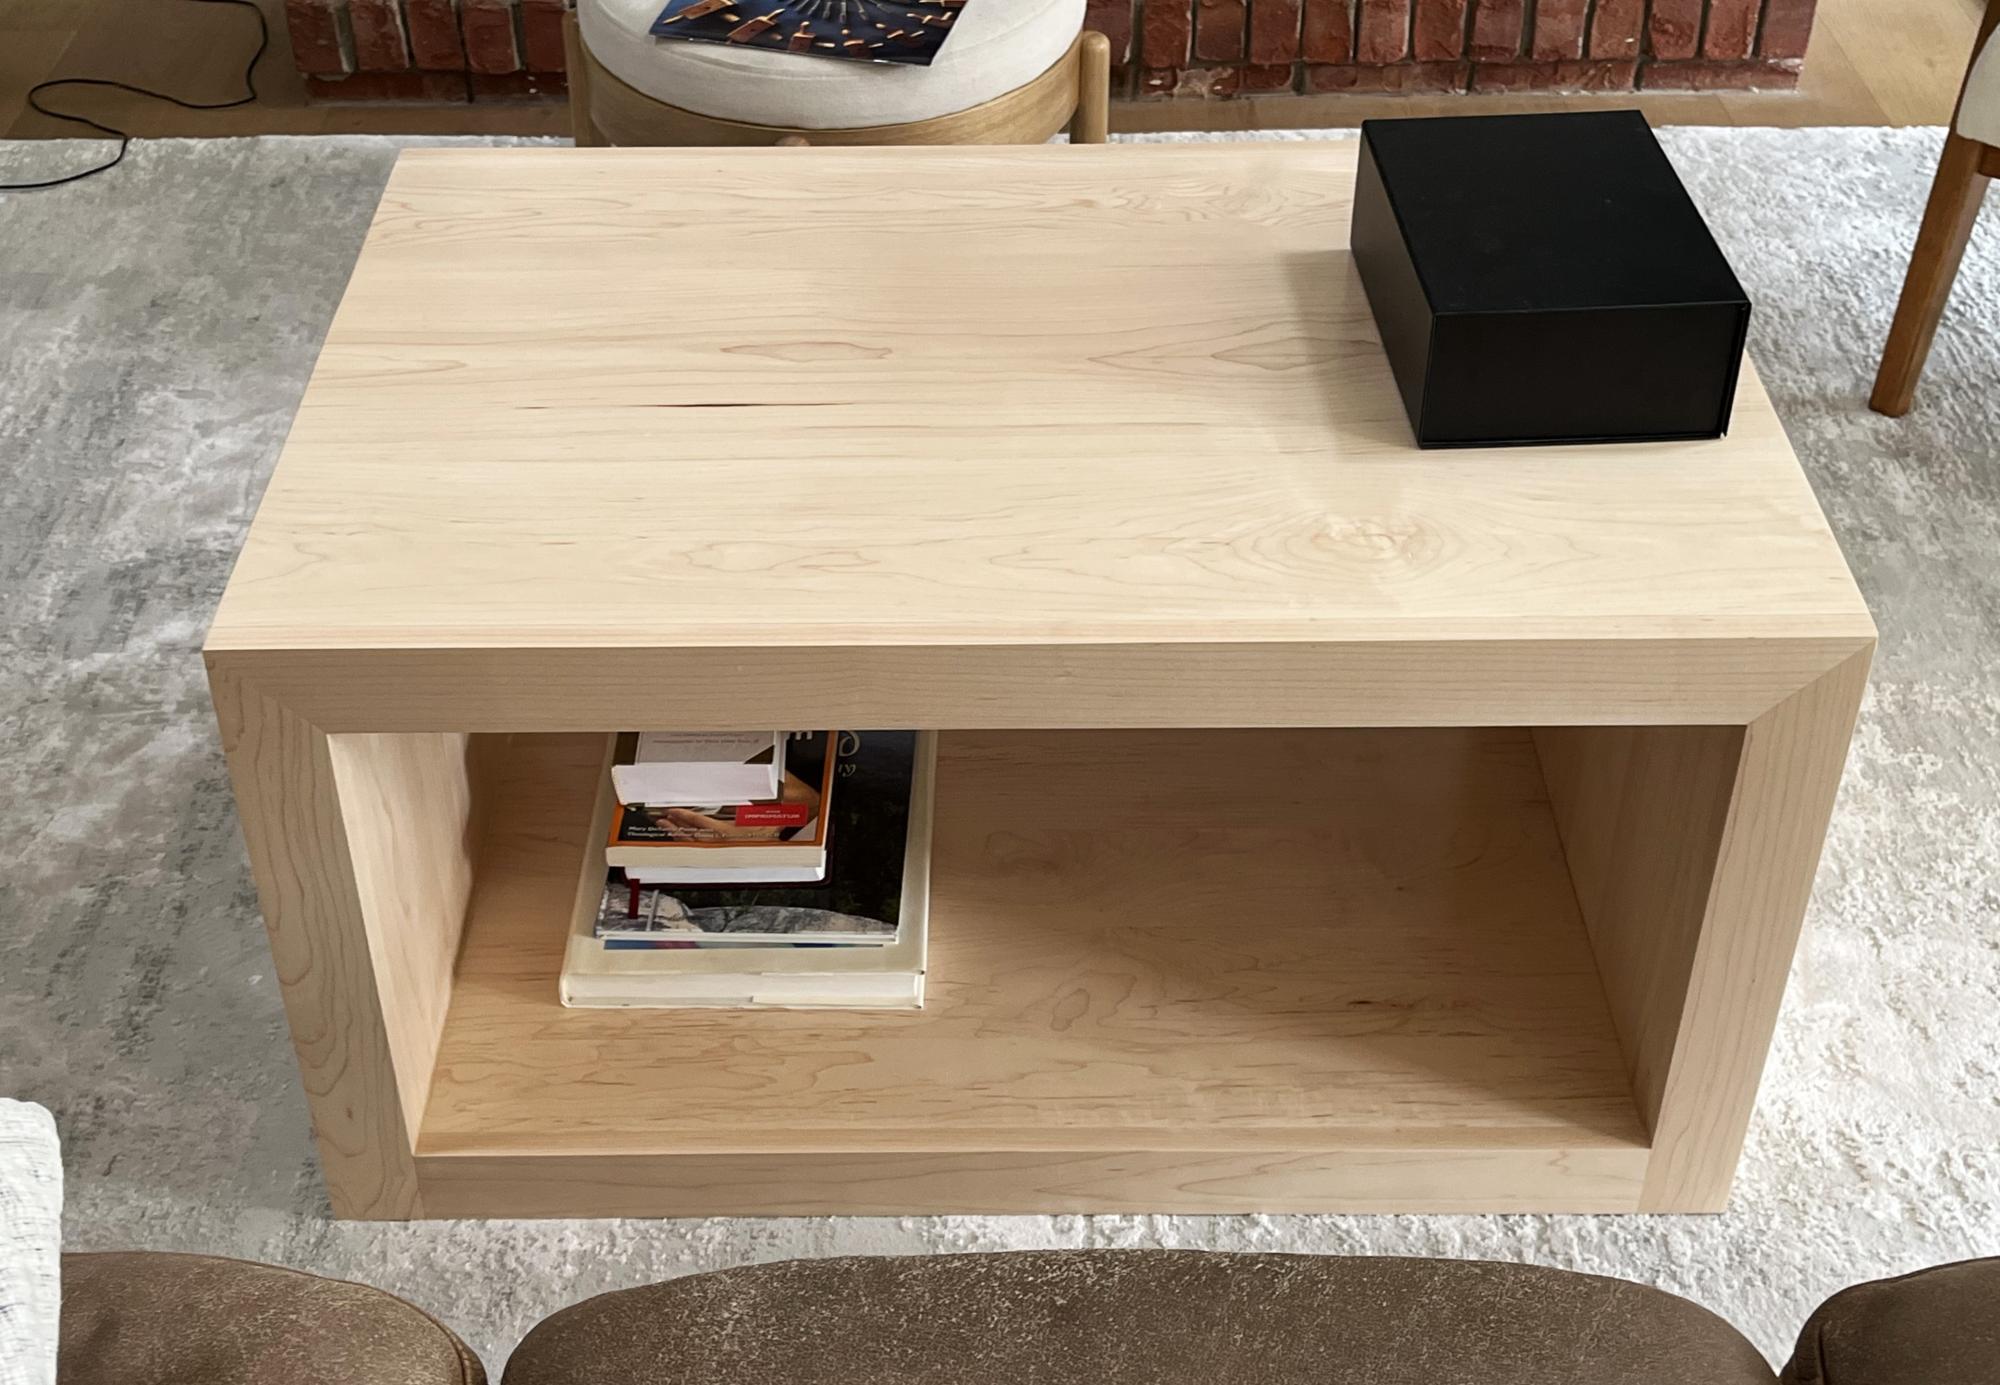
Hard Maple waterfall edge coffee table.
Scott
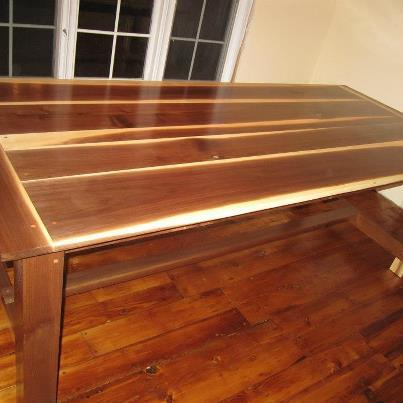
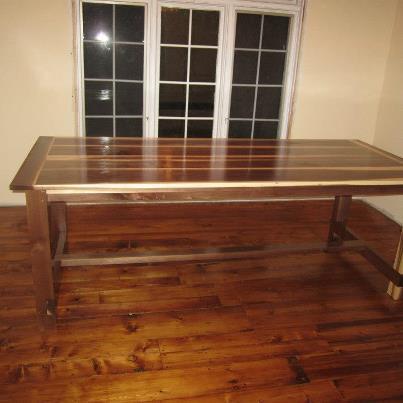
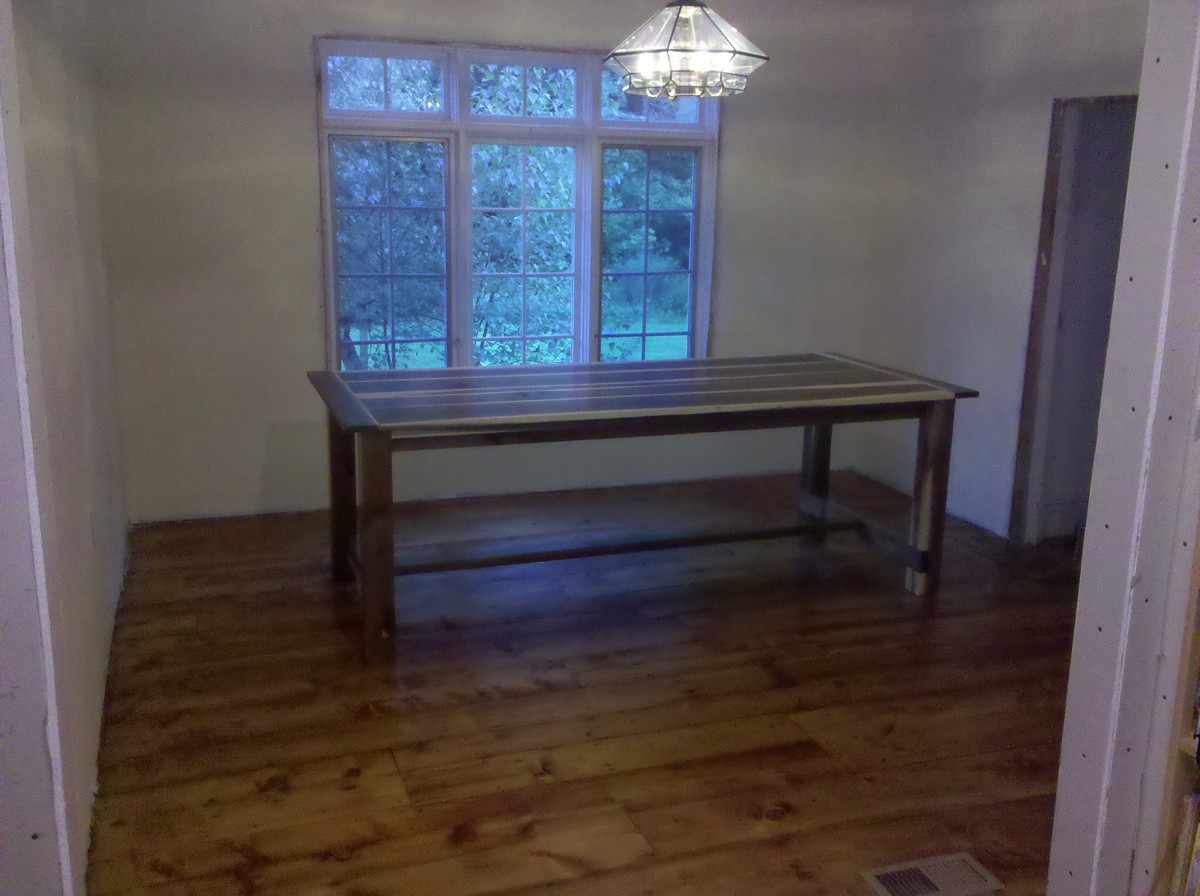
I Got my inspiration from ana's website here. I have a 200+ year old house and I just redid the dining room so I figured now would be the time to make a table for it. I did not use standard pine lumber, this was done all in Vermont walnut that was cut about 4 miles from my house and milled on site. I like to keep a stock pile of local lumber (mostly red oak and walnut when it pops up). My only advice if you are working with rough cut lumber is to invest in a good planer and joiner (I know easier said than done). If anyone would like the exact plans I used I would be happy to send them to you.
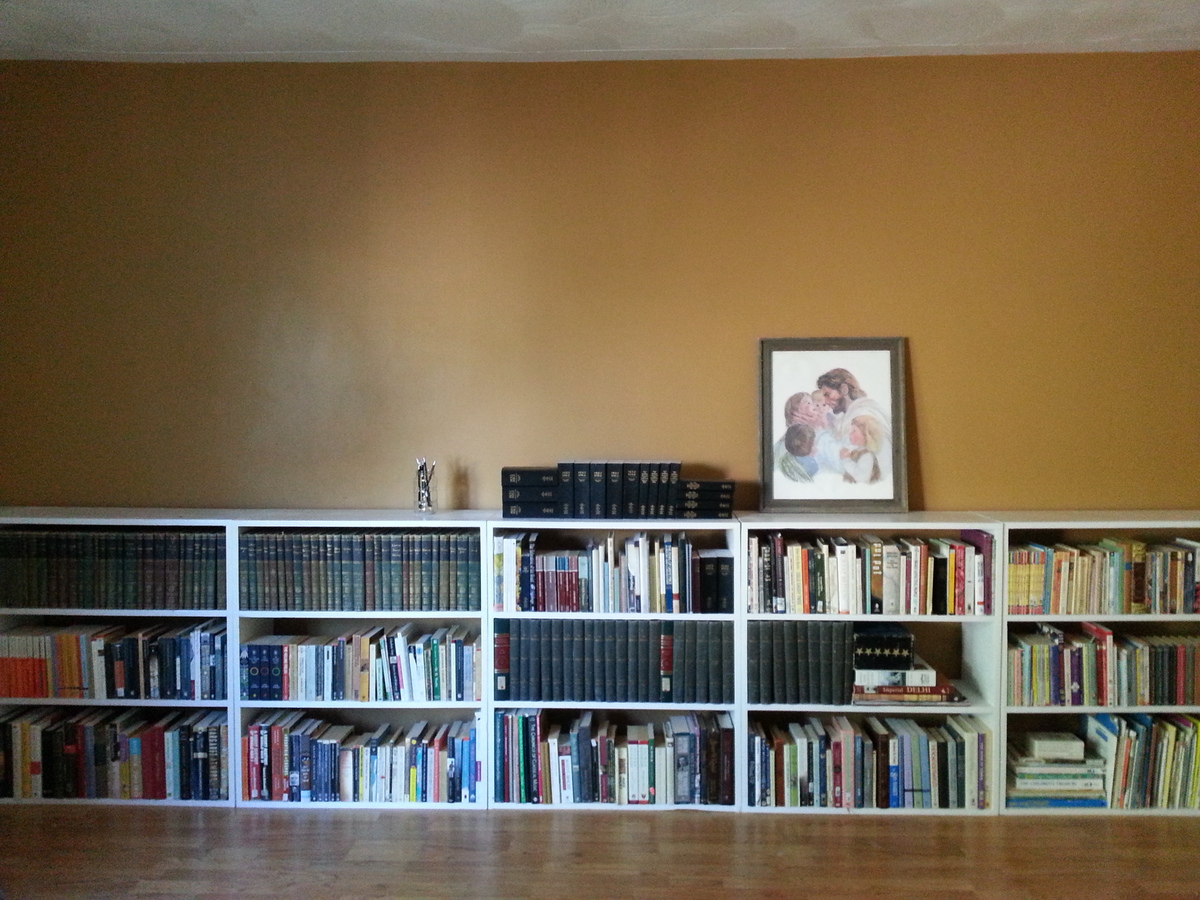
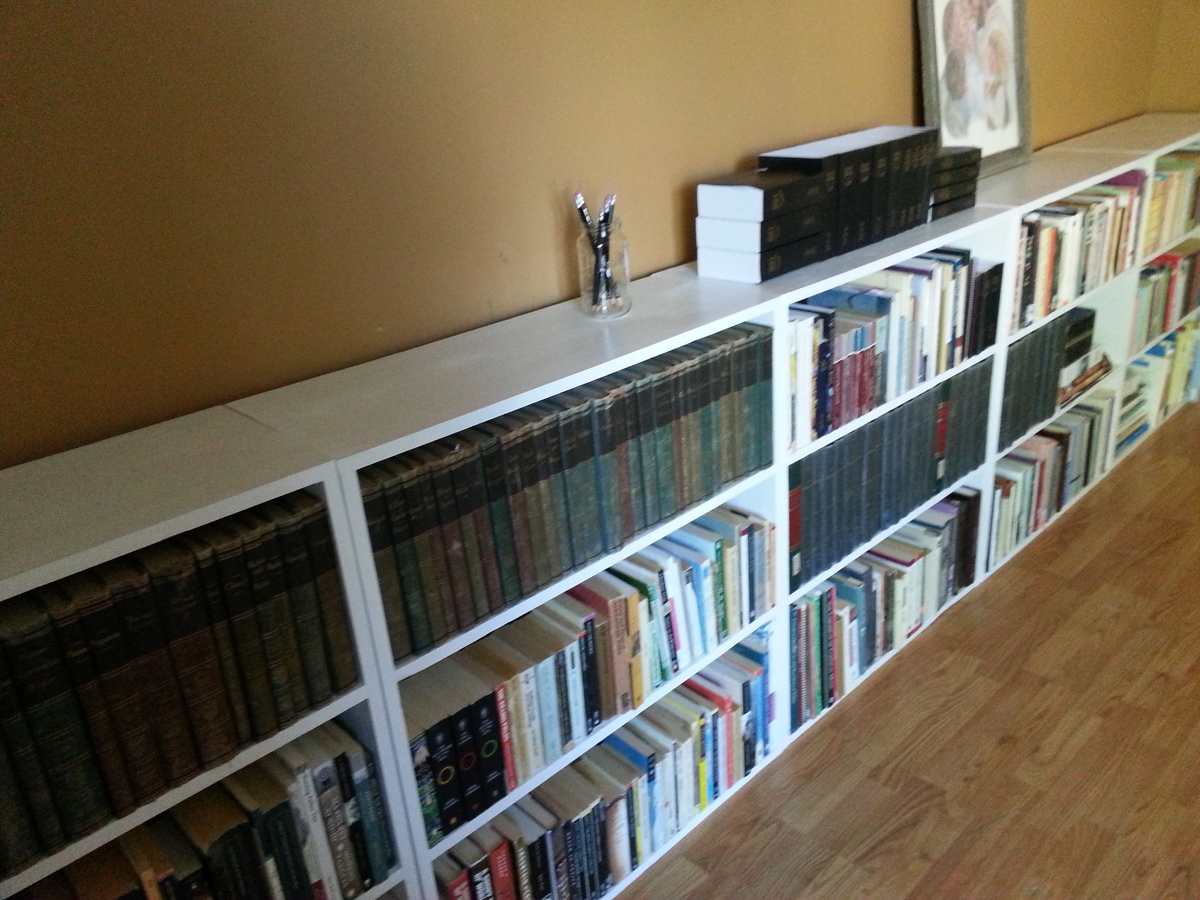
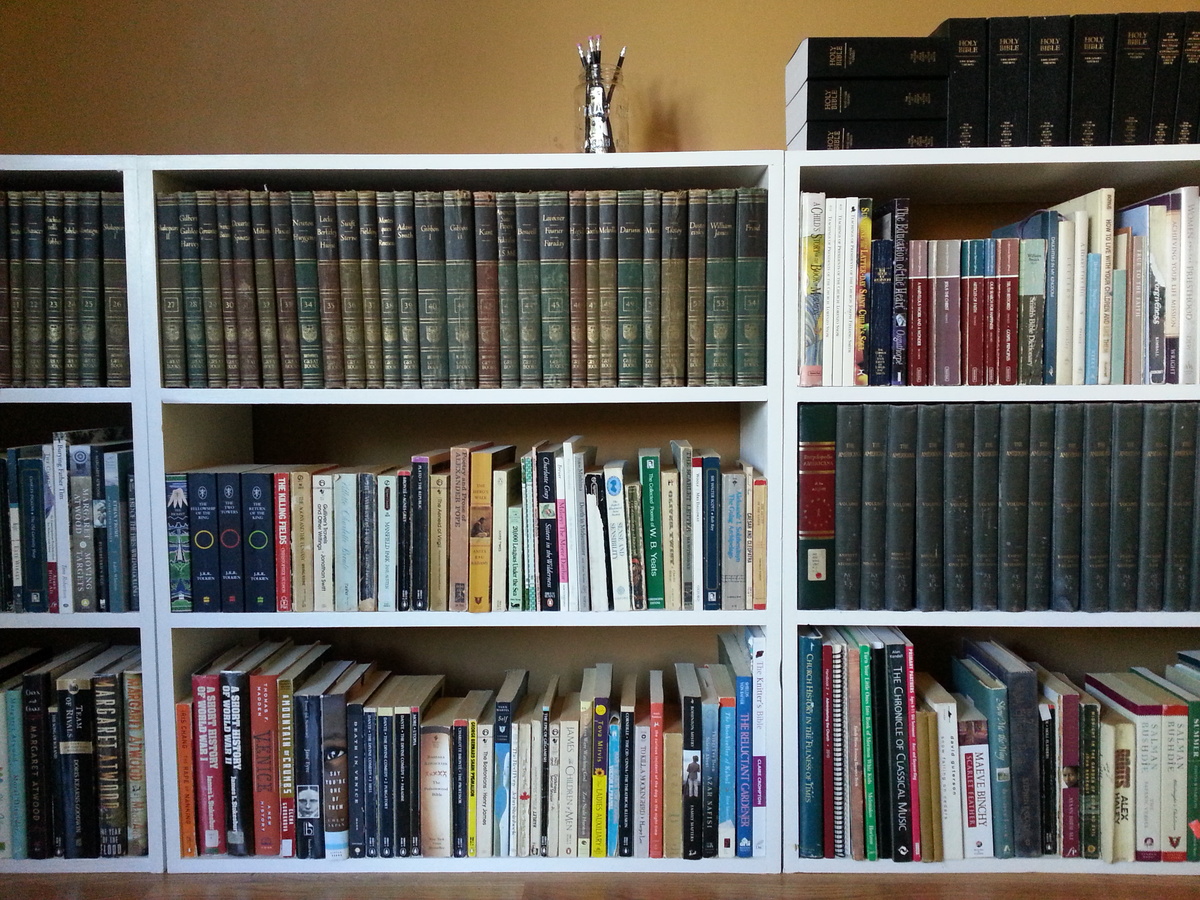
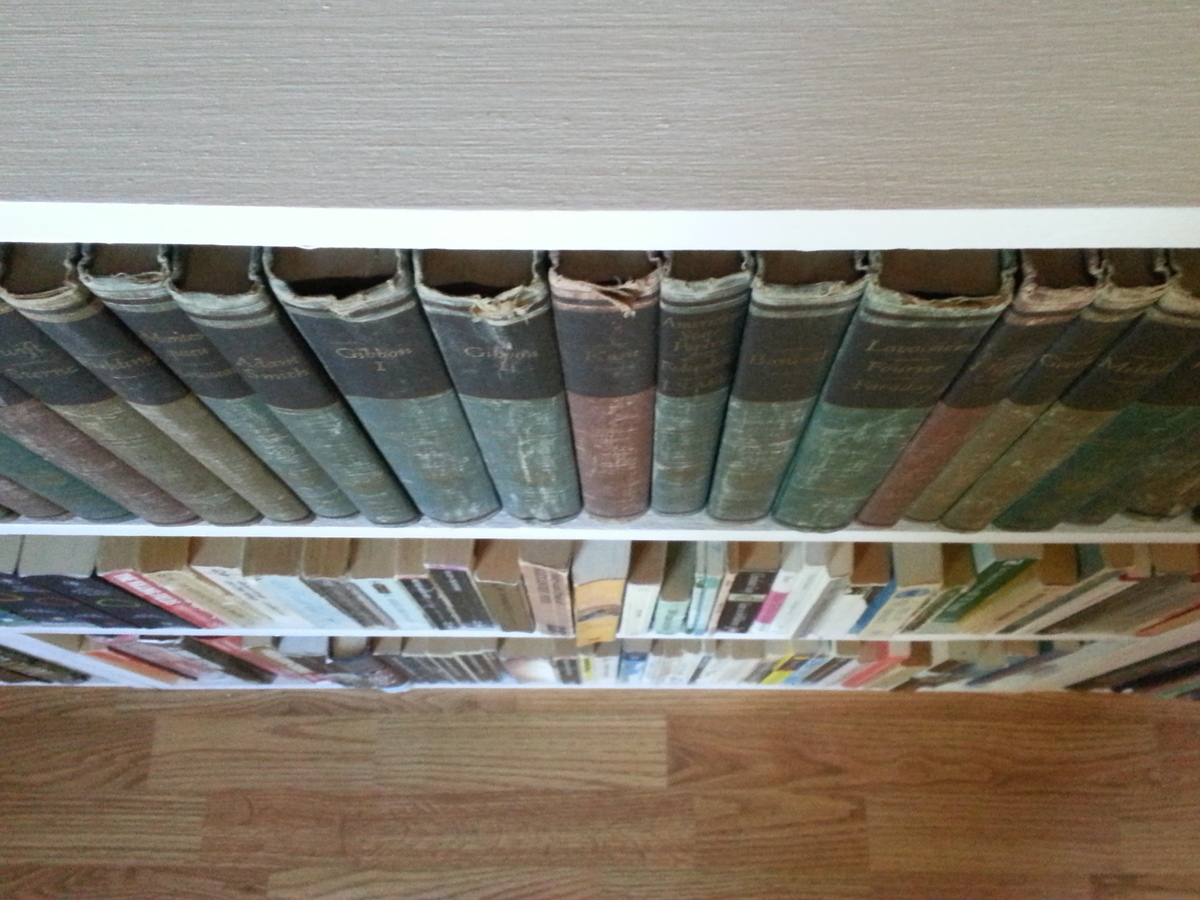
I built five of these bookshelves for my living room. I wanted them to fill the one wall, so I just divided the length of the wall by five to determine how wide to make each shelf. Also, because I was building several to be pushed together, I didn't want the bulk of 2 by SPF, so I used laminated pine shelving. Two eight foot boards were needed for each shelf, and that left very little waste. I love how they turned out. I blogged more about them (including dimensions) here http://skonkers.blogspot.ca/2014/07/home-is-where-shelves-are.html
