Farmhouse Queen Bed
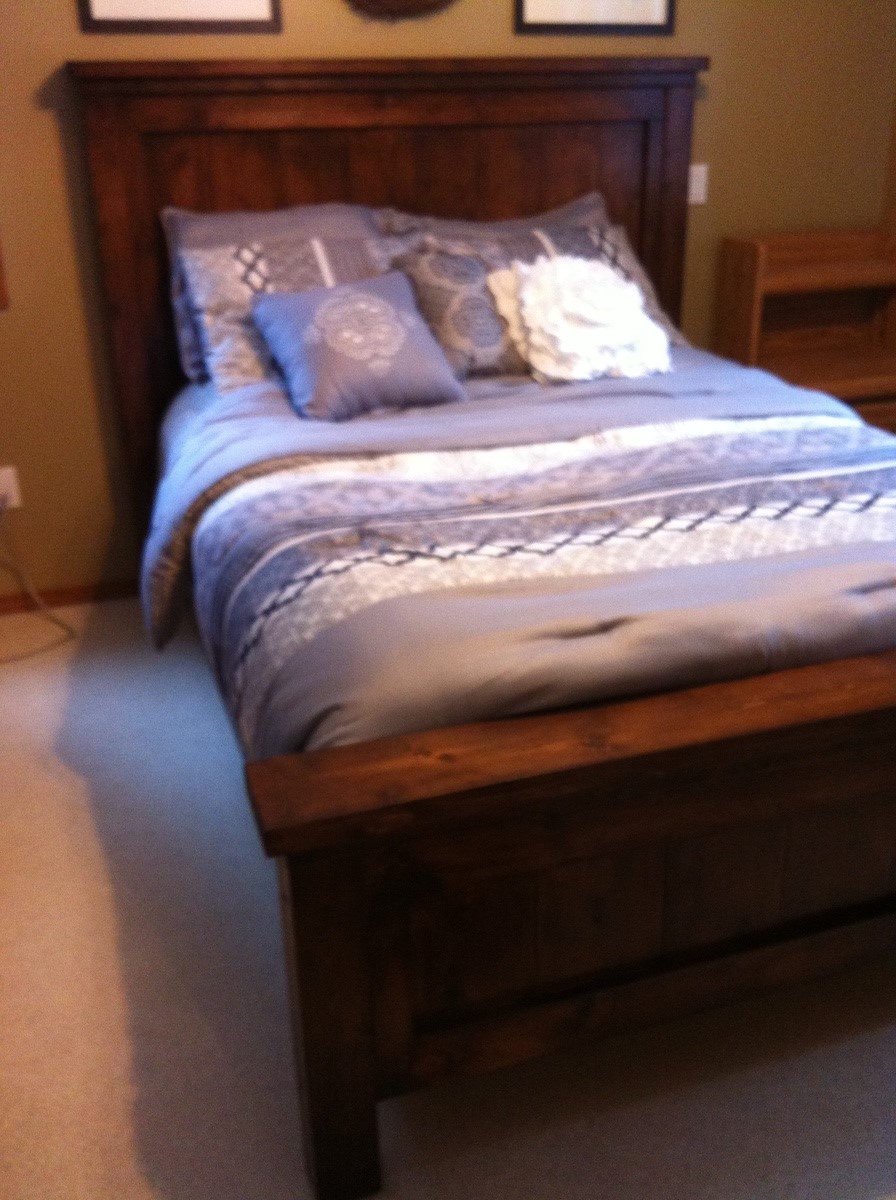
Awesome project. Very simple, doing the sanding and finish requied more time than the cutting and assembly.

Awesome project. Very simple, doing the sanding and finish requied more time than the cutting and assembly.
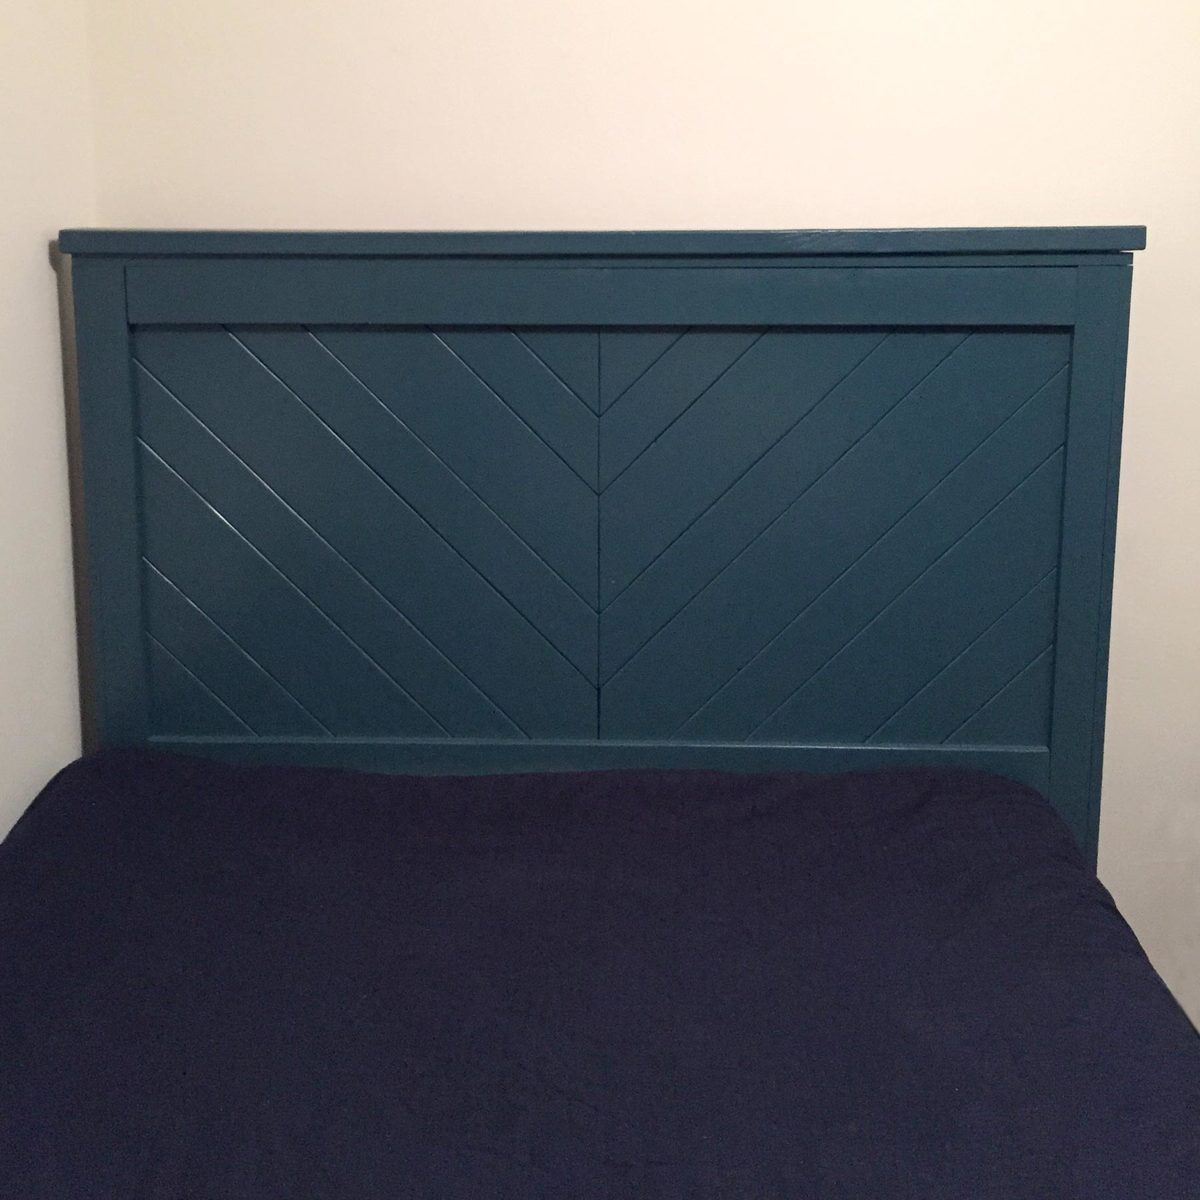
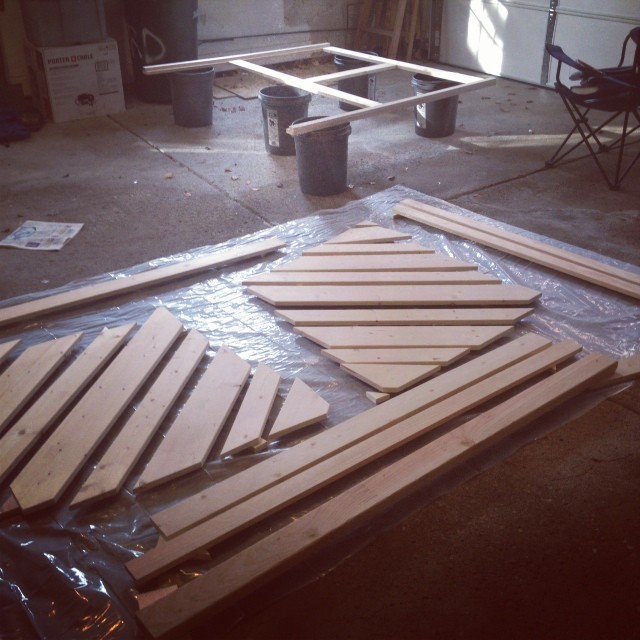
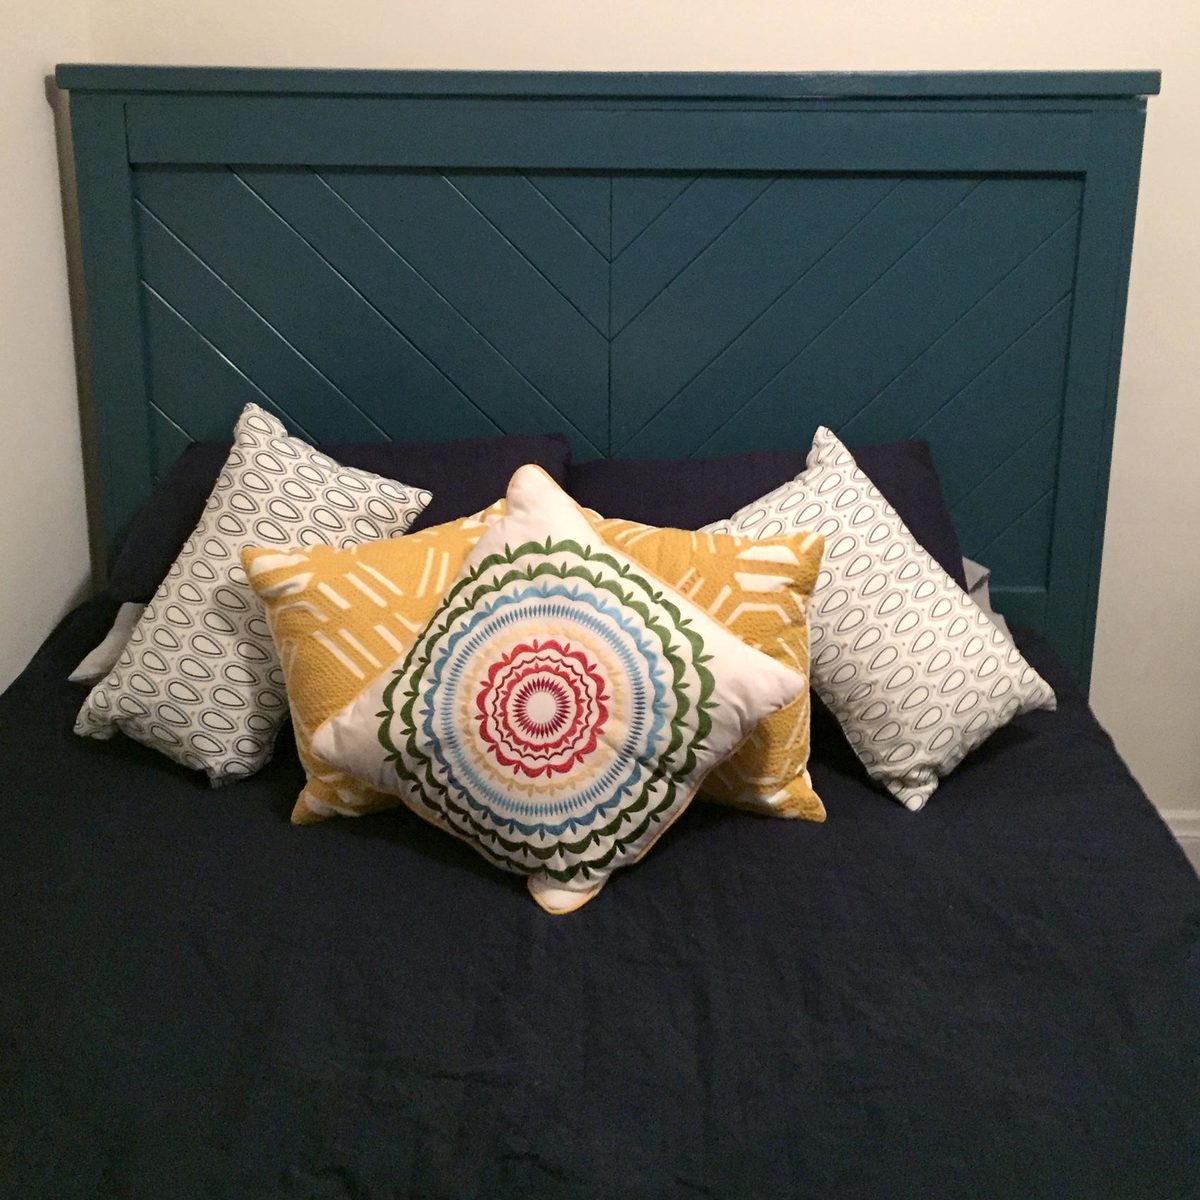
Took the general dimensions from these reclaimed wood plans and modified them to include a chevron back. The most difficult aspect was determining the cut marks for each chevron piece and rounding the edges to bring out the details.
Finished the headboard with a satin-finish, oil-based enamel paint.
Additional pictures and information available on my website.
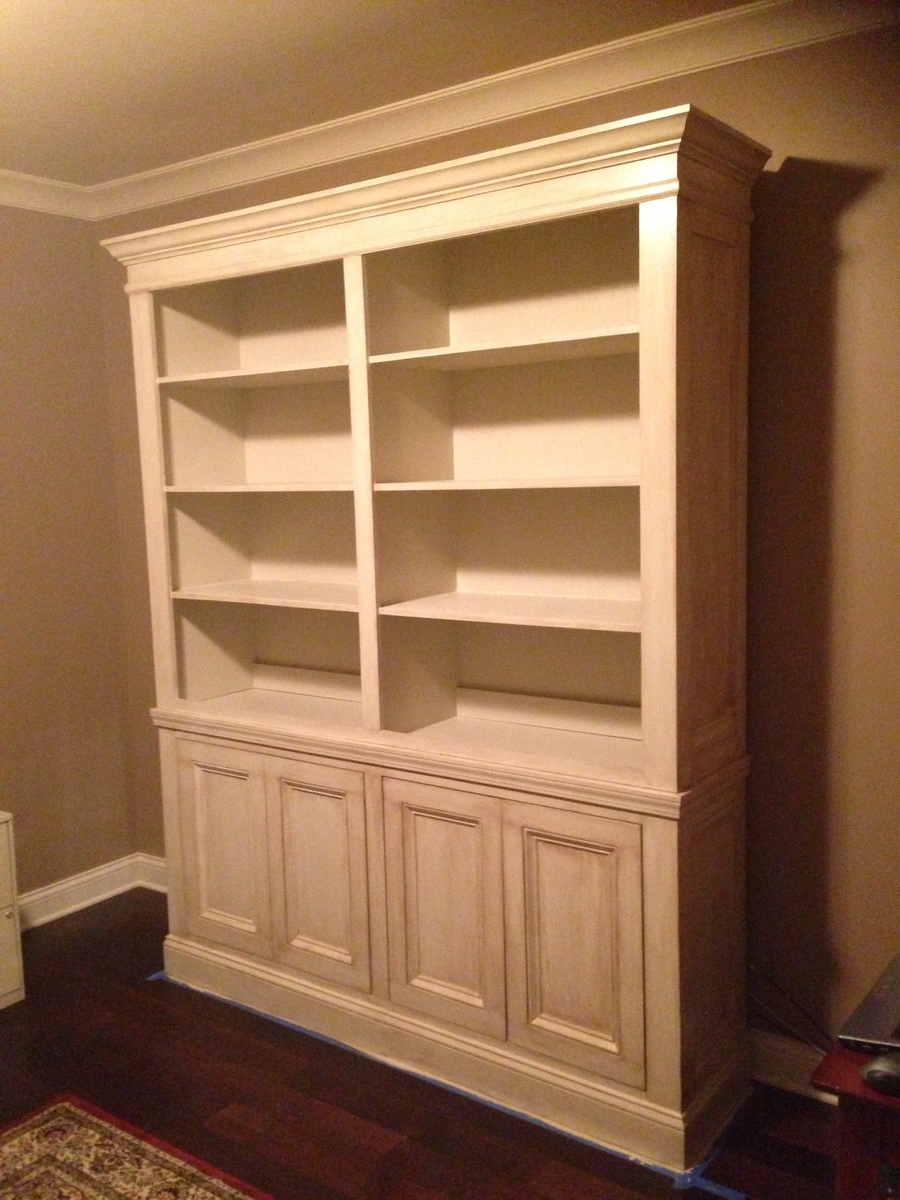
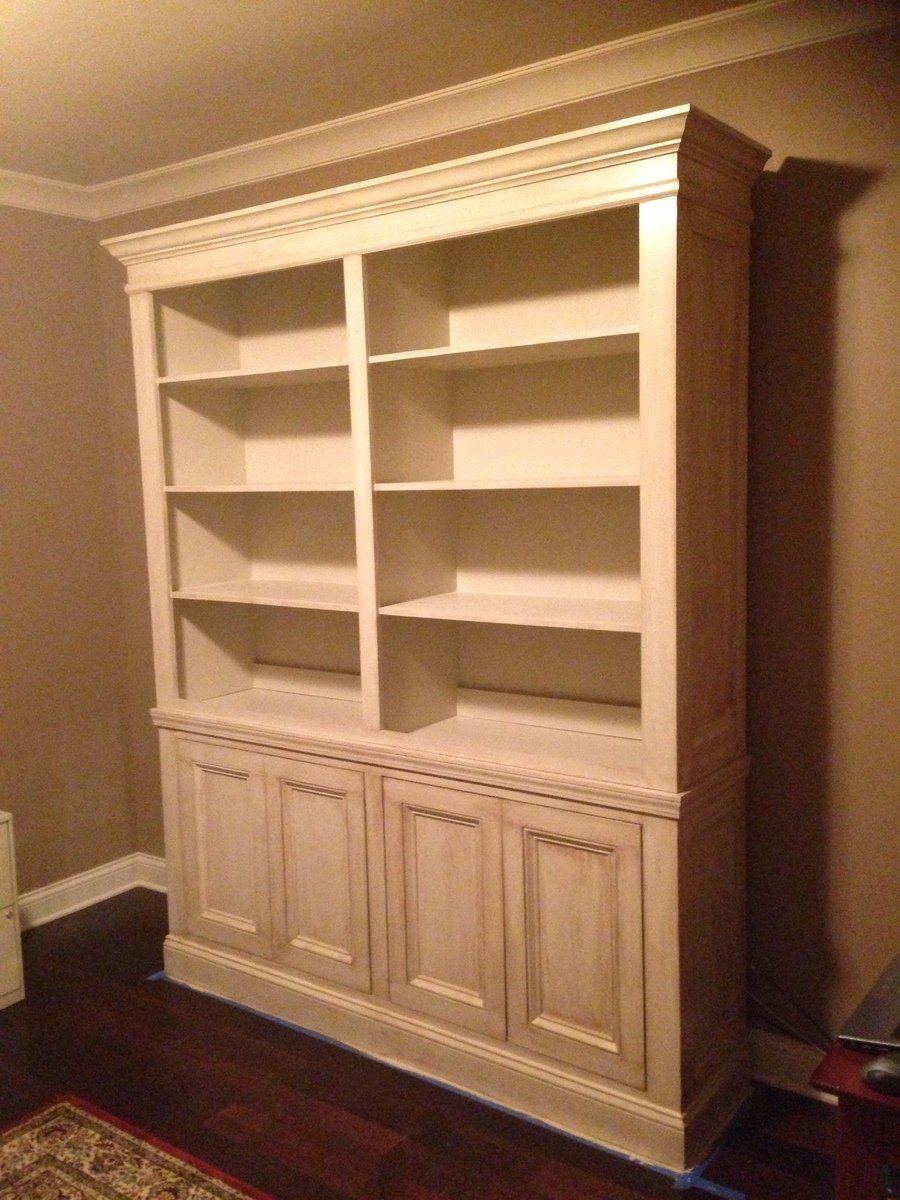
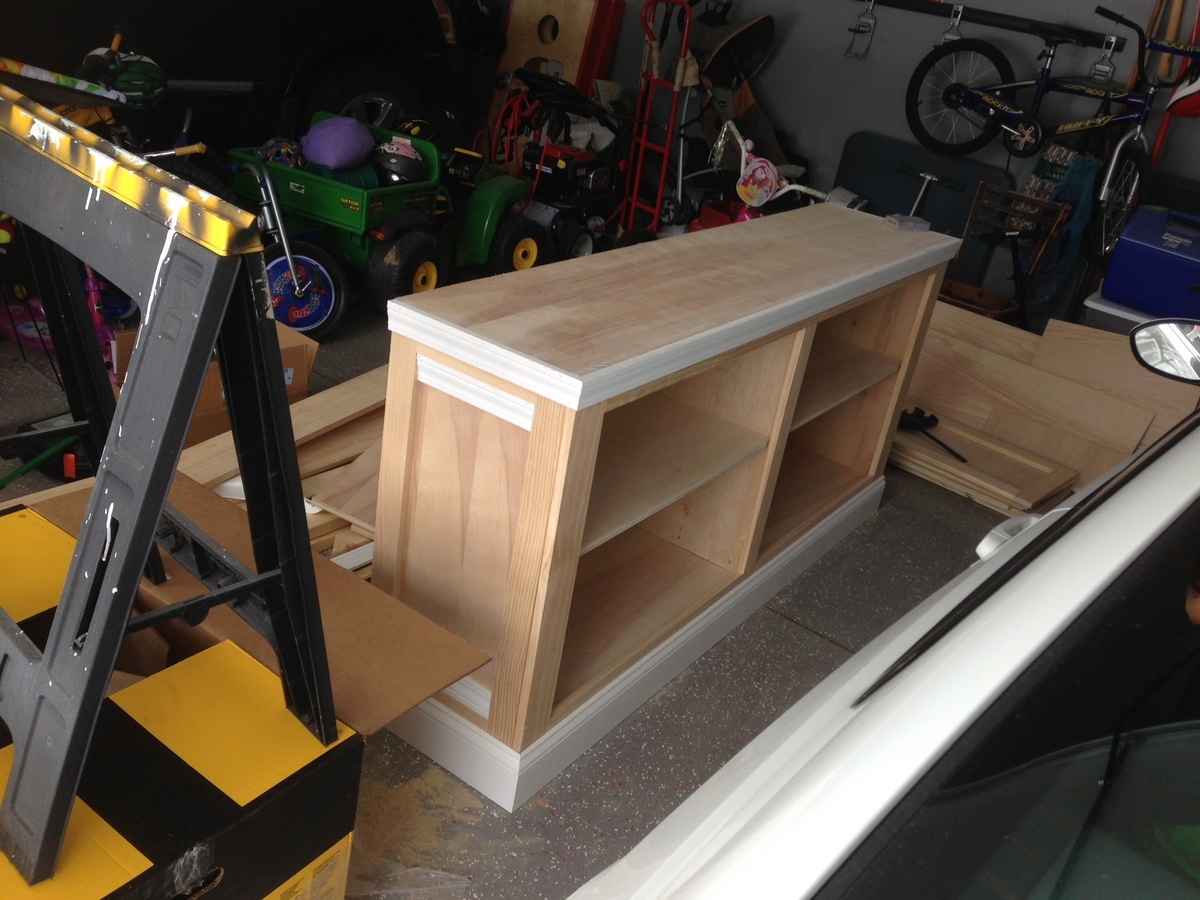
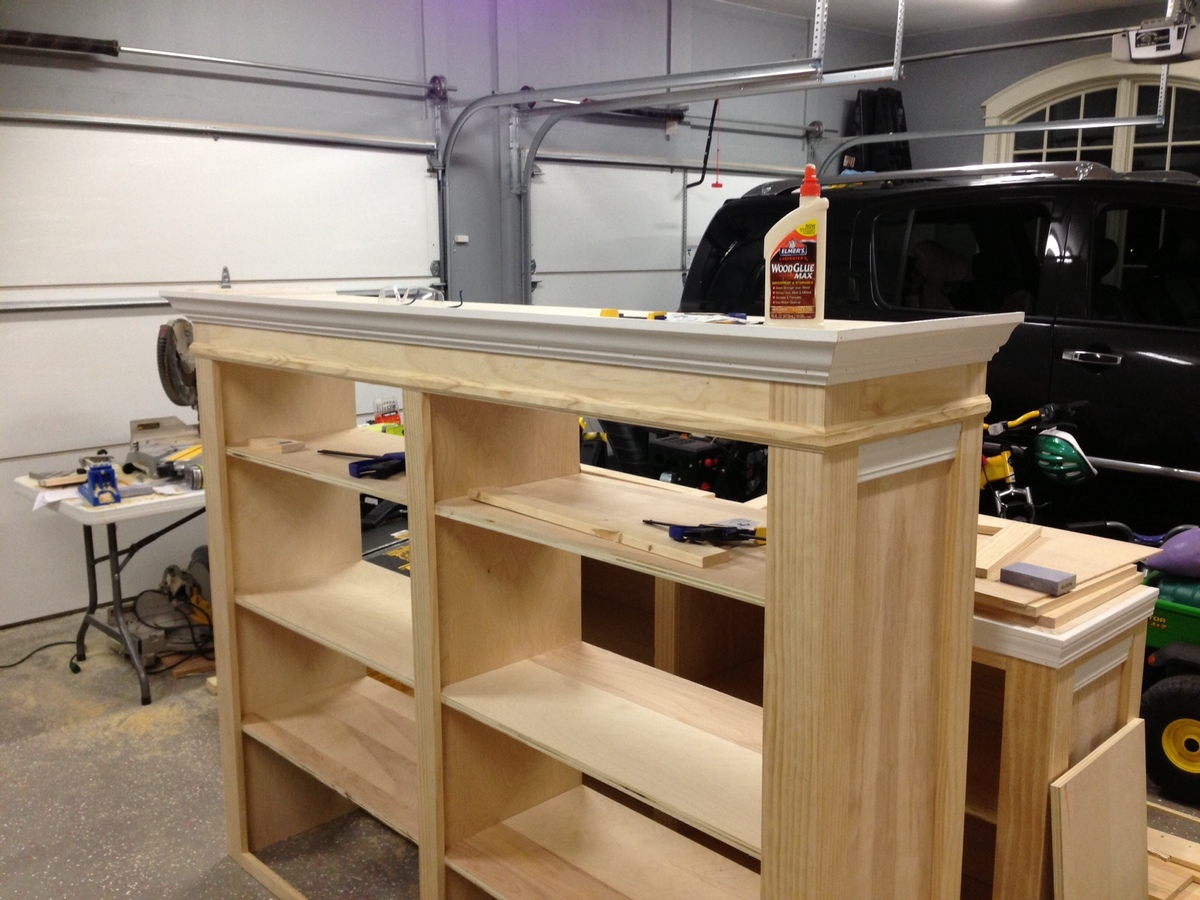
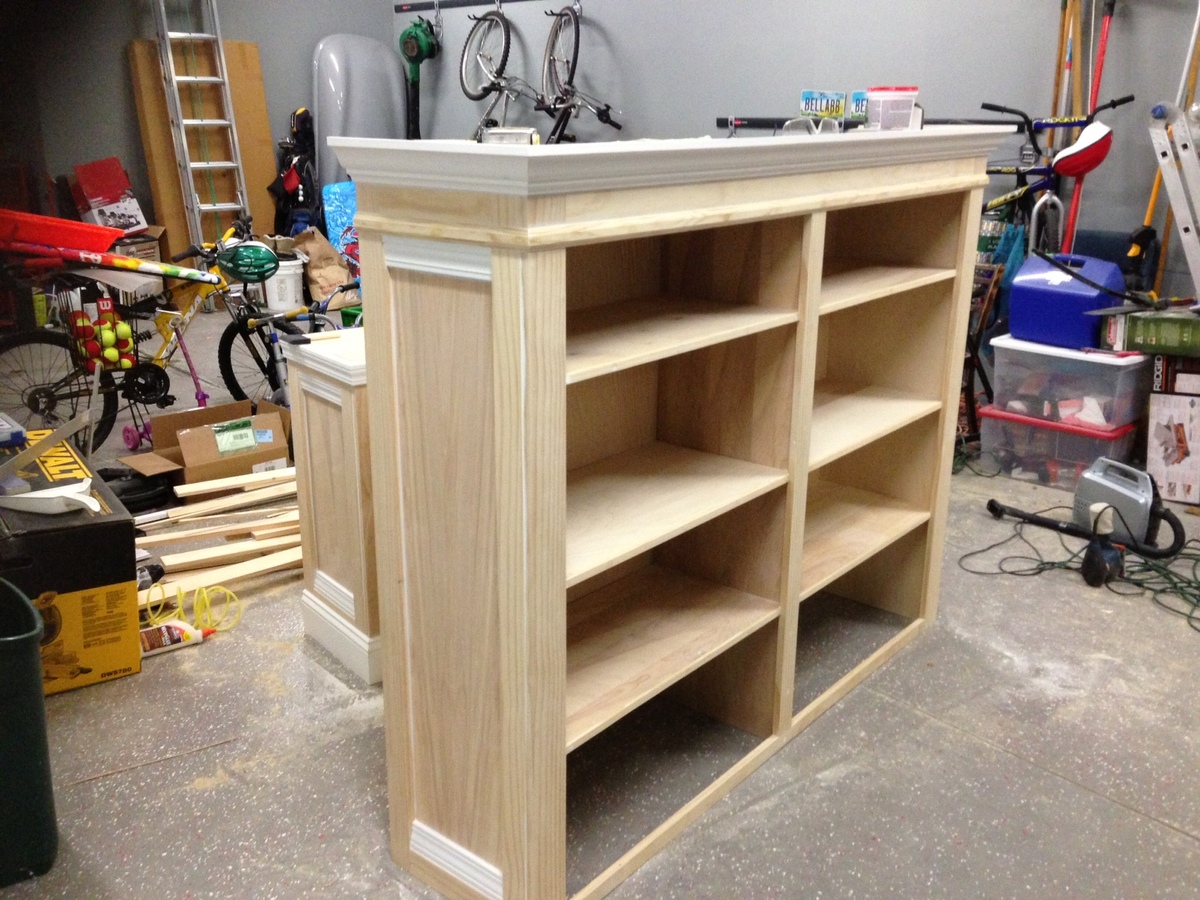
We loved the shanty sideboard and corresponding hutch. We painted the project in an offwhite with a brown glaze (consisting of 4 parts Behr faux glaze to 1 part minwax espresso stain). The only modifications to the plan are 3/4" trim pieces in the top part to hide the plywood, remove 1/4 inch from the sideboard shelves to allow room for doors to shut, and apply trim to the cabinet doors to dress it up a little.
Thu, 02/14/2013 - 08:59
I so badly want to build this! But other projects are the priority right now. You did a great job!
Thu, 02/14/2013 - 11:16
You did a fantastic job on this. I love the finish - so "expensive" looking!
Fri, 02/15/2013 - 05:25
You did a wonderful job on this project. Keep it up and let all of us learn from your experiences.
Mon, 04/20/2015 - 17:50
How did you attach the Hutch portion to the sideboard?
I desperately needed storage in our 1910 house that was not in the basement. I wanted a place to keep my sewing machine and accessories, at-home school supplies, and other odds and ends. We had an alcove in the kitchen that was about 74 inches wide and 17 inches deep, so I decided to build something to fit that space. I really liked the Simplest Armoire plan but I also really liked the Kentwood Bookshelf, so I ended up somewhat combining the two. Since I had a fairly large space, I made the cabinet about 6 ft X 6 ft. The hardest part was getting it into the house. This project was my first big DIY building project without my dad's help. I did call him a few times during the project however, and he helped me hang the doors. I really enjoyed using the Kreg Jig and I appreciated having all of the Kreg Jig instructions for the Kentwood Bookshelf. It was a huge help, as I had only used the Kreg Jig a little and with my dad in the past. My husband has been a great support as I have ventured into building furniture. He works from home, but any time that I needed him to help hold a large sheet of plywood he was quick to help. This was definitely a big project for a beginner, but I enjoy a challenge when it comes to fixing things and creating things. Fortunately, this one worked out in the end! Now what should I build next summer...
Sun, 05/31/2020 - 13:27
This is so great, and I can't wait to try my hand at emulating it. I'm buying a place so old there's no record of a date. Still has adobe bricks with straw sticking out stored up in the attic. Not a closet in the whole darn place, so I'll probably end up making more than one, and probably using one as a clothes closet and another as a pantry. Thanks so much for sharing this!
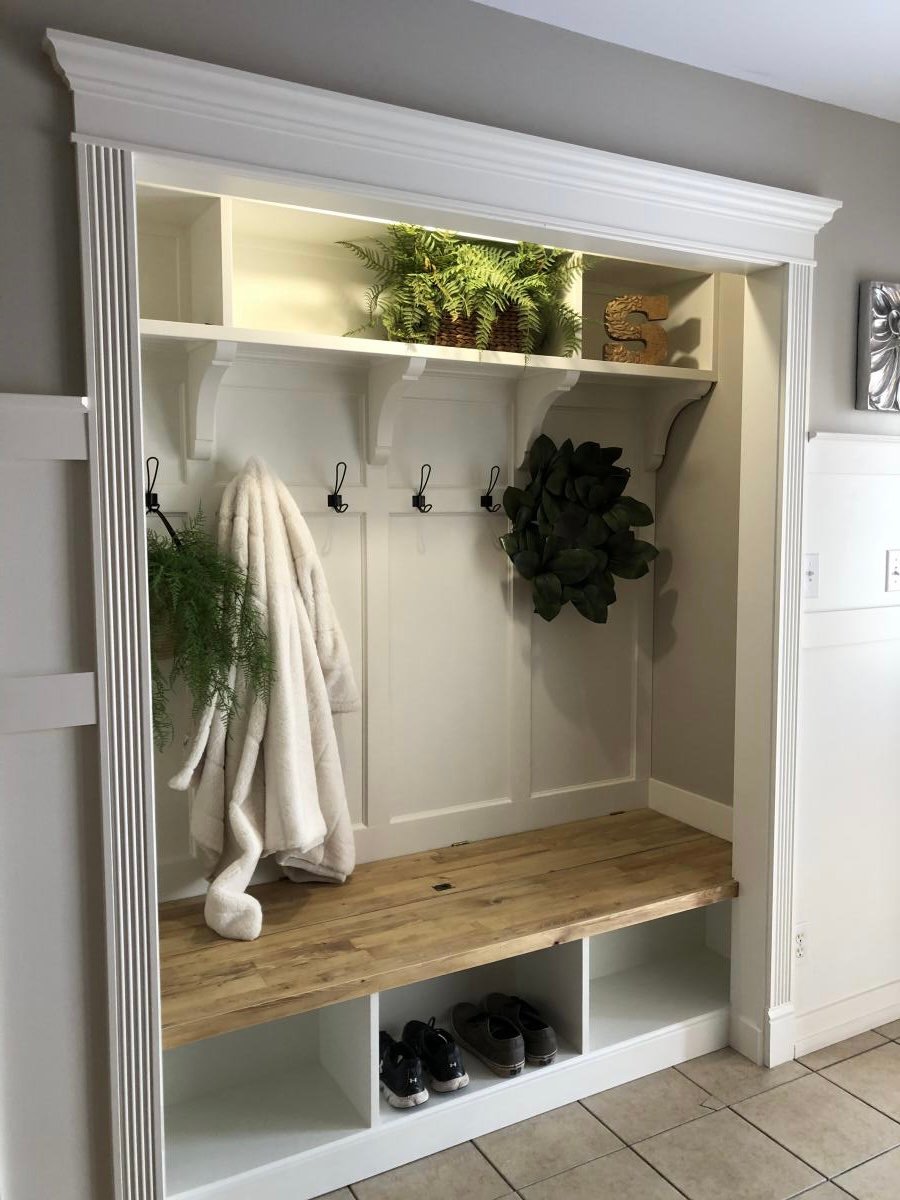
The concept of hidden boot storage at the back is genius!!! I knew as soon as I saw your plan that I needed that in this space! Thank you so much for what you do!
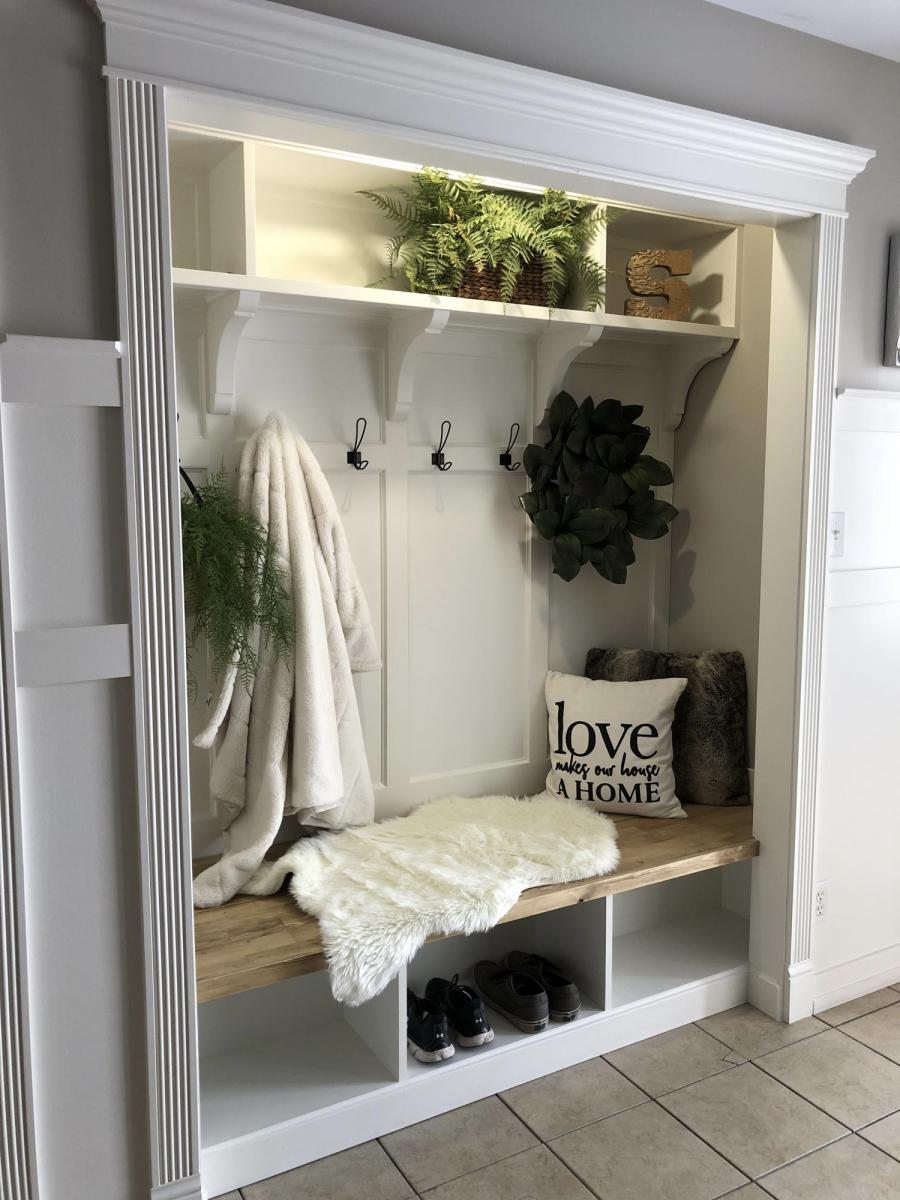
Fri, 01/22/2021 - 11:42
May I ask how you would assemble if you wanted the hinge in the back as in this picture?
Thank you.
Wed, 08/25/2021 - 04:51
Hello, can you tell me how to find the plans for the Mudroom Closet makeover? I’m interested in doing the one pictured on this page.
Thank you
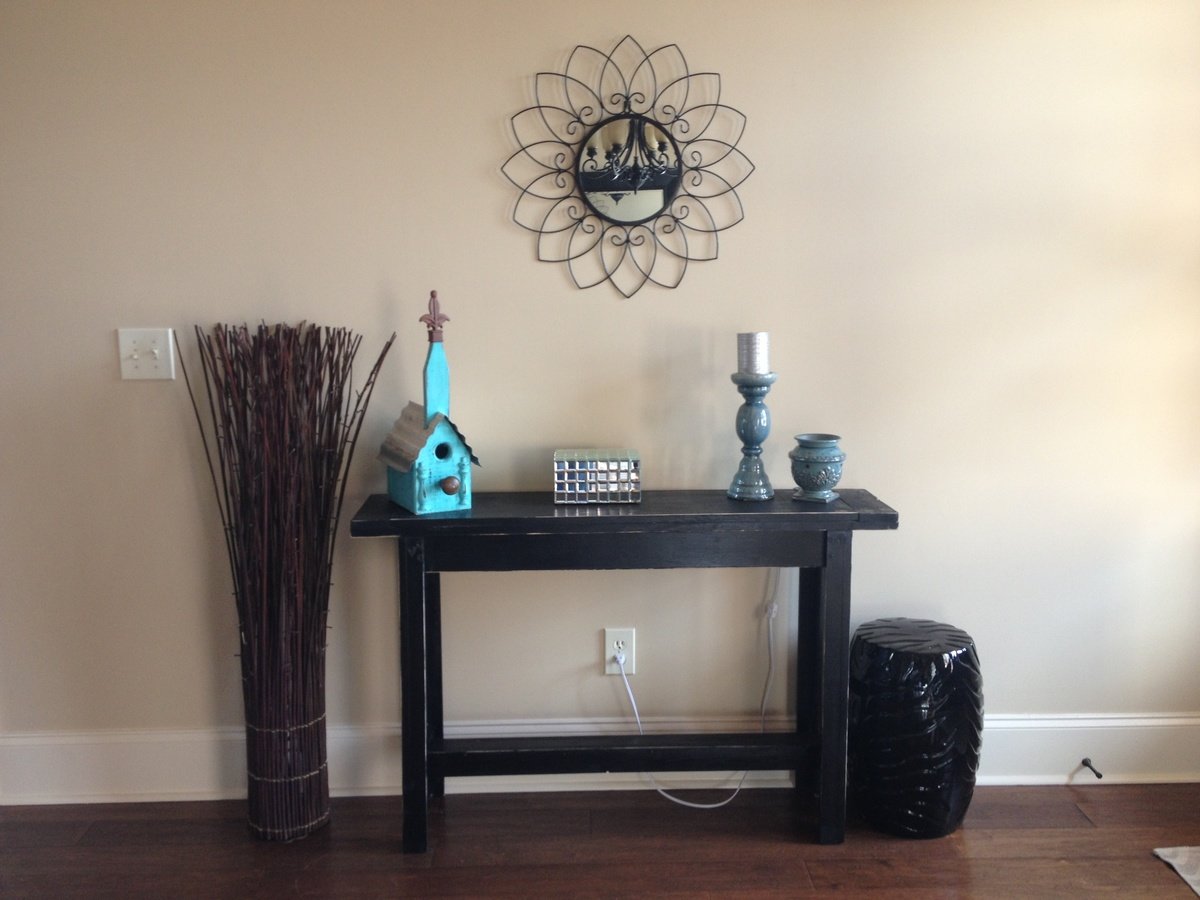
Very simple plans and project. Cost about 30.00 to make and about 2 hours to build. Painted it matte black and sanded for a distress look.
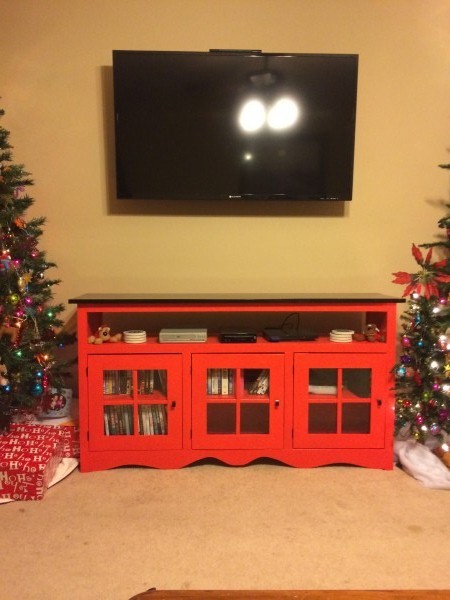
Modified the plans to add a shelf for DVD player and gaming consoles.
I decided to try and use the plans on Ana's site but with a twist. I wanted to limit myself to using only pallets. I think it turned out great! I can't upload all the photos because they exceed the maximum size limit. If I was able to you could see how each chair is slightly different and has a lot of character. I finished them with a waterproofing oil which I highly recommend over other finishes.
Mon, 04/10/2017 - 08:51
This is exactly what I'm looking for !! Fantastic build and re-purposing is always better.
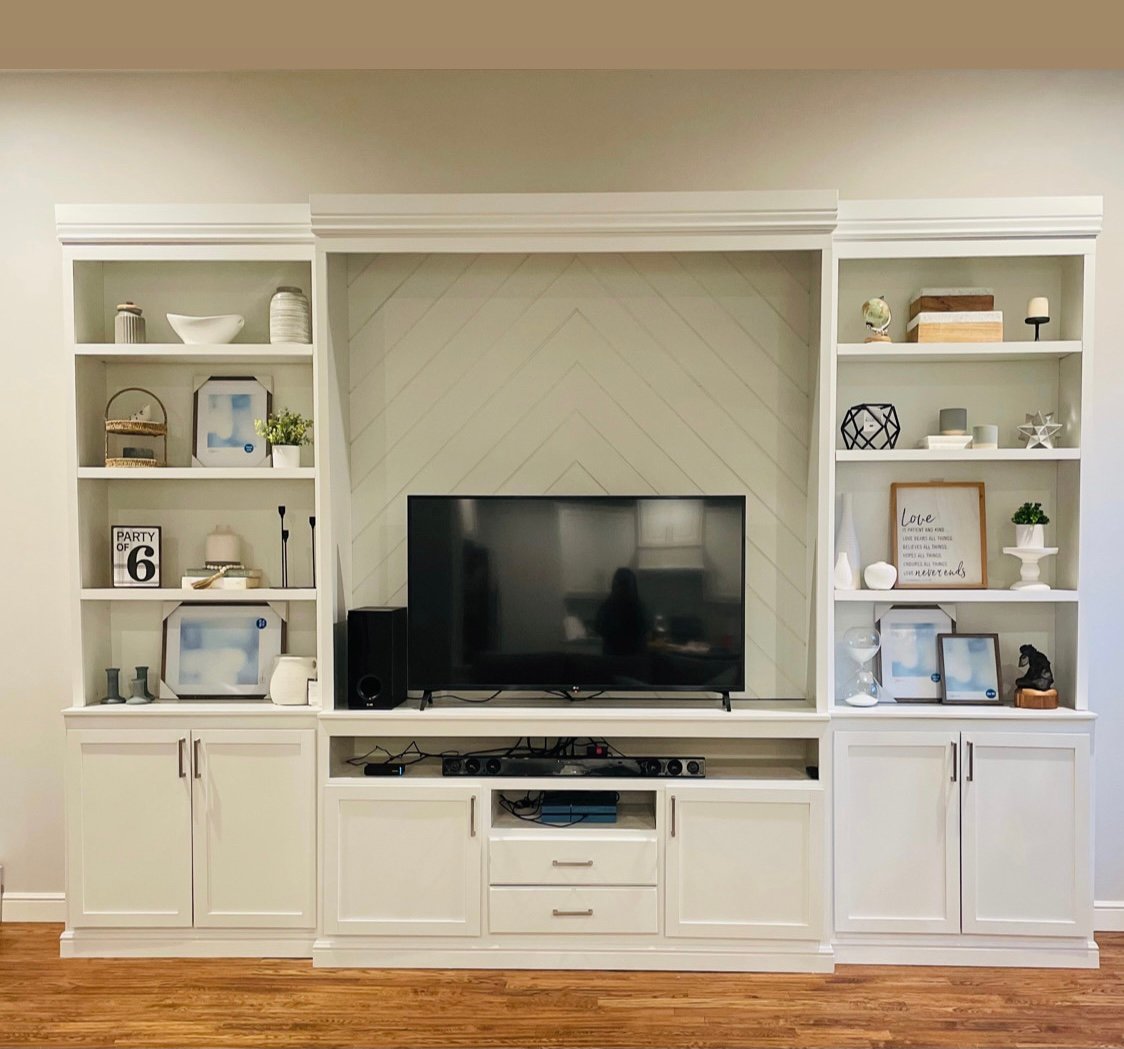
My Biggest build so far. We have a large living room and needed something large for that wall. I really had fun on this one. It took longer than I wanted but in the end, I’m really proud I finished. This was my first time to use the router and learned how build shaker style doors. -Instagram.com/theorthfam
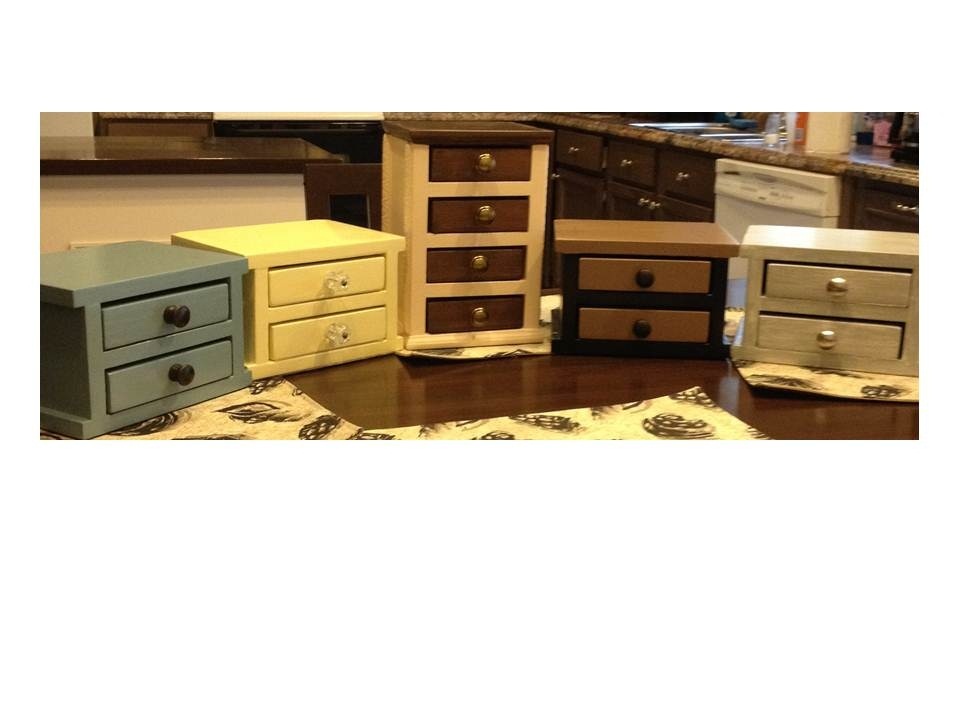
For Christmas gifts this year, I built several different jewelry boxes from the Easy Jewelry Box plan. The center one is a variation of the plan, made taller and narrower (that one was for Mom). The drawers are all lined with embossed felt and the 2-drawer boxes have adjustable drawer dividers. These all have sticky-back felt on box and drawer bottoms. The tower style box has added trim. Each one was an afternoon build. These were super fun to build and were a huge hit with Mom and my friends!
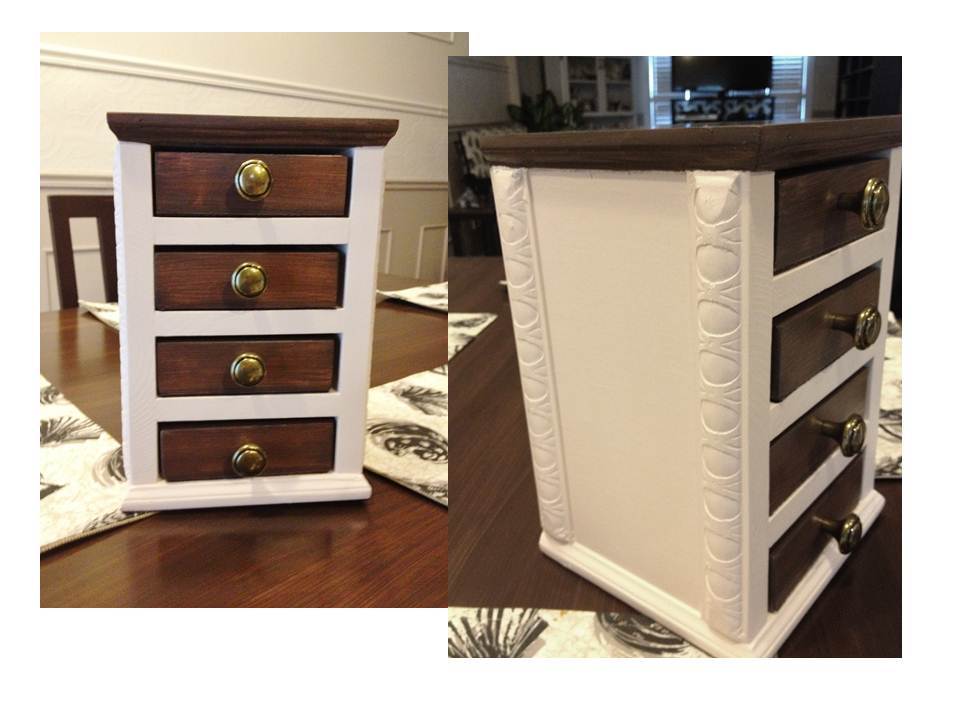
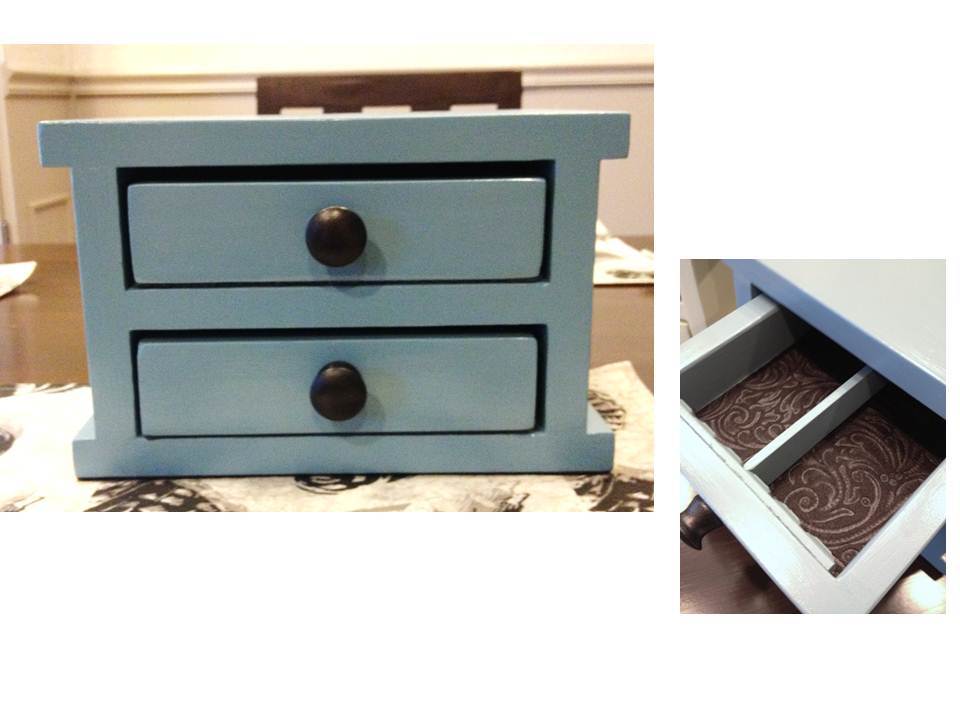
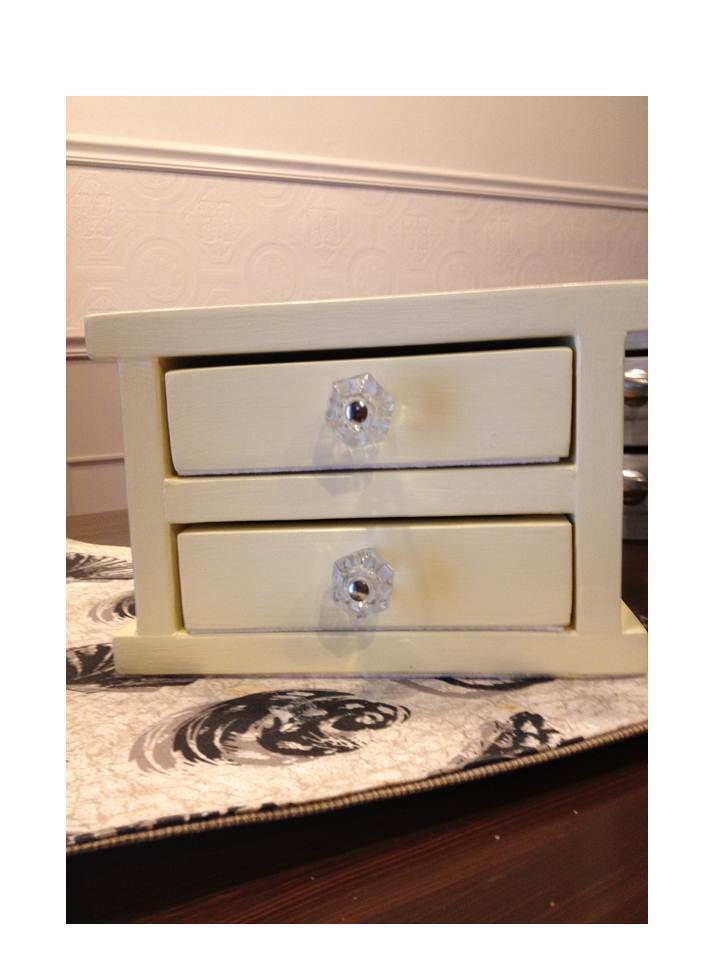
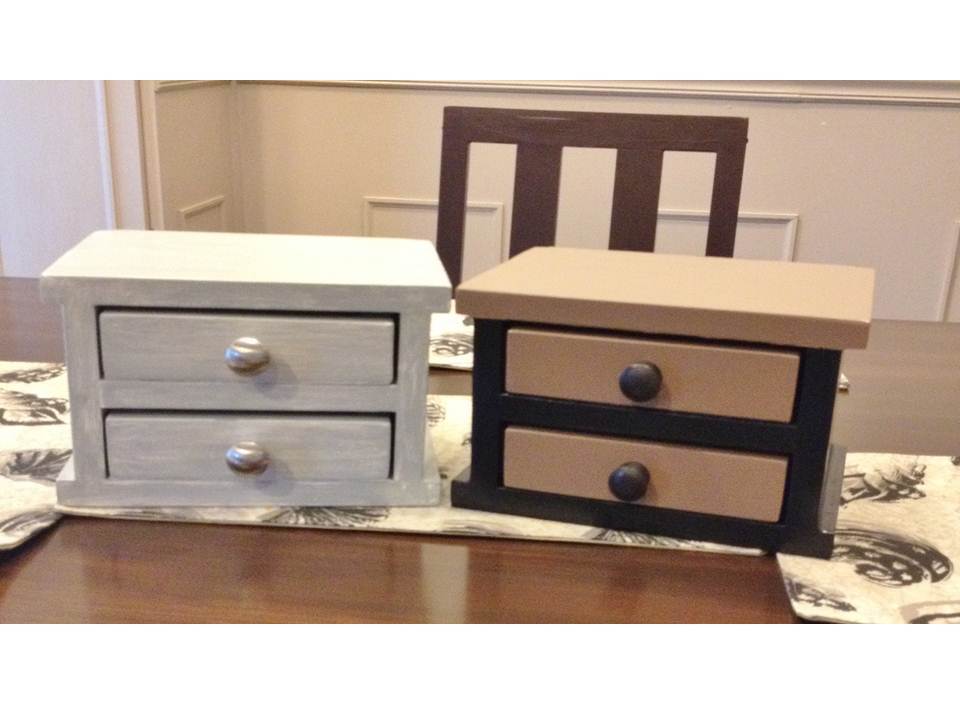
Wed, 02/27/2013 - 12:58
Thanks so much for the nice comment! :) I had a blast building these, and thinking up the finishing combinations I thought they would enjoy. I'm always partial to the ones I build for Mom. :)
I built this for my sister in law this Christmas from Ana's plans. I can't wait to make a second one for myself! The overall build was easy and I would consider myself a beginner level. Sadly, I didn't get a picture of the final product before I gifted it, but I distressed it to allow some forgiveness in the white paint detials and hand-painted decal on the top. It turned out great and they loved it!
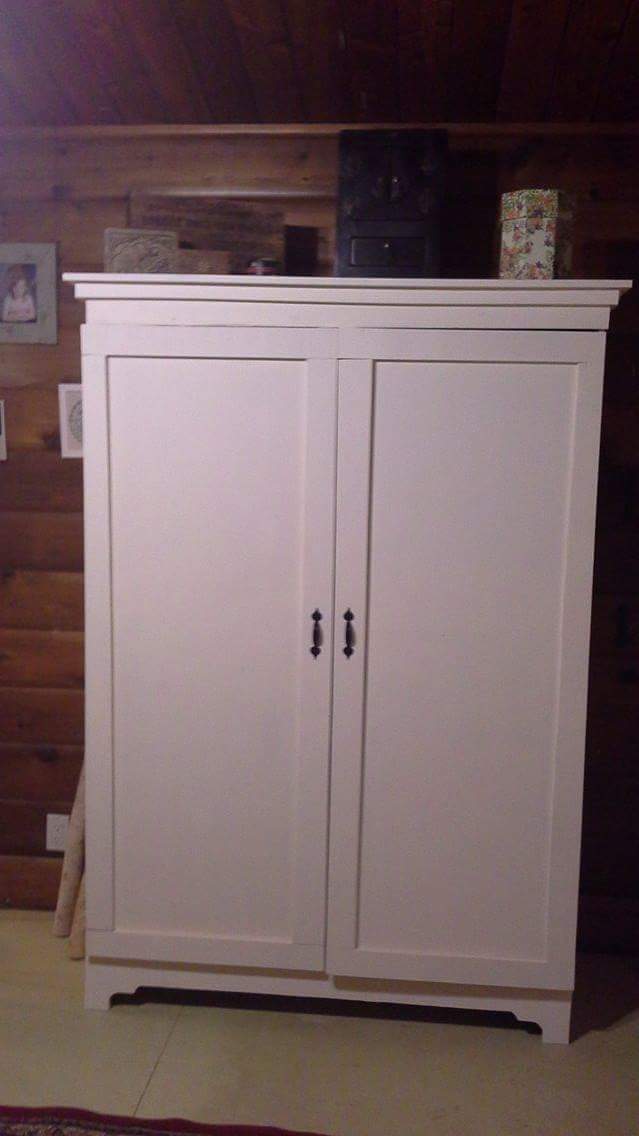
Made this out of a ton of scrap wood I had laying around. On the downside it made the project more difficult, but on the upside all I had to buy was hinges and handles...

I completed this project on a day off from school. It took about 8 total hours from start to finish. I purchaced 1x8's and cut them to size to minimize the looking through piles of lumber for stright boards. My first project, and im looking forward to the next.
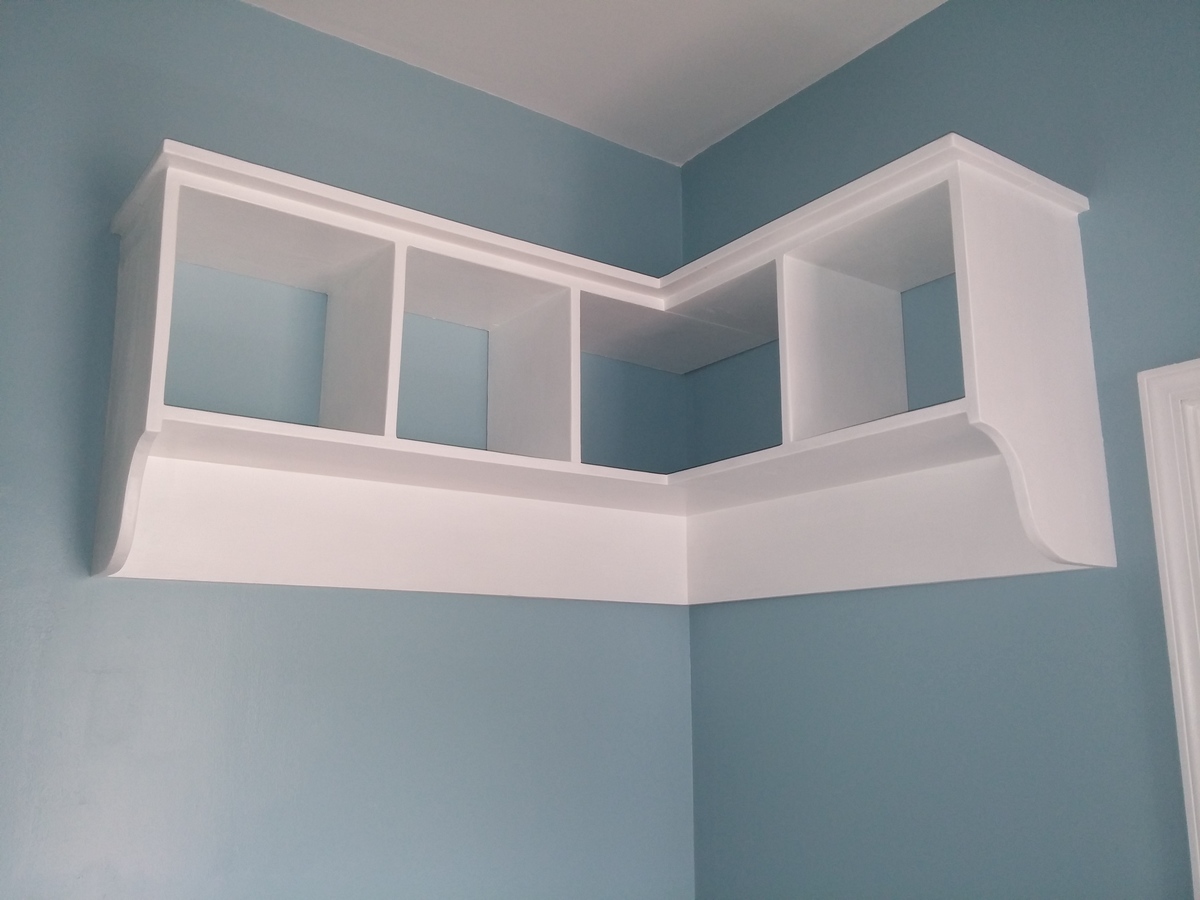
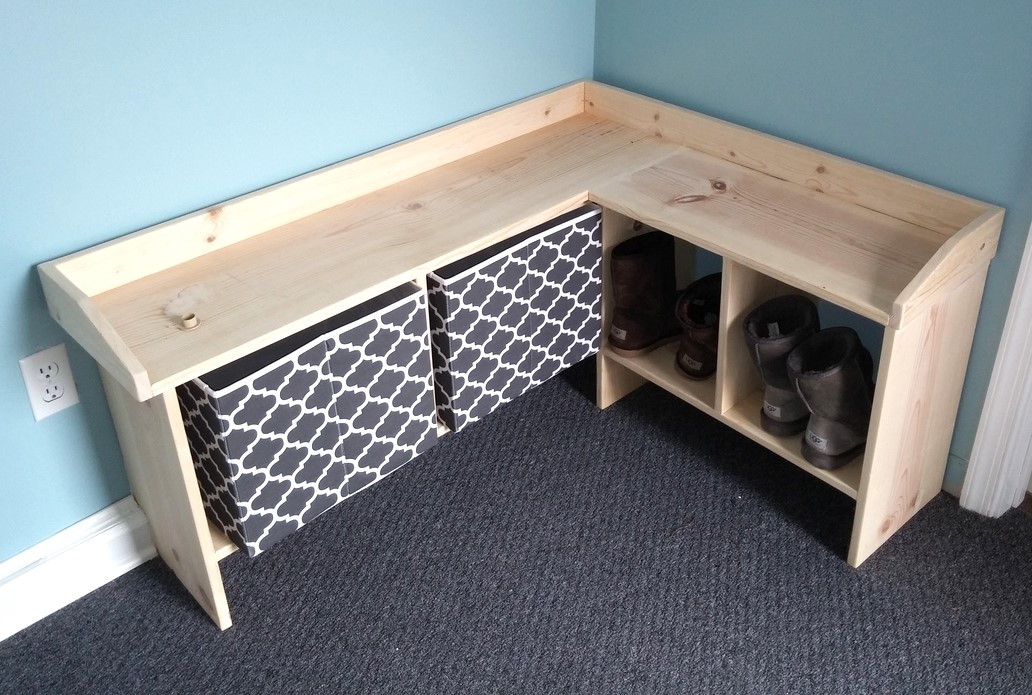
Used your plans to do these for our mudroom I just remodeled.My wife loved them.Took the original plan and modified it to fit the corner.The bench ended up being white with a grey top.And for xmas my step mother made cushions for it.Love your plans.Thanks
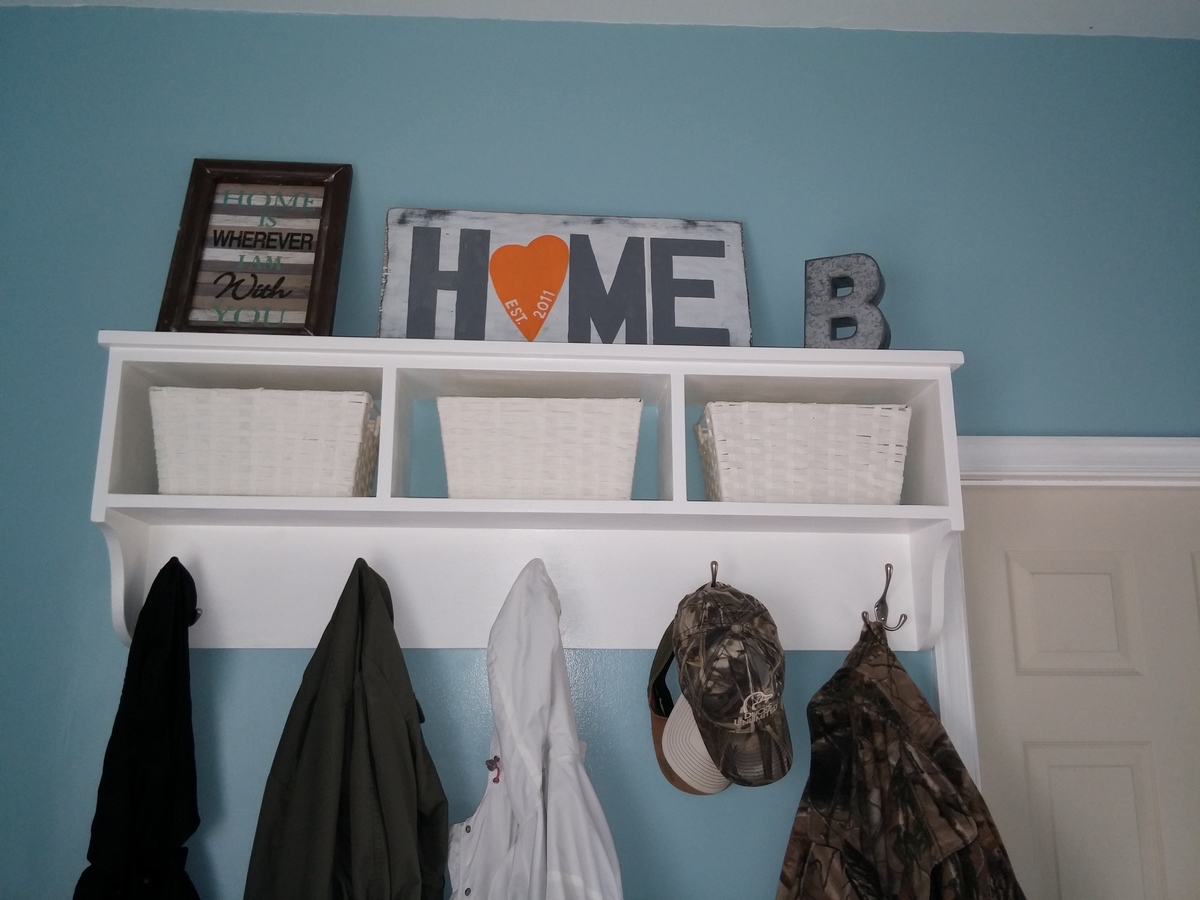
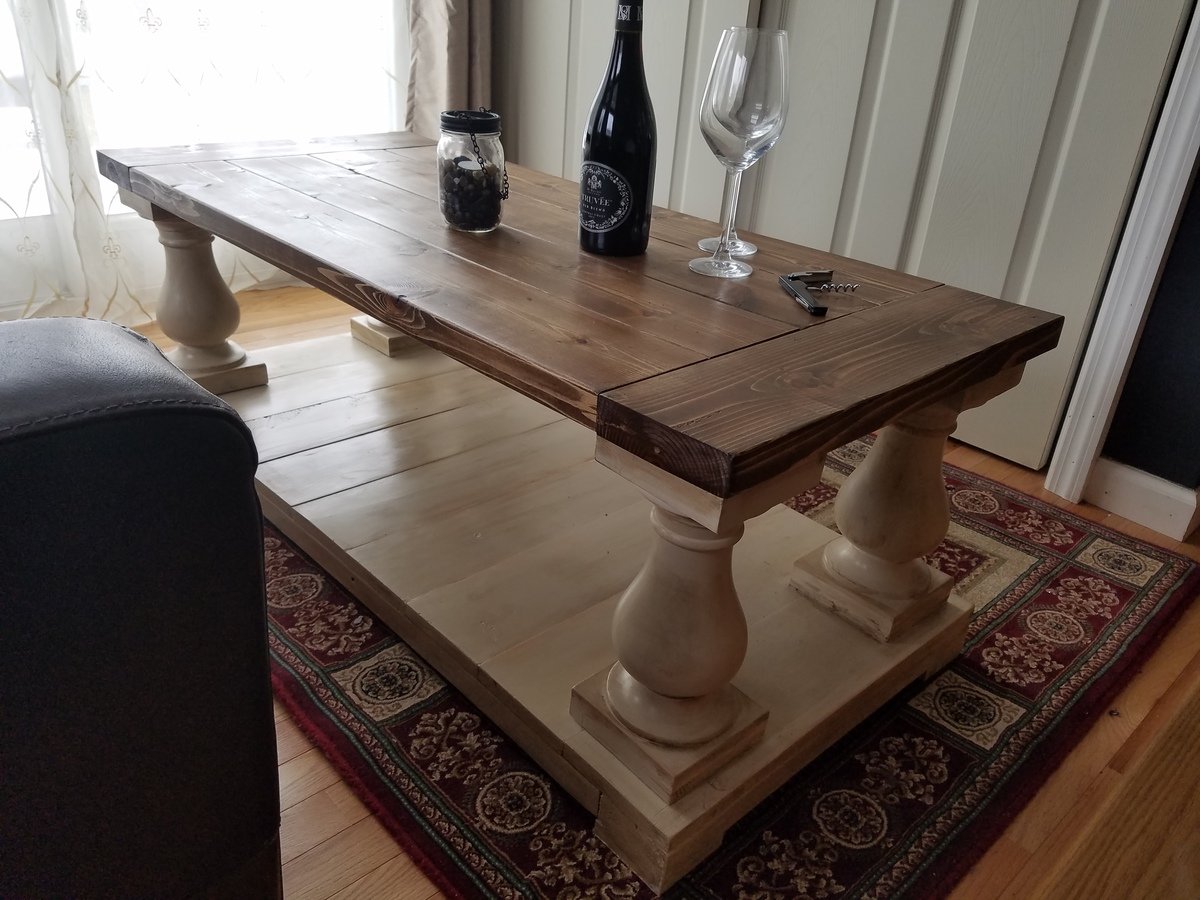
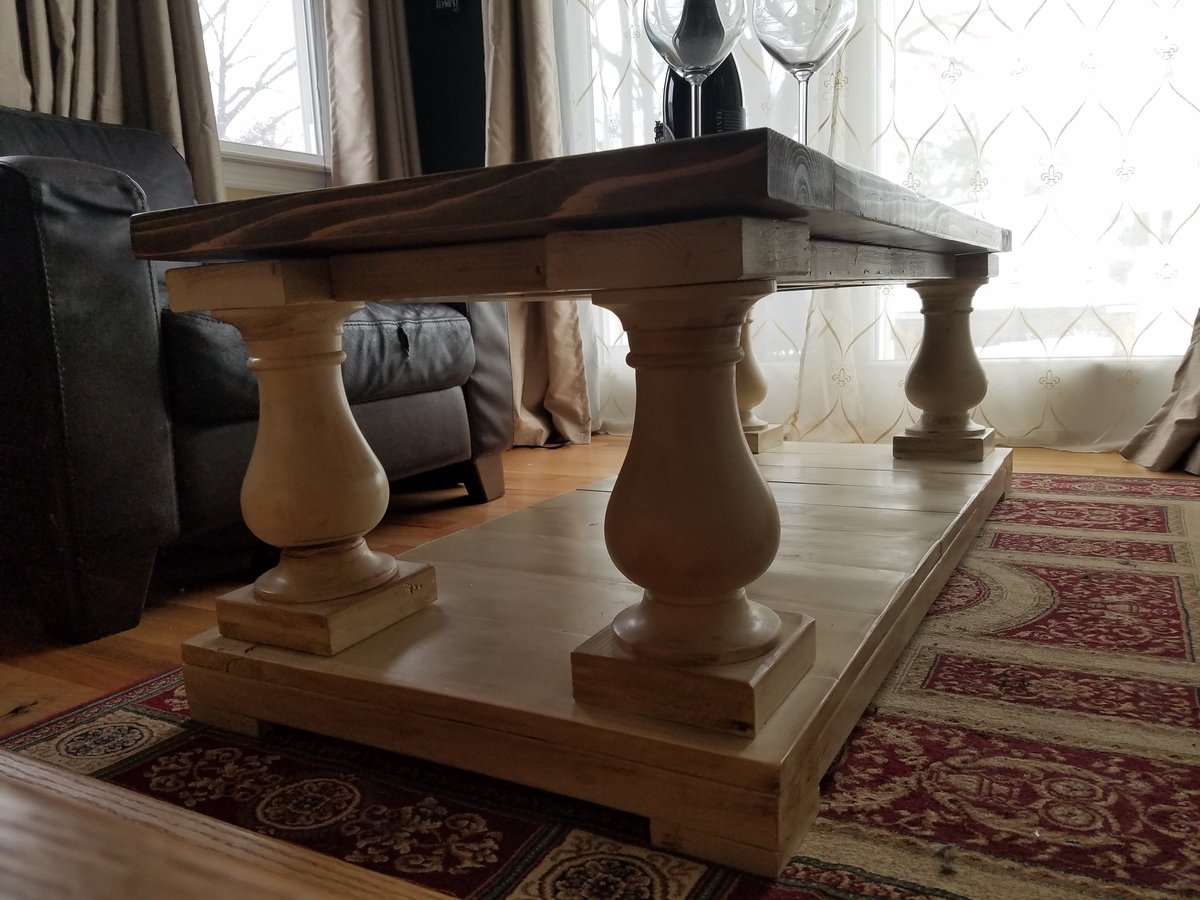
Balustrade Coffee Table made of cedar and pine wood. Approximately 49.5 length. Stained in special walnut and white painted chalk paint base. Used dark wax to distress base and legs.
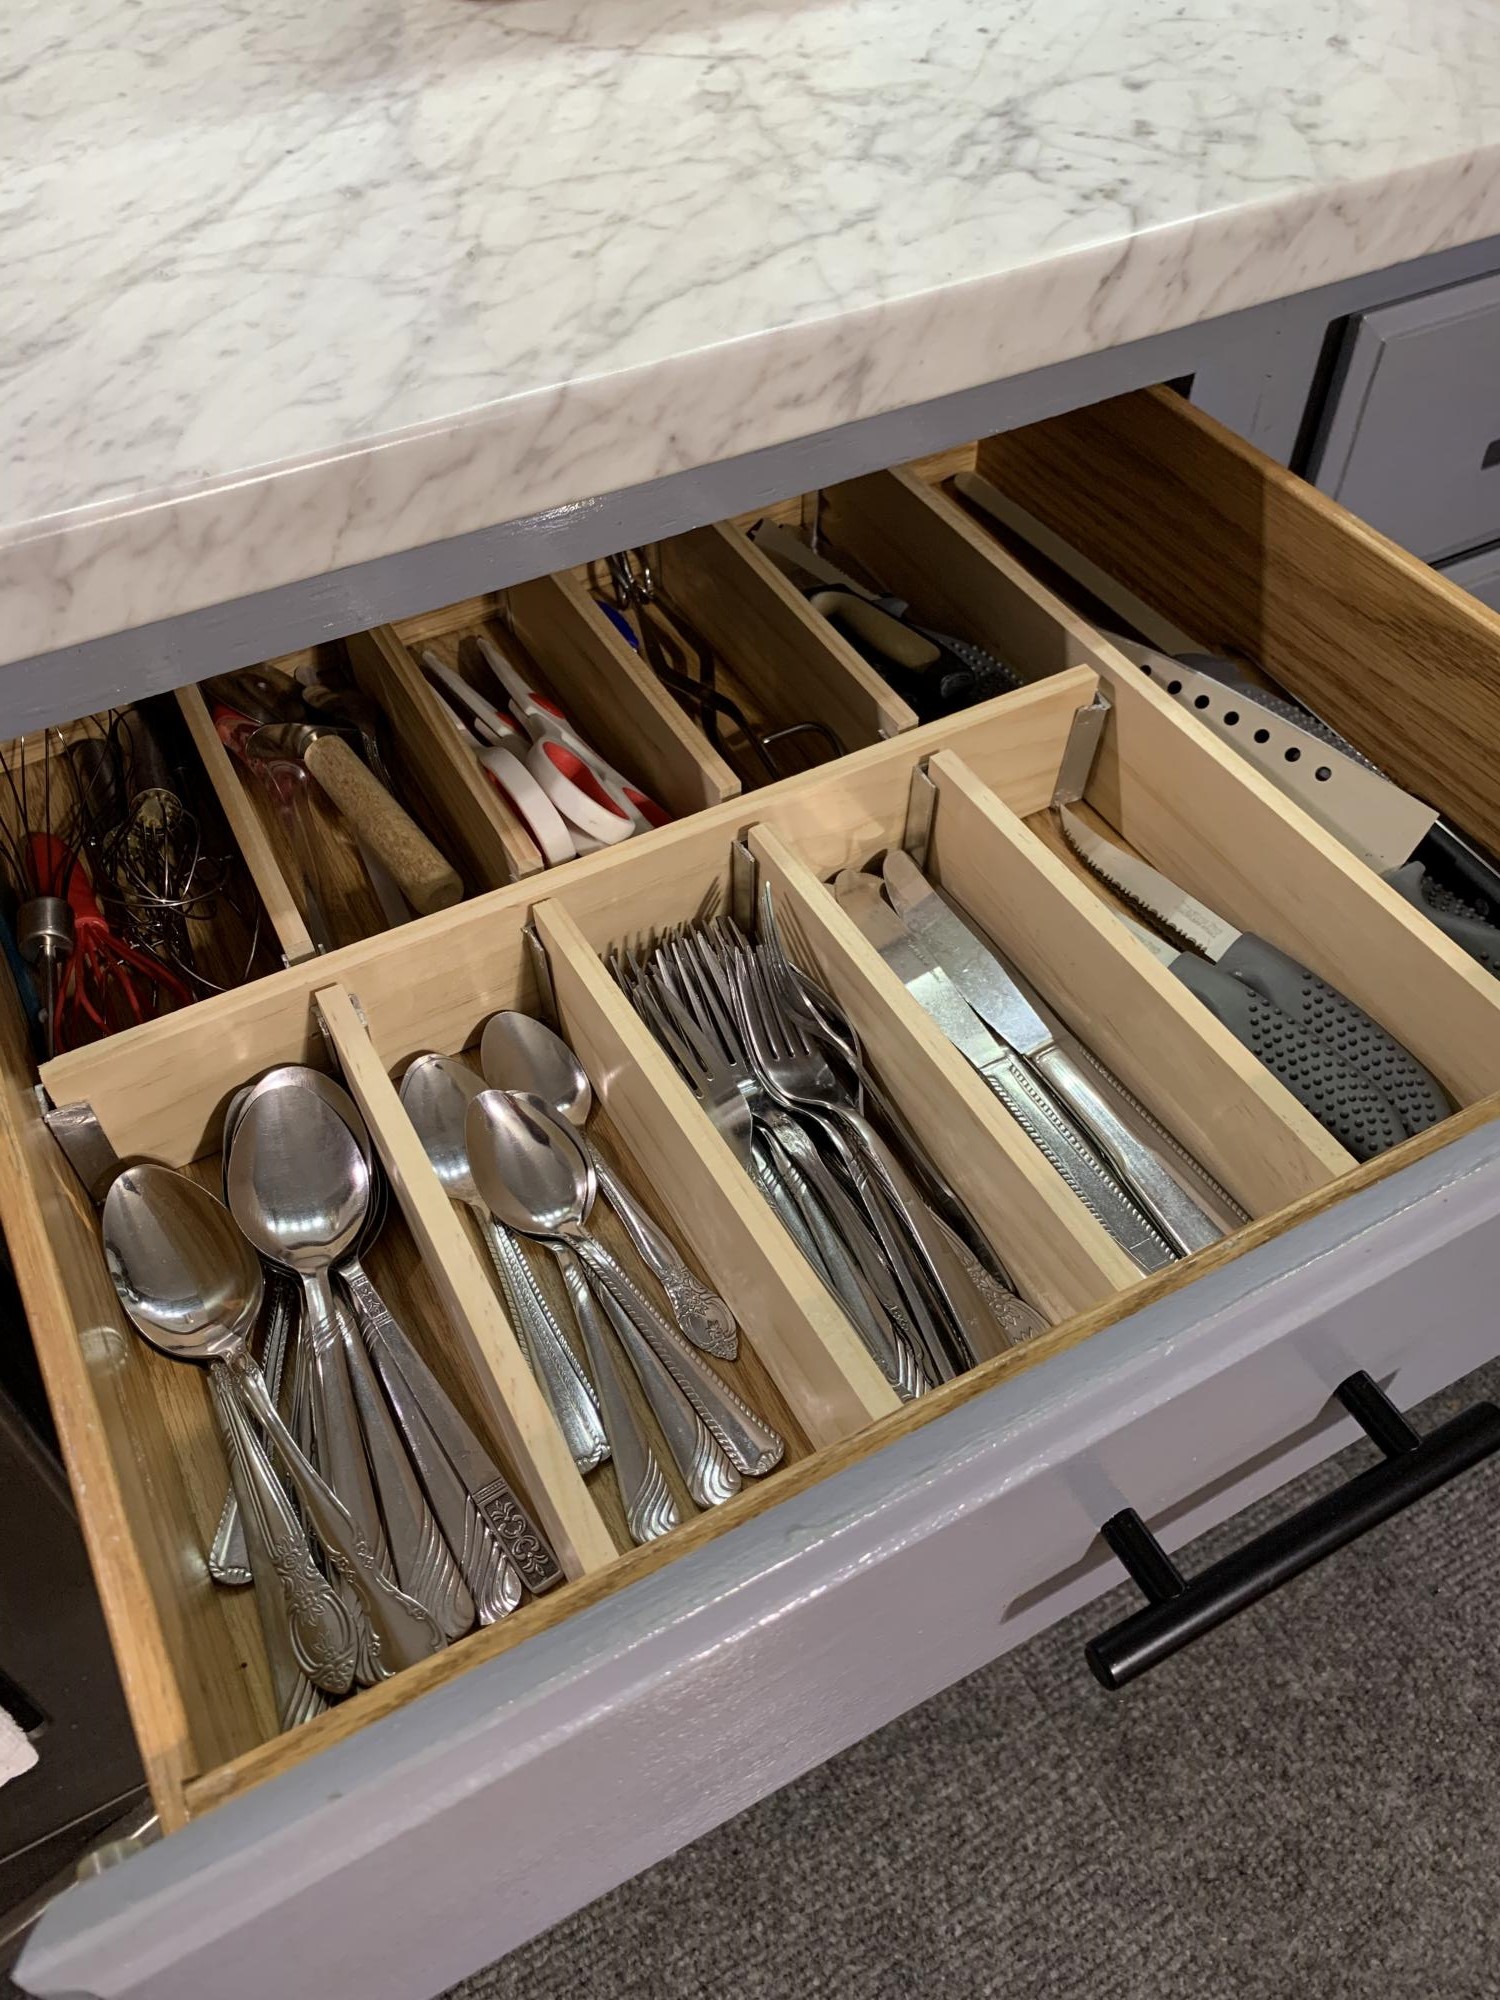
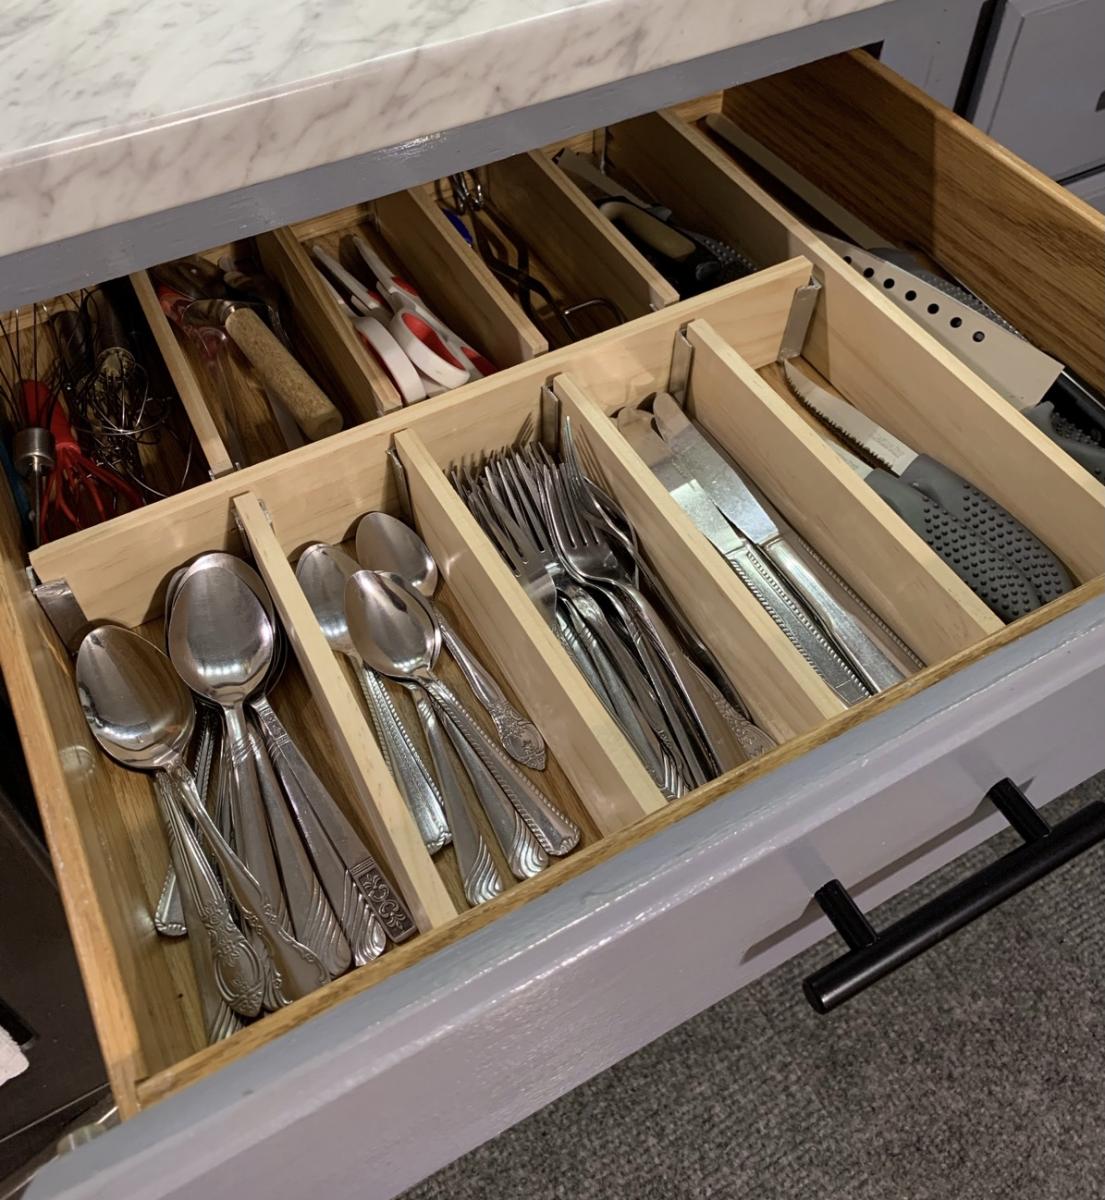
Finished this in no time and wow did it create a lot of space. I was able to get rid of my knife block because there’s now room for my knives in my drawer. Thank you Ana for sharing your wood work with us! This was well worth the $25 I spent!
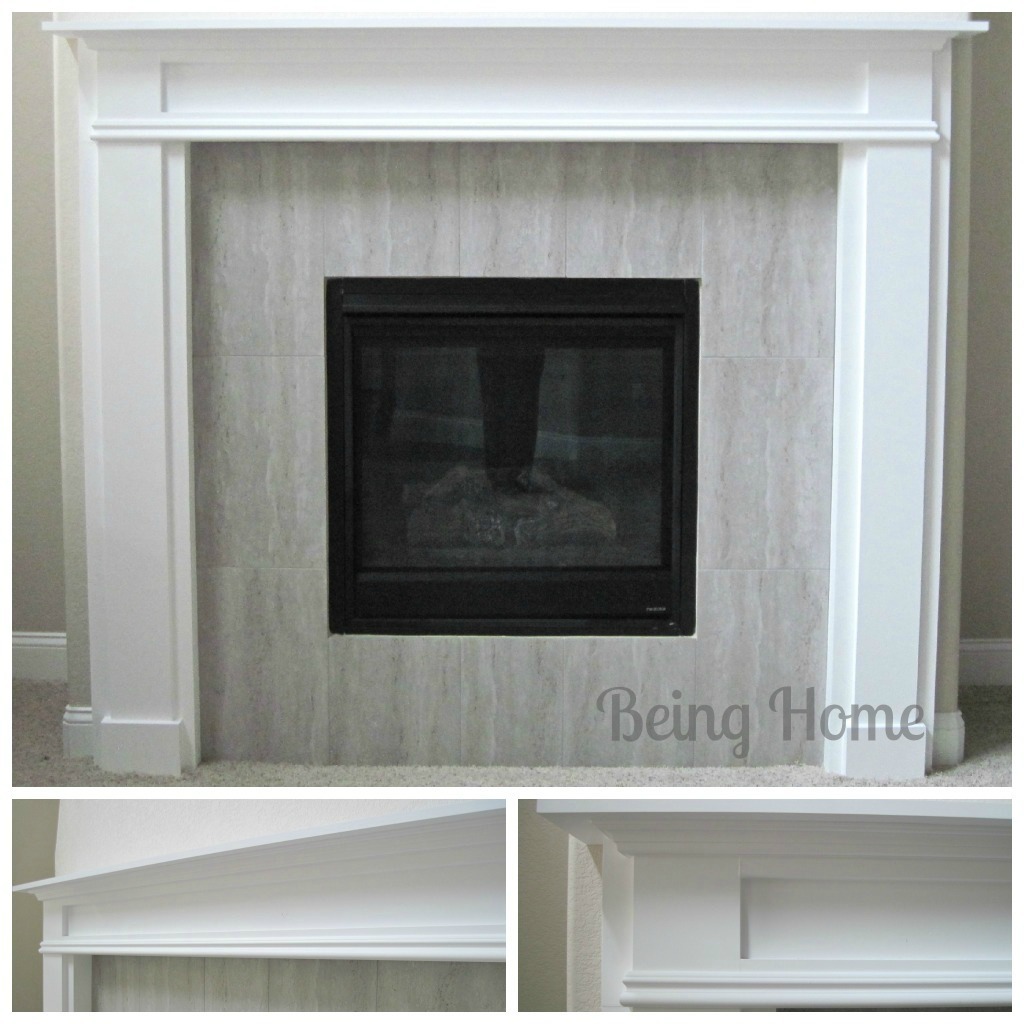
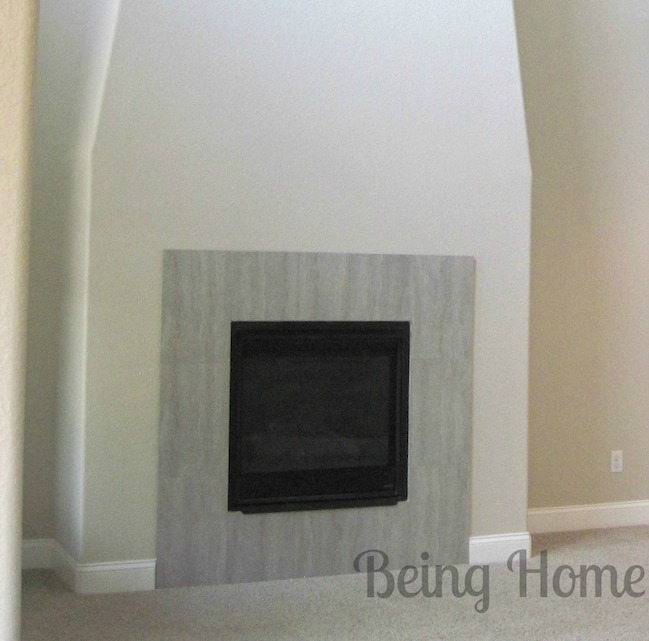
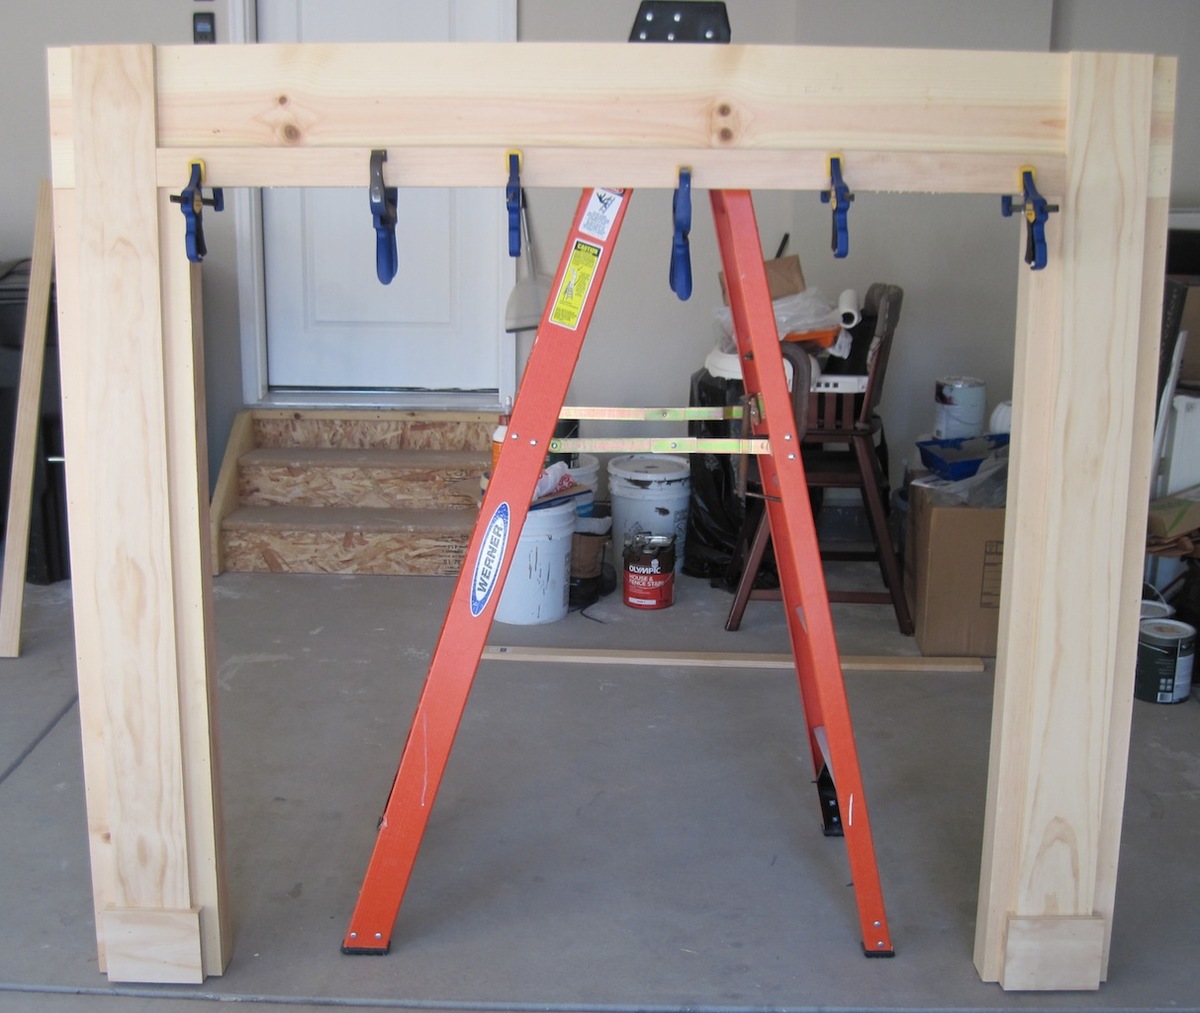
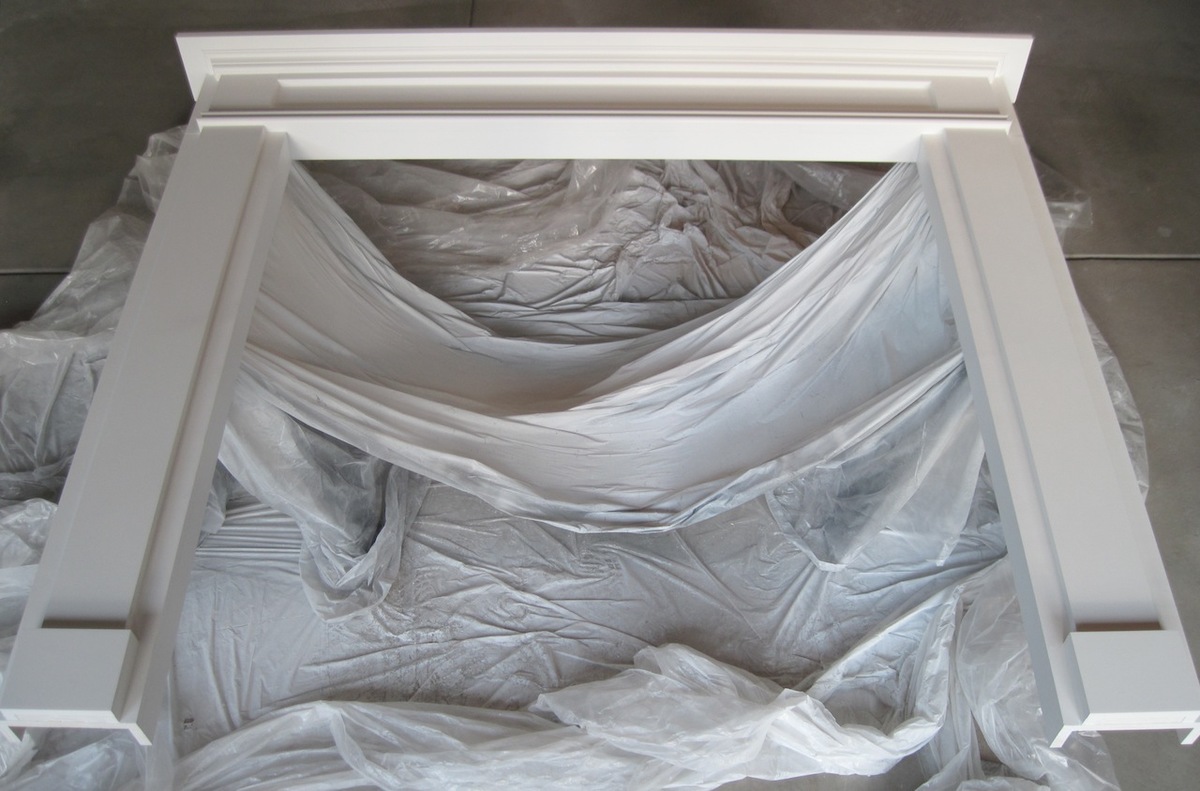
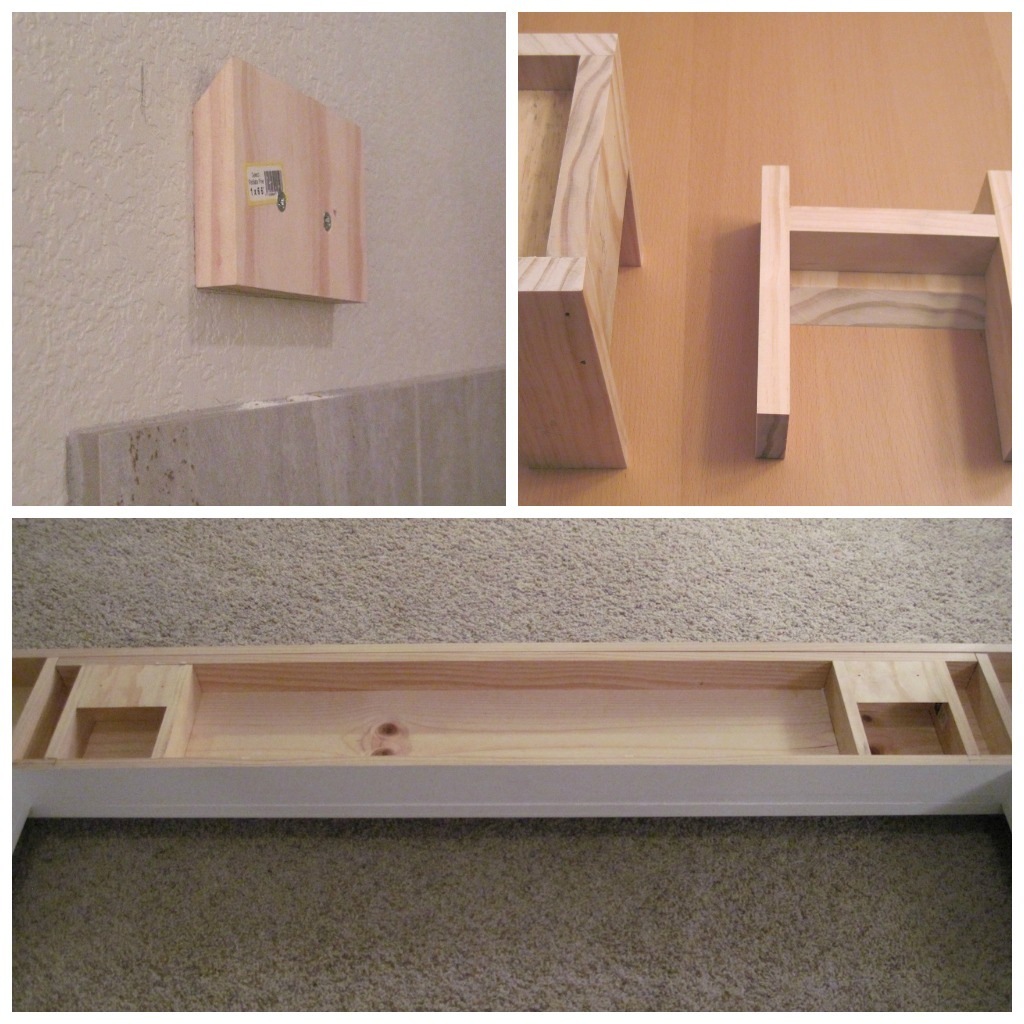
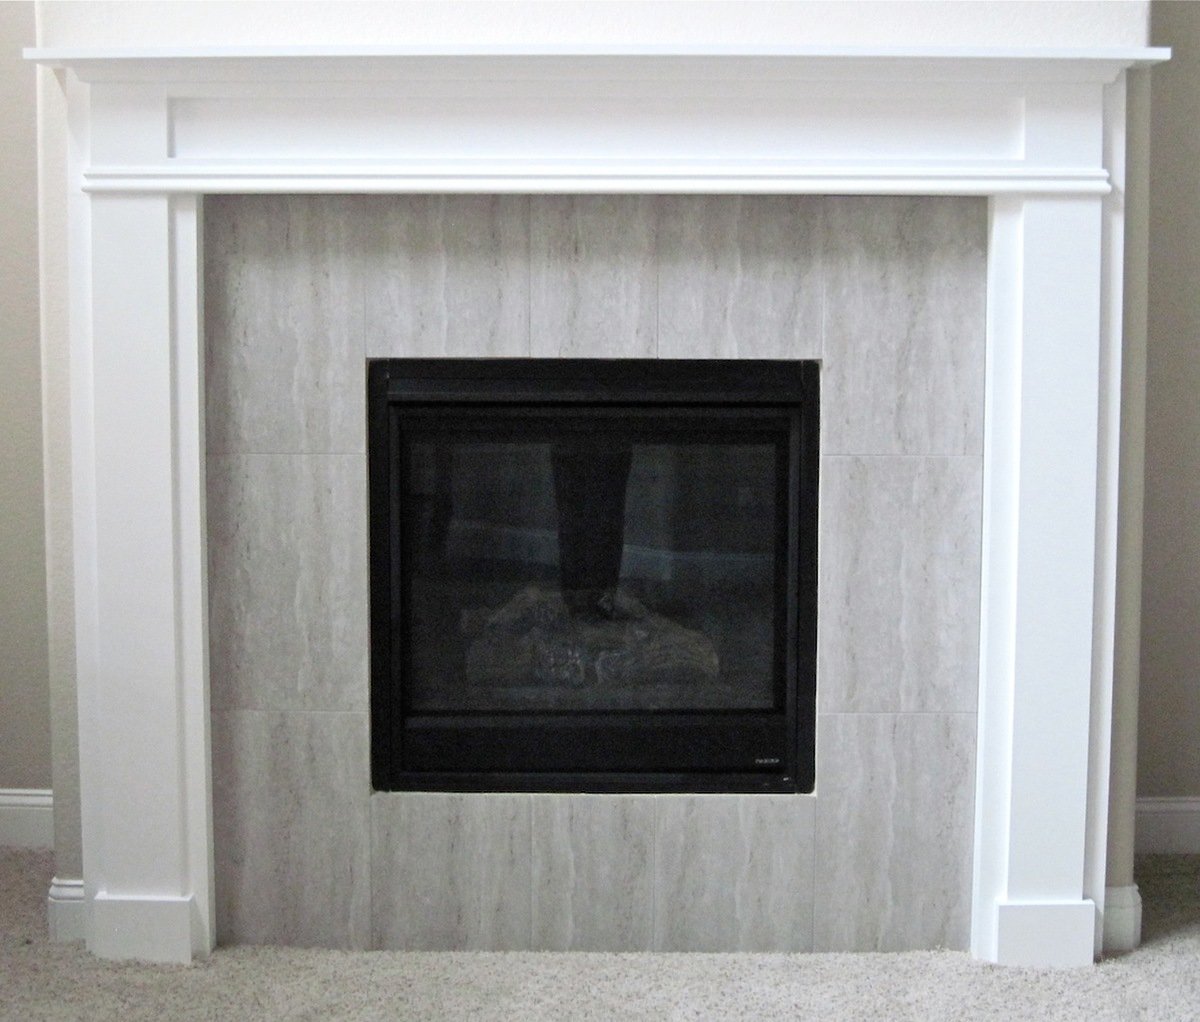
With a desire to decorate a mantel for the holidays, my husband and I decided to build a fireplace mantel and surround. This was our first building project.
Inspired by the faux mantel at Blue Roof Cabin blog and with the drawn up plans from Ana White, this mantel was fairly easy to build.
I (we) are very happy with the results. Since the plans were adapted to fit around our existing fireplace, the completed dimensions are 66 1/2 inches high x 74 3/4 wide. Total cost came to $130.81
For more details about the building process, please check out the tutorial.
Thank you.
Julie
Wed, 02/27/2013 - 18:50
Excellent! I want to do the same thing to our boring gas fireplace! :-) looks great!!!
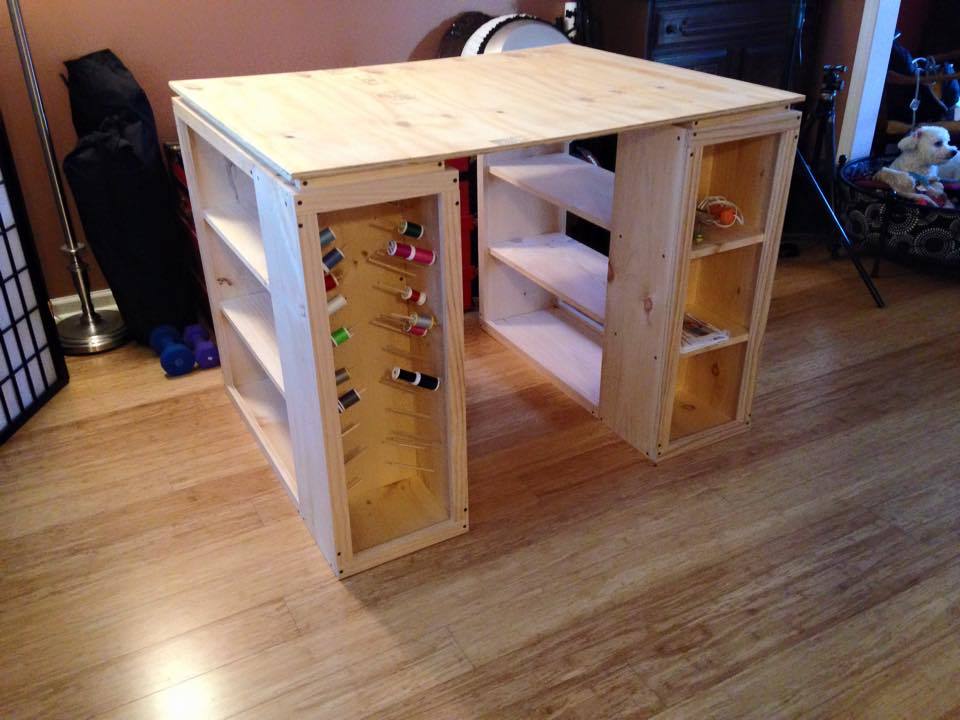
We modified the original plnas to convert one set of front shelves into thread storage. We used 1/4" wooden dowel cut to fit 2 spools of thread on each.

Made this for my 14 month old, this was my first ever attempt at making/building anything! Hand painted and assembled with inspiration from the Tennessee Titans. My son loves standing in it by the window watching the trucks go by our house so I added his own jungle gym steering wheel and bike horn.
Comments
jackienad006
Mon, 02/11/2013 - 22:12
Love my new bed
Love my new bed