We built our kitchen cabinets and hood!

It took us awhile but we built these white cabinets from scratch. It turned out great and looks better in person. Thank you for your articles!


It took us awhile but we built these white cabinets from scratch. It turned out great and looks better in person. Thank you for your articles!

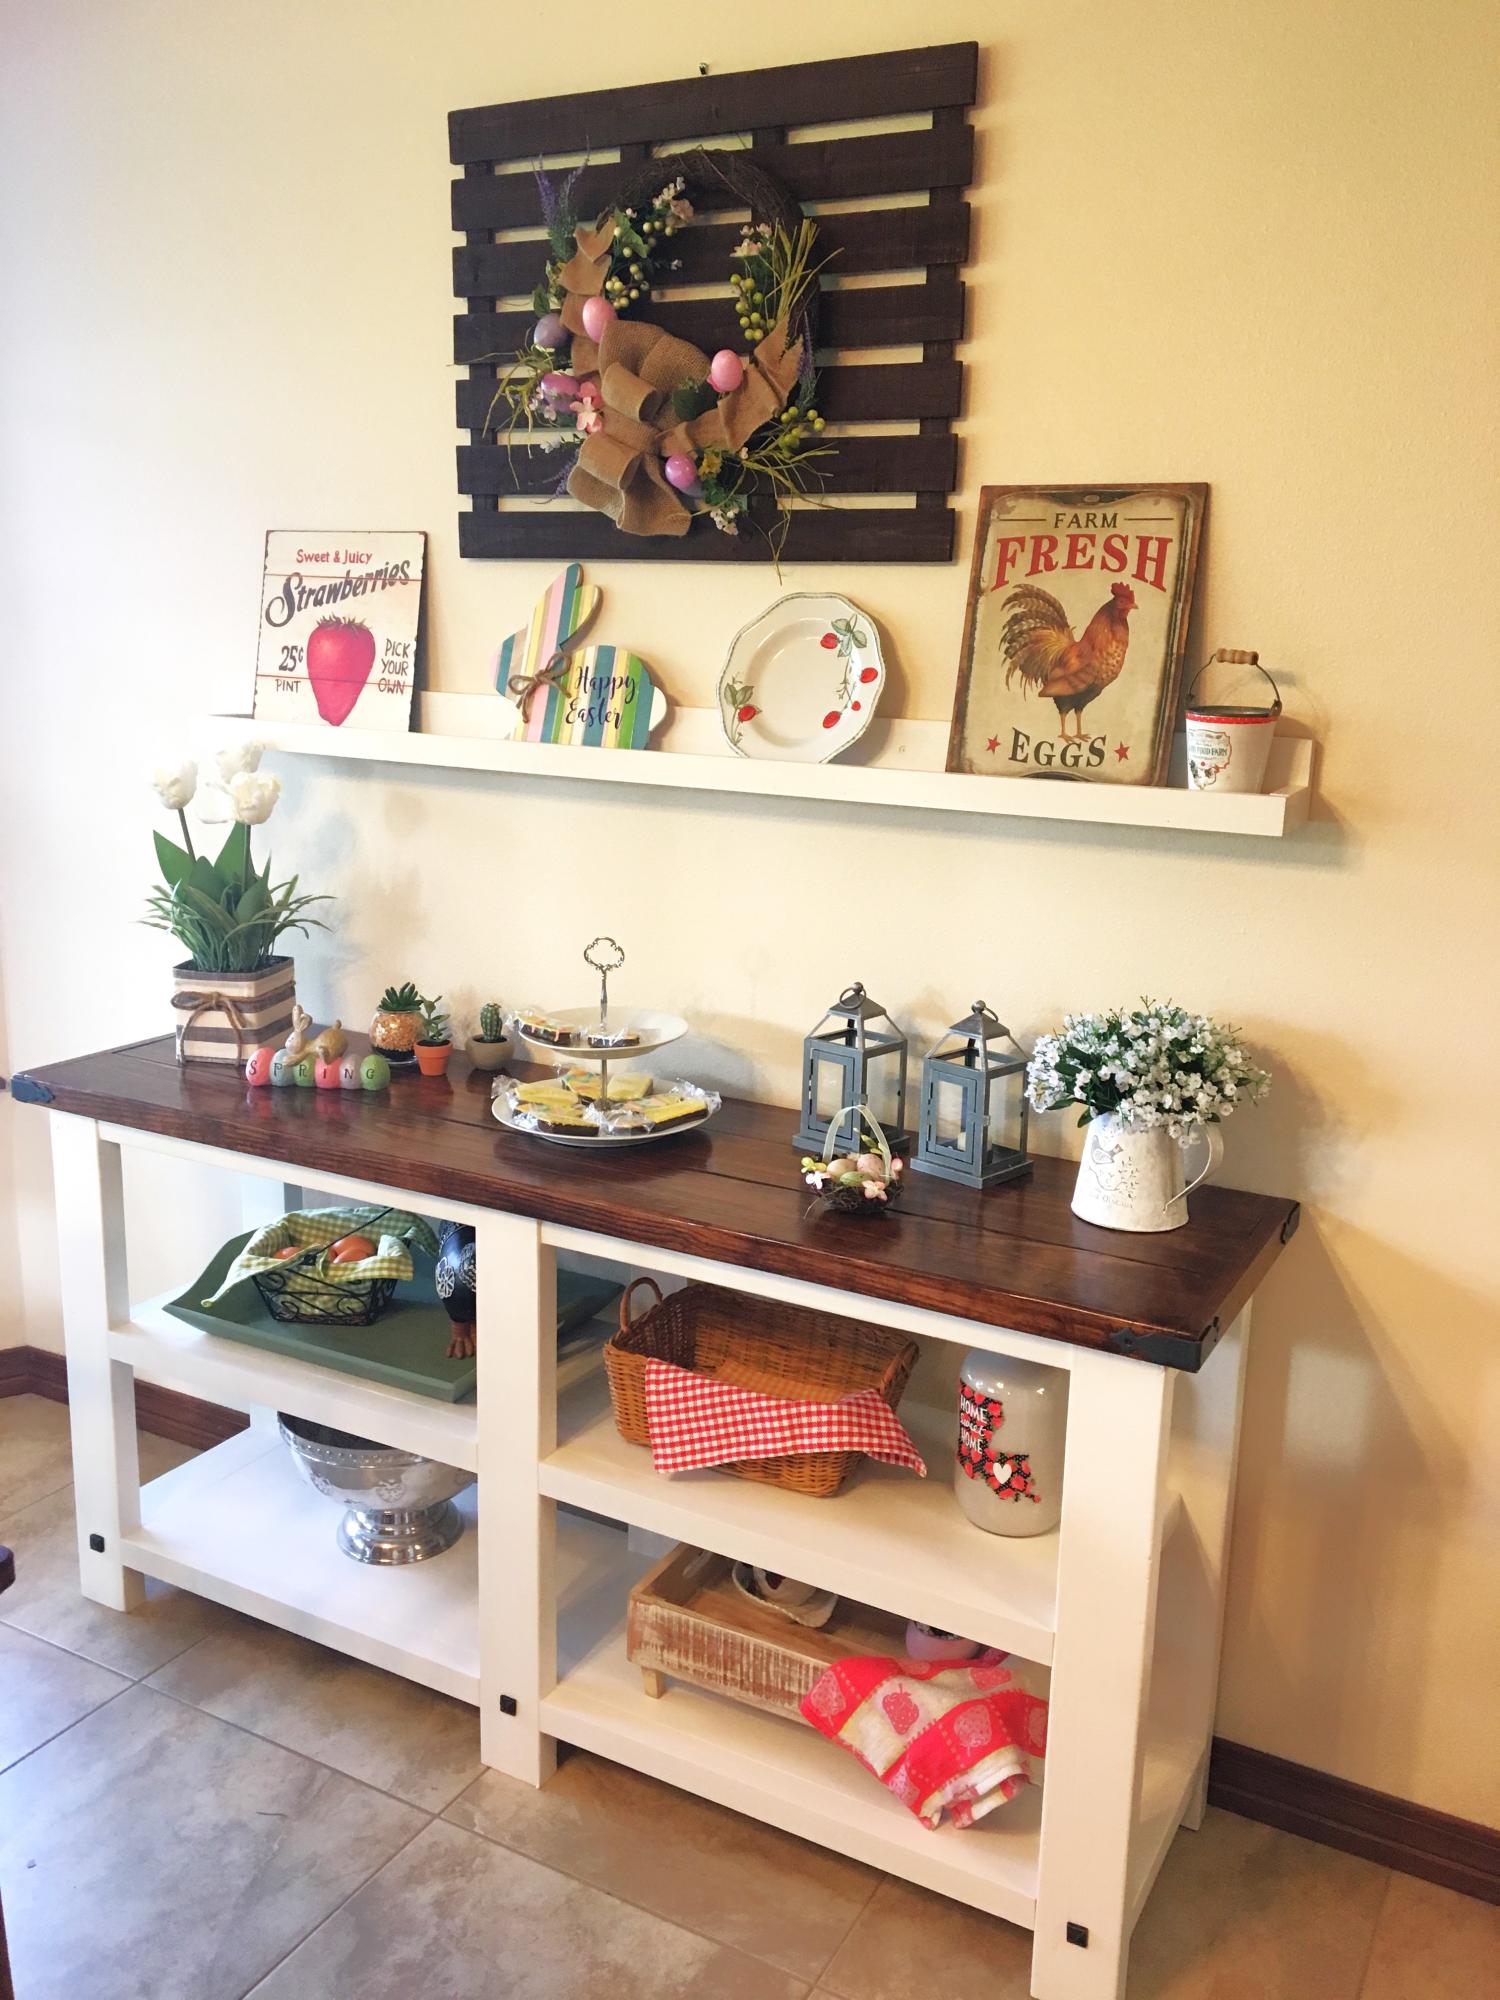
Built for my daughter!
Carol Hebert
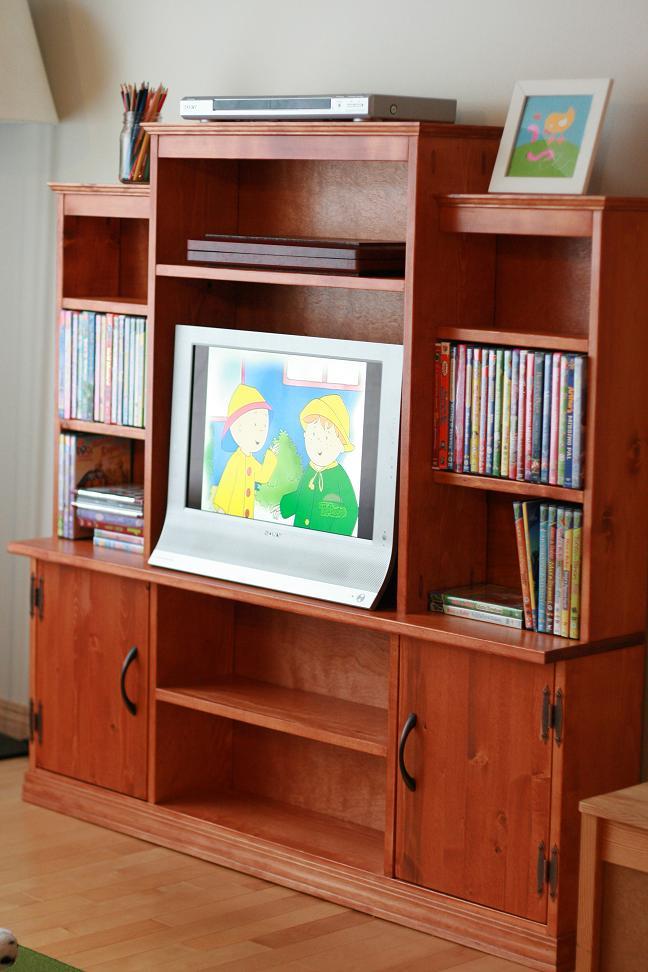
The minute I saw this mini media stand I knew that I would have to make it for our playroom. I tweaked the measurements slightly since my wood sizes were slightly different from Ana. This was a pretty easy build for me and I would consider myself a beginner.
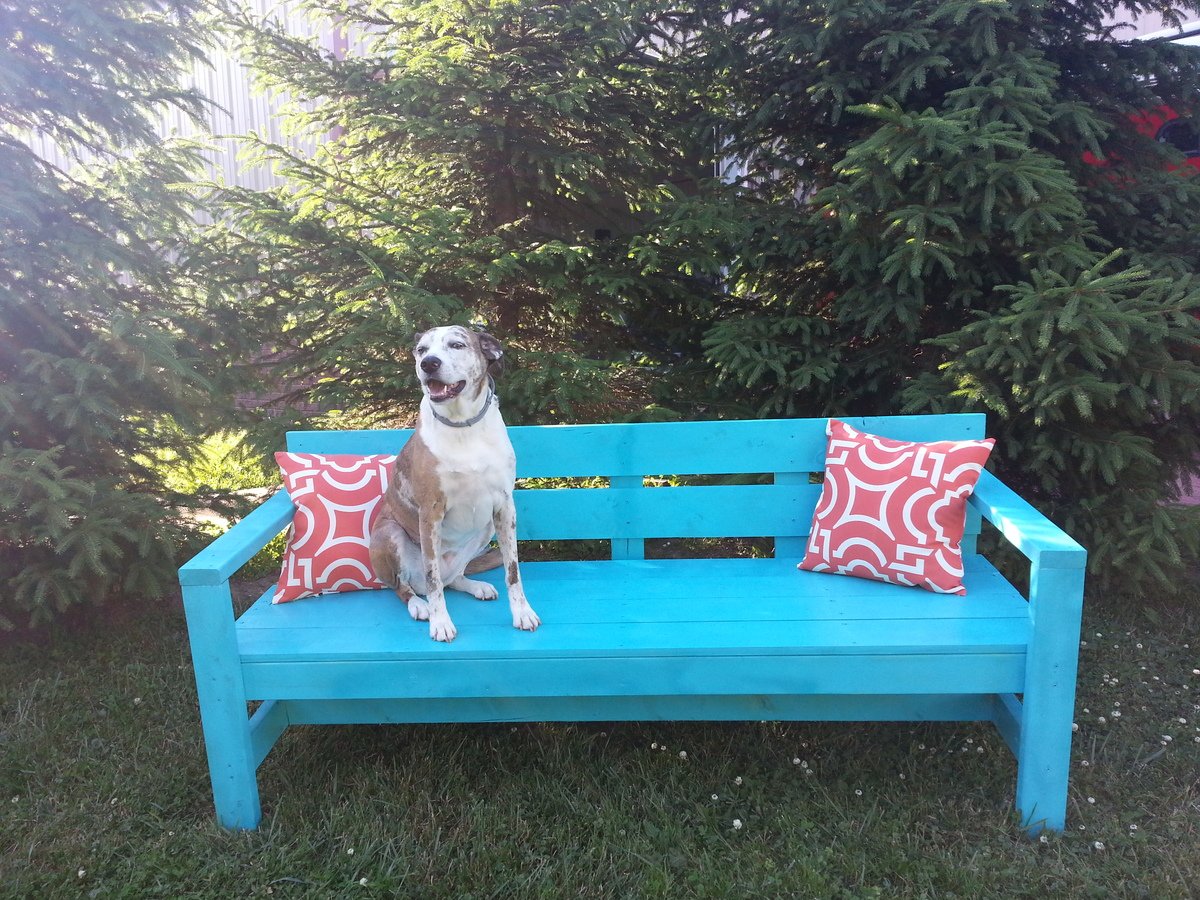
This was my wife and I's first Ana White project. We are now hooked, and loved spending time together building something we will enjoy for years, and our dog mindy of course was the first to test our beautiful bench out!
Thanks Ana,
Steve & Courtney
I'm so grateful for these plans! Since we were building in a basement against a concrete wall, we just made each side with the vertical 2x4 supports, then anchored the shelves to the exposed studs on the side walls for safety. This project was so fast and easy -- I put them together one night after the kids went to bed. They're 8' long and 2' deep, very sturdy, and they were highly economical to build. I love that the shelf is smooth and flat, too, as this makes it easy to store small things as well as large totes.
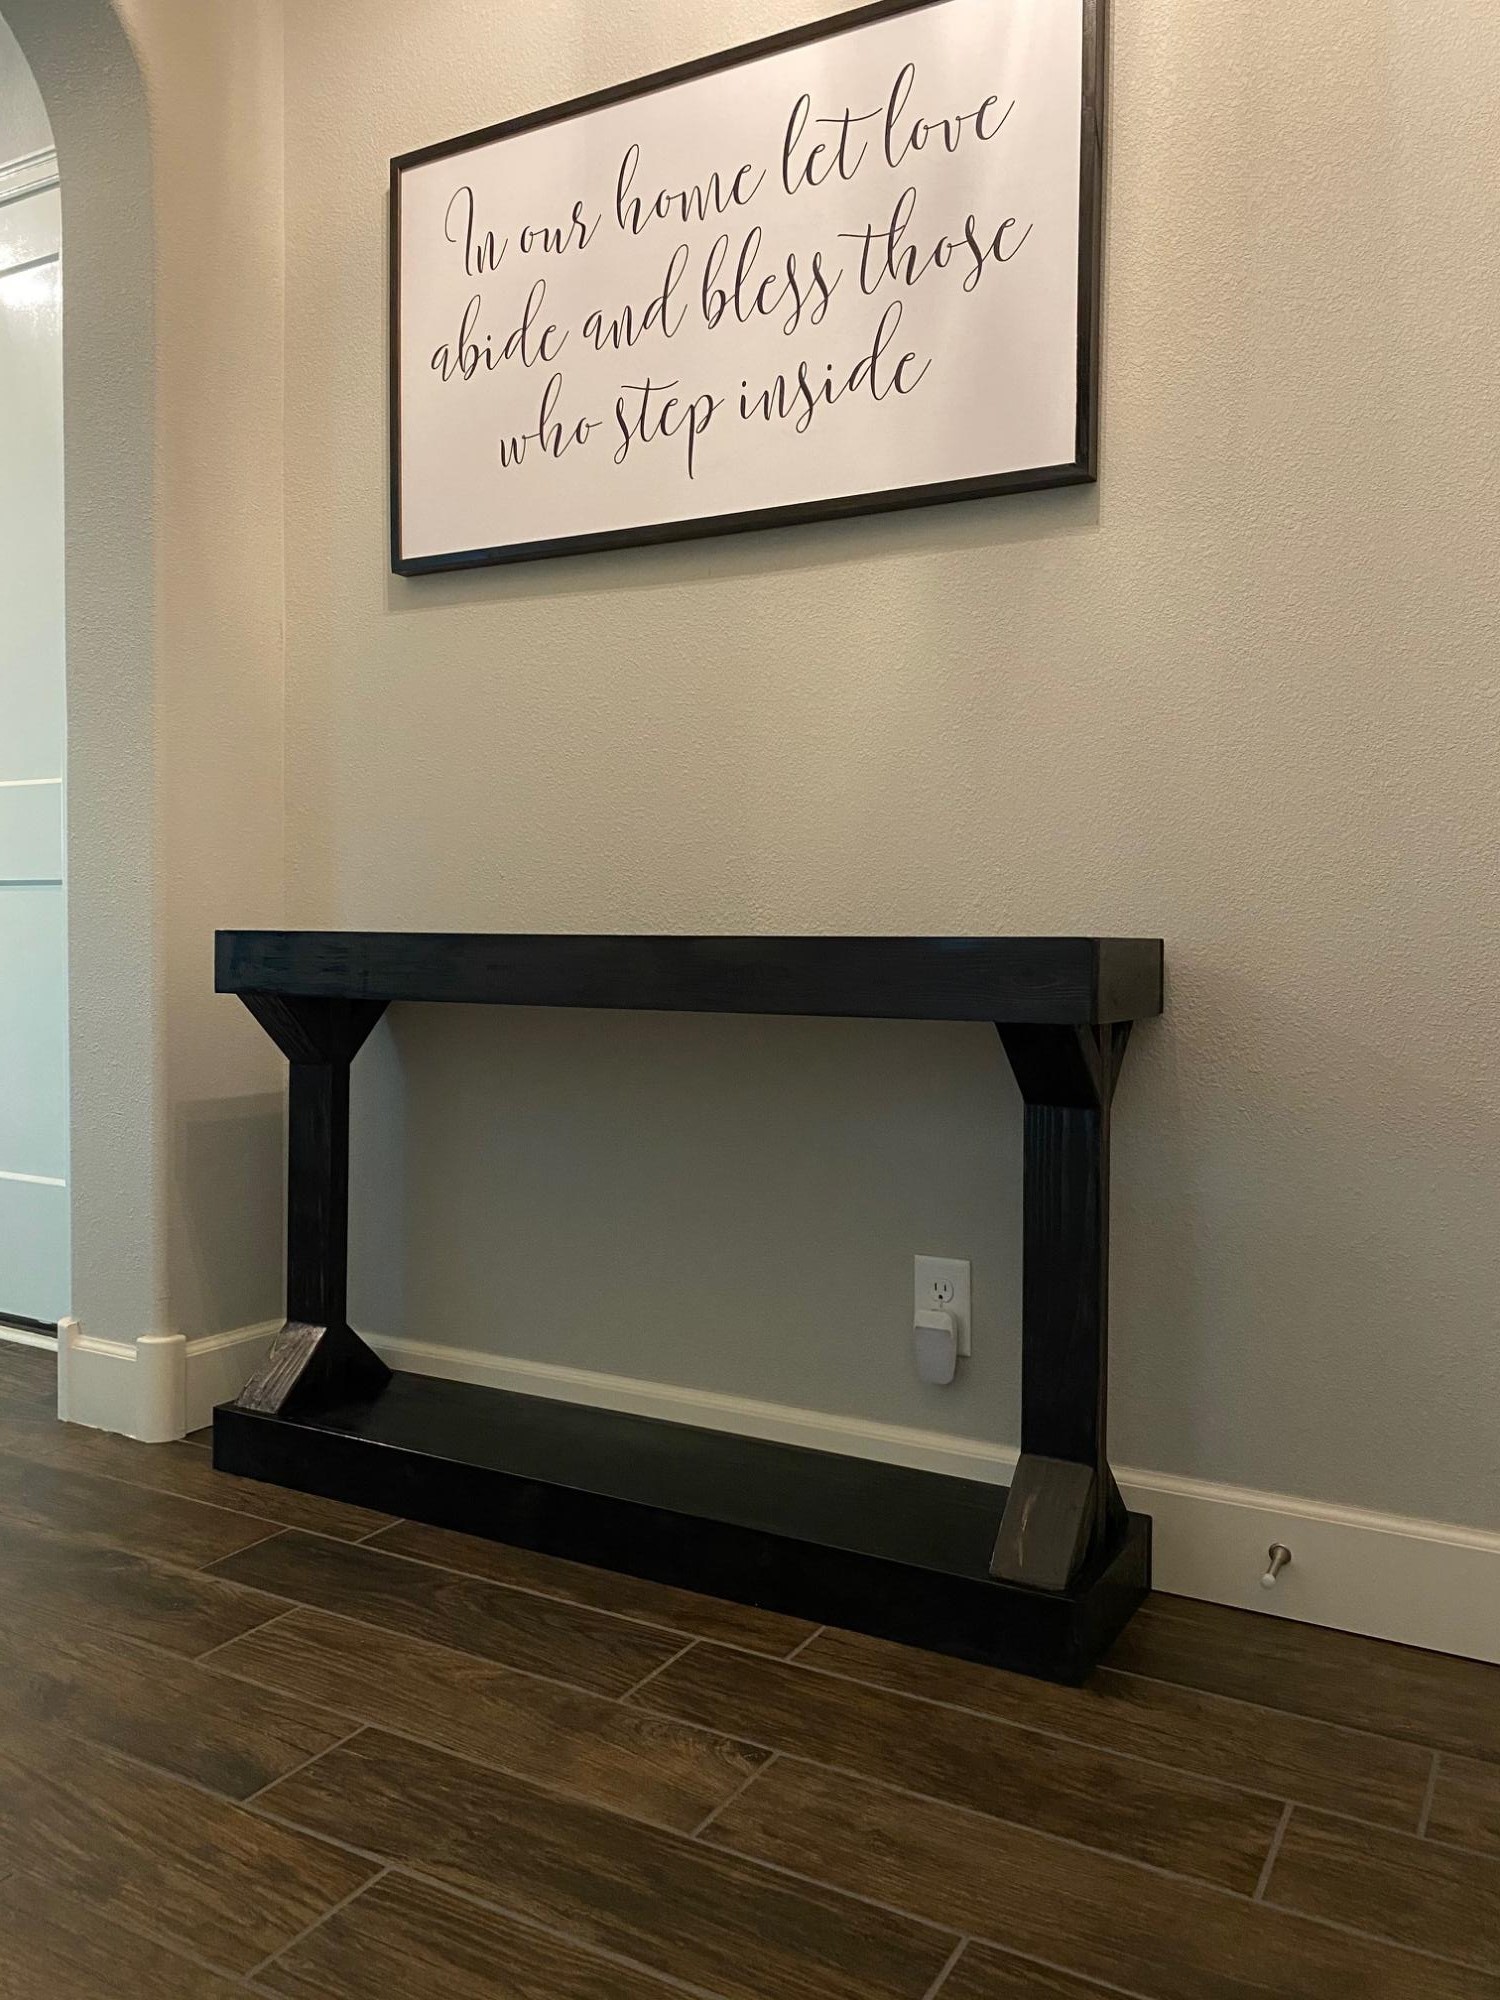
This is my first try at one of your projects. I made the console table 48 inches long to fit the space of our entry way. I thank you for all of your amazing content, and still having informative and wholesome things to watch.
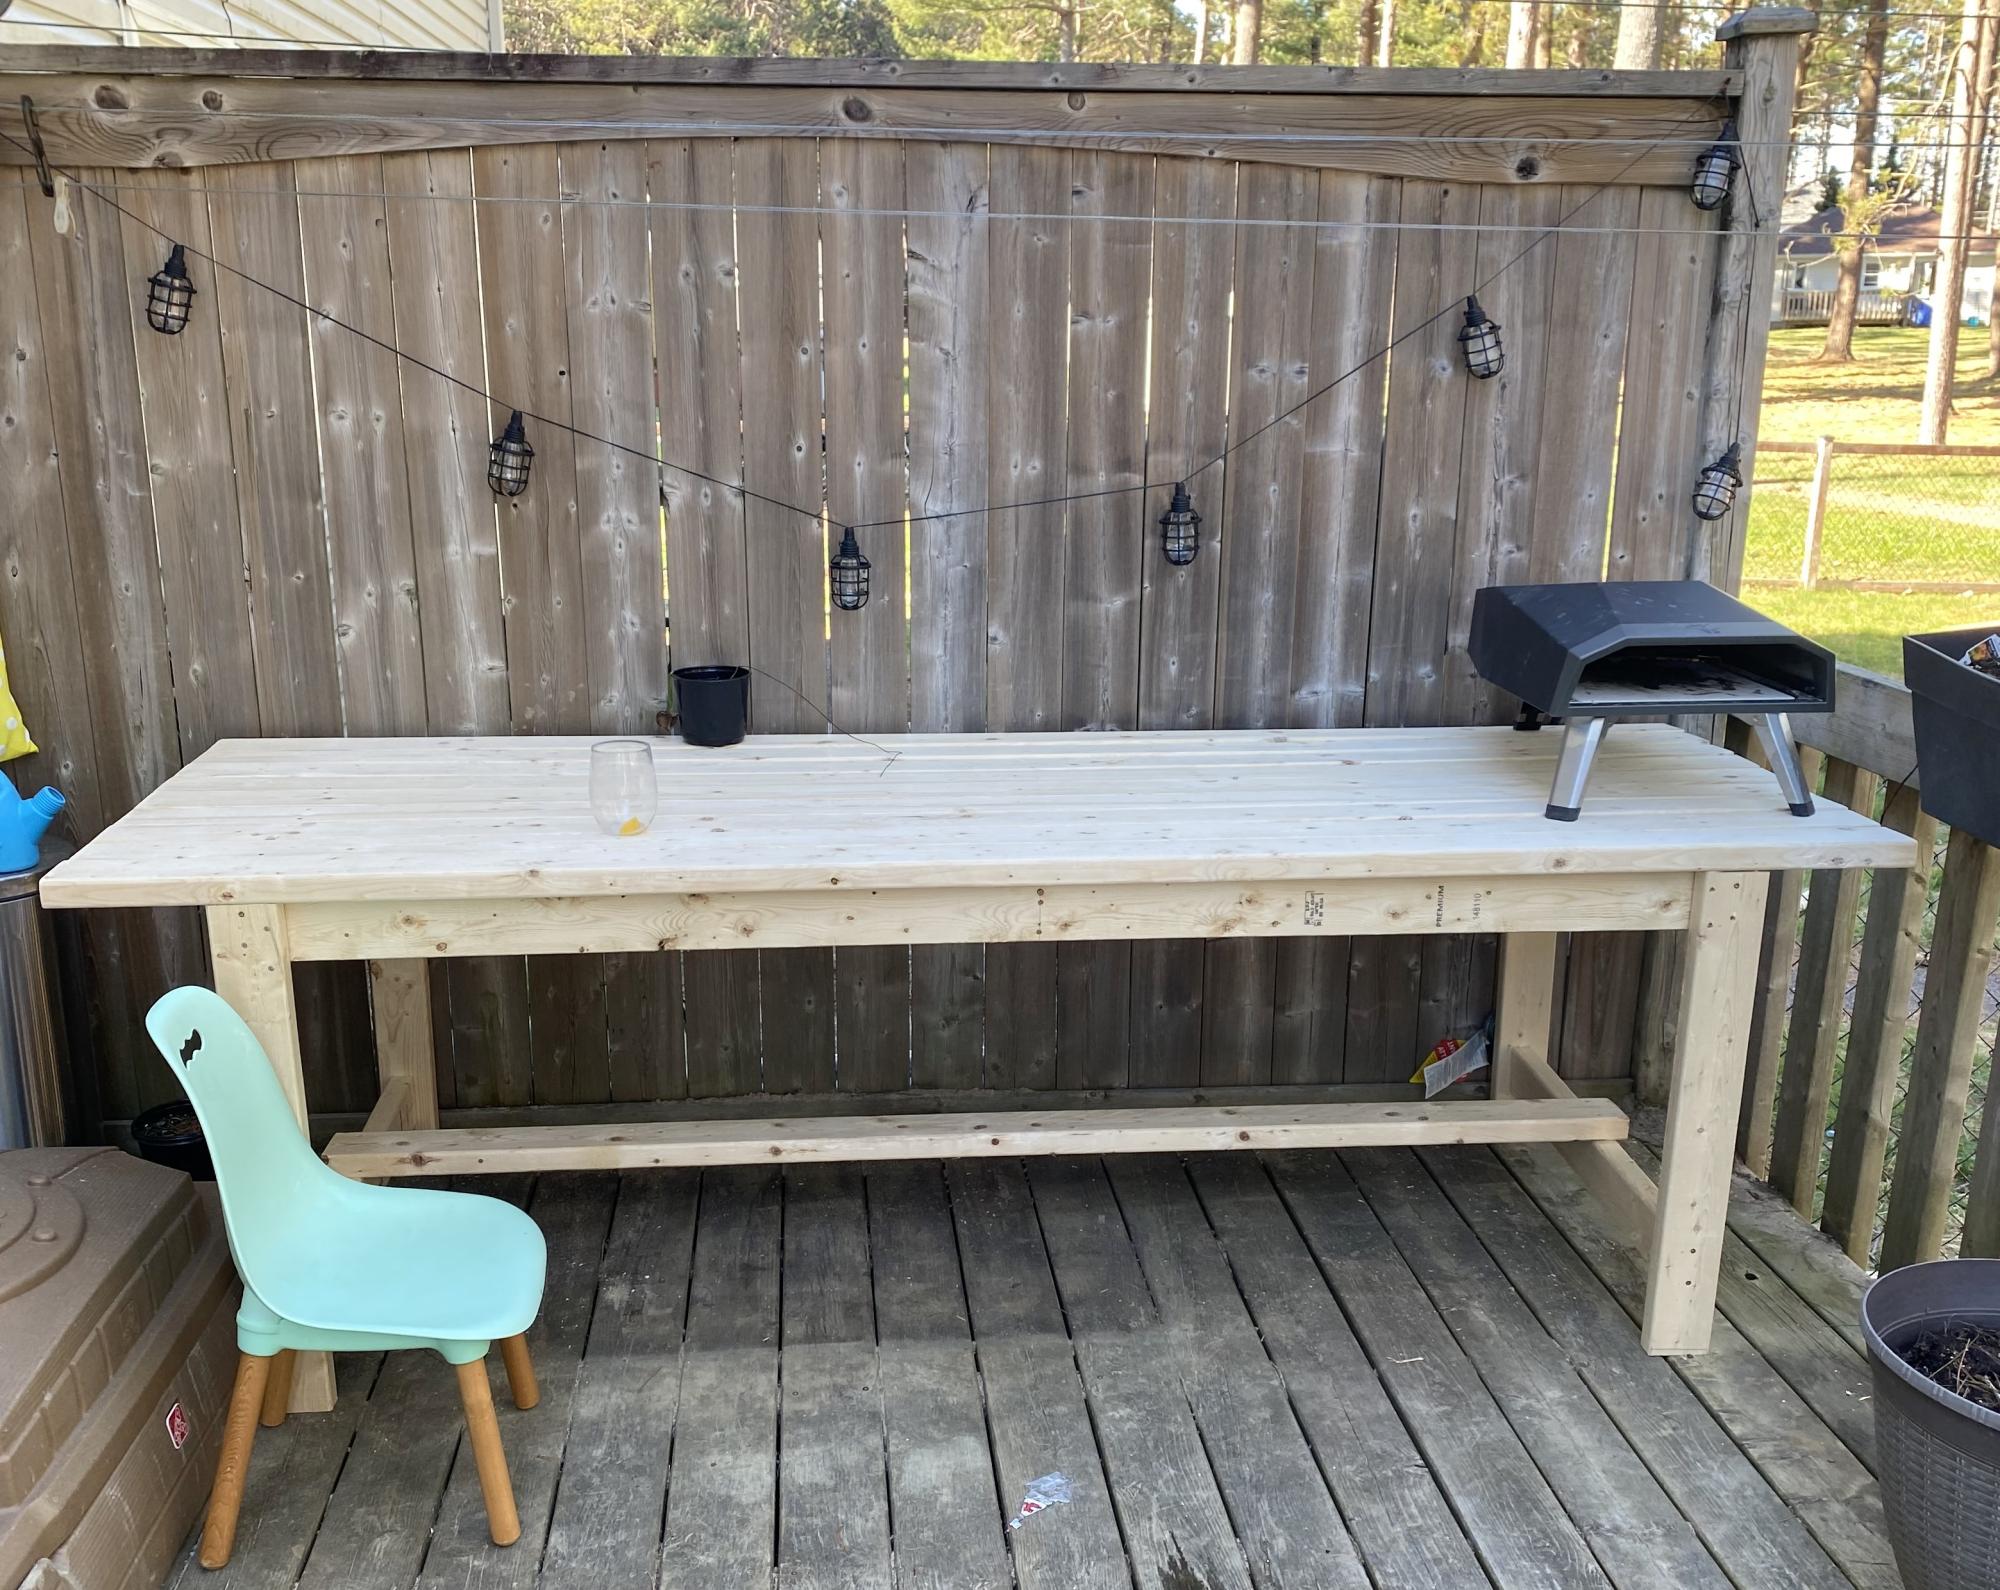
We built your farm table following your instructions for a table on our back deck. It was our first project and we had no clue what we were doing, but it turned out wonderfully! We have already received many compliments! Very excited to do the benches next!
rachellake.ca
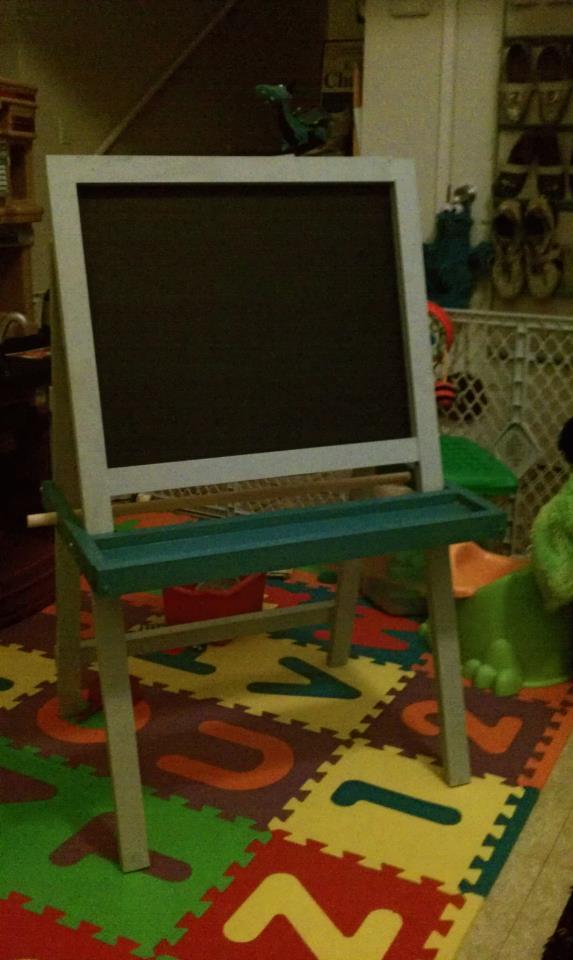
This was my very first woodworking project. It took me longer than it should have due to my unfamiliarity with power tools. Overall I would say that this project is a pretty easy build. The plans were clear, and I only made a few changes/additions. I increased the overall height of the chalkboard by 4" and attached the back legs with a hinge rather than screwing straight into the back of the chalkboard.
Sun, 08/26/2012 - 04:00
This really came out nice and welcome to the community. Love the idea of the hinges; smart idea! If you painted directly onto bare wood, without applying primer first, that would be a cause of the paint not taking evenly. The bare wood can be like a sponge so primer helps with it adhering to the wood.
Tue, 08/28/2012 - 22:53
Thank you spiceylg for the help. I should have applied primer first, but the spray paint I used said that no primer was necessary. After the first coat didn't take I should have went back and applied a primer coat.

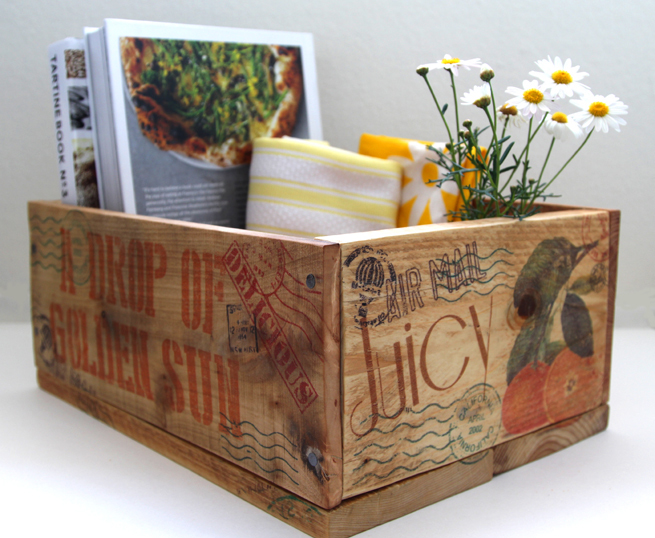
These crates are inspired by vintage farm and orchard crates, made from discarded pallets, and personalized with a
easy image transfer method using only wax paper and inkjet printer. At
the end you will also see some fabulous diy failures so you can get a
more consistent result with this technique. Also included is a nice homemade non-toxic furniture wax recipe to finish the crates! You can find the full detail tutorial here- http://www.apieceofrainbow.com/diy-pallet-wood-crates-easy-image-transfer/



Thu, 06/19/2014 - 21:44
Pinned and bookmarked! Thanks for sharing. I will definitely be using this info to make cool stuff!
In reply to Pinned and bookmarked! Thanks by Pam the Goatherd
Thu, 06/19/2014 - 22:22
thank you! have lots of fun pam! =)
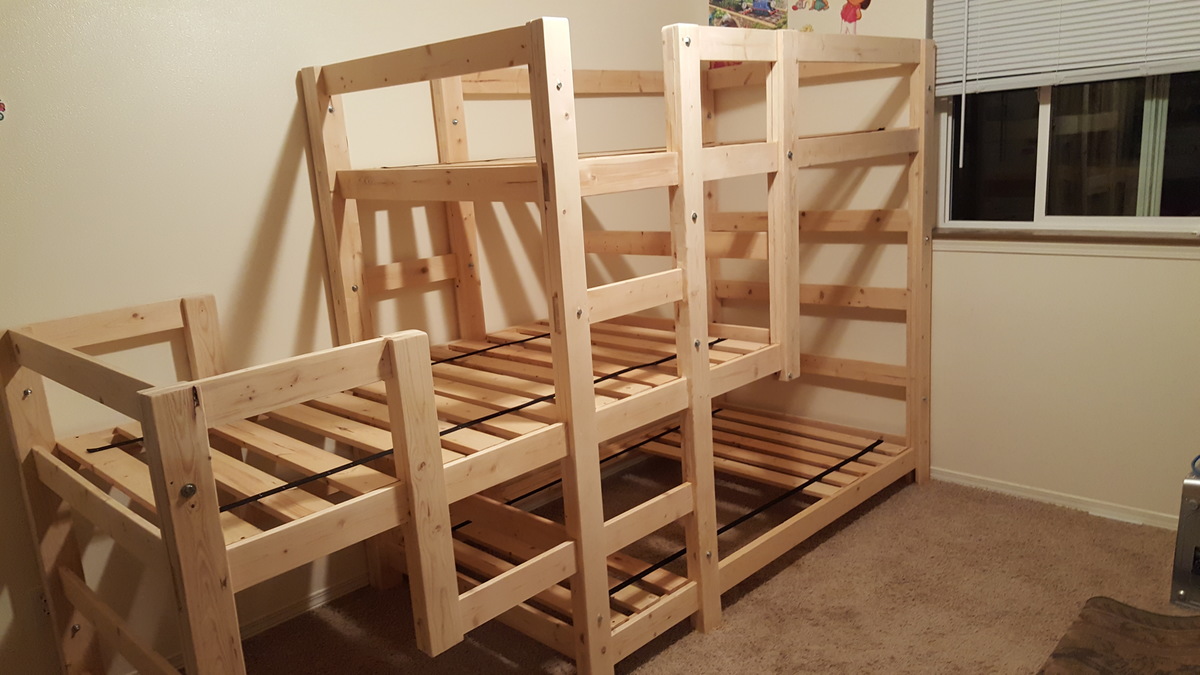
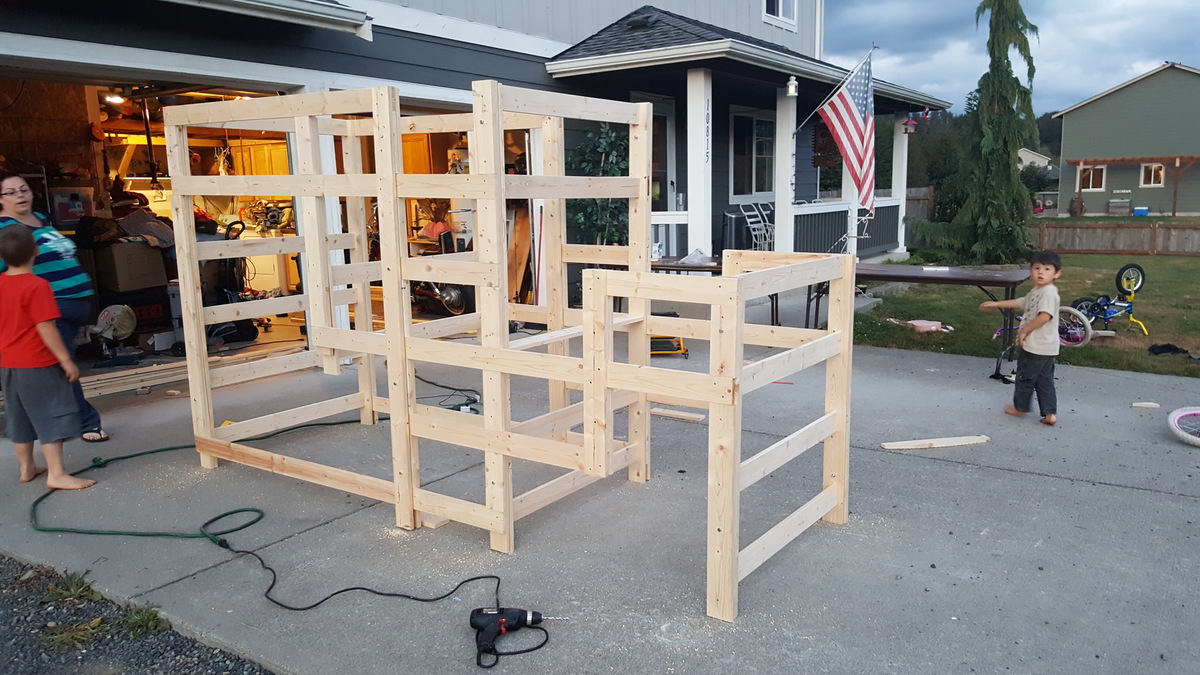
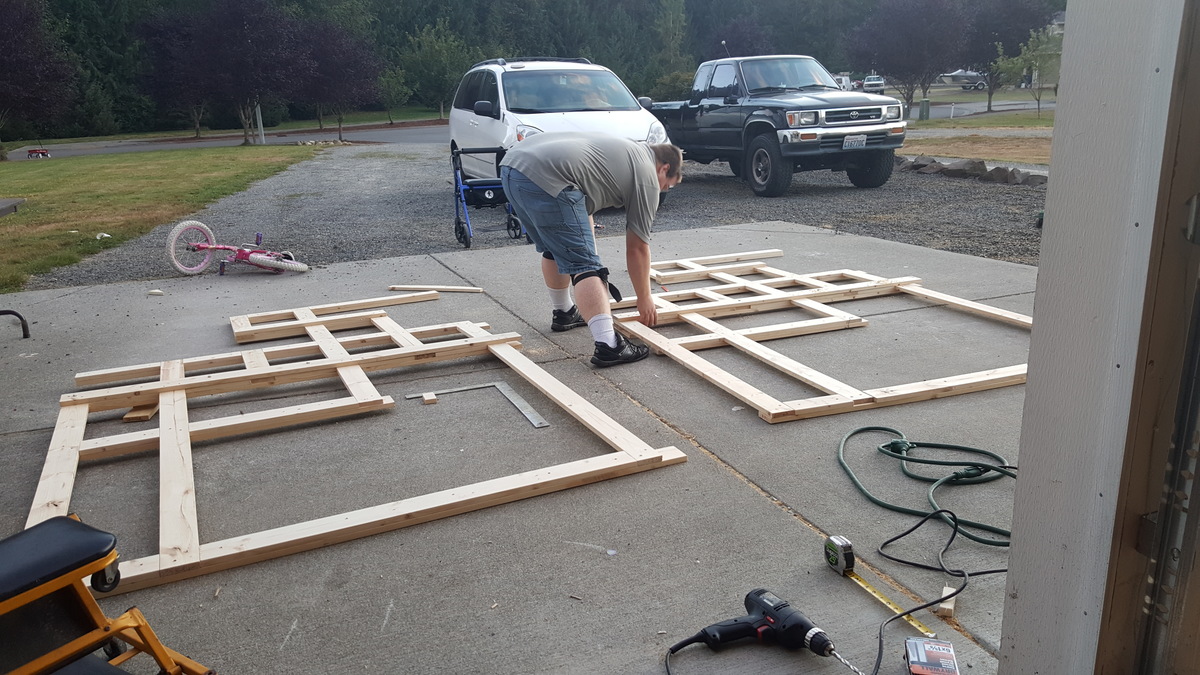
Thank you for sharing the plans for this. I really liked how out breaks down into 8 pieces to move. I felt the plans were lacking a bit of detail, I ended up downloading the sketch up app for $10. That app helped a ton! Due to lack of detail and not thinking ahead I ended up putting a couple bolt holes in bad spots and had to wood fill and move them. I also didn't understand what mirror image of left and right side were. Lol. I laid down the left side and carefully assembled, then I made the right side to look exactly like it. Lifted the left side, looks beautiful, lifted the right side and looks like a million screws. Lol. I also had to add additional wood to make it work since I essentially built the side inside out. I think I put the slats in a little closer then the plans suggested, I ended up cutting a few more if you notice the gap in bottom bunk slats. I also purchased "backpack strap" from ace hardware and laid it across the slats. I screwed the end slats and stapled the middle ones to the strap. All in all, a great project and it will last for years. Thanks for sharing. Built from http://www.ana-white.com/2013/06/plans/triple-bunk-staggered-beds
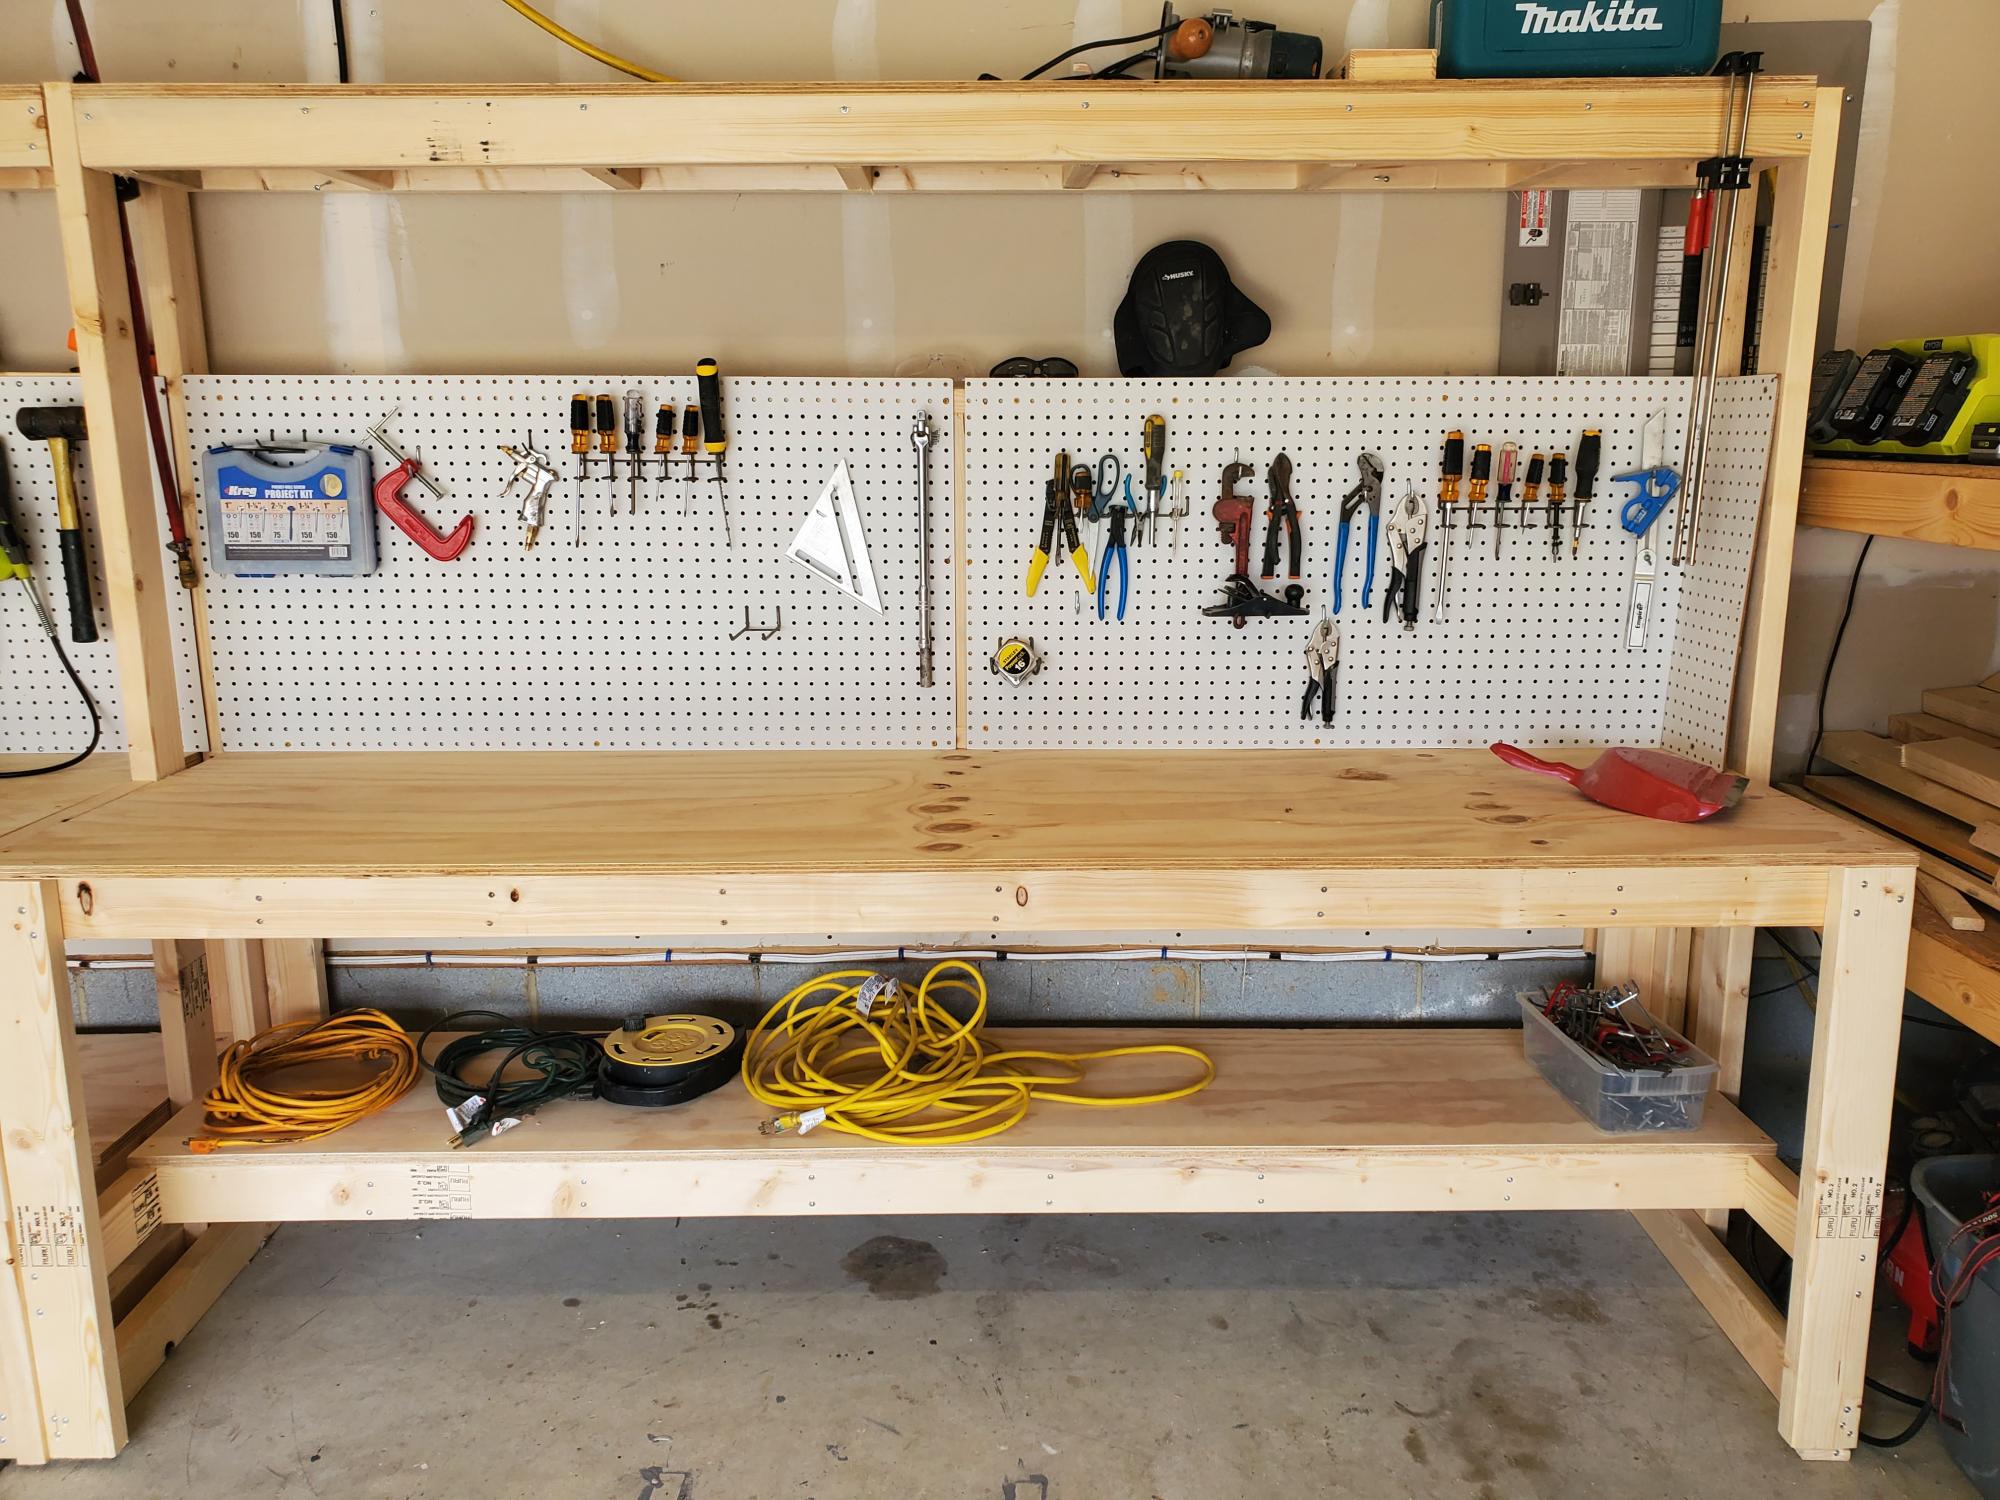
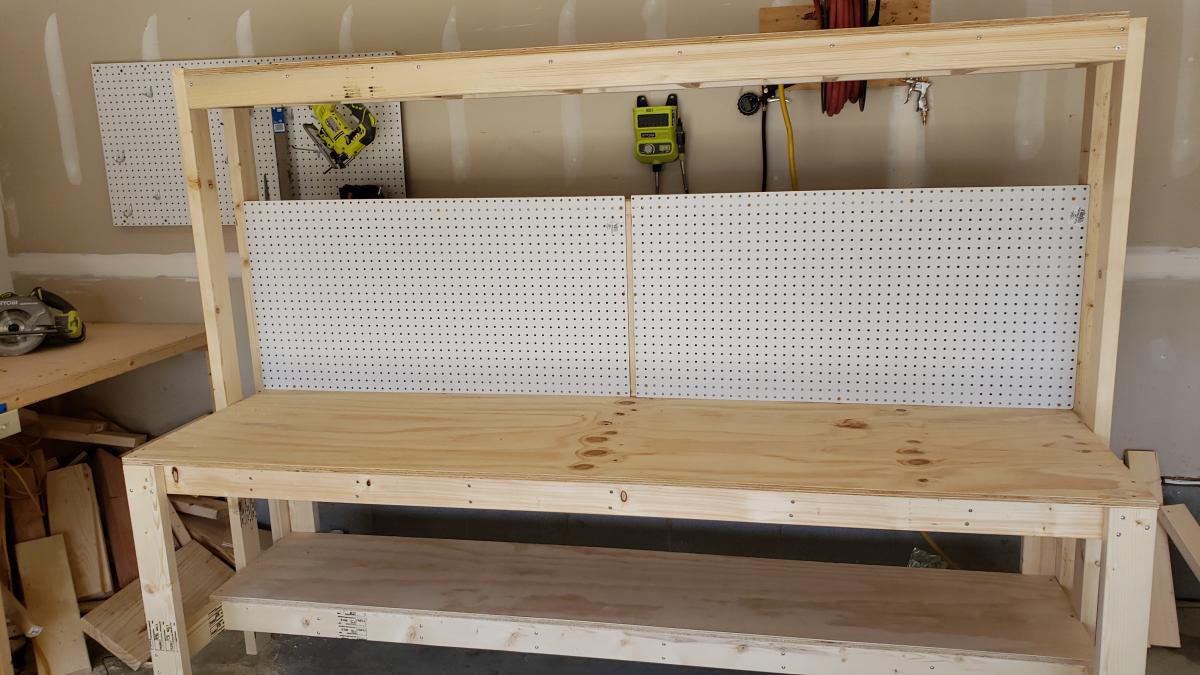
I made a workbench for my garage it was pretty easy. I also made an instructional youtube video if you want to learn how to make it. #diy #workbench #bench
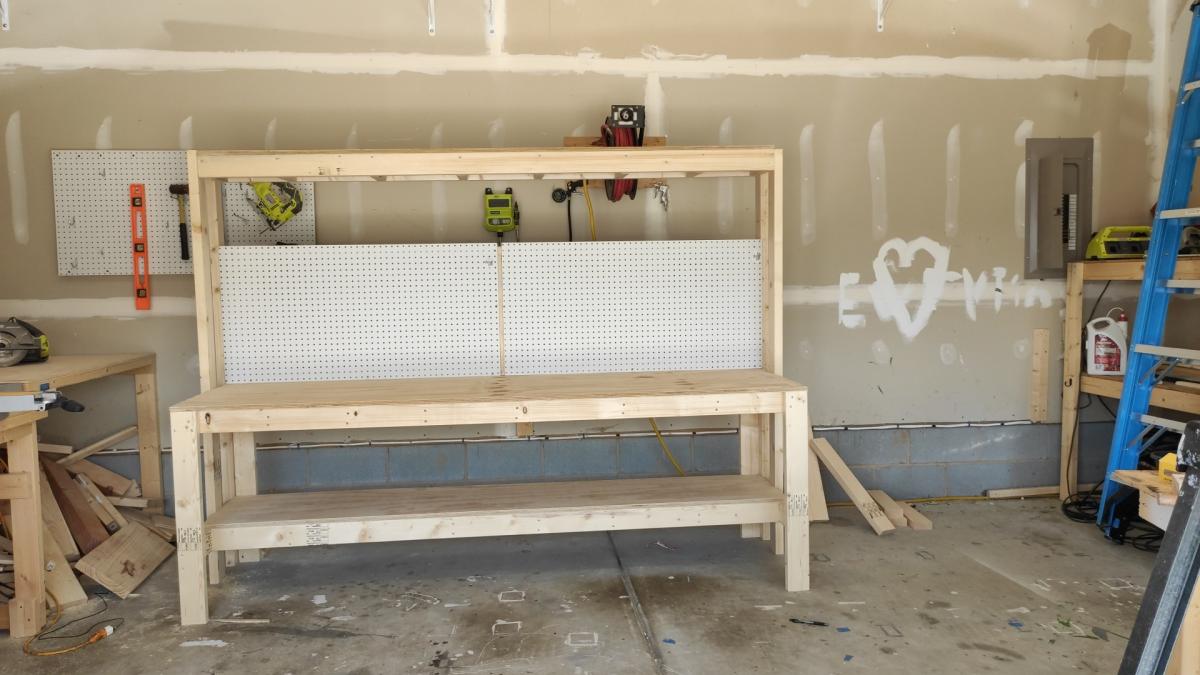
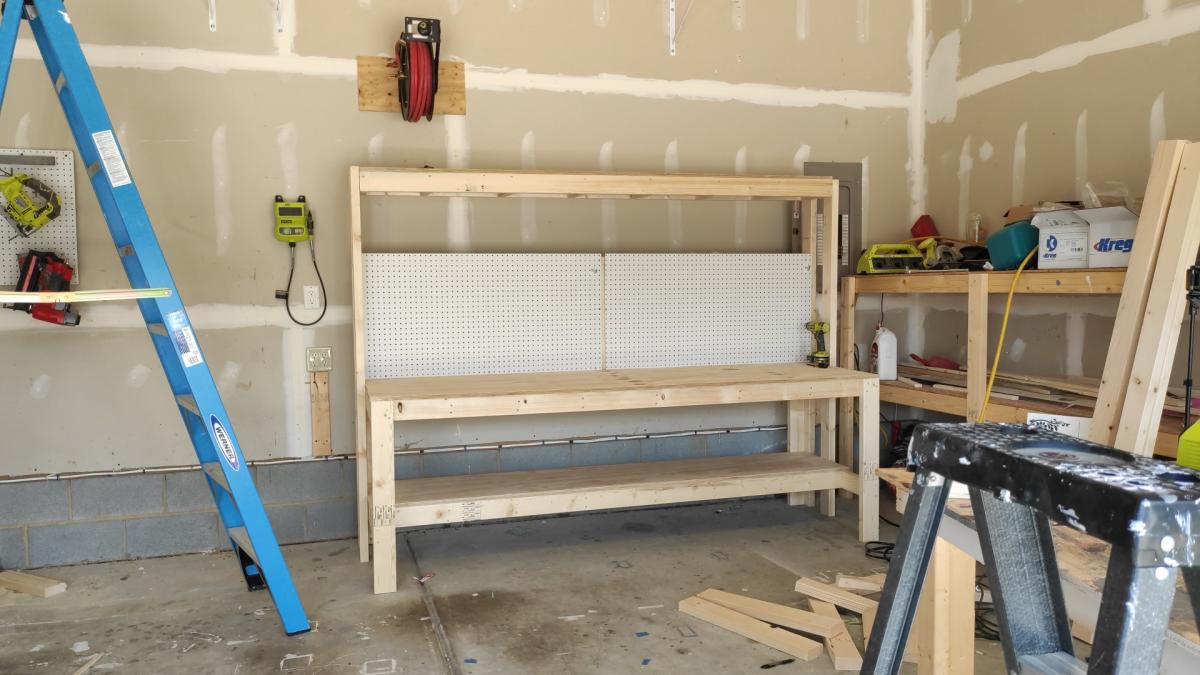
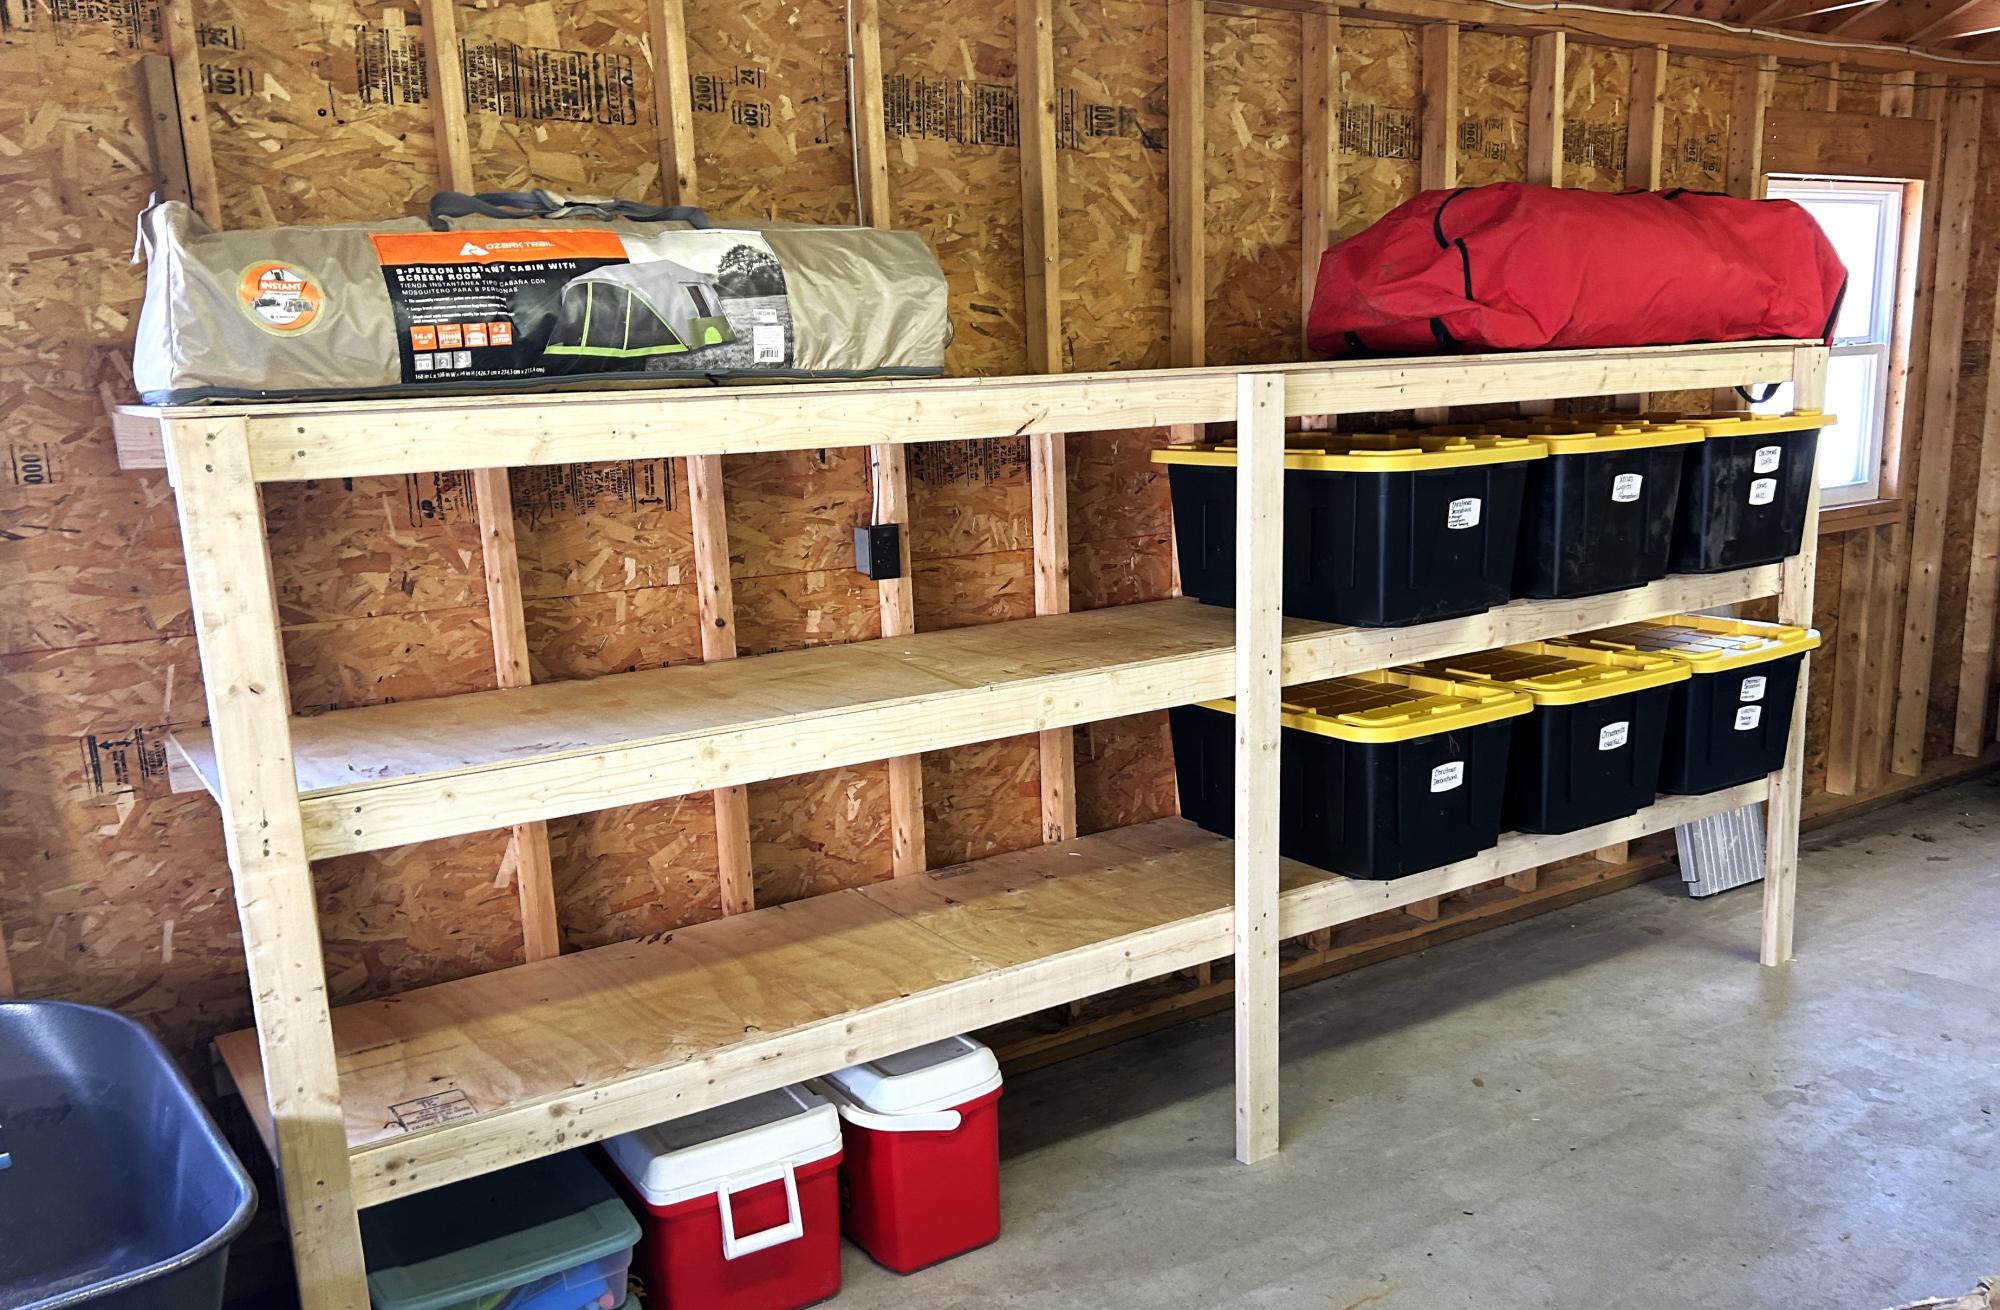
This was my second project (first was a work bench) and it came out great.
W. Knight
When my husband and I both started grad school, we needed space for both of us to work on our computers at the same time (after the baby went to bed!). I couldn't find exactly what we wanted to fit the space, so we built it! We got the Kreg Jig, which worked wonderfully! You can see some pocket holes in the picture, but they were hidden once we put all our stuff on the shelves. Our space was smaller than Ana's, so we made the two end units narrower (they still fit our CPUs and we used a doorknob hole drill bit to put cord management holes in the back panel). We love it! We built our deck before, but this was our first foray into furniture-making. We had fun and it turned out so well that we have a list of things to build next (we're thinking a murphy bed).
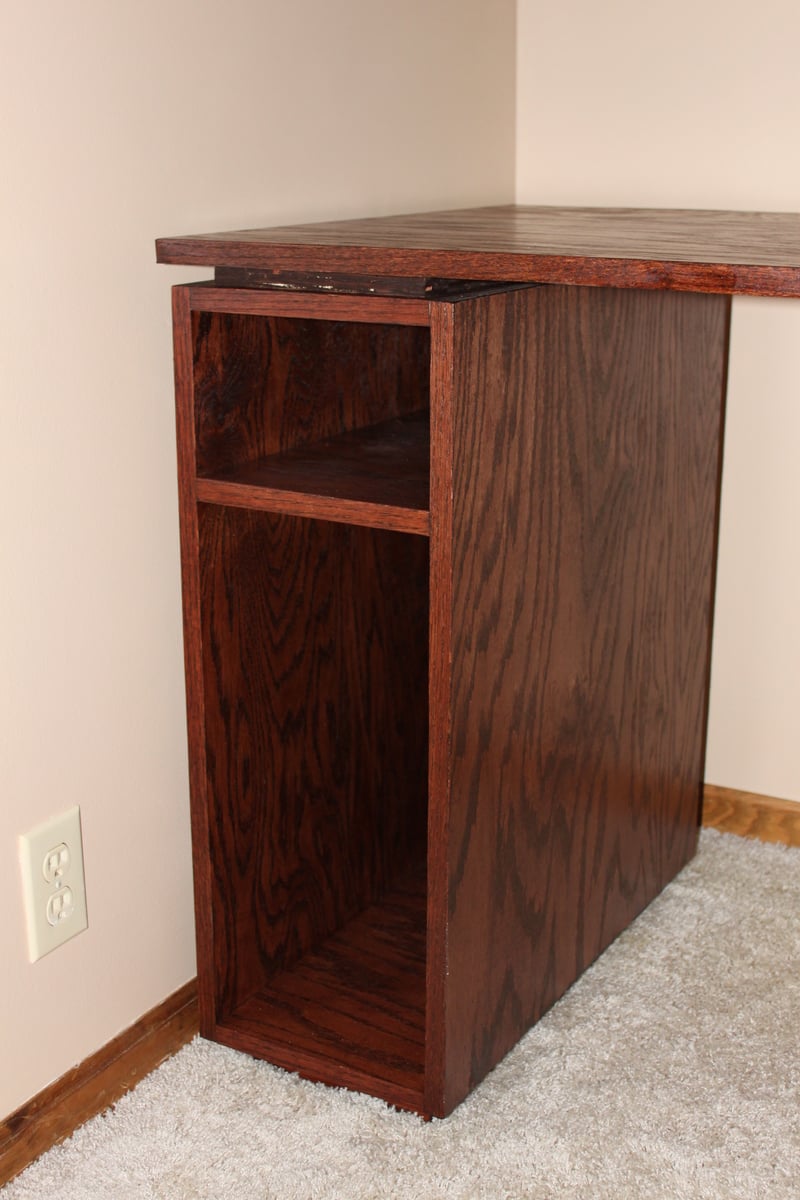
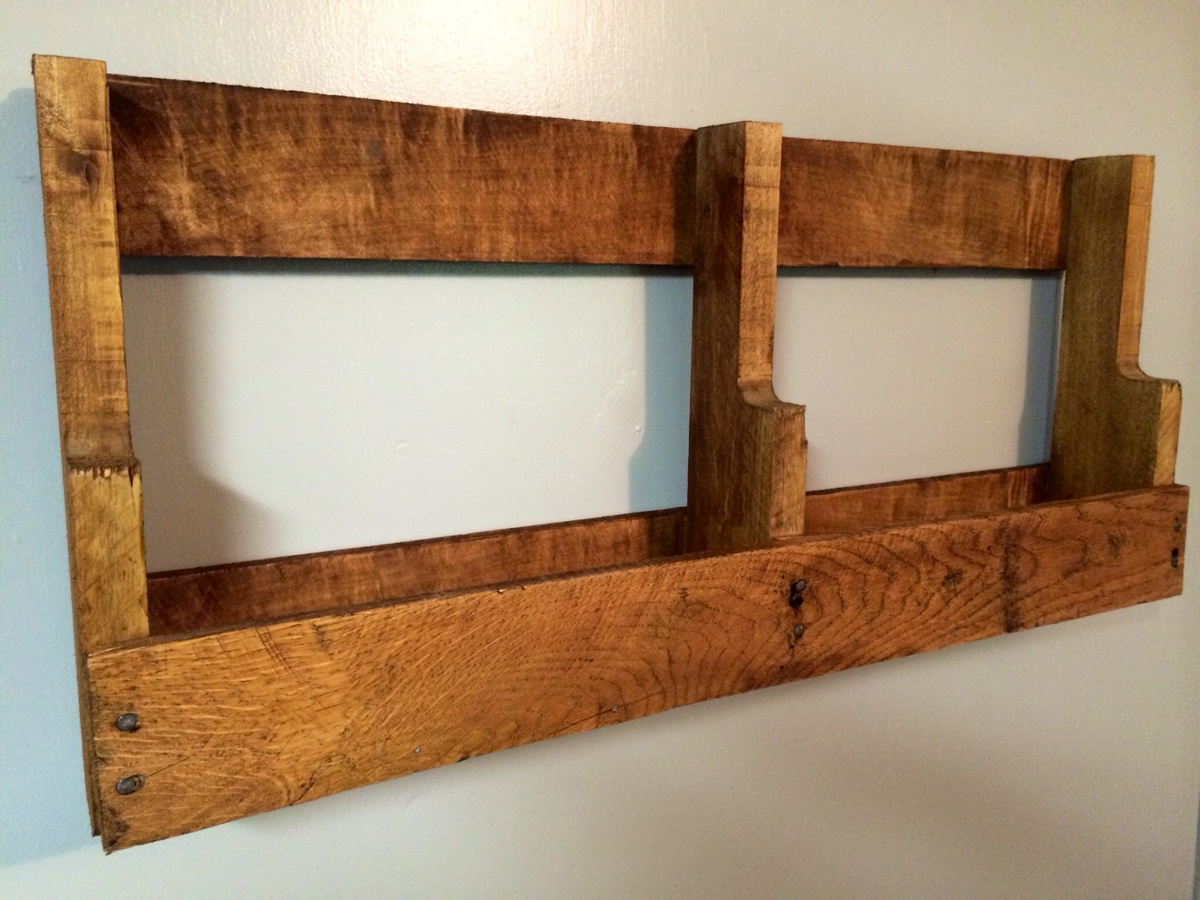
Free, quick, and easy!
Mon, 06/23/2014 - 05:47
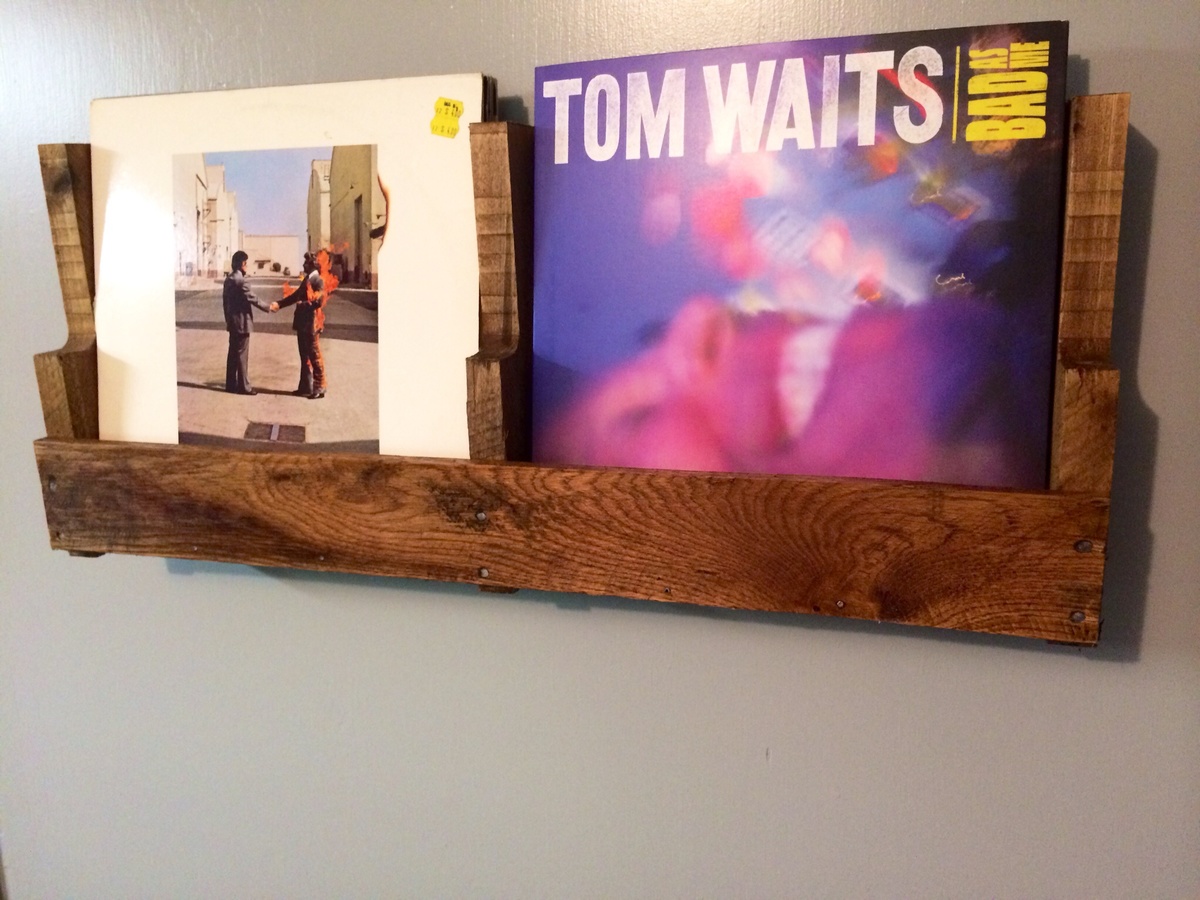
Very cool shelf and record holder for my mom cave. Free, easy, and stylish.
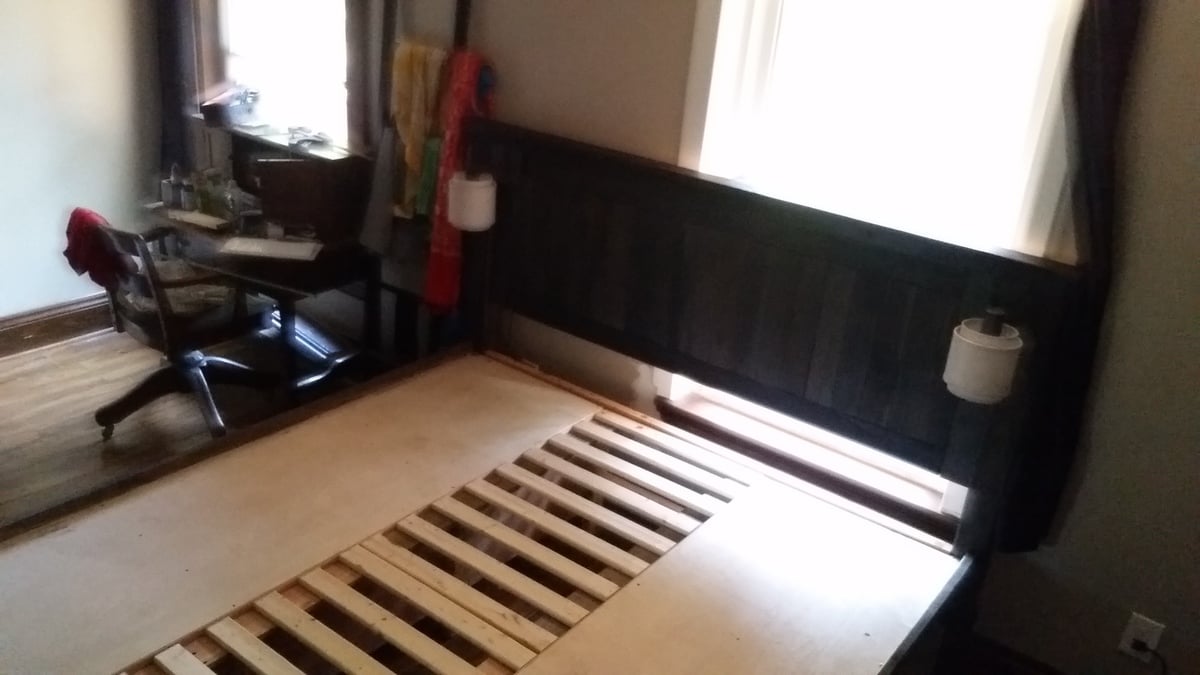
So why did I decide to build my own bed?
1. Cal King Frames are hard to come by in Canada and if purchased from a store, they cost an arm and a leg. Also I wanted a new mattress made of solid latex - very spendy - so our budget was already maxed out from that.
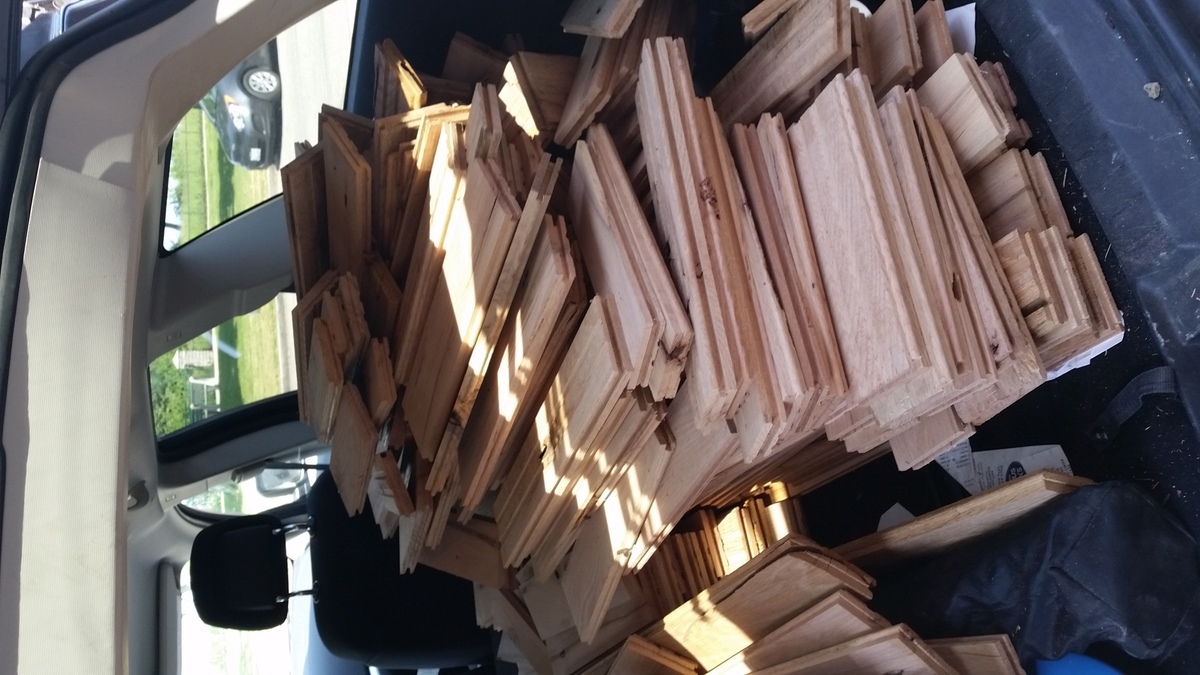
2. You come across a Kijiji (canada's craiglist) listing for 200sq ft of 3/4" solid oak flooring
3. You know Ana's plans will help tremondously and it gives you the boost to finally decide - yes I can build my own furniture.
So the upcycling made this all doable! Some random Kijijier thought to pass along the left overs from a flooring install (the other option was burning it he said) I said thank you very much and took all that wood home. Now he had bought raw rustic grade oak. Only $1.89 a sq/ft to buy FYI)
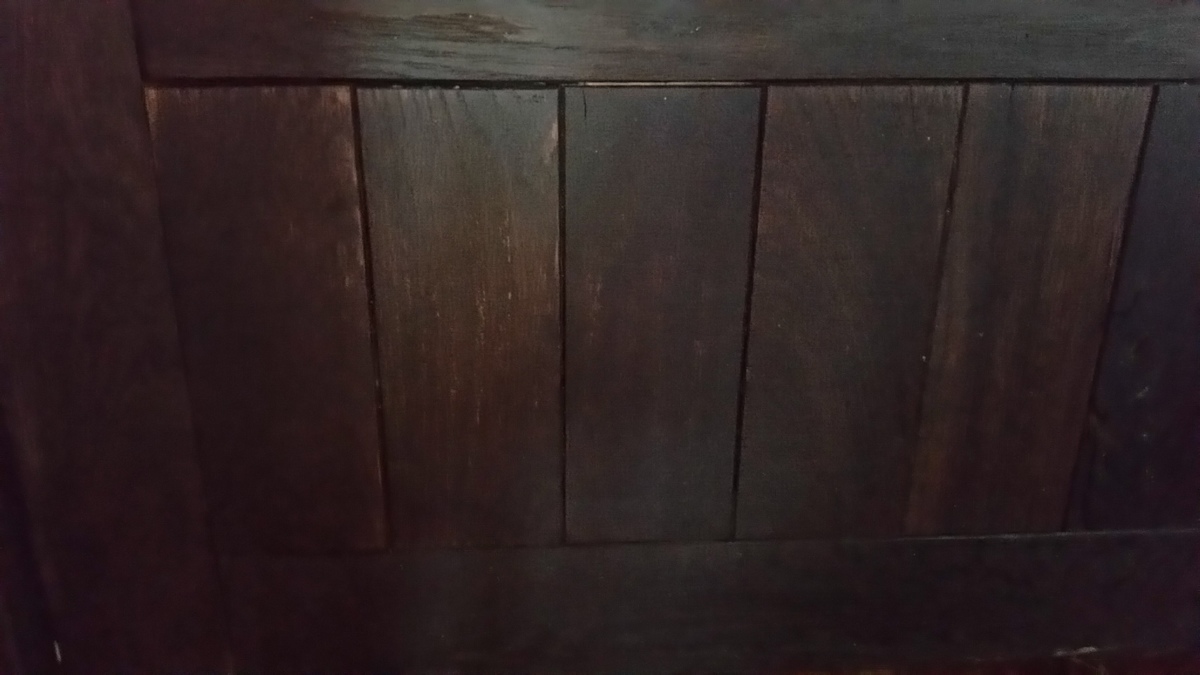
So it was not perfect, with many pits, wormholes, cracking and complete holes. But the raw oak was great for a number of things - the distressing was real - no extra effort required, also the raw oak was easily stained with my homemade iron acetate stain (steel wool and vinegar) and I was able to bevel the edges without ruining an existing finish.
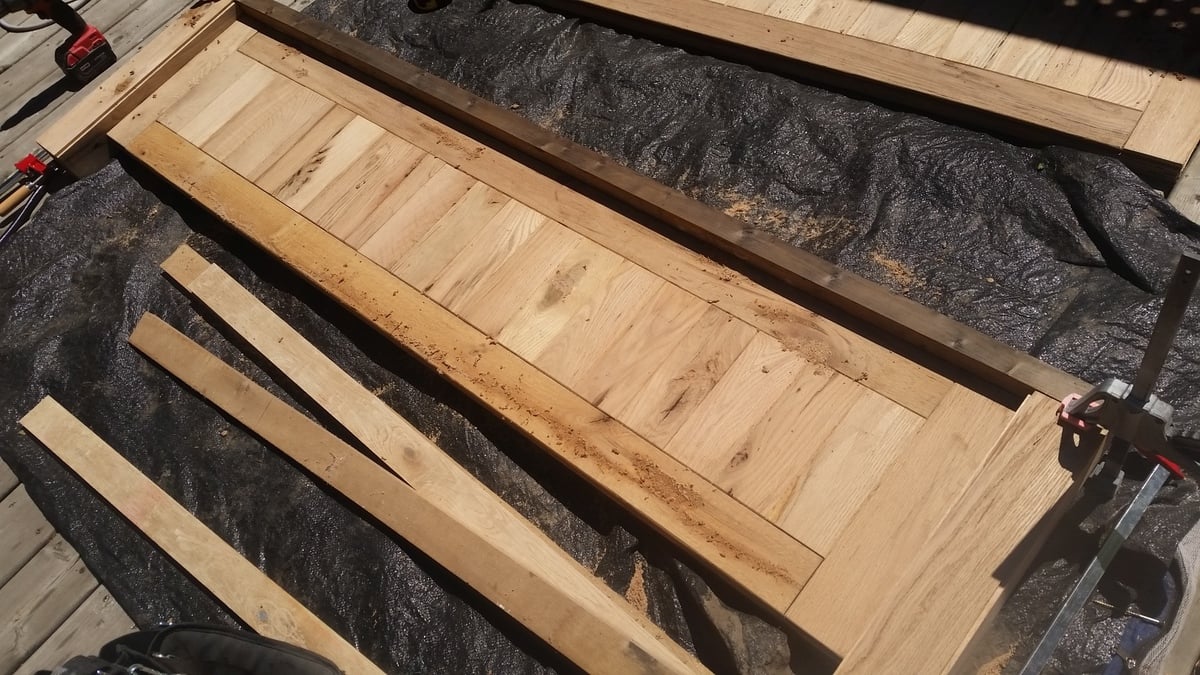
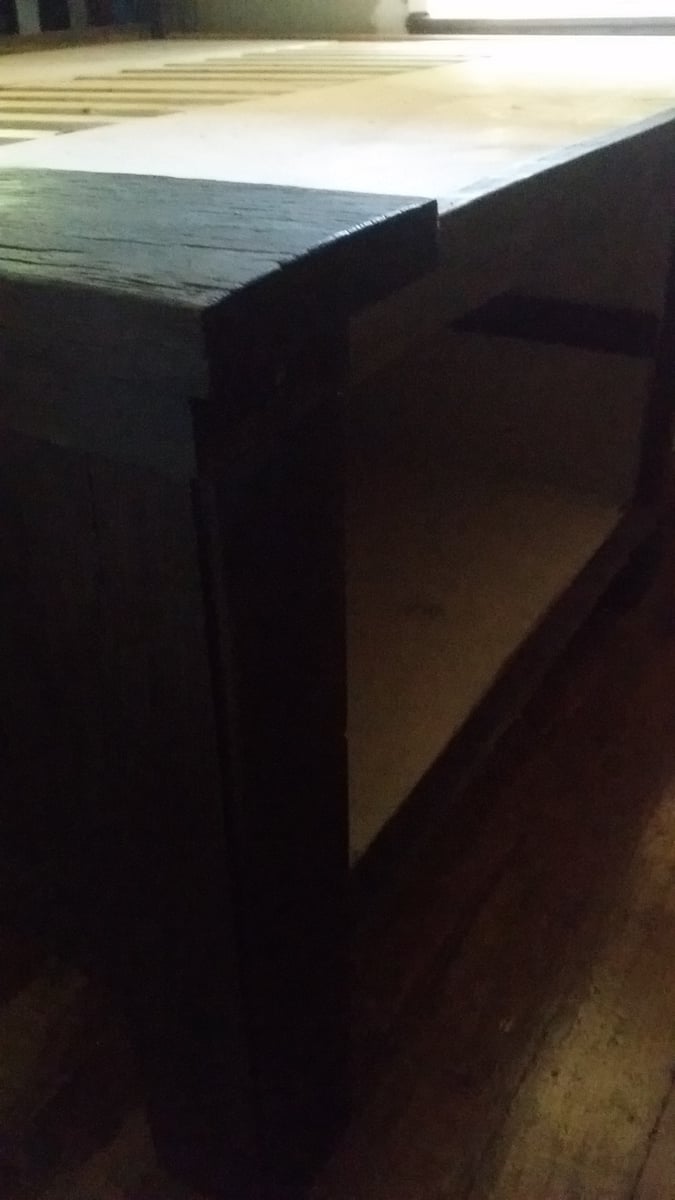
Thankfully I only needed a few long boards for the framing and was able to use the better short boards for building out the foot and headboards. I improvised the posts on the end with a clever mitered 4 board combination. Cutting just the tongue and the inside edge of the floorboard created a inset detail on the post that is very forgiving to my crappy cuts and ended up doing the trick. I also saved my sawdust from cutting to mix with glue and fill the major holes and pits in the wood. This took the stain very nicely and didn't add any extra cost to the project. Anyways if anyone wants more suggestions on making use of cut off material just message or comment below.
By the way the plan is awesome and I much appreciated it during the process. I did complicate things by making the drawers 24" deep vs 16" and having to upcycle a product rather than just buying material.
To make use of the depth with a cal-king I decided to go with 24" deep drawers - fyi this means more material, more dollars,and more weight! Huge amounts of weight, once since I decided to go with 3/4" Birch ply for the build. I lift for fun and fitness so I managed, but beforewarned - the plywood frames are awkward and heavy.
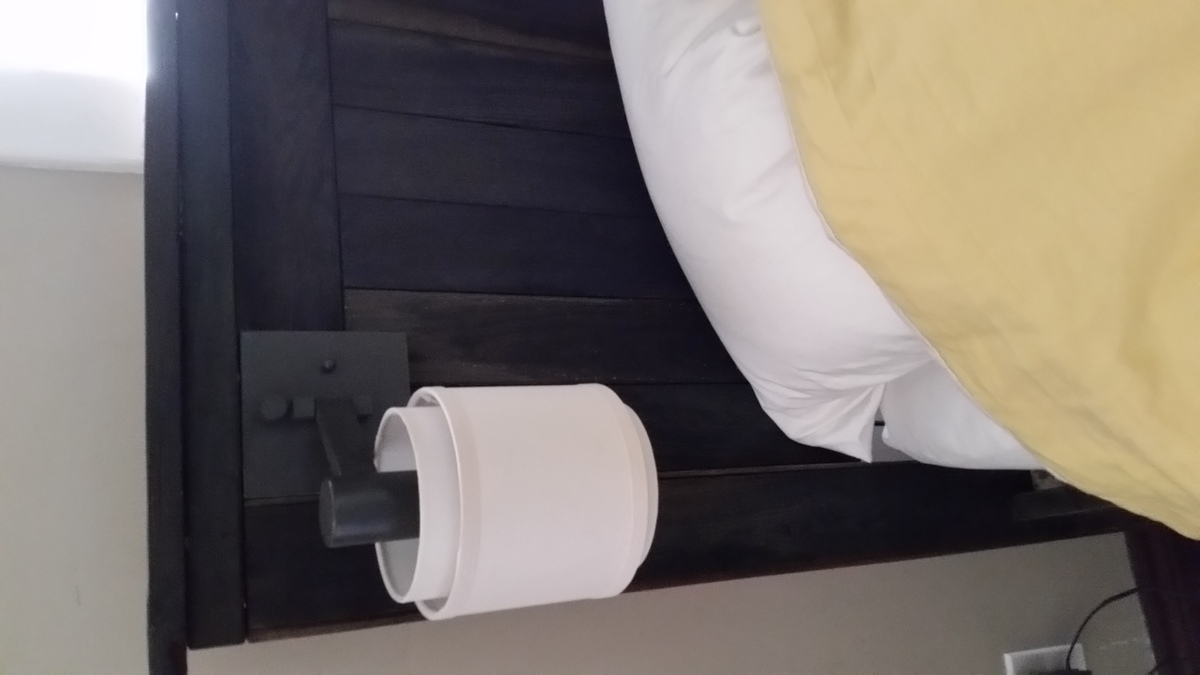
I ended up needing 4 sheets of 3/4" Birch ply b/c of the upgraded sizing. Even at 50% off (lucky me) this still was $160 in plywood + $50 for Luann for drawer bottoms and closing the back of the frame behind the drawers. I also used full extension drawer slides so that I can actually access all that storage so set me back another $180. I got the lights from Lowes for $60 for the pair.
Total cost $500 + free oak floor cast off + time = a priceless project

Simply fun project, and so Nice in USE! Used pine all the way!
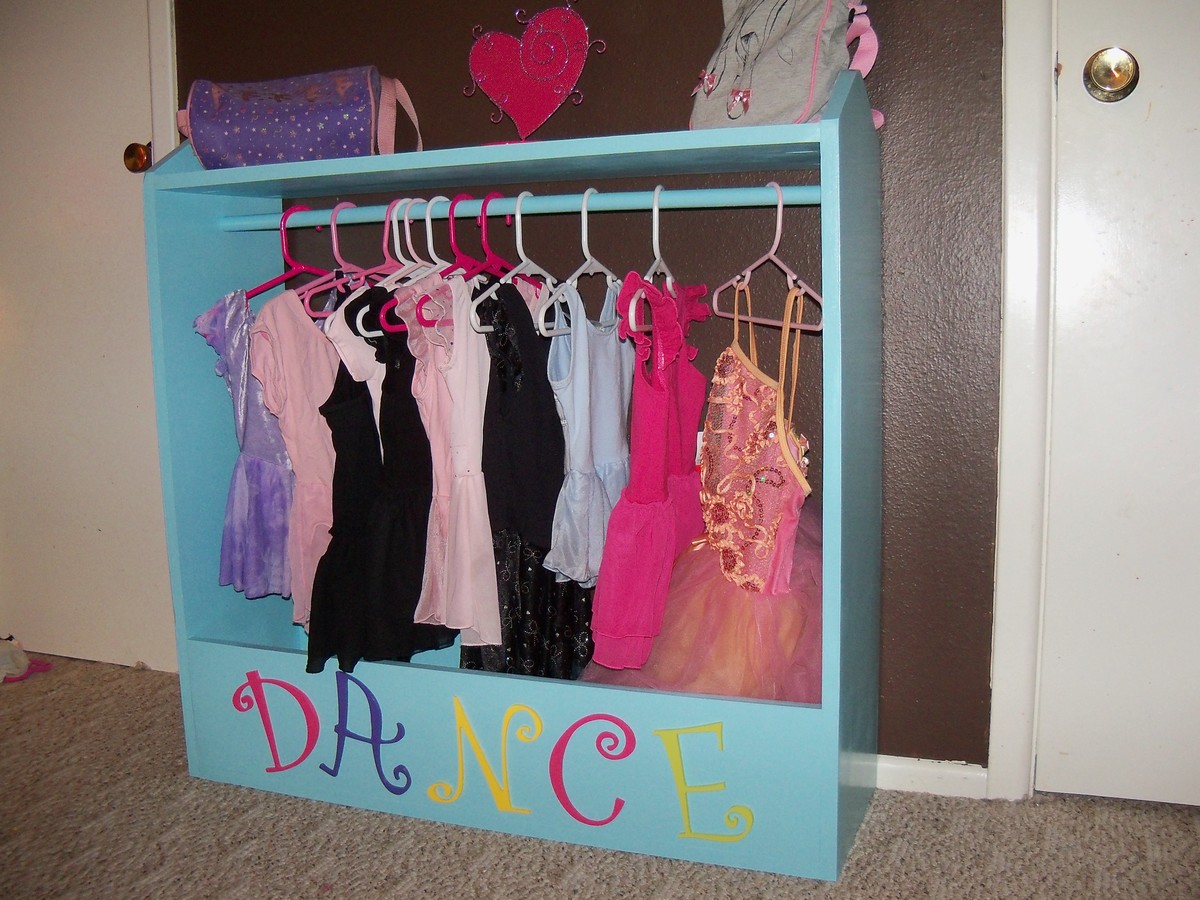
I used the project plan for dress up storage to make a place to put my girls dance things! I have five girls and they are all in dance. We had all the dance leotards, ballet shoes, tap shoes, tights, etc... stuffed in one box! Thanks Anna for sharing this plan! Its so useful, and a great addition to their room. Not to mention sooo cute!
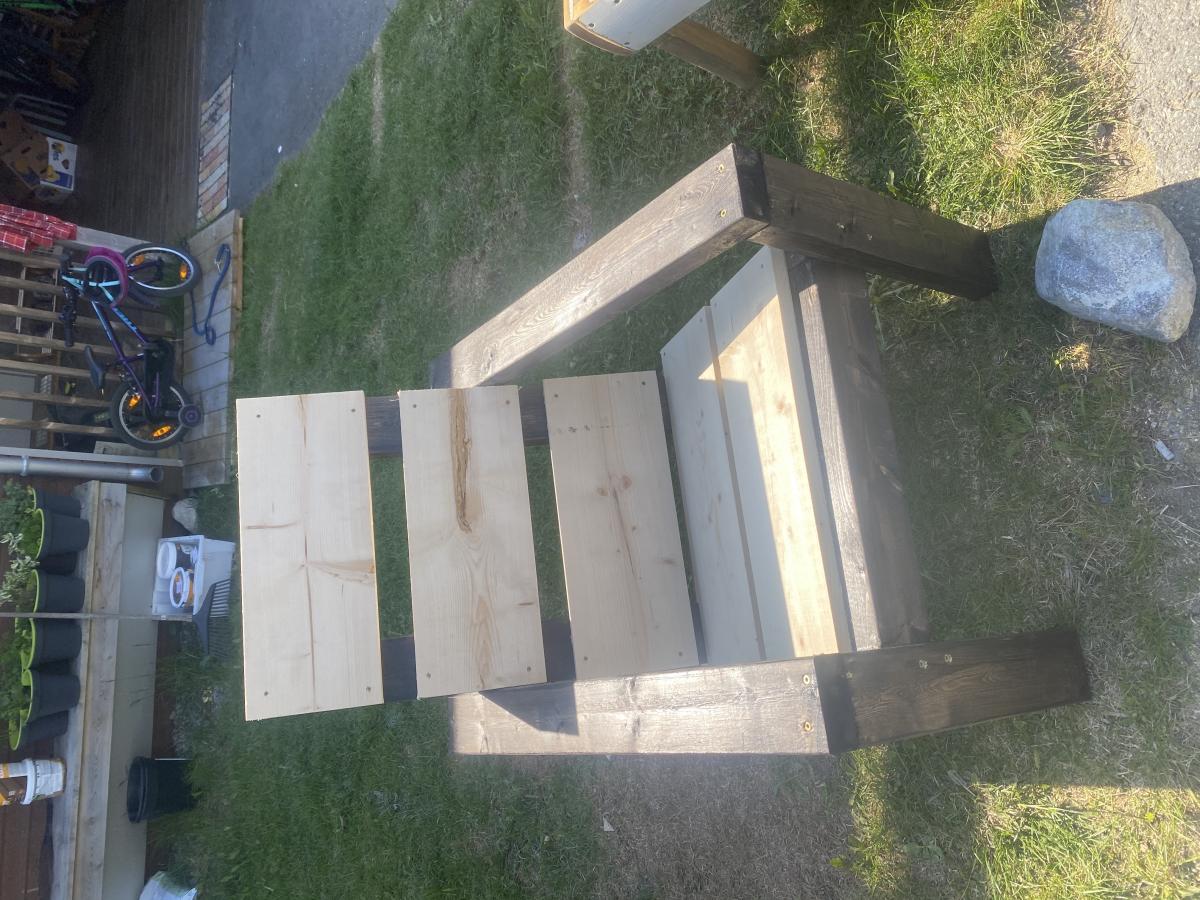
Made this Pallet from scratch with standard 2x4's and 1x4 pine boards. Stained the 2x4's a medium dark and used white chalk paint on the 1x4's. Project came out very nice and the wifey loved it. Happy Wife, Happy life.
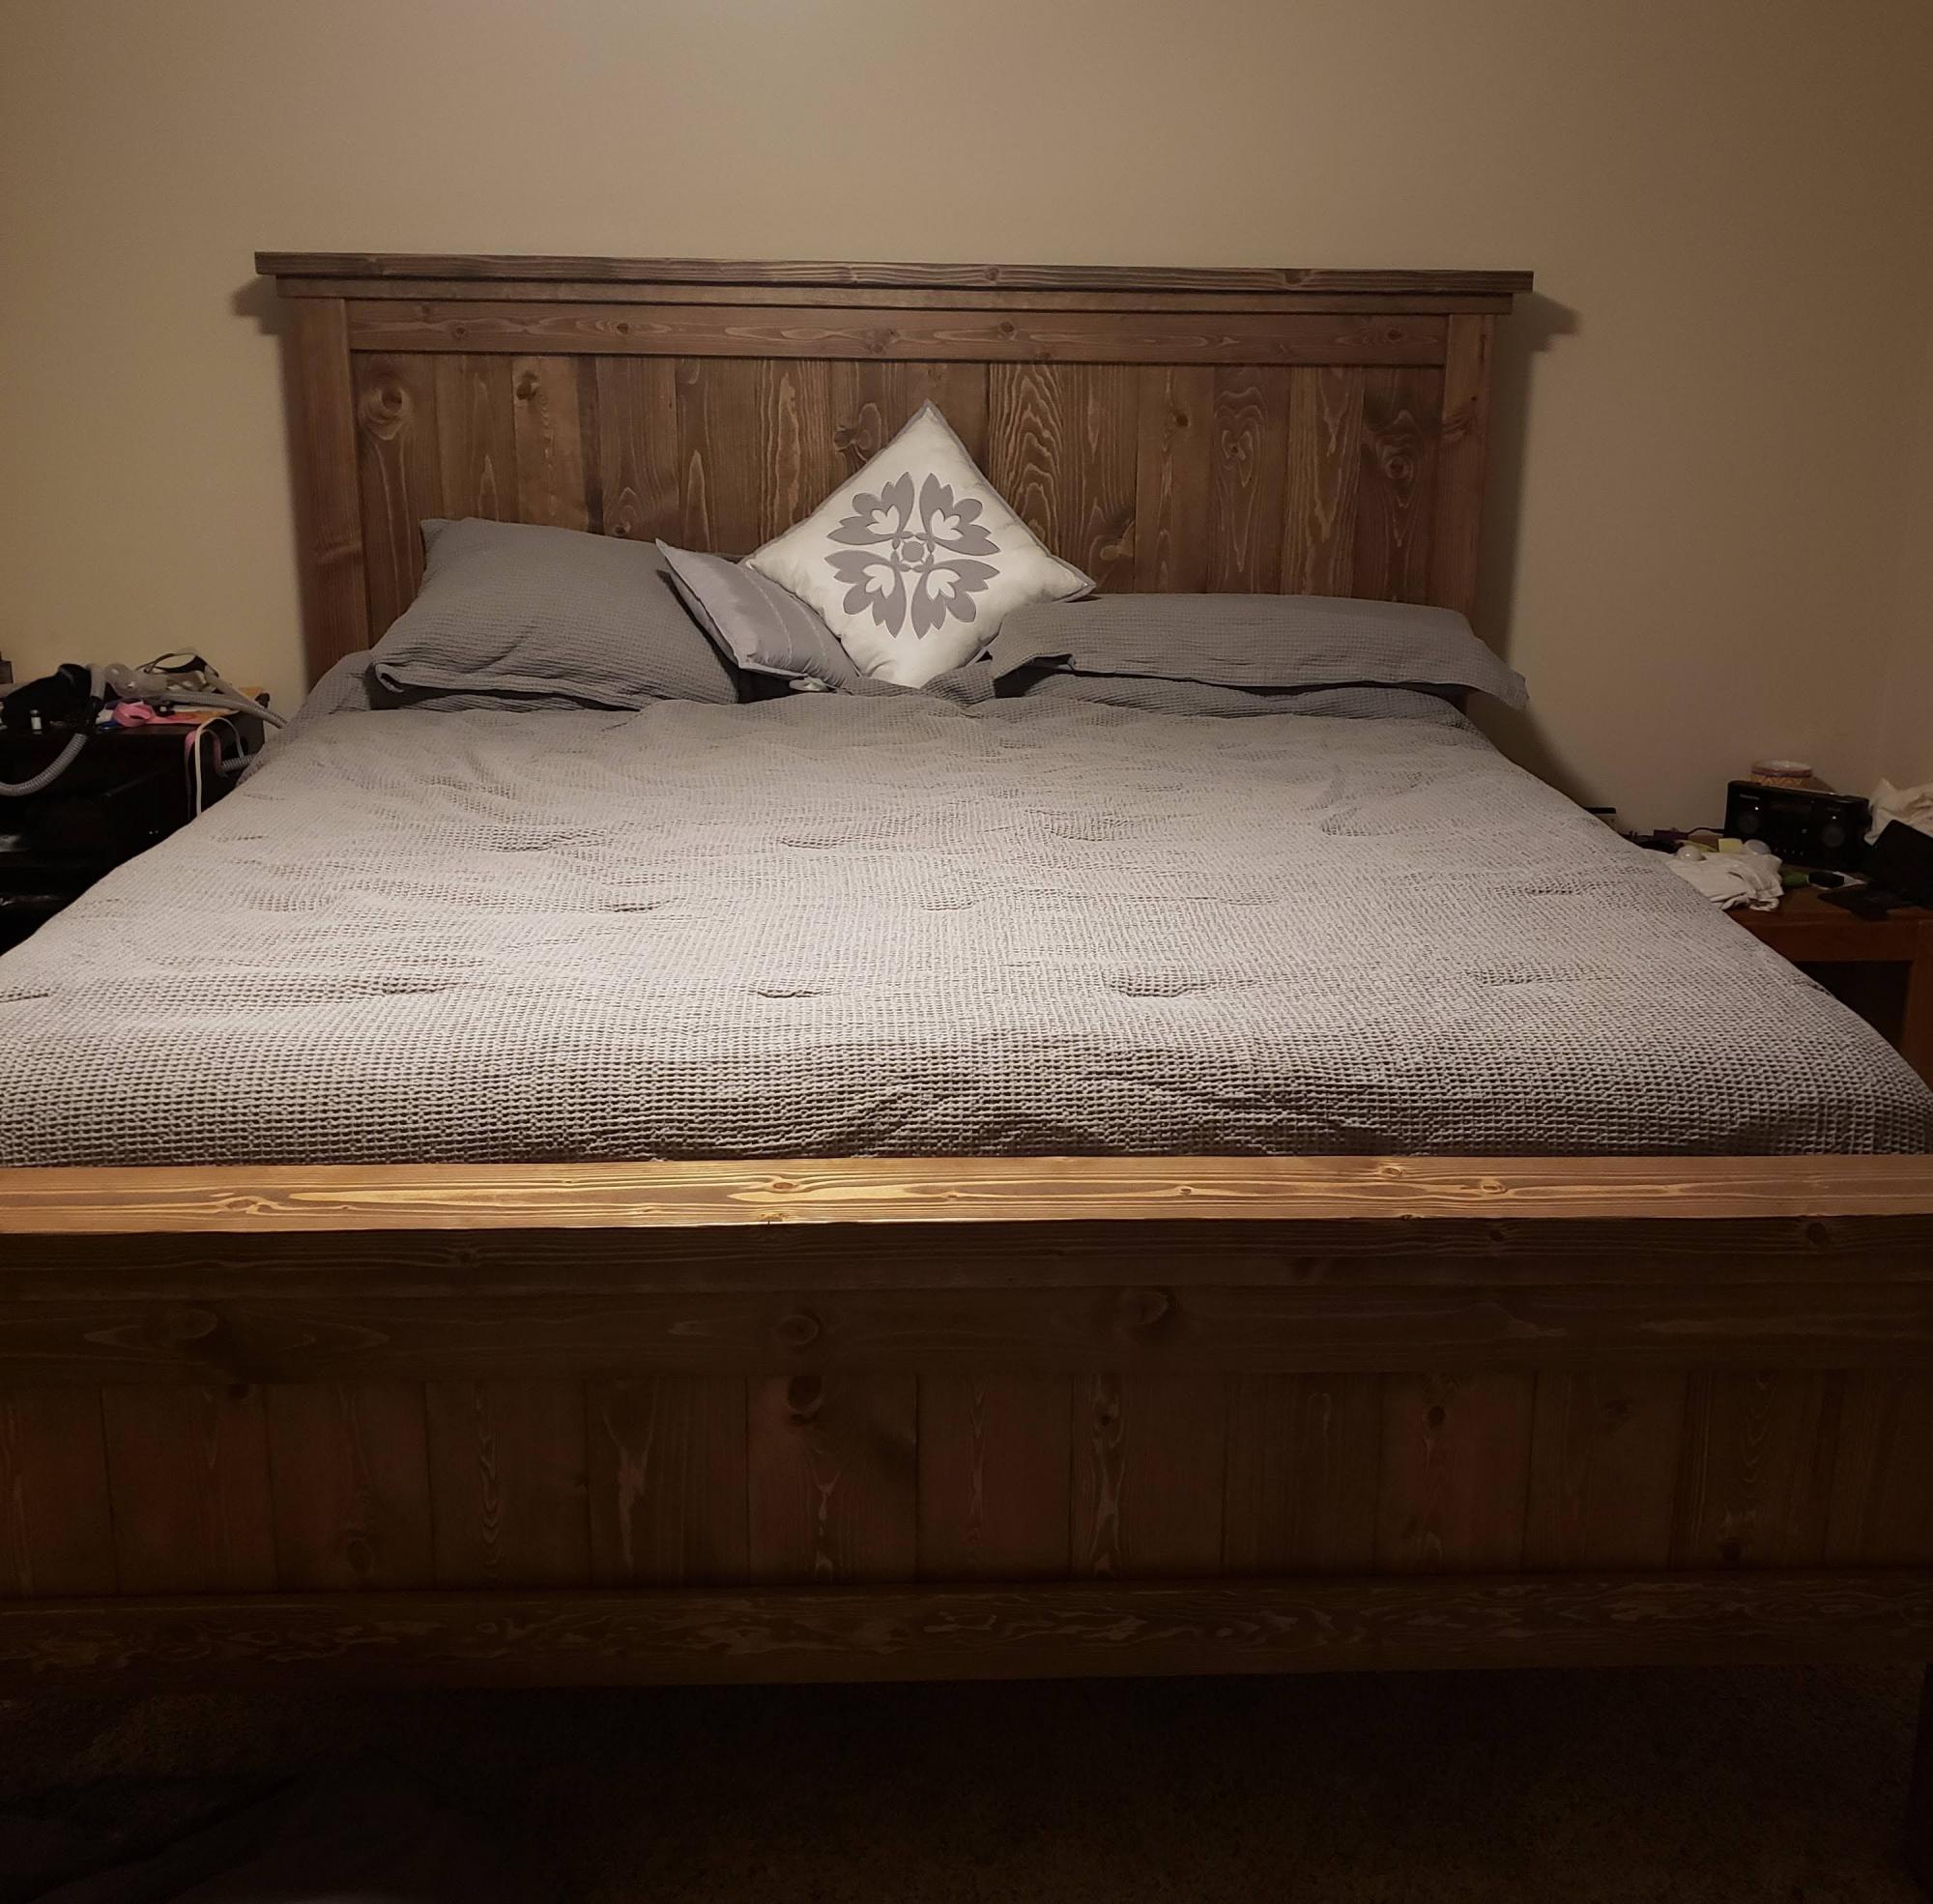
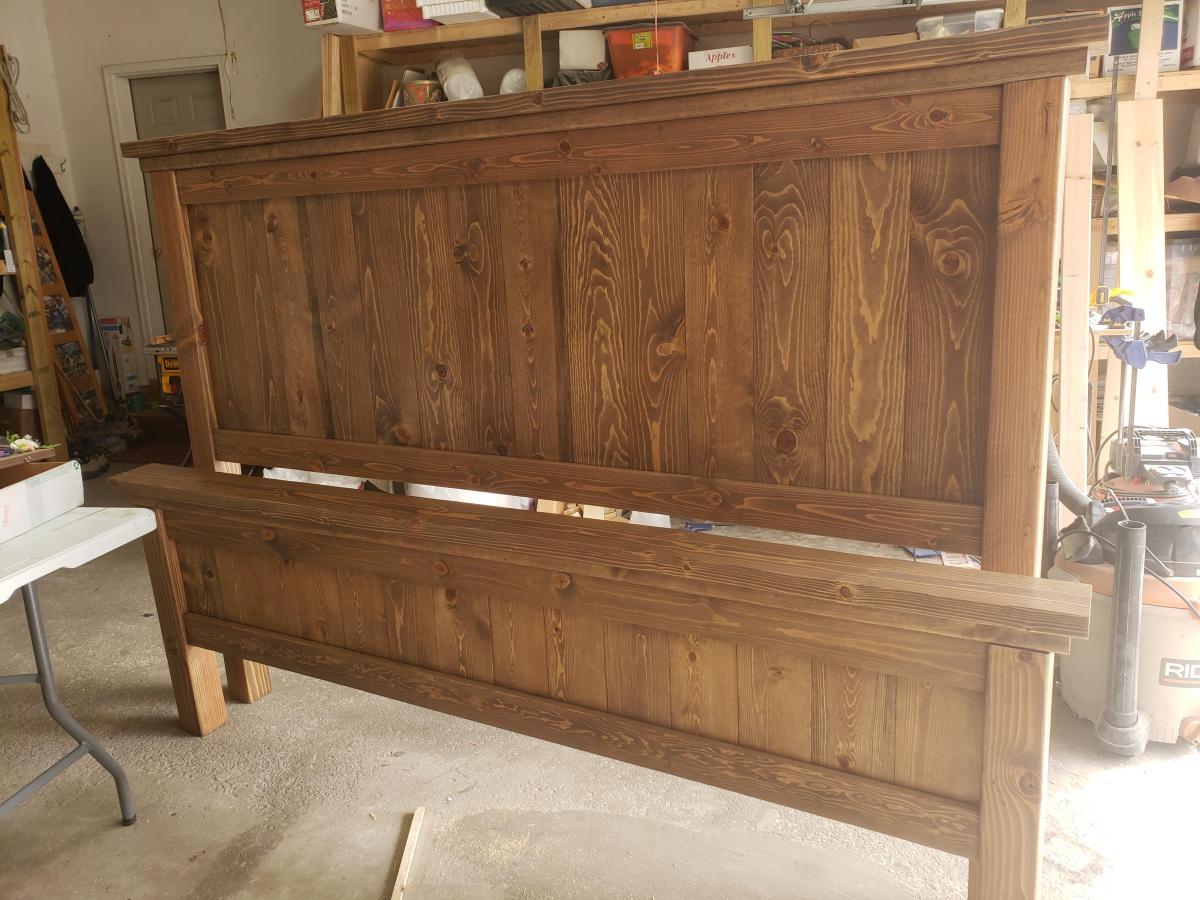
I used Ana's updated farmhouse king bed plans, but I added a few extra inches to the height because I thought it looked low....I may have added a couple inches to much lol. Good thing we're tall in this house
Comments
ladybug'13
Thu, 06/25/2020 - 22:01
Awesome!
Beautiful work, I love your kitchen!