Farmhouse Nightstand
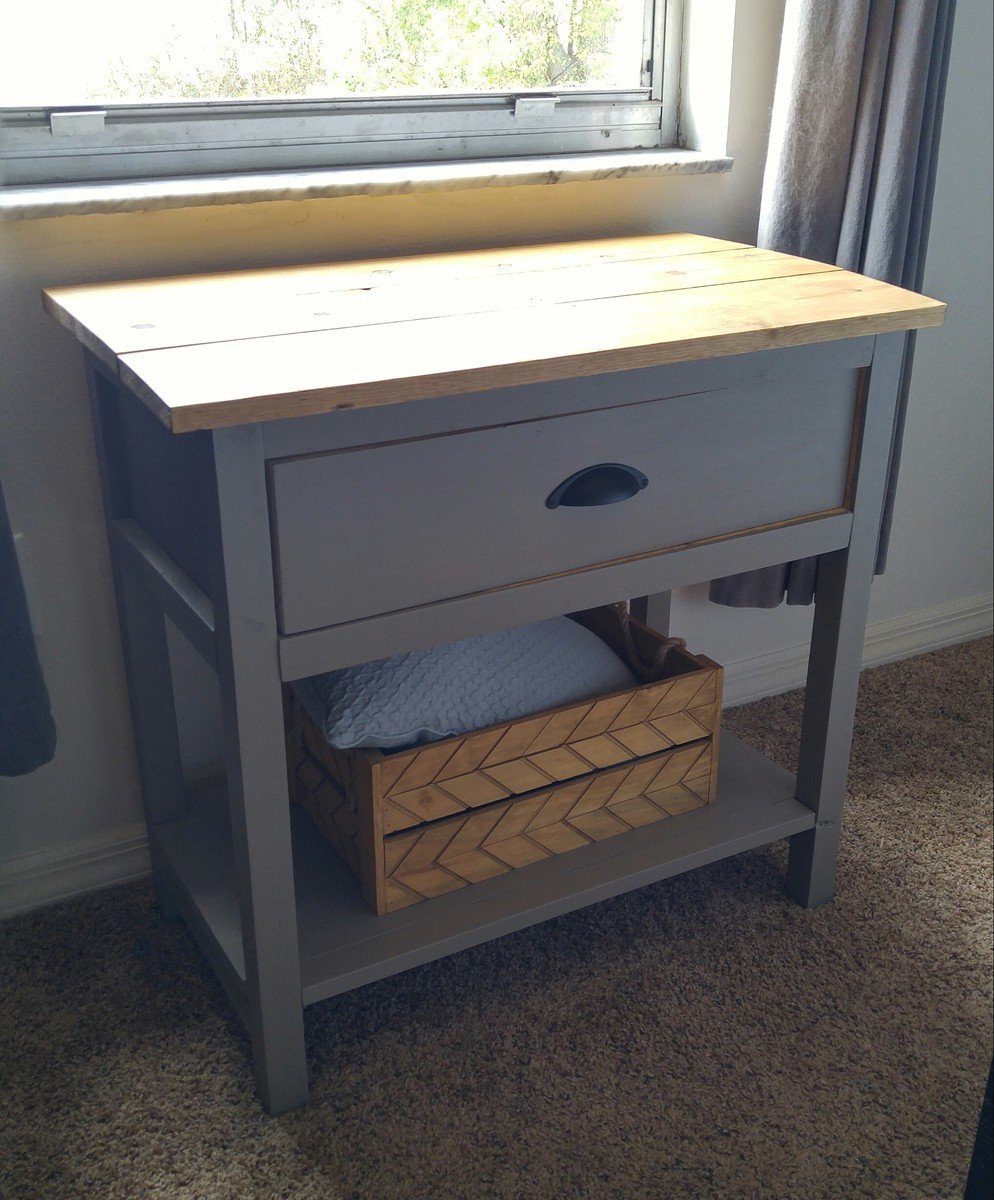
My first build. Wanted something to put in front of my window for my cats to sit and look out on.
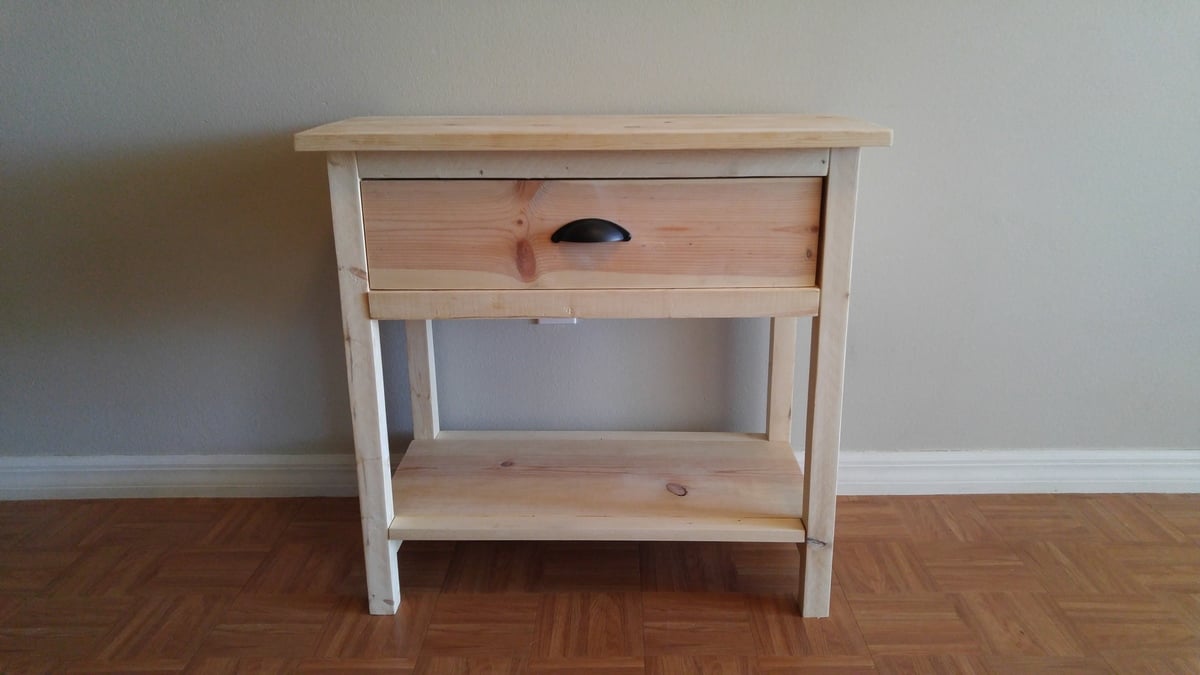

My first build. Wanted something to put in front of my window for my cats to sit and look out on.

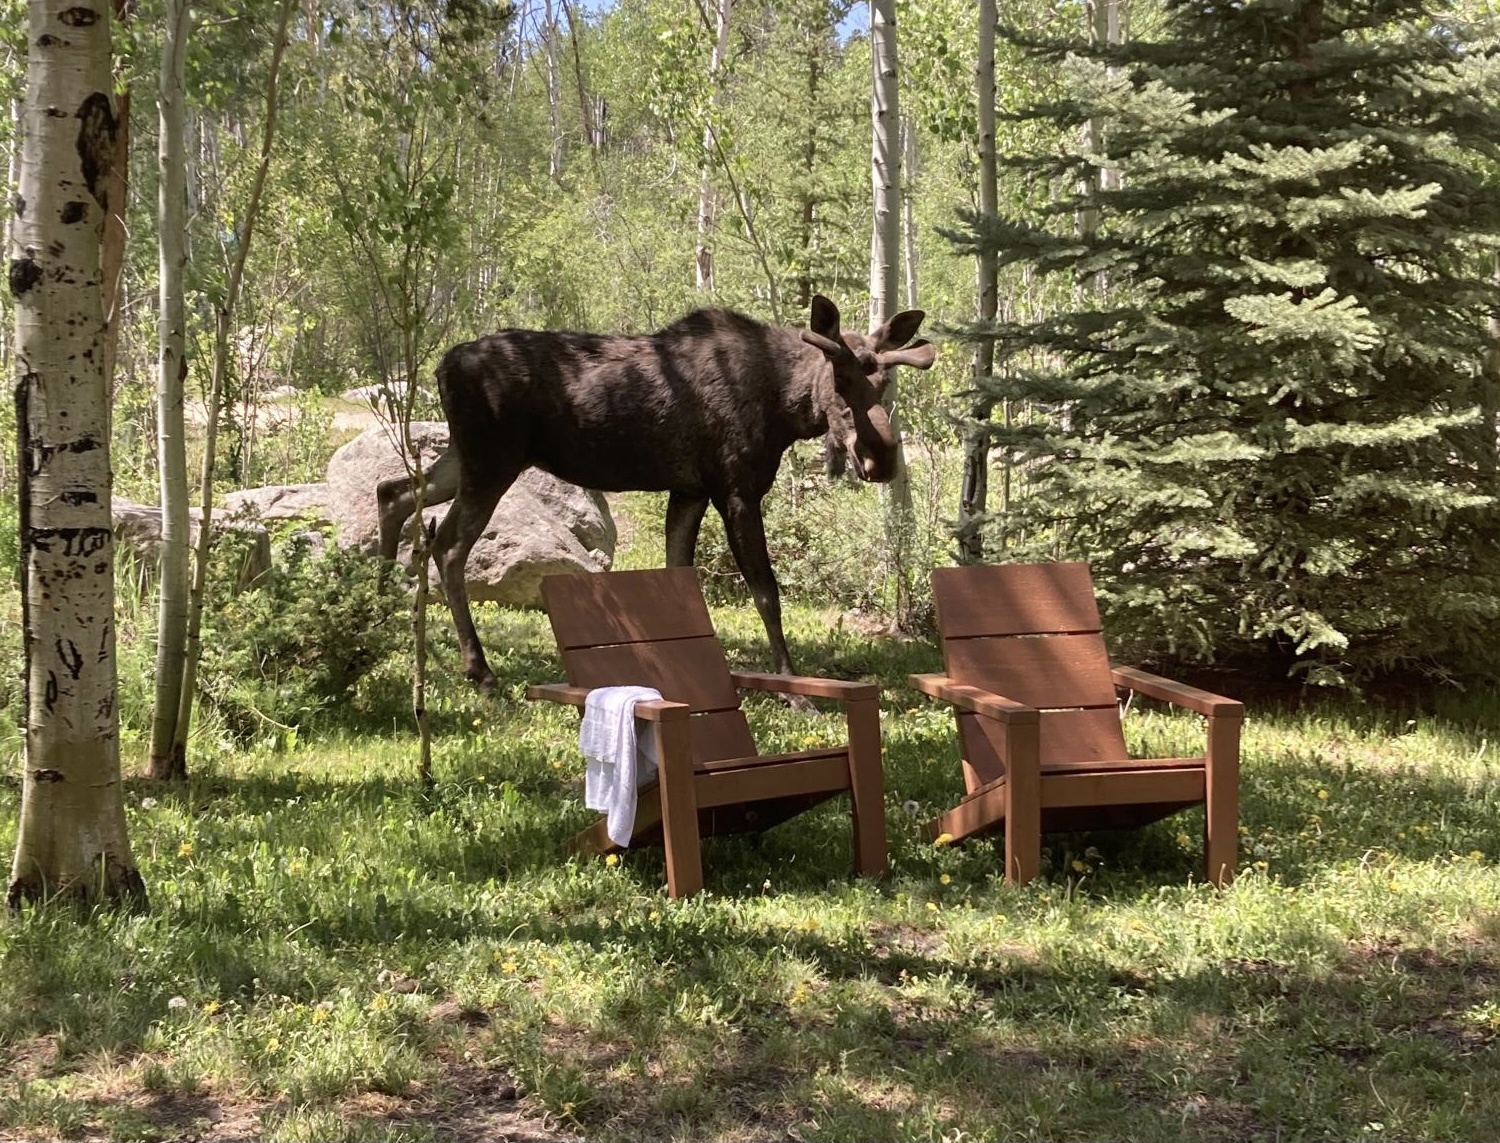
We have a wonderful rental cabin in Grand Lake, CO. I wanted to add some special seating outside. These chairs are perfect, comfortable, and even the moose came by to see them. They agree too that Ana’s design is wonderful. My daughter and I worked on these together, from beginning to end. We cut, sanded, stained, and finally put it all together. These are so comfortable, even my husband agrees!! Thank you Ana for the plans and video. I will be adding the table to go with them too. Jennifer
Wed, 07/07/2021 - 10:18
You and your daughter did a fabulous job, thank you for sharing! #mooseapproved :)
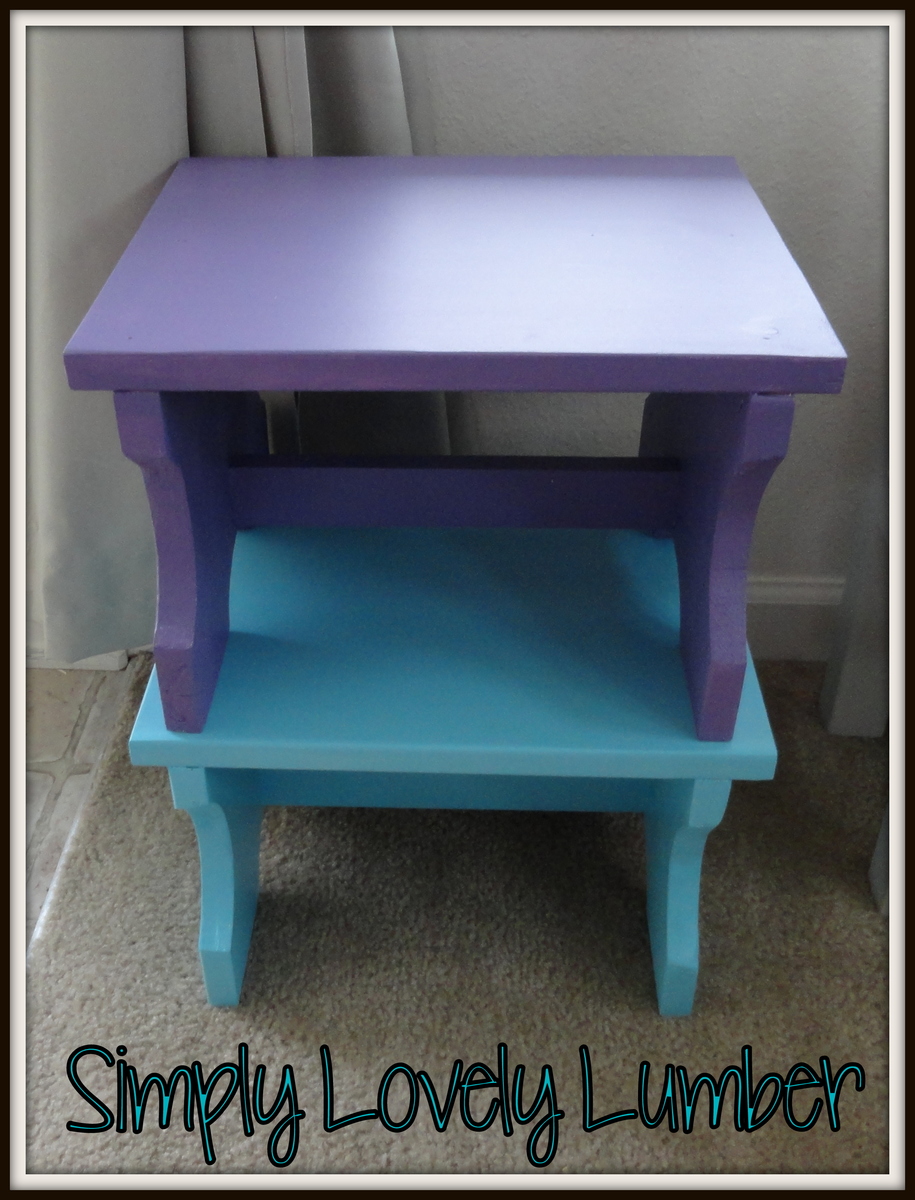
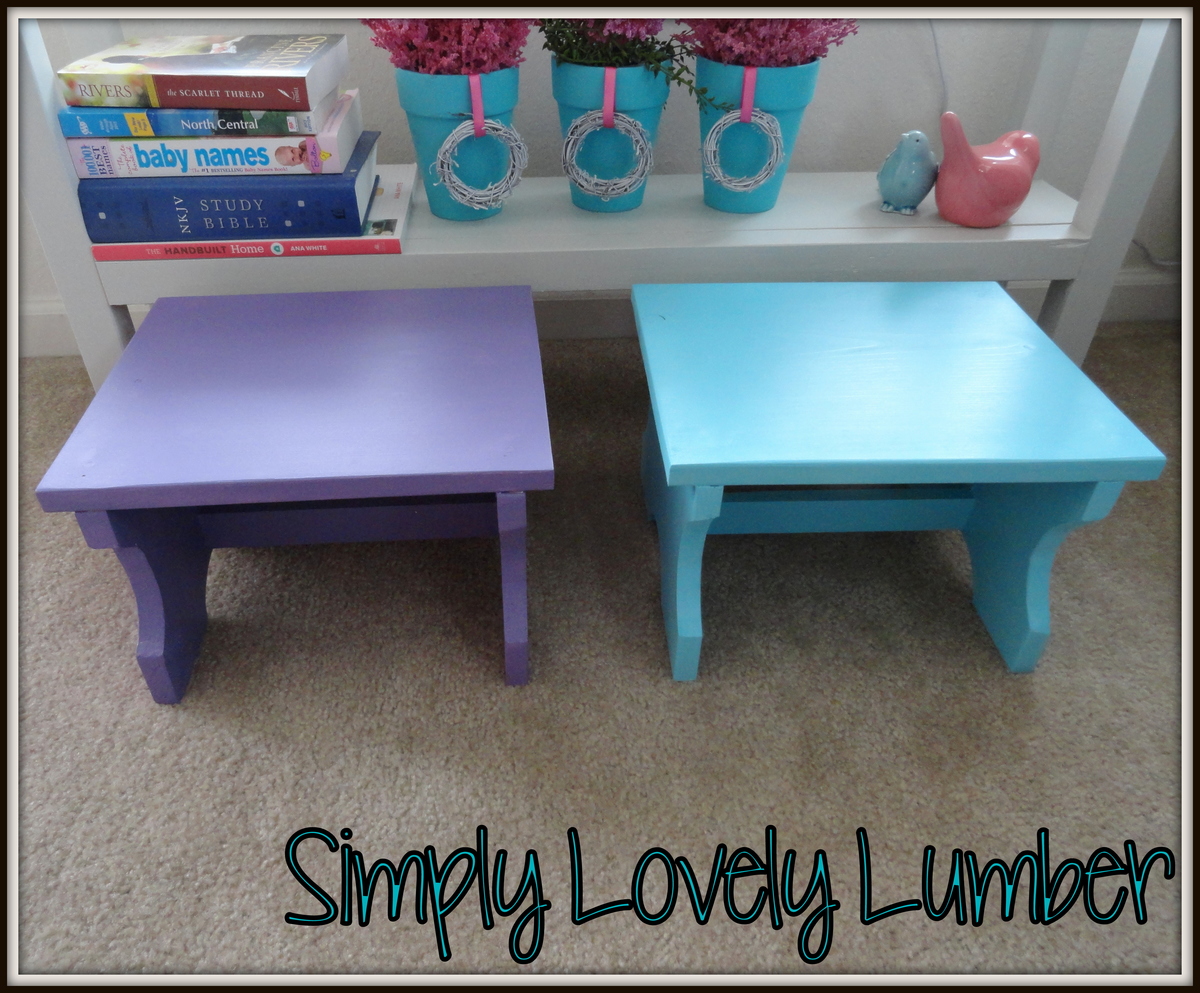
I thought you had a plan for these but I'm looking through and the closest I can find is the Vintage Step Stool. Either way it is because of your site that I have learned and become comfortable with building so I thought I would share these stools here. I made a little toddler chair to go with them to that you can see on my blog. Thanks for helping to make things like this possible!!
Wed, 04/17/2013 - 11:06
Nice design! The colors are fun and cheery, too.
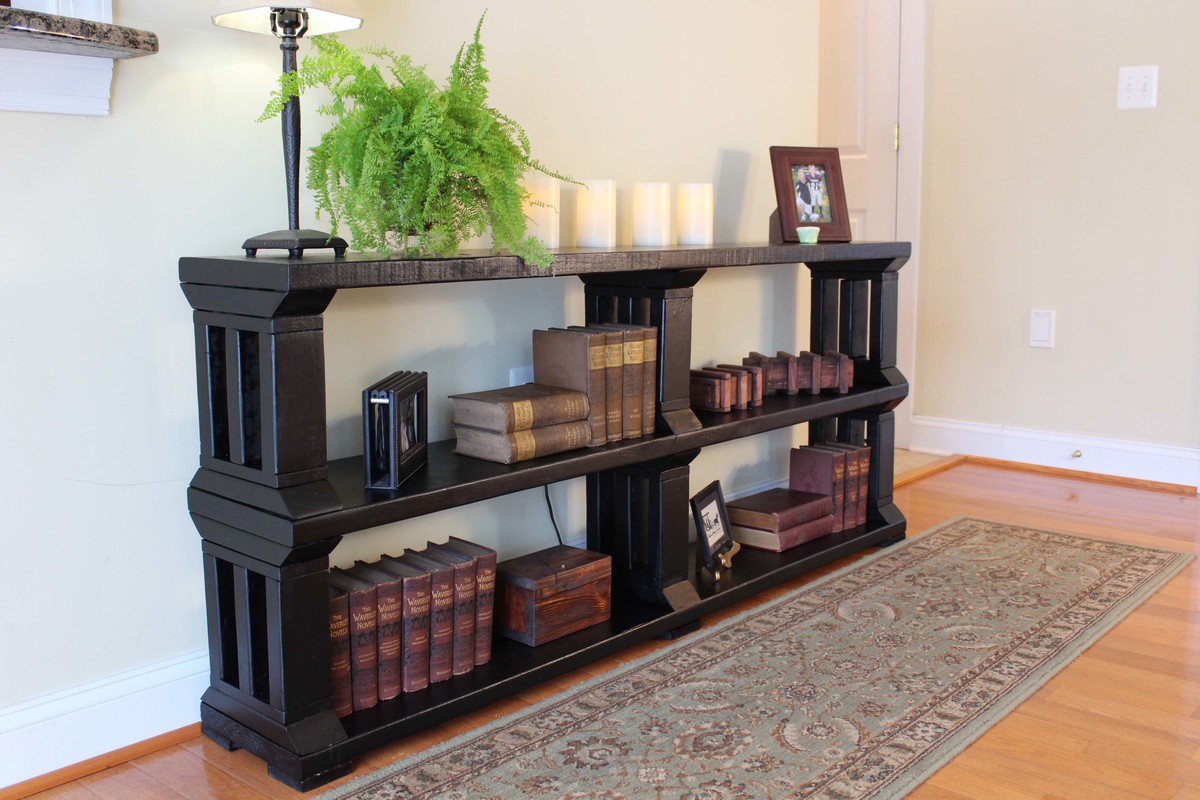
This is a matching book shelf to the 55-fancy-x-desk.
Build Instructions:
http://www.instructables.com/id/Rustic-Book-Shelf-or-TV-stand/
Sat, 03/07/2015 - 13:58
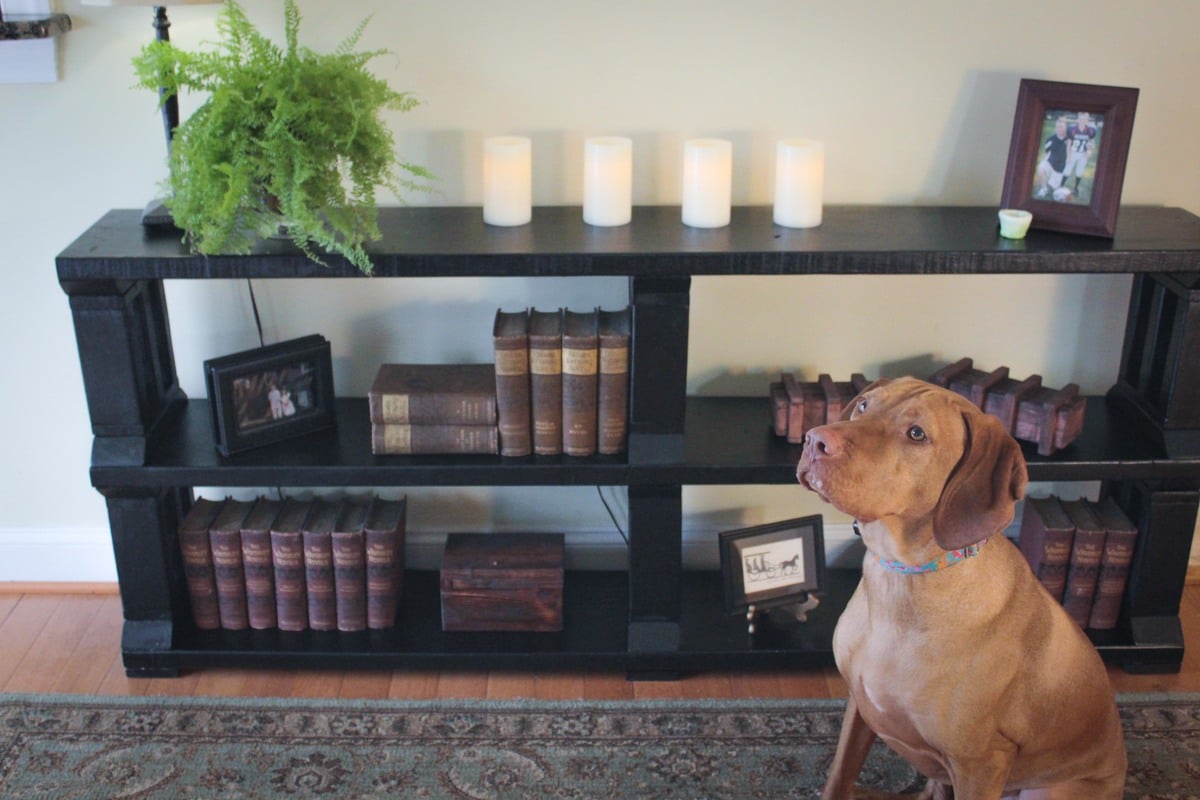
I included a picture of the fancy desk above. My son and I are working on a matching end table next.
In reply to Beautiful! by Ana White
Wed, 03/11/2015 - 14:02
Thank you. We tried to match the look of the fancy desk which my teenage son made about a year ago. He is currently working on a matching night stand.
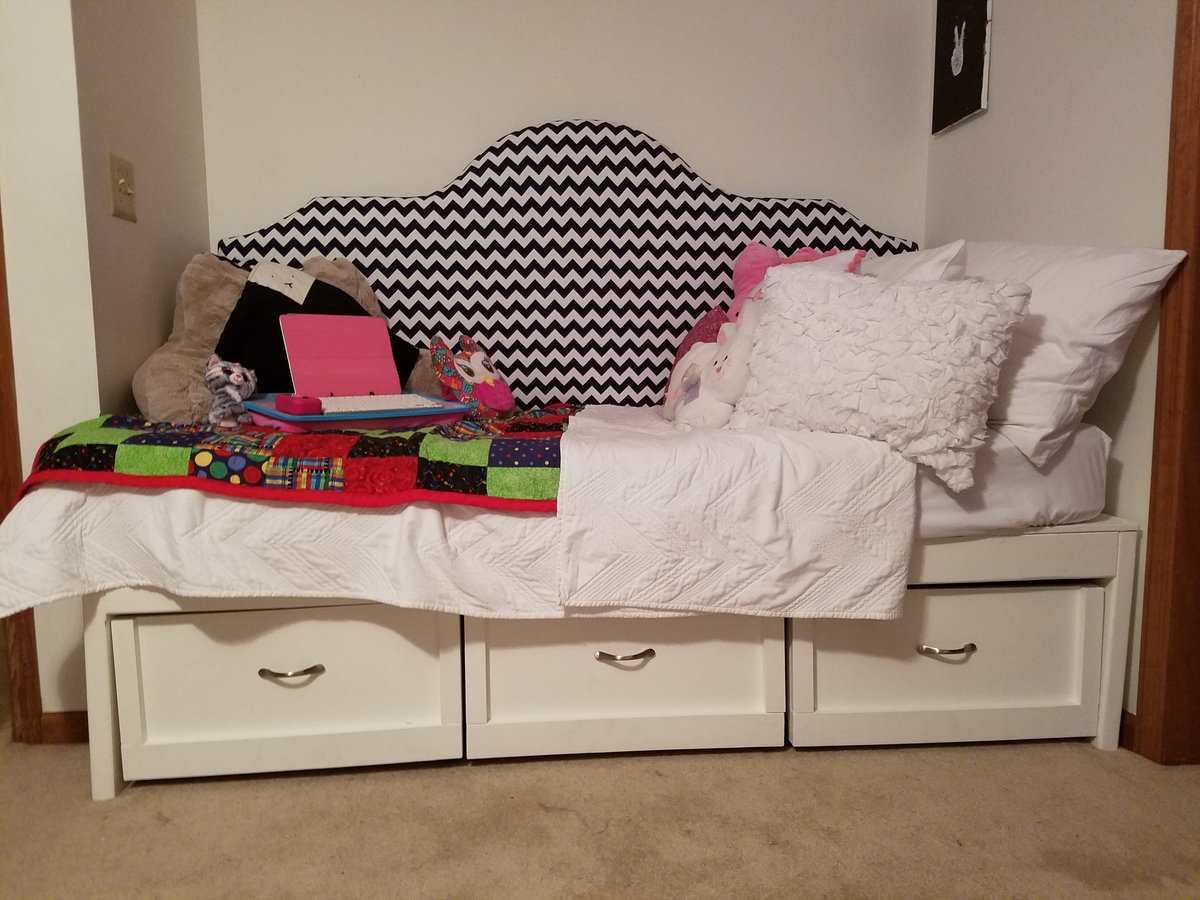
We needed a custom bed to fit a niche. We used the Daybed with storage drawers, but shorted the length by 1.5 inches to fit our space. Our daughter is very happy with her new bed.
Tego needed a raised dog bath. No, I needed a raised dog bath. Specifically, my knees needed a raised dog bath for Tego. So, after looking at Pinterest and Ana's plans, I decided what I really wanted to do was customize something to fit my needs (and knees) and build it myself. Overly ambitious for a first-time woodworking project, but hey, raise the bar.
I started by reading and rereading Ana's beginner's woodworking guide (very informative). I also learned so many other things along the way. There's a reason, besides looks, you need flat boards (they need to screw together tightly). Unfinished basement floors are so not level (especially near the walls). Screw lengths matter (need shorter ones for thinner boards). The big-box store doesn't make precise cuts (but they can make a lot). Planning for the finishes will save you time (know your basket sizes). Just to name a few.
It's going in an unfinished basement, so I wasn't going to tile and add glass doors. I wanted to keep it relatively simple, basic.
The stairs were the hardest to measure and build (math matters) - and I might re-do. I made the steps smaller, dog-sized, but she finds them awkward. I'd stick with typical riser heights, but it depends on the size of your dog.
Plumbing to link the tub drain to the utility sink drain was the most expensive. Probably I could have done it myself, but I decided not to learn both plumbing and woodworking for one project.
Overall, I'm pleased with the result - and Tego is learning to love it.
Thu, 07/22/2021 - 12:38
Love it, you and Tego are AMAZING! Thank you for sharing your custom build:)
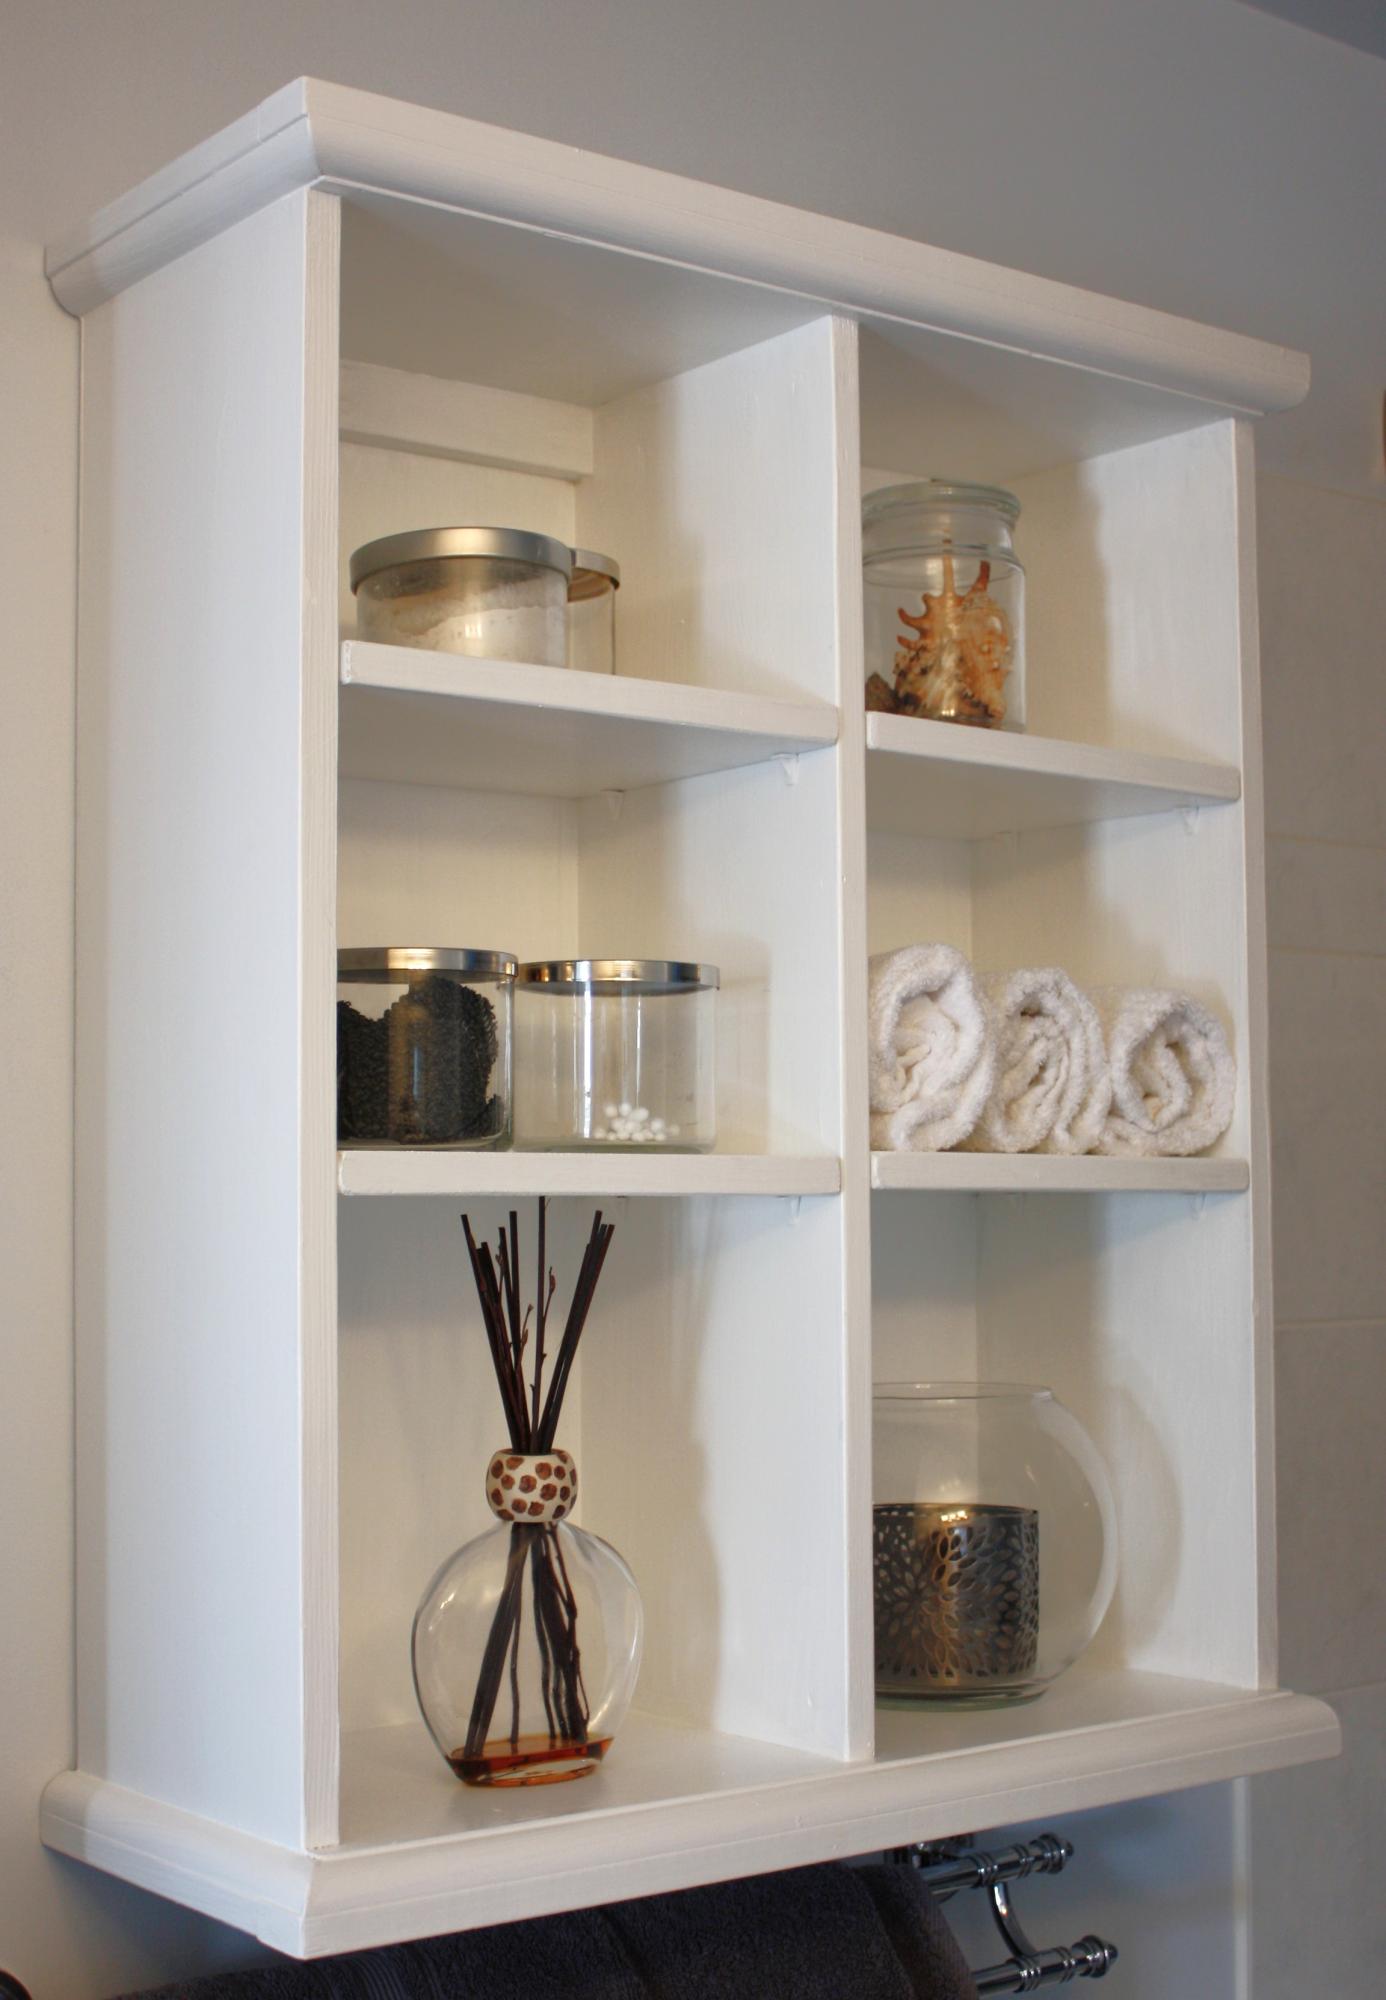
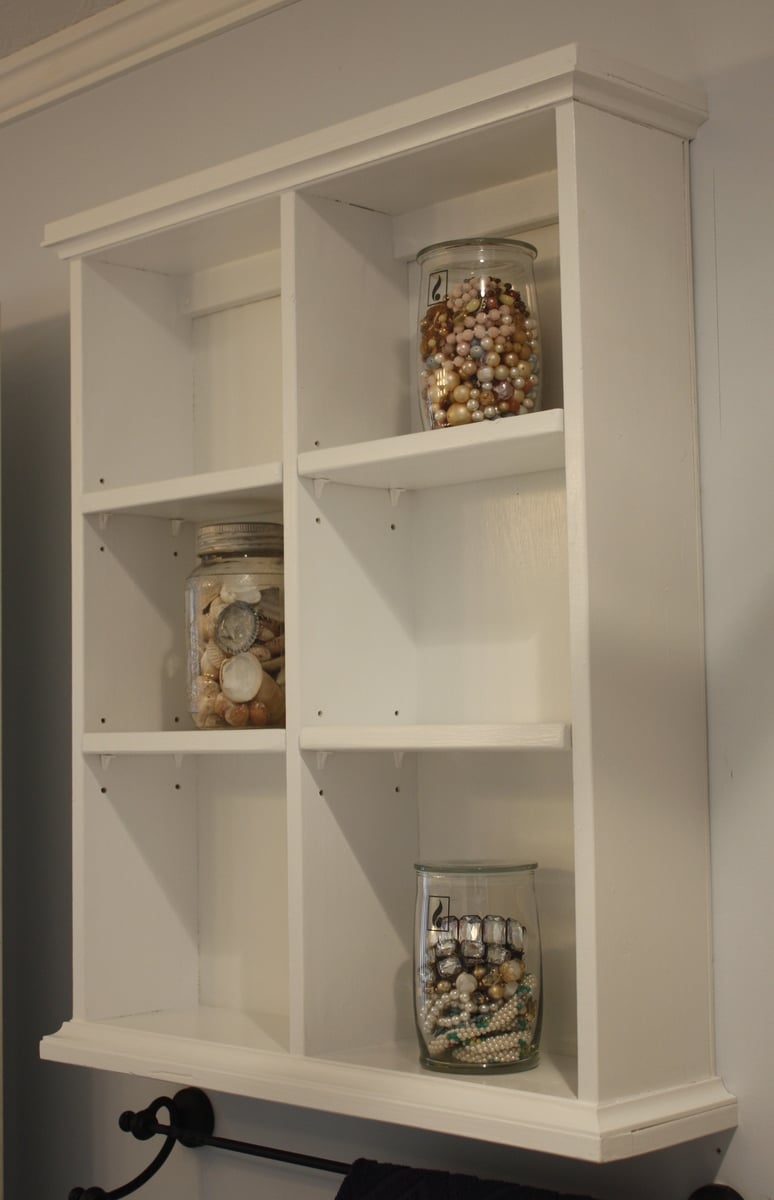
Here's the second project I tackled from The Handbuilt Home, the Bathroom Wall Storage unit. The first photo is according to the plan specs. I liked this project so much that I built a second one for the smaller bathroom using 1x6's instead of 1x10's, so it's not as deep. Drilling the shelf pin holes without a jig took forever on the first shelf! I bought a Kreg Shelf Pin Jig to try out on the second one, and had it done in minutes! It's so nice to have pretty storage in the bathrooms!
In reply to Very nice! by Debi G
Tue, 07/16/2013 - 17:56
Thanks Debi! I'm so glad I bought Ana's book!
Except that now, of course, I'm addicted to building!
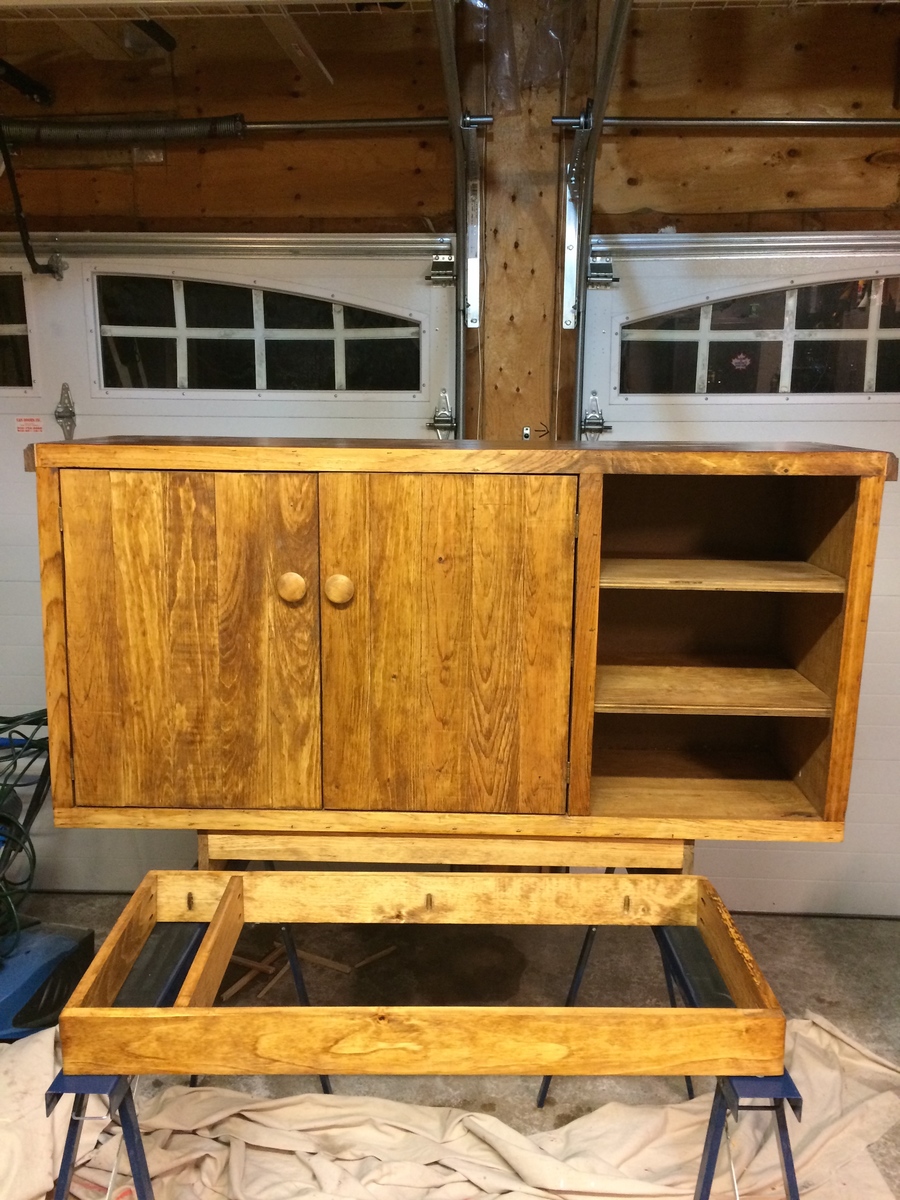
This is my first wood project. Thanks Ana for the plan. My wife and I will enjoy the dresser.
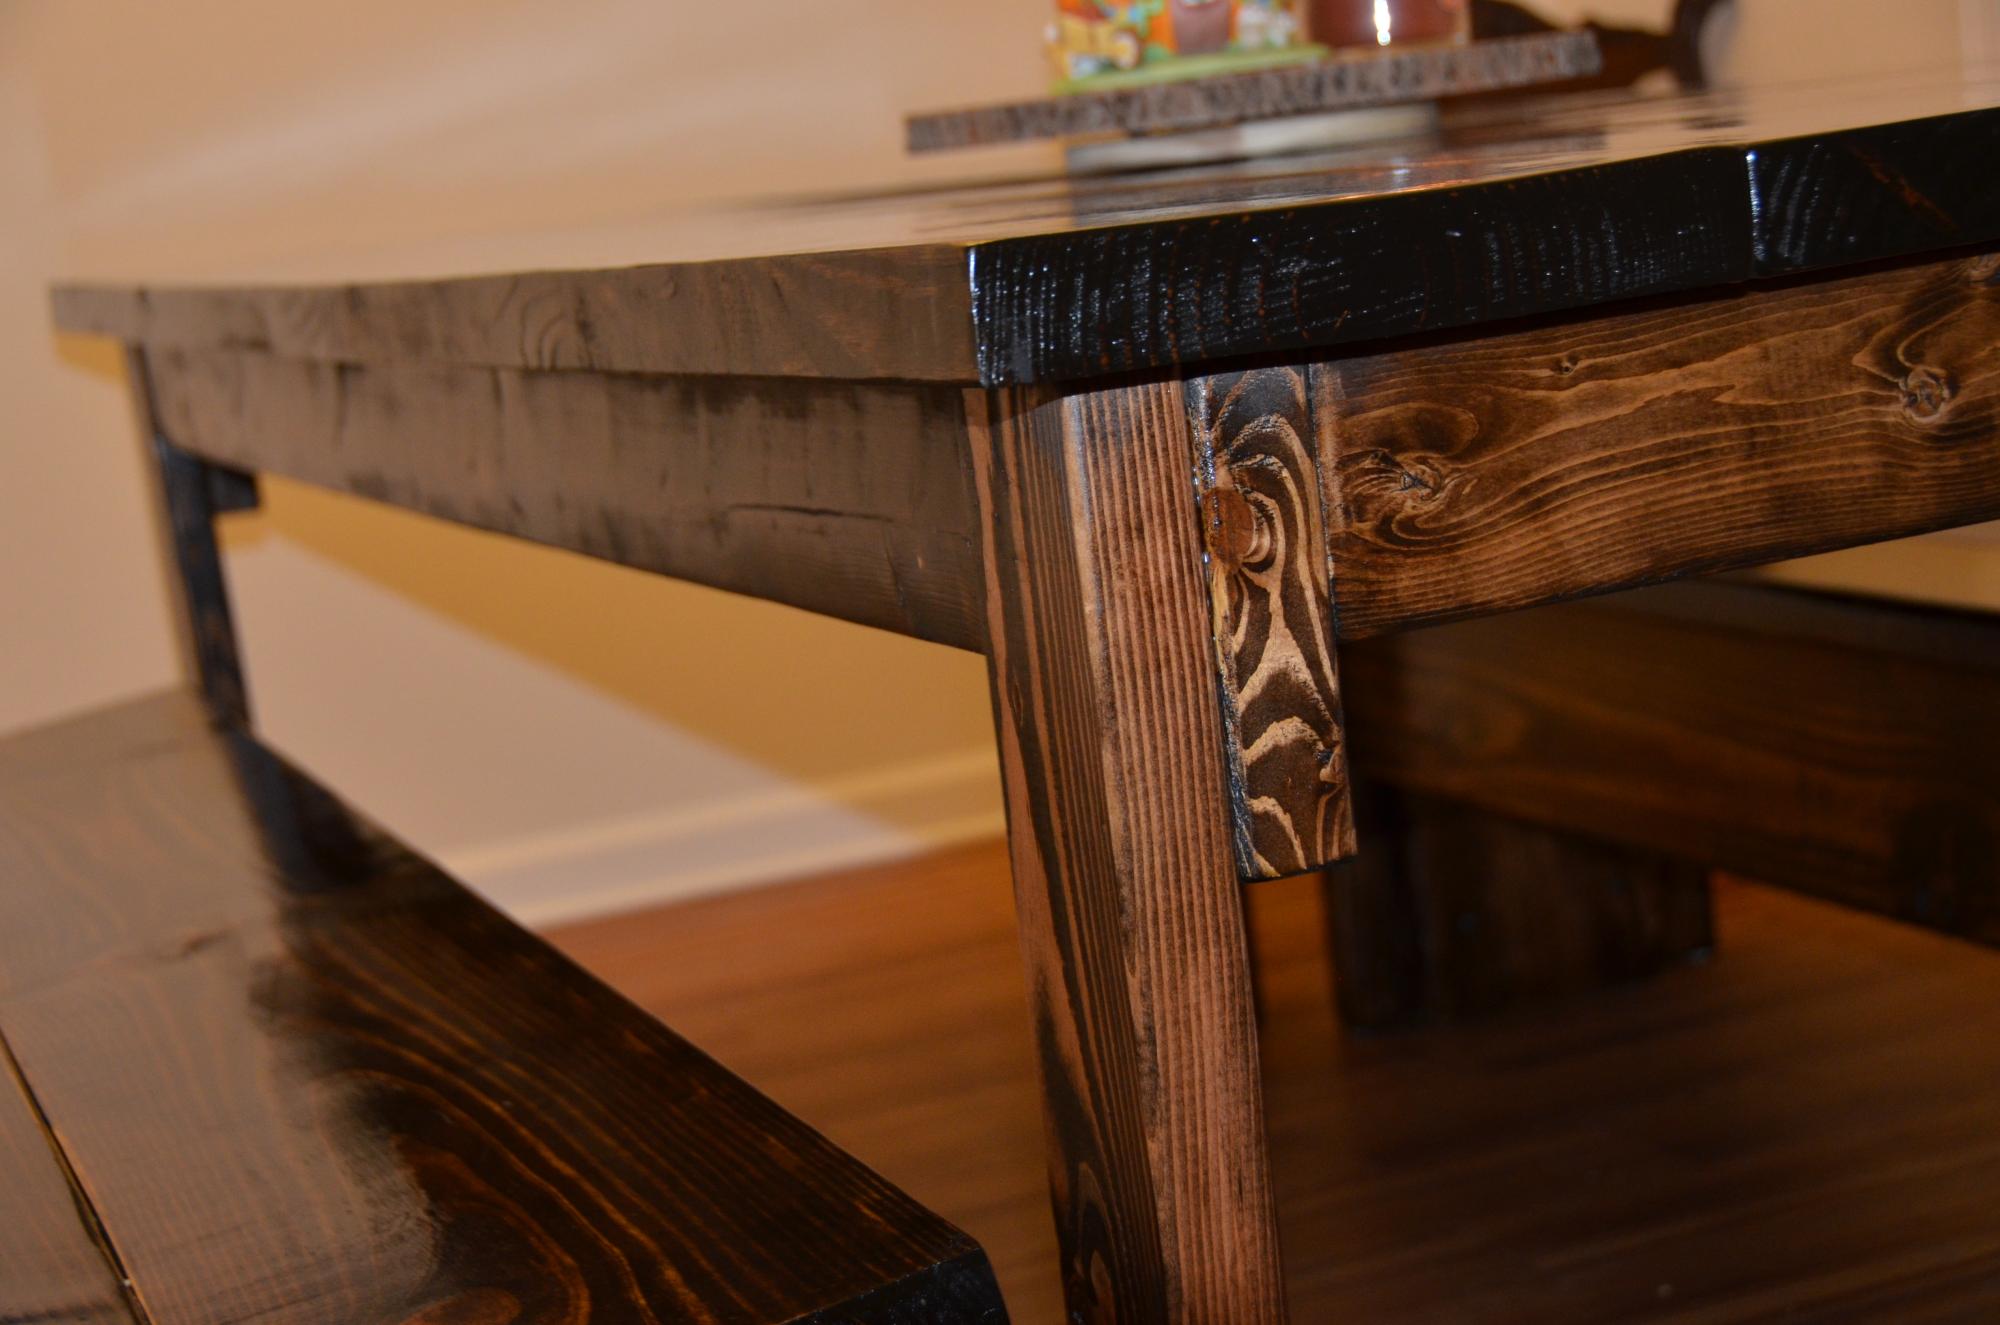
All pine 2x4, 2x6, and 2x10 seating for 8 in espresso stain and semigloss top coat
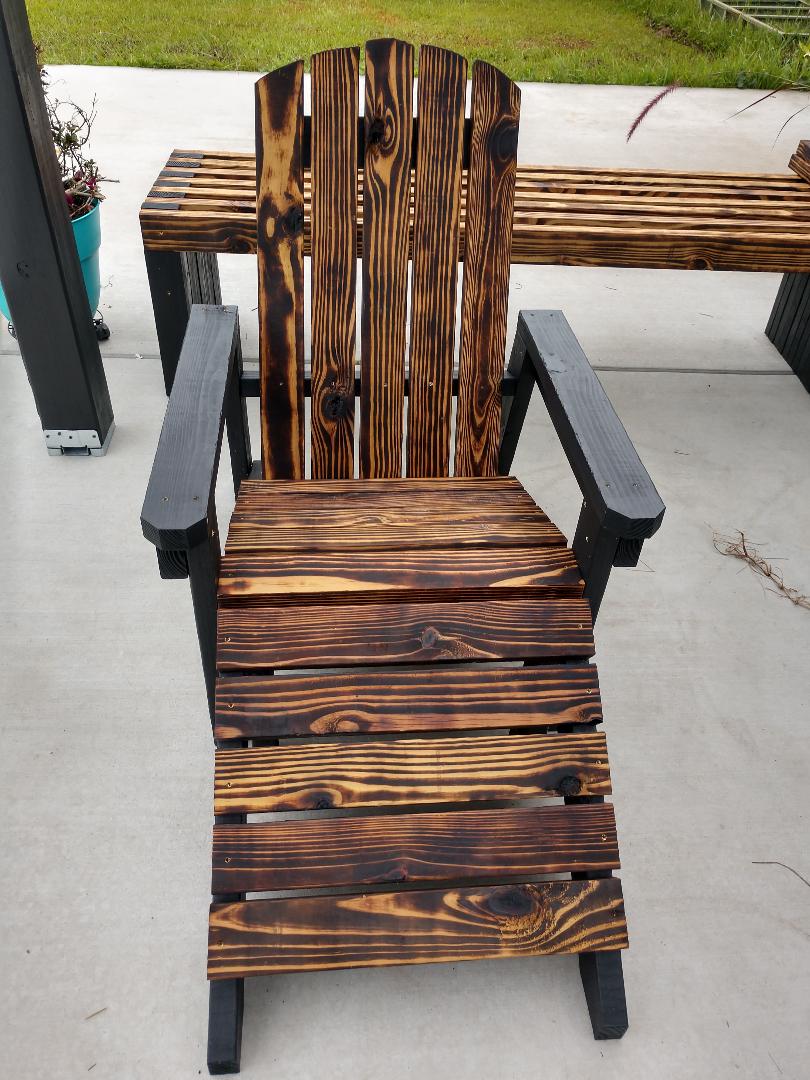
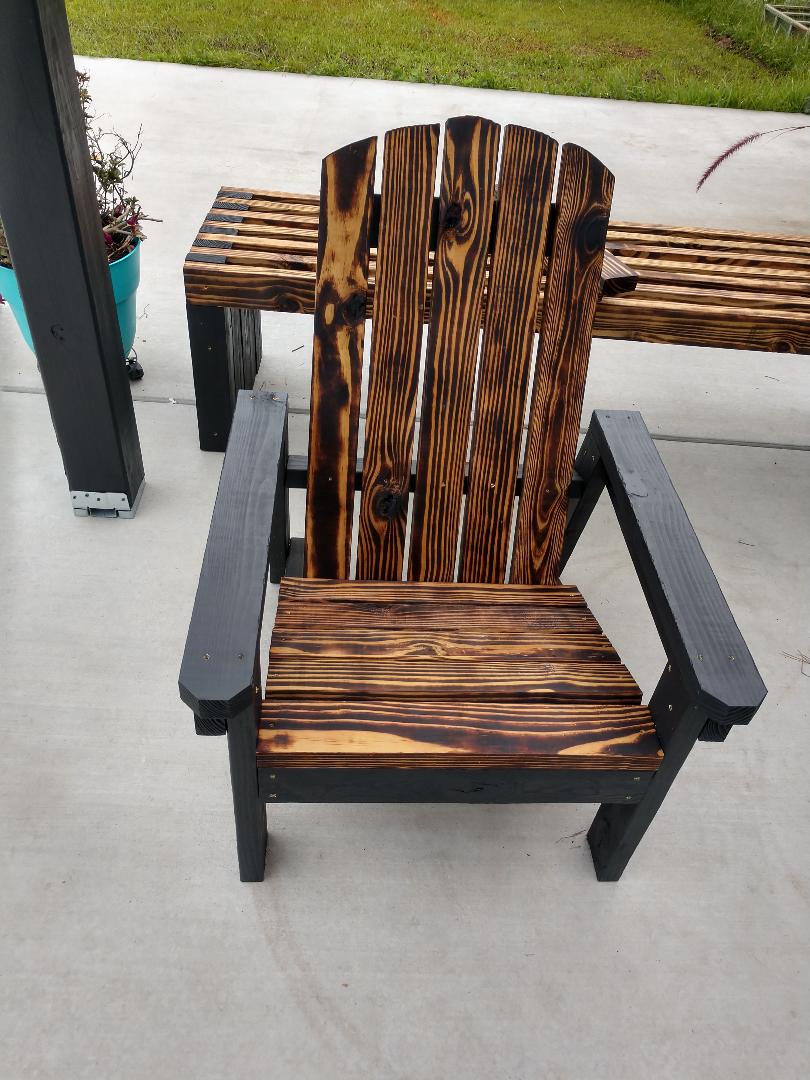
Very easy instructions. I love the way they turned out. I used all 2x4's that I had left over from another project. I burned the top pieces and painted all other pieces. Love your easy instructions. My first time making furniture.
Thanks
Yvette
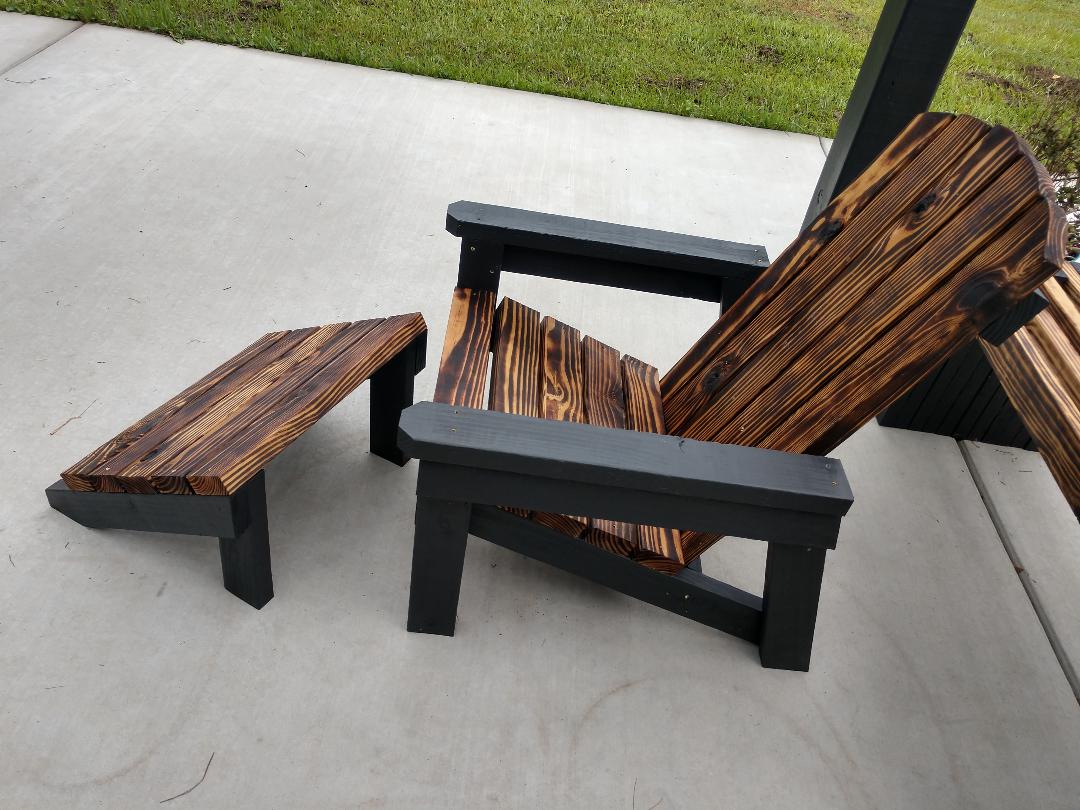
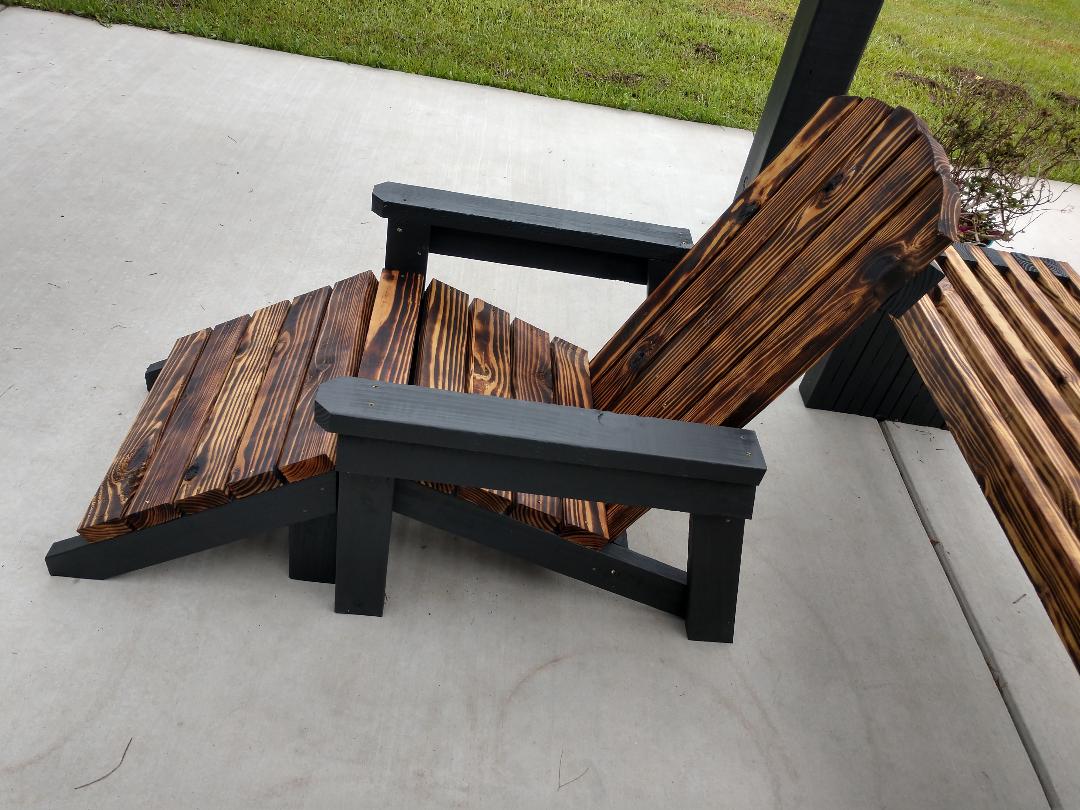

I saw the Shirley table post and was inspired to build this for our entryway in our new home. Maybe not the best first project to pick in the new home, but man was it worth it! Turned out great. Used some leftover paint from an old painting project and it works really well with our new living room set. I listed it as a weekend project because if you're not super experienced or don't start this early in the morning you will probably need to take your time and finish this over two days.
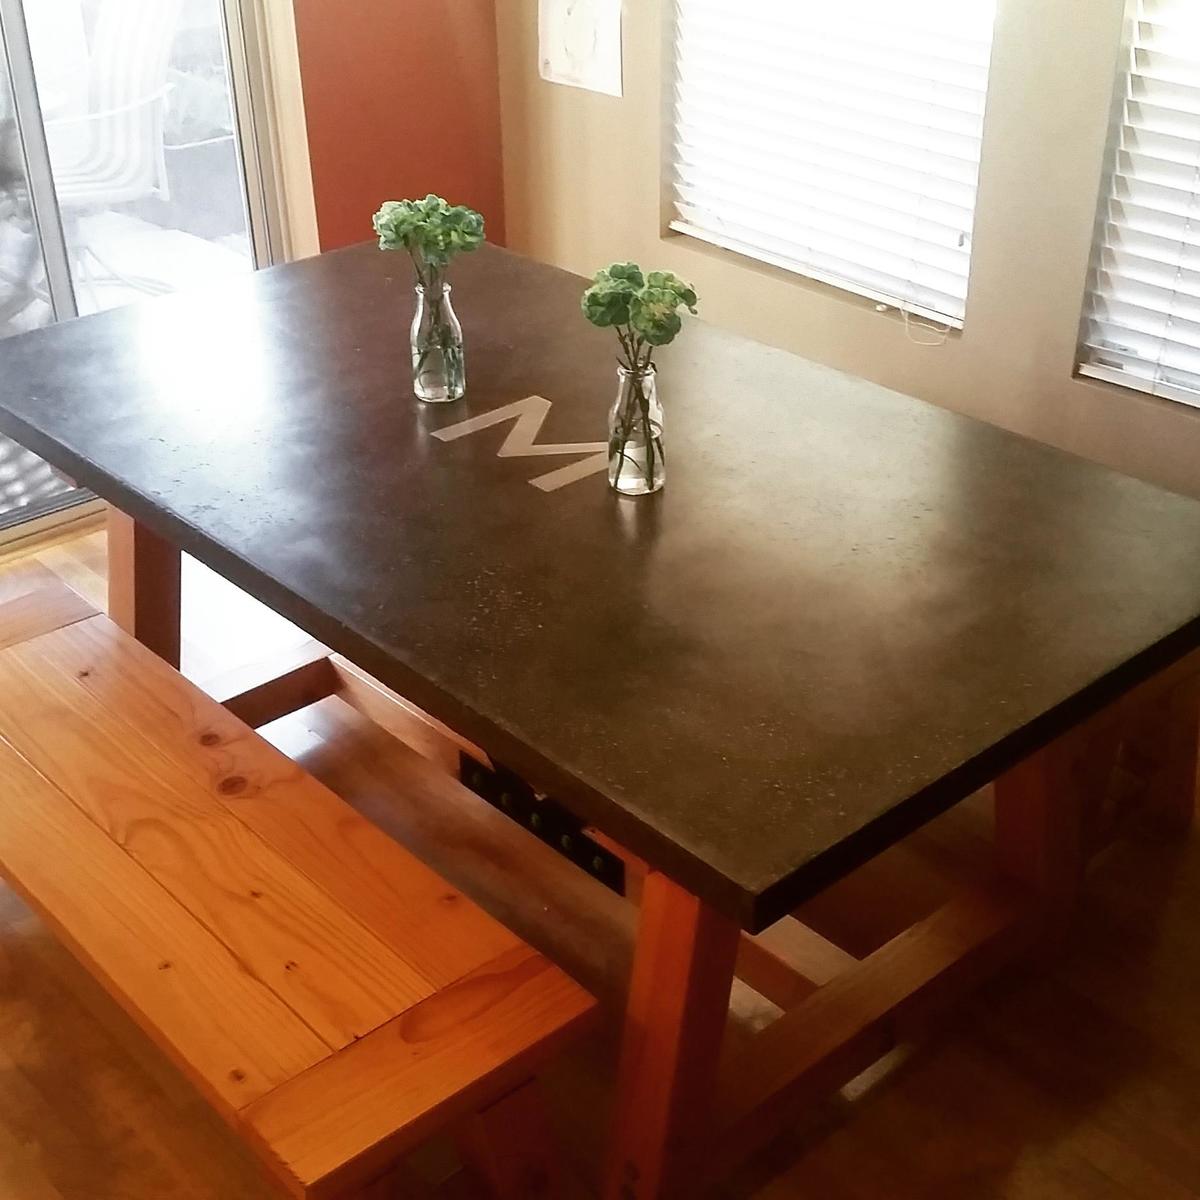
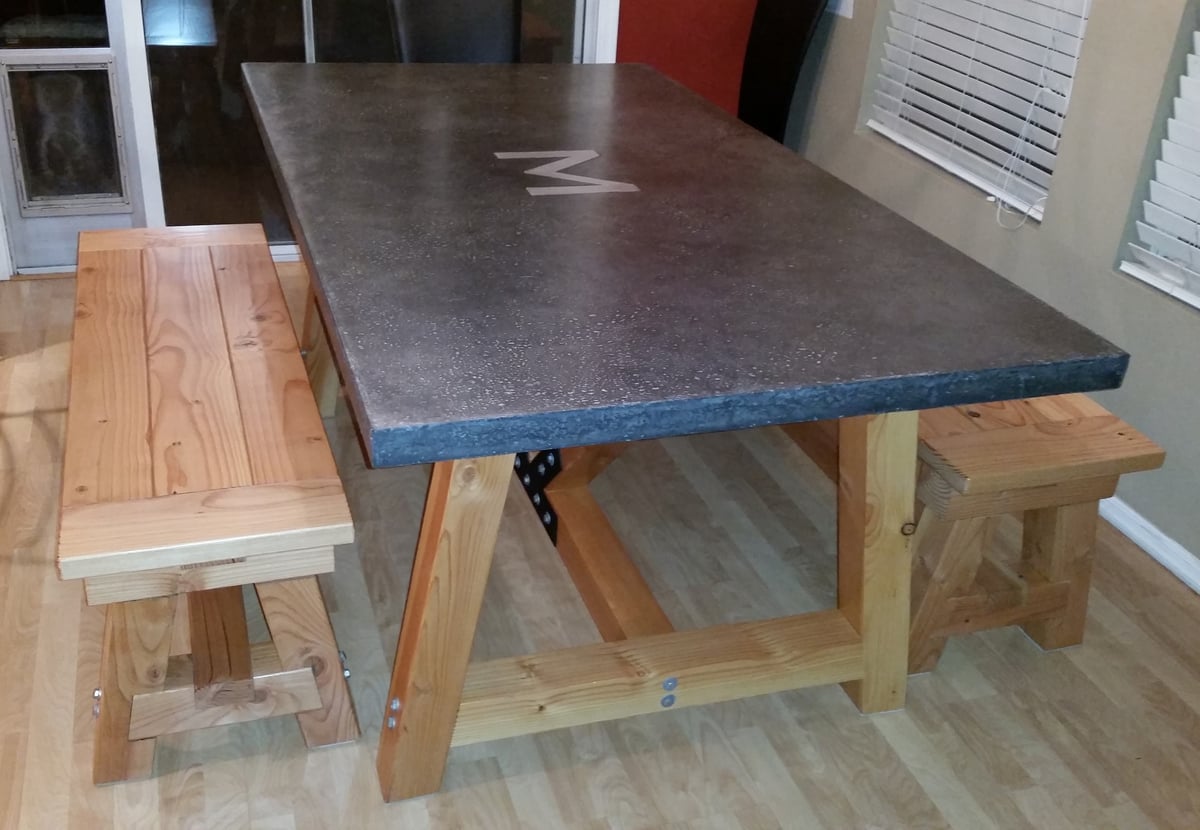
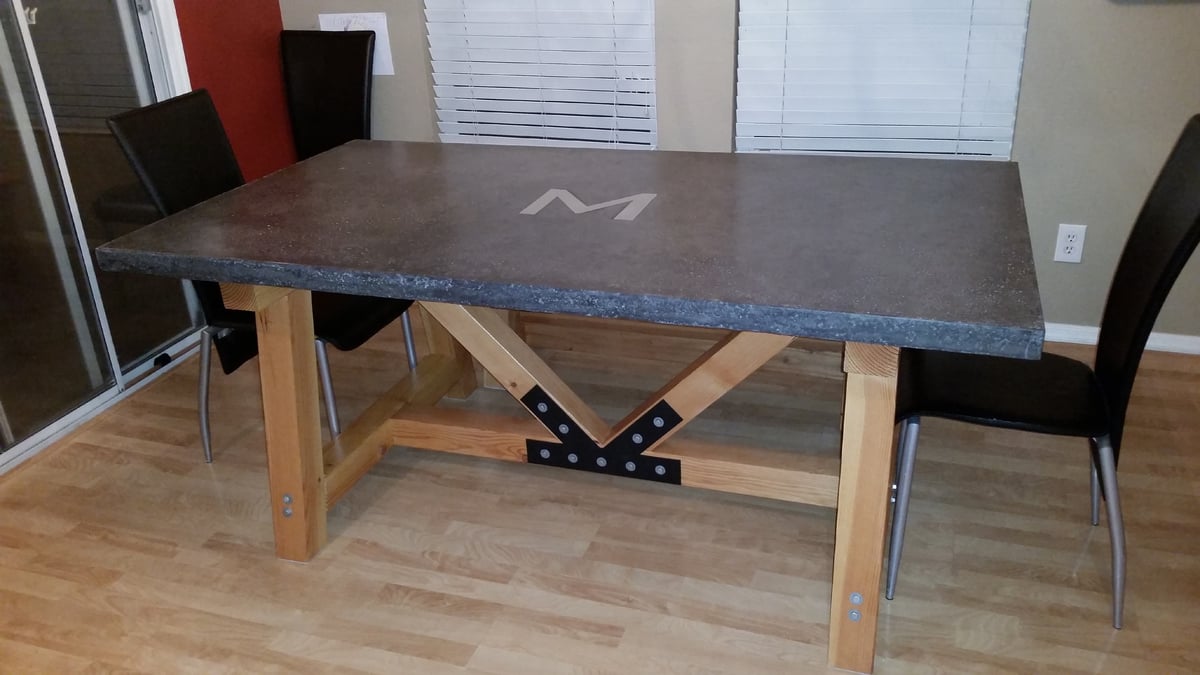
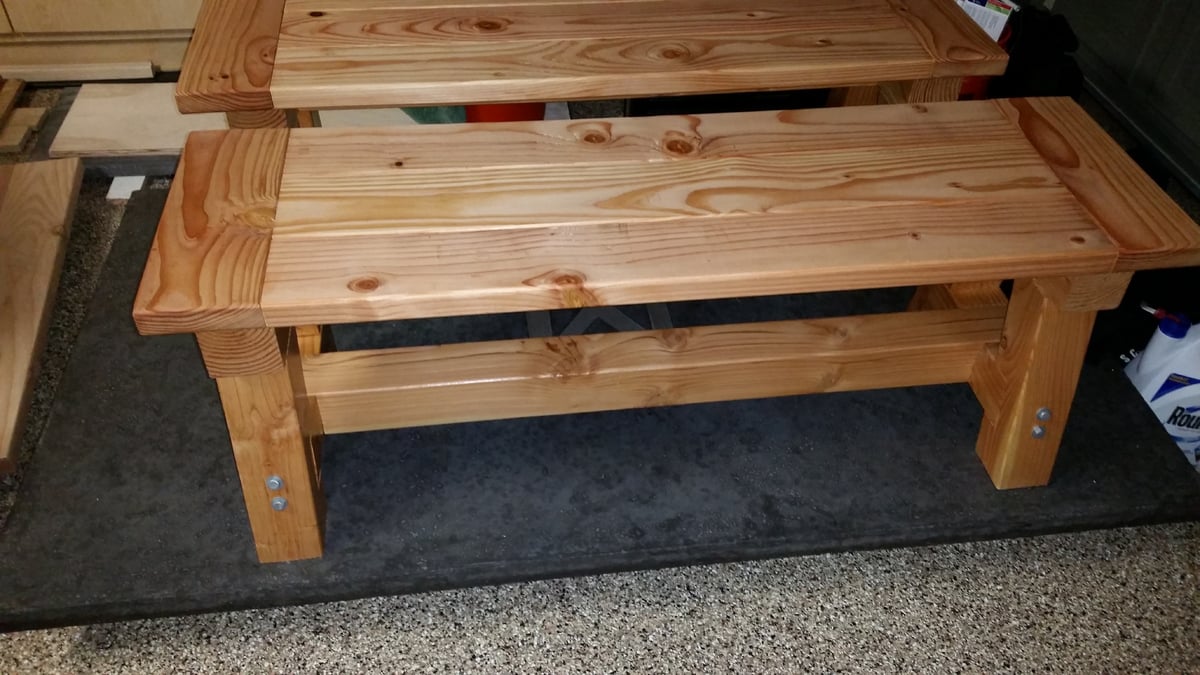
Douglas Fir 4x4 truss beam table, made from the listed plans (modified for a 72" table top and concrete used for the top). Also, added steal gusset plates with lag bolts to replicate appearance of exposed truss beams. Used pocket screws in conjunction with lag bolts. Benches were altered with half-lap joints for strength (very time consuming). Concrete table top made with Quikrete countertop mix (charcoal powder pigment added), an aluminum "M" inlay, and slurry coated with a lighter gray grout to fill in bugholes/ voids.
Table was fairly easy- hard part was finding straight wood (mostly green DF is sold near me, so some beams would warp beyond suitability as they dried). I had to purchase a few extras to get the pieces correct. If KD is available, go with that. I was able to find KD DF at another hardware store for the benches.
Concrete was a PITA. I never worked with concrete before. Watched a million youtube videos, read countless blogs, etc. So much good info out there and I probably over-researched it. I despise concrete, now (the mixing/ pouring/ screeding/ and weight) but I LOVE the result.
The project was my secret excuse to buy tools Ive always wanted.
If I wouldve been able to work straight through, I think I couldve completed this in a month. The table and benches were a couple of weekends worth. The concrete took most of my time with making melamine molds, special ordering the bags, renting the mixer, waiting it to cure, polishing and filling the top, etc. A wood top wouldve cut down on the overall time considerably.
If you do a wood top (as I did for my benches), either use some type of joiner to get the board edges perfectly squared against one another with no gaps, OR leave gaps big enough between boards to let crumbs fall through, OR (this is what I did for my benches) I used a super clear (Lexel) caulk for the seams of the boards and then went over it after it dried with the satin polycrylic to take away any gloss. Now all those crumbs dont get wedged between the boards. They wipe away with ease.
Finally, I used heavy duty felt (4x6") from the local HD at $2.50 a pair. Cut them to size and used the self-adhesive WITH gel superglue to put on bottom of bench and table legs. A must.
Sun, 03/15/2015 - 05:55
wooow! I love the concrete table top. How much do you think it weighs?
In reply to wooow! I love the concrete by handmadewithash
Mon, 03/16/2015 - 10:57
The top was made from nearly 4 bags of counter top mix. I did create a lip by placing an insert in the mold, taking out a bit of weight, while giving it a 2" profile edge. It's about 300lbs still! I had 3 people help me lift it into place.
Tue, 03/17/2015 - 07:26
Nice job on the concrete top! Turned out great and coordinates well with the base. Cheers! - DIY Pete
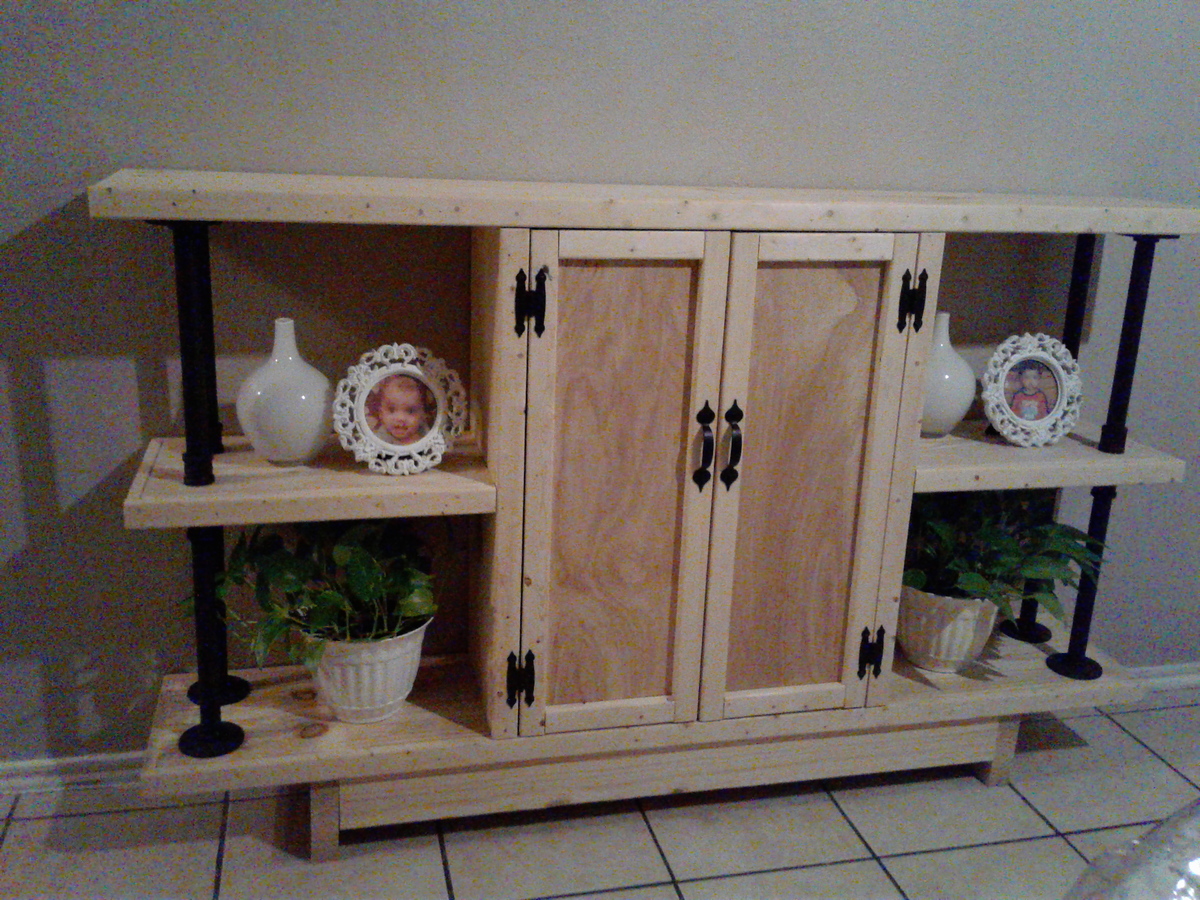
I had a console (or three tiered shelf) that I made with 2x10 and black pipe. At first I was happy with that but when I saw this console and another one on the blog of "Shades of Blue's", I decided to change the designe of my three tiered consol to Emmerson console. I love the console. In new console, I did not use any side pieces. I didn't want to throw away the black pipes because it cost money. So I ended up with this designe. I haven't put any stain or paint. I am not sure what paint or stain to put. So I leave it as it is.
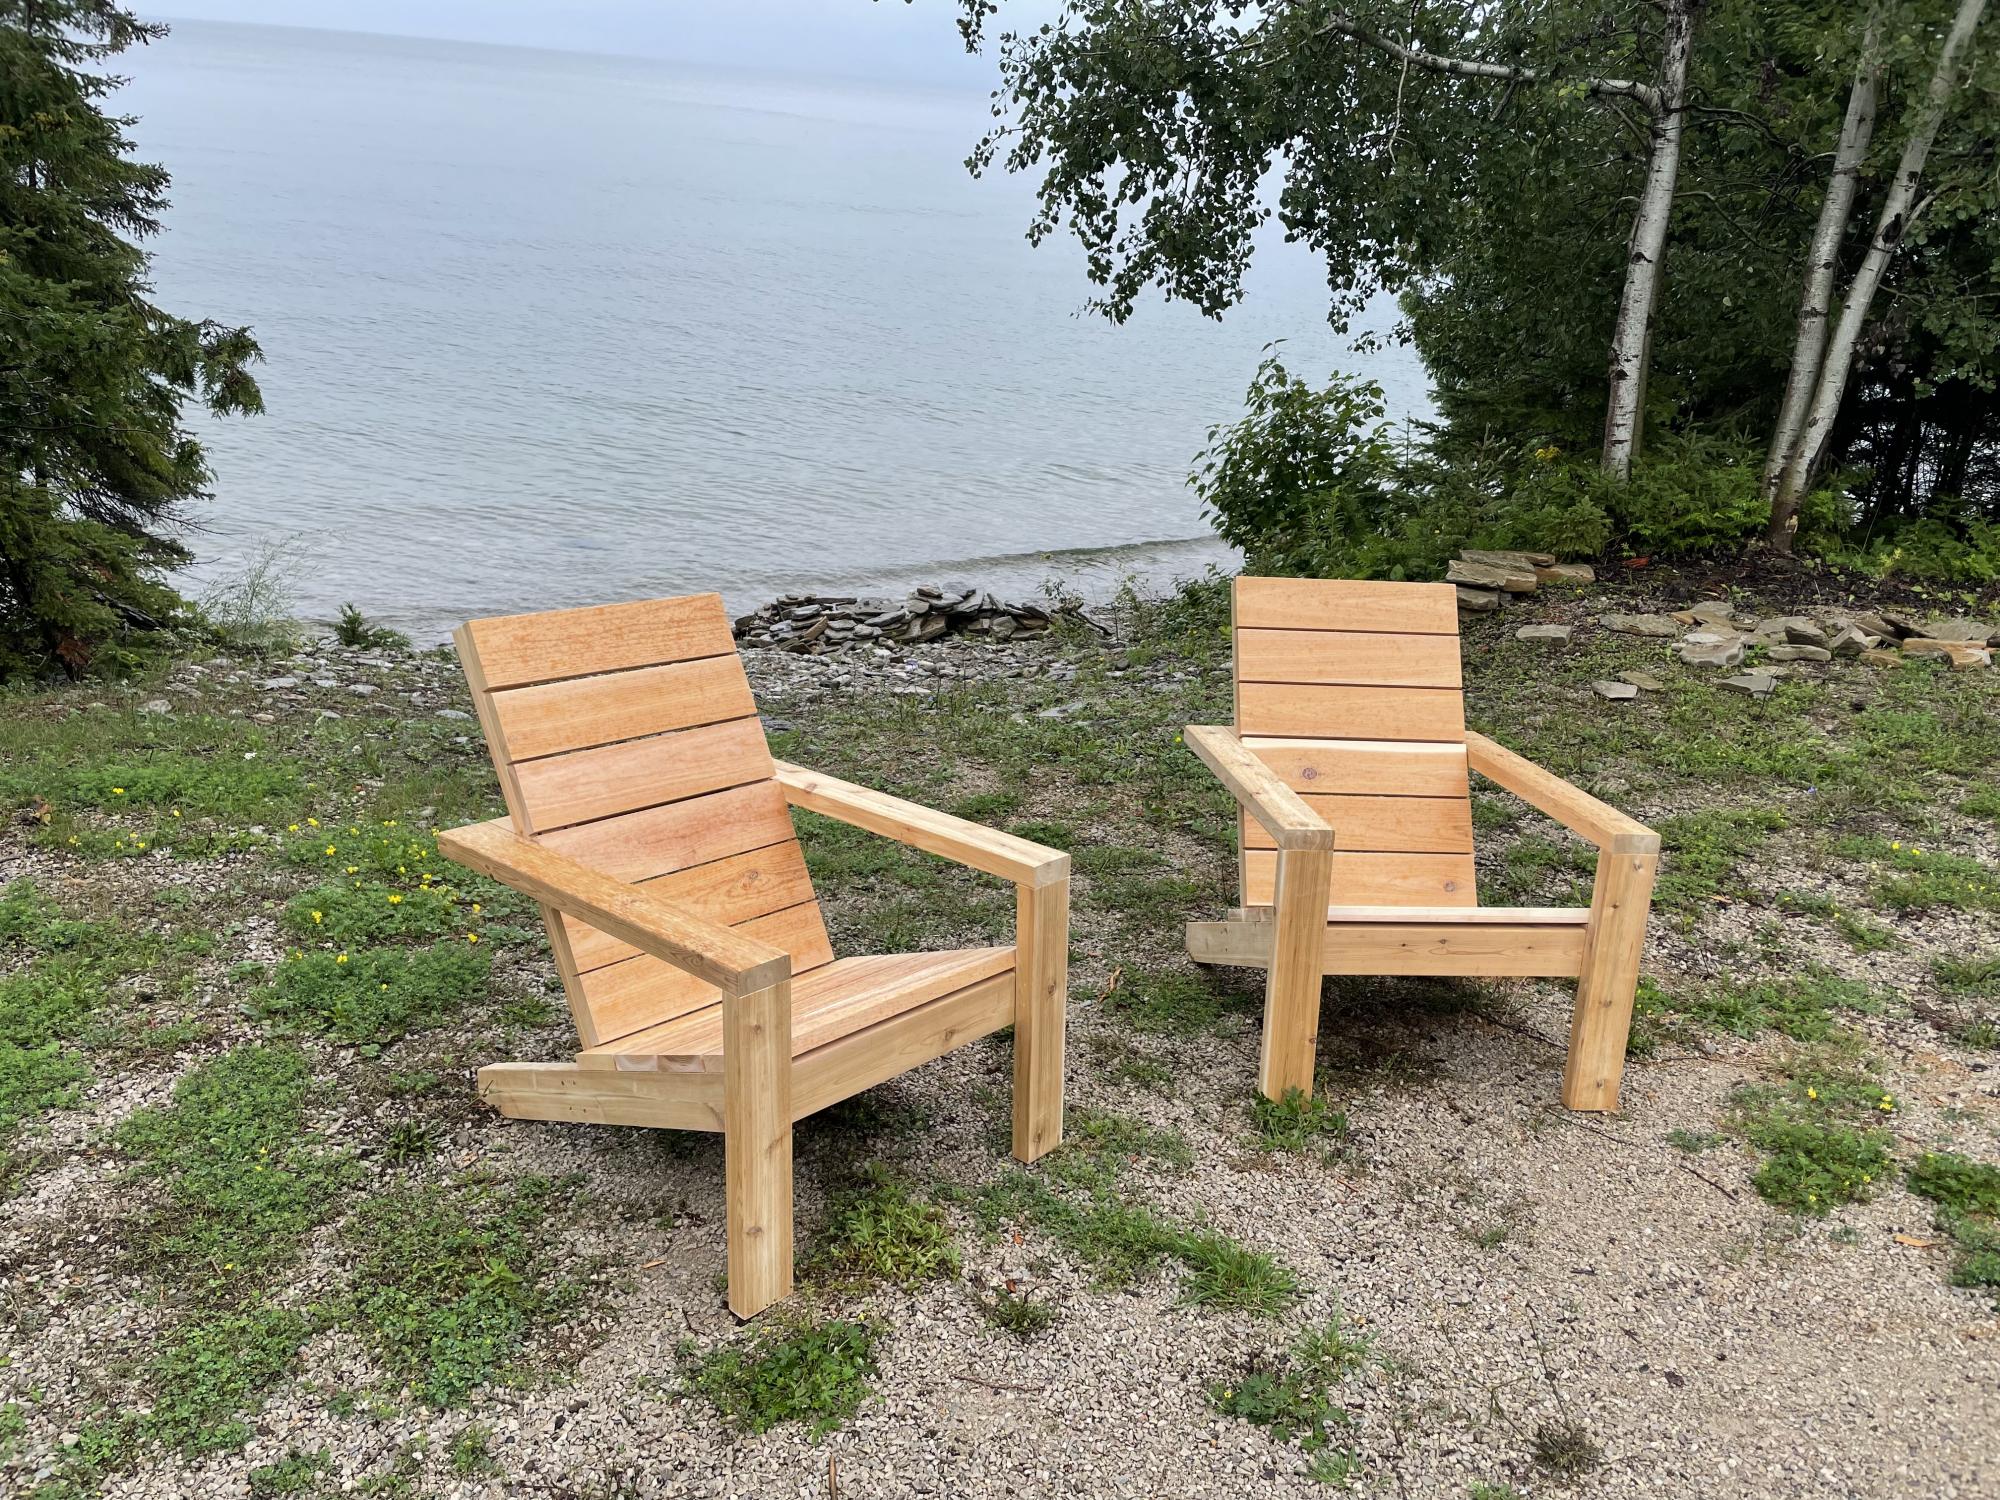
Have been wanting to build these chairs since the video came out for them. Finally found an occasion to build them for a friend of mine. I couldn’t find 1x10’s in cedar, so I used 5/4”x6” cedar deck boards ripped down to 4 1/2”. I also pocket-holed the seat boards in from the inside of the stringers and drilled the back boards in from behind for a clean look on the seat. Overall, it was a really enjoyable build and I’m really happy with how they turned out.
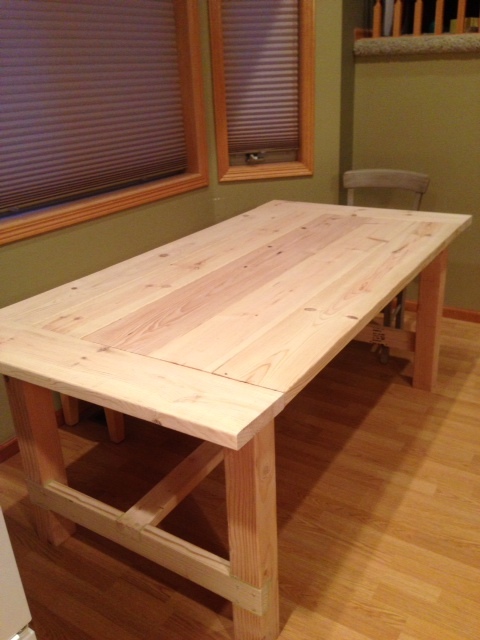
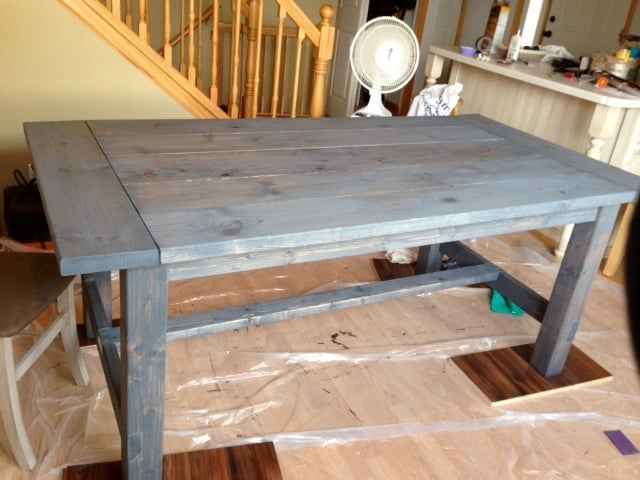
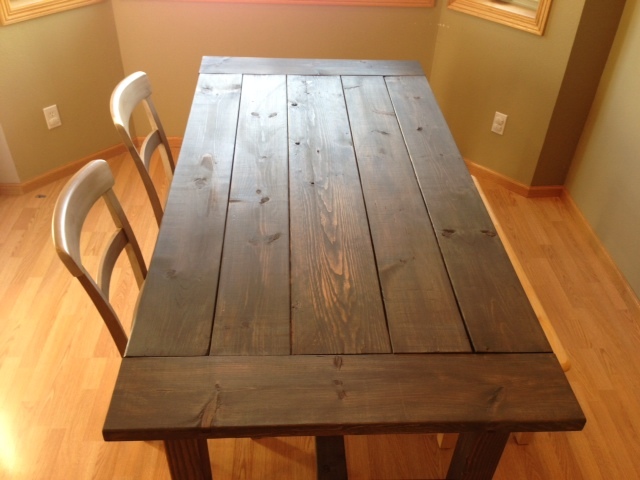
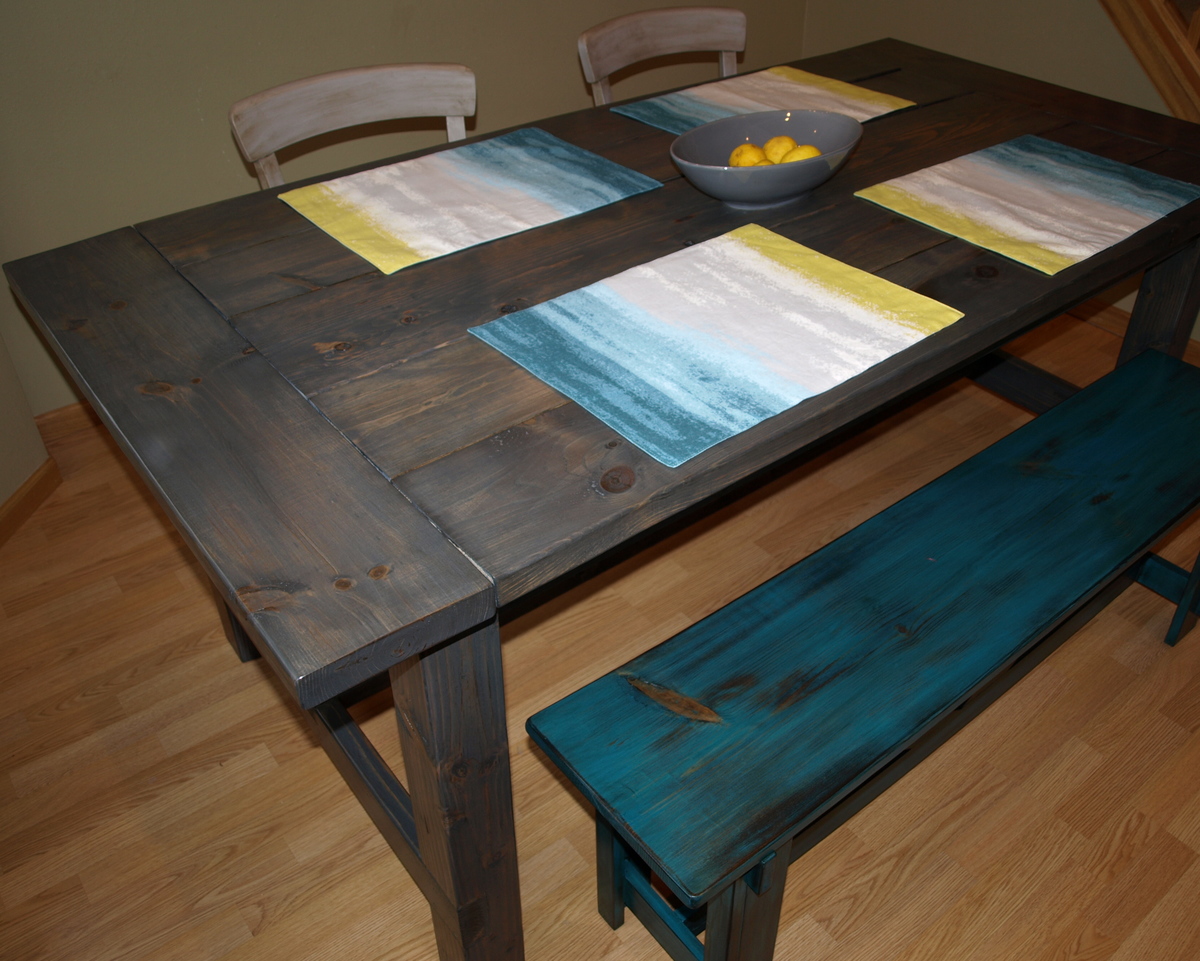
I've been wanting a farmhouse table for the past year or so ever since we updated our kitchen cabinets. The thought of spending lots of money on a dining table was not something I wanted to do with two little boys who tend to get a little rambunctious at times! I found the plan for the farmhouse table, sent my husband a text with the link and asked if he thought we could build it. We've been on a roll recently building closet systems, and laundry organizers so I thought I would nab him while he was in building mode. He agreed to give it a try, and we built it this past weekend, with the help of a 2 and 4 year old.
The plans were very straight forward and easy to follow. We moved it inside to build after all the cuts were made (other than the bread board ends) as we knew it would be too large to carry in the house. We also cut 10 inches off the length as we did not have a big enough dining area for an 85" table.
Then we made the large rustic x bench for seating!
Combined Mimi's Storage Bence with the Shoe Shrine Shelf and came up with a what we really needed. I like how it turned out!
Had a lot of fun making this, and it only took an afternoon! Had all the hardware and finish needed so it was a quick trip to Home Depot for the 2x2's, pavers, and adhesive.
One caution I would give people is check how the pavers lay on the top before applying finish in case some sanding is needed to get the pavers to all lay flat and level. I had one of my cross pieces bow a bit and it needed some sanding to get the pavers laying on it to be level with the others.
Great table for outdoor use and has been a functional table for a lot of BBQ's already, thanks for the great plans, Ana!
- Mike
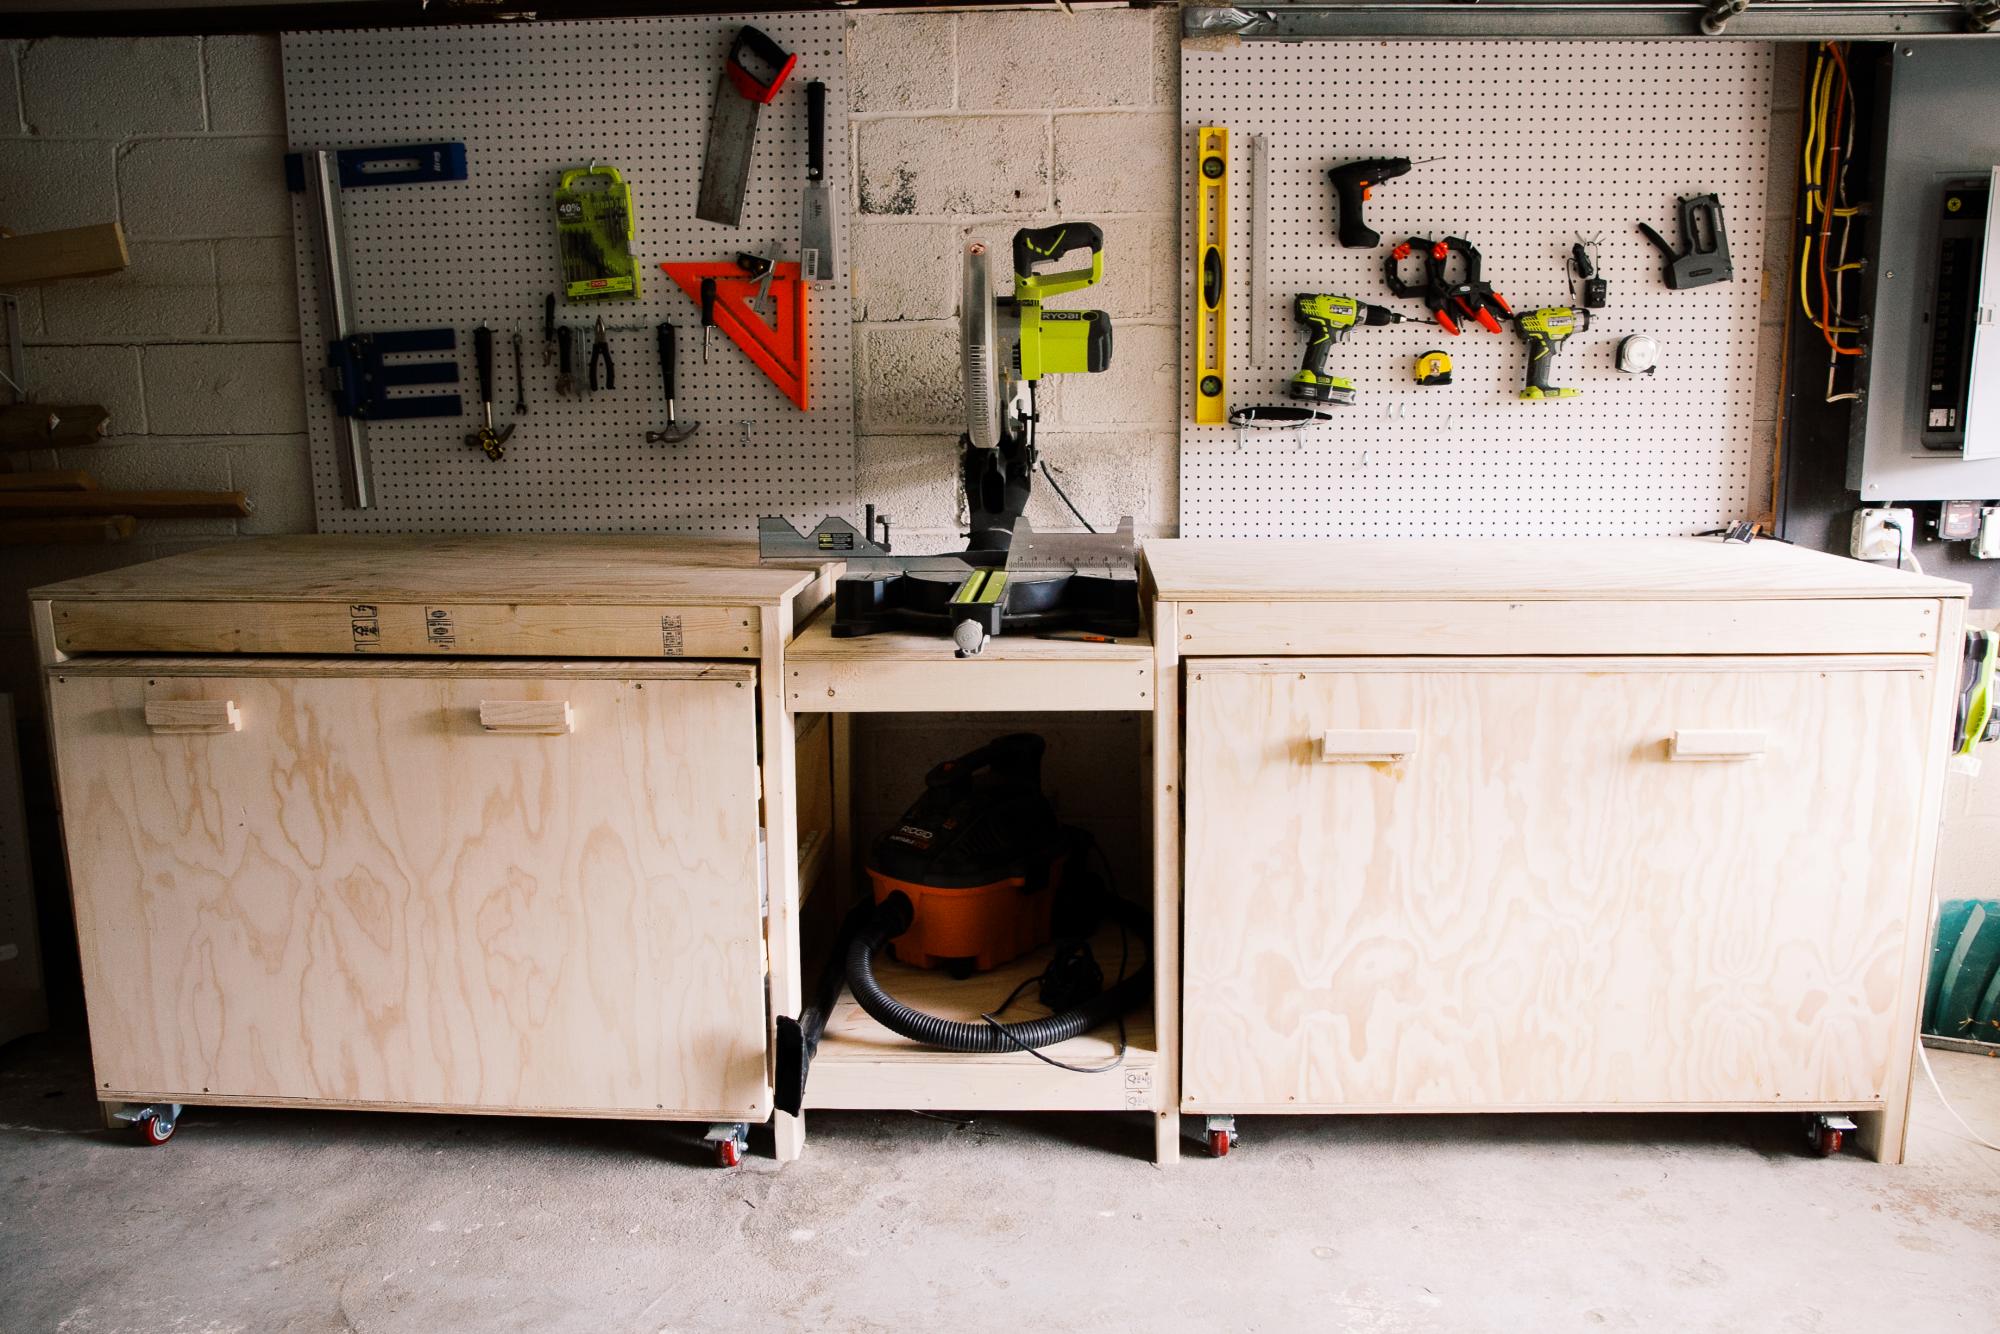
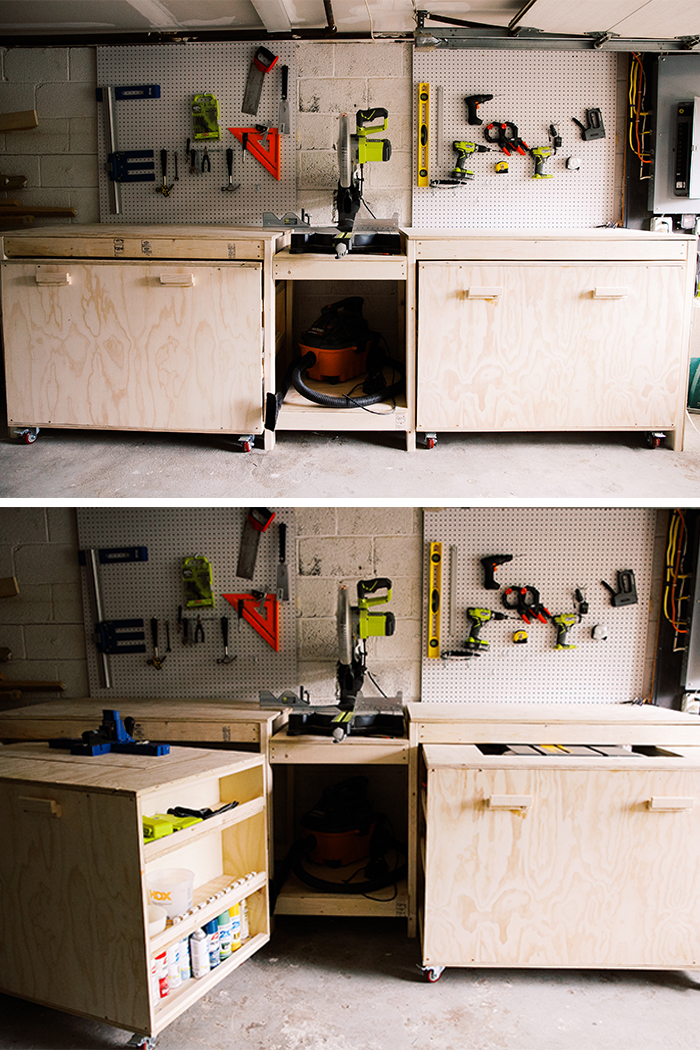
This plan is so perfect and I love the fact that it has a space for most of the tools, for a miter saw, table saw, and could be customized to your needs and tools that you have!
Thu, 08/26/2021 - 20:44
Thanks for sharing, I can see a lot of awesome builds happening there!
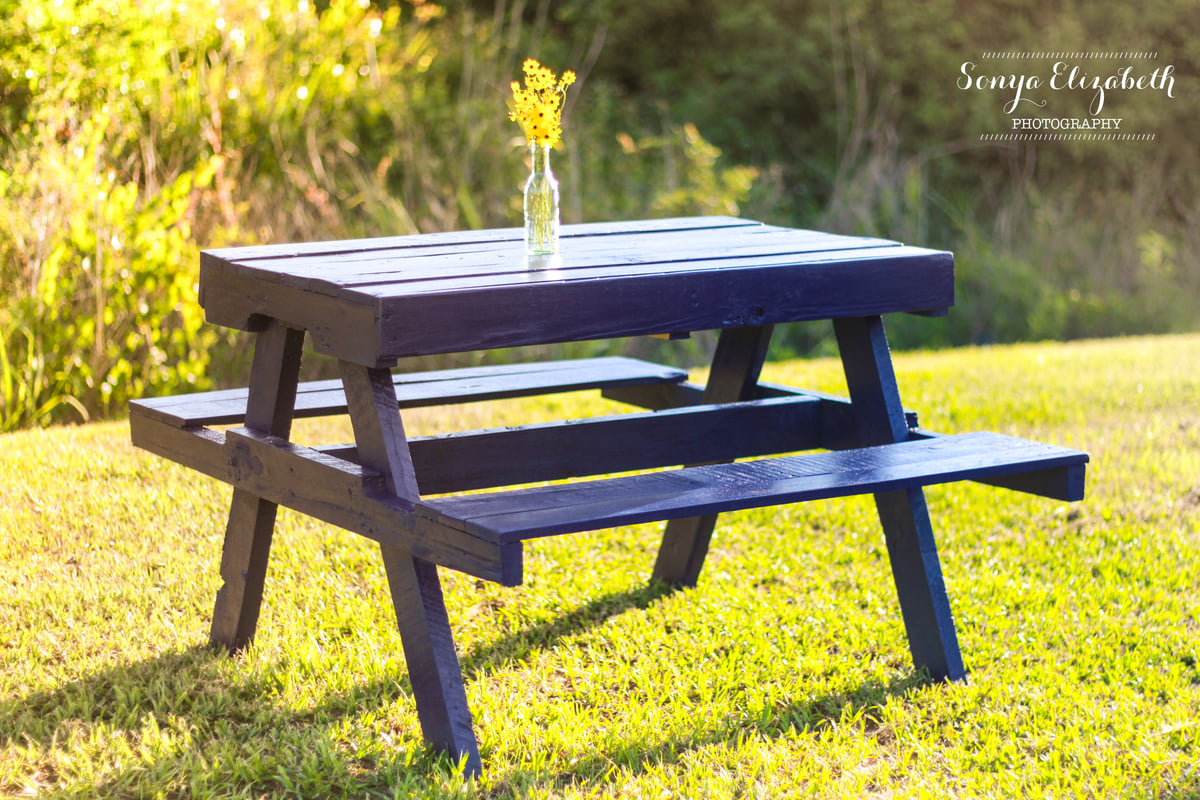
There were no exact instructions so the project was just eyed. We used finishing nails to put it together so it would be easy to take apart if a mistake was made, then later we added the screws. Bought a can of rustoleum paint in navy blue. I get pallets for free from my mothers work, and we had screws laying around, so essentially the project was free.