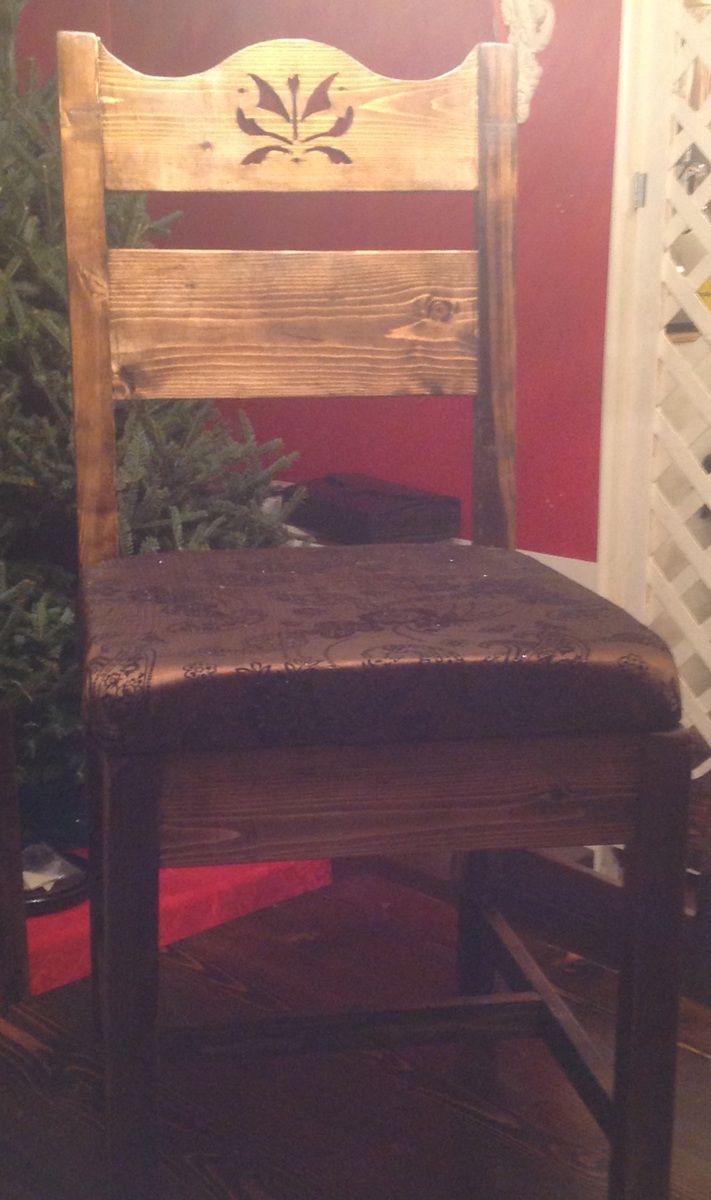
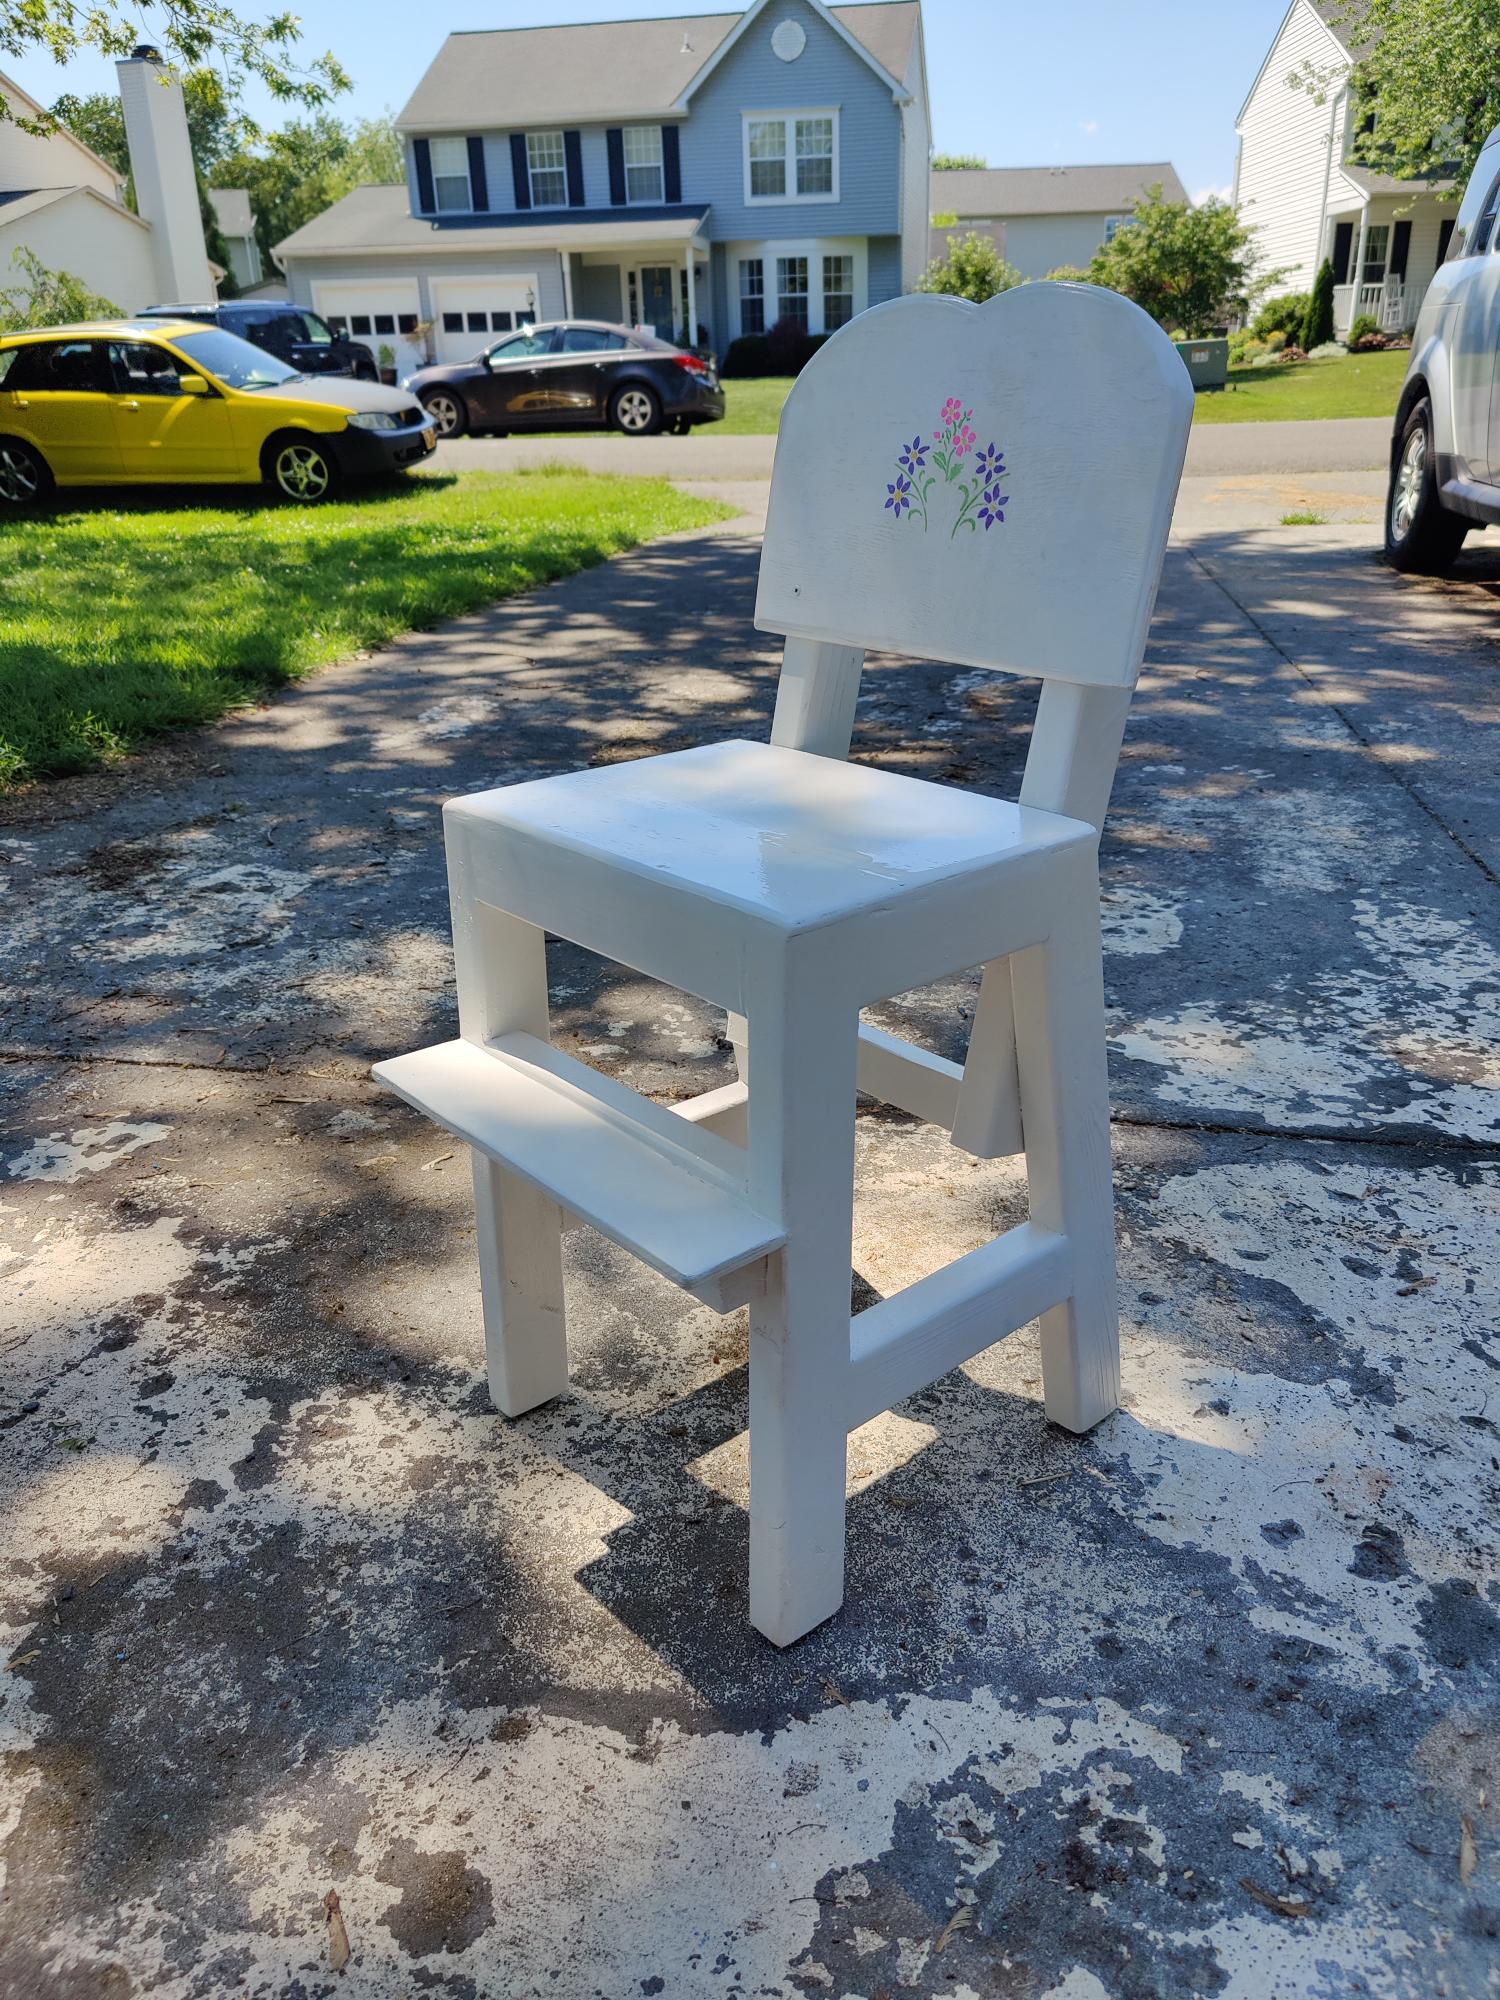
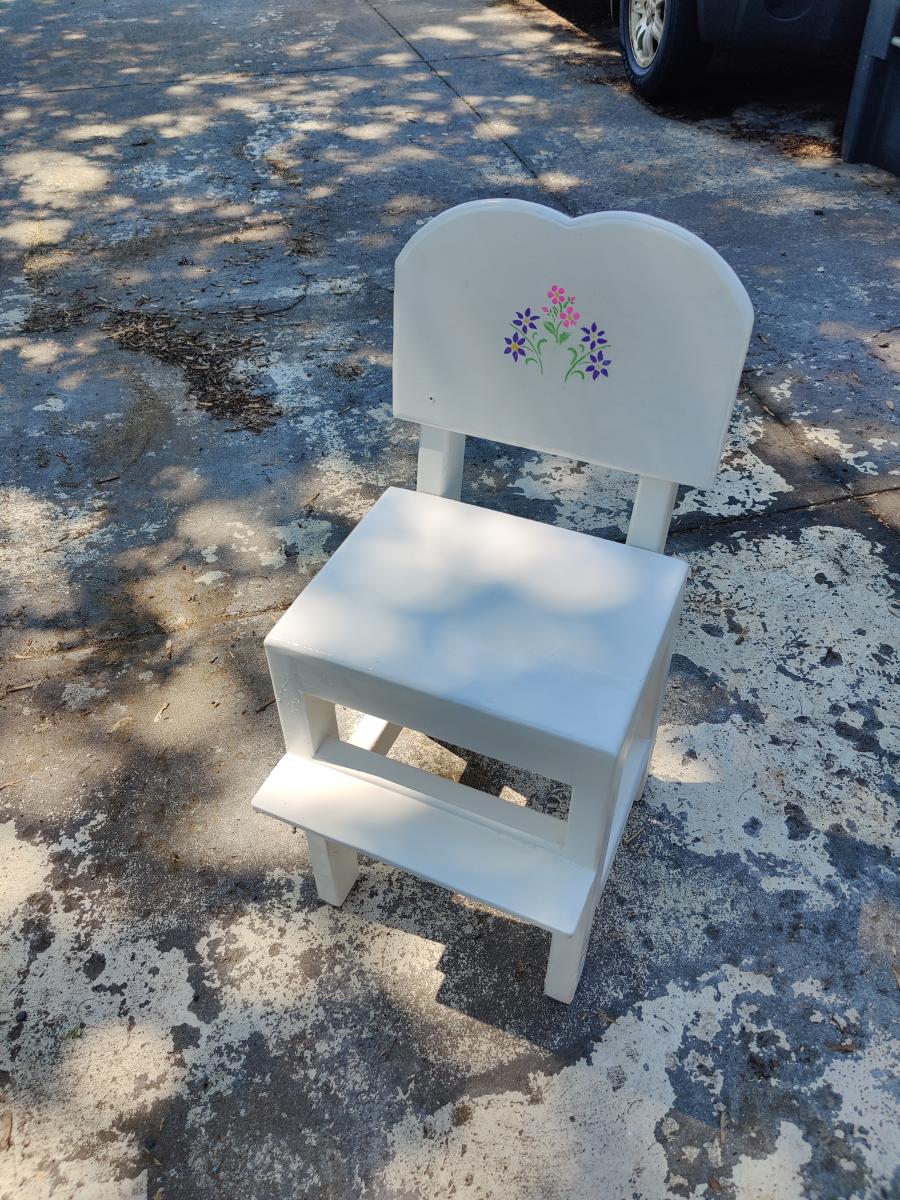
This is Harriet's higher chair, rejiggered with 2x3s because lumber is expensive and that's what I could find in straight lengths. Seat and back are made with plywood from a project panel. Tried to fill all my gaps and hide all my screws that would be visible from the outside and added a foot rest. Finish started out okay, but as I tried to tweak it and re-cover some things, I became less and less happy with how it came out. Note to self, "stenciling is hard". Next time we will most likely transfer pre-done graphics from the printer.
Most of the time in this is in the finish. Some of the dry times were 24 hours others were 15 minutes.
Edit: Roundover bit for trim router used on edge of seat and around the edge of the back. I found this a necessary addition, but it would have come out better on edge laminated 1x4s instead of the plywood I used.
As an aside, Ana's page was instrumental in my buying decision of an incredible lineup of Ryobi tools (2 drills, impact driver, circular saws, oscillating multi-tool, powered caulking gun, inflator, trim router, Evercharge hand vac, And a EZ-Clean... But there are more I want/need... :-D ), and a Kreg K4. They are worth every penny. A lot of Milwaukee tech is getting integrated into some of the latest Ryobi tools. Even more worth it is upgrading the clamp on the K4 to an auto adjuster. ;) Makes life so easy. Thanks for the inspiration, Ana!
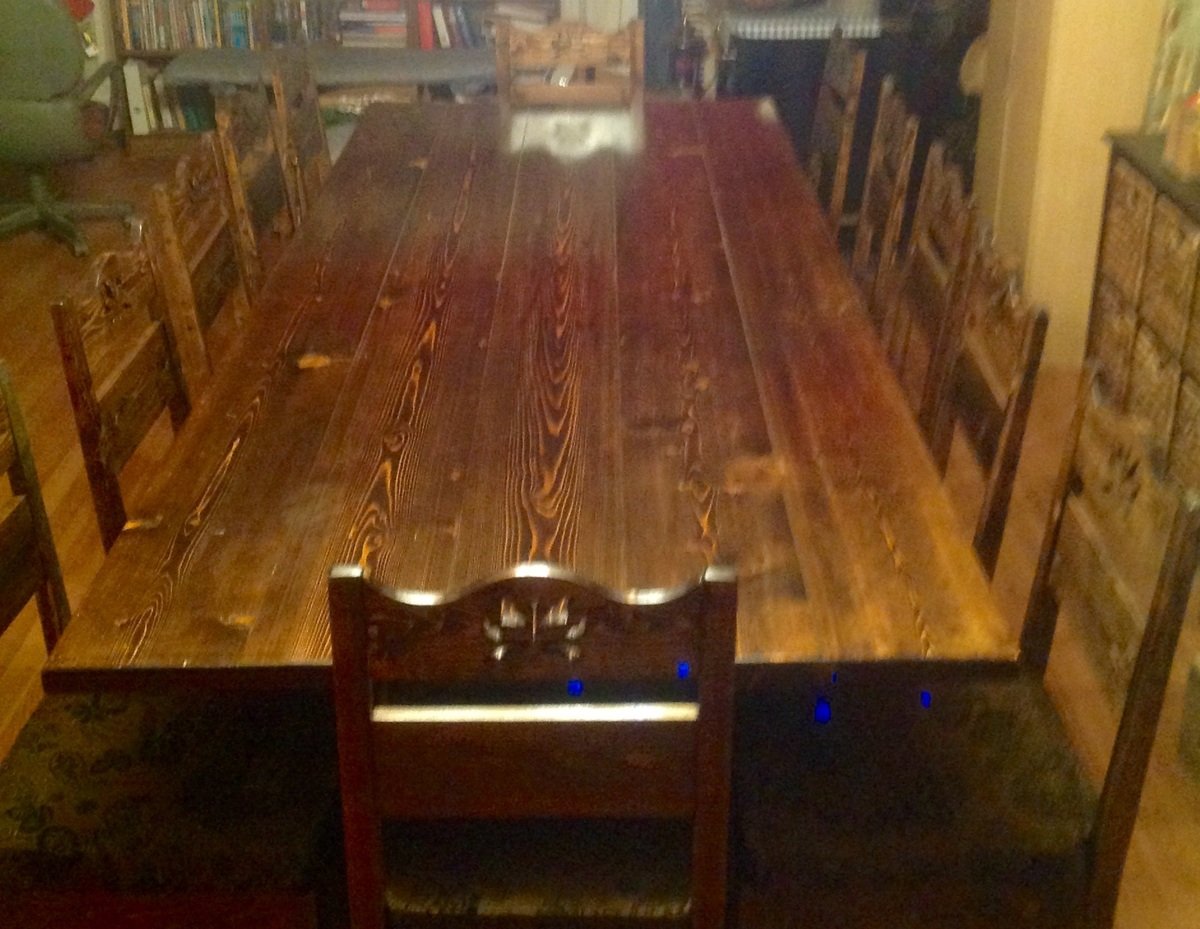
For any beginners wondering: Glue AND screw things together. Screws hold better than nails, but are not enough especially when building something that is supposed to take weight, and kids like to wiggle in chairs. Modern wood glue makes a bond that is stronger than most wood. if you try to pry apart a glued joint, you will notice that the wood will split and break before the glue gives way. I'm 275 lbs and this chair I made for my toddler doesn't groan or squeak when *I* sit on it.












Comments
Ana White Admin
Mon, 05/24/2021 - 09:32
Gorgeous!
Absolutely beautiful, thank you for sharing your projects!