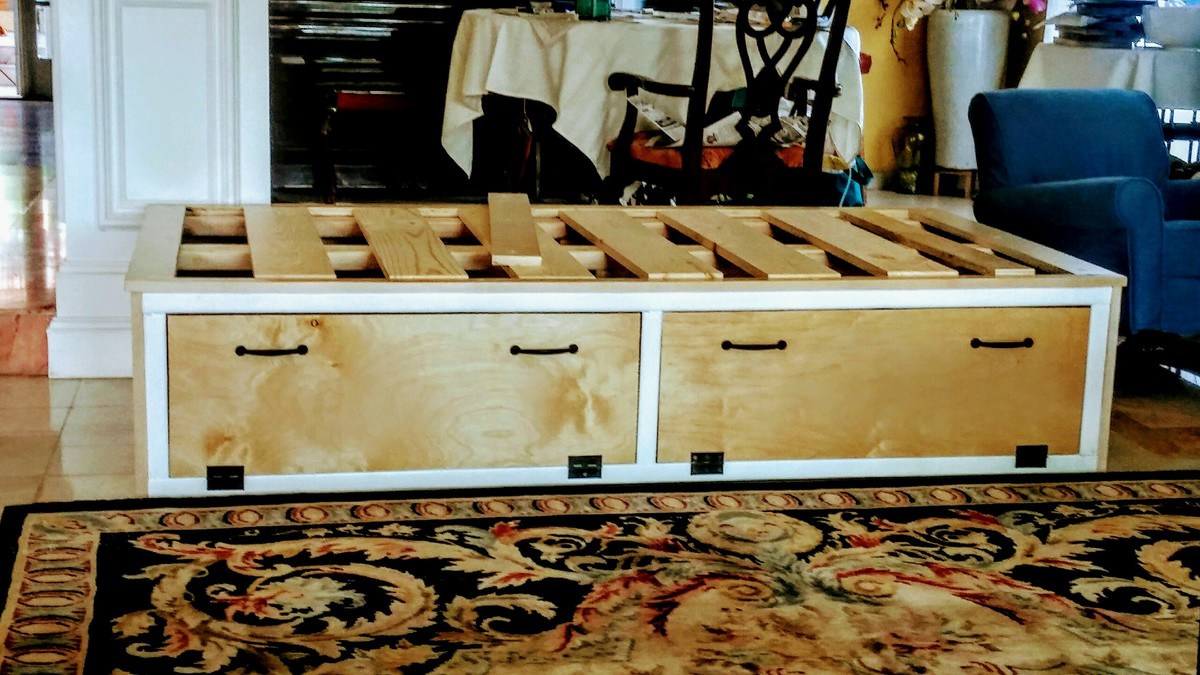
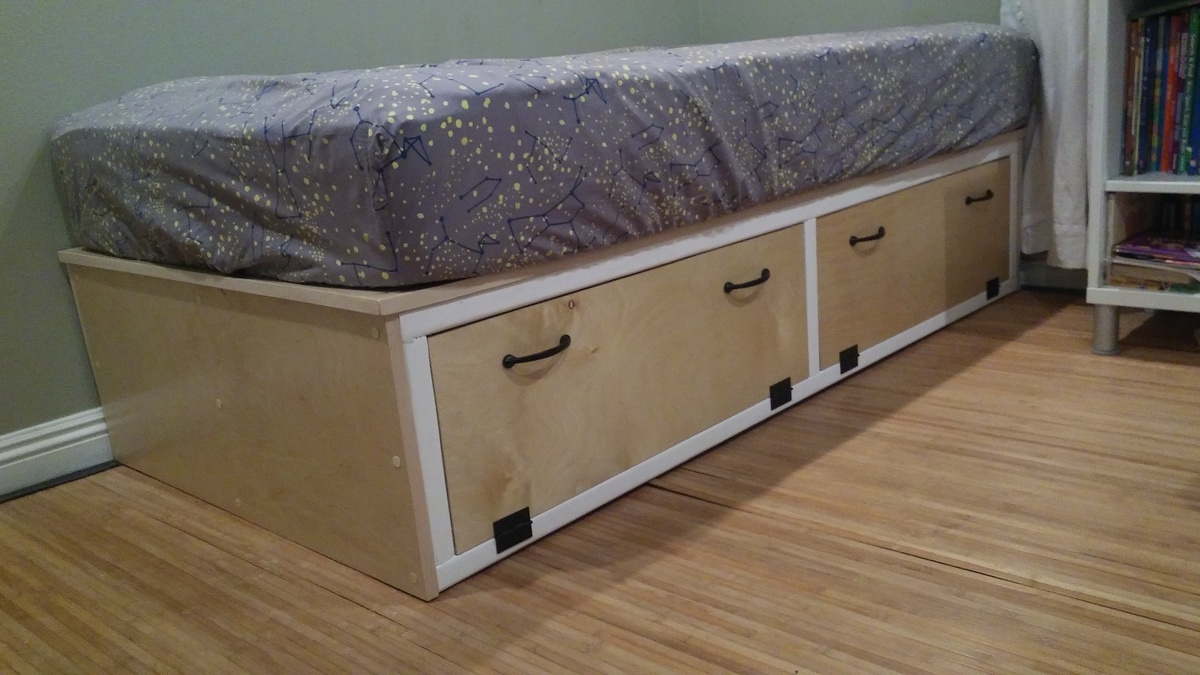
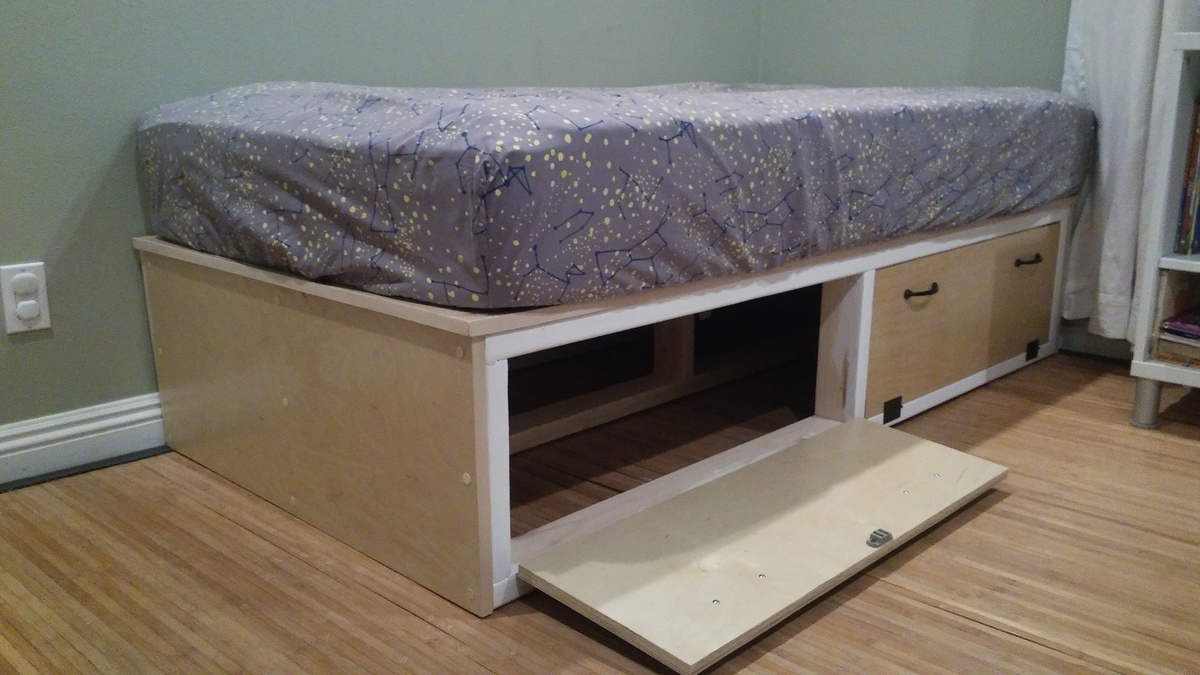
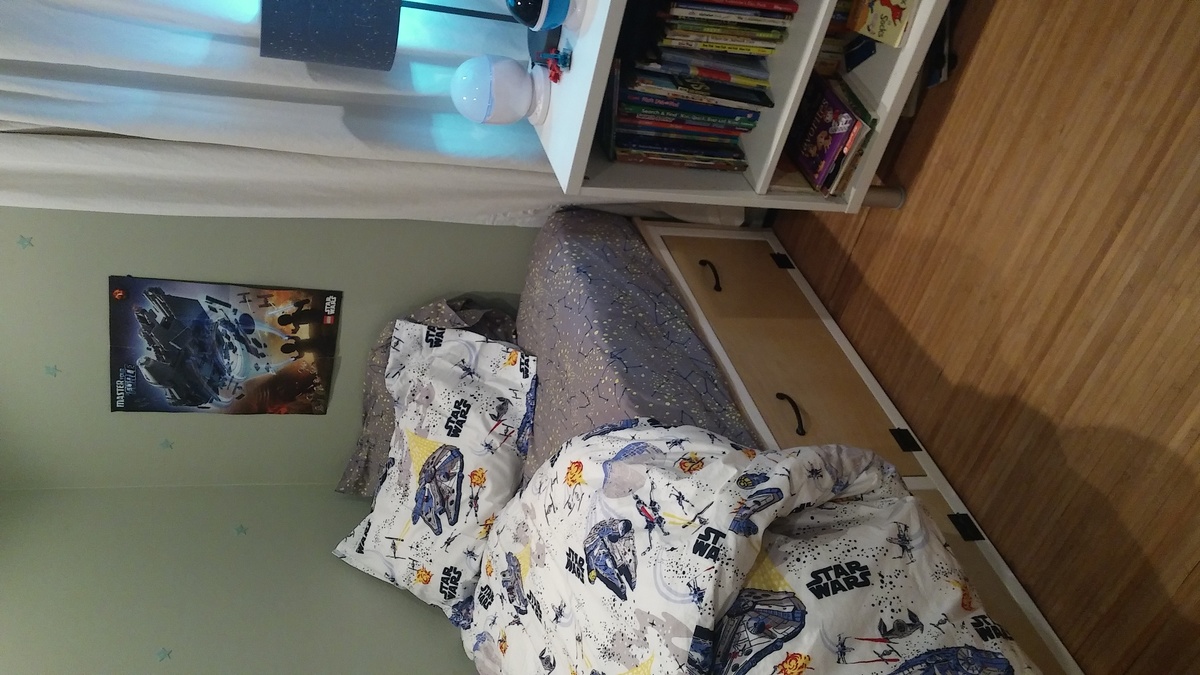
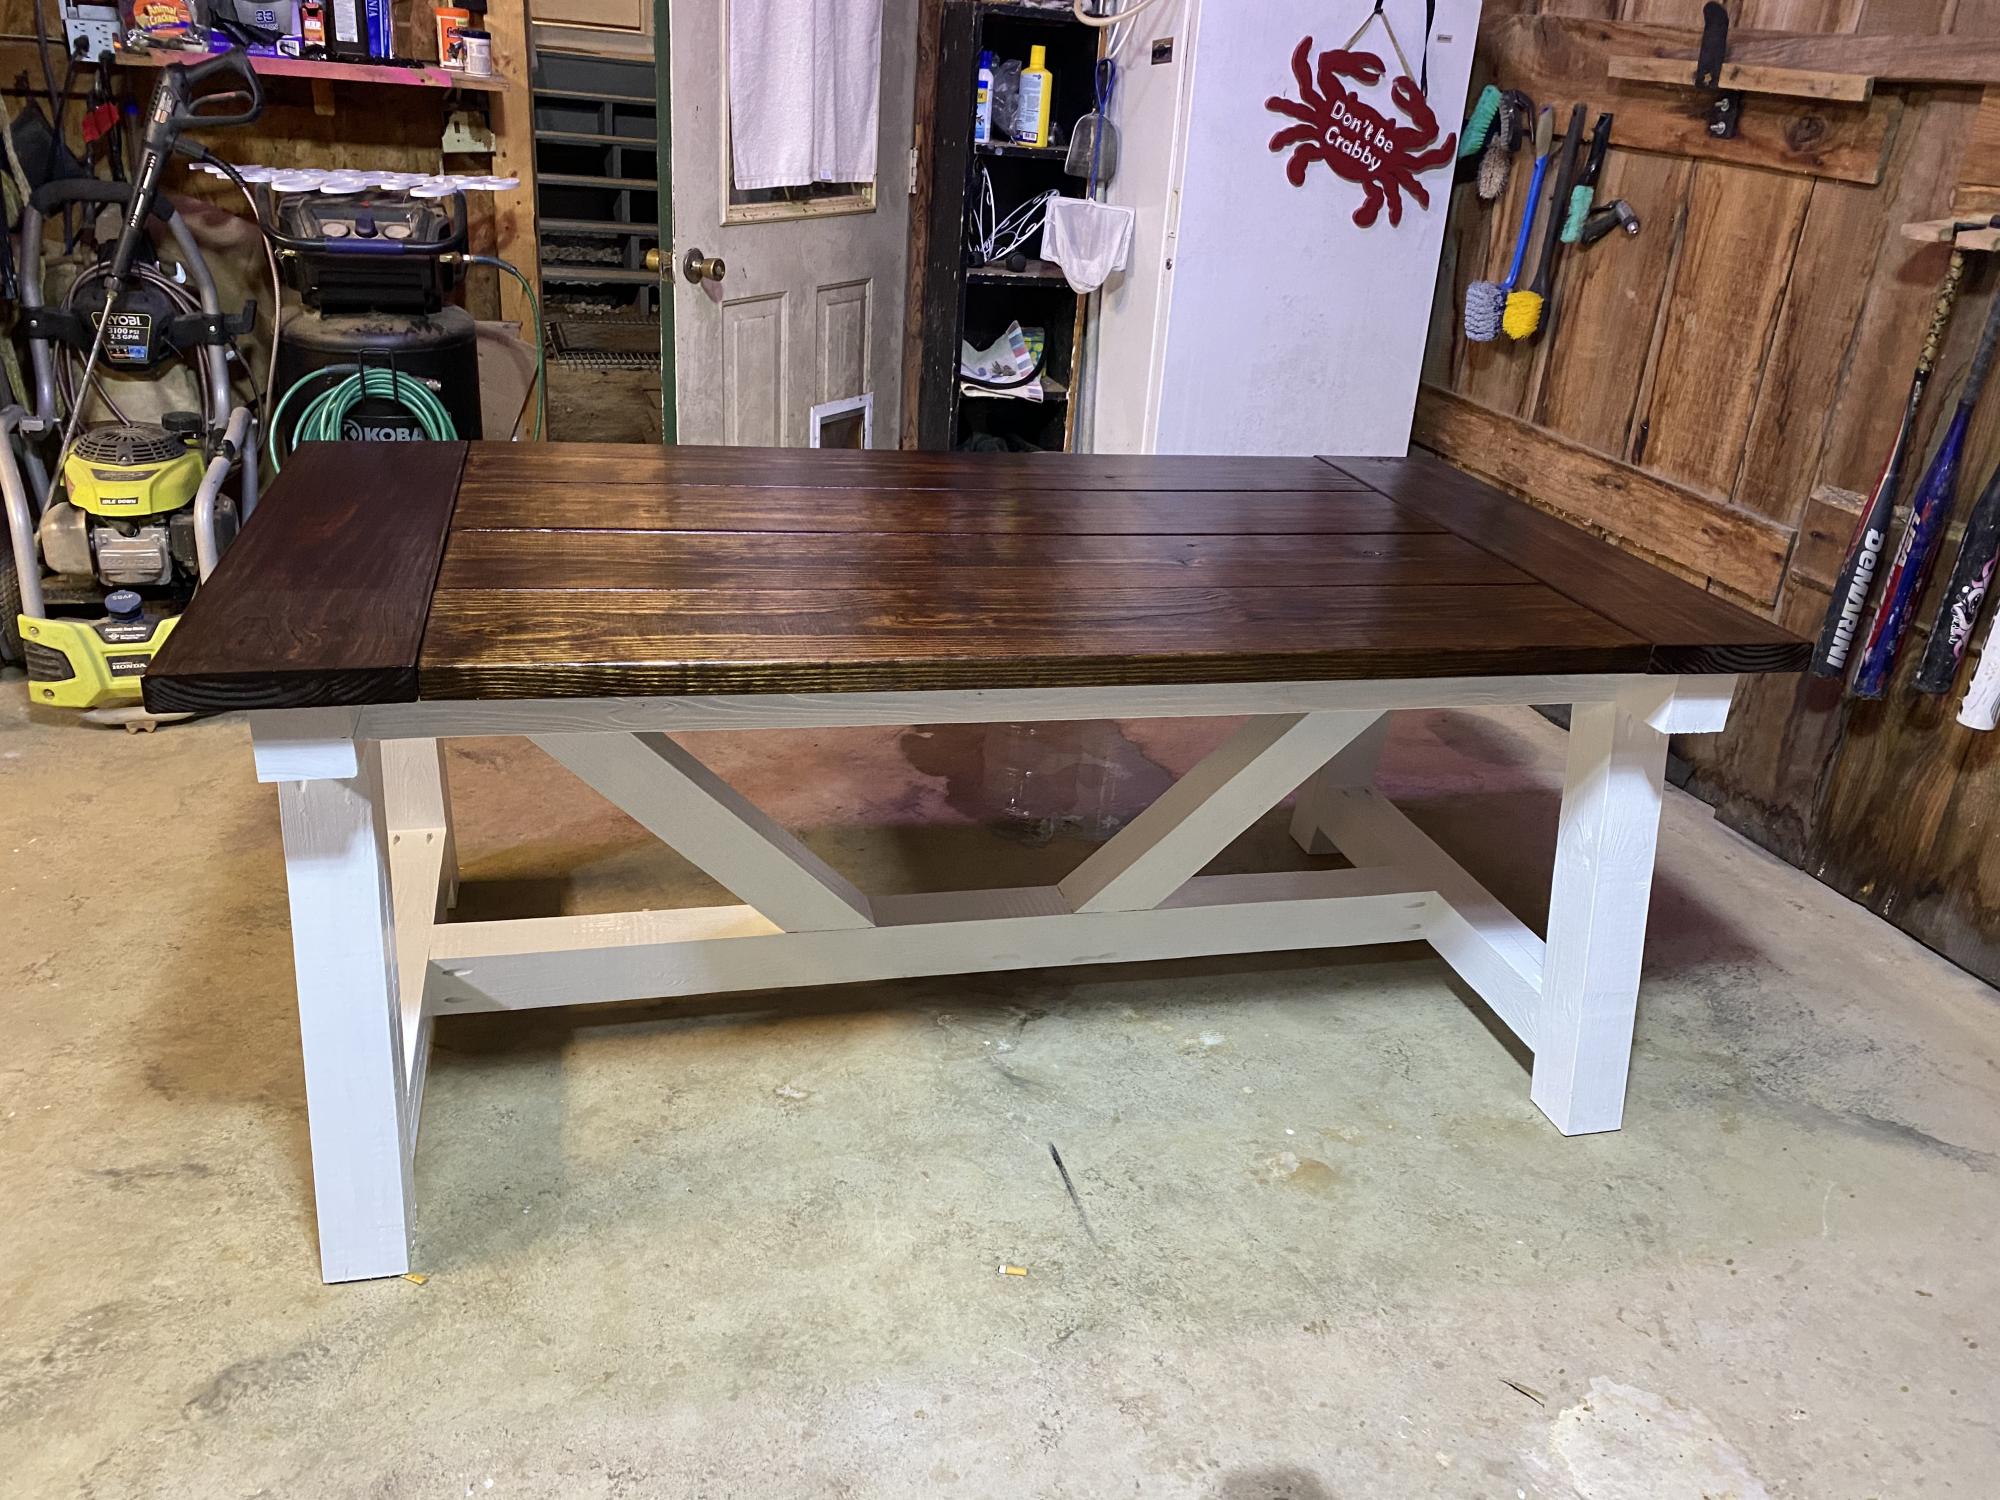
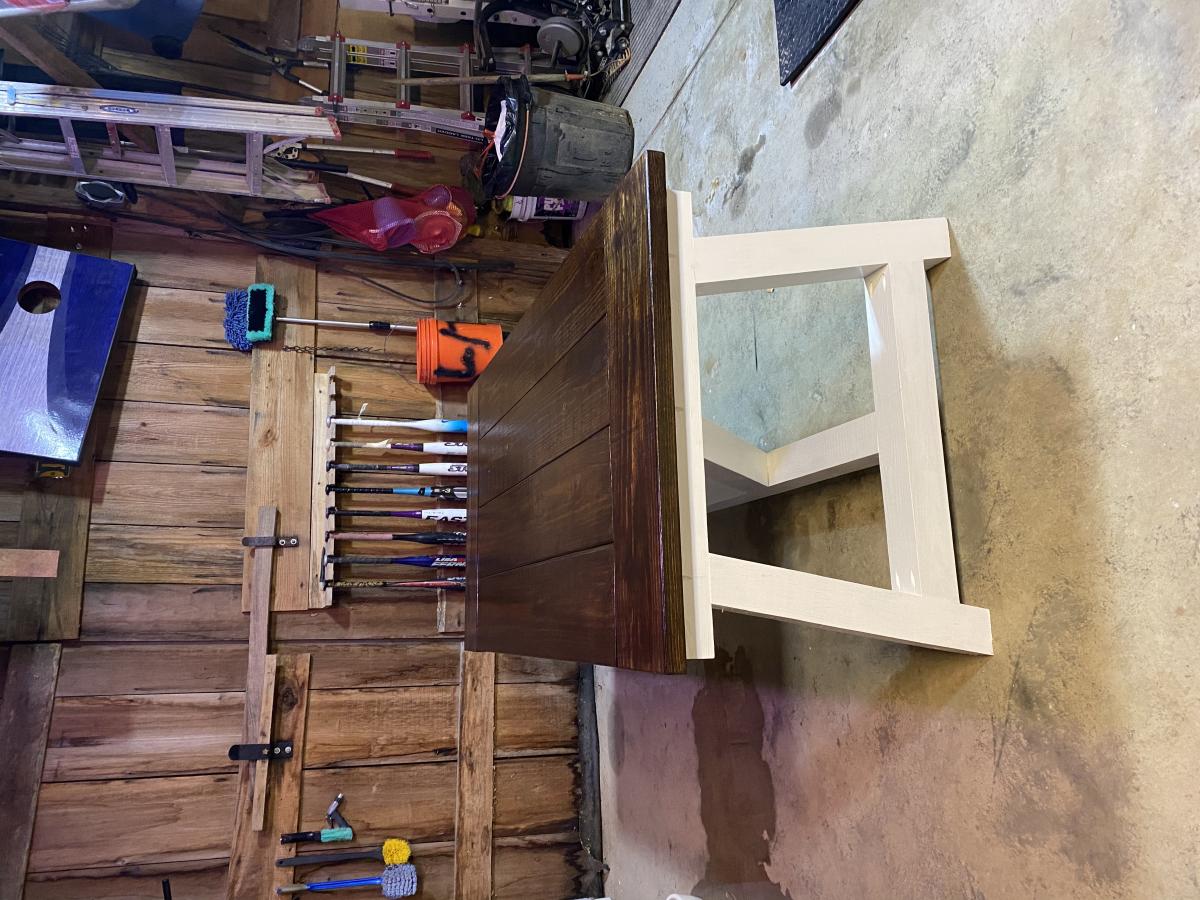
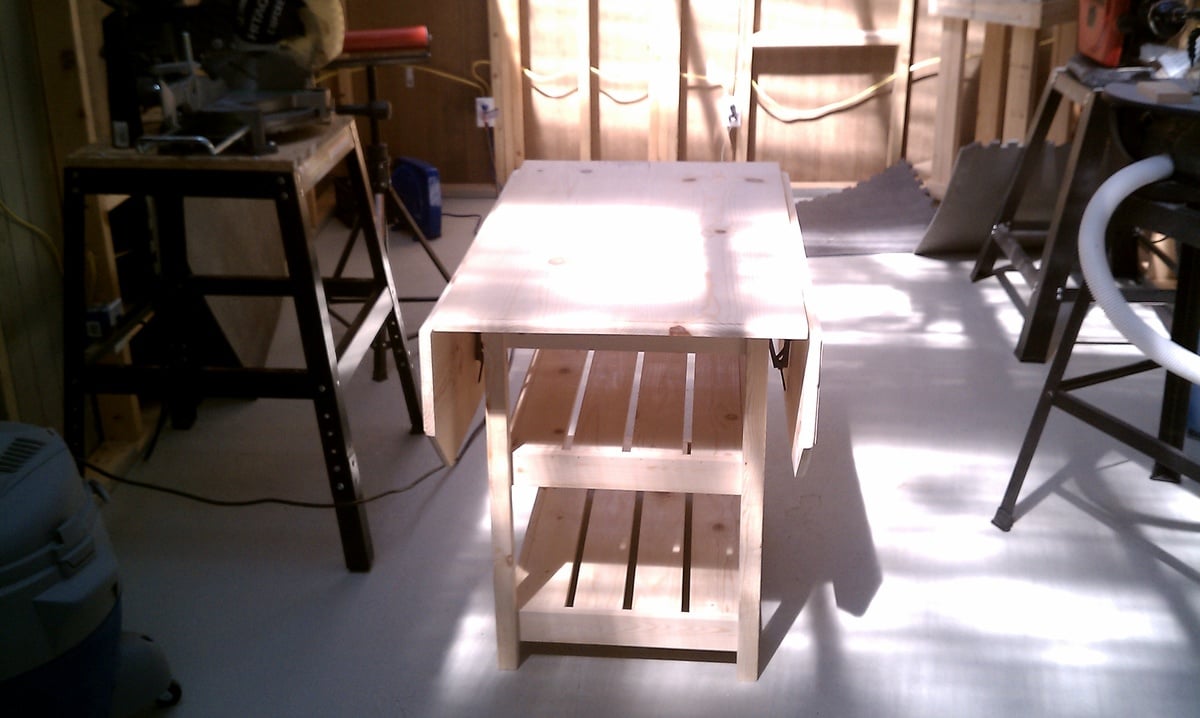
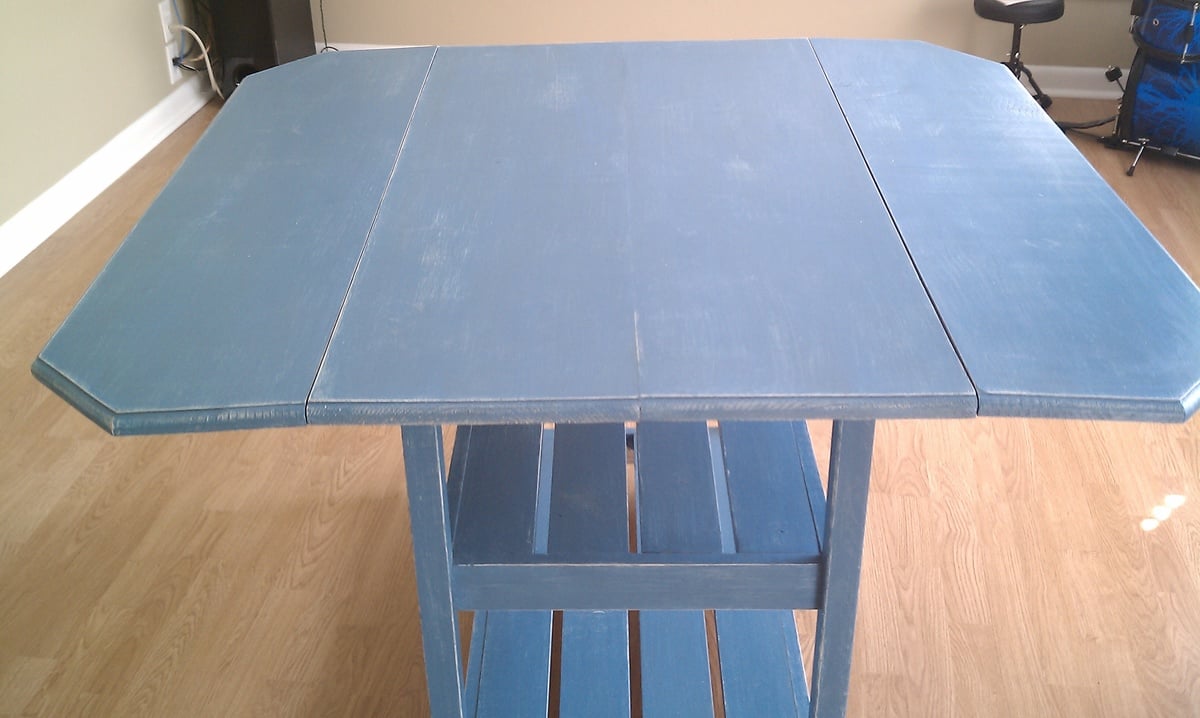
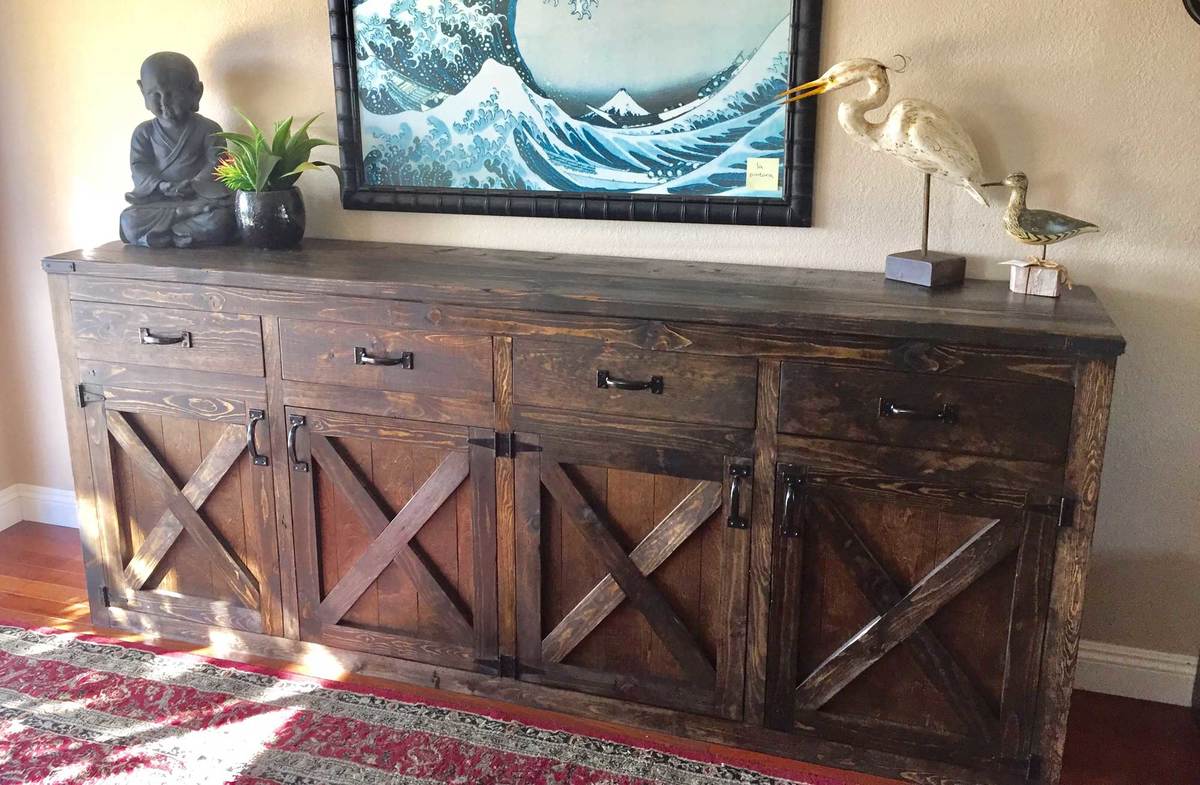
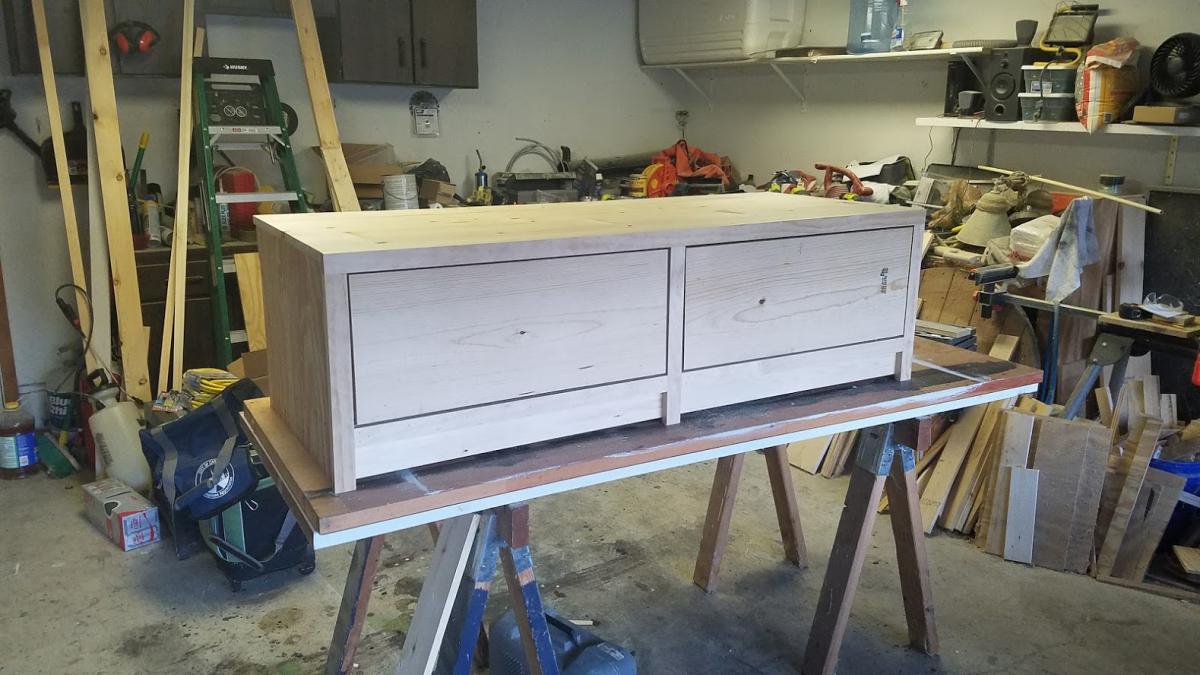
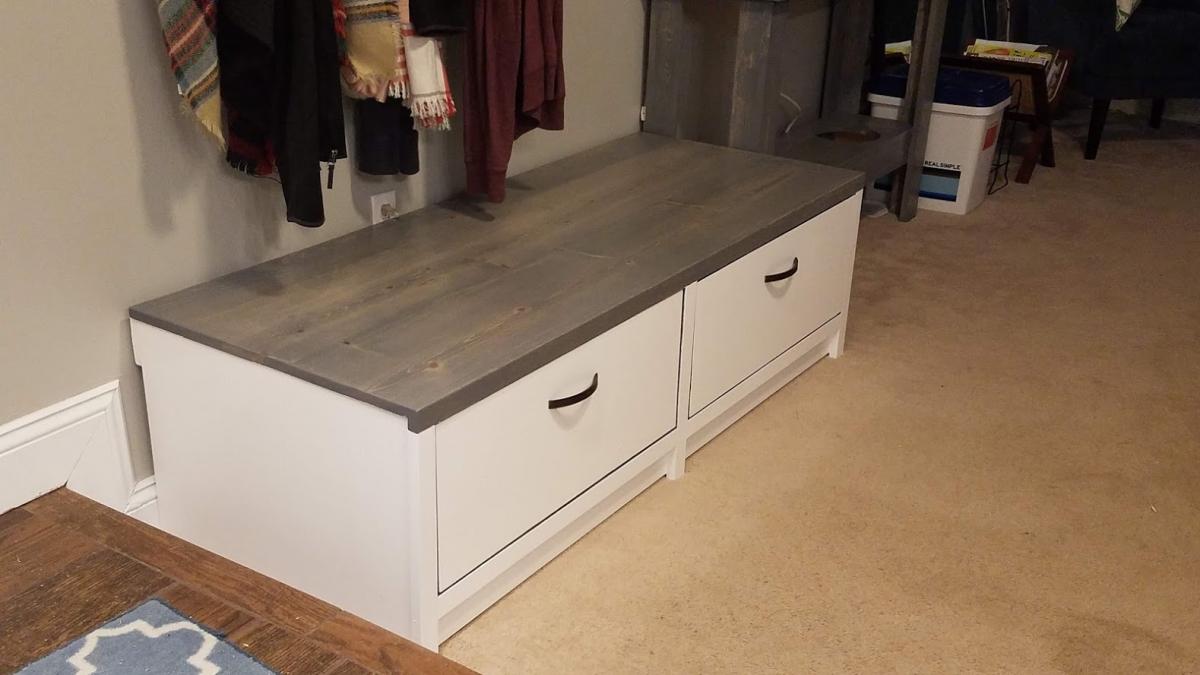
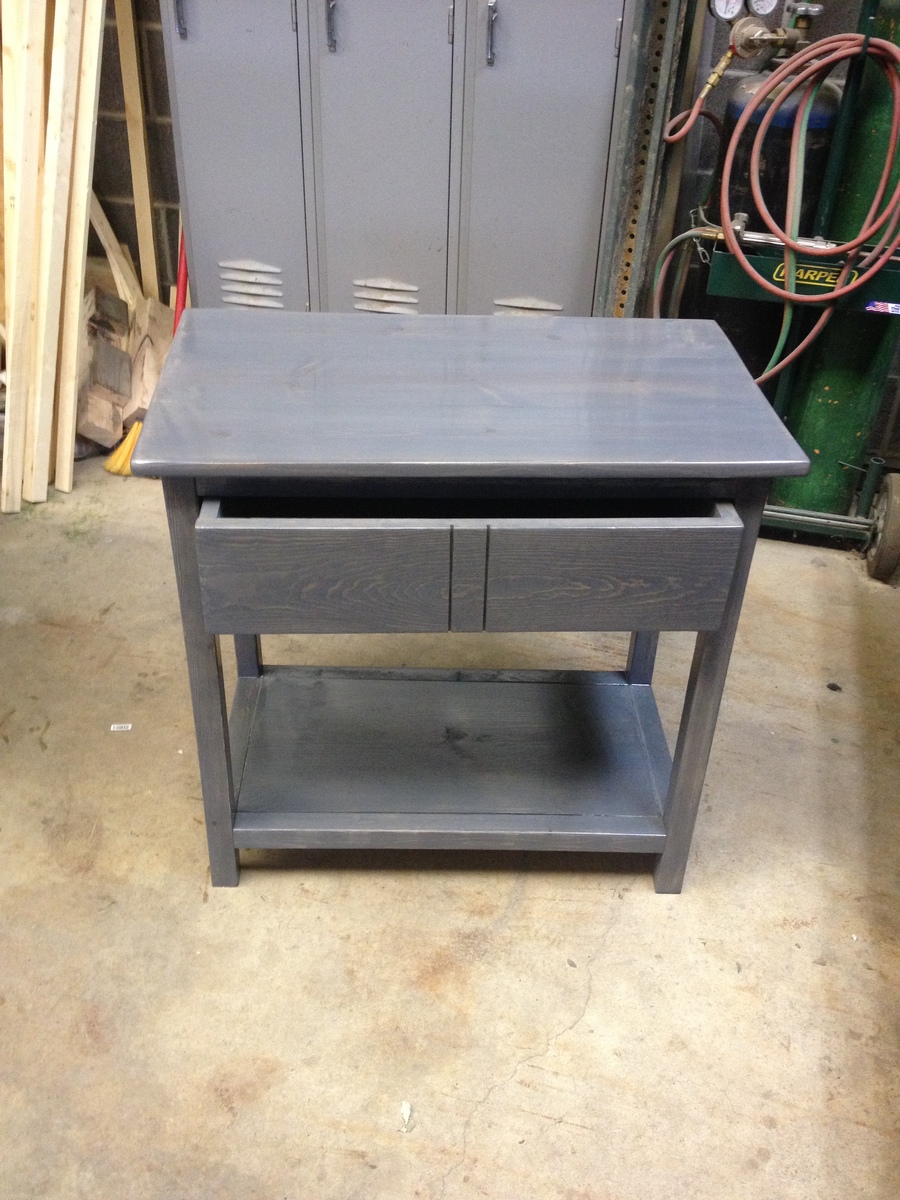
Planked wood sideboard

The plans make this huge! I had to narrow down, and adjust for shelve opening. Hardest part were getting slides situated on sides, there was just enough difference from 2x4s to upset slides a little. I recommend going for the longer slides, if u r running into the same issue.
Love the plans and love this site, so much inspiration here!
Thanks Ana
dan
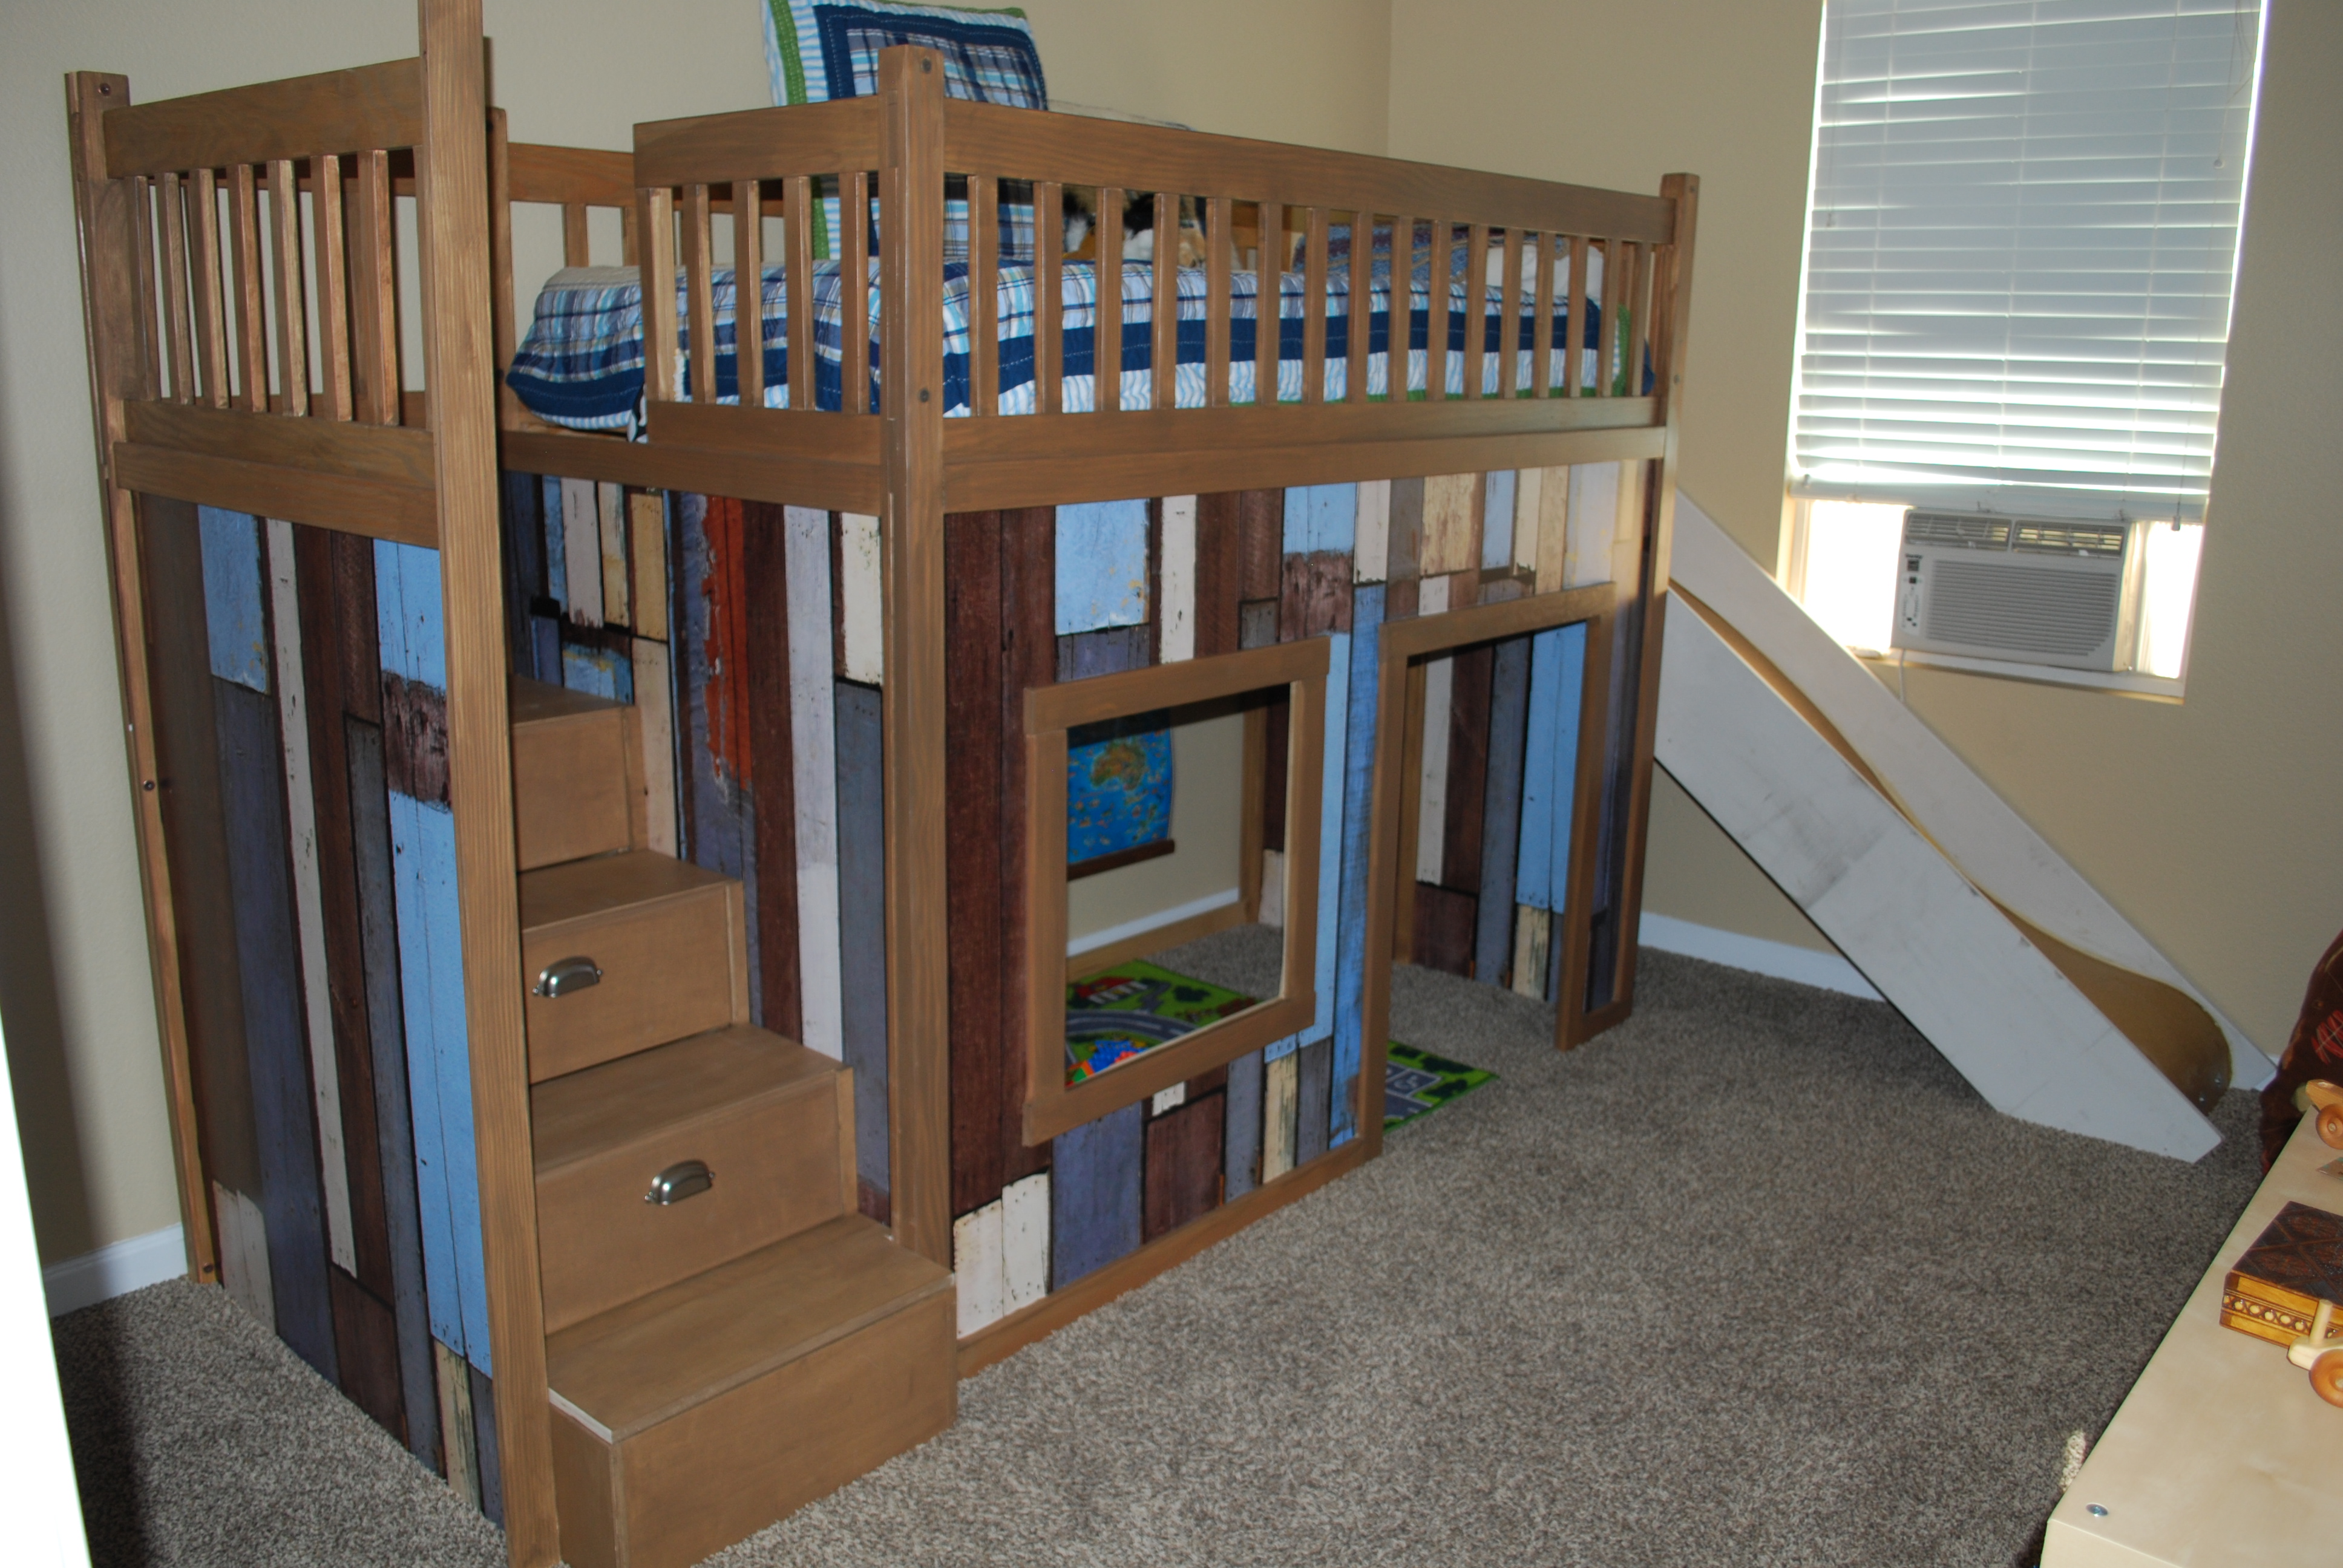
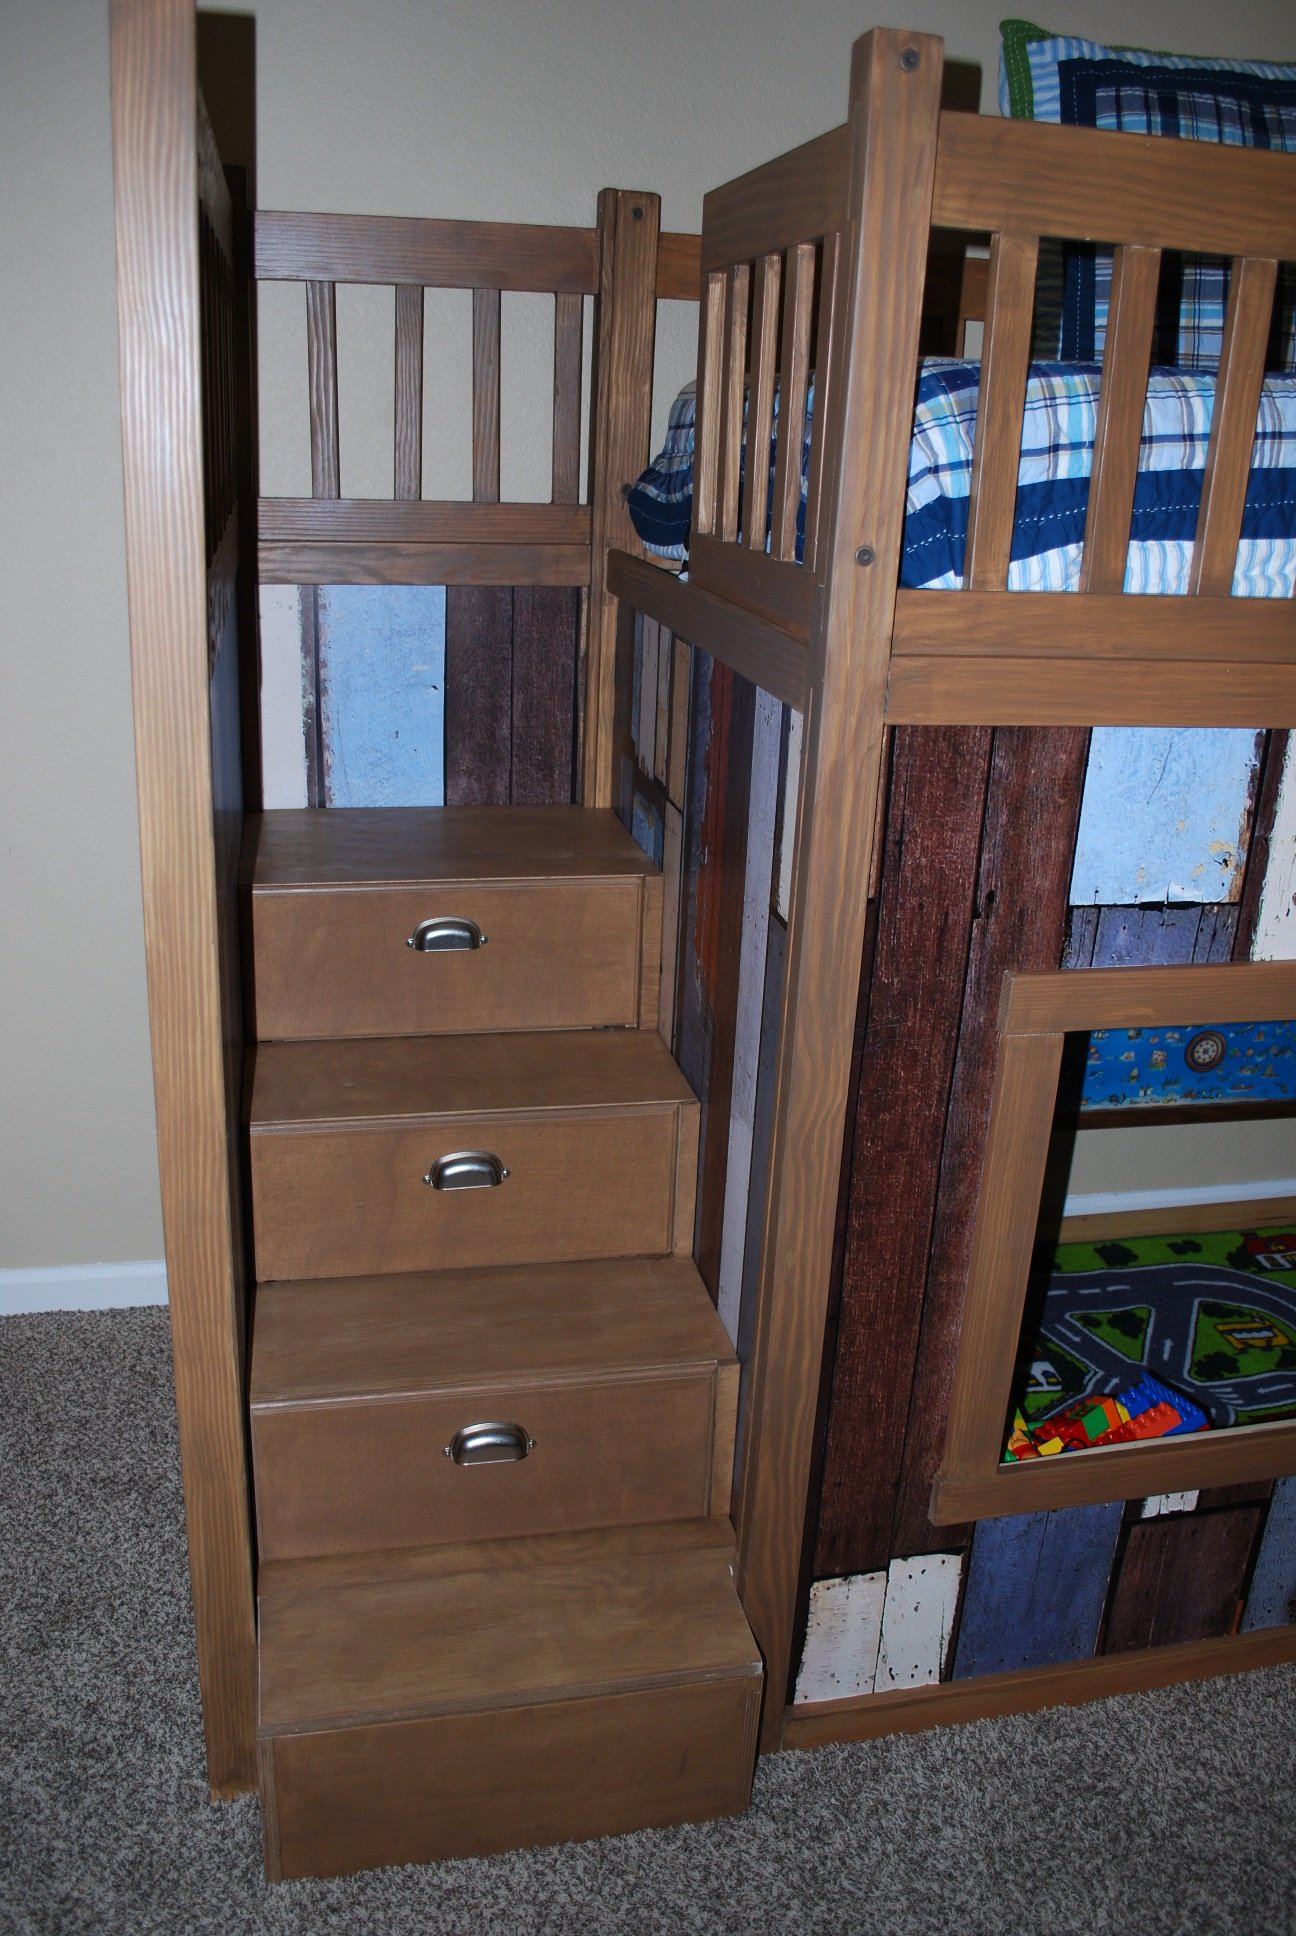
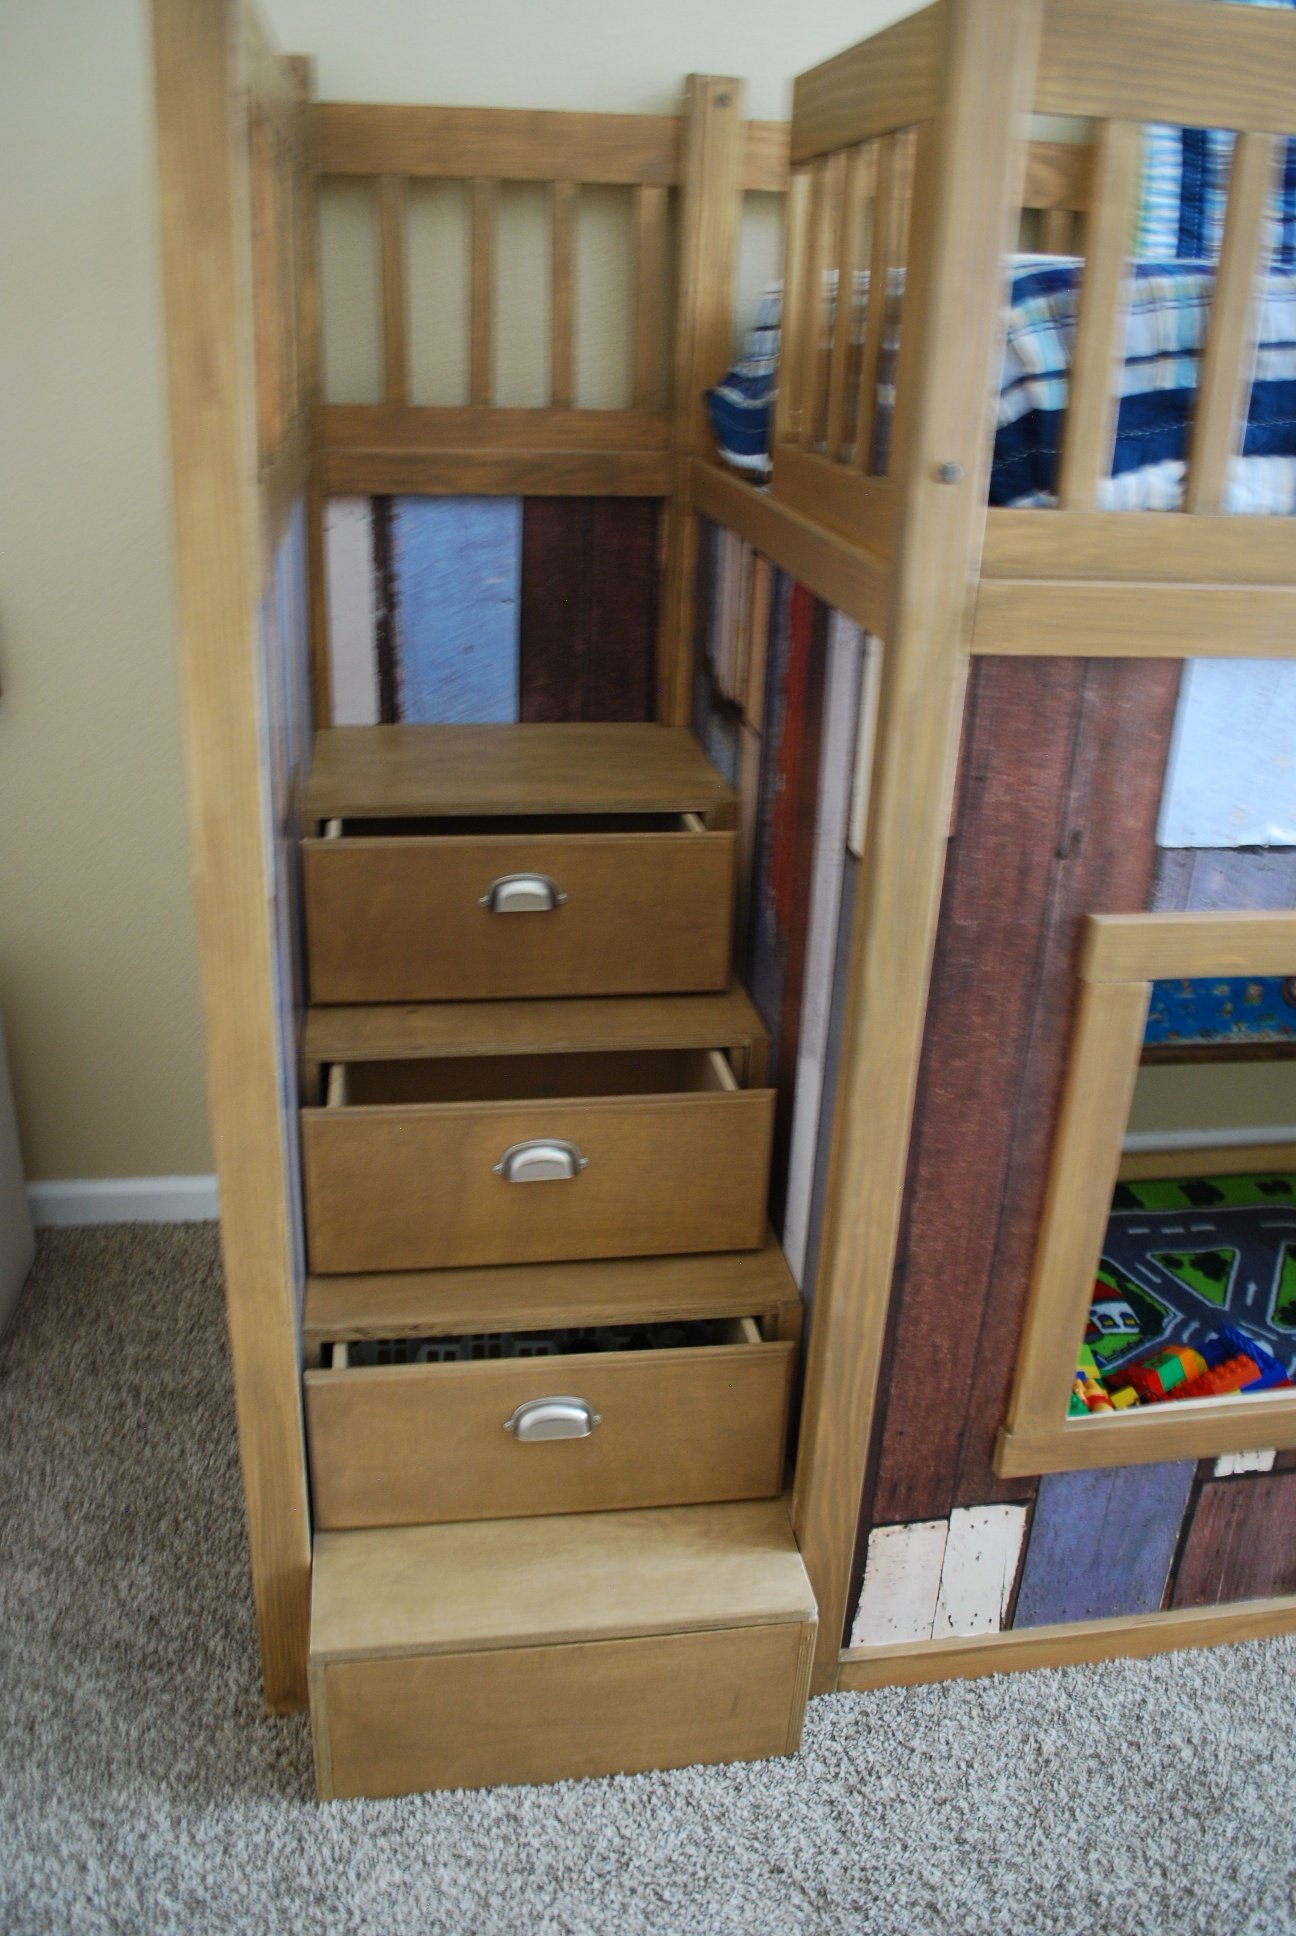
Built from Plan(s)
Estimated Time Investment
Week Long Project (20 Hours or More)
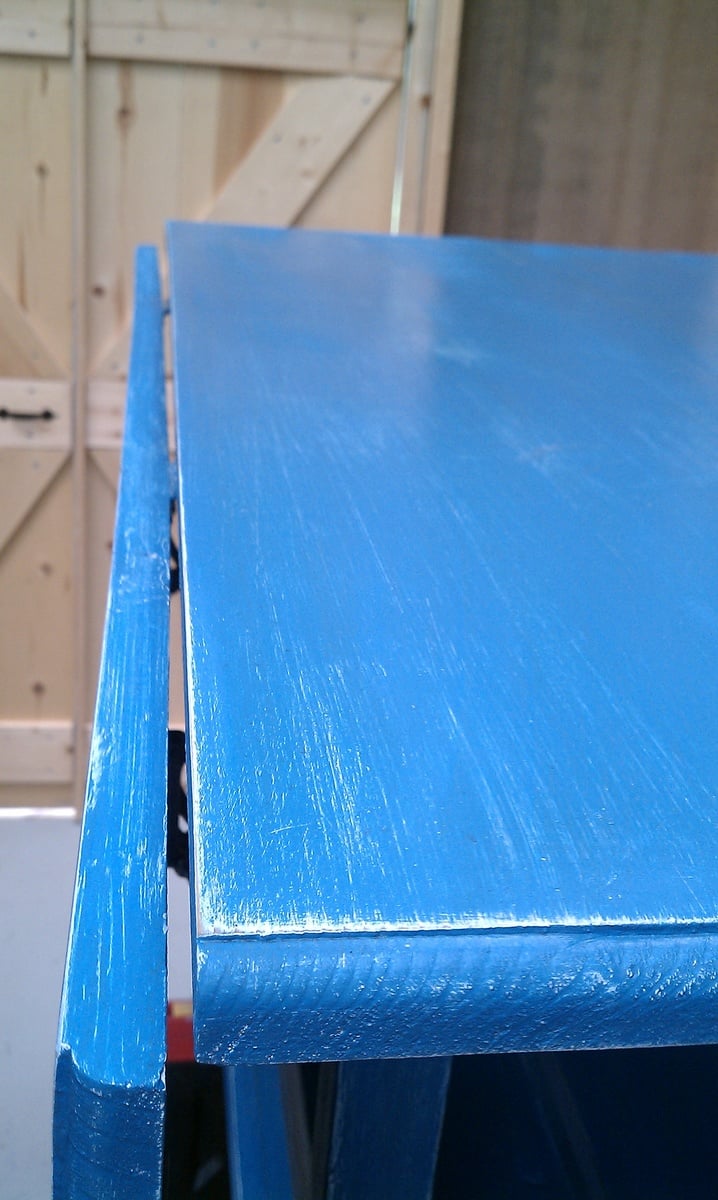
Finish Used
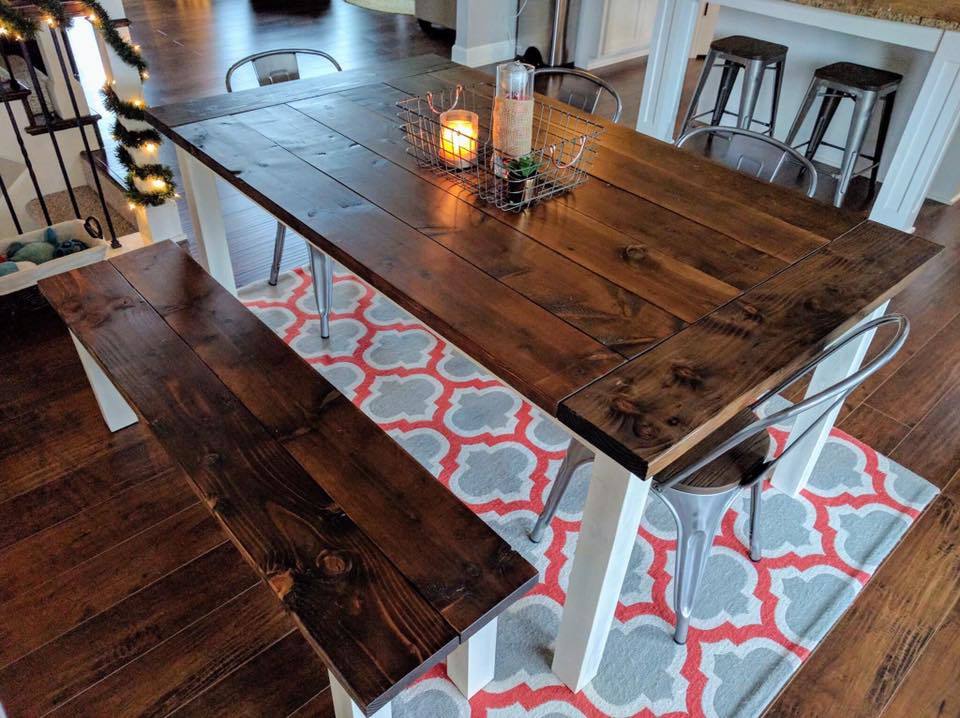
Minwax red mohagany, with clear satin poly
Recommended Skill Level
Intermediate


Comments
dconway8
Sun, 09/21/2014 - 19:55
Really loving this site
Really loving this site