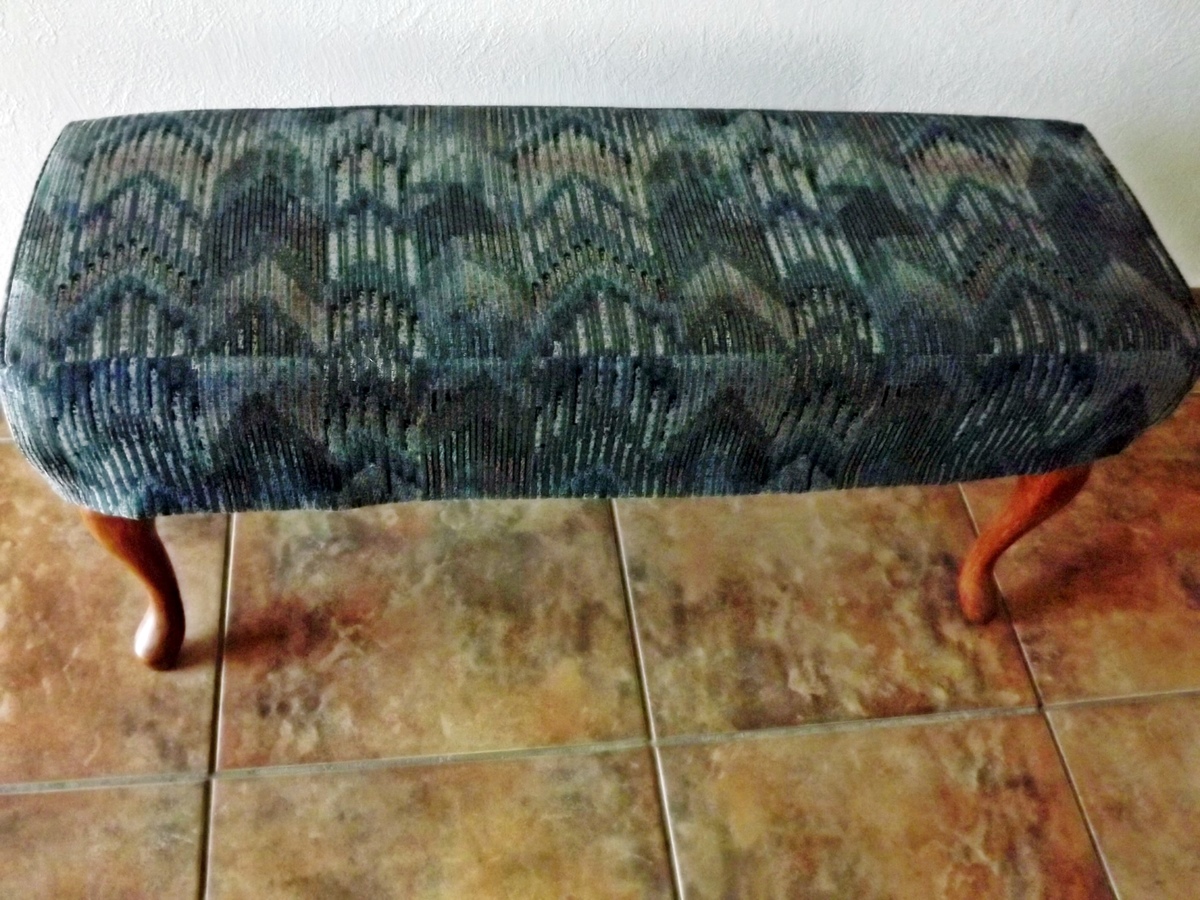
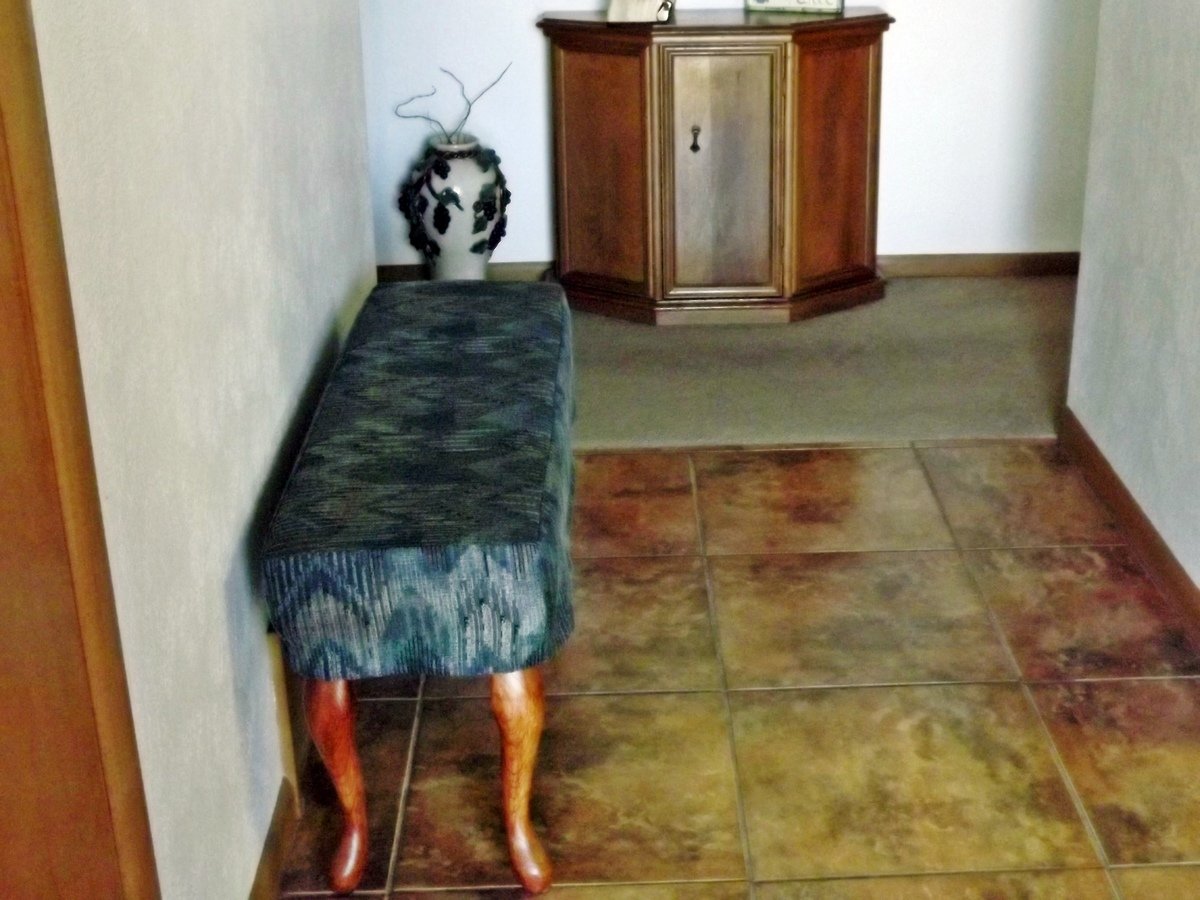
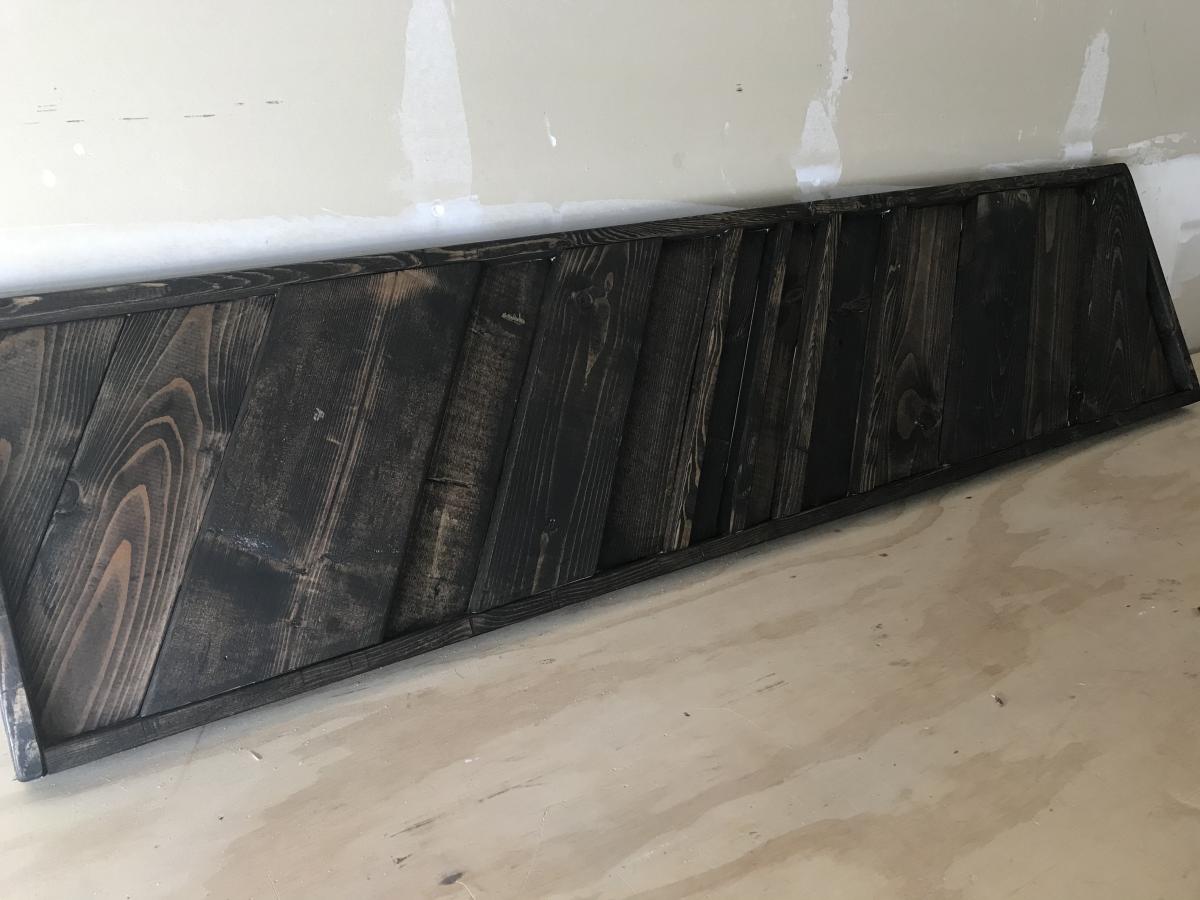
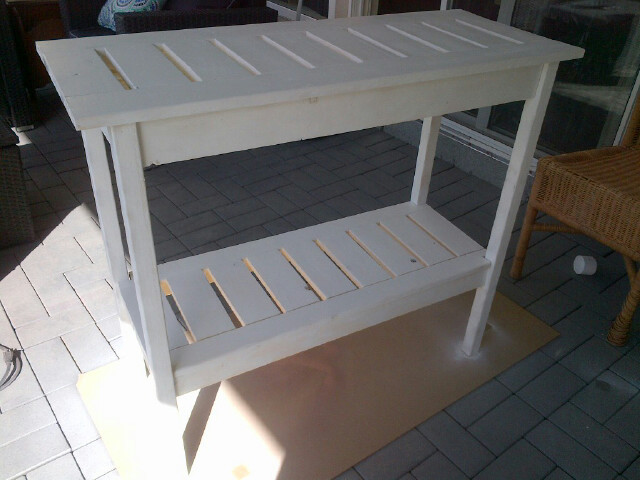
Slipcovered Bench
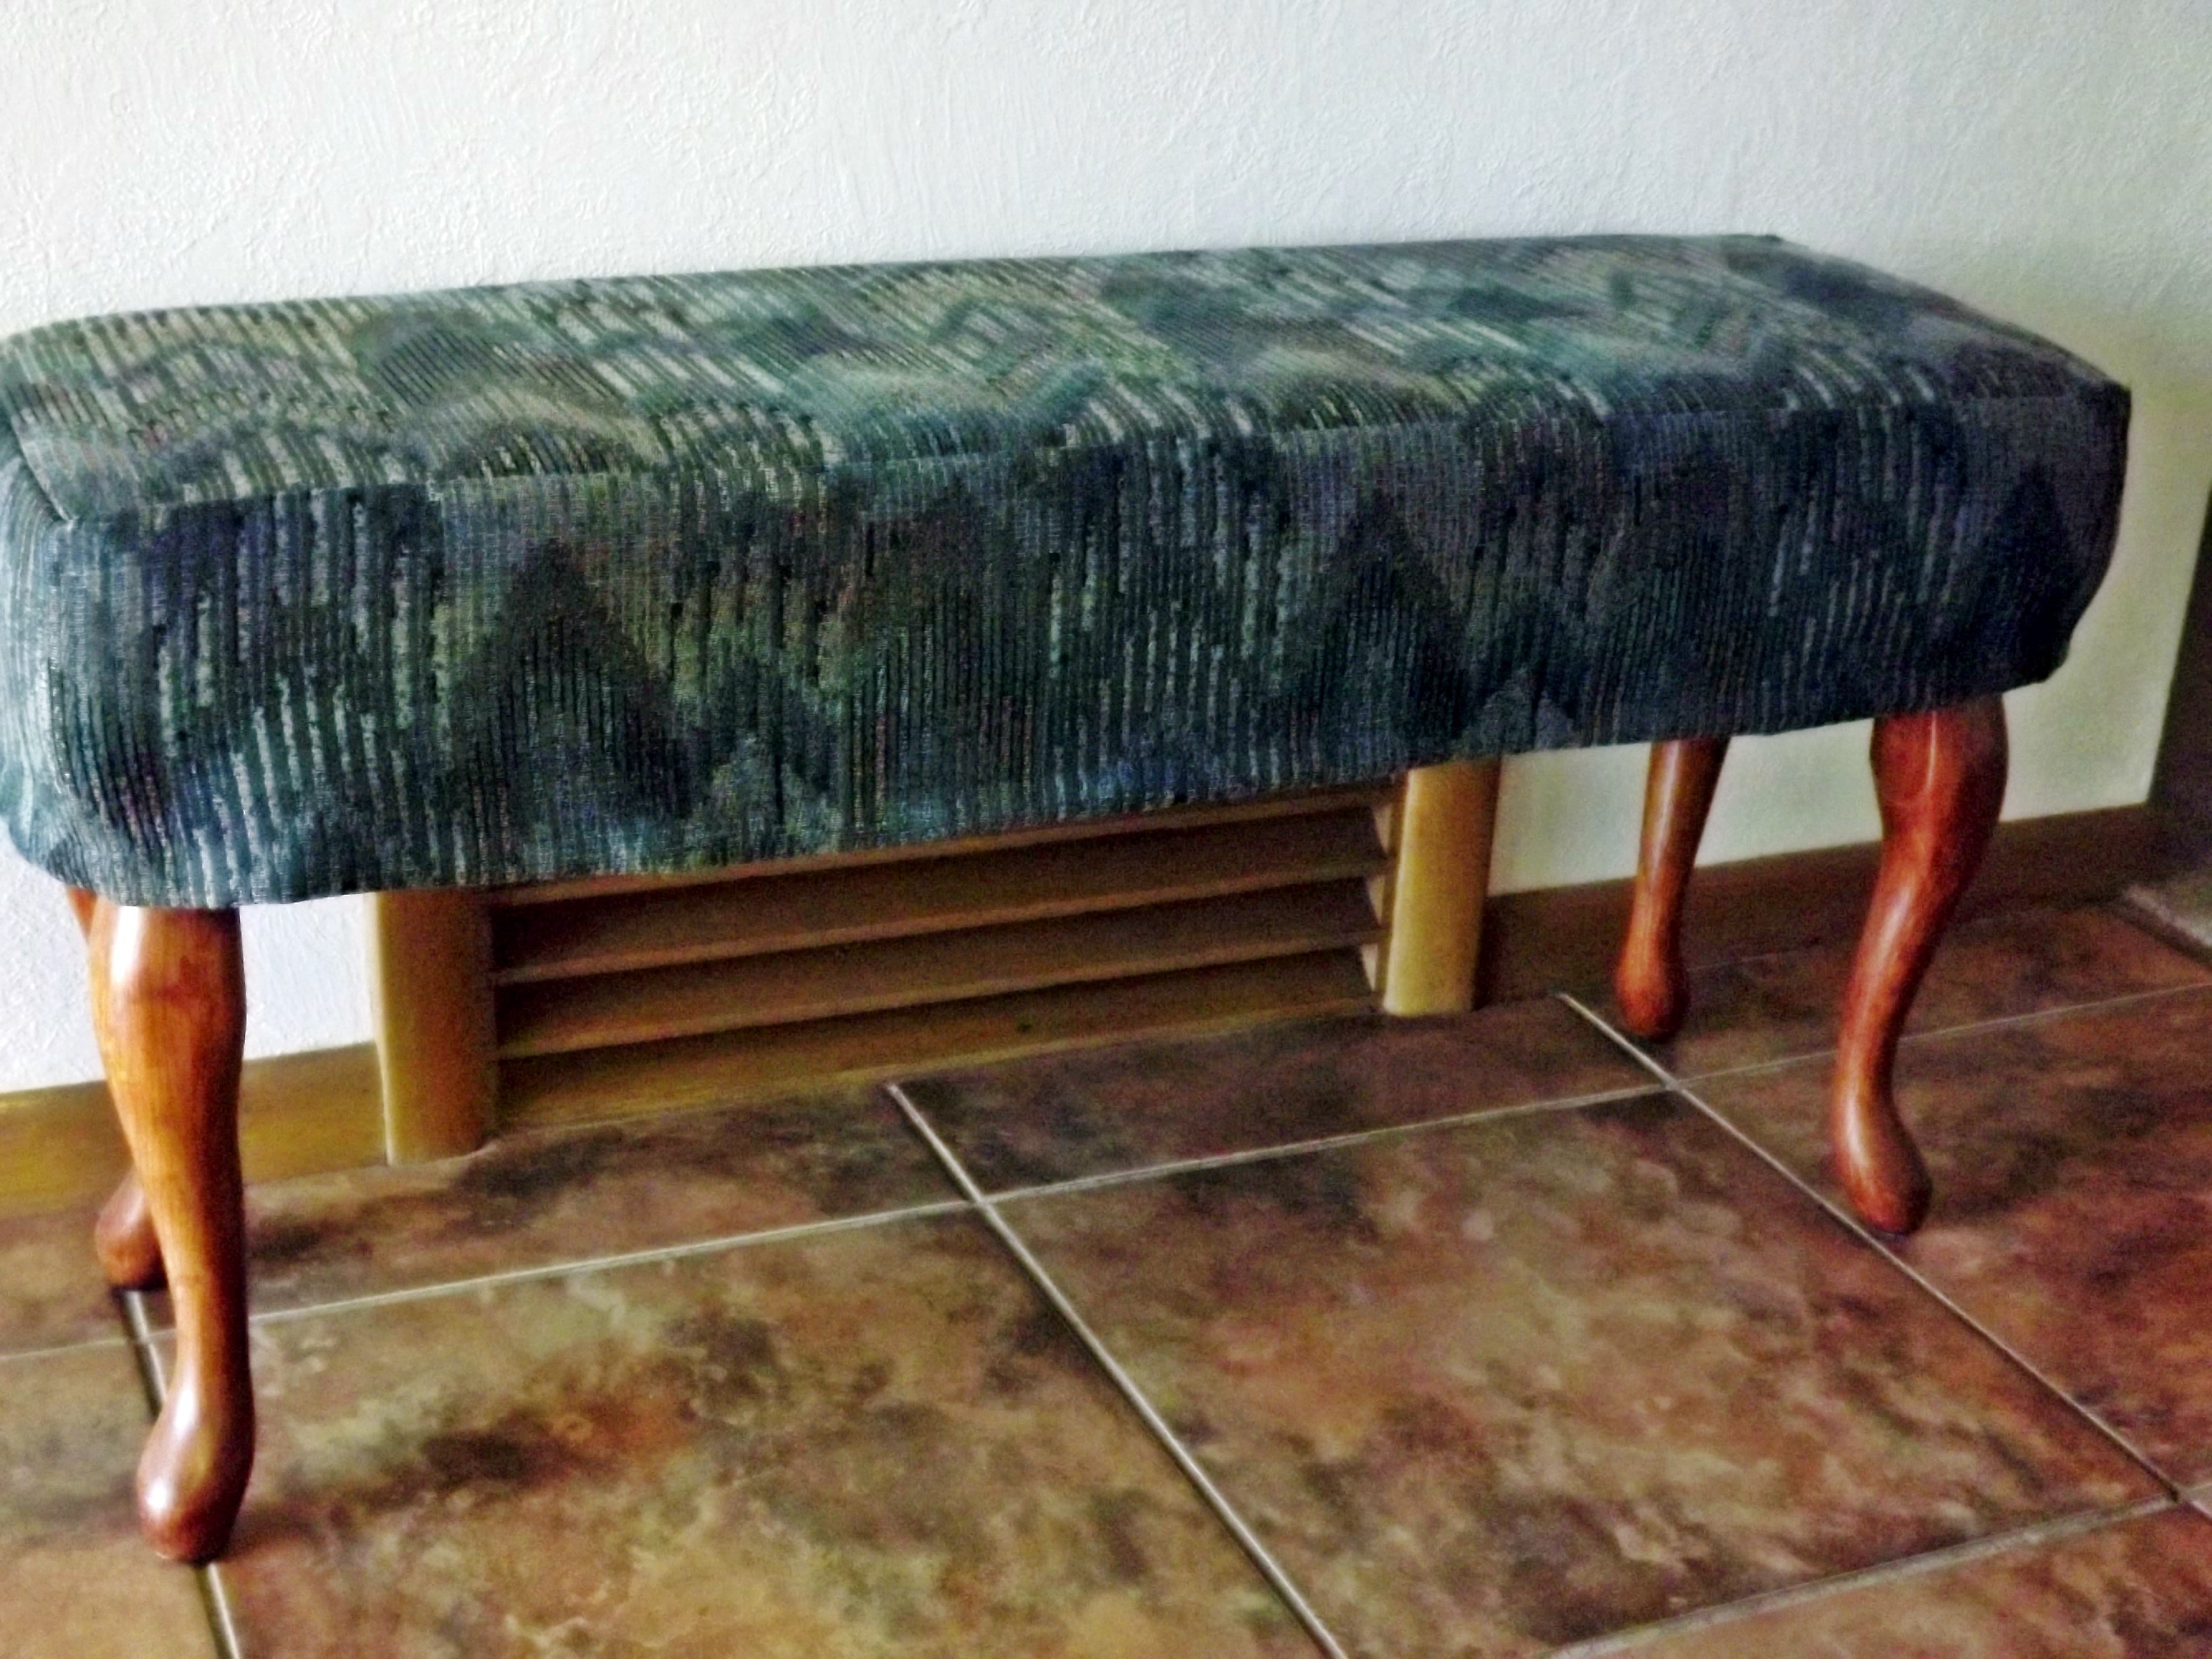
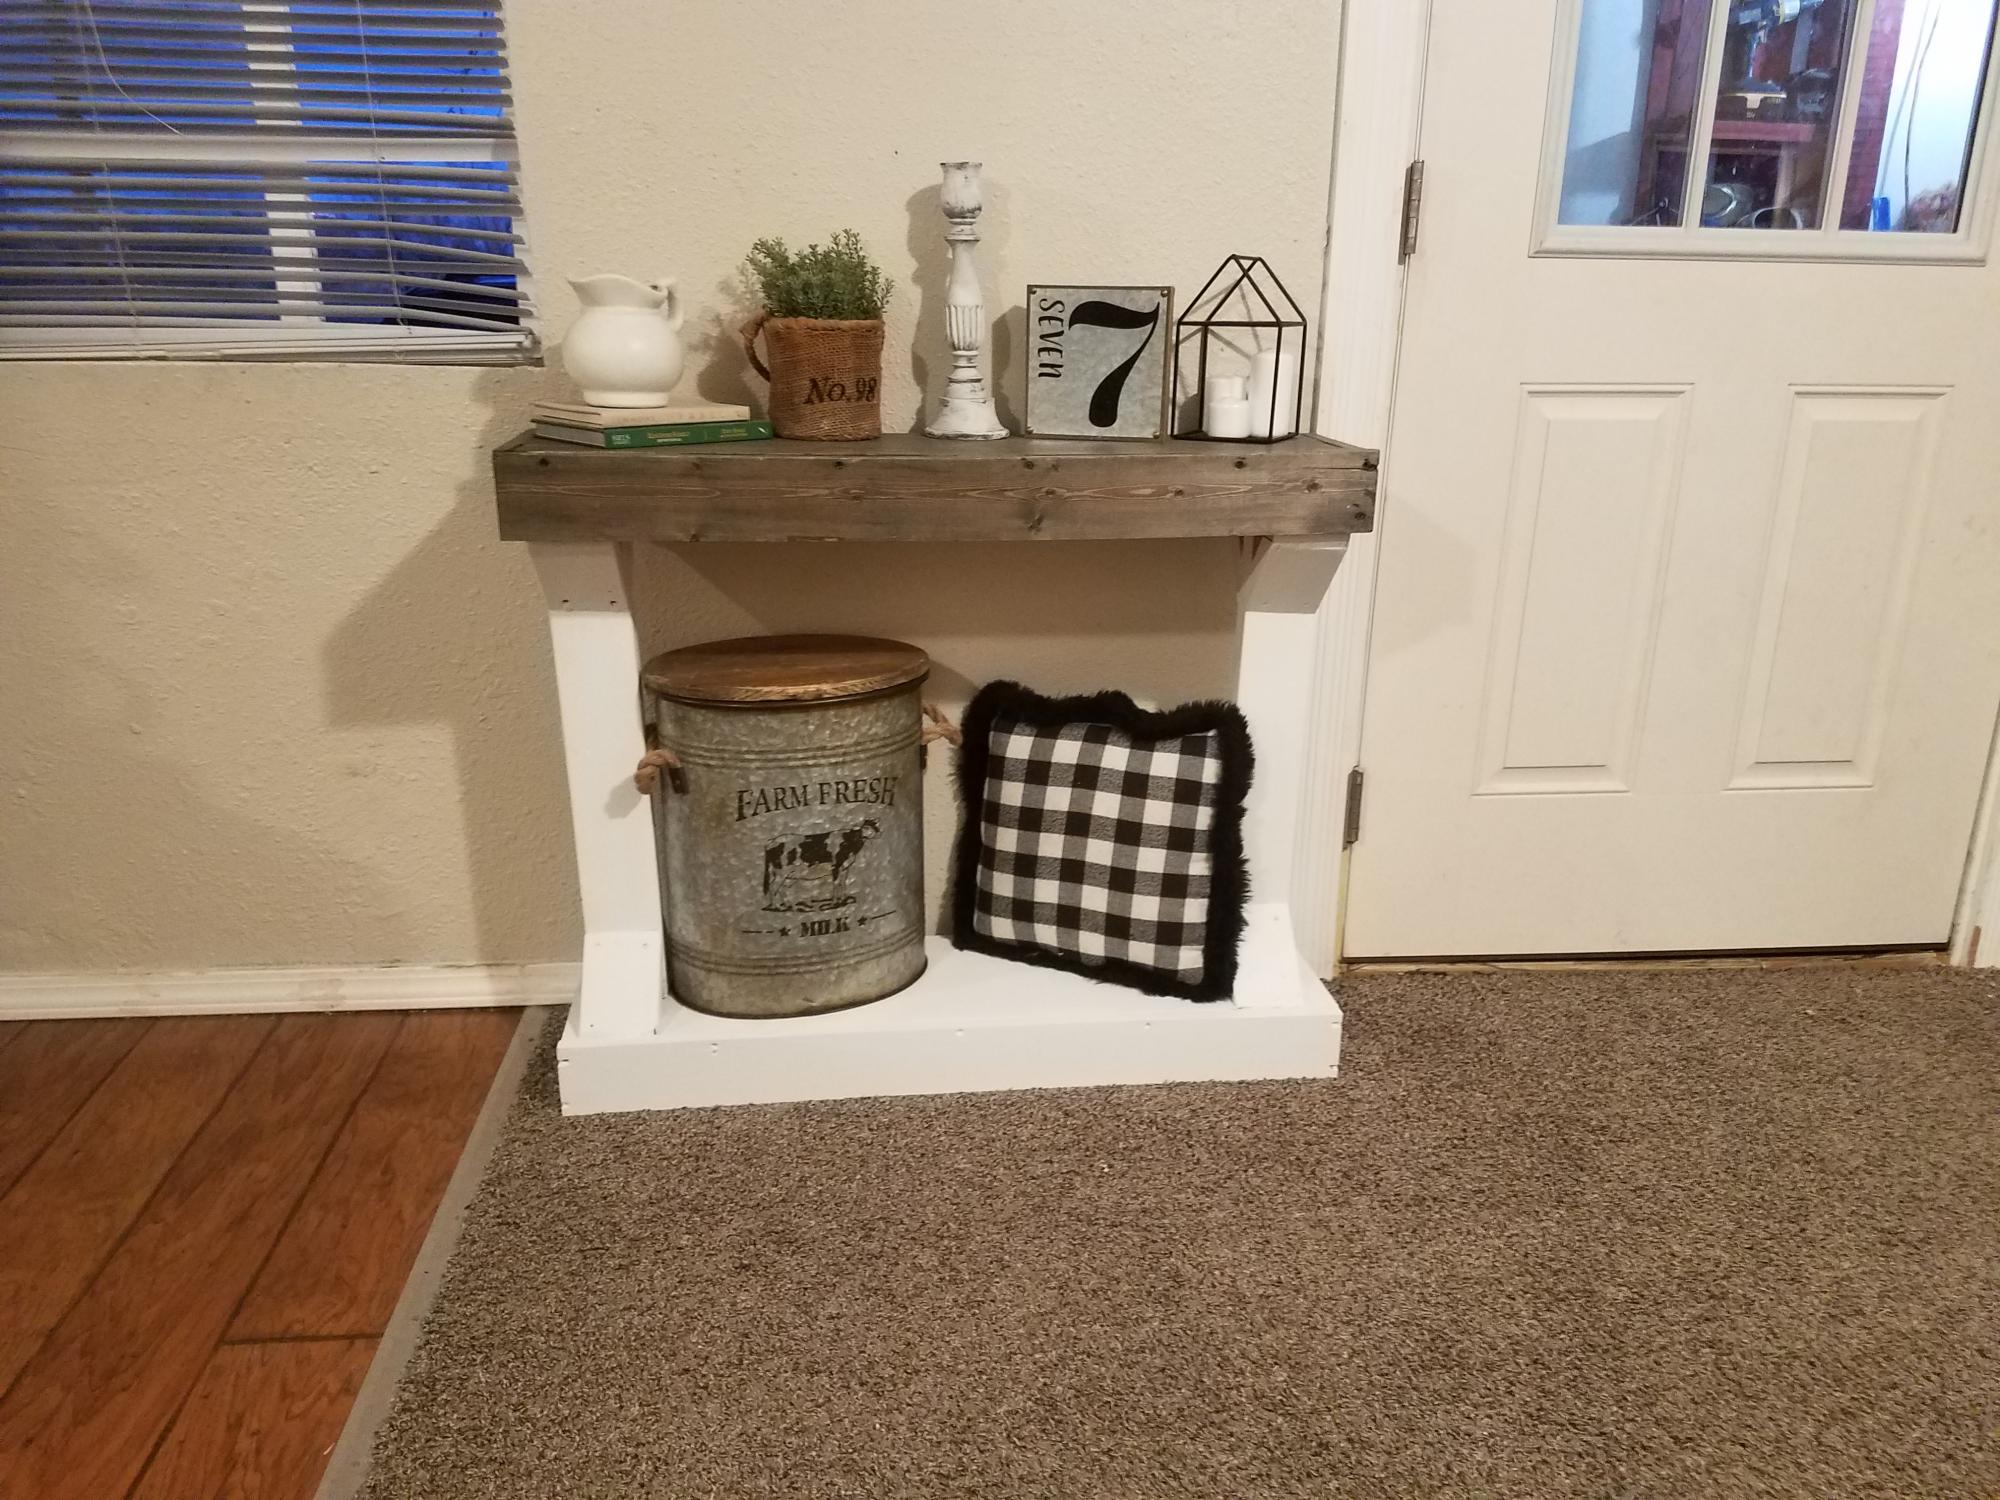
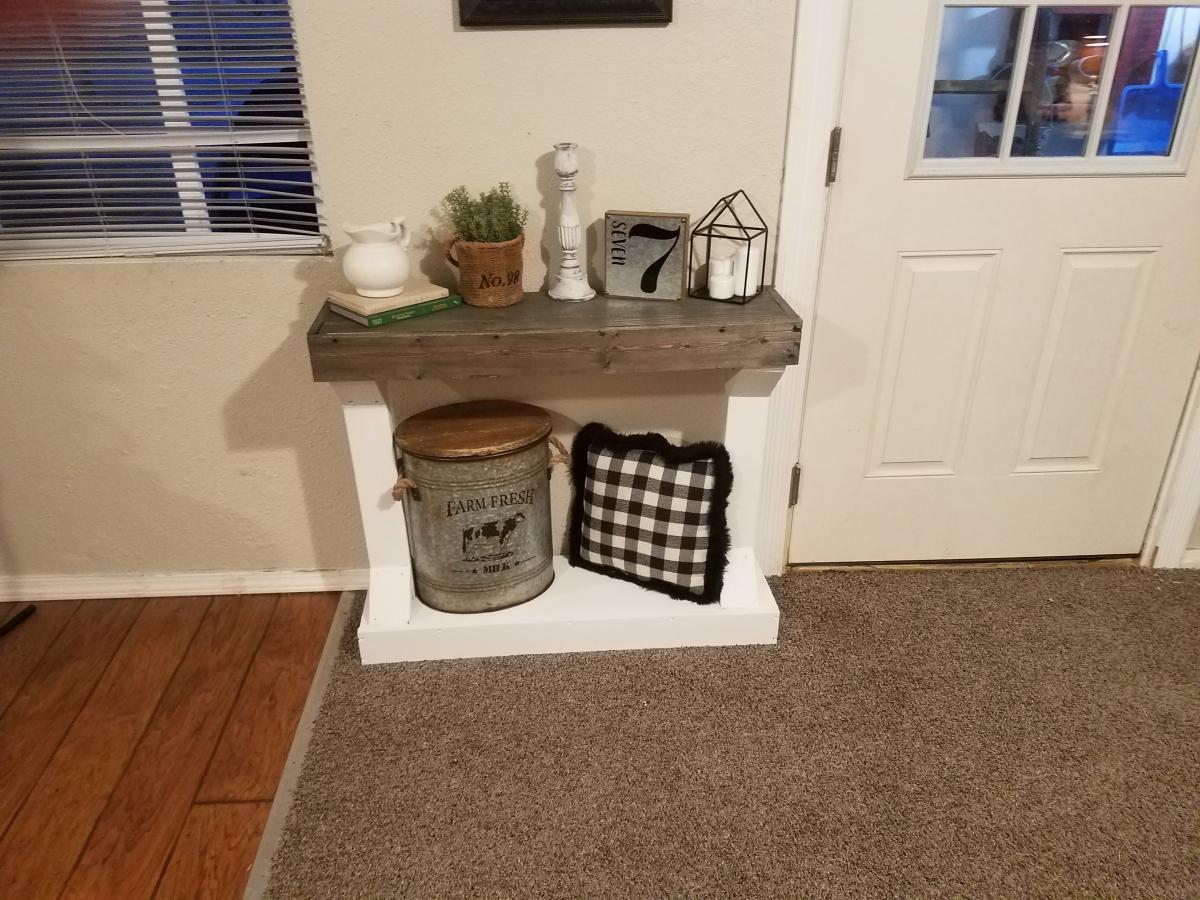
My mother needed a bench in her small entryway. She had definite dimensions in mind and we looked everywhere. None fit the bill. Then I saw these plans and we went from there. She had leftover fabric from recovering her dining room chairs, and I had the plywood. She wanted the Queen Anne legs to go with her traditional furniture; we put felt floor protectors on the bottom of the feet of the legs, which helps keep the bench from moving so easily on the tile floor. The plans were easy to follow, including the tutorial on how to sew the slipcover. The bench worked out just like she had hoped. Thanks Ana, for the great plans.

Built from Plan(s)
Estimated Cost
$60.00; about $40 for the legs, foam, and finish
Estimated Time Investment
Day Project (6-9 Hours)
Finish Used
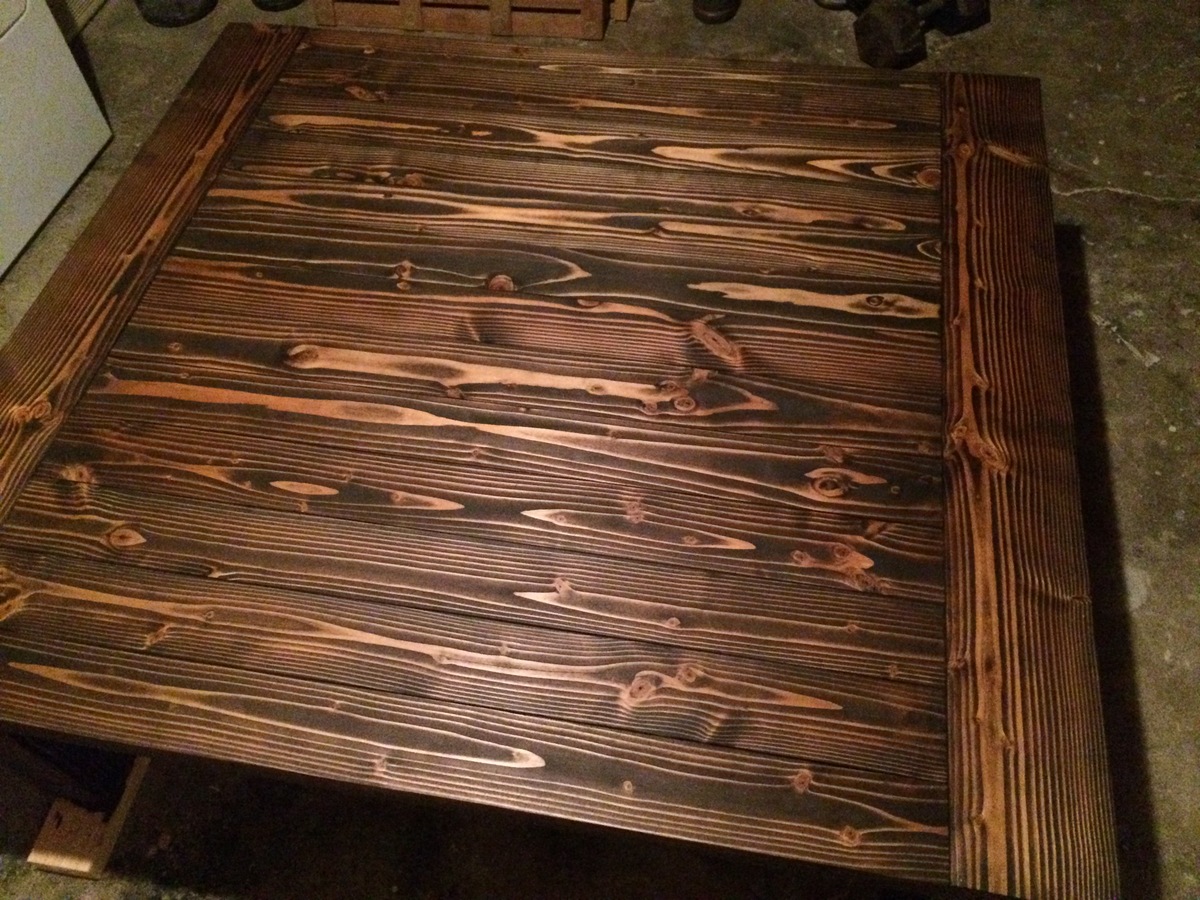
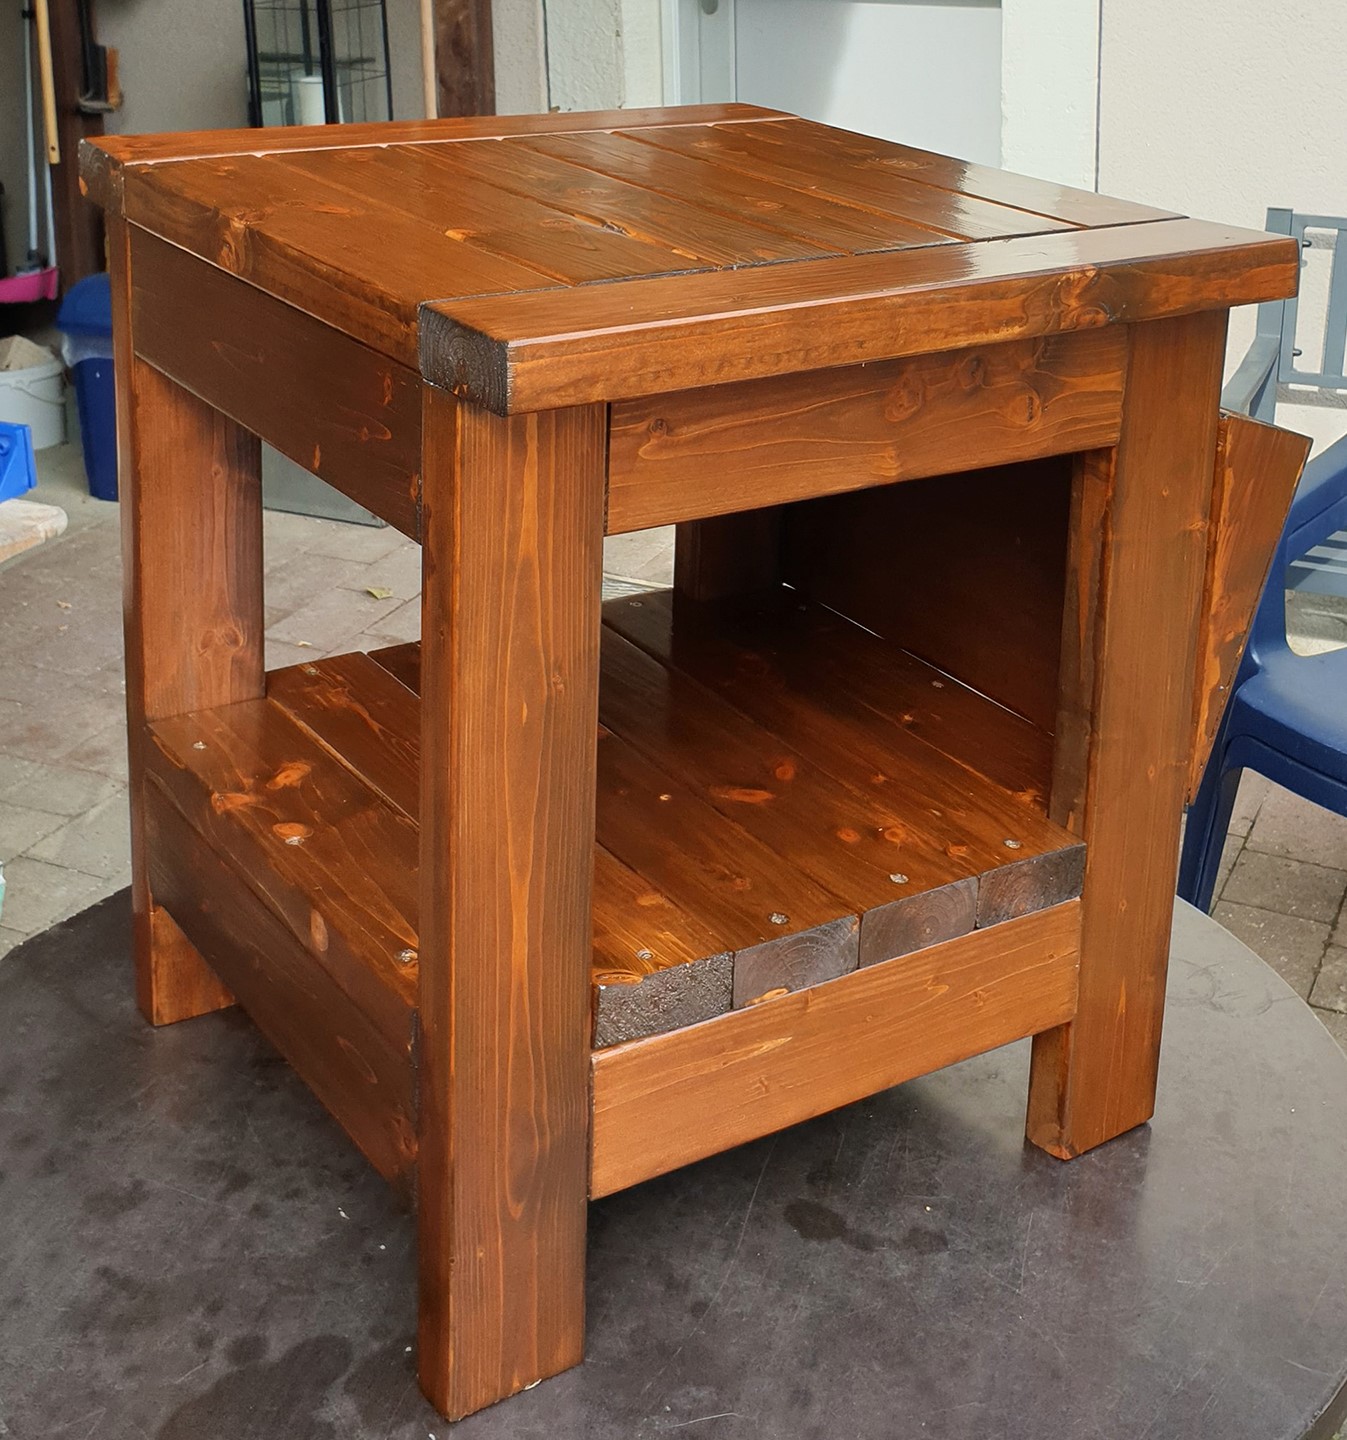
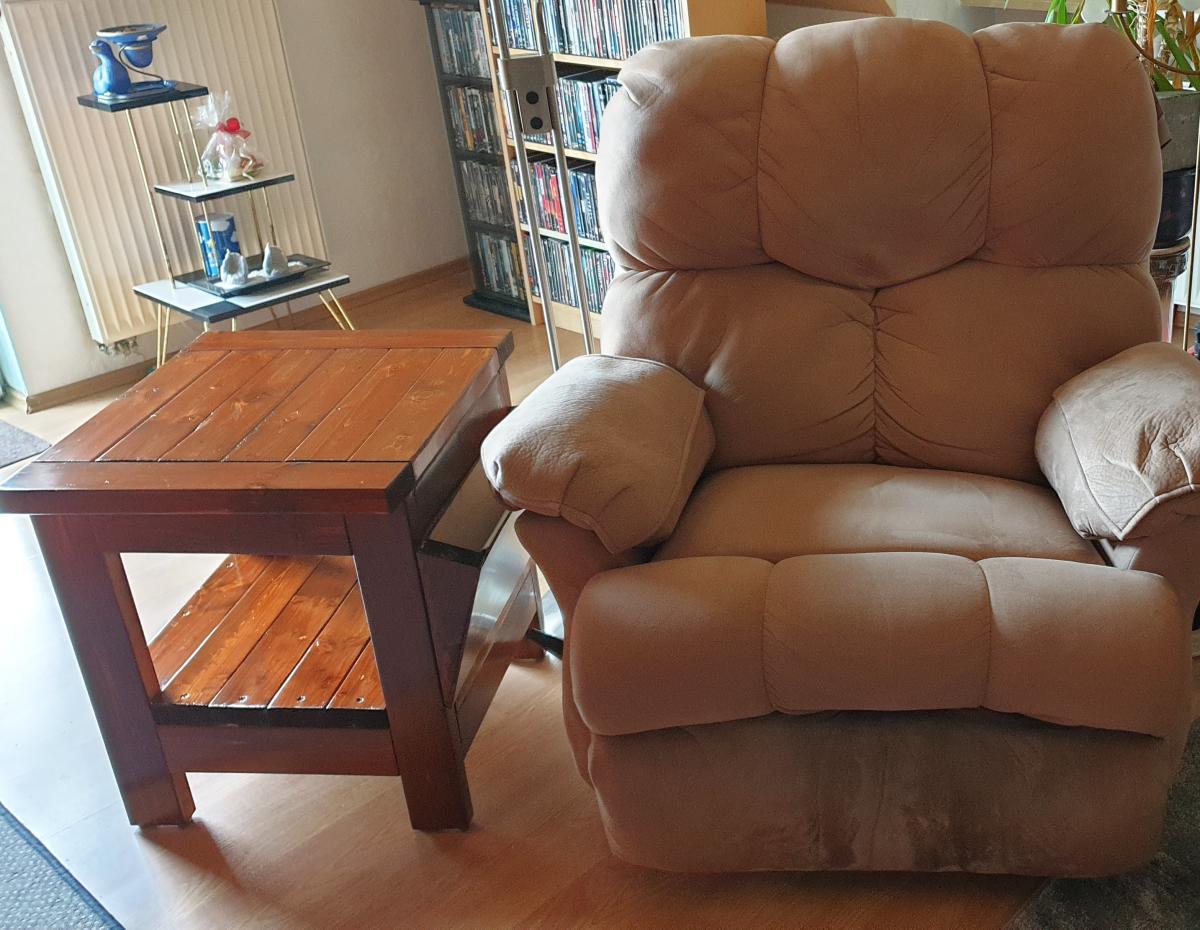
Minwax Polyshades in walnut; two or three coats. This acts more like paint, but you can re-coat in just an hour or so. I then used minwax poly in satin three coats for protection.
Recommended Skill Level
Beginner


