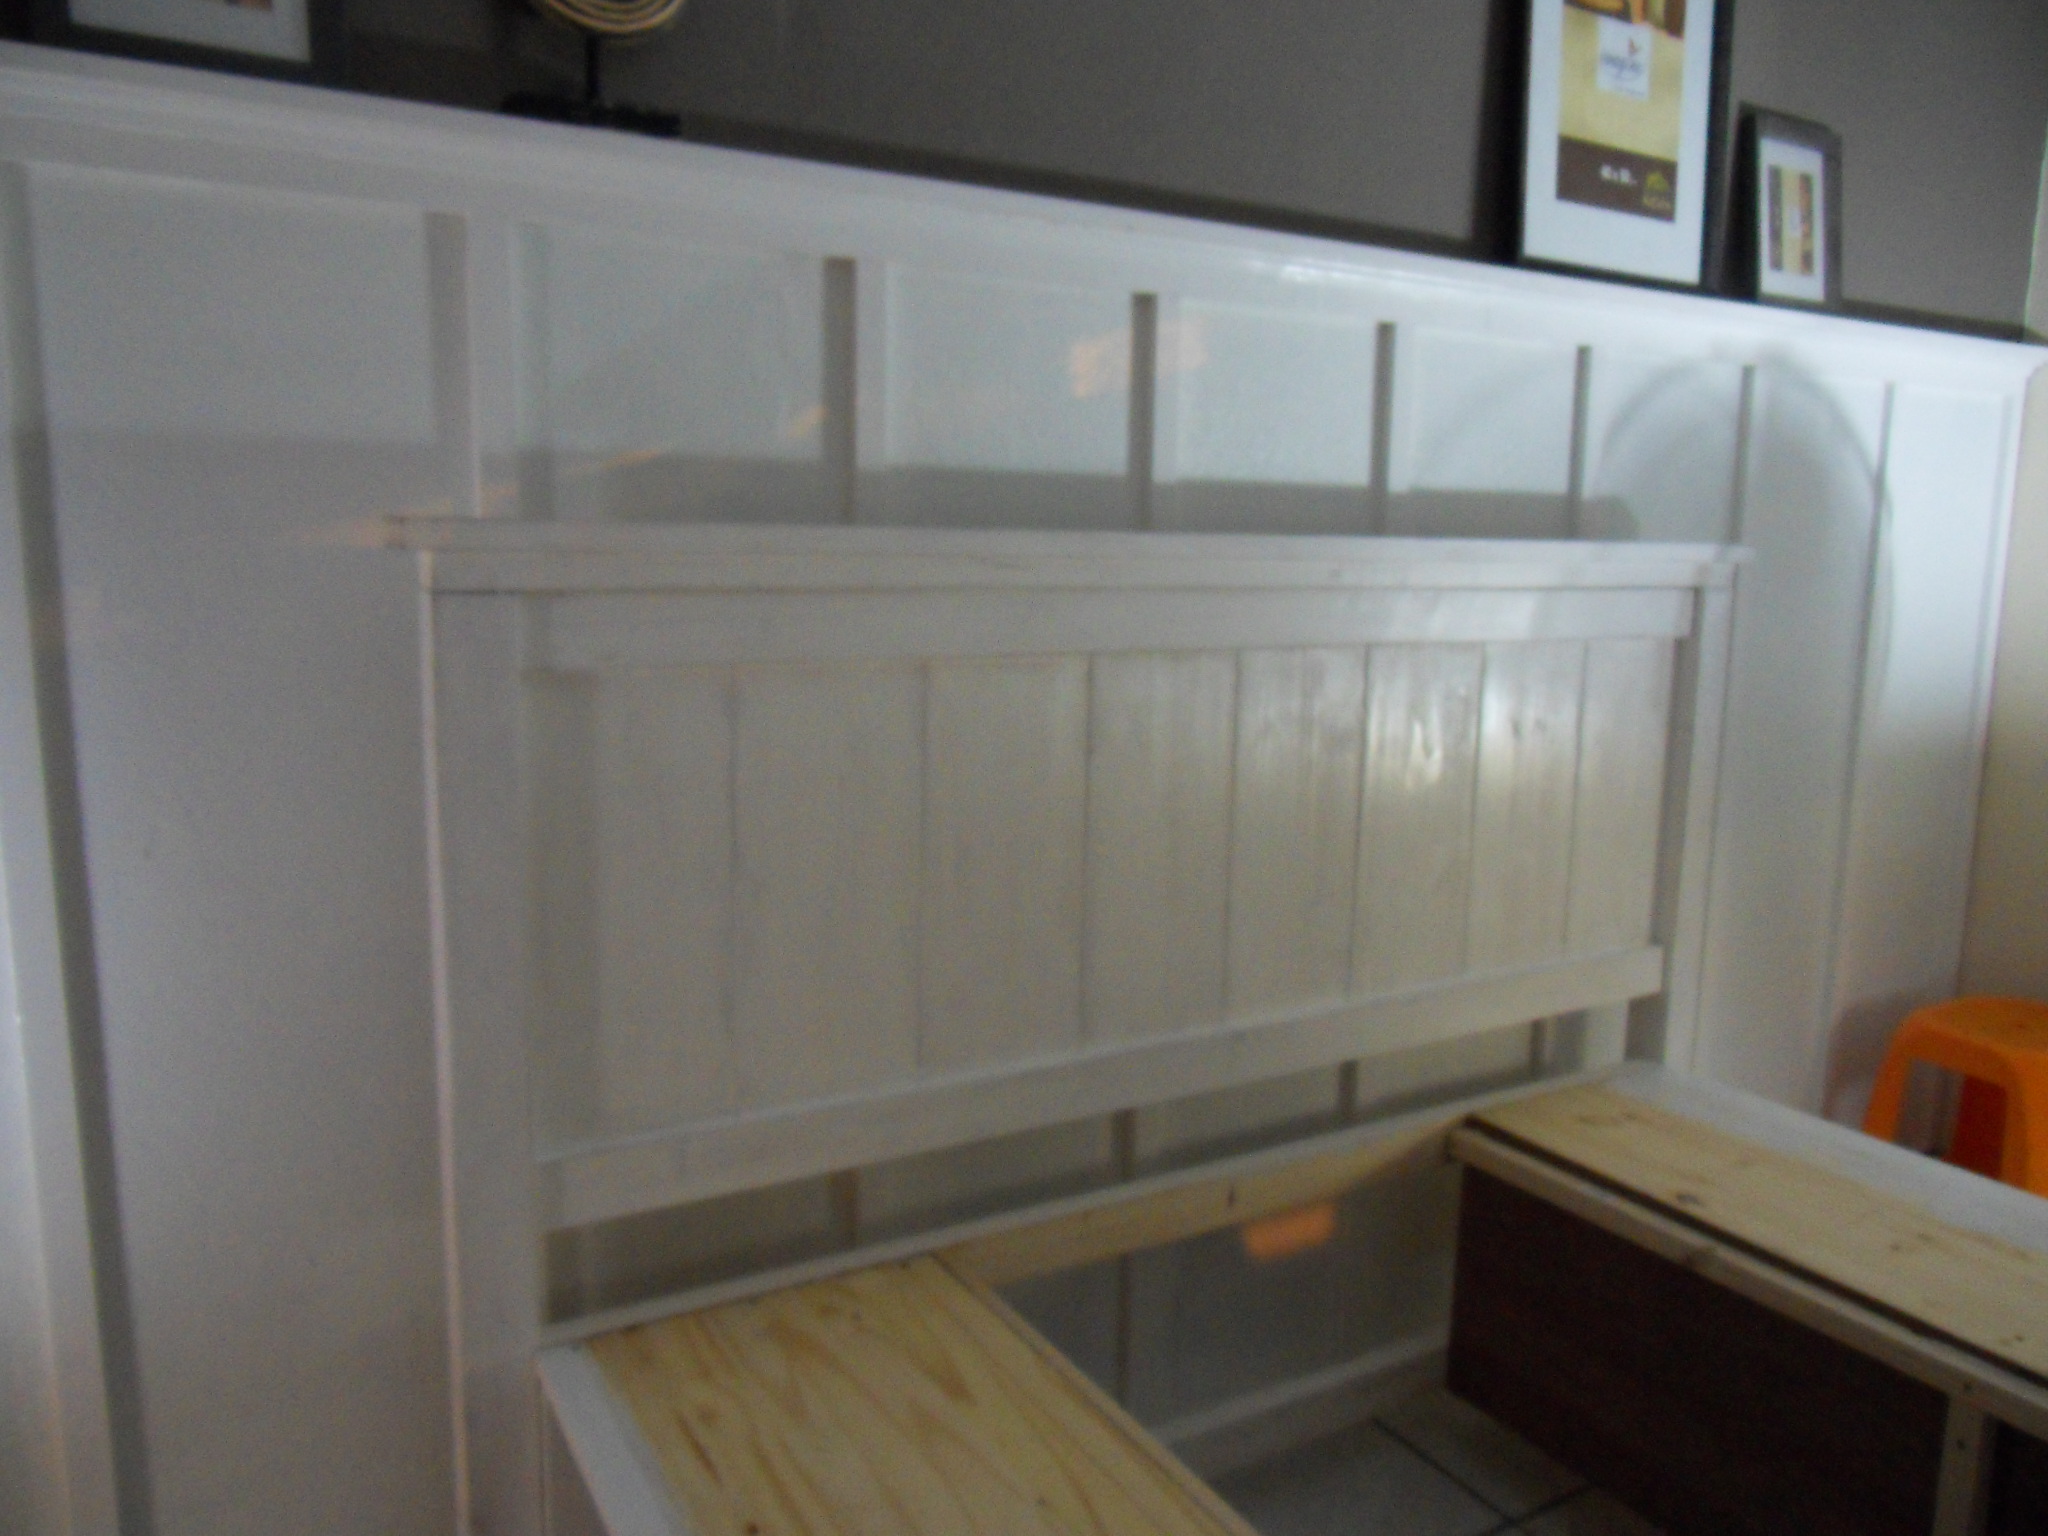
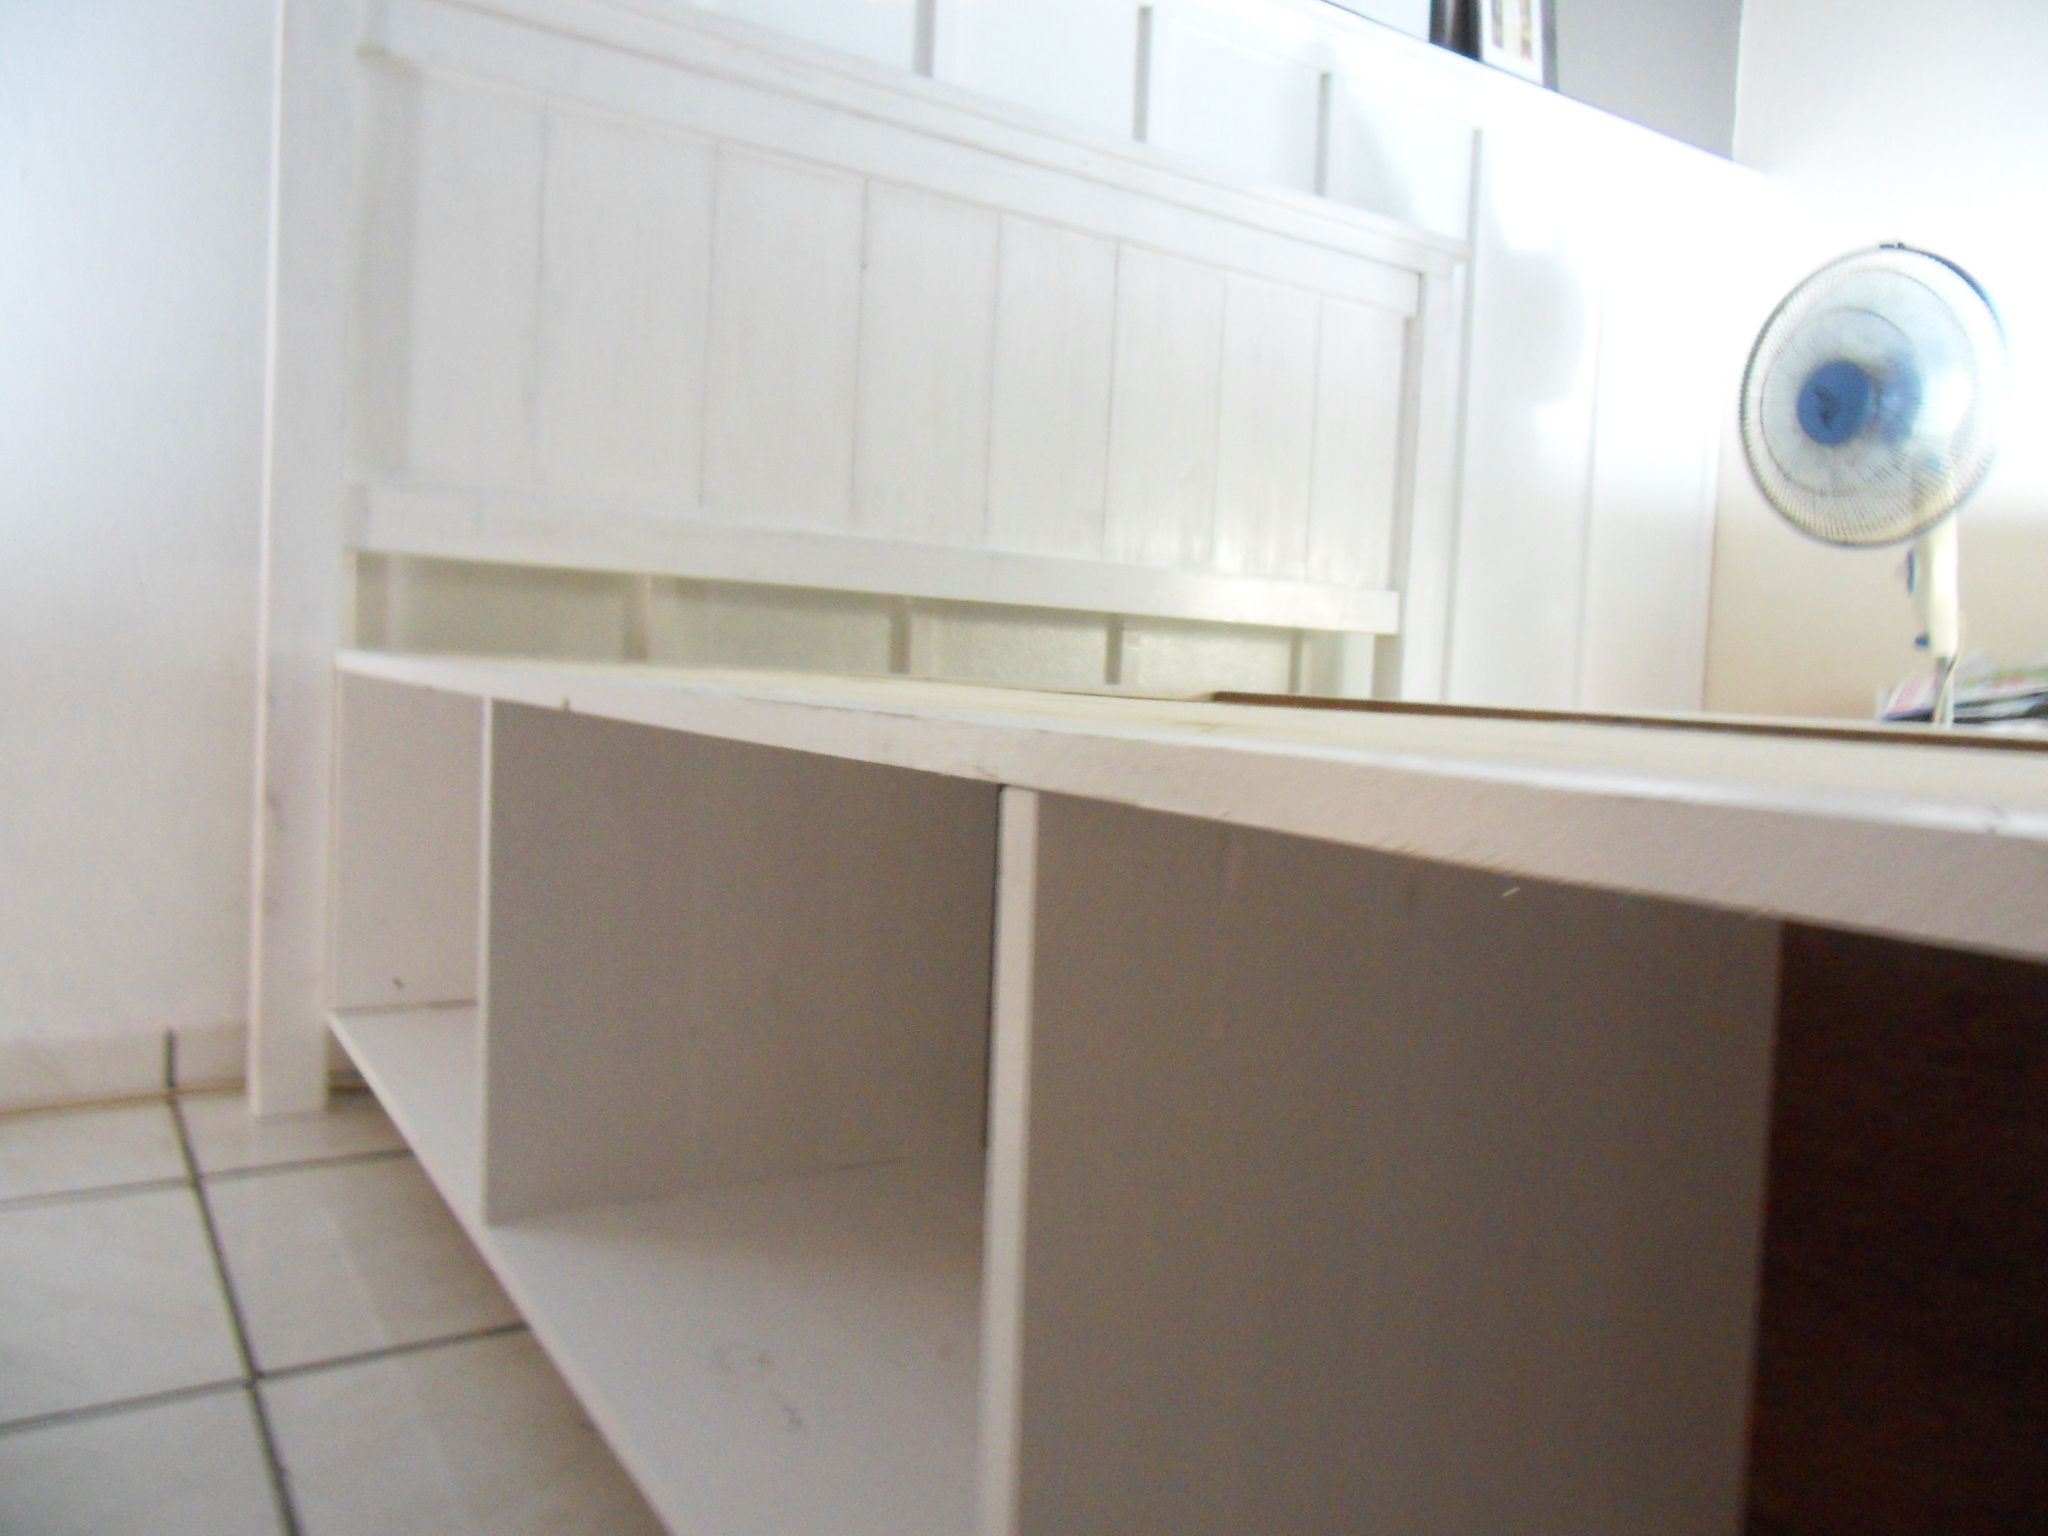
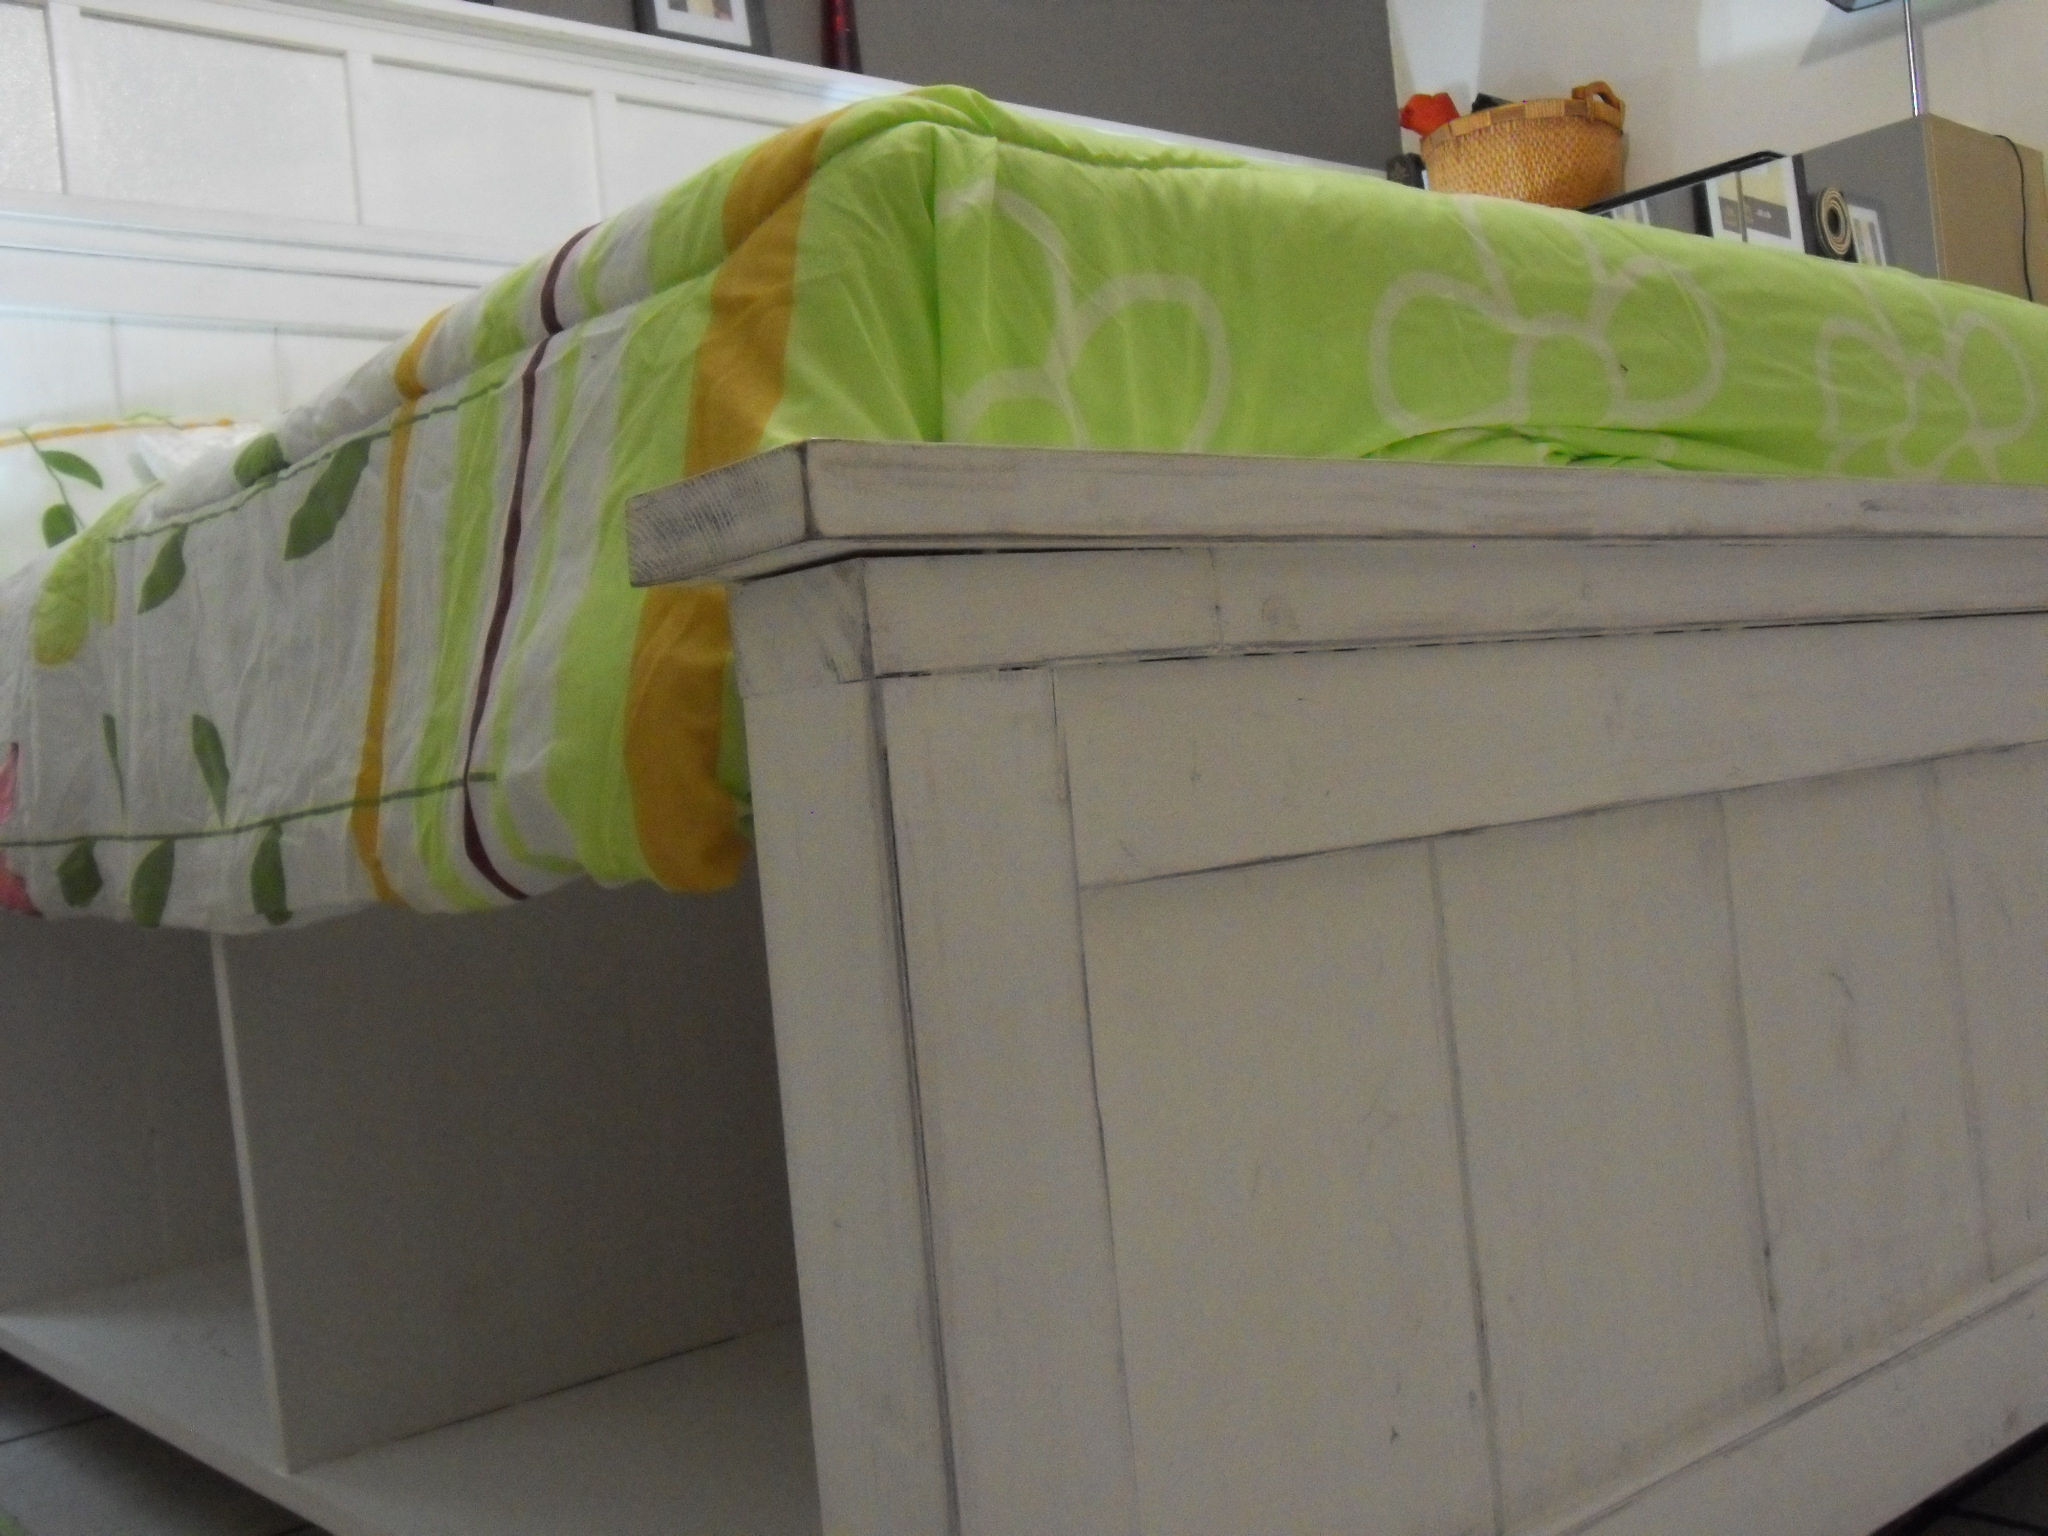
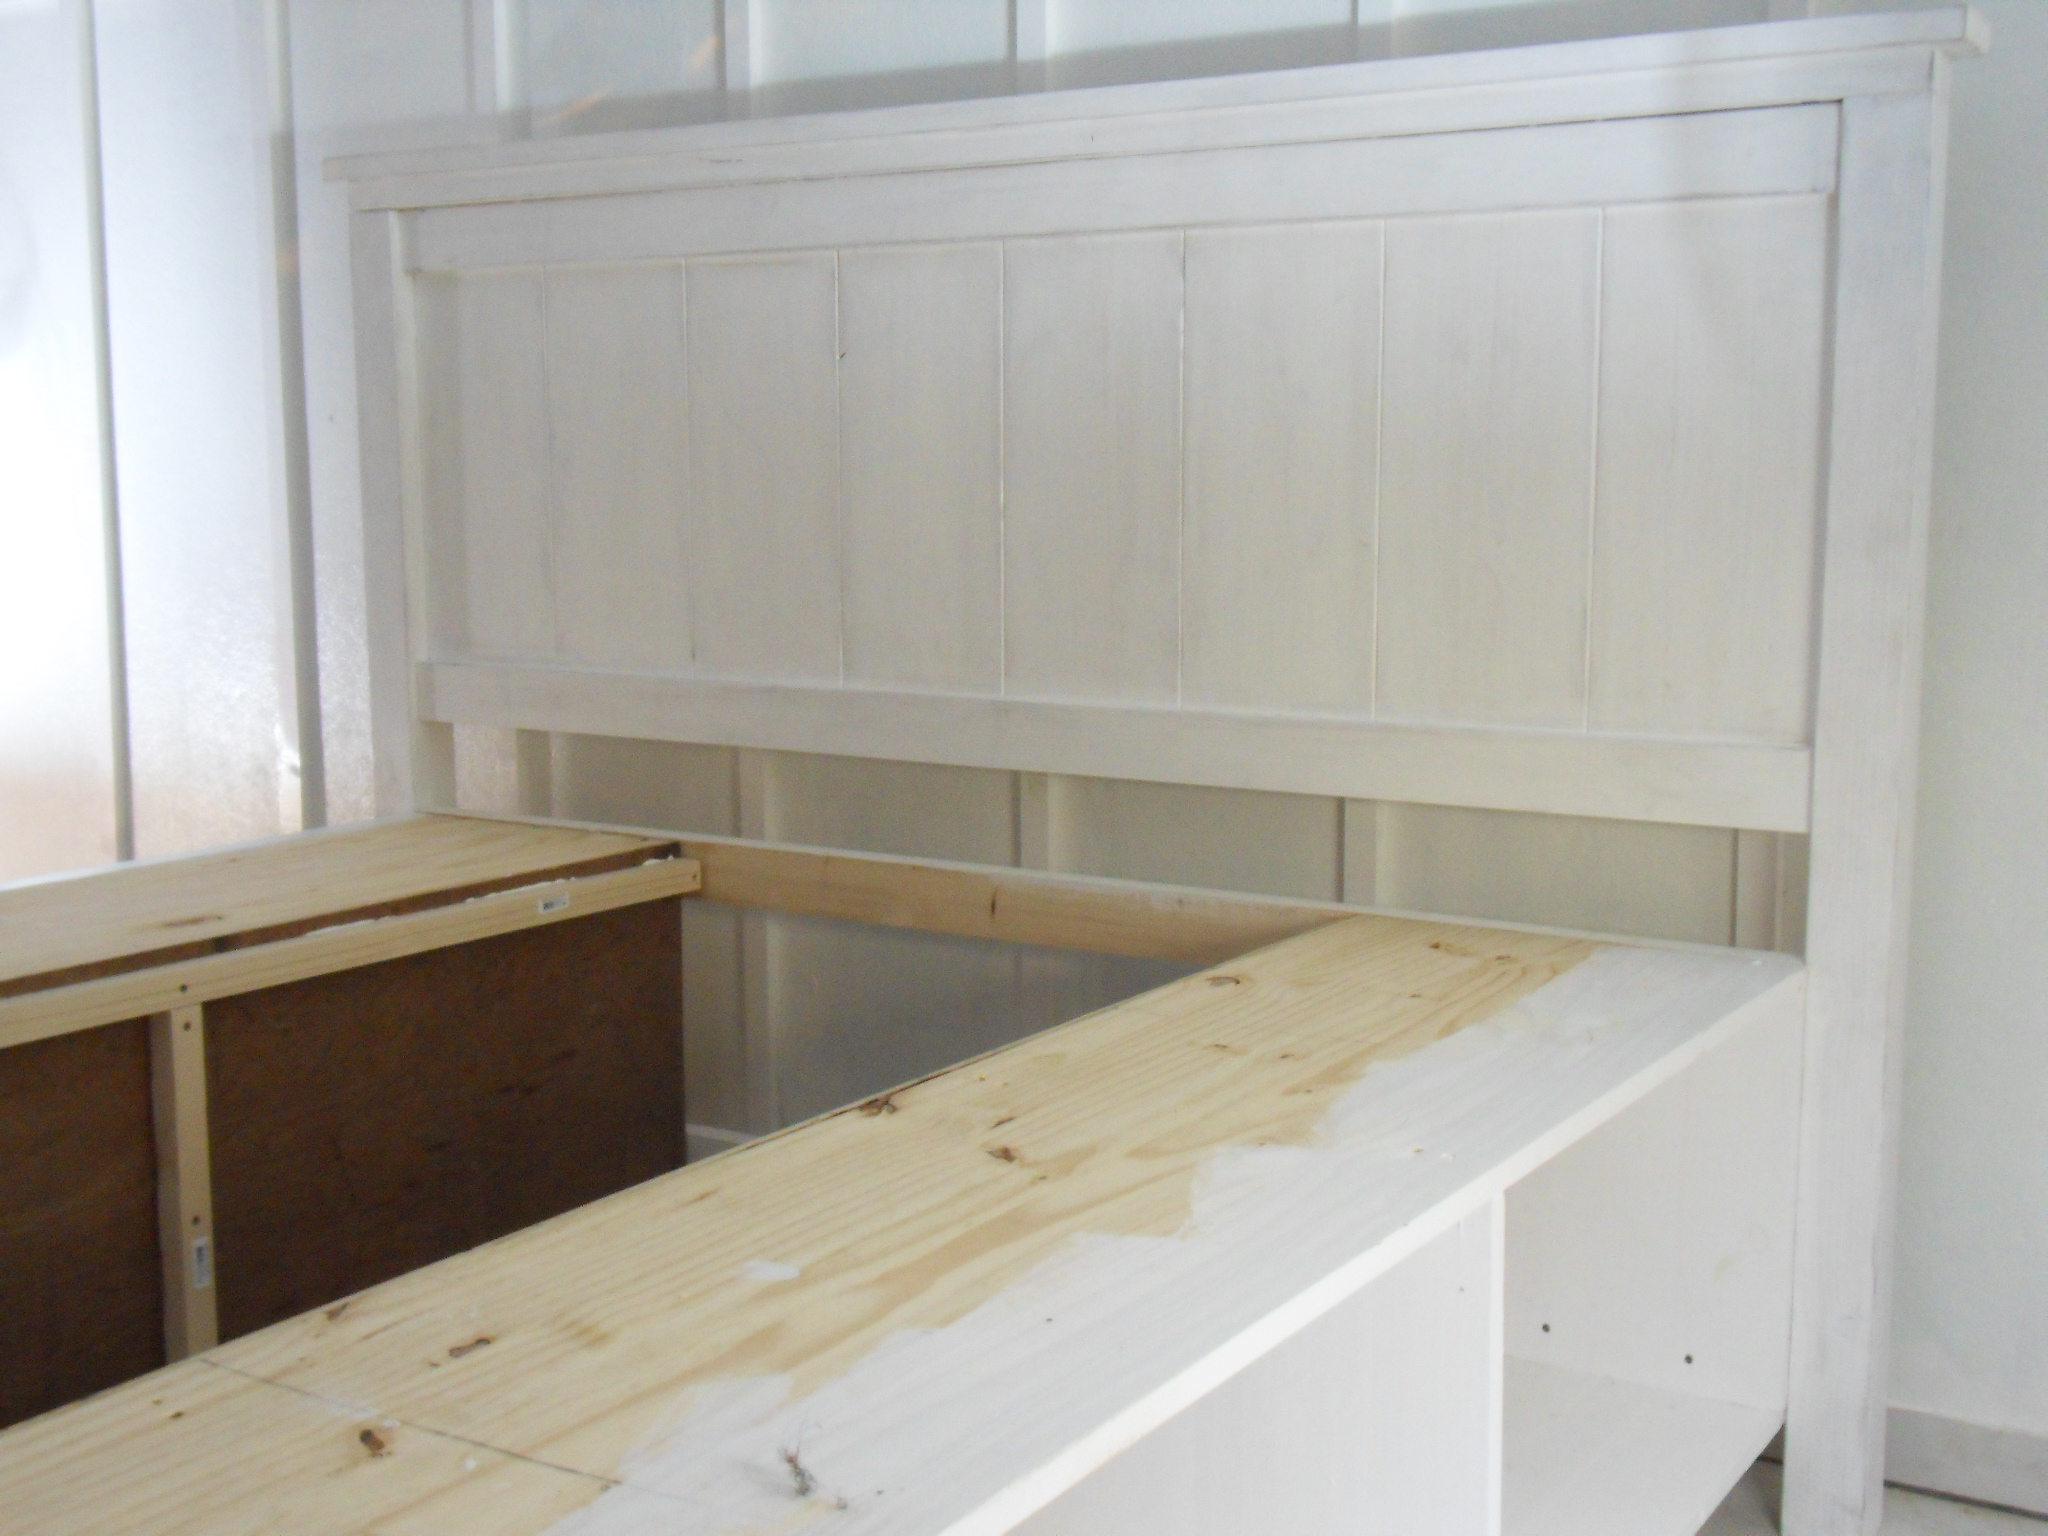
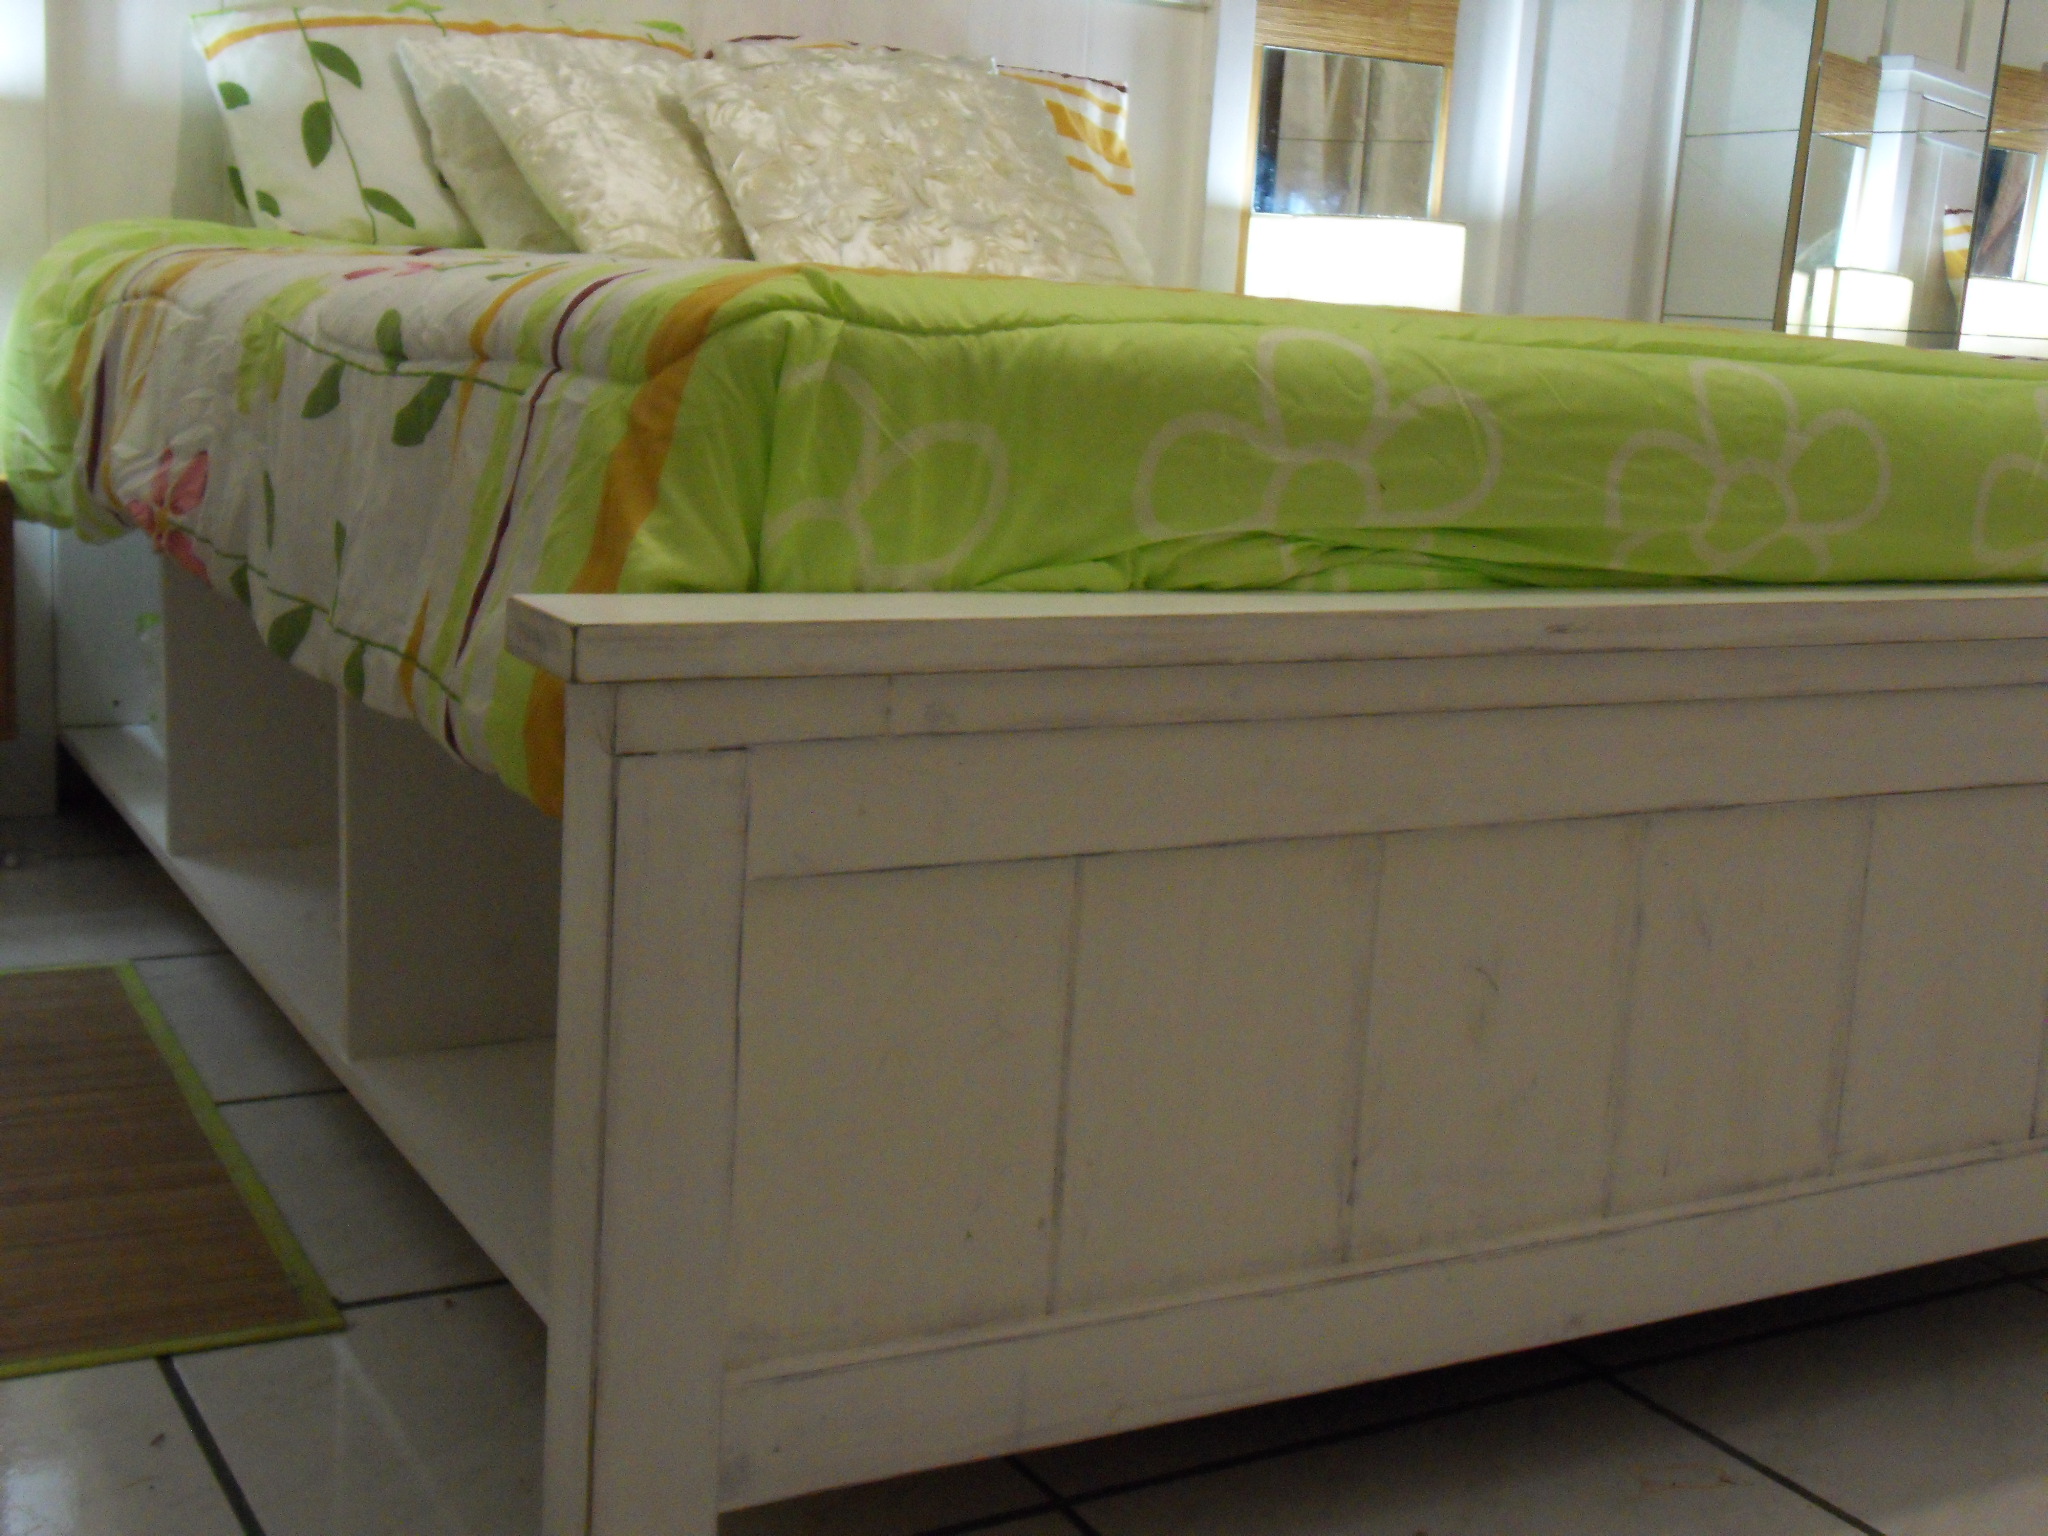
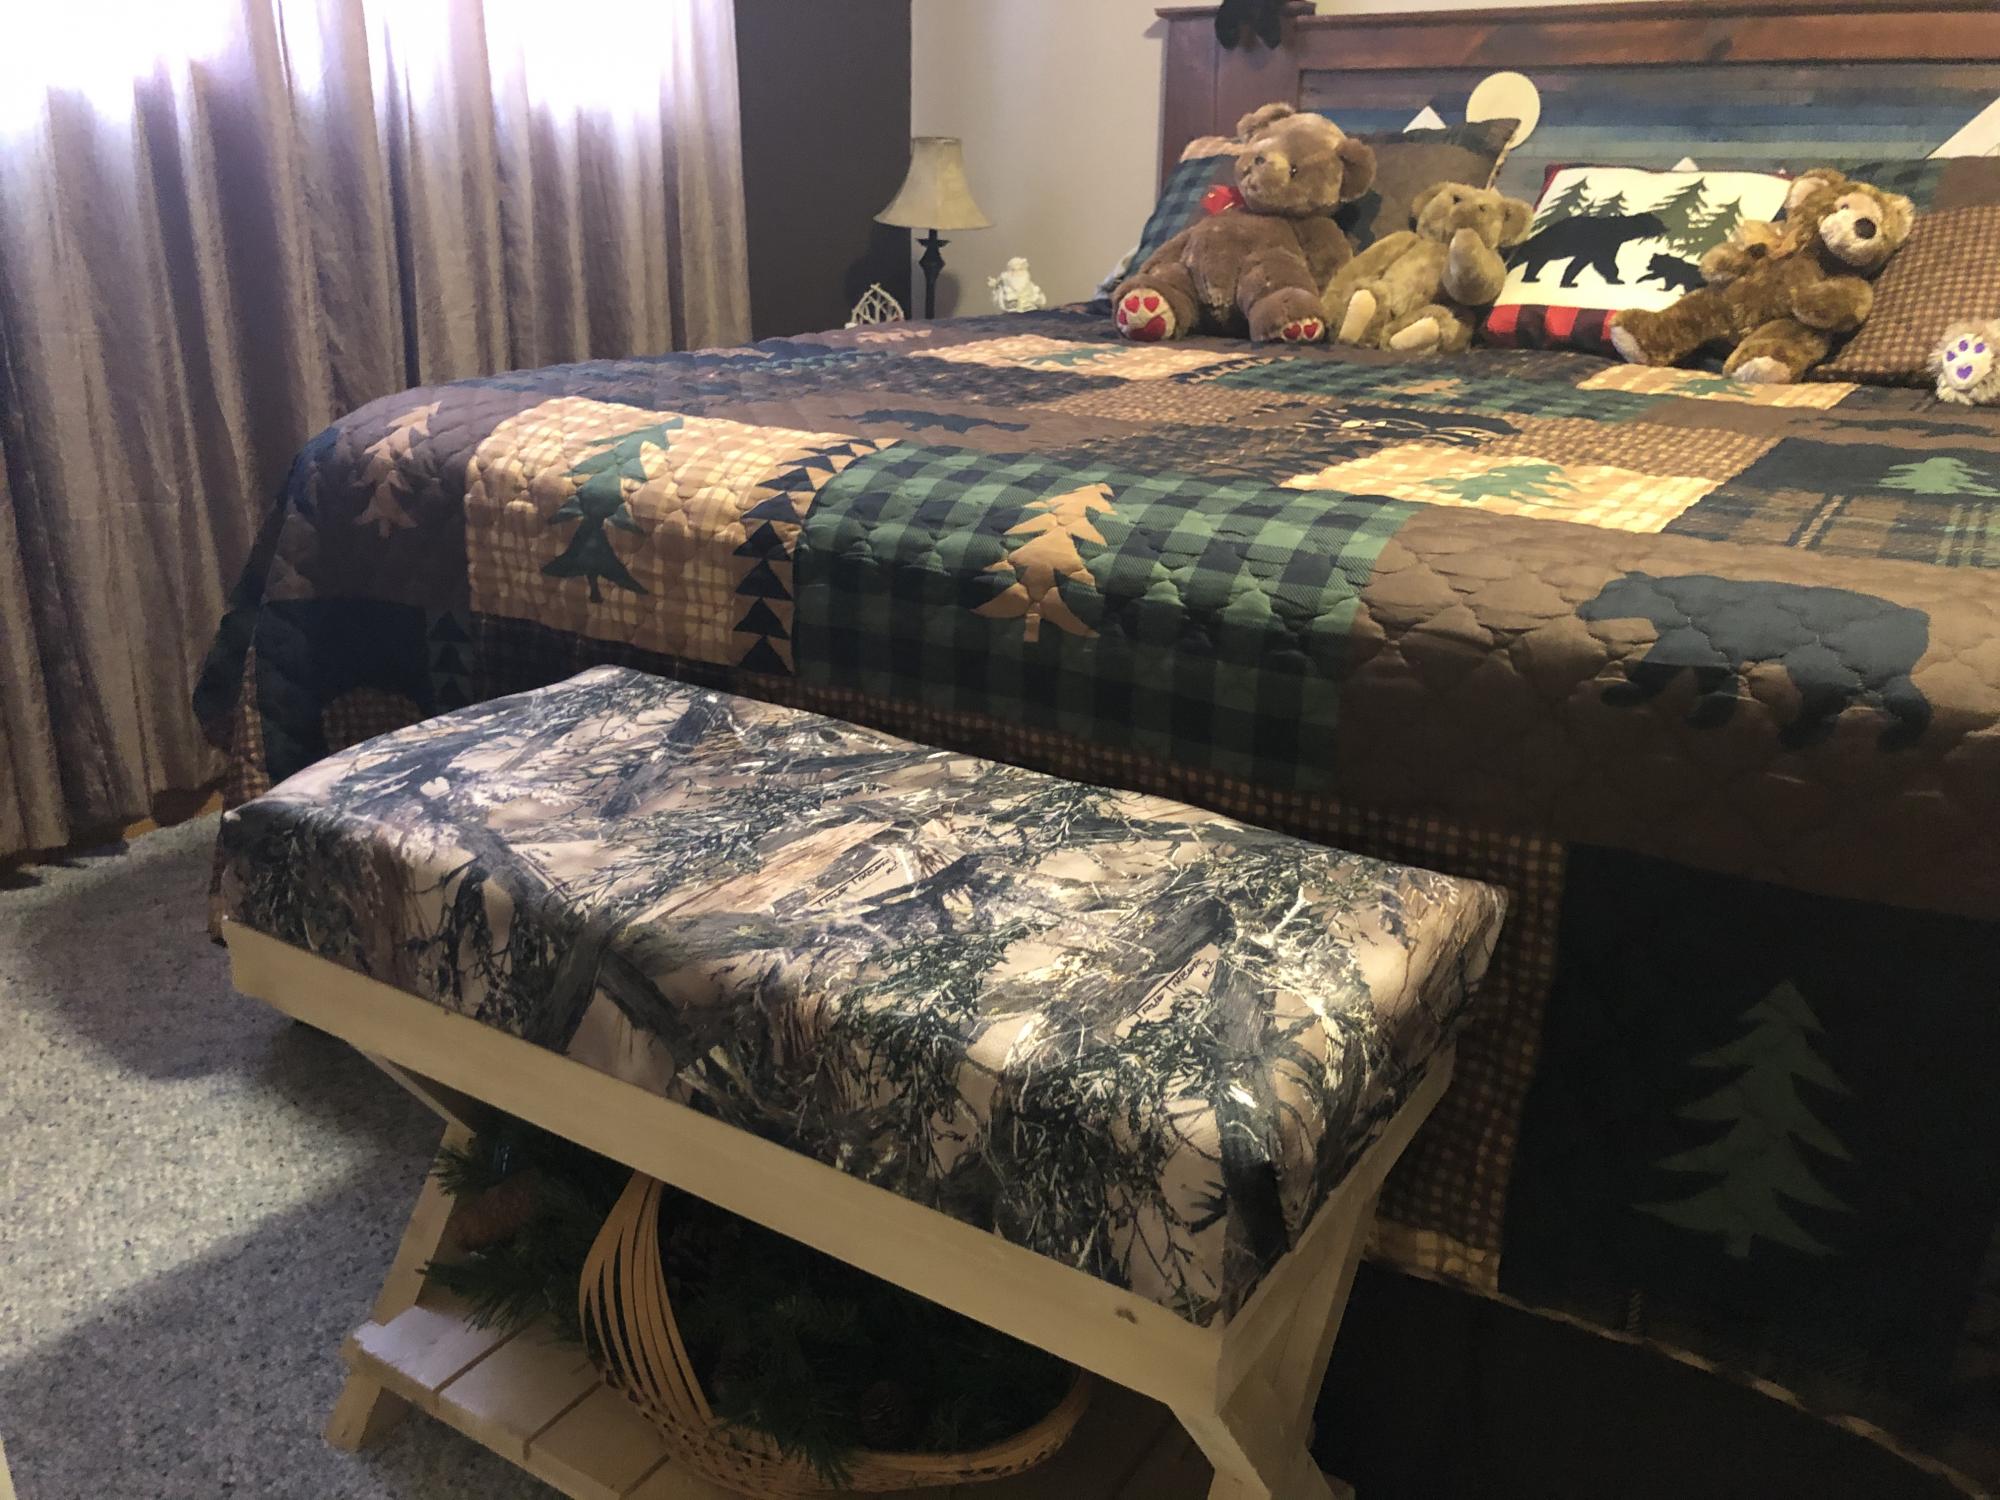
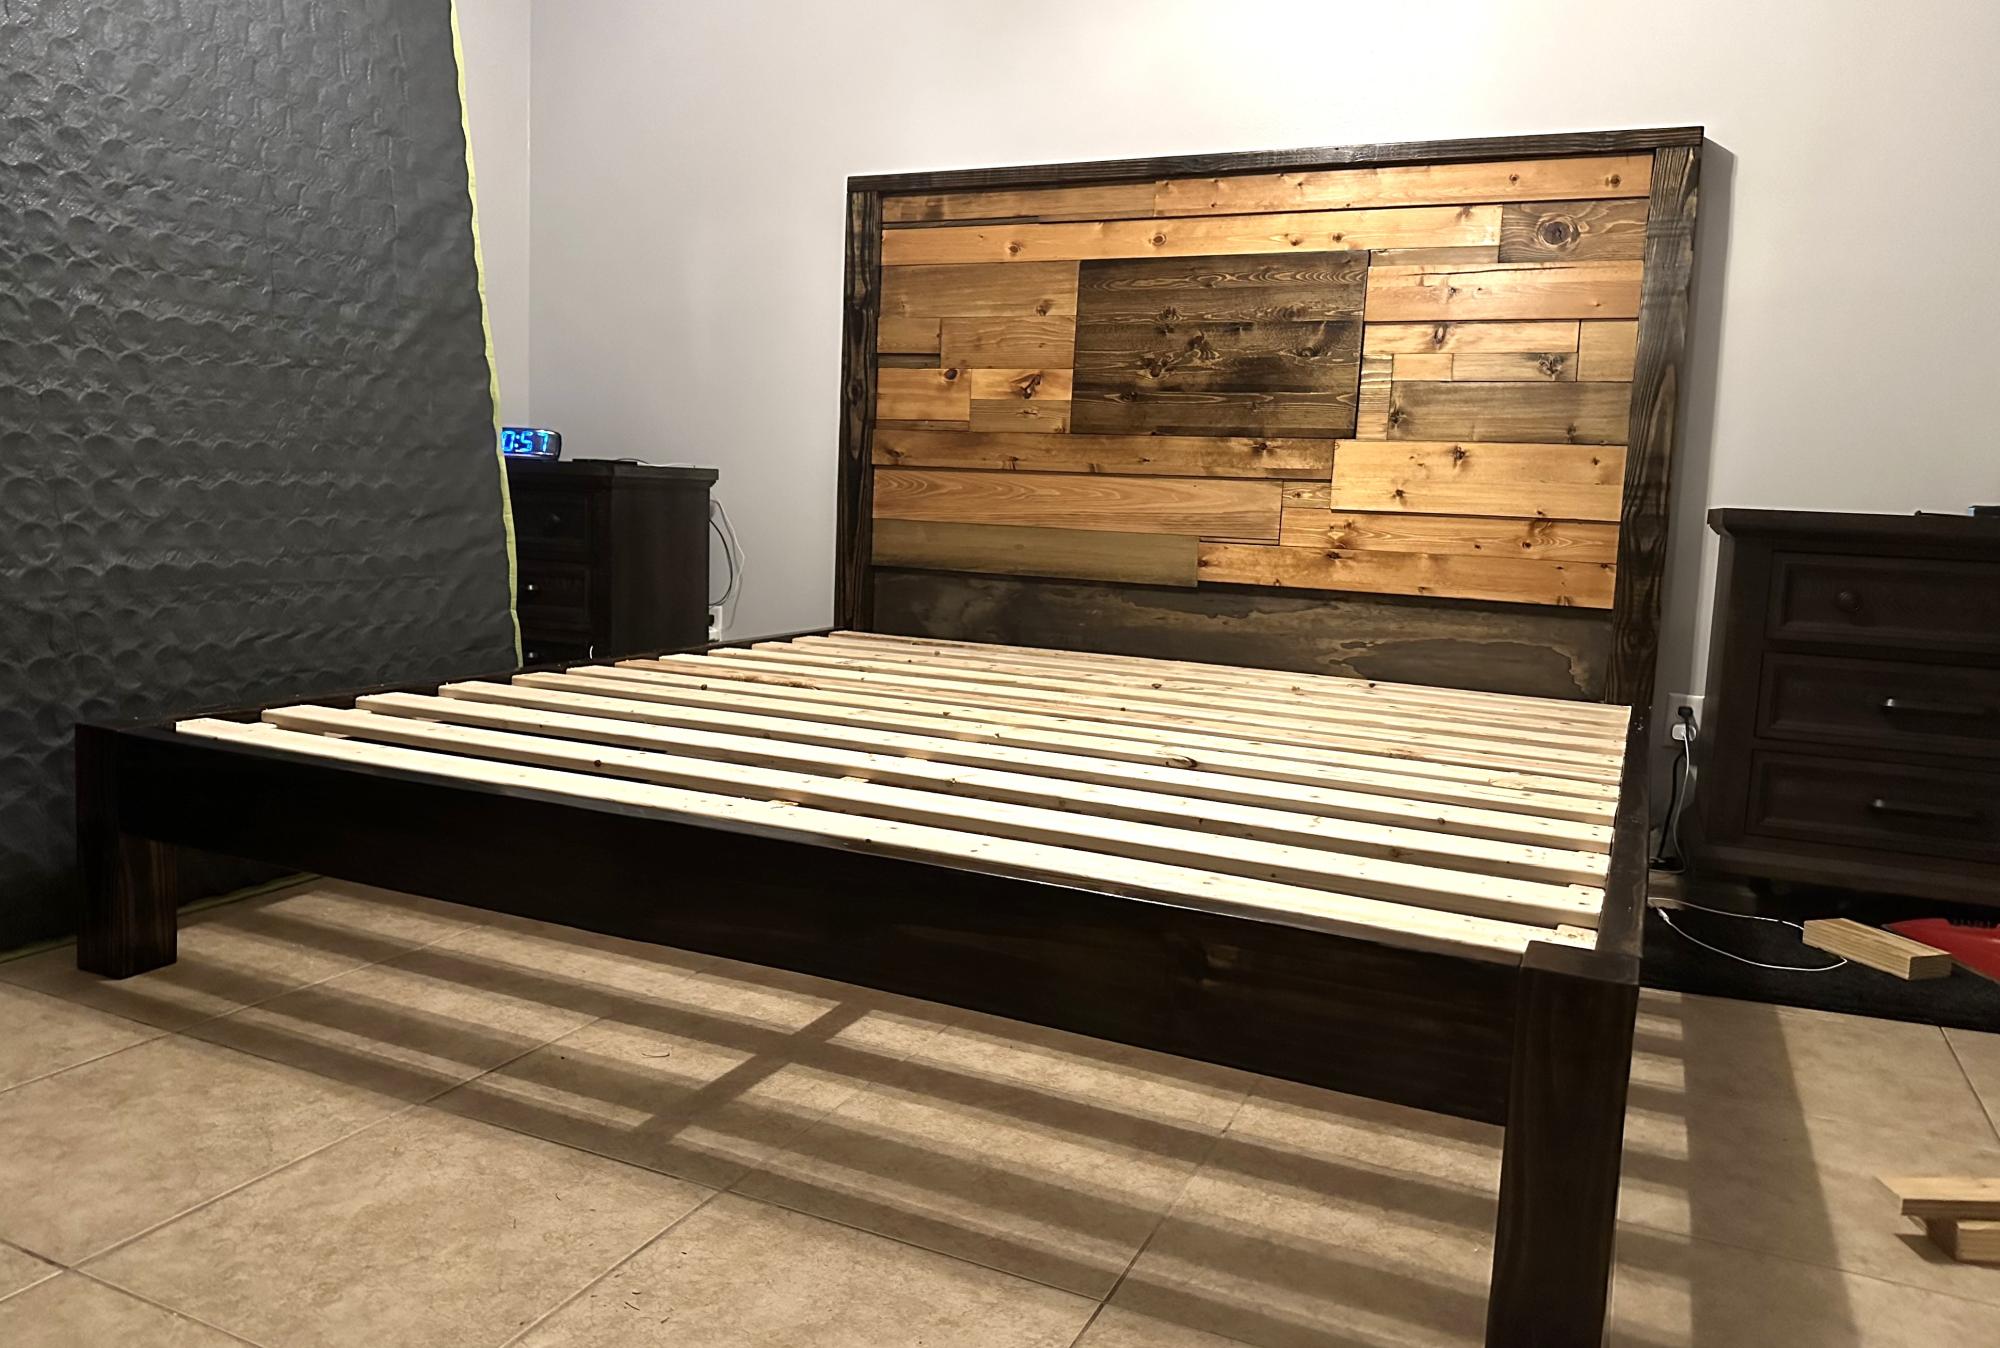
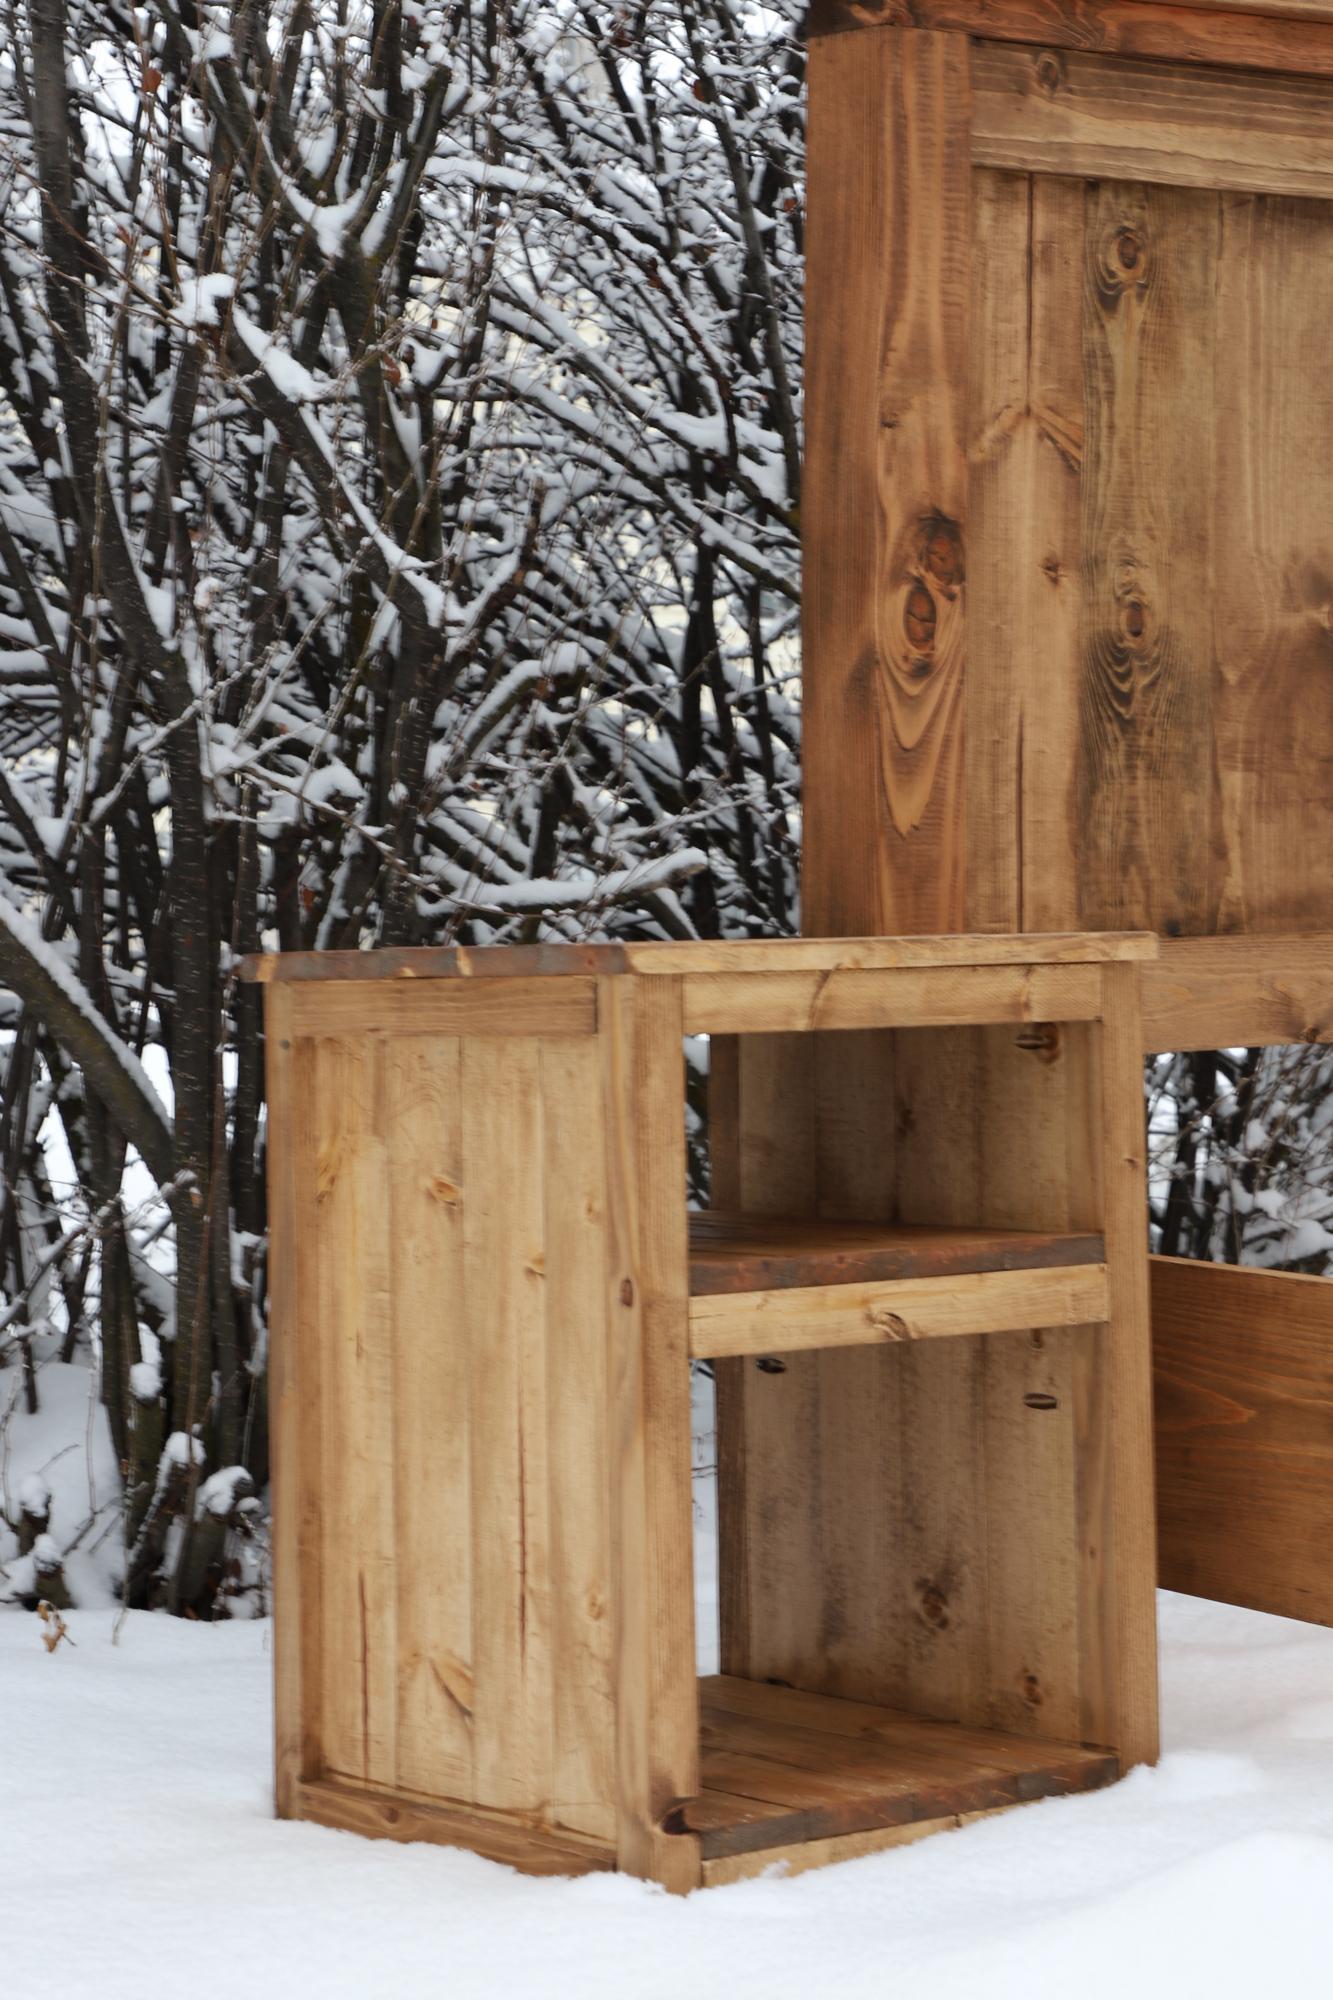
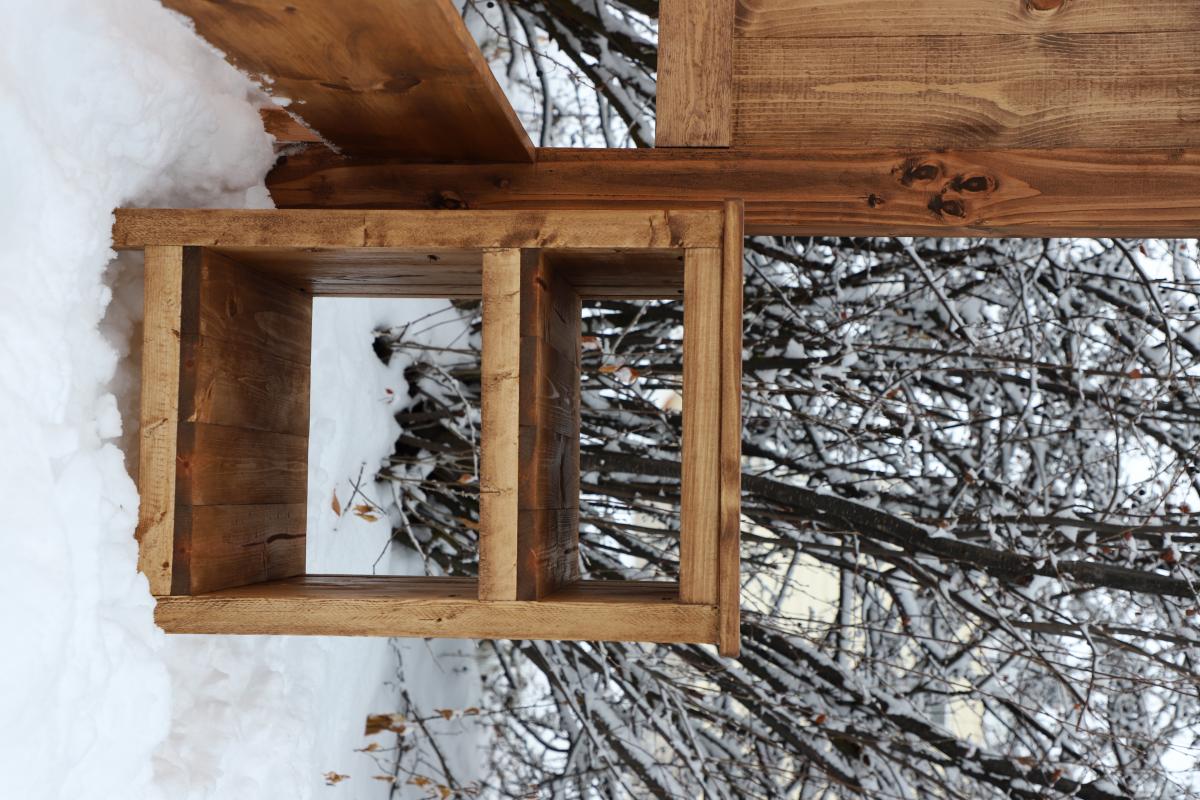
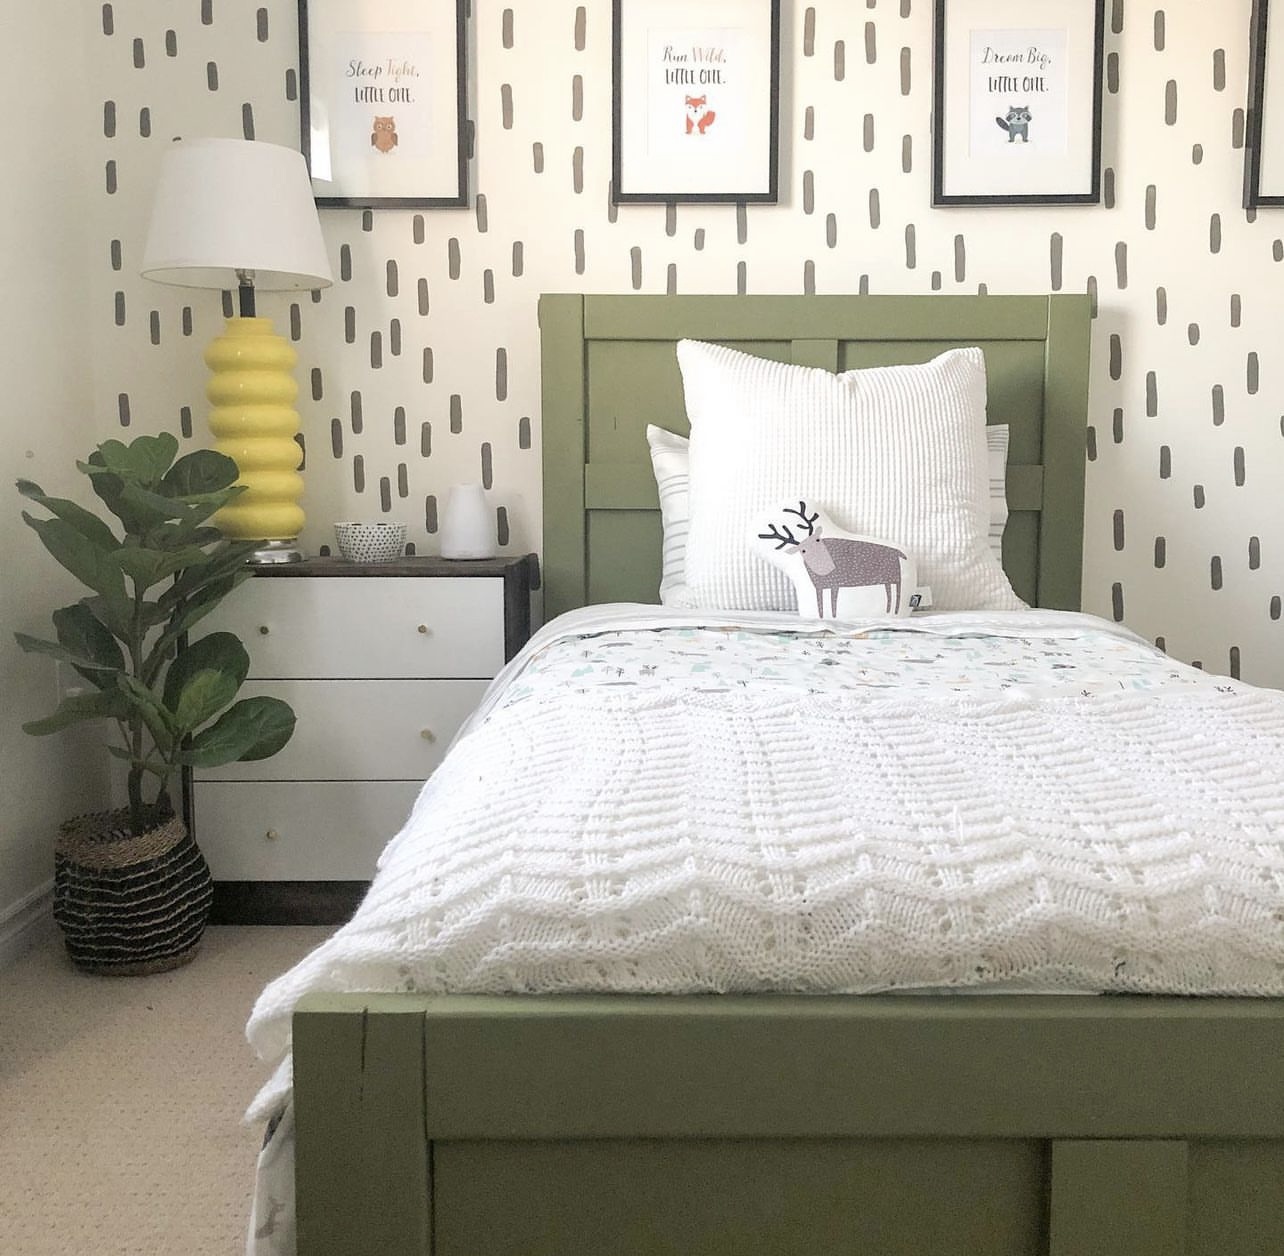
Bed with Storage for the Master Bedroom
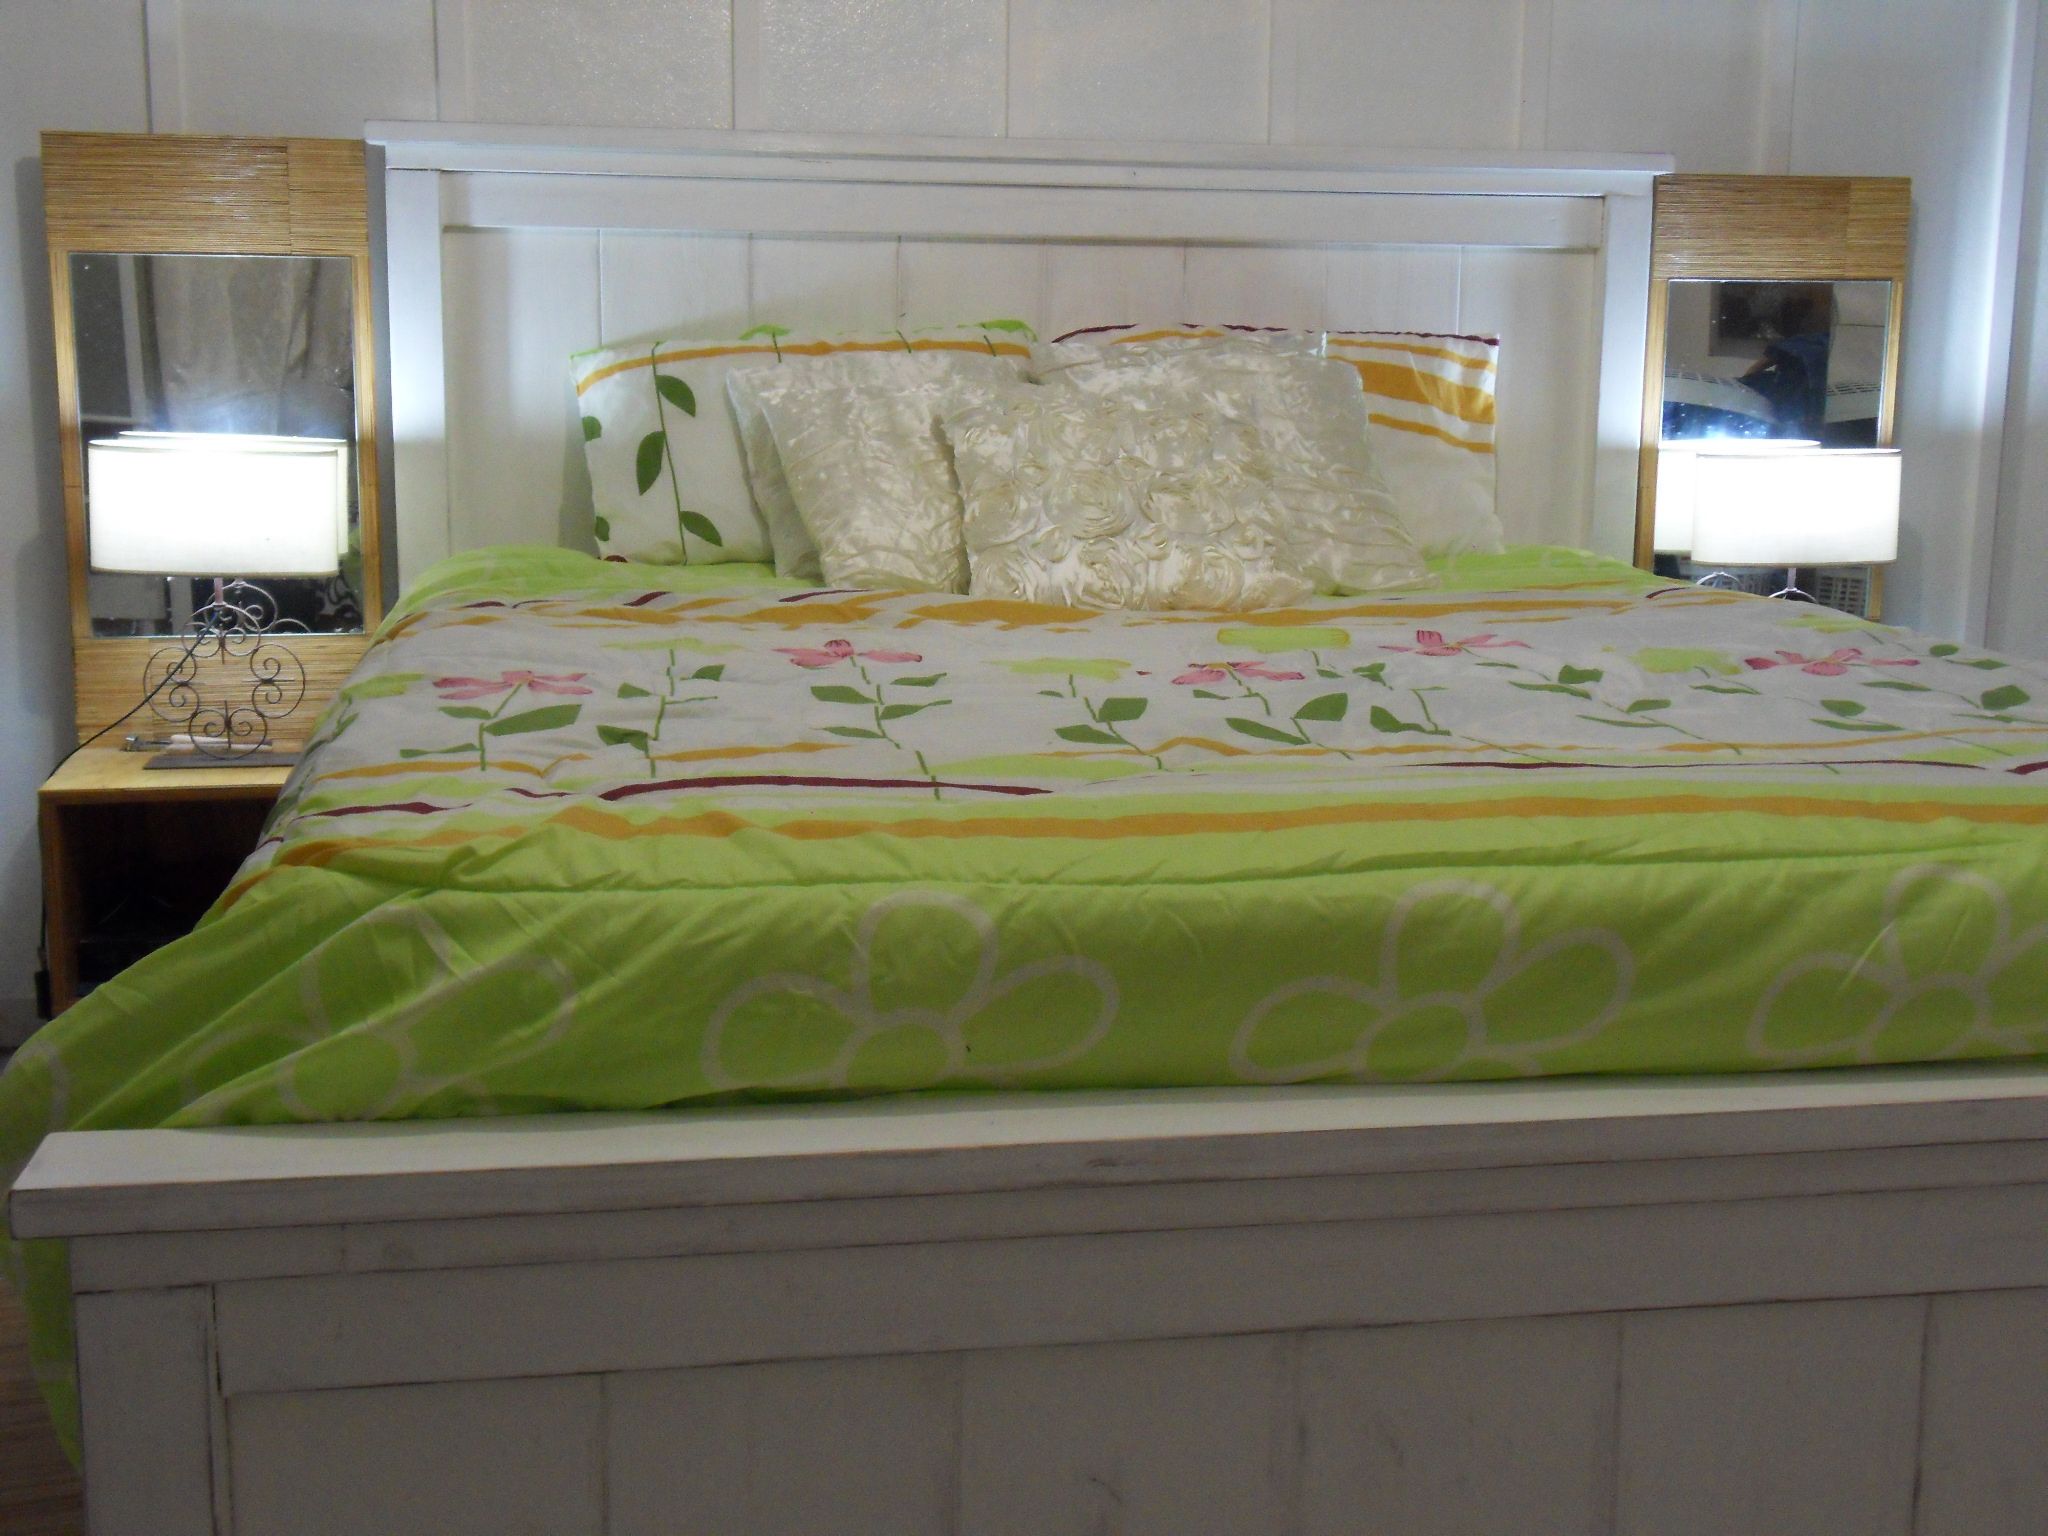
I built the same bed as for my son for the master bedroom. A queen size bed with storage with paneled footboard and headboard. I love that style and I made board and batten too.
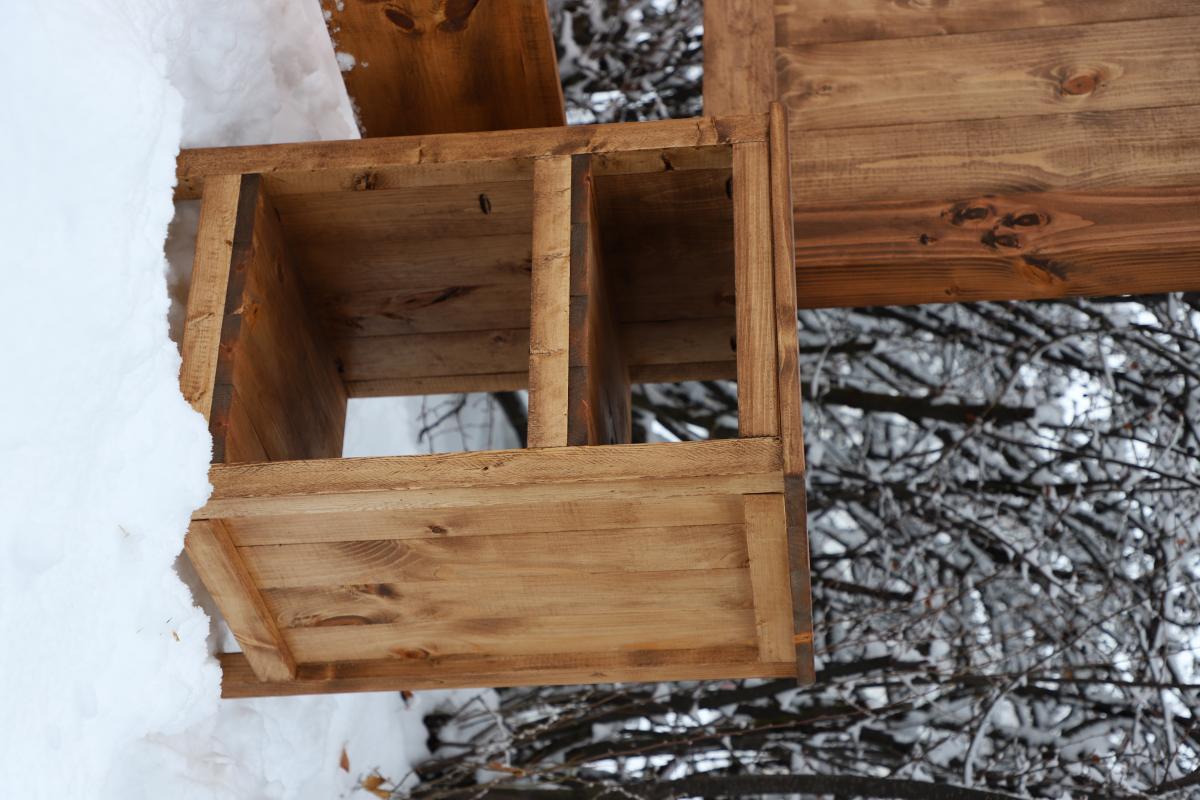
I am very happy and the bed is very sturdy. I didnt make drawers because it's too difficult for me. I am not ready to build drawers! Maybe next time!
Built from Plan(s)
Estimated Time Investment
Week Long Project (20 Hours or More)
Finish Used
white paint
Recommended Skill Level
Beginner


Comments
Stefanye Thurmond (not verified)
Fri, 05/04/2012 - 08:12
beautiful job!
I share your fear of drawers! It still looks great with cubbies :)
Anelicia (not verified)
Sun, 11/25/2012 - 21:27
Mattress Sliding
I love this bed but I am wondering since there is no edge if you have any issue with your mattress sliding side to side?
alamanda973
Thu, 12/13/2012 - 17:18
No edge
My mattress does not slide because it is heavy and it is a little wider that the bed thus there is no edge which exceeds. I hope to have answered the question.