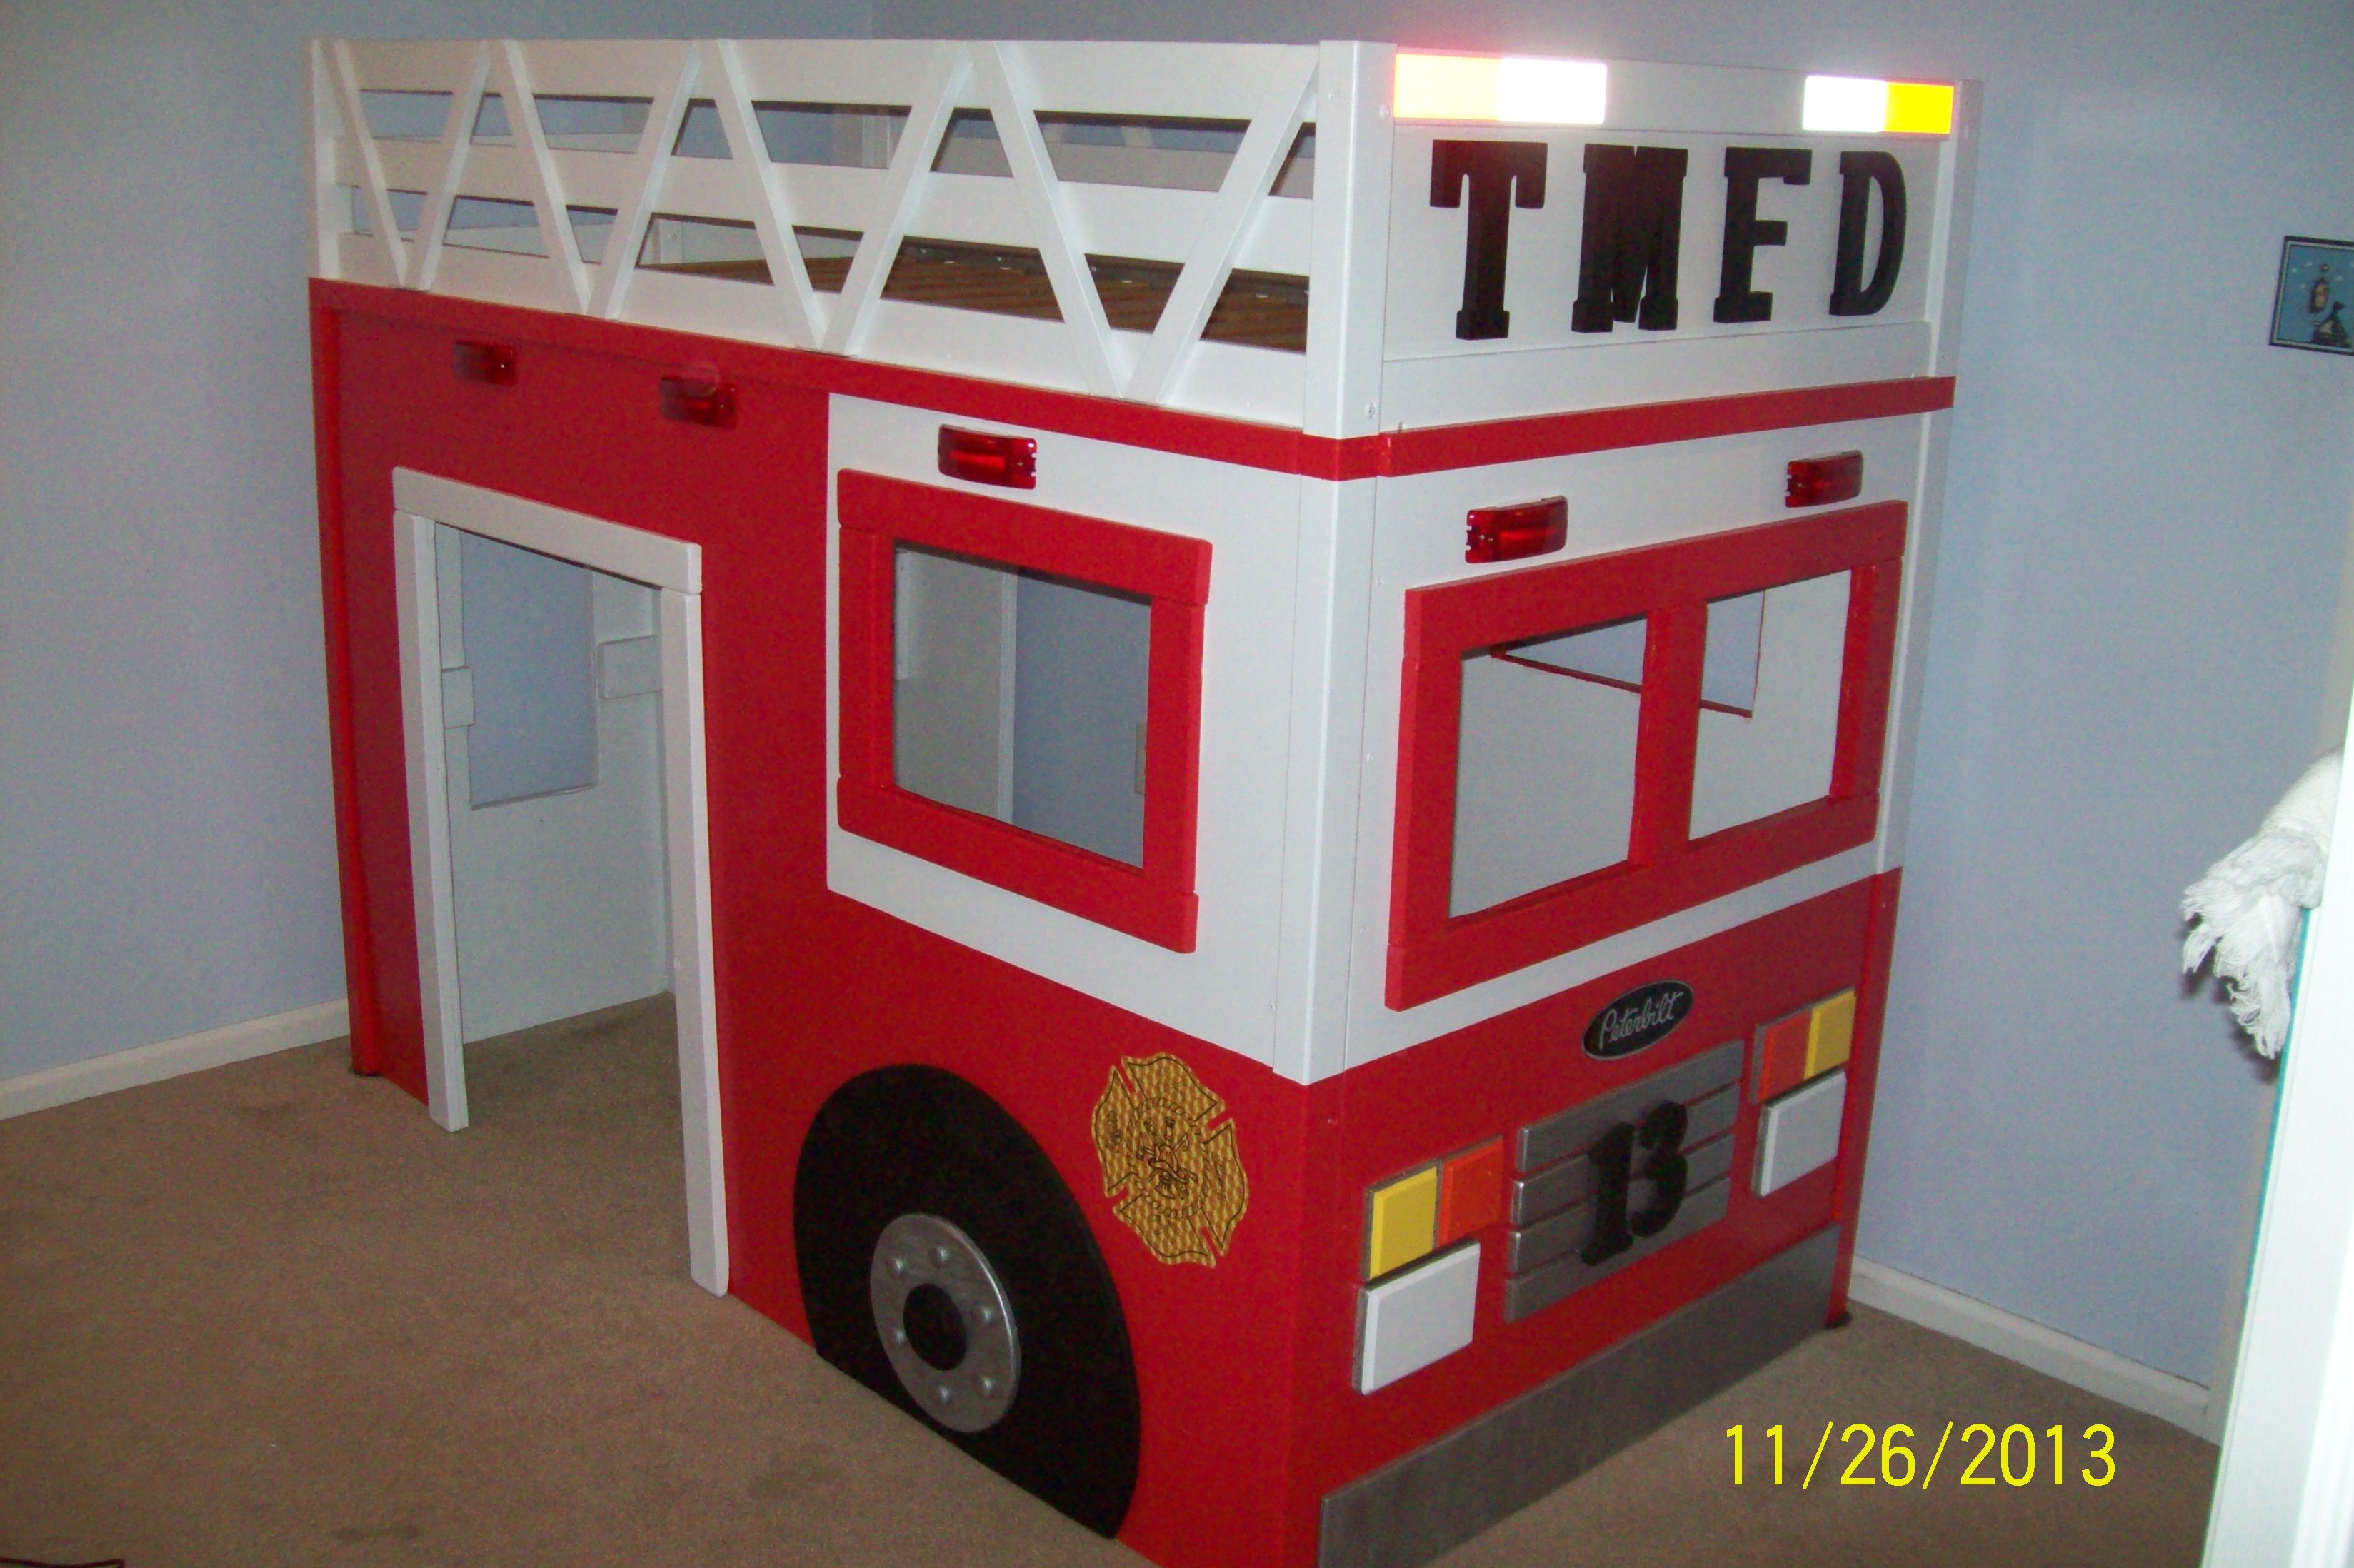
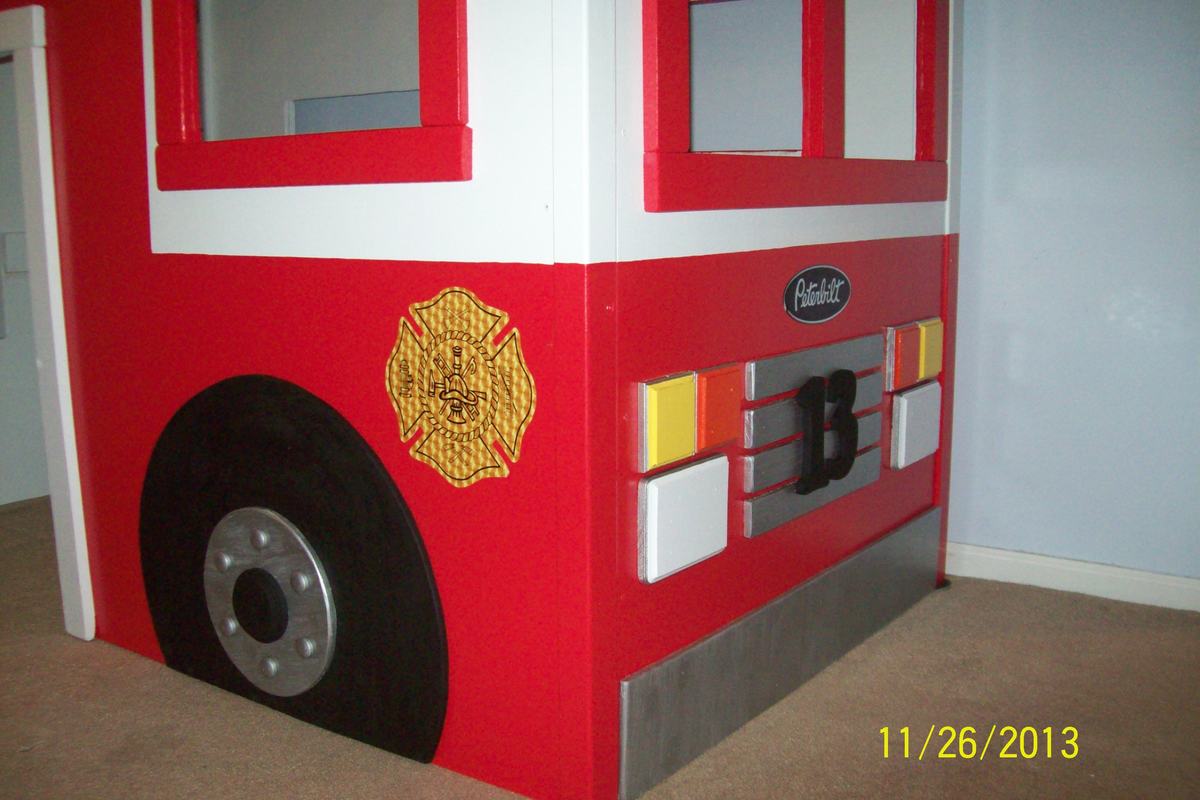
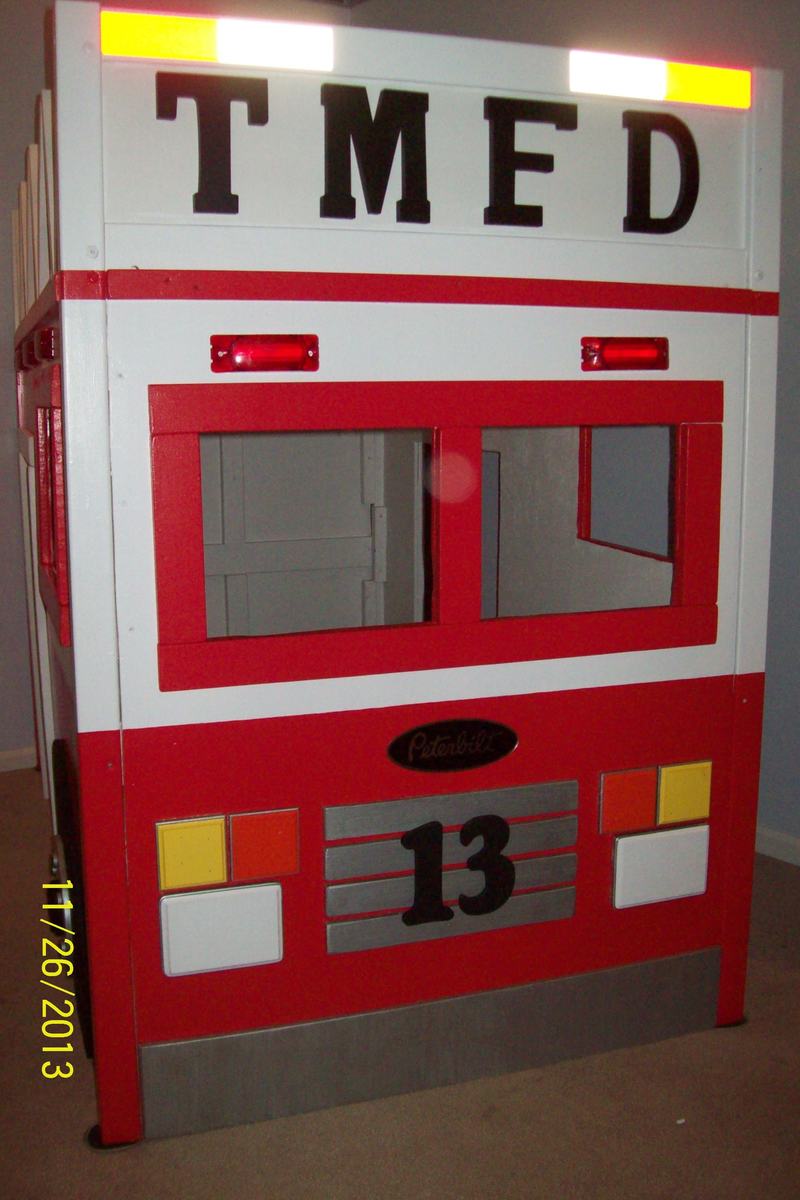
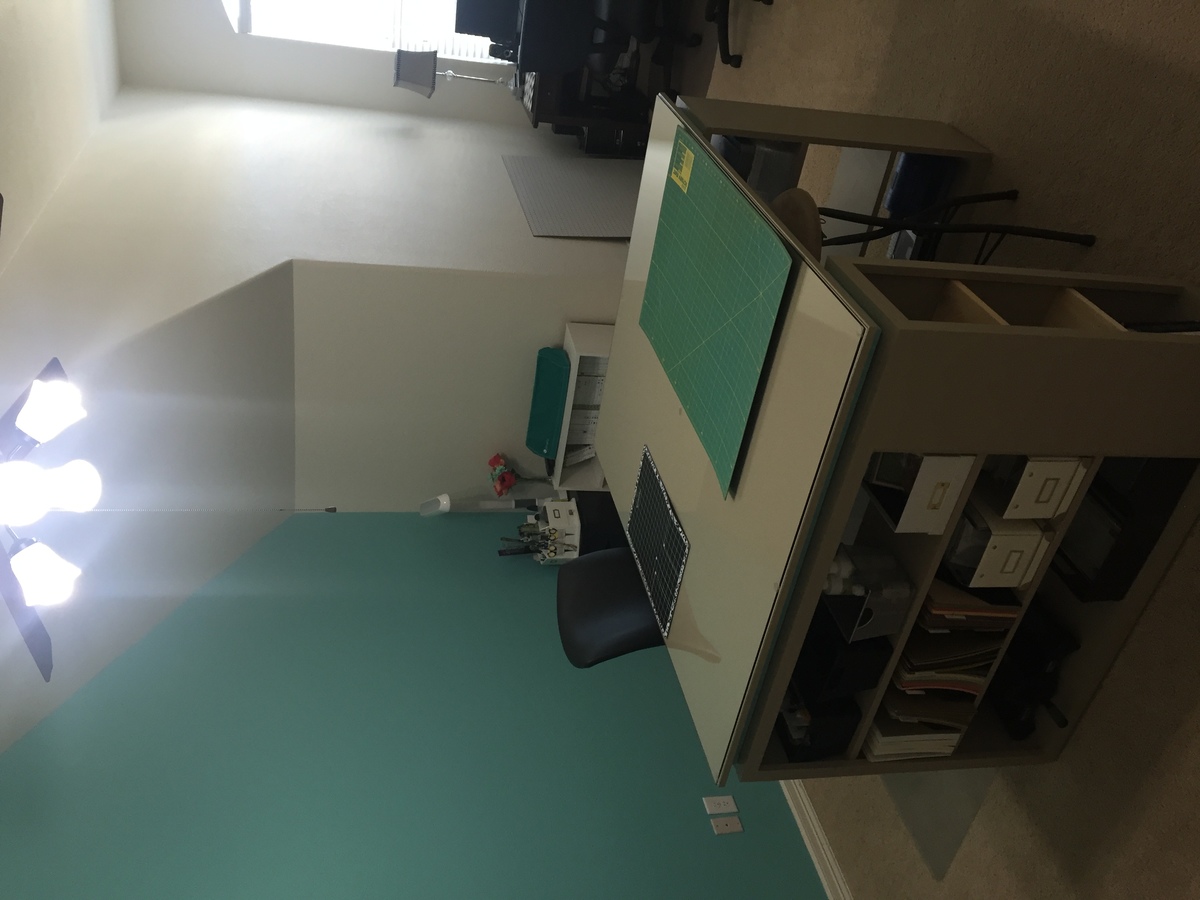
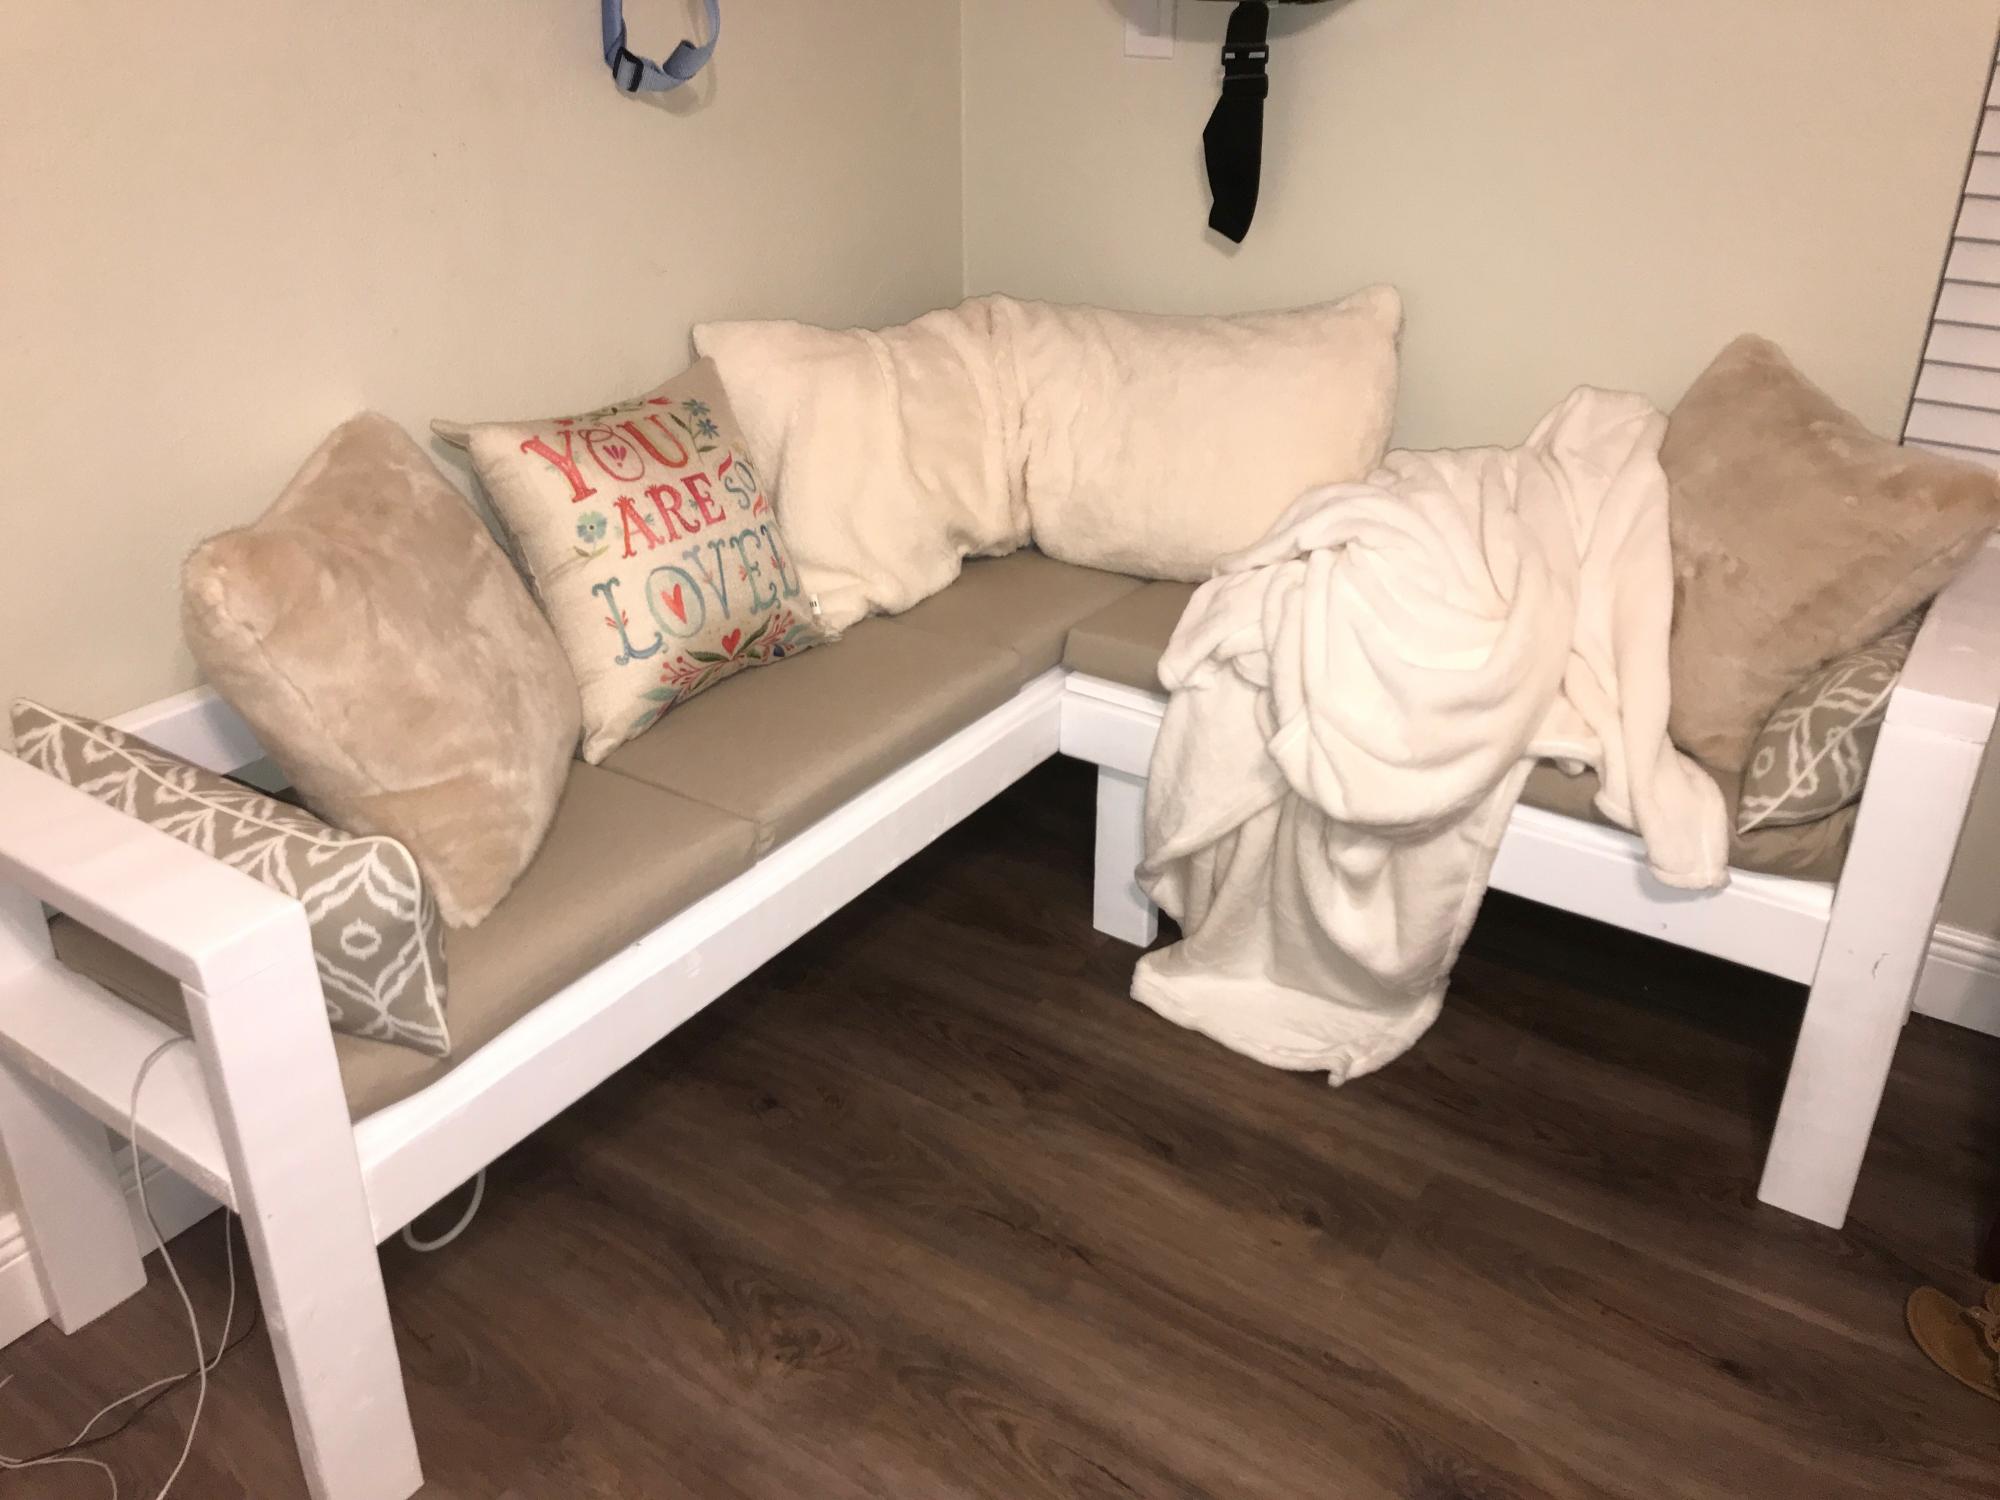
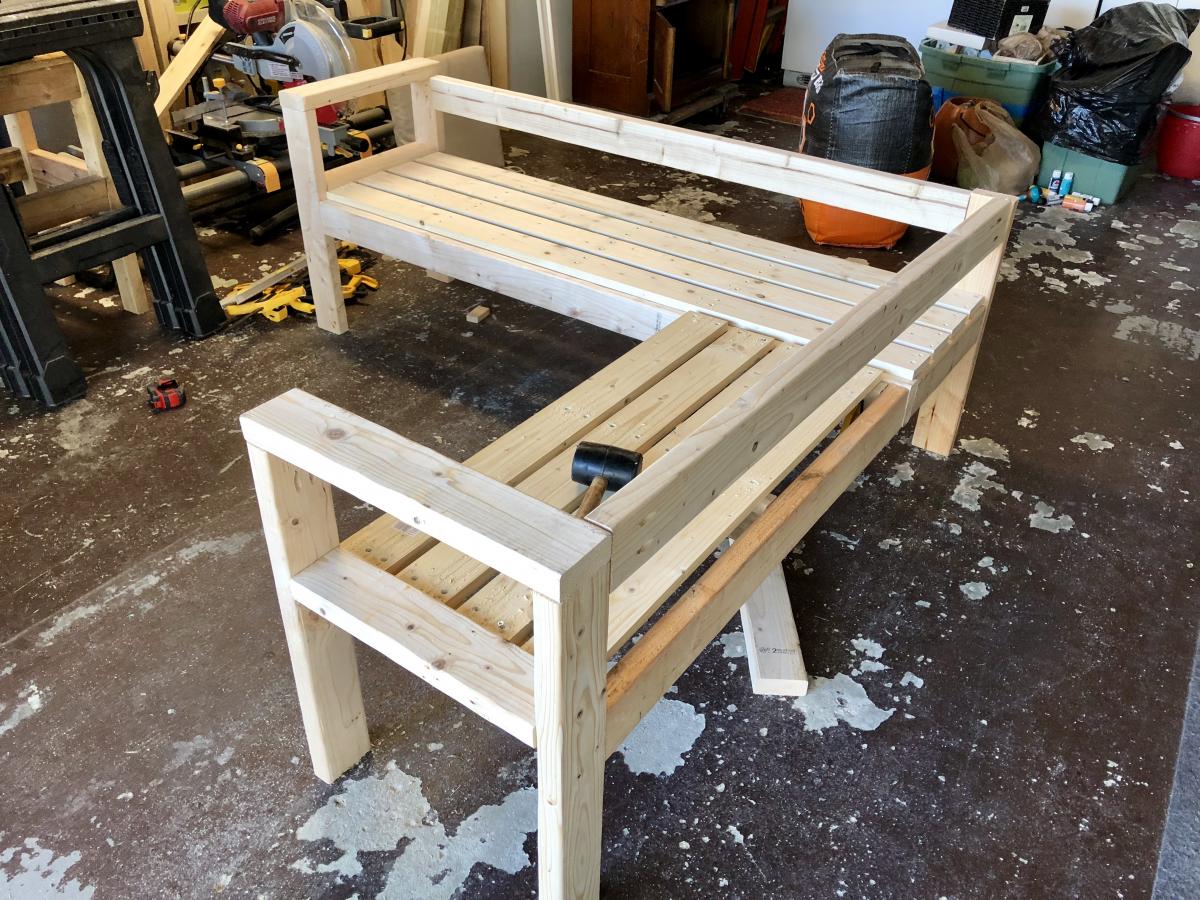
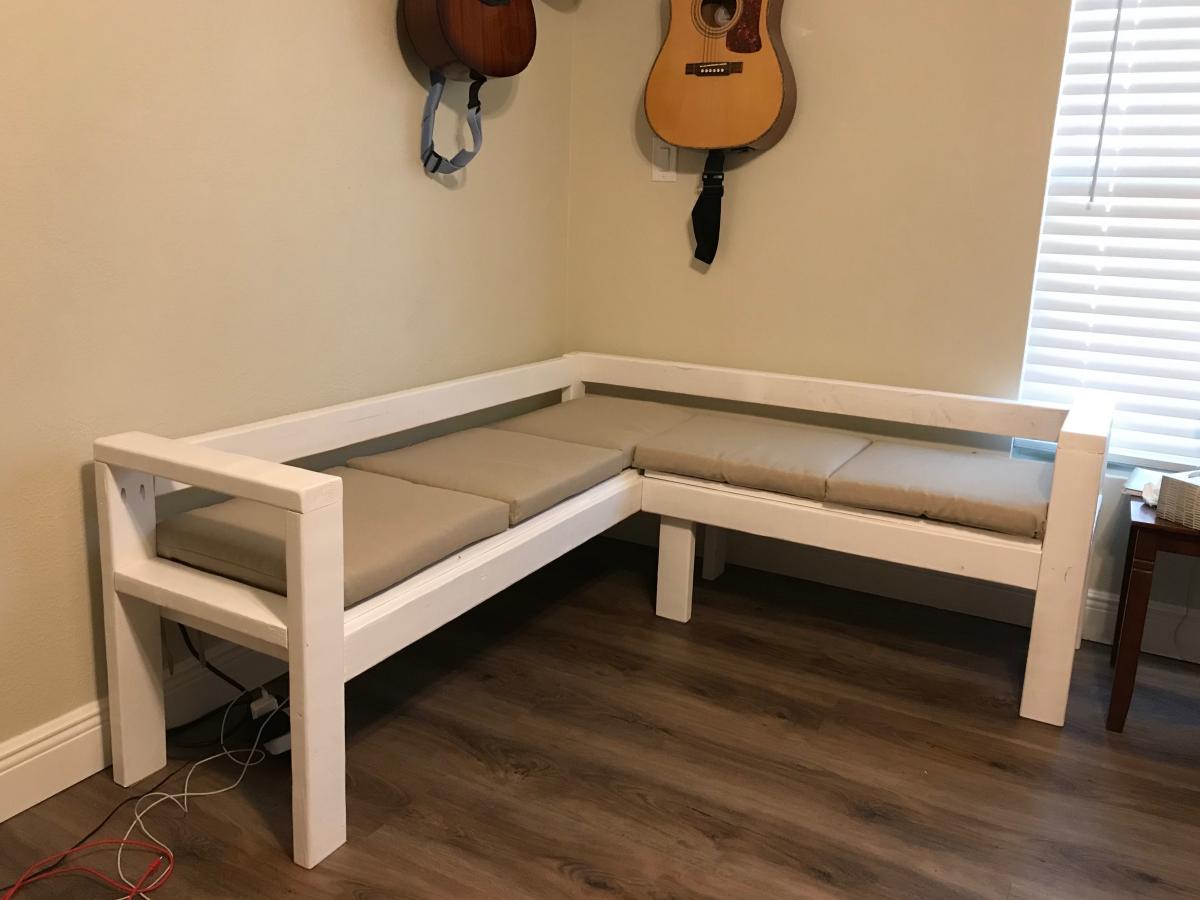
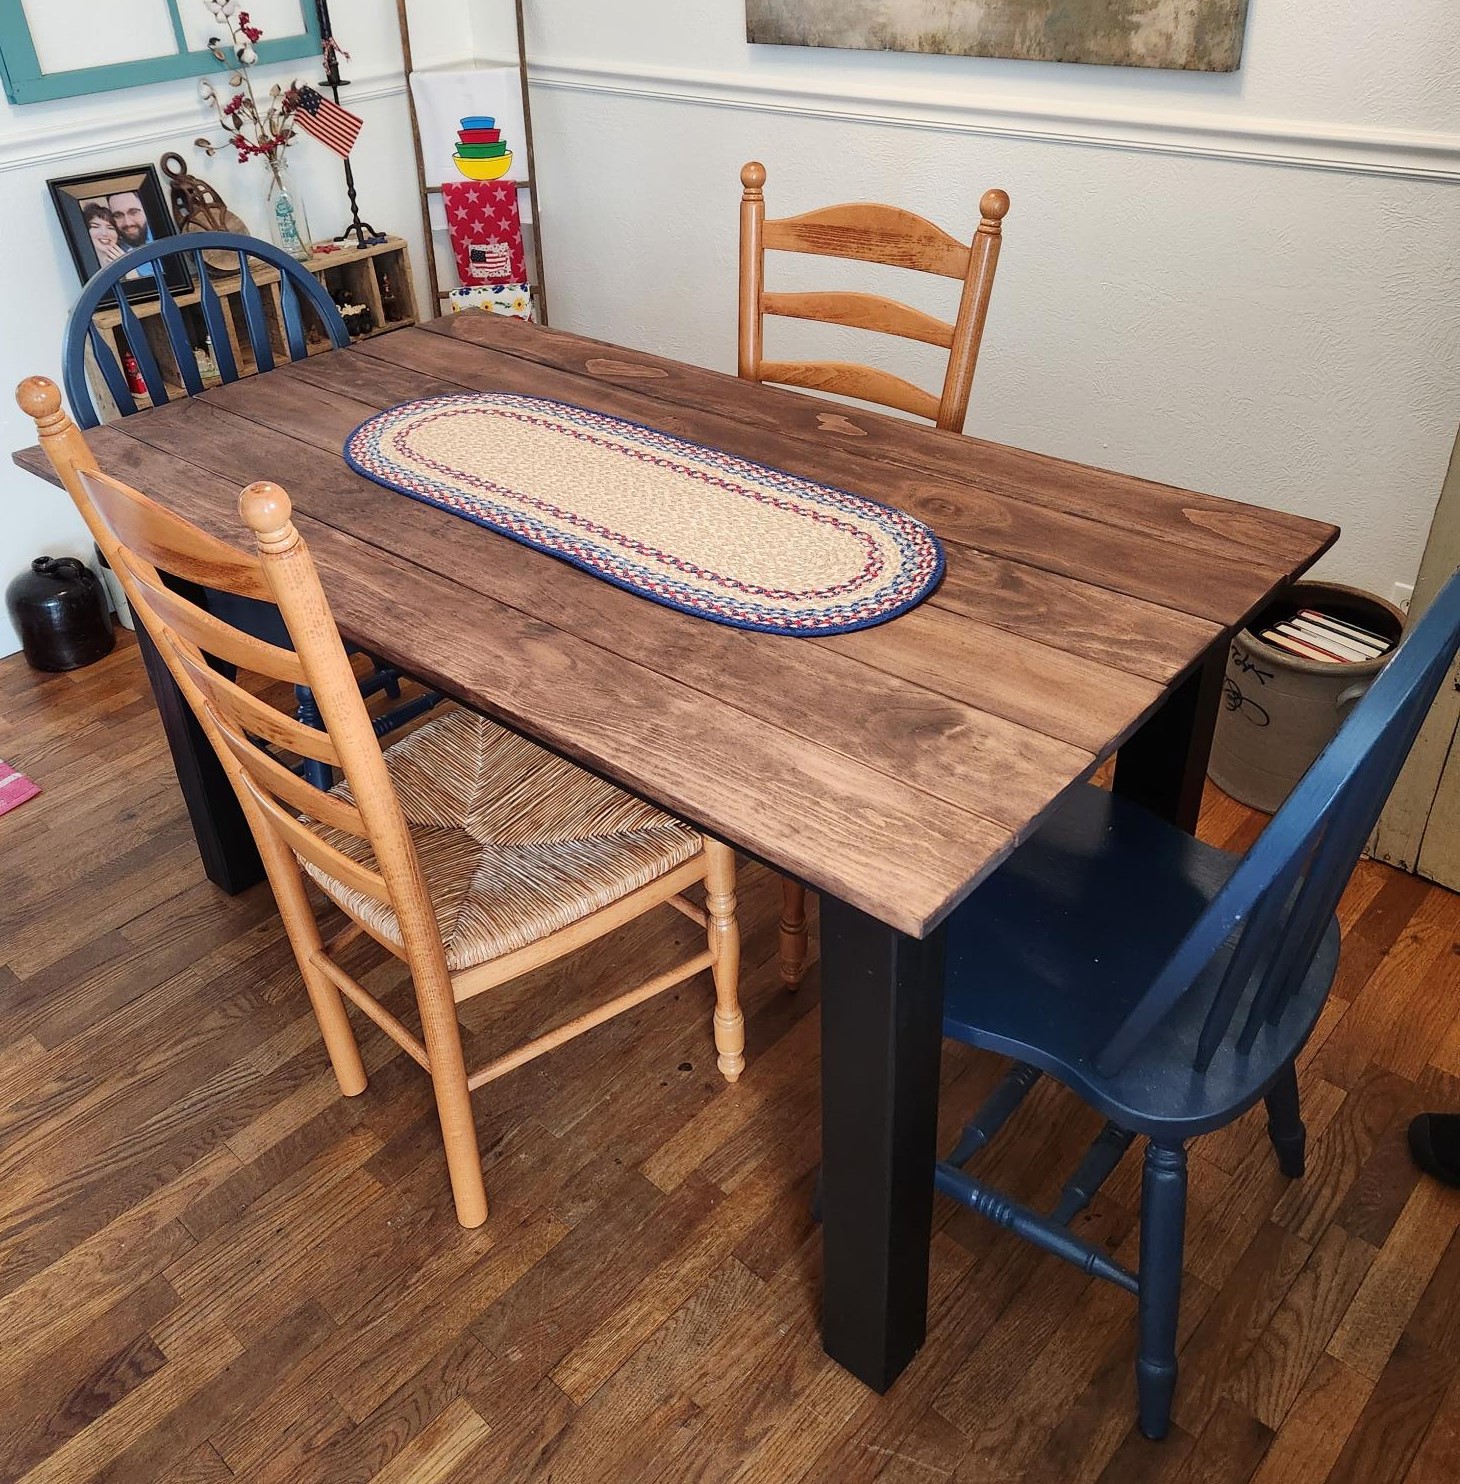
Art table for my kids

I was getting tired of cleaning marker off my oak table after art time so I decided to just make them a desk. I had been eyeing the x-desk plan for quite some time, I wanted to see how it worked out so I threw one together and was pleasantly surprised at how it came together. The drawer was a bit complicated but I am so glad I made it. My kids love it and it is a nice place to charge my laptop and sit and do bills.
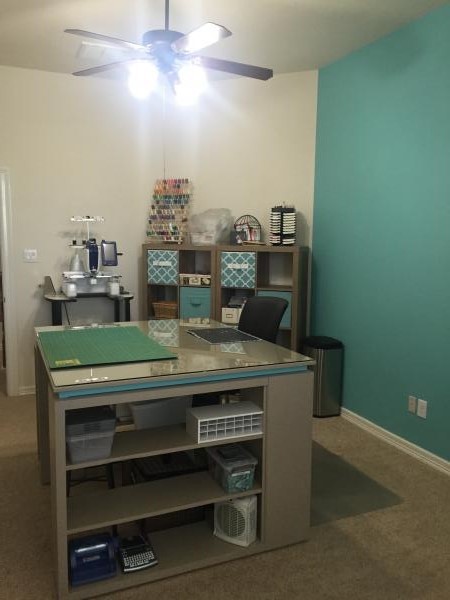
My cousin was opening a call center and she wanted to cut startup costs and I told her we can make the x-desk and cubicles and save $1000's.
For the call center we started and assembly line and had them cut and assembled in 2 days. We used the kreg jig to create the cubicle walls and 2x4's flat we put rigid insulation in the open spaces, covered them with batting and muslin fabric. We completed 8 desks and 2 cubicle pods, we couldn't be happier with the results.

The office desks were sprayed with black paint.


Comments
Margaret Kubiszyn (not verified)
Sun, 01/08/2012 - 05:27
Great job!
Amazing job on the cubicles and desks - you have a very lucky cousin!
hoffer5353
Wed, 02/08/2012 - 08:04
Bartering
Being a stay at home mome one thing I have learned is it is nice to barter. Between sewing and woodworking I am able to save some money in other areas of my life.