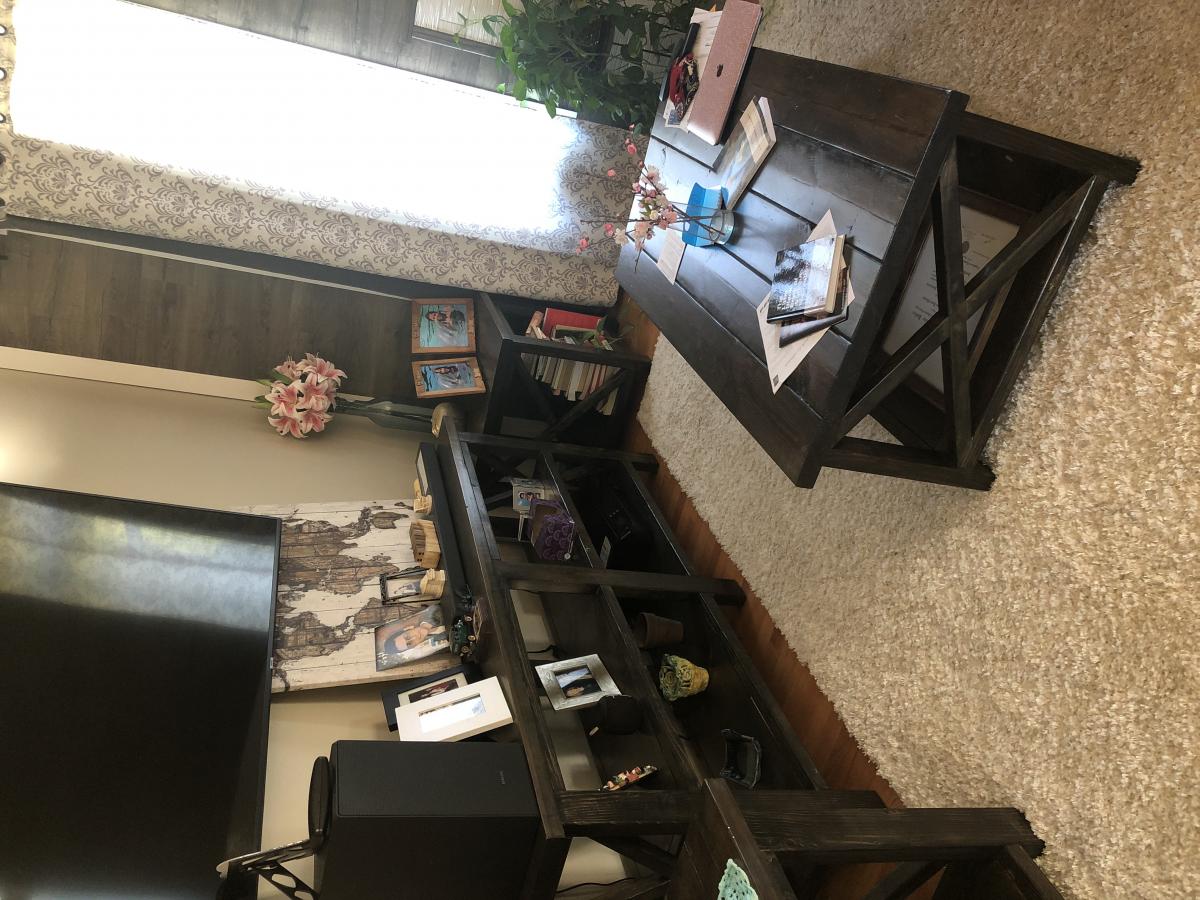
One Arm Outdoor Sectional Piece

Father and son project. Took less than half a day. Already have three offers to build for friends. Couldn't find 10' Cedar so had to use 8' Using scrap pieces of cedar to make a coffee table. Great plans!

Father and son project. Took less than half a day. Already have three offers to build for friends. Couldn't find 10' Cedar so had to use 8' Using scrap pieces of cedar to make a coffee table. Great plans!
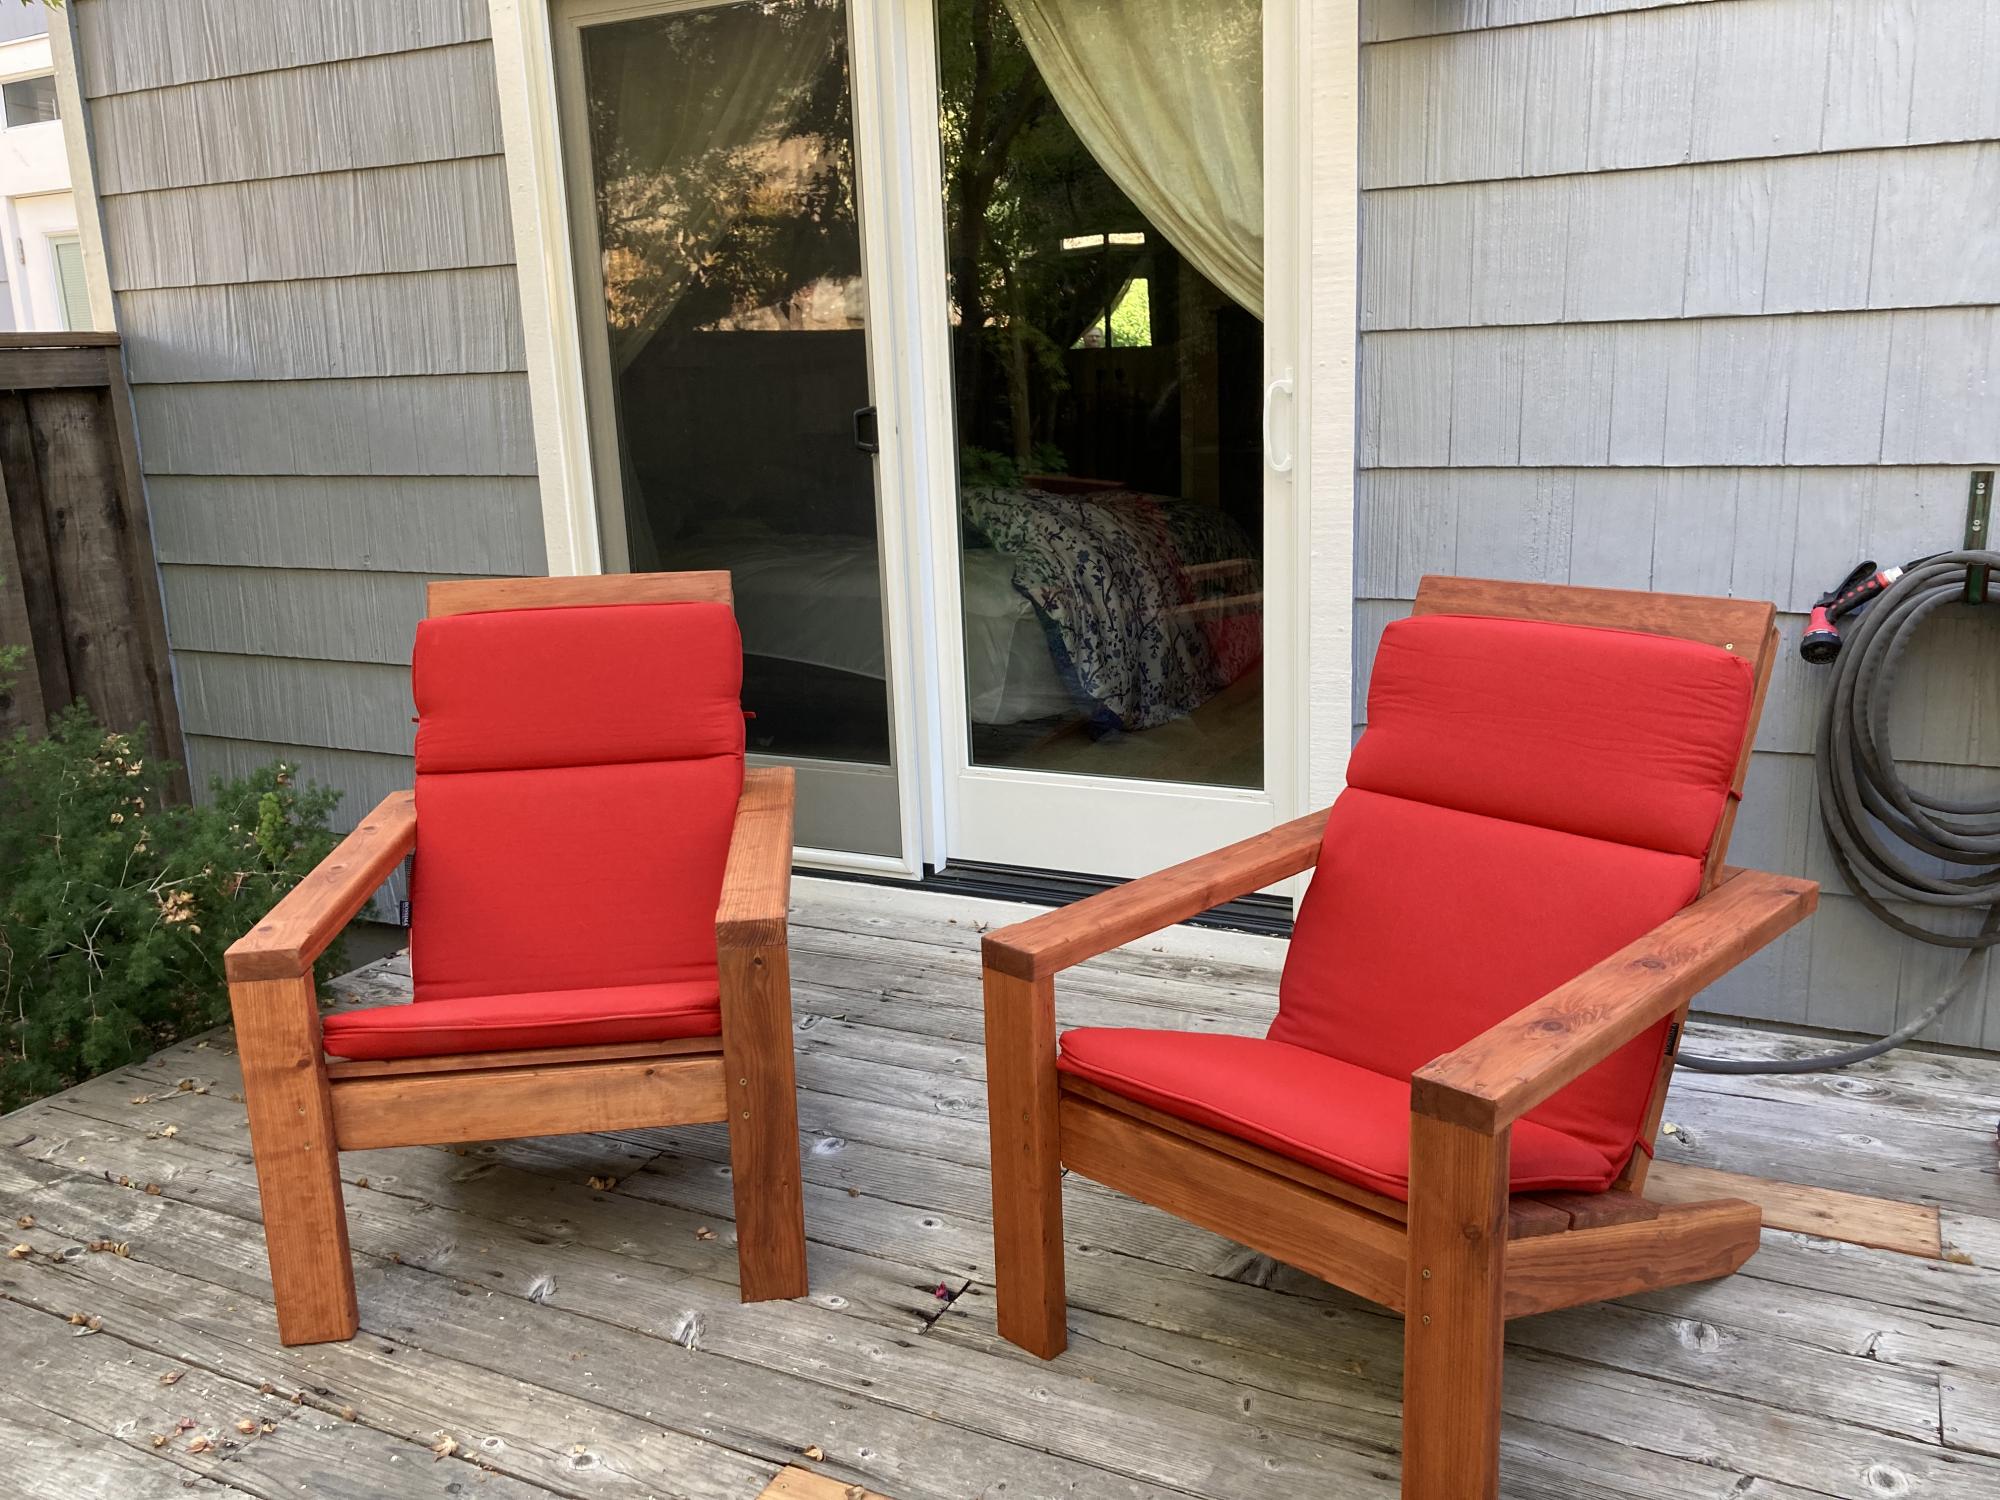
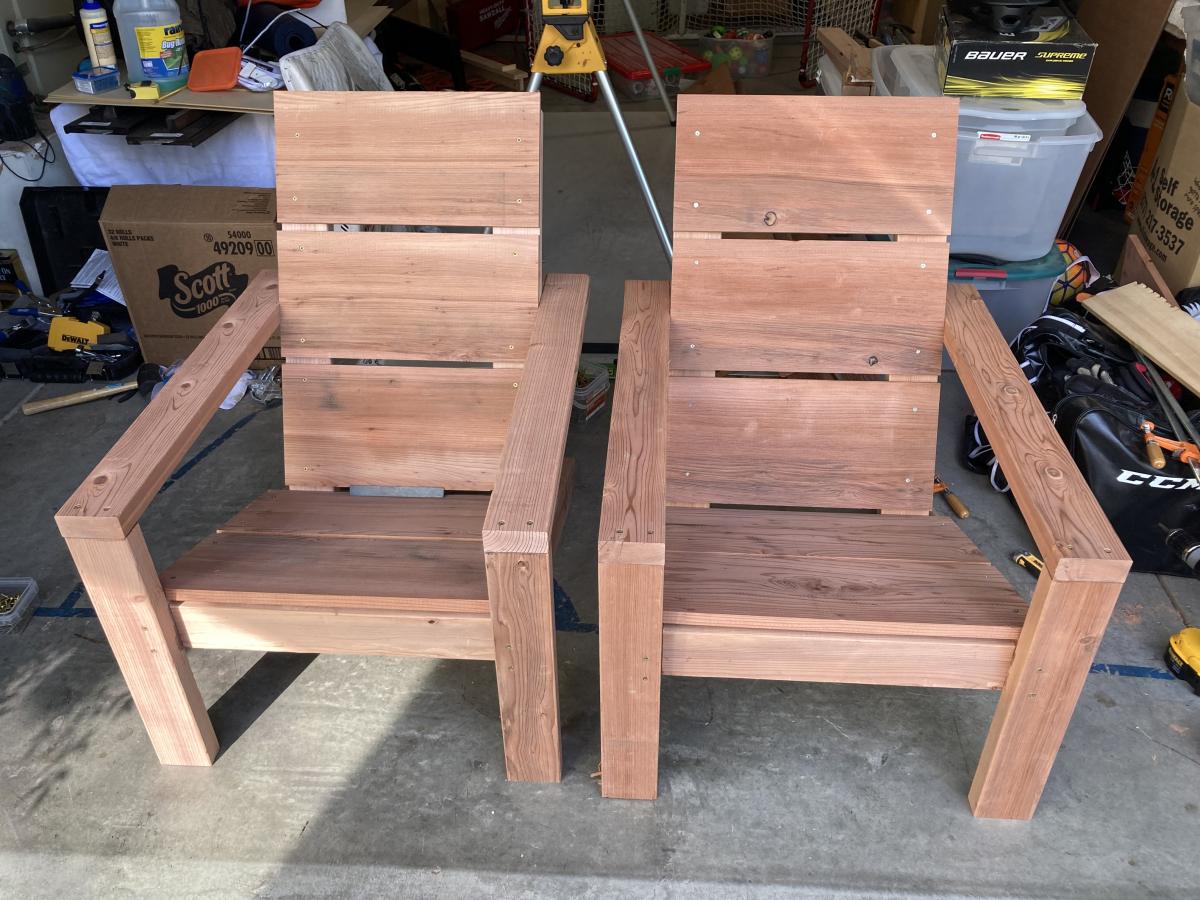
My first “Ana White plans” project. Great plans and easy to follow. Very comfortable chairs.
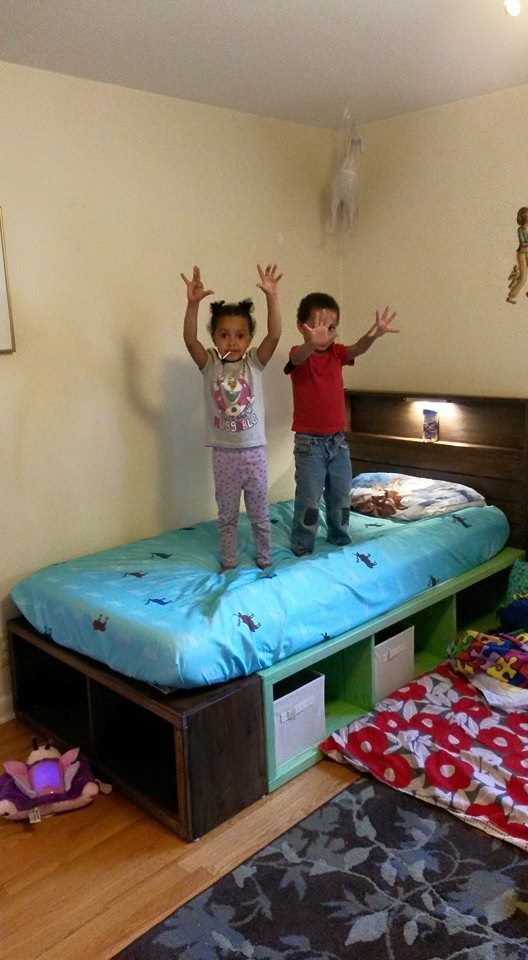
With a child on the way, our house has been undergoing some changes. We were in need of a guest bedroom for family members and needing to store my wife's childhood twin bed with a hidaway twin underneath that was set up in the room that would become the nursery. We also needed to clean all the backpacking gear out of the closet in the nursery room to get ready for it to be taken over by all the baby stuff. I decided a "King-sized" bed out of the two twin mattresses would be a good solution as it would keep us from "storing" the two mattresses and meet the guest bed need. After I came across the plans for the fancy farmhouse bed, I knew if i just added some height to it, I could meet the storage need too! There's 14'' on my version of the fancy farmhouse bed between the carpet and the rails, plenty of room for medium sized plastic tubs to slide in and out (as seen with the "test tub" in the picture. Under my bed there are currently 9 tubs, two large suit cases, a PA speaker, Power speaker head, a large double sleeping bag, and a little room for more. I'll try to add pictures when I finish the room out with night stands (wine crates mounted to the wall), a bedskirt, lamps, and a headboard. Once I got the wood home, it was a fast build. The slowest part was painting
I built the Twin Storage Bed twice in a (very) full week of vacation. The project was big, but straightforward. The headboards are my own design, and are really strong with the addition of a 1x3 on the outsides to support.
The kids were part of the building, so they were especially excited to sleep in them....over the week I was building them, we moved them out of cribs, onto the floor in crib mattresses, then to bigger mattresses, and finally to their big-kid beds.
What a great set of plans! The only glitch was that I cut the supports for the middle according to plan (15-1/2") and discovered when I assembled the beds they were a little too short for comfort. So I used them to add to the piece on the back of the long boxes, and used pre-fab particle board to make the cover, which probably works better with our foam mattresses anyway. I drilled a couple of holes in the smaller of the particle board sheets to make it easy to lift off and use the middle for storage of some items.
Thanks for the support to do my first big project!
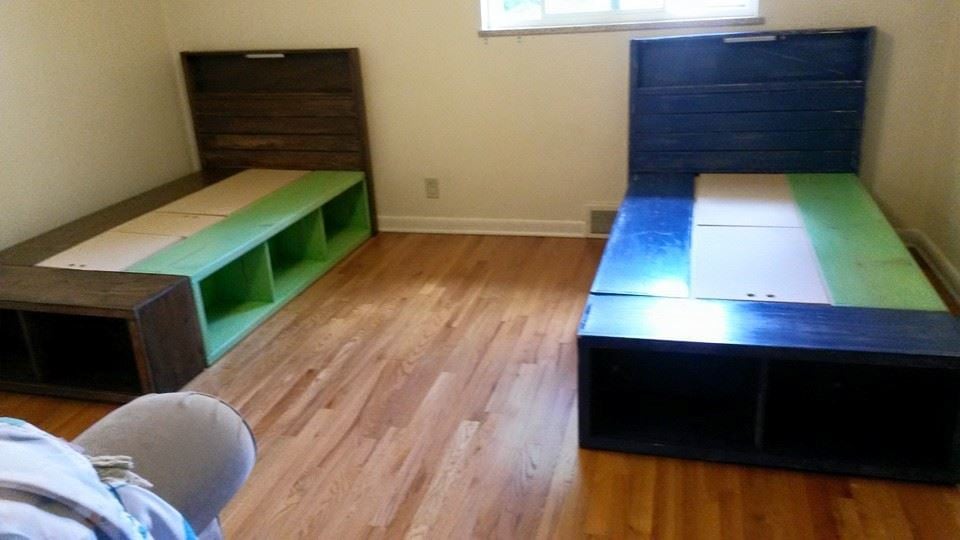
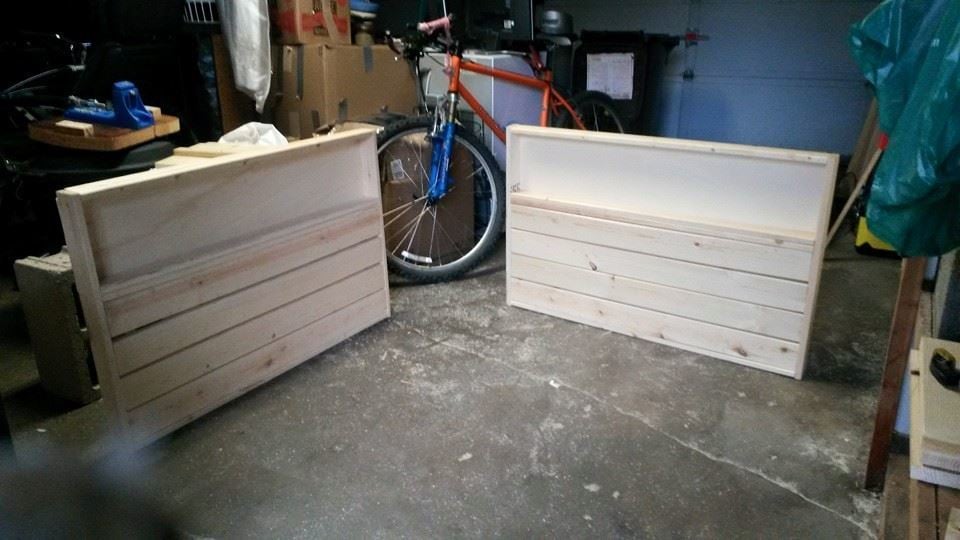
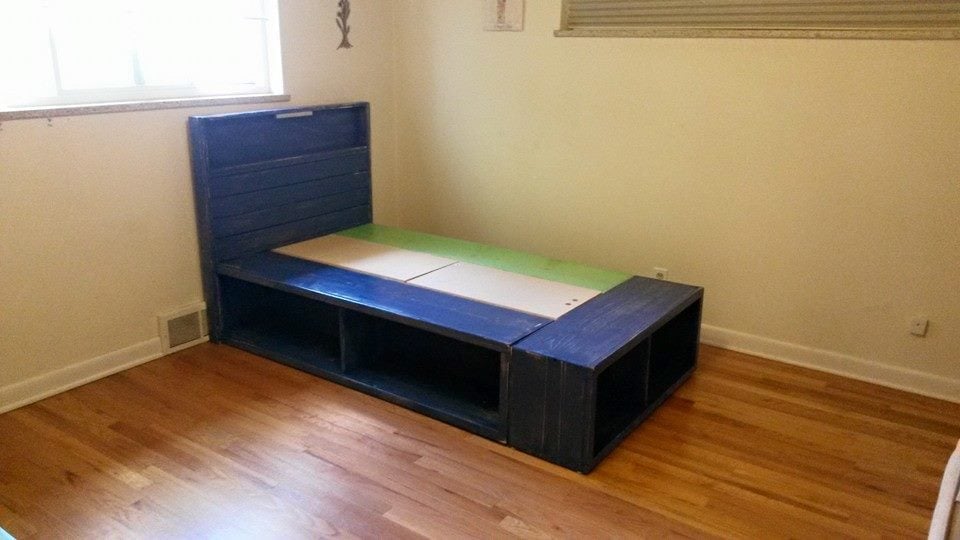
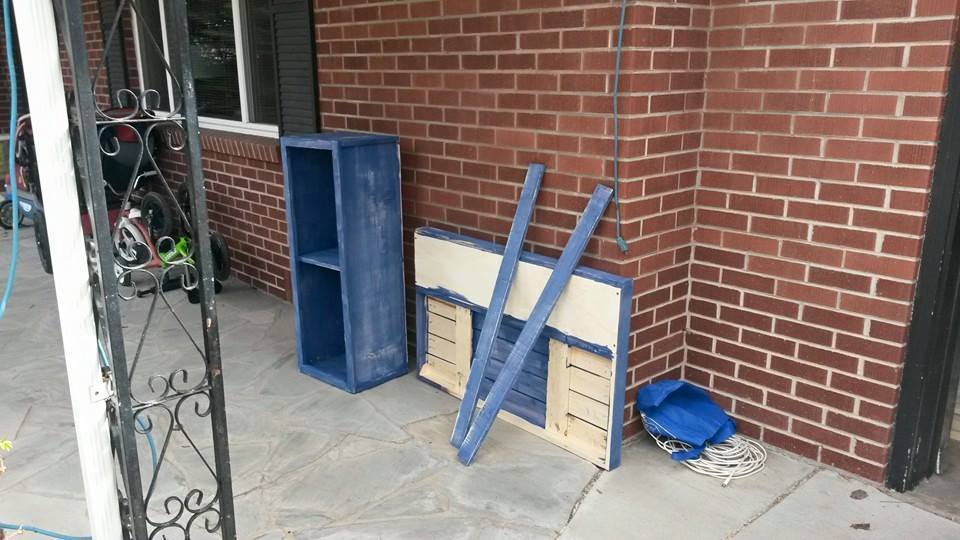
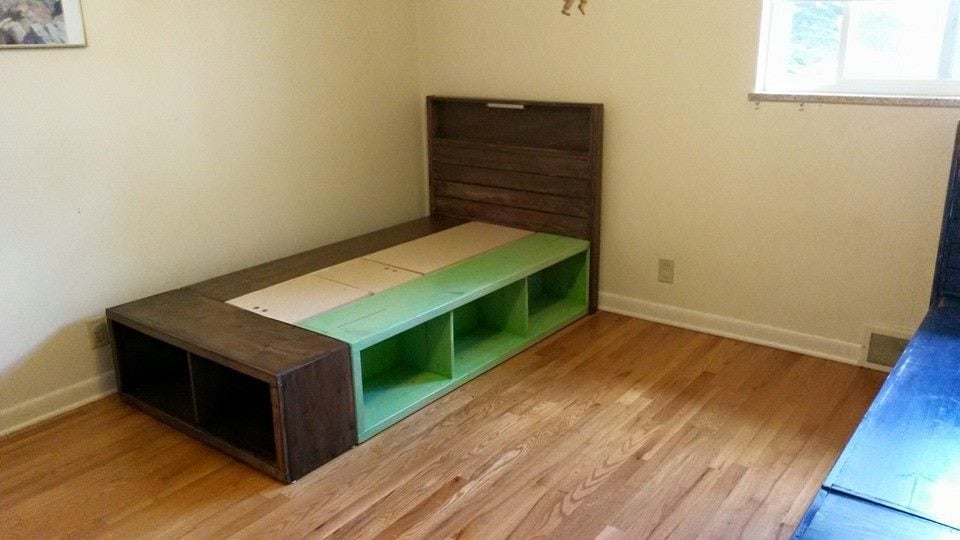

My very first furniture build! Took me about 5 days, but as a beginner I found it very easy to follow the plans. I did buy a Kreg jog for this project, highly recommend it! Other tools used were a miter saw, circular saw, and drill.
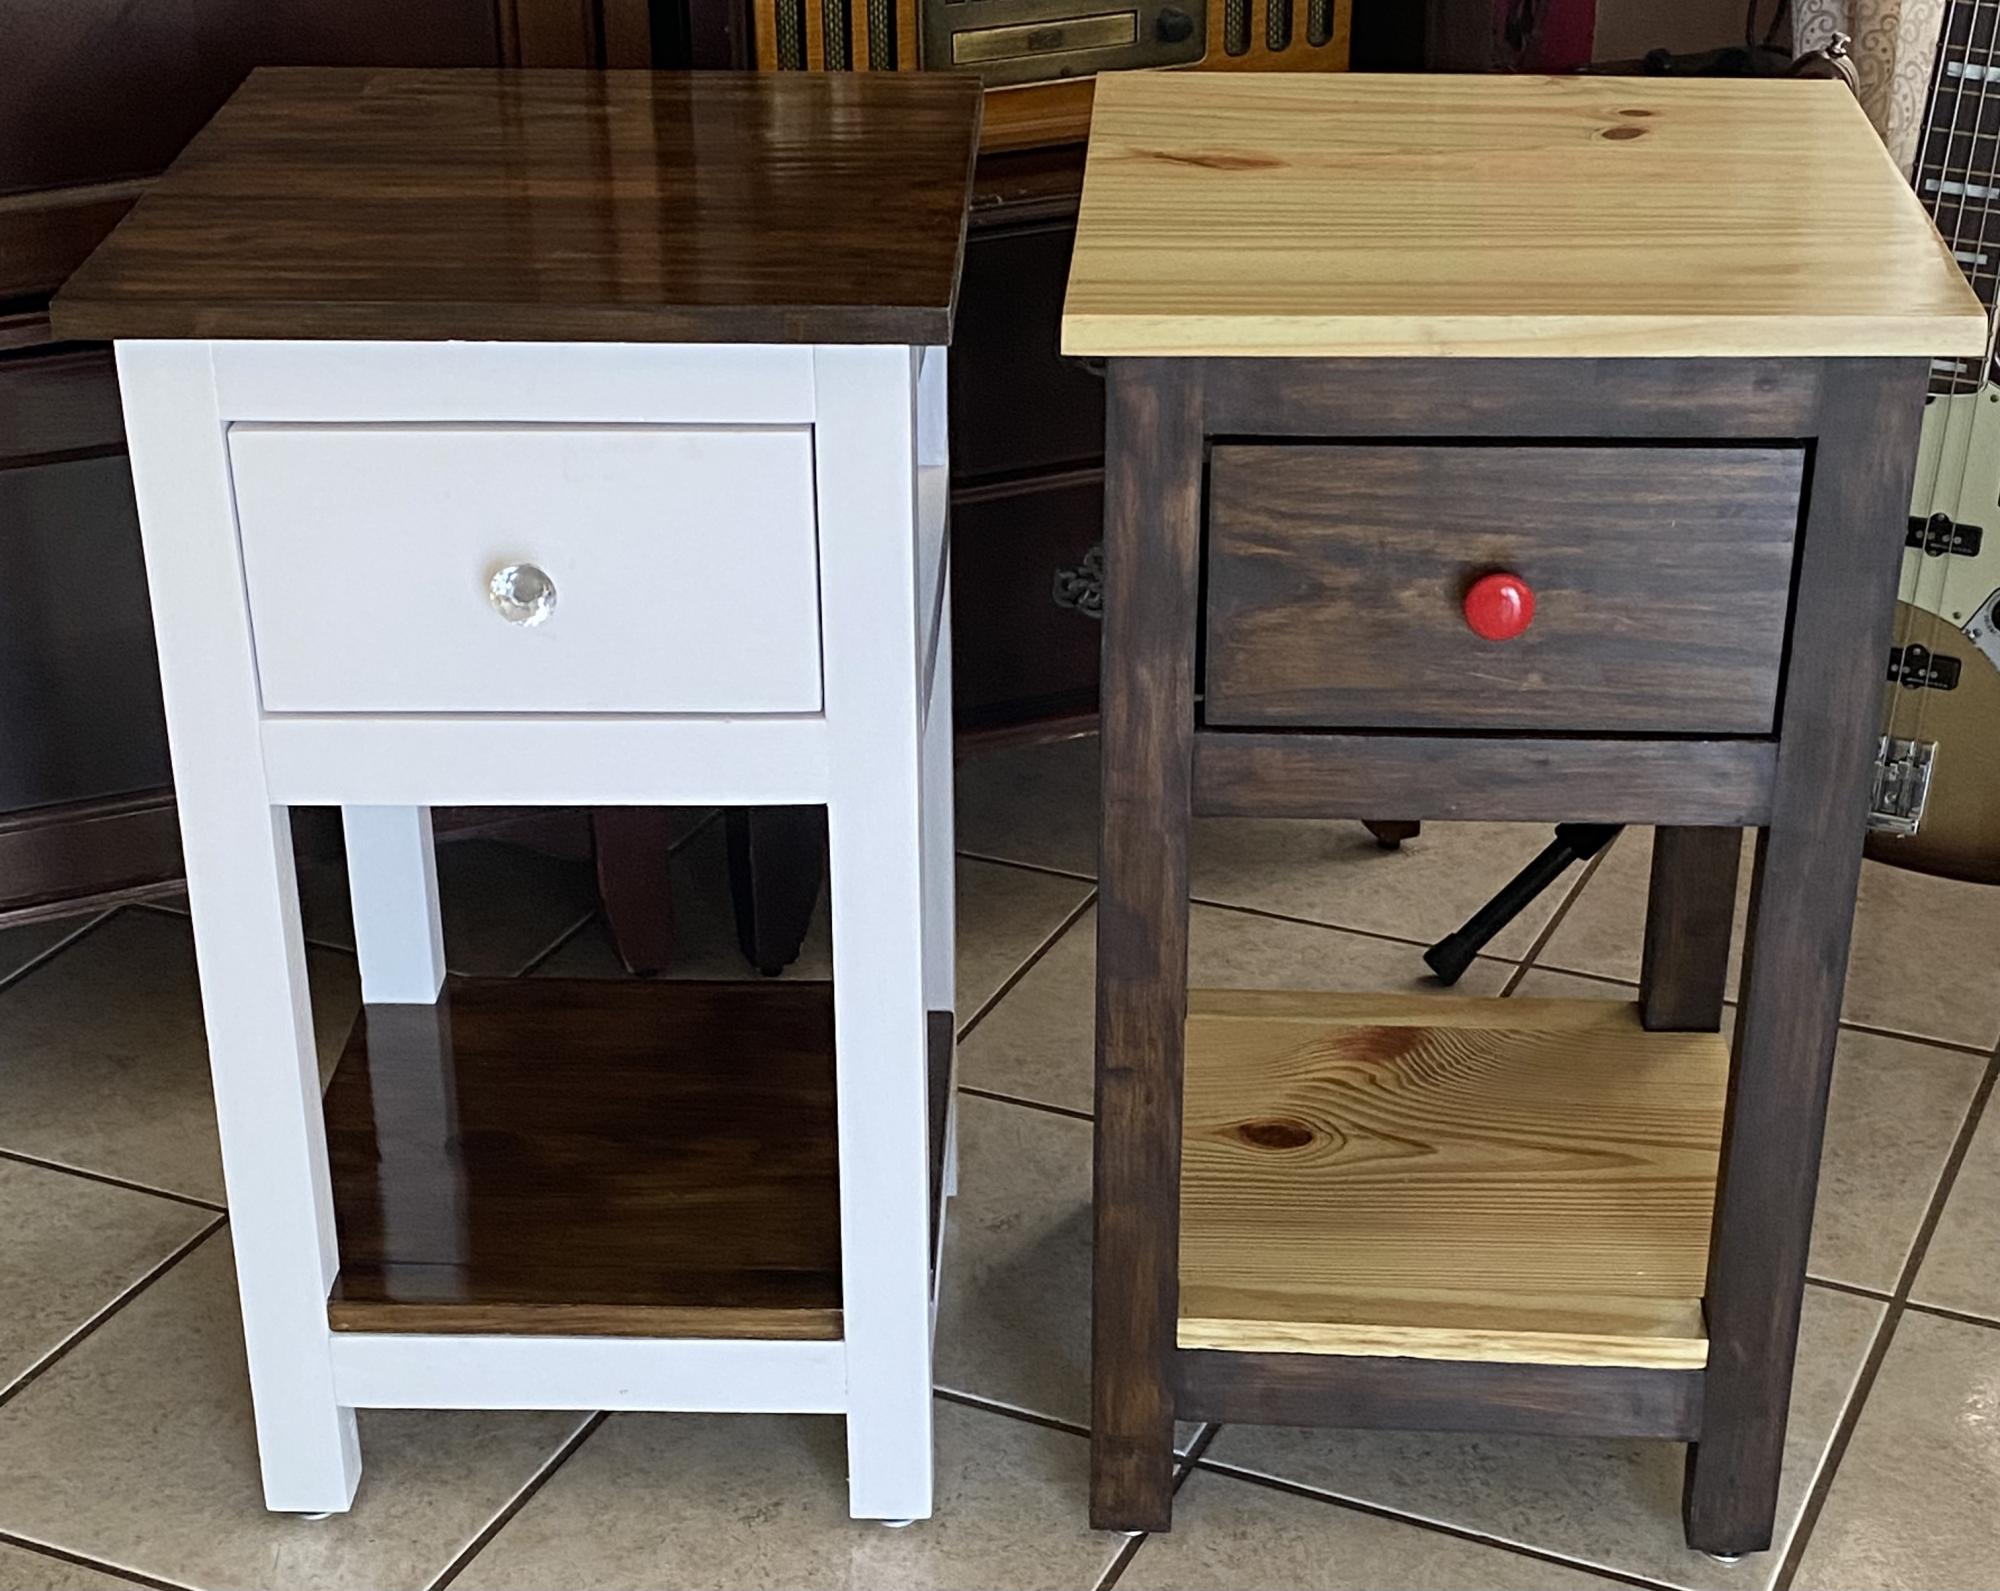
I have built various projects. A work table, a barn door cabinet and couple of Farmhouse nightstands for my grandson and granddaughter. It was fun!!
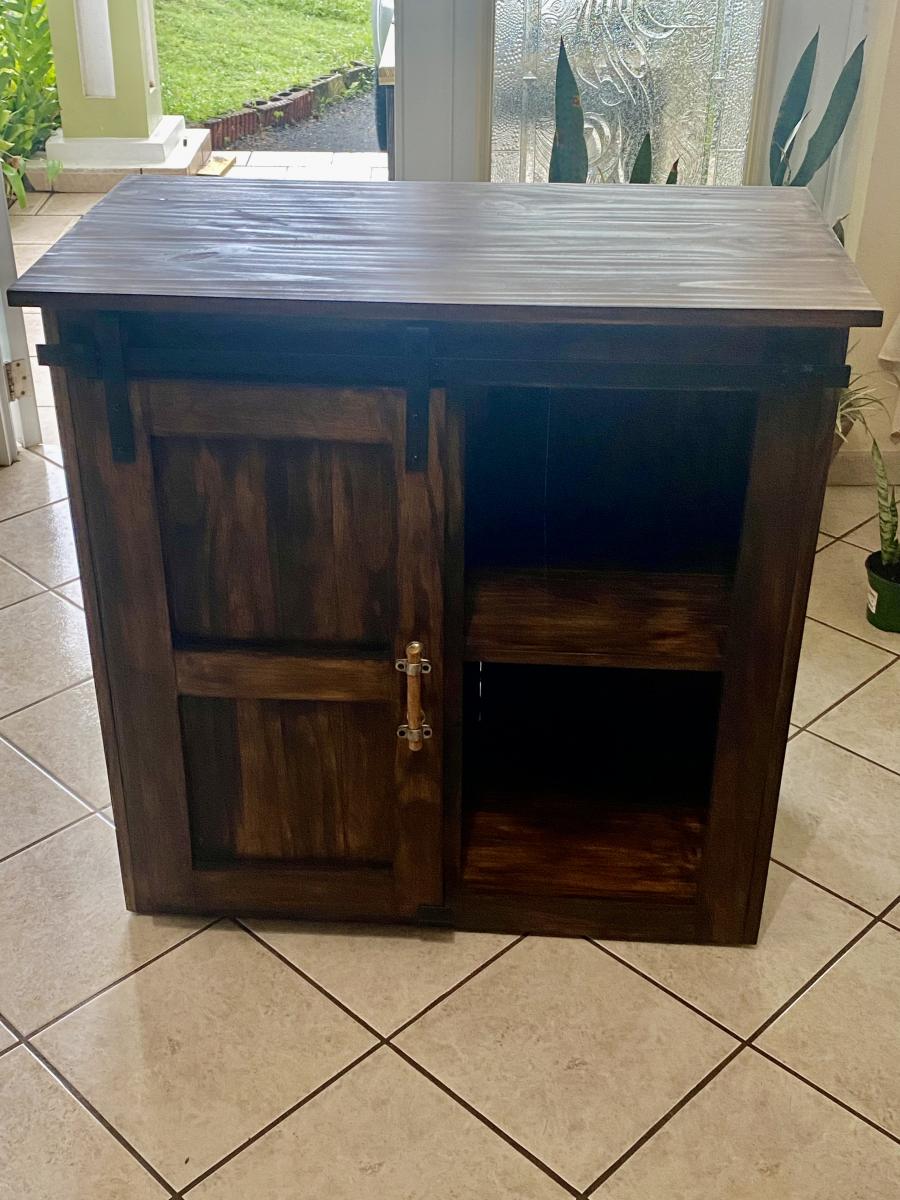
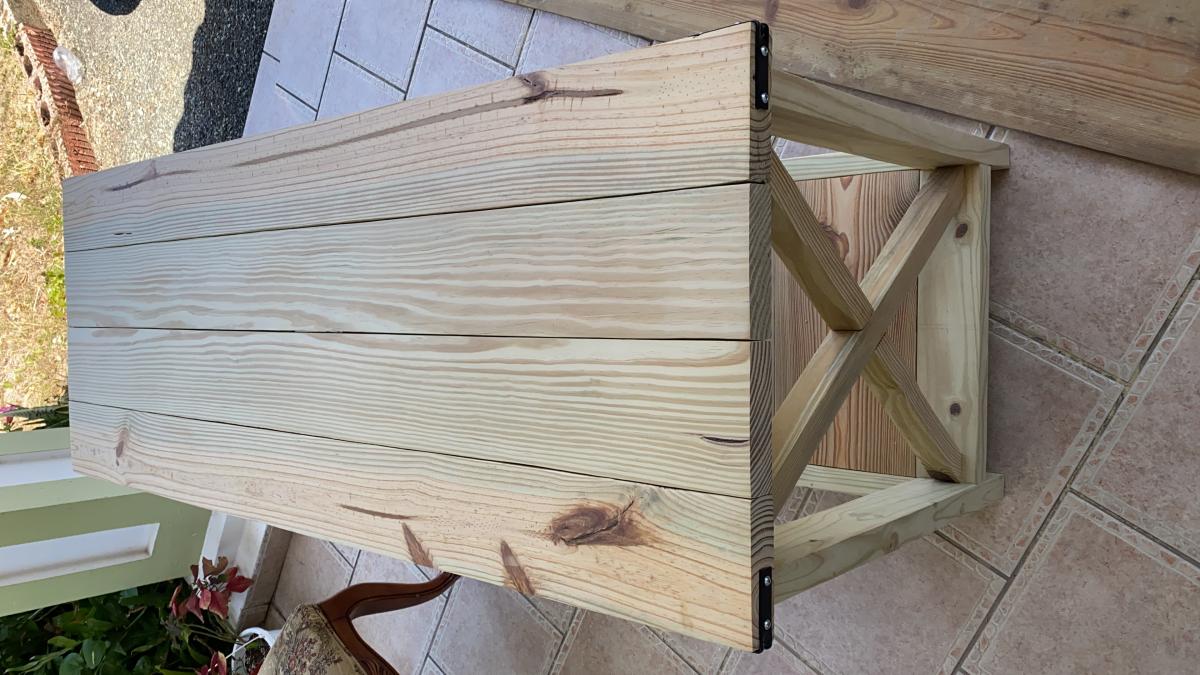
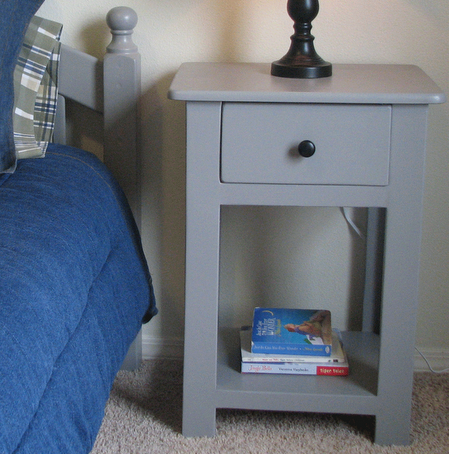
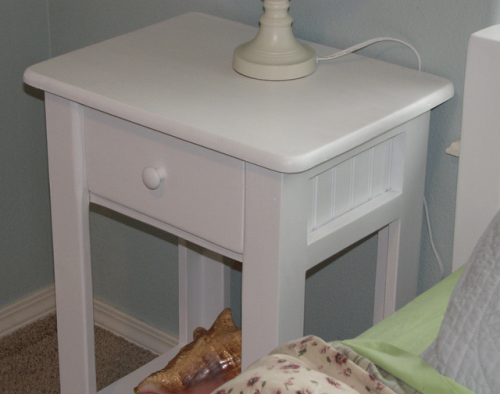
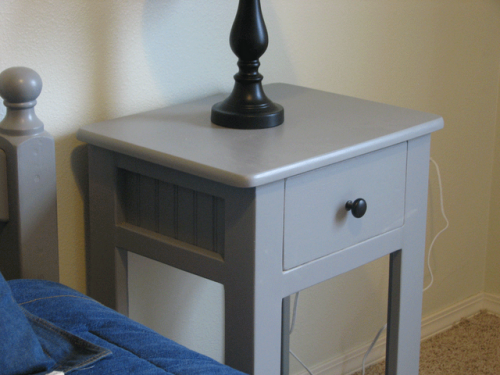
we’re back with another furniture project. This time we built the Simplest Nightstand. Actually, we had enough lumber that we were able to build two of them! It was a little more difficult than the coffee table and side table, but still wasn’t bad once Lee figured it out. The hardest part was getting the drawer to fit right. The first one Lee built, he didn’t get the drawer bottom square, but the second time around went much smoother. The first time, he cut all of the pieces out at once, but the second time, he cut and fit each piece separately. This proved to be very helpful. For the side pieces, we used plybead instead of plywood, and nailed trim pieces underneath the table top. Also, instead of using two separate pieces on the table top, we used the top off of an old tv tray that we weren’t using anymore. It was the perfect fit, and looks really good! Both tables cost us 50 dollars and took about 6 hours to build both of them. The first table took 4 hours to build, but the second one only took 2! We absolutely love your easy to use plans, and can’t wait to try another one! There’s so many great plans to choose from, we’re not sure what to try next!!
We love our new tables, thanks again for another great plan! We’ll be back!
Read more about Lee and Beth's Projects.
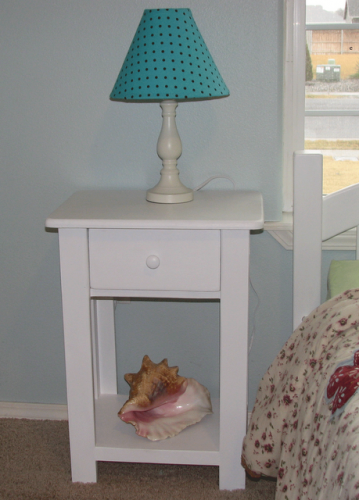
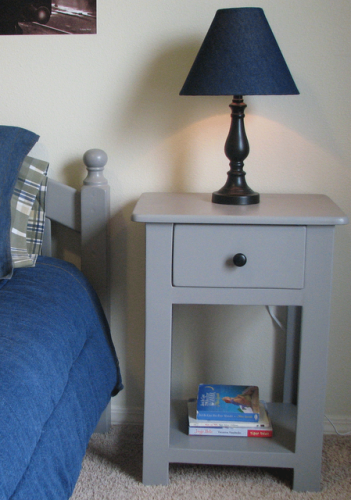
I made this for a friend who needed some separation of 2 rooms. It works well as a see through wall/storage. I seen a photo of this and made it to the specs of that. It is 65" x 31.5" x 11 1/4". It turned out really well and very sturdy. The boxes are 12"x20". Bottom shelf is 7" from the bottom. I used all shelving wood which I would change now if I knew how much it chipped away and how heavy it is.


My husband built this table from the Farmhouse table plans. Just changed up the top somewhat. It's beautiful!
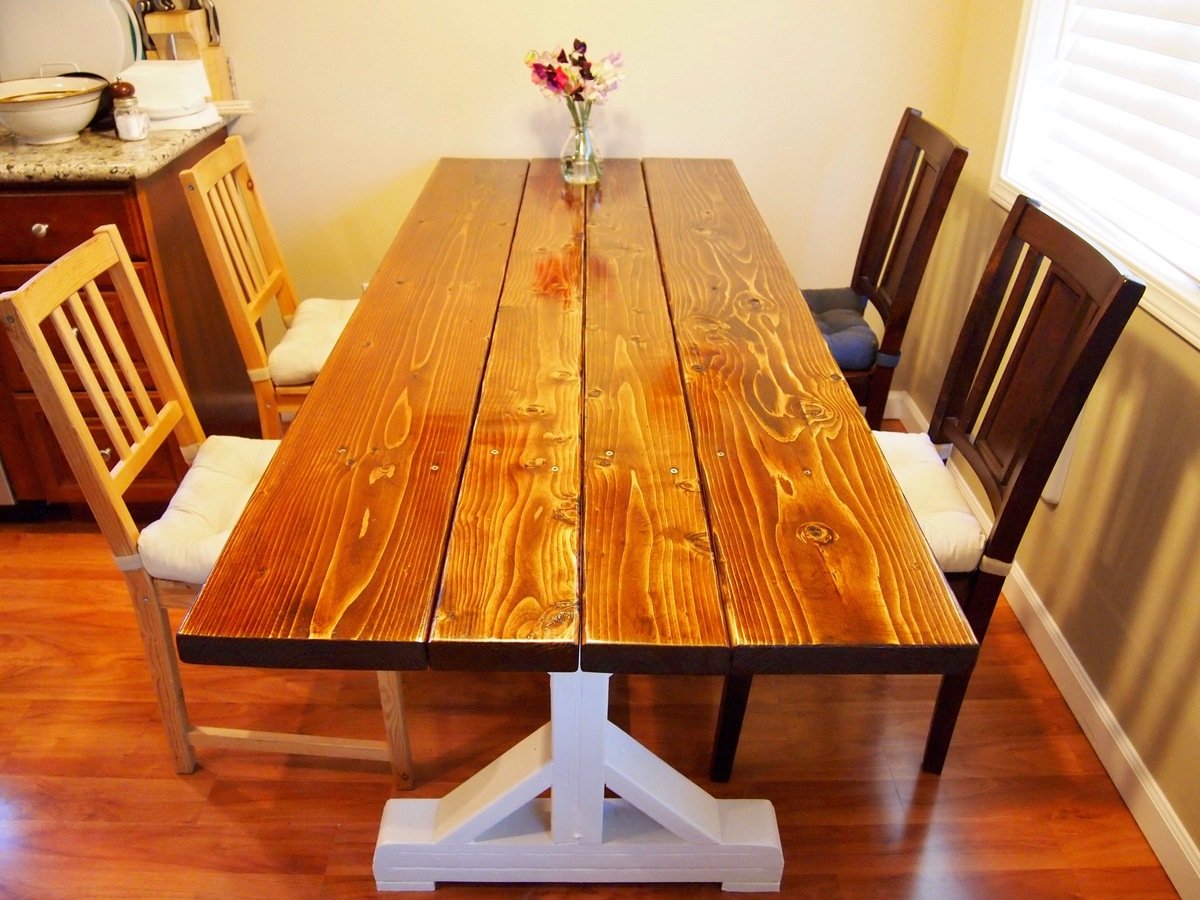
I've very happy with the results of my "Fancy X Farmhouse Table" project. I modified the dimensions to fit our space; this meant making the table thinner and re-sizing the "X's" proportionally. Also, for trimming the edges of the "X's", I came up with a combination of base board pieces at the end of the 2x4's. I hadn't used wood stain in over 20 years because I had gotten such blotchy results. This project reintroduced me to stain and I'm glad it did. Turns out, the secret is proper sanding AND the use of a "pre-stain" product that sets up the wood for good(even) absorption. Polyurethane was used as a sealant, while the base frame got white semi-gloss. Cheers, good luck on all your projects!
-Robert
Bellingham, WA
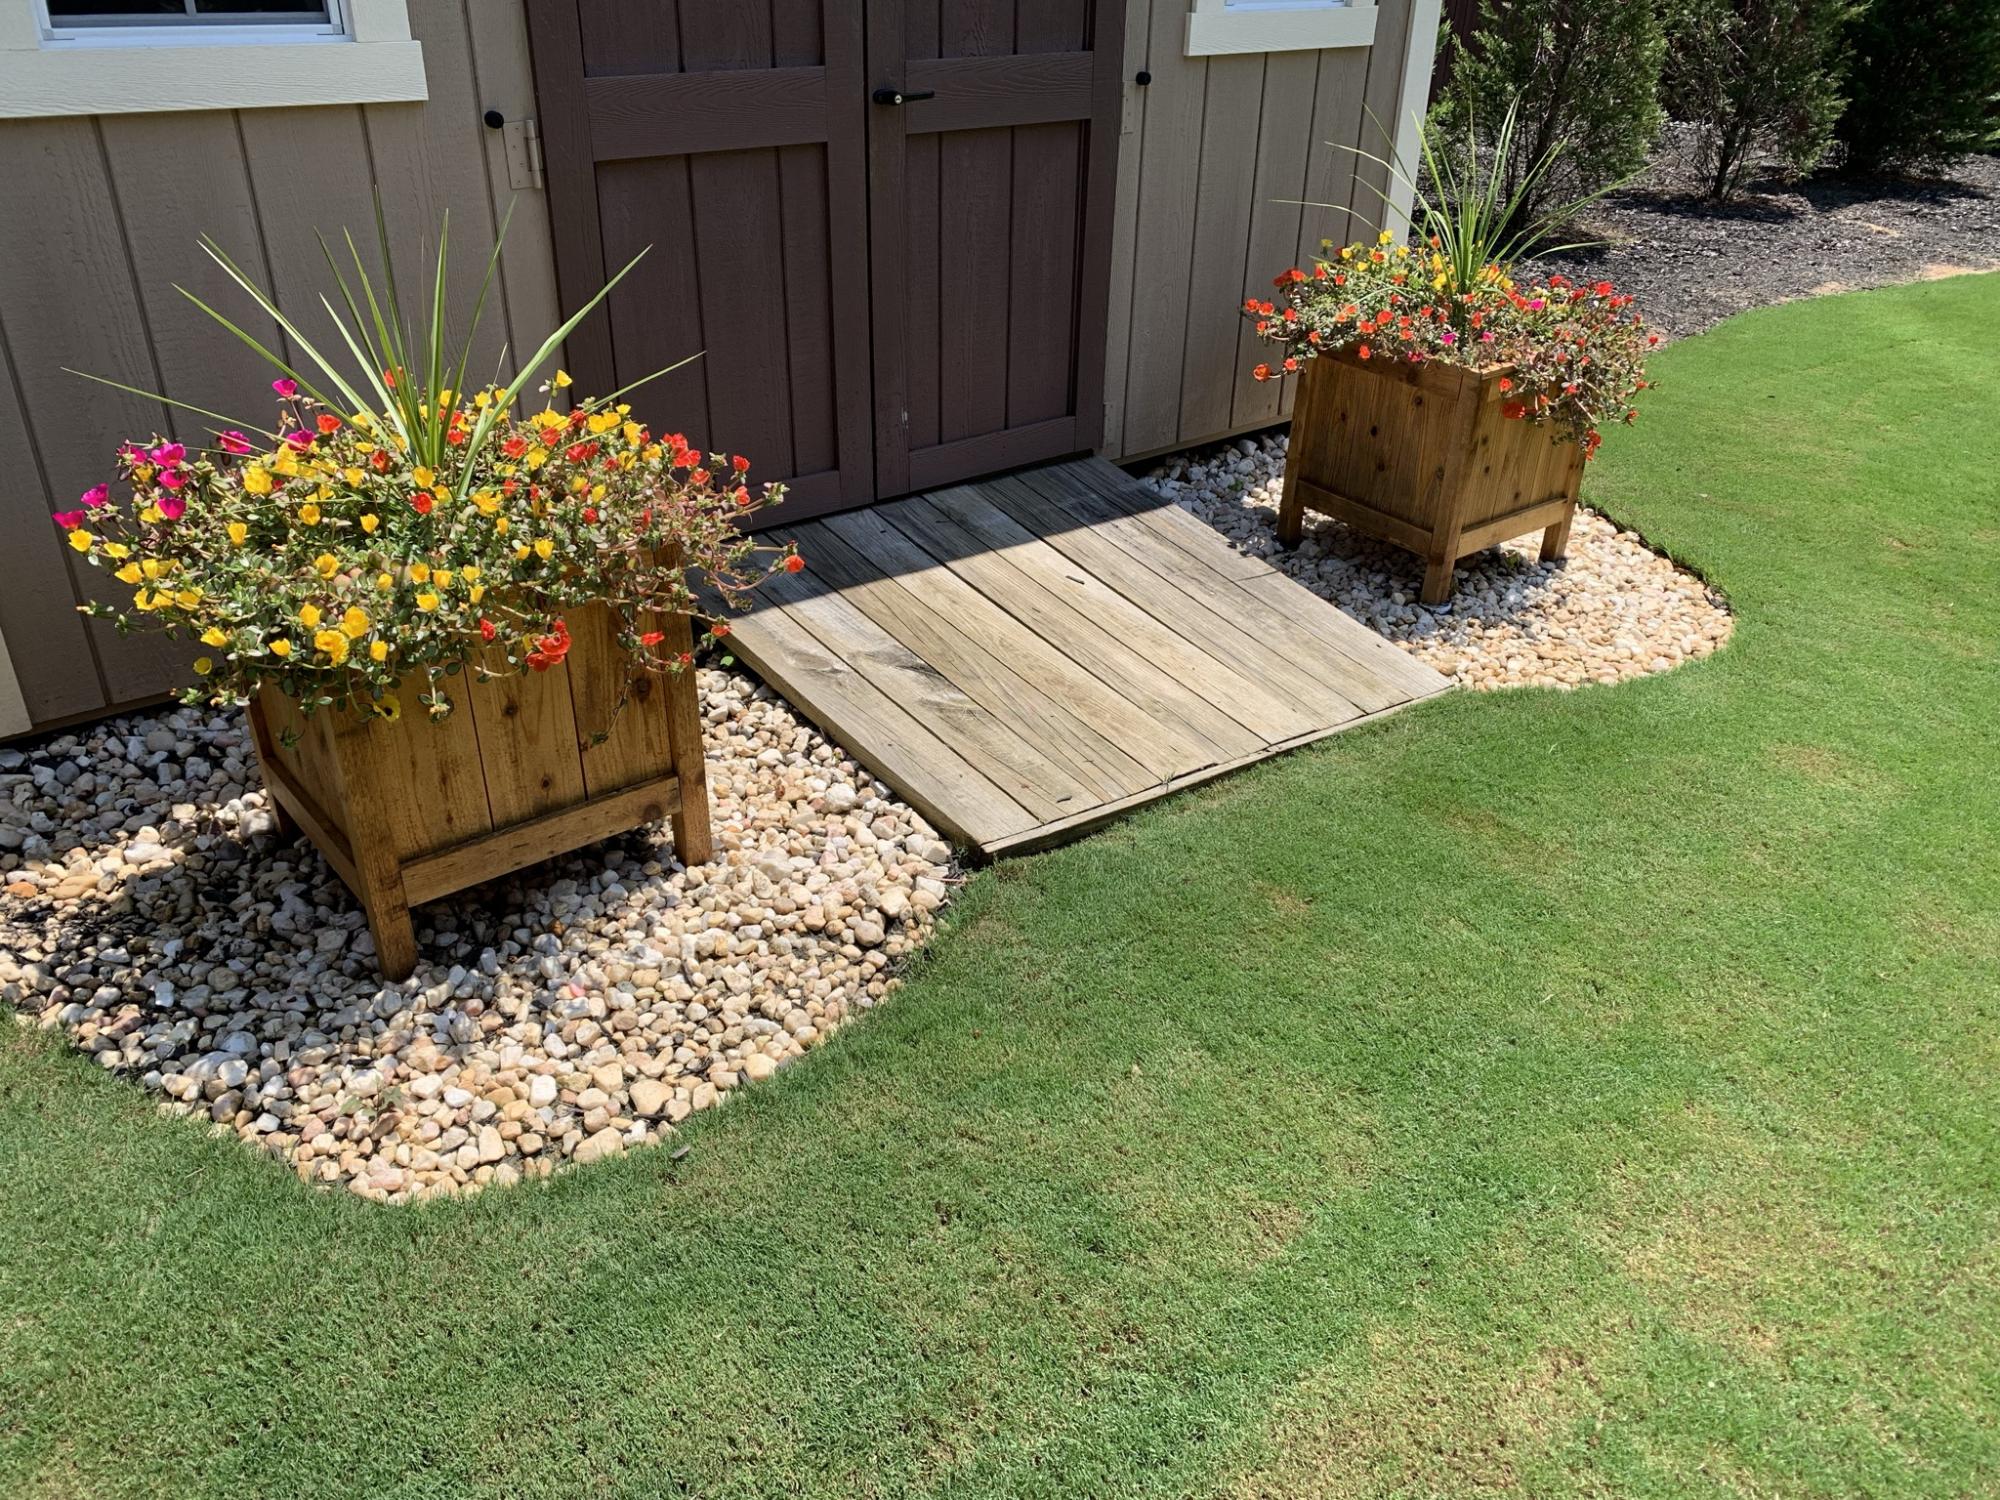
Cedar planter boxes made largely from fence pickets.
Tue, 10/05/2021 - 11:09
Wonderful way to dress up the yard, those look amazing, thank you for sharing!
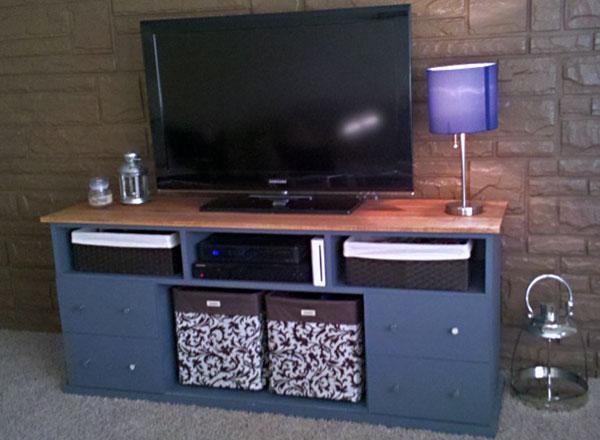
We started this project when Young House Love agreed that I should paint the old, dated brick wall. Then we bought new couches. Then we needed a TV stand, and a coffee table to match.
This started out a project for me. I was in love with those 16 little drawers. My husband .. not so much. I saw a way to secure all my stuff from my soon to be crawling little one. Hubs saw 16 little blocks. So, after it was all done, we tore off the drawer faces, and started over.
I decided to not to do the doors. I was too worried about baby smashing her fingers, or me tripping over them and breaking the hinges, so we went with bins. They have a metal frame for durability, but are wrapped in a durable canvas to make them safe for baby. They’re a perfect fit for the center, and the feet side effortlessly across the paint. (There’s no polyurethane on mine yet!)
Extra Info:
The smaller baskets are from Target. ($12 for both)
The large baskets are from the Container Store. ($20 each)
Lumber was from Lowes of Streetboro, OH. (About $80)
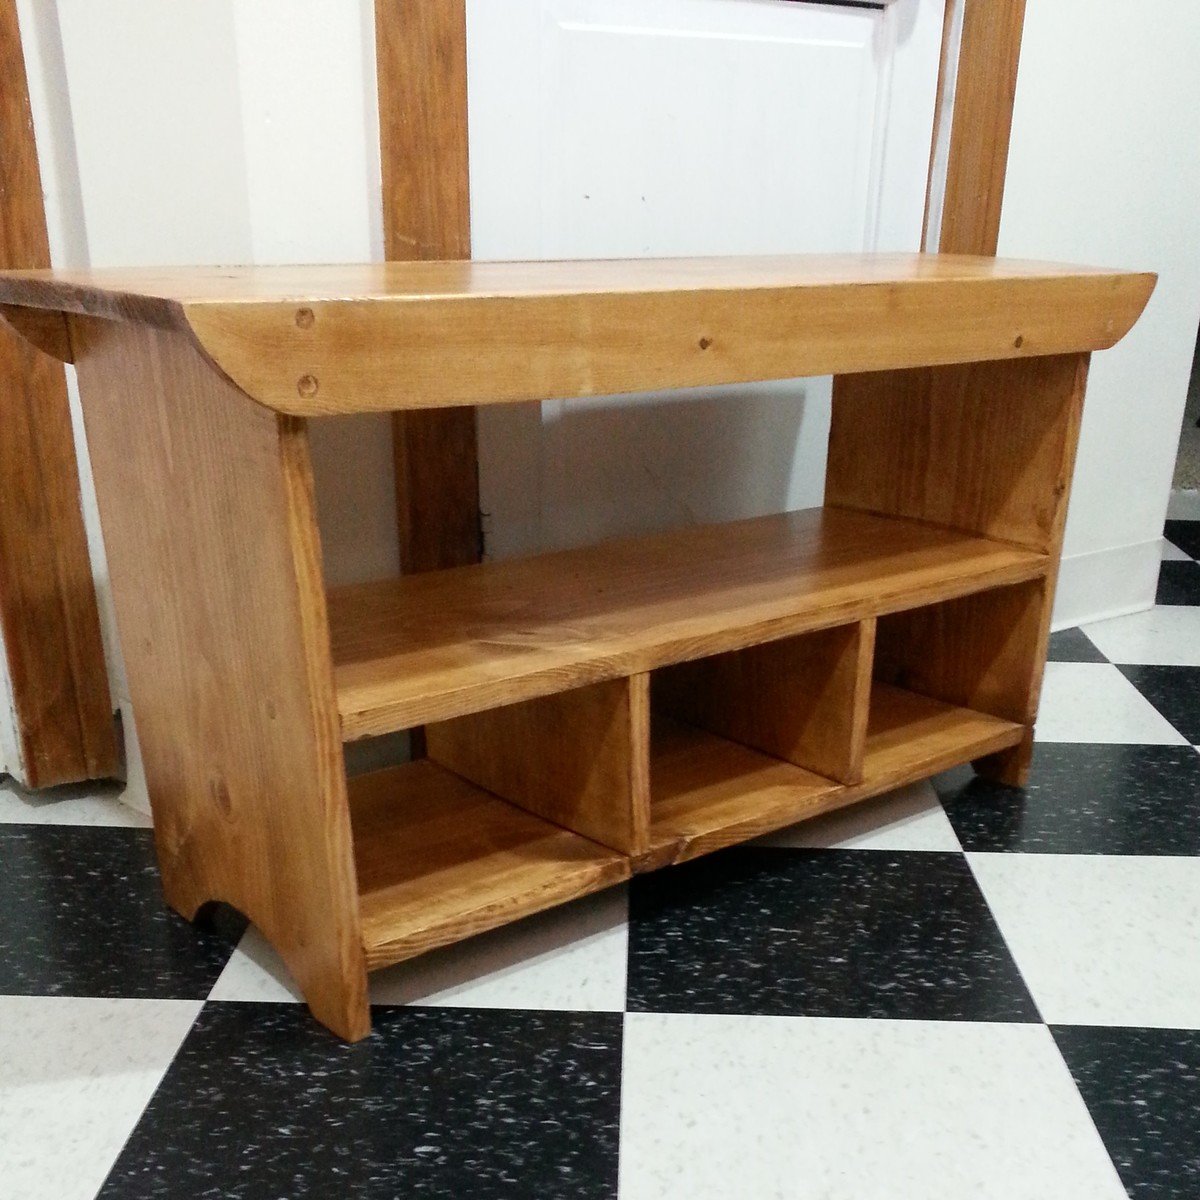
This was my first building project from scratch! I have modified some thrift store finds, but this was the first from lumber. I learned to countersink! I was amazed at how easy this was, and I'm so excited that this bench will sit by our front door for my three boys to perch on when they put on or take off their shoes. I went with 3 cubbies to hold three pairs of shoes. It also works great for a couple of kids to sit on at the table for when we have guests and need some spare seating.
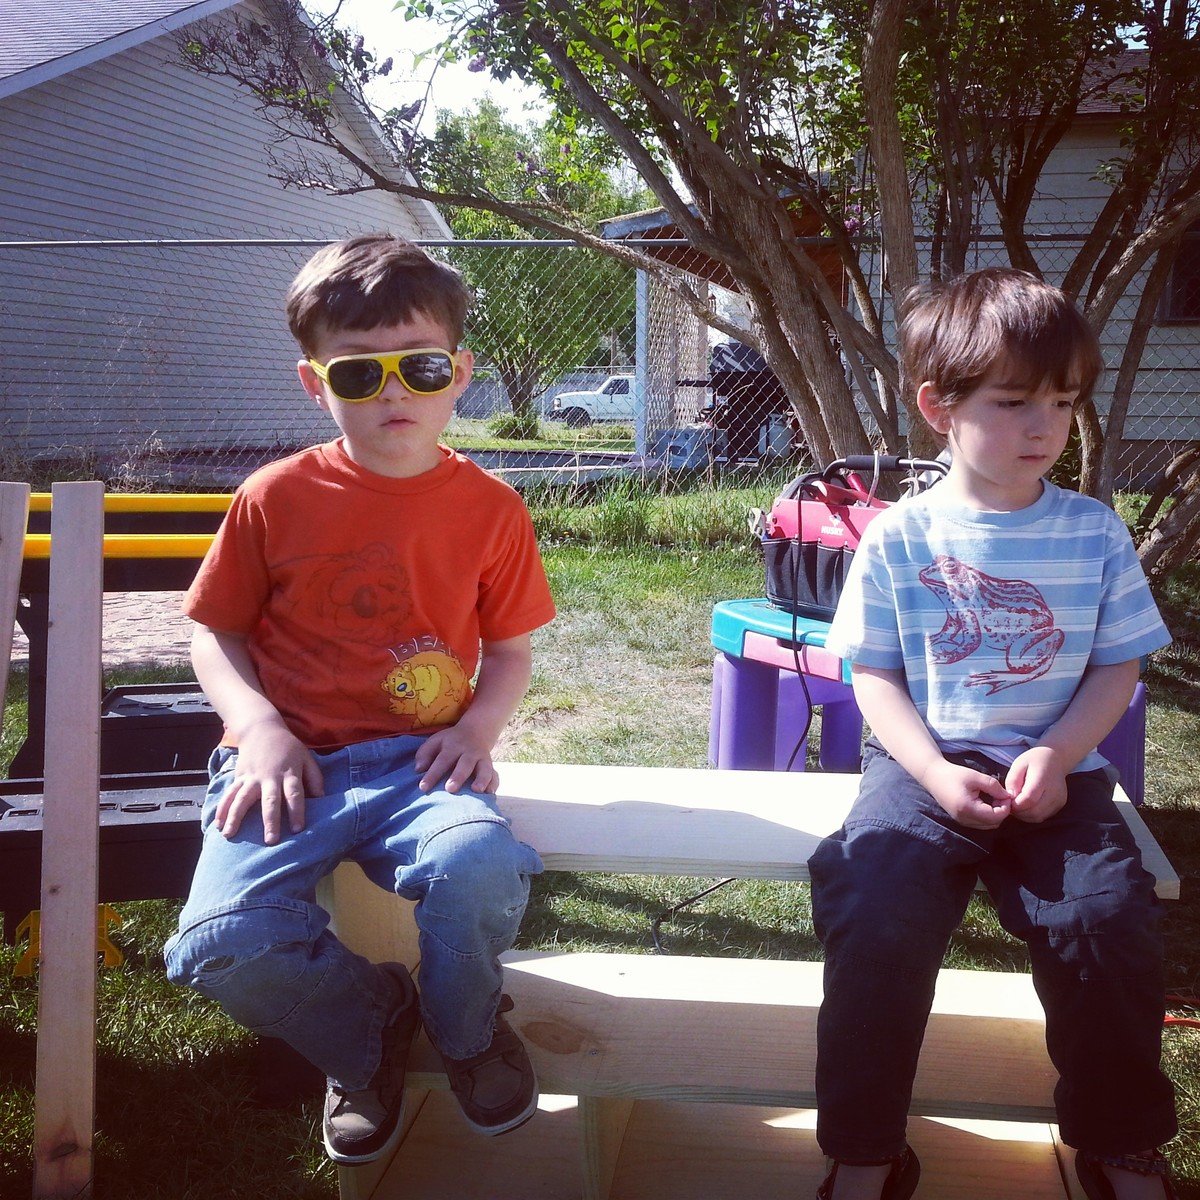
This was an easy project. It turned out great. I made my own hardware from using the video on Shanty 2 Chic website. That's for posting the plans.
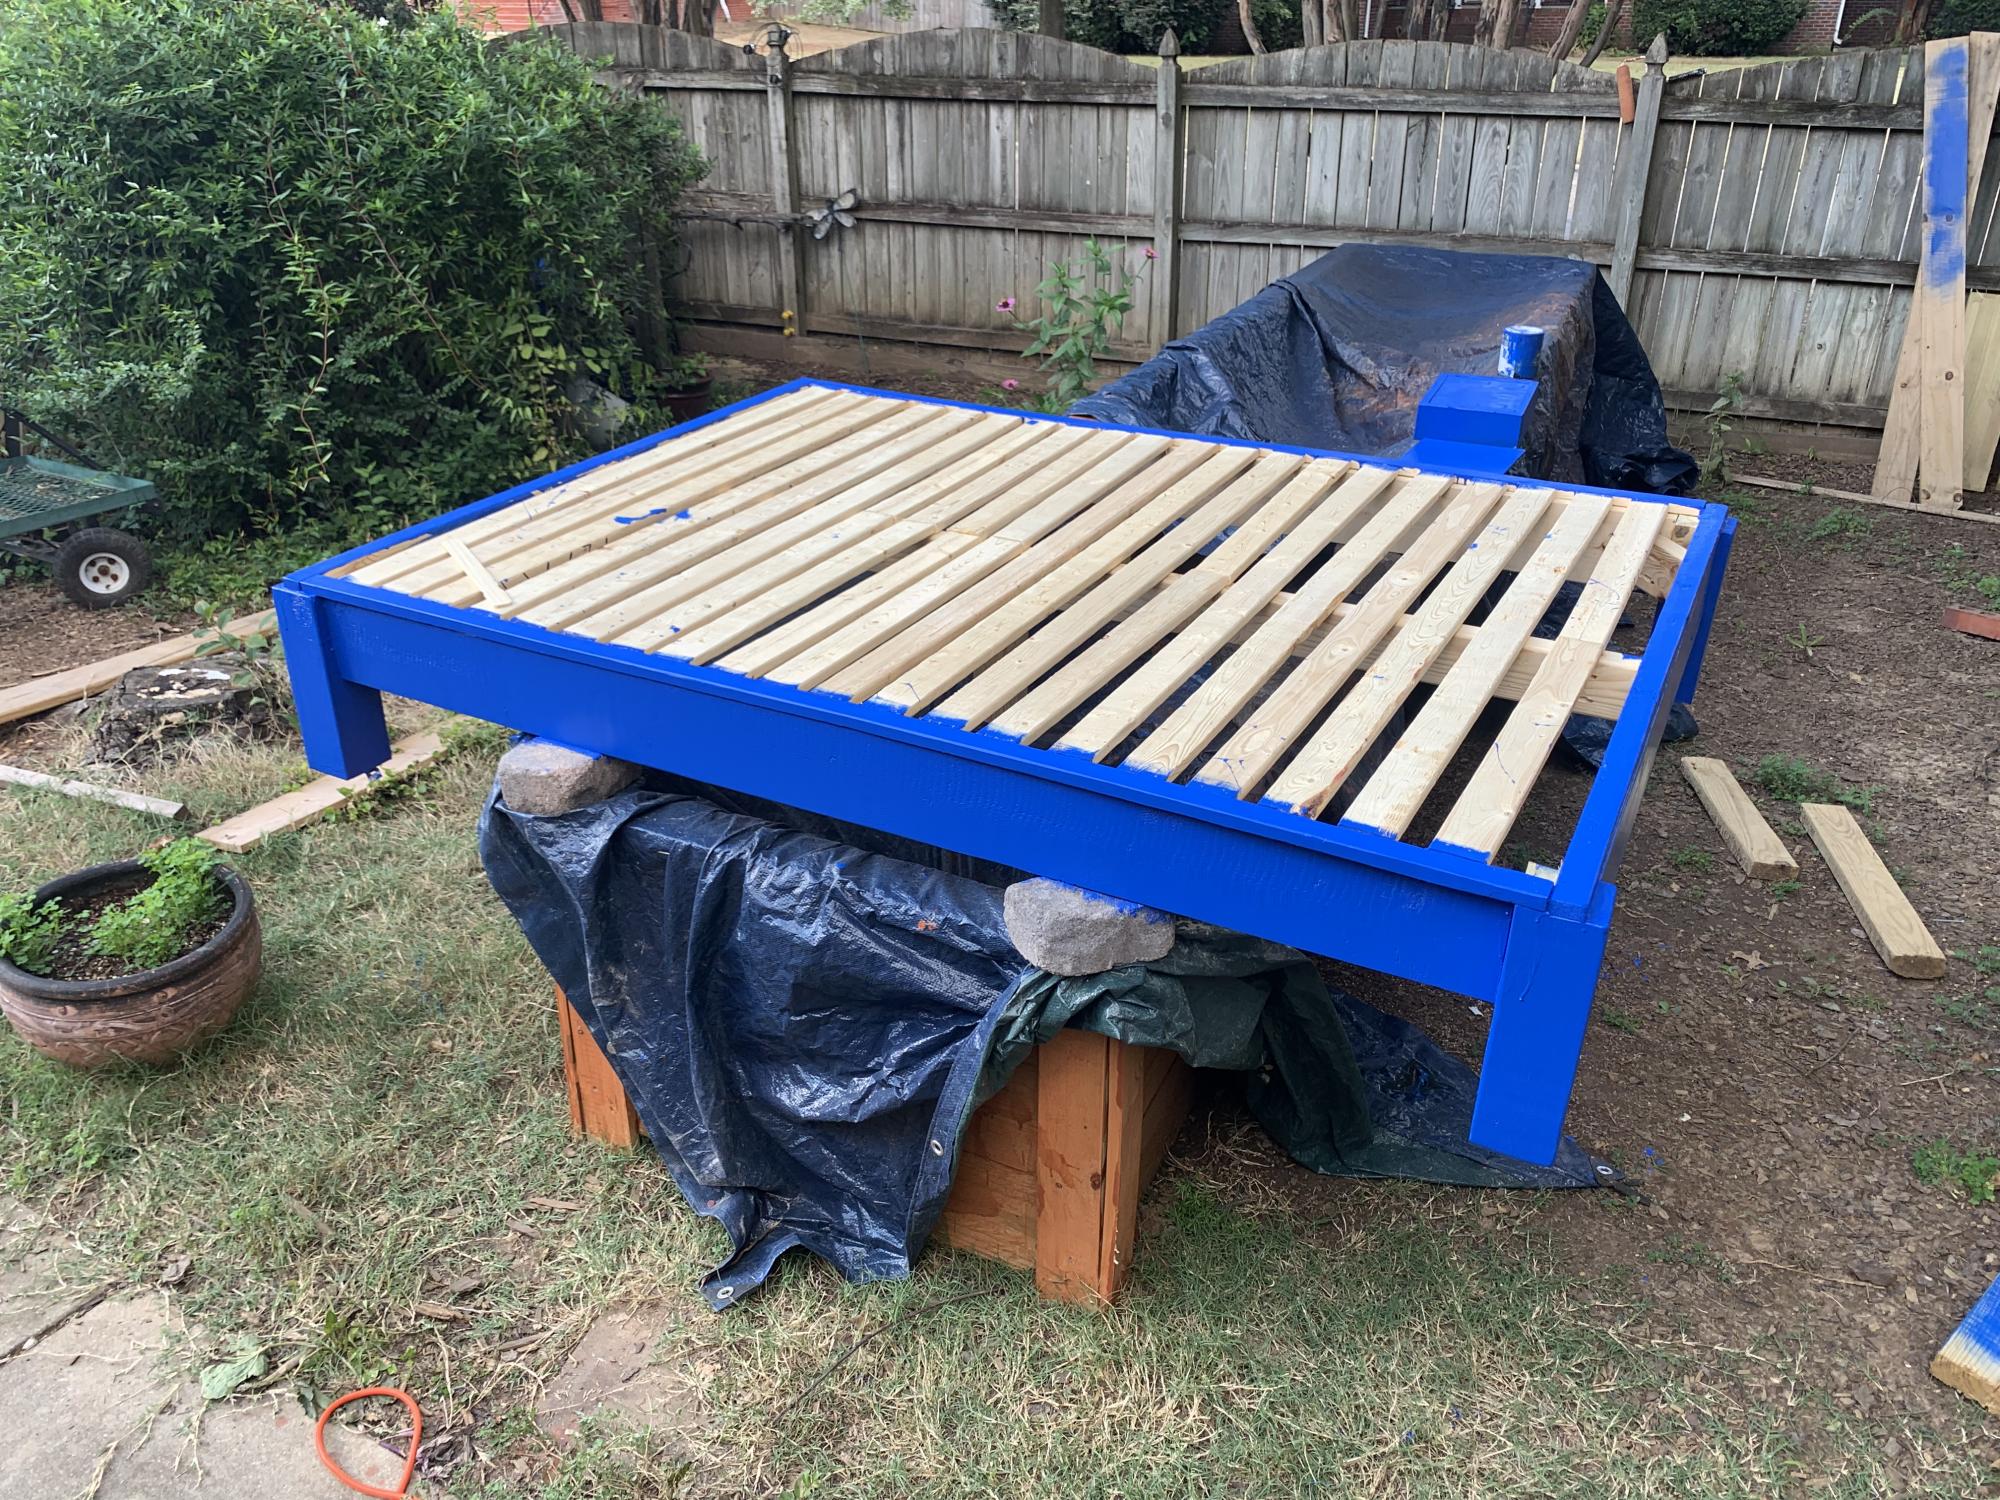
Loved your plans for building a bed frame- easy to follow.
When Ana posted plans for this I immediately fell in love with it. I had a friend visiting, and I thought this would be a great project for us to do together.
A lot of time spent on this project was taking apart pallets, not an easy job. My poor friend did that part, she is great! I think the old pallets really made this look as good as it does, they were already so rustic.
The pallets were free and collecting free pallets was an adventure of it's own. I found a large piece of particle board in the depot's scrap bin for 51 cents! Can't beat that.
Modern Adirondack Chairs
I modified the dimensions slightly and opted to not mount the fold down doors as I figured they would always be open anyway. I built this mostly from solid red oak save for the bottom panel and the middle panel, which are plywood. I crafted the top out of 5 pieces tongue and grooved with mitred corners on the front. I also tongue and grooved the doors with glass insets. I finished it in Minwax red cedar under poly.
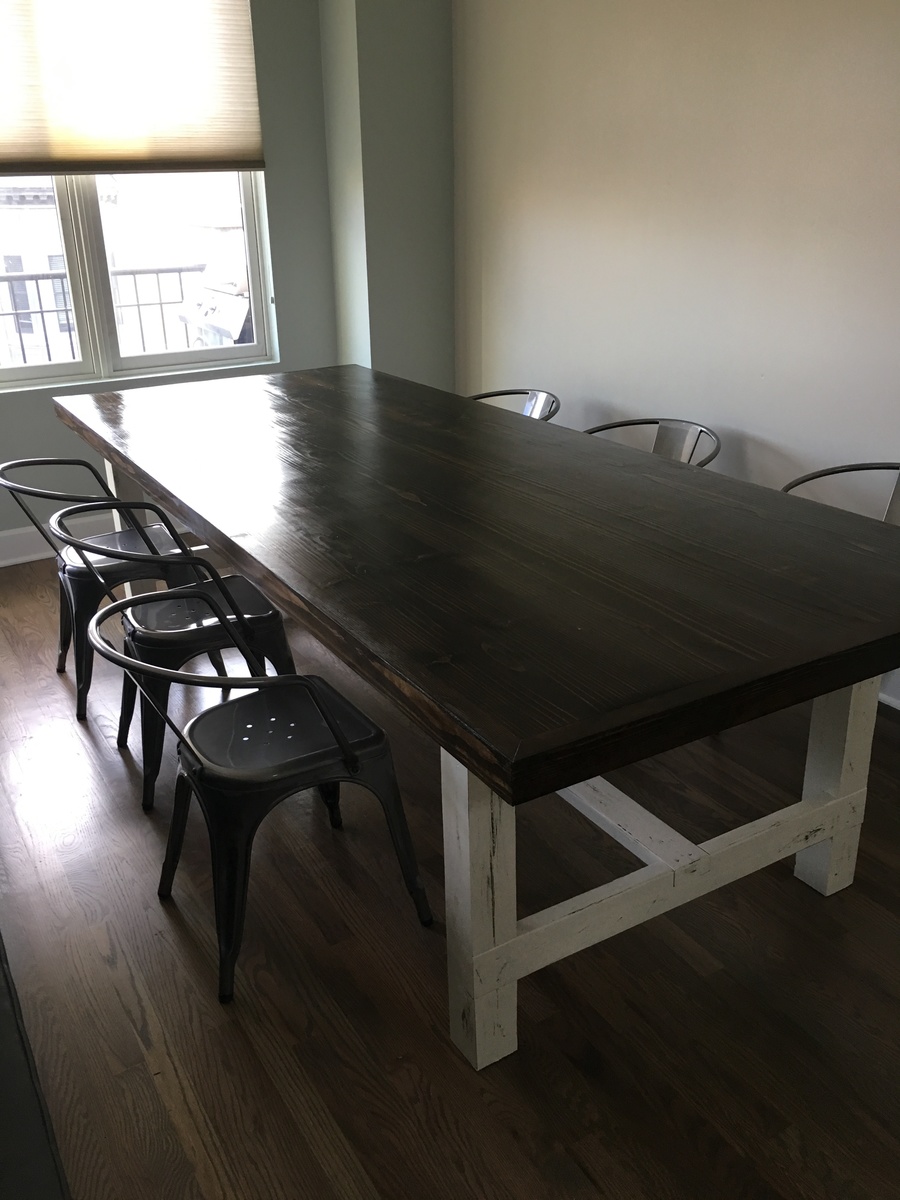
We needed a large dining room table for our space and couldn't find one we liked that didn't cost a fortune. We adjusted the plans to make the table 9 feet long. Also, around the edge of the table we added a 1.5 inch frame.
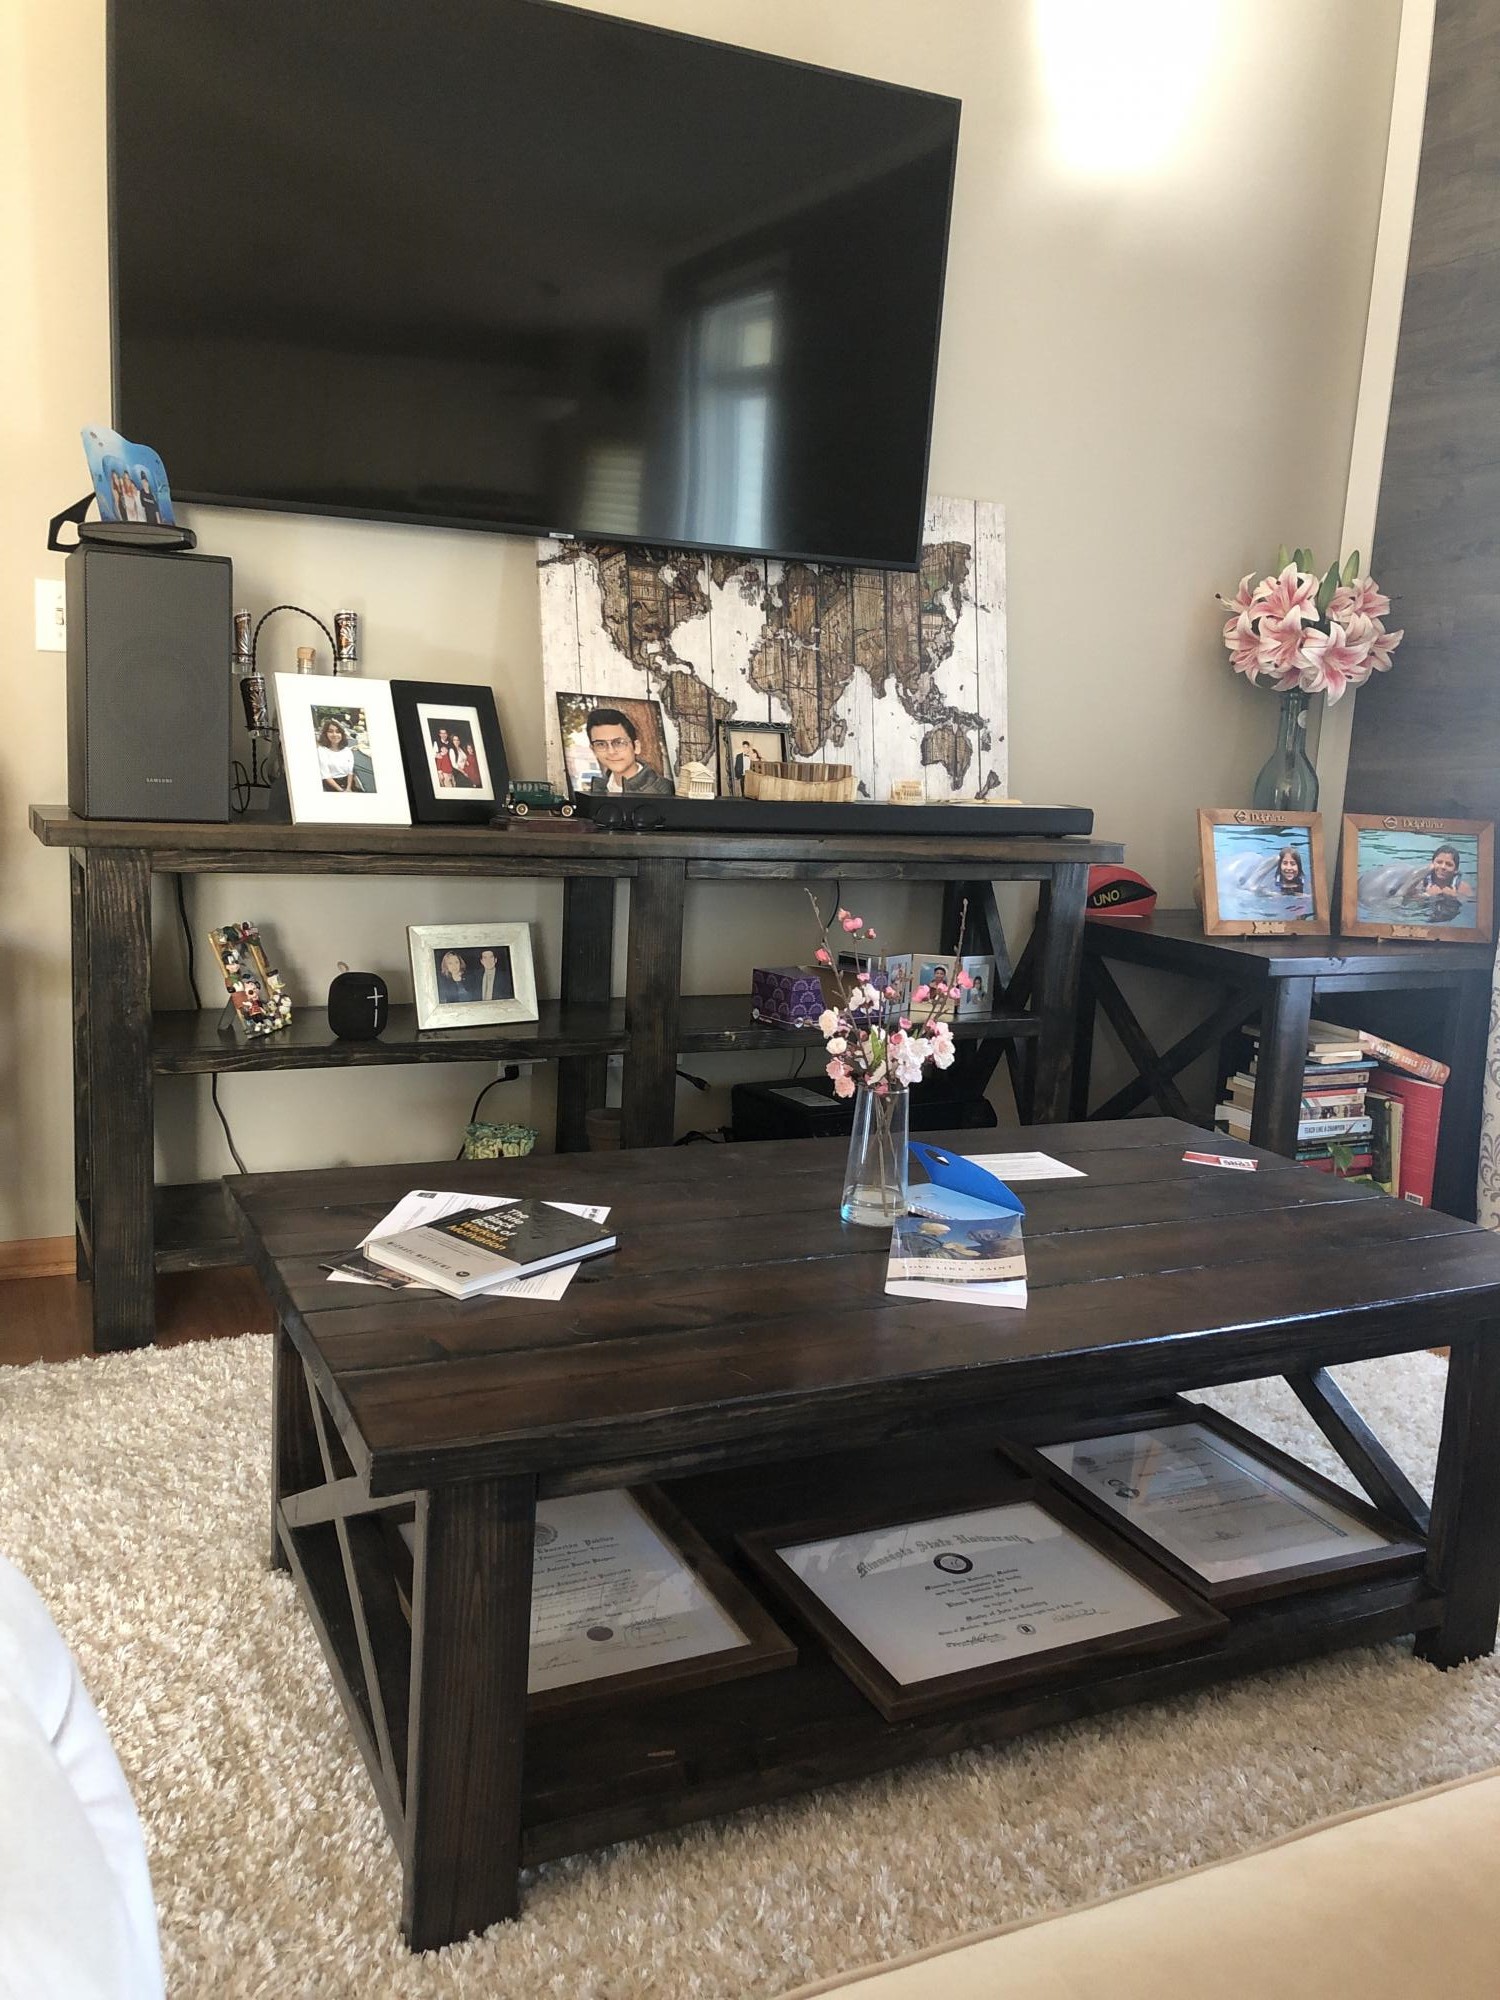
We were in the need of a set of tables for our living room
Thanks to Ana, I was able to make two coffee tables, a center table and a console table as well
