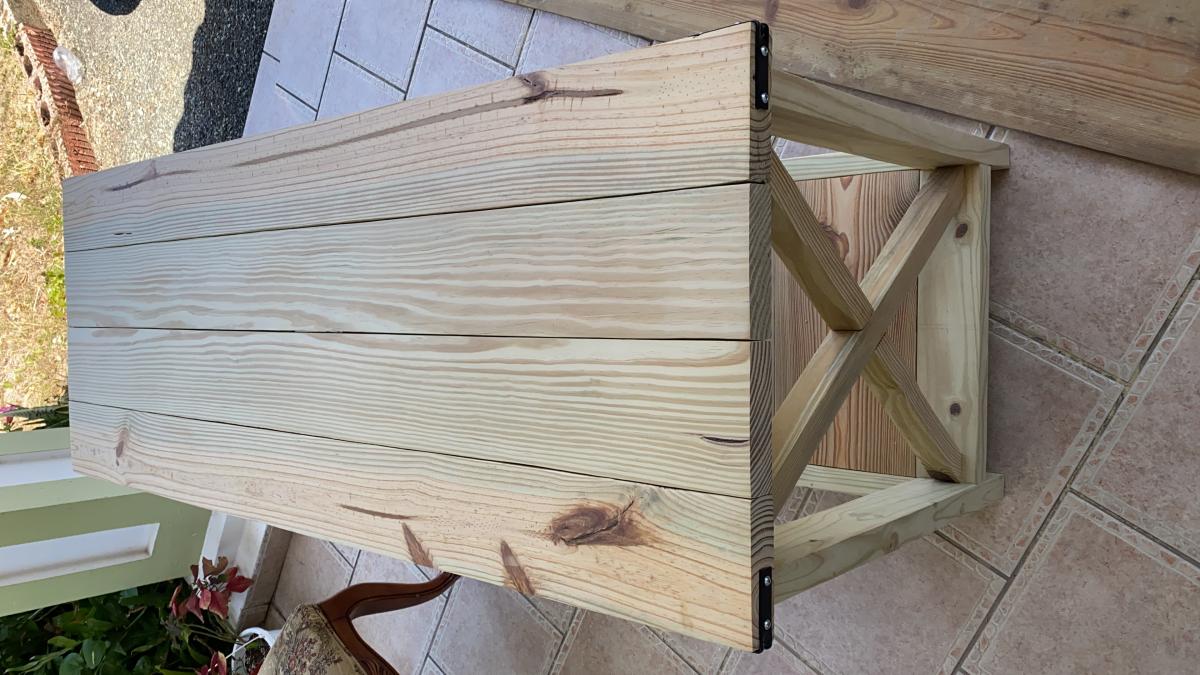
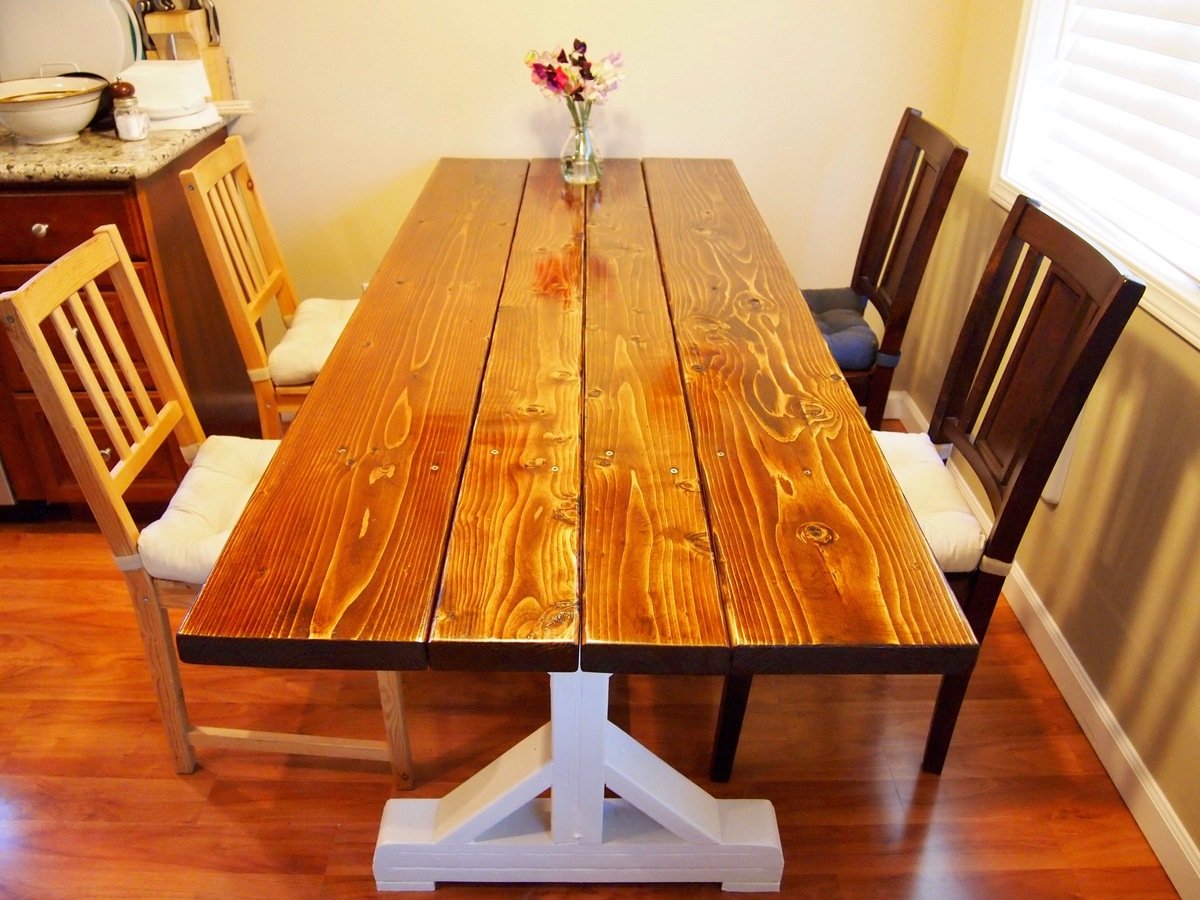
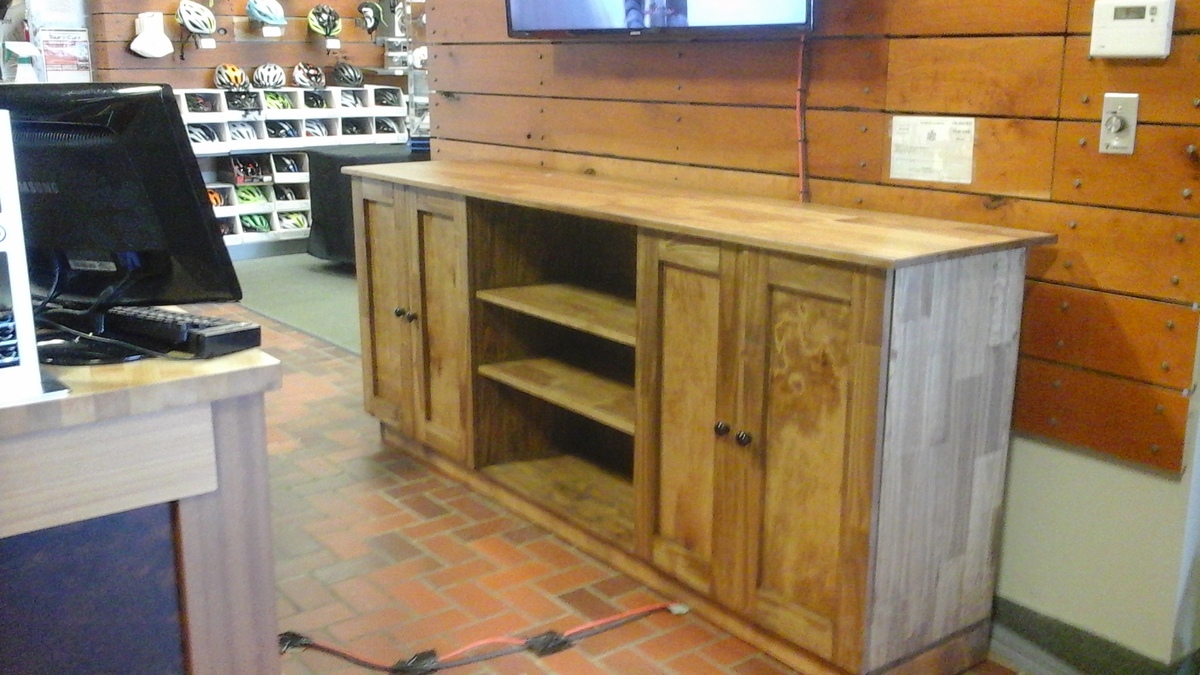
Modified Rustic X Console

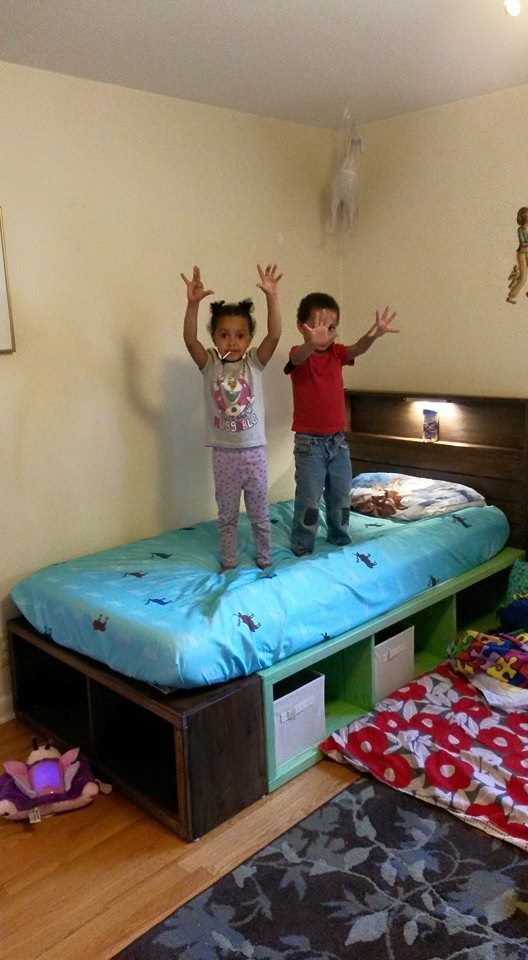
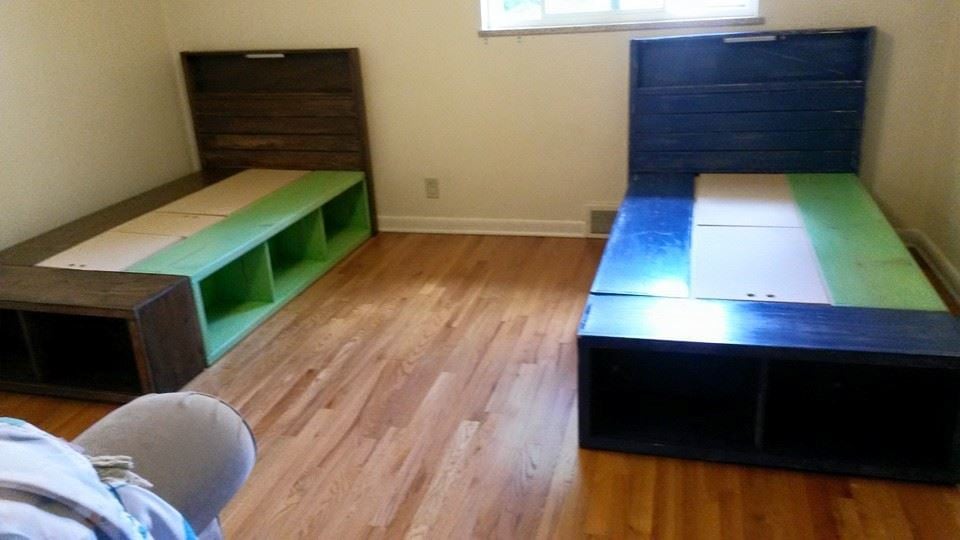
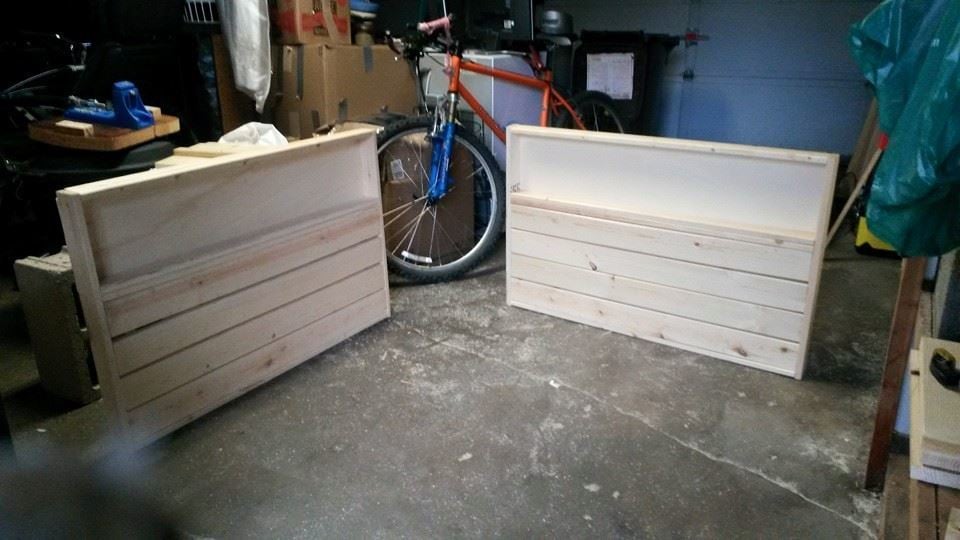
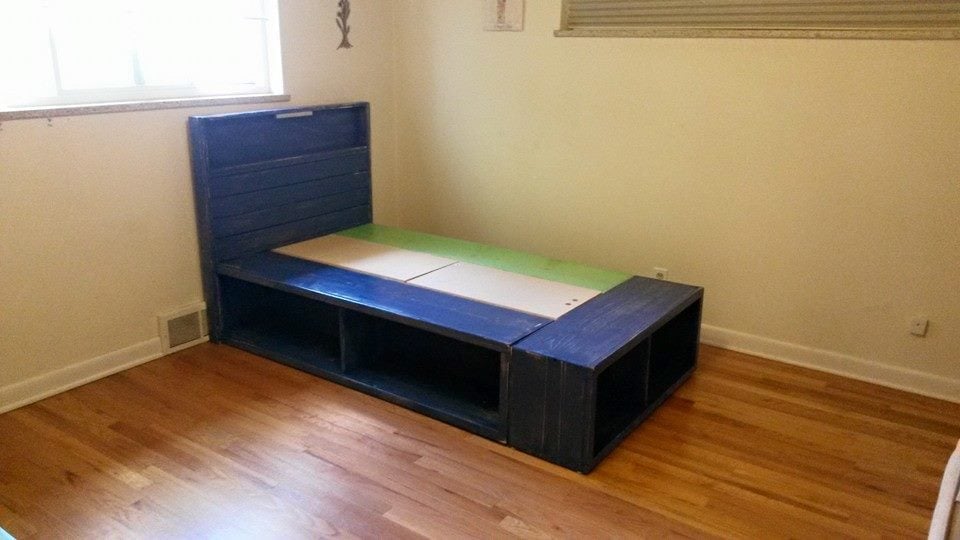
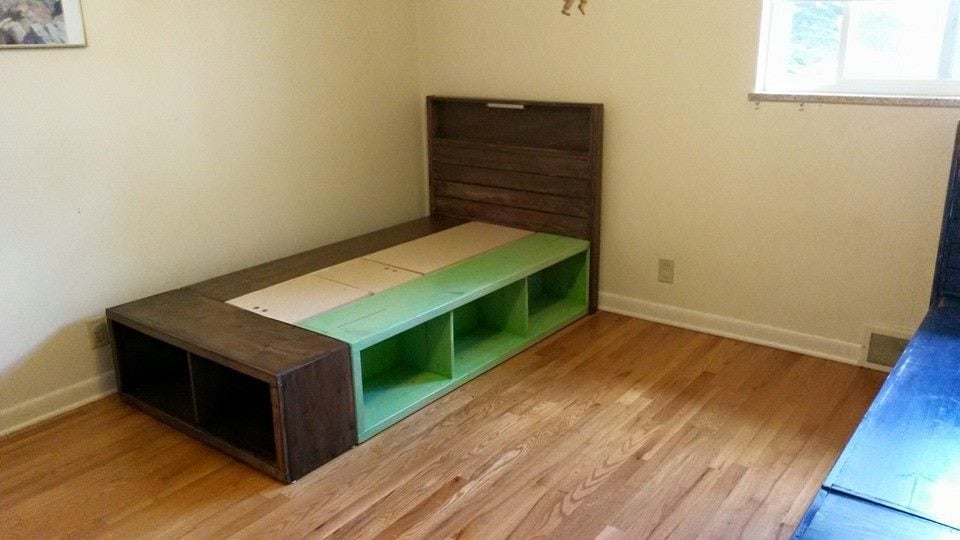
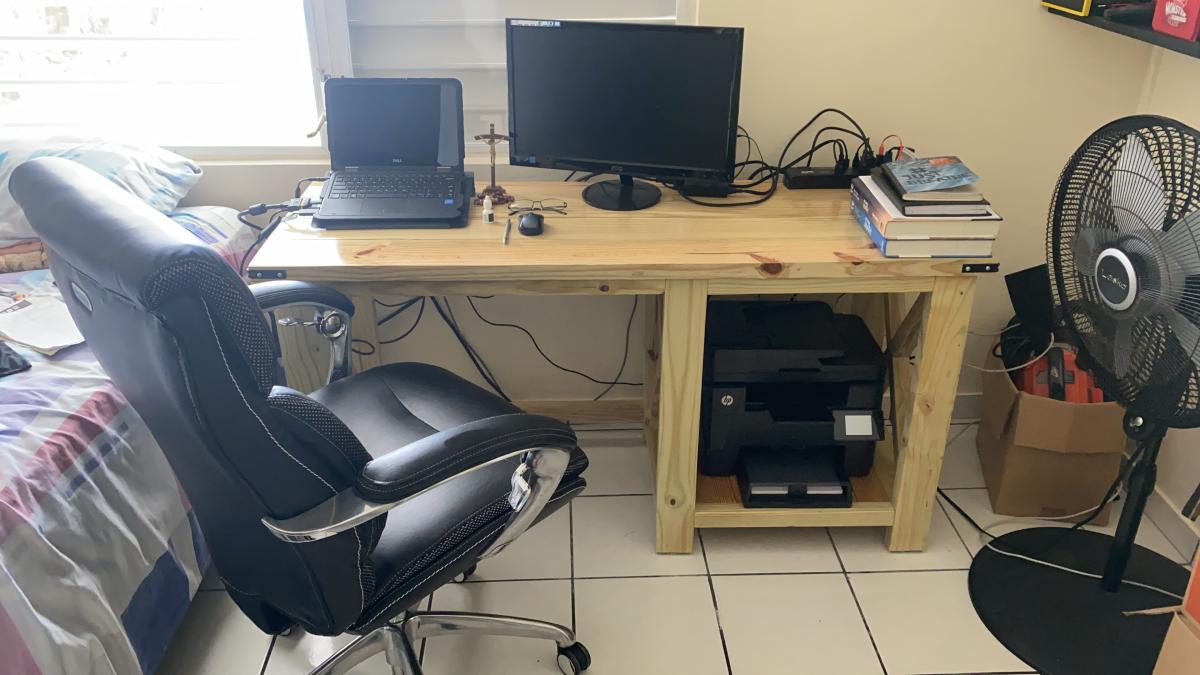
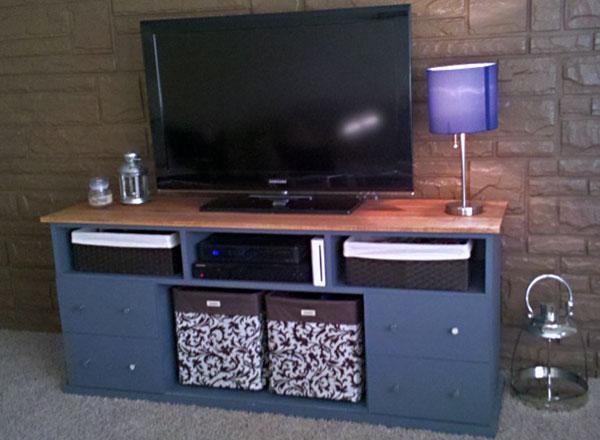
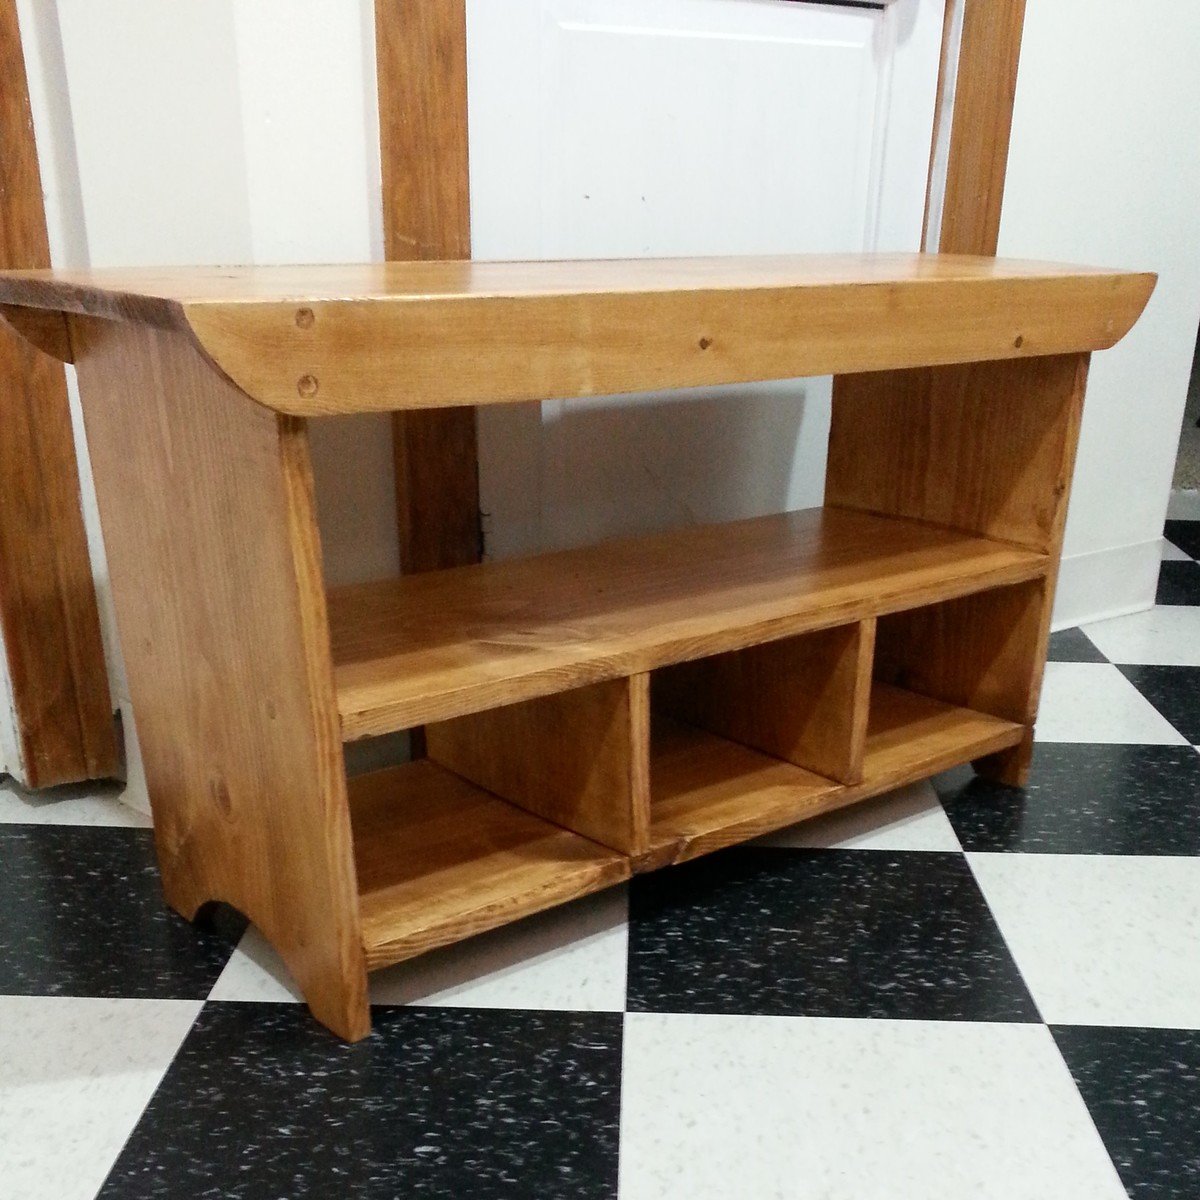
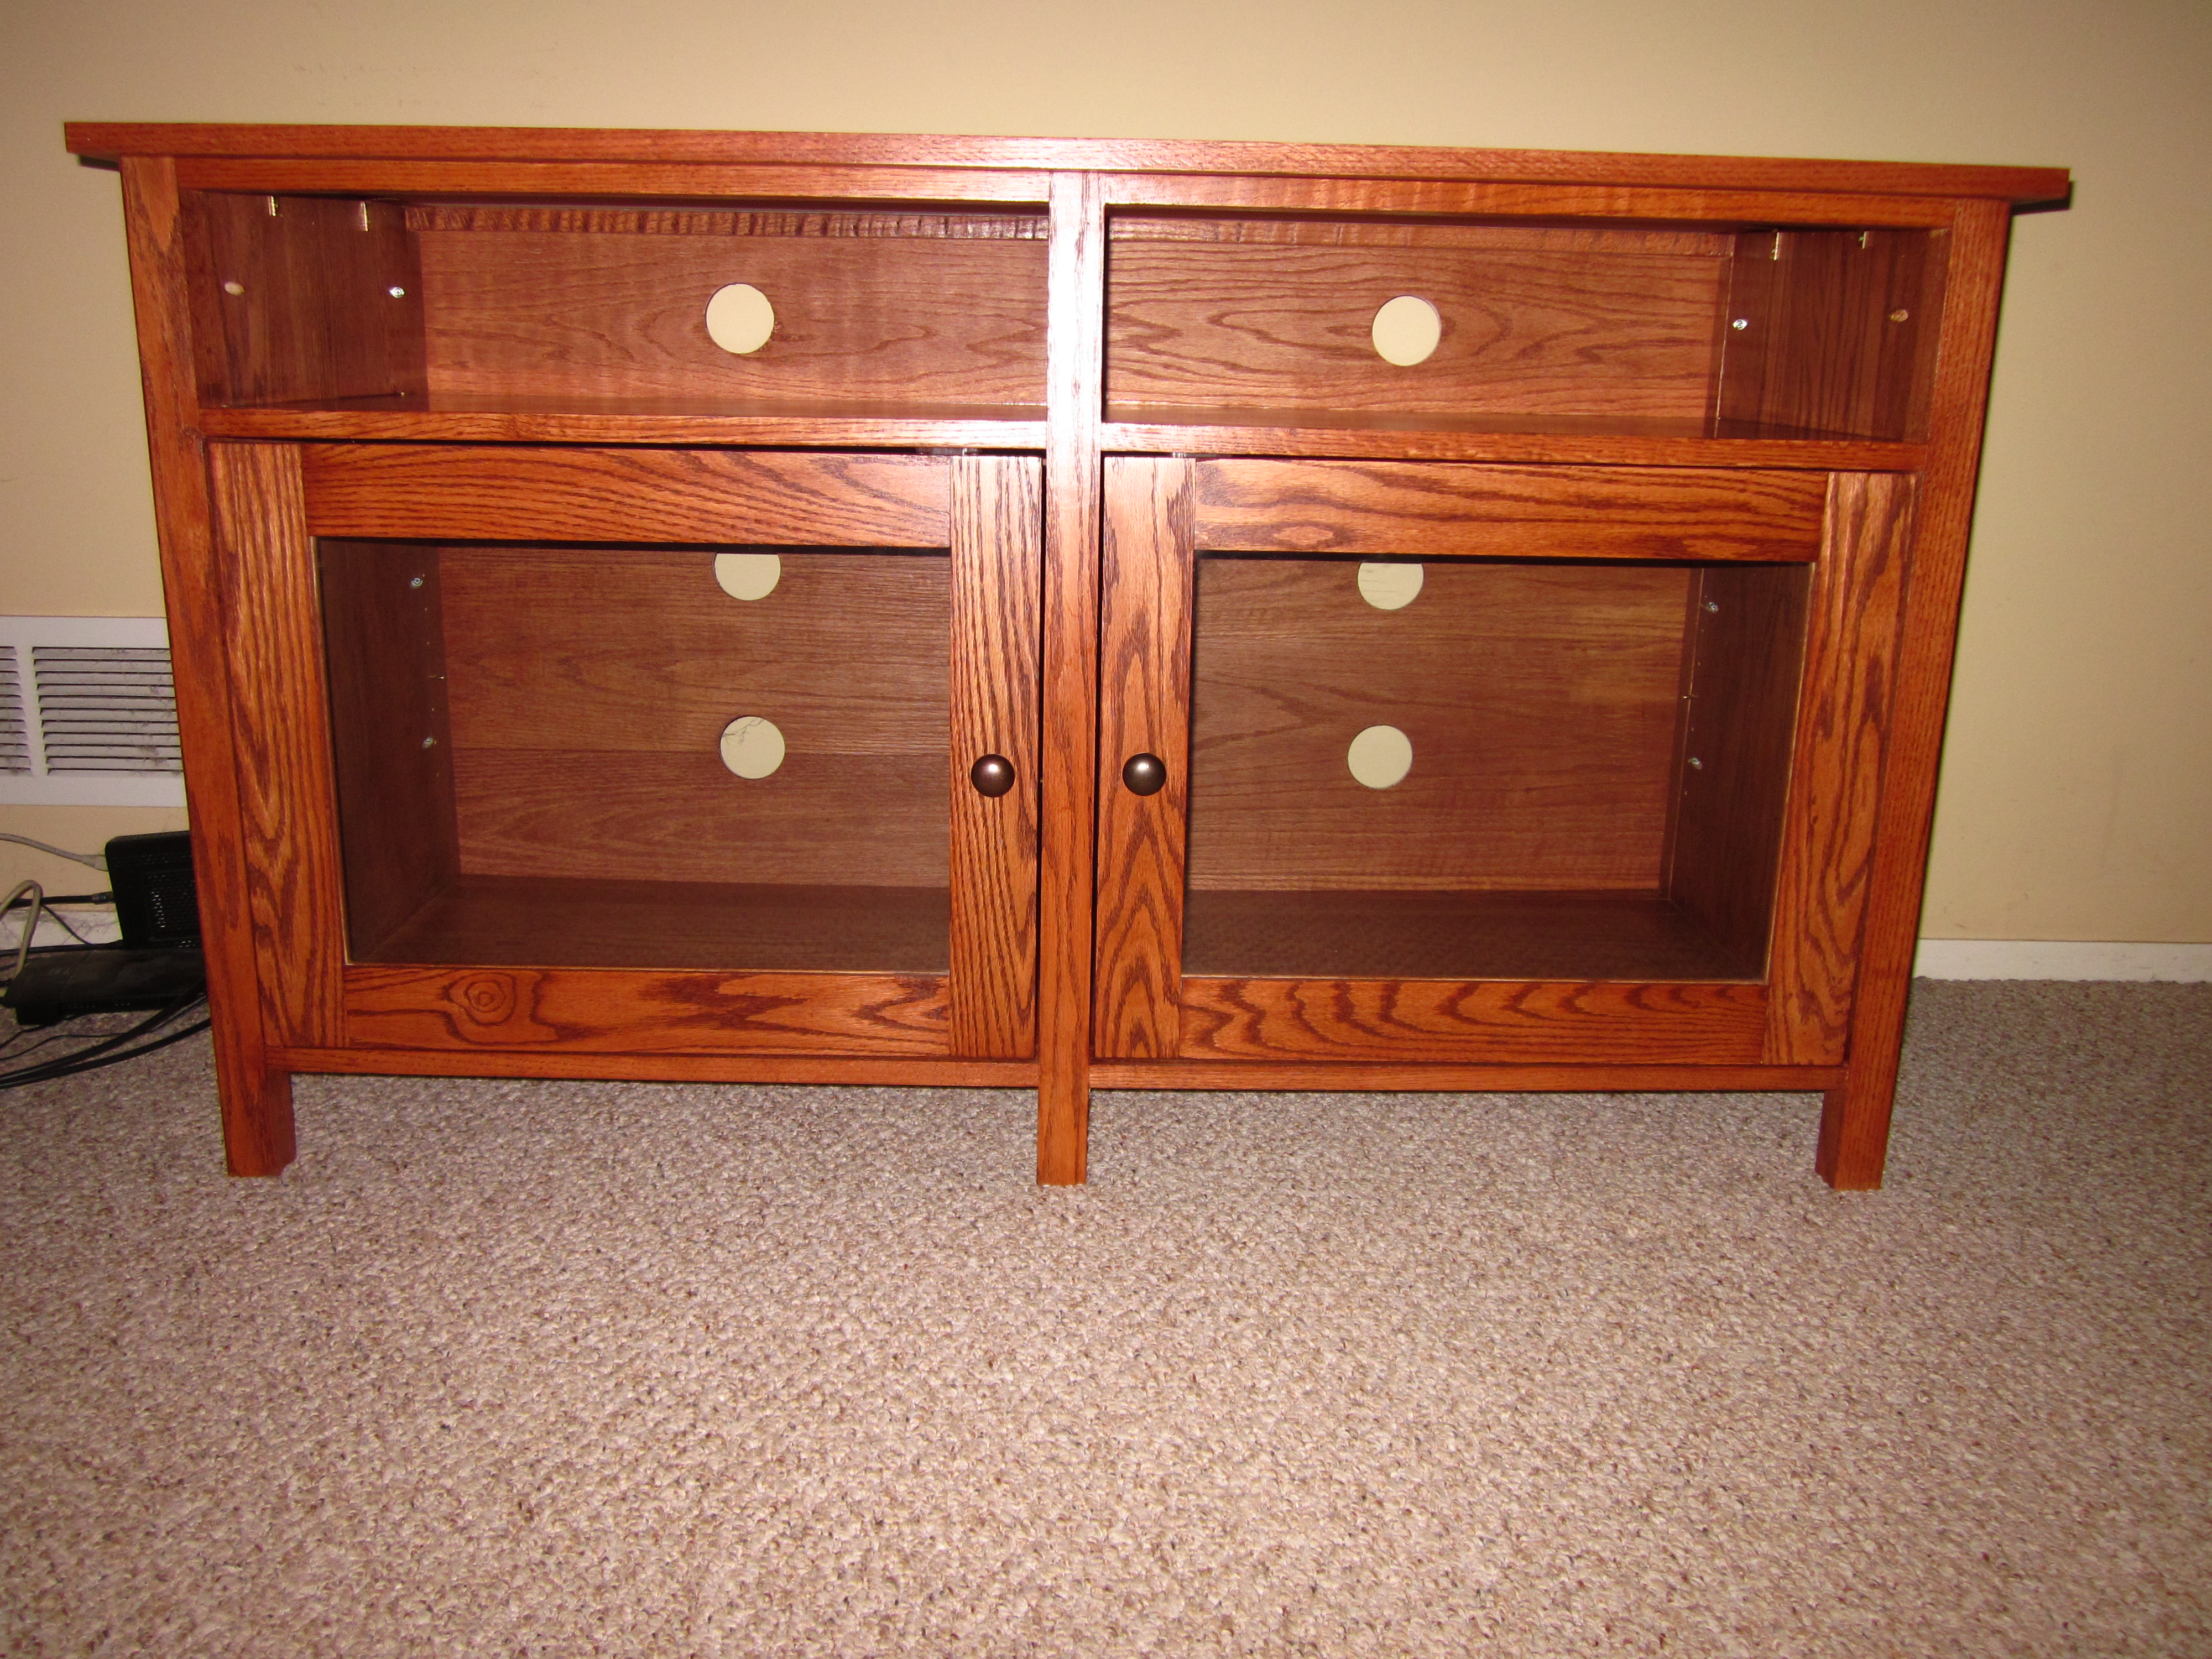
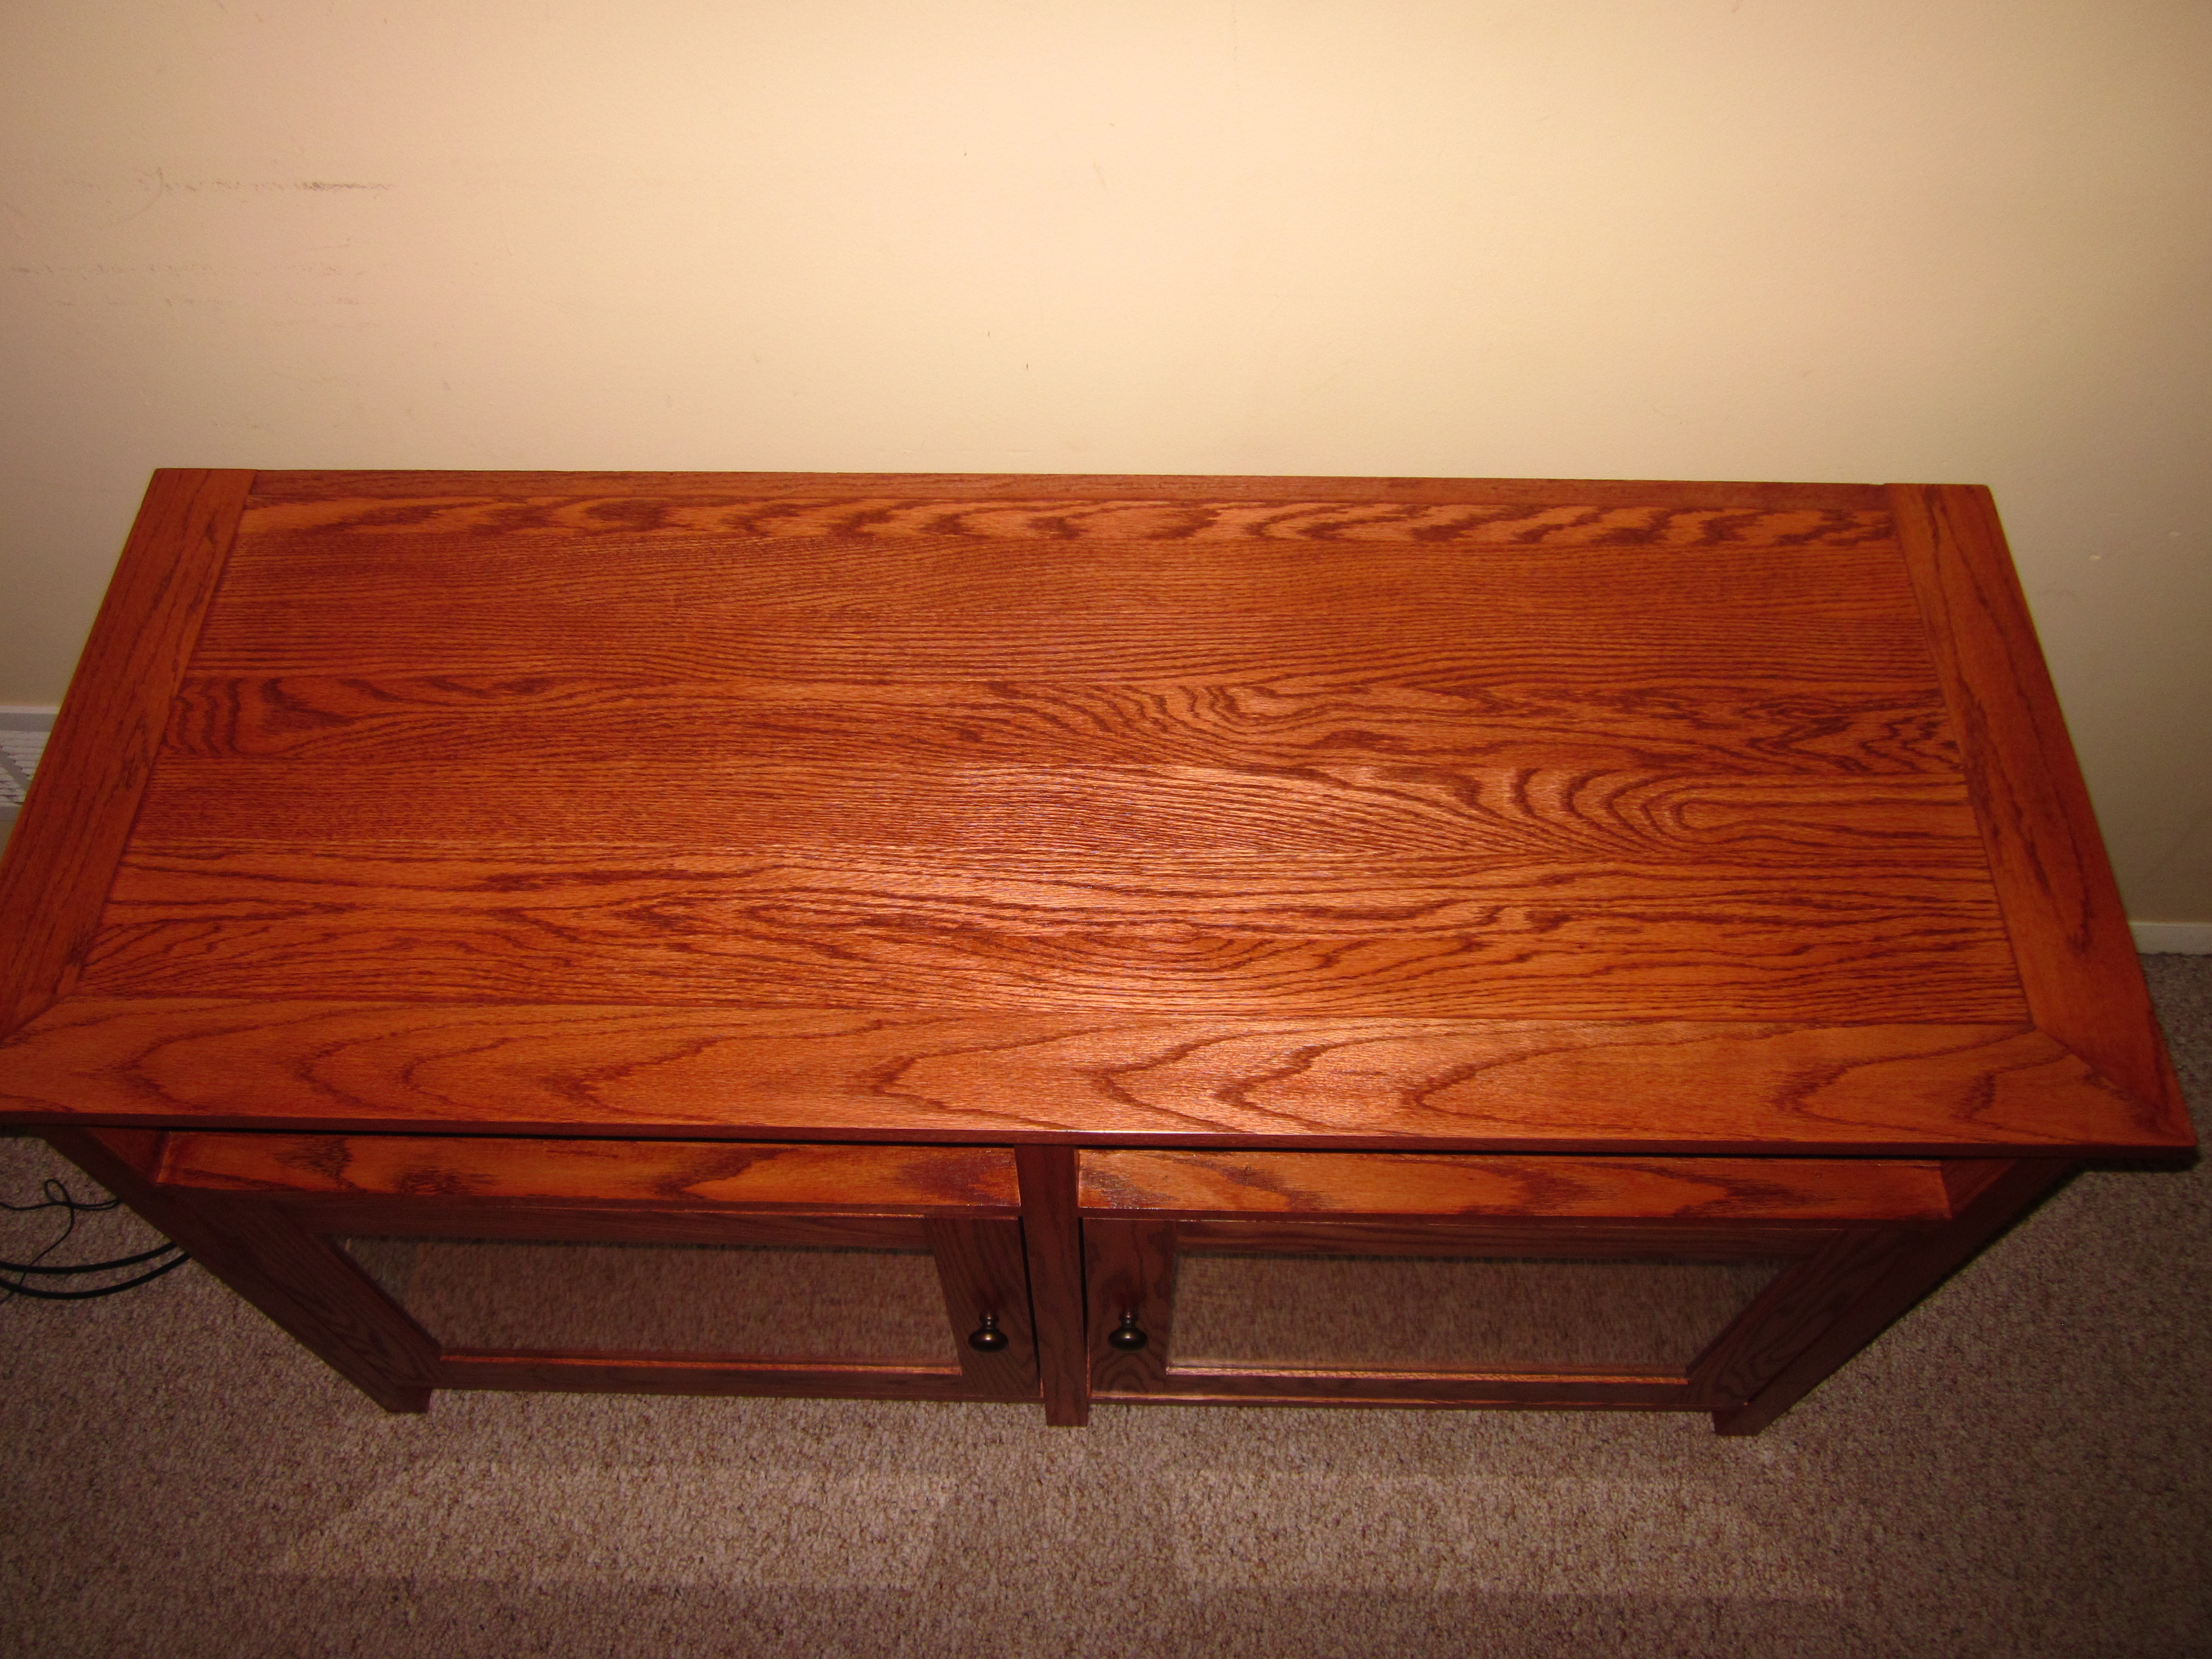
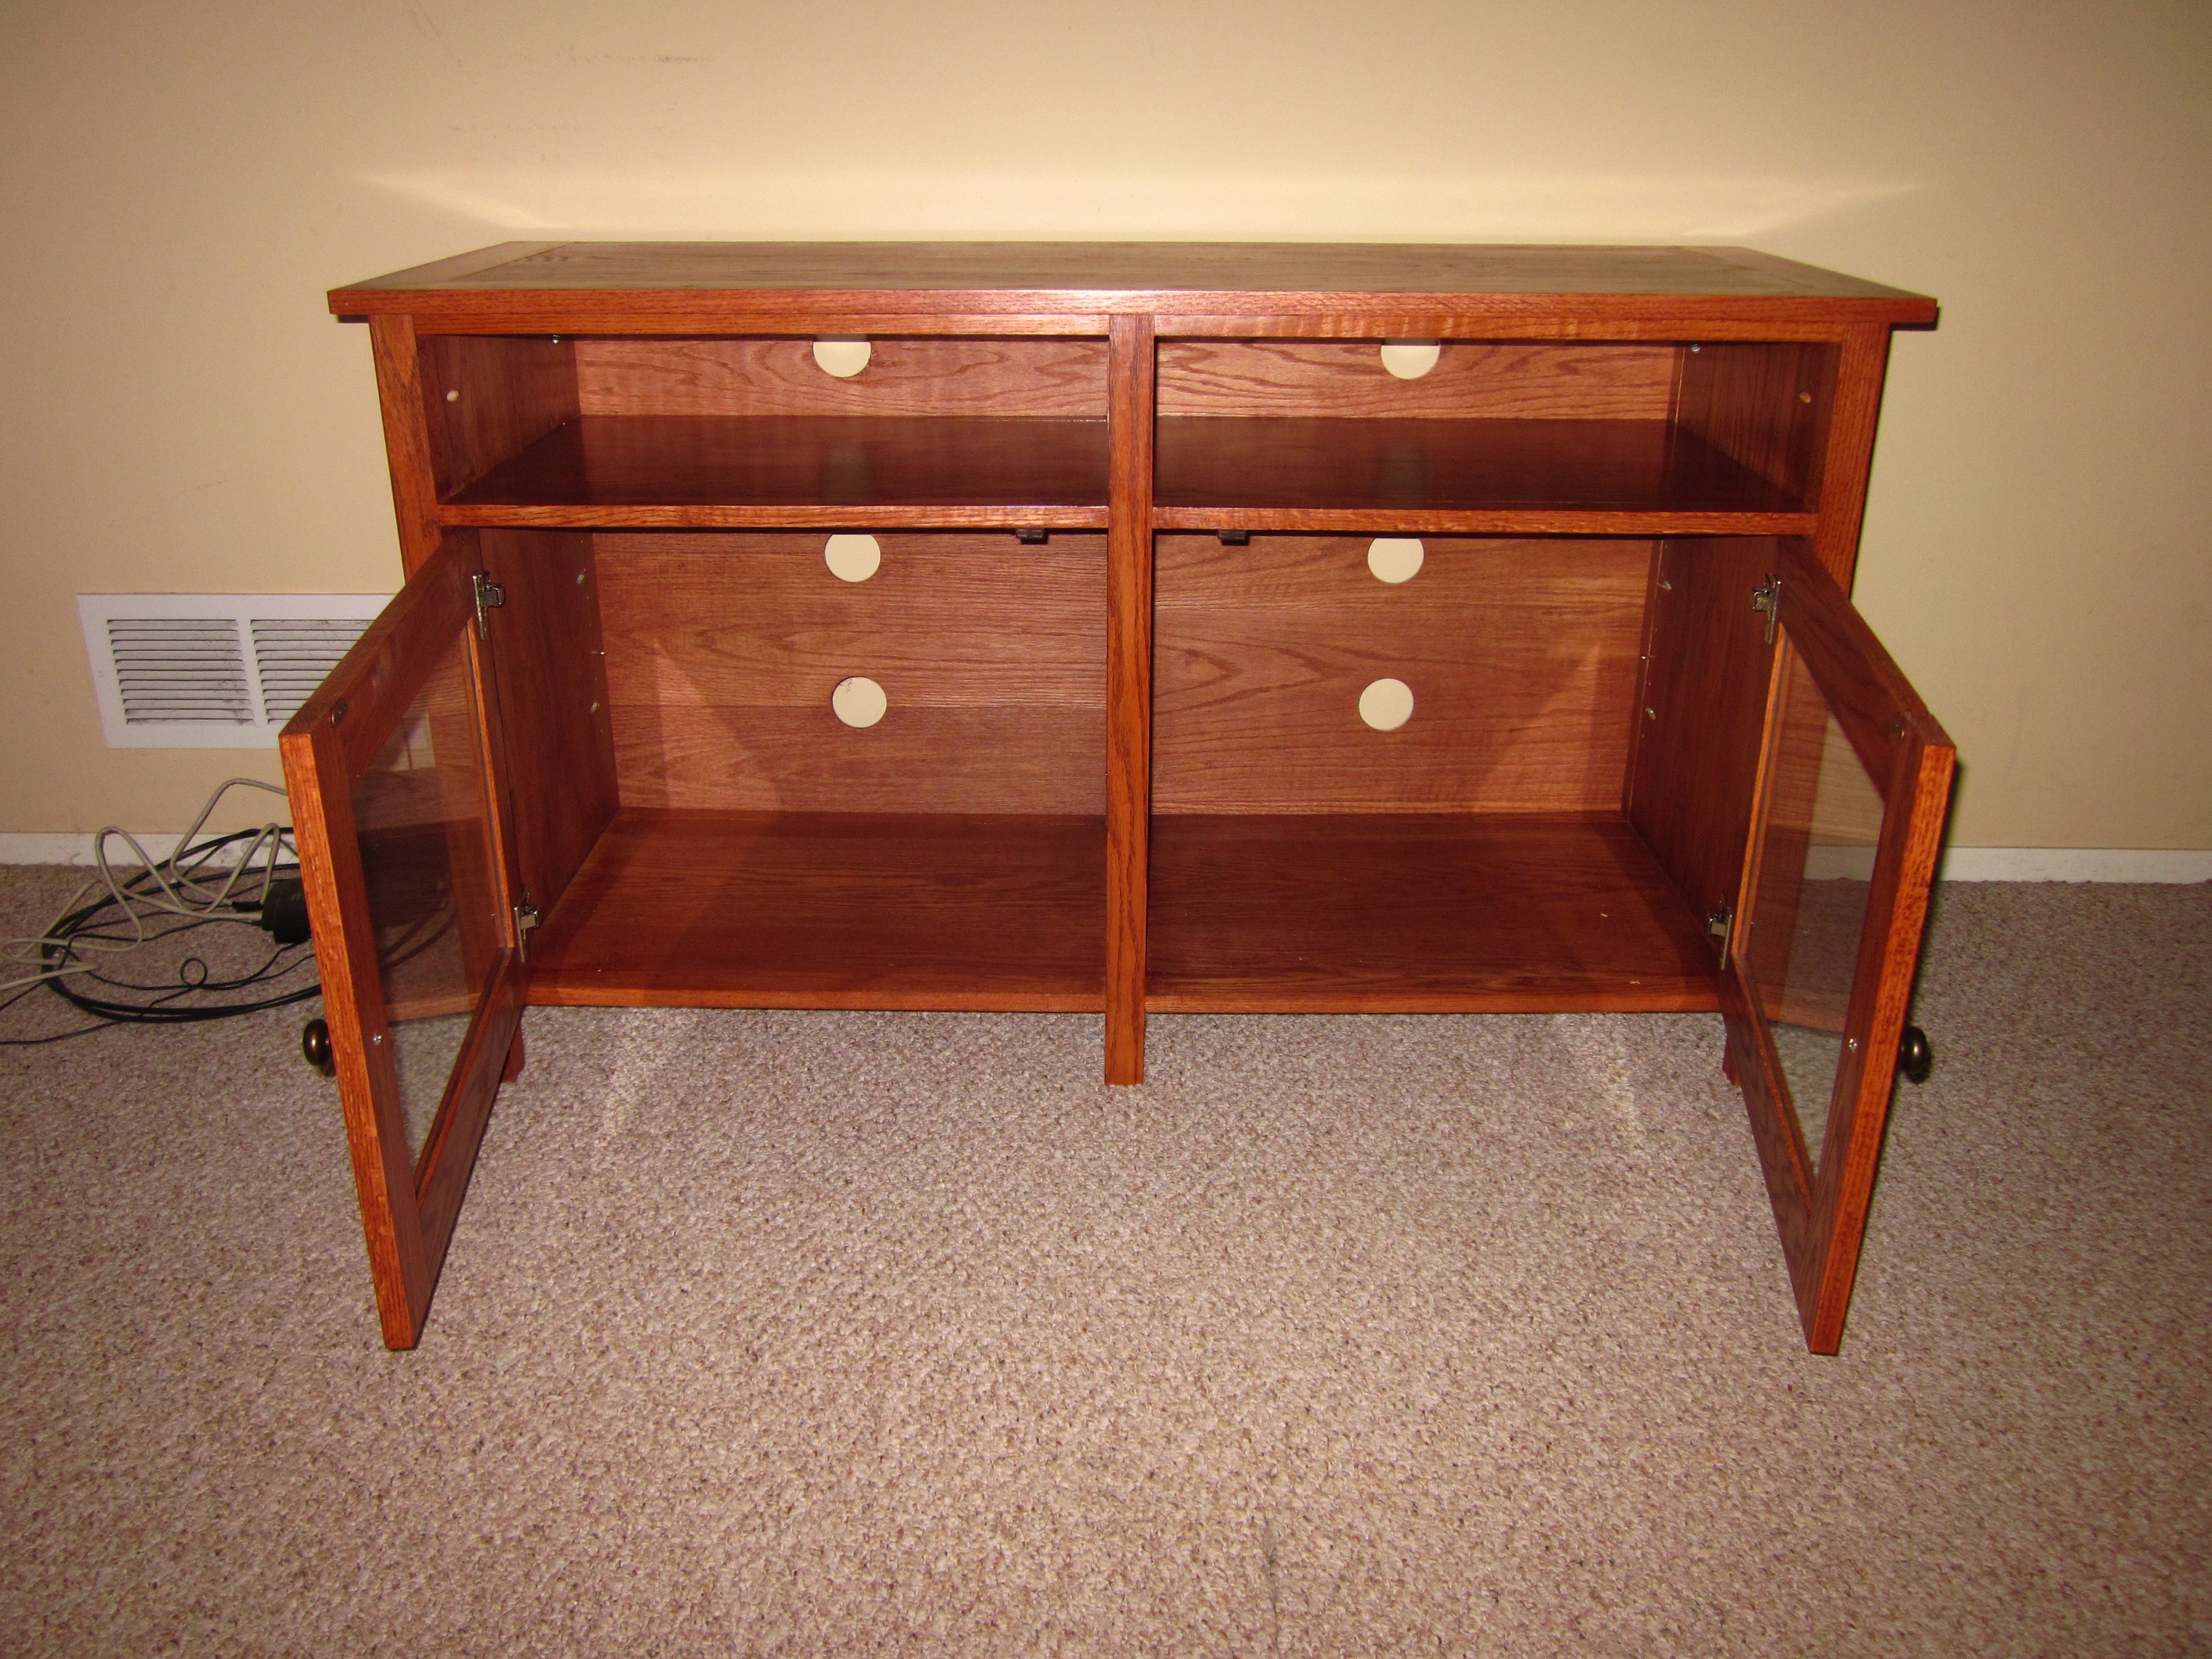
As soon as I saw the "Rustic X Console" table, I knew I wanted it !! I love the rustic look without being too country. I needed something to hold all the TV components (cable box, DVD player, etc) as well as kids toys. Something that would store what we have now and transition with us through the years. As the kids gets older and toys start to move out, I can still use it! We modified the plan by adding a small shelf at the top to hold our media stuff. I like having the very top free from clutter. Everything is tucked away but still easy to access. It's perfect !!
We finished it by using a green paint wash with leftover paint from our kitchen (3 parts paint to 1 part water). It worked perfectly. We can still see the wood grain and it adds a little color without being too overpowering.