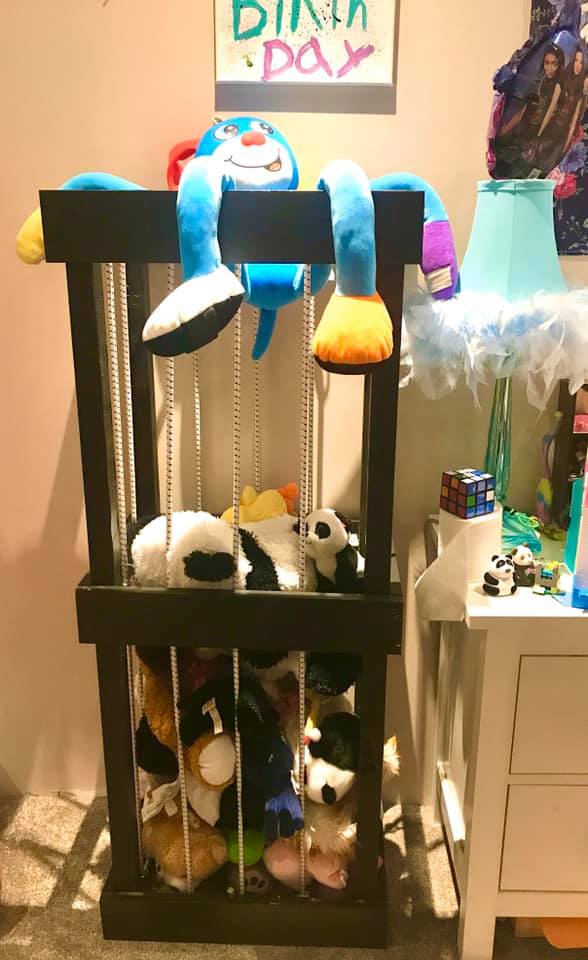
Stuffed Animal Zoo
My daughter loves this! And now I have to make one for my youngest! Instead of rope I used 3/8" Bungee Shock Cord. I used one long piece and threaded it through the screw eyes. I put the screw eyes in the top, middle and bottom.
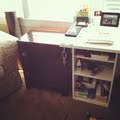
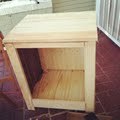
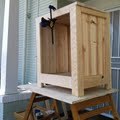
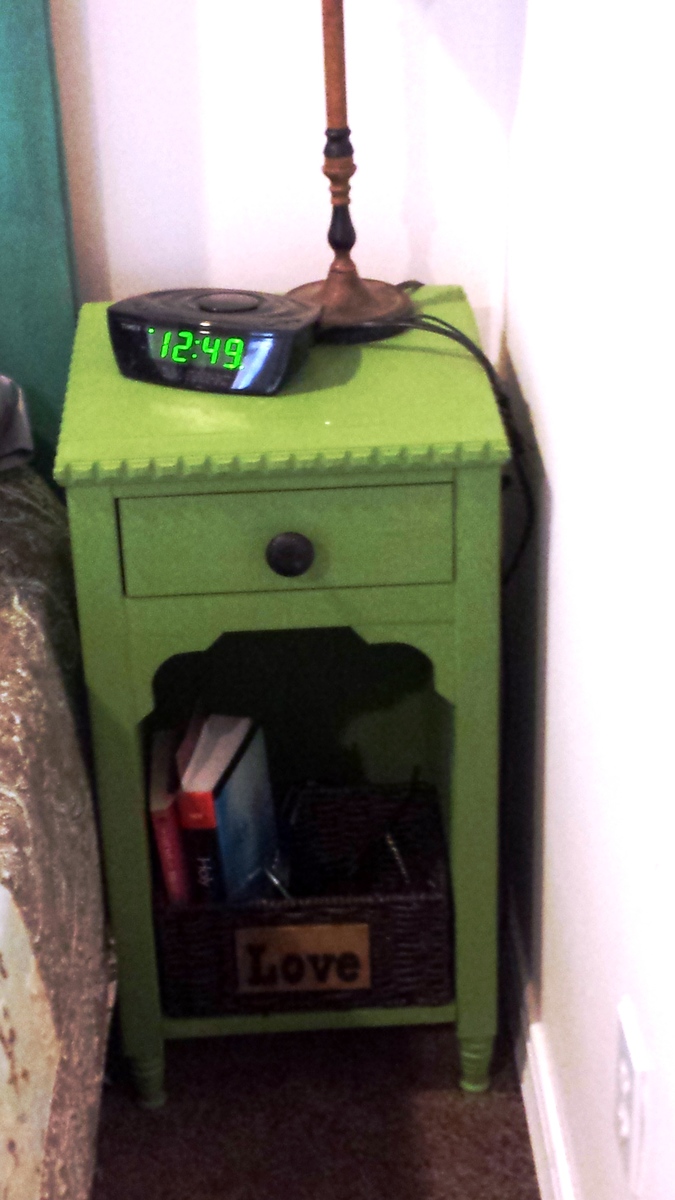
Great nightstand/chest made form the Kentwood Nightstand plans on Ana-white.com. Thanks for the great instructions! I would have to add that I needed 5 1x3's to make the top, instead of the noted 4 in the plans.
Thanks again!
Fri, 05/10/2013 - 21:45
The instructions I found for this are pretty vague as to what to do with attaching the top-- do the 4 (or 5 as it seems) boards somehow link onto eachother kreg-style? or...? Thanks!
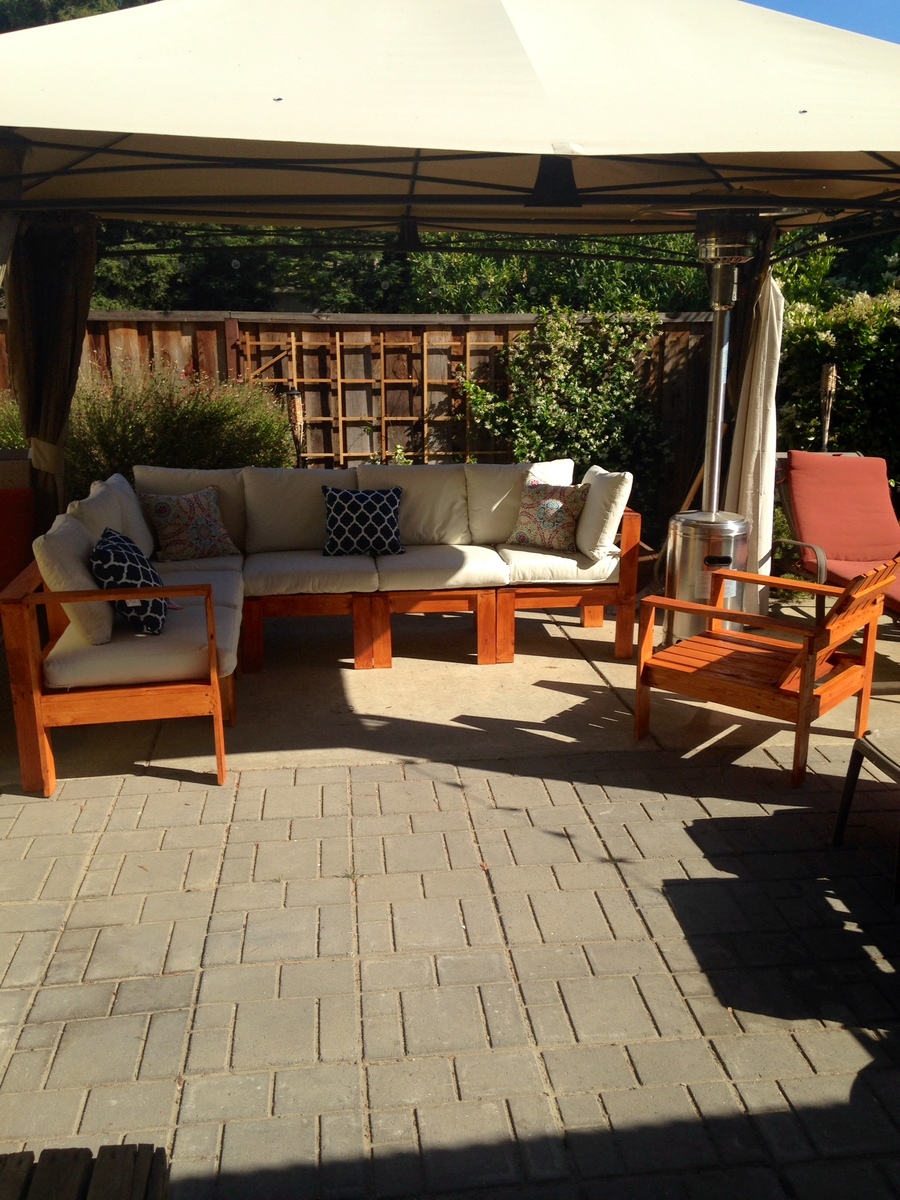
Not as easy as everyone else said online. I had never used a kreg jig and it takes a bit more practice than I had patience for. one thing to note is the instructions screw lengths are for if you are NOT using a kreg. If you use a kreg, use the screw lengths they suggest. I used a deck stain and purchased the cushions on sale at Ikea ($22.50 per cushion)
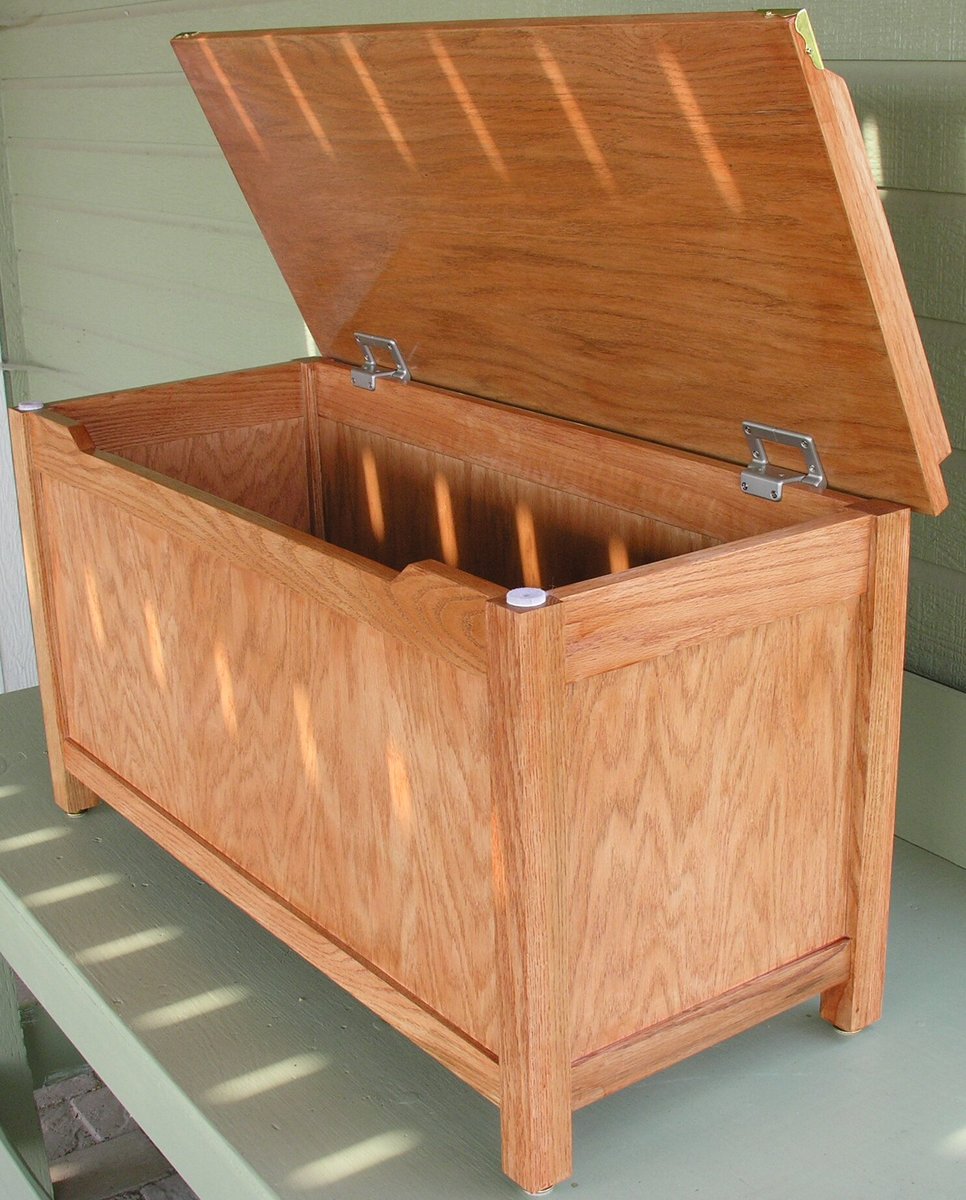
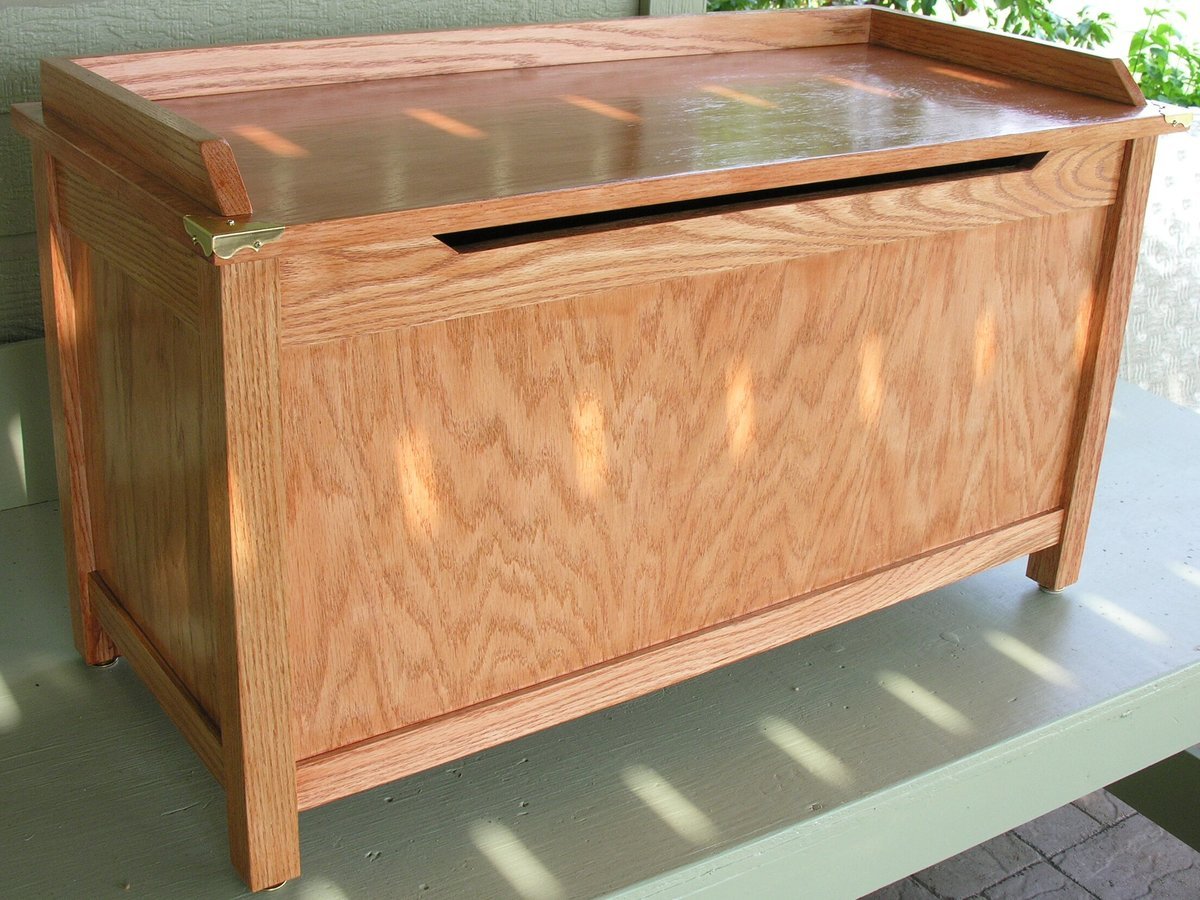
Thank you very much for this marvelous plan and idea. I built one for each family of grandchildren and love the finger-saving torsion hinges and front lid relief. I did end up trying biscuit joints (except for where the 1x2 boards join to the legs) as it left the inside of the box looking cleaner, especially if stained instead of painted.
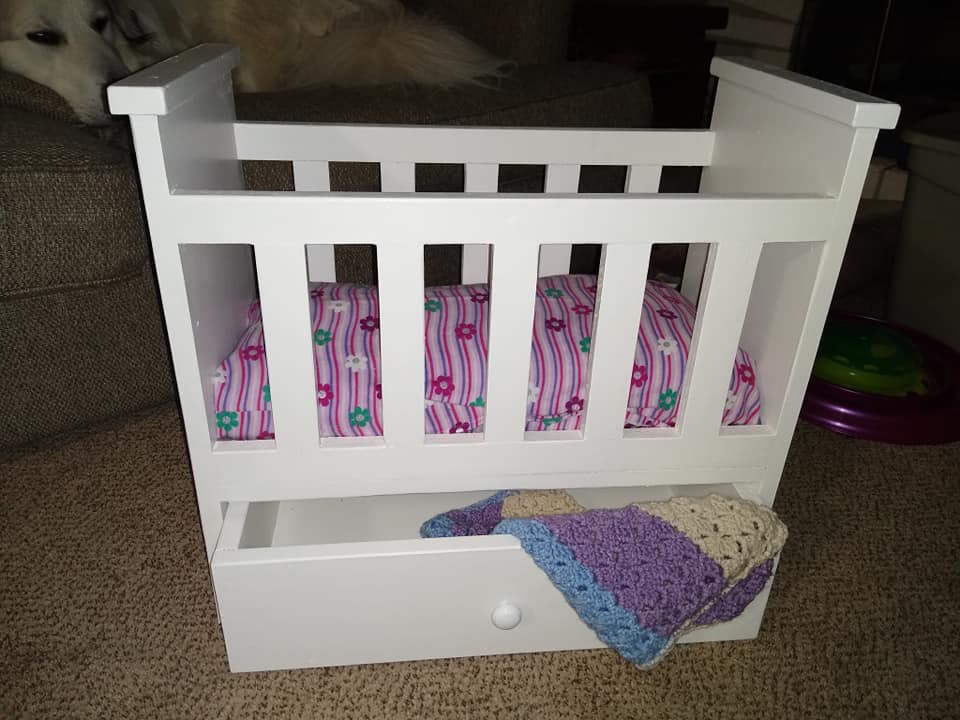
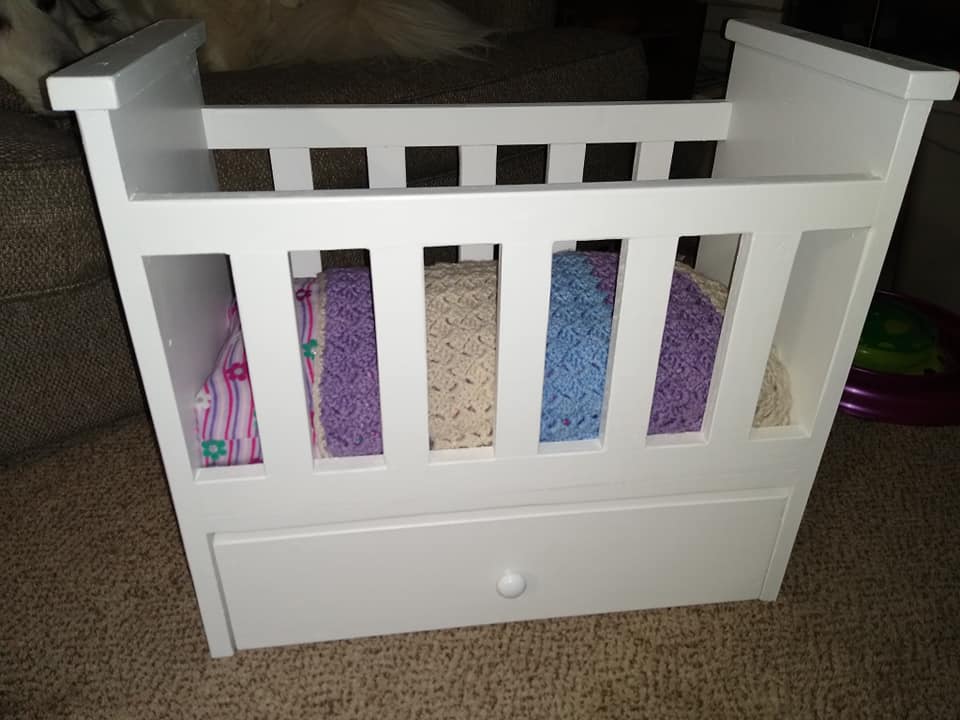
Instead of rounding the tops of the headboard and footboard, I simply put a 1x2 board over the top for a more modern look. Instead of cutting out the handle for the drawer, I added a pull. This is actually the second one of these I've built. The first, I followed the plan, but this one was for my daughter's best friend, so I made her one that is the "same" yet different. I love it. Goes together quickly and always is sturdy and so nice. It's a great size for baby dolls.
I only needed to purchase the 1x12 and the 1x6. The rest was made of scraps I had on hand from other projects. Even the paint was from a previous project, and the mattress was made from a remnant.
Custom built-in desk and bookshelves. We combined plans for a massive desk with bookshelves. Working from home, I needed to maximize my storage space but wanted to create beauty and function at the same time. I love the finished results! I admire my new desk everyday I "go to work."
After years of pining (HA made of pine) for a farm style plank table, my husband and I worked together to build one. Thank goodness for Ana White. The plans were easy to follow, and with the help of a friend it didn't take long to build at all. This is the first time we have built anything. We have also altered the plans a bit, and my husband built a smaller one for a friend.
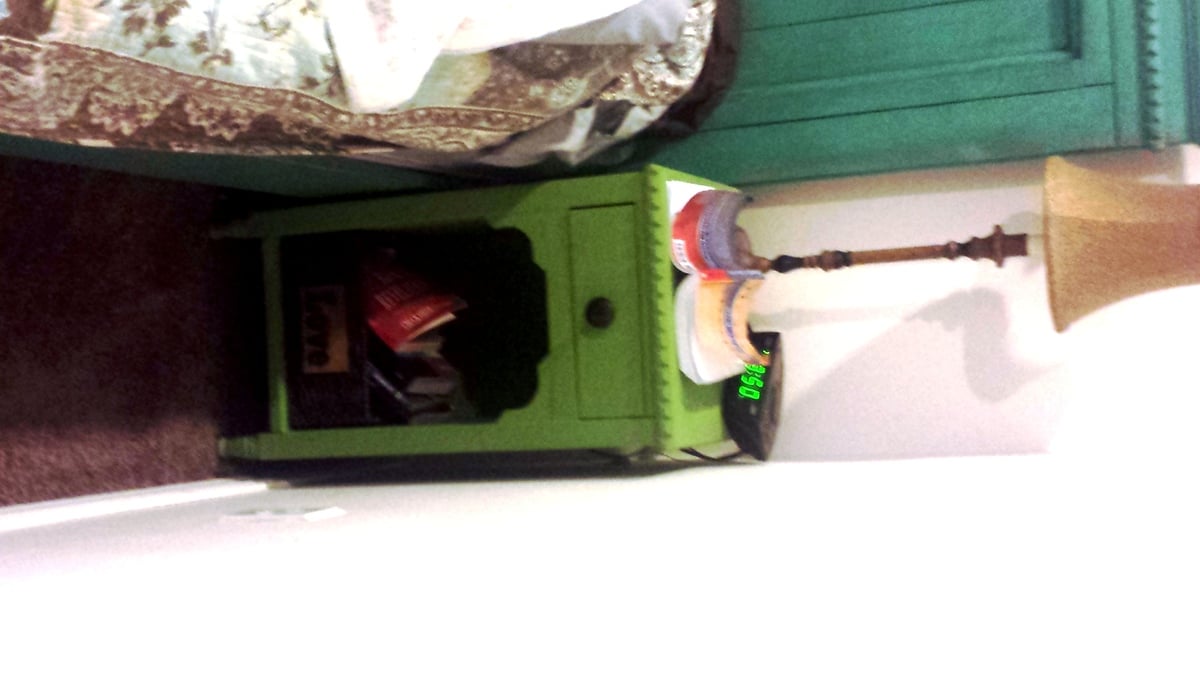
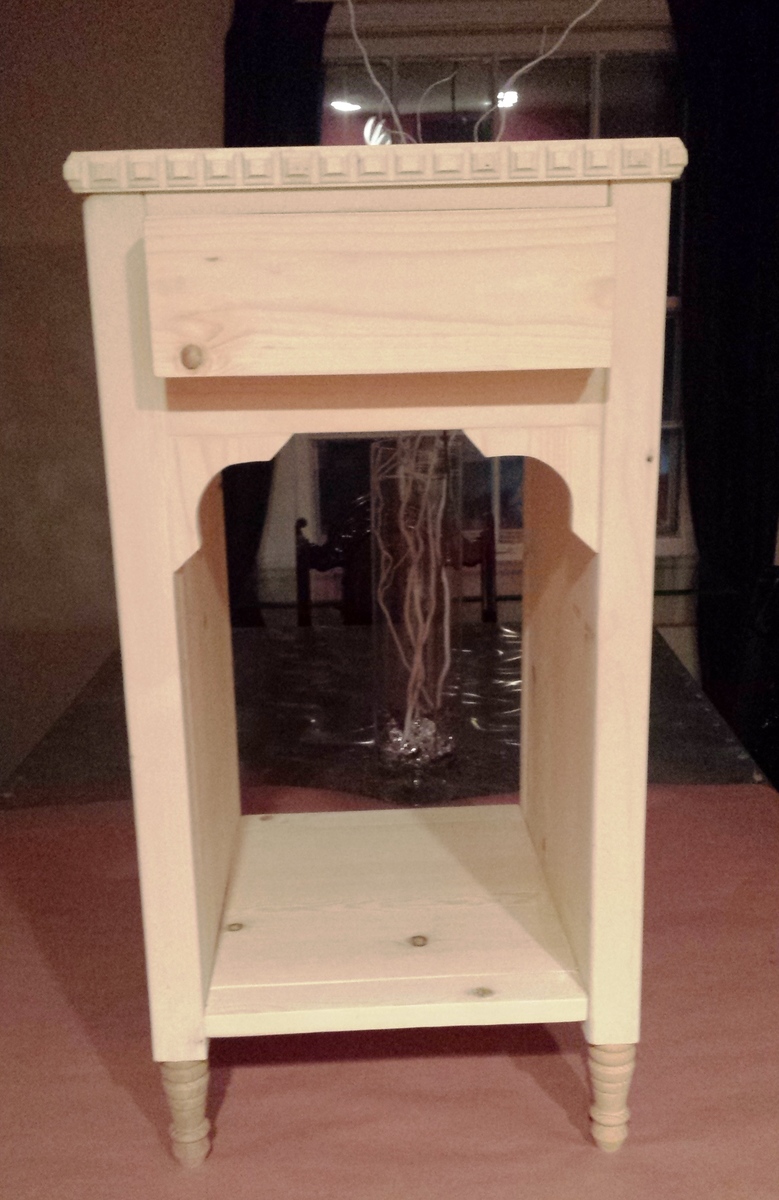
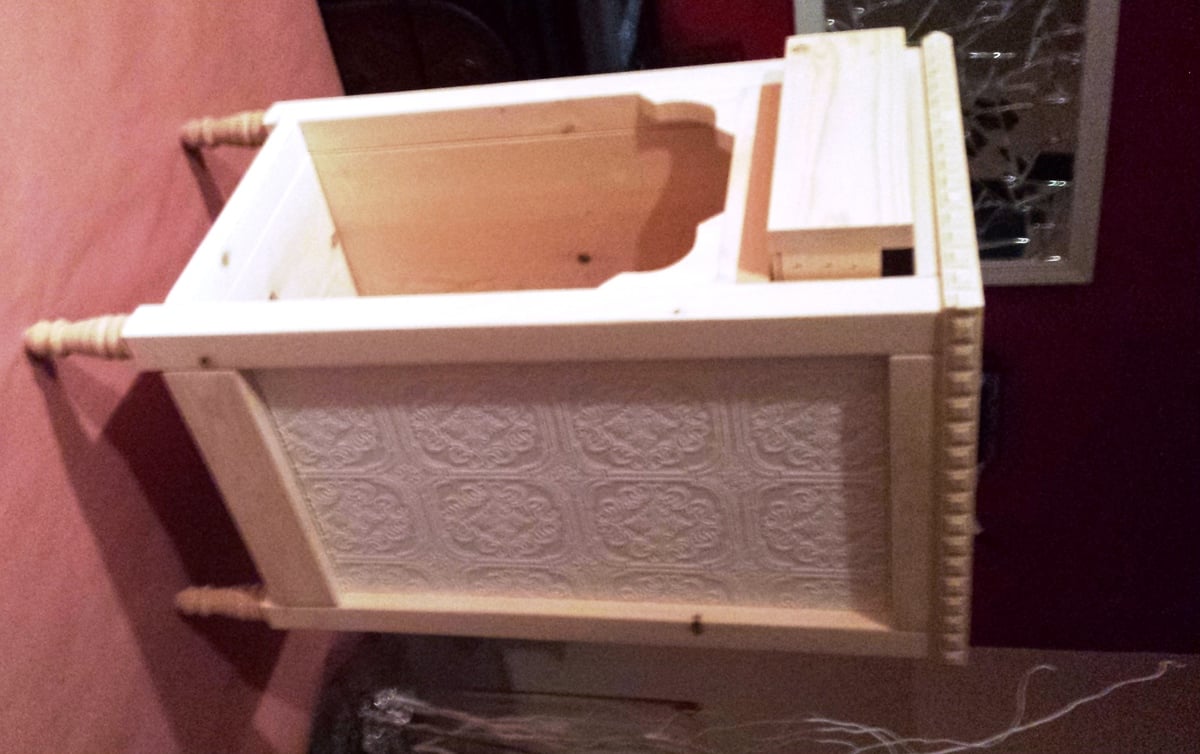
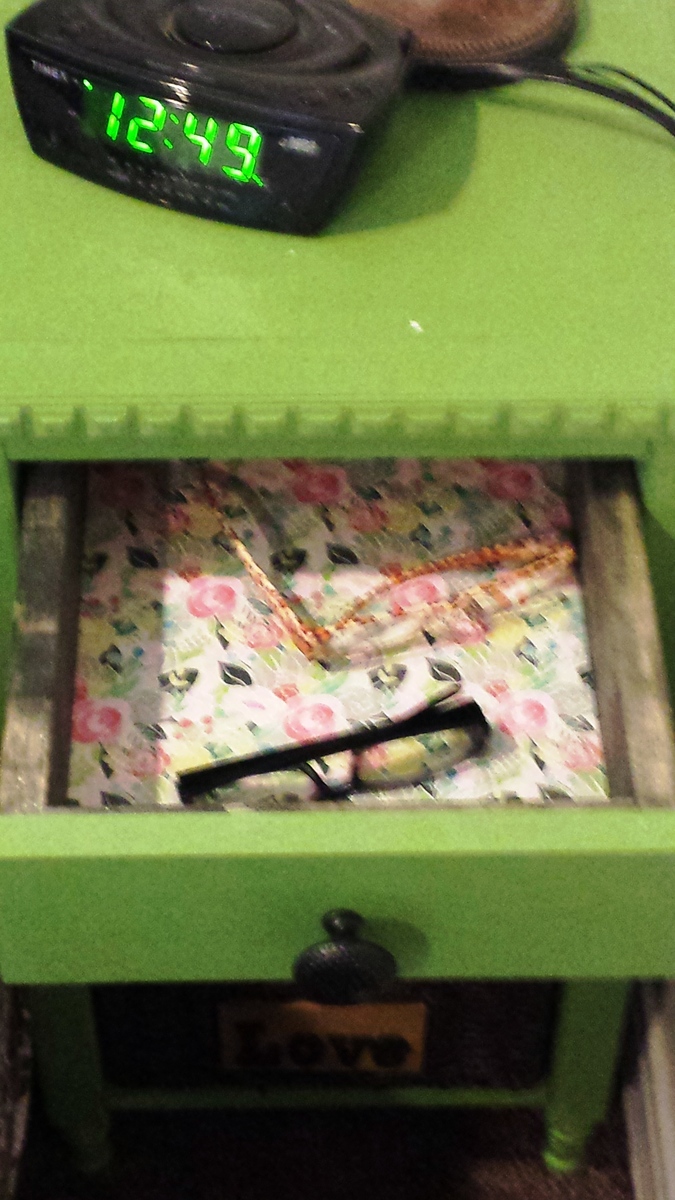
I used the Julia Nightstand plans but added textured wallpaper to the side panels and also decoupaged scrapbook paper on the inside of the drawer. The back was wainscoting which was painted the same color as the nightstand (this was a chalk paint). I added a thin support piece of wood above each side of the drawer to prevent it from flipping downward while it was open
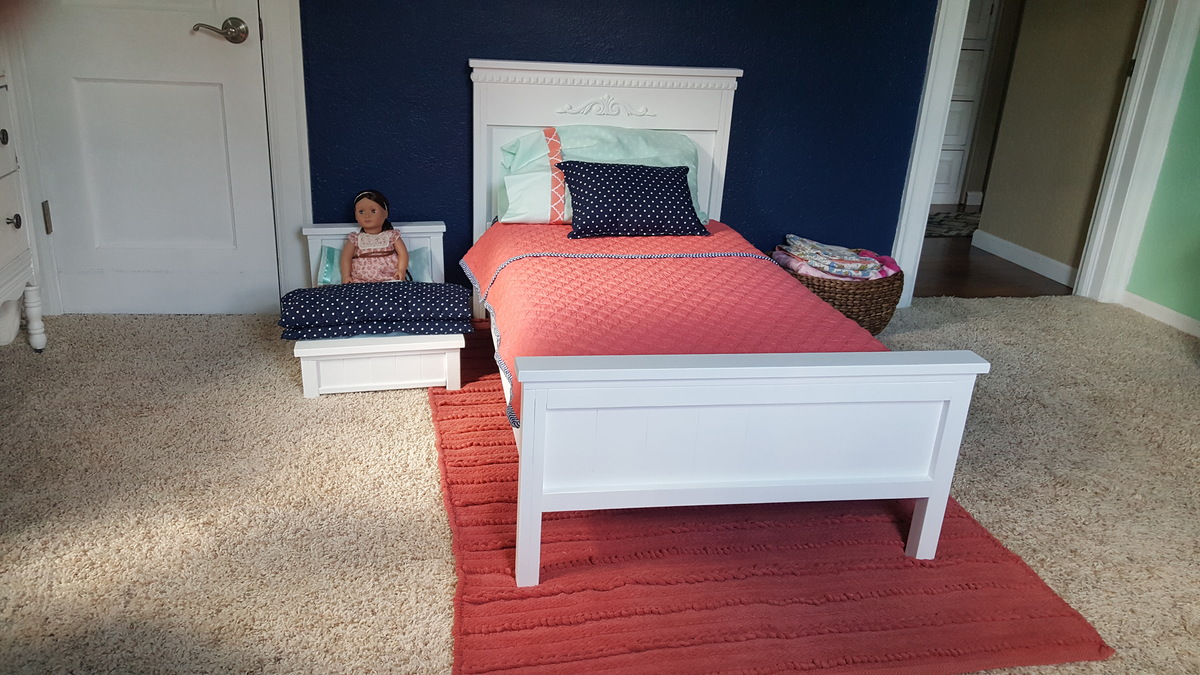
Matching beds
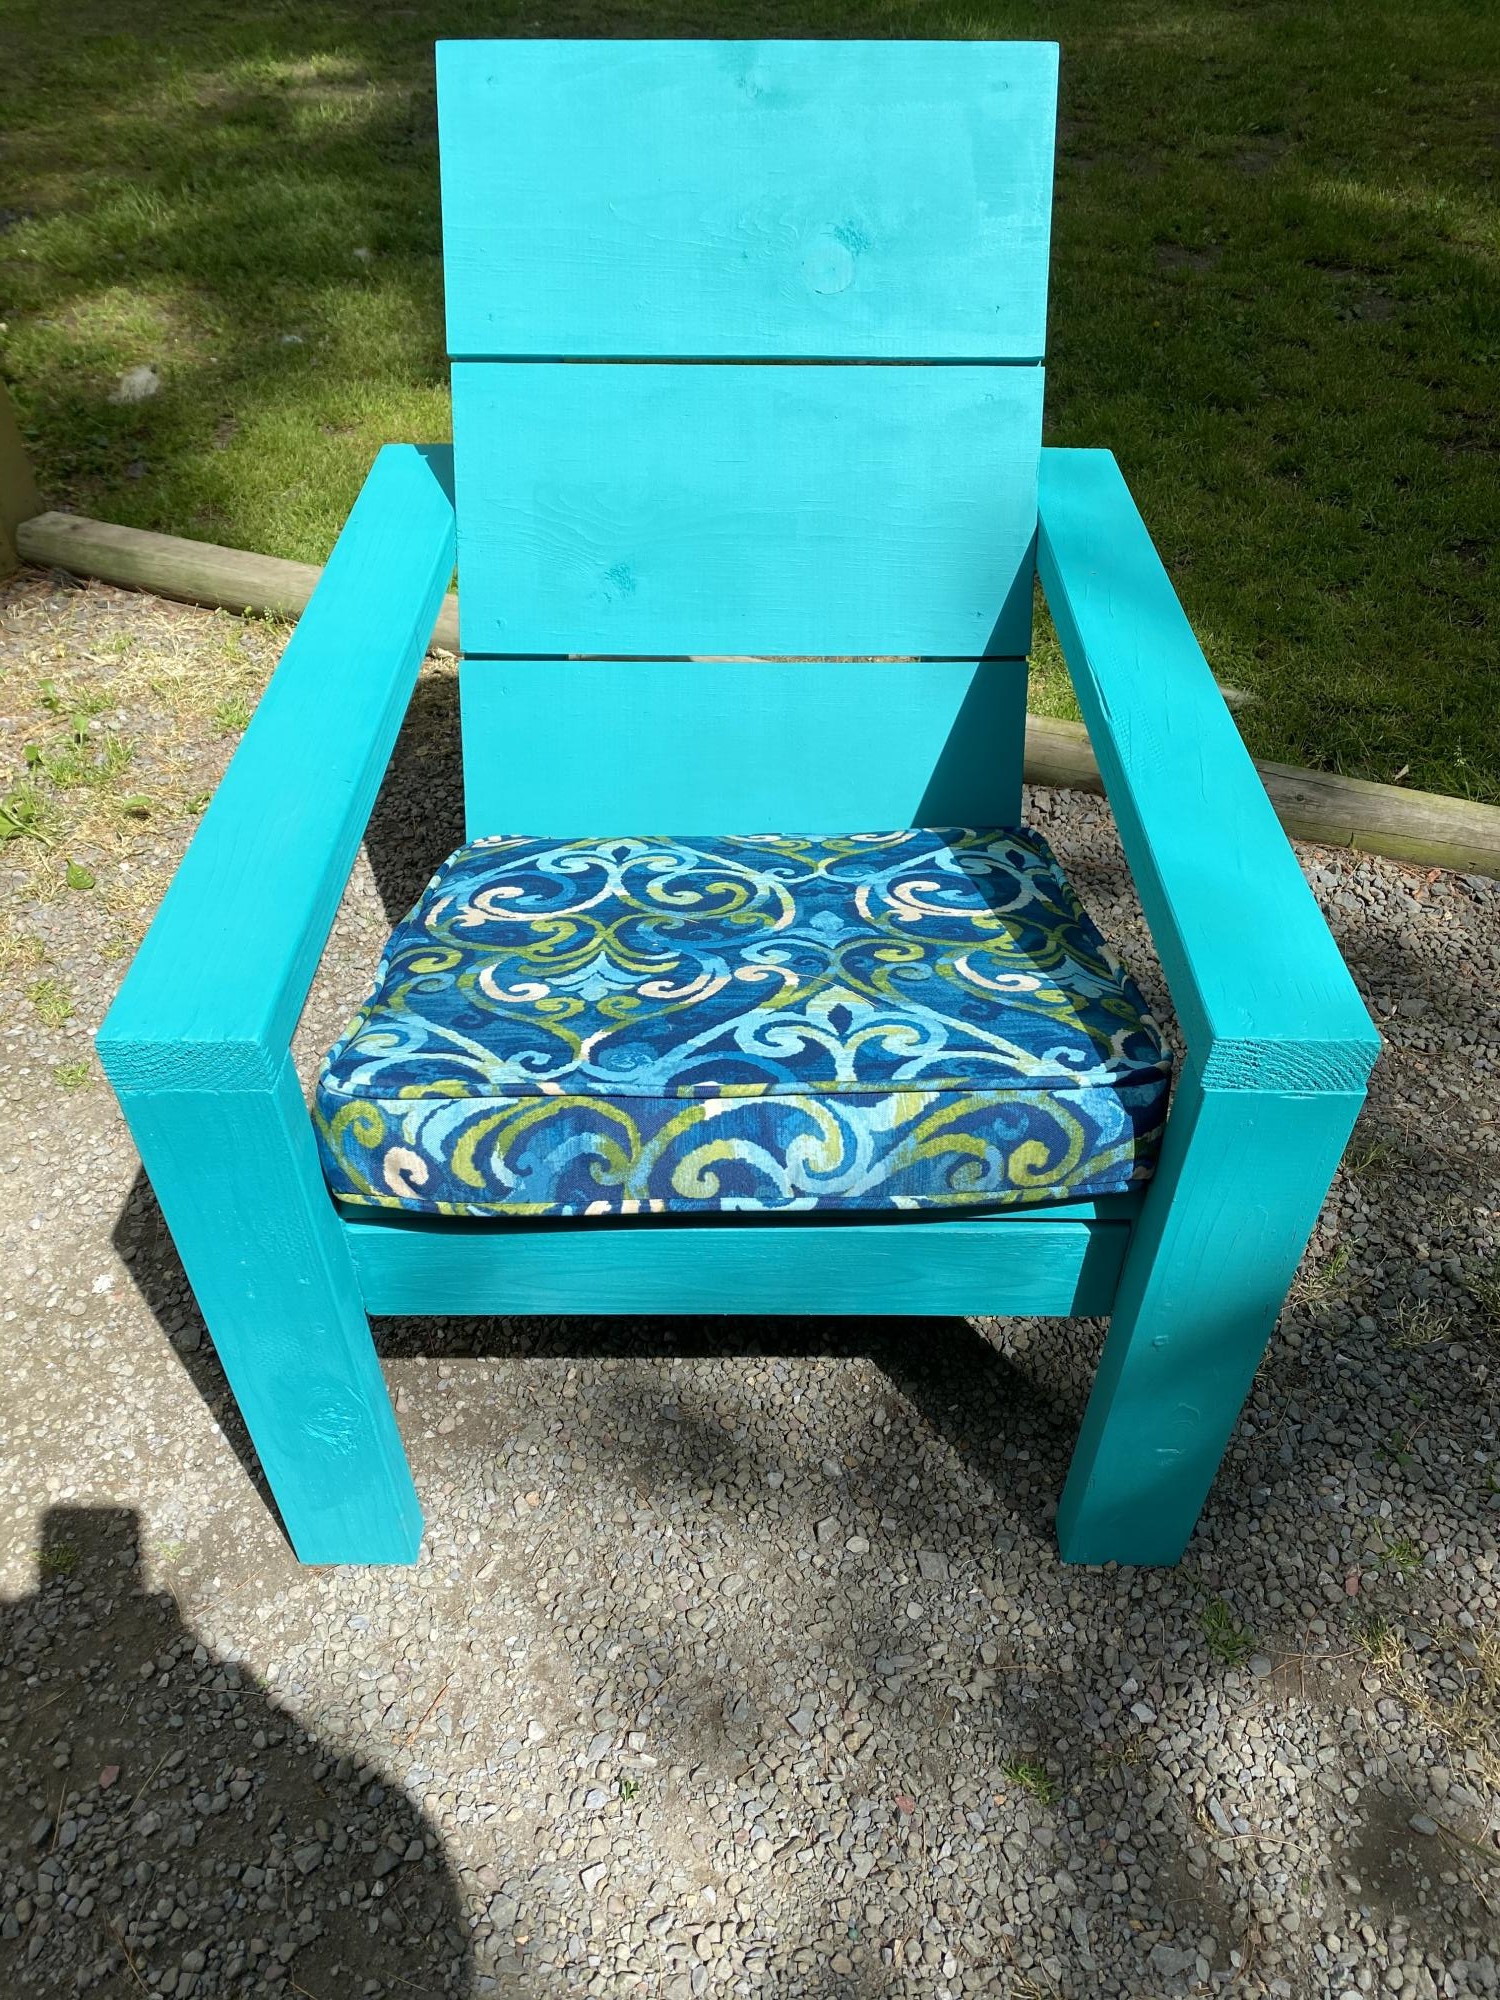
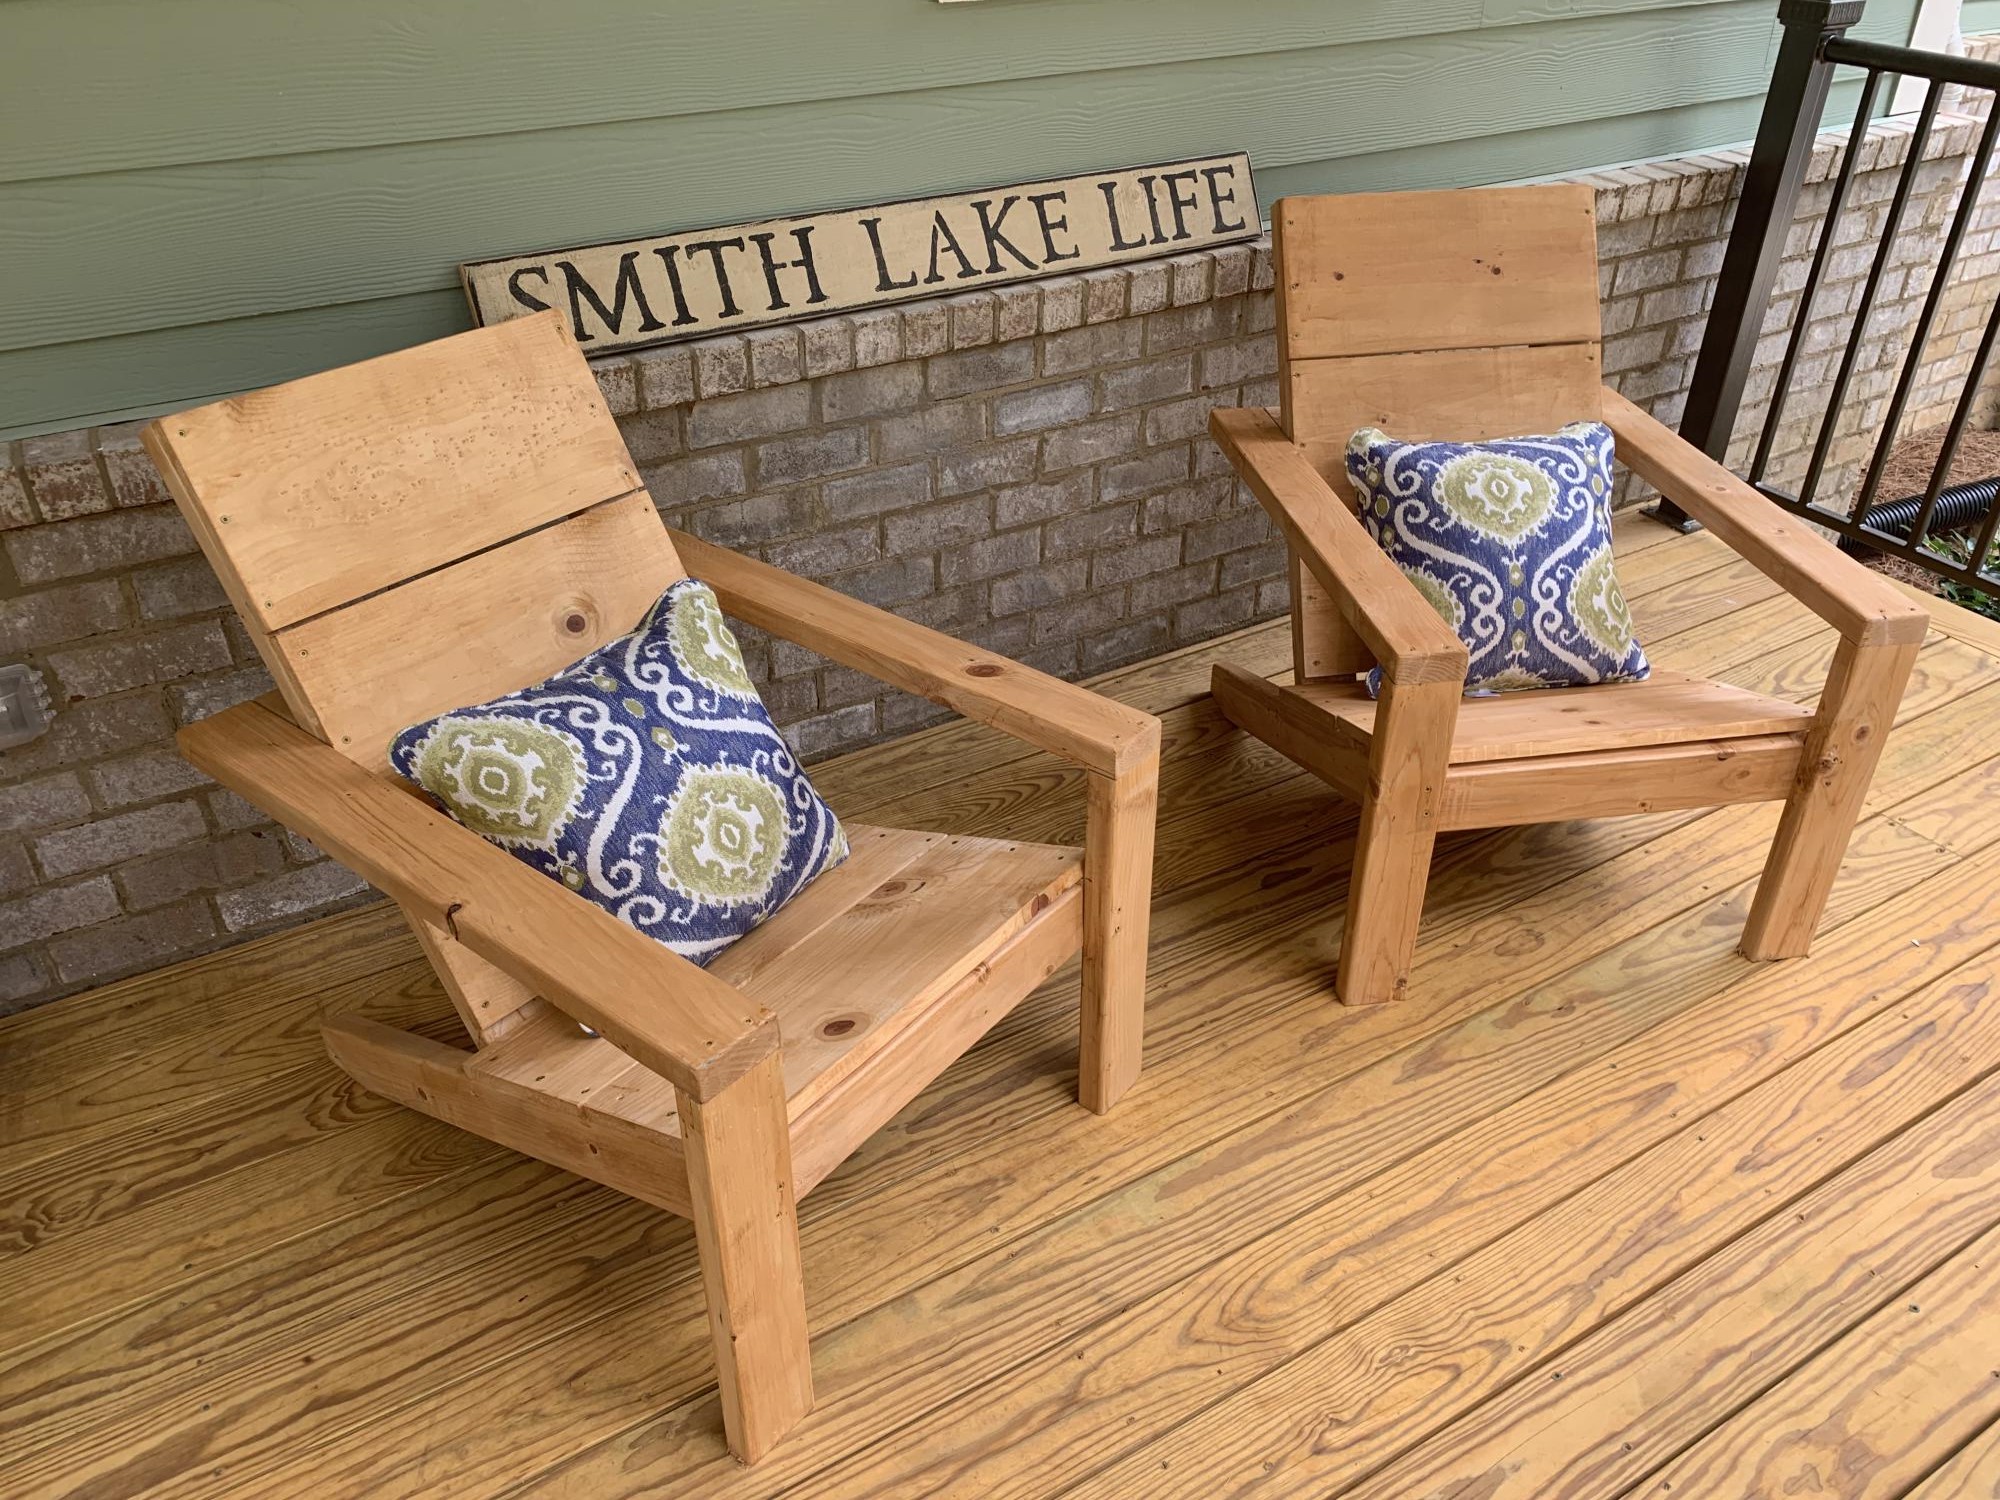
Just made a set of your modern Adirondack Chairs. Fun and easy project. Finished with Benjamin Moore Arborcoat solid stain in Aruba Blue for a nice beachy look and weather protection. Added a cushion from Lowe’s and enjoy. Thanks for the great plans.
I apologize for not having before and after shots from the same perspective, but this is the bookcase I built to replace the very poorly sized and very poor quality bookcase that was in this room before. The room has a slanted ceiling that goes from 8' to 16,' and has baseboard heaters that got in the way of cabinetry. I worked around it. These were my first cabinets, and they didn't come out exactly has I had envisioned, but they're pretty darn close! The shelves are all on brackets that are screwed into studs in the wall, and the boards that make the sides of the bookcase aren't even screwed down. I wanted something that would be sturdy and yet easy to take down or change. I left space in the middle because we'd like to put in a fireplace one day...
MelissaLeigh144
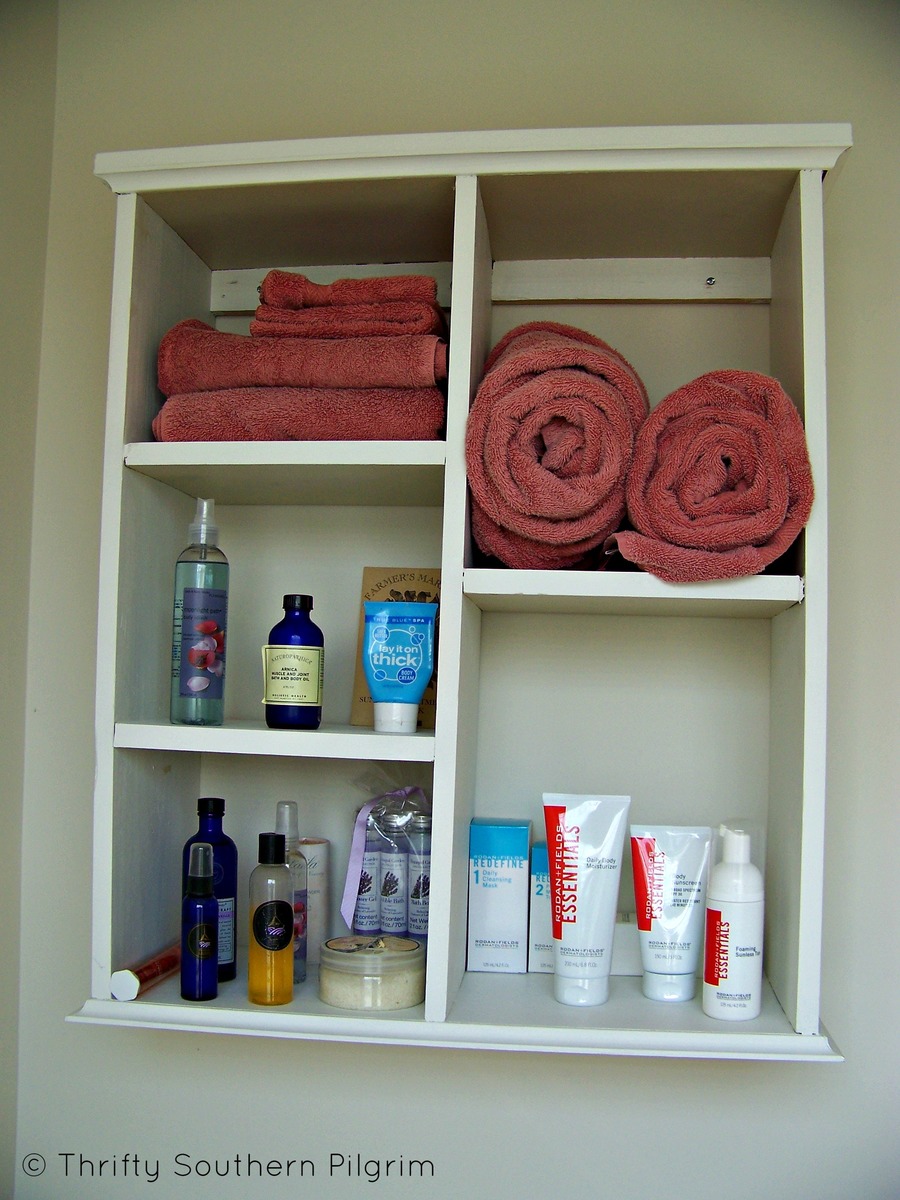
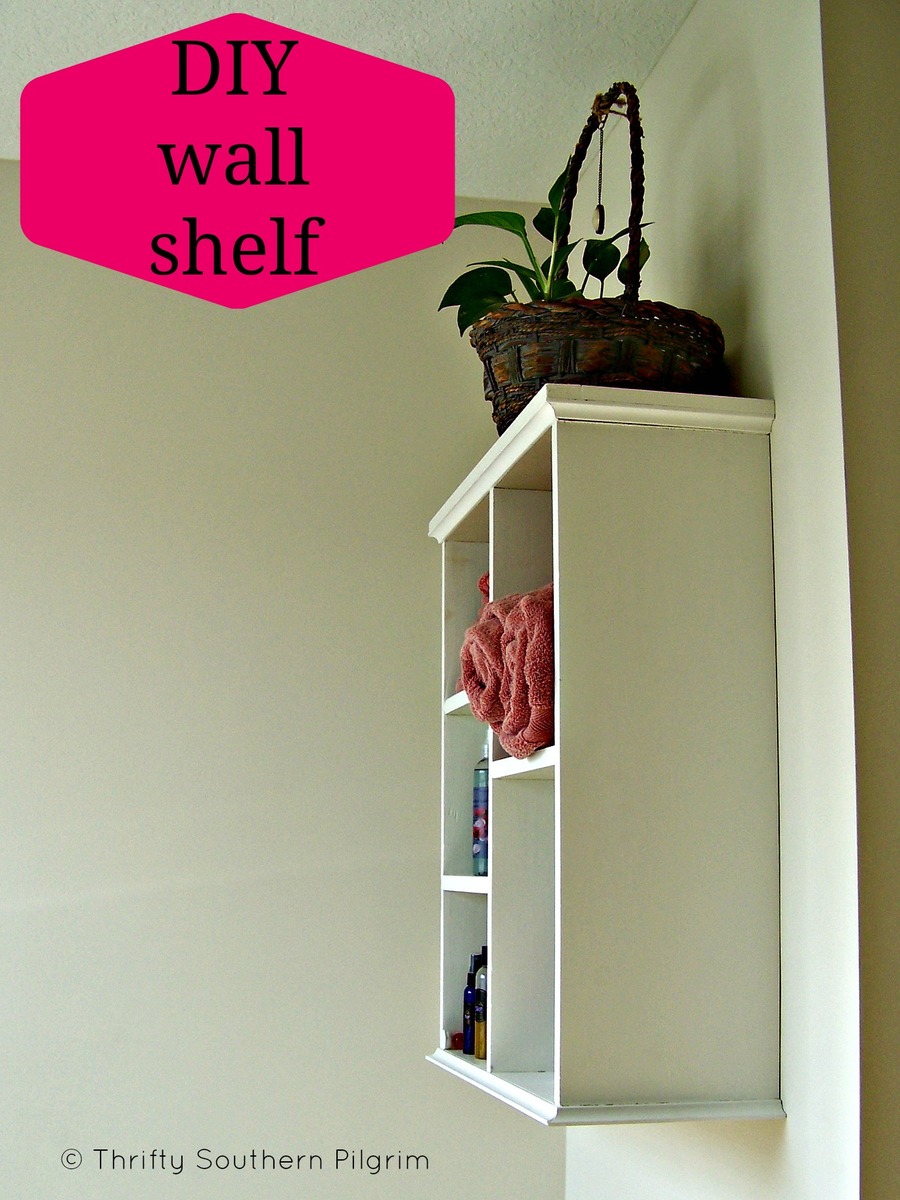
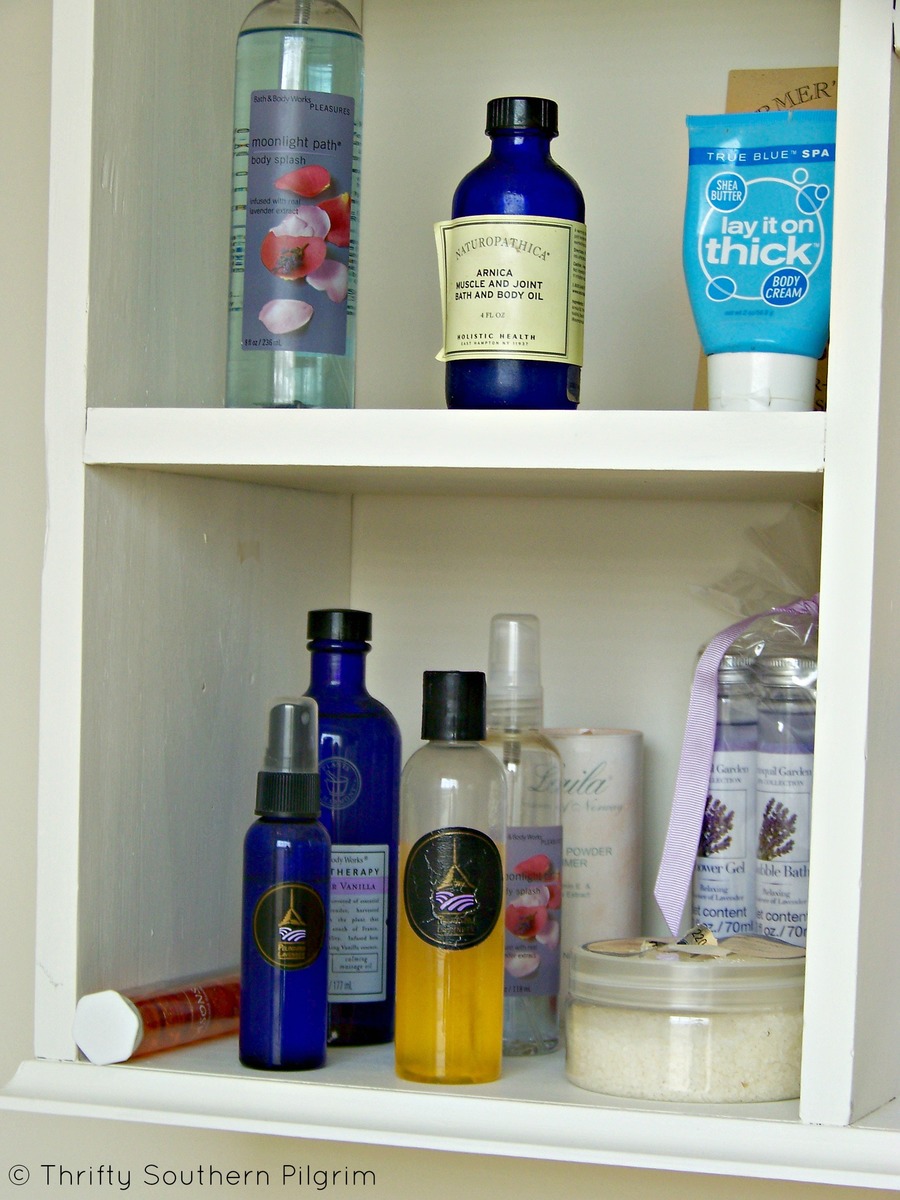
I built this storage unit for a bathroom in our new home from Ana White plans in her book, The Handbuilt Home. I had most material on hand, only having to purchase some trim. It was very doable and not difficult.
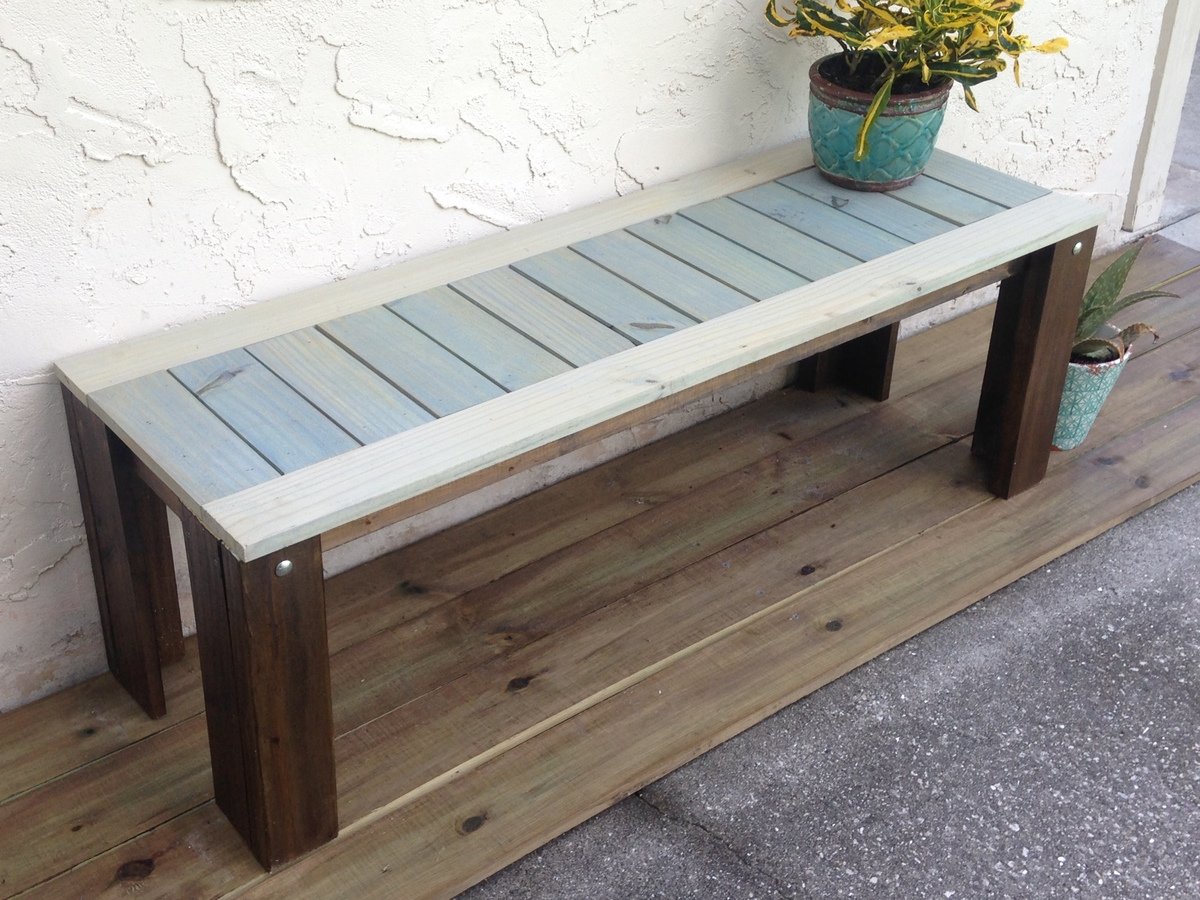
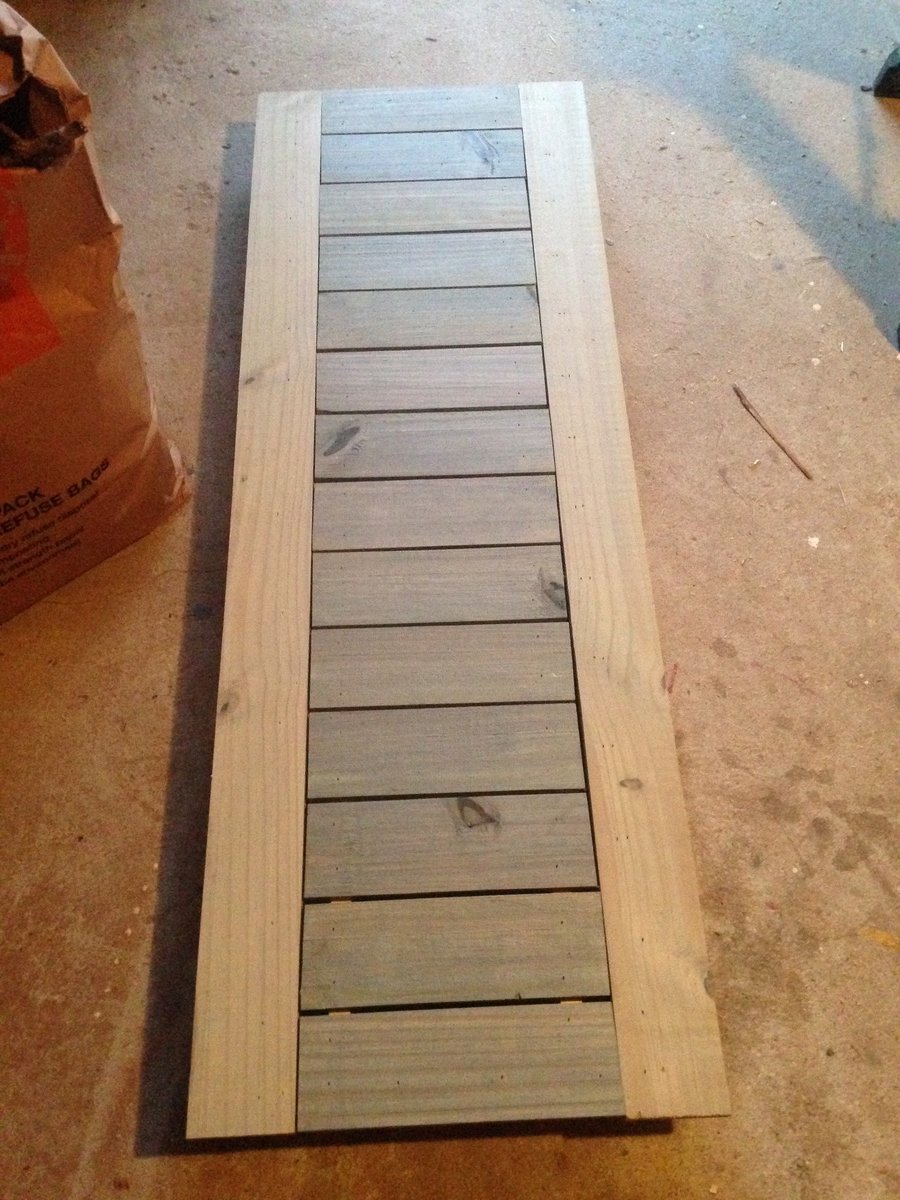
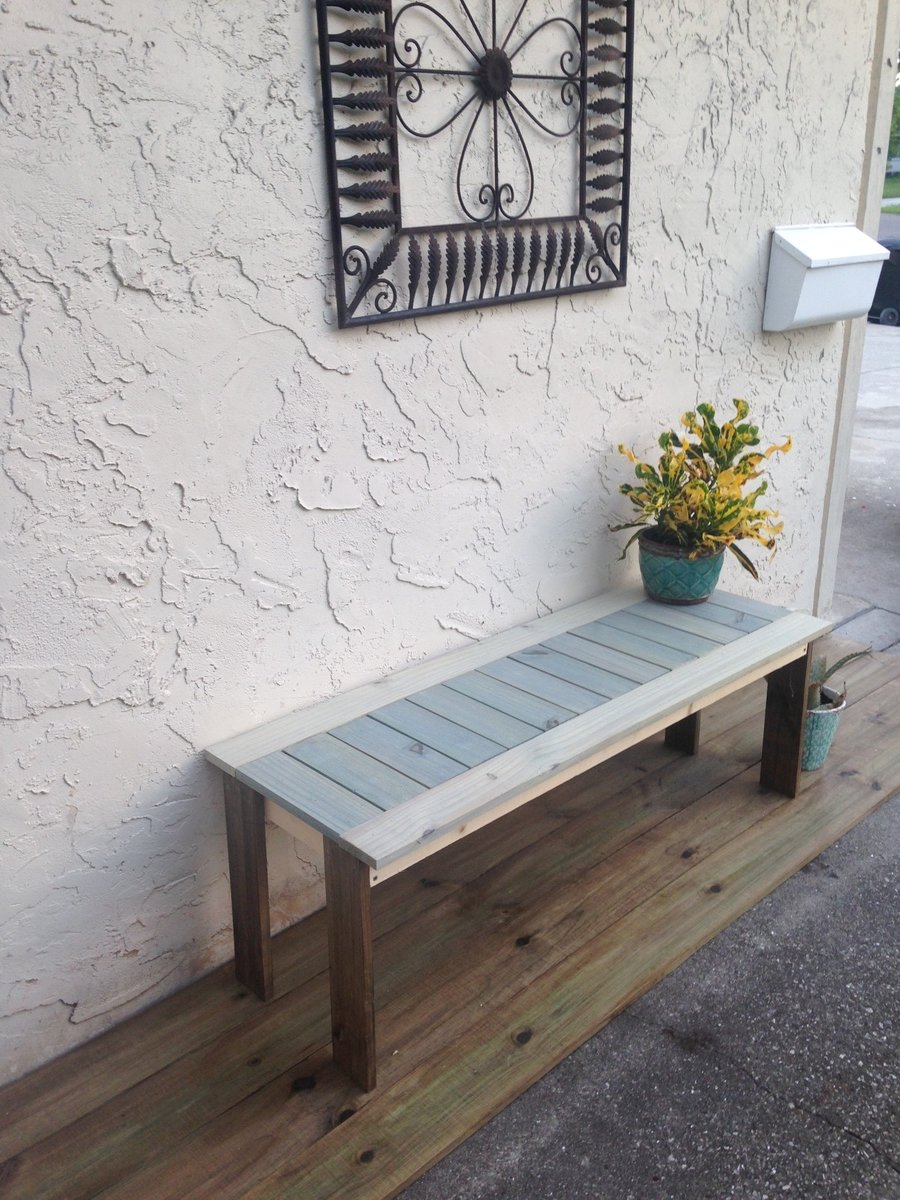
I made this bench to replace a sidewalk planter box outside my front door. The only modifications I made were adding 4- 2x4 supporting legs - you can see them in the first photo. This just makes the legs a little sturdier and I also added some carriage bolts to give a slight decorative touch as well as to anchor the legs to the frame. I use a nail gun and some wood glue to secure the 2x4 to the side of the existing leg, and voila! Thank you for a very easy to understand and follow project, Ana!
Modern Adirondack Chairs on our front porch lakeside!
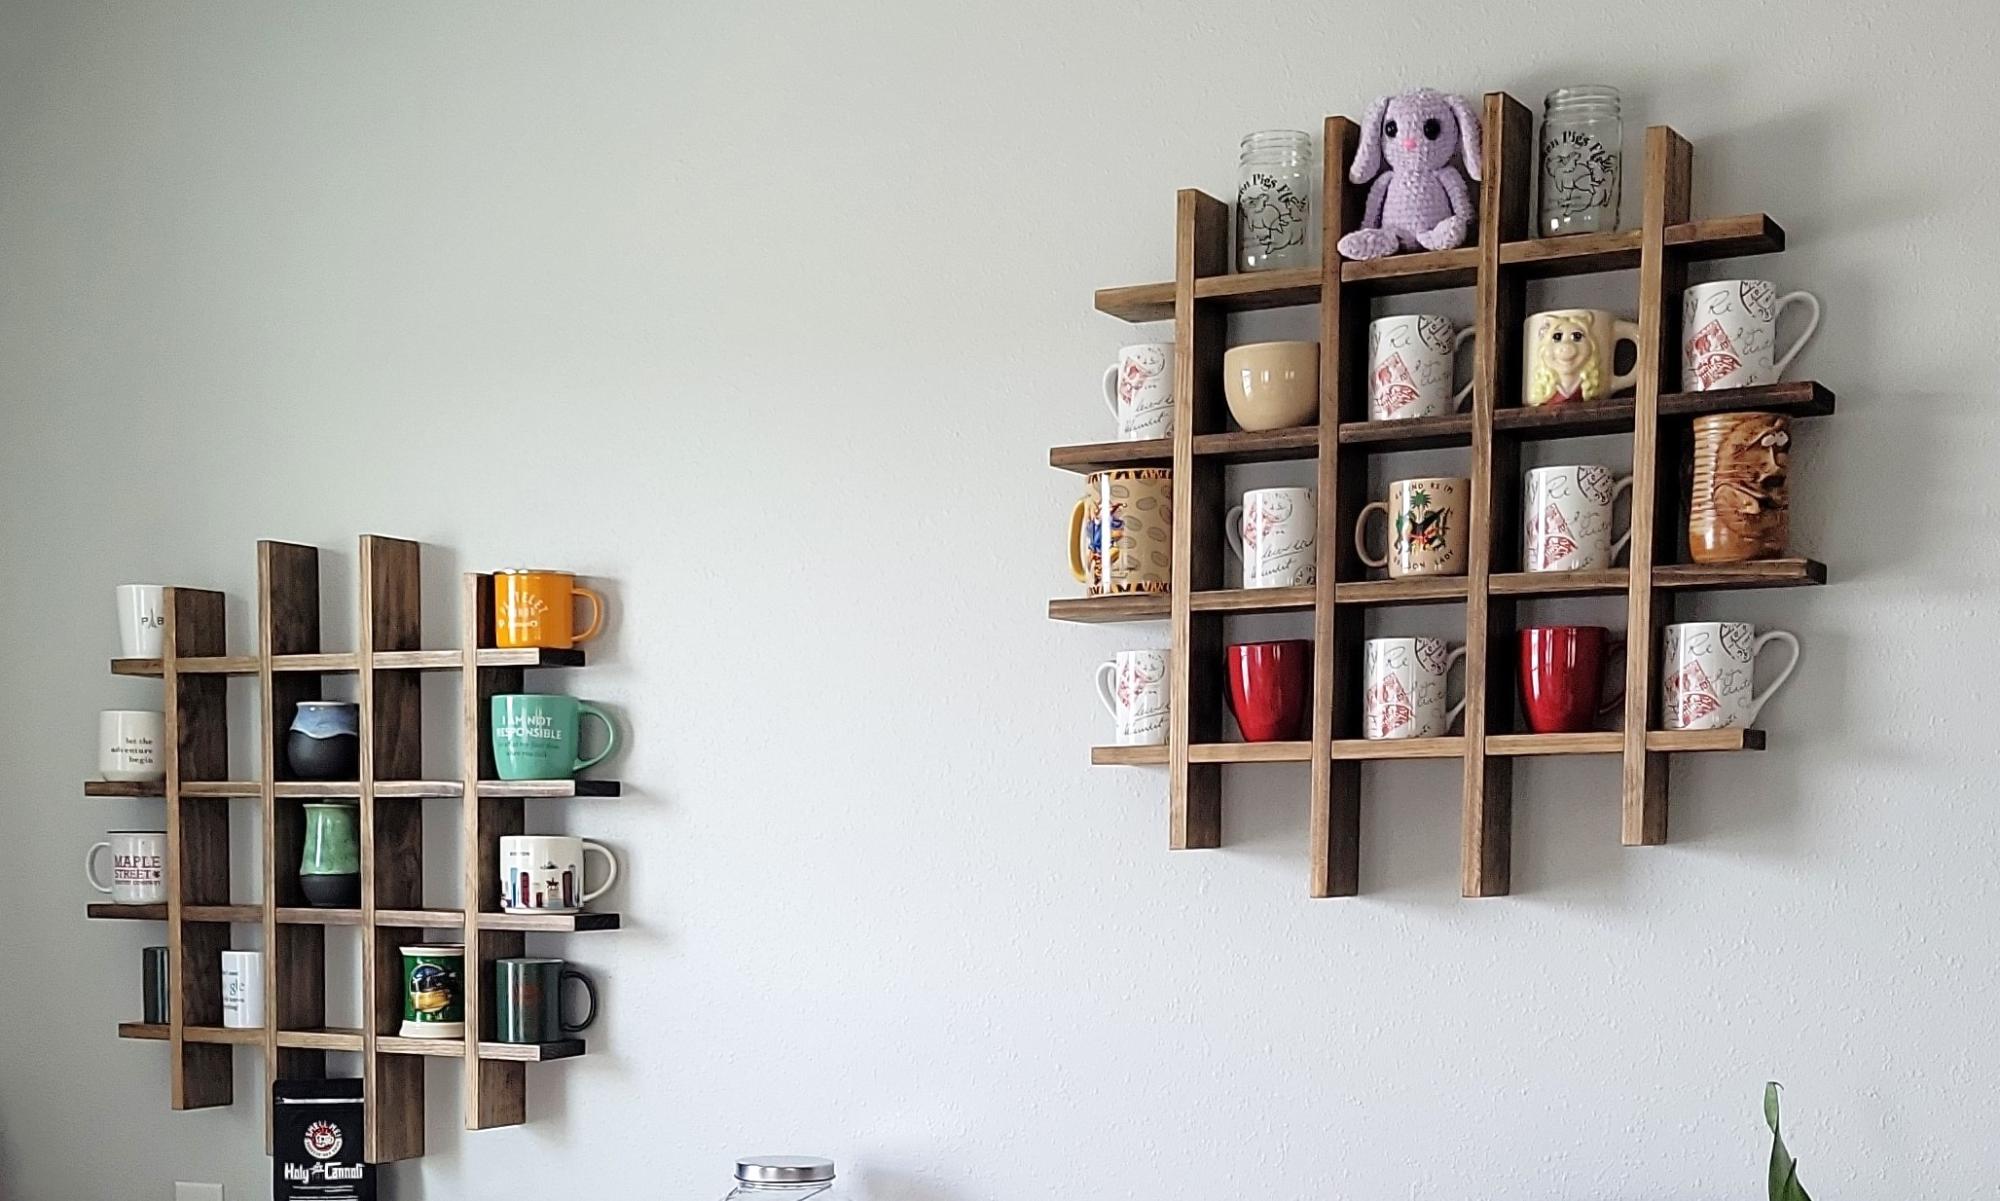
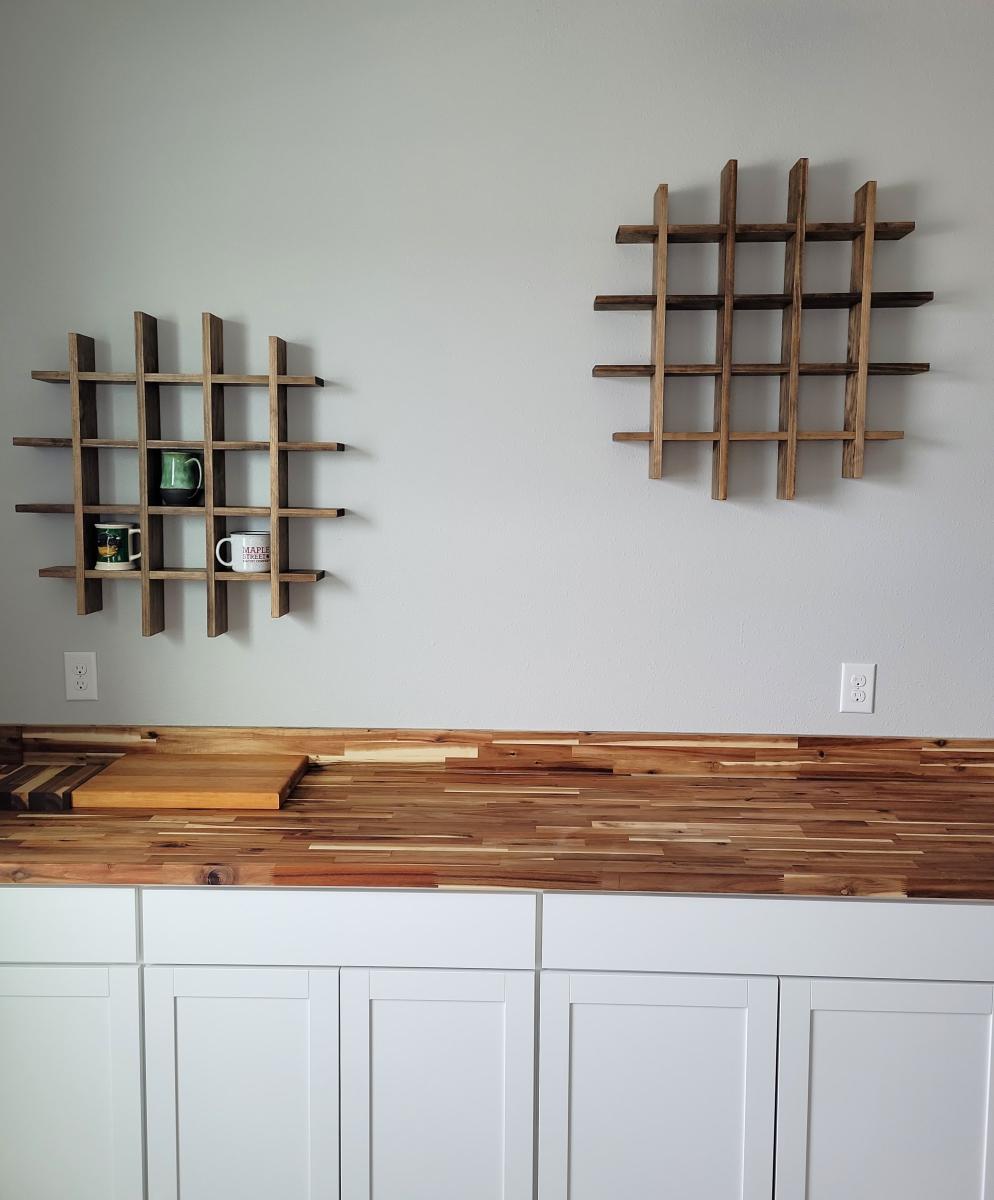
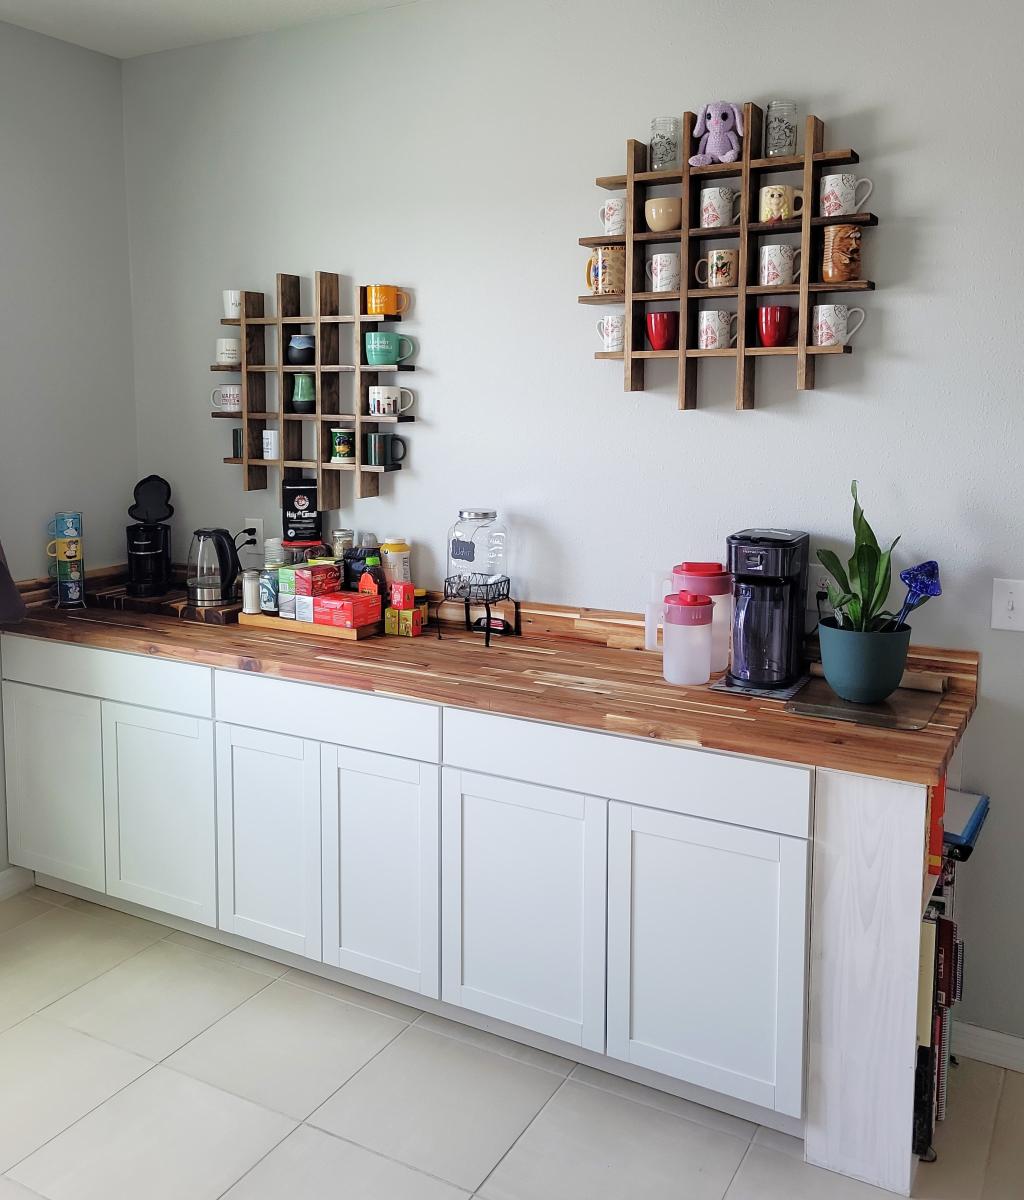
Built Cup storage shelf after adding a new set up cabinets and wood countertop.
We purchased an unloved Victorian Farmhouse in 2008 and have been working on it ever since. The latest project is the main bathroom. It started out really small and dark. Like most rooms in the house we had to gut the room and start from scratch and like most projects the cost was much more than we anticipated. We had to come up with some creative ways to get what we wanted on a shoestring budget. Part of that creativity involved building our own bathroom vanity. I knew I wanted marble to compliment the marble floor we installed. I took to Craigslist and found a marble slab for 75 bucks. Then we scoured for plans and made modifications that would work with our ideas and dimensions. We still need to install the vessel sink and the wall-mount faucet to complete the vanity, but we are really happy with what we've created, and I don't think we could have found exactly what we were looking for anyway. I'm so grateful for this site and for the support everyone here offers!
We created the legs out of 3 - 1x3's that we glued and clamped together. We decided on a slat bottom shelf to help with any moisture issues that might happen in a bathroom. The drawers were probably the trickiest part of the build, but my husband says even those were not overly challenging. We just primed and painted to match the custom beadboard my husband also created in the garage. He also replicated and created period moldings for around the windows and doors. Finally, we built a custom built-in medicine cabinet that I will be posting in another brag post.
The bathroom really turned out better than I could have imagined and it was all built using materials from Home Depot - no special orders here!
I combined a bunch of different table plans to come up with this. But essentially I used 4x4 cedar legs, 1x4 pine for the aprons, and 1x10 and 1x4 pine for the top.
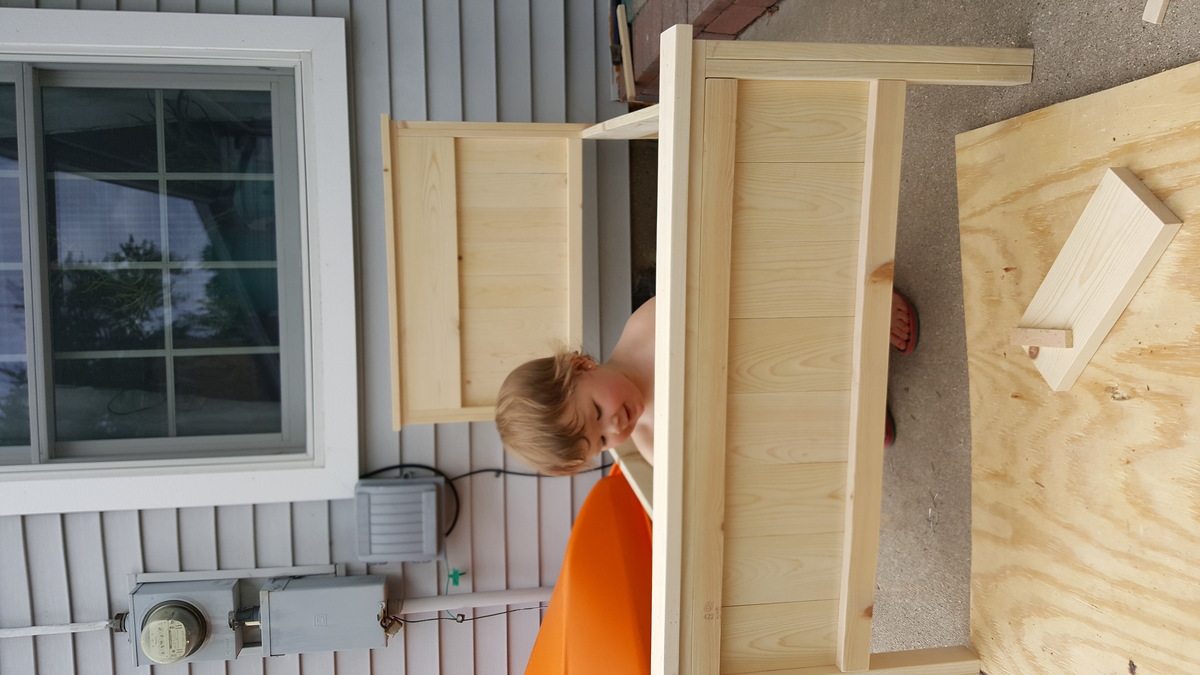
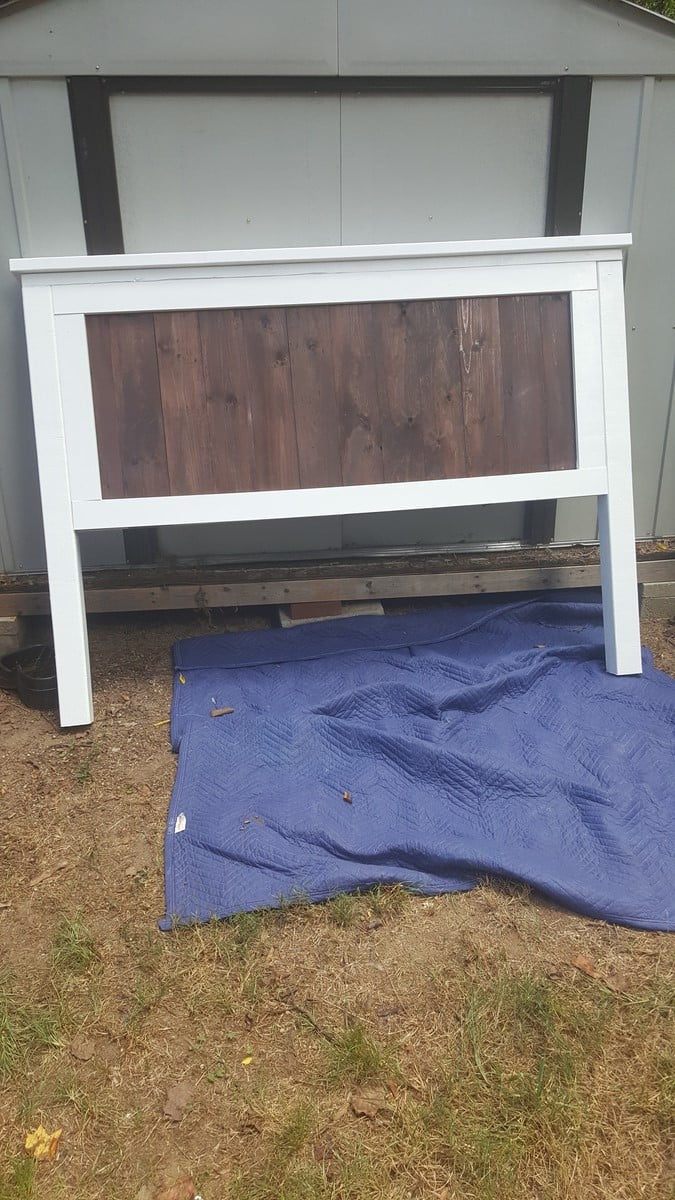
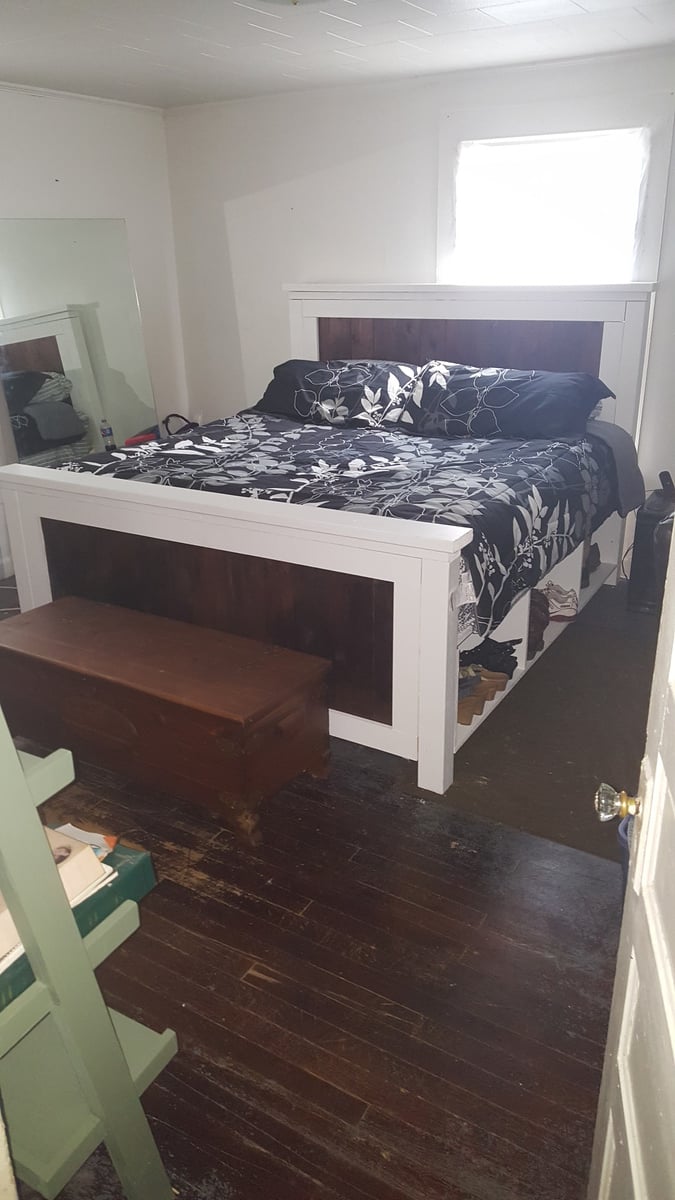
I modified this bed plan. Decided to go flush with outside of bed post and wanted footboard same height as mattress
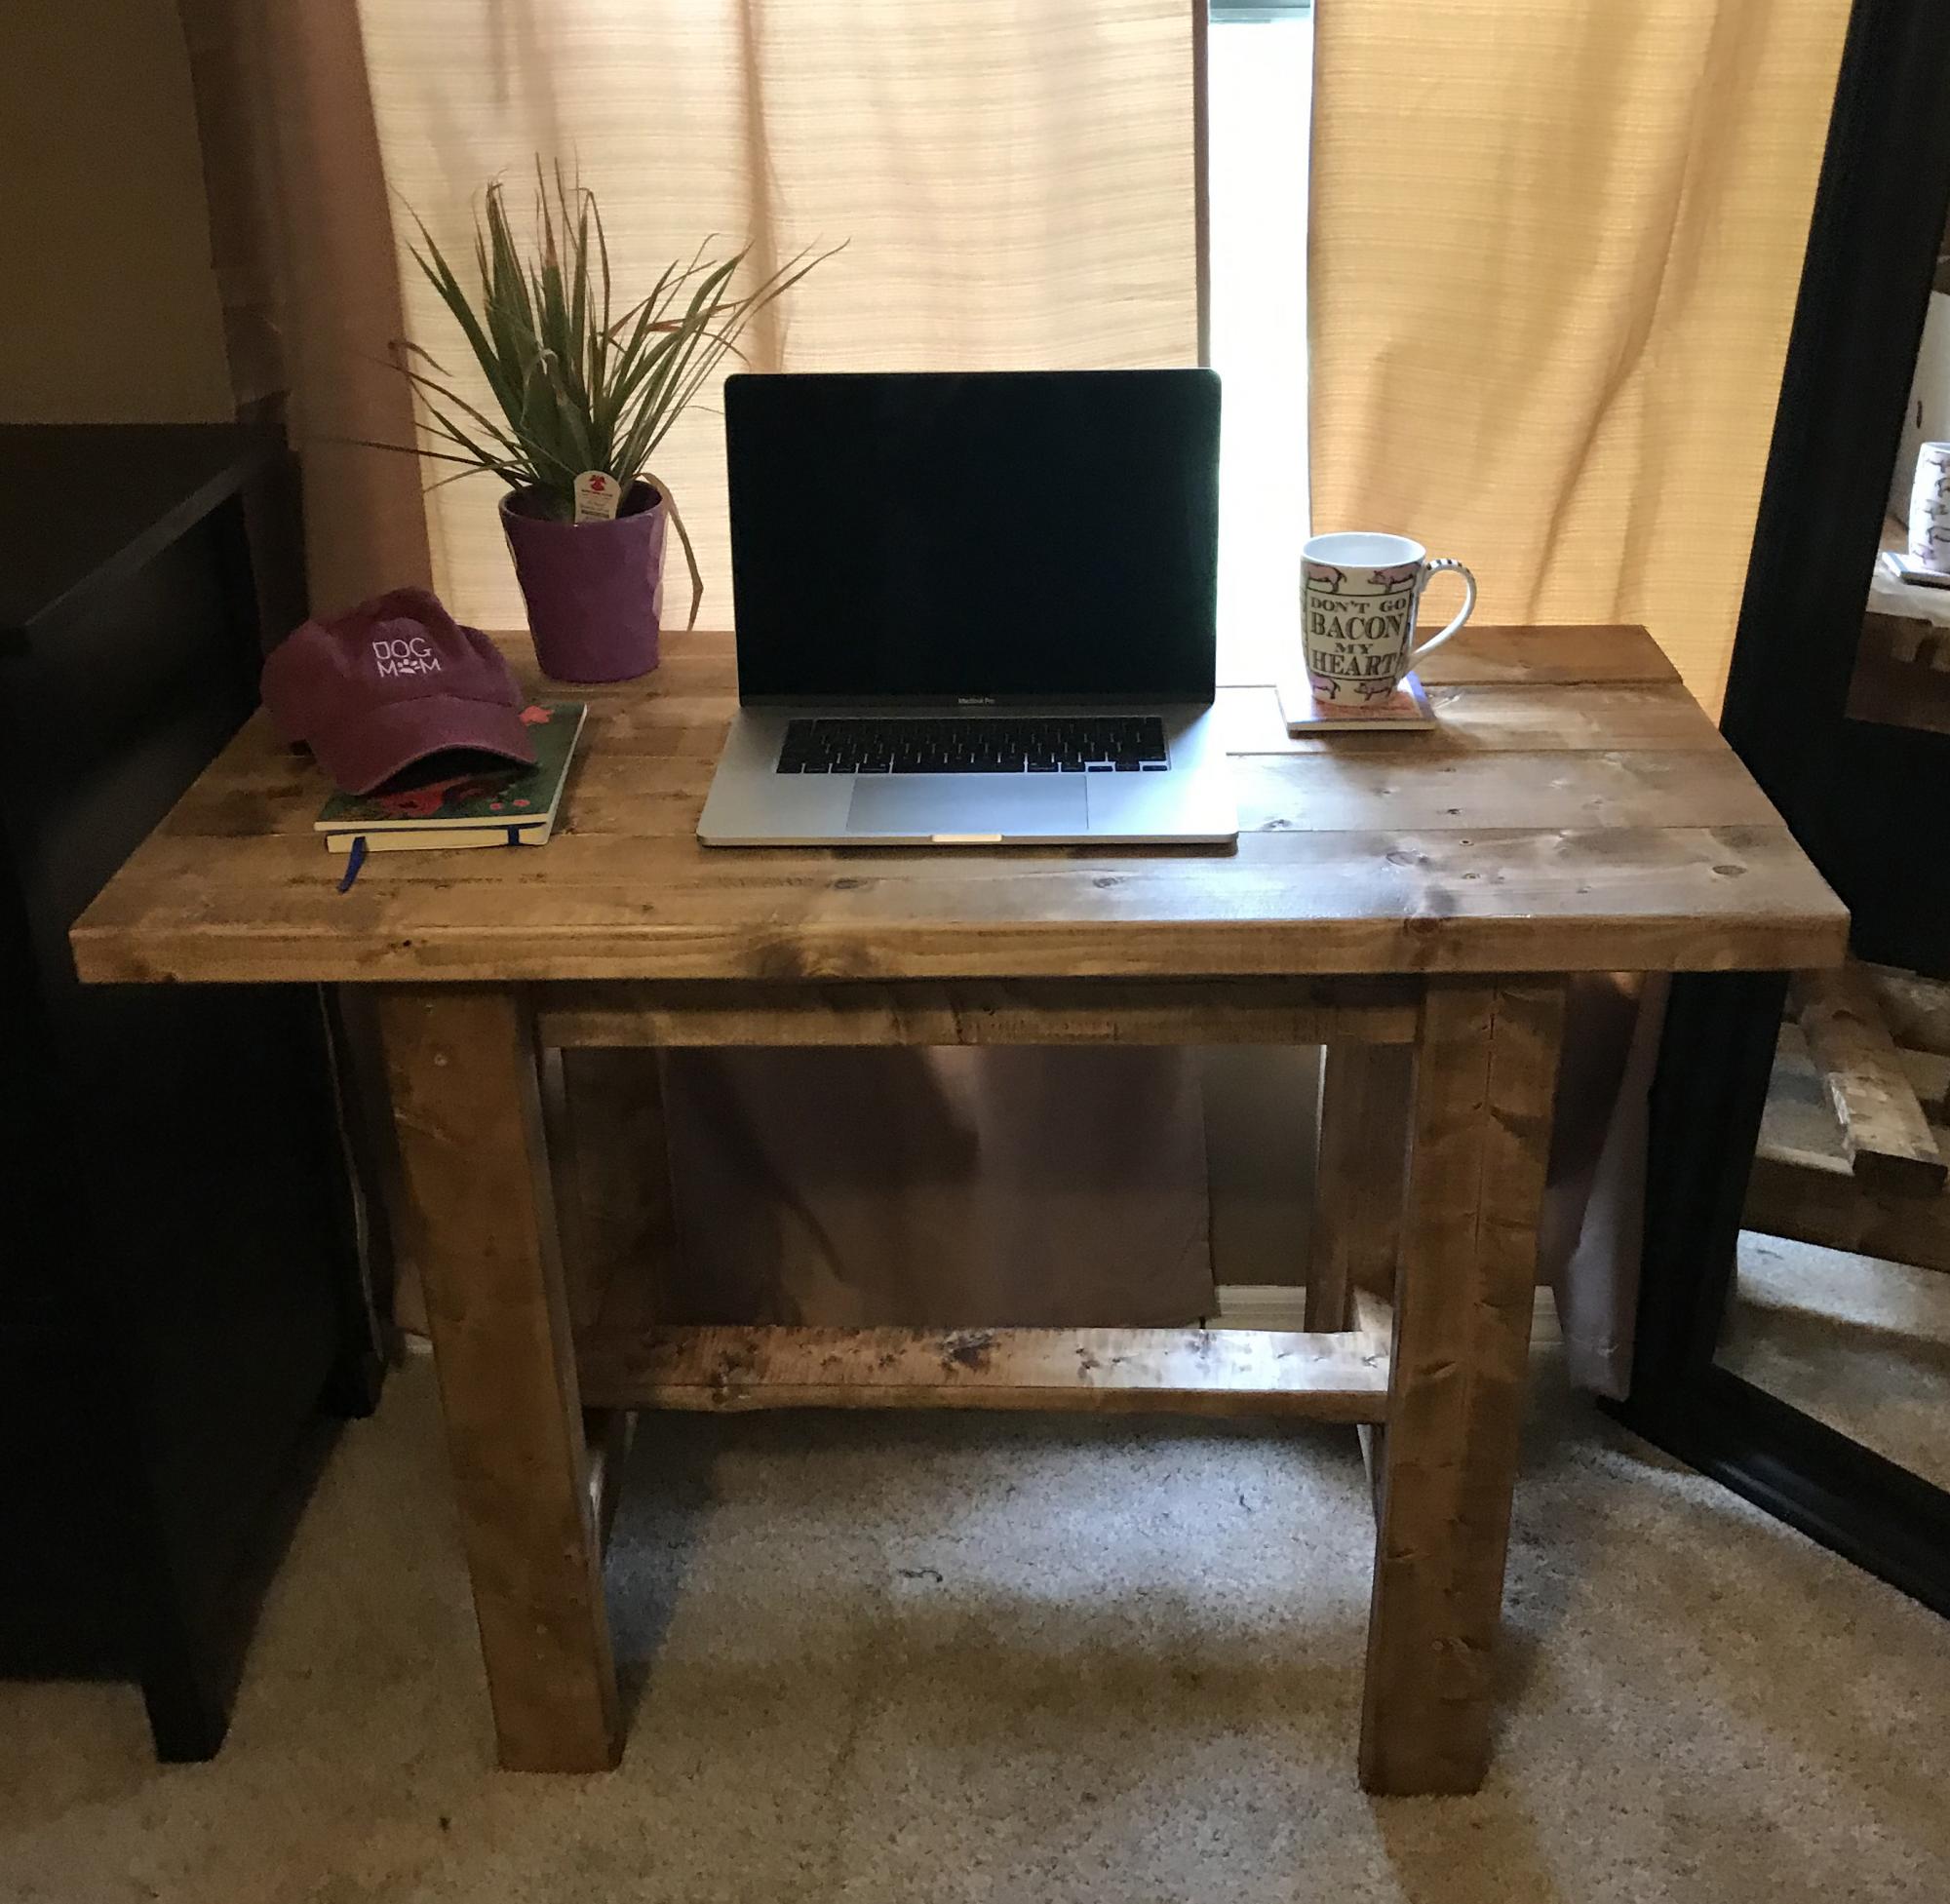
I modified the Beginner Farm Table plans into a work-from-home desk! It is perfect for my little office. This was my first project. It was a breeze to build - total time was just under two hours.