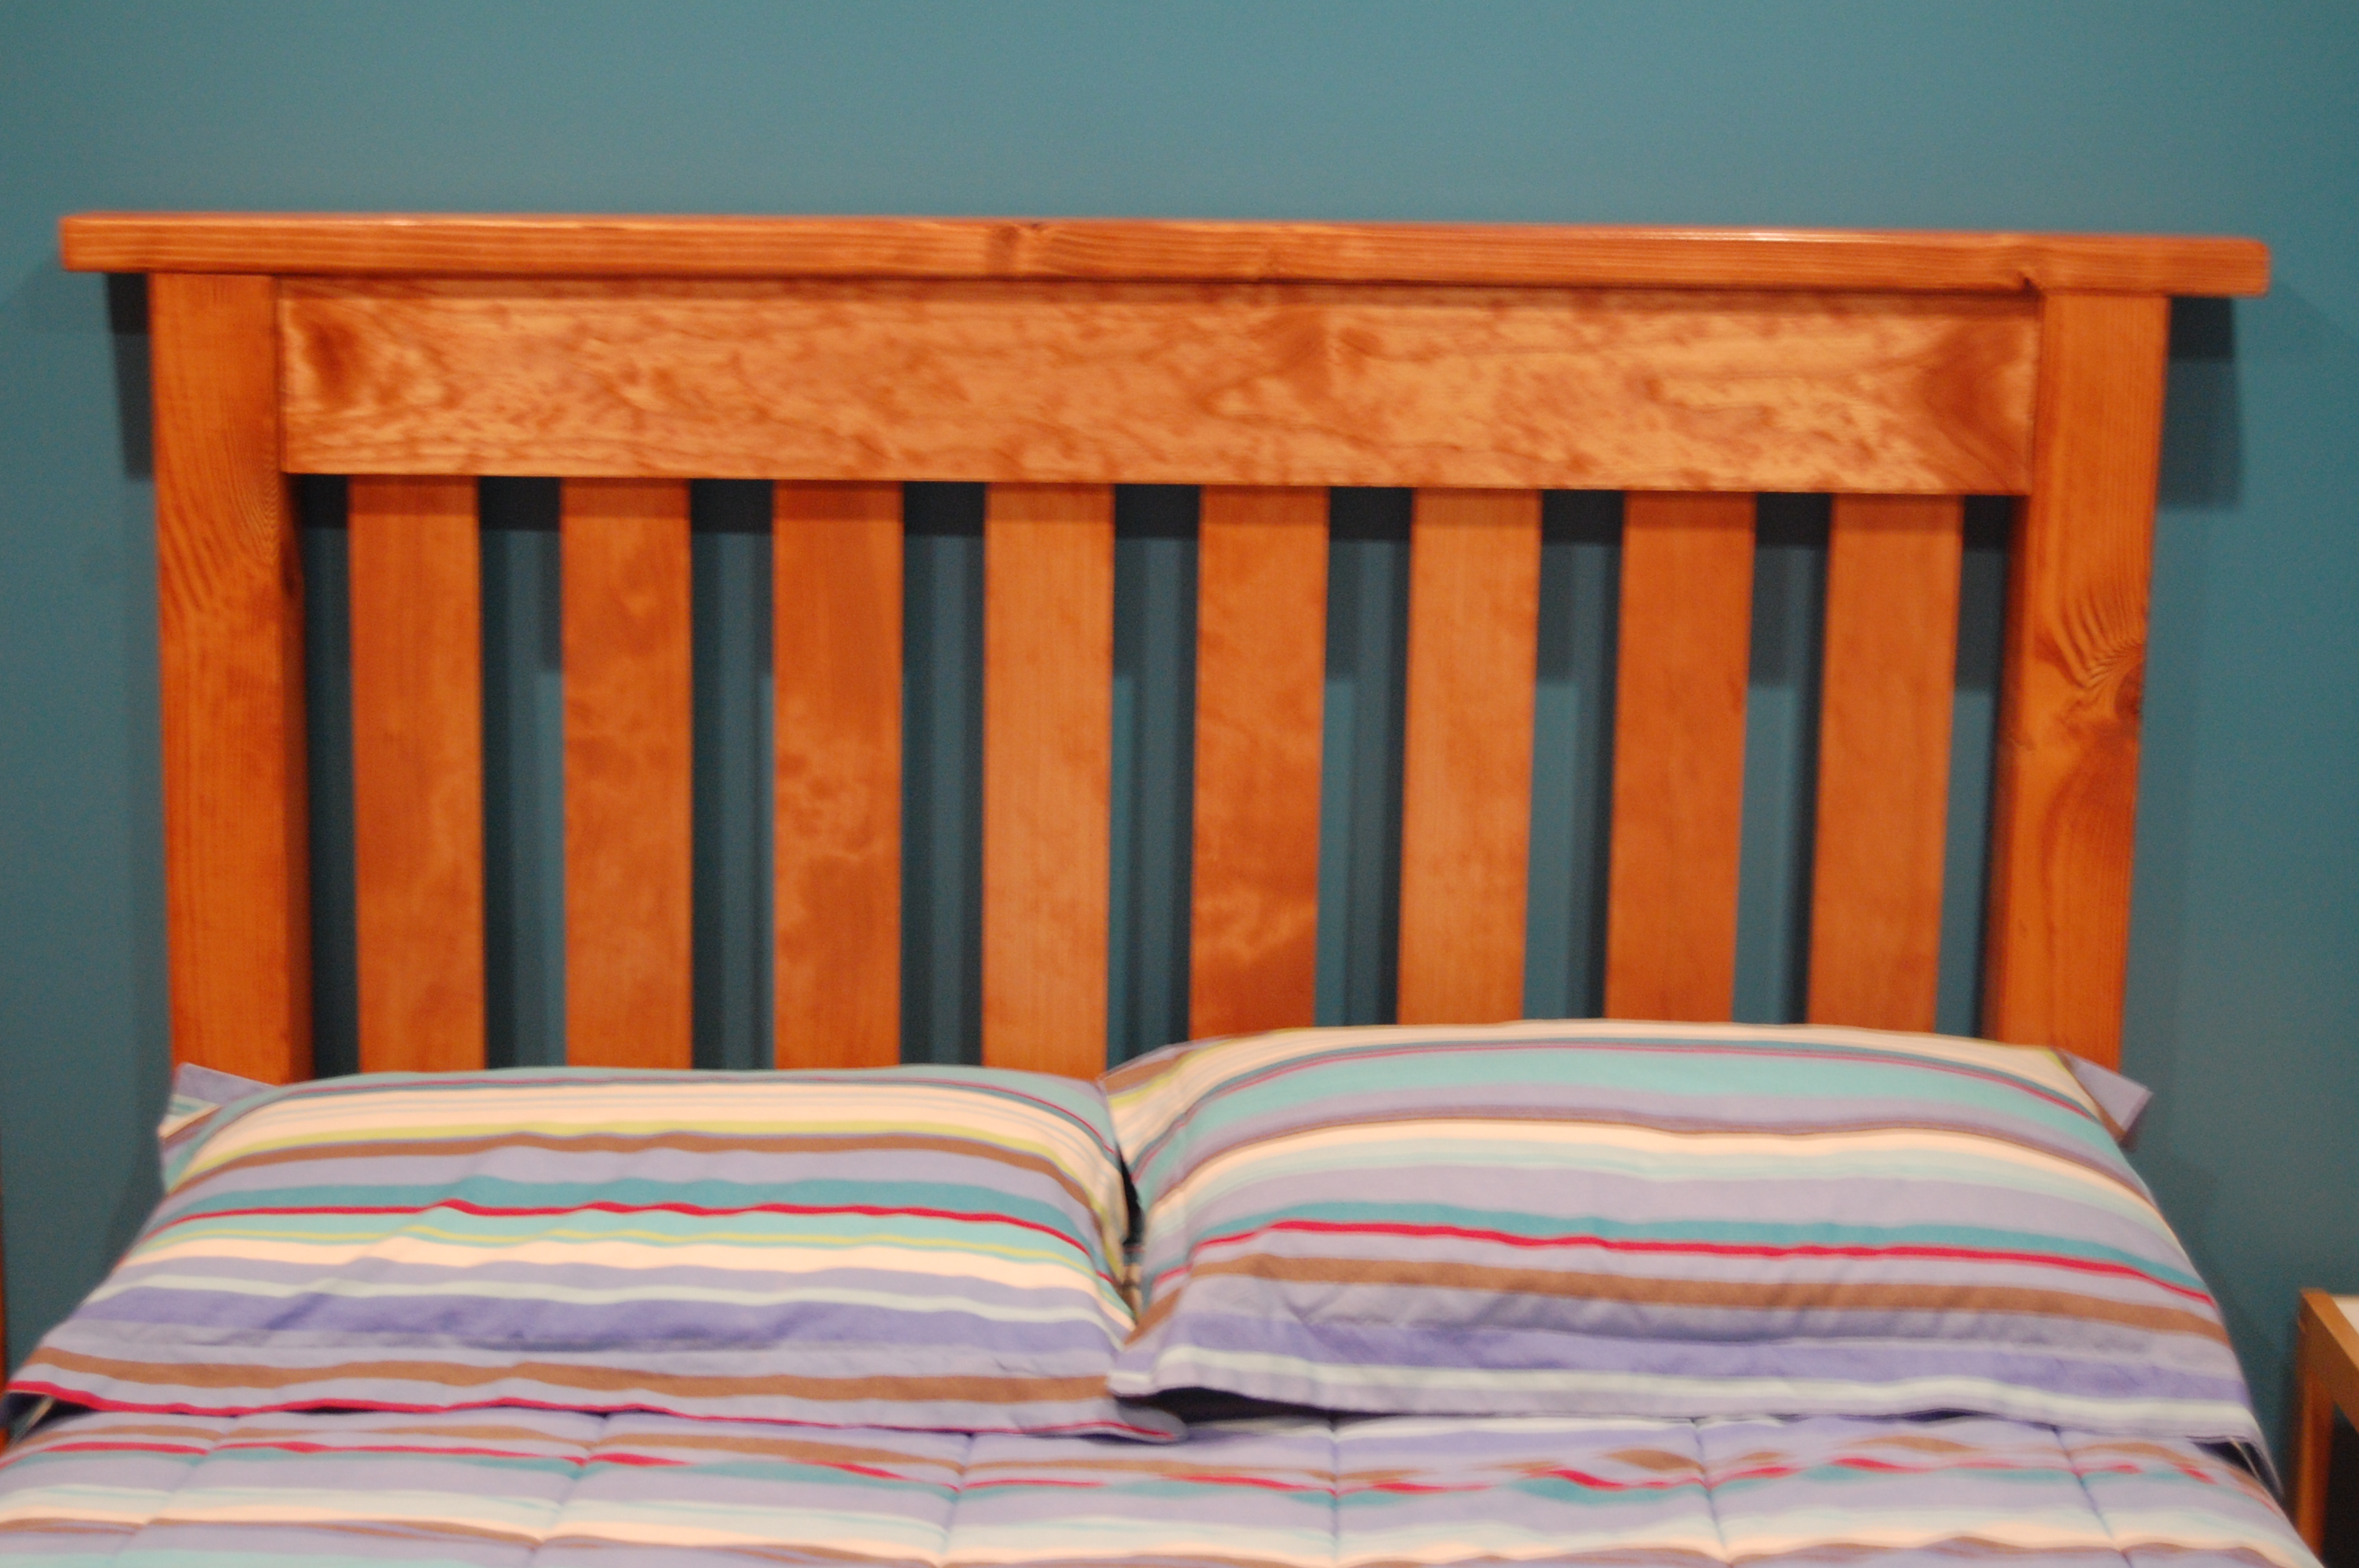
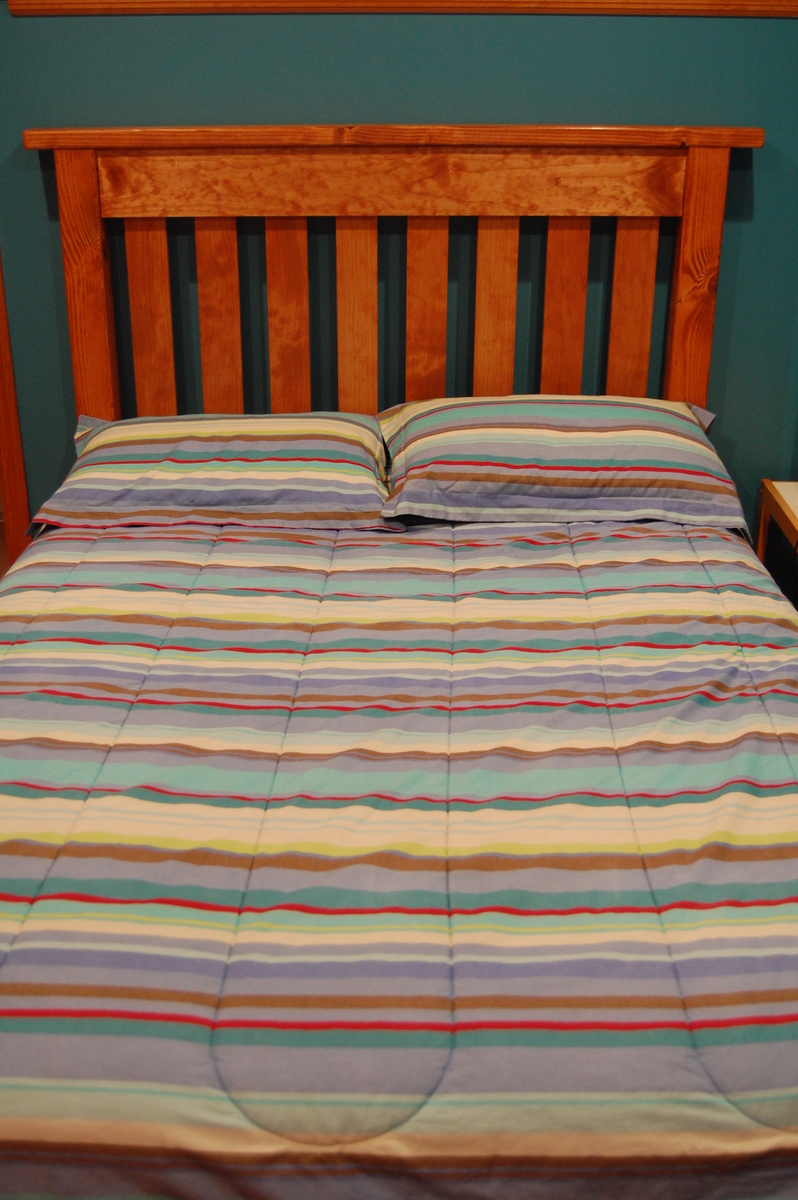
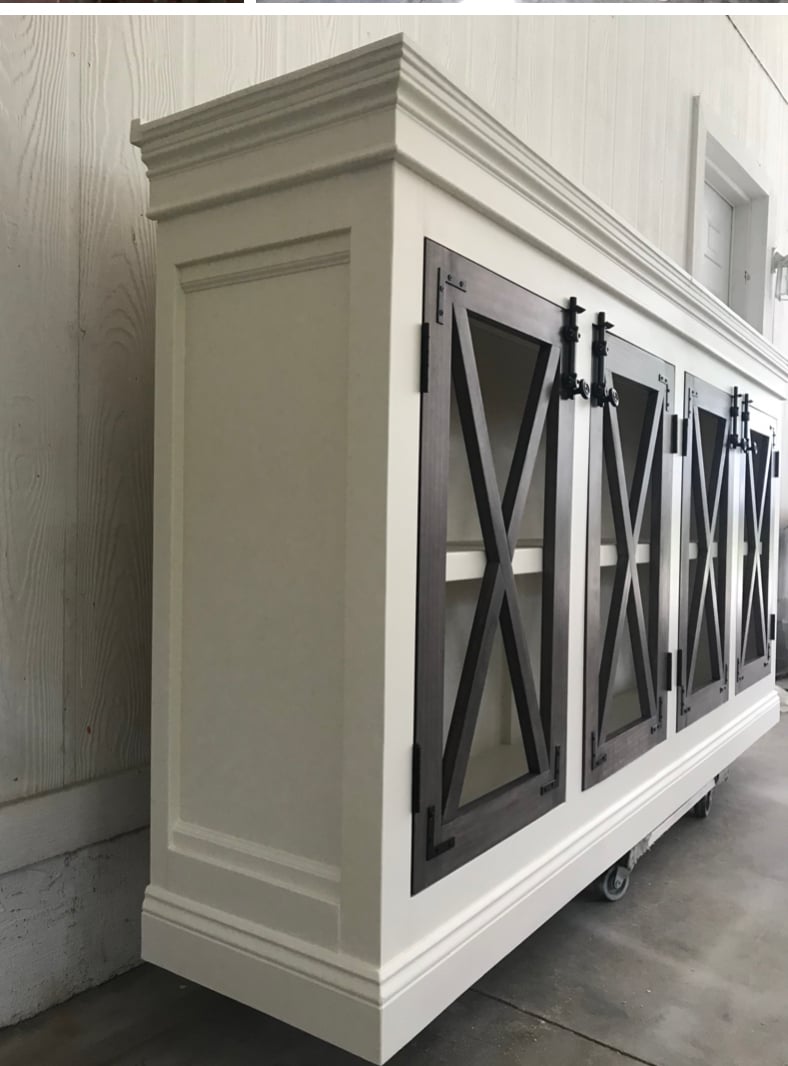
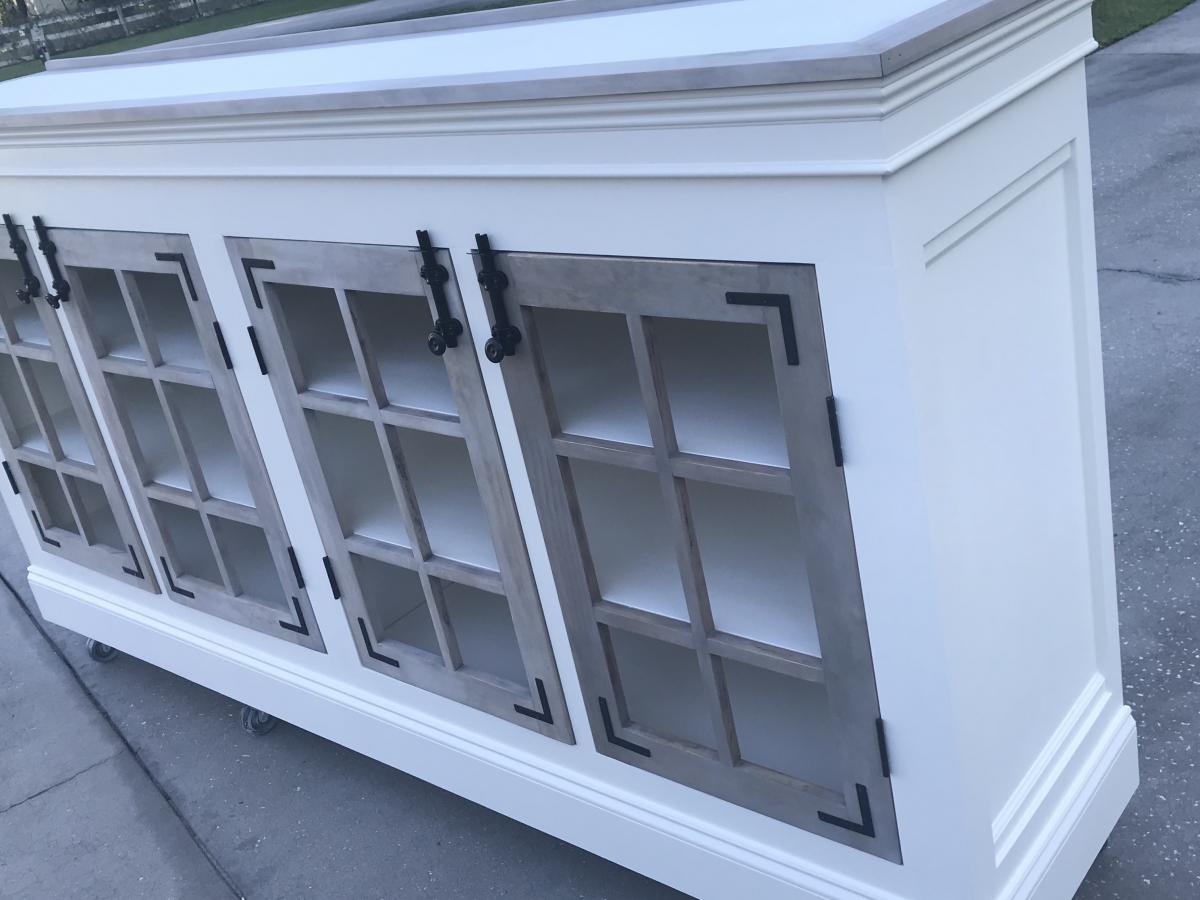
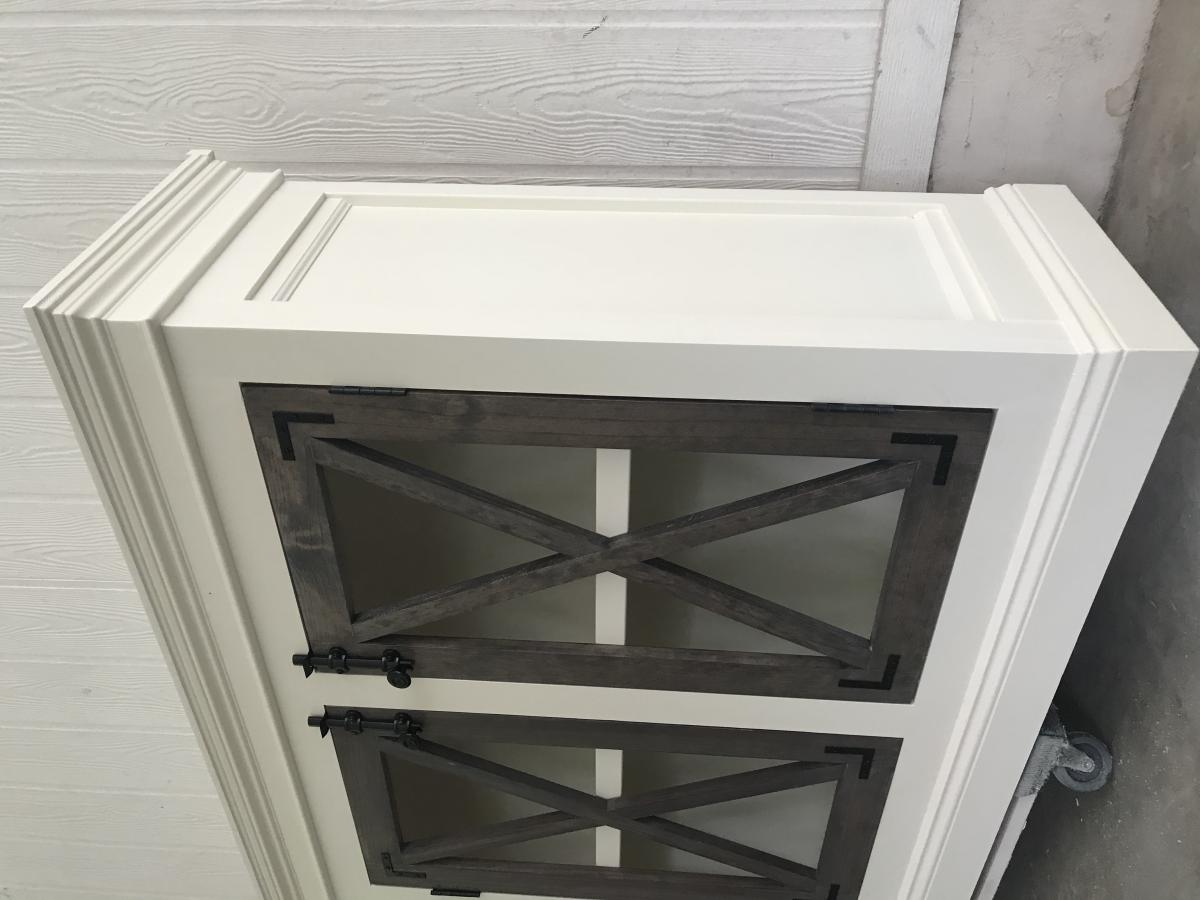
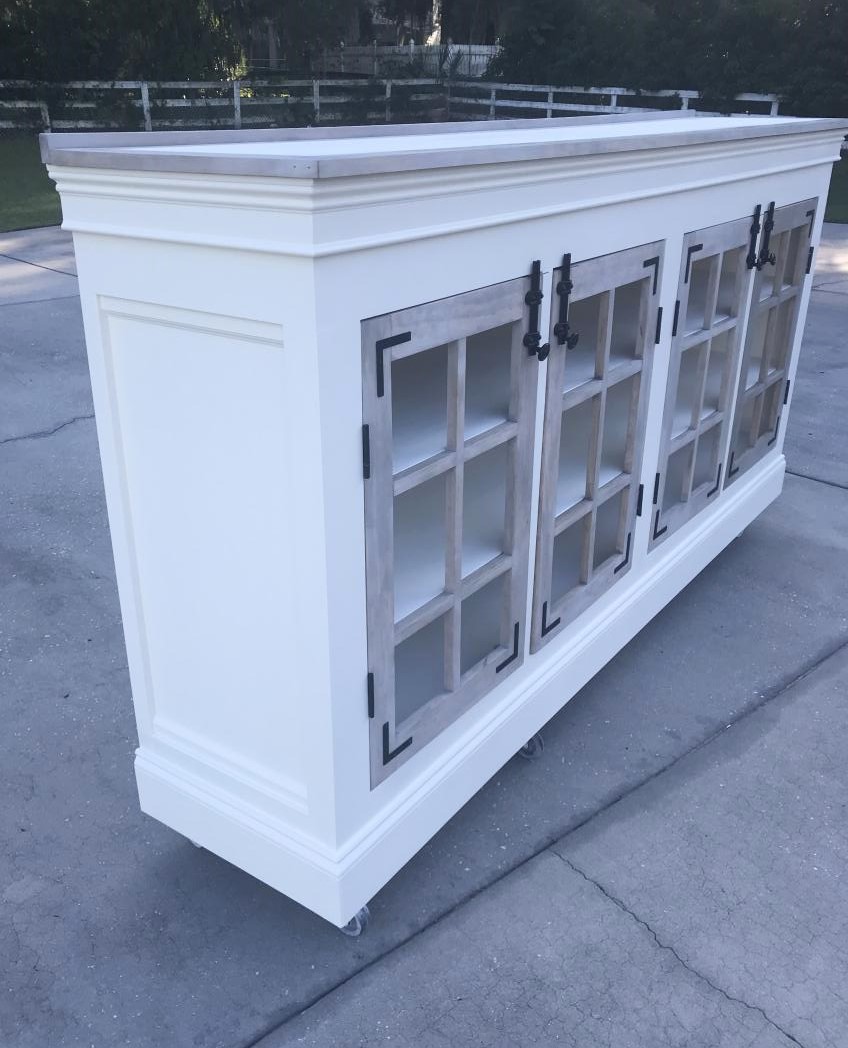
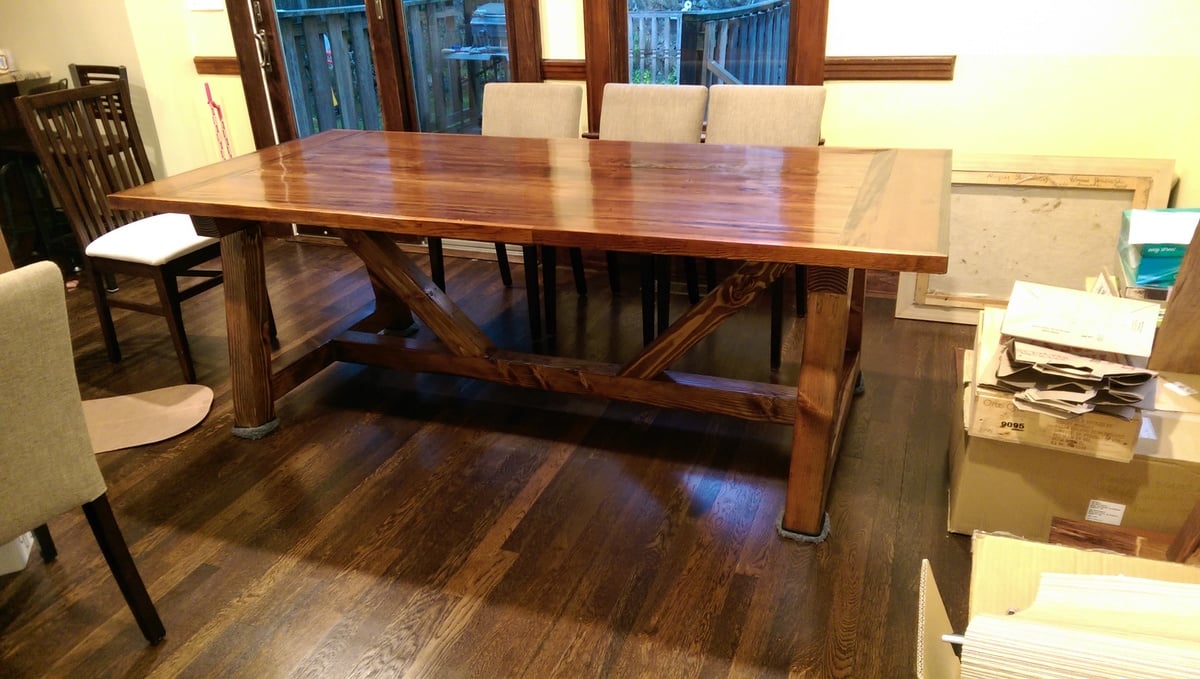
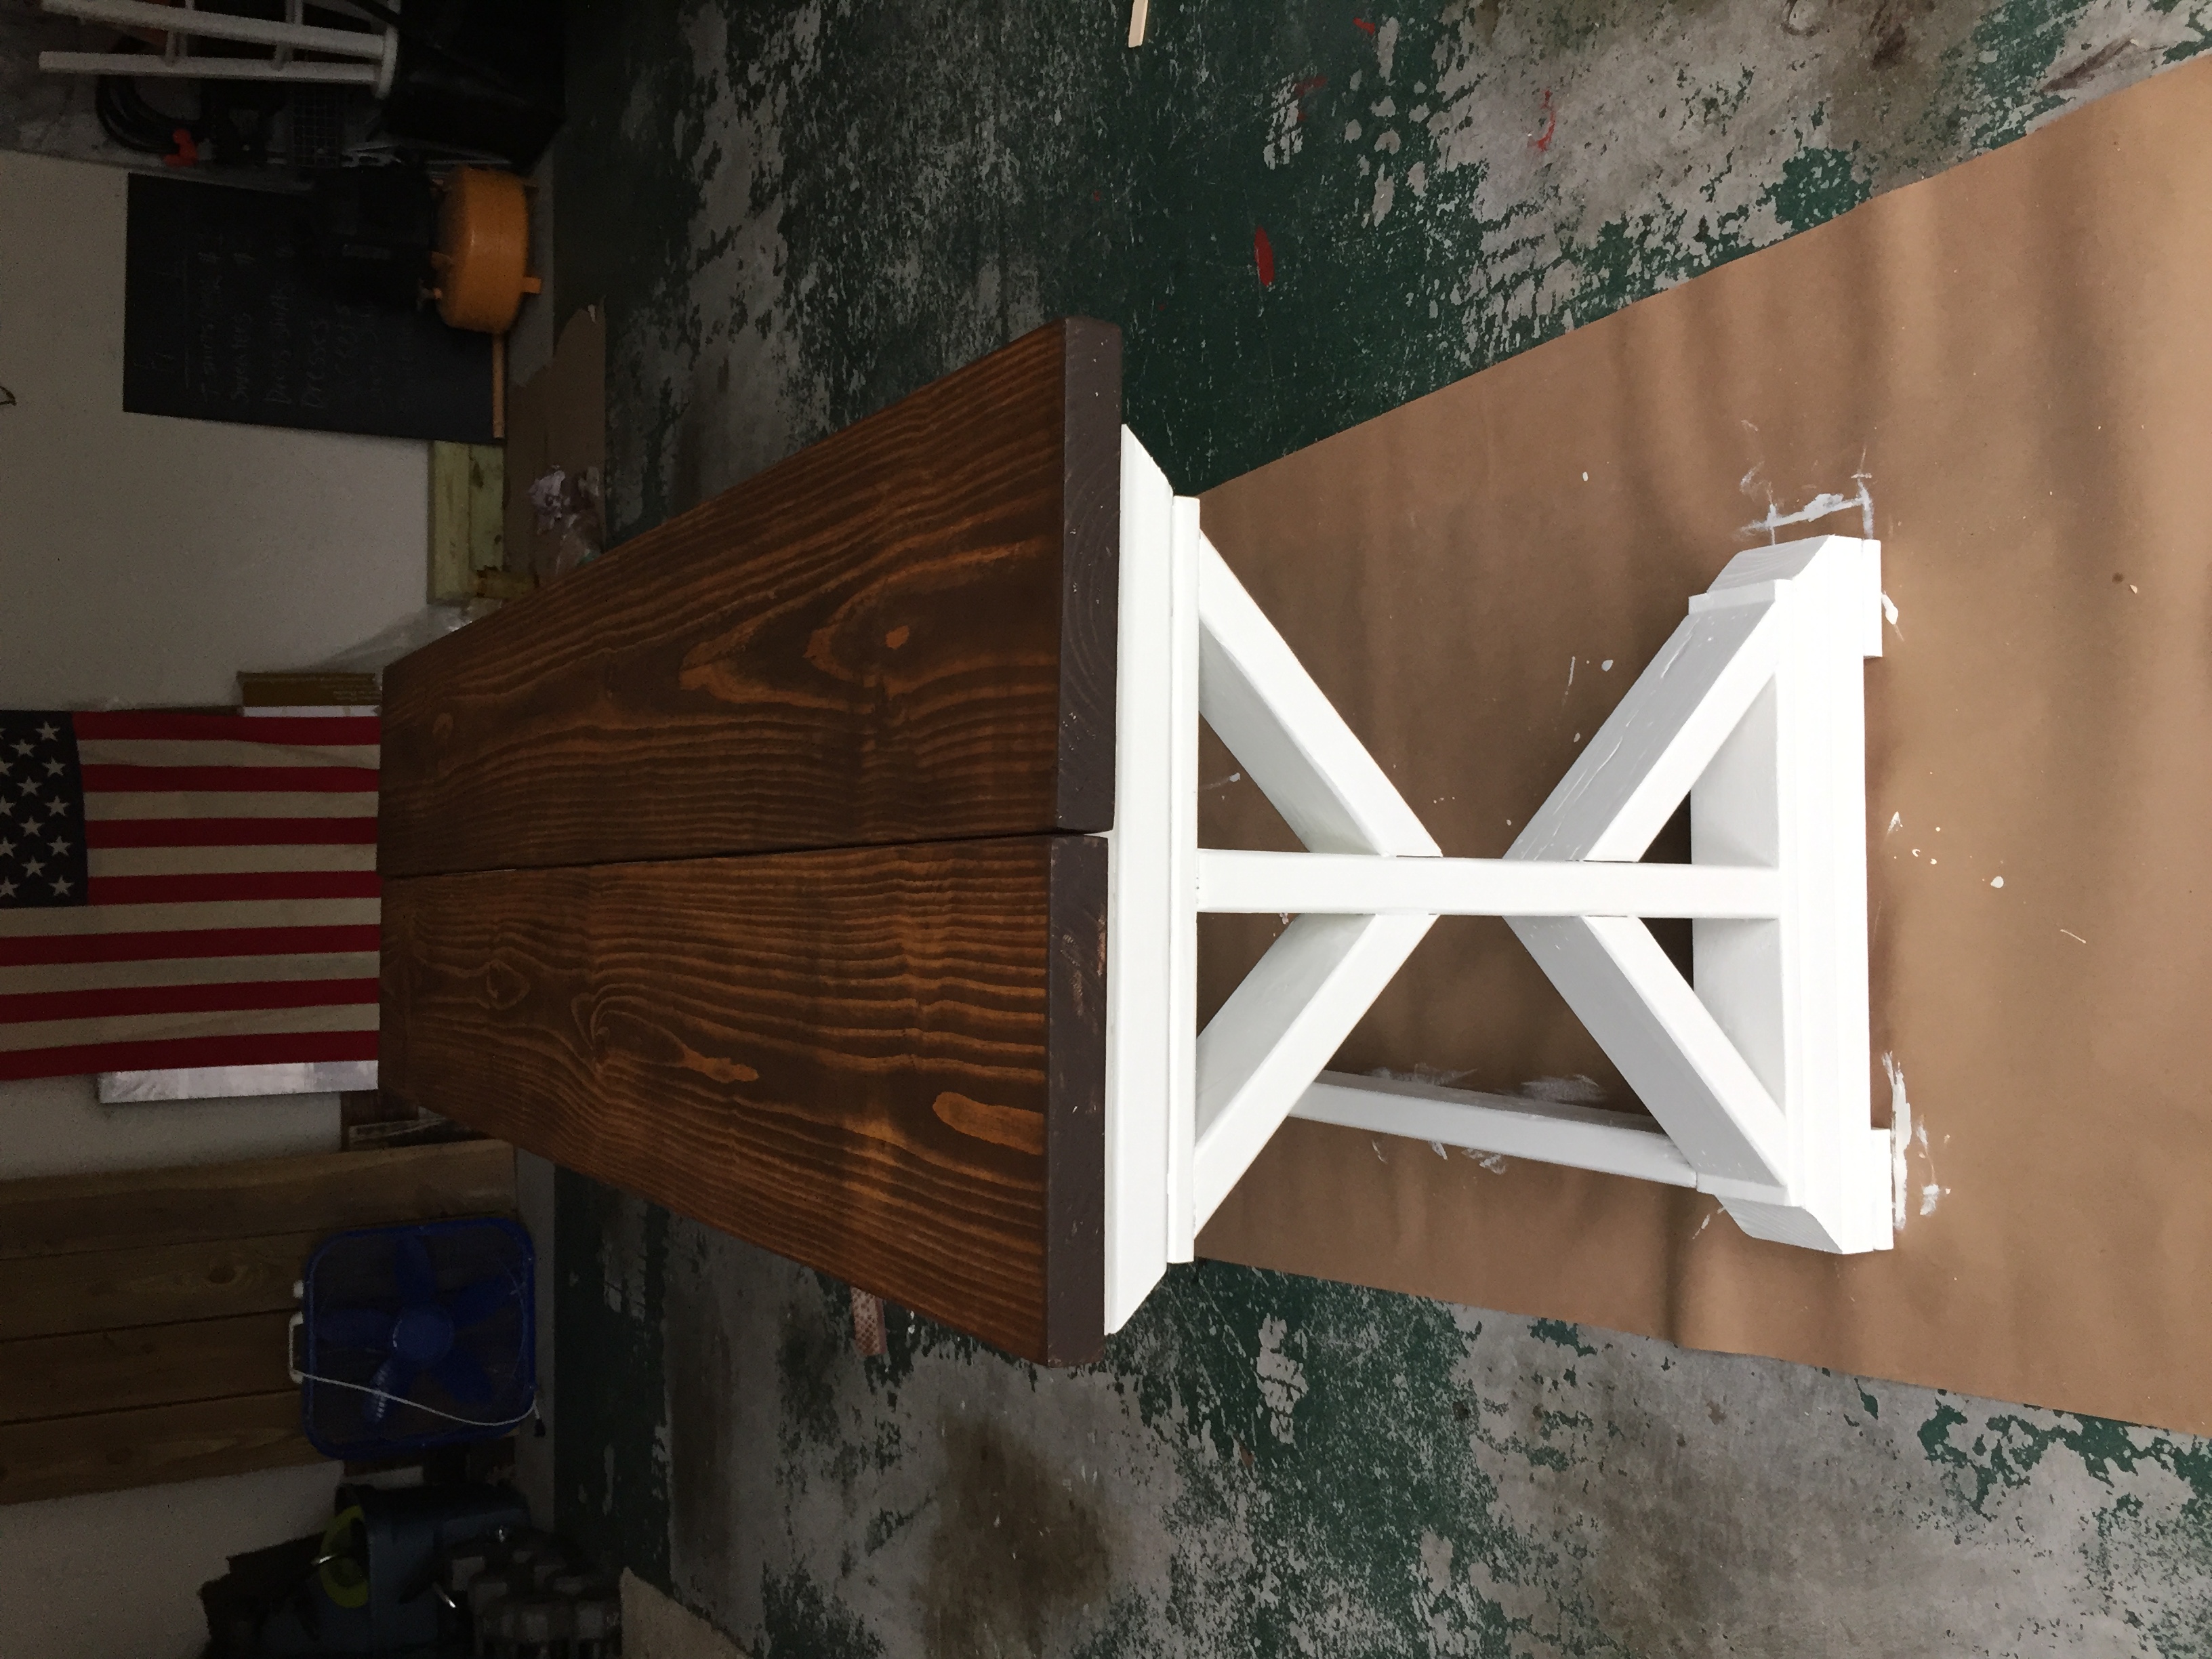
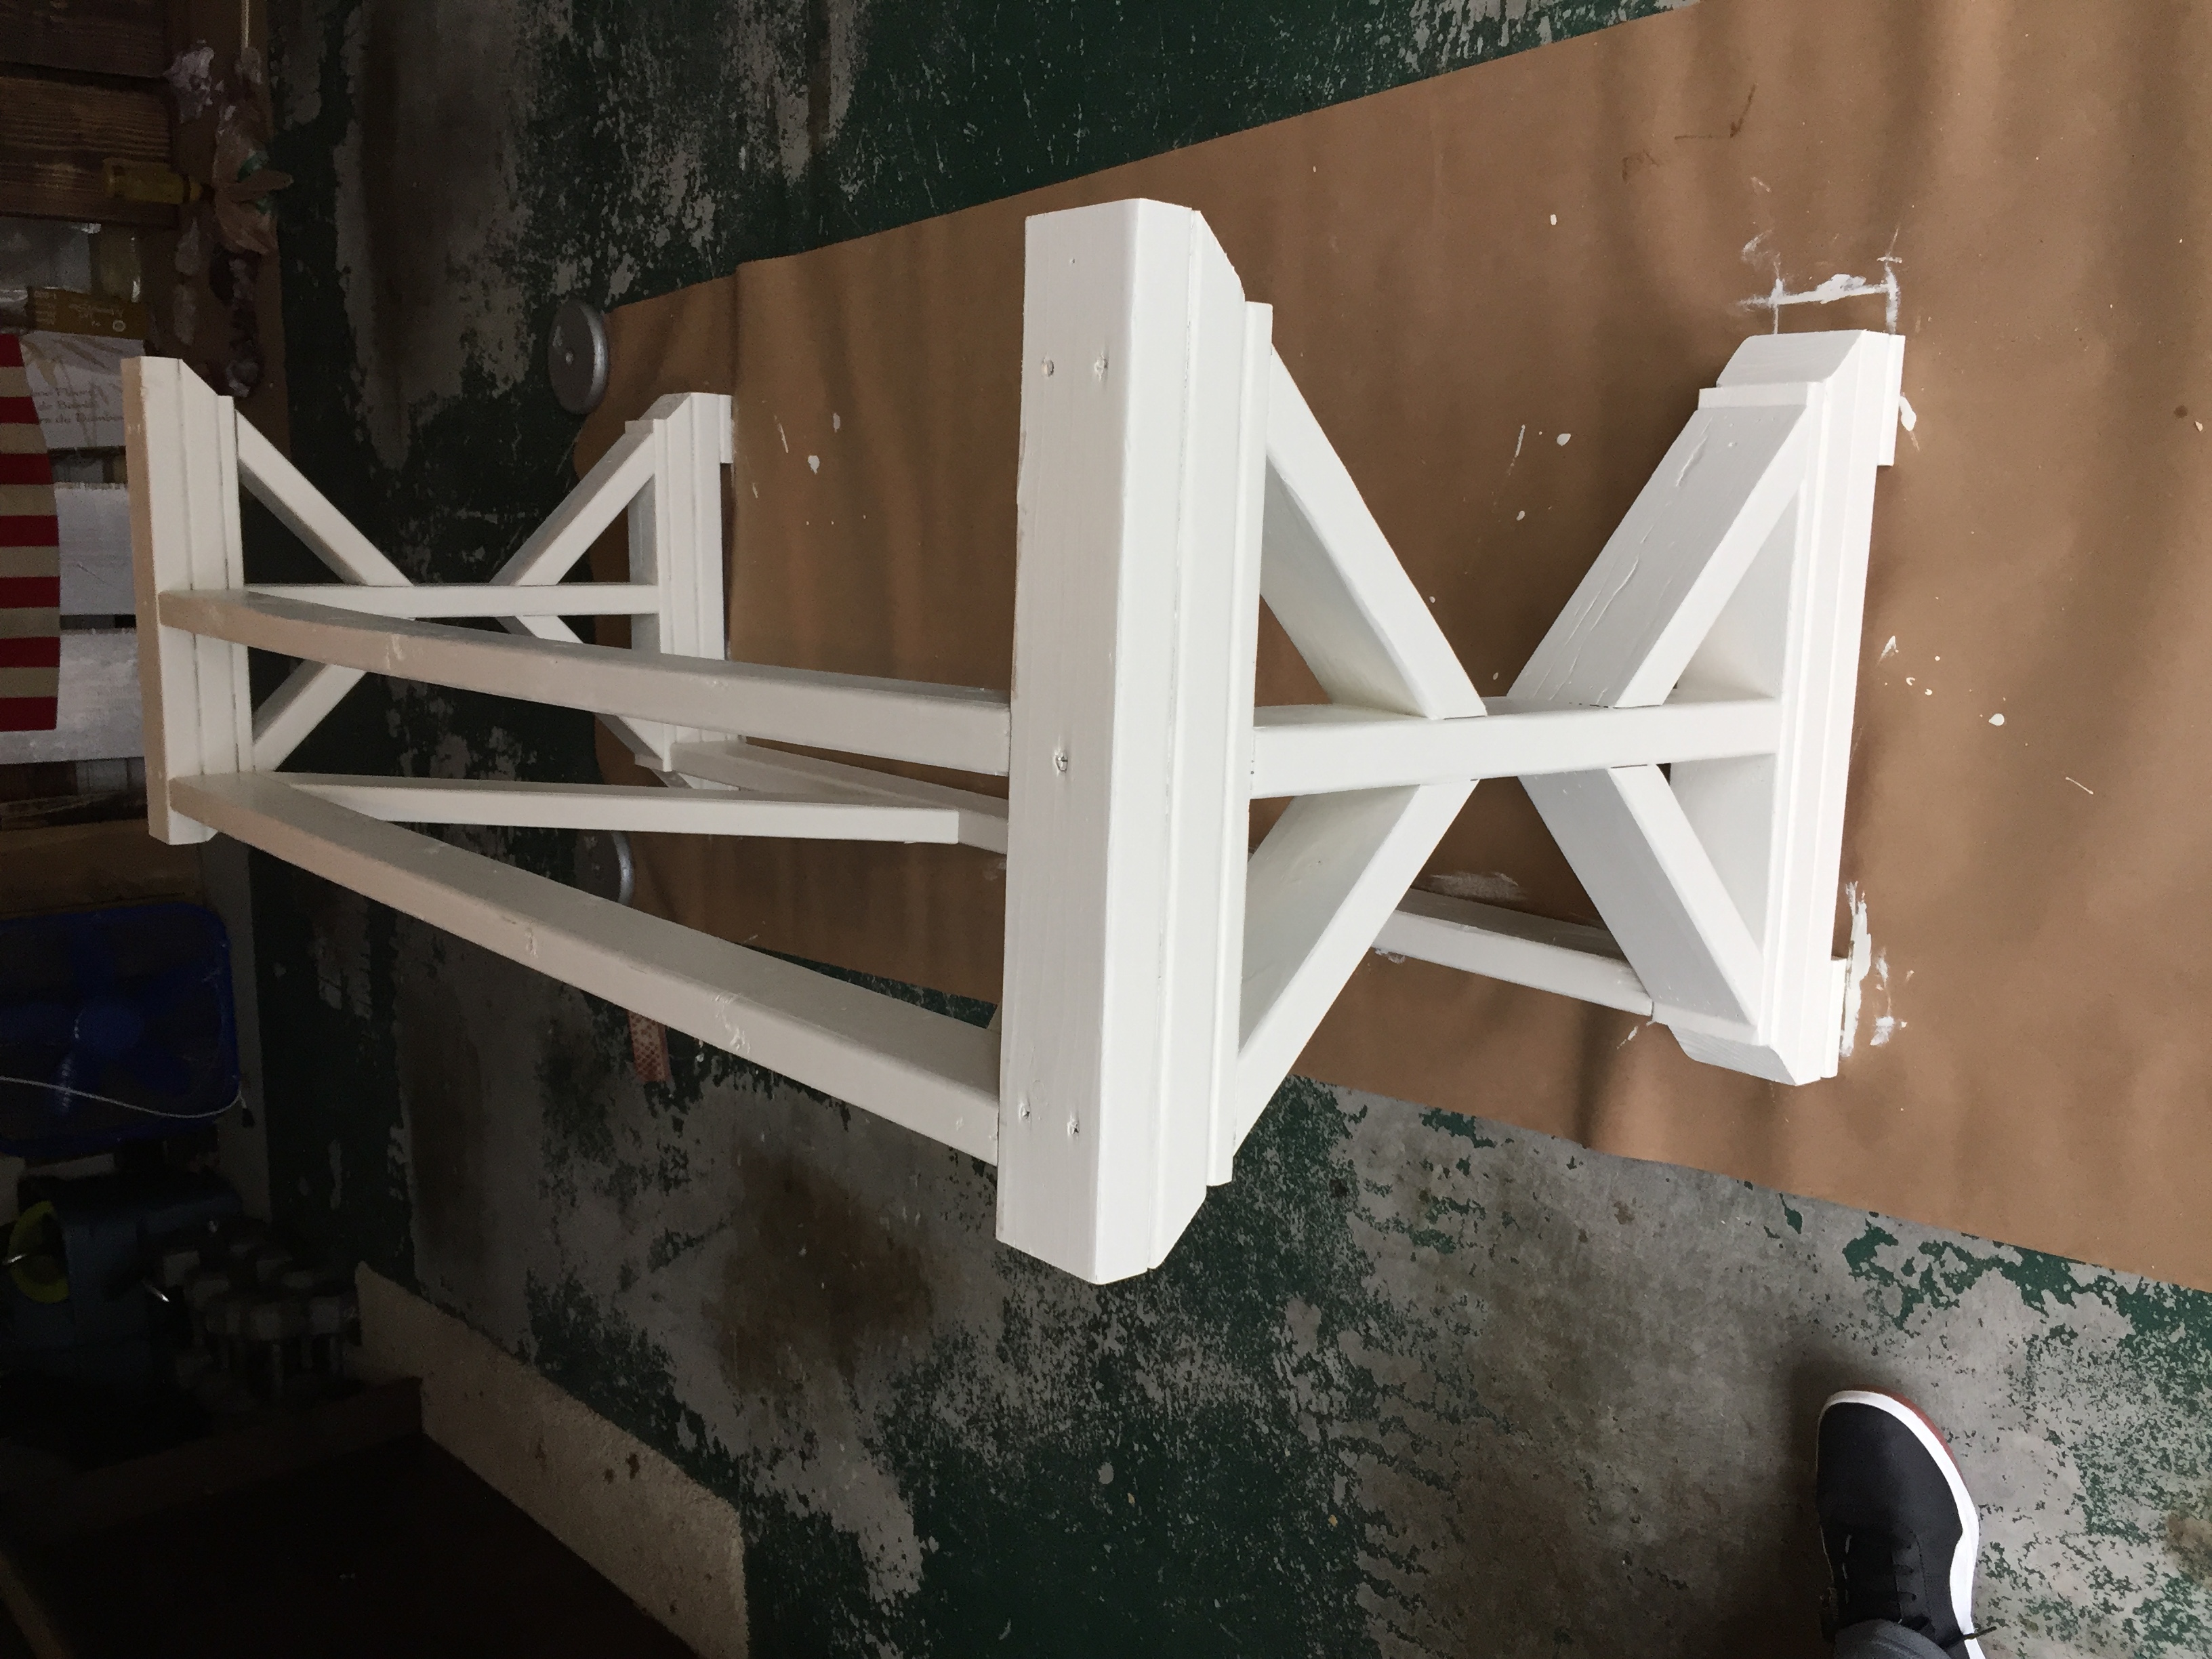
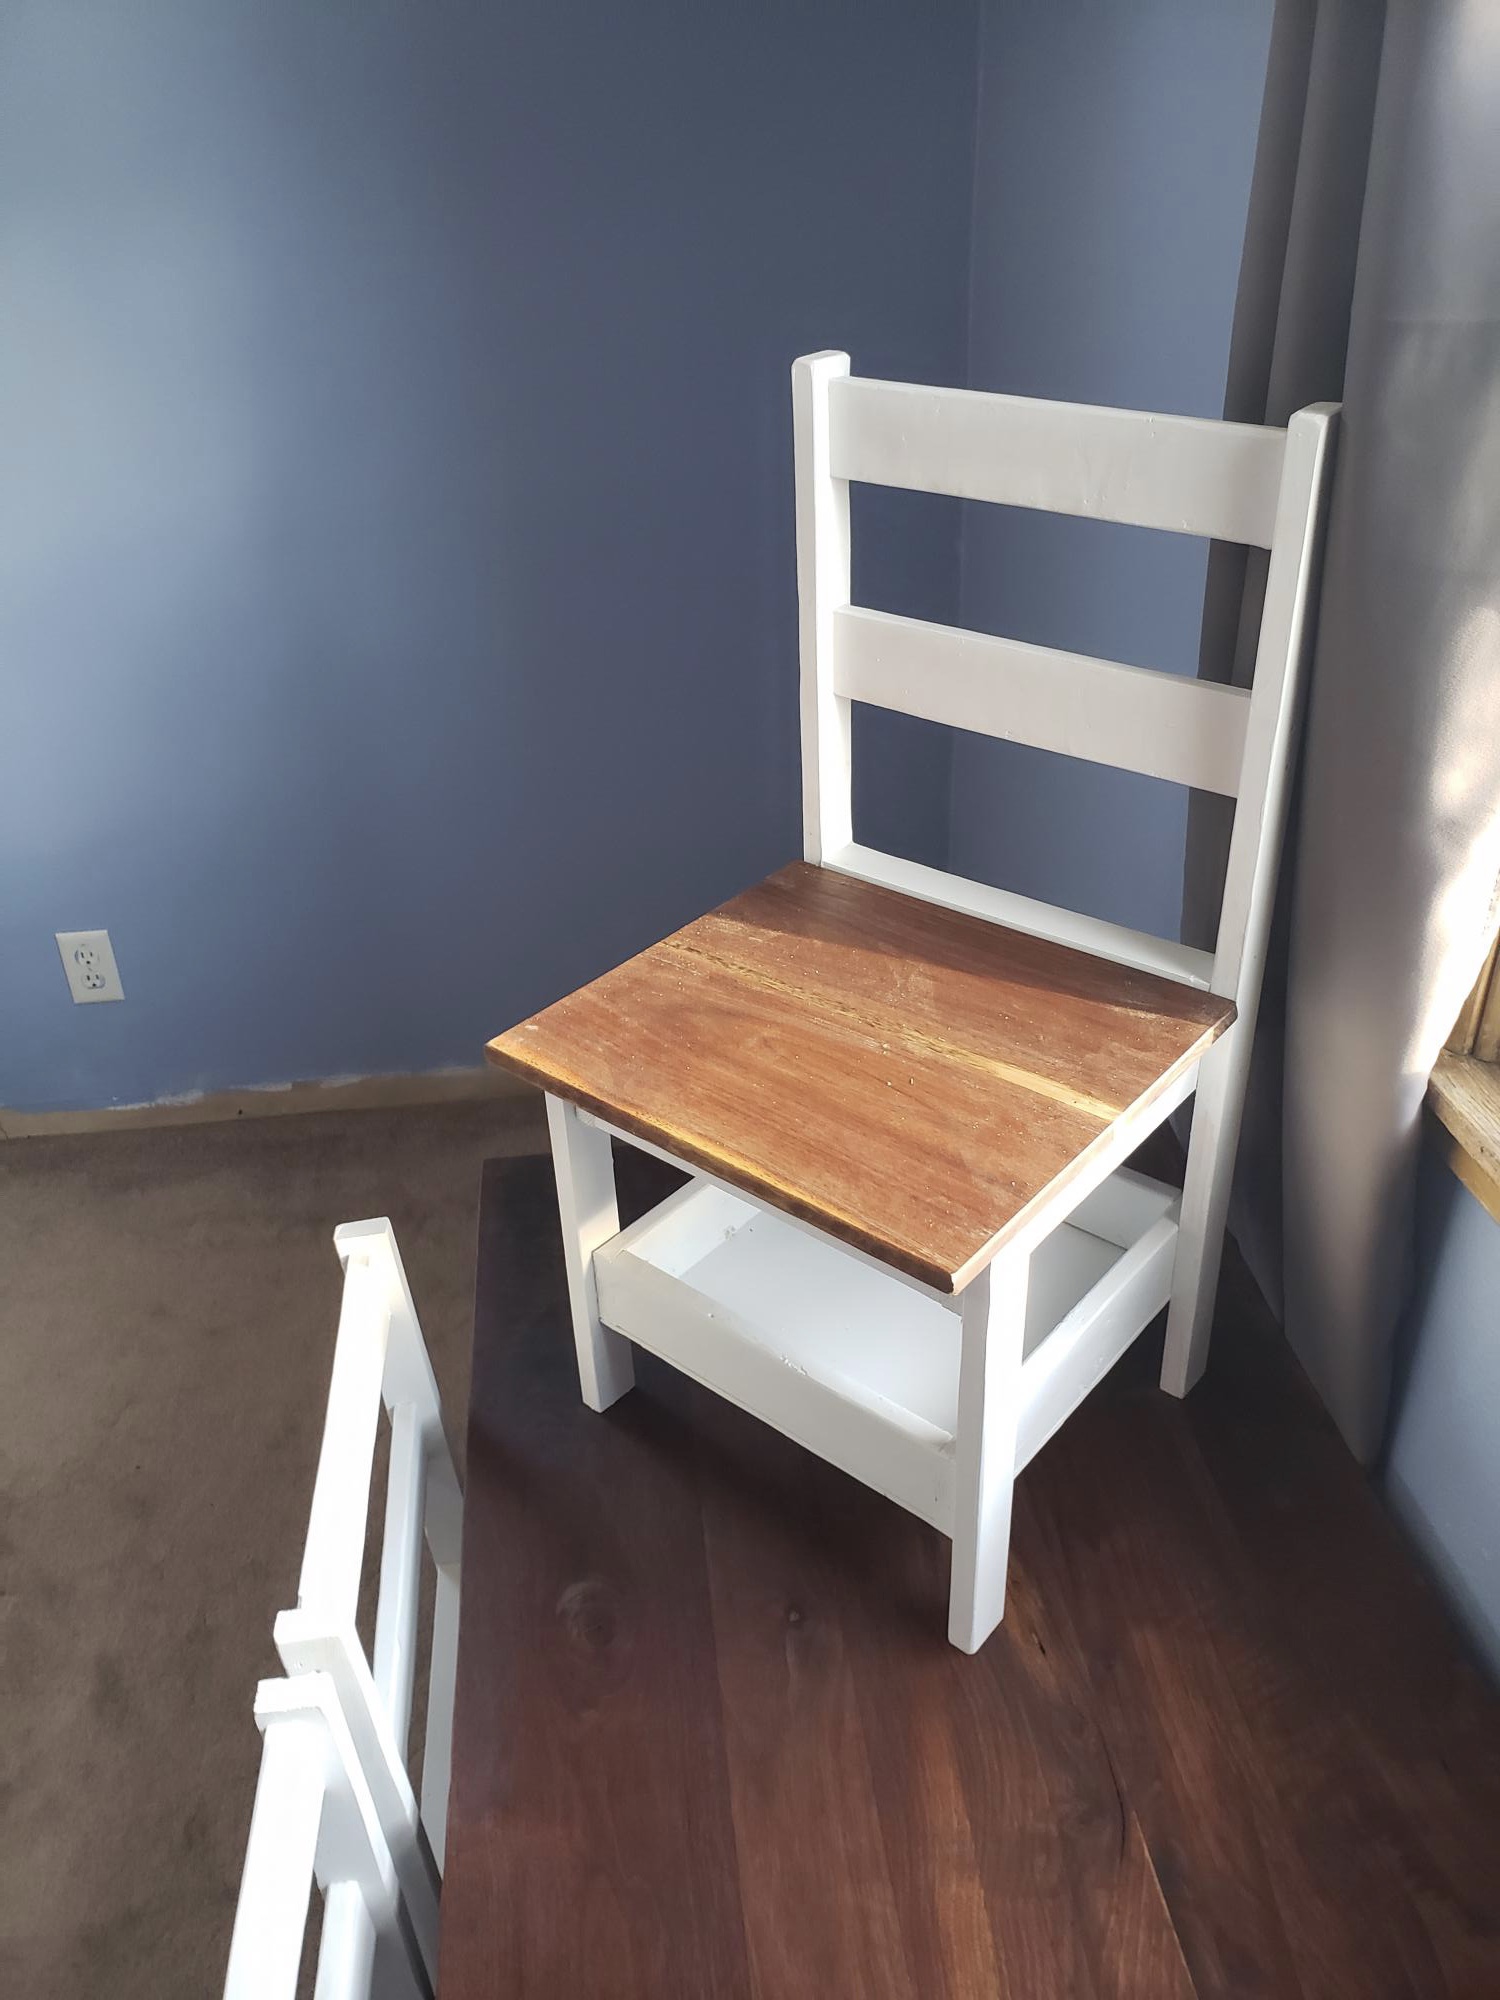
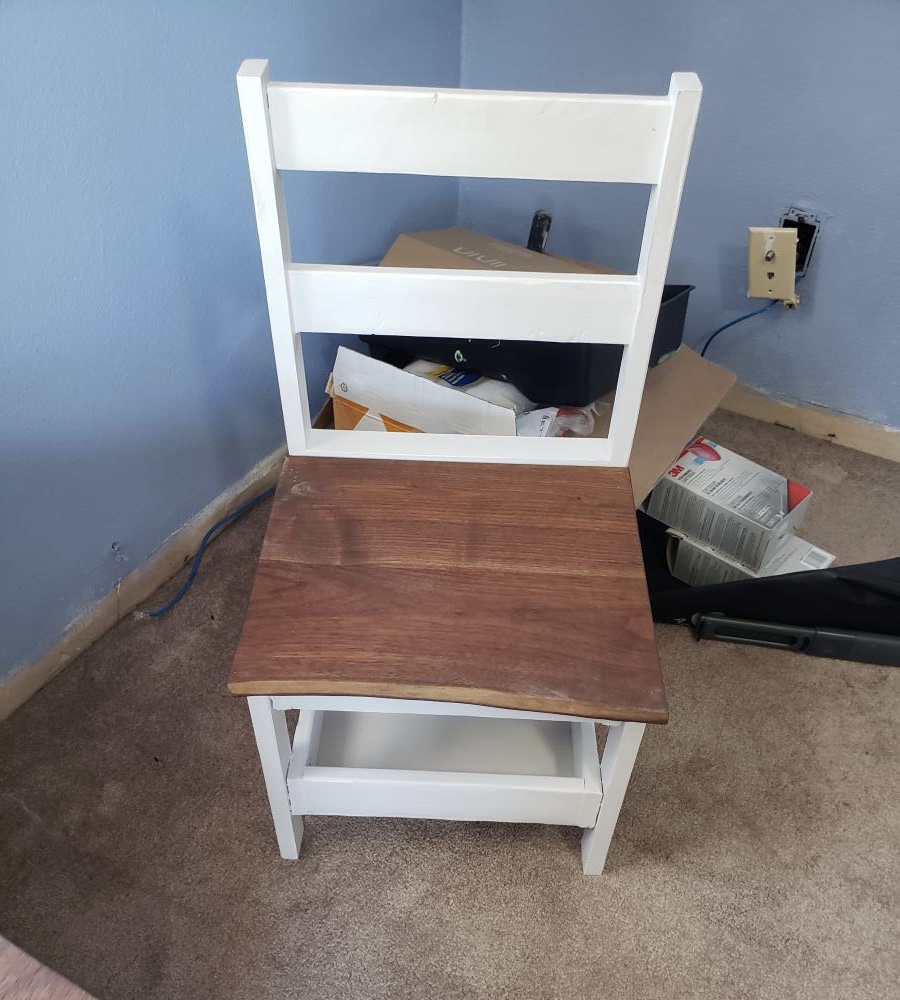
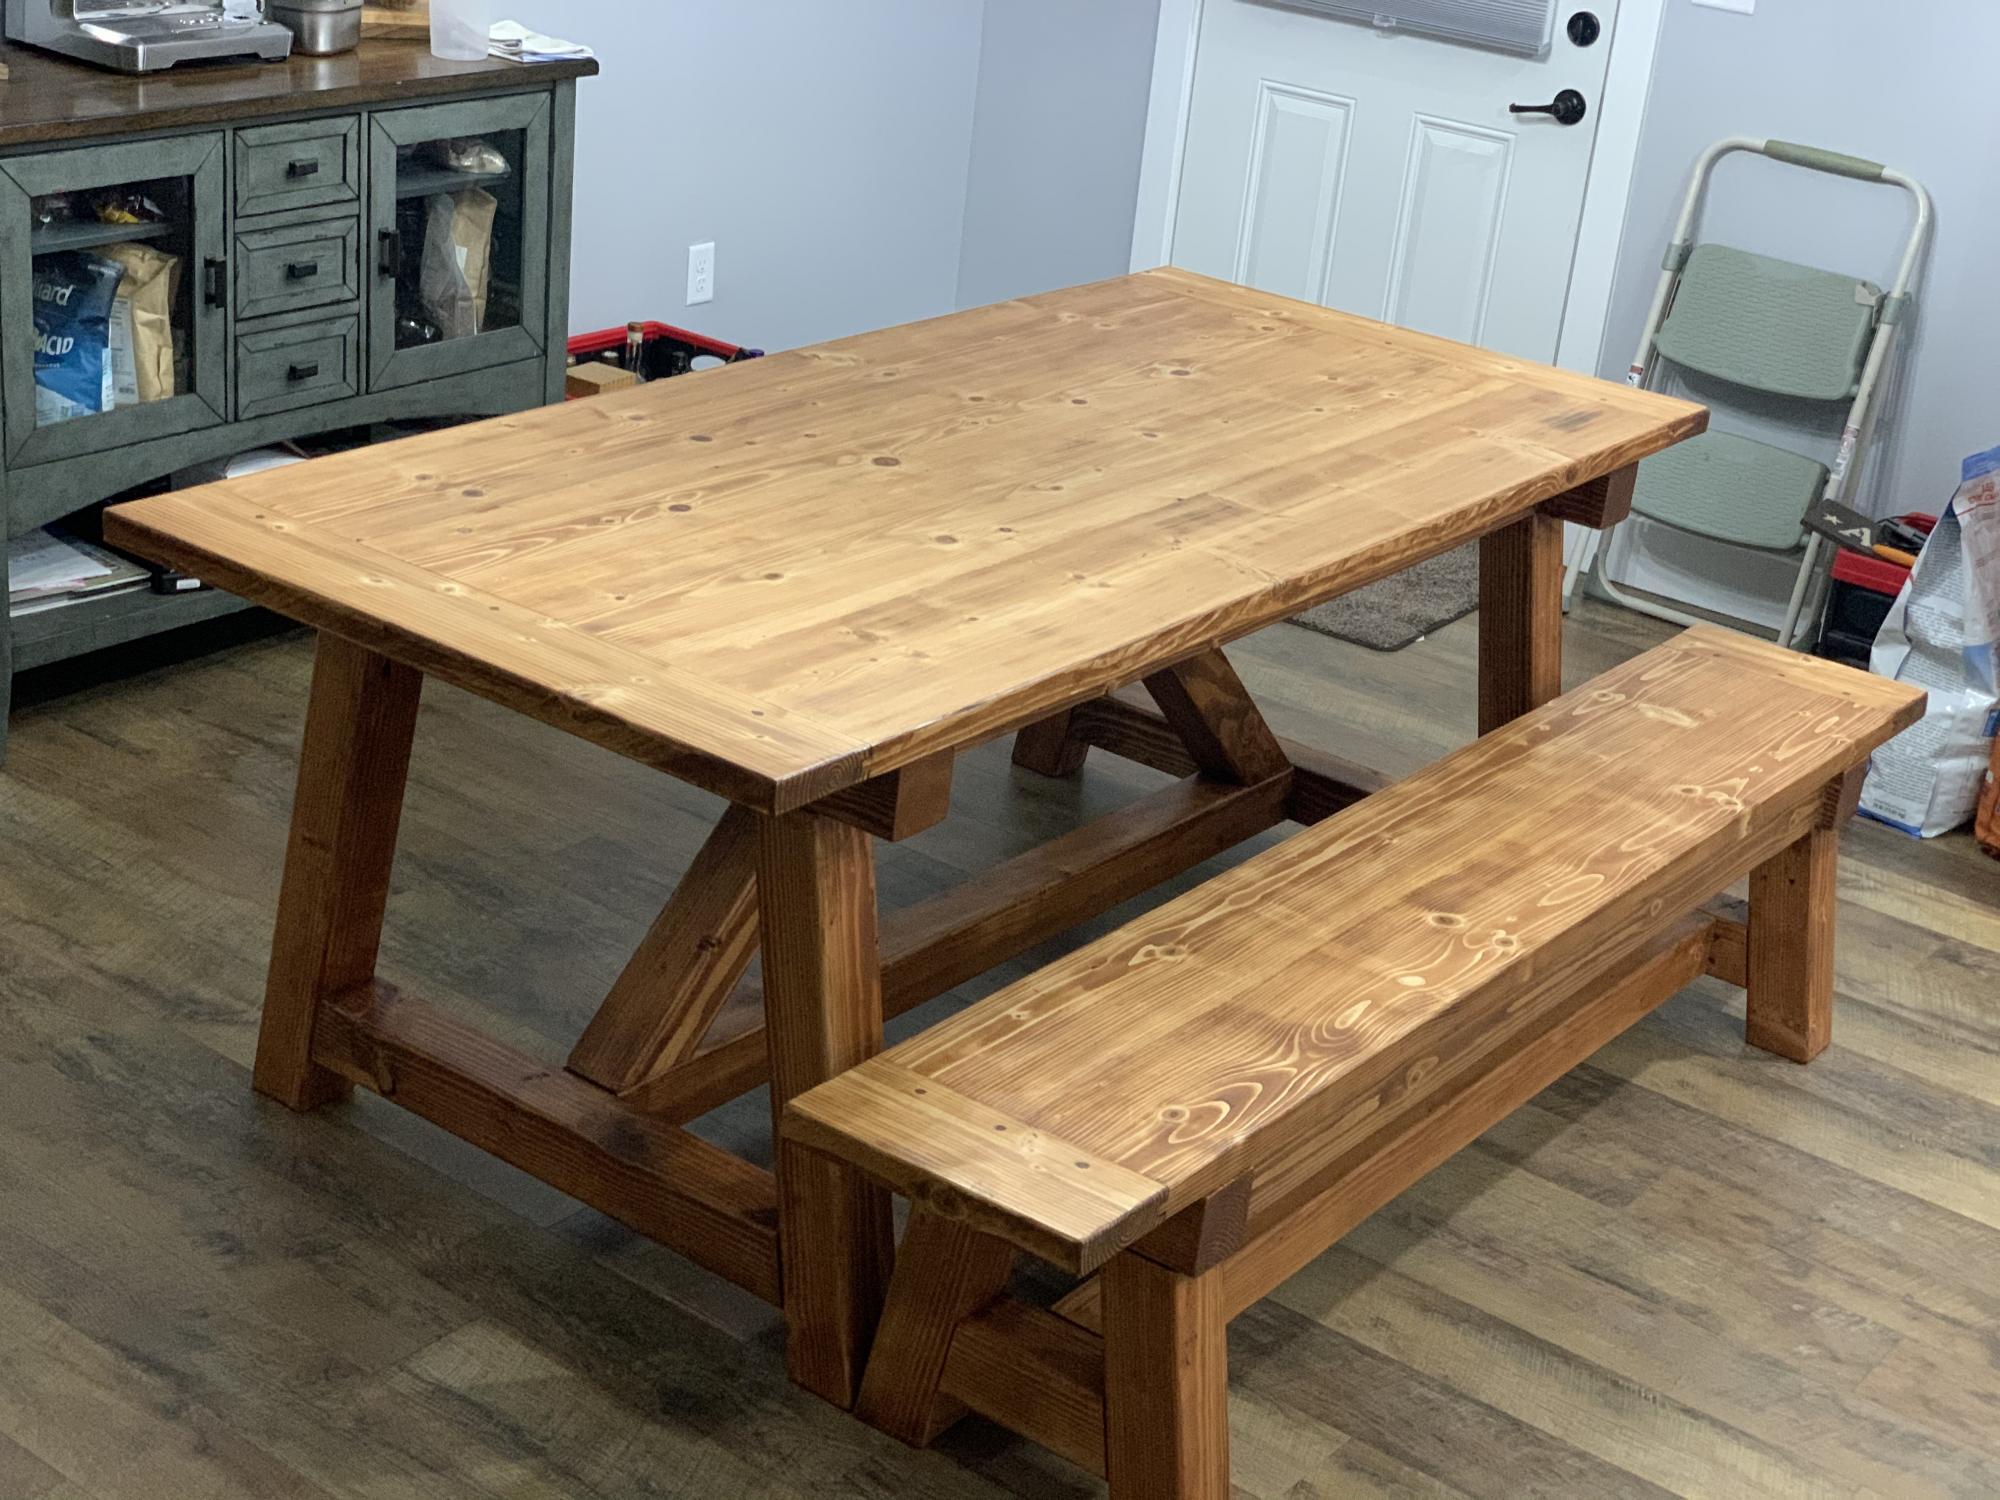
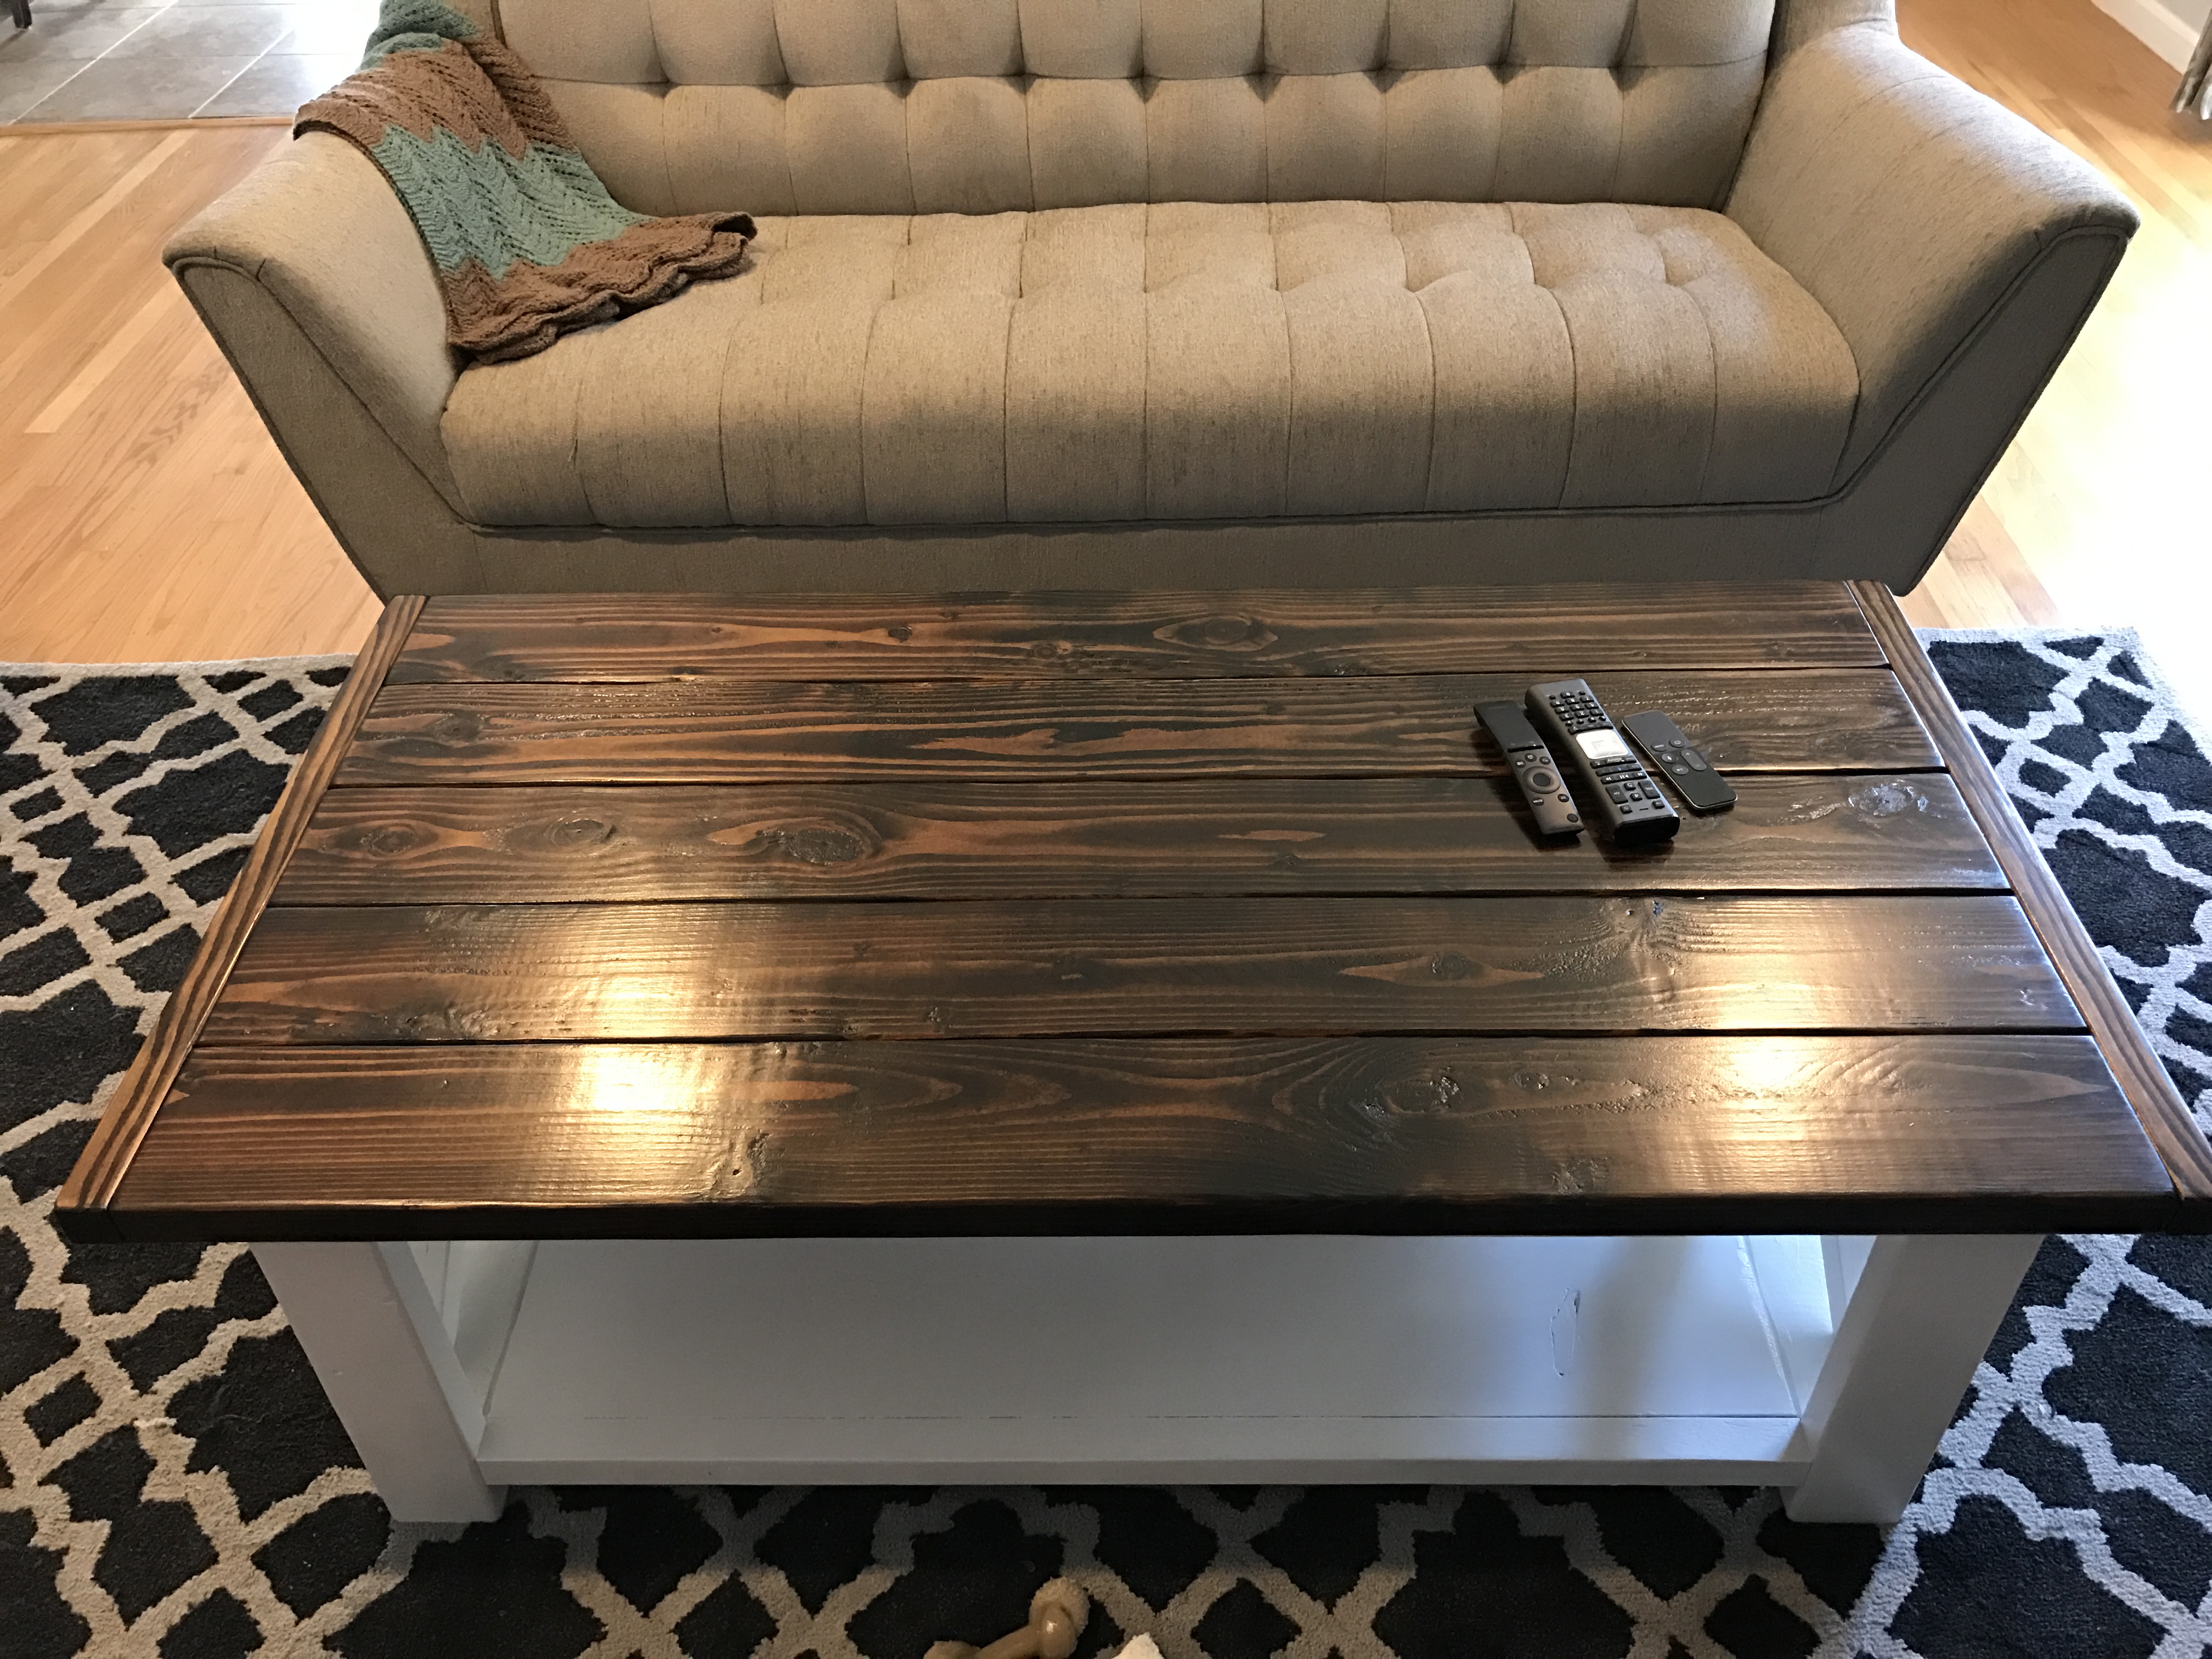
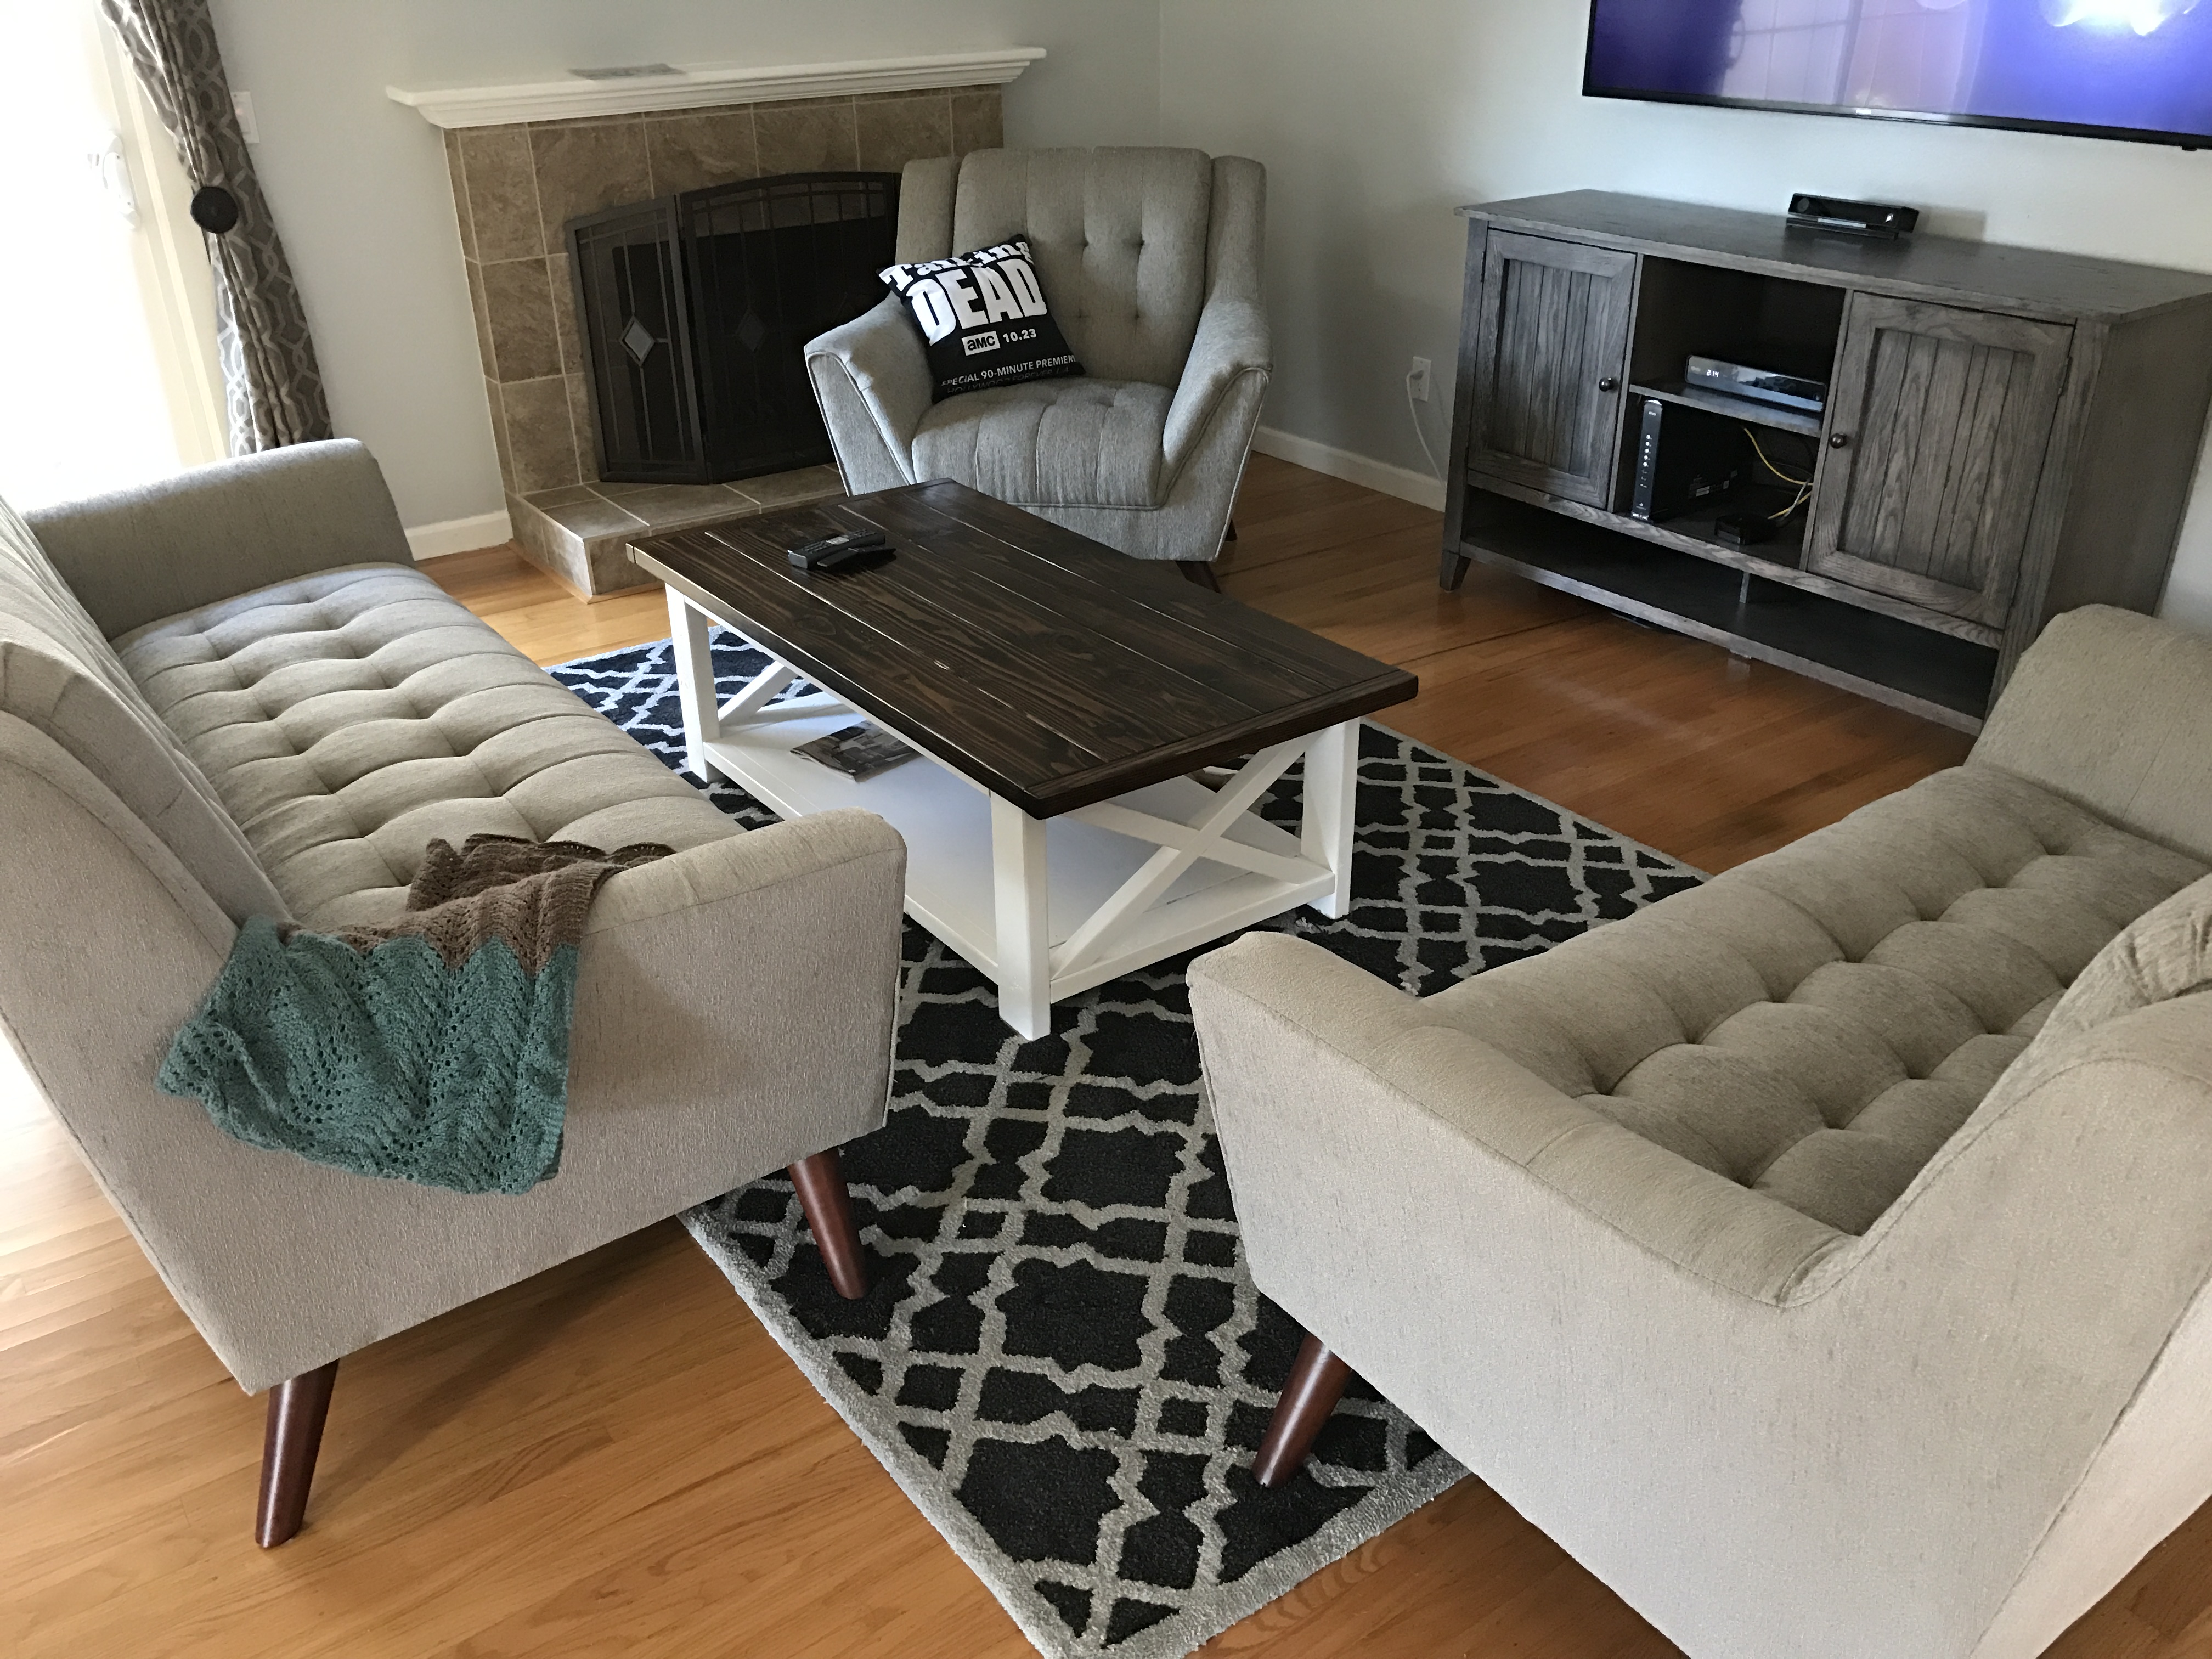
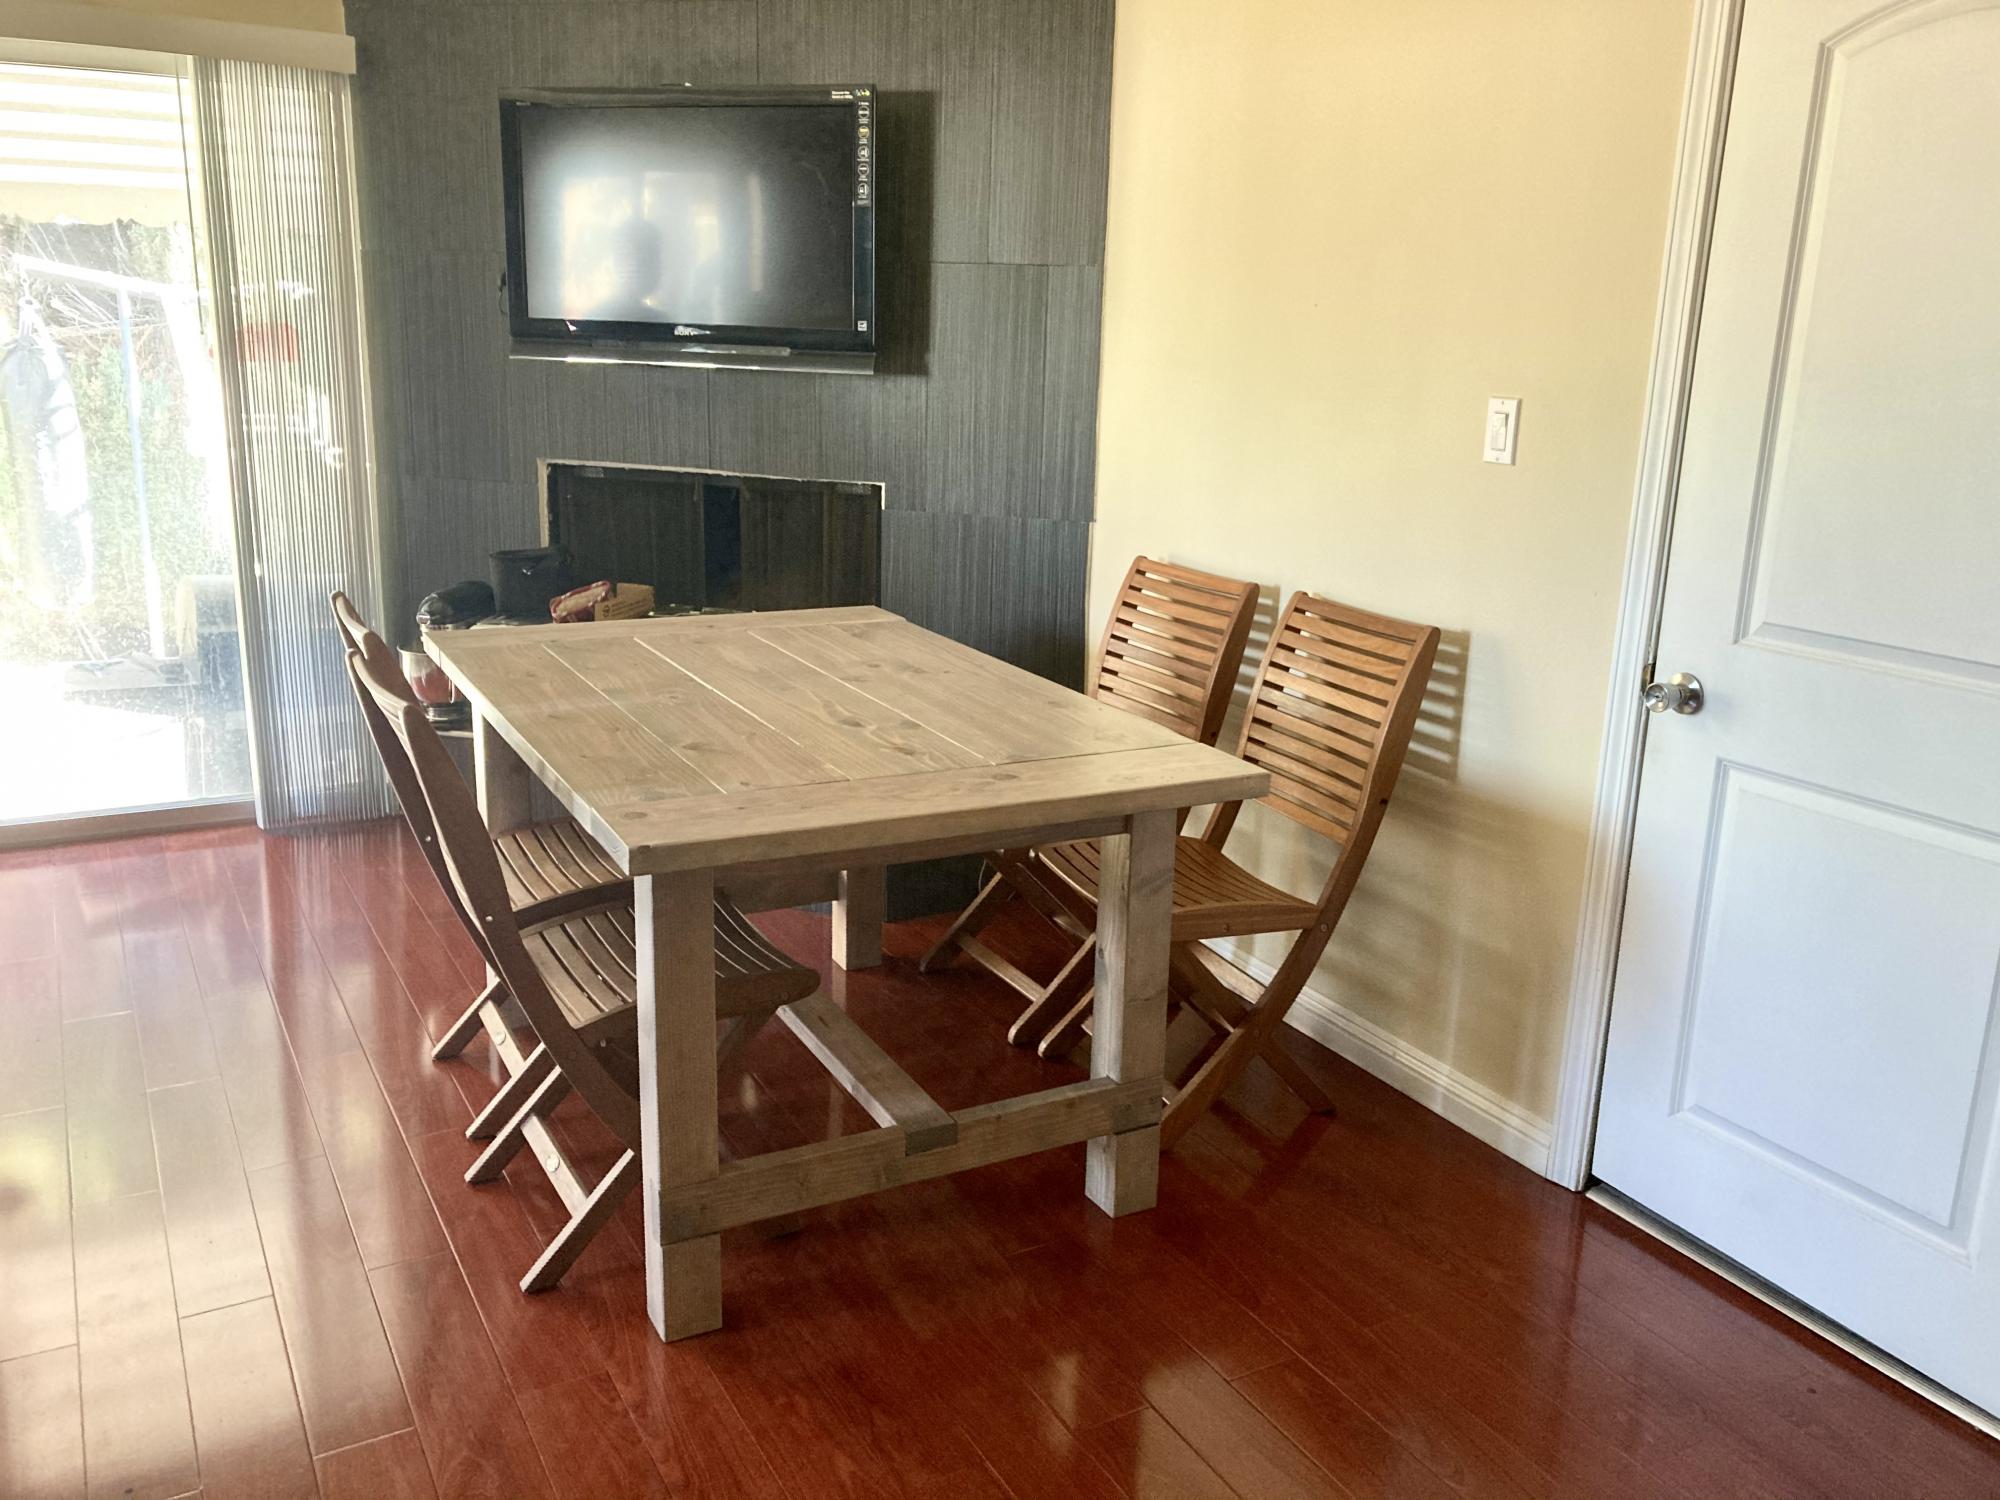
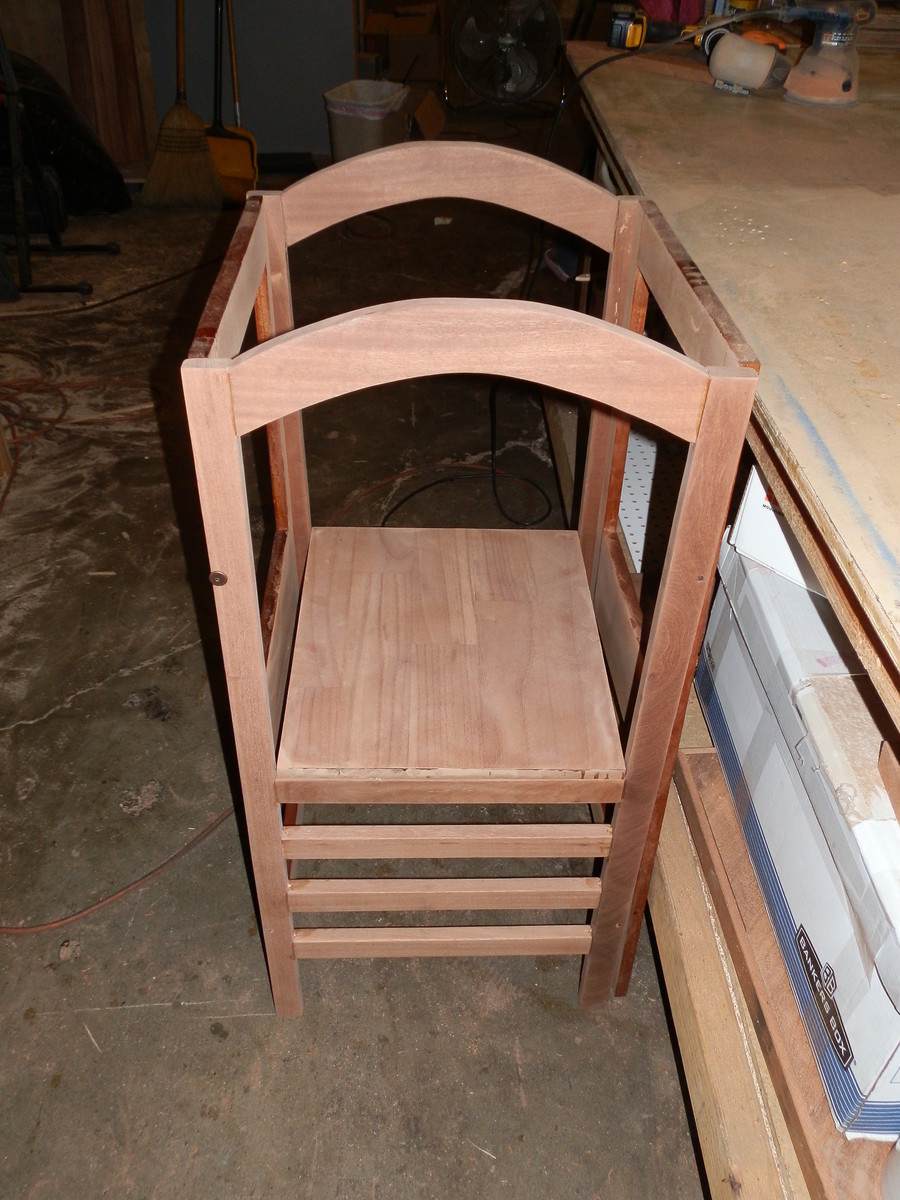
Rhyan Collection Coffee Table and End Tables
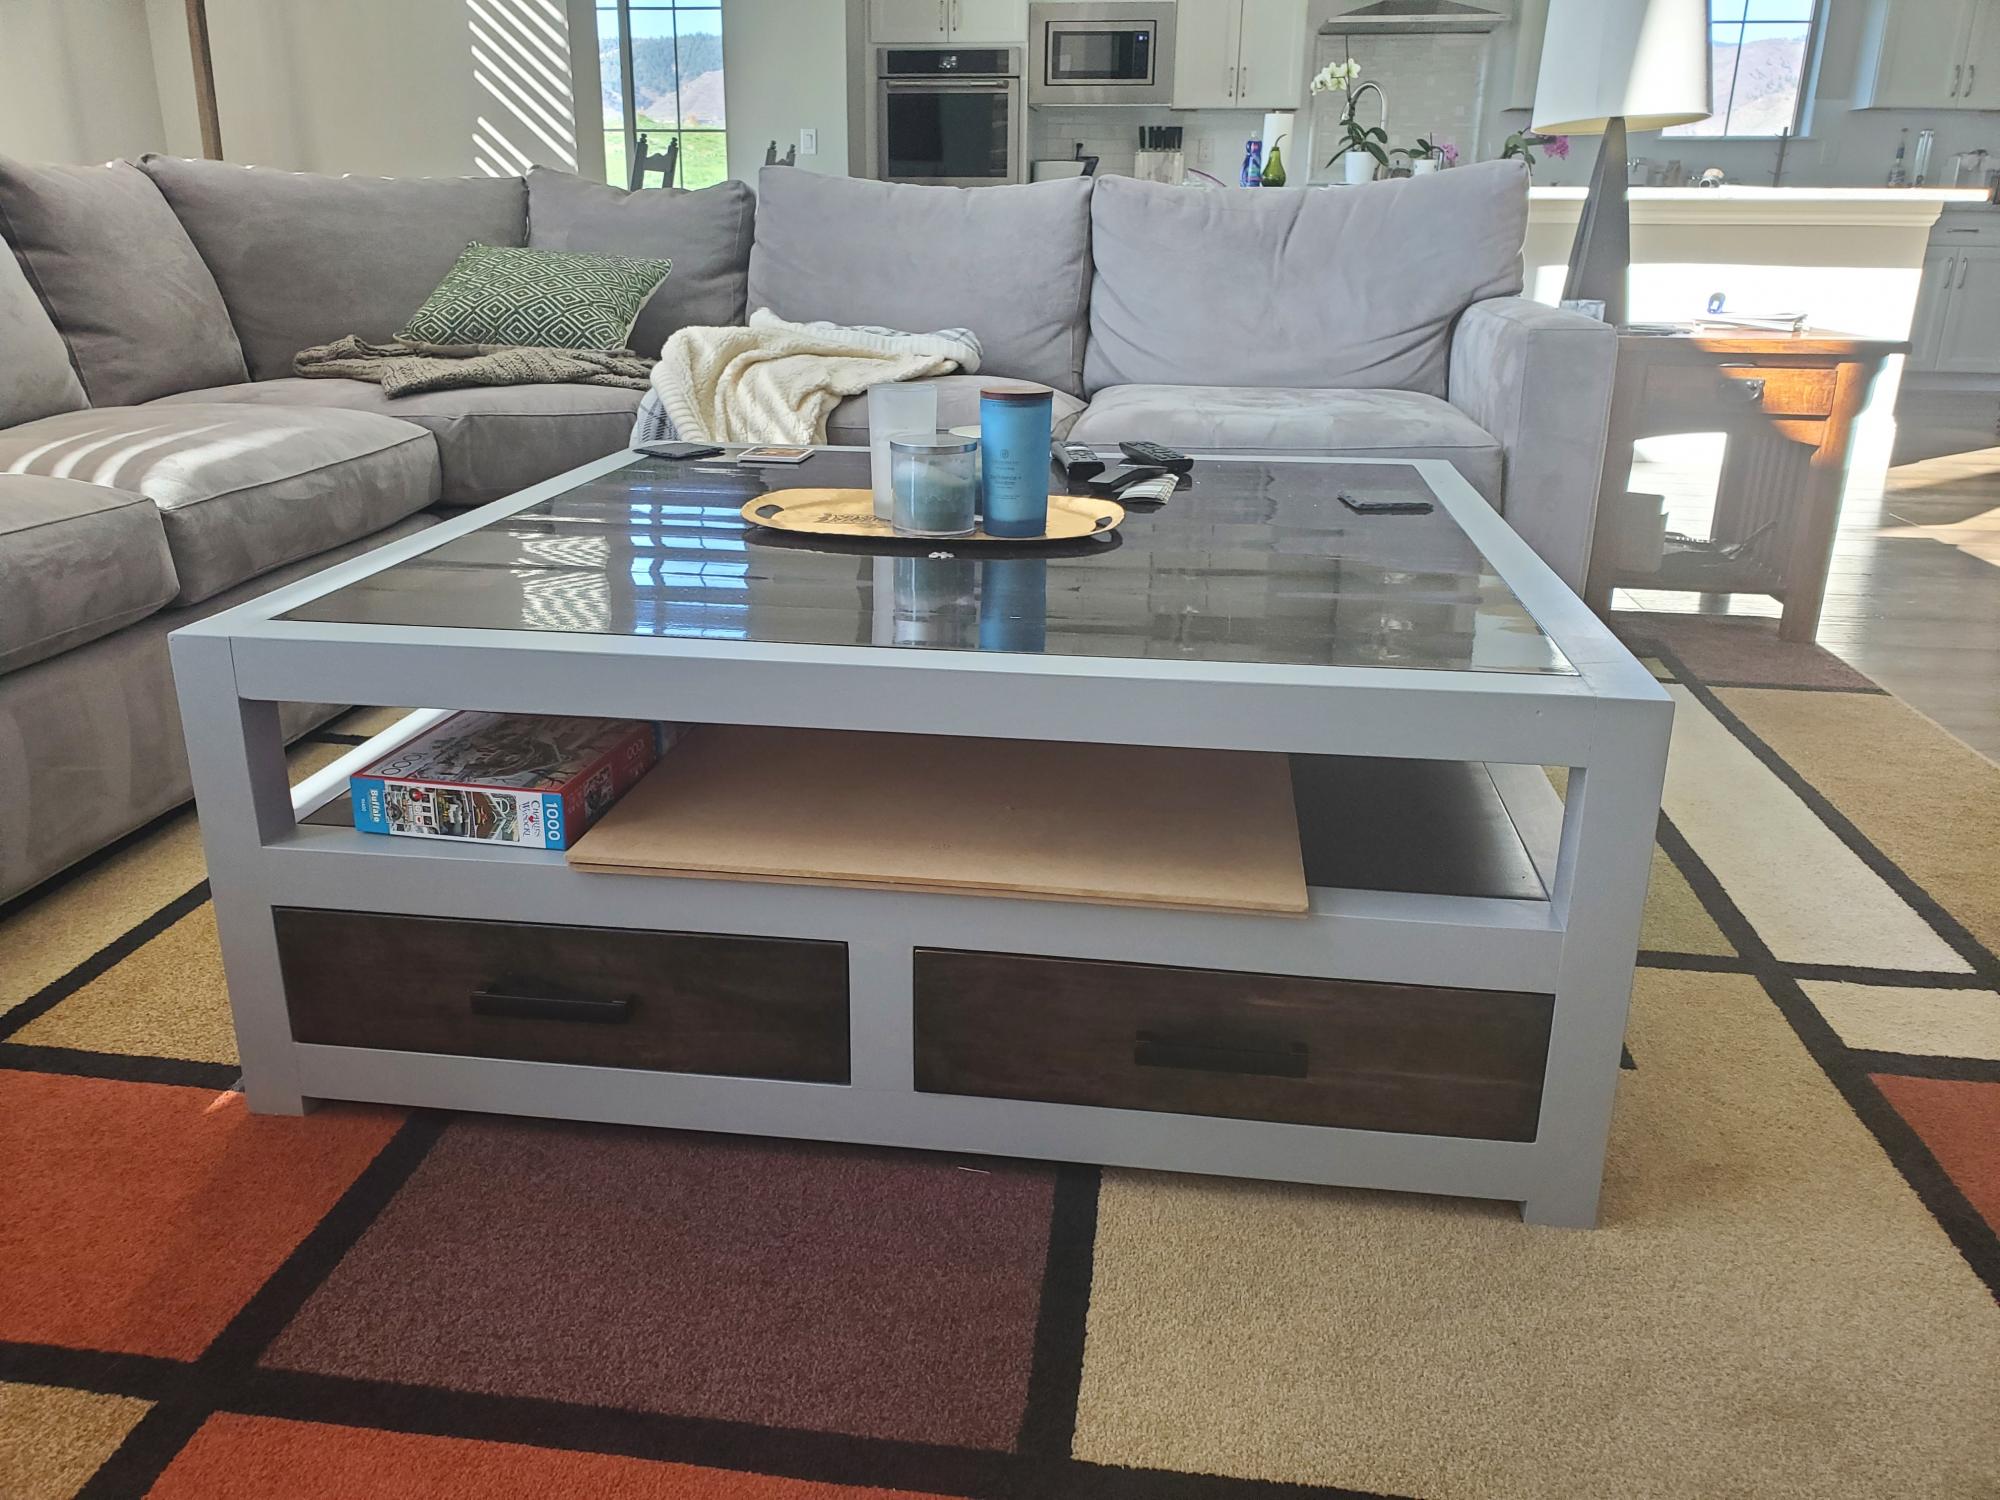
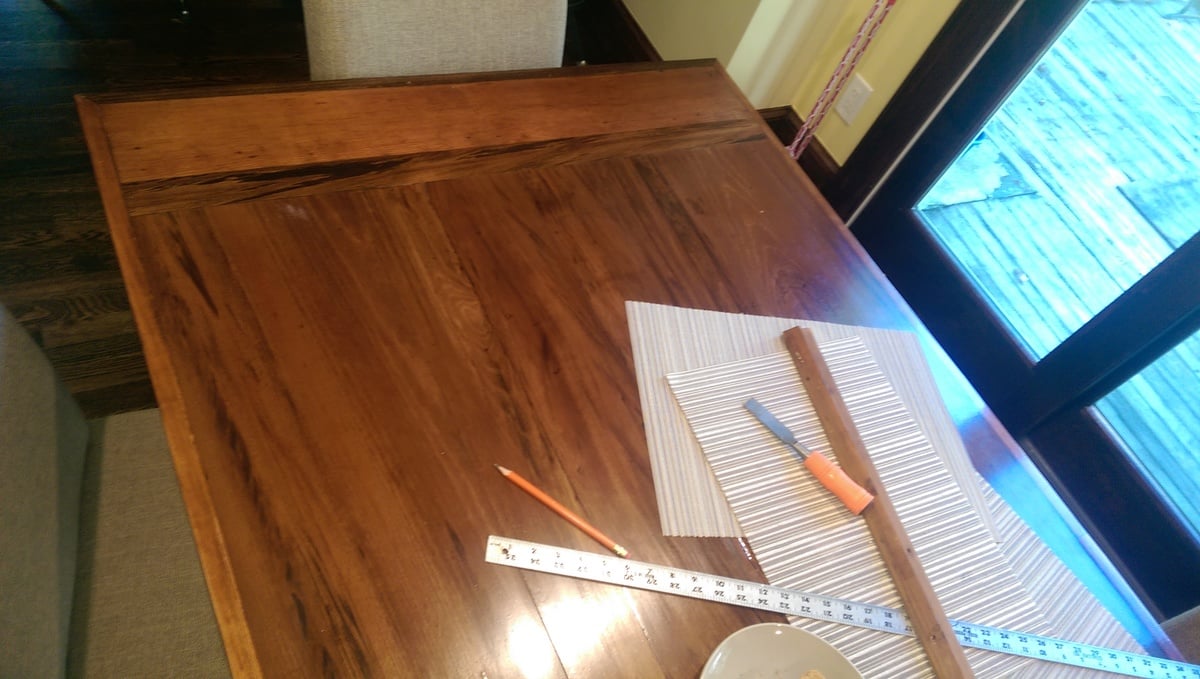
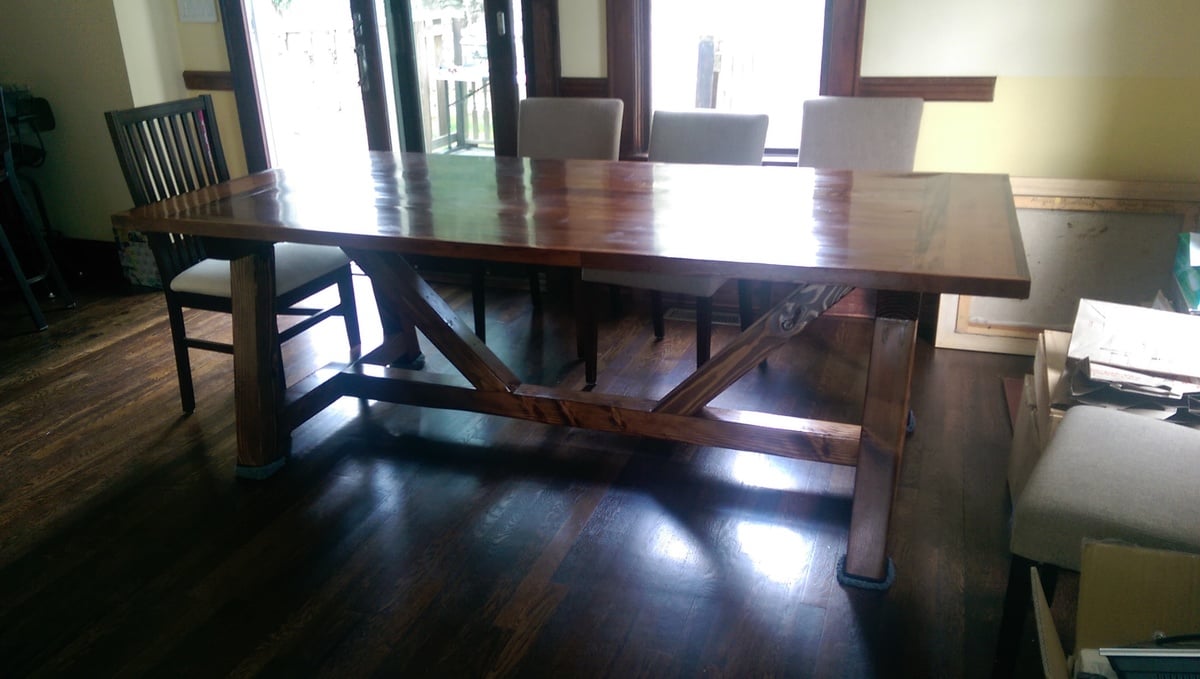
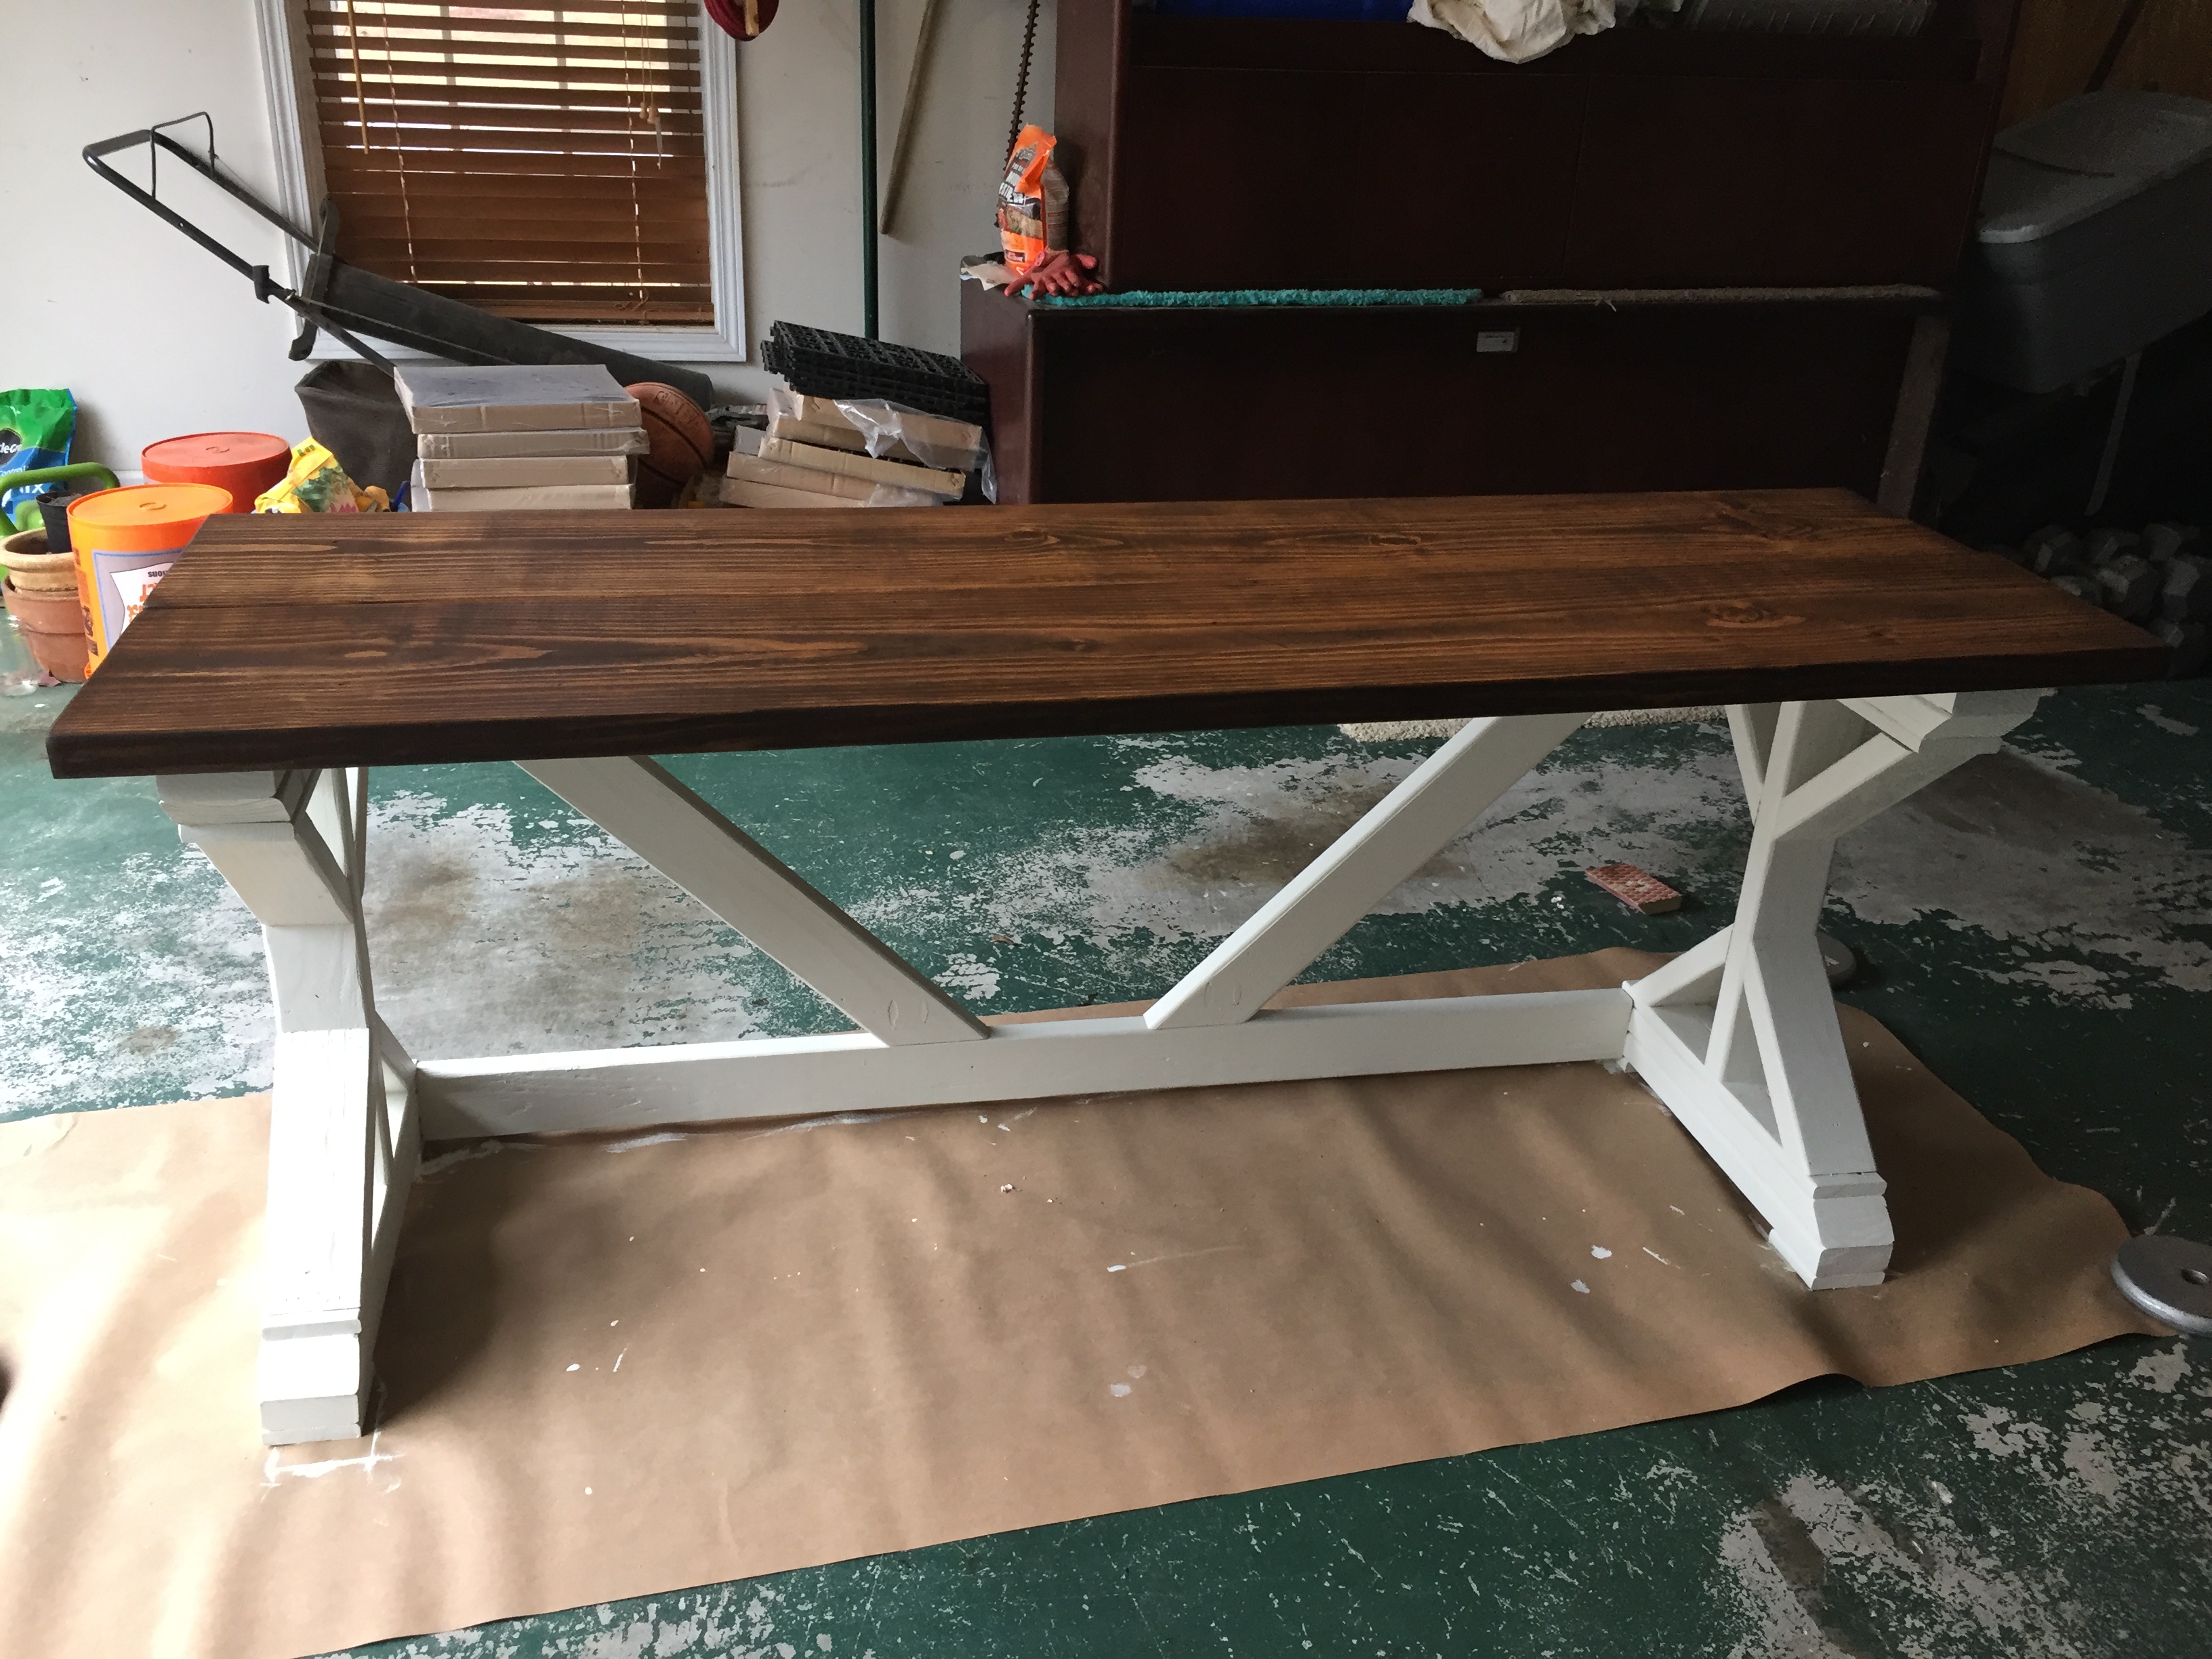
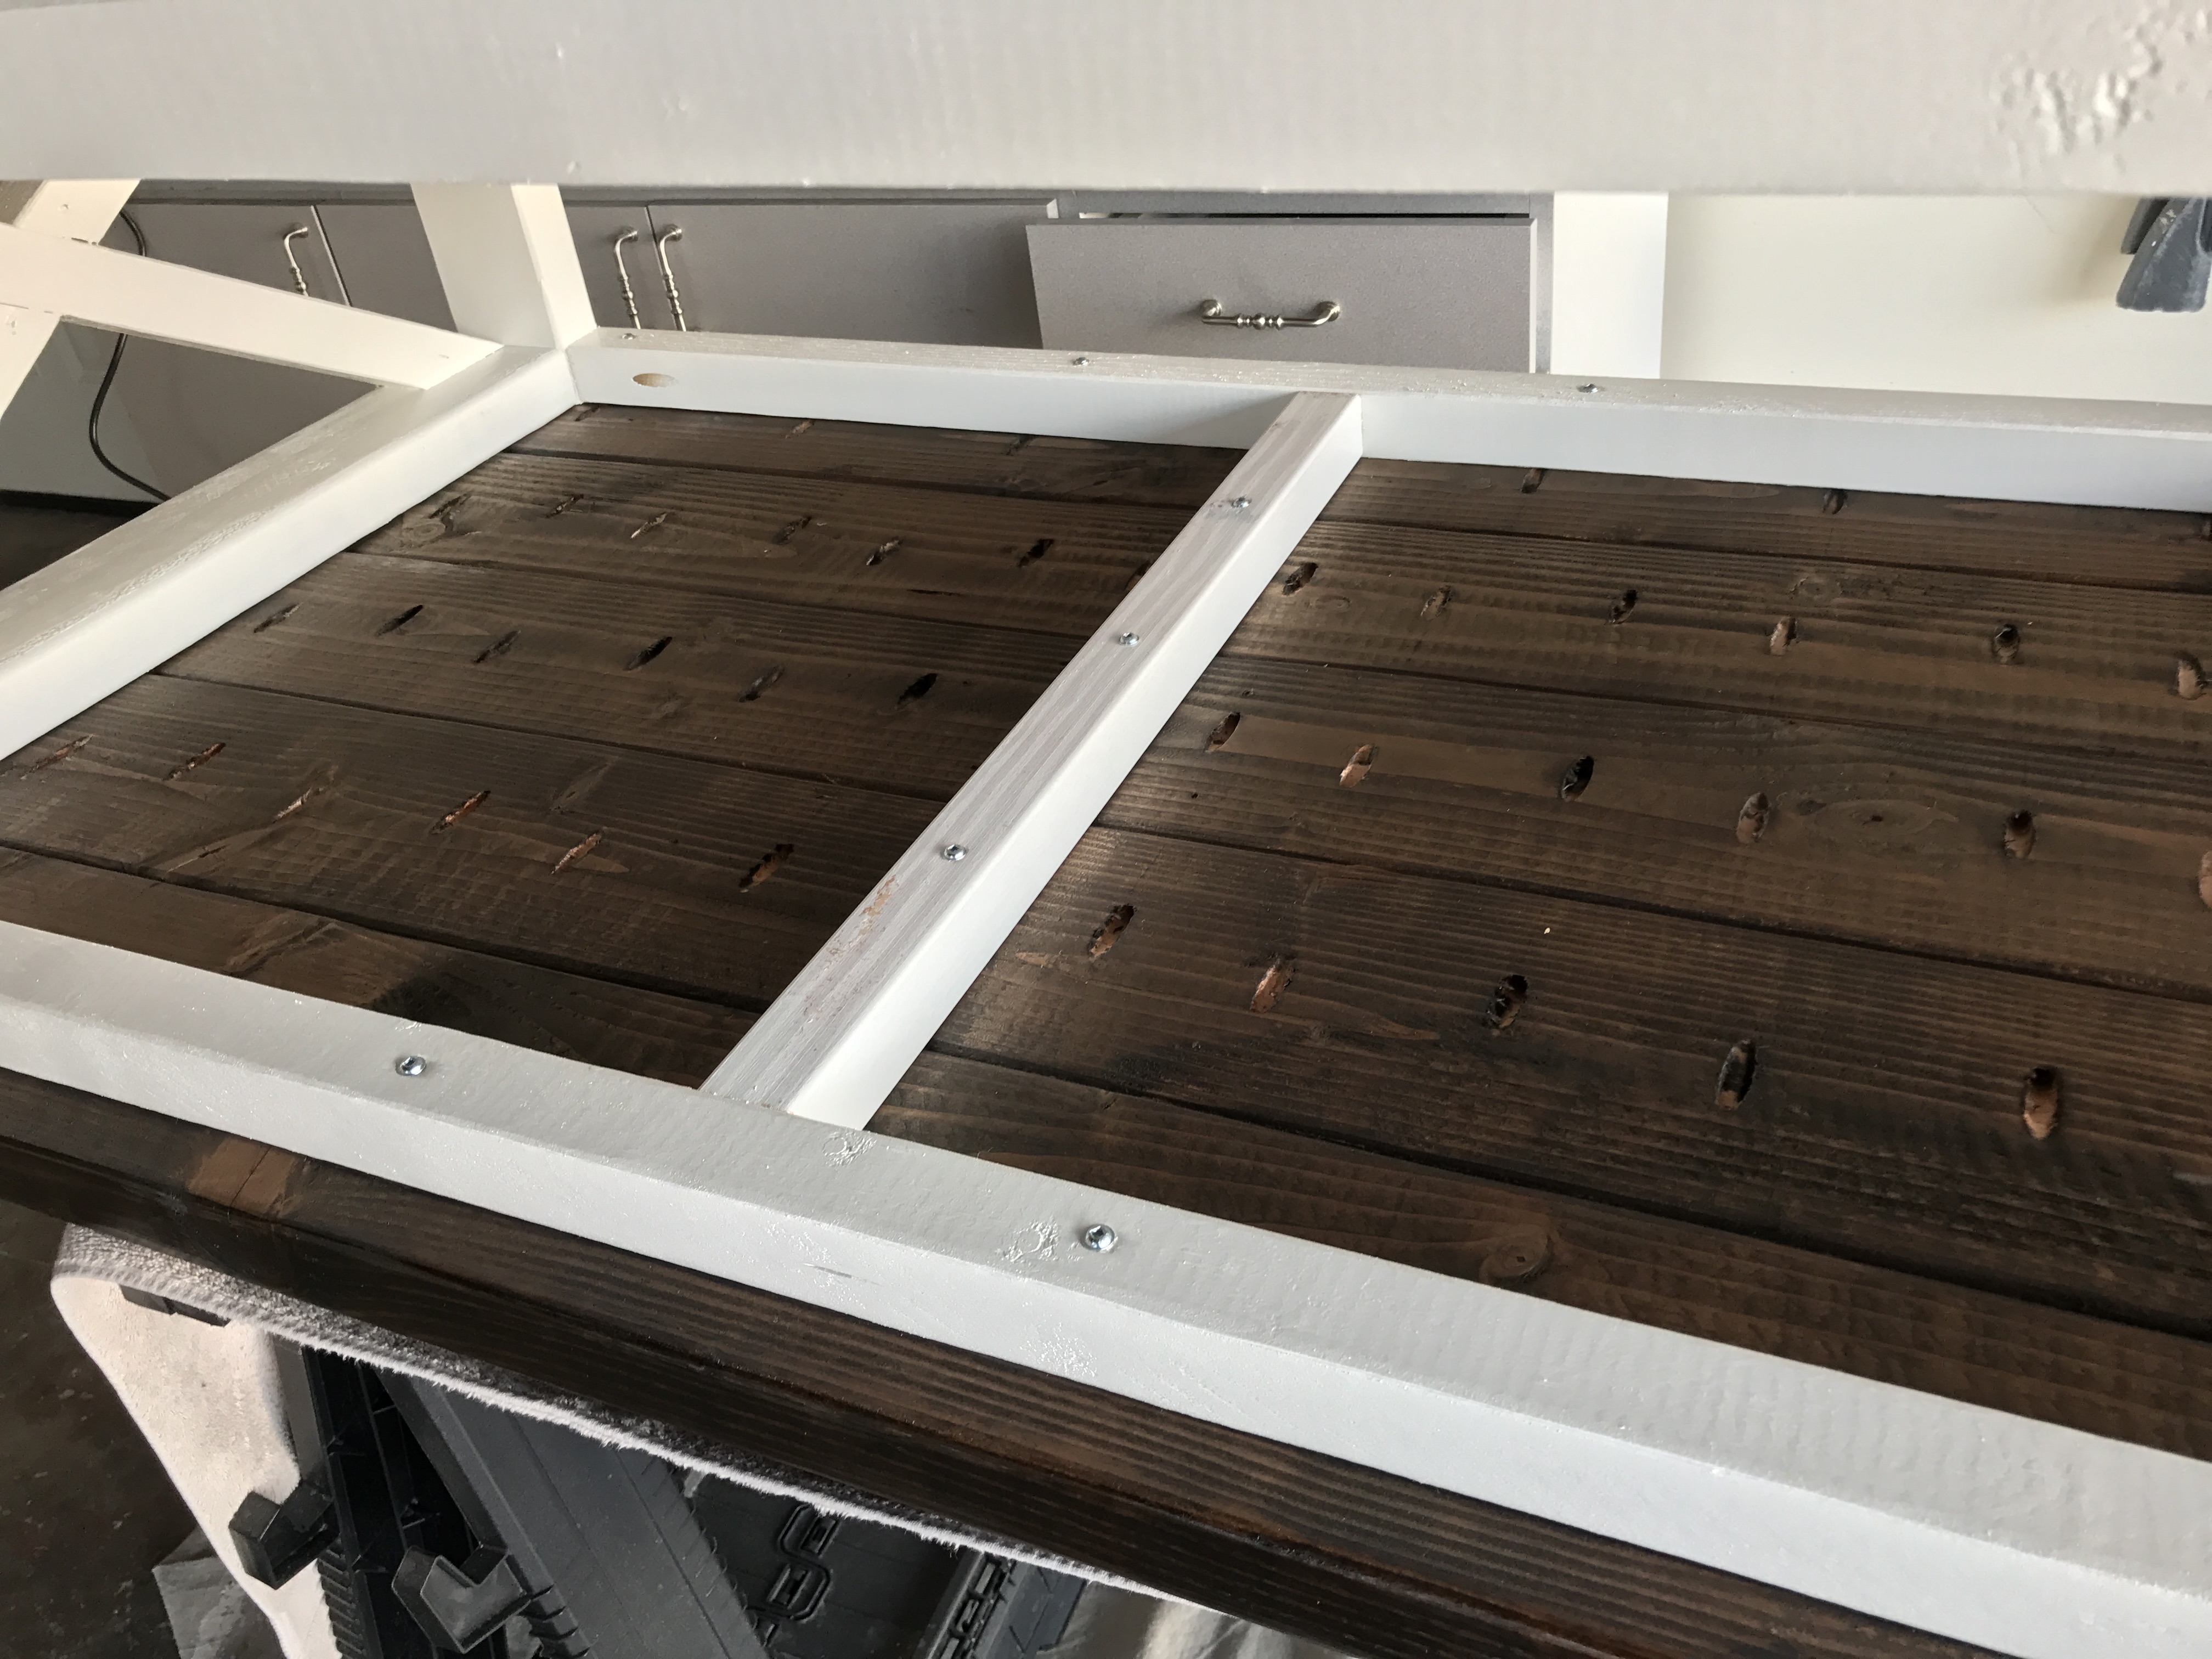
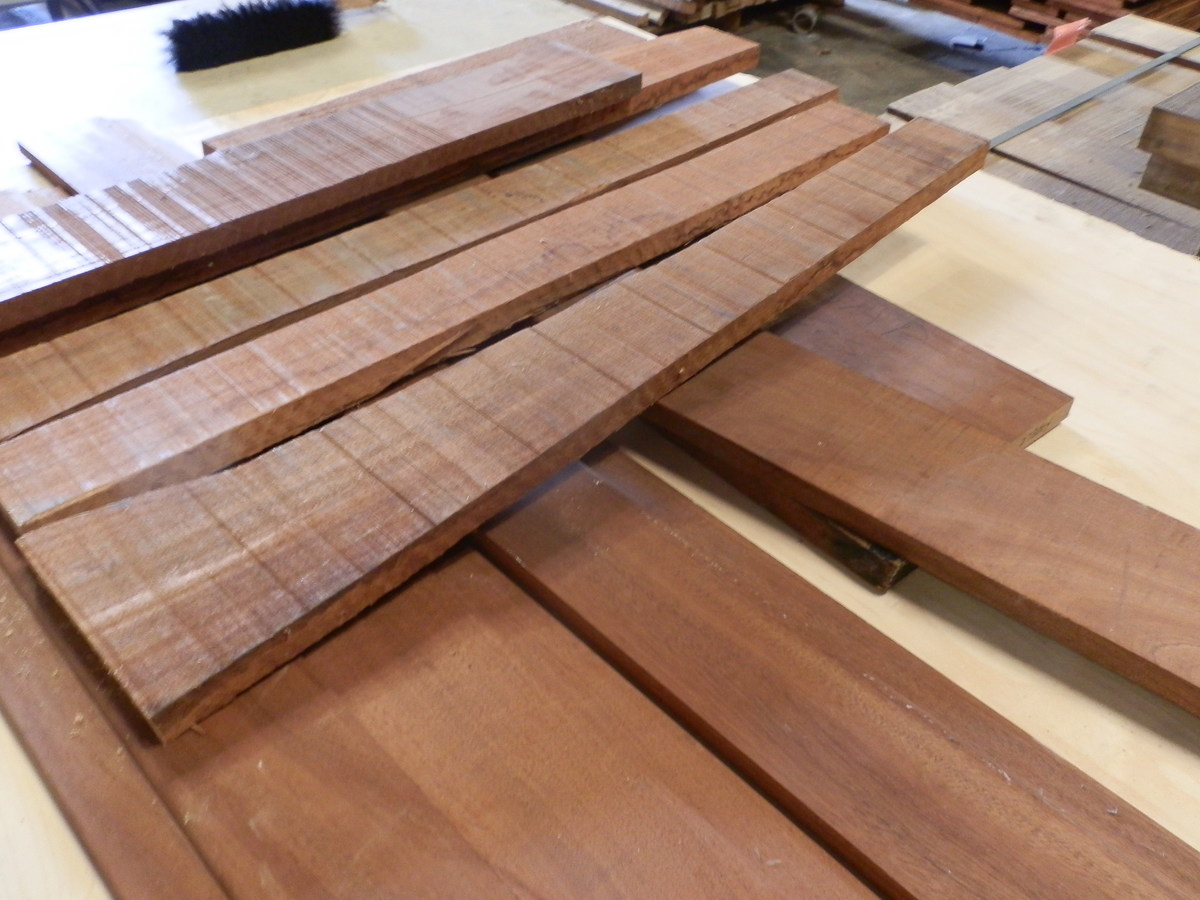
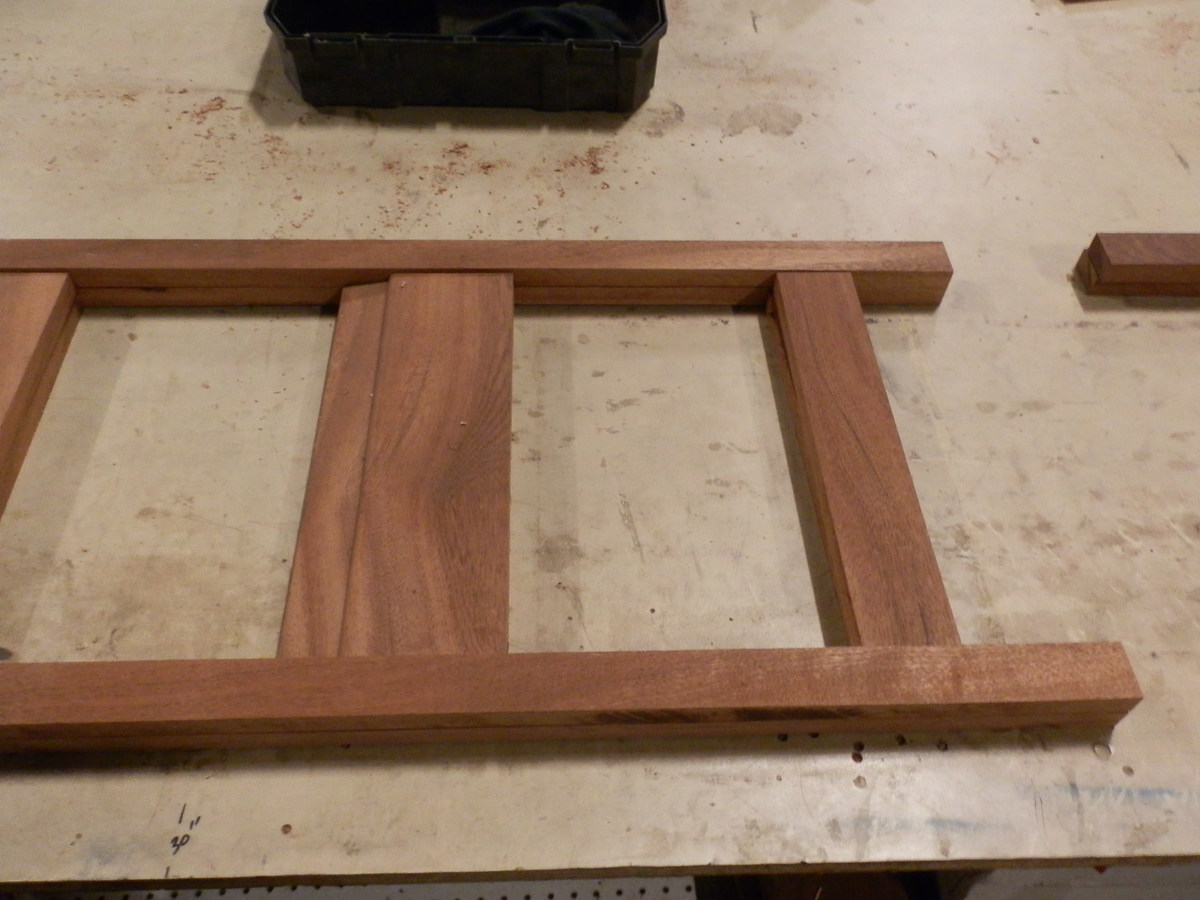
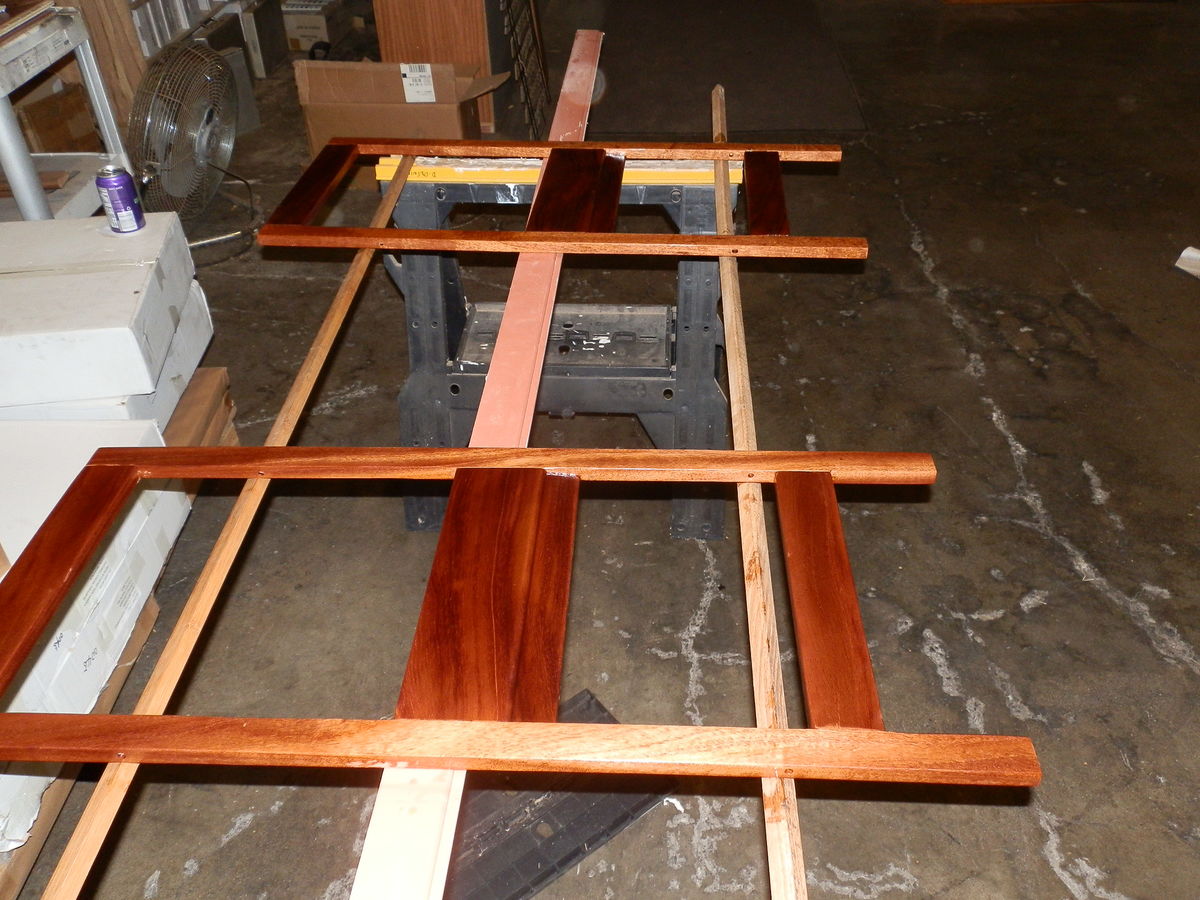
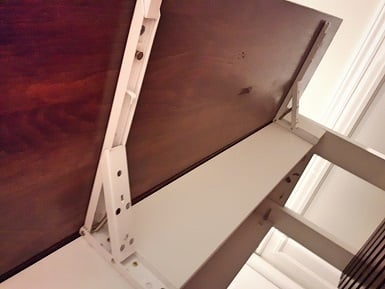
Modified the Rhyan Coffee Table plan for a square, 4-foot by 4-foot coffee table. Used poplar 1 x 3s glued together and then planed down to 2.25-inch square for the structural members. The stained wood portions are glue-ups make from Hemlock 1x 6s from Lowe's.

Estimated Time Investment
Week Long Project (20 Hours or More)
Finish Used
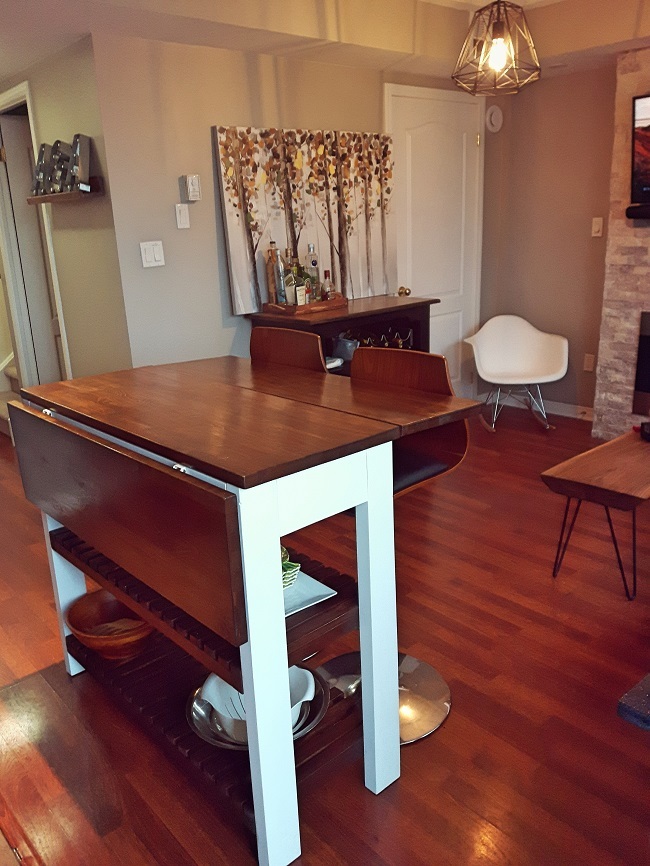
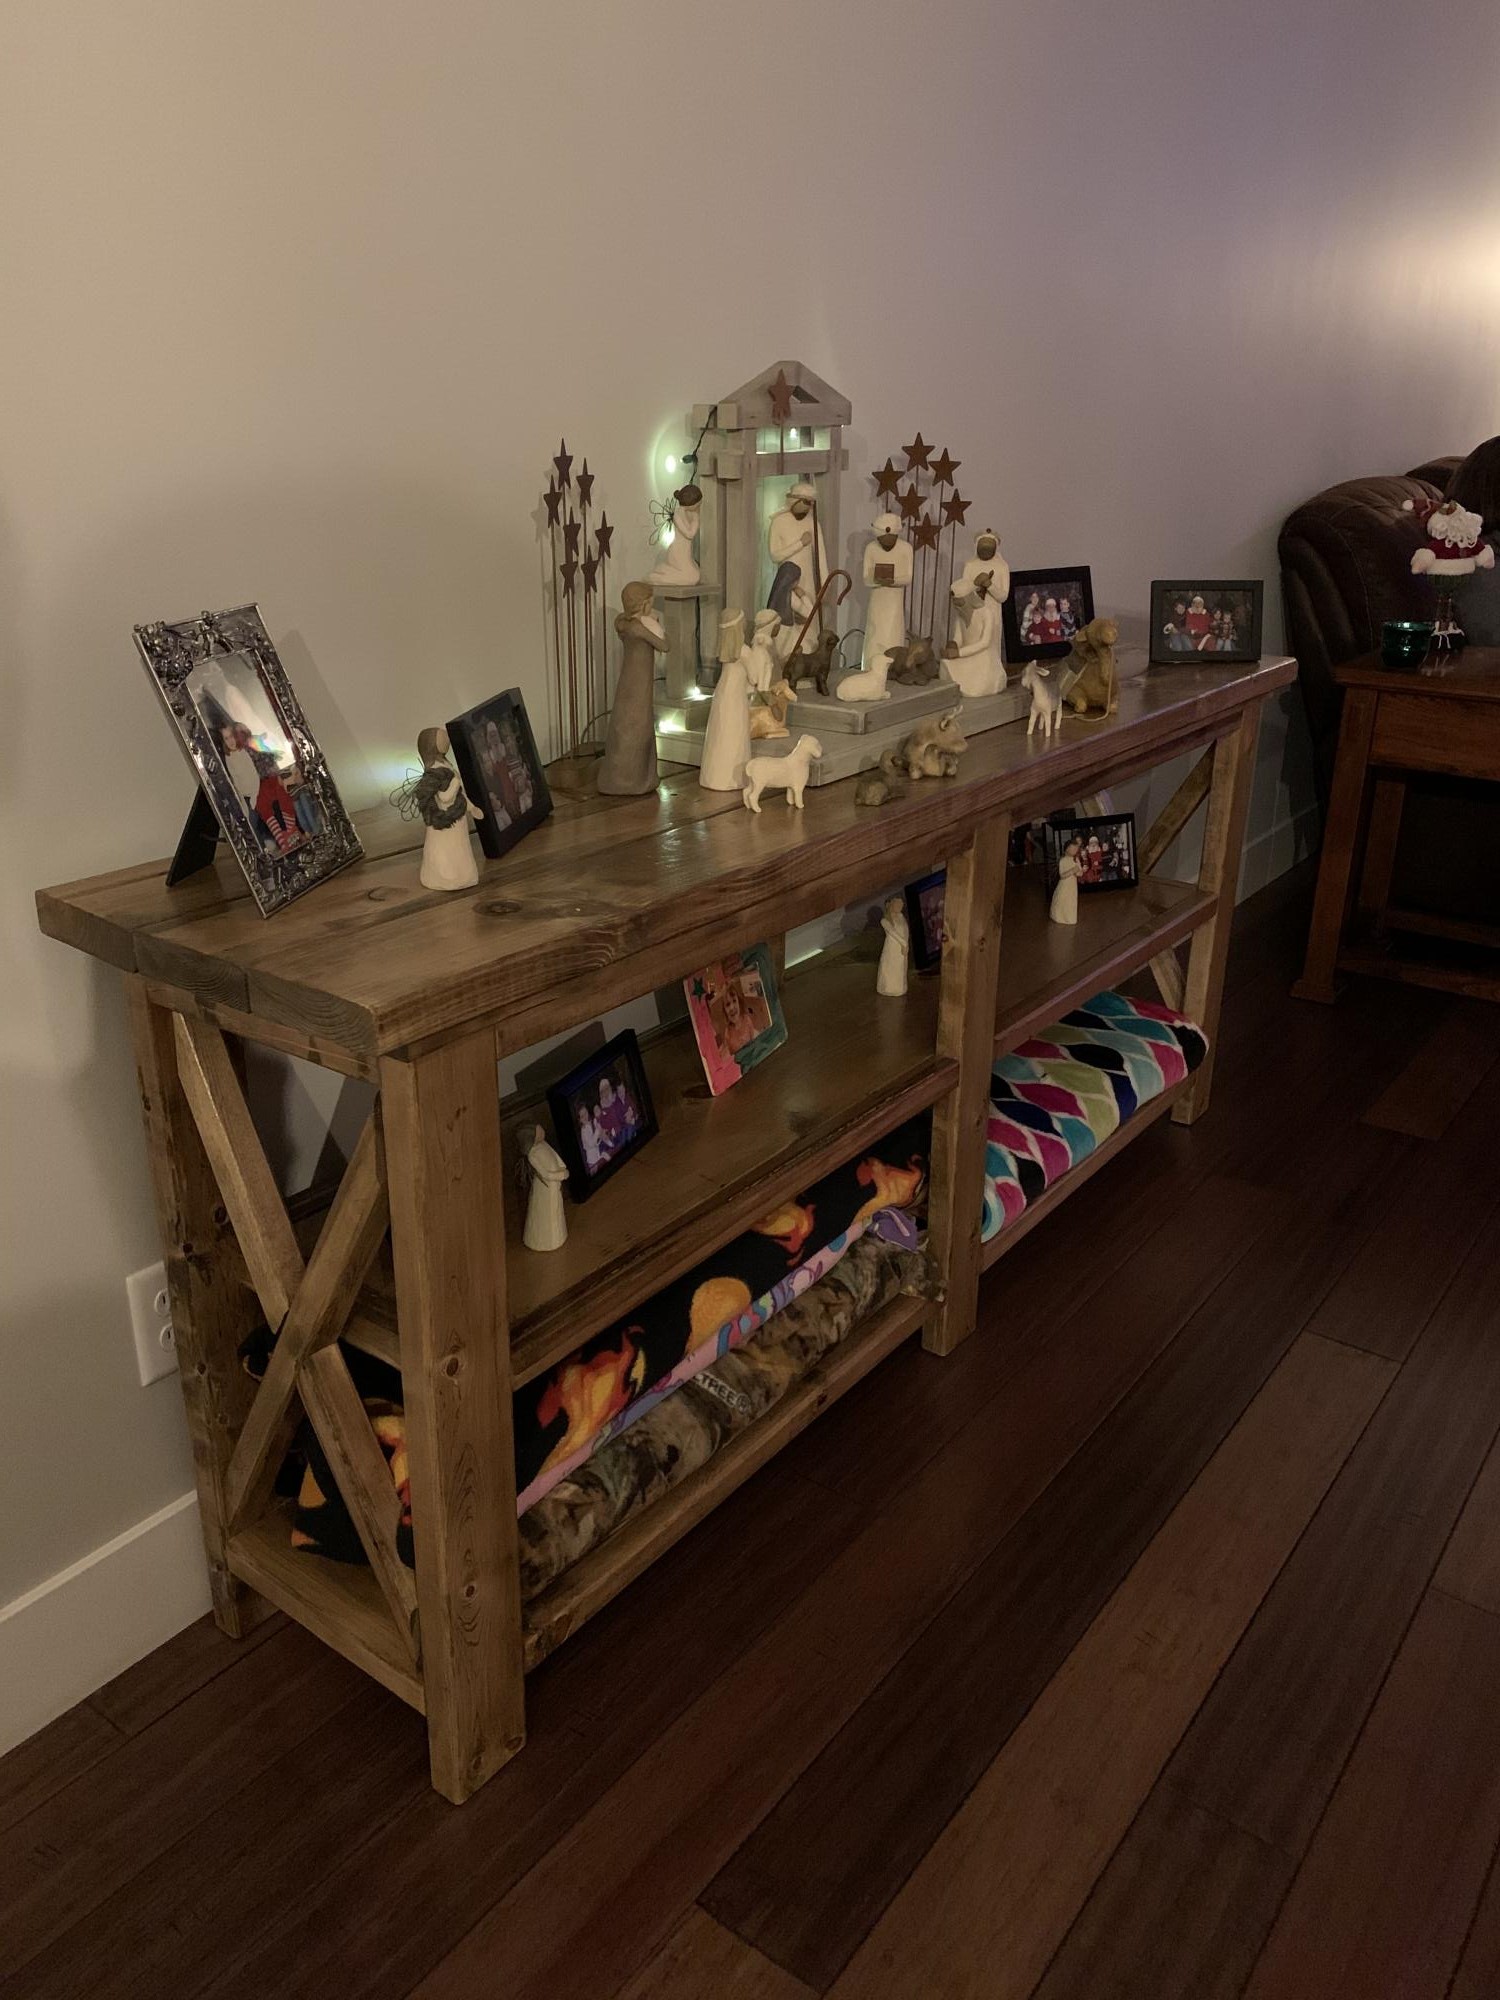
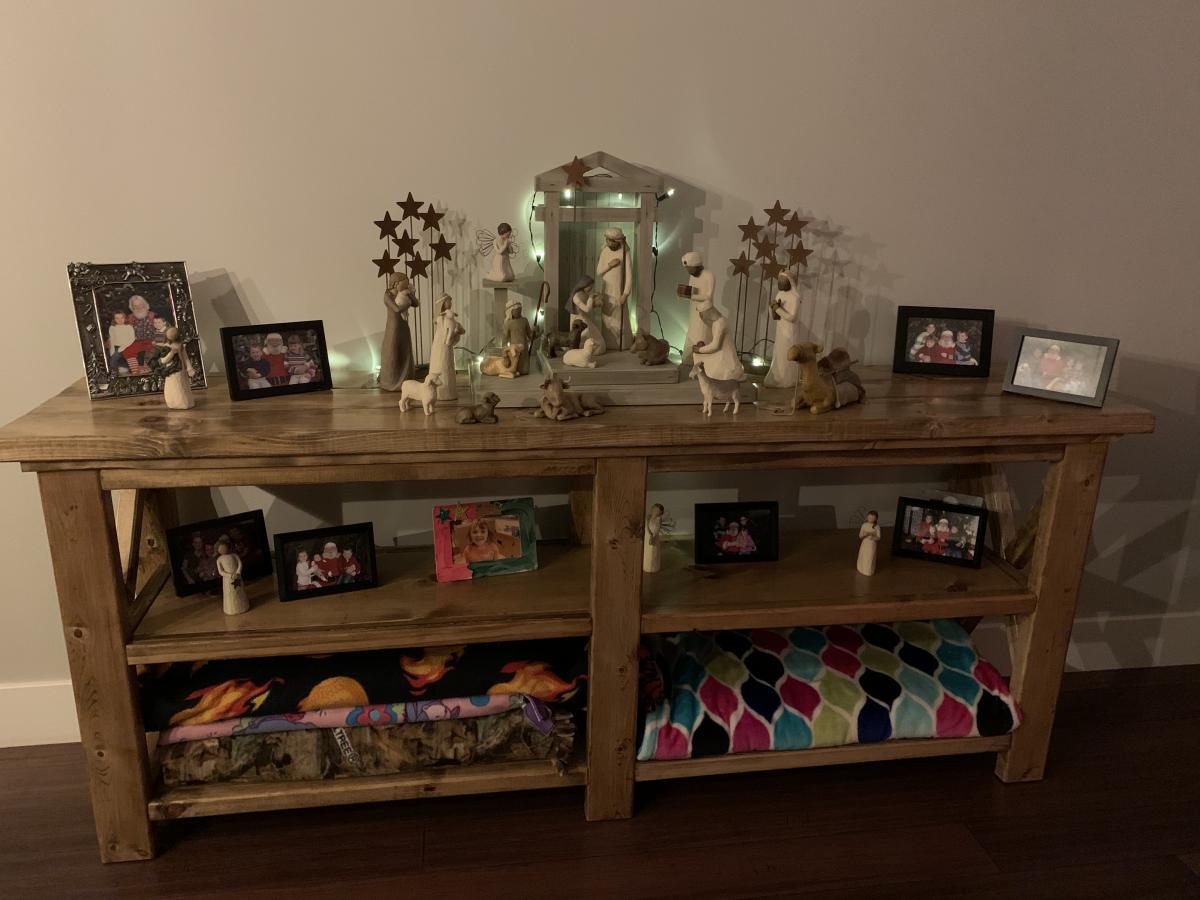
The paint is a color match from Sherwin Williams of a chalk paint from Valspar call Kid Gloves. The stain is leftover from the builder of our house and is the same stain used on our stair railings. Drawer pulls are off the shelf from Home Depot.
Recommended Skill Level
Intermediate


Comments
Ana White Admin
Thu, 11/26/2020 - 10:52
Pretty!
These look fantastic, love the finish!