Farmhouse Console Table
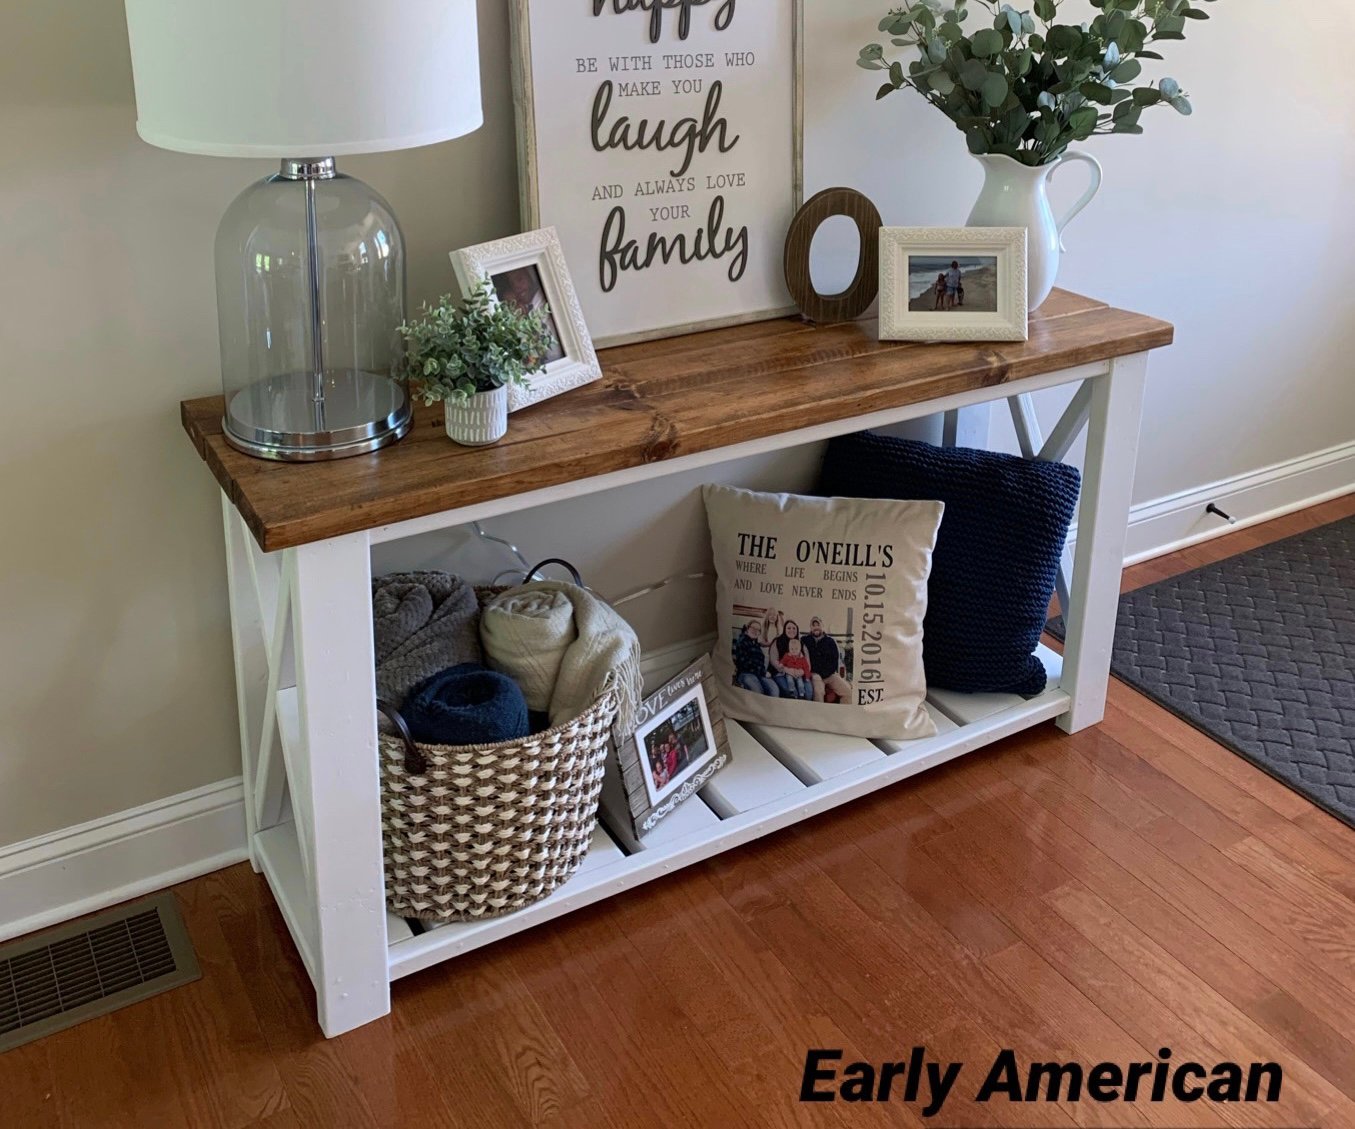
16.5” depth, 60” length , 30” height. White Satin frame , Early American Minwax Stained Top/3 coats poly satin clear coat .
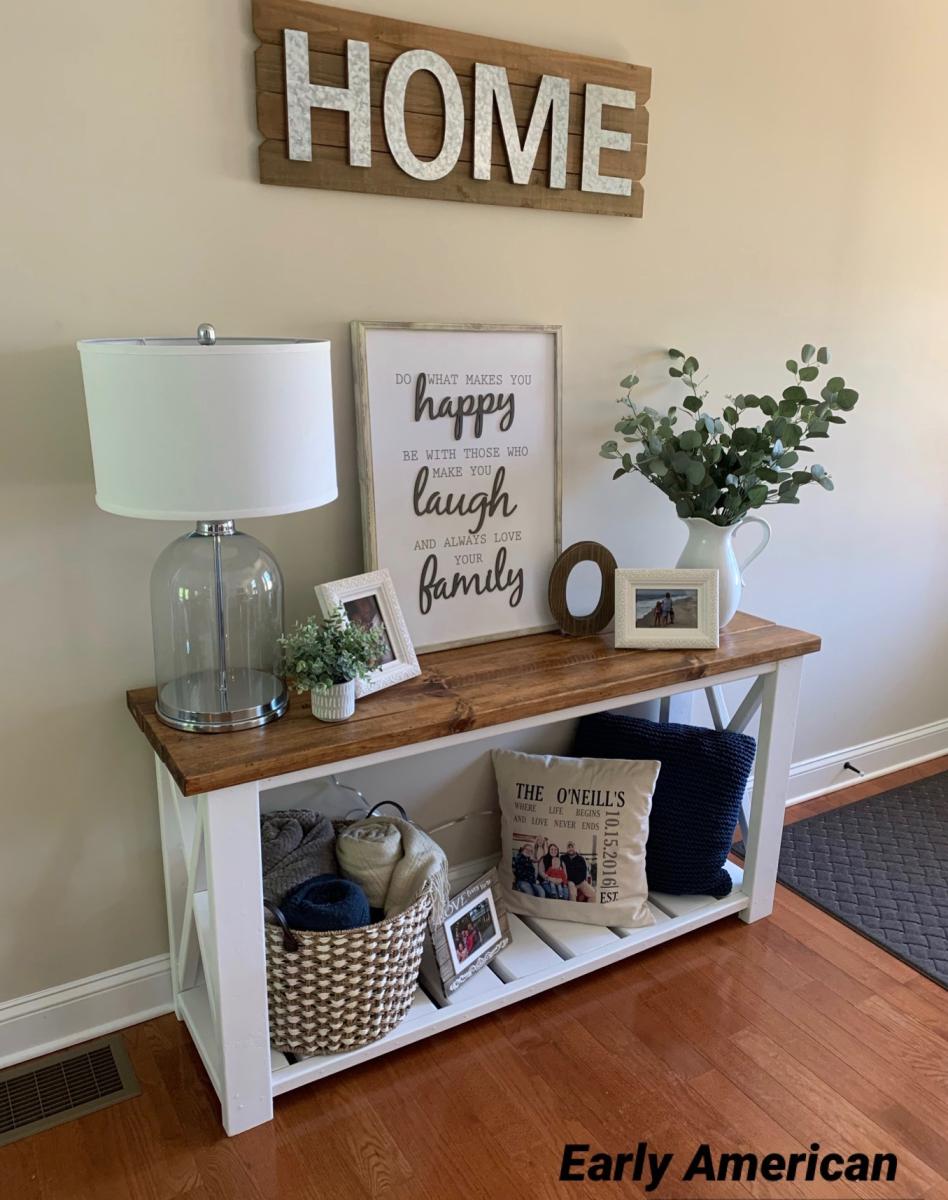
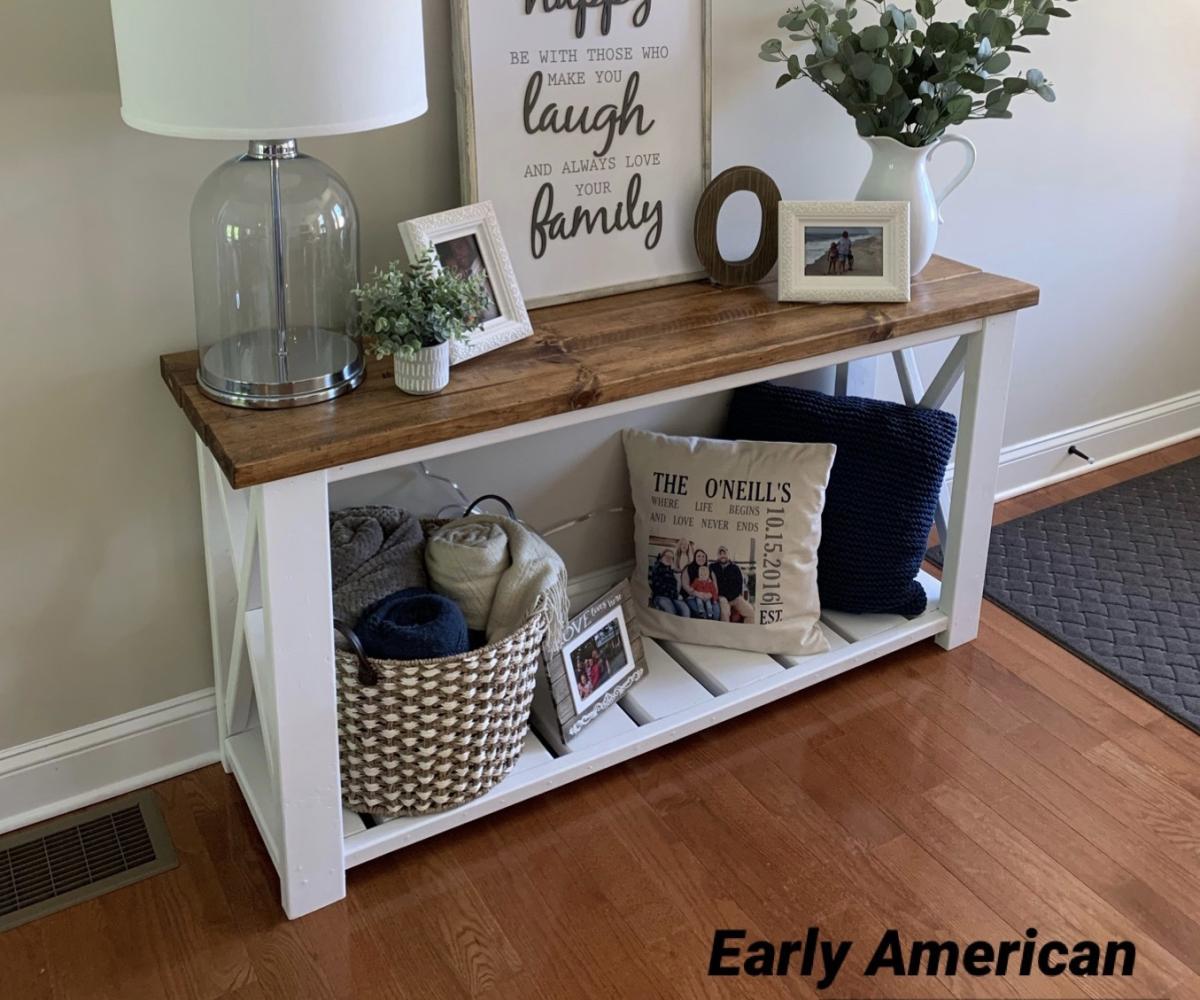

16.5” depth, 60” length , 30” height. White Satin frame , Early American Minwax Stained Top/3 coats poly satin clear coat .


I’ve built the greenhouse for your plans, but I love it.
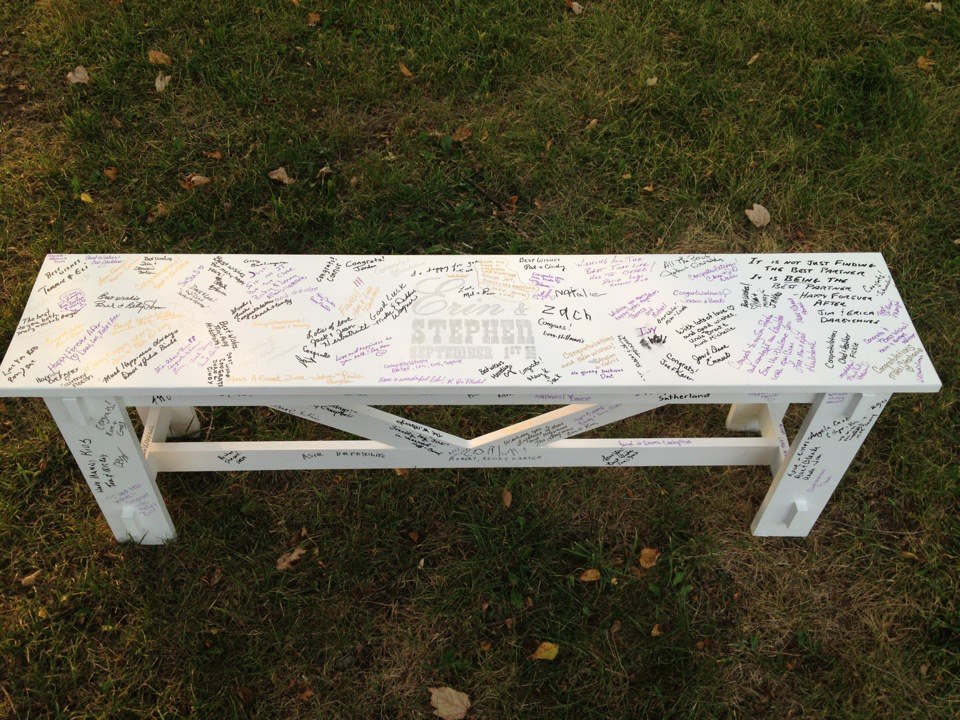
I really loved what brookifer86 did with the Rustic Bench plans here: http://ana-white.com/2011/03/rustic-bench-wedding-guestbook. When my daughter got engaged last fall, I knew that this would be a great wedding gift for the new couple.
It was helpful to read several times through her posts and followups. It took longer to come up with the name design than it did to build the bench, so give yourself plenty of lead time on this part. I was able to create the graphic in PowerPoint and enlarge it on my computer screen so that I could tape paper on the monitor and lightly trace the design for transfer to the bench. My husband suggested the addition of a princess crown over our daughter's name just for fun.
Thanks for the tip to use paint pens instead of markers. I made a sign at the reception with spare paper to alert people to shake the pens and give them a spot to test before writing on the bench.
I am doing a test with a spare painted board and the pens to make sure the application of the poly finish does not smear the signatures before sealing the signed bench.
Many thanks for the idea, Brooke, and thanks to Ana for the great bench plan!
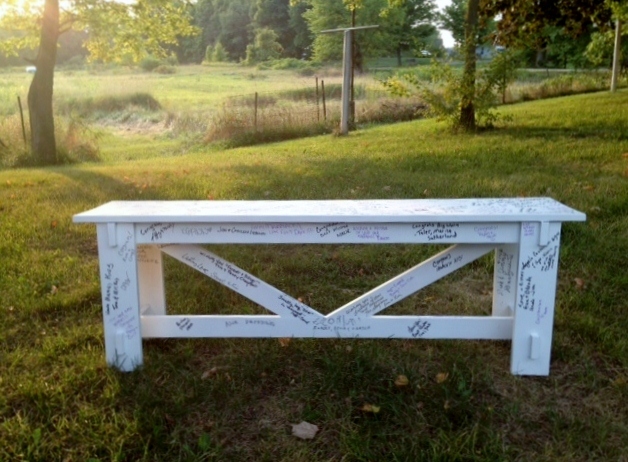
Sat, 09/08/2012 - 14:26
Oh my goodness, it looks so good! I'm so happy that someone else gets this awesome bench to look at forever ;) I know we totally love ours and it's one of my favorite builds in the house. Definitely test your finish, though, because I used ModPodge (horrible idea) and it's already yellowed in spots :( I'm hoping to figure out some way to salvage it and refinish the poly coat
Sun, 09/09/2012 - 16:32
Brooke, one of the comments on your posting from the person that used brown permanent markers and then had problems with the poly coat smearing gives me pause for caution. Too bad about the ModPodge yellowing. Everything that I have read so far does not indicate yellowing as a problem with it.
Don't feel bad, even the Minwax Polycrylic website for that product states "Because slight ambering may occur, spot test on an inconspicuous area and let dry to ensure satisfactory results." Because of that, I am leery about using it for my white painted bench.
I am testing Rust-Oleum’s Painter’s Touch Ultra Cover 2x Clear - initial results shows it going on clear and not smearing the signatures.
Sat, 02/16/2013 - 16:55
What a great idea! My niece is getting married in July and I think I might do this for her. I was just curious what your results were with the Rust-Oleum clear coat? Or if you found something that didn't end up yellowing?
We loved the look of the farmhouse table, and I actually helped a friend build an even bigger version for his house a couple years ago. But we needed a smaller version for our new house. So with some minor alterations, we got an awesome table and bench that fits our space. The whole thing was about 150 for hardware and lumber and finish.
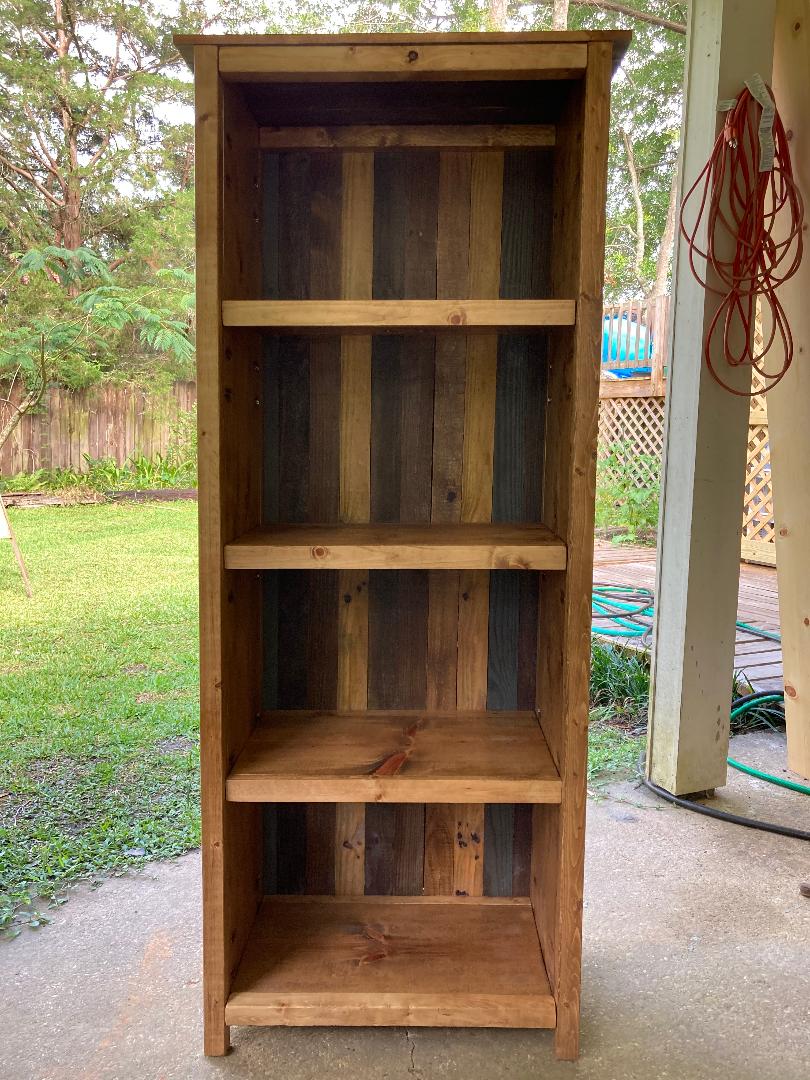
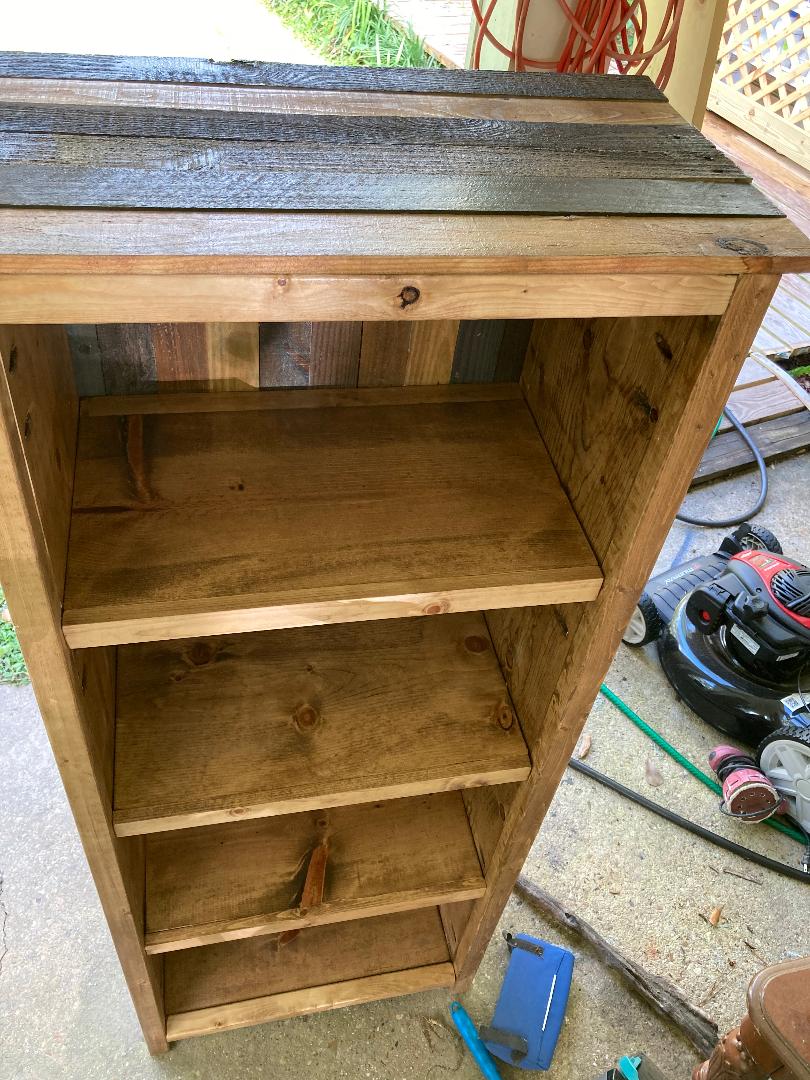
I really love to use old fence pickets to give projects a feeling of old meets new and I also enjoy using differnet stains next to each other. I used these great plans and then stained fence pickets pieces(ripped to 1 7/8" ) next to each other for the back and top. I am really happy with how it turned out.
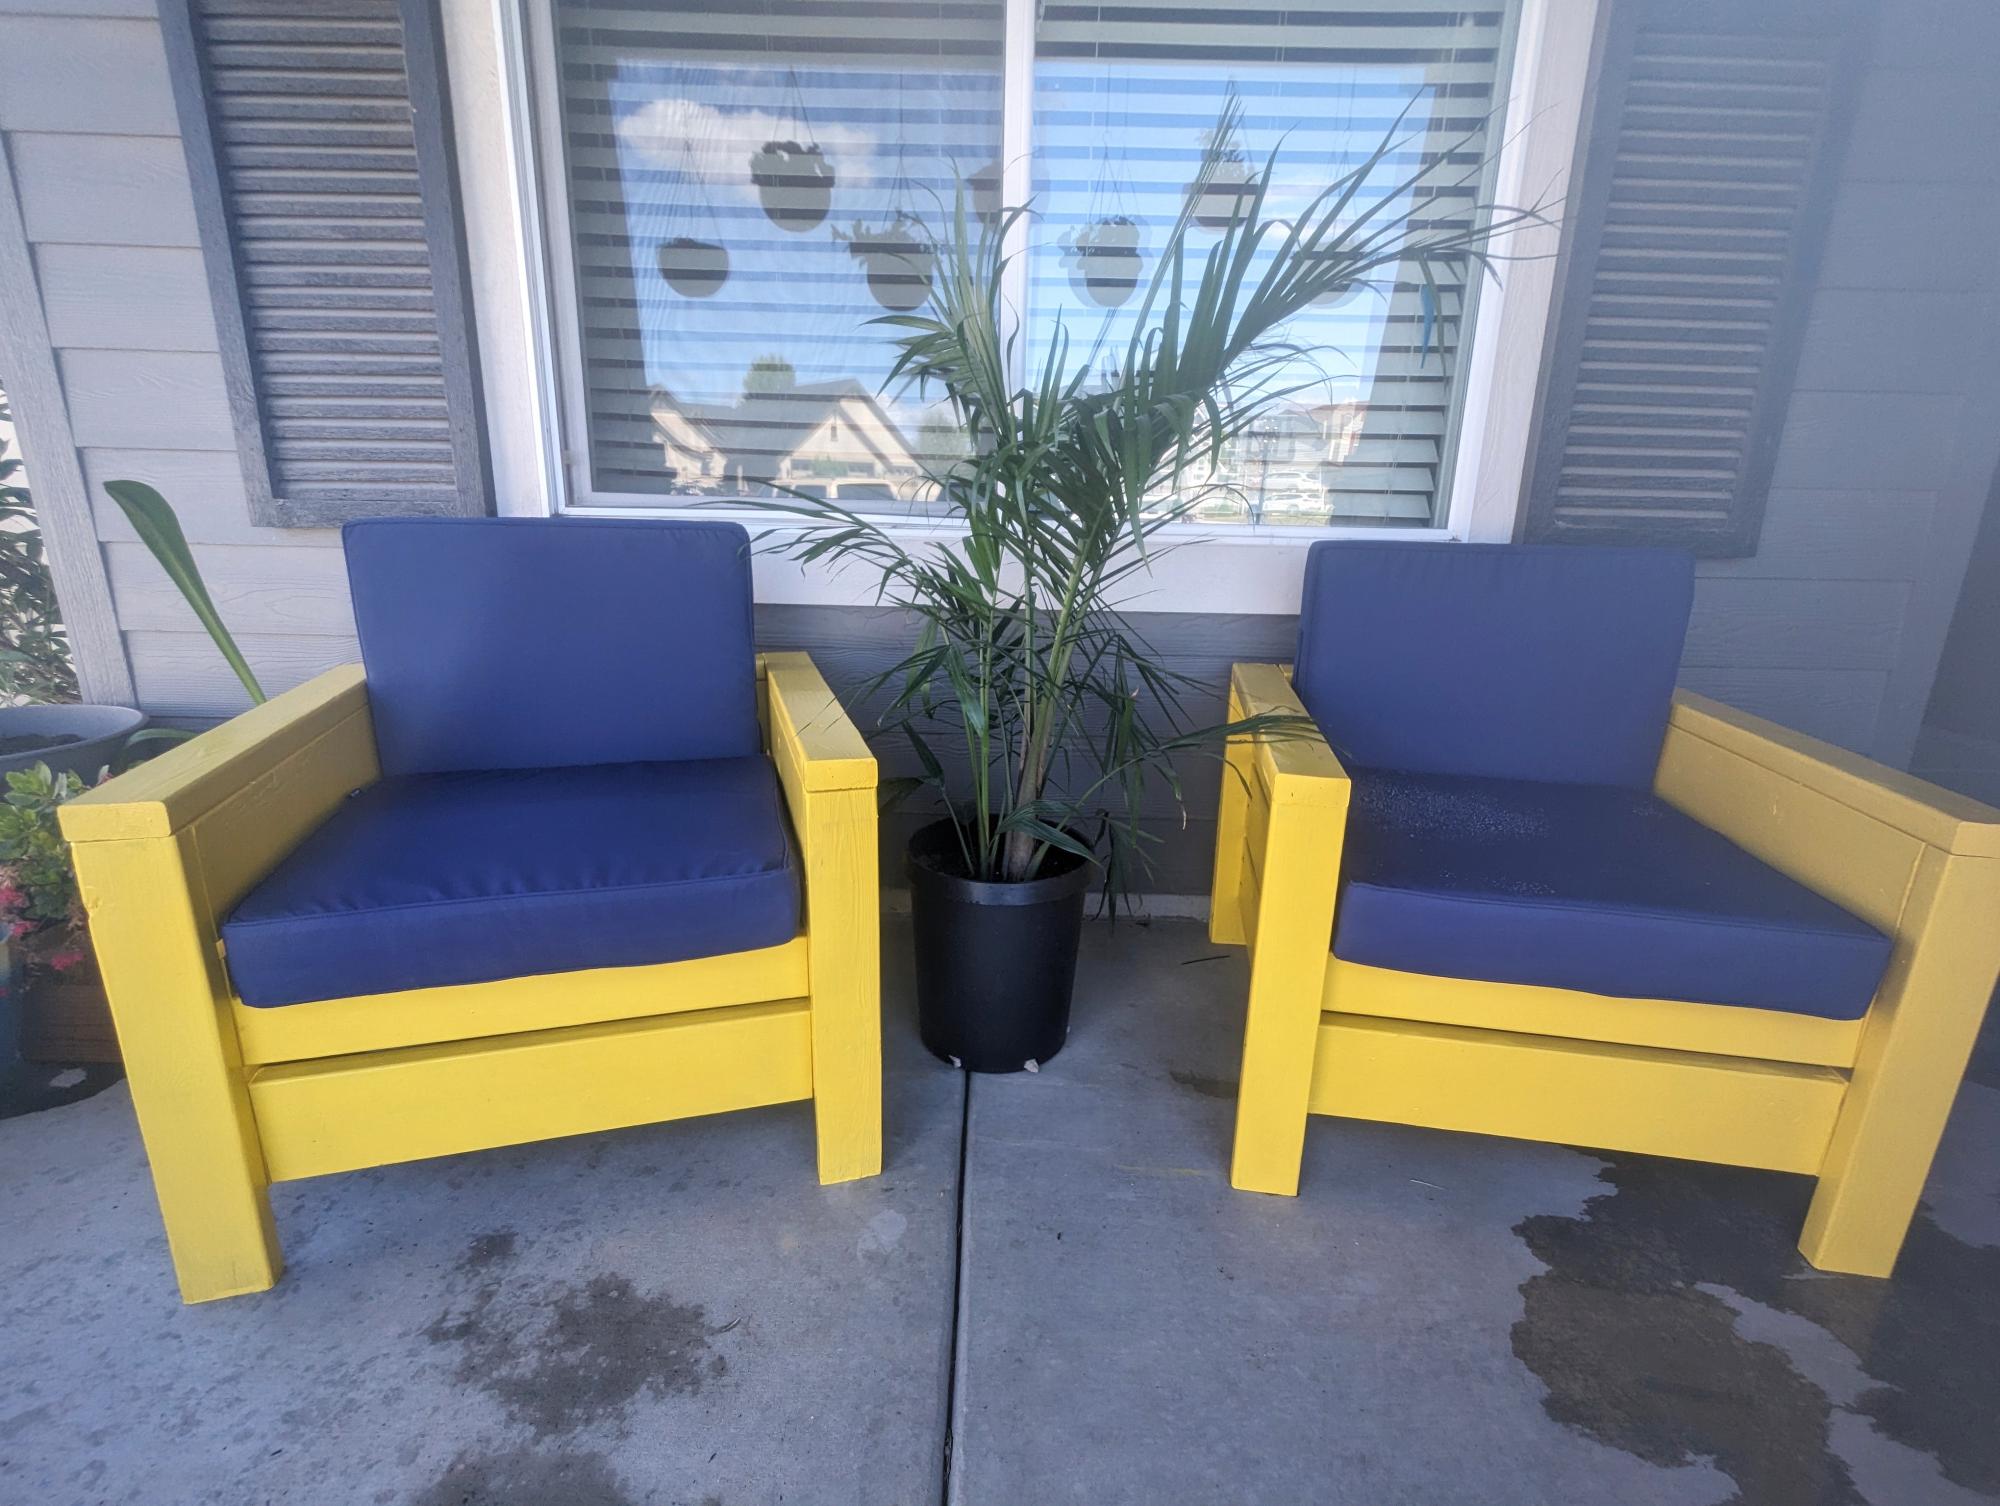
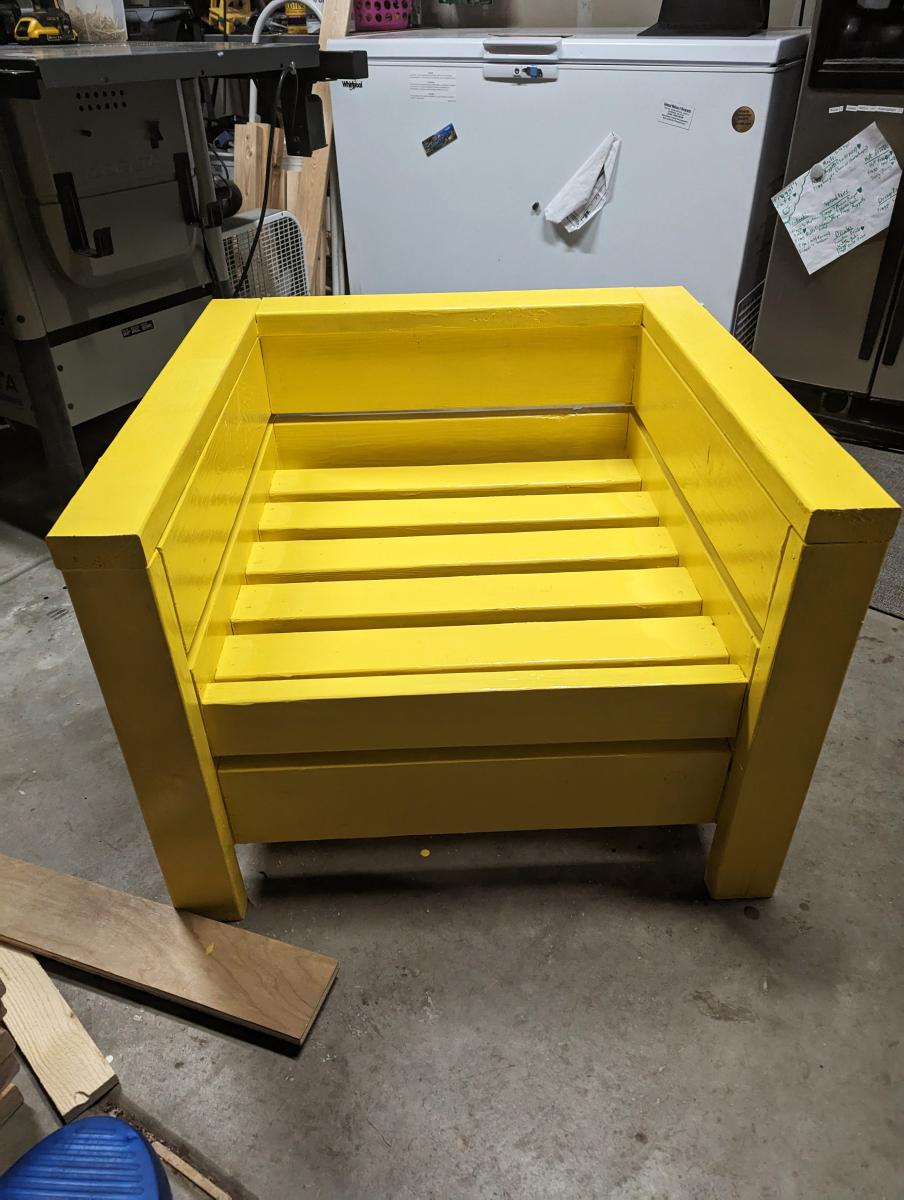
I chose to use your plans for the "Modern Outdoor Chair from 2x4s and 2x6s" and it turned out great on our front porch! Now we have a new place to chill in our chairs among our plants in the shade on summer days!
David Herrin

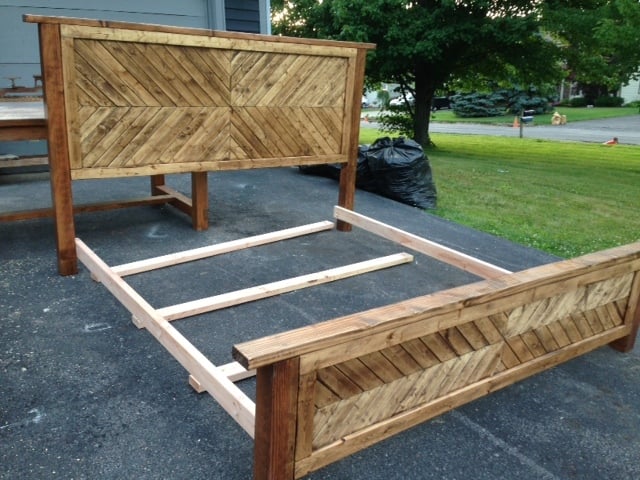
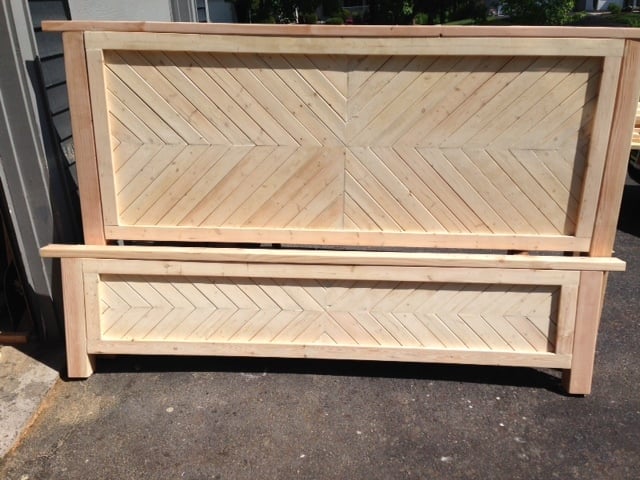
My daughter has a farmhouse themed room. This bed fits righting into the decor, with the sideboard forming part of a chicken coop that is painted over it.
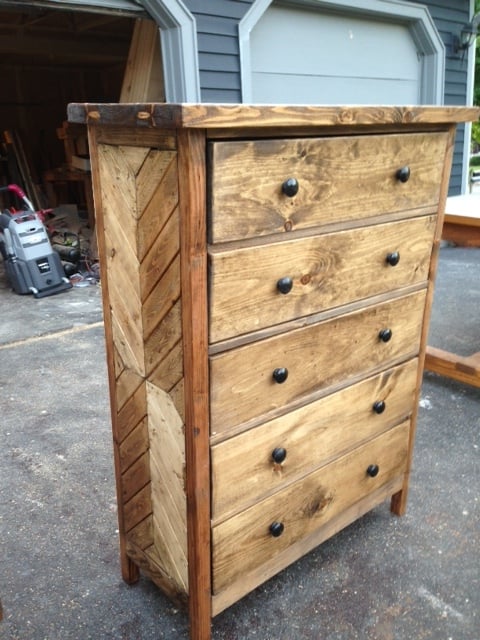
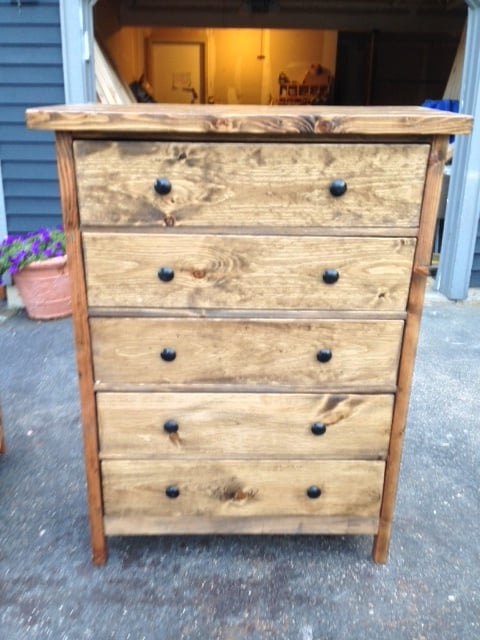
modified all 3 plans to sizes I needed
We needed a mini kitchen for our guest cottage and the Grandy console was the perfect fit. I adjusted the shelf height to fit a mini fridge and microwave. Love it!
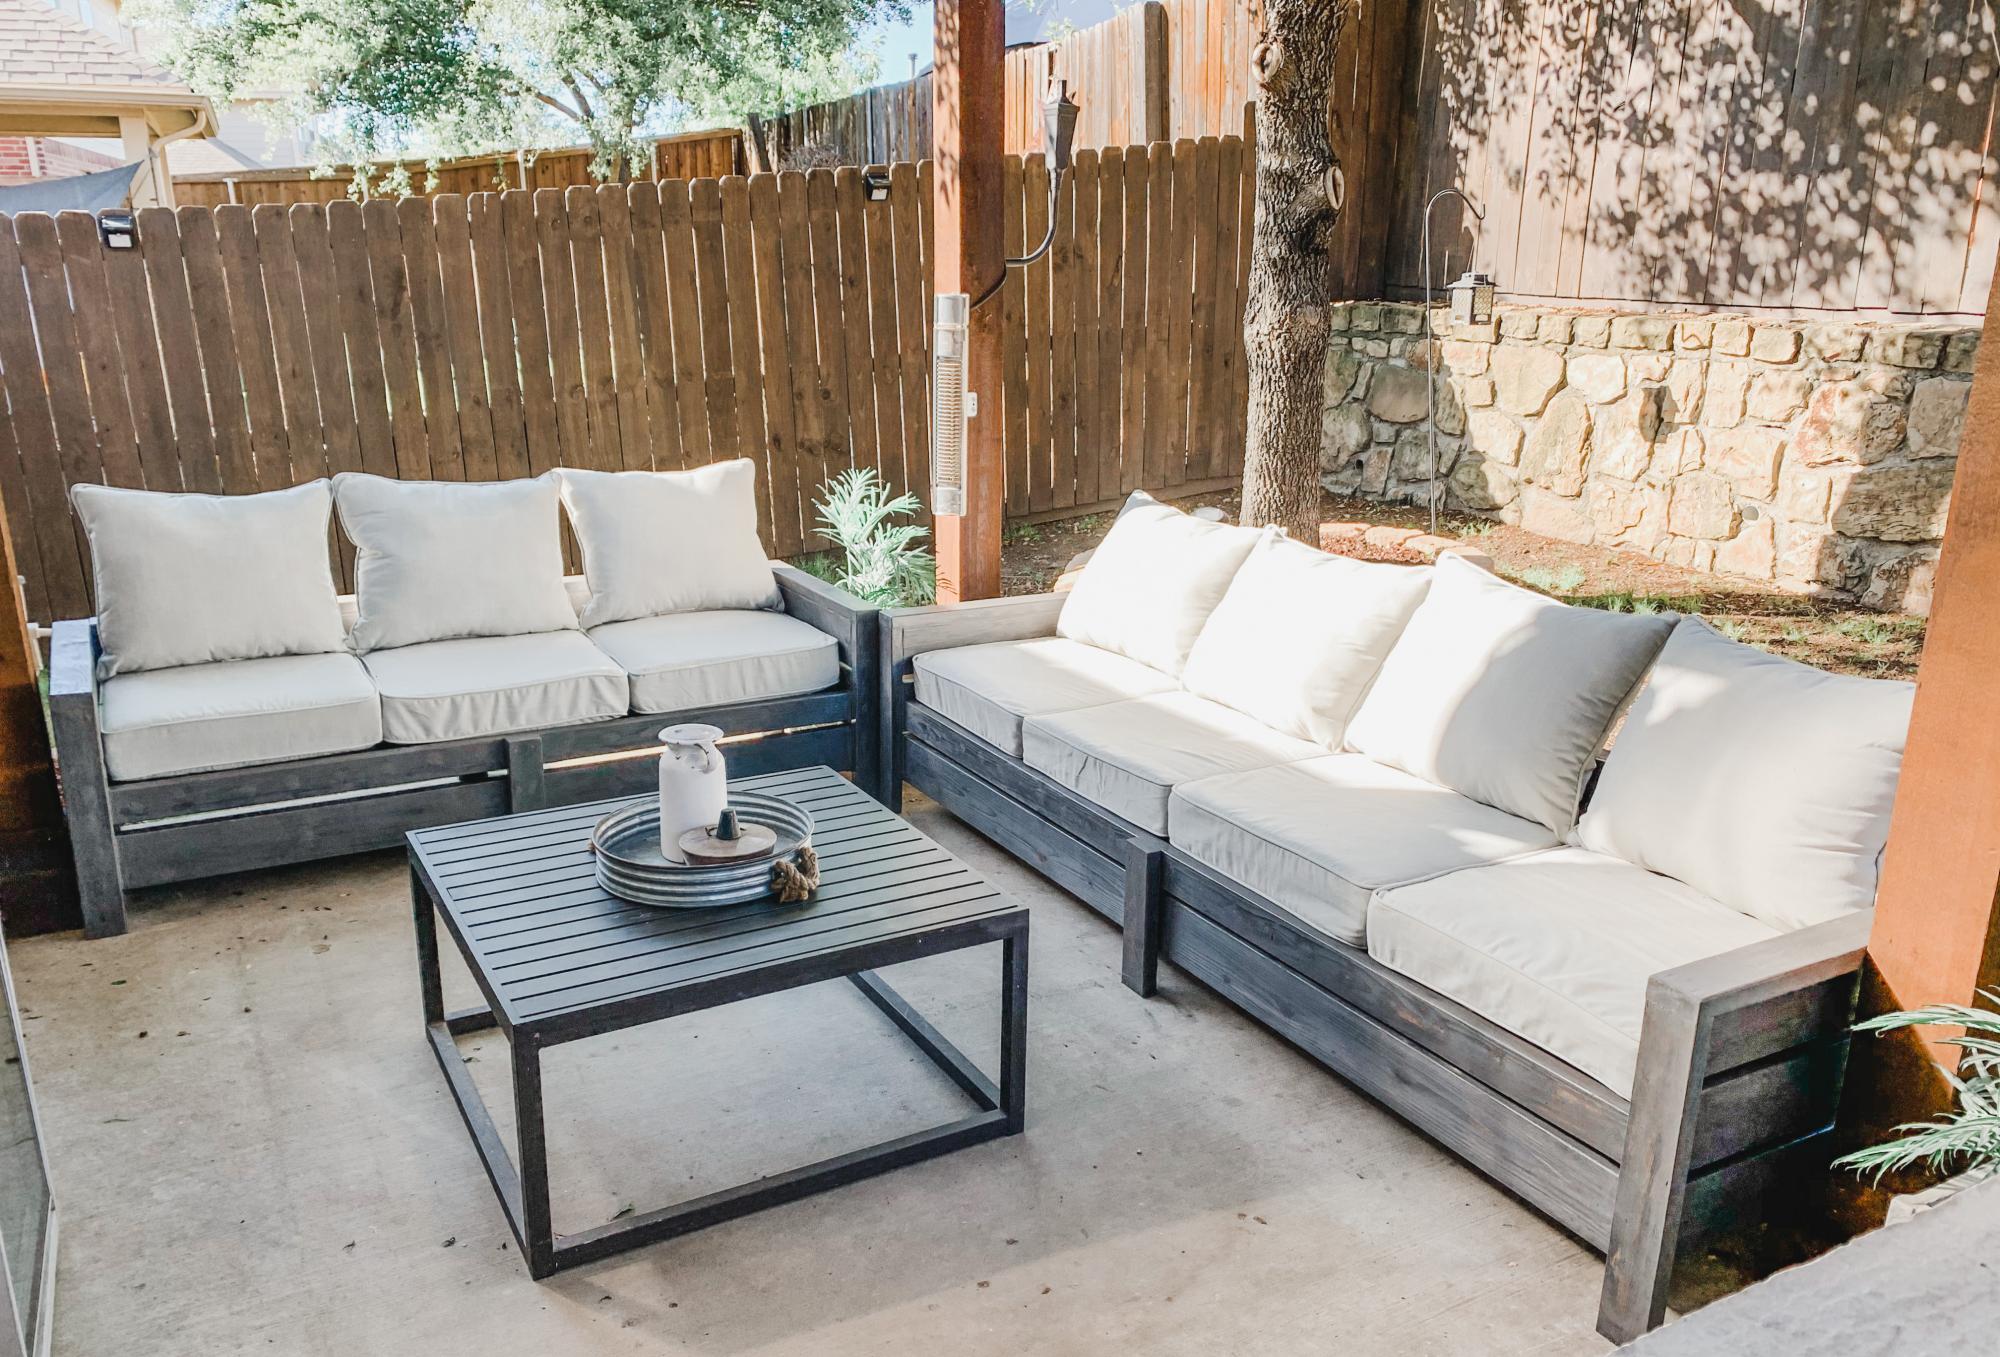
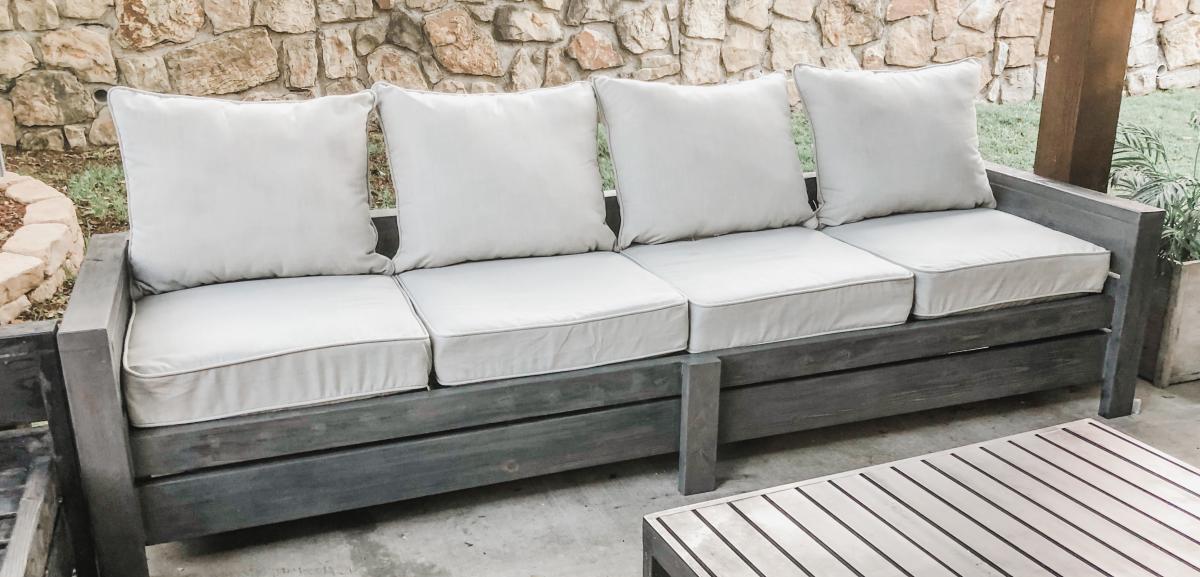
Modified the loveseat plans and created a sofa as well. No one that sees these thinks I built them. They look so much nicer than anything you can buy!
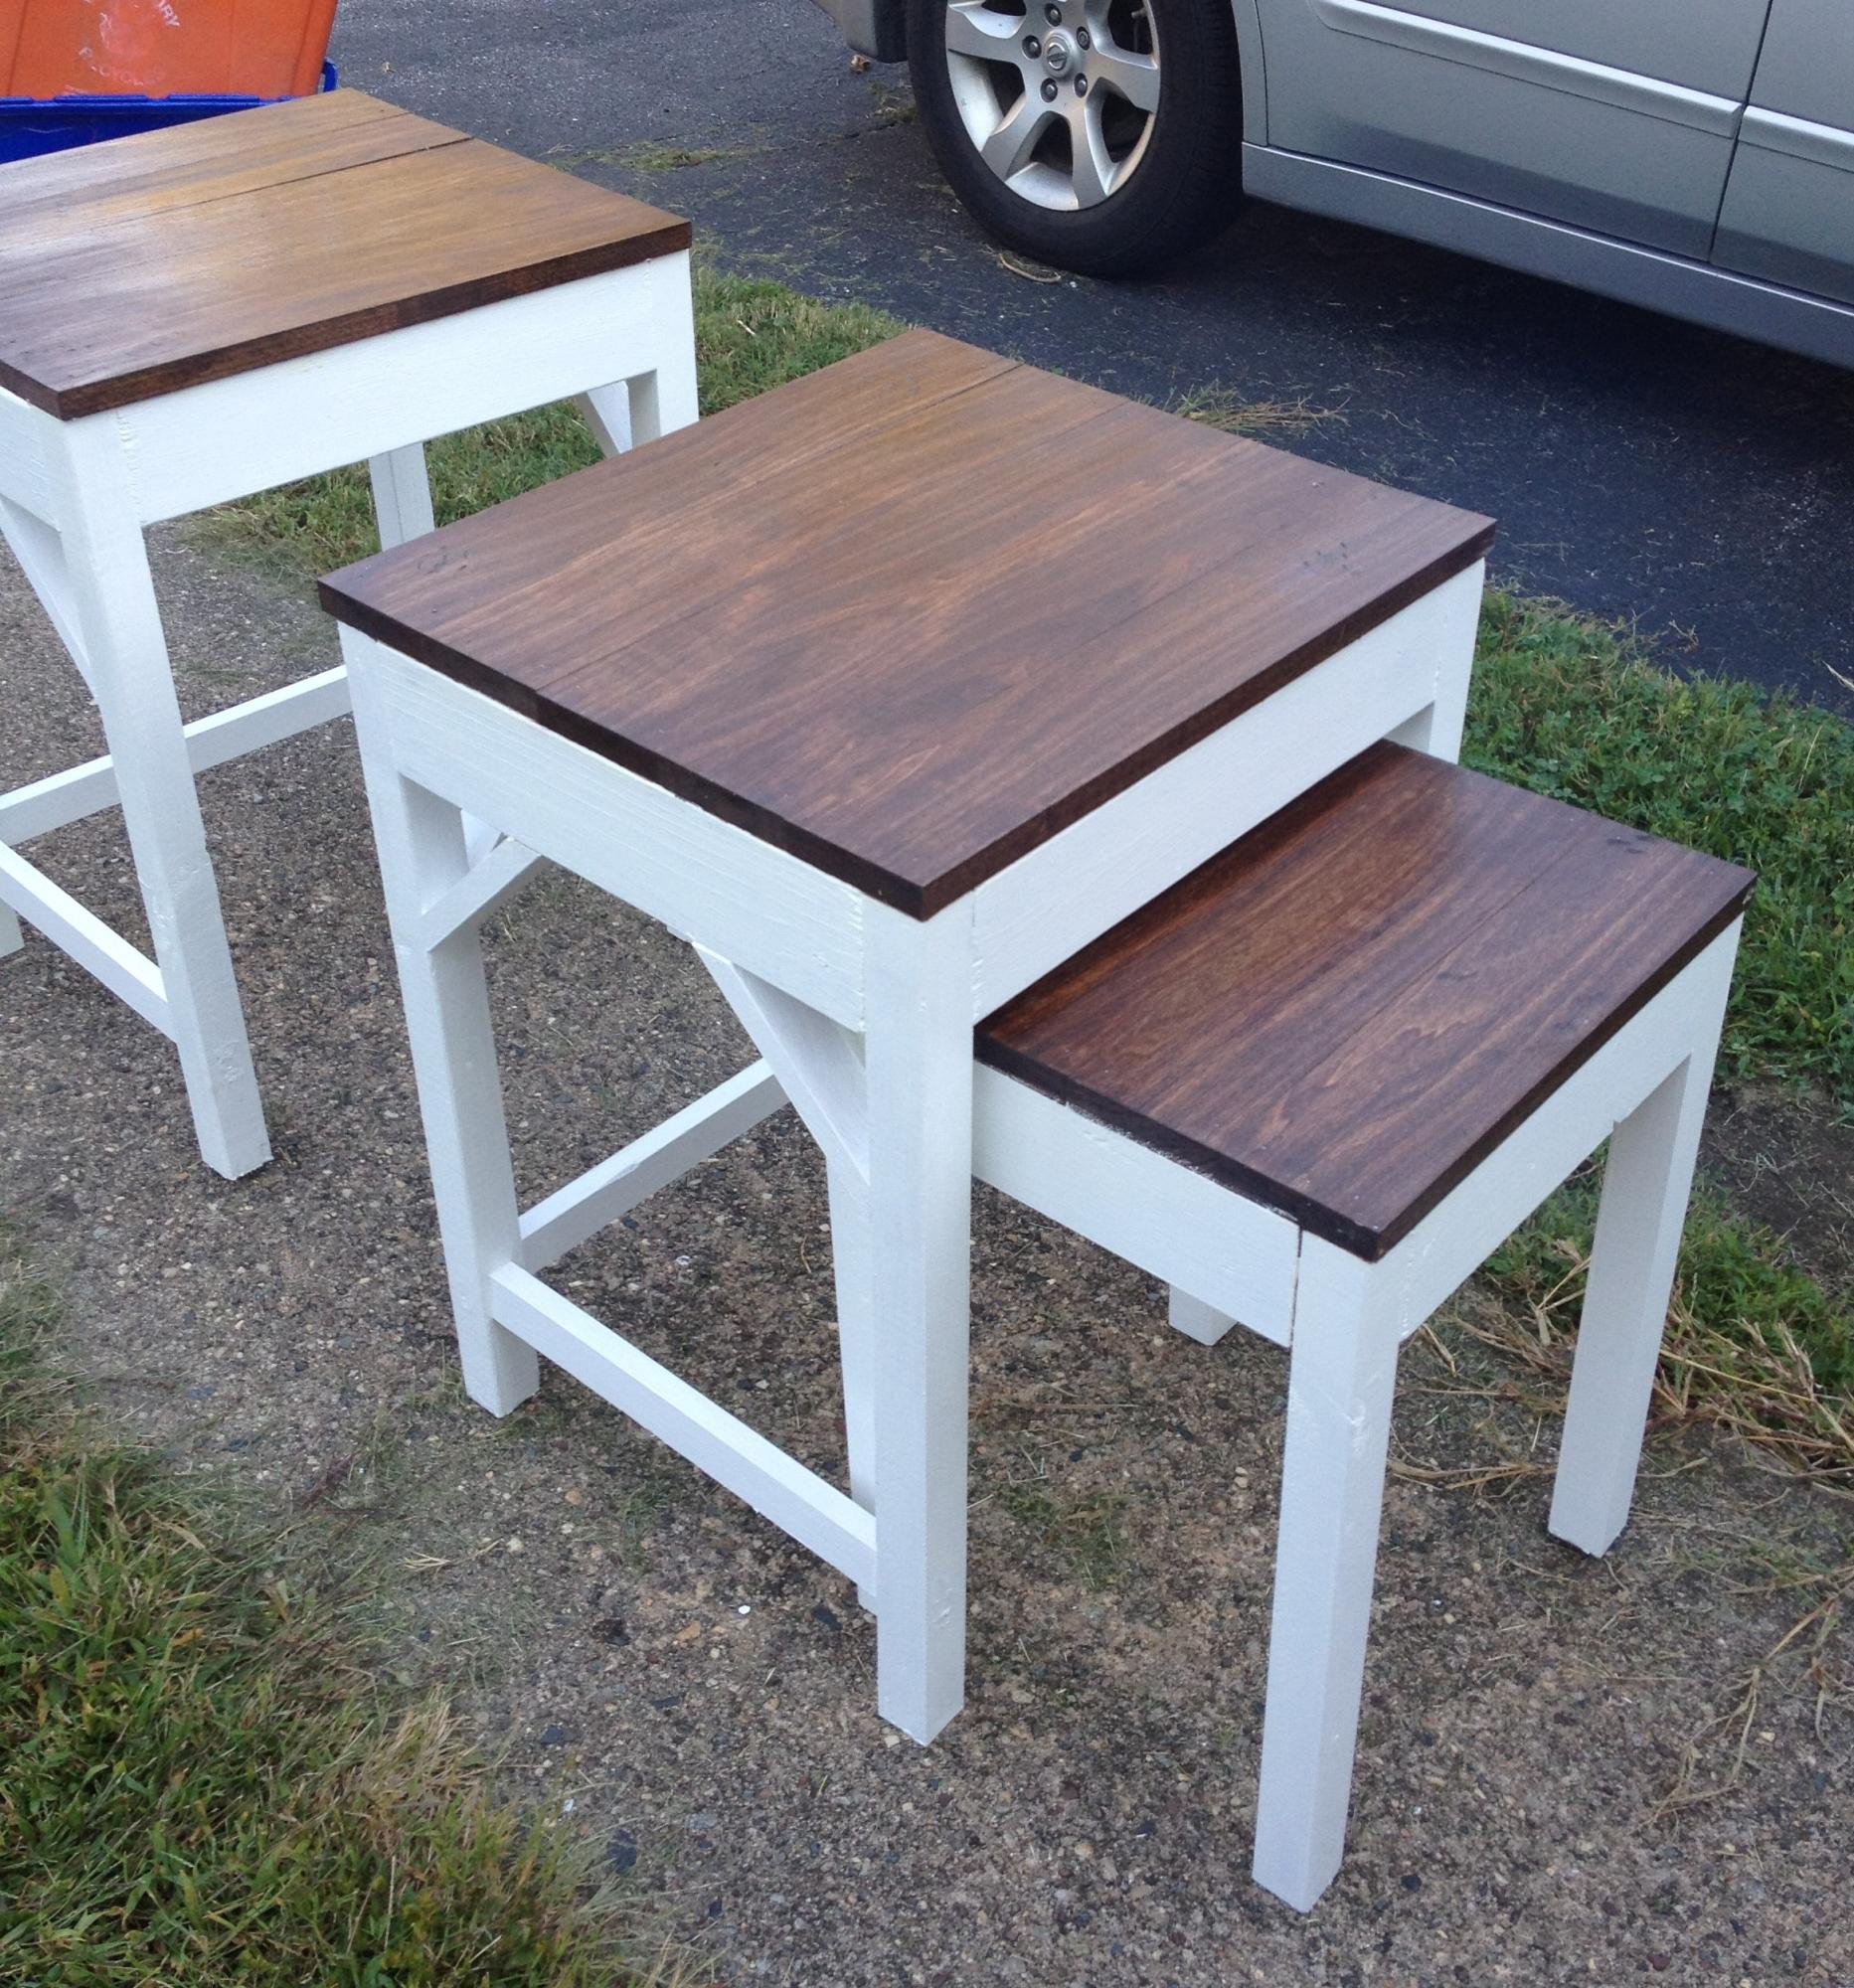
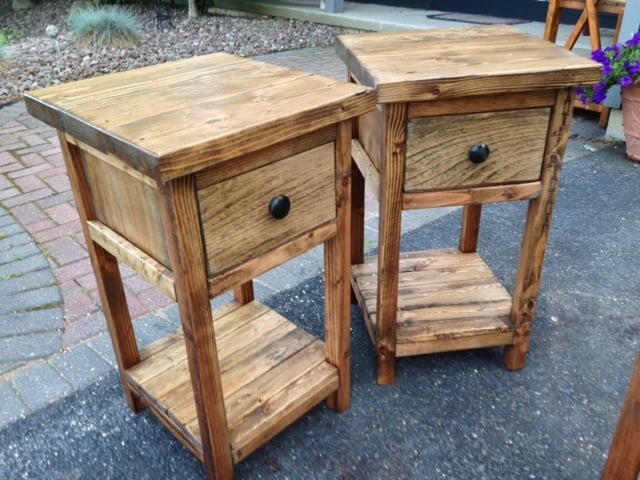
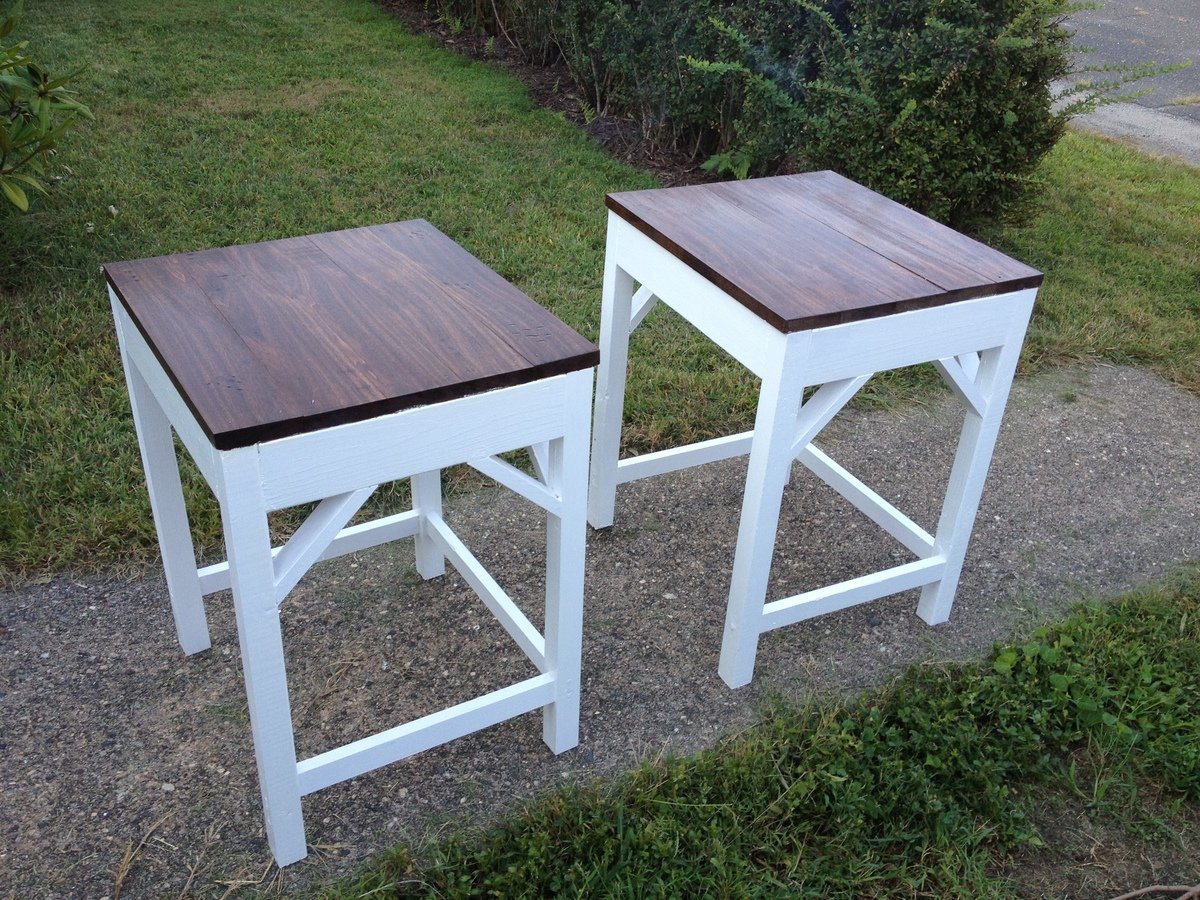
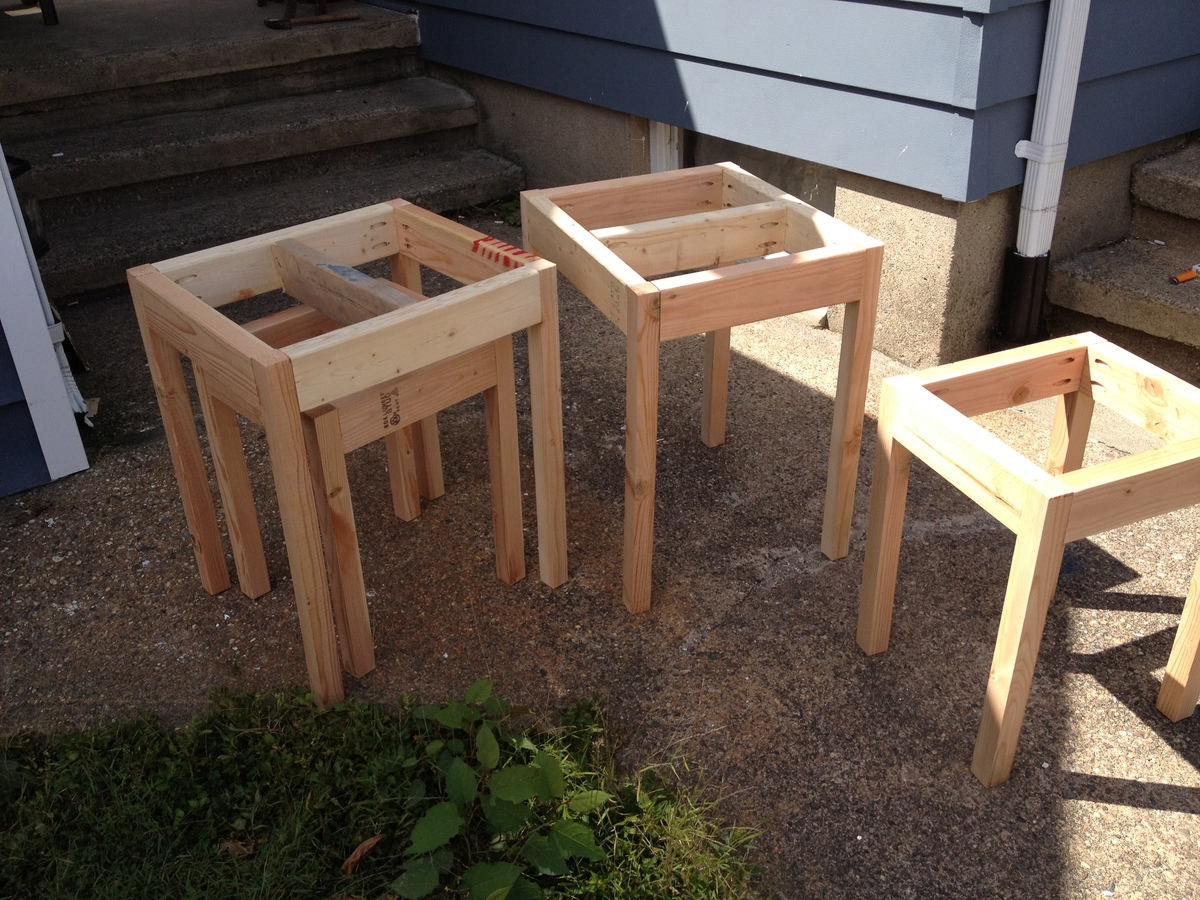
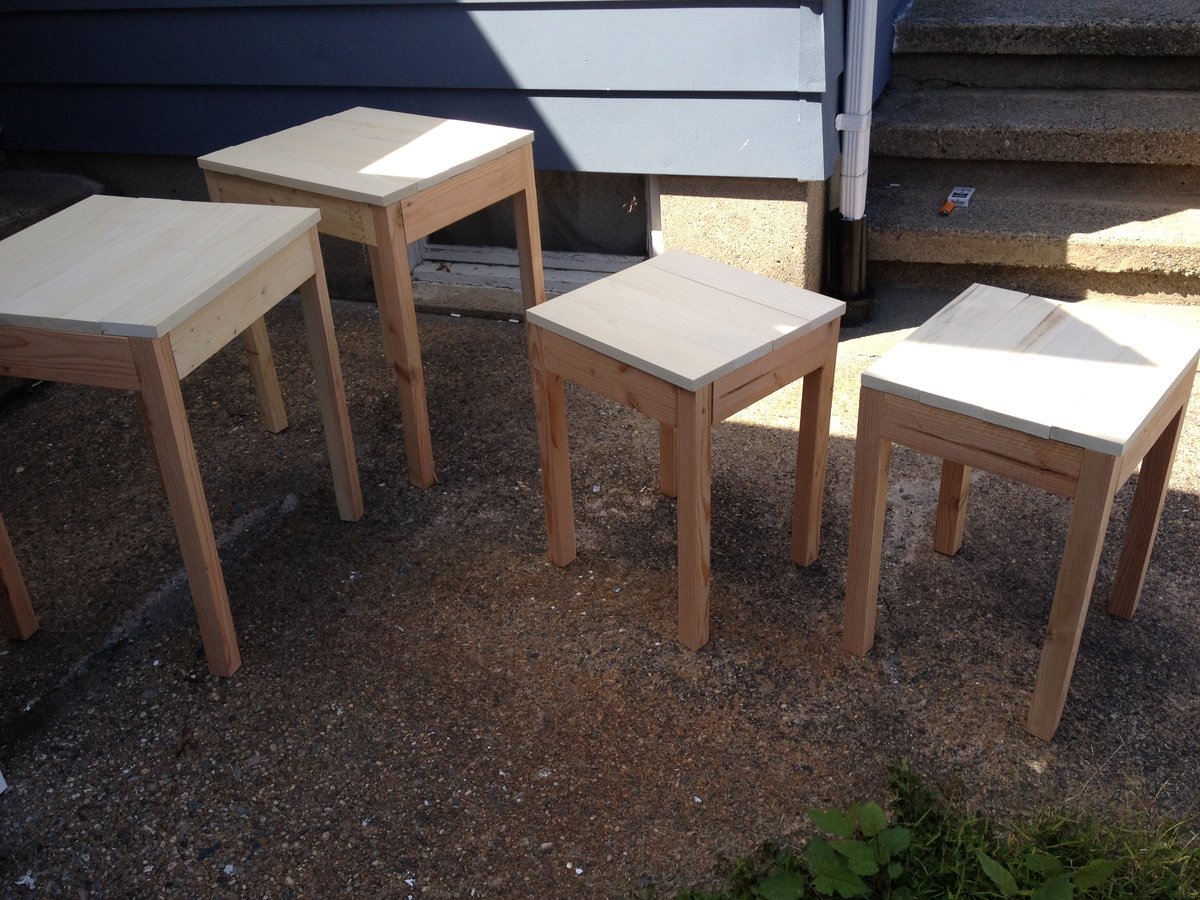
After building my new coffee table, I needed new end tables to match! I love that I can store the little tables underneath, or use them around the room during a party. After the coffee table, these were a lot simpler to build, though took longer due to the fact that there are four of them!
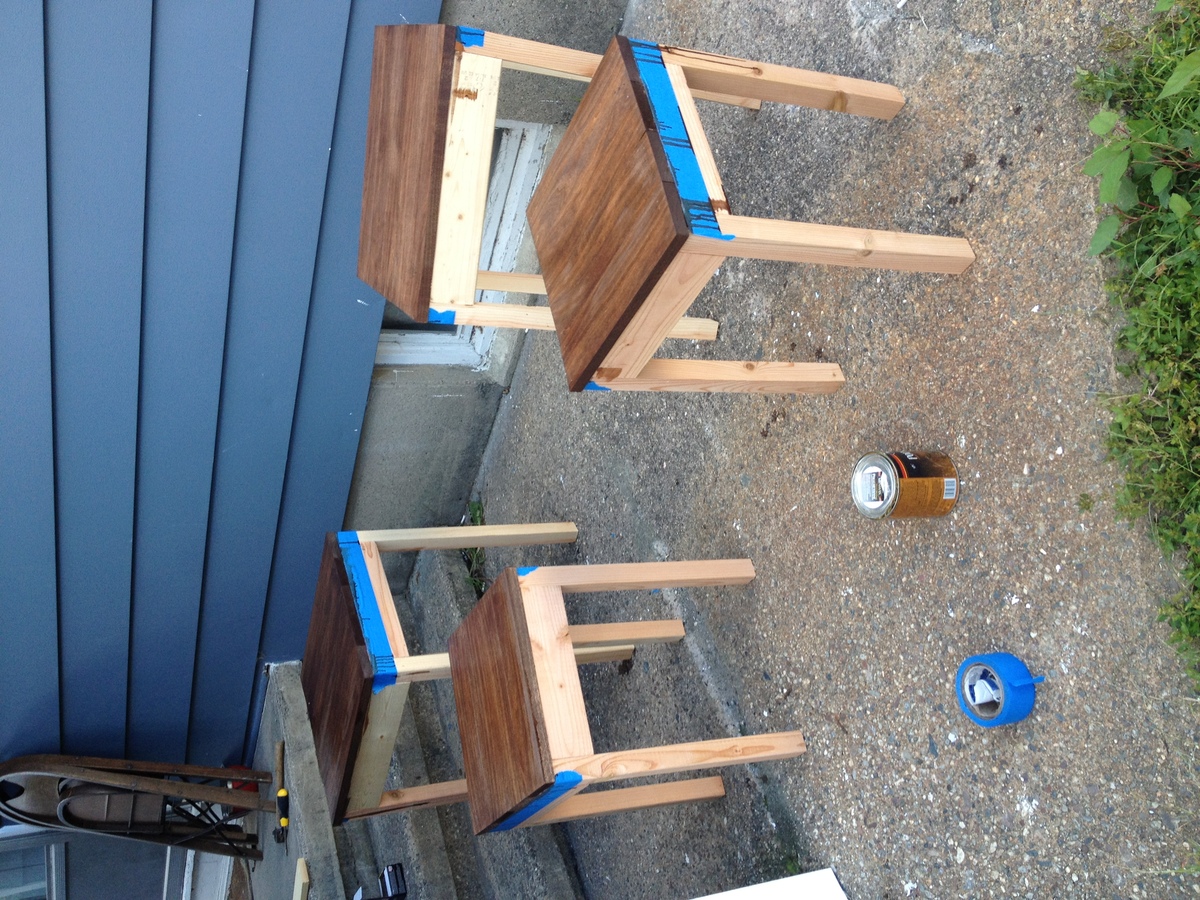
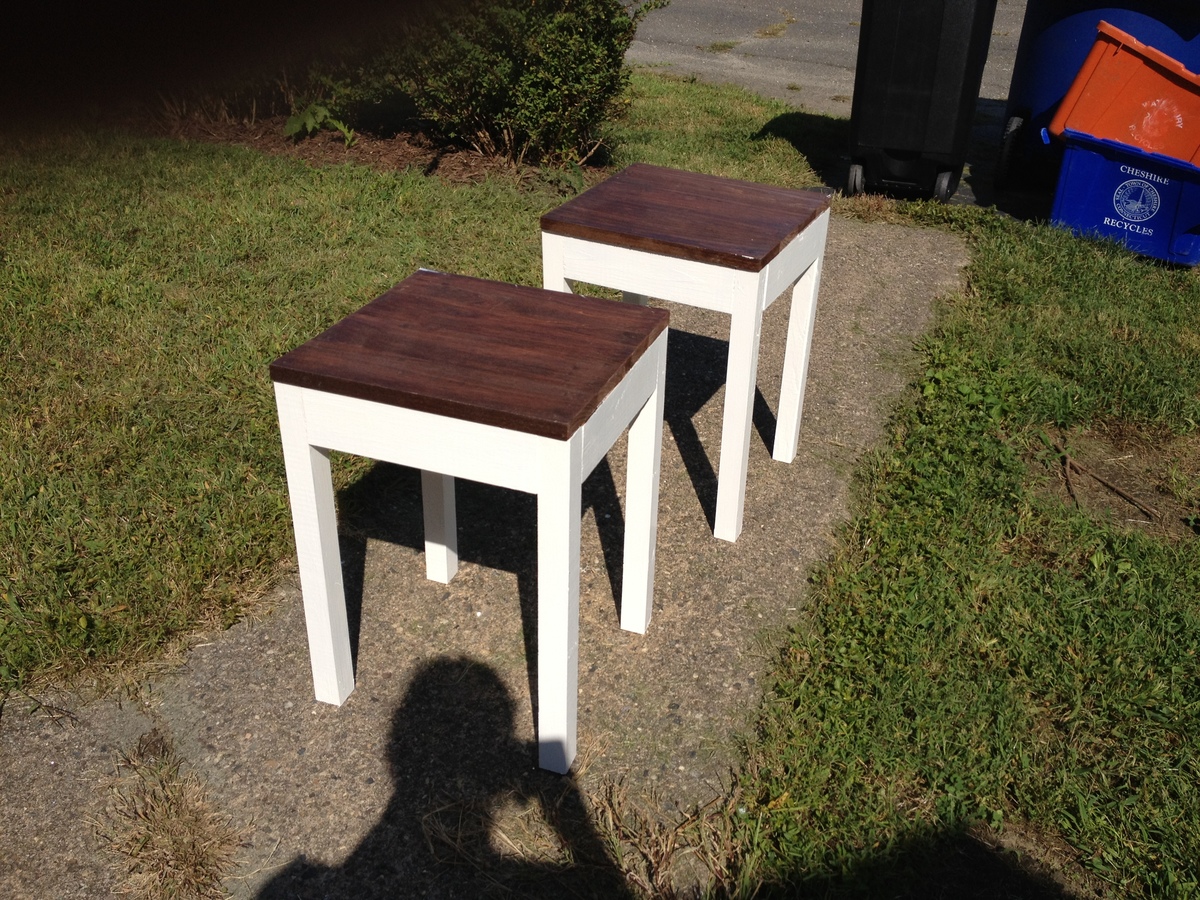
Sun, 09/16/2012 - 21:20
Hi, stain on your tabletops is beautiful - I was wondering what brand of chestnut stain you used? Thank you!
My wife wanted a bench to put in the mudroom as a place to sit when you take off your boots in the winter. I came across this project on your website and decided to try to tackle it.
it turned out pretty good, in my opinion. Only a few small things learned. One, is that if you're changing the space of the gap from 1/4" to 1/8", the boards should be resized to accommodate the change. And/Or at the very least, put the boards on the outsides first and work your way in. Then, at the very least the sliver needed to fill in the gap would be in the middle. ☺
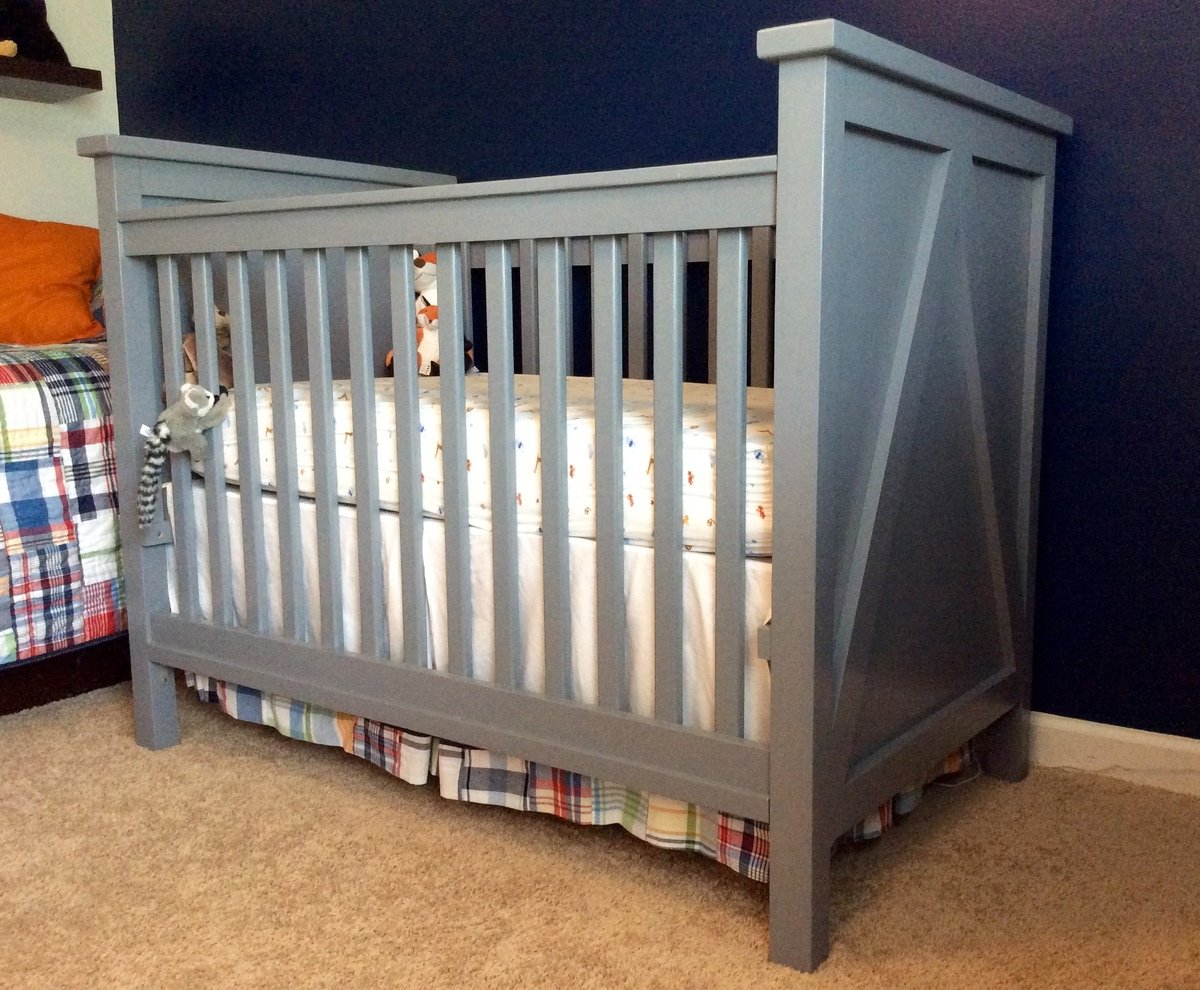
My husband and father-in-law built this crib over many weekends. They decided against using pine since it is soft. Instead they used maple and the materials cost far more than the $50-100 estimate. The finished project is beautiful and is lovingly referred to as the bomb shelter because it is so sturdy and heavy.
They made it so the mattress could be raised and lowered as well as easily converted into a toddler bed. They used the crib mattress as a starting point to adjust the plans to ensure there would be no gaps between the sides of the crib and the mattress.
They used a router to put a dado at the top and bottom of the sides so the slats fit into the slot instead of just butting against the top of the rail in order to minimize the number of nail holes and create a nicer fit. They used one solid piece of maple plywood at the ends of the crib because there is a lot of temperature variation where we live resulting in a lot of expansion and contraction and they wanted to make sure that didn't cause any gaps.
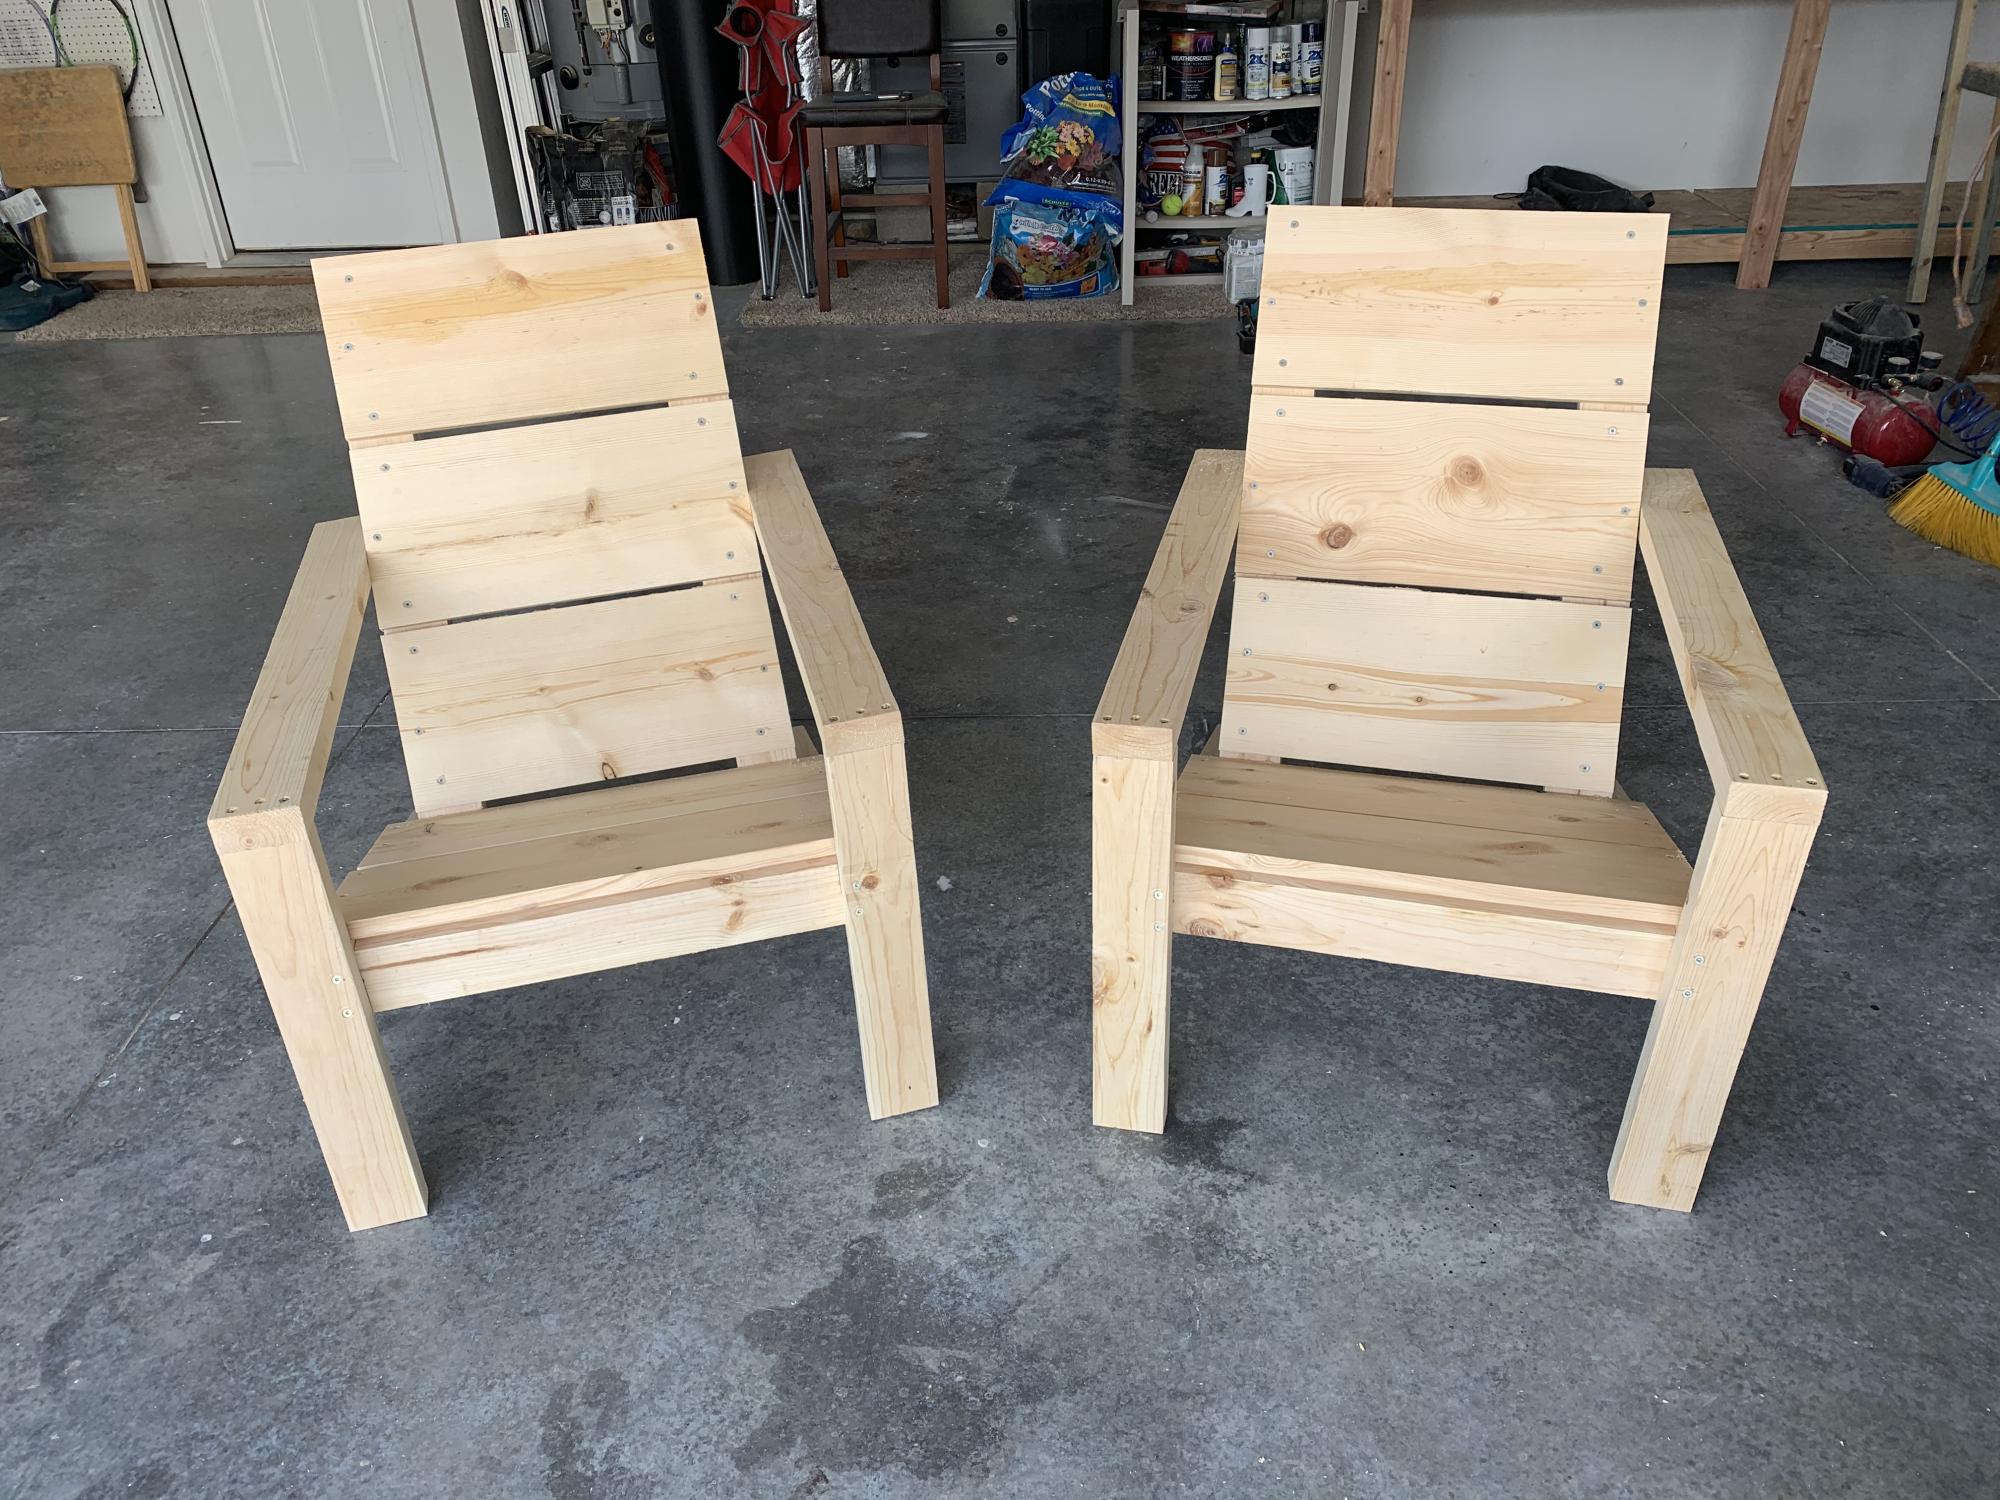
Such easy plans to follow! Thanks, as always!!!
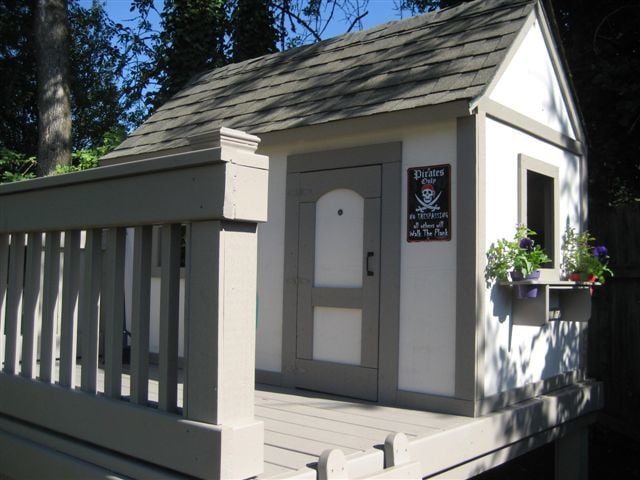
Grandma and I spent a couple months building this playhouse for our grandkids. The project took longer and cost more than we initially thought it might but we had a lot of fun doing it and it's a big hit with the kids.
We followed the plans on this blog pretty closely only changing a thing or two here and there. We used cedar for the deck and railing and we painted it (and roofed it) to match our house. We put in 1/4 inch tempered glass windows to keep the rain out in the winter. (The glass is easily removed for summer.)
Thank you Ana White for providing such a great little plan!
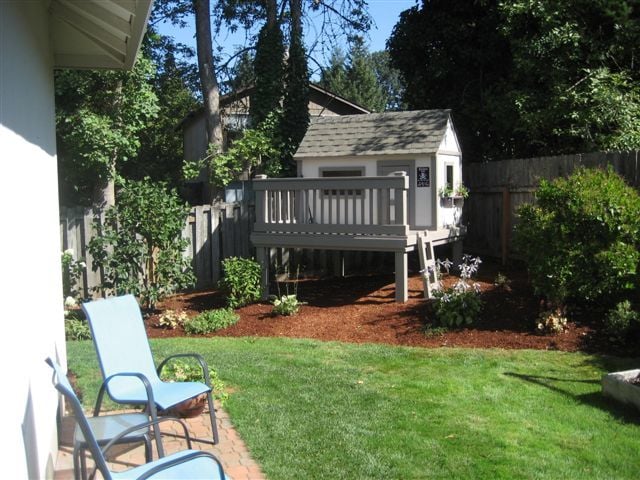
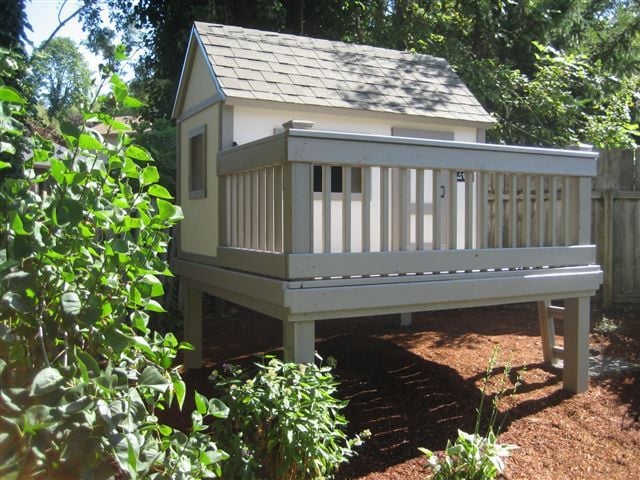
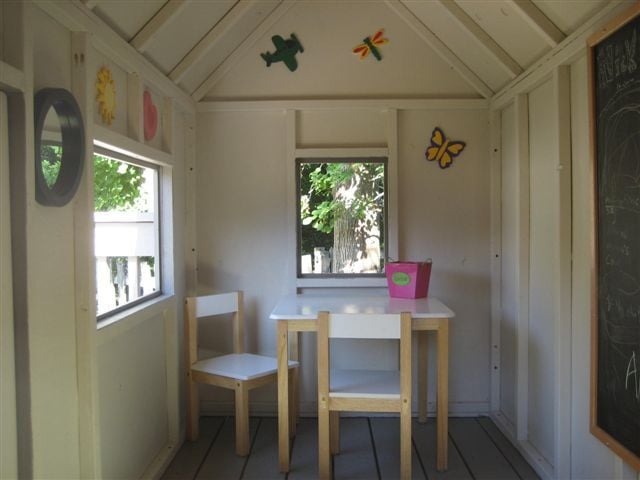
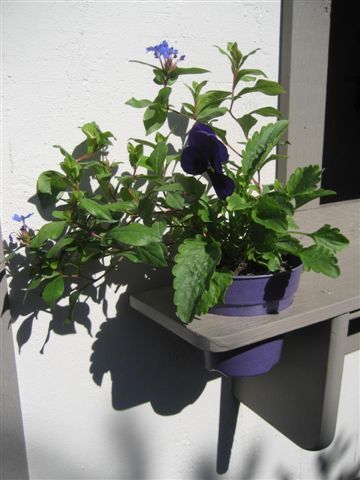
Fri, 09/28/2012 - 05:52
This is just beautiful! The build, the landscaping, the paint. I am always stalking the brag posts to see if any new playhouses have been posted as we have been working on my daughter's since March:) I know! It has taken us forever. This is our first build and I work full time so we are a little slow. I just love what you've done with the place! Great job!

Made two 48" long cedar benches that could be carried down to the firepit in our yard. They're also nice for sitting on the deck and watching the dogs play. I had to use 3 - 2x6s for the seat instead of 2 - 2x8s since 2x6 was the largest I could get in cedar. Made it a little bit wider.
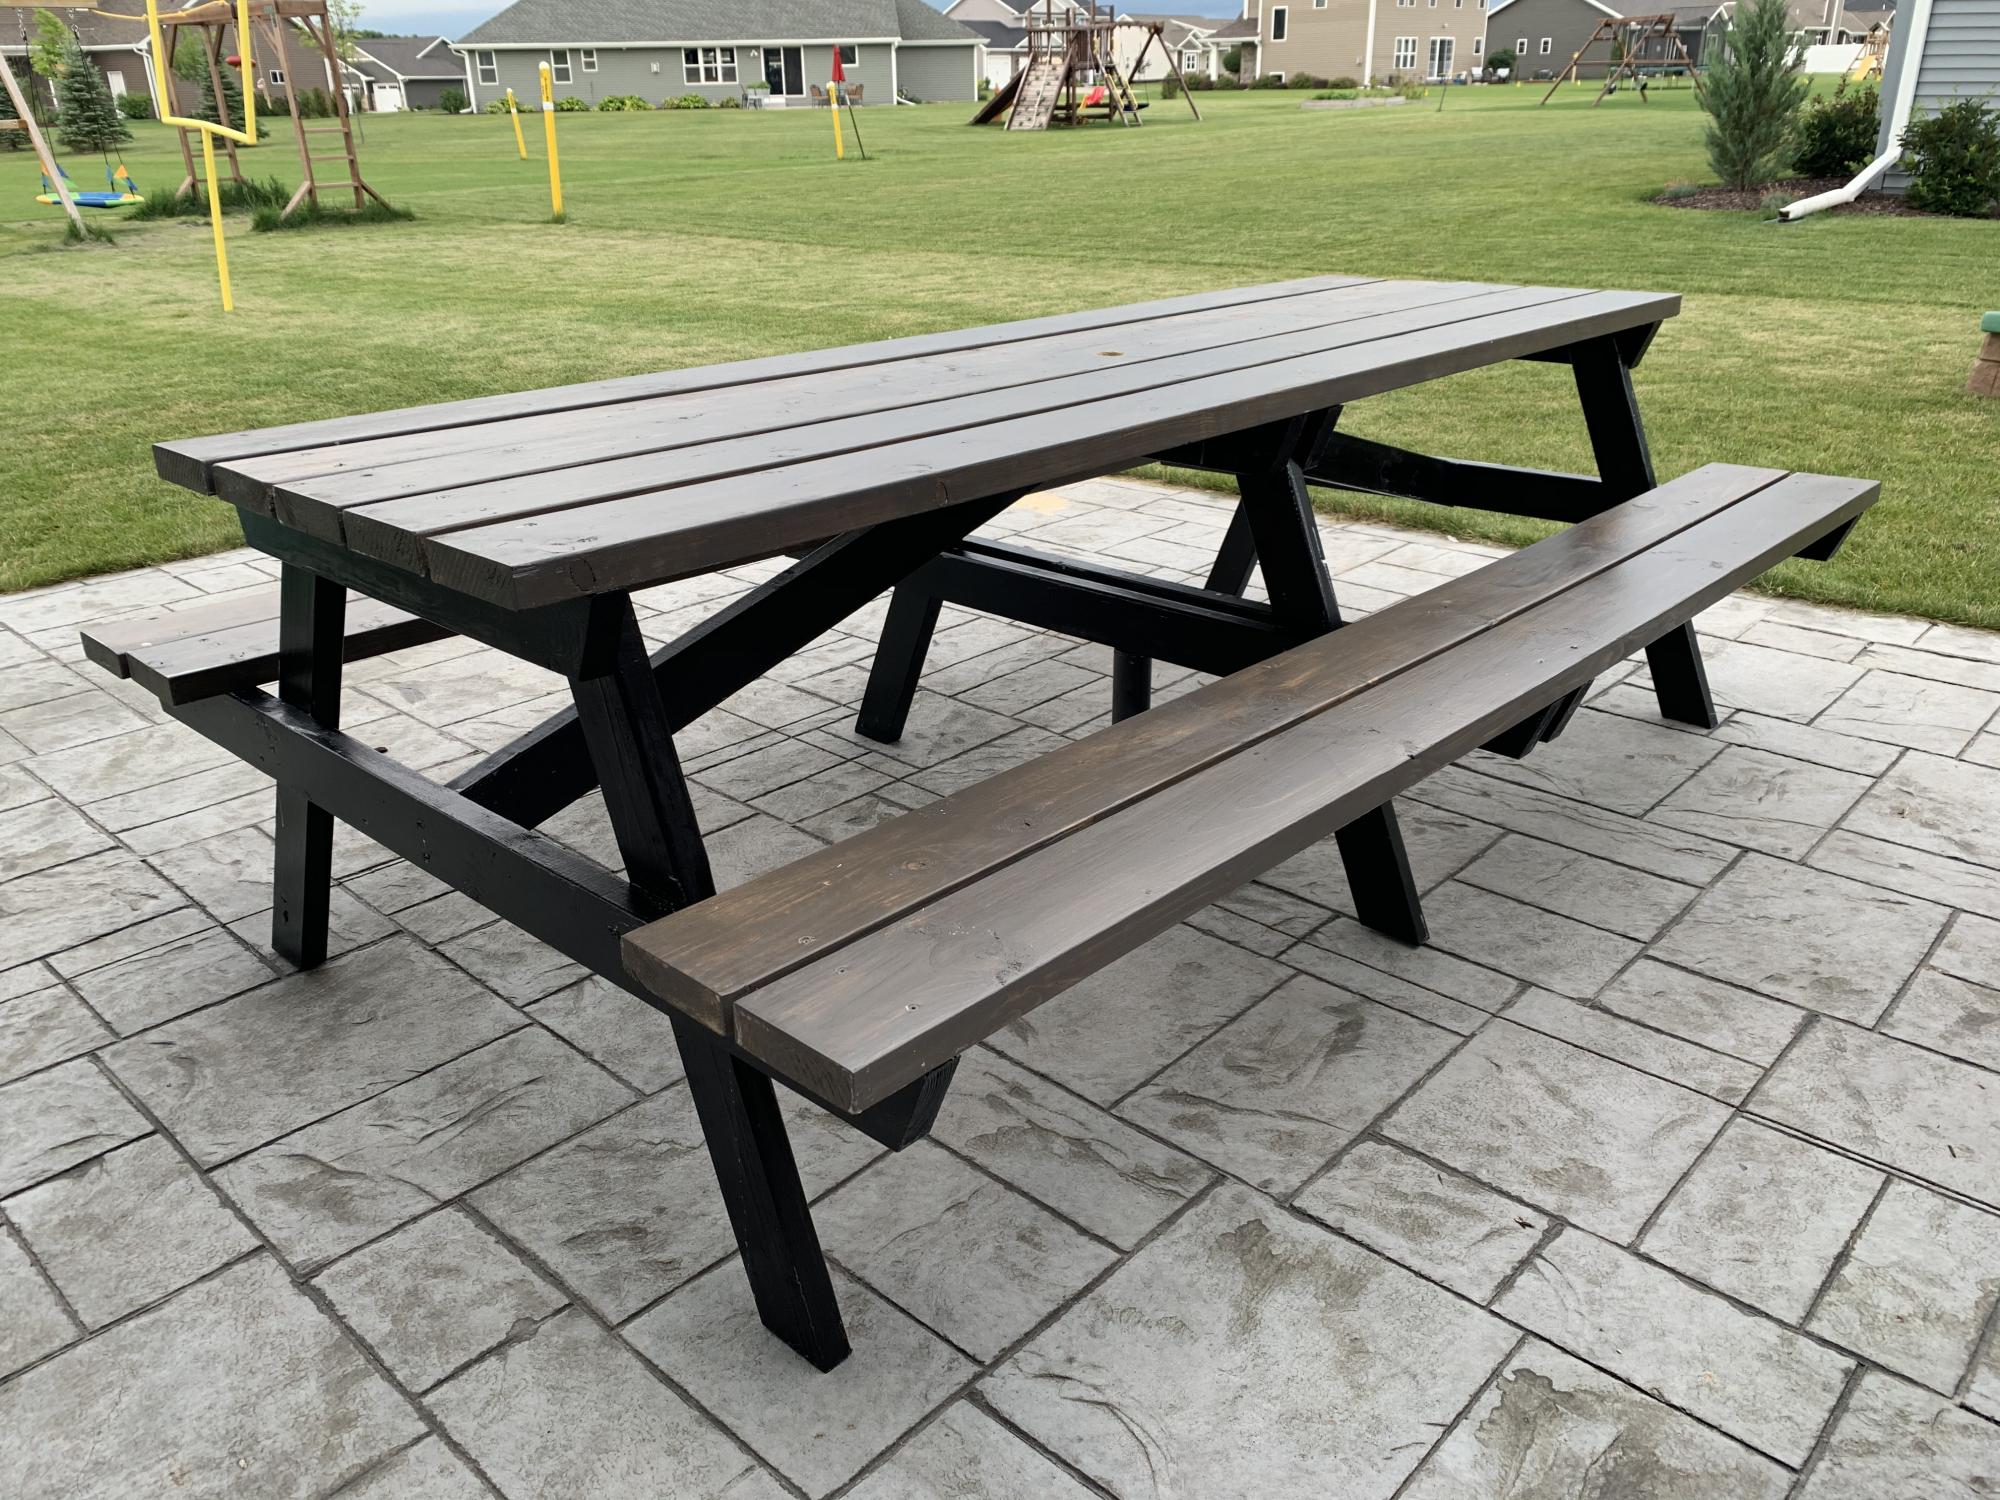
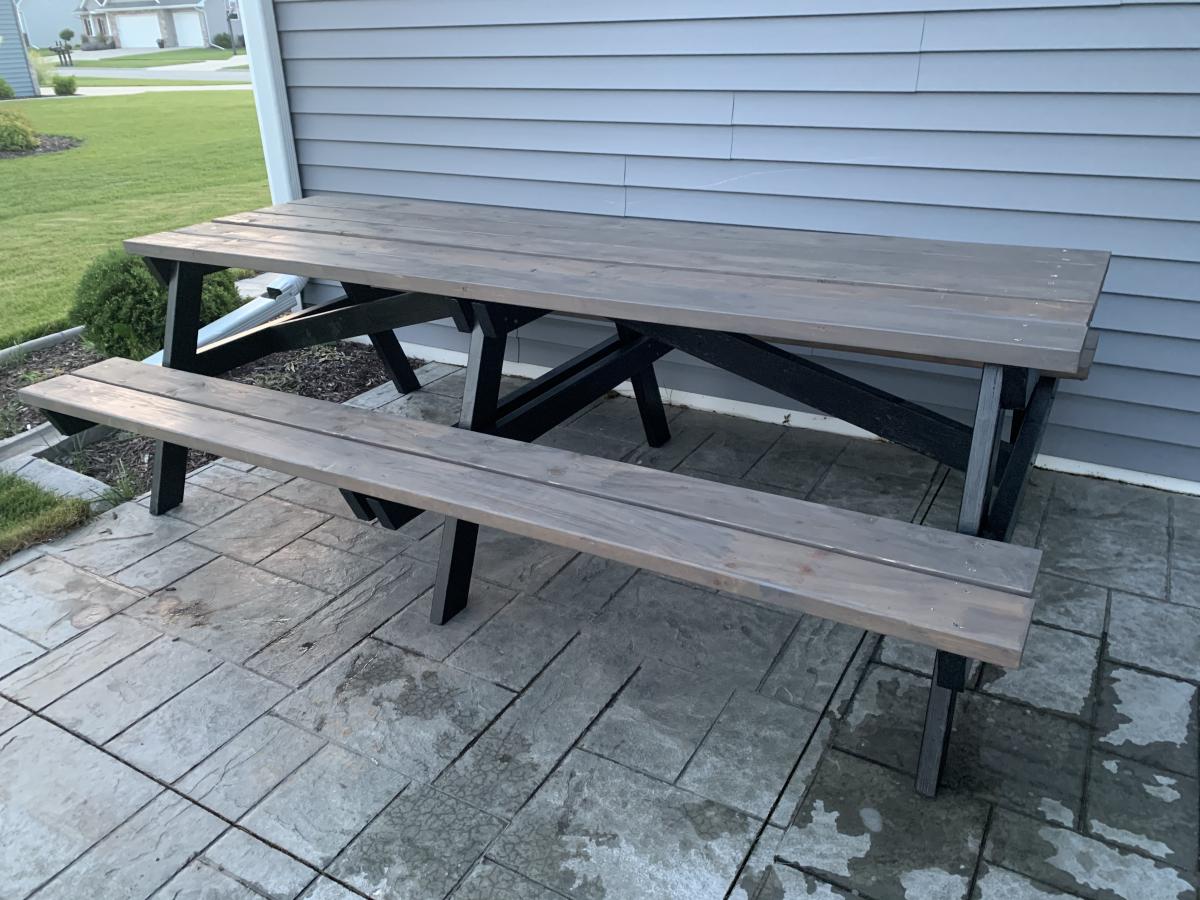
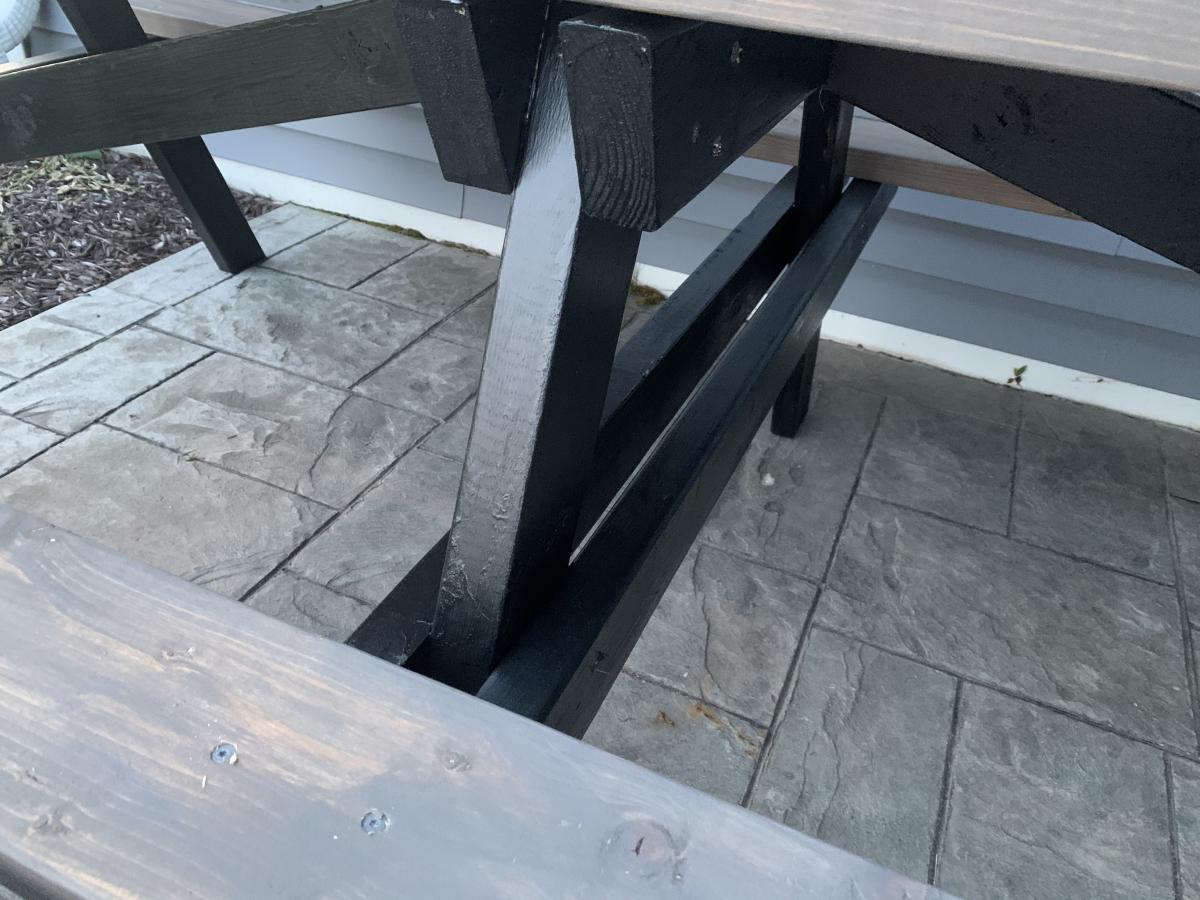
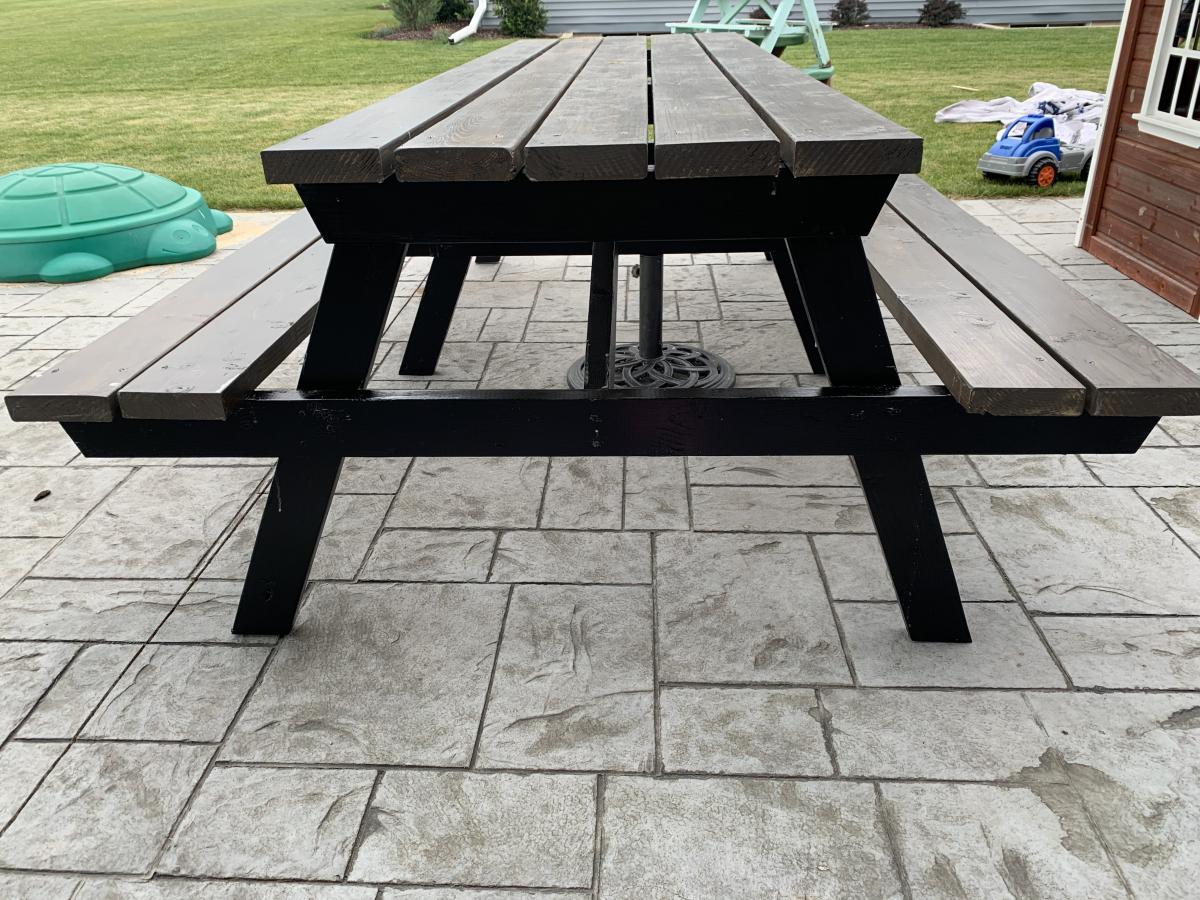
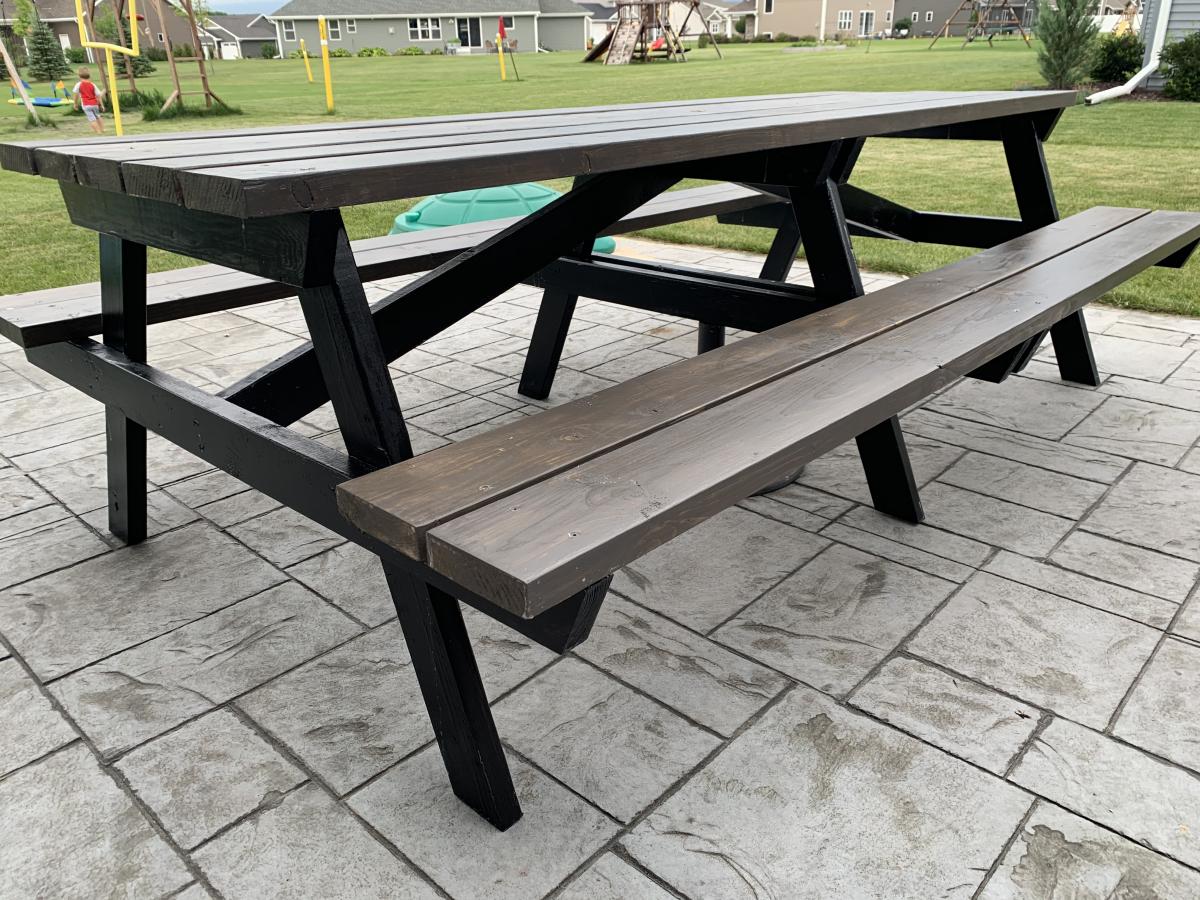
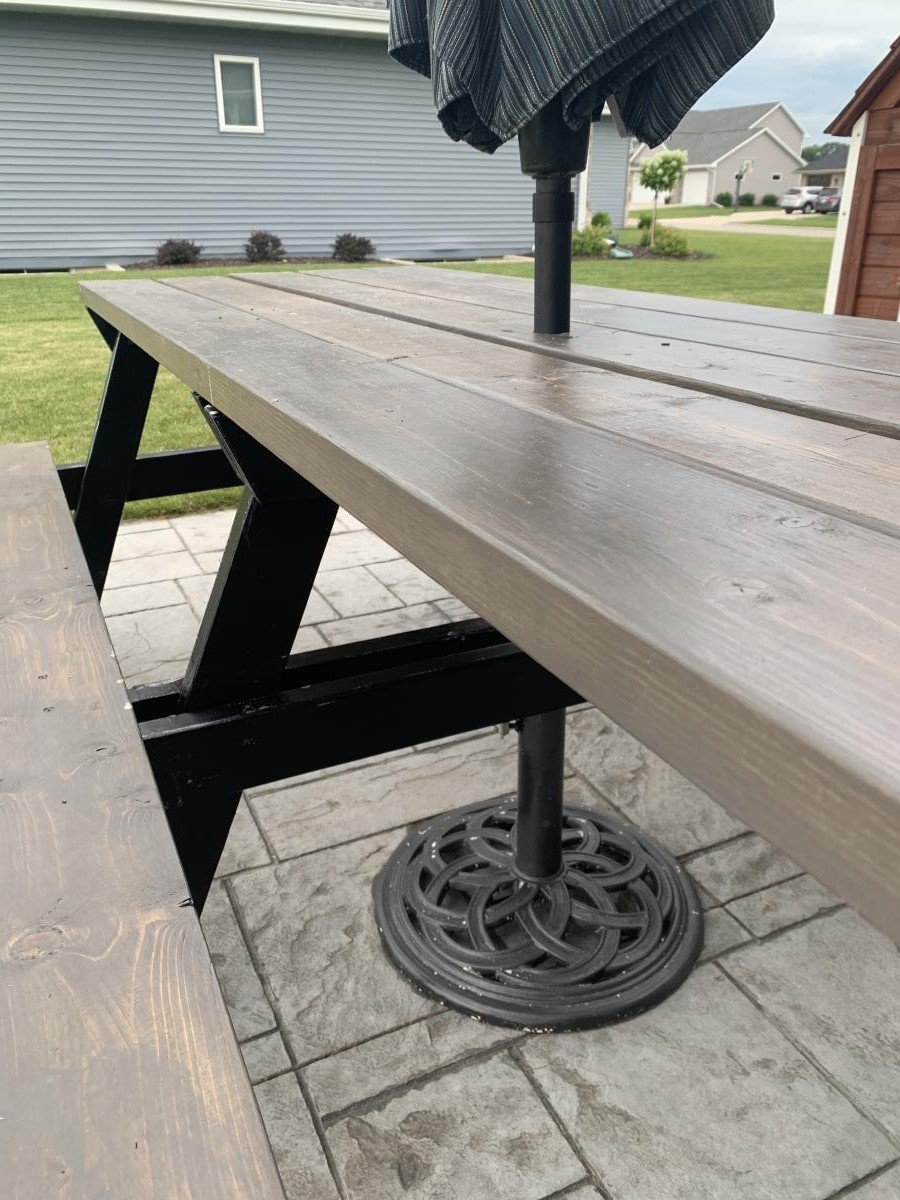
This picnic table was a quick build and turned out amazing. I modified the center base support by adding an extra table top support and seat support board to the opposite side of the center legs to give the table symmetry to accommodate an umbrella hole. I also shortened both cross supports by an inch to make sure the base wouldn’t be longer than the top boards. The space between the center table support boards and seat support boards is the perfect size to fit a standard umbrella. I used a 1 3/4” hole saw to make the umbrella hole. The build and stain/paint took me about 5 hours but additional time is needed to properly seal the table. I used untreated pine. Treated pine may give the table longevity but it would also add a lot of weight to an already heavy table. This was a relatively easy and quick build and is a great size to fit my whole family plus a couple guests! I’m happy with how it turned out and would recommend this build to anyone looking for a budget friendly and simple patio table.
Sat, 07/18/2020 - 13:17
Thank you Abby!!! Your picnic table turned out amazing, I love the added umbrella modification!
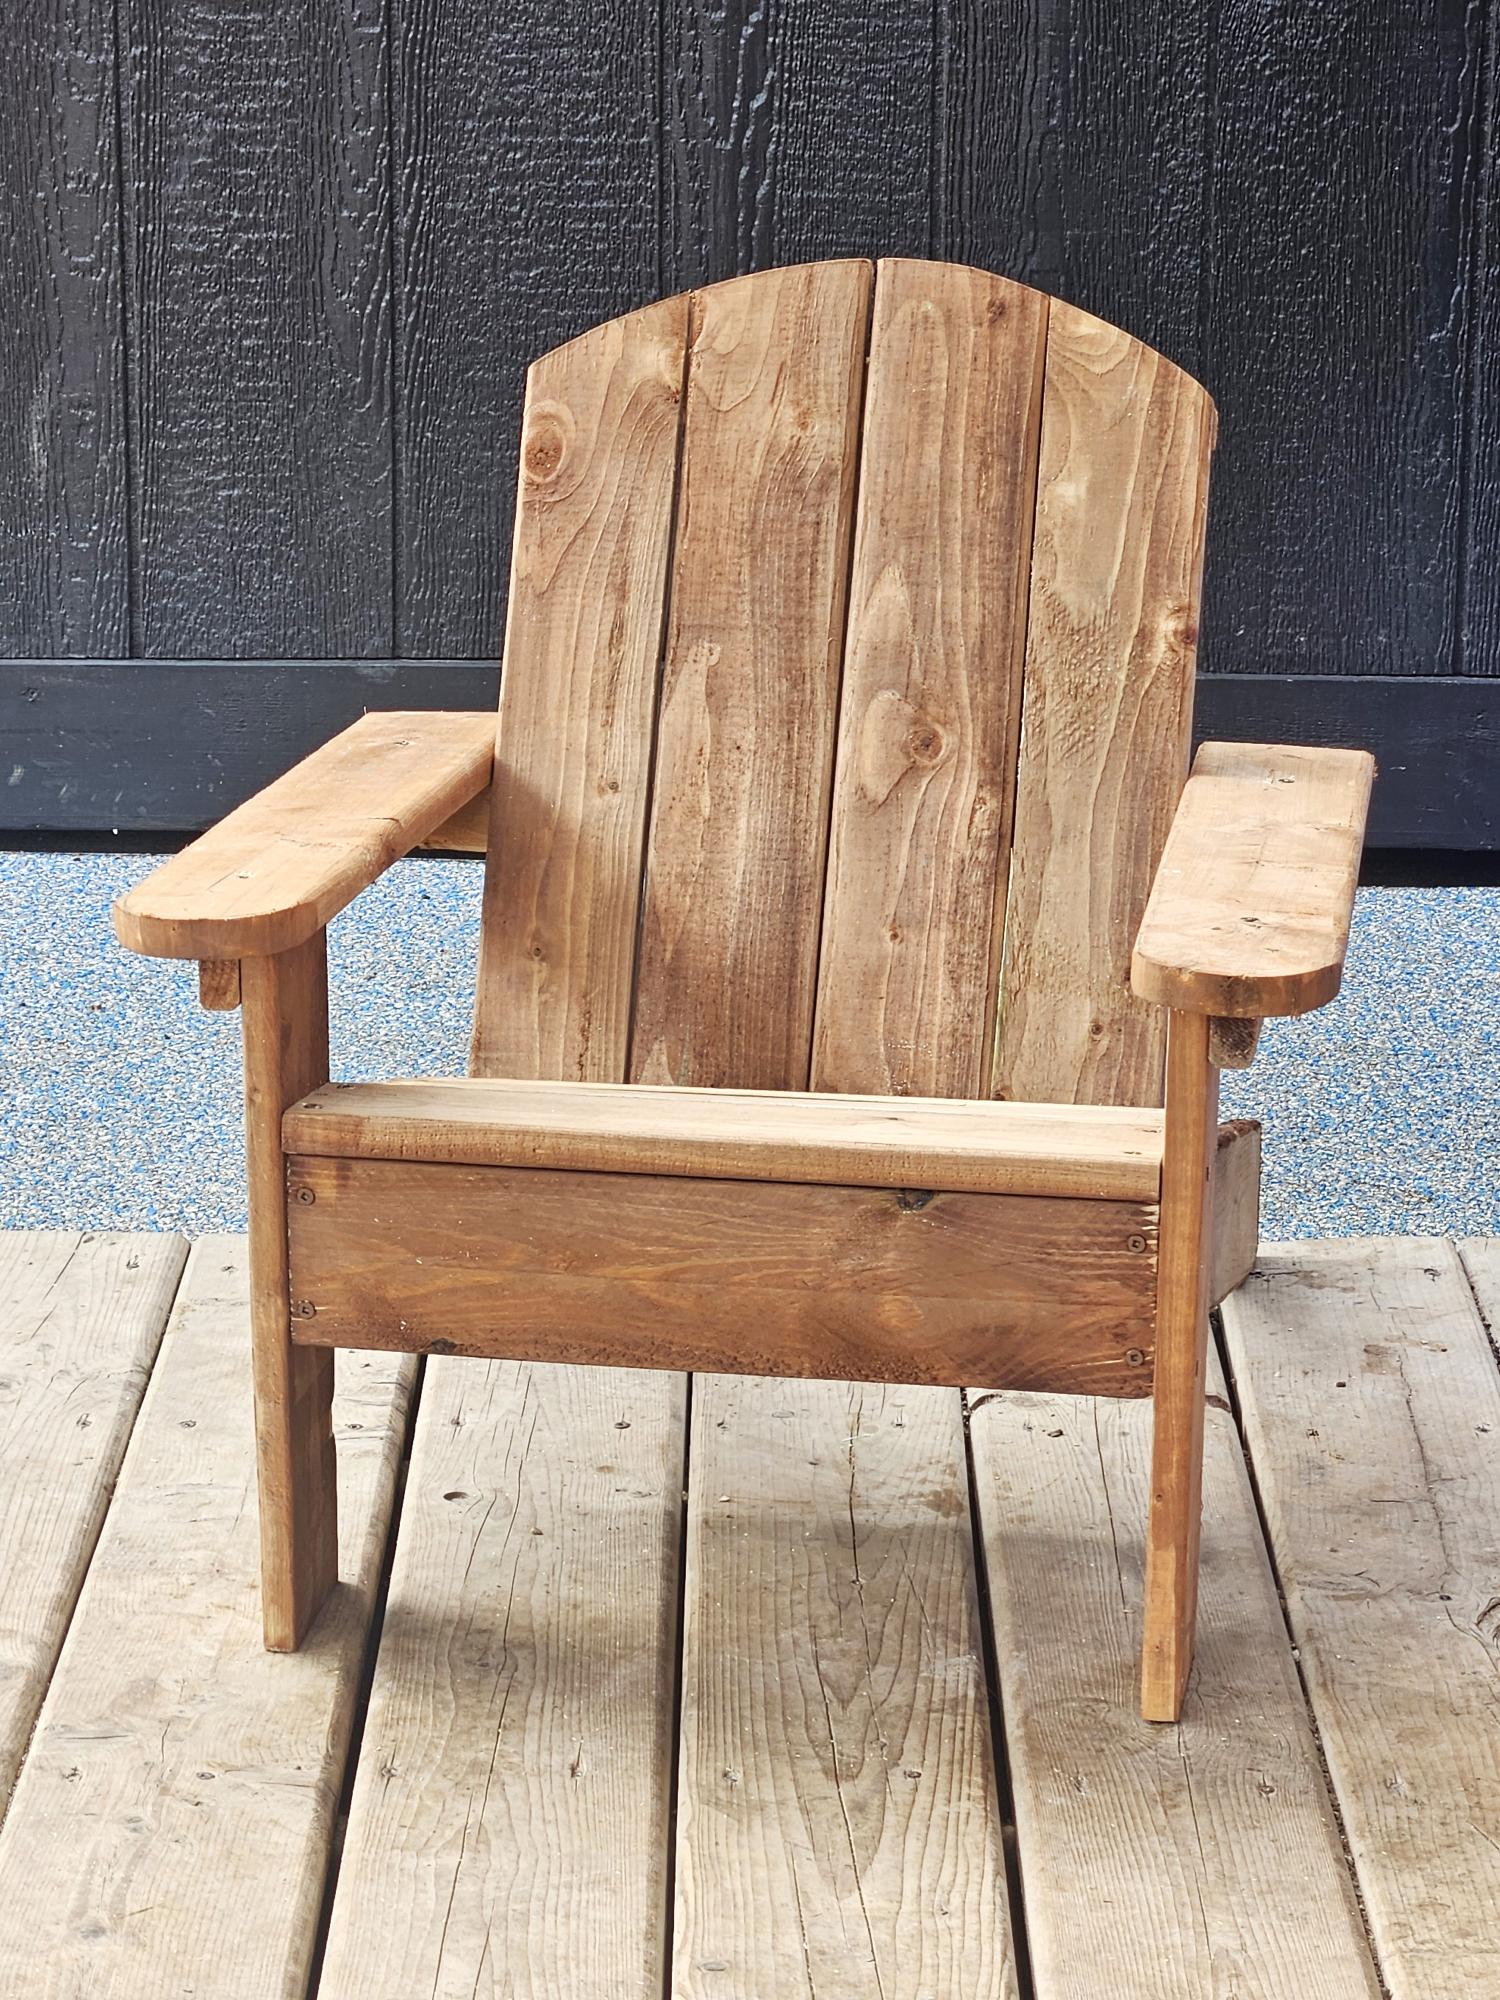
Your plans were great. Followed exactly except I opted to use pressure treated wood. 1x3 is not available for pressure treated wood so I used all 1x4s in place of 1x3. Turned out great. Donating 6 of these to a zoo near me for their lemurs.