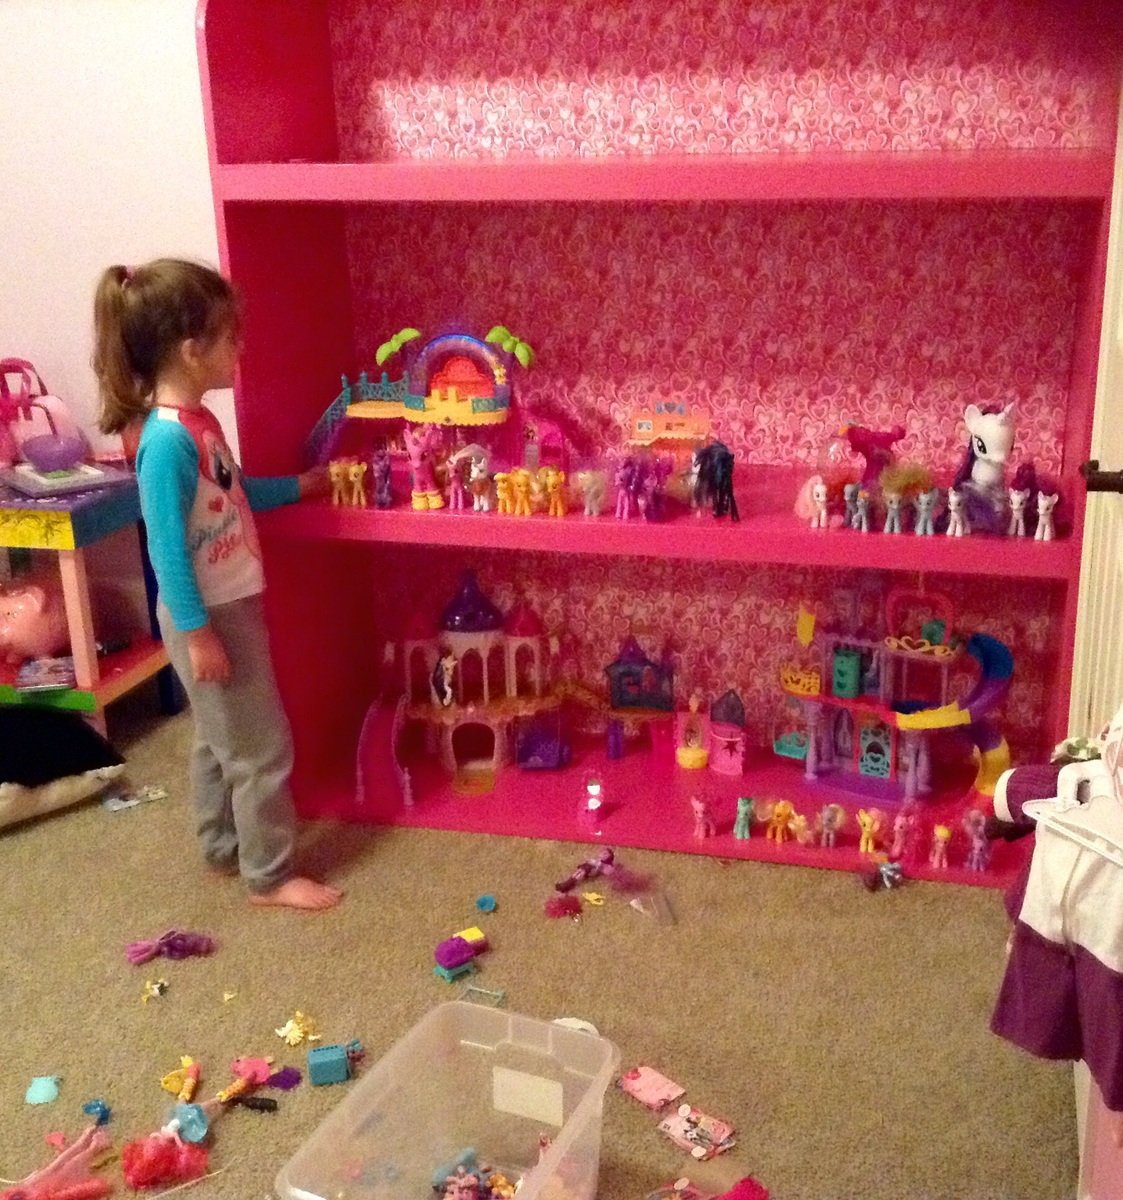
Storage console designed by a 5 year old
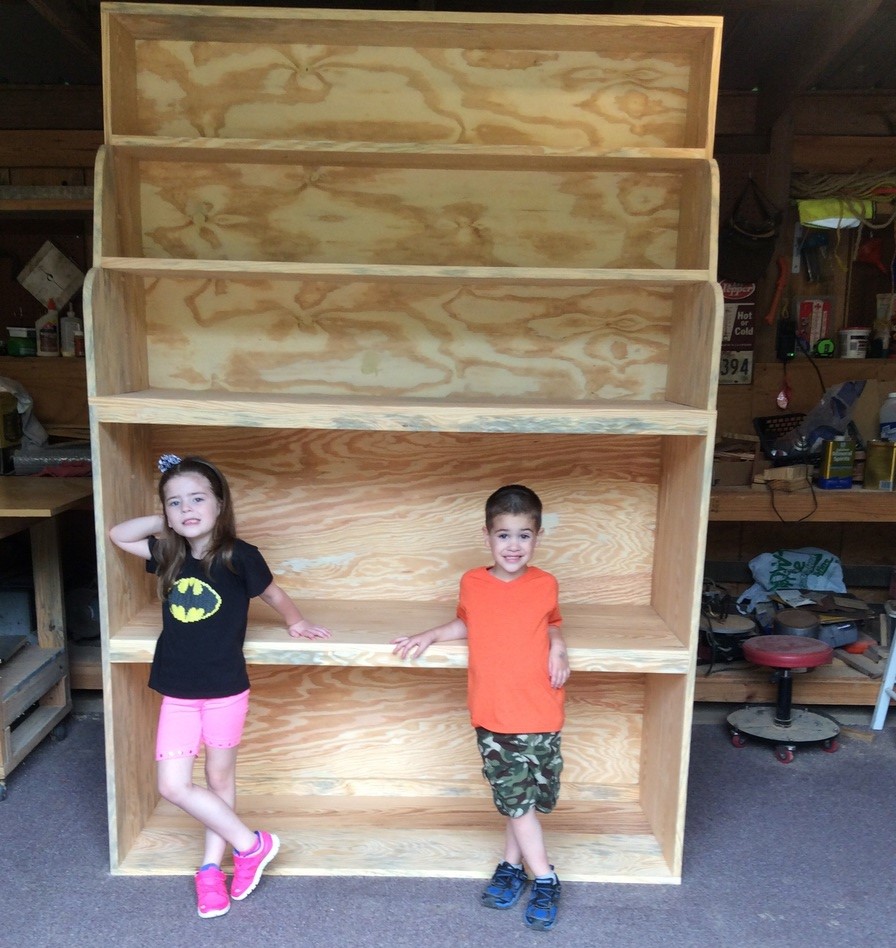
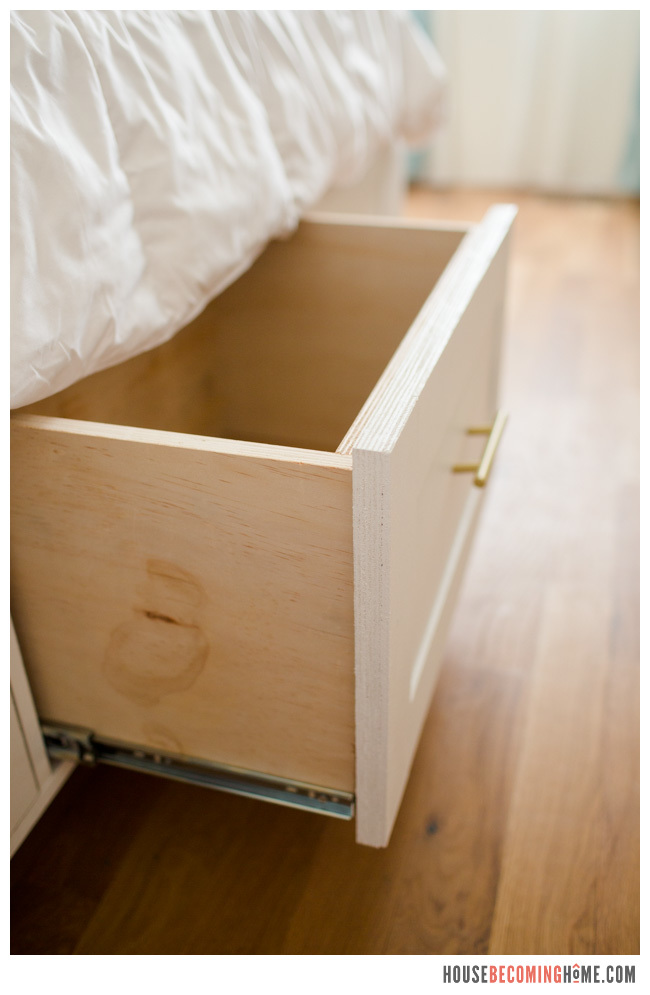
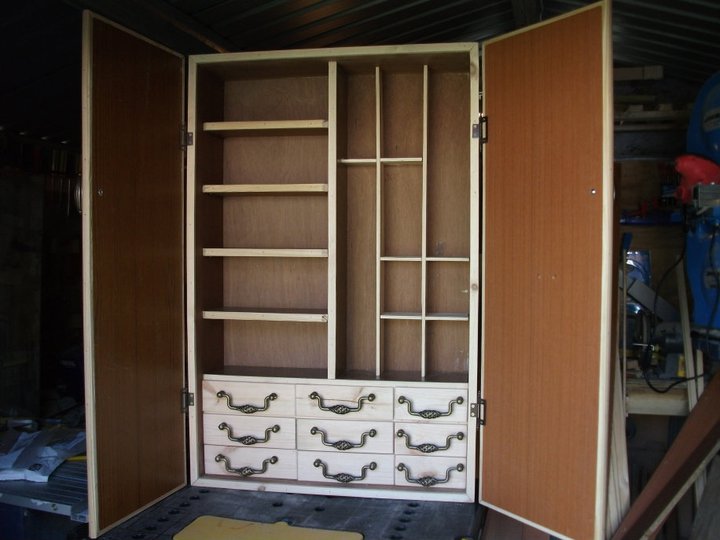
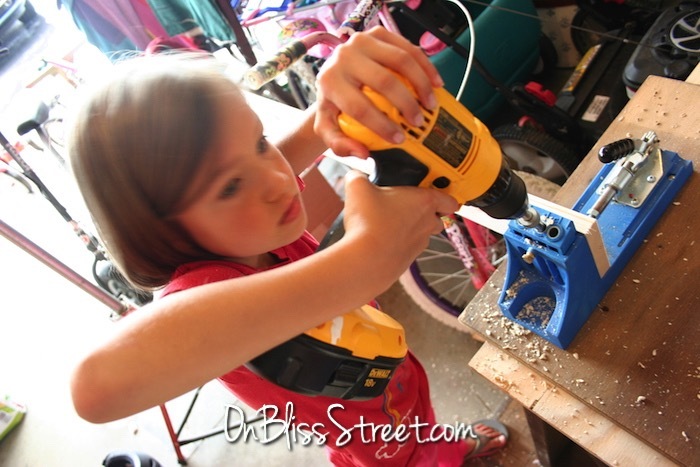
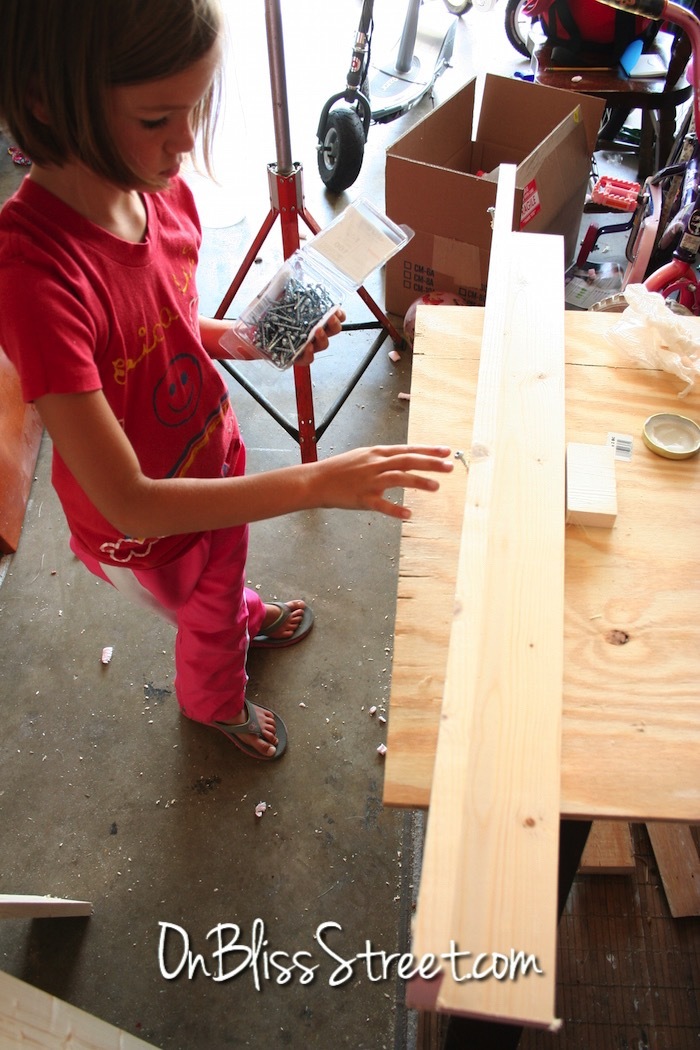
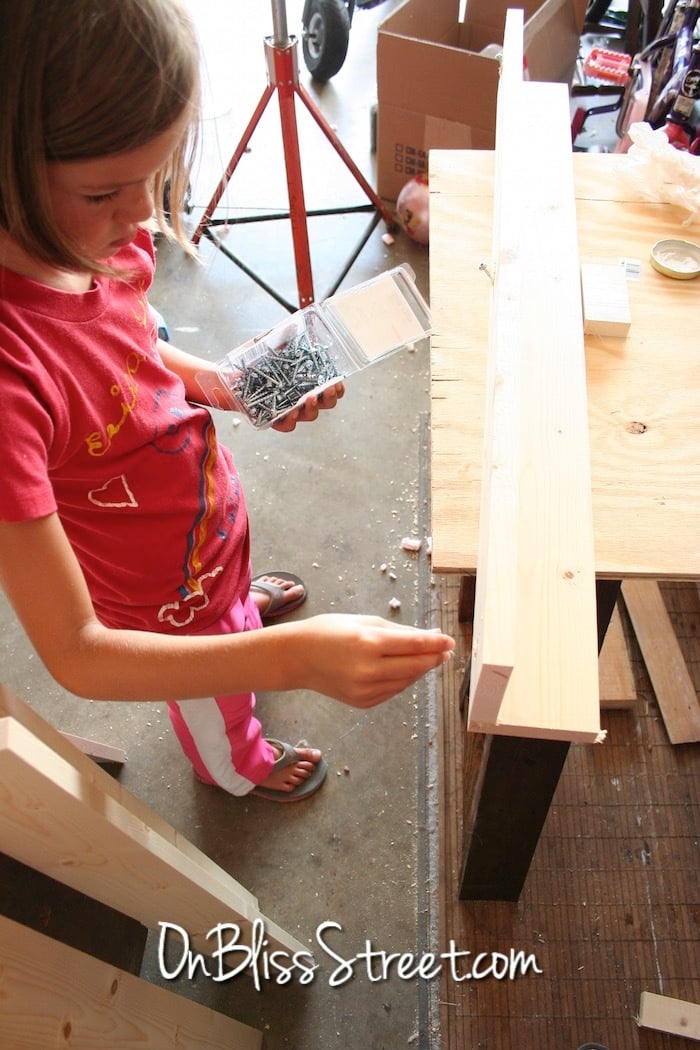
Last year I built a "Cara Storage Console" and matching bookcase for my 12 year old granddaughter. Her 5 year old sister decided she needed one too, but a little bigger so she could store all her "ponies" on it. She and her mother planned it all out over a period of a few weeks and what ended up being built was 5' wide and 7'3" tall. It is 20" deep. Anna's plan was scaled up a bit and then had to be broken down in to two sections, upper and lower, so it could be brought in to the house. The sides and shelves are all 1x12 pine boards put together with glue and Kreg screws. The back took most of 2 sheets of 1/4" plywood. 1x2's were added for support under the front and back of the shelves.
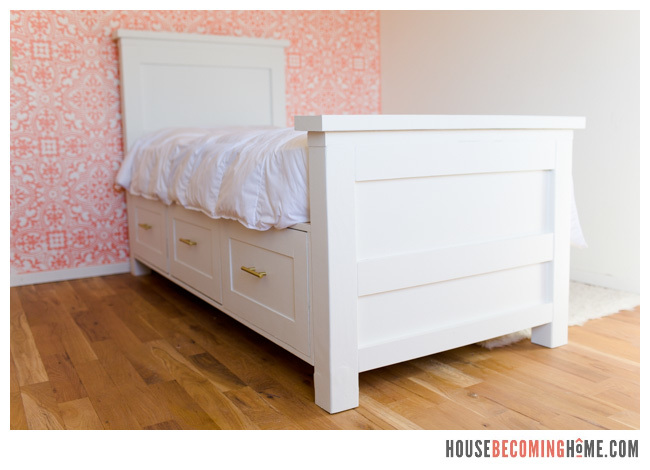
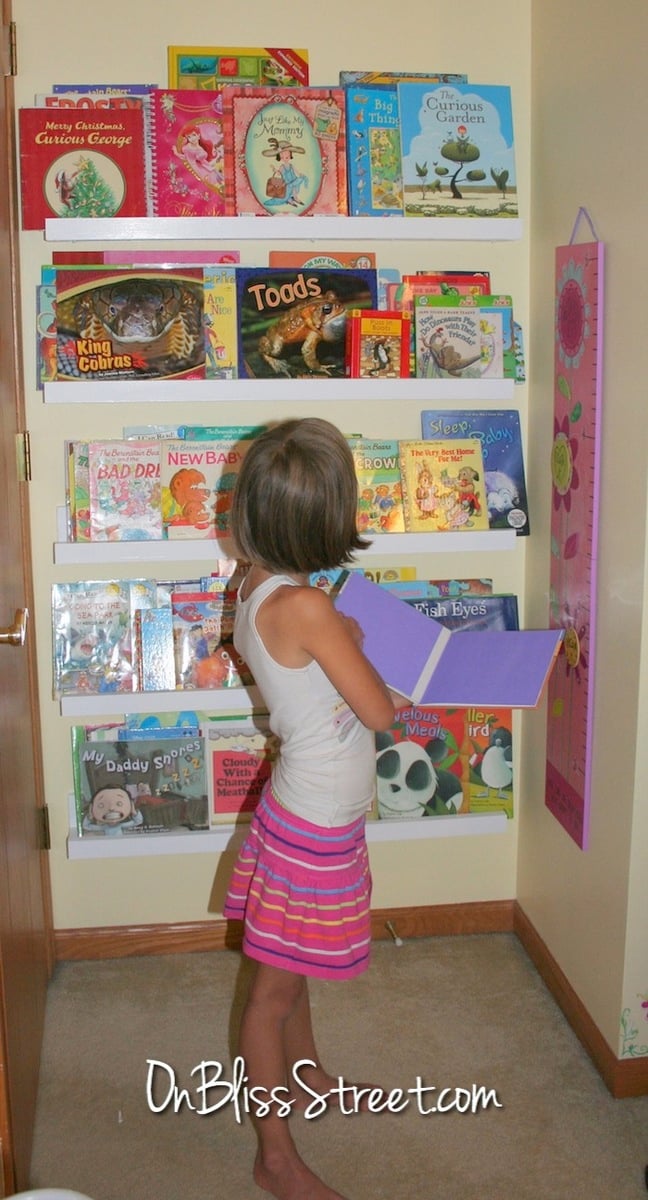
Fortunately her other grandmother is really good at painting, so it was given a couple coats of semigloss pink along with pink heart wall paper. The grandbaby and her little brother started loading it up before Granny could even finish the sides.
The good part is that all her toys will fit on these shelves. The bad part is she won't pick up all her toys and put them on these shelves.