Window Pane-style Collage

I've been seeing a lot of window panes turned photo frame and really liked the look. We didn't have any extra panes around but I did have a bunch of scrap pieces of 3/4 inch plywood so I decided to make my own!


I've been seeing a lot of window panes turned photo frame and really liked the look. We didn't have any extra panes around but I did have a bunch of scrap pieces of 3/4 inch plywood so I decided to make my own!


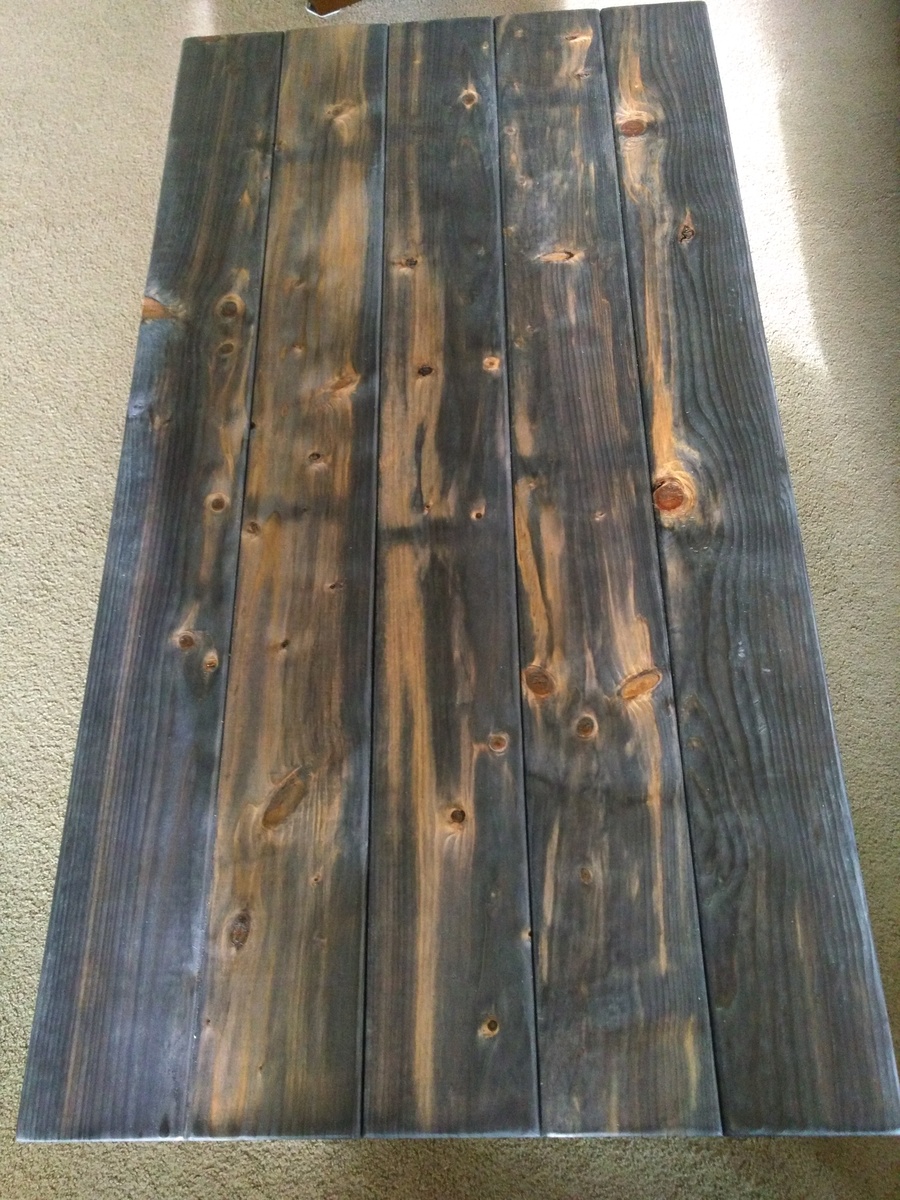
We built our coffee table to match our farmhouse entry table! I love the tutorials from Ana White! We made changes to the bottom shelf and used 2x2 slats instead of the 1x12 pieces. Also changed the dimensions so it measures about 56x34 (kept the height the same). It complements our living room perfectly! I can't wait to built end tables next!

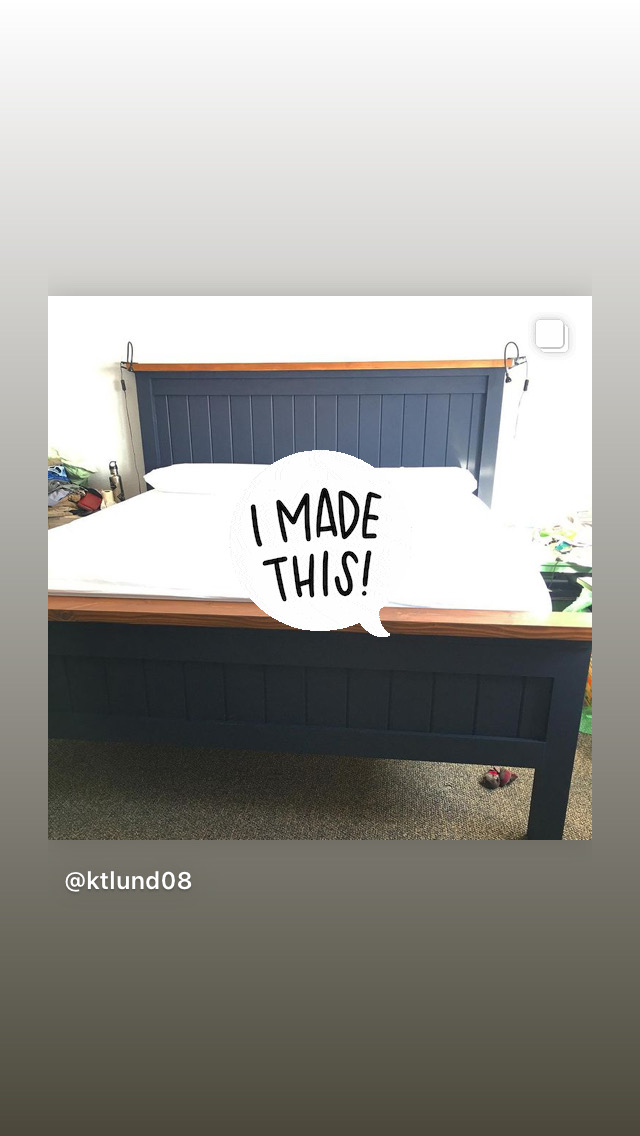
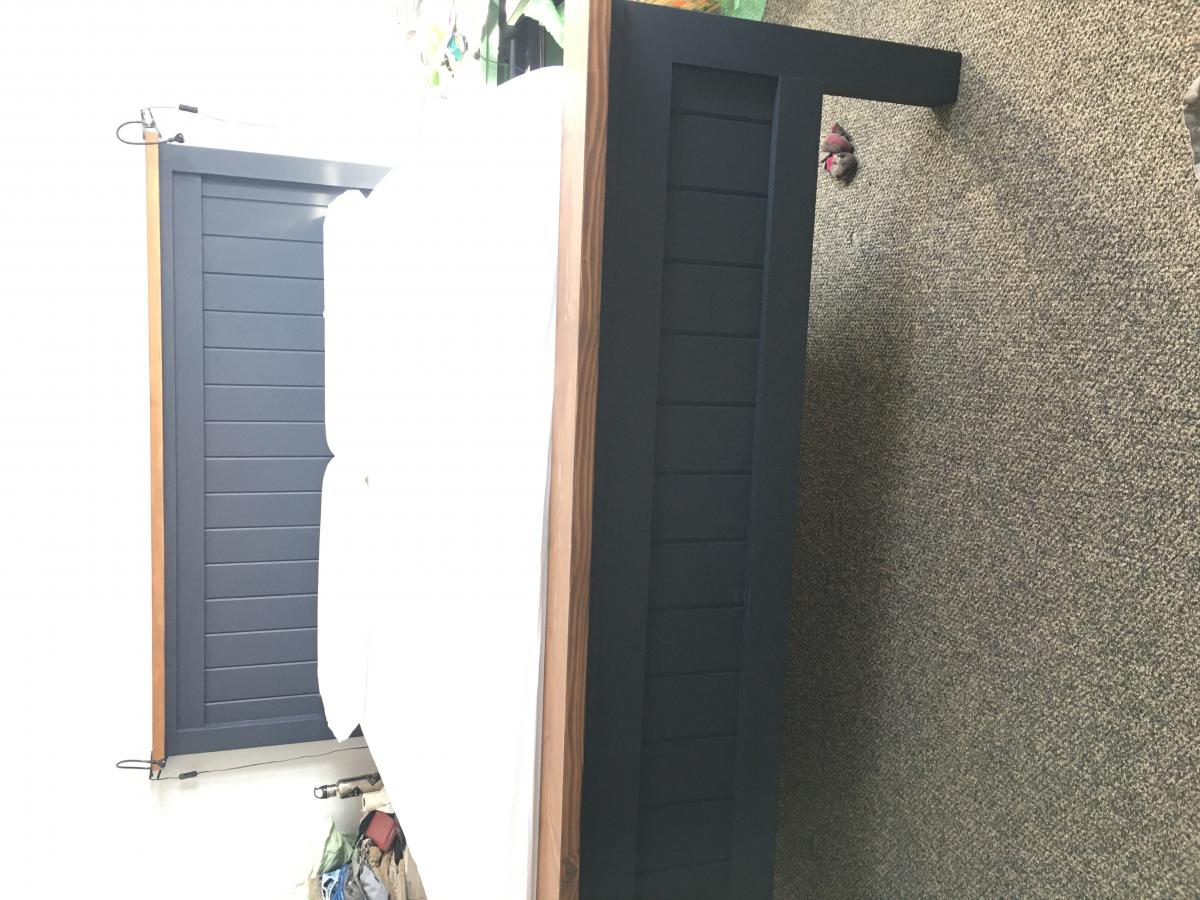
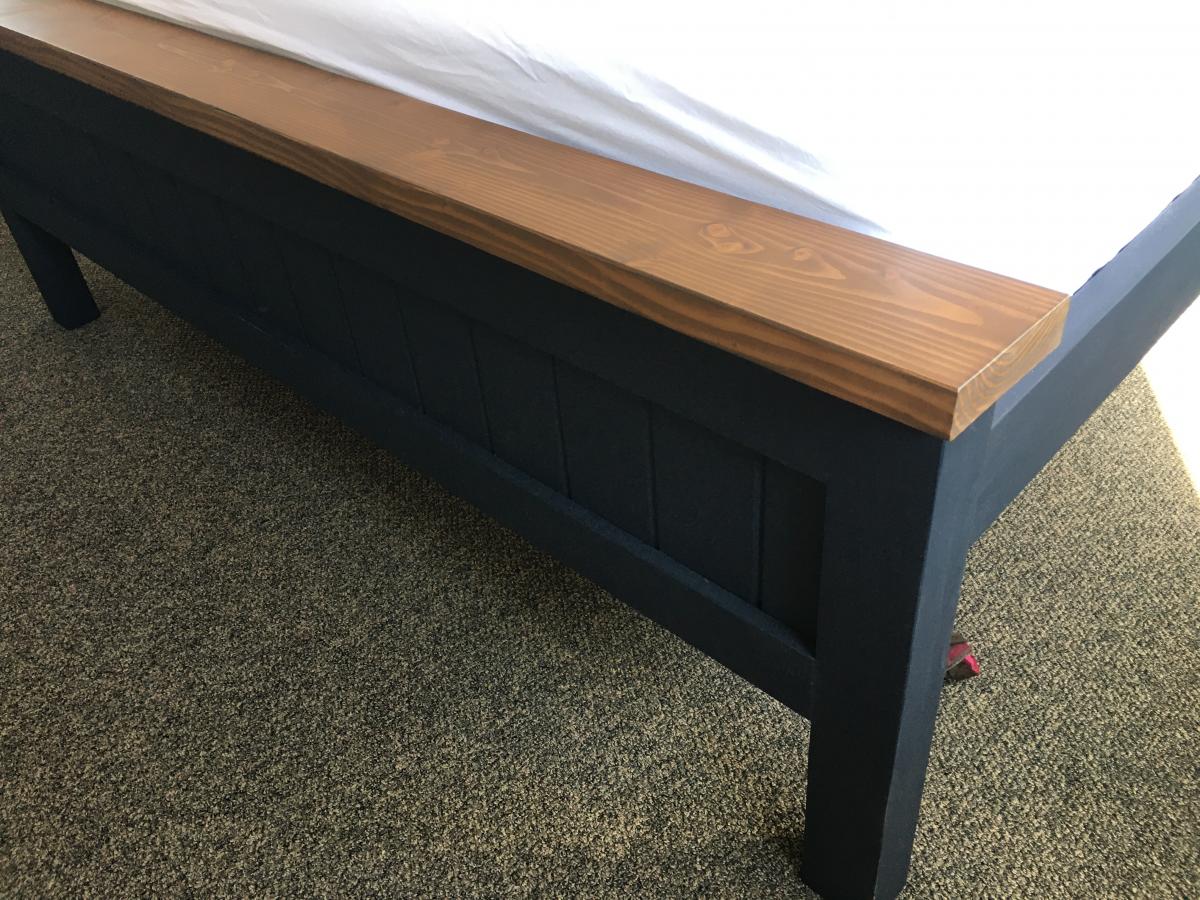
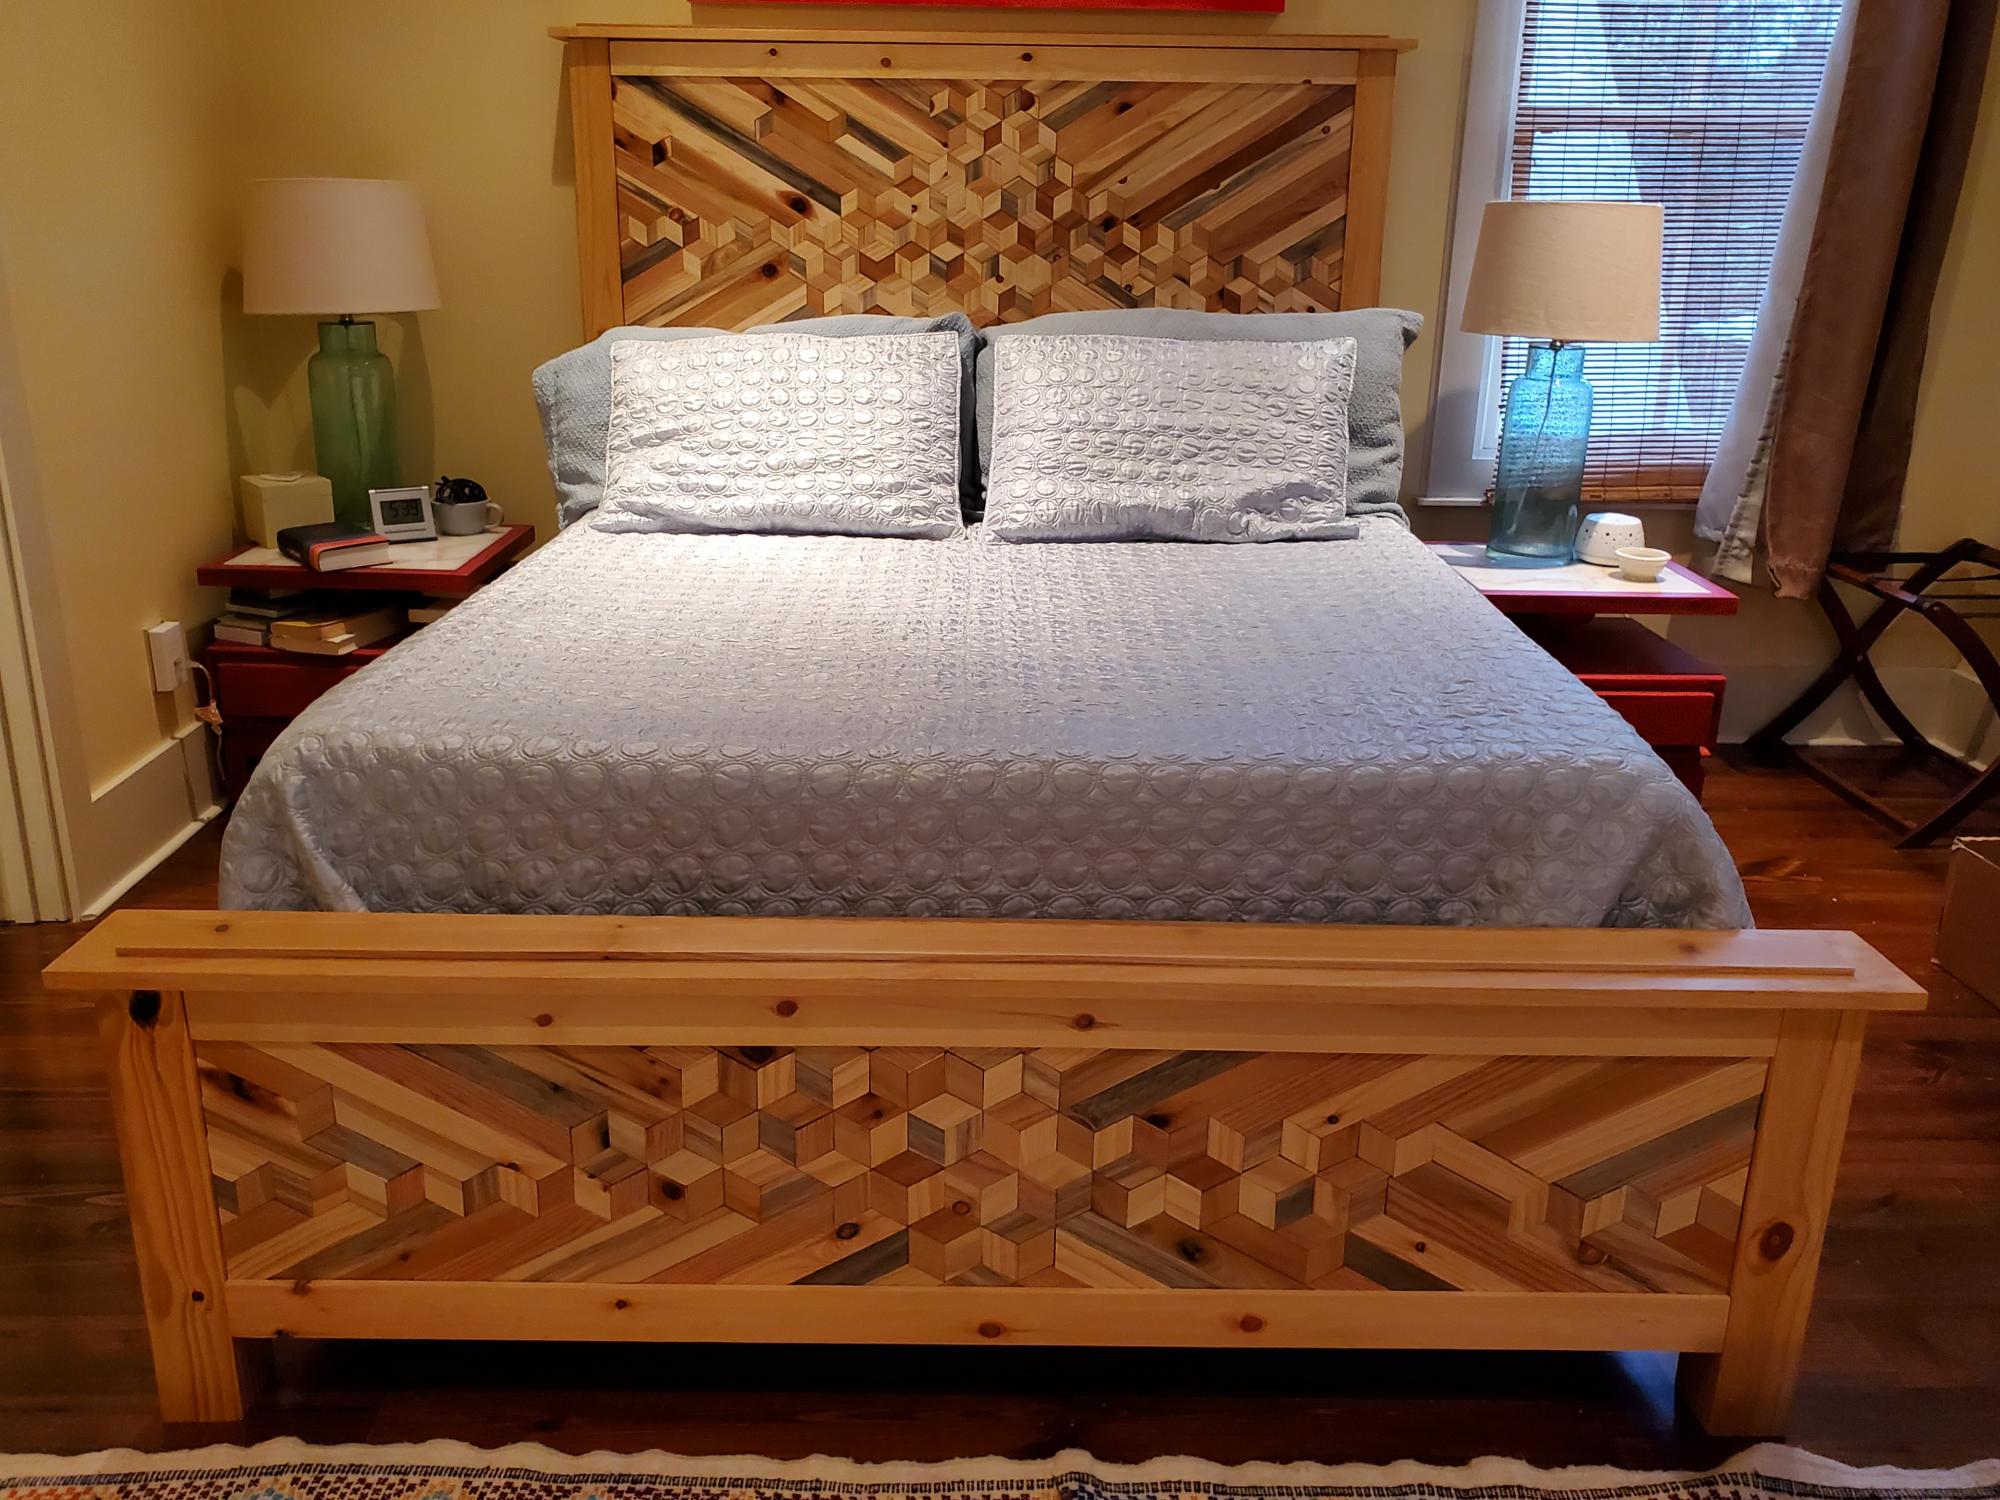
I built this with the Ana White king size farmhouse bed plans. All pine boards from Home Depot.
Finished with Dixie Belle’s Silk Mineral Paint in Deep Sea, and Voodoo Gel Stain in Tobacco Road, with a satin clear coat.
I used Zibra paint brushes to apply the paint.
We’re in love with how it turned out! Complete transformation from our old queen bed on a cheap metal platform.
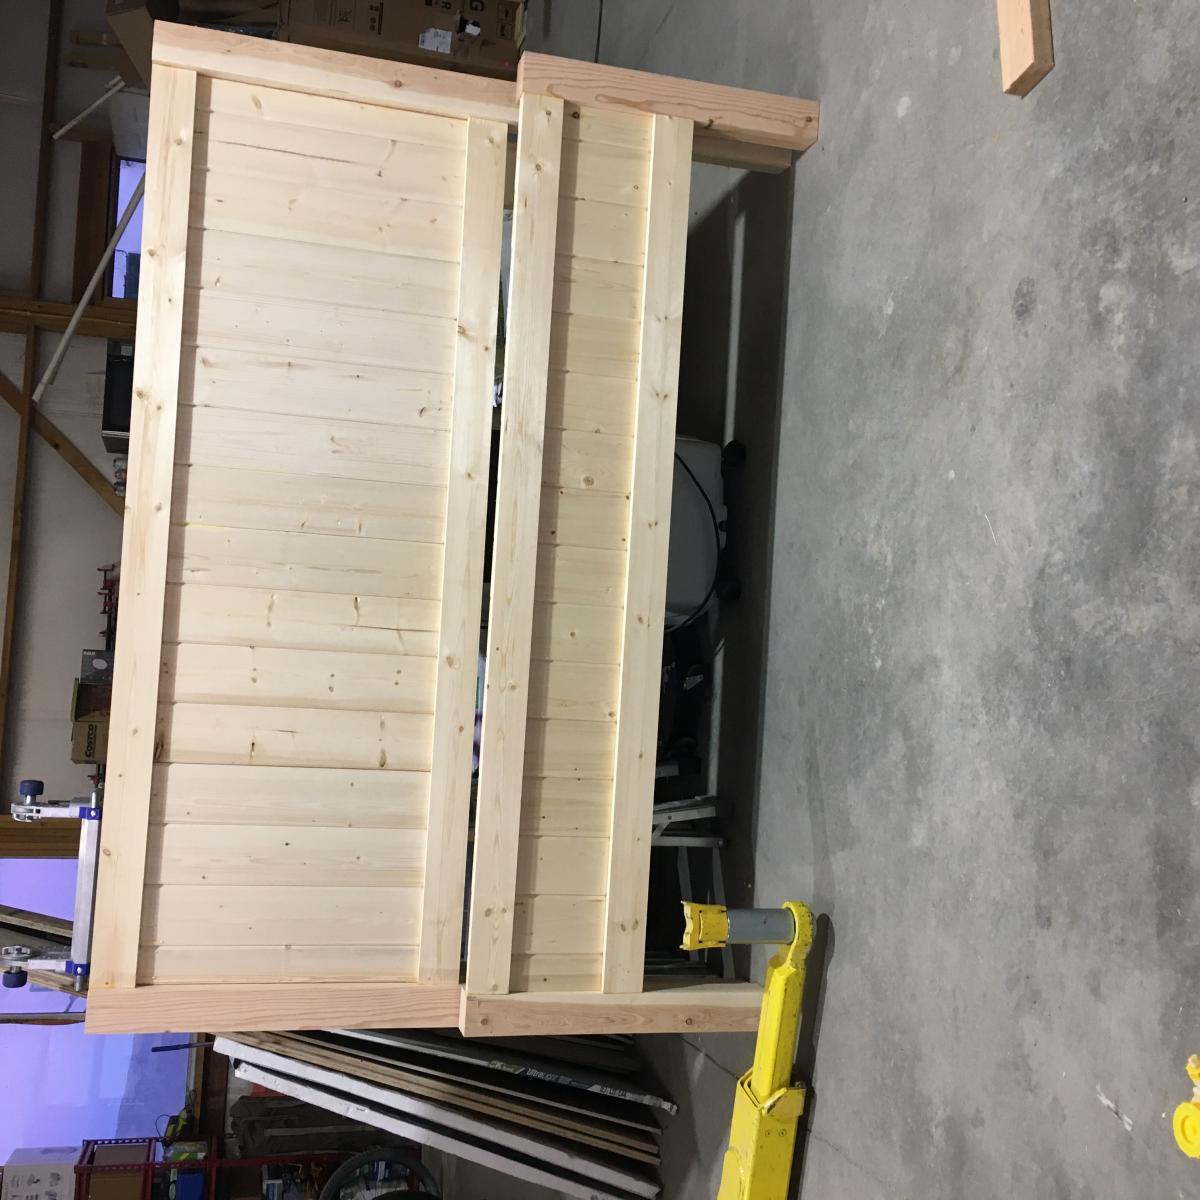
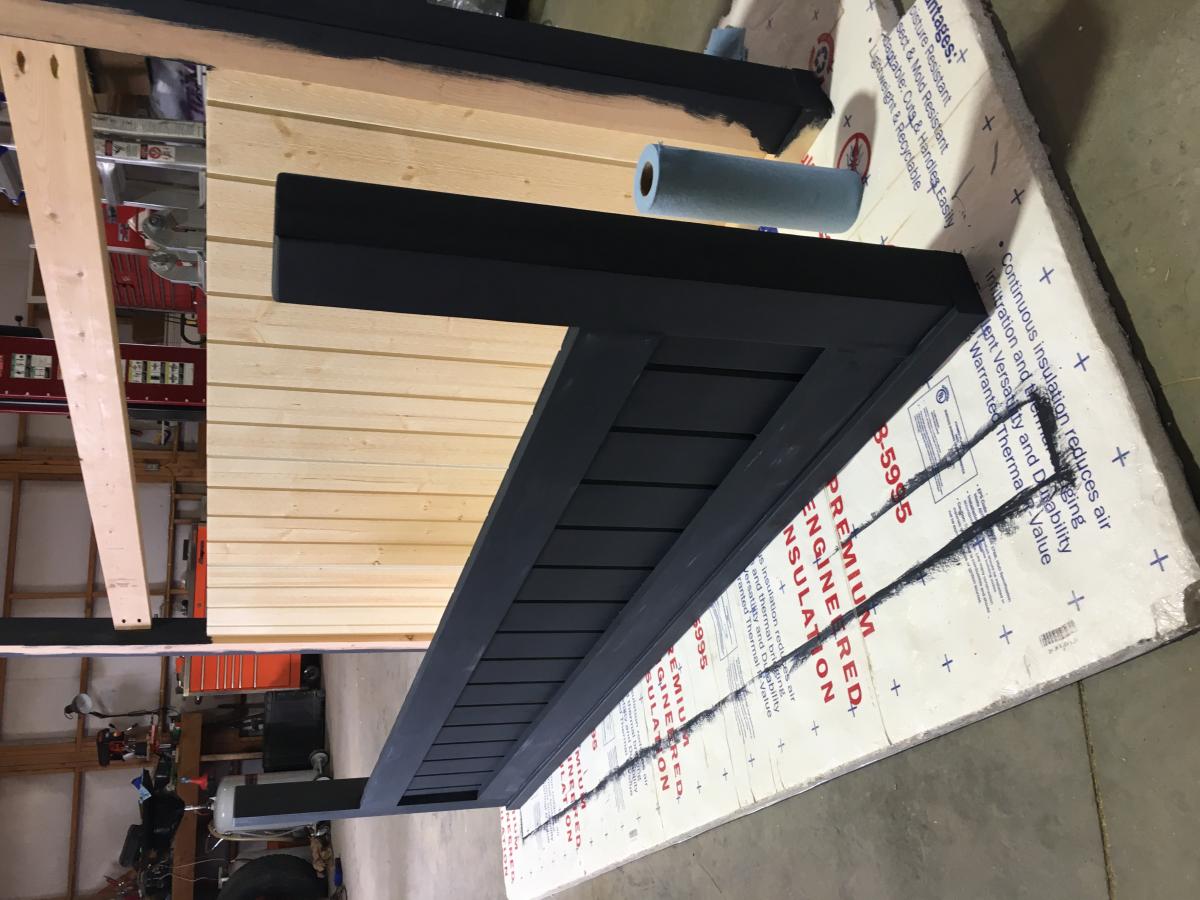
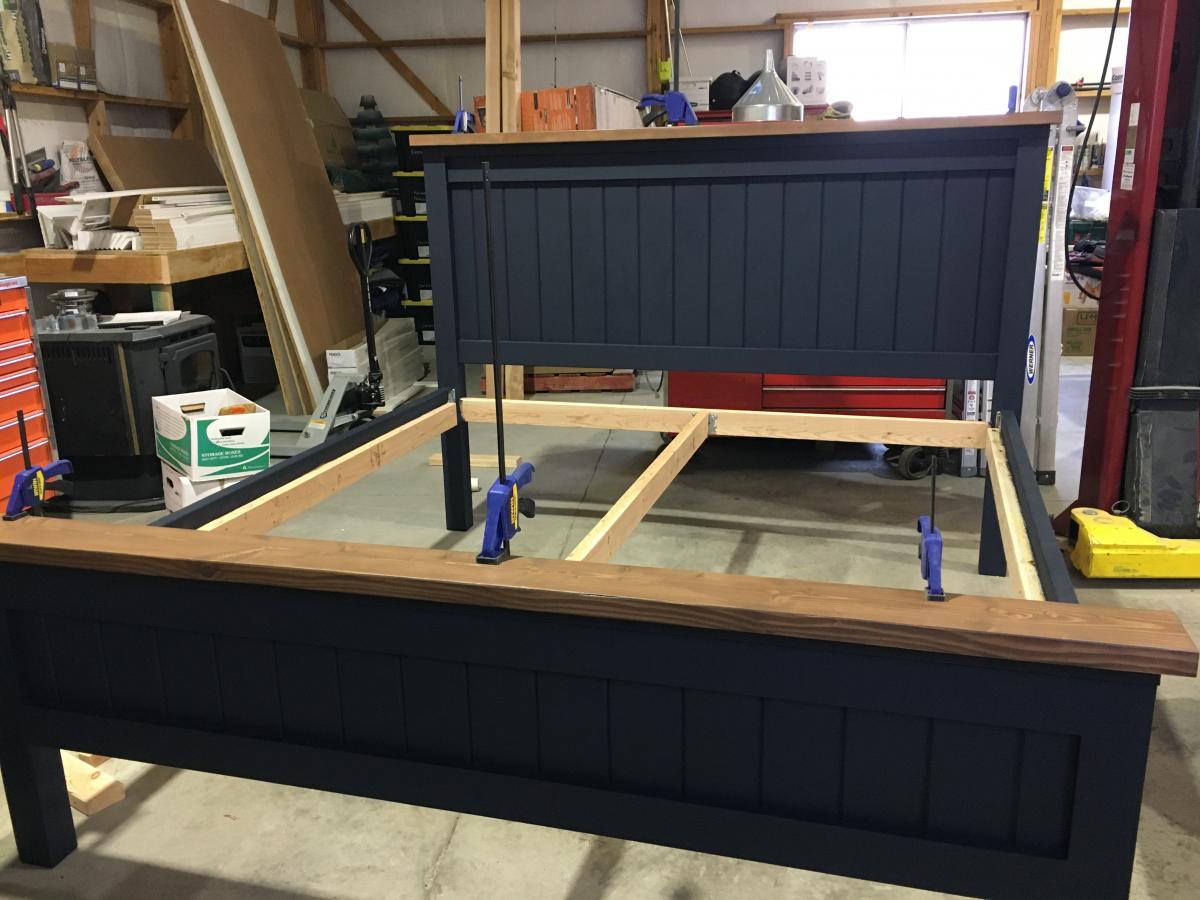
Thu, 03/11/2021 - 22:14
Amazing build and beautiful finish! Thank you for sharing:)
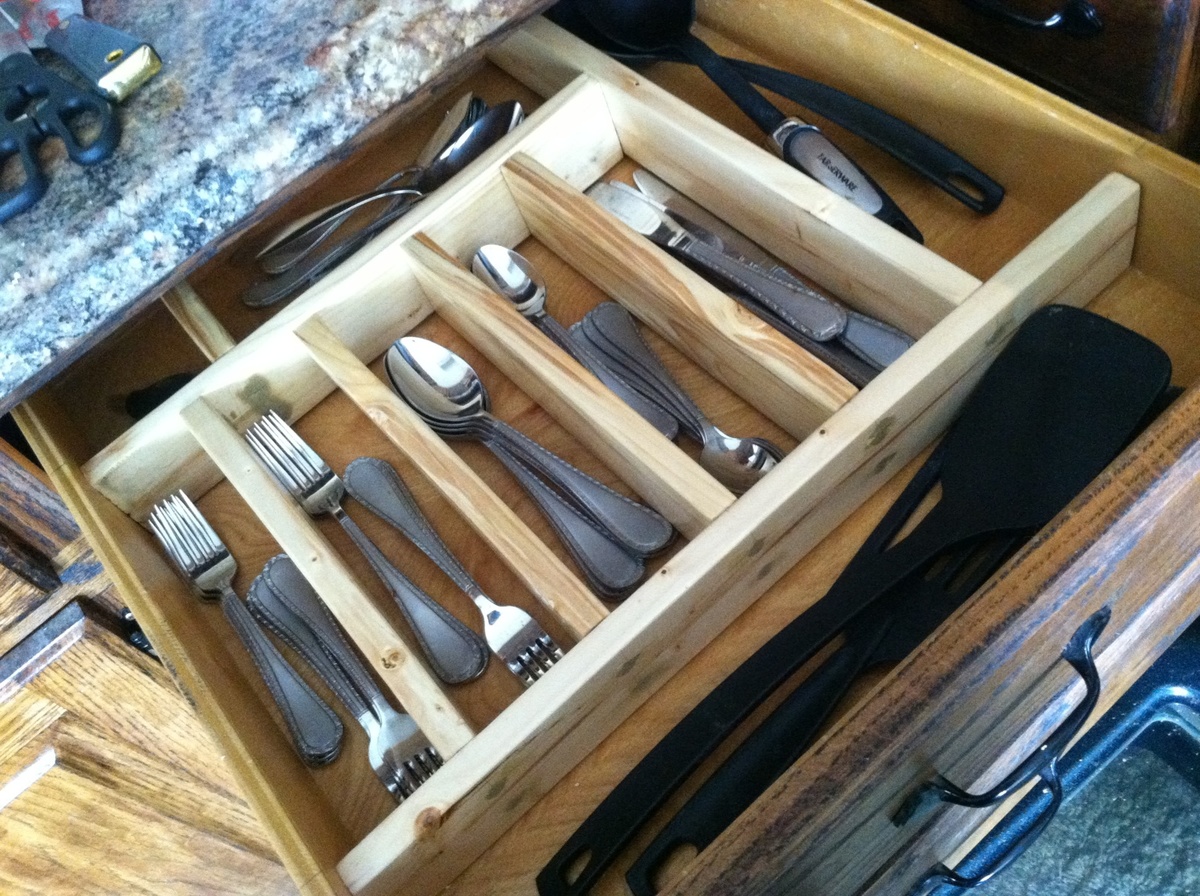
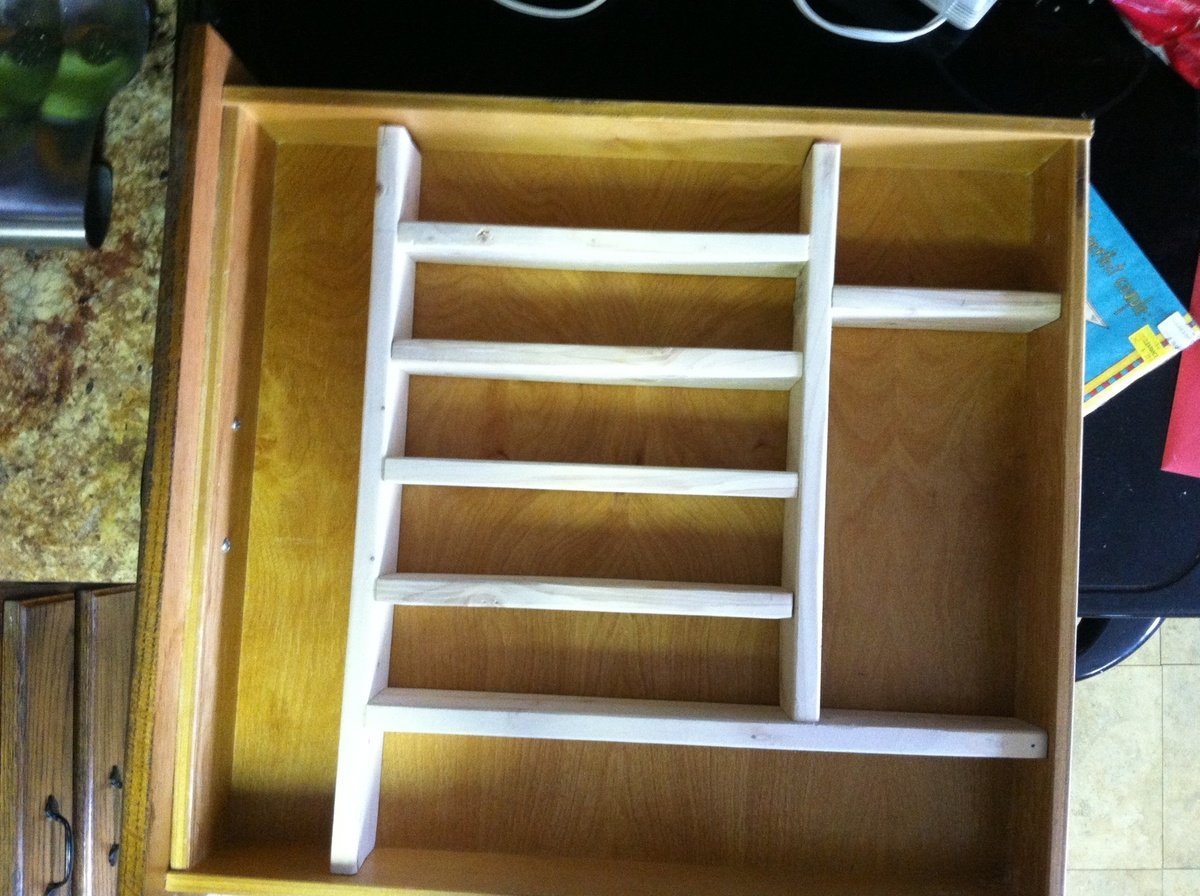
I used the countersink drill bit and Elmer's wood filler, but the the wood filler didn't take the stain/poly well.

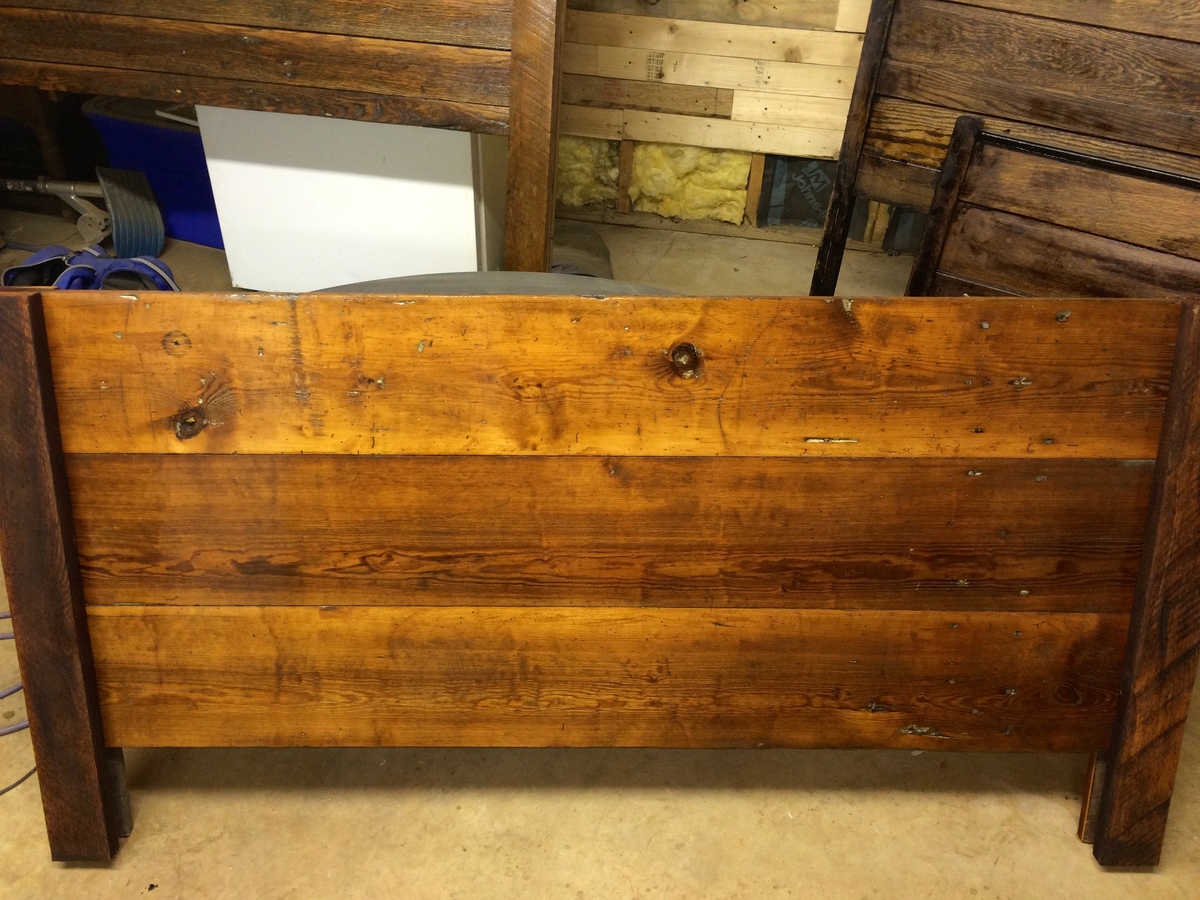
i was able to rescue a few doors out of a roughly 140 year old house. so the idea of a head and footboard came to mind. the headboard is oak was the front door, and the footboard is pine from bedroom. these were not taken apart just sanded cut to length and finished. now everyone around me wants a pair.
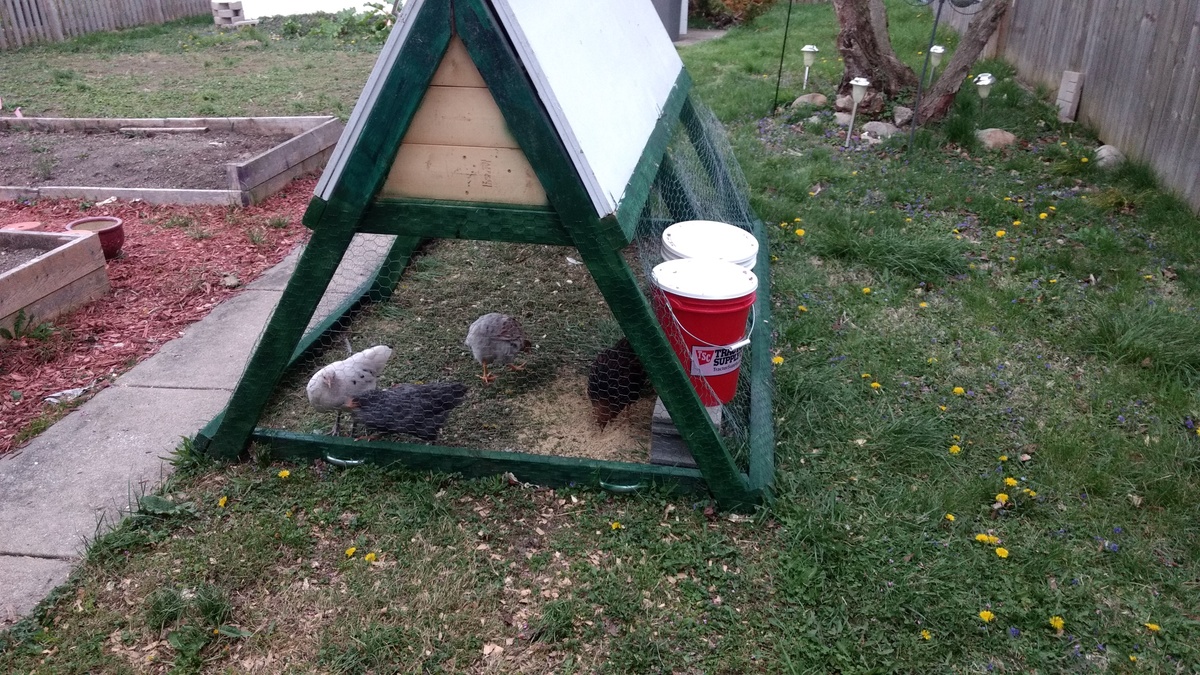
I really didn't want to need to feed/water the chickens too much, but at the same time only having four didn't really necessitate a massive system. I found this video for a feeder (https://youtu.be/pzW4YytXYaQ ), and then bought some sideways chicken nipples off of amazon and <~$20 later it was done. I've since gone in and made the street elbows for the feeder a little longer than he recommends, which has made them truly zero waste.
Also, a couple of good wheels from Tractor Supply (https://www.tractorsupply.com/tsc/product/titan-casters-4-in-rigid-poly…) on the one side and some handles on the other and boom, chicken tractor.
Finally, I noticed one person that had extended the rungs on the ramp out... my chickens love that and are on them almost all the time. Lastly, I put a quick 1x2 at the top of the ramp to keep the chips from spilling when I move it, but they really like roosting there, now.
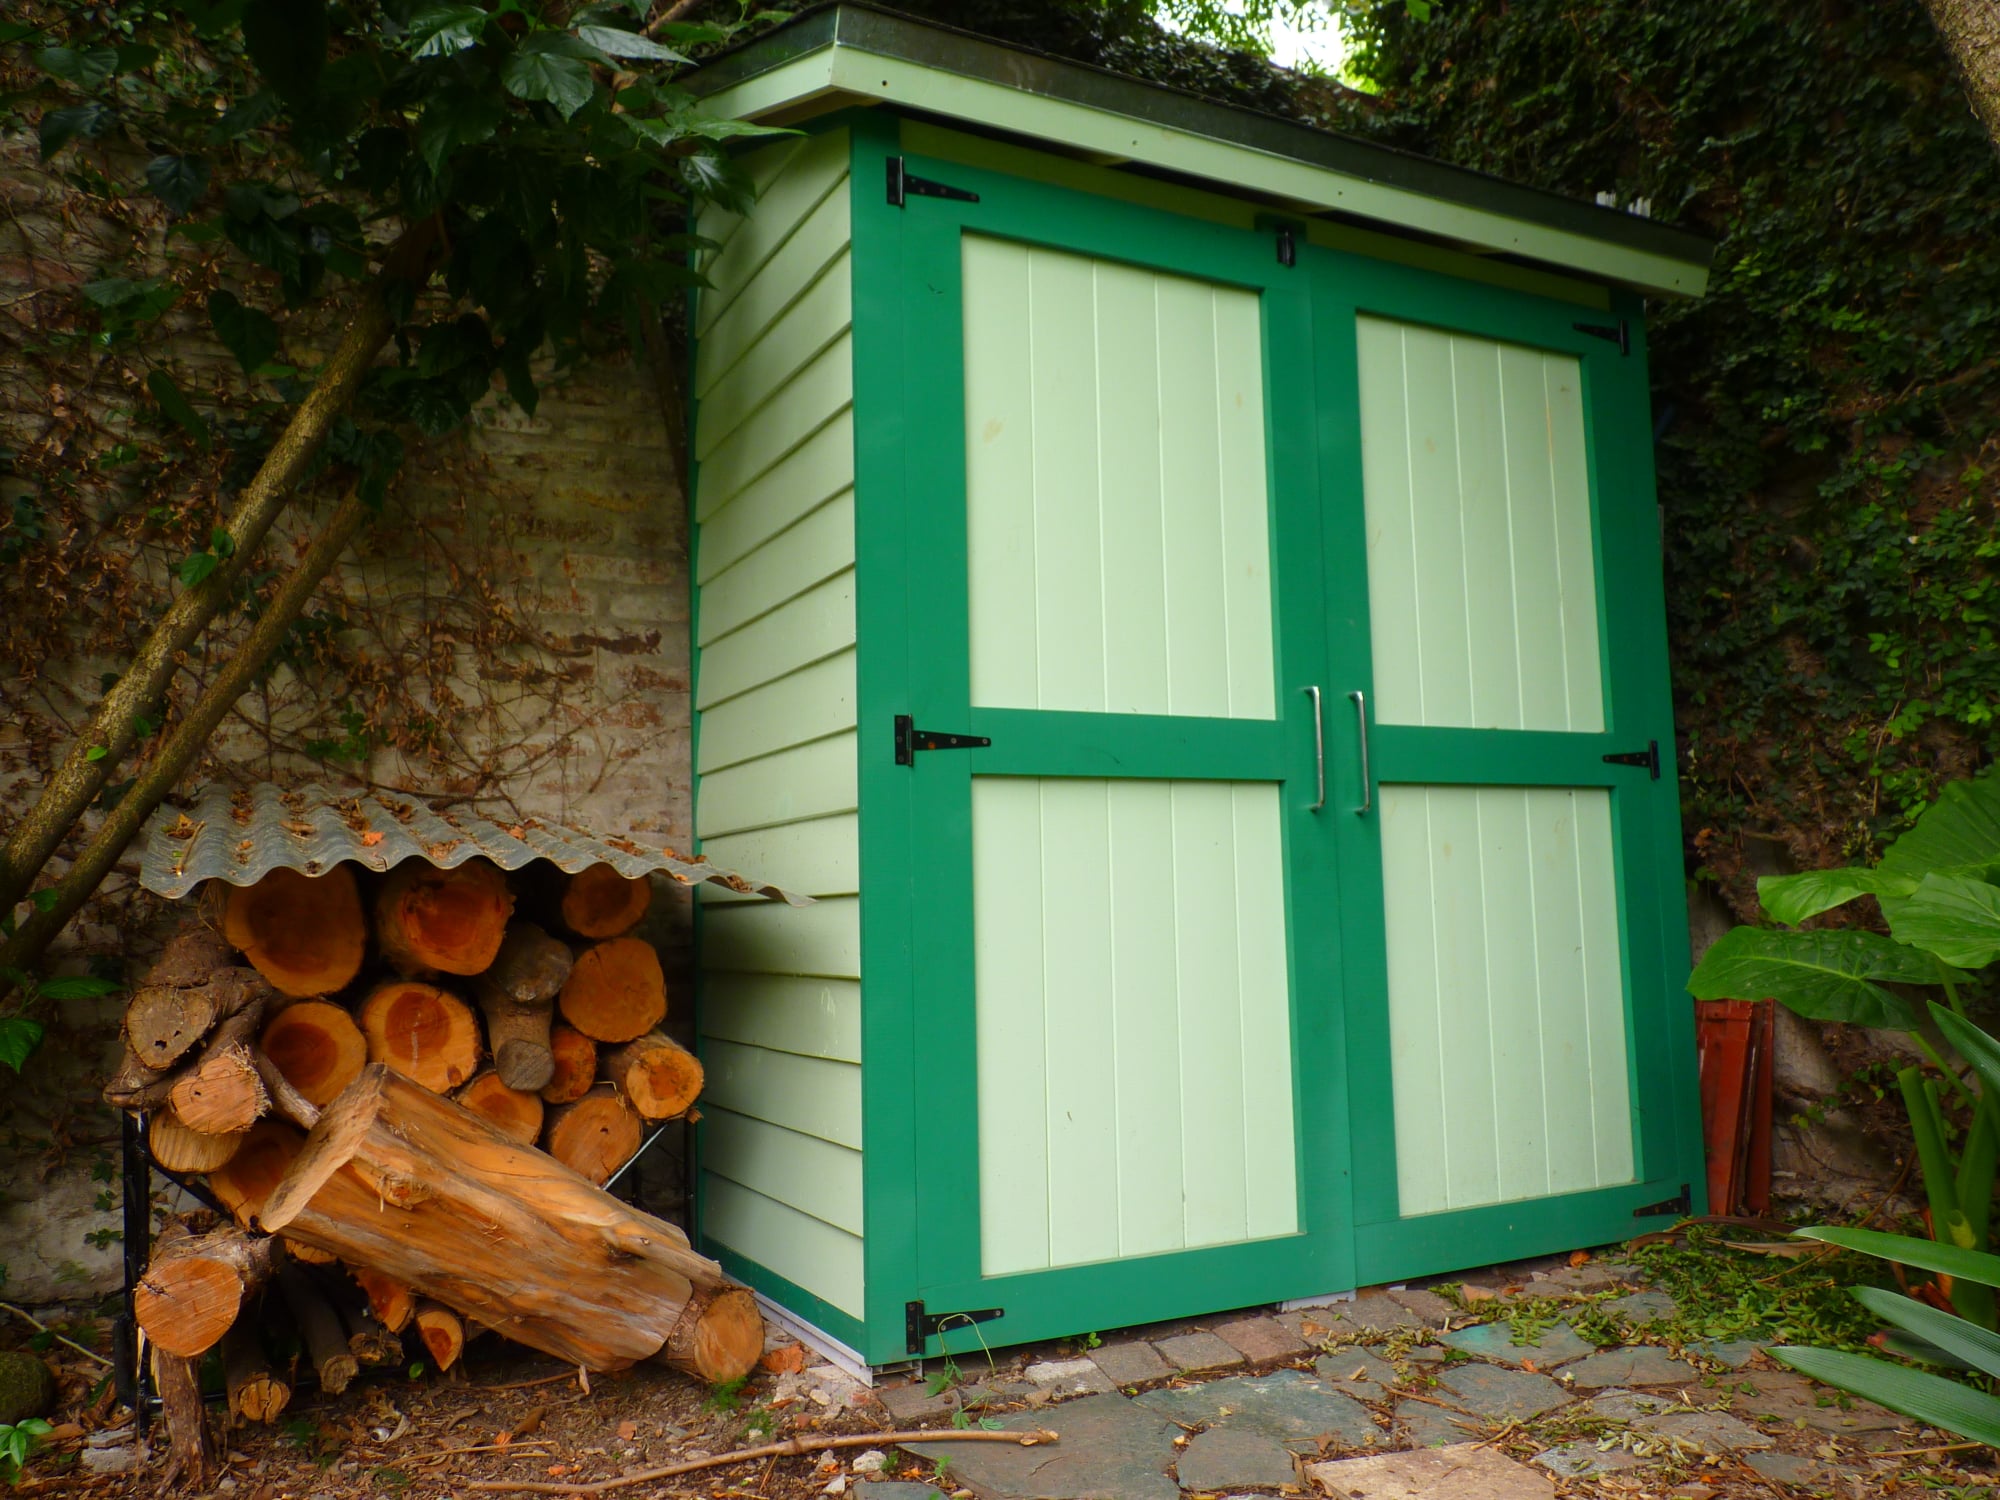
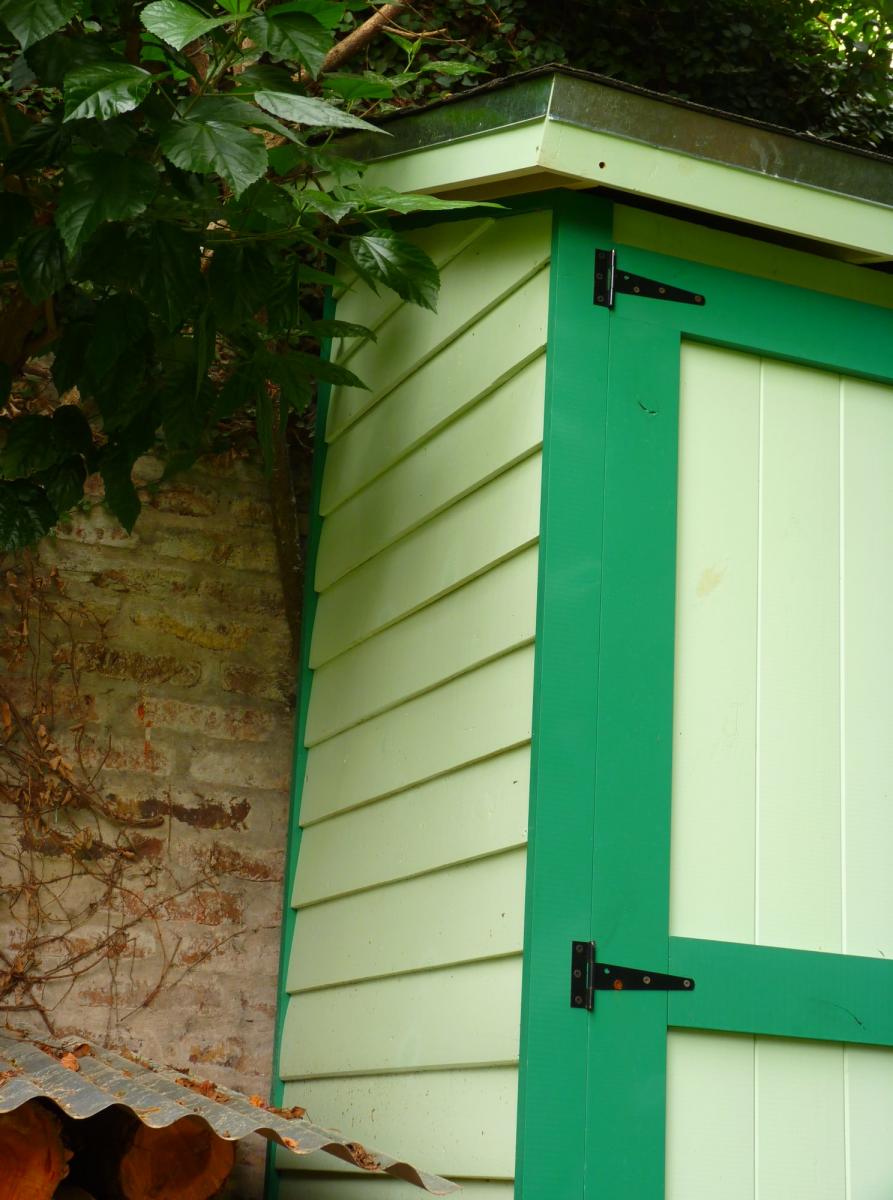
I´ve made my garden shed based on the plans of the Small cedar shed adapted to my needed dimensions and to metric measures.
SOverall dimensions are: 2,20 m T x 1,80 m W x 0,80 m D
It was my first ever frame structure this type and size.
Thank you very much!.
Greetings from Argentina
Regards
Ben


A great plan that was so easy to follow! My hubby and I had a great time building this, even though it took us about a year from start to finish, actual work time on this project was not huge. The Kreg jig was brilliant and made everything so easy.
Tue, 01/20/2015 - 13:43
This is beautiful! I love the picture of your cat. :)
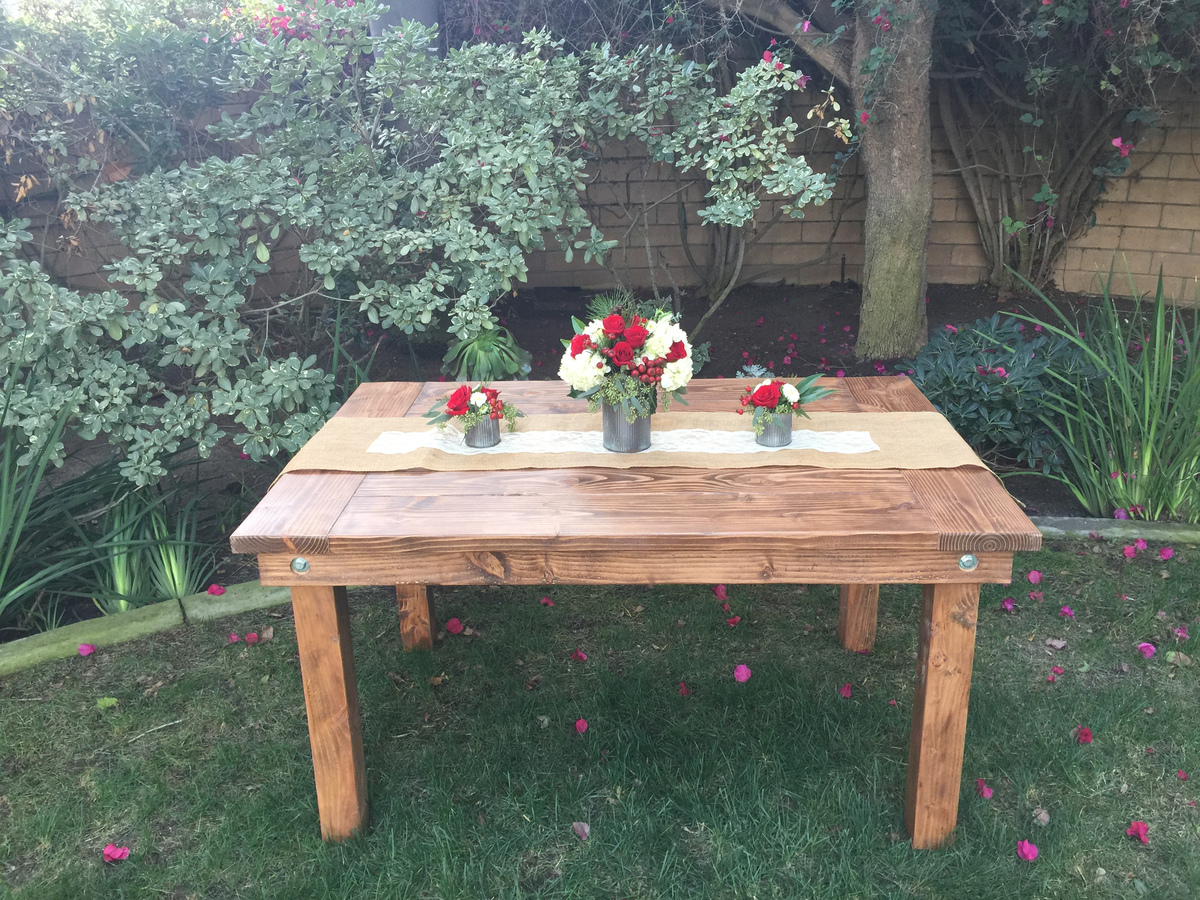
We started building farm tables just recently and used the great plans from the Ana White site along with all the helpful other brag posts. The main construction of the table was based on the plans from here: www.ana-white.com/2012/11/plans/farmhouse-table-updated-pocket-hole-plans along with some other modifications made along the way. The table turned out great and just wanted to give thanks for the plans and this community.
We built more than just the picture uploaded if you want to see more versions/sizez you can check them out here: http://backyardcedarsevents.com/gallery/
Thanks for the great DIY website - the projects and plans here are great for everything!
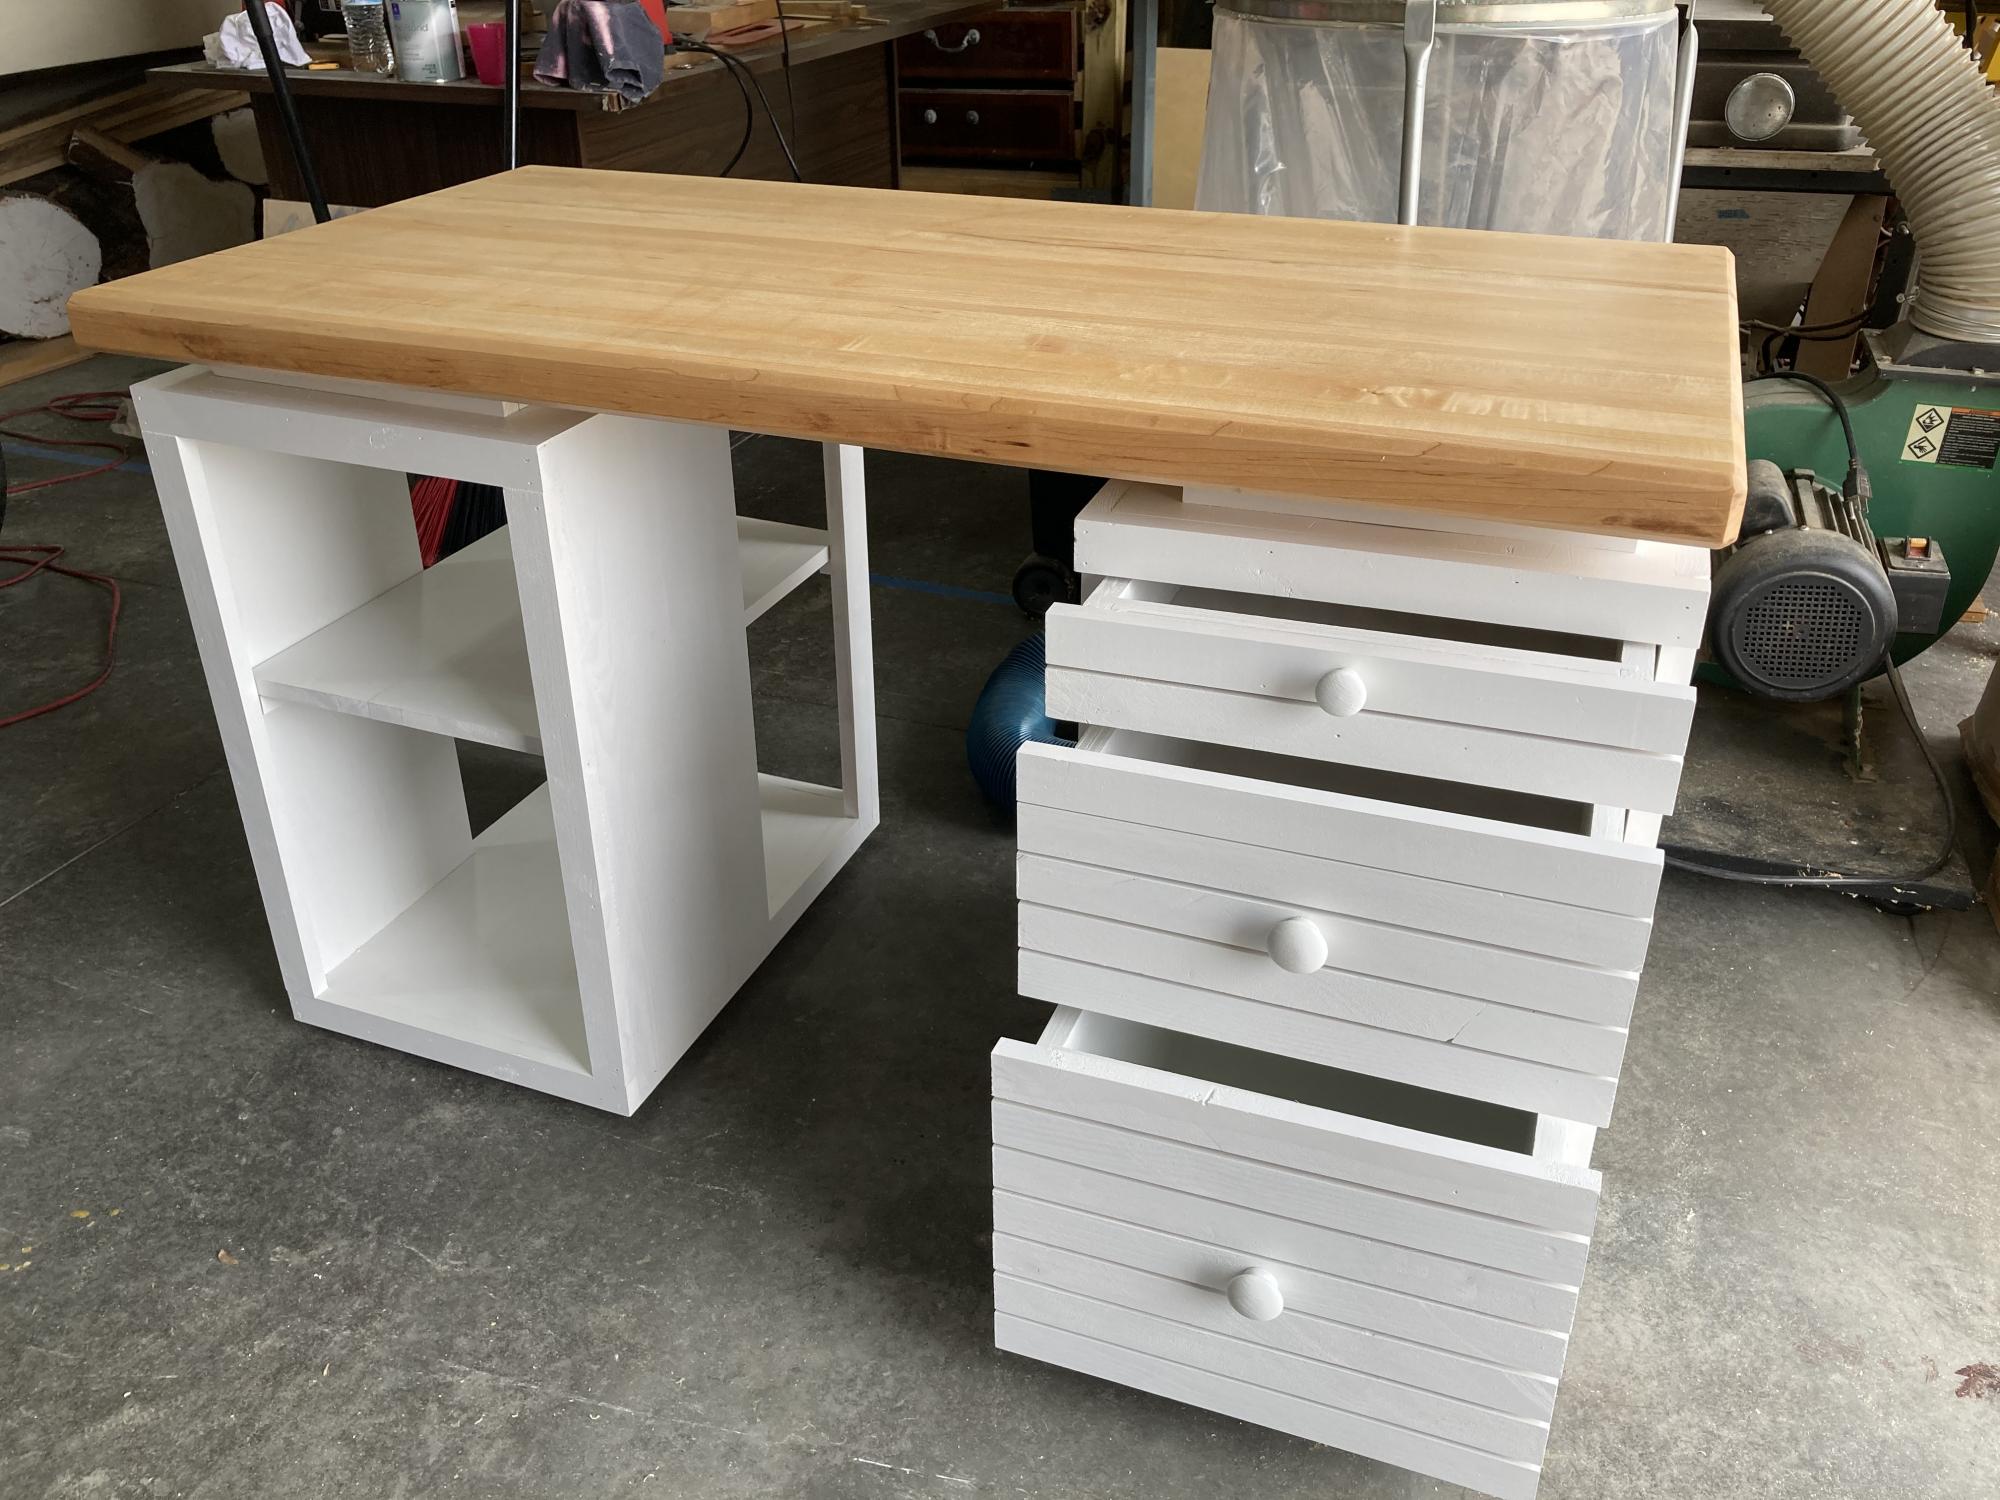
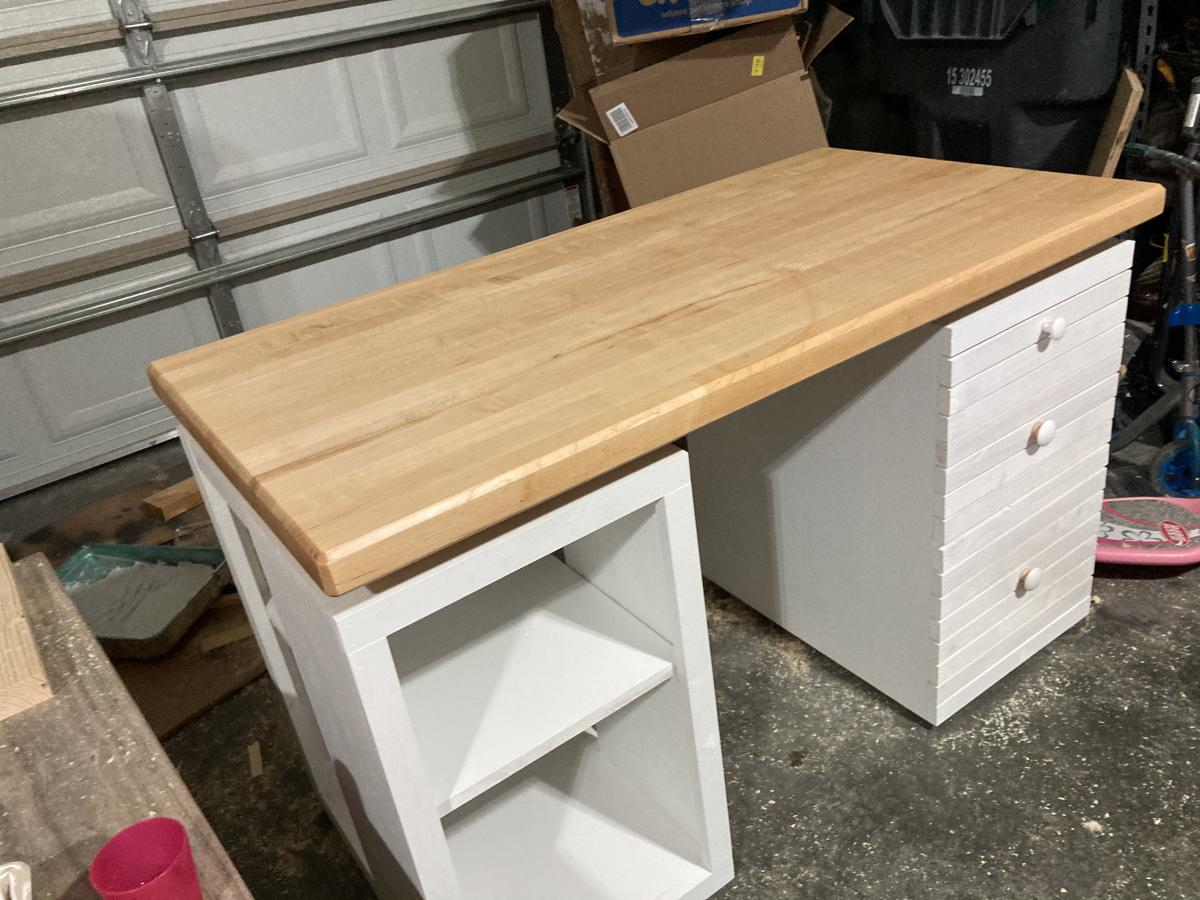
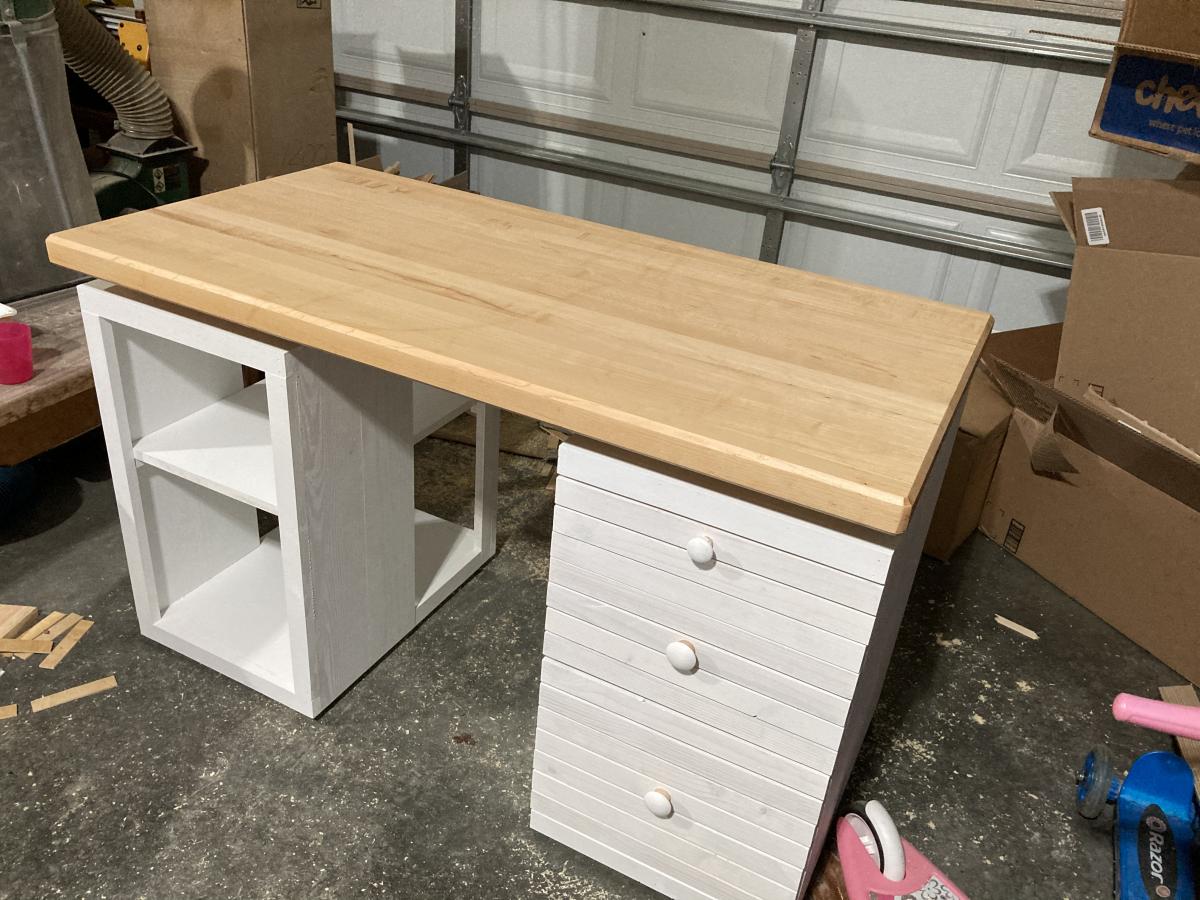
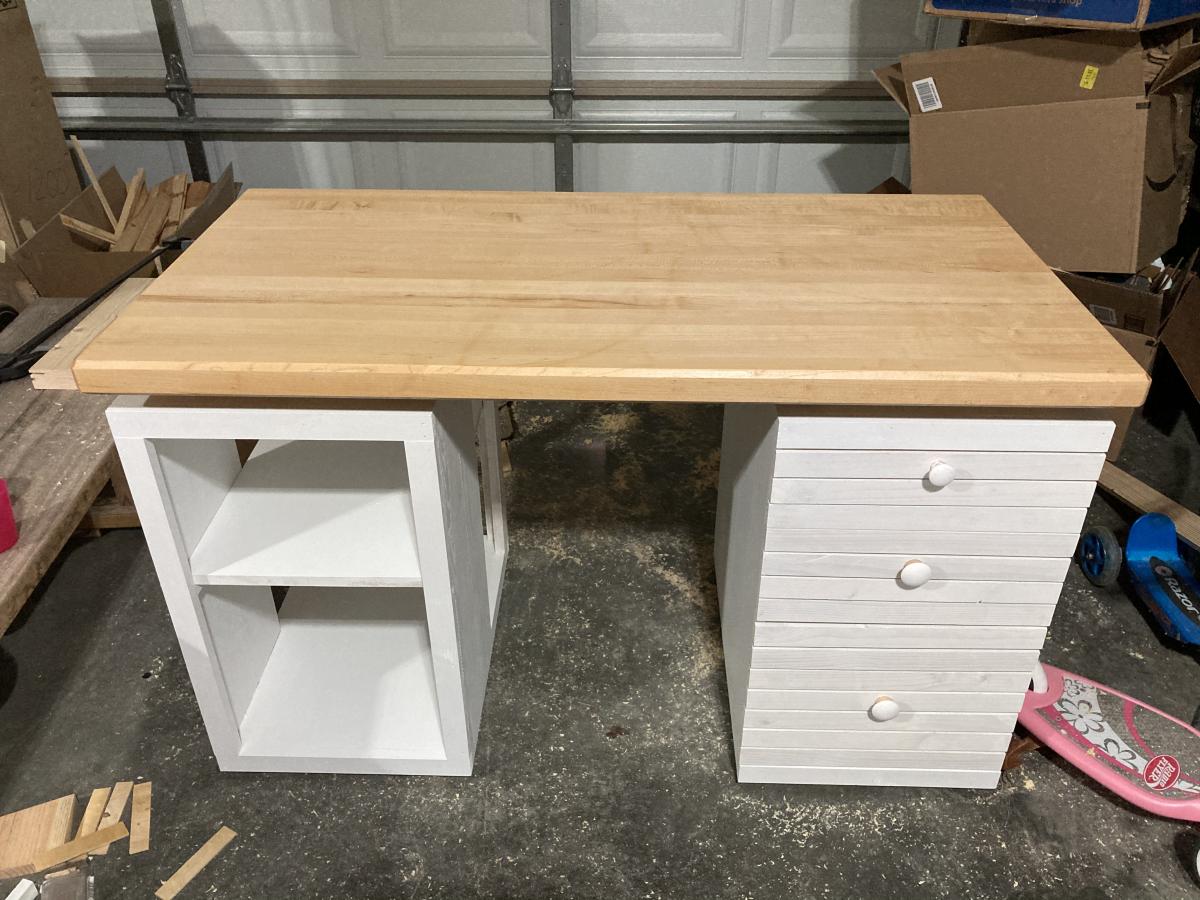
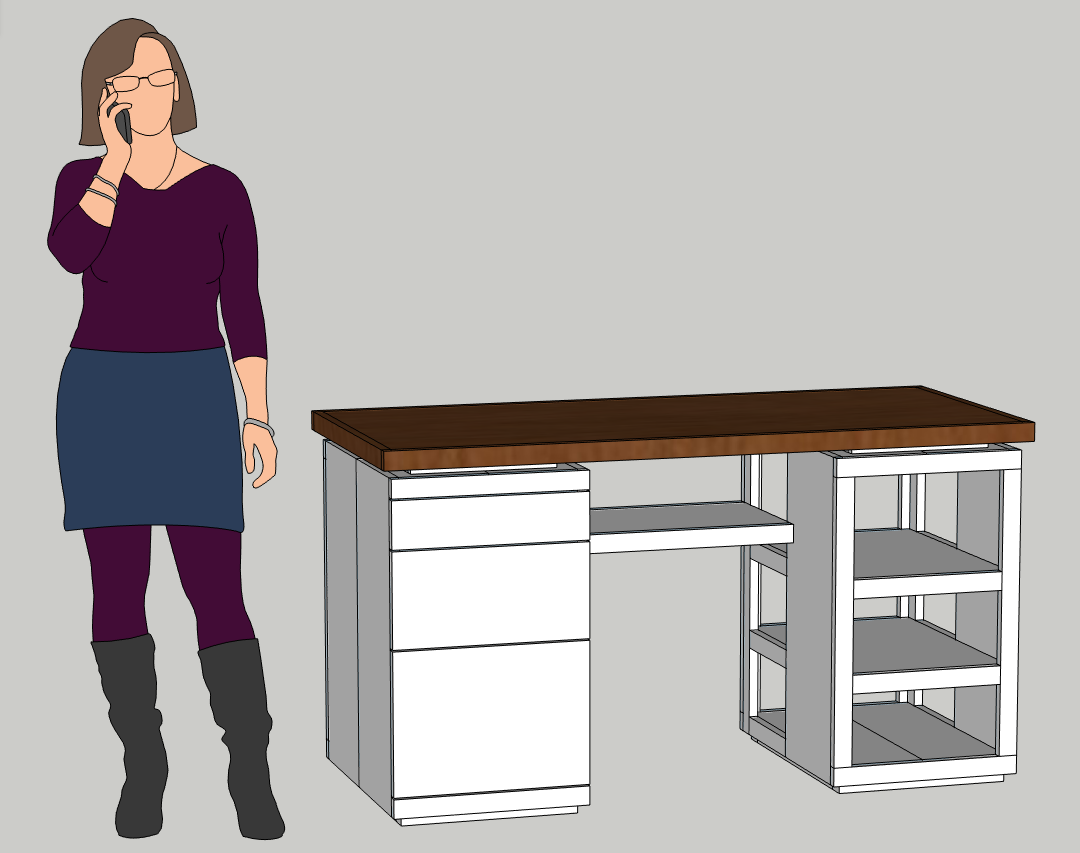
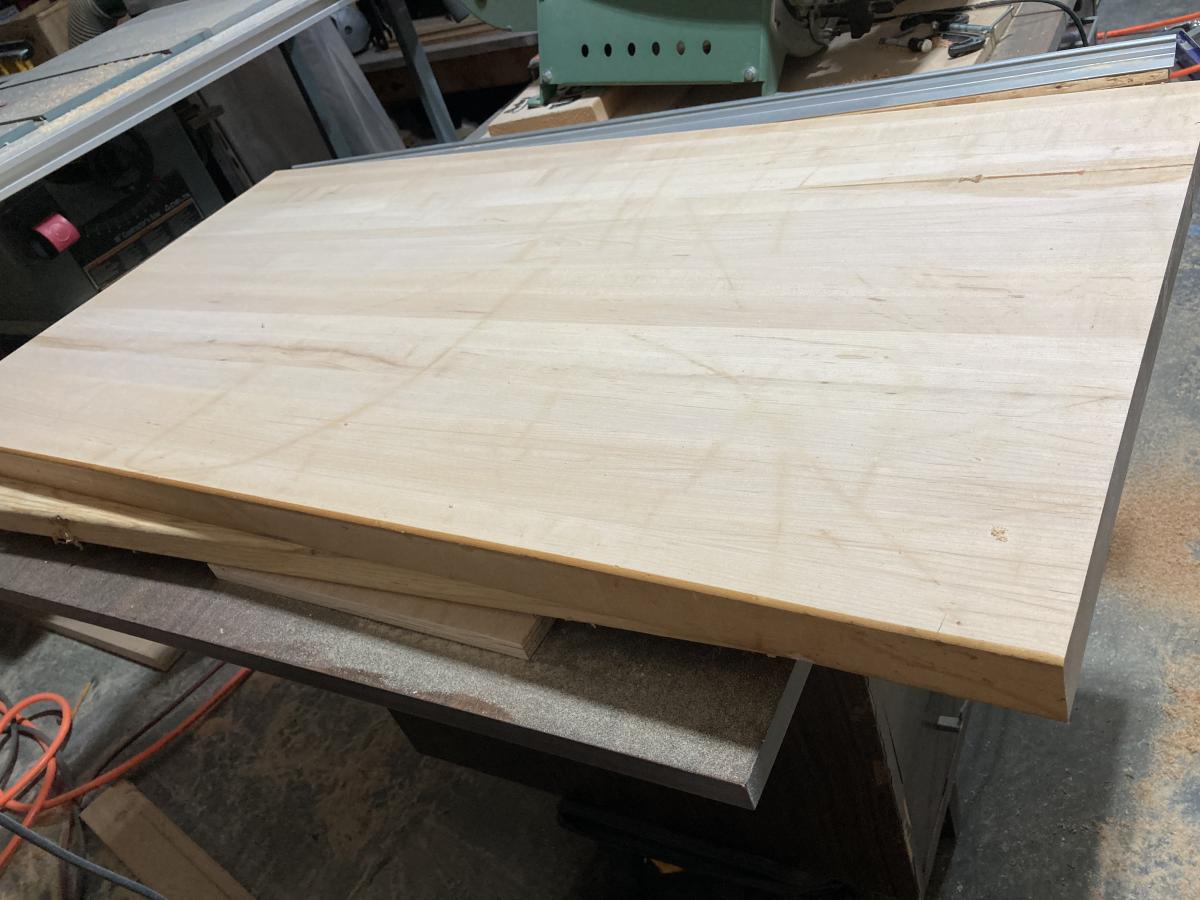
Your craft table was the kicking off point for this desk. Pine cabinets, plywood drawers, maple top.
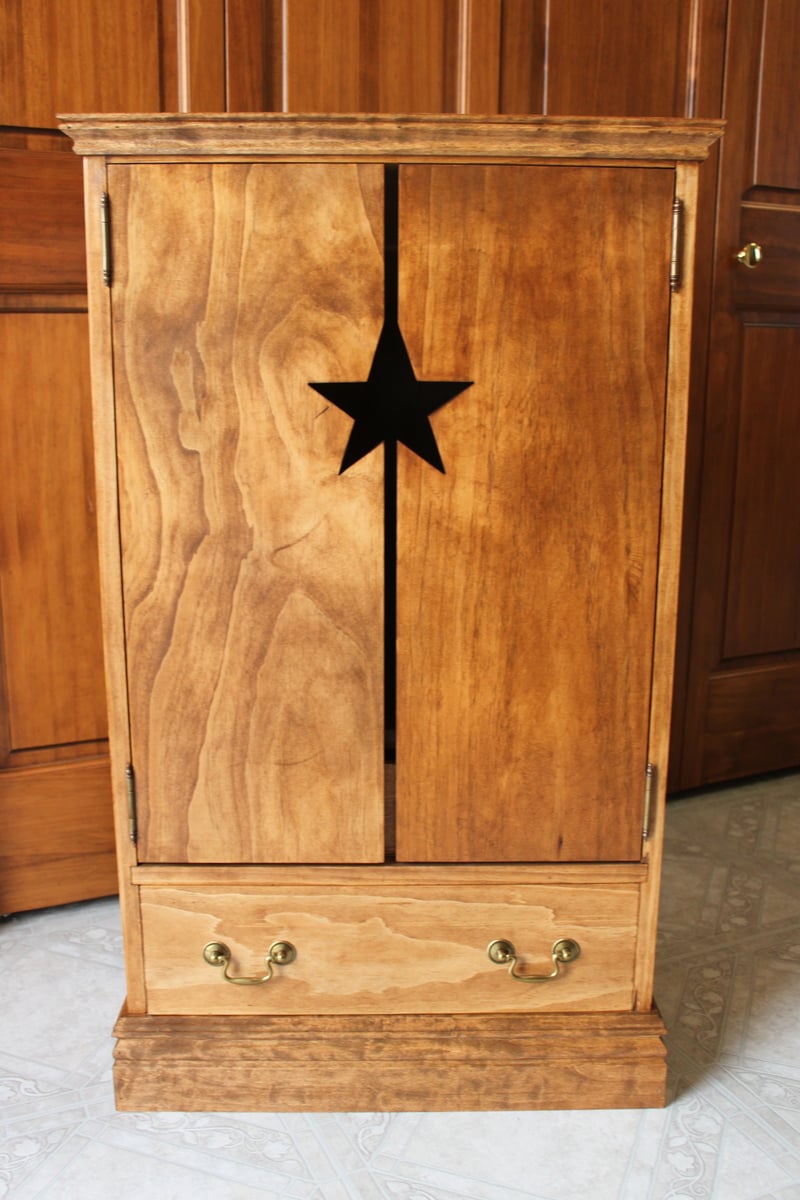
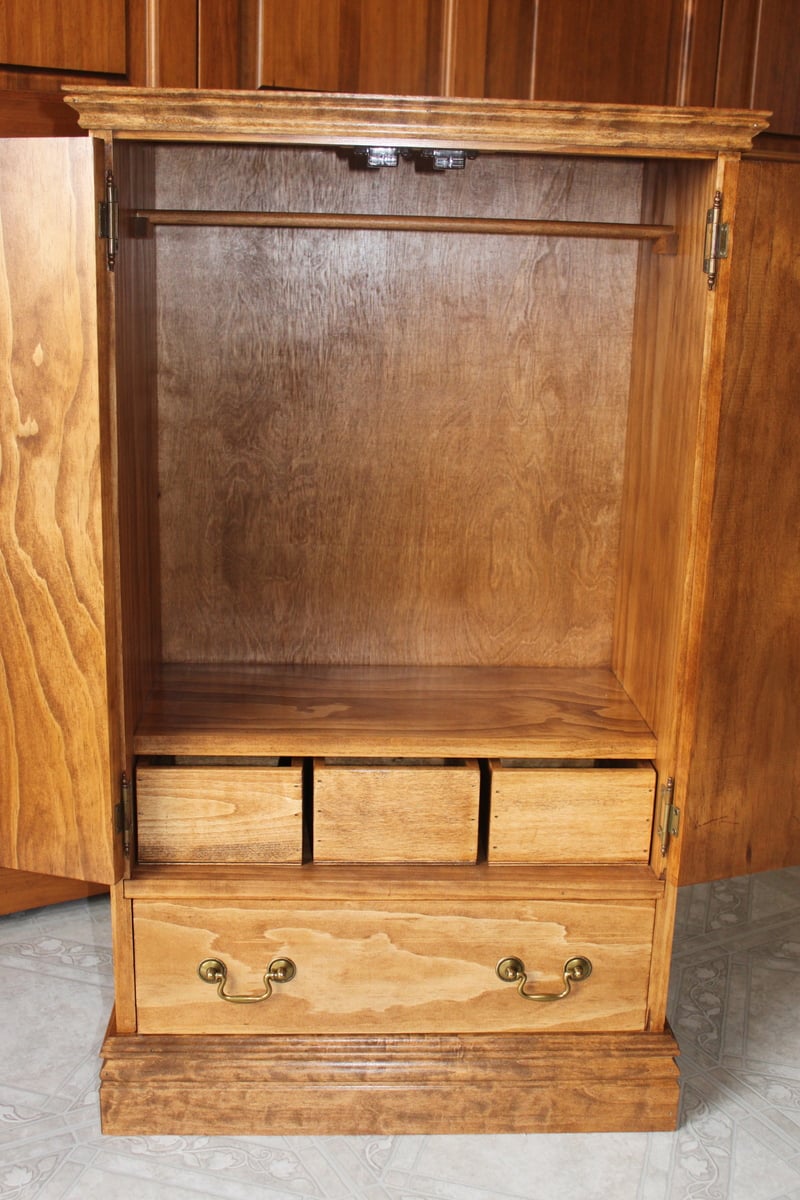
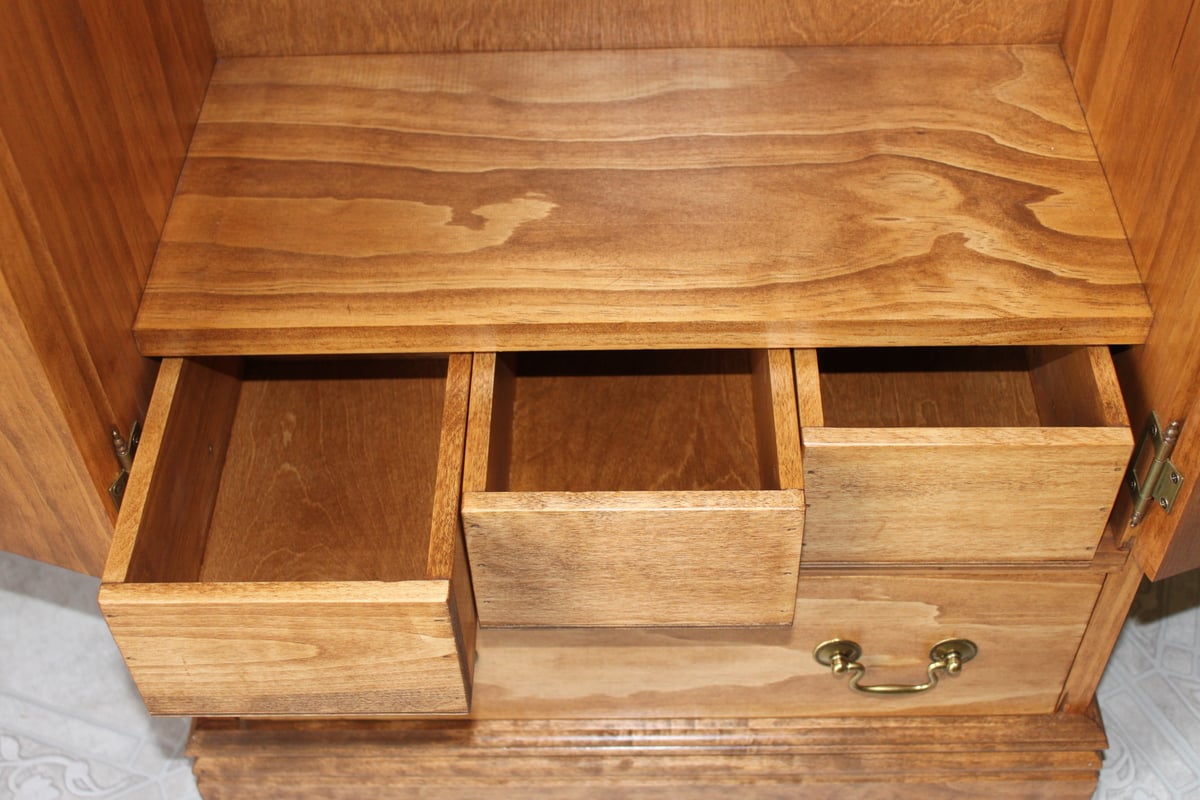
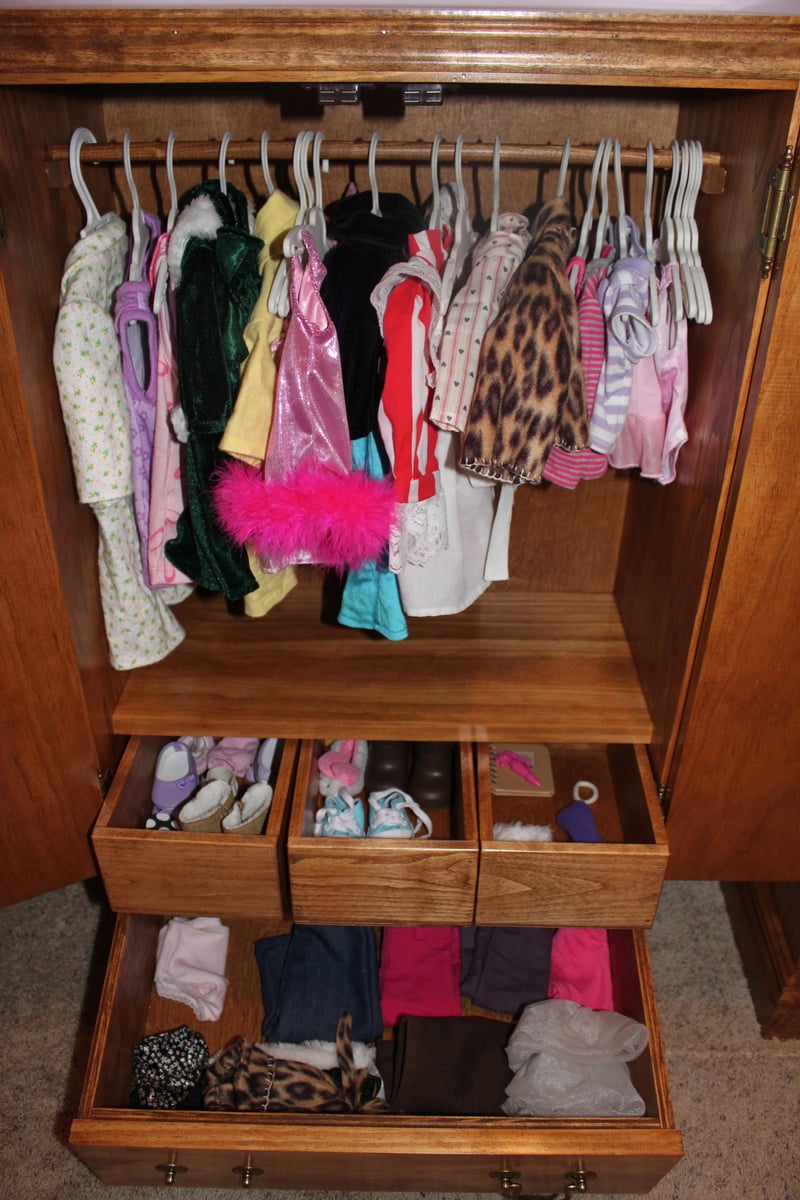
My husband made two of these star closets for our girls and all of their American Girl Doll clothes and accessories. He added a drawer to the bottom so that they could fold pants, shorts, and swim suits and keep them there. He also built three small boxes to hold the smaller accessories, like shoes, hair bows, and hats. It turned out beautiful!
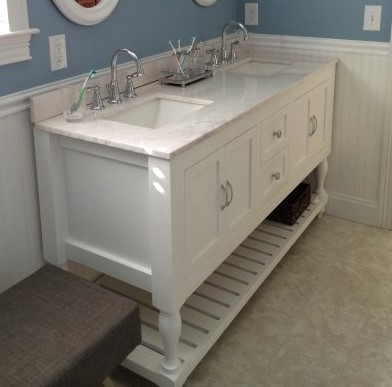
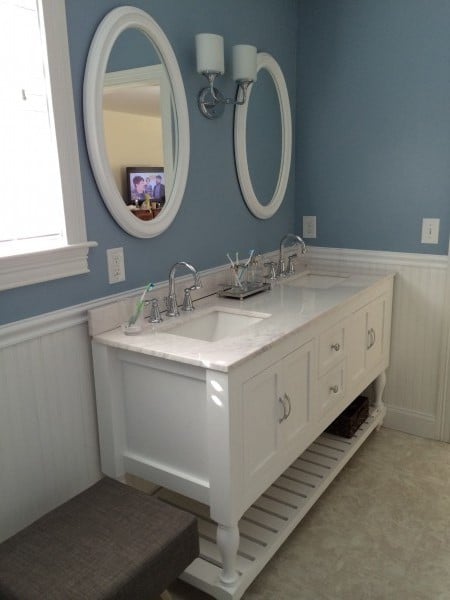
First time visitor. I recently built this modified 48" Turned Leg Vanity for my wife.
We expanded it to a 62" double sink with drawers in the middle and opening below the sinks.
Thanks for the great site Anna.
Wed, 01/21/2015 - 13:51
Great job! Such a beautiful bathroom, I bet you can't stop smiling!
Wed, 06/10/2015 - 09:35
This looks great! I am going to work on one very similar and use this sink http://www.us.kohler.com/us/Ceramic-Impressions™-61-rectangular-double-bowl-vanity-top-bathroom-sink,-single-faucet-hole/productDetail/Styles-of-Bathroom-Sinks/1006992.htm?categoryId=651428&skuId=1006846&hash=id%3Dfilters%26chk-183%3D183%26startIndex%3D20%26scrollTop%3D411
Did you save your plans for this size vanity?
Fri, 10/23/2015 - 09:55
Gwphoto, do you have plans for this project that you would share? Have been wanting to modify this 48" vanity just as you did. Thanks so much!
Mon, 03/14/2016 - 07:47
Hi Schuzog, looks like I can't find the plans on my computer. Sorry.
Greg
I had my nephew build this outhouse for our new 70 acre lot - no neighbours in sight so I had him put in an acrylic window (with a view). I left off the deck and had him put the boards tight together so 'critters' didn't get in as easily. I made a sign for above the door - 'Waste Management' for a touch of humour. The plans were easy to follow and I love it. Thanks, Ana.
Thu, 04/20/2017 - 16:45
So excited to see this one built! Your nephew did a great job, love the window in the back!
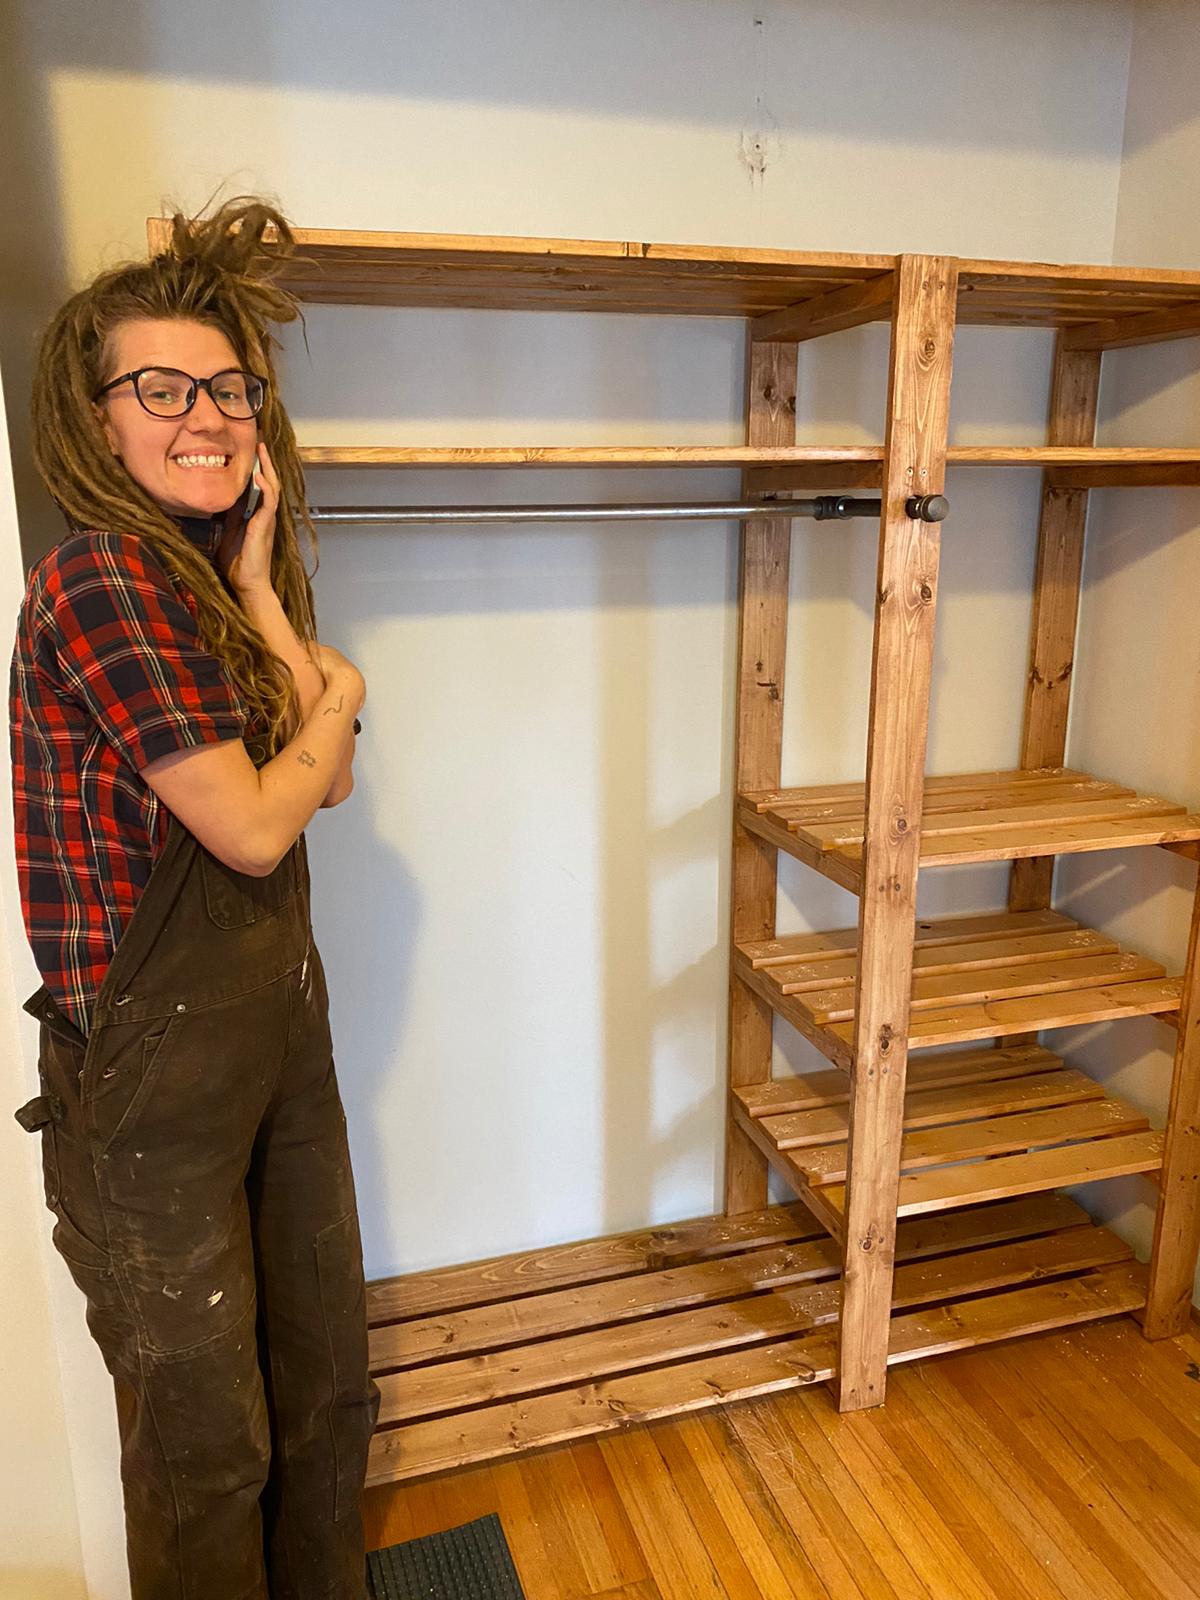
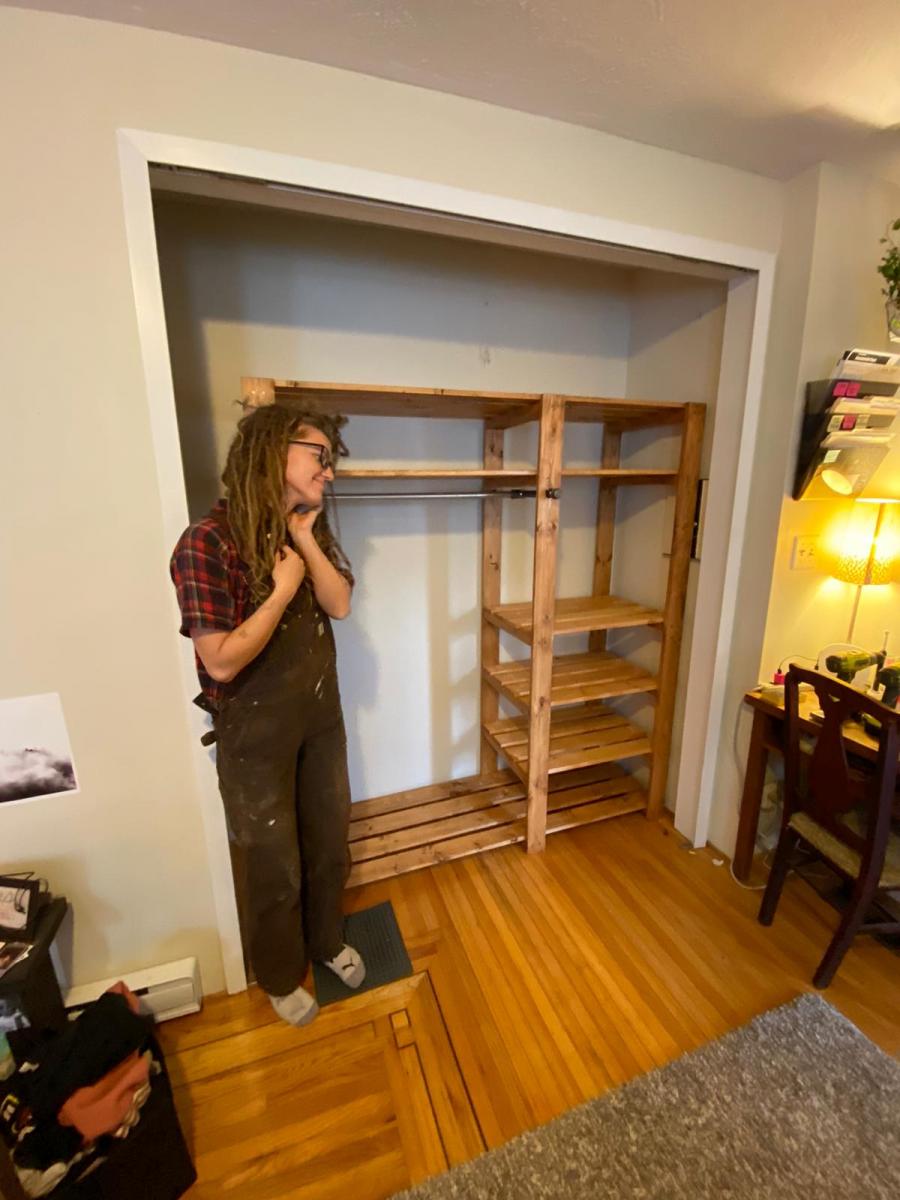
thank you so much for these plans! We cut the original design in half, so it would fit the space- we used pine so the boards were a little warped but eventually everything screwed down into place and now it really does free stand and its all level! We may add a crossbeam at the back for extra stability. Stained with Ipswitch Pine by Verathane , 2 layers with sanding between, basic piping from the hardware store. Well under $200 total!
5.5 feet tall, 6 feet wide, 2 feet deep
Thanks again, your plans were thorough and easy to follow.
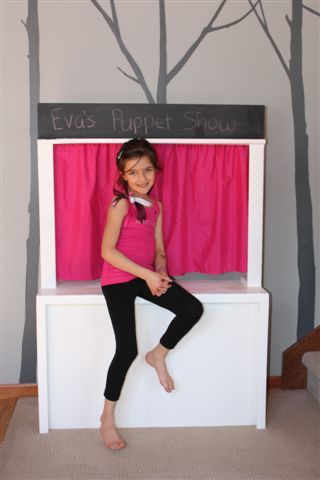
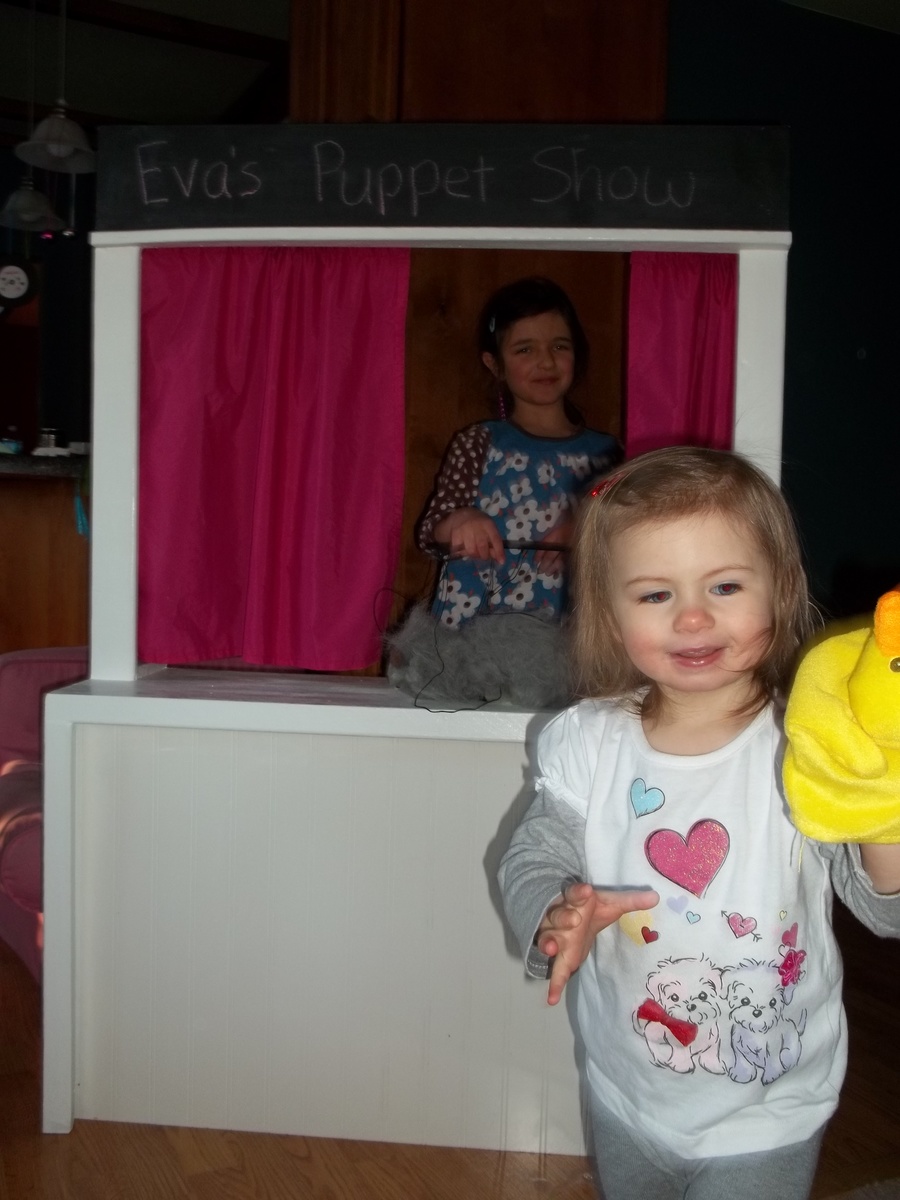
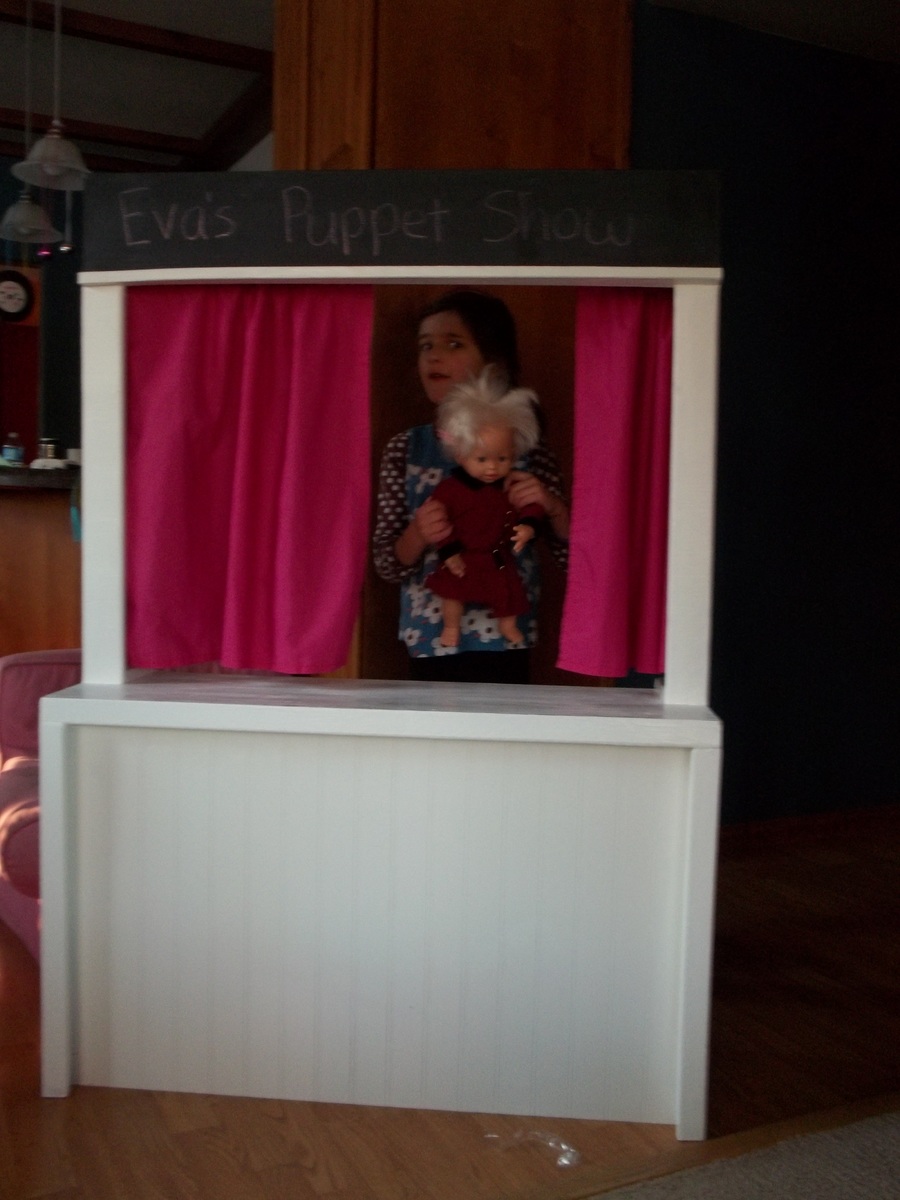
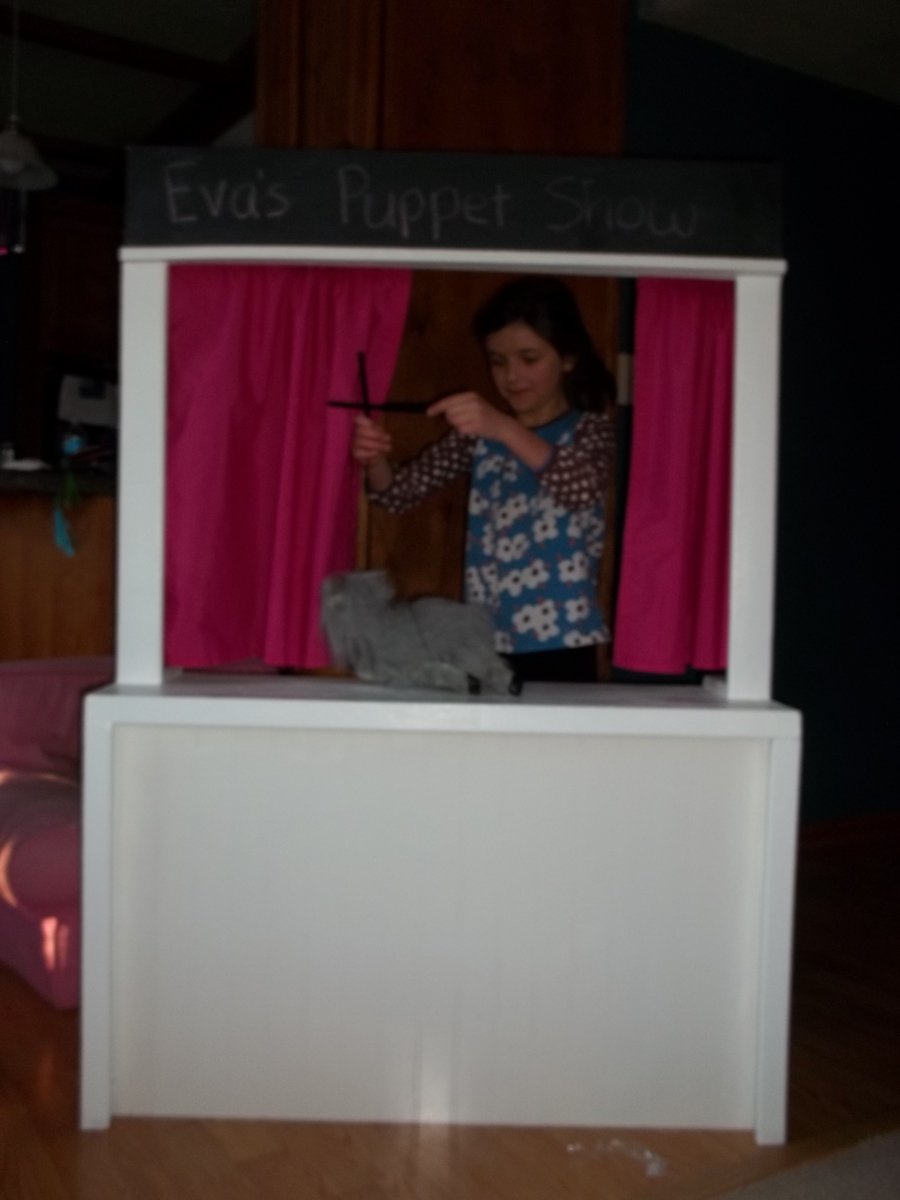
I changed the this plan to make it into a puppet stage for my niece's birthday.
I added a curtain rod and made some curtains to fit. I put two shelves in the back, but I put dowels in along the shelves so she could put her puppets on them for easy storage. I used a piece of a sheet of wainscotting for the front of the bottom.
I also put chalkboard paint at the top to allow her to write the name of puppet show that she is performing.
I was able to use some scraps that I had around for quite a bit of it, so it was pretty inexpensive.
The pictures are not great and I wish I would've taken pictures of the back before I gave it as a gift, but the kids are having lots of fun with it. I'll have to take some better pictures the next time I visit.
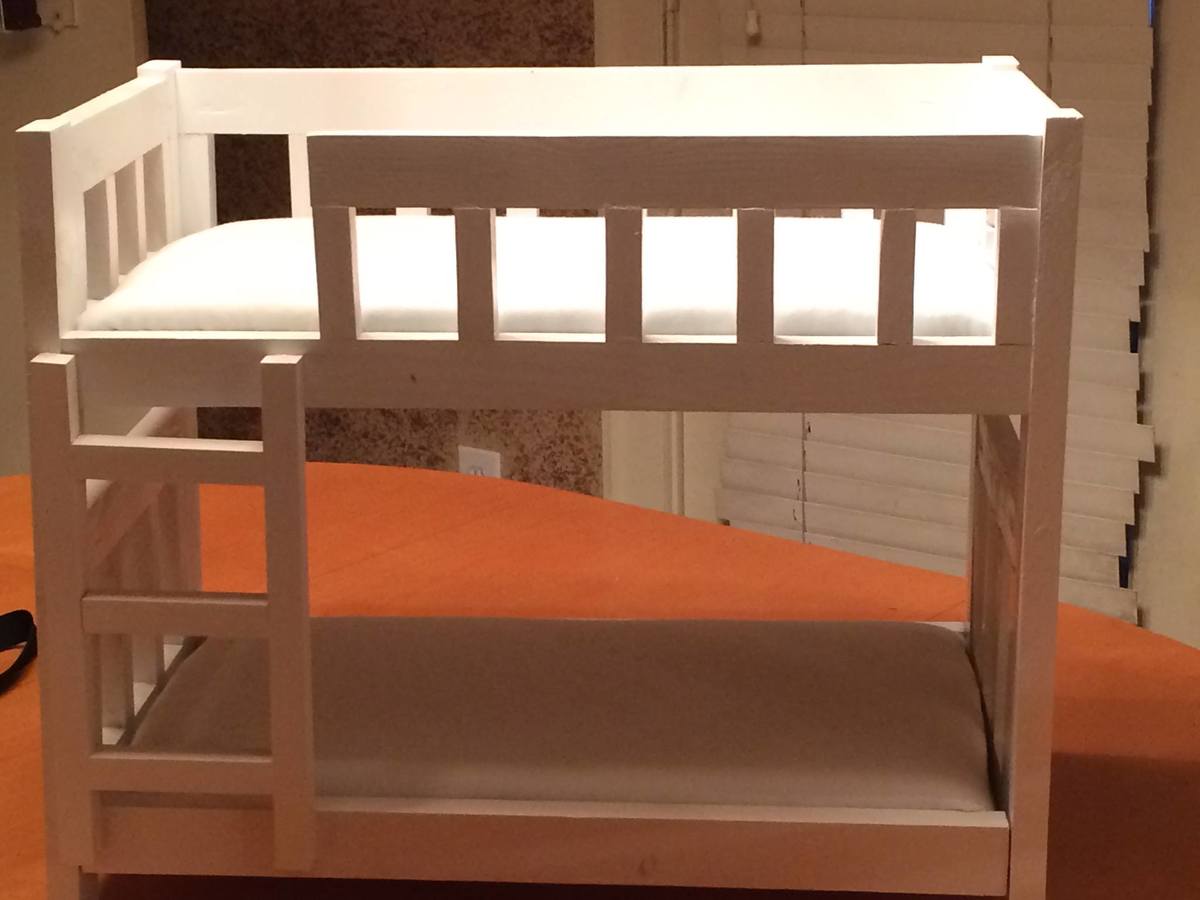
A coworker wanted bunk beds to give her daughter for Christmas for her American Girl Dolls and and asked me to build some. She was happy with the result
Hi all,
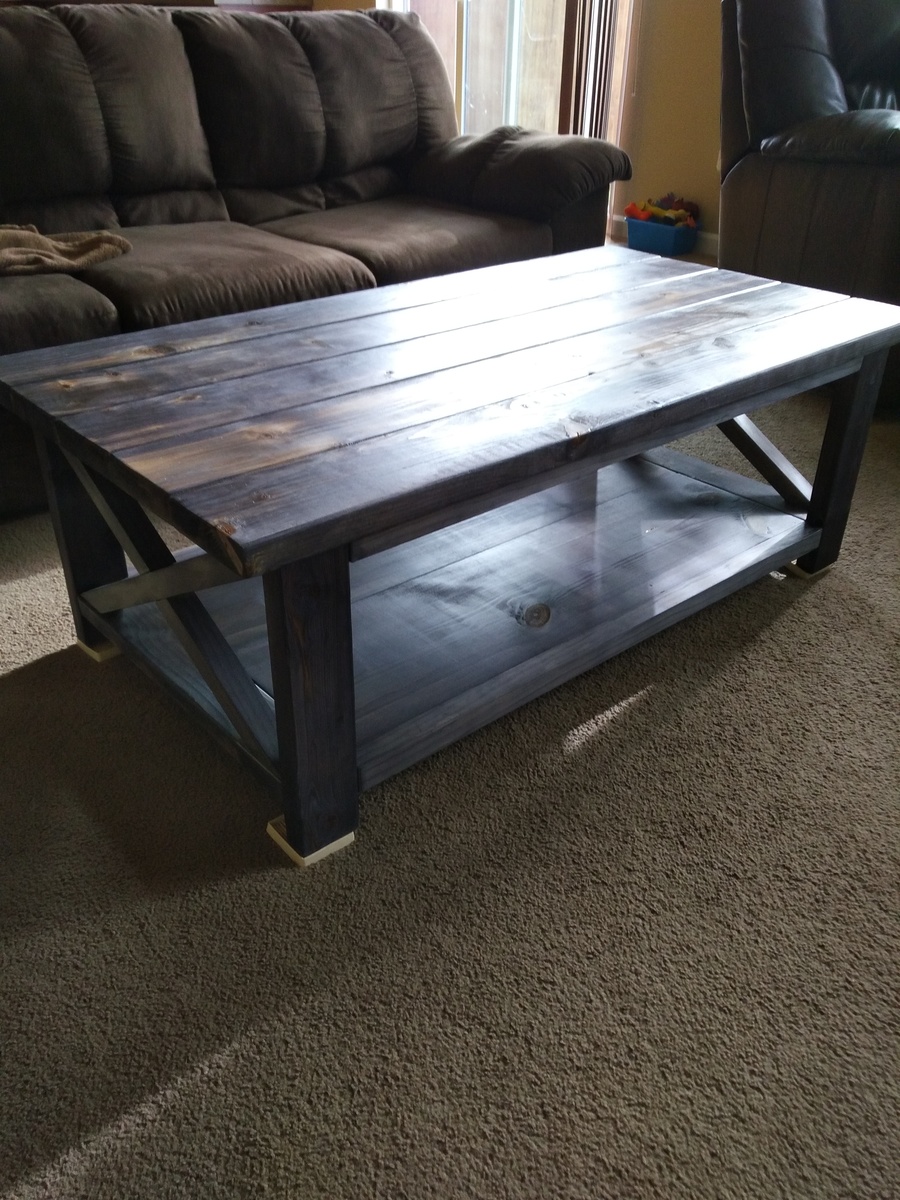
Joining a large group who have already done this coffee table. Hope you like it.
This required lots of tiny parallelograms. It was great fun to make!
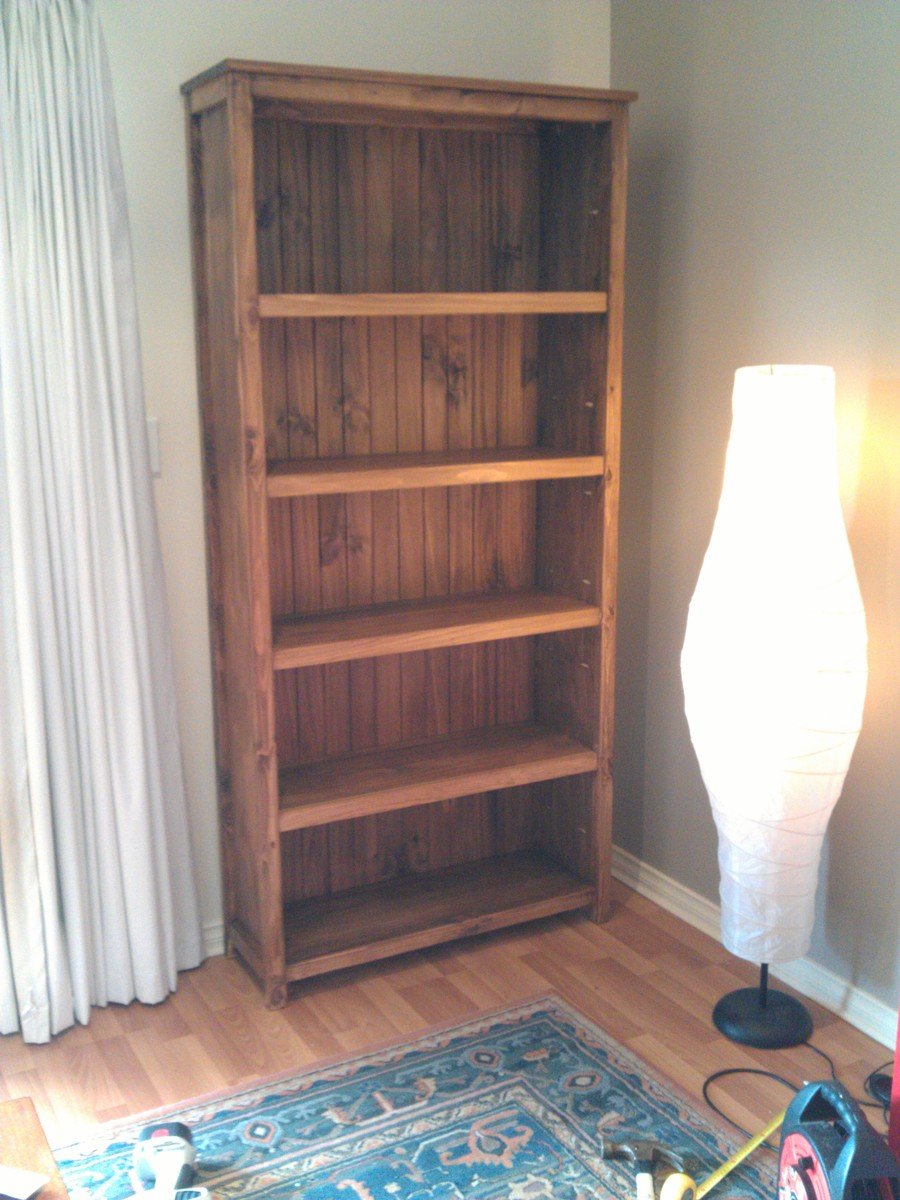
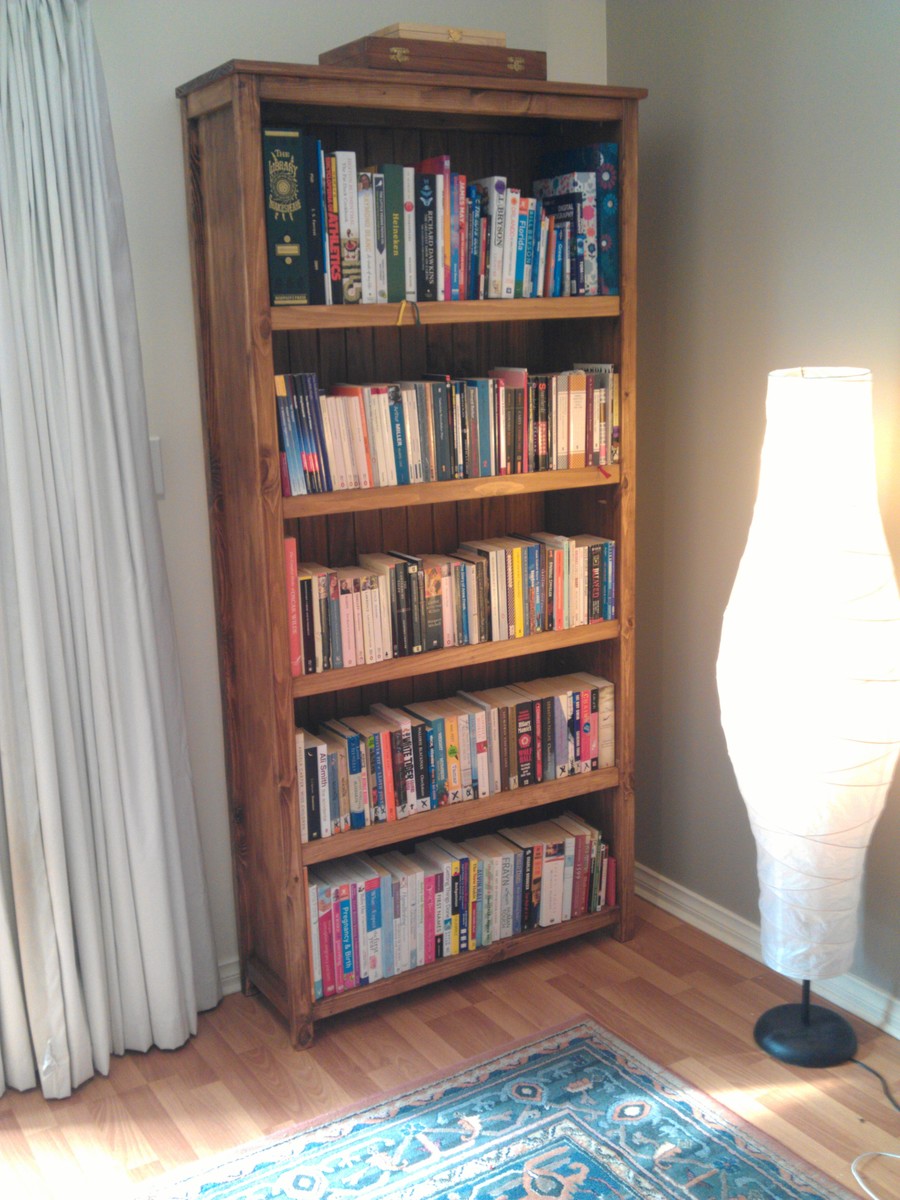
I made the original plan higher and wider, and added an extra shelf. Very pleased with the outcome!
Wed, 02/12/2014 - 09:11
This looks sweet. Do you have the dimensions to this upsized kentwood bookshelf? I'm afraid I'll screw it up if I try to add lengths to the original plan.
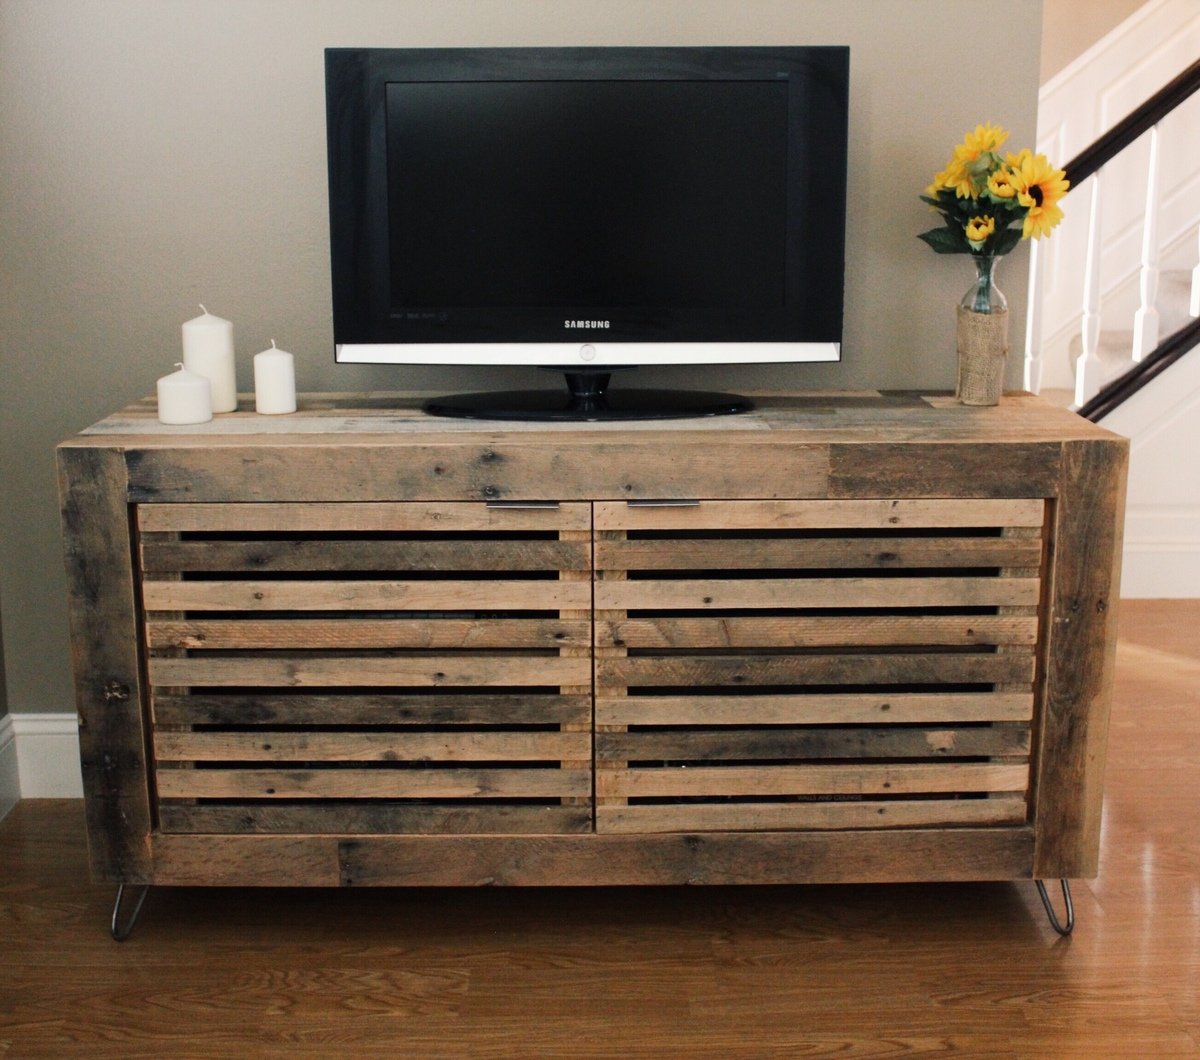
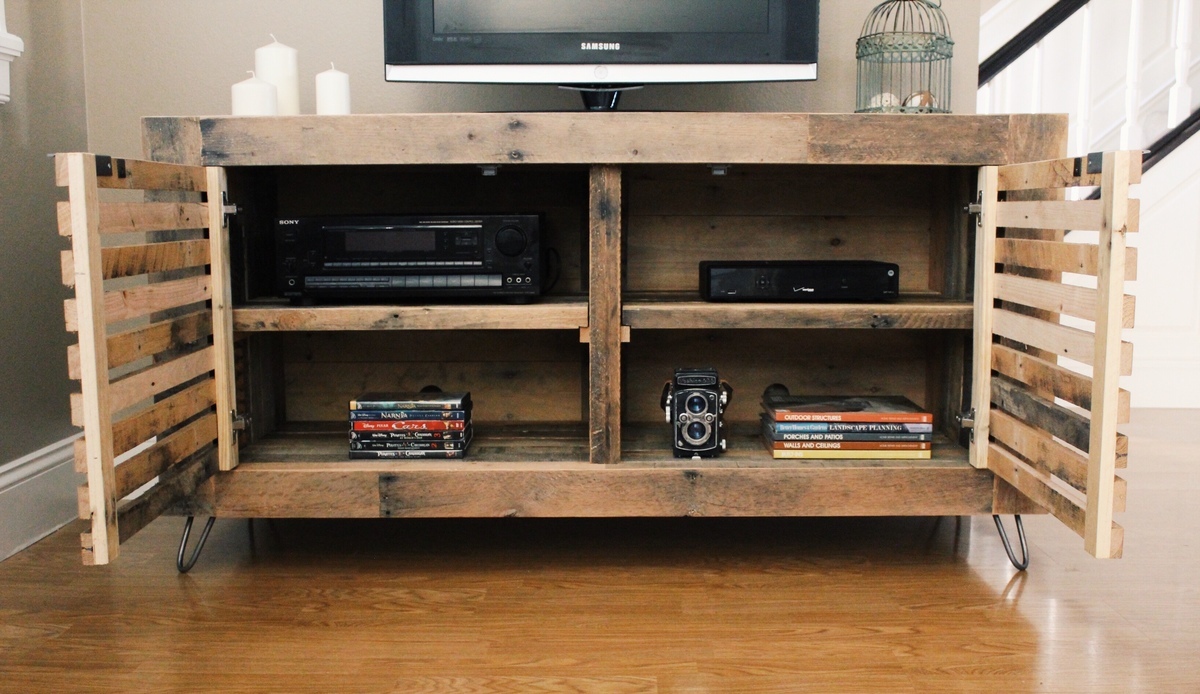
I built this media console from 100% reclaimed shipping pallet wood. I added 4" steel hairpin legs which I thought went well with the rustic appearance of the wood. The shelves that are in place are removable. Although this is not built from one of Ana's plans I really enjoyed working with reclaimed wood and I hope this post will inspire others to do the same.
- Brad
Instagram: Timberandsoul
Comments
Ana White
Sun, 01/11/2015 - 01:50
This is great! I love the
This is great! I love the vintage look and the black and whites!