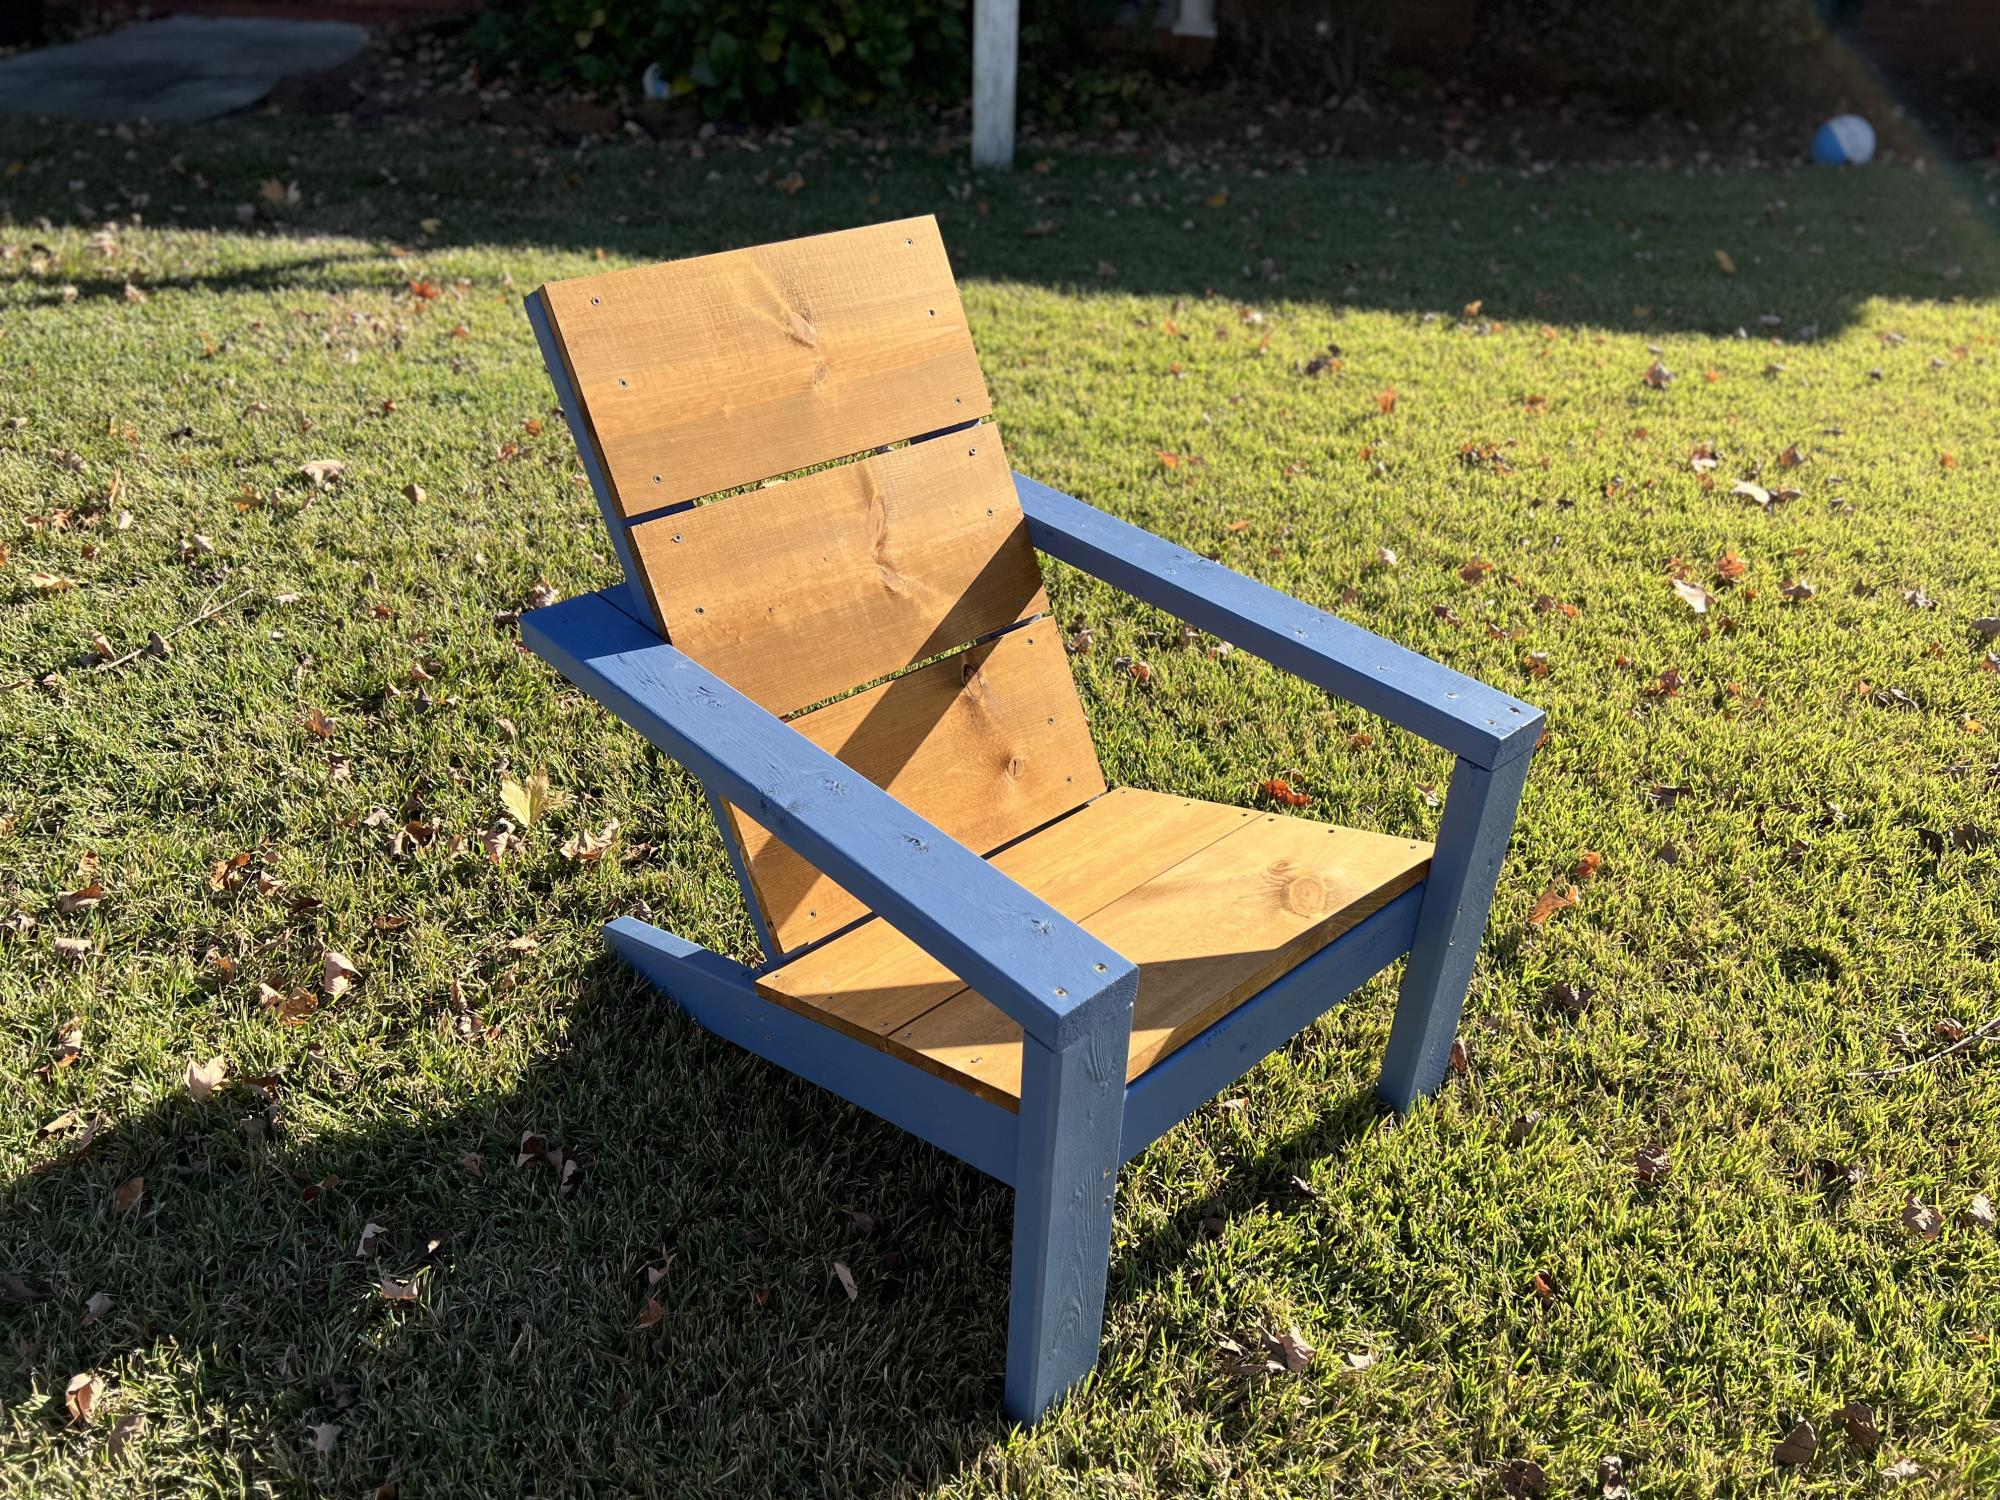
Modern Adirondack Chairs
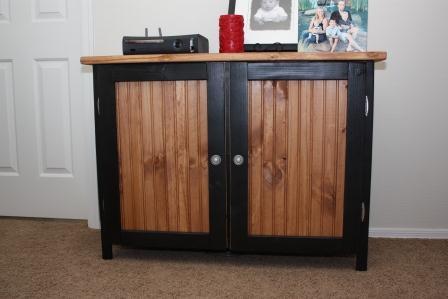
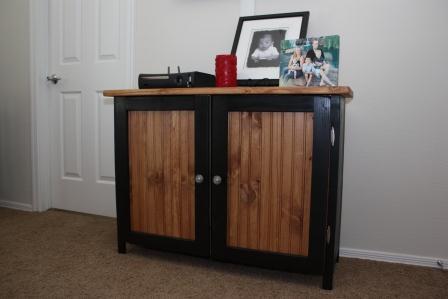
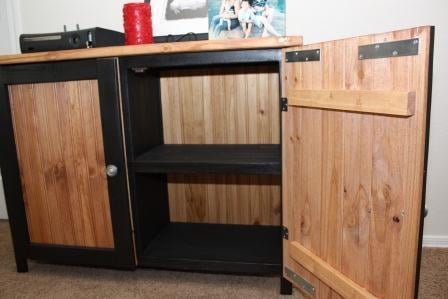
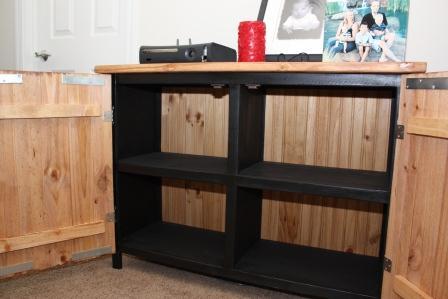
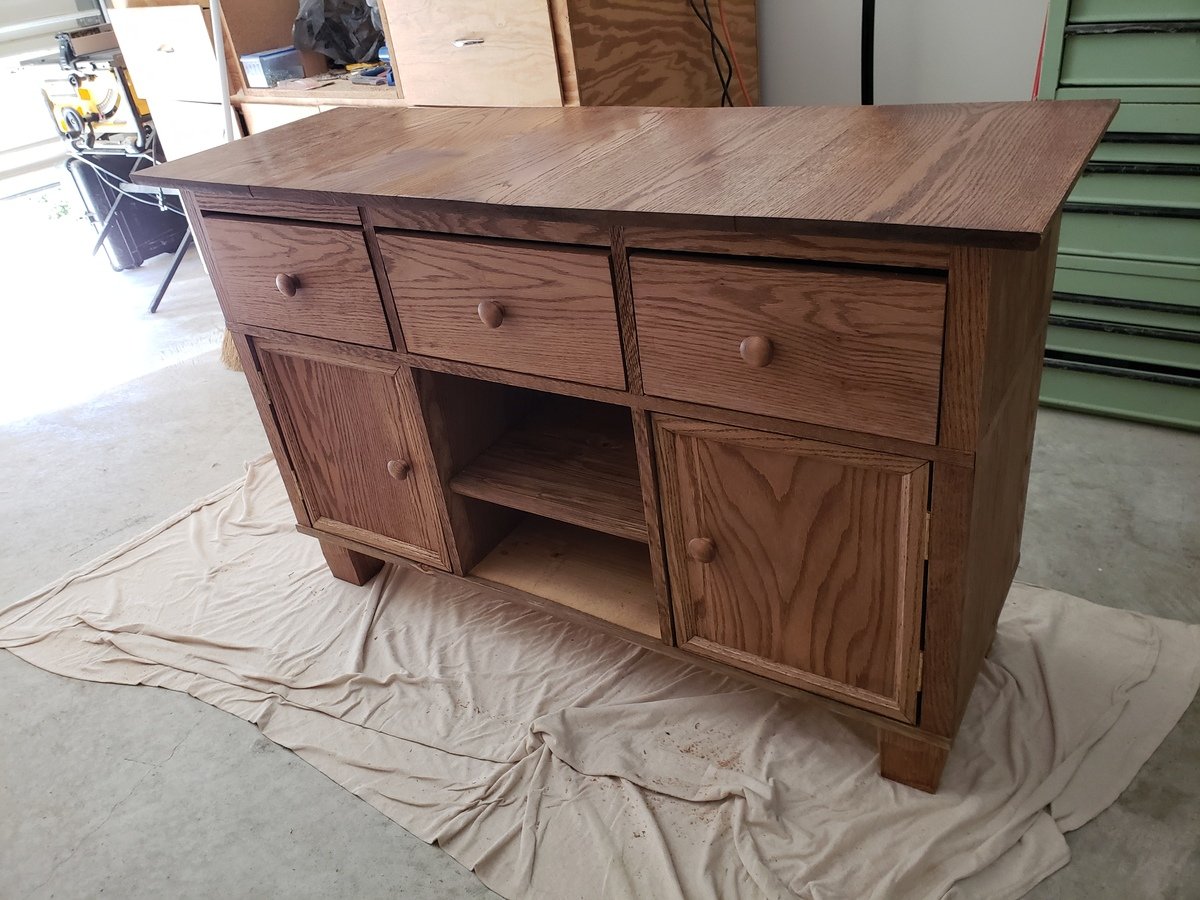
I modified the dimensions slightly and opted to not mount the fold down doors as I figured they would always be open anyway. I built this mostly from solid red oak save for the bottom panel and the middle panel, which are plywood. I crafted the top out of 5 pieces tongue and grooved with mitred corners on the front. I also tongue and grooved the doors with glass insets. I finished it in Minwax red cedar under poly.
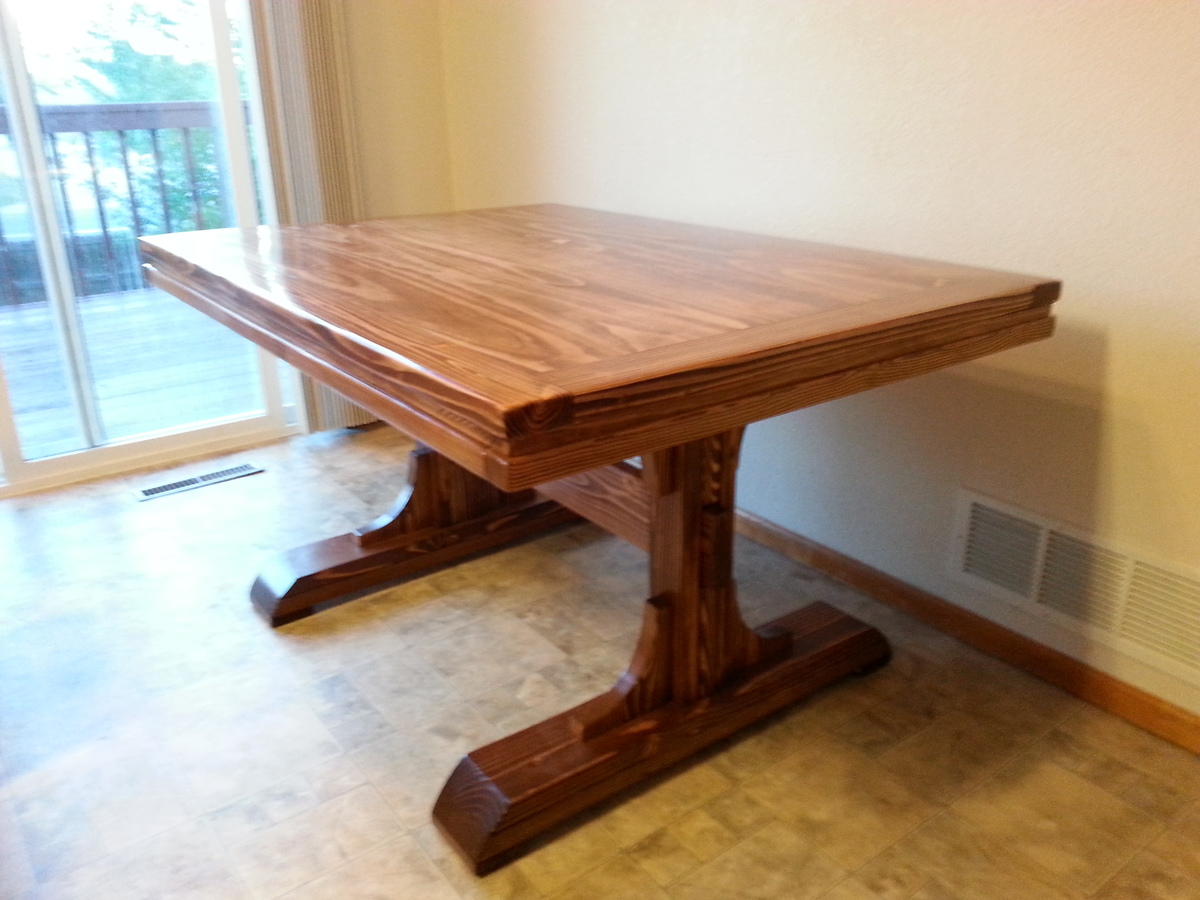
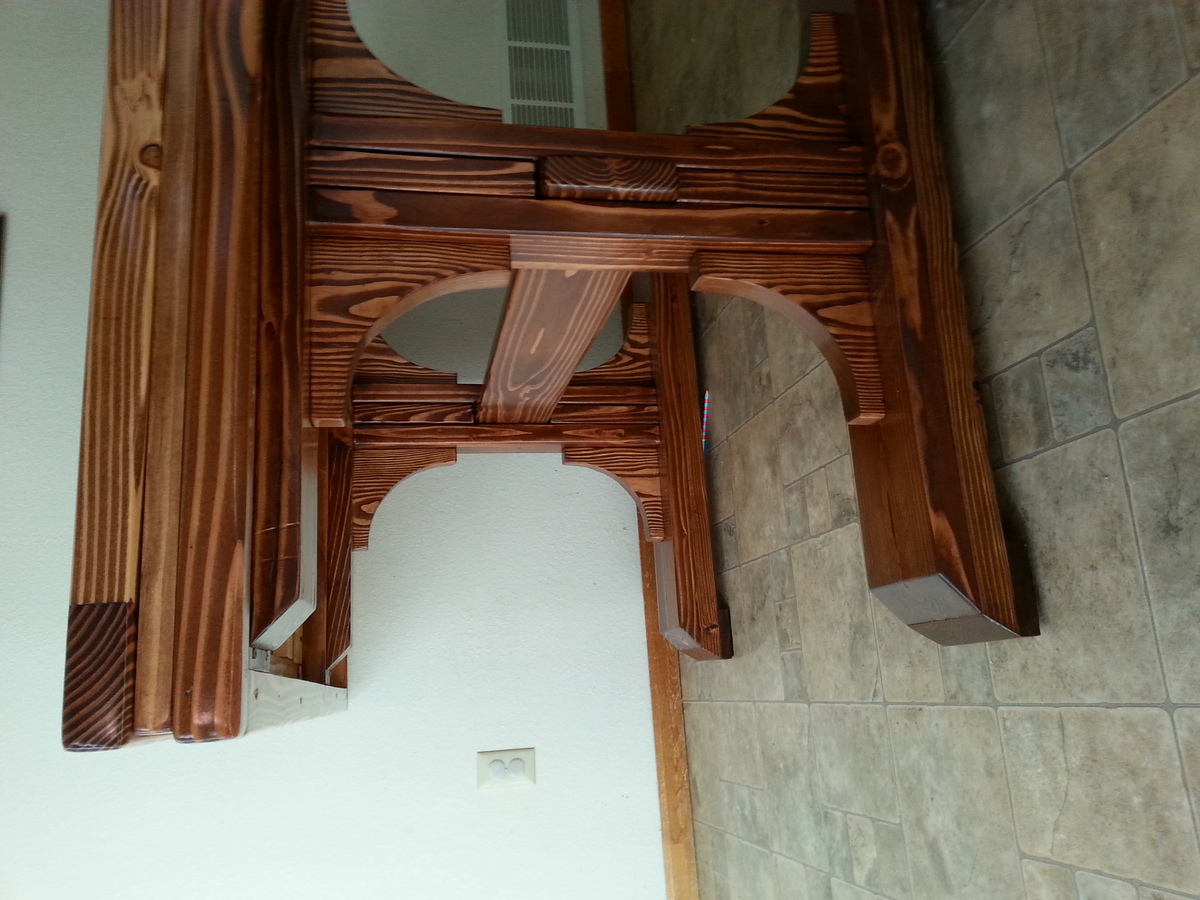
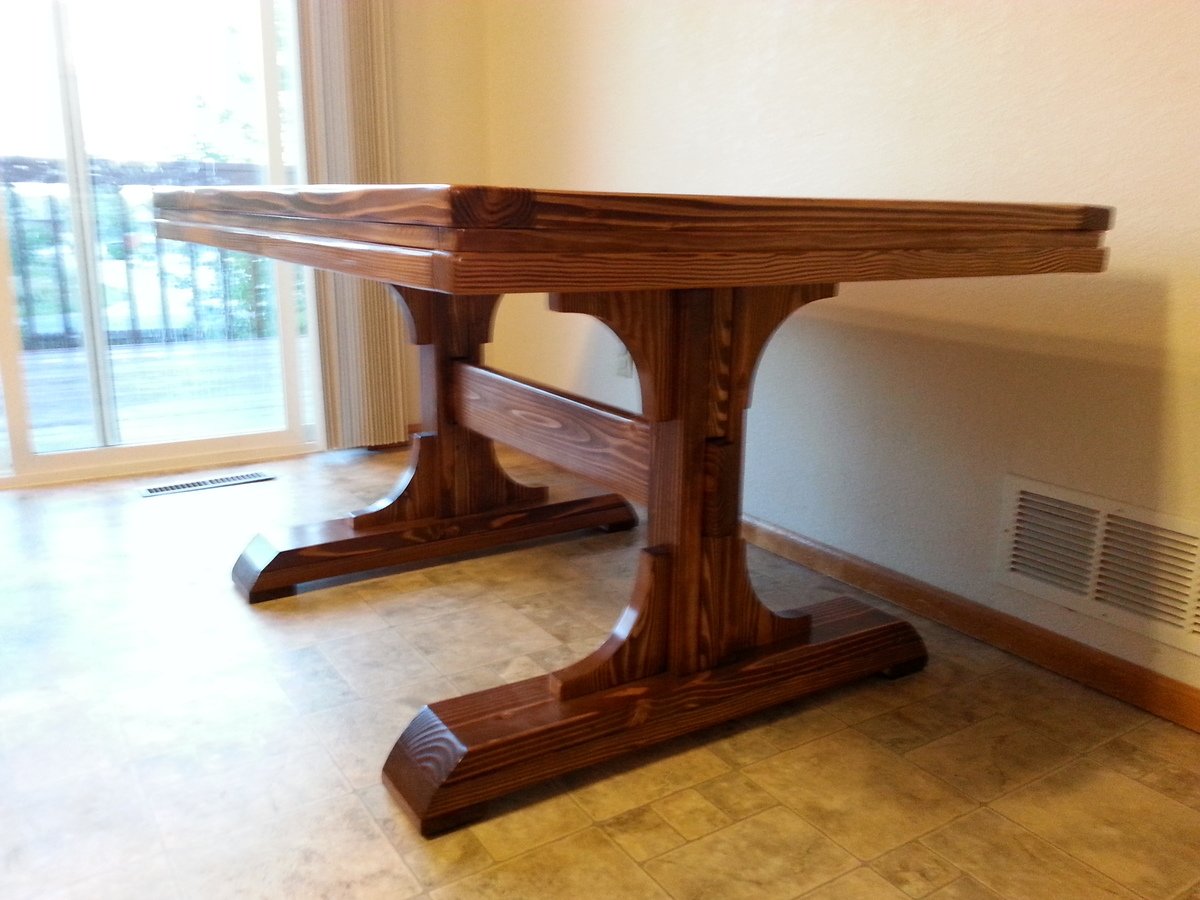
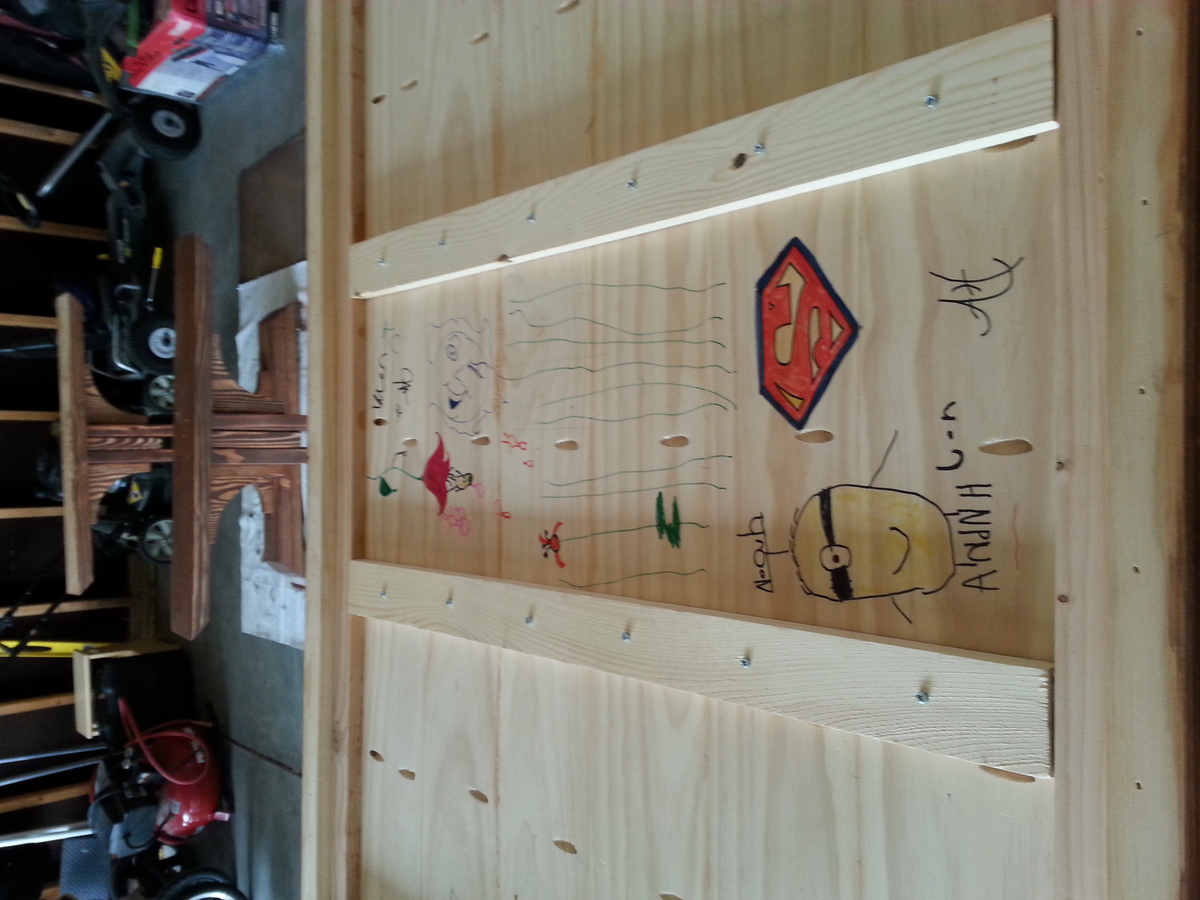
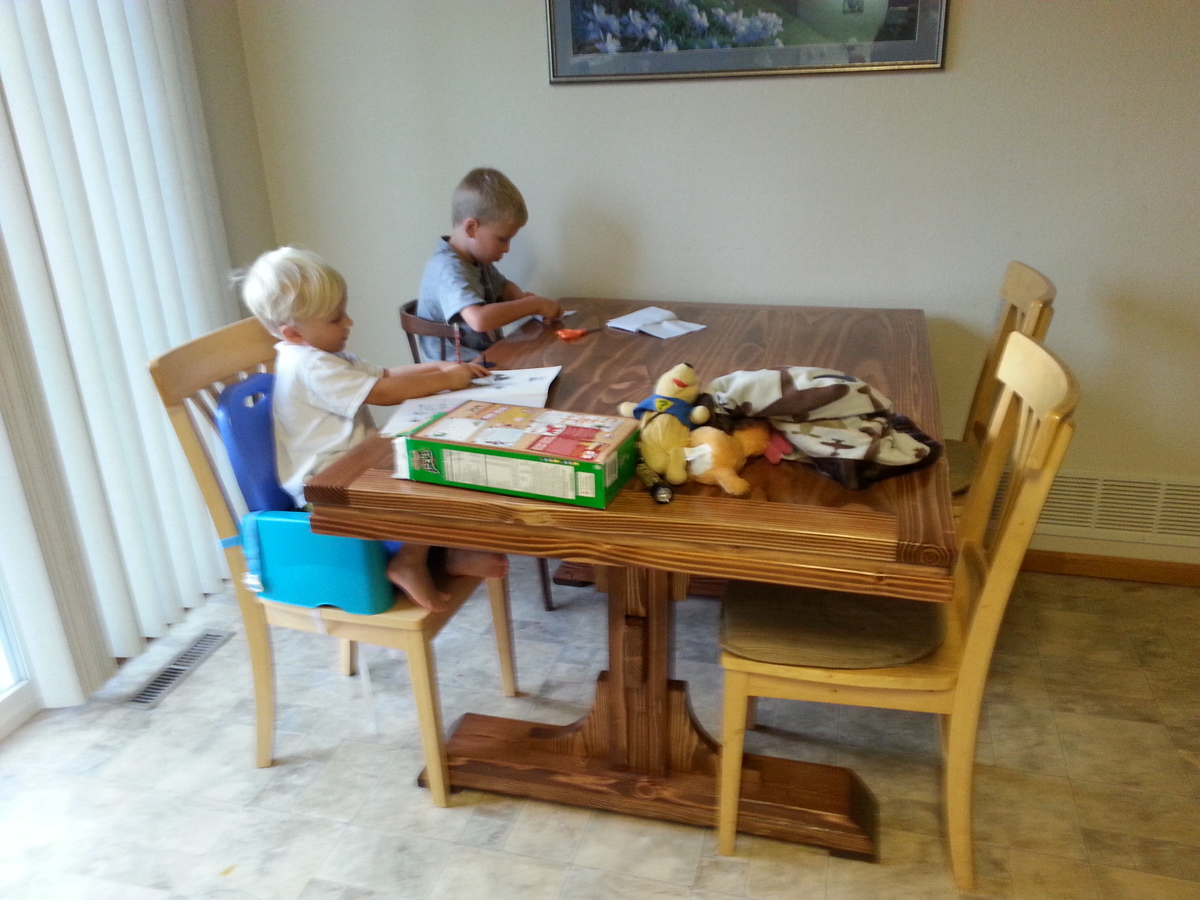
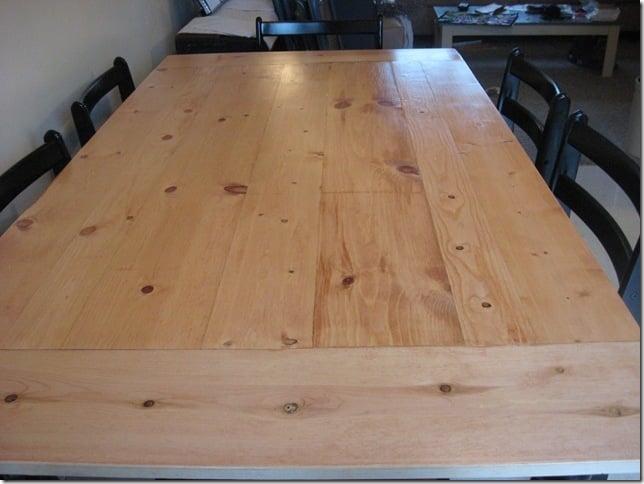
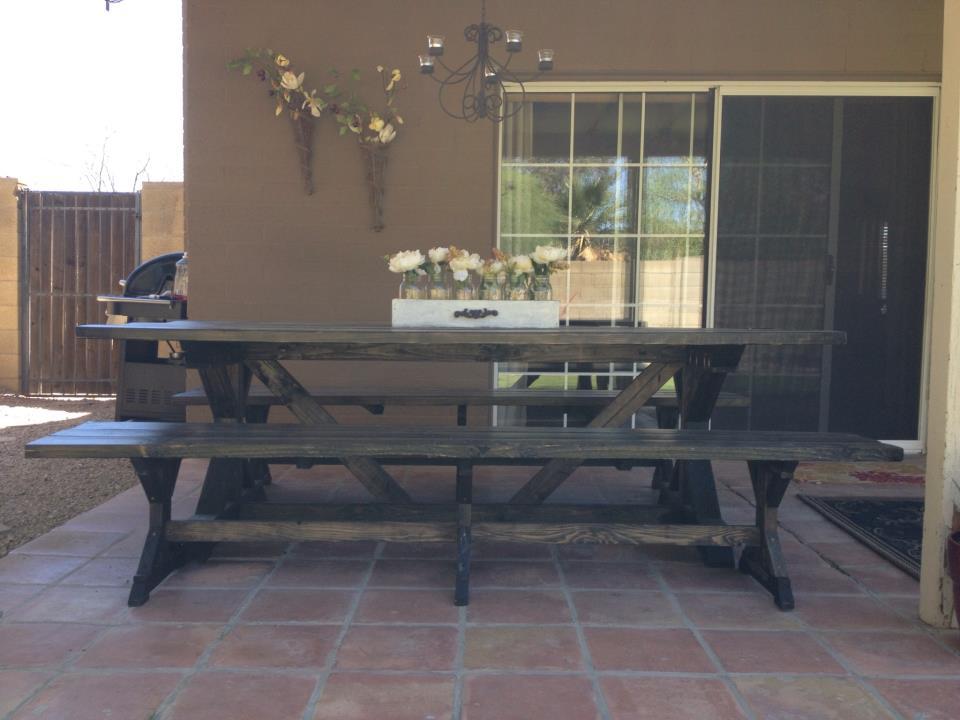
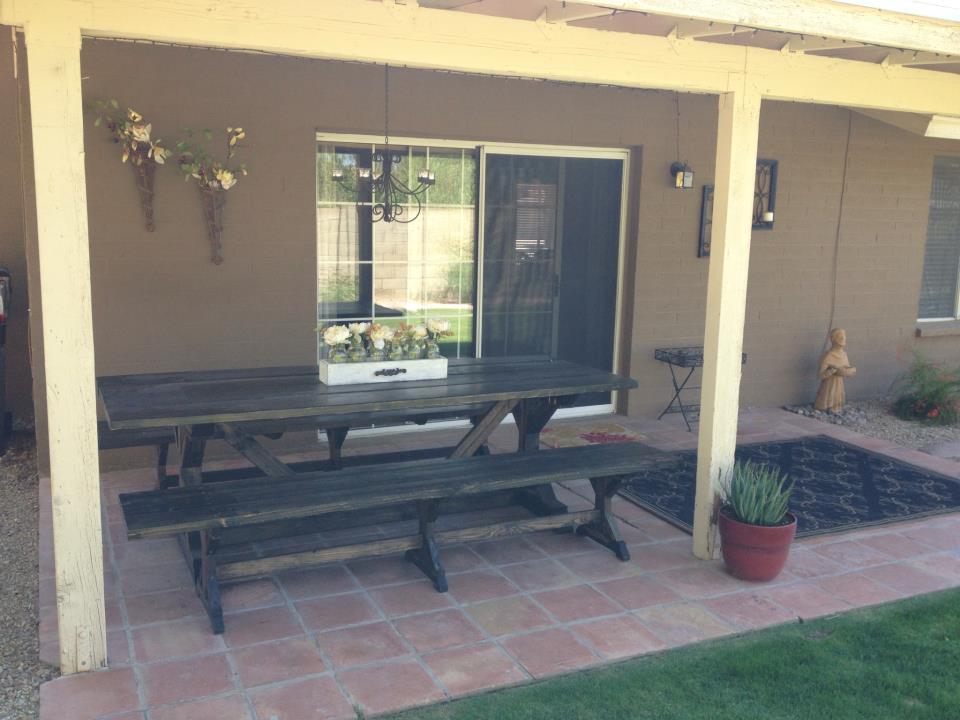
We needed a large dining room table for our space and couldn't find one we liked that didn't cost a fortune. We adjusted the plans to make the table 9 feet long. Also, around the edge of the table we added a 1.5 inch frame.
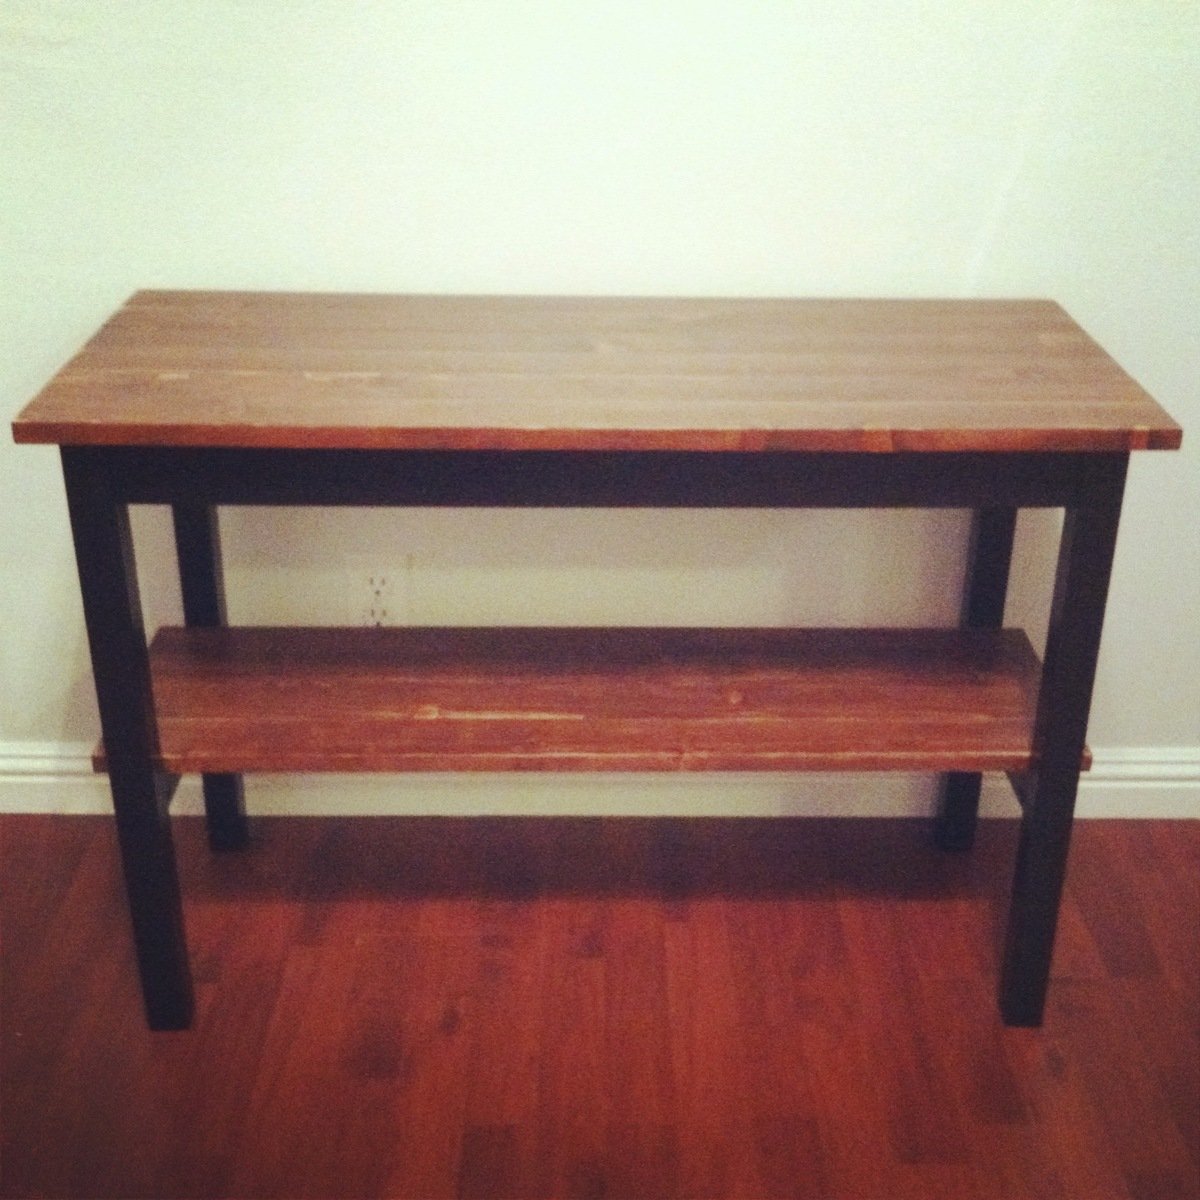
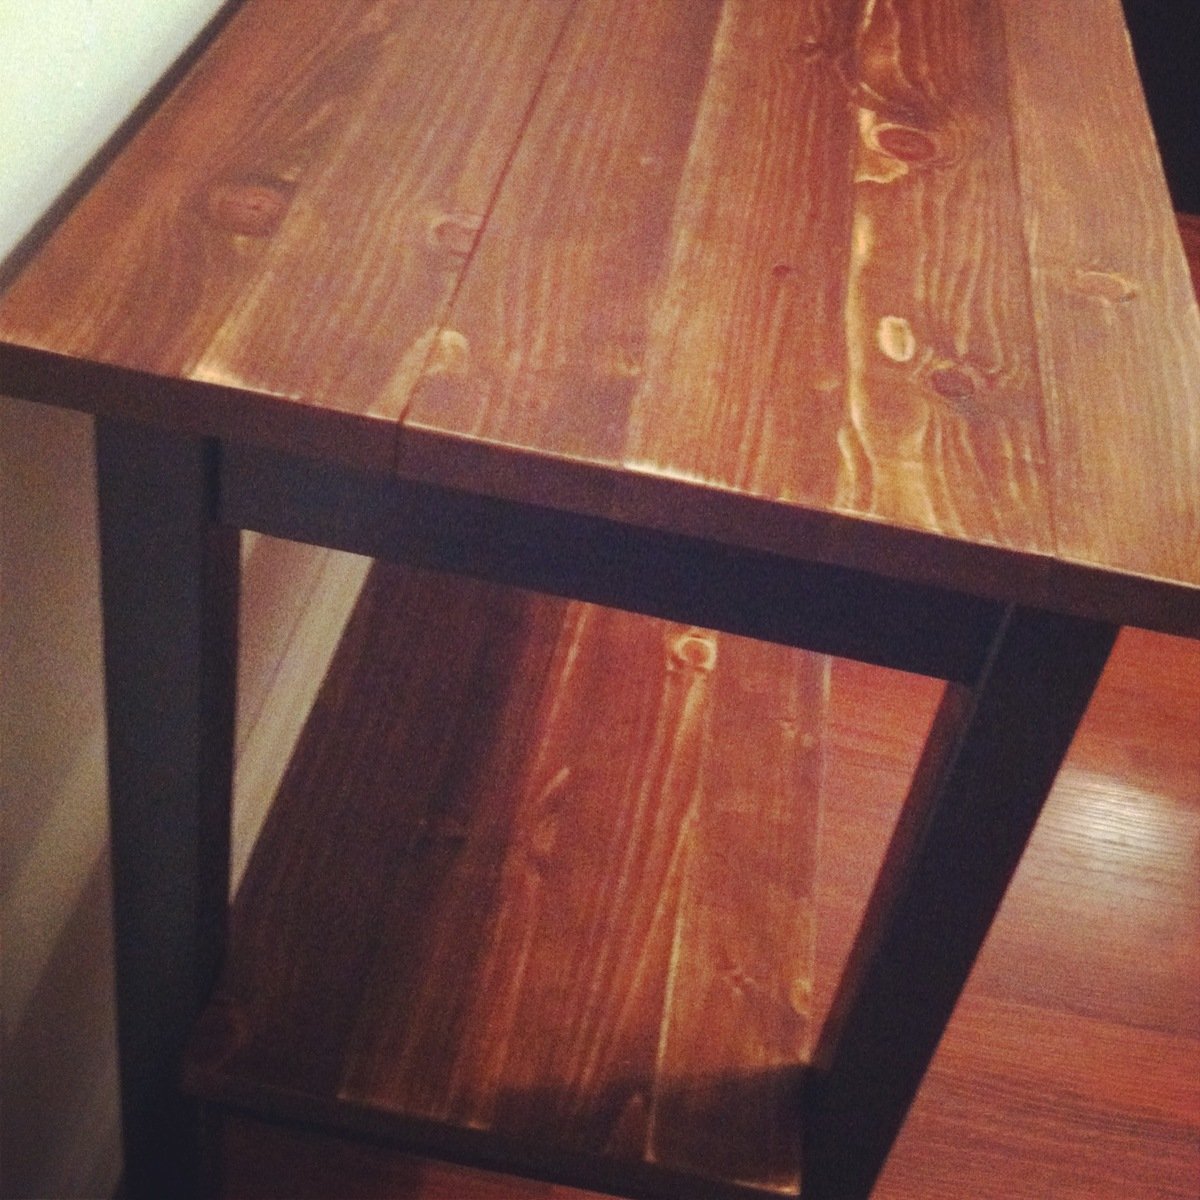
We were in the need of a set of tables for our living room
Thanks to Ana, I was able to make two coffee tables, a center table and a console table as well
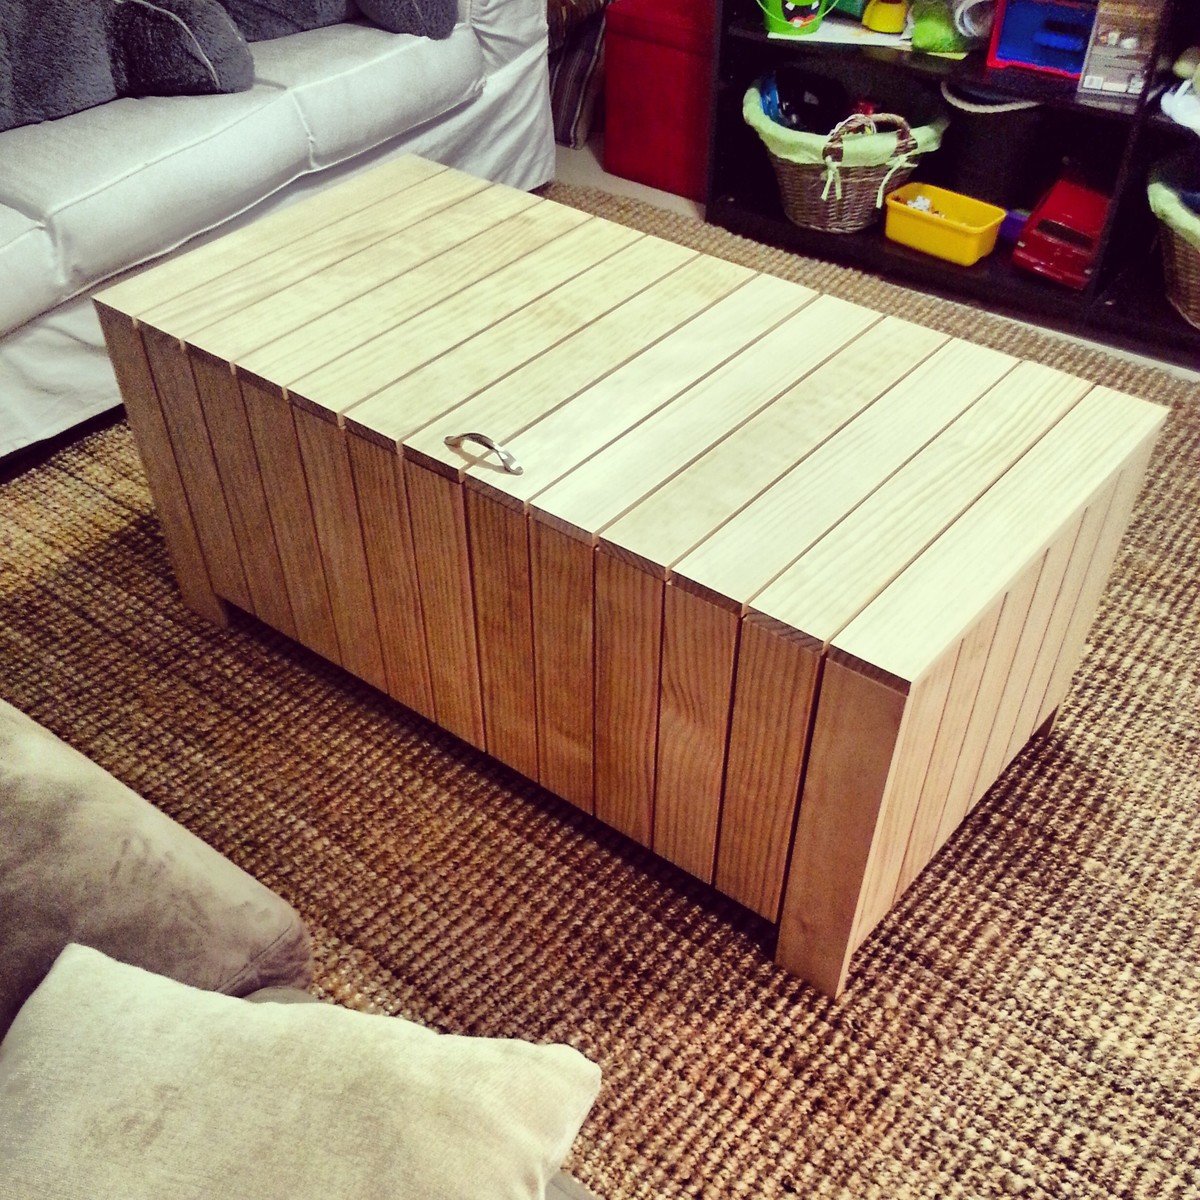
The storage bench/ coffee table, customized for a small room to hold my son's lap top, and game controllers.
I cut it down from 48" to 36" and it worked great!
I built these bunk beds for my almost-10 year old twins this spring! These were modified from the Side Street Bunk Bed plans to accommodate the longer Twin XL mattresses. I took inspiration from the Maine Cottage bunk bed collection for the end panels of the beds, and added furniture feet as finials on each post. It was a fun build, but pretty time intensive as I built both sets at the same time. This was my first major build.
I adjusted the measurements to make it longer and wider. I also looked the original Pottery Barn trunk and tried to copy the multi color finish. I had so much fun building this!
In reply to This is truly gorgeous! by Ana White
Tue, 04/28/2015 - 12:05
Thank you, Ana! Your comment means a lot to me! =-)
Tue, 04/28/2015 - 12:07
The handles are from Ace hardware--I had to spray them antique bronze since they only had them in silver. I stained the trunk is dark walnut from minwax and then used diluted paint in barn red and teal to spread some color here and there. Finished with some polyurethane in satin (spray). That's it!
Tue, 12/25/2018 - 19:42
I don't know if you will check the comments on this brag post since you posted almost 3 years ago, but I'm also curious about the hinges to use. I have watched some youtube videos that show how to chisel out a space for the hinge, but I know there must be an easier way and an easier hinge to put on this box.
Thanks so much ,
Apryl
We've been wanting to tackle some outdoor furniture for a while and finally took advantage of a coupon to get a bunch of outdoor cushions. With a big mound of cushions taking up space, we had to force ourselves to get to it. We spent more time talking about cushion and stain colors then it actually took to cut and screw it together. This is a great solid project to start with. Don't be intimidated by it. We can't wait to start on some chairs to go with it.
This is my first bathroom cabinet. I'm a beginner in this carpentry thing. And using the plans to create the Cabinet I was able to do it
We went a little crazy bringing pallets home once I got the idea that we could build something so cool and functional out of only a small amount of new lumber! We've had these about 6 months now and they still look great and serve our family in a very real and functional way! My boys have been WONDERFUL about keeping all their shoes in their crates!
I stumbled on this site a while back as I was looking for ideas for an enclosure for my grill. I decided that my current table was fine, but found a TON of great ideas here on this site.
This patio table was first on my list. We enjoy having people over and I really like the built in coolers. We've started using our patio so much more already now that we have a good place to sit.
I modified the plans slightly: Extended the table so that we could fit up to 8 people, used 4x4's for the legs instead of 2x4's, and added a hole in the middle for an umbrella.
I need to build a couple benches (the chairs are a little low). That's the next project on the list!
Tue, 05/28/2013 - 17:02
Yes, I added the extra 2x6's to each end and extended the skirt about 6 inches to help bear the weight.
It's wide enough for us so far. If you were planning on setting the table with a lot of extra food you might want to widen it or you can just keep one side covered.
Tue, 05/28/2013 - 17:02
Yes, I added the extra 2x6's to each end and extended the skirt about 6 inches to help bear the weight.
It's wide enough for us so far. If you were planning on setting the table with a lot of extra food you might want to widen it or you can just keep one side covered.
Mon, 06/10/2013 - 14:11
Did you create your own plans for the grill enclosure? I think it's great! We have an old Weber grill and it would be ice to have it as a back-up for foods that we want cooked over charcoal rather than gas. This dresses it up a bit. :)
GOOD JOB!
Thu, 06/13/2013 - 11:55
I'm loving the idea but am curious about the melting ice....dripping, clean up, etc....Would it be possible to drill a hole and put a plug in?
Sat, 01/23/2016 - 18:50
Ryan, fantastic job. I am for sure going to mirror everything you did here. I also want to make it a bit wider so we can fit a few more folks around it. Do you have to have the additional measurements that you implemented?
Thanks, Matt
First project my husband and me attempted- turned out awesome! Very sturdy bed. The metal frame and box springs are not attached, it just sits inside the wood rails, headboard and footboard. We worked on this a few hours at a time on Saturdays and Sundays for one month since we work full time. Definitely more projects to come!
I love this site! This is my second build. I started this project one weekend and came back to it to finish. Unfortunately, two of the boards bowed by the time I got back to it the next weekend; so, I added imperfections of mine own and give it a rustic look!
Easy, fast and affordable garage shelving!
I built this bench the day before Thanksgiving. I used scrap 2x6's left over from building our son's bunk bed. I shortened the plan to 43 1/2" total length to fit my space and accommodate the boards I had. The top of the bench is 4- 2x6 boards instead of a 1x12 board. The legs are 2x4's instead of 2x6's. I wood puttied all screw holes, sanded, painted 2 coats of Behr's decorator white, and applied 3 coats of Polycrylic.
After using it over the last few months I have noticed some of the pine knots have bled a little yellow into my finish. If I were to do it again, I would prime all knots with Zinsser cover all primer.
We really enjoy this bench and are happy with how it turned out. Although unfinished at the time, our Thanksgiving guests were impressed that I could whip out a bench by myself. Thanks Ana!
This was an easy project that should help provide us with fresh, pesticide-free produce for many years to come. Thanks, Ana! xo
I've been wanting to build this swing for a year now, and finally it's completed. I LOVE it! The modern design is perfect for our front porch as our home is more of a contemporary style. It was the first project I've done using the Kreg Jig Kit, which is AWE-SOME!
I modified the plan a bit: I made the swing 52" long, and used 1x4's for the back support instead of 2x4's. I also upgraded the top and back 1x4's and 1x6's to poplar wood so the grain would be finer. The plan was simple to build. Thank you for your blog and providing plans! There are other things on your site that I look forward to making.
Sun, 04/12/2015 - 06:29
That porch swing looks great! I have to say that its a great addition to an already sweet looking porch area you have there.
Built this for my wife from warehouse floors from the Mare Island Naval Station. 150 plus year old planks. Doug Fir. Hope it will become a family heirloom!
We made this out of walnut we milled a couple years ago. We didn’t stain just used Dixie Bell Gatorhide to seal it with. Not sure why the pictures turned sideways when they uploaded.
Not too much to say here! We badly needed sturdy sawhorses for our garage. I've used them on almost every Ana White project I've made and they are fabulous! They are covered in drips, spots, nicks and stains from all of my projects, but that's what I love most. Each splotch reminds me of that particular project. Sounds silly, but it gives them character! :)
A collection of different sized perfect end tables for my mother.