Handmade by Ken
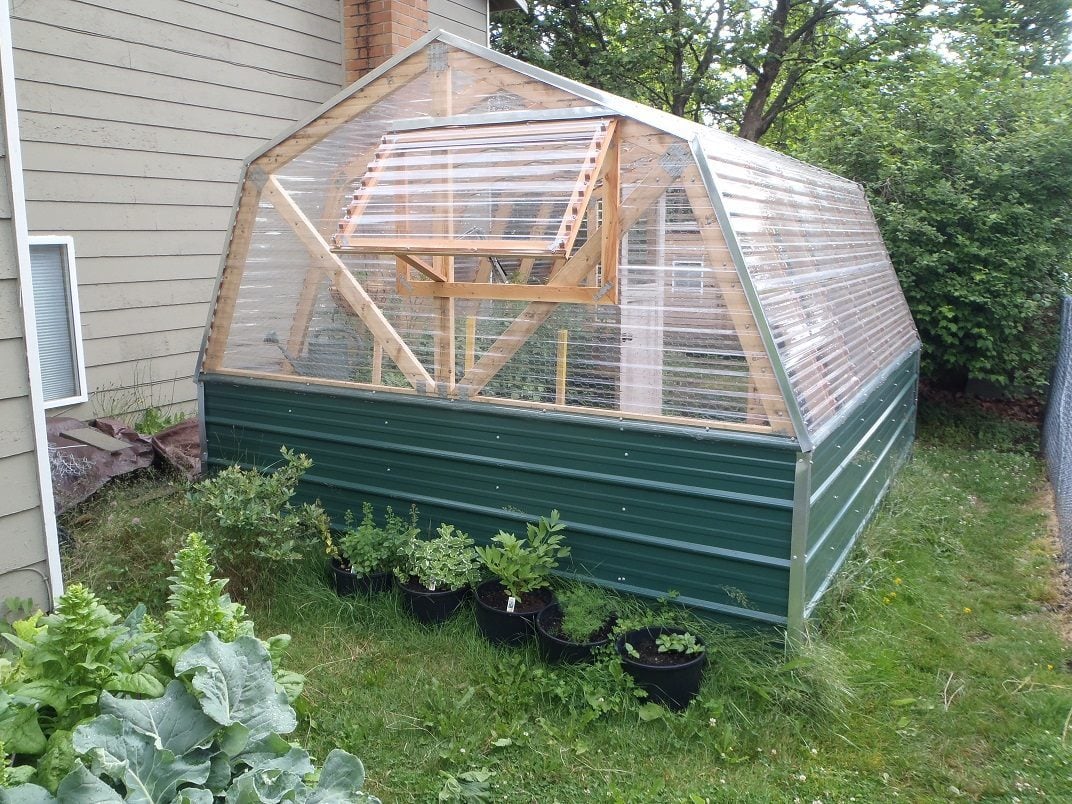
Barn Greenhouse

Barn Greenhouse
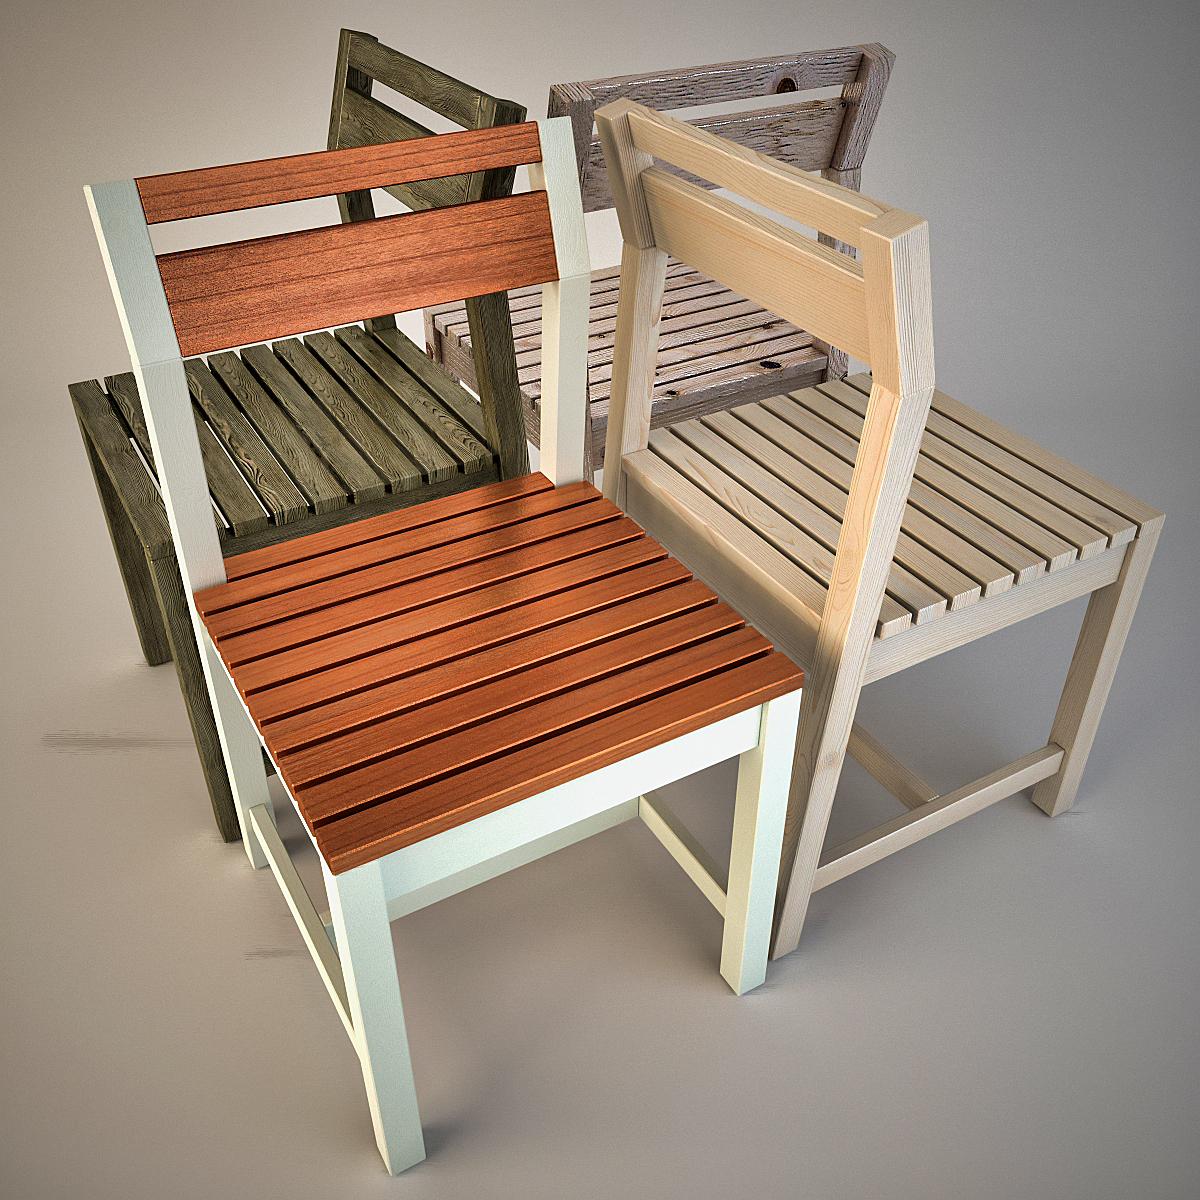
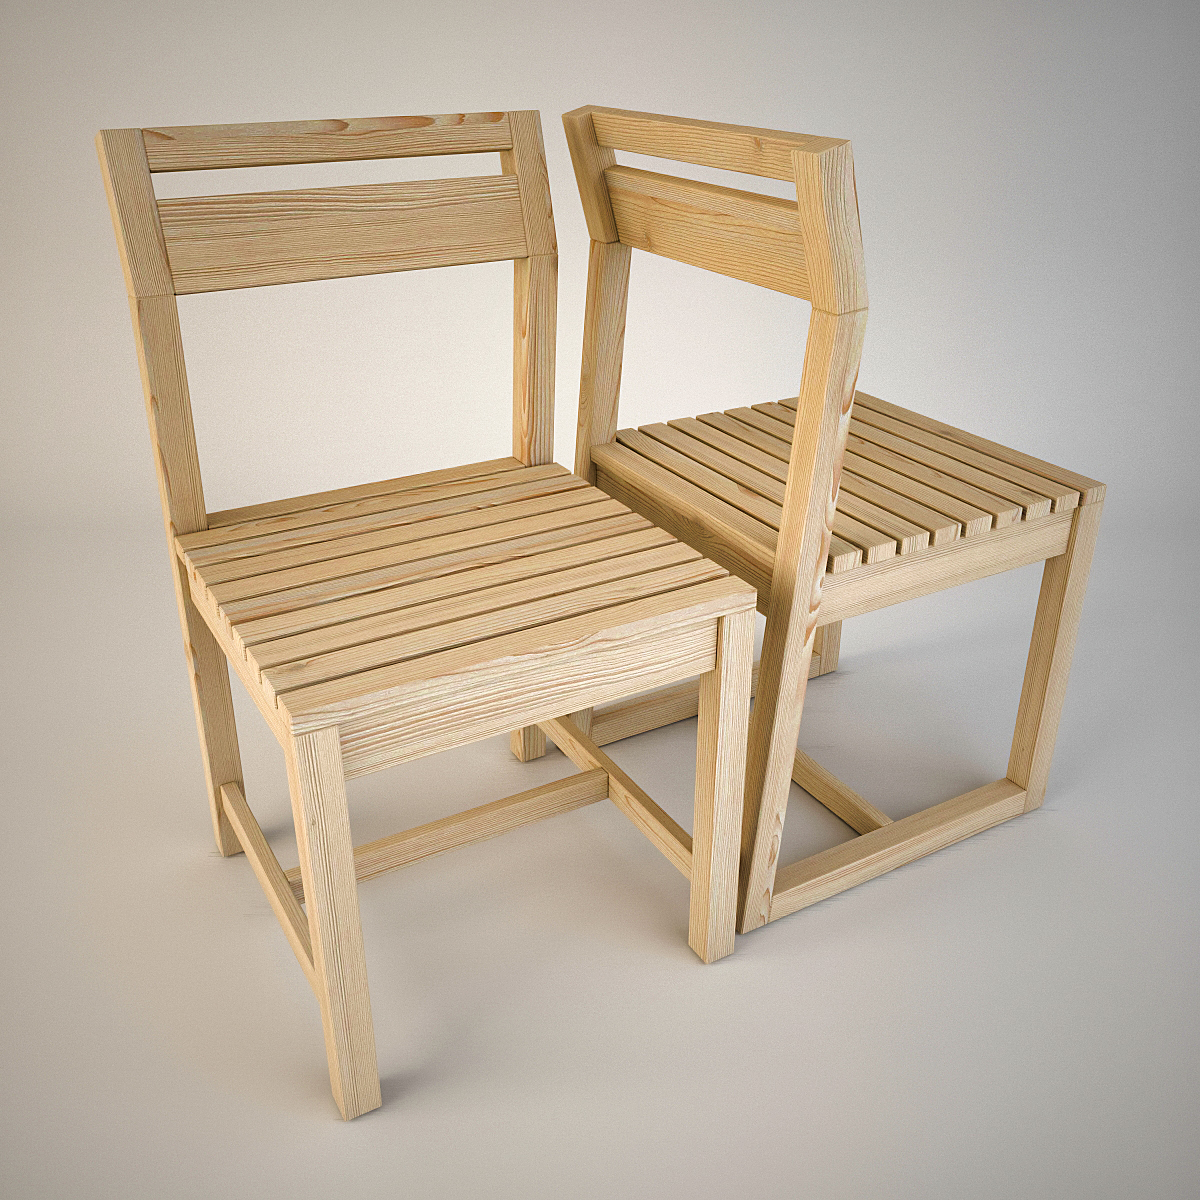
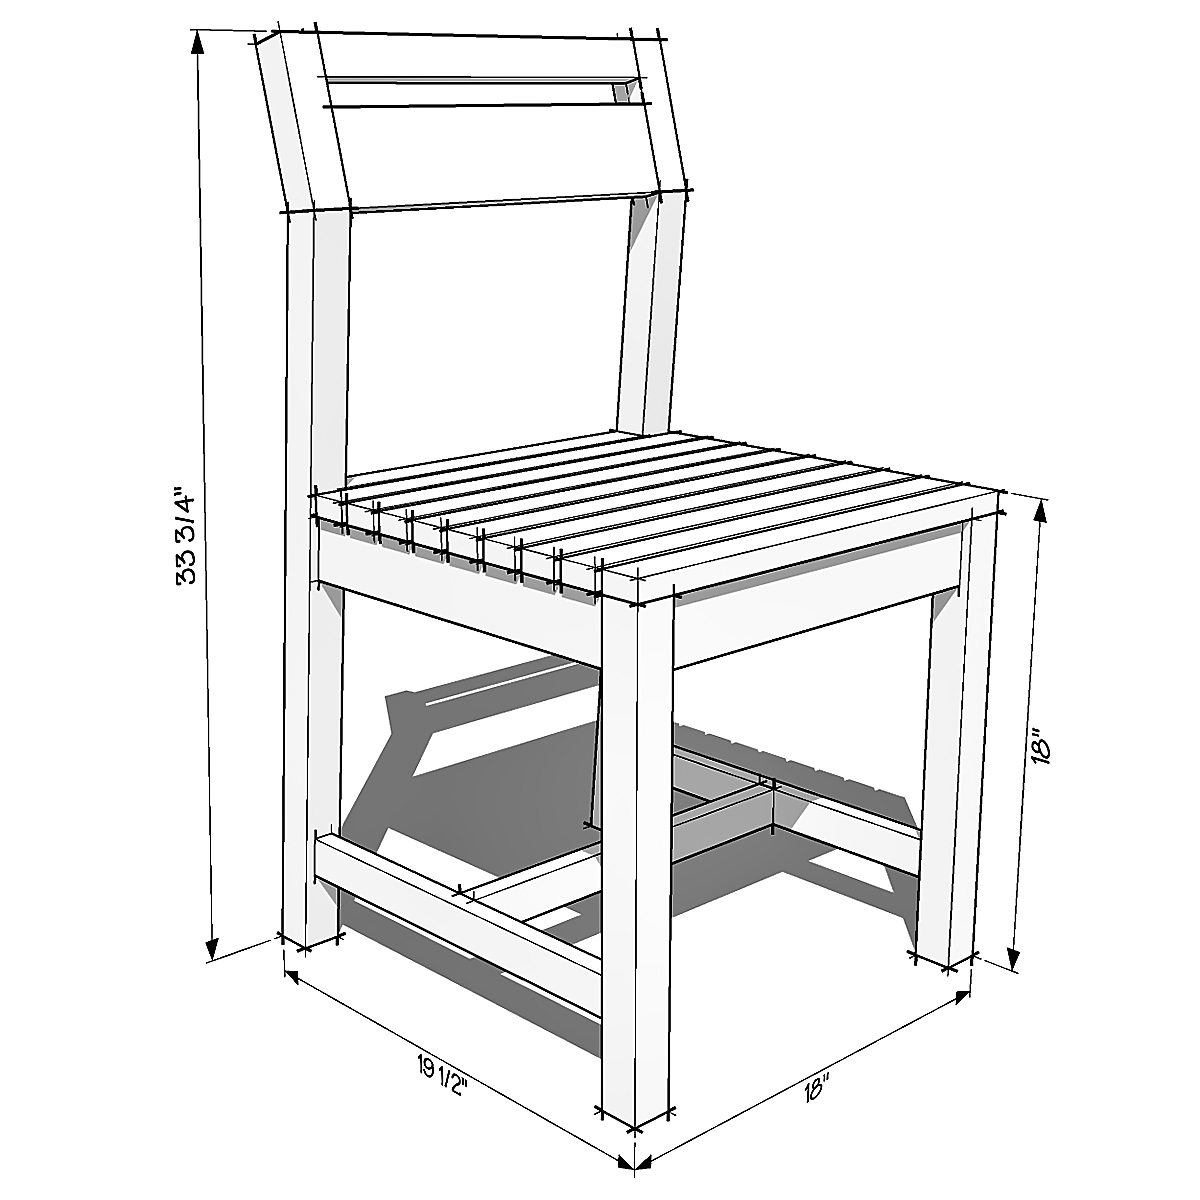
Hello Ana, I decided to modernize your project a little ...
This is 3DS MAX ... ;)
Thank you for your work ...
Regards, Serge...
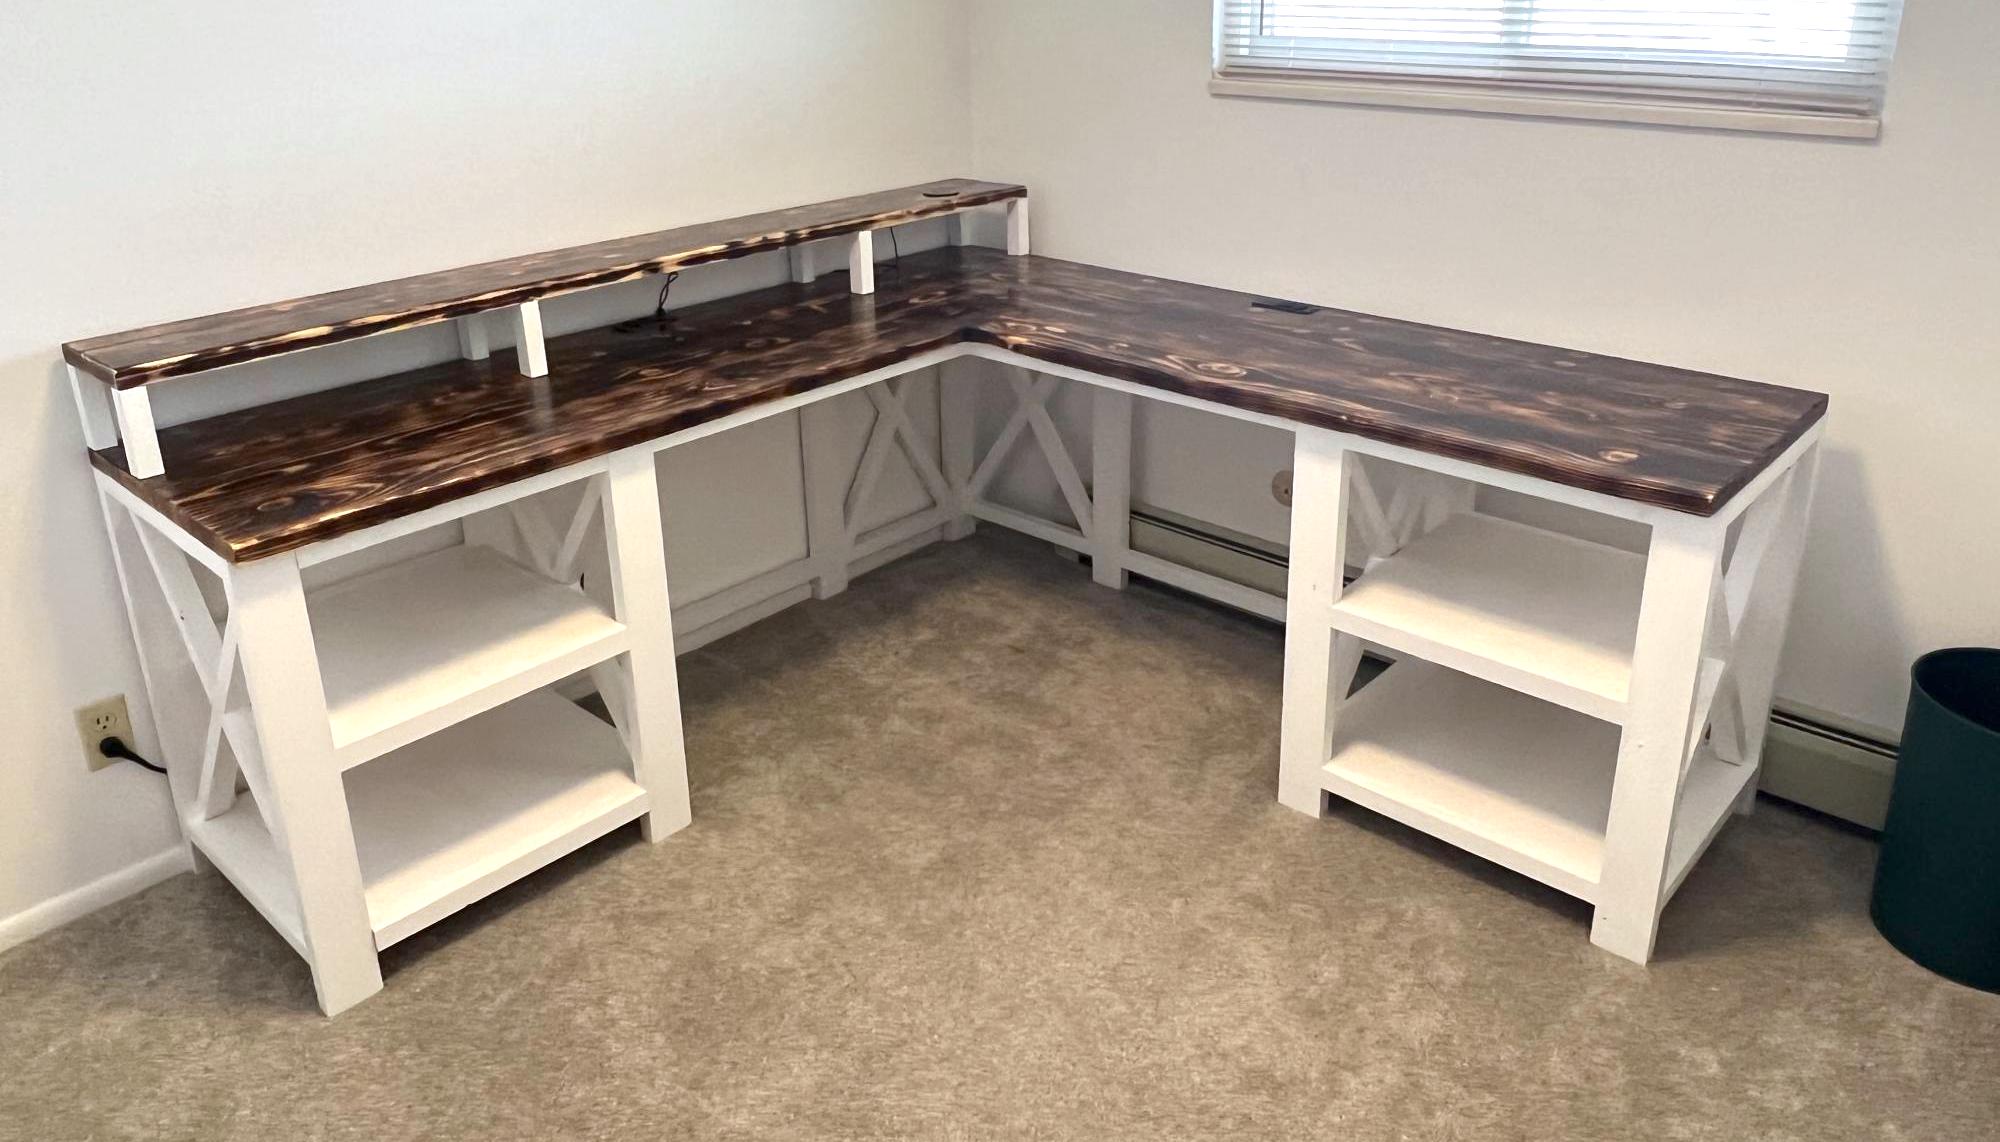
I slightly modified the Rustic X Desk plan to make my L shaped computer desk with a monitor platform! The desk surface is Shou Sugi Ban with an epoxy finish. All made from stock lumber and a lot of pocket hole screws. Thanks for posting your plan Ana to give me the idea! Construct for around $200.
Tue, 03/14/2023 - 18:34
Love your modifications, additions and finish! Thank you for sharing.
I used the narrow farm house table as my starting point. I added two shelves. I used select grade Pine for this project for all except the 1x12 that was used for the shelves. I didn't want to spend 30 bucks for the select grade 1x12 for the shelves, so I used whitewood for that. I used pocket holes to join the 4 1x4s that makes up the top. I sanded the joints to try to give the appearance that it is a single boards. Can't tell unless you really look close. I am pretty happy with the way it turned out. Biggest problem I had with this project was my 10 year old cordless drill. Batteries would only hold a charge for 4 or 5 pocket holes, so this project took me much longer then it should have. That's okay, I used the time waiting on the drill to charge to sand, and measure. That problem has been corrected with the Black Friday sale at Lowes. My next project is a desk for my daughter, I designed it myself, but would never have attempted something like this without this great website!!!
I added just a little bit of extras to this bench. I was wanting to match some of our bedroom furniture detail to it. This was my first home furniture project and with Ana White's plan, it was very easy to do. Thank you! Looking forward to what I can make next!
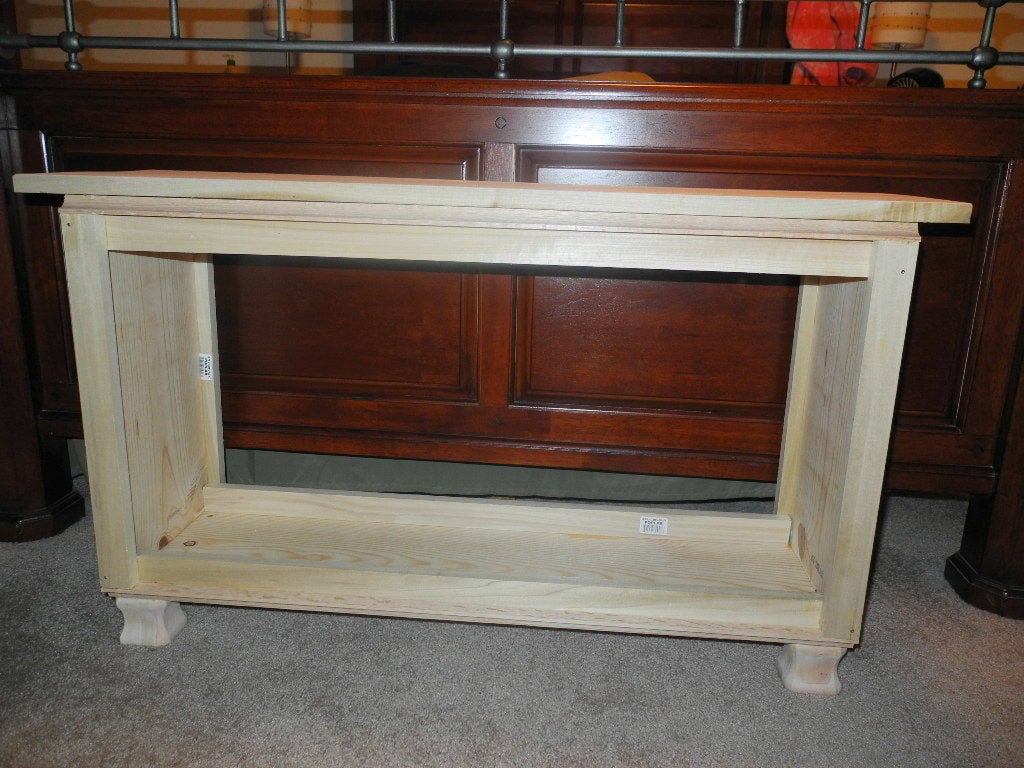
I made a sliding mirror cabinet for each of my 5 girls as Christmas gifts this year. I added a stencled back and provided lots of hooks for hanging jewlery and varied shelf distance for hairs sprays, lotions and nail polishes. They love them and filled them full. Thanks so much for the great idea and plans.
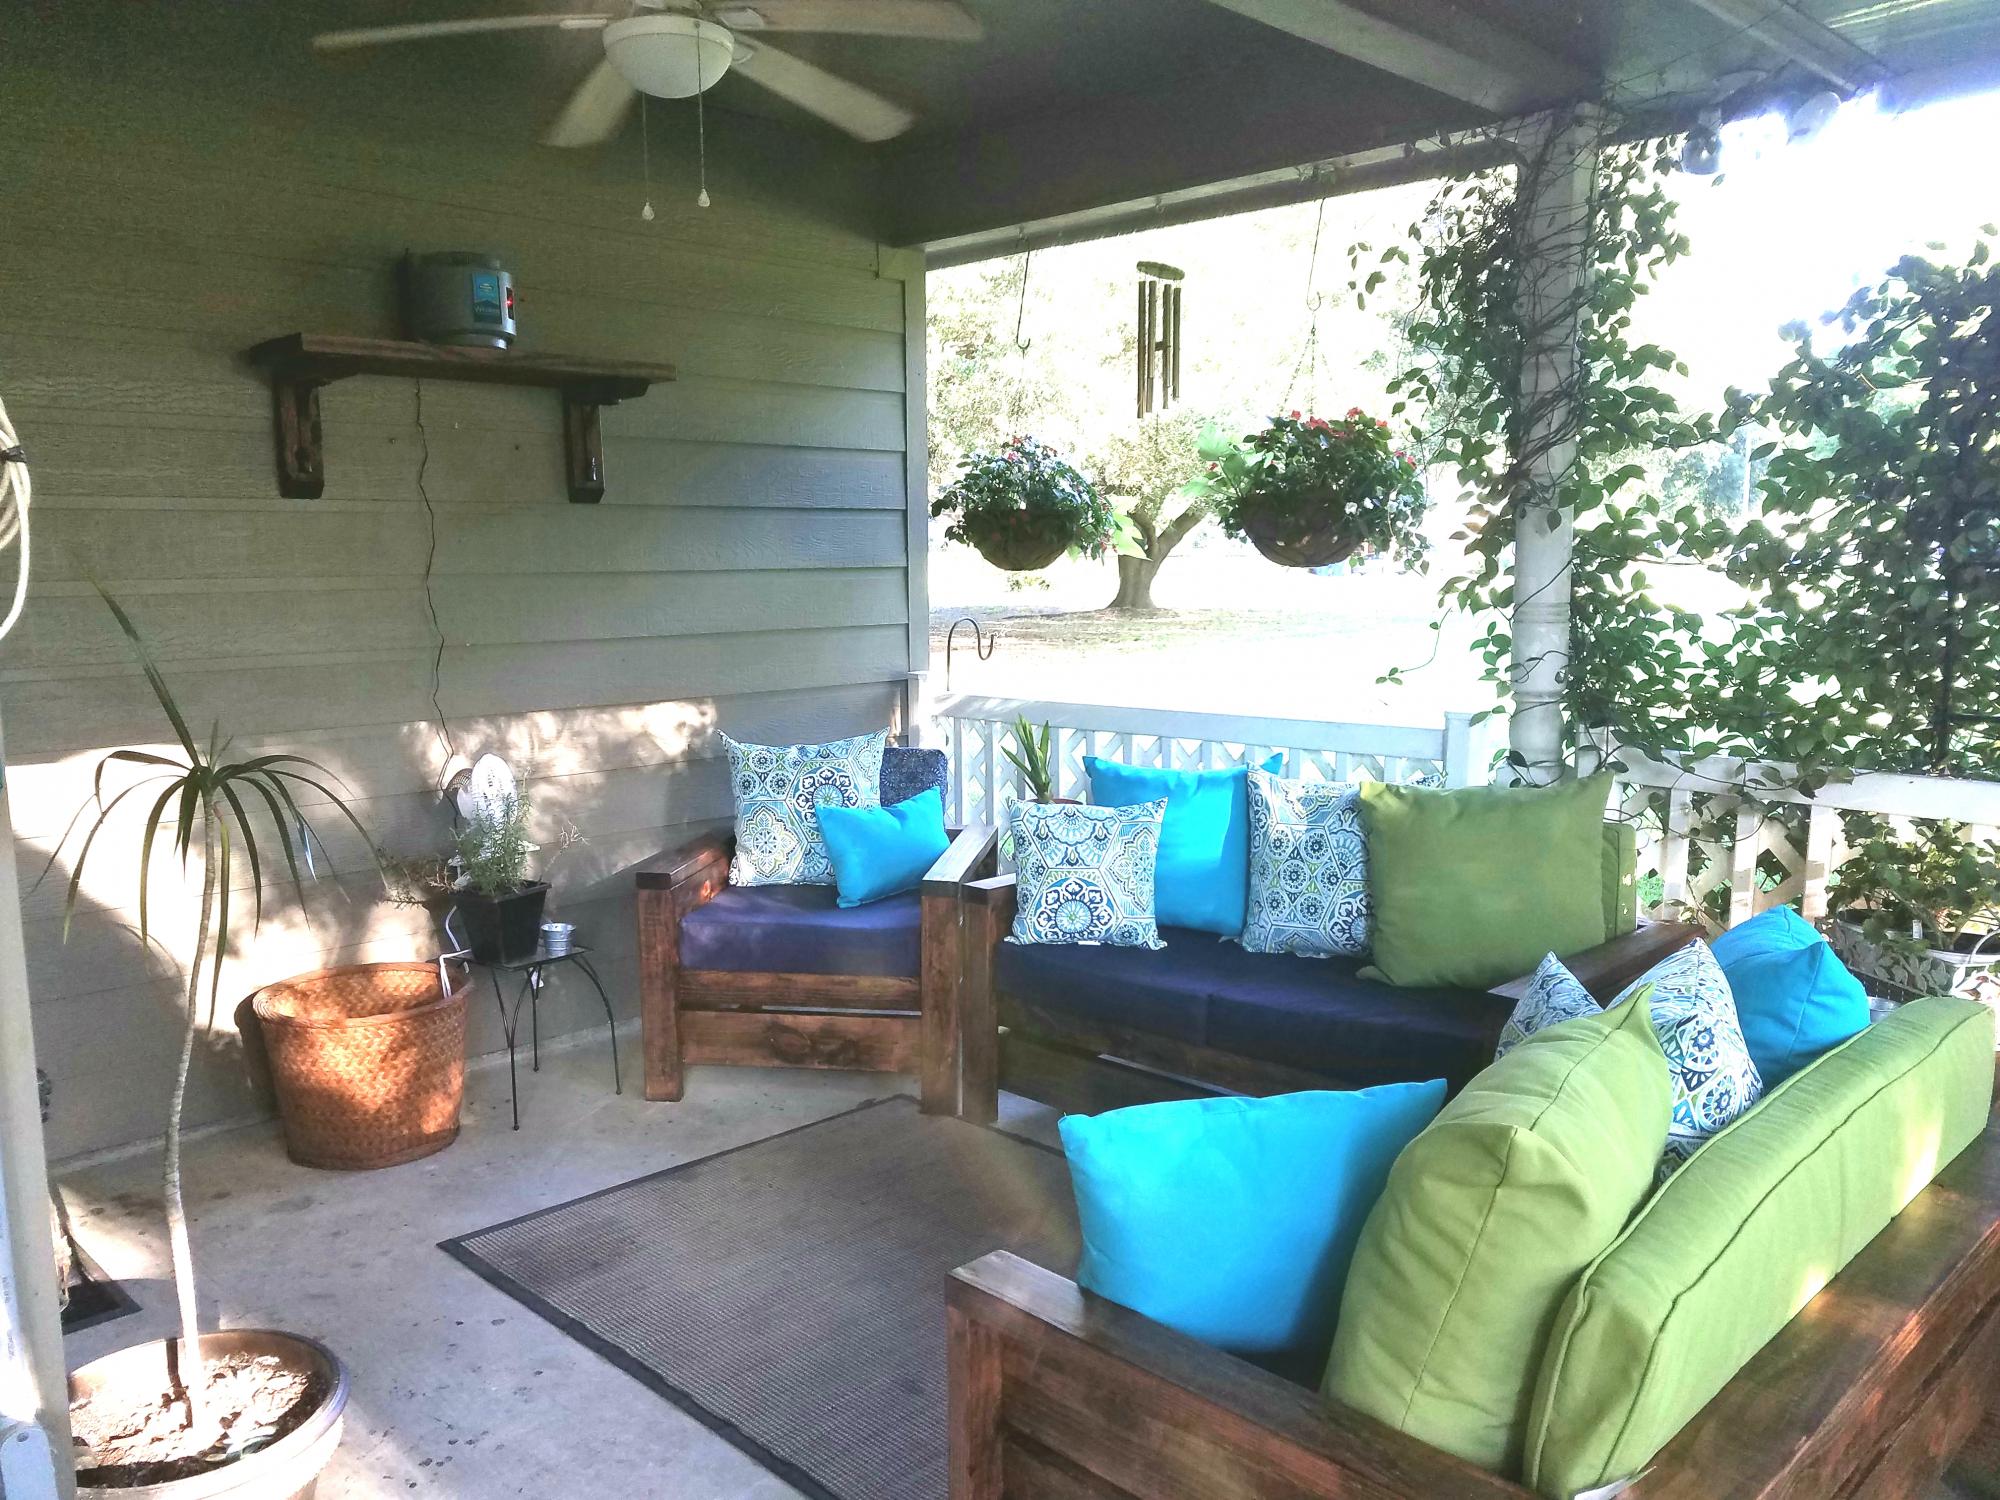
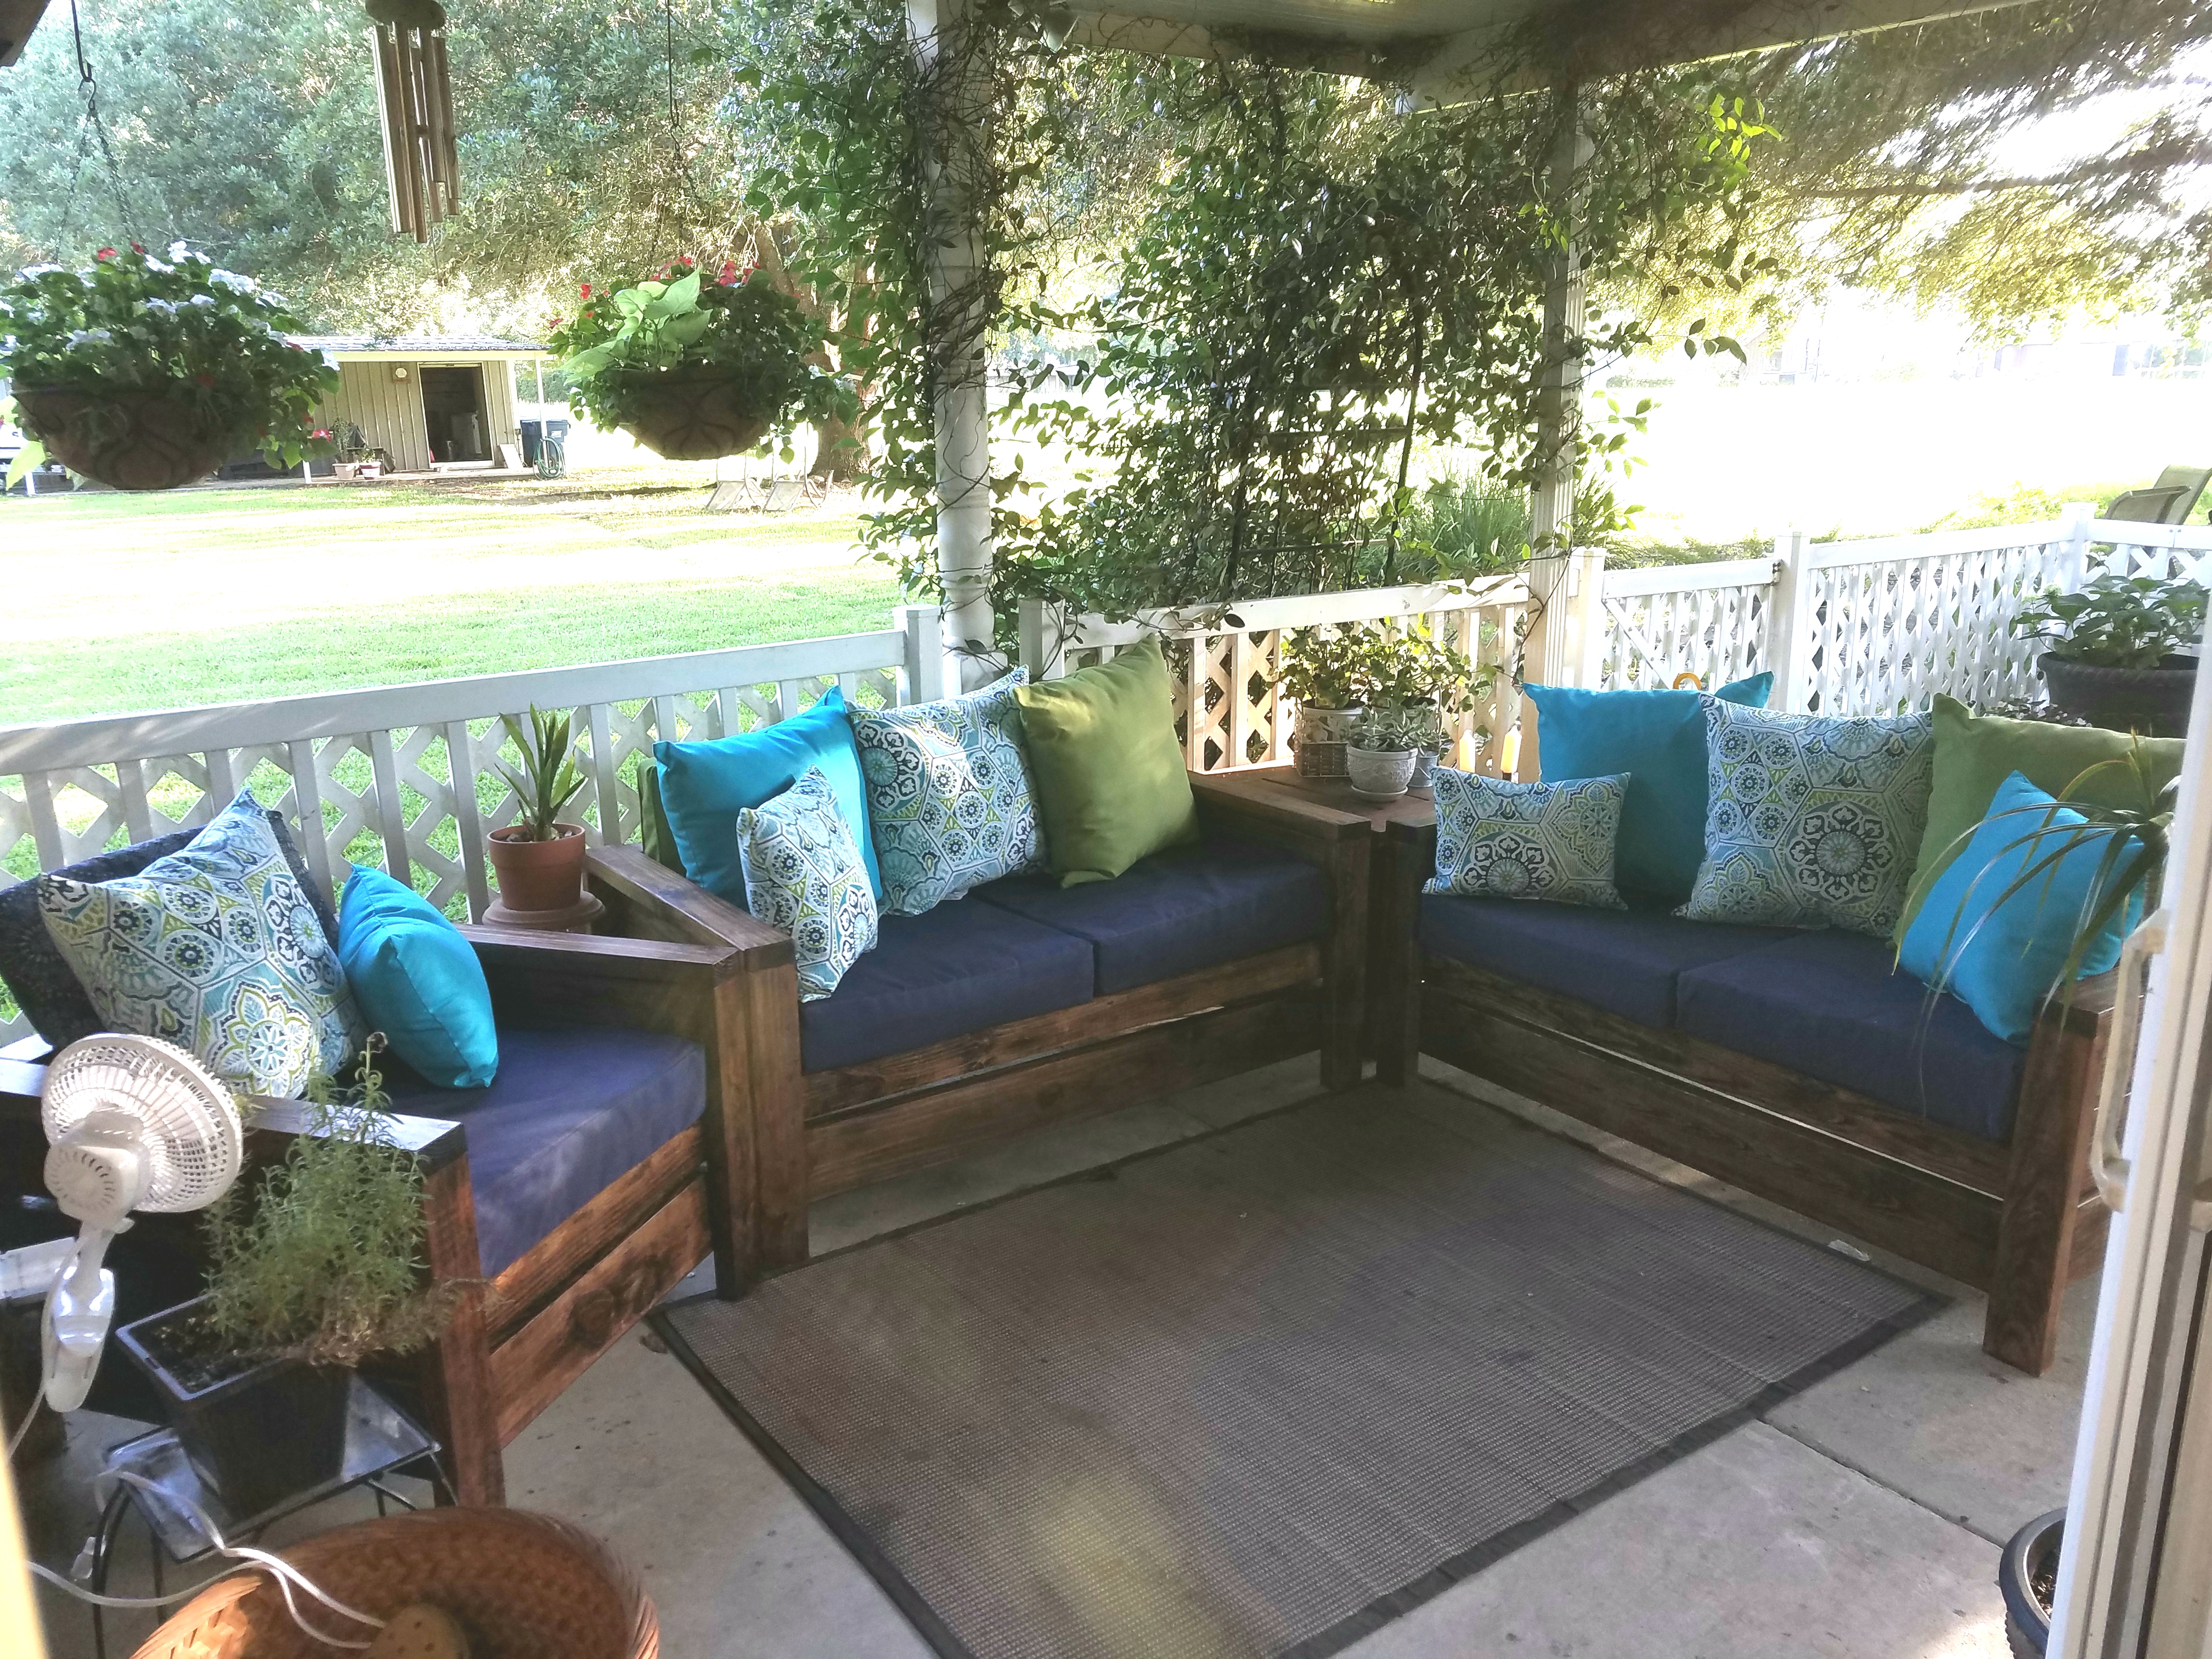
Built these pieces in one day. I made the chair first and decided to modify plans to do the loveseats for lounging. The stain is Honey by Minwax and used an outdoor polyurethane. The seat cushions are 24x24 from Wal-Mart and I waited for a sale at At Home Store for the rest of the cushions.
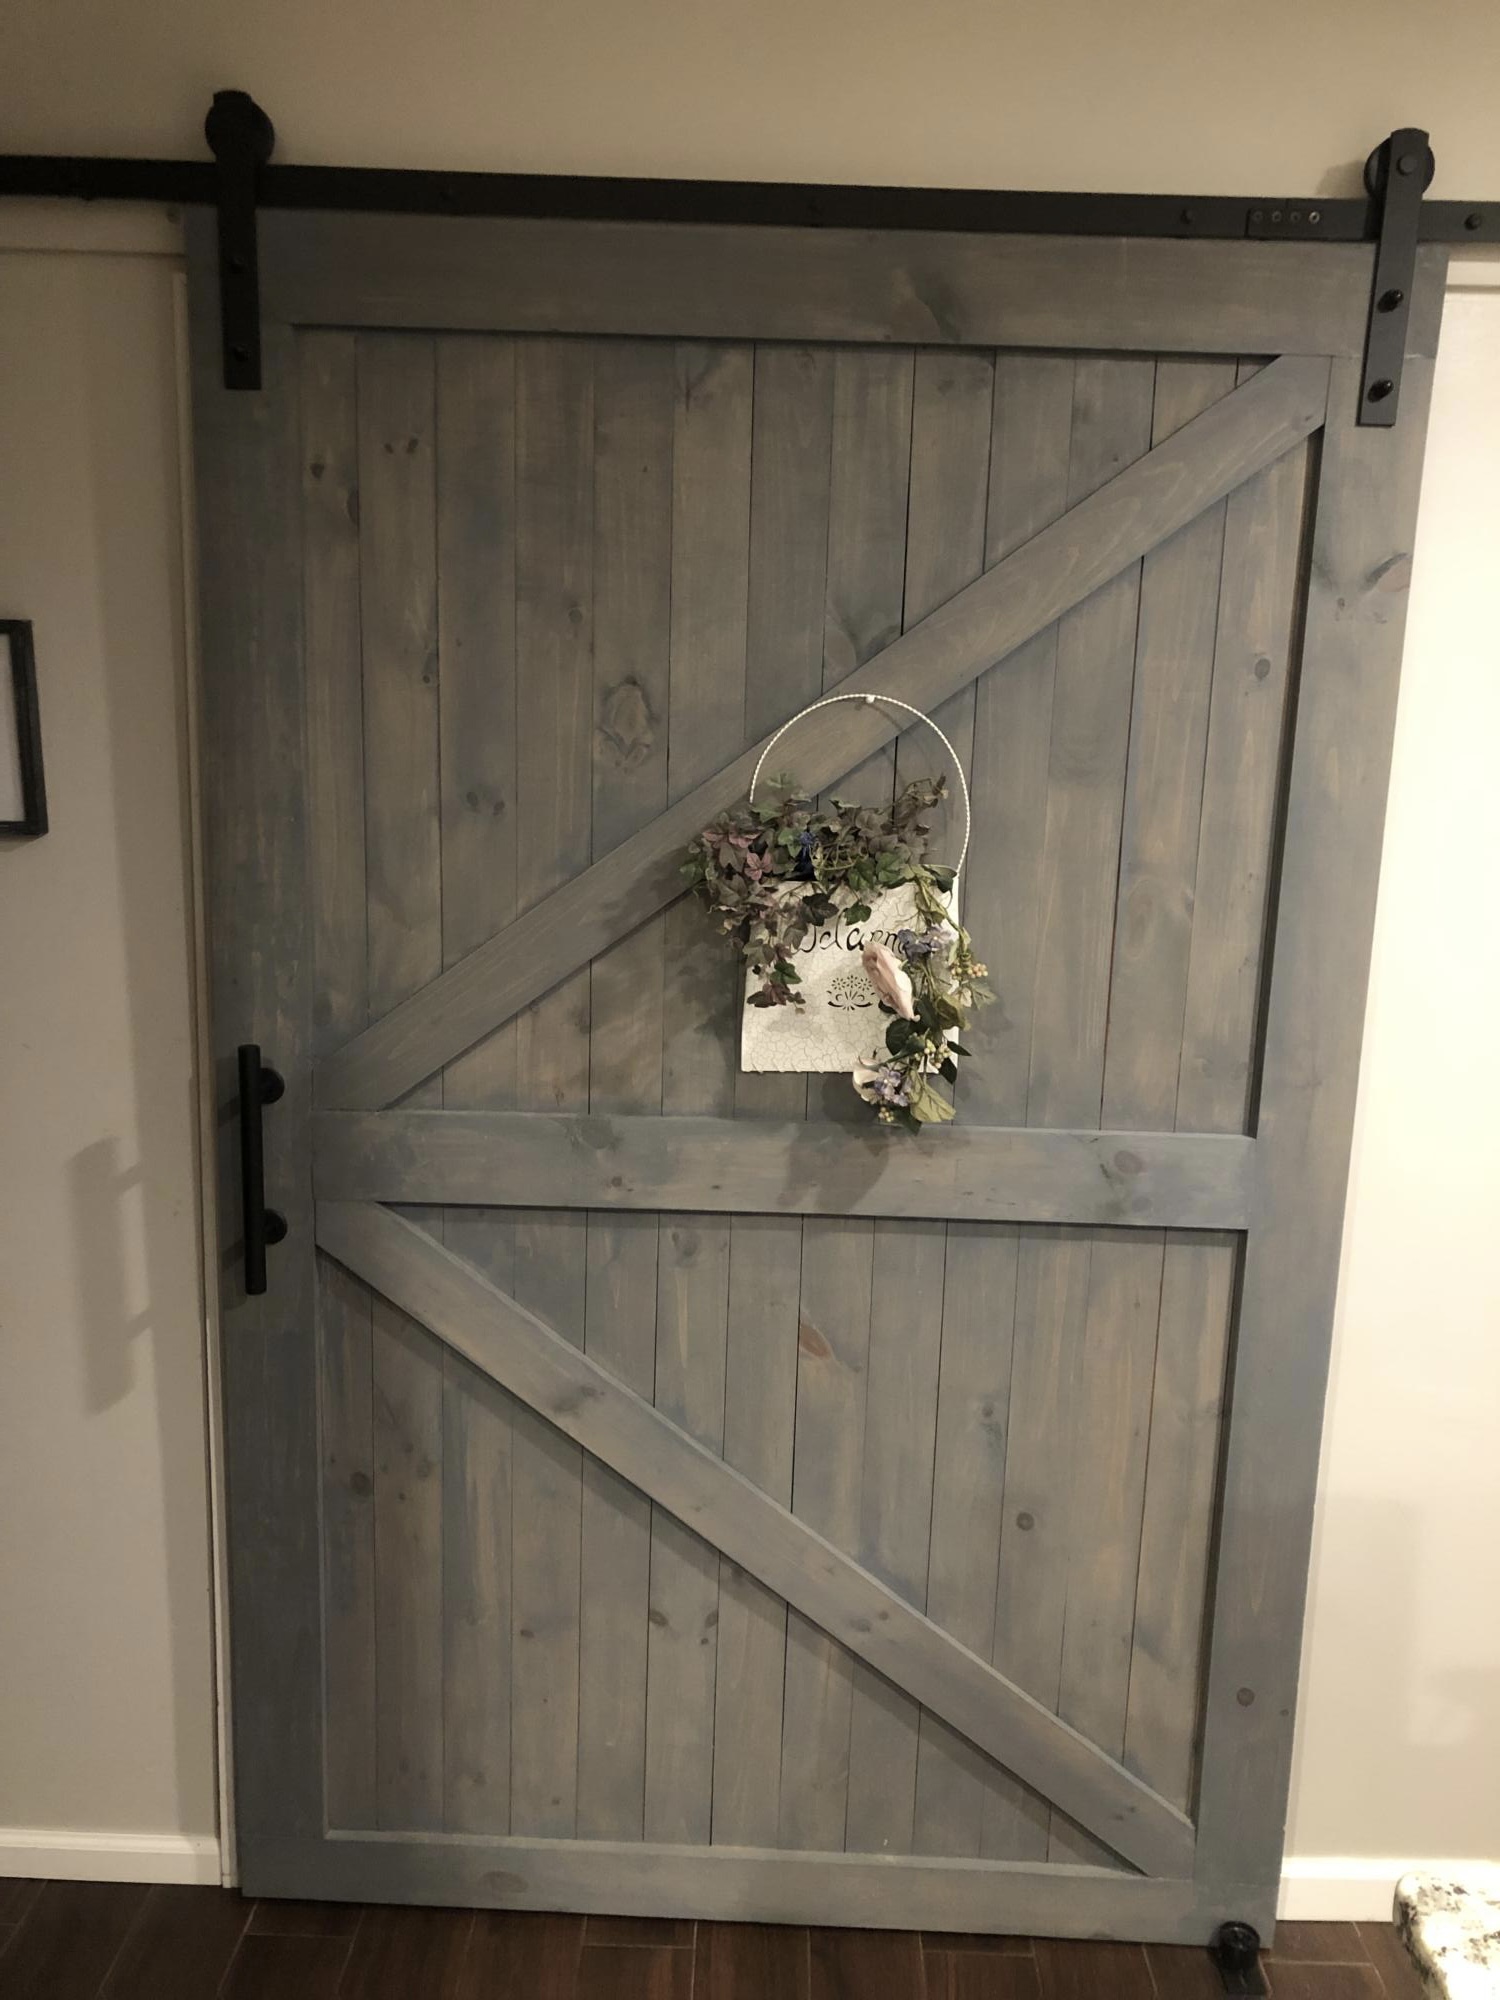
We had an open pantry that was an eye sore in our updated kitchen. Im 75 years old and I always liked to take on new projects so I thought about building a barn door from scratch. It was a bigger opening than one would think of as a pantry goes (at least I thought as much) . The opening measured 50 x 60 approximately so the door was made 56 x 65. Plenty of door to cover the eye sore. The door was built more or less on our garage floor and up on four saw horses! I had no idea if it was was going to be successful and the staining was yet to come (Gulp) As Ana said just do it. Well the build came out pretty good Squared and level. And I totally suprised myself staining the wood to the color we were looking for. Self help videos are very helpful so Id consider it before starting out. Everything was a process and I took my time. As with some things I have attempted in the past rushing sometimes ended with disastrous results. Oh boy, not to mention a waste of time, materials and money. What I hadnt bargined for with this project was the final weight to this barn door. IT WAS HEAVY. In any event I purchased the hardware for the railing and handles and pretty satisfied the way it came out. I had no plans to work from but settled on a build that I saw from several websites on barn doors.
We loved the barn wood frame plan, and we just happen to have a barn that is coming down soon, so this project was a no-brainer. The picture is actually a metal sign purchased half off at Hobby Lobby, and was the only expense associated with the project. All he did to the wood finish was plane and clear coat.
Loved this design as was sinple and elegant and easy to execute !! Constructed out of salvaged timber so only real cost involved the screws and paint .
Sat, 11/02/2013 - 18:15
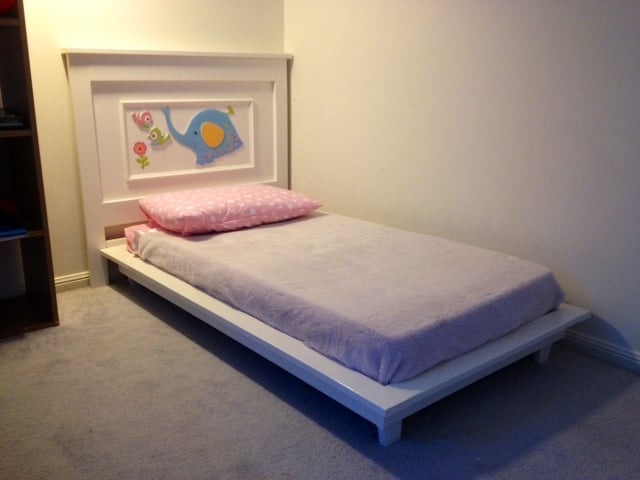
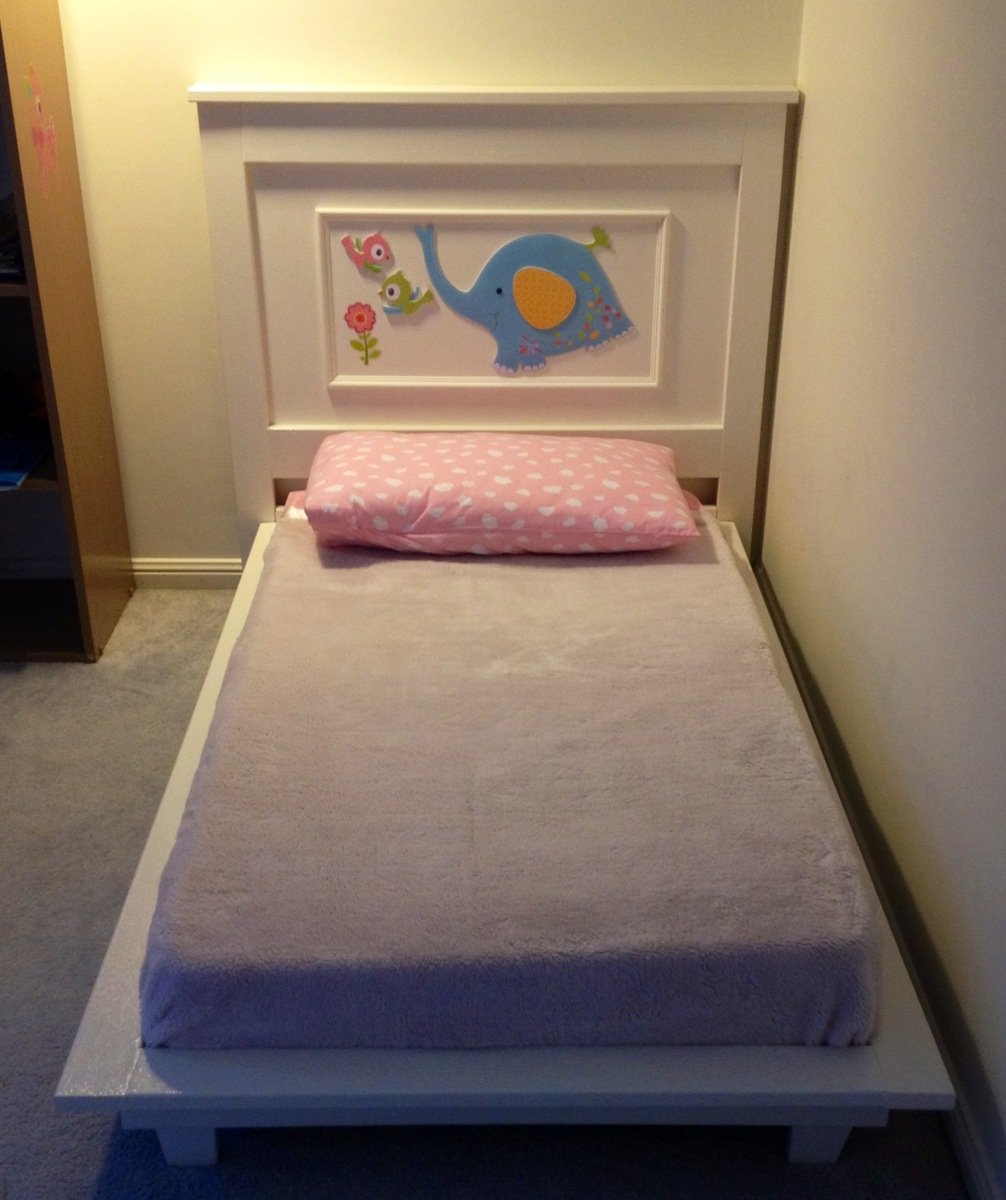
What a great bed, this is super cute! Love the decorations for the headboard. Looks better than the PB Kids bed!
I love how this fits our space. I shrunk the measurements to help use up some of the scrap fence board pieces I had left over. Holding up to the pounding of a 2 year old and his legos pretty well.
Kids Picnic Table built from reclaimed 2x4's
Youtube Video https://youtu.be/sLKQlHt4mso
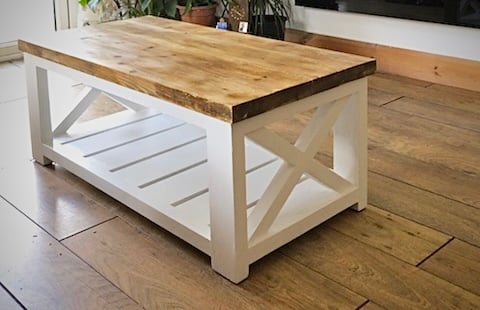
Than you Ana, My first time ever that I have made anything - my coffee table taking pride of place. Looking forward to making my next project from your plans.
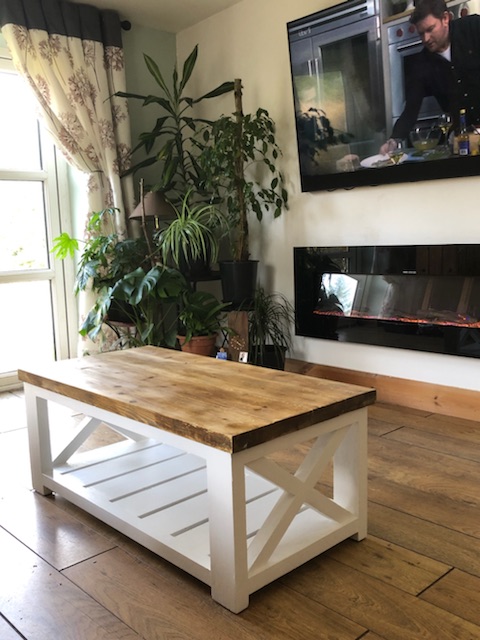
Sat, 03/25/2023 - 09:24
WOW! This is beautiful, can't wait to see your next project. Thanks for sharing:)
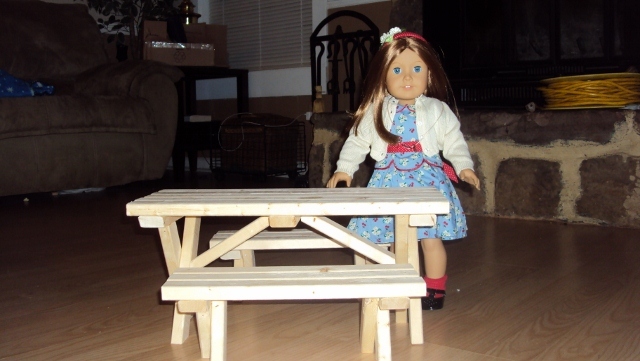
This is my first build cutting angles. I was quite intimadated at first but lucky for me I have a carpenter husband who mentors me :) So he went to work and I got to cutting...now to build table 2. We still have yet to commit to a finish but I am still thrilled with the finished product.
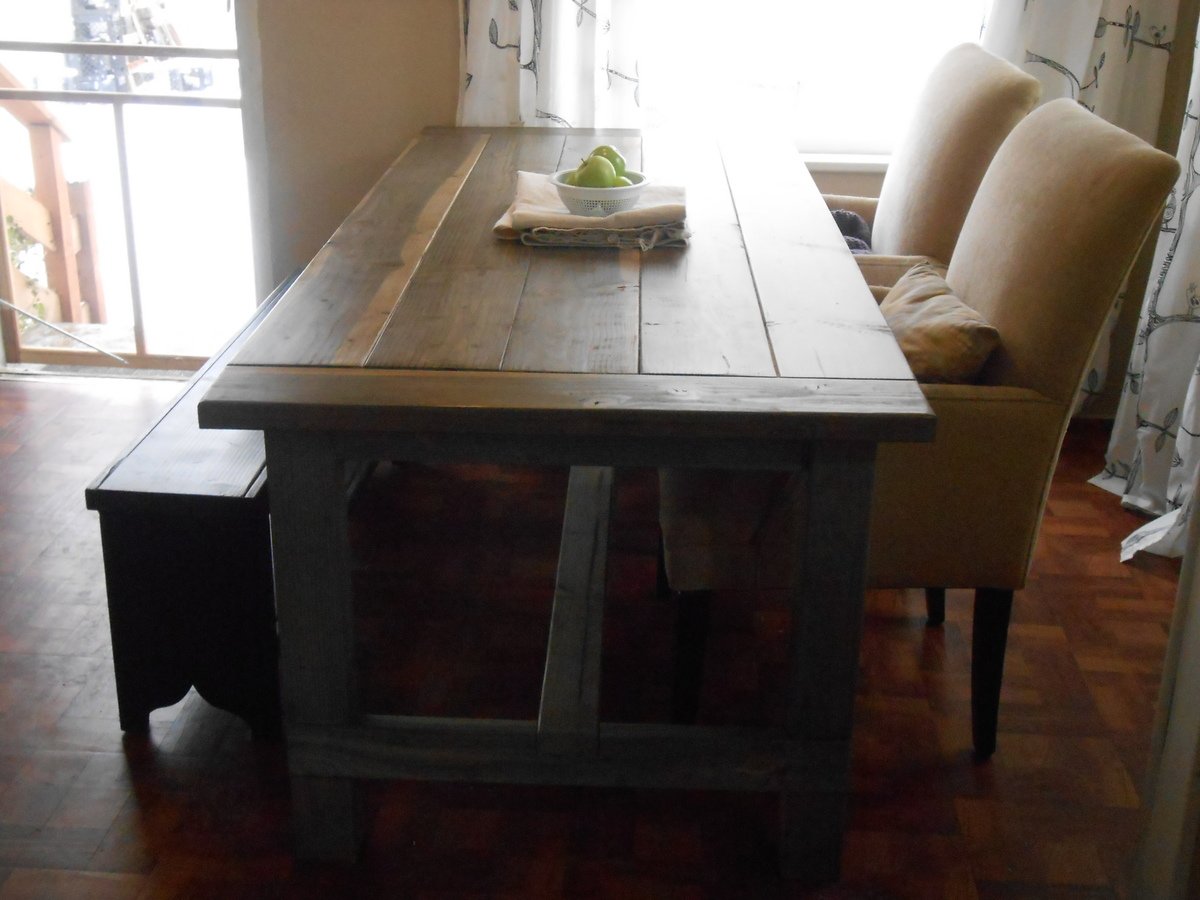
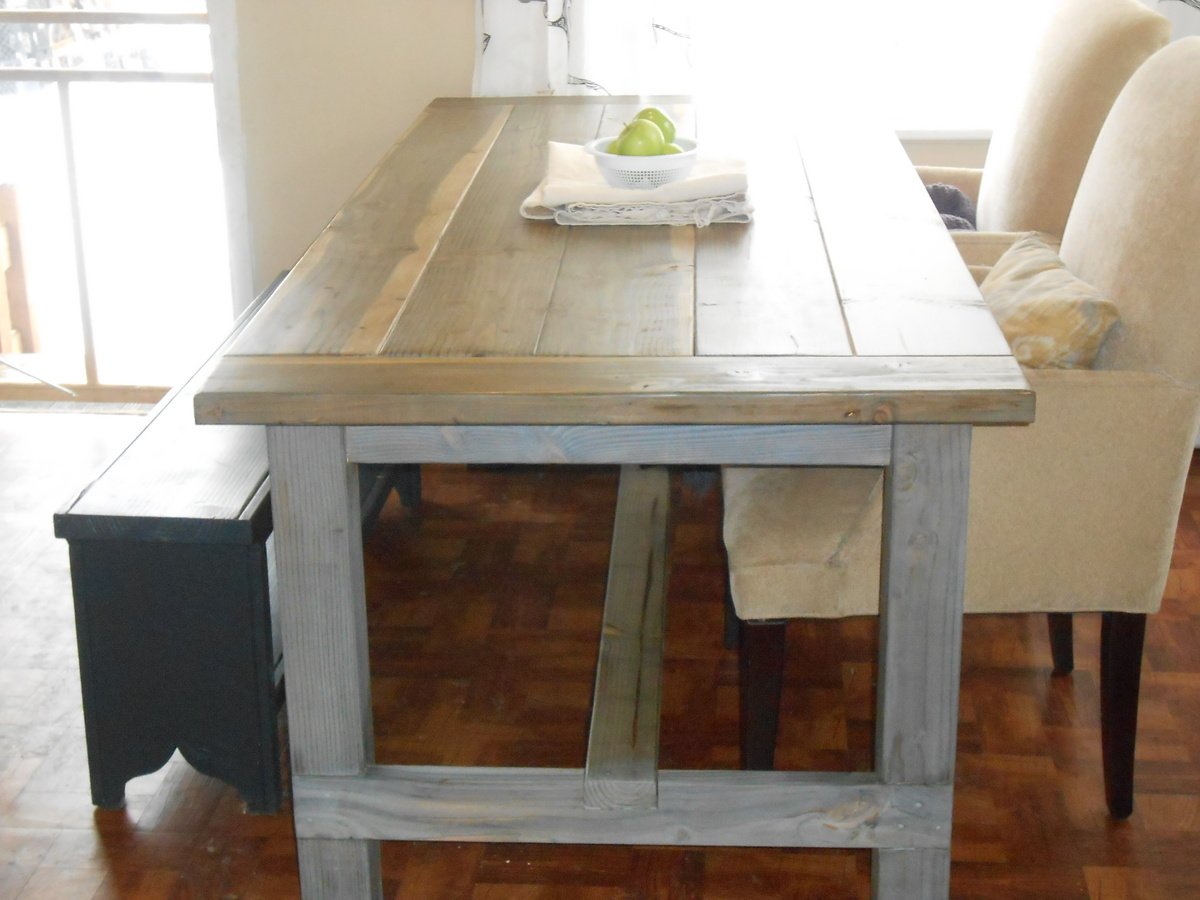
This is the second Farmhouse Table we've built and this one is sooooo much nicer than our first one. The build went smoother the table top turned out more straight with less high spots. The oxidized finish is super gray due to the cold weather here.
So beautiful!
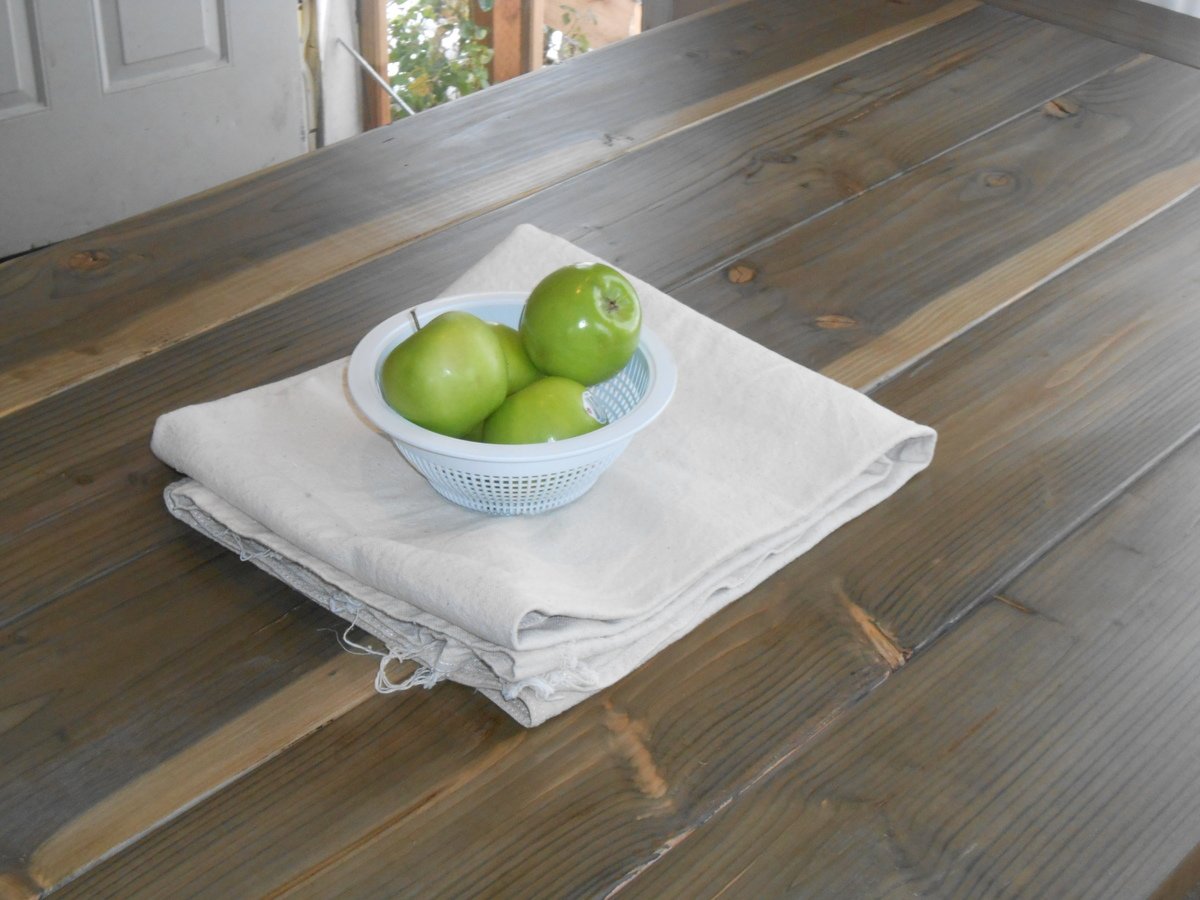
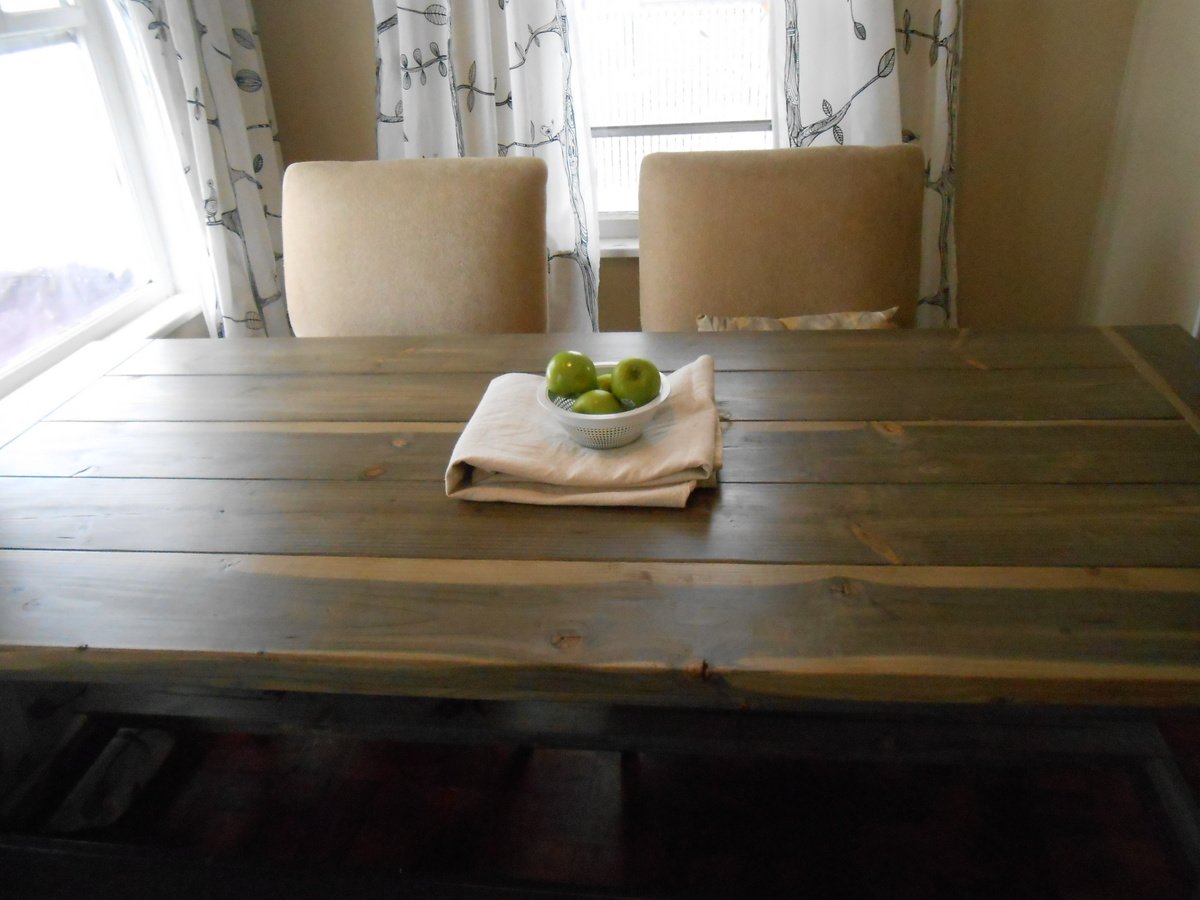
Tue, 11/05/2013 - 12:40
Nice Job! Looks great! Was there something that you did that helped prevent high spots in the table top? I will be building a table in the near future and was curious if there is a trick to it. Thanks!
In reply to Nice Job! Looks great! Was by RN woodworker
Tue, 11/05/2013 - 13:39
It was really a two person job. My husband held the boards perfectly straight and flat while I screwed in the pocket hole screws. You should definitely build a table, they are relatively easy and super beautiful. Plus when you get compliments you can say "Yeah. I made that."
Tue, 11/05/2013 - 17:27
Is the table top also douglas fir? The finish of the top came out great. Is it the same finish as the base? I love the top and hope I can do the same!
In reply to Is the table top also douglas by bclute
Tue, 11/05/2013 - 17:35
Thank you! The table top is douglas fir as well. I just bought the cheap framing lumber from the blue store which I believe is doug. fir. The finish is the same except that I waxed the top 2x with dark wax and 2x with clear wax and then buffed it. I only waxed the legs once with brown wax so it does look a little bit lighter.
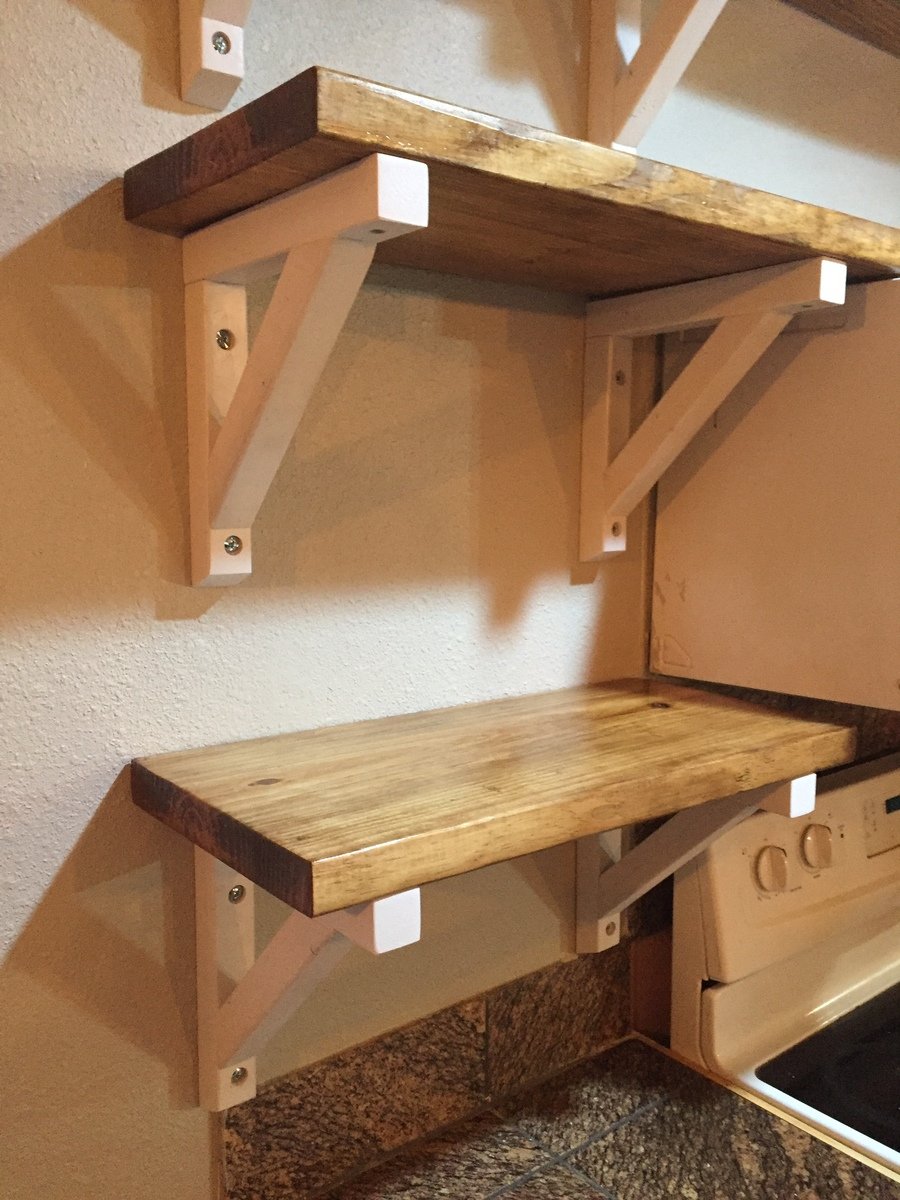
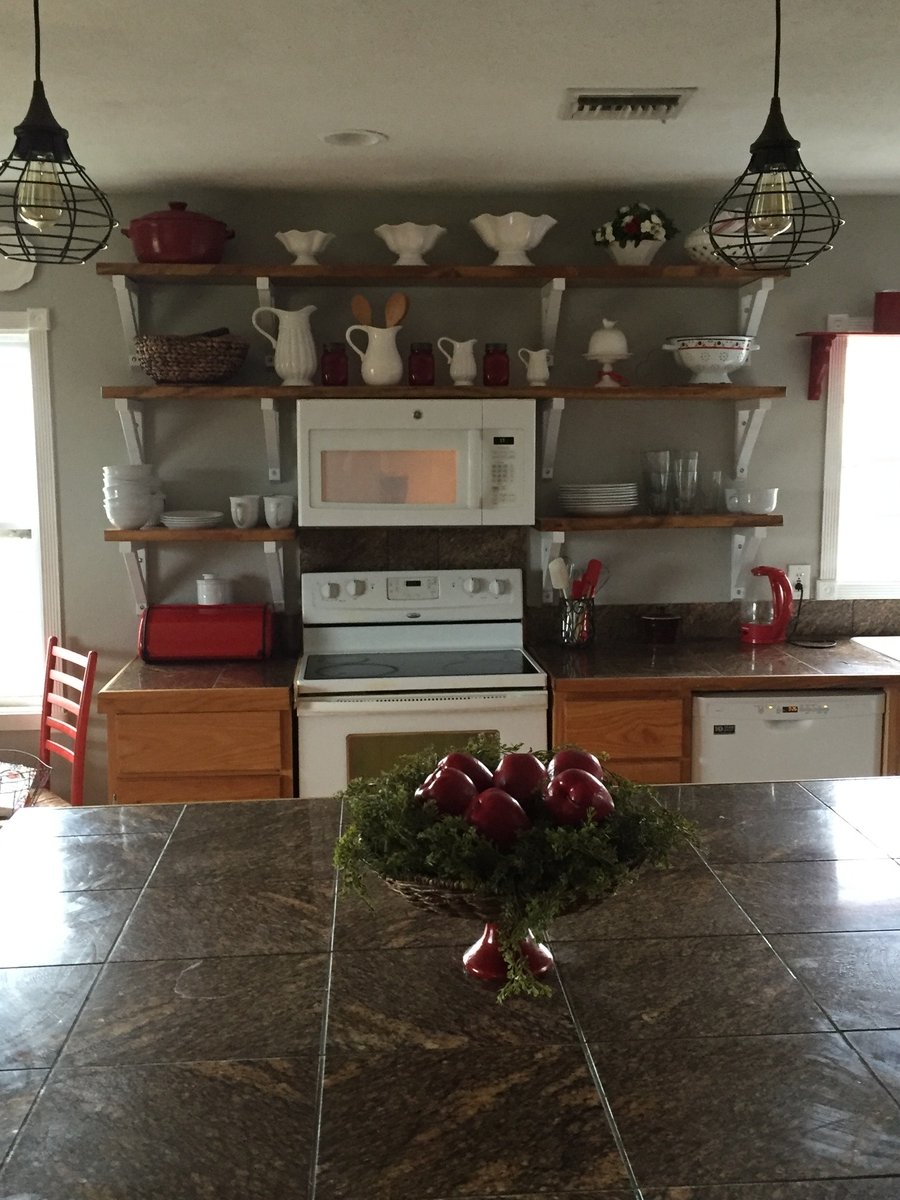
We tweaked a few things, to make the brackets more personalized. We changed the measurements to suit our space, added a decorative bevel to the bottom of the brackets, and used 2x12's for the shelves. We love the warm open feel these shelves give to our farmhouse kitchen! Thanks, Ana, for providing so much help and inspiration!
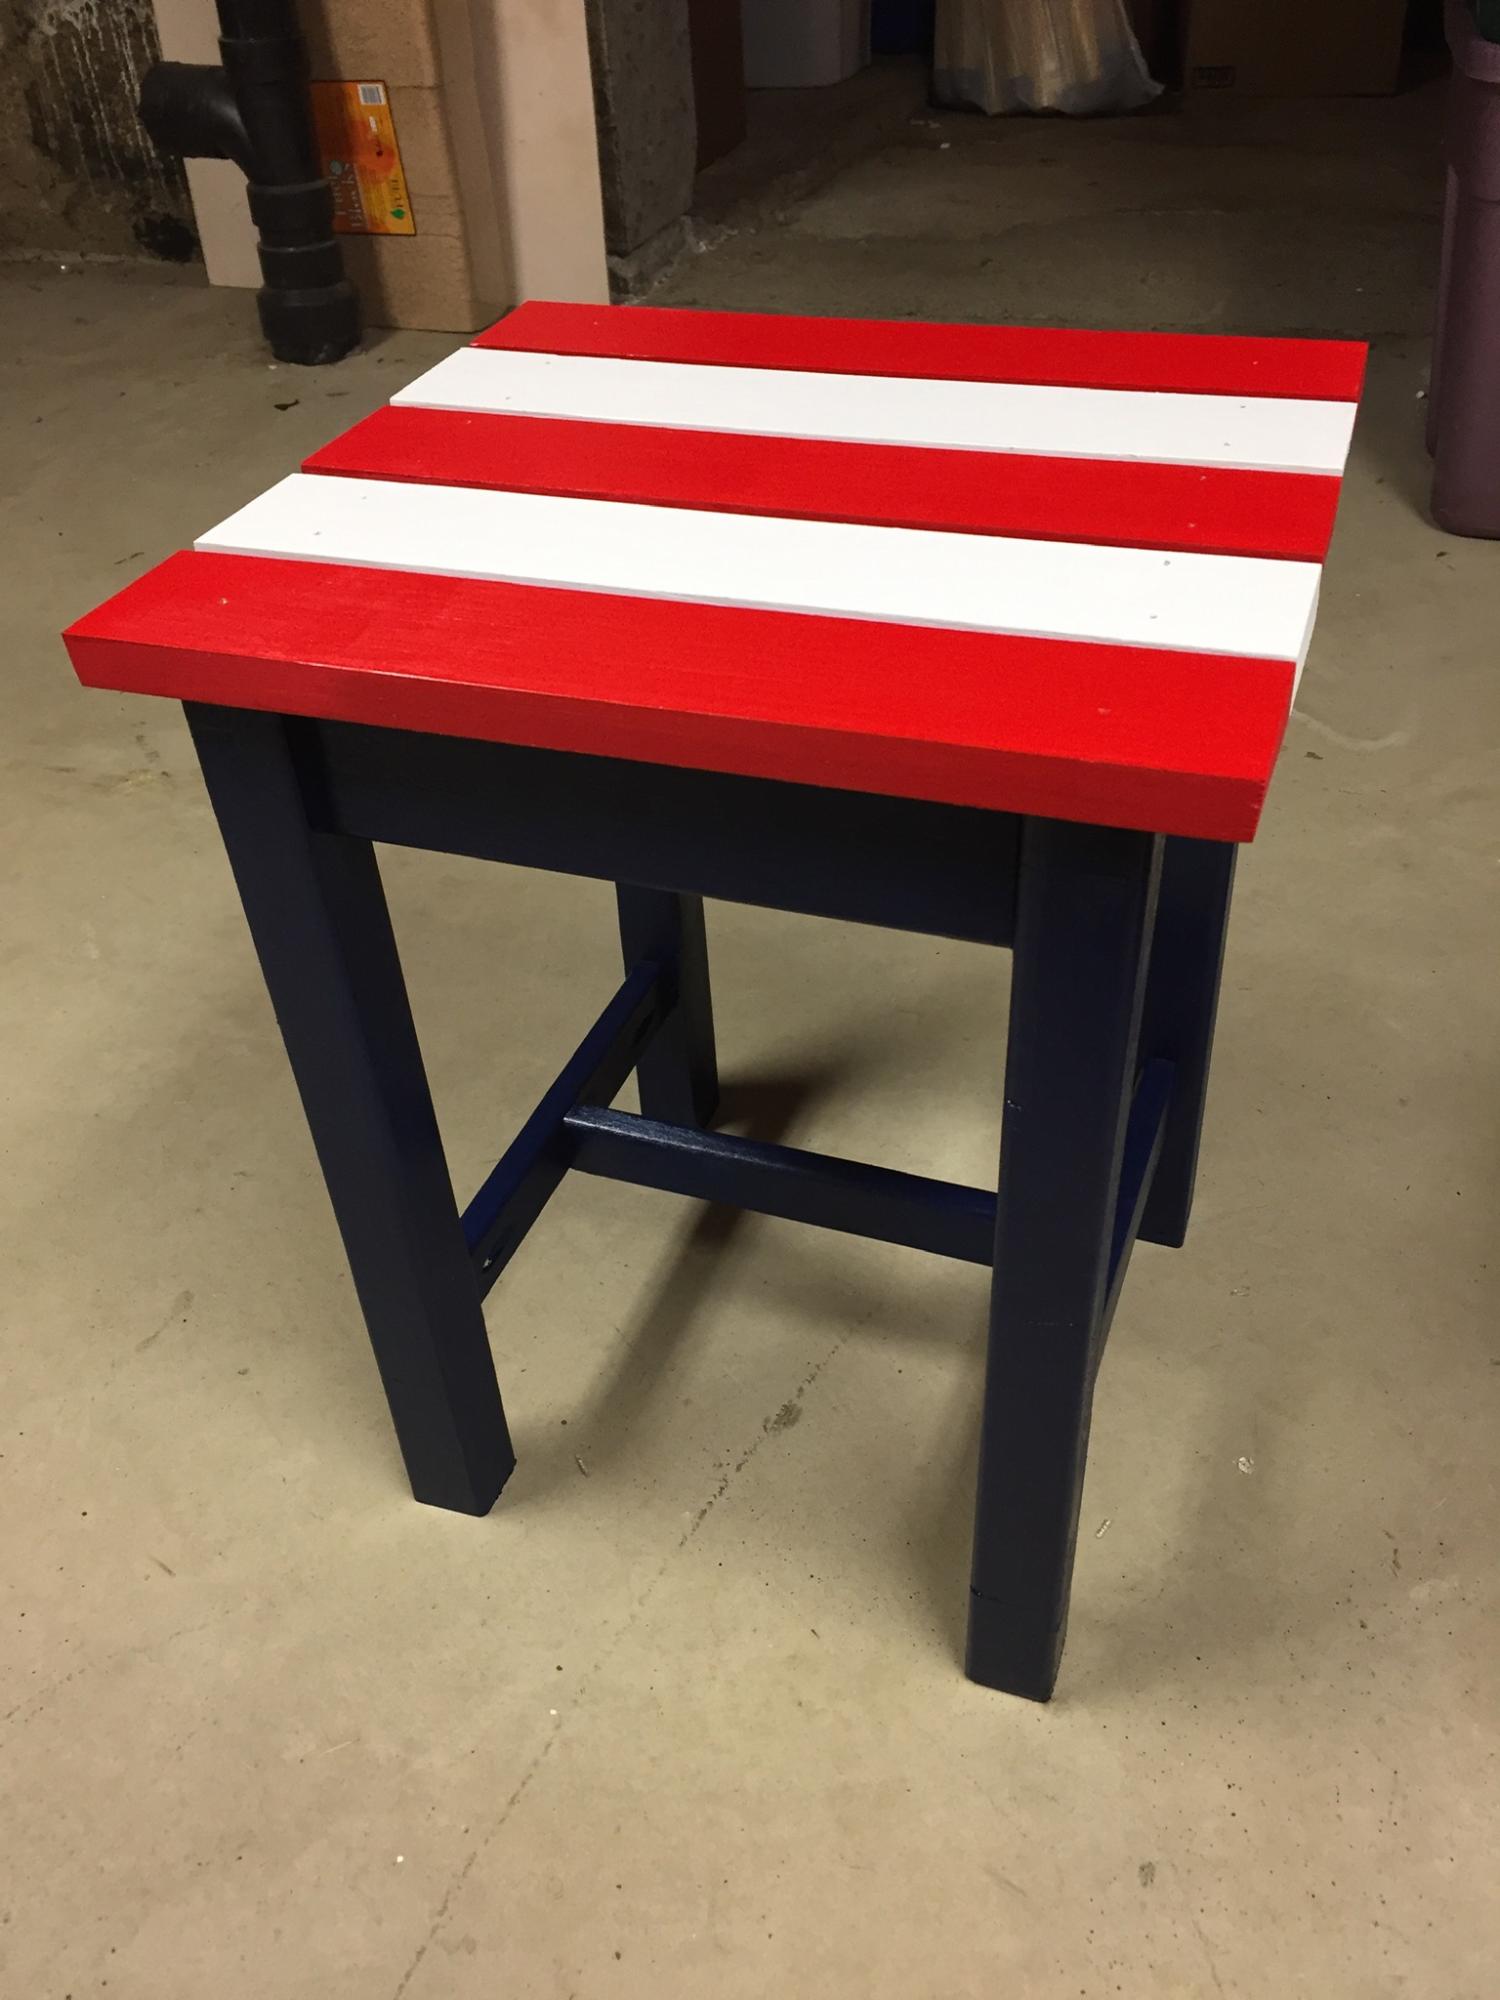
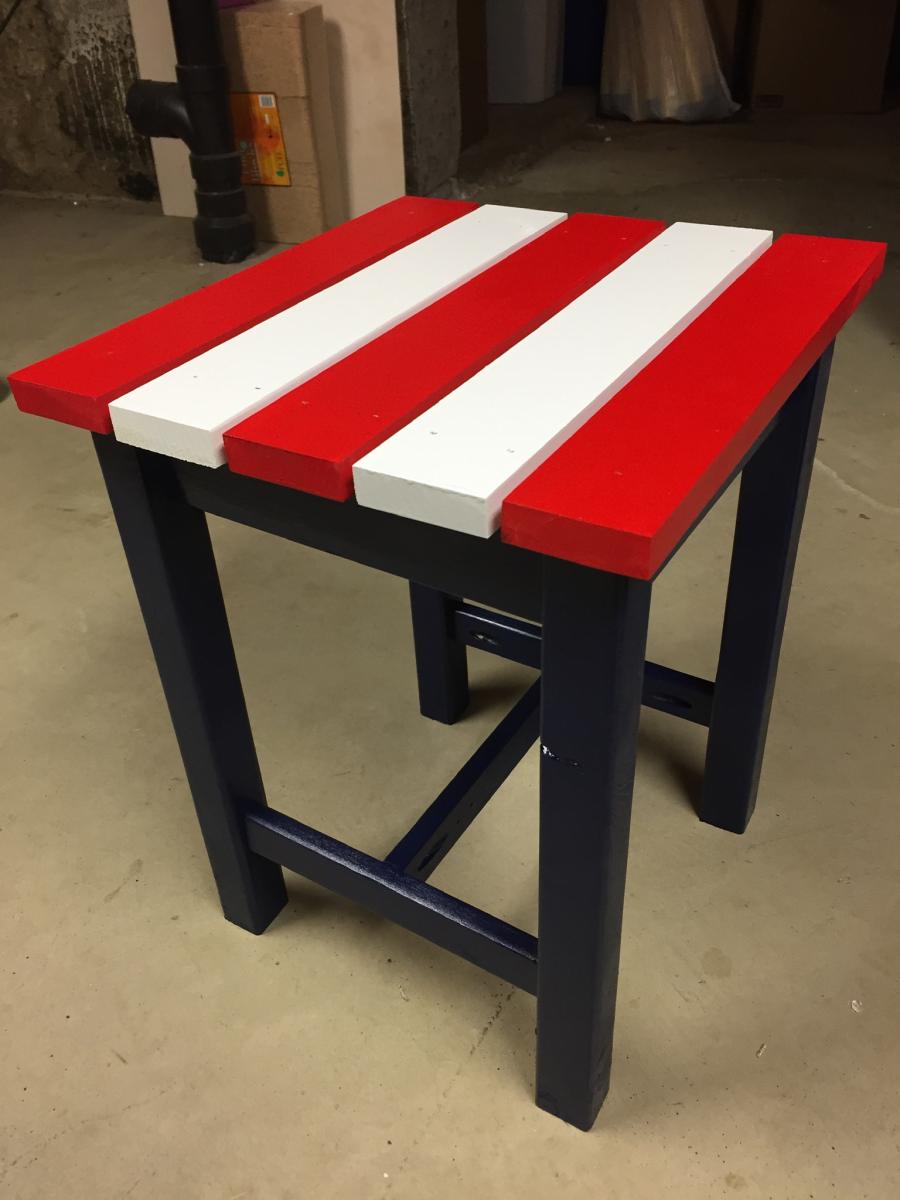
I love making this table, my take on the Patriotic theme. Sanding and Painting always add time, this is a fairly easy project.
Thu, 06/20/2019 - 14:36
What a fun project, just in time for the Fourth!
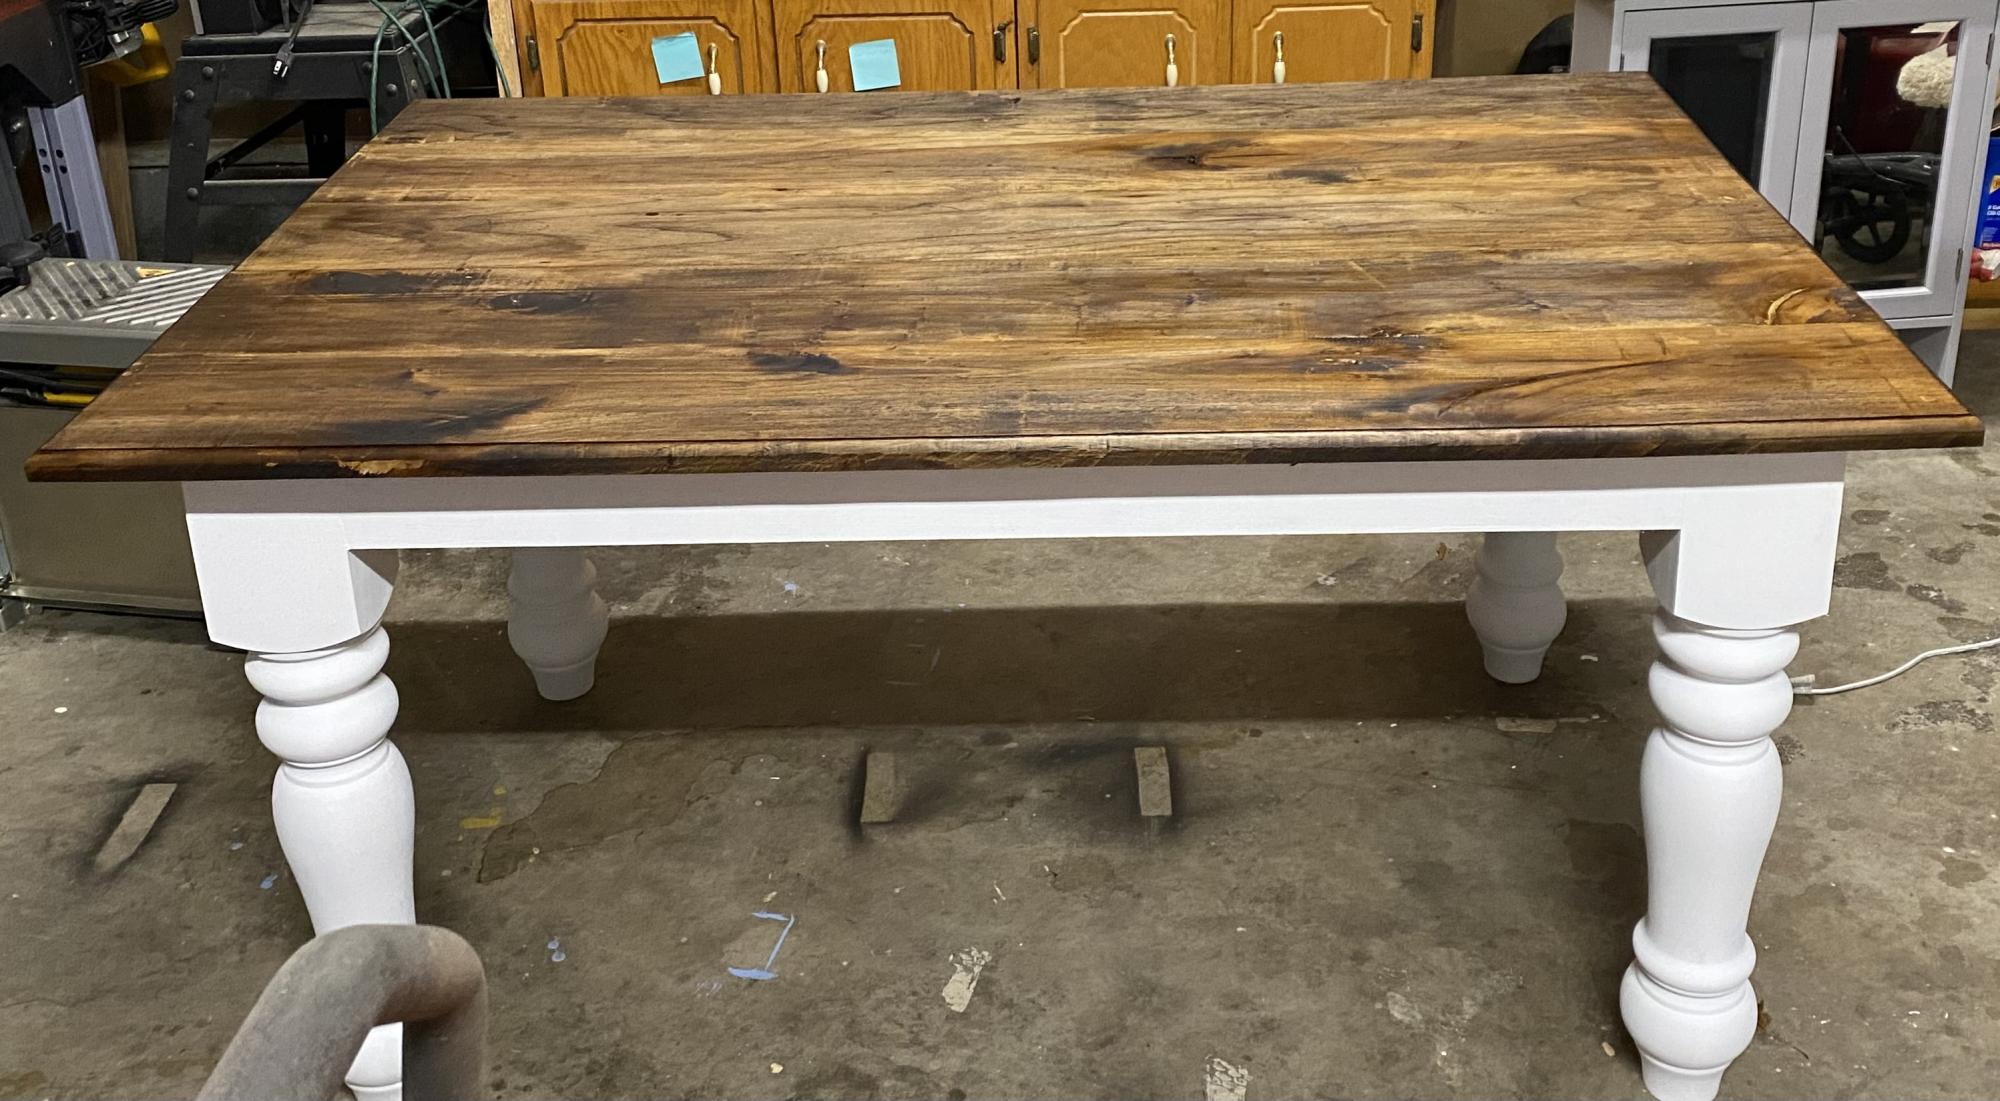
This table was made out of Pecan. The legs are pine. I think the basic plan was from Ana-White.com but I am not sure.
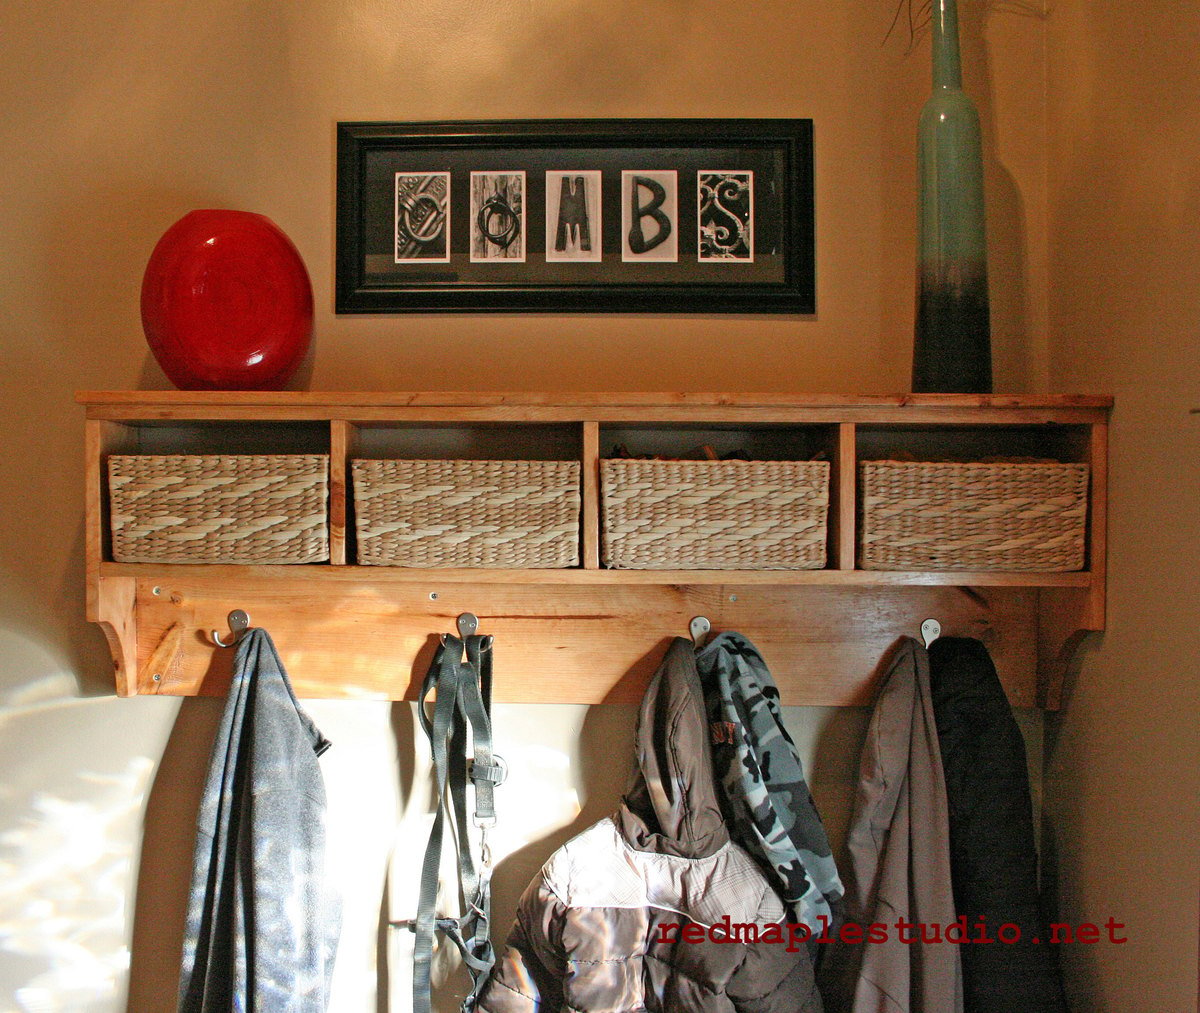
This is a nice shelf for our tiny entryway. The baskets are perfect to hold our individual hats, gloves and scarves during the winter. Customized for four and we also left the back off because we didn't feel that it needed it. We made this out of leftover wood and stain from our son's storage bed.
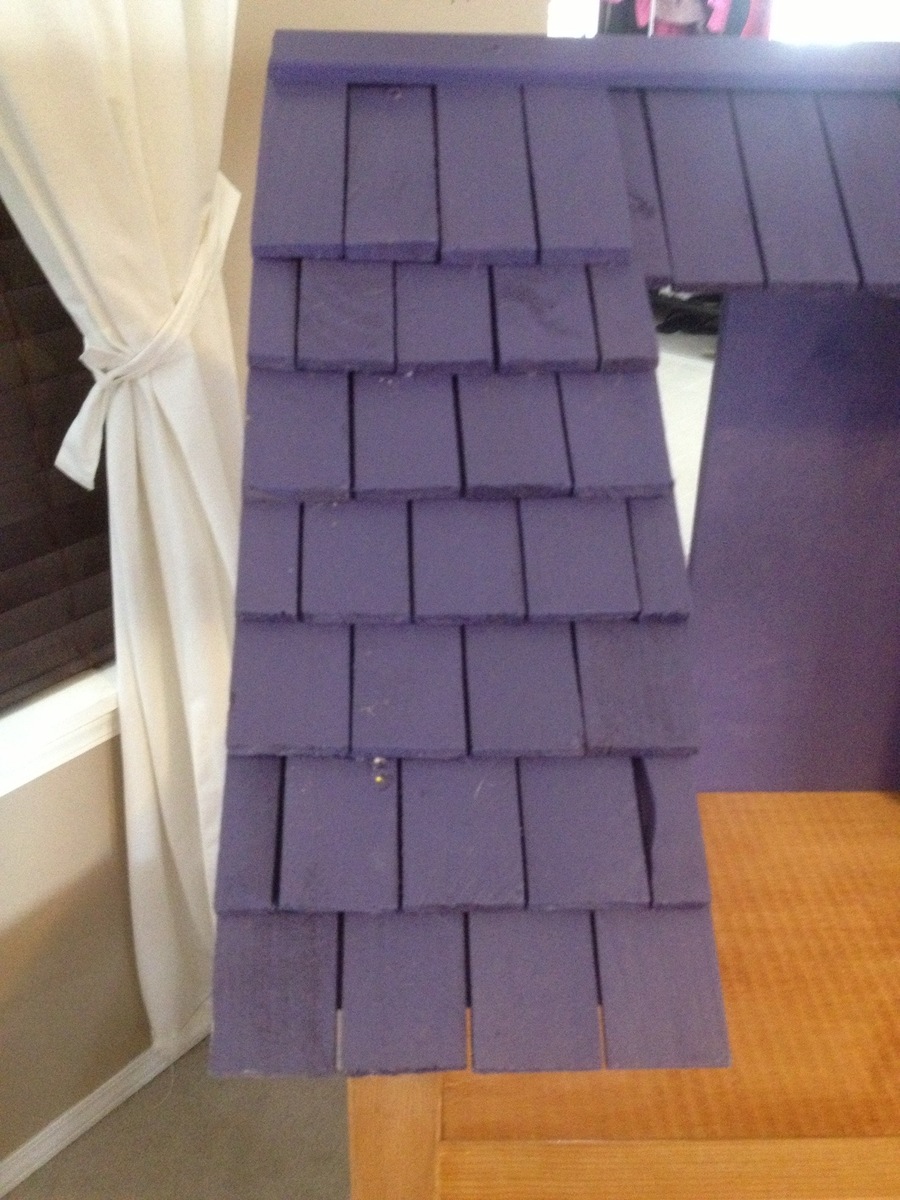
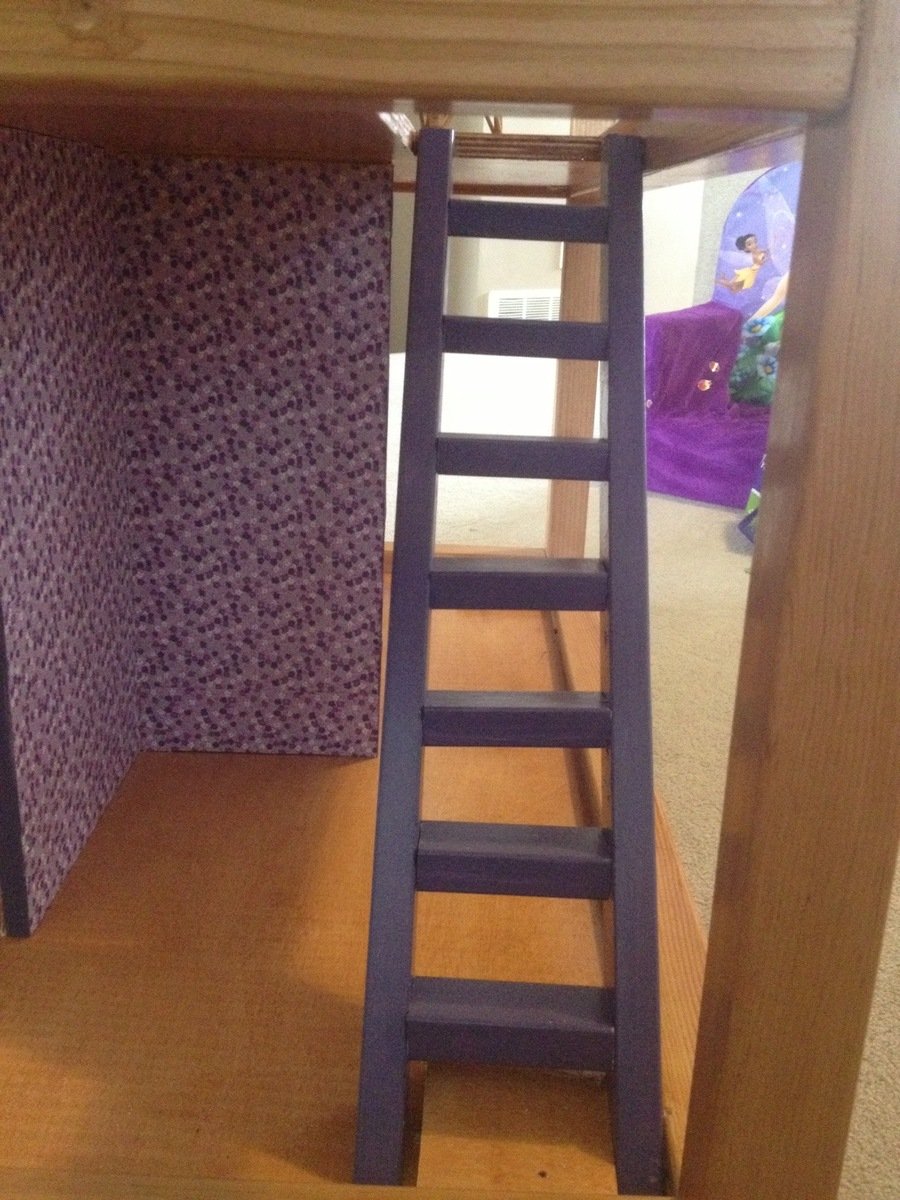
My dad and I made this for my 3 year old and she absolutely loves it. The wood that was recommended to use for the roof didn't cut well with the pattern so we decided to be creative and used door shims to make the roof look like it was made of shingles. We used scrap book paper and decoupage for the walls. Still having a hard time finding the right sized doll furniture for it, but it's a great house. Very sturdy and we put wheels on the bottom.
Fri, 11/08/2013 - 08:08
Thanks! It's definitely easier to move it around with the wheels because it's so big, but also not too heavy so she can pull it out on her own:)
Sat, 11/09/2013 - 07:55
Love this! I built the dollhouse bookcase earlier this year and still need furniture. Where did you get those chairs?
In reply to Love this! I built the by sraper2
Fri, 11/15/2013 - 09:51
Ha I bought them at value village! I've been trying to find the right size furniture and i've been having a hard time finding any, so I went to Value Village and found a bunch for $3!
This was easily made from the plans on Ana White's website. I spent about $20 total on the bed and $7 on the fabric. I had the foam from another project. I could have spent less on the wood, but I opted to buy the sanded pine boards for they are much straighter! Thanks for the plans....it saved me about $150 that I can now spend on more projects!
