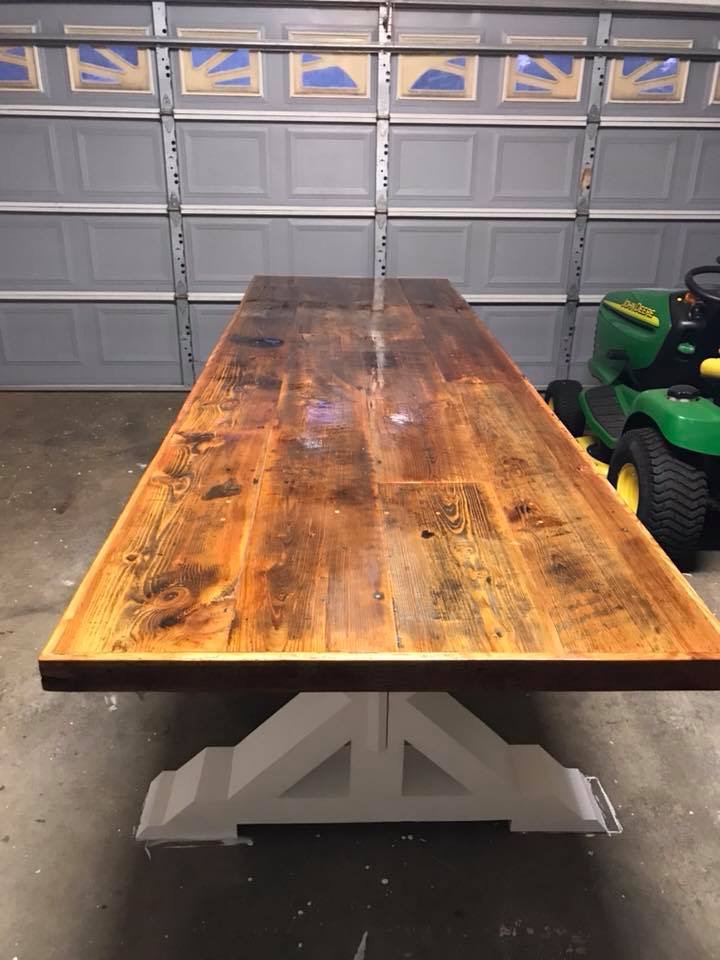
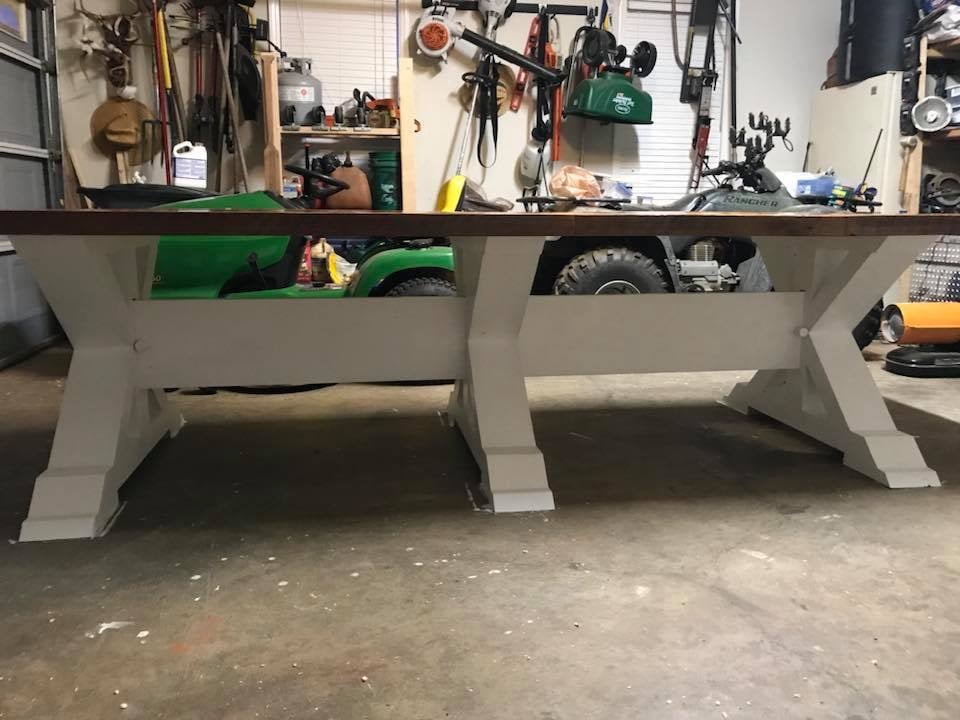
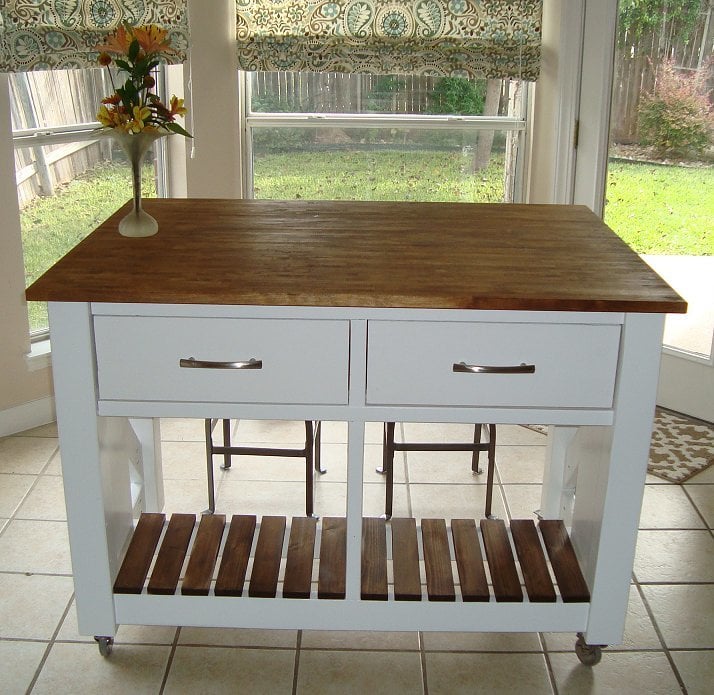
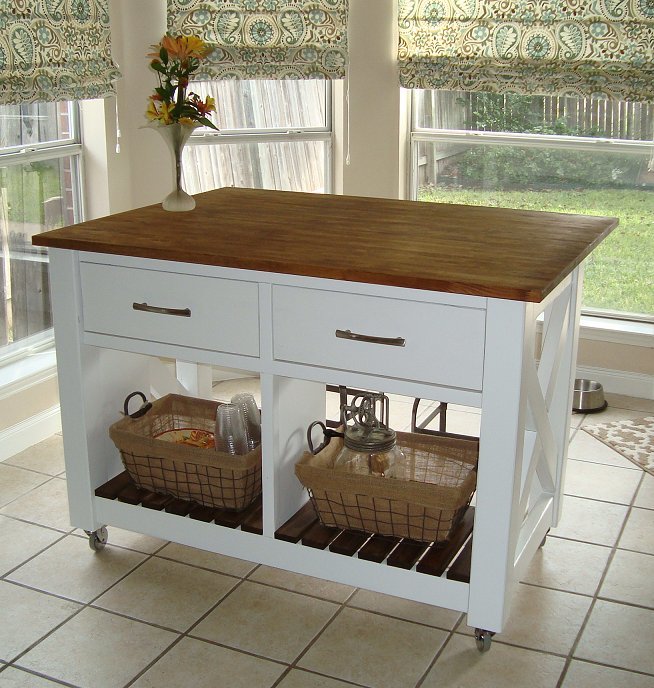
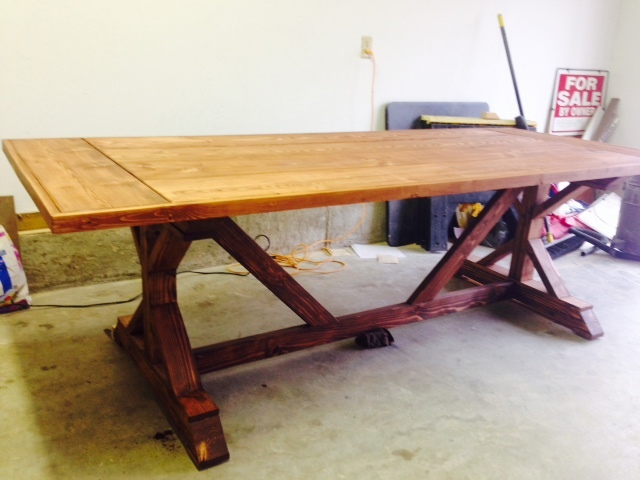
Fancy X table
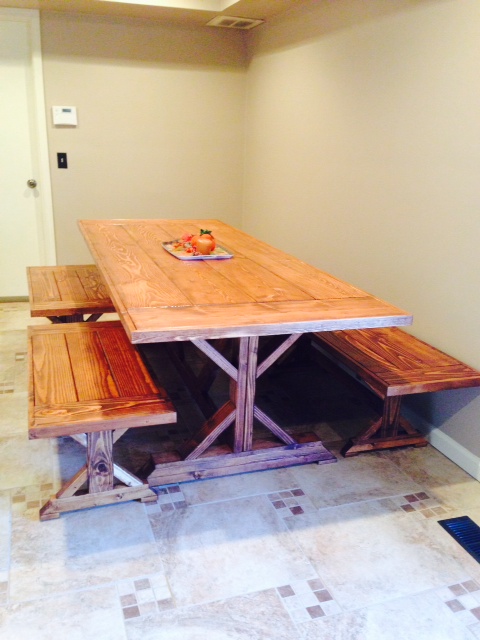
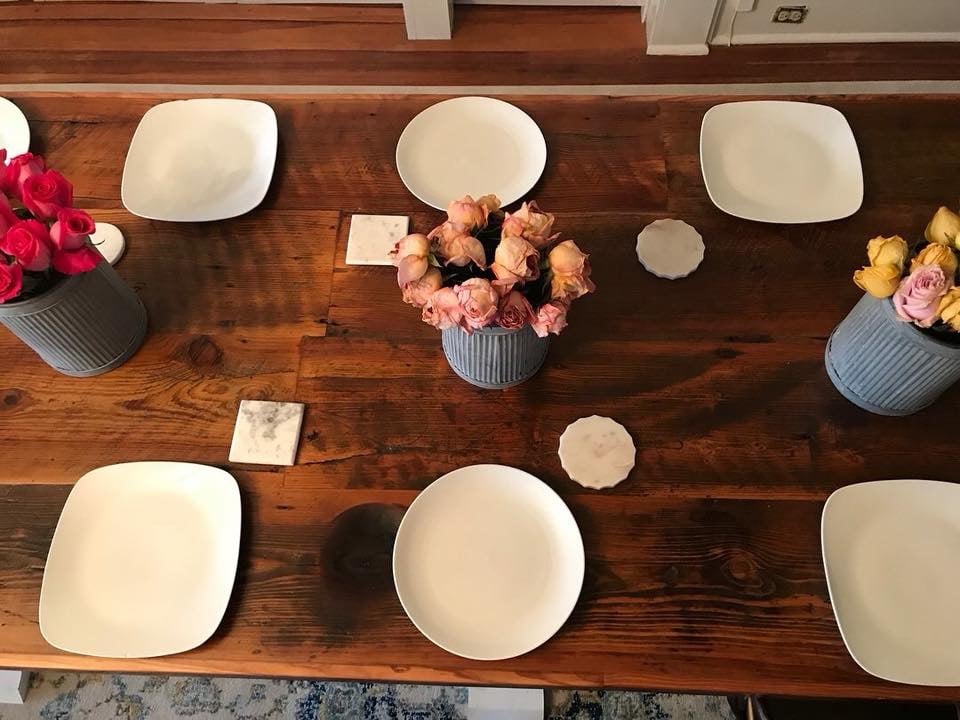
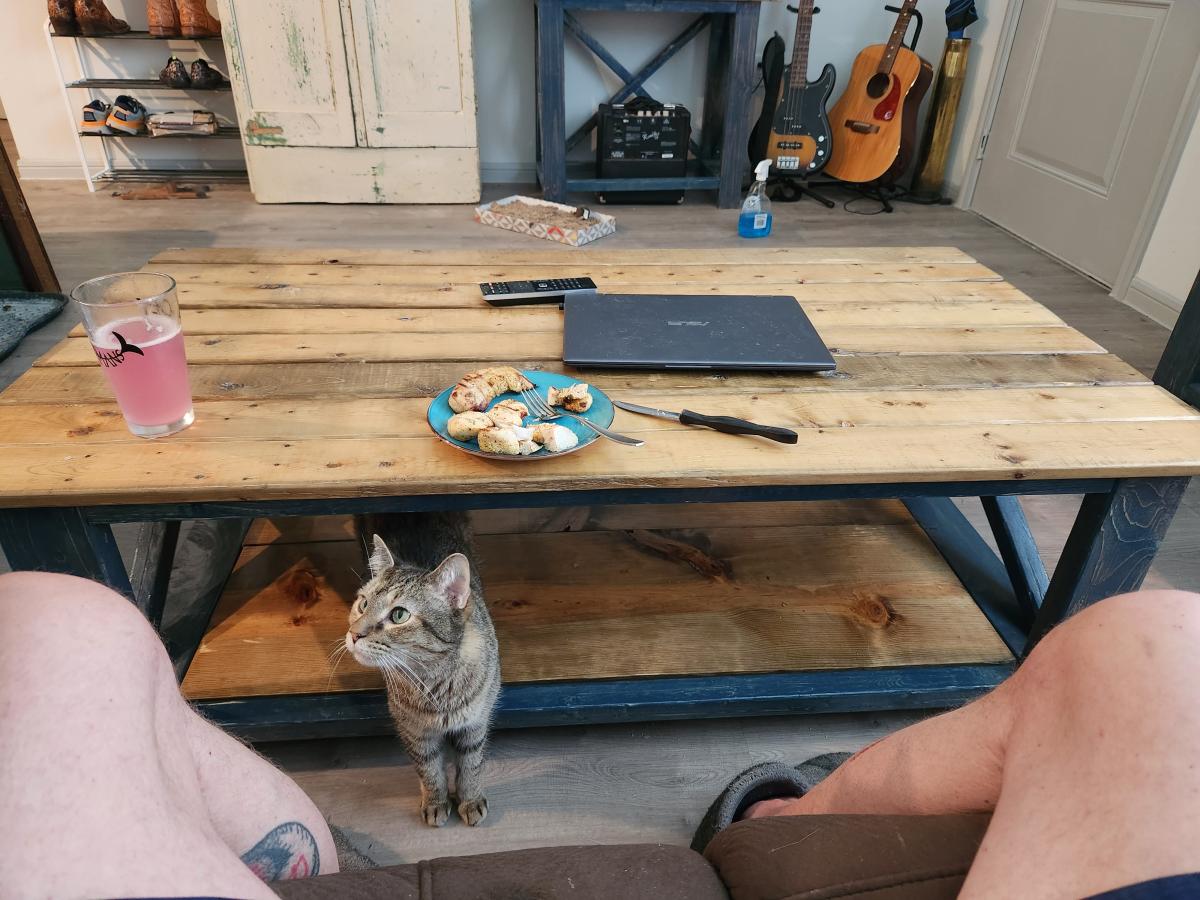
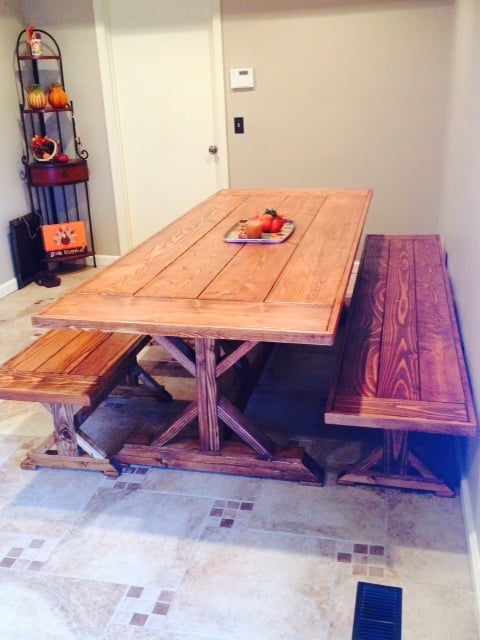
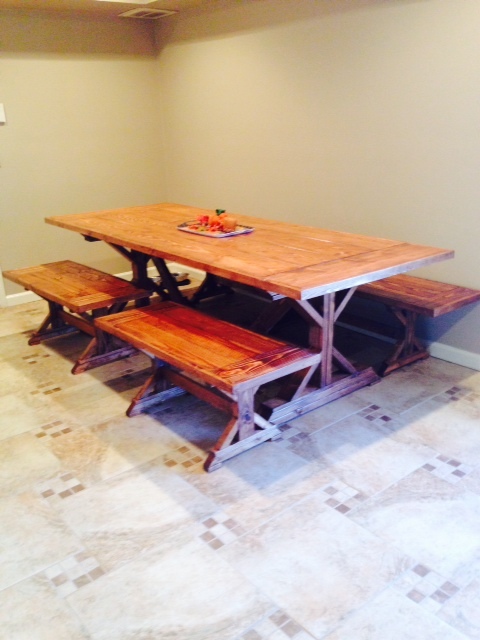
We are a foster family which means we have a large family. The Mrs. wanted a large table to fit 8-10 people, so off to ana-white.com i went.
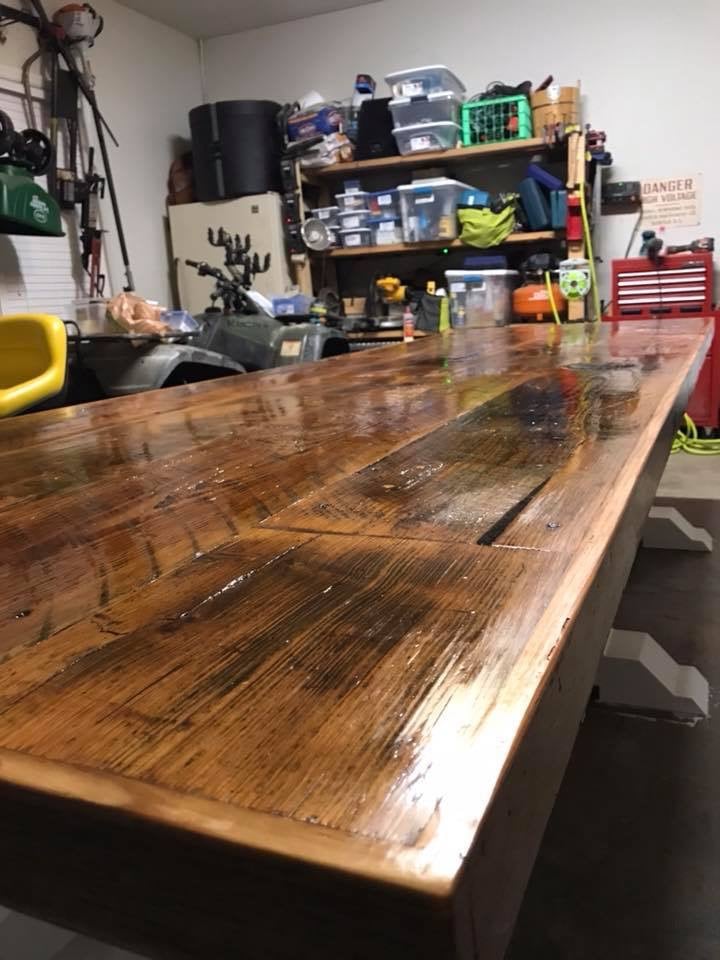
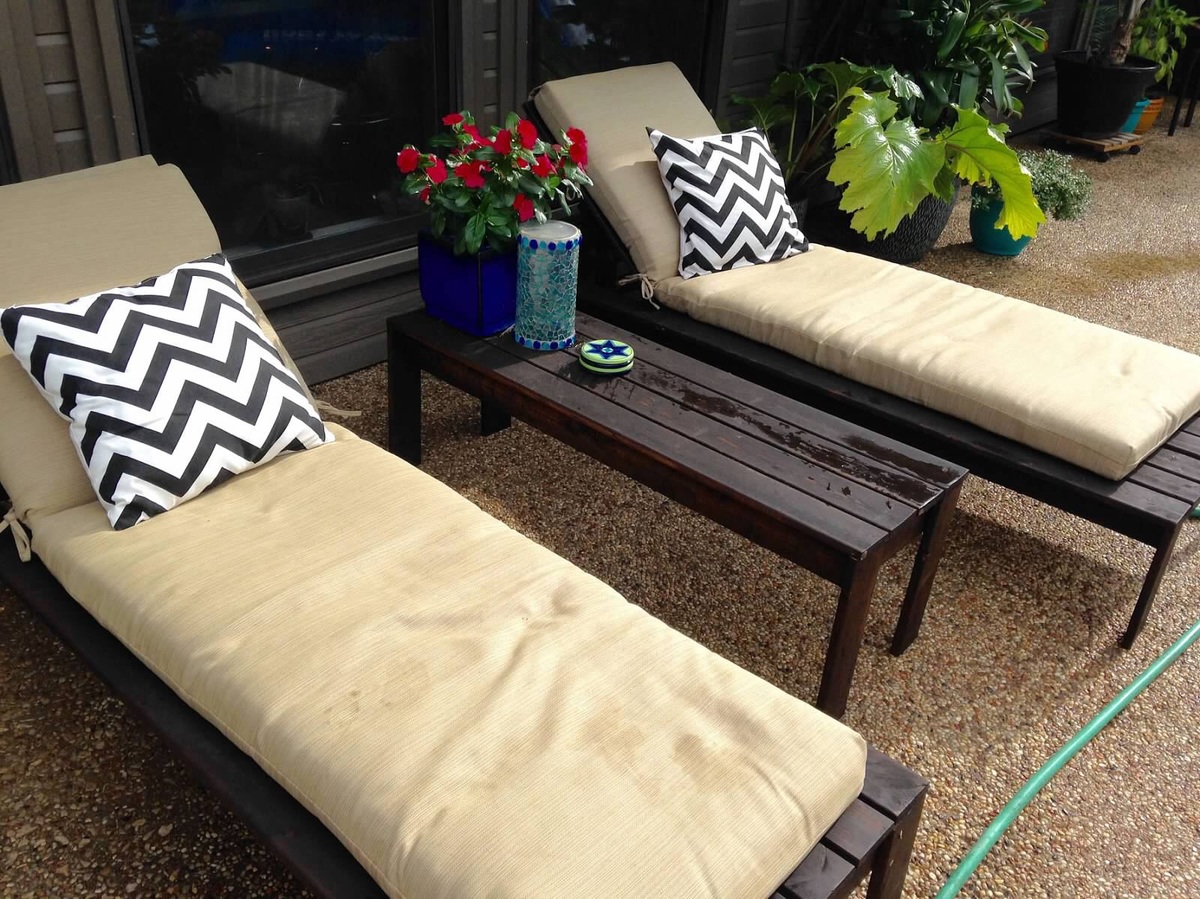
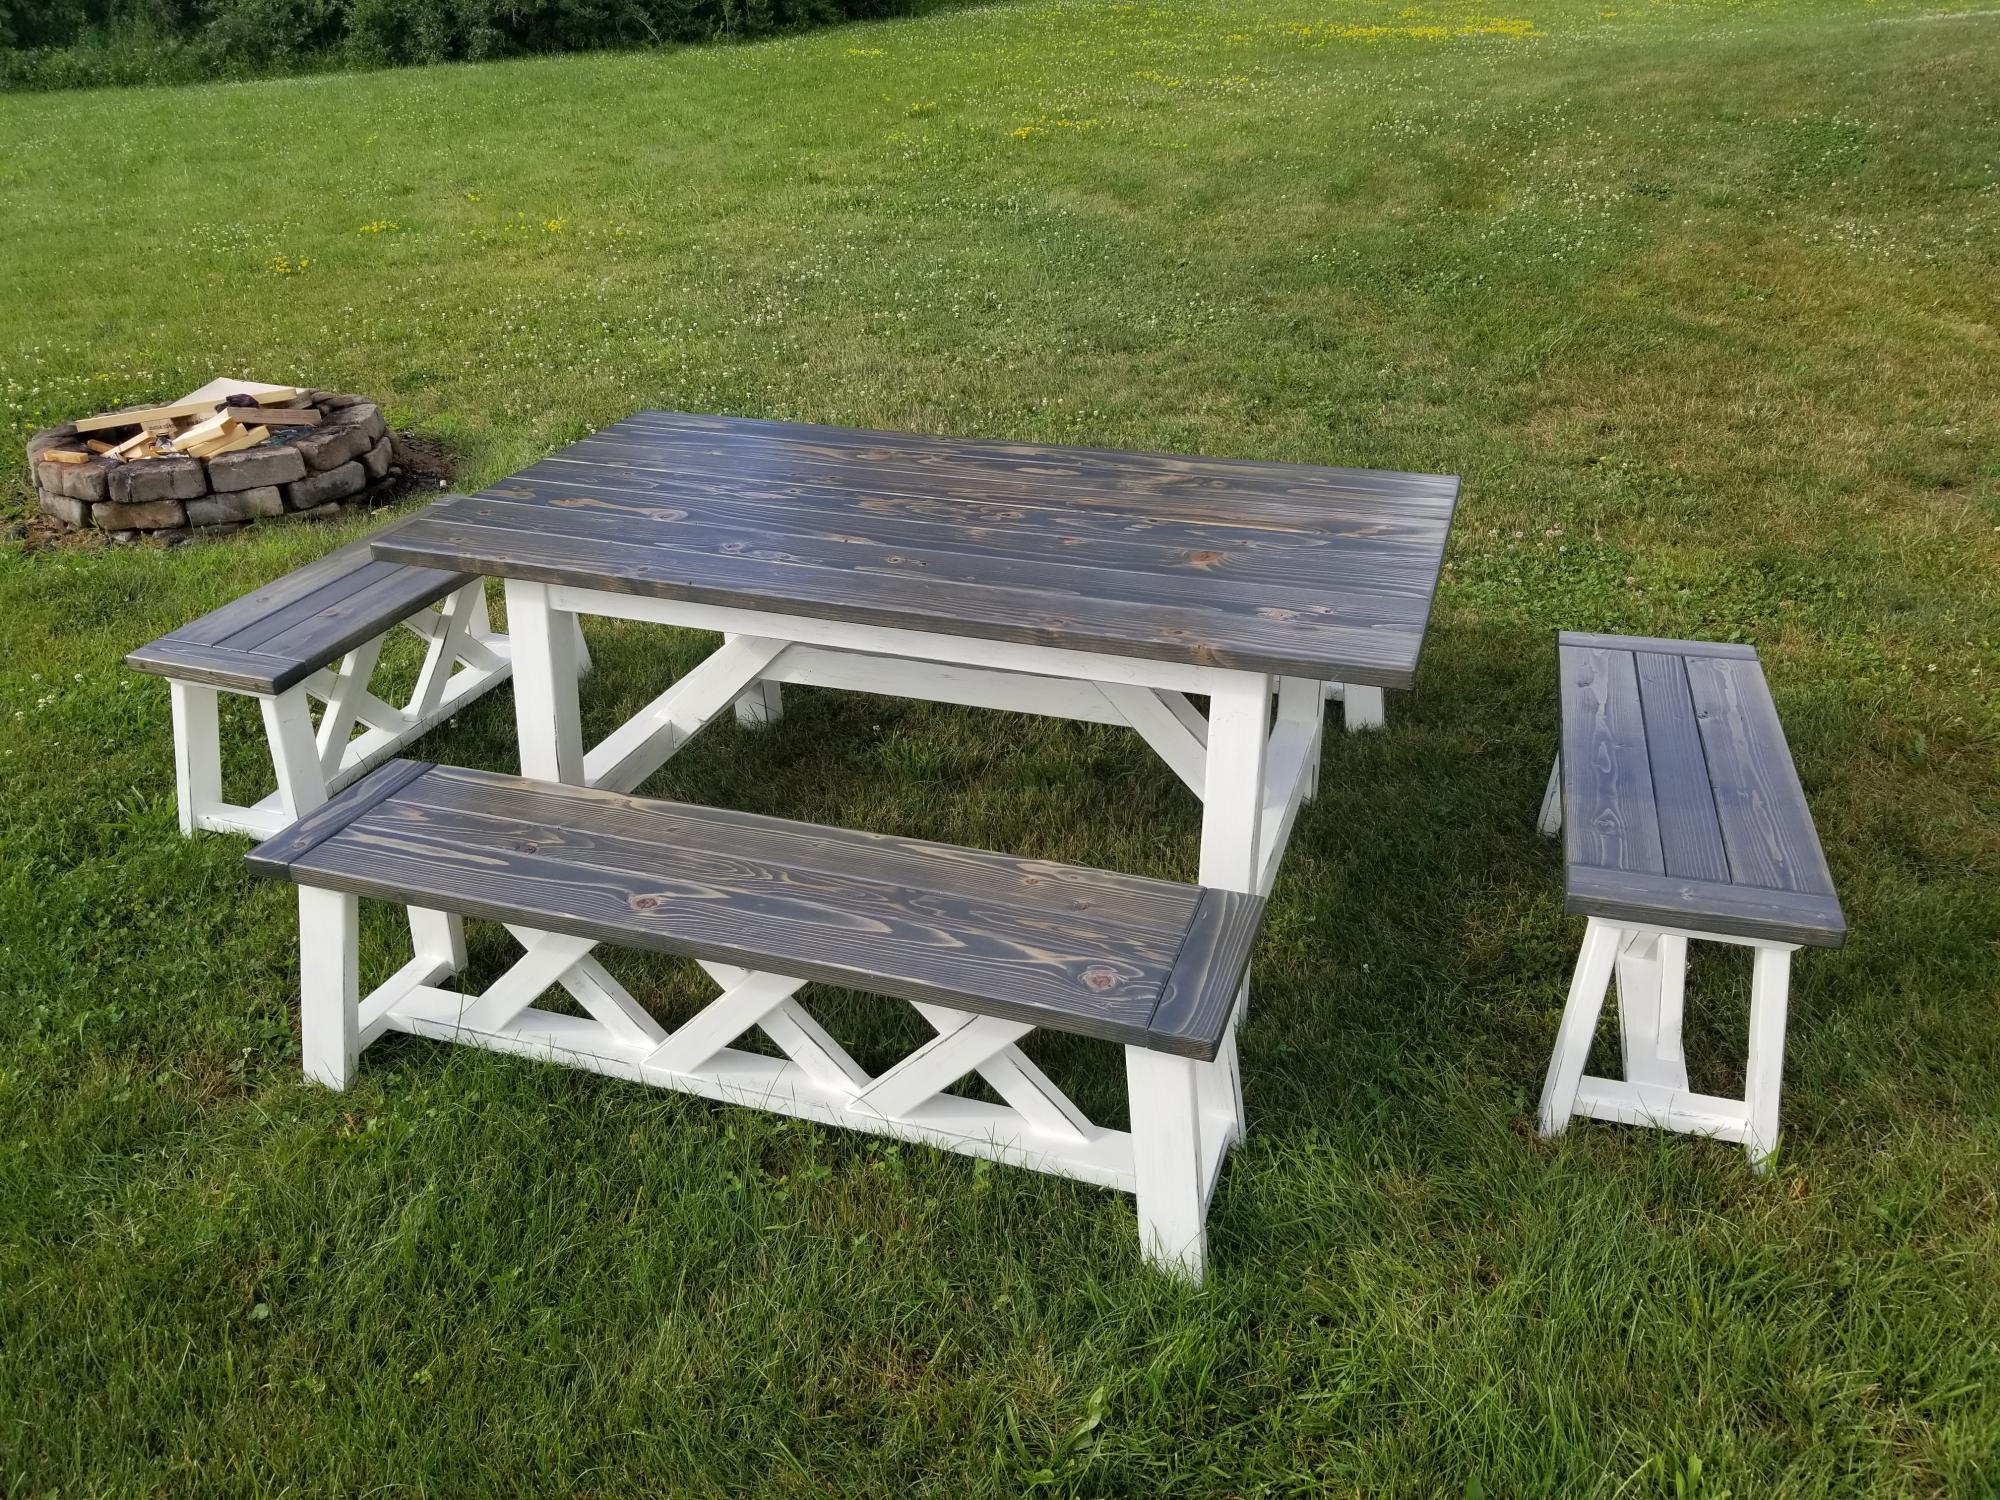
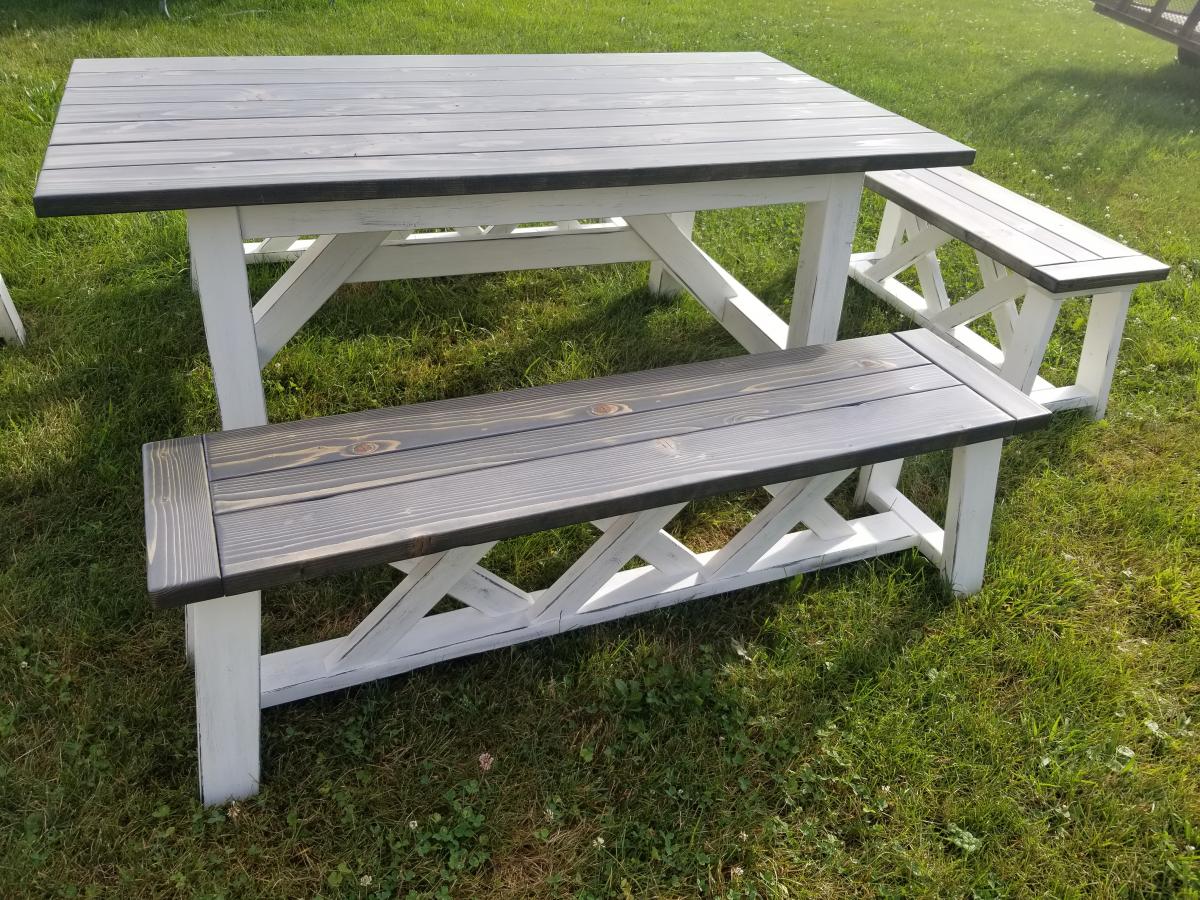
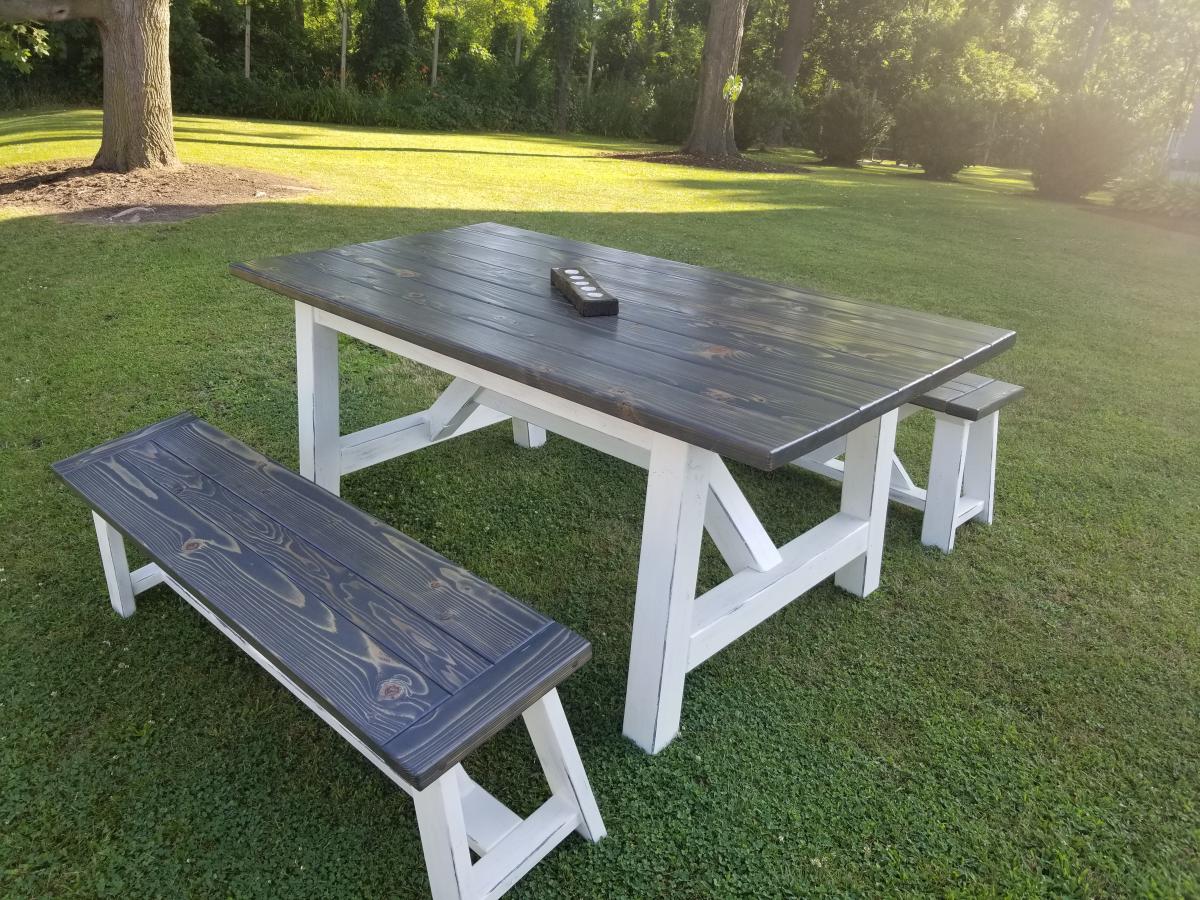
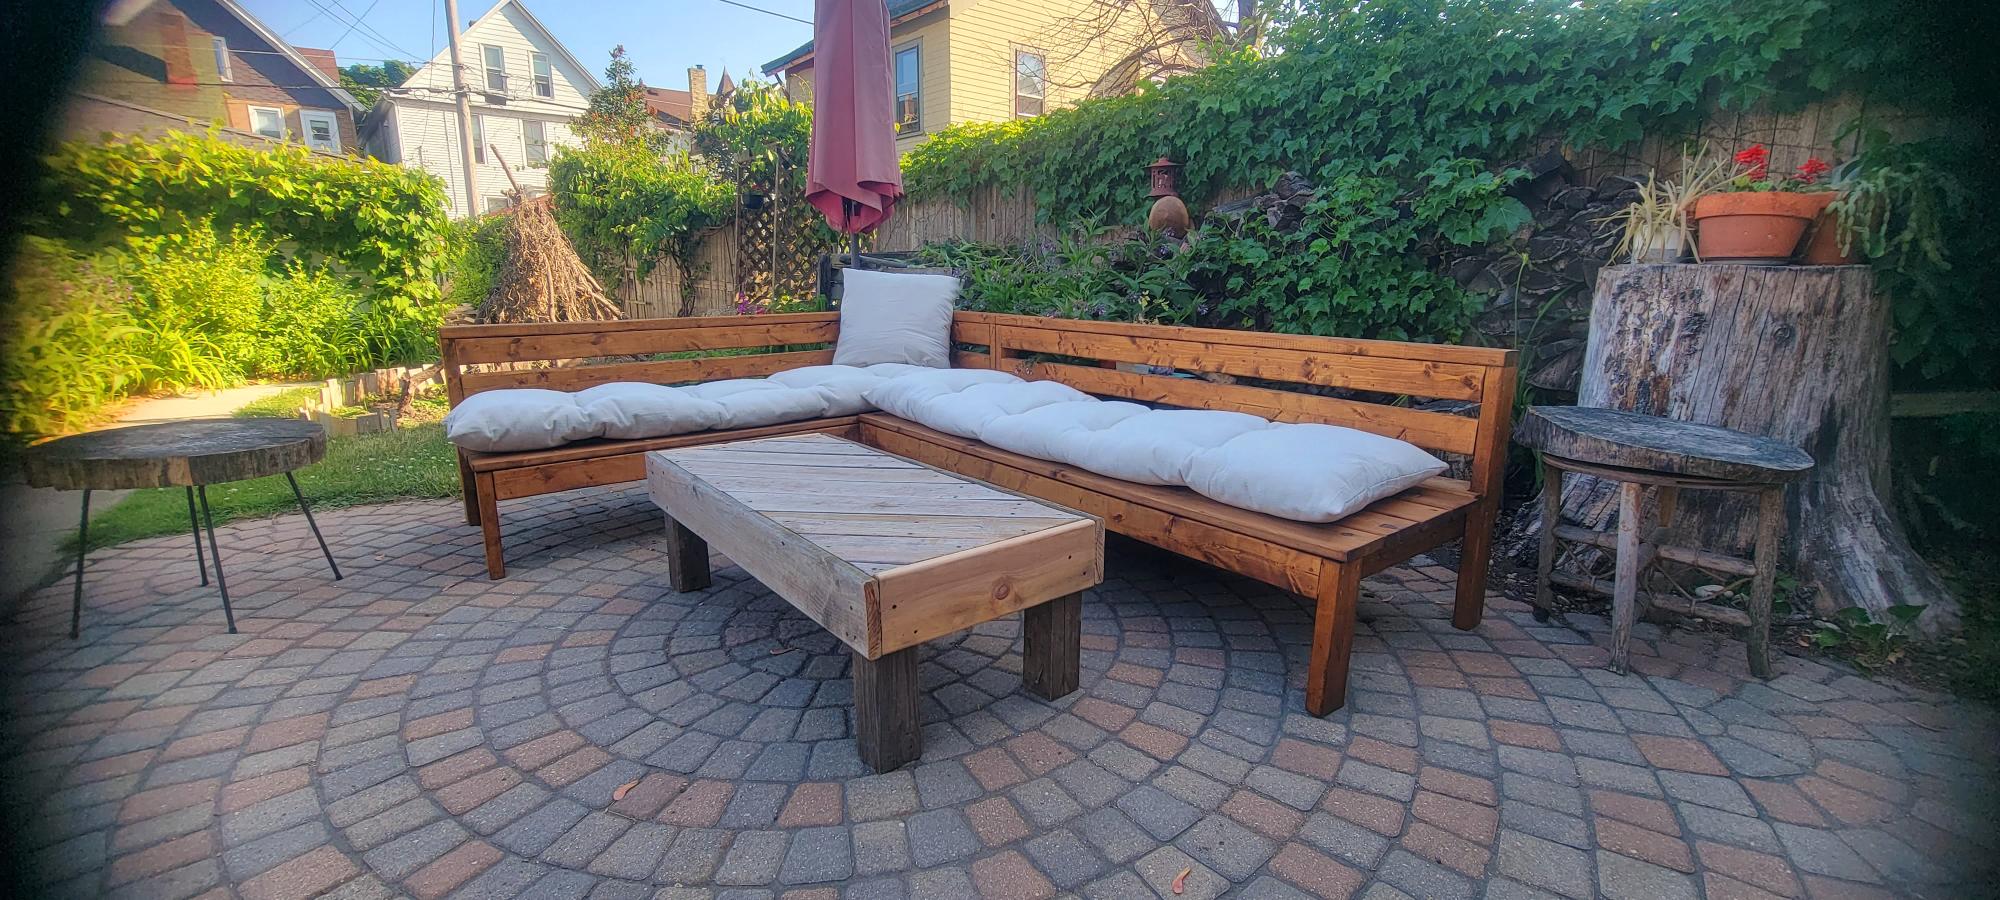
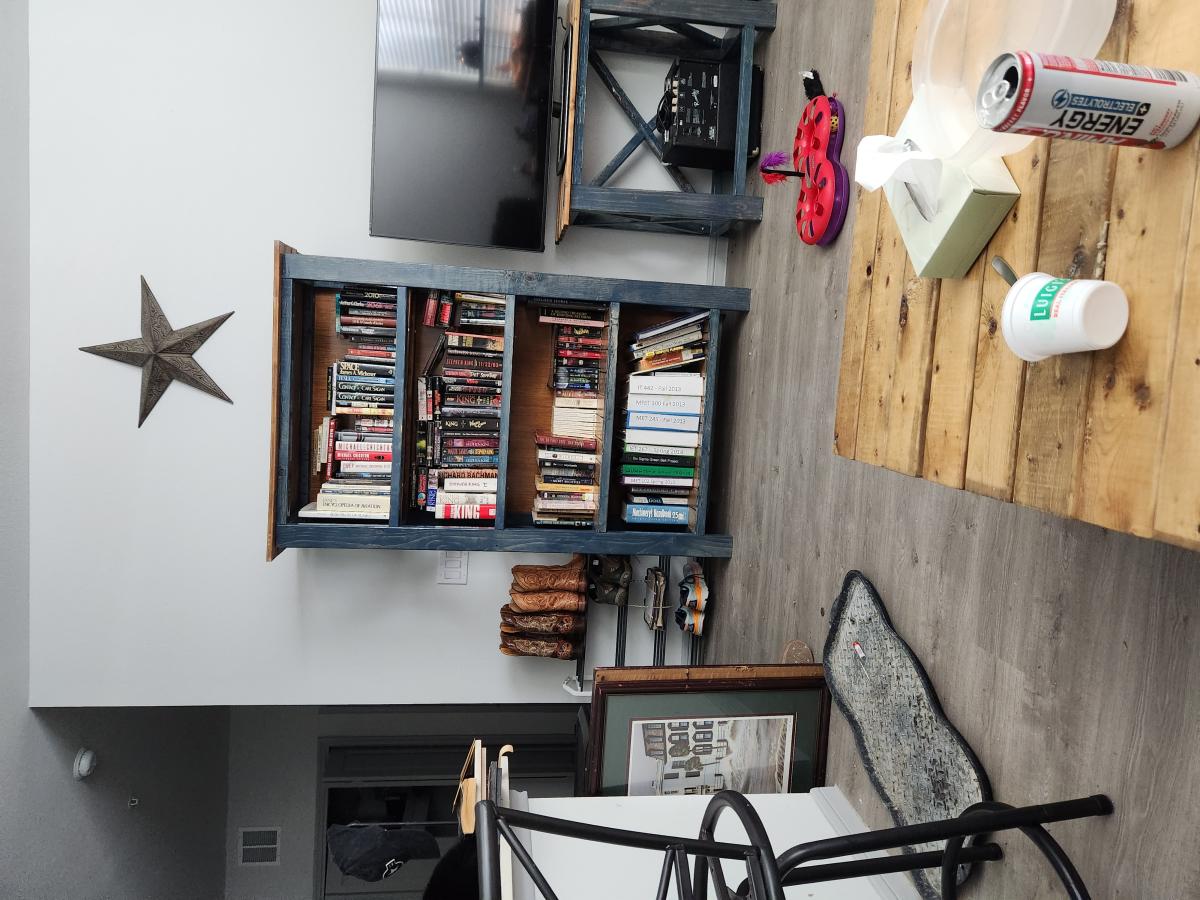
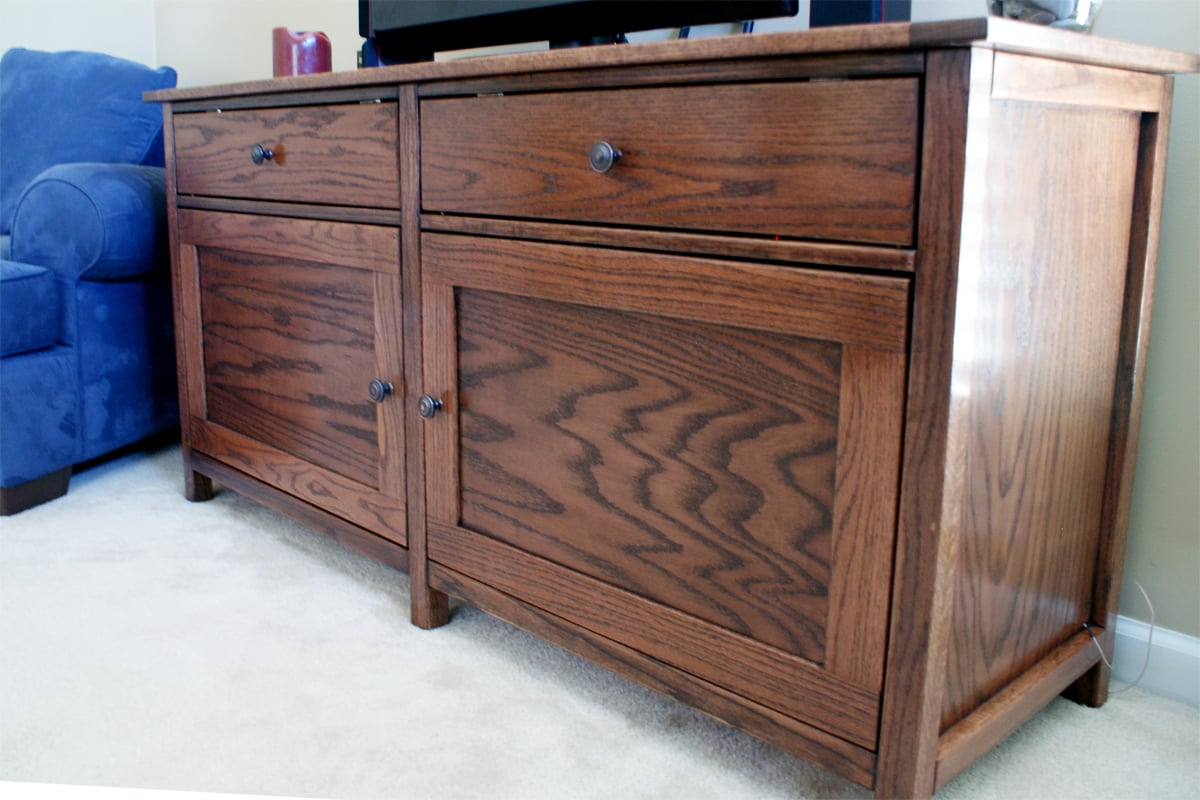
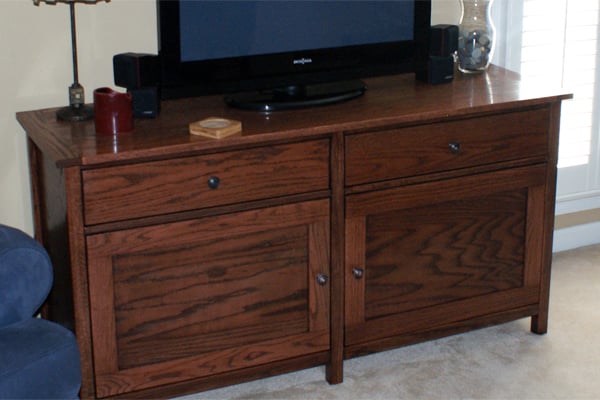
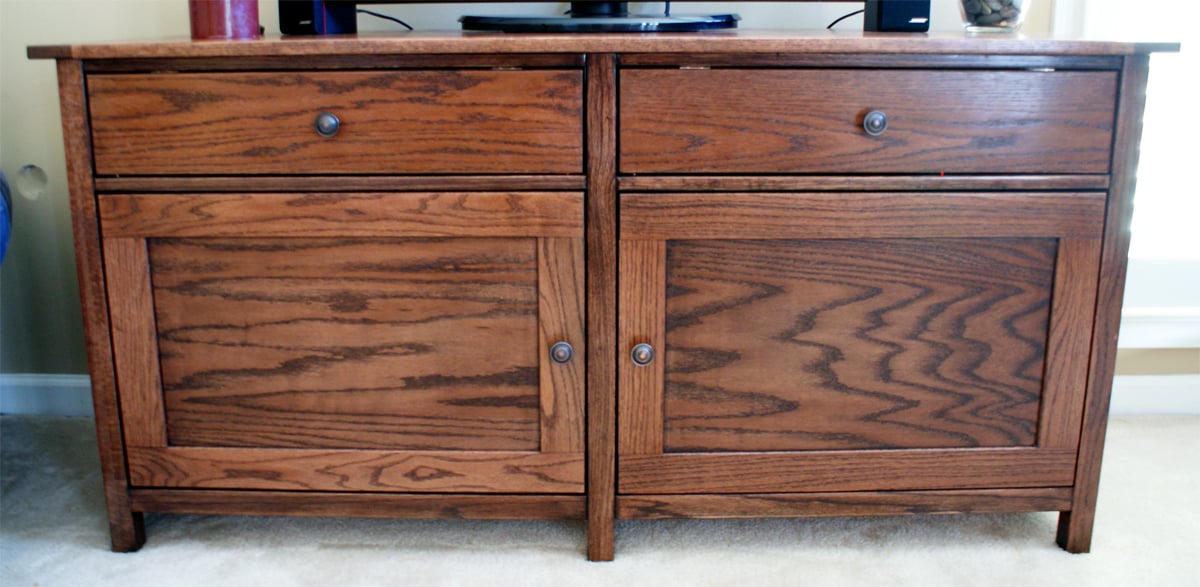
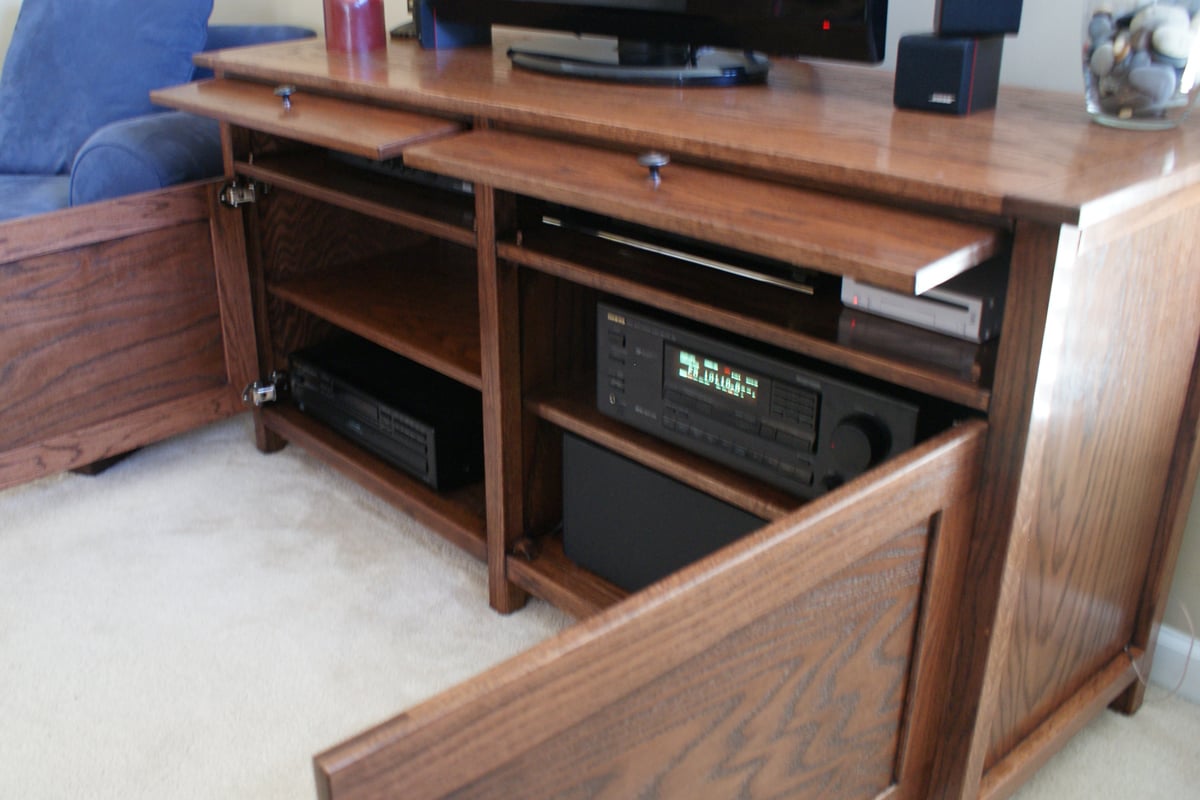
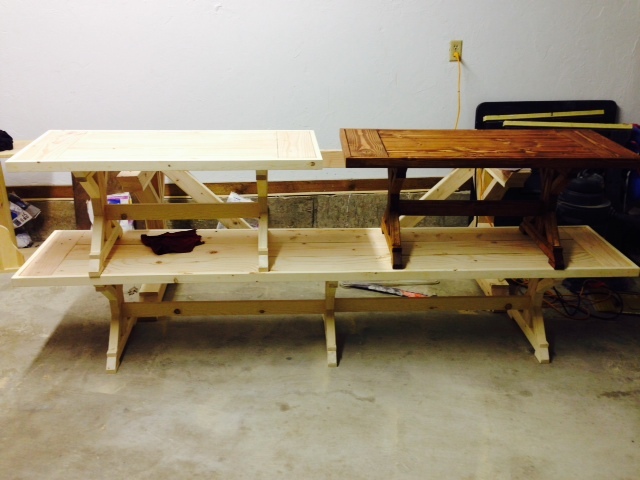
Plans were perfect! Made one long 96" bench and two 42" benches from the same plans. I changed it up a bit by adding a perpendicular plank on the ends and trimmed it with 1x2's for look and strength. 2 coats of stain and 2 coats of polyurethane. Just in time for the holidays! Thank you again for the plans, this is the third thing I have built.
Built from Plan(s)
Estimated Cost
$300 total.
Estimated Time Investment
Week Long Project (20 Hours or More)
Recommended Skill Level
Beginner