Community Brag Posts

Twin Changing Table

Submitted by CTShearer on Sat, 09/05/2015 - 08:20

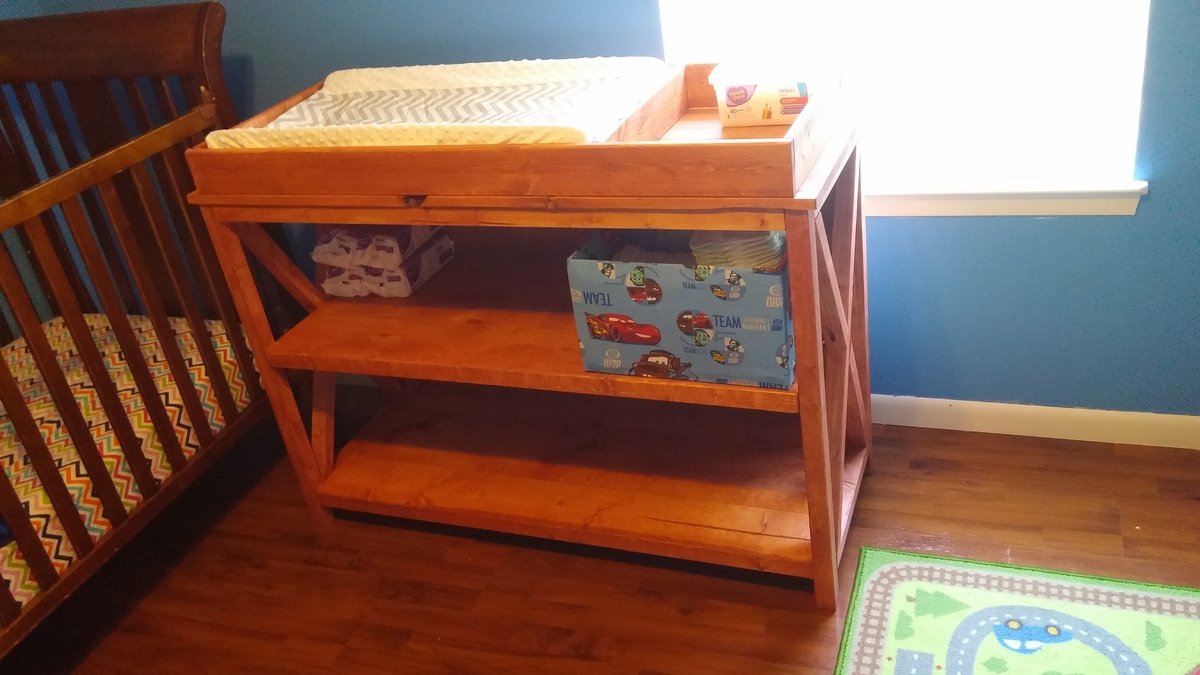
My beautiful wife and mother of my two 3-day old sons asked for a changing table. I deviated from the plans quite a bit for her tastes and added strength; it still turned out really well. The top is removable when we're ready to turn it into a book shelf or toy station. Stain is Sedona Red.

My wife says it makes her feel wealthy to have her own changing table. I know I'm wealthy because I have a beautiful family (and a great changing table)!

Built from Plan(s)
Estimated Cost
$55 (mattress pad and cover added cost $45)
Estimated Time Investment
Day Project (6-9 Hours)
Finish Used
Minwax Sedona Red
Recommended Skill Level
Intermediate

Comments

Linda7

Tue, 09/08/2015 - 11:18

Beautiful build and congratulations on the birth of your twin sons.


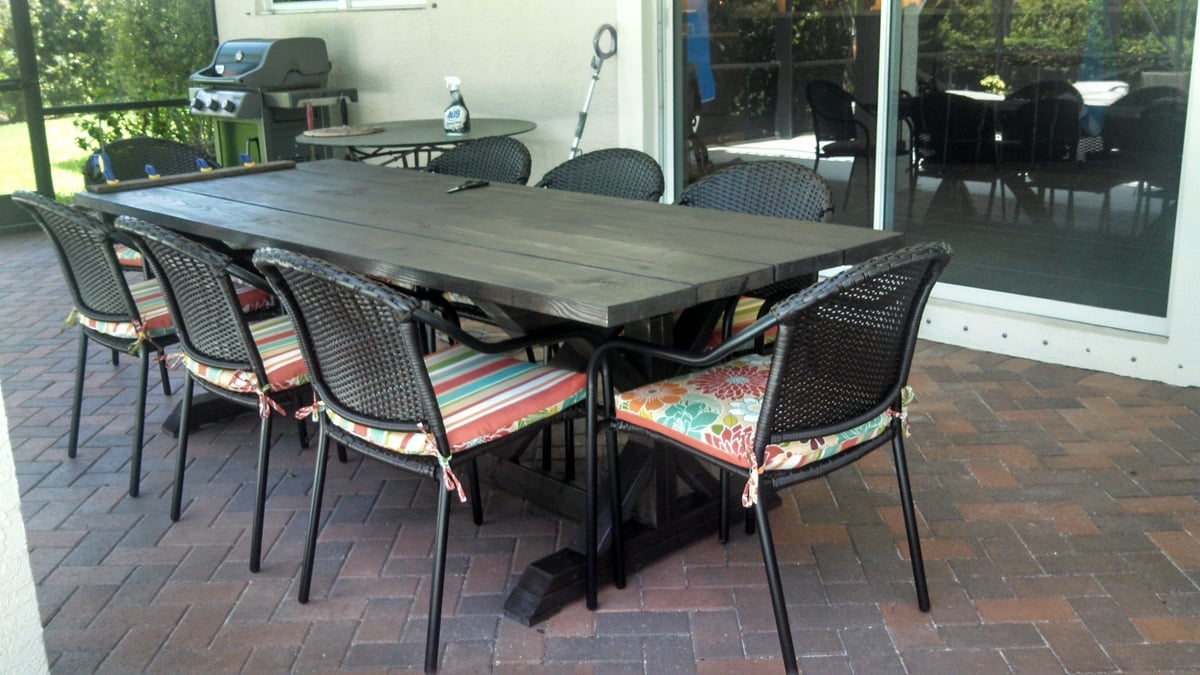
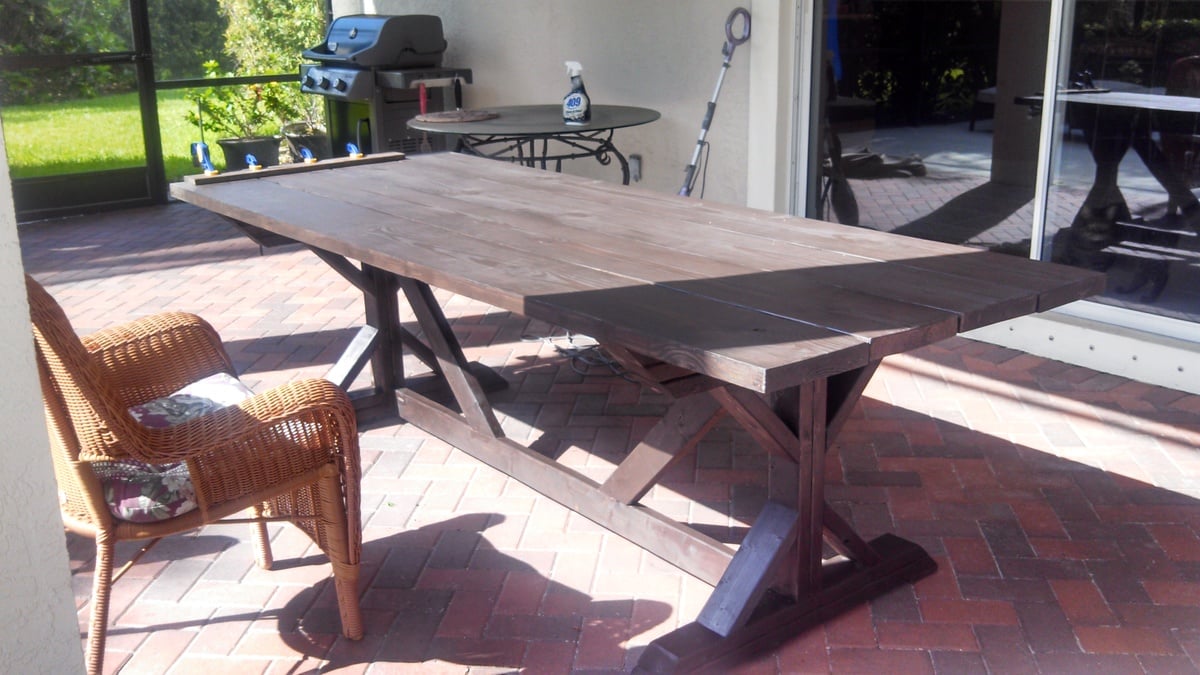
Simple outdoor dining table variation

Submitted by Hudsonic on Thu, 07/12/2018 - 02:35

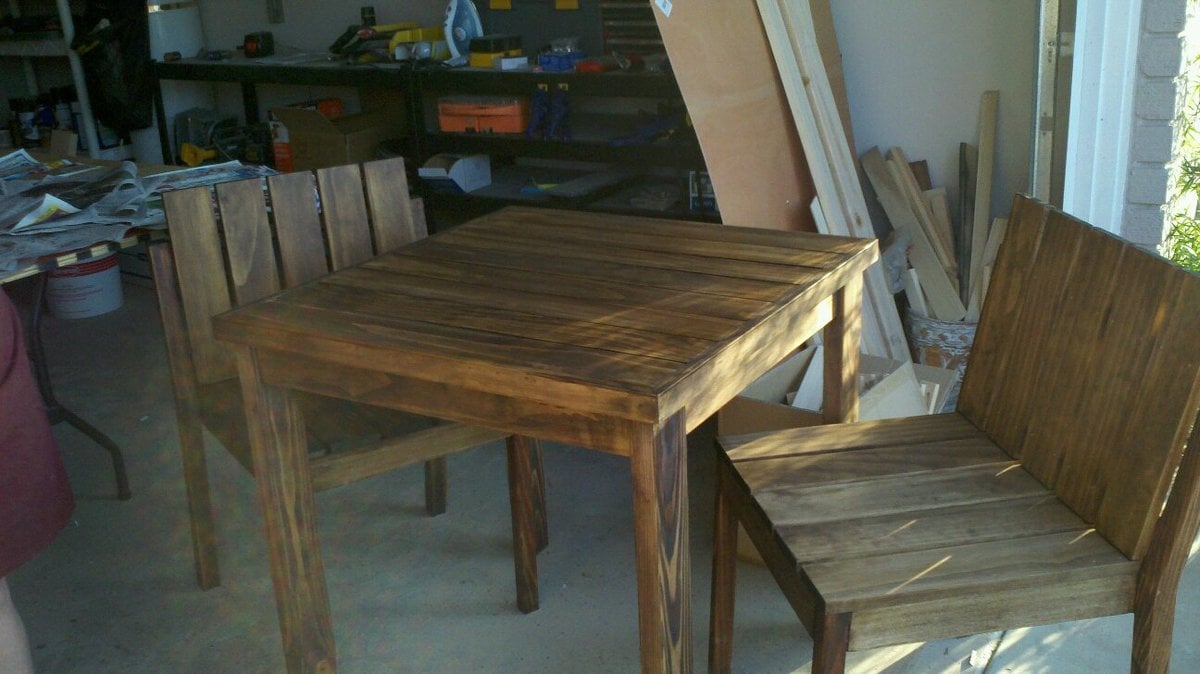
I liked the variations of the simple table. Kept the same dimensions as the plan. Made chairs based on simple Harriet chairs

Built from Plan(s)
Estimated Cost
$70
Estimated Time Investment
Weekend Project (10-20 Hours)
Finish Used
Olympic maximum stain and sealer.
Recommended Skill Level
Beginner

Class/School Auction Projects

Submitted by jendon on Tue, 05/03/2022 - 15:32

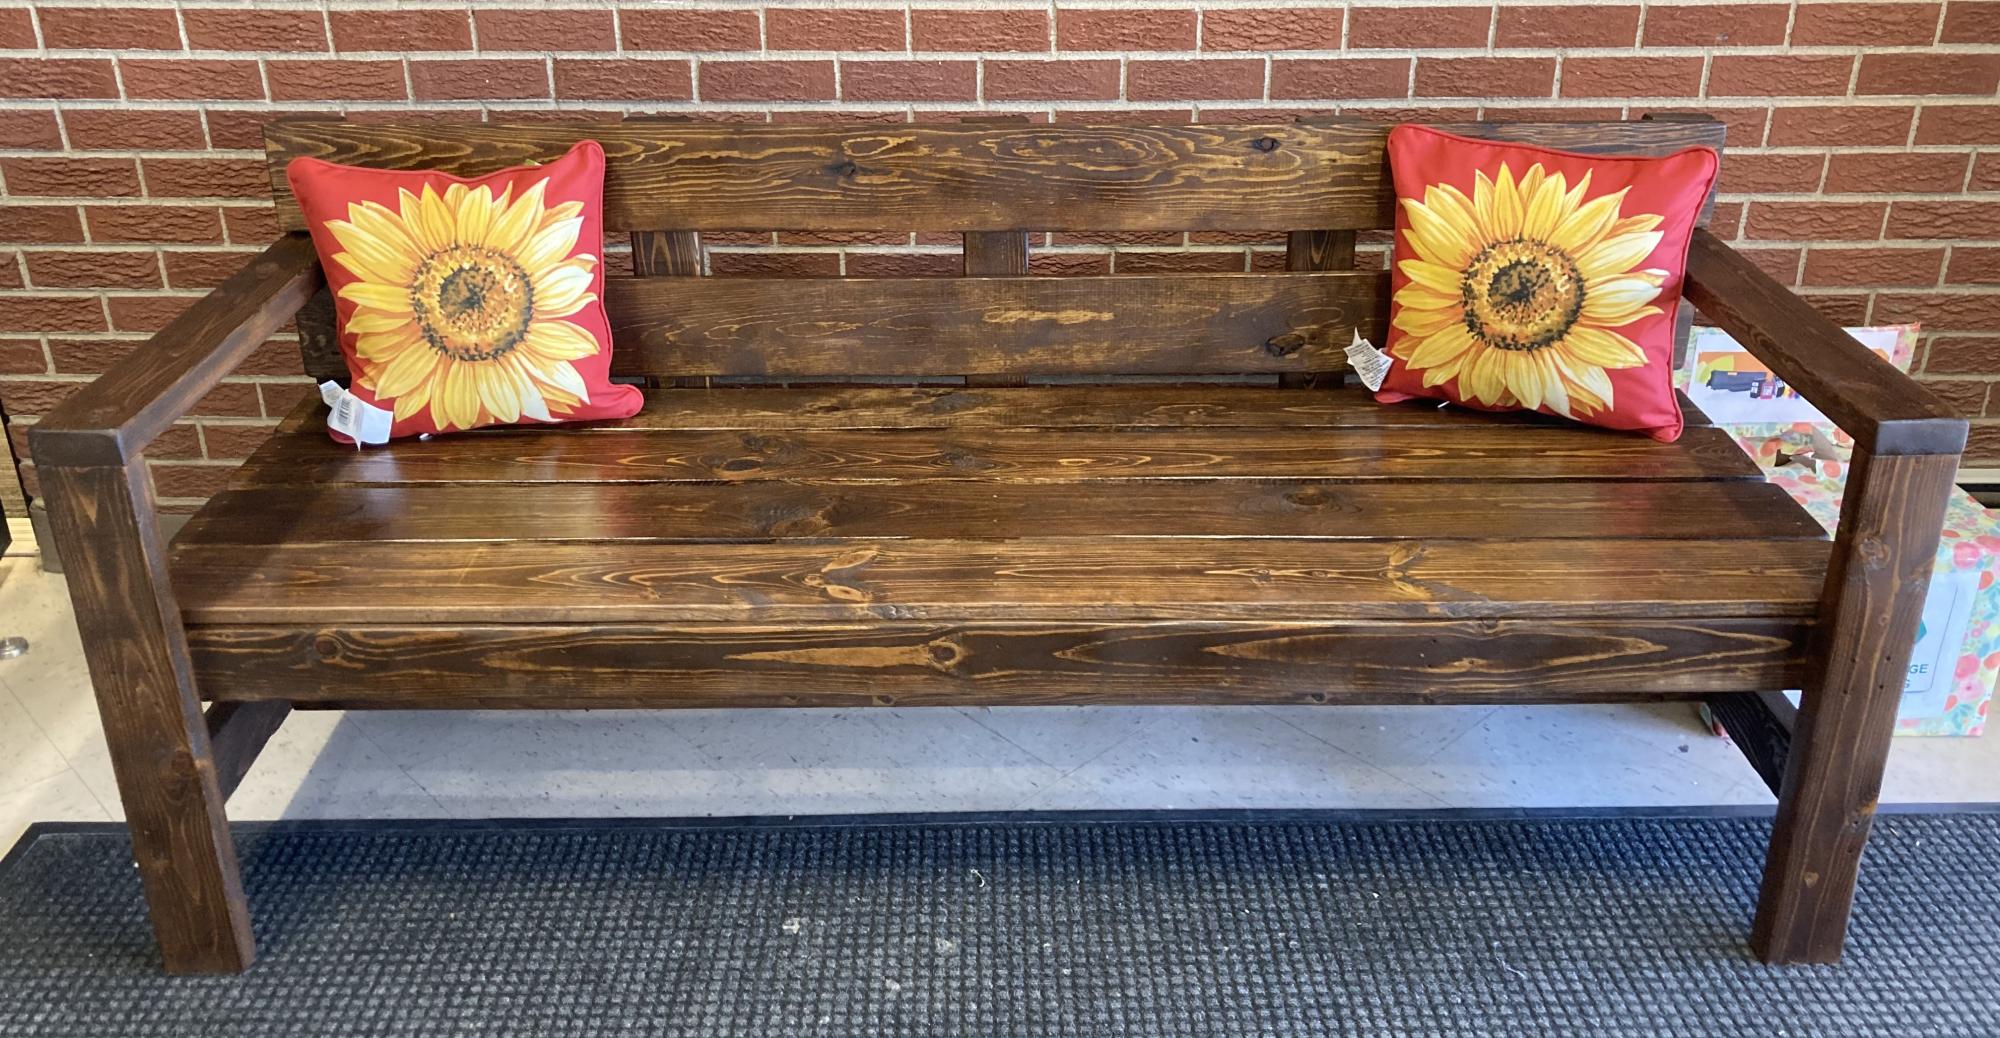
This year my 2nd-3rd class built the Modern Park bench for the school auction. They sanded, stained, and set the screw for the seat and back.
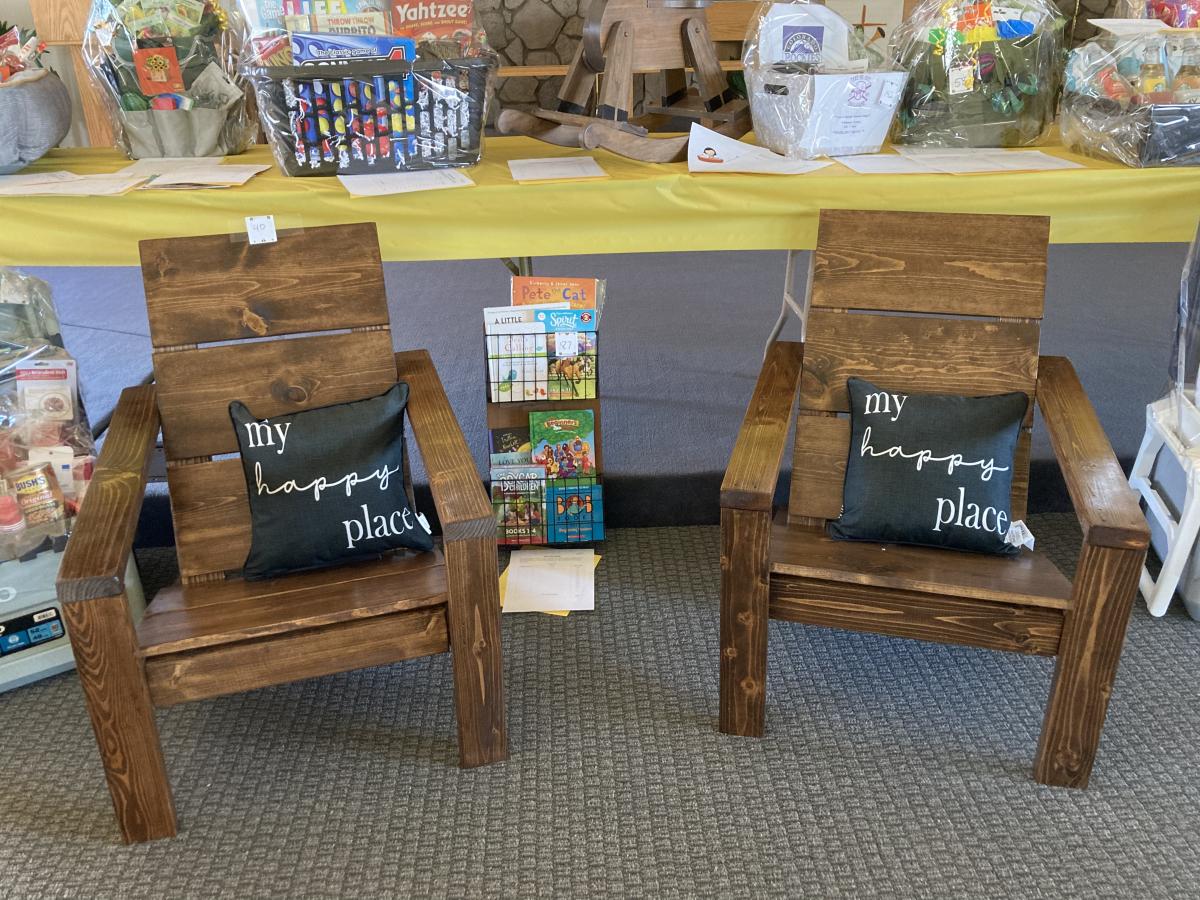
I also made two Adirondack chairs with matching stain.
Both projects had two coats of poly and really shined. They were a hit at the auction and the kids and families really appreciated the experience and final products.
Thank you Ana for making plans simple to follow and new skills learned each time.
Blessings,
Jennifer

Comments

jendon

Mon, 05/16/2022 - 18:33

My students really enjoyed it and many picked up a tool for the first time. I like planting seeds in their heart and mind for the future!! Blessings, Jennifer

jendon

Mon, 05/16/2022 - 18:33

My students really enjoyed it and many picked up a tool for the first time. I like planting seeds in their heart and mind for the future!! Blessings, Jennifer

Home is Where the HEARTH is (Faux Fireplace)

Submitted by cbeach1717 on Fri, 07/08/2011 - 14:11

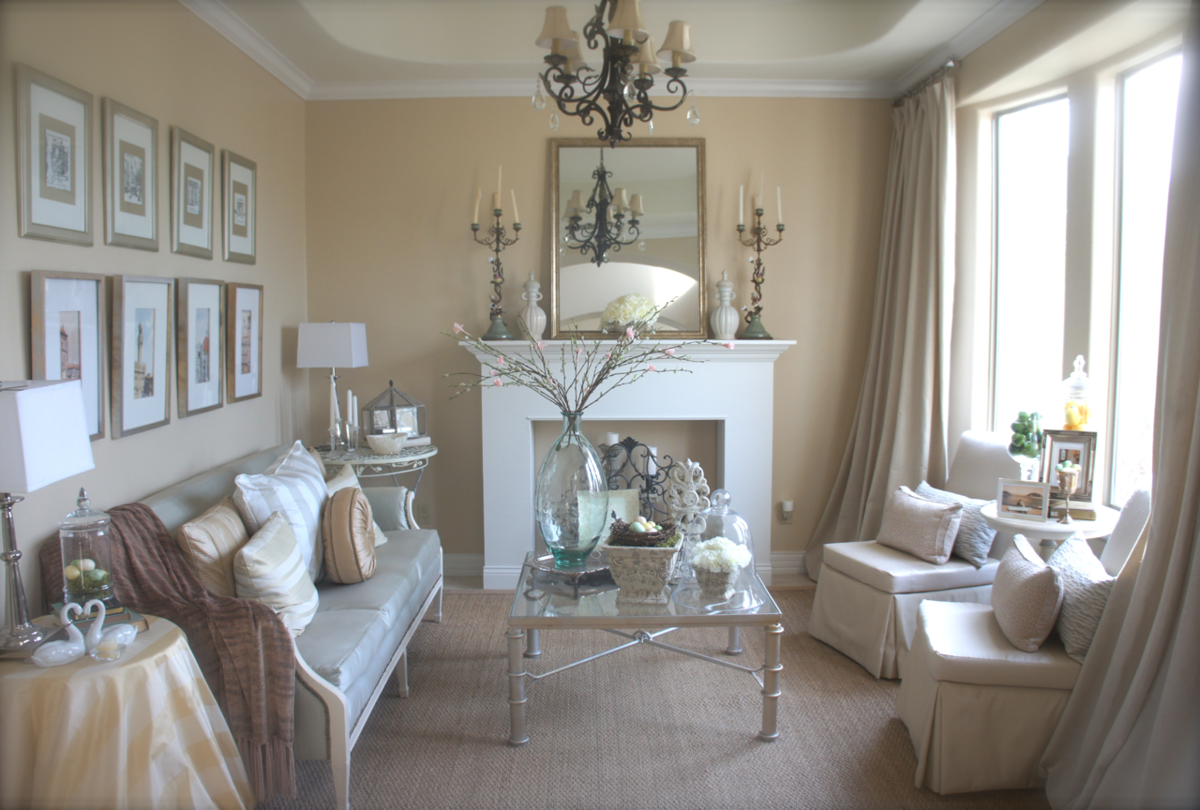
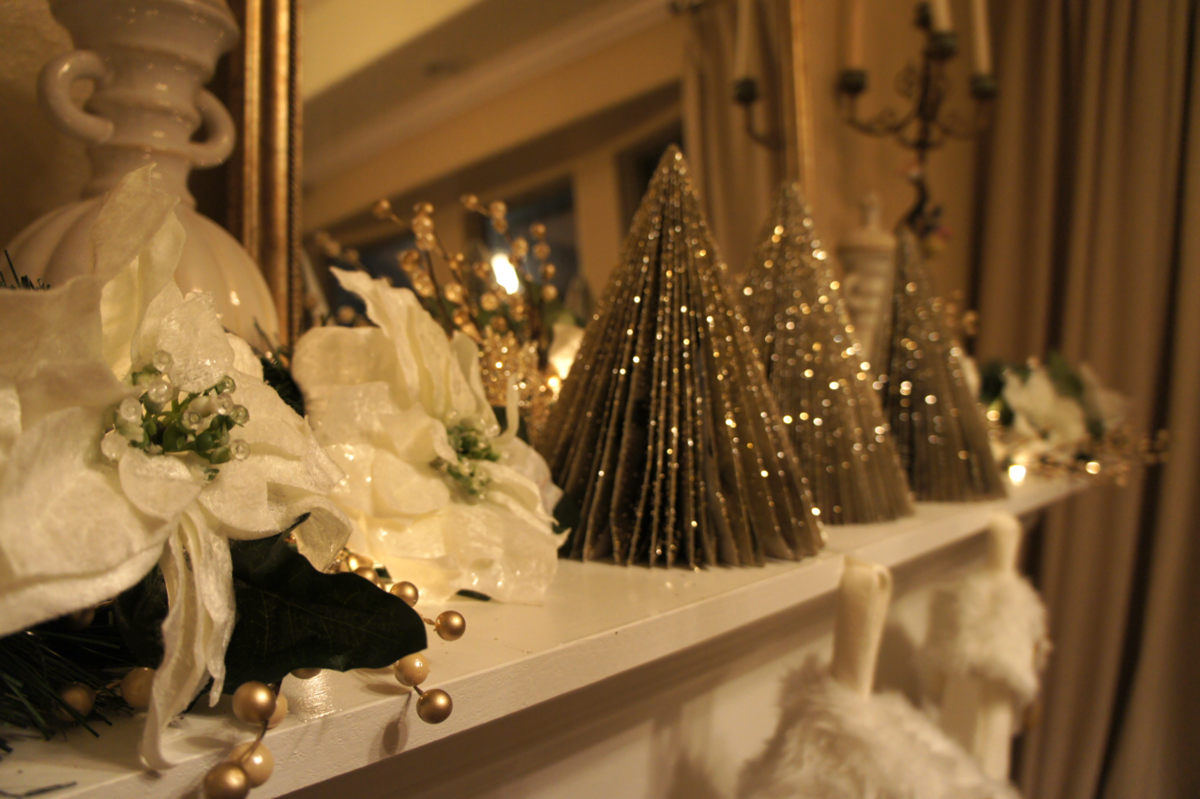
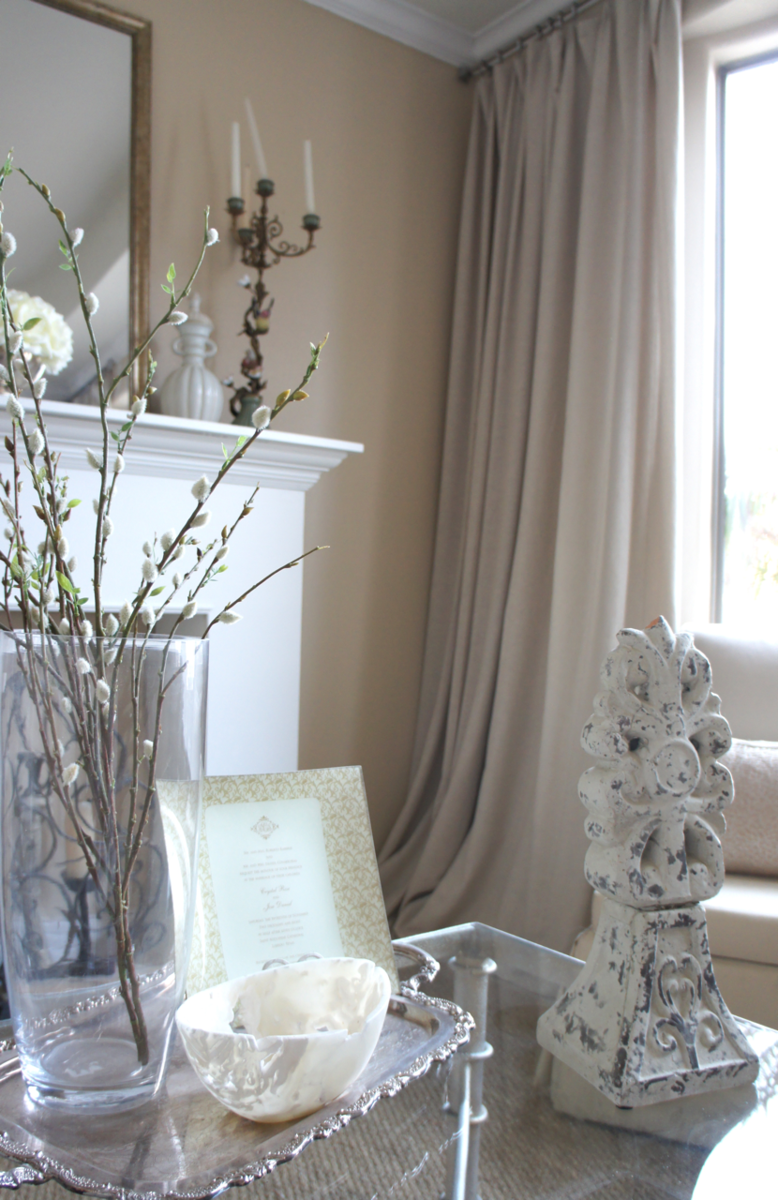
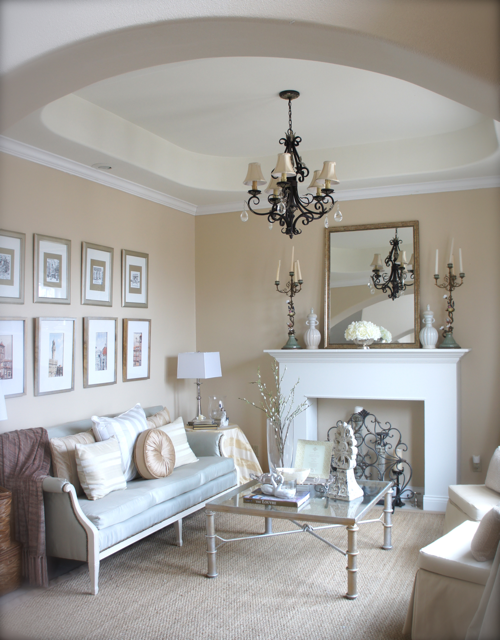
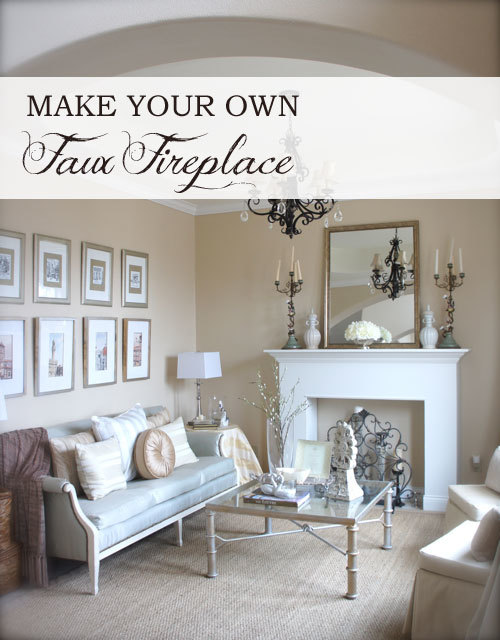
Only about a month before Ana published her Christmas plan for a faux fireplace, the hubby and I built one of our own out of a sheet of quality plywood, 1x12's, crown moulding, and a little trim. Originally we simply wanted a place to hang our stockings over the holiday season, but now our HUGE faux fireplace is the HEART(H) of our home.

Built from Plan(s)
Estimated Cost
$150
Estimated Time Investment
Weekend Project (10-20 Hours)
Finish Used
We just primed and painted white! So easy :o)
Recommended Skill Level
Intermediate

Comments

Pug Bug (not verified)

Fri, 07/08/2011 - 15:22

Wow...that's gorgeous! Nice attention to detail, too! Just a suggestion...have you considered painting the inset of the "fireplace" black? I painted the inset of my fireplace with a flat black paint and it made ALL the difference in the world. Just something to consider. Either way, job well done!

In reply to by Pug Bug (not verified)

cbeach1717

Mon, 07/11/2011 - 08:28

Thanks so much! Would you believe that I am not as brave as I would like to be when it comes to painting anything black? We are planning to have faux logs made and stacked in the faux fireplace! We think that will do the "trick"--pardon the pun :o) Thanks again!

jharm

Tue, 07/12/2011 - 13:06

Have you considered trying a faux marble paint treatment? Or, marble-look wallpaper might be a little more fail safe and could even be applied in squares like marble tiles.

I love the proportions you chose. I think a foundation would really sell it, and would increase the safety if using candles.

Allison Byles (not verified)

Thu, 10/27/2011 - 10:07

Do you have the plans for your fireplace? Love your design and clean lines, I am planning to make one!

Guest (not verified)

Fri, 11/25/2011 - 13:22

Love this fireplace, very beautiful but very disappointed that there isn't any plans and just pictures lol a little bit of a tease.

cbeach1717

Sun, 02/26/2012 - 04:44

Hello Everyone,

I am so sorry I have not responded sooner, but I wasn't even aware that there were any recent comments on this post :o)

Now that I do know, I just wanted to let you know that I will try to get something drawn up and post it here. I am not entirely well suited for design drawing software, but maybe you all wouldn't mind if I literally draw them out for you and post pictures of those drawings, yes?

Thanks for your kind comments, and I promise to have something soon! This project really is so simple, I just know you'll love the finished product :o)

In reply to by Wendy T (not verified)

cbeach1717

Mon, 06/25/2012 - 06:17

Hello Everyone,

I apologize for the delay, but we have been out of the country for six months and don't have any way of knowing the dimensions of the faux fireplace without measuring it personally. But we will be home within the next few weeks and I will try to measure and draw up some simple plans for those of you would like to see them.

Thanks :o)

srush (not verified)

Thu, 10/11/2012 - 10:35

Hi!
I love this room, do you know who makes the paint and what the color is called?

Thanks so much! Great job on the fireplace!

srush (not verified)

Thu, 10/11/2012 - 10:36

Hi!
I love this room, do you know who makes the paint and what the color is called?

Thanks so much! Great job on the fireplace!

Single Sink, Double Vanity

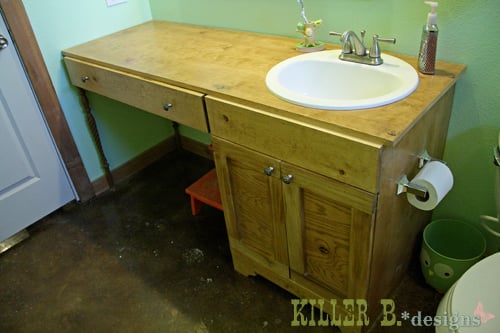
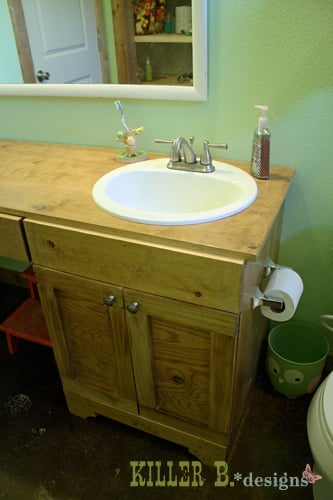
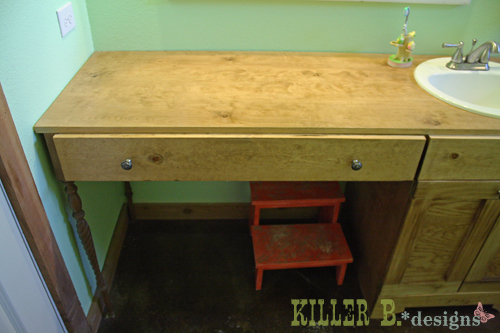
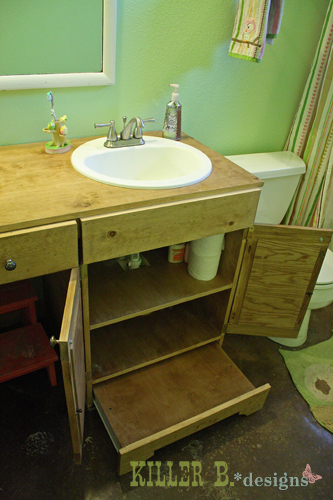
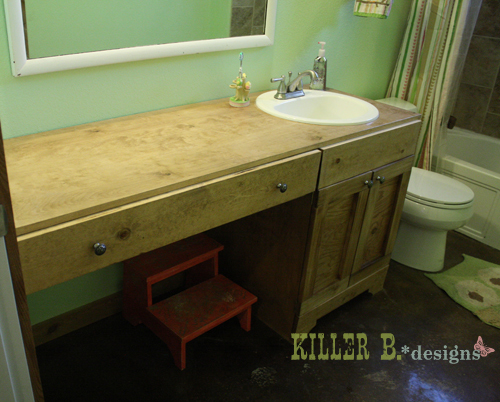
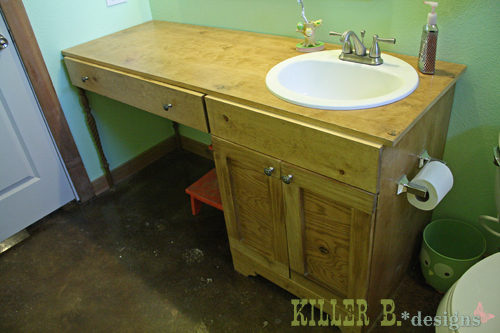
I started by searching Ana’s website for a vanity plan, and found a really great jumping off point with this plan. The problem was that it was for a single sink in cabinet size. But I was looking for something about five feet long that would incorporate a drawer and countertop area so my little miss will have lots of space for makeup and hair products and all those other girly things. I added a shelf to the cabinet, made the top 66" long and added a drawer and some spindle legs to give it the extra length it needed as well as a vanity area. I also incorporated Ana's genius idea to make the kickplate into a pull out step stool with drawer slides and some scraps. My blog post features the modified cut list as well as my step by step assembly for it. I love this vanity and am so proud to say I built it all by myself!

Estimated Cost
$75
Estimated Time Investment
Afternoon Project (3-6 Hours)
Finish Used
Minwax Golden Oak stain and three coats of Rustoleum Spar Varnish (an outdoor varnish as this is a humid and wet environment) to the base and five on the top.
Recommended Skill Level
Beginner

Comments

Rustic X beach beverage center

Submitted by one wolf on Tue, 09/08/2015 - 06:52

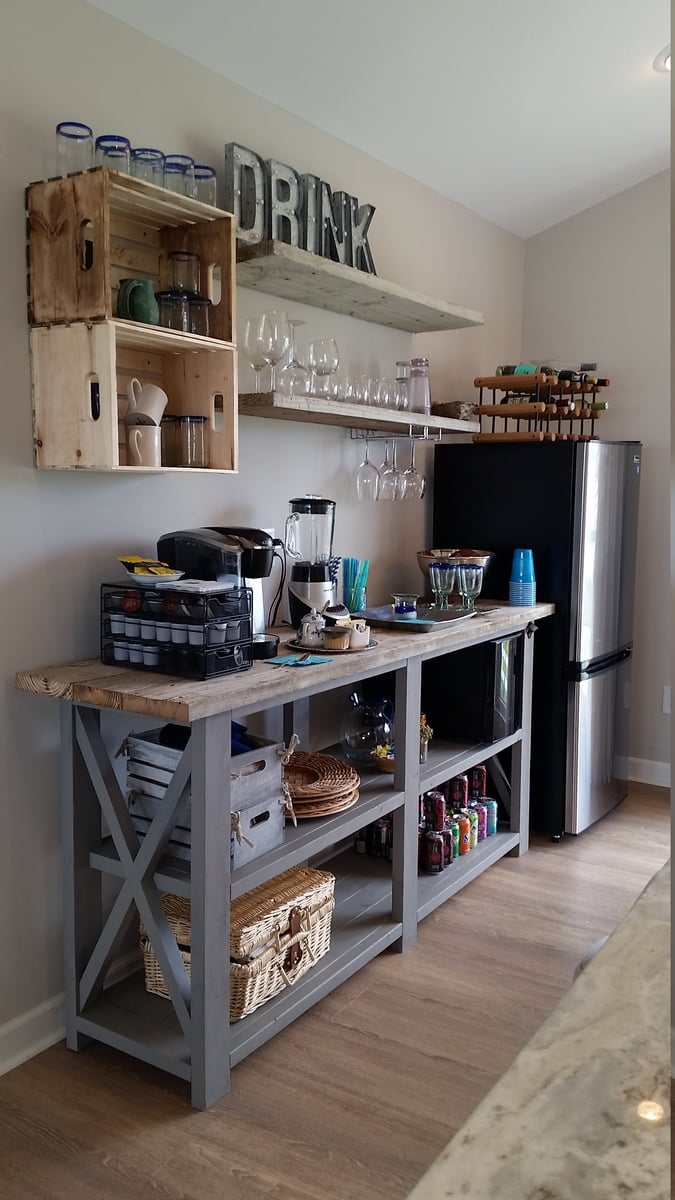
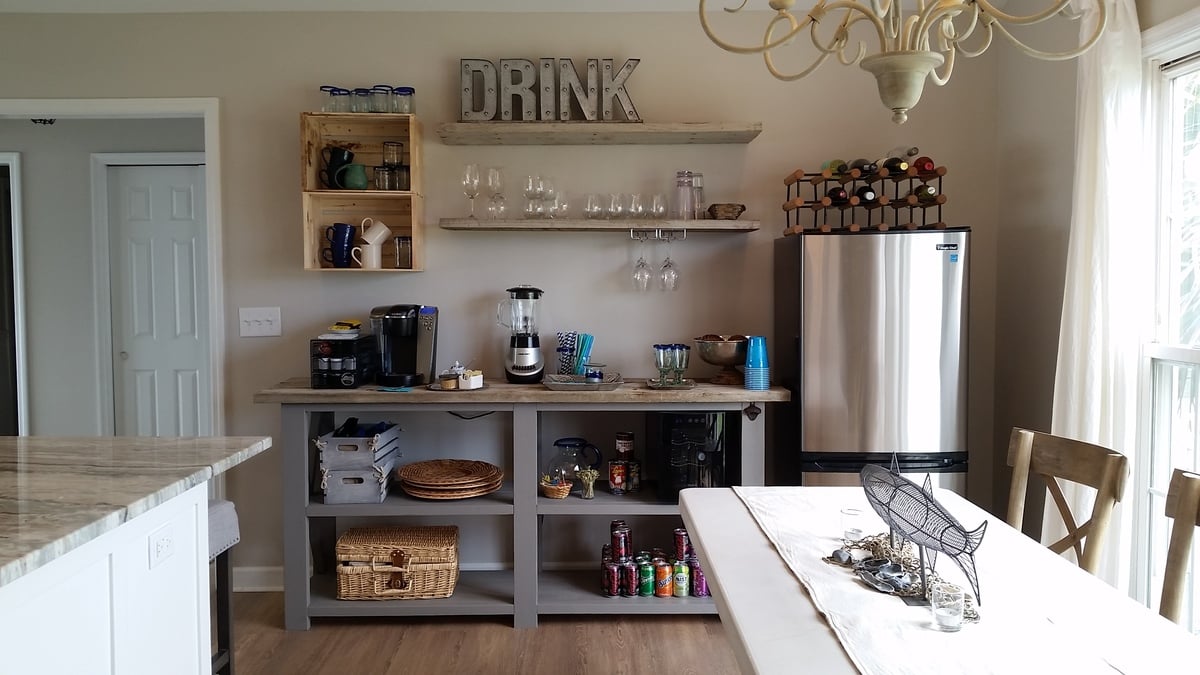
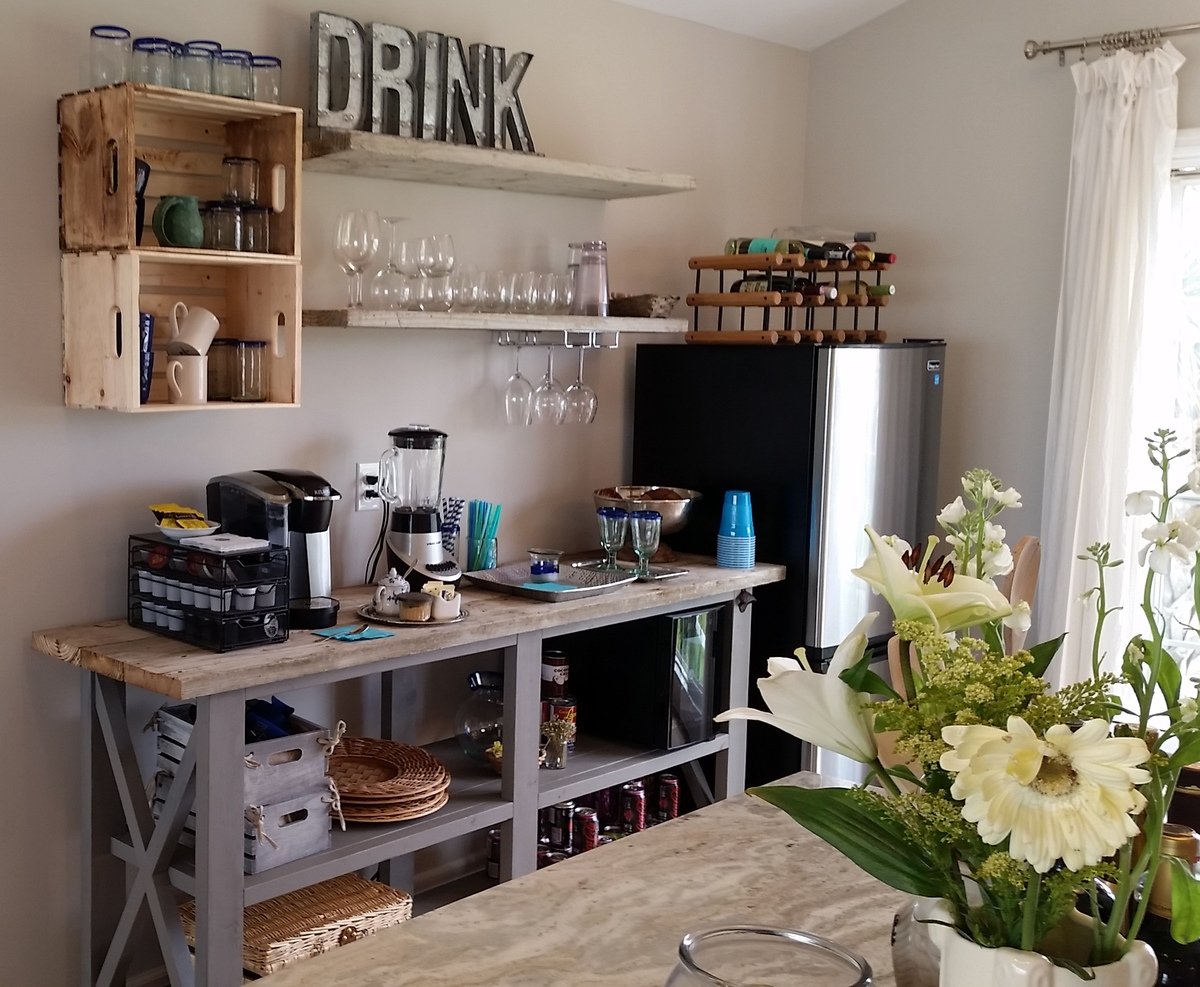
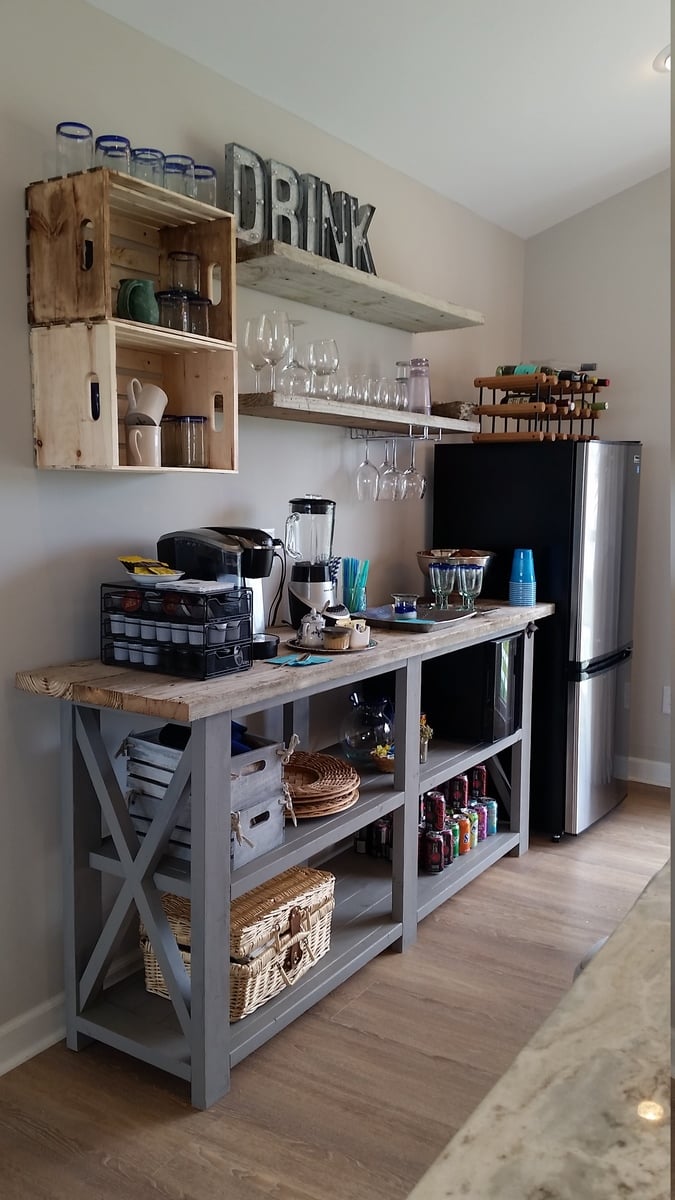
We used old dock wood for the surface of our X table for a nice beach house beverage center (sand bar!).  We adjusted the size to fit our space (a little longer and wider) and used additional studs for the shelves instead of 1" shelving, glued and PH/PS together.  To cut the X pieces I just held the 1x1 on the end of the table where it goes and marked the lines. Then I clamped a guide board at the correct angle on the table saw to make all the cuts, starting a bit long and shaving off until it just fit.  


With all the pocket holes and screws I wouldn't consider this a beginner project. Some additional steps and pictures in your description would help also.  End result is really nice.


Built from Plan(s)
Estimated Cost
$50
Estimated Time Investment
Weekend Project (10-20 Hours)
Finish Used
Patina wood from an old dock for the surface and the base is painted flat gray.
Recommended Skill Level
Intermediate

Comments

Jelly Cupboard

Submitted by Doug B on Mon, 07/23/2018 - 13:38

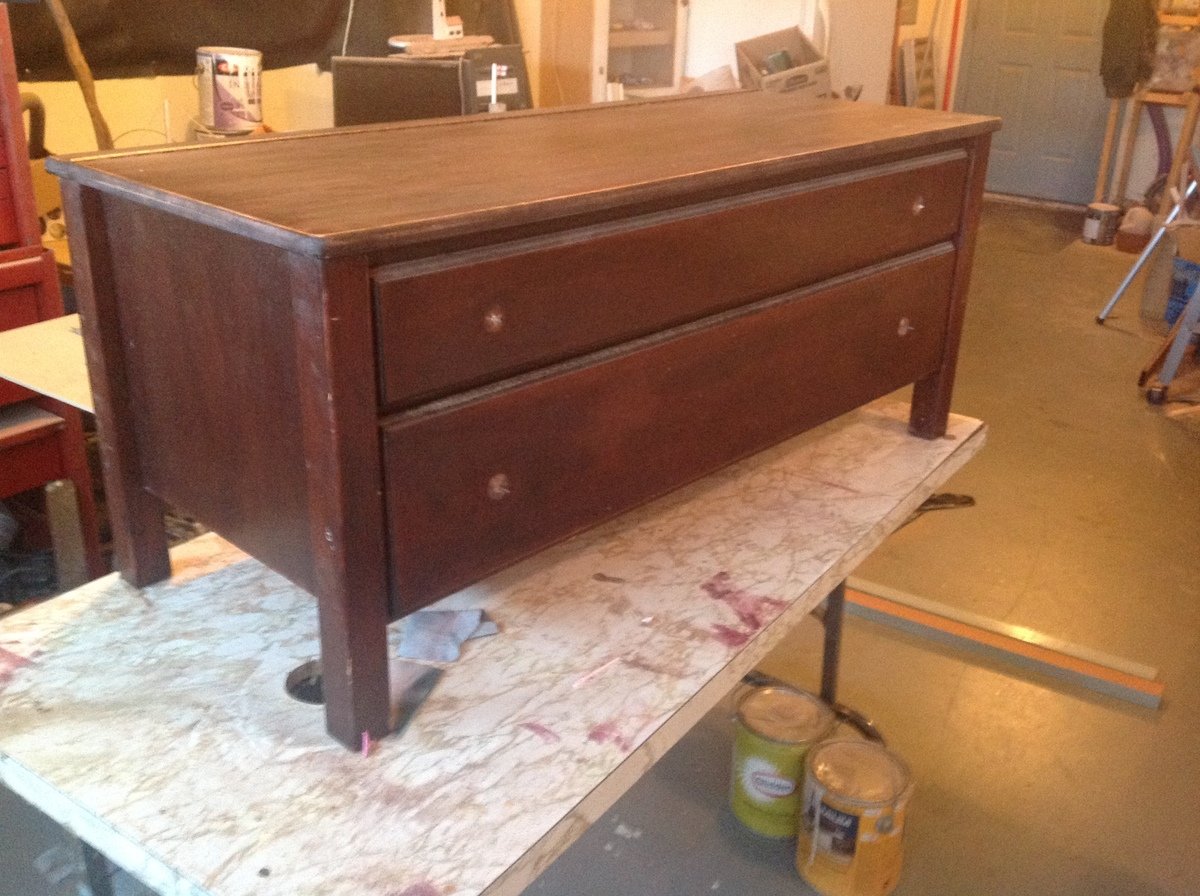
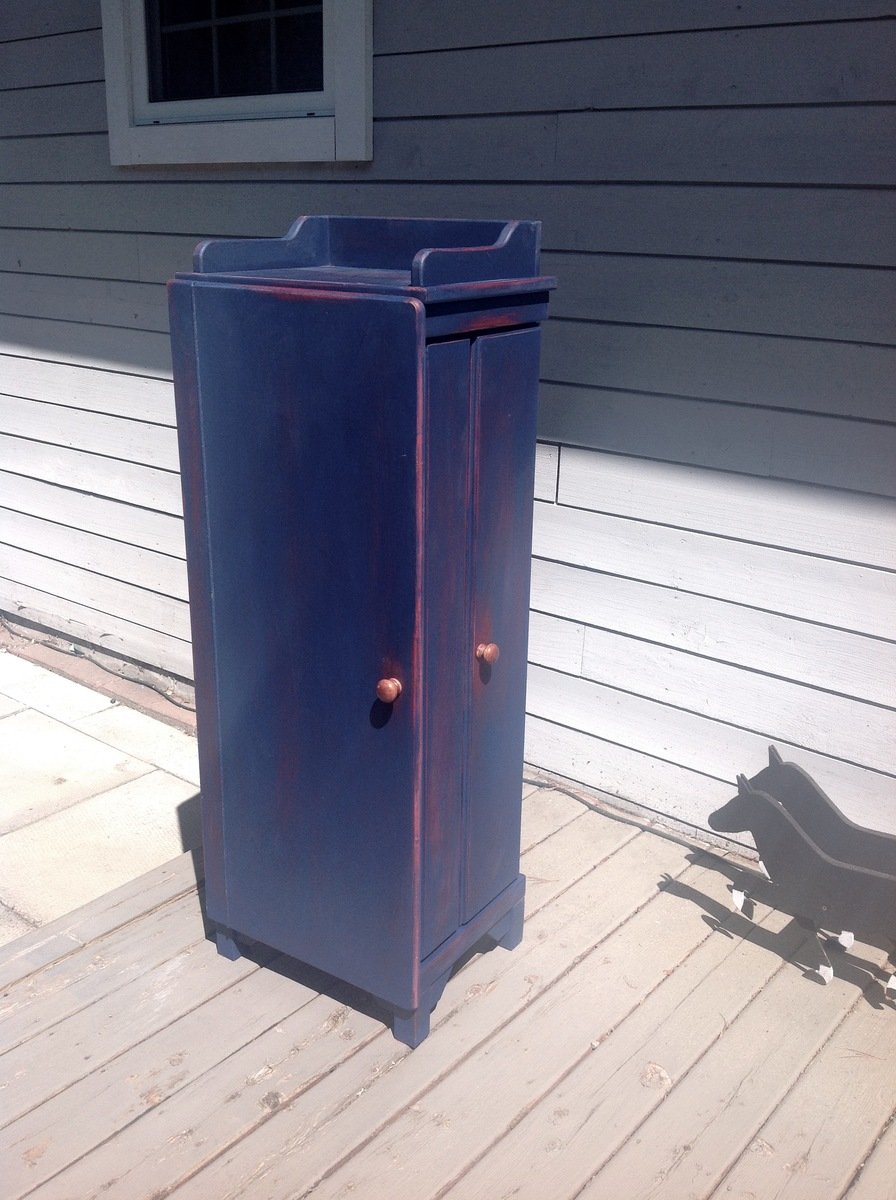
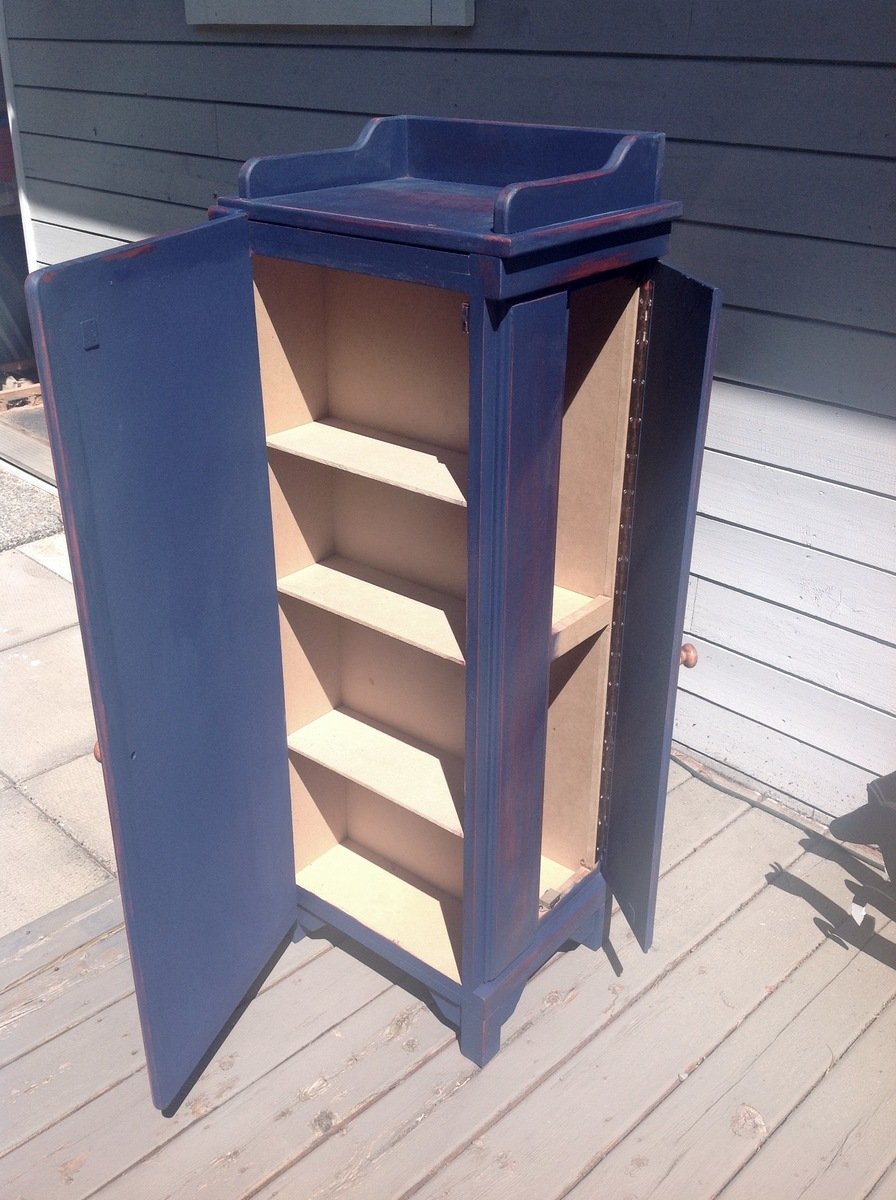
A neighbour was giving away this home made "blanket chest" the lid lifted up to a 6" deep compartment with a lower compartment having a fake draw front. After debating on how to transform it I cut off the legs & attached them to one side, stood the unit up vertical & turned it into a jelly cupboard with the lid becoming the front door & the fake draw front becoming a side door. Made & attached the top to the cabinet. A little chalk paint & project done in a weekend of free time.

Estimated Cost
$20
Estimated Time Investment
Weekend Project (10-20 Hours)
Finish Used
Red chalk paint base coat with blue over coat sanded to reveal the red.
Recommended Skill Level
Beginner

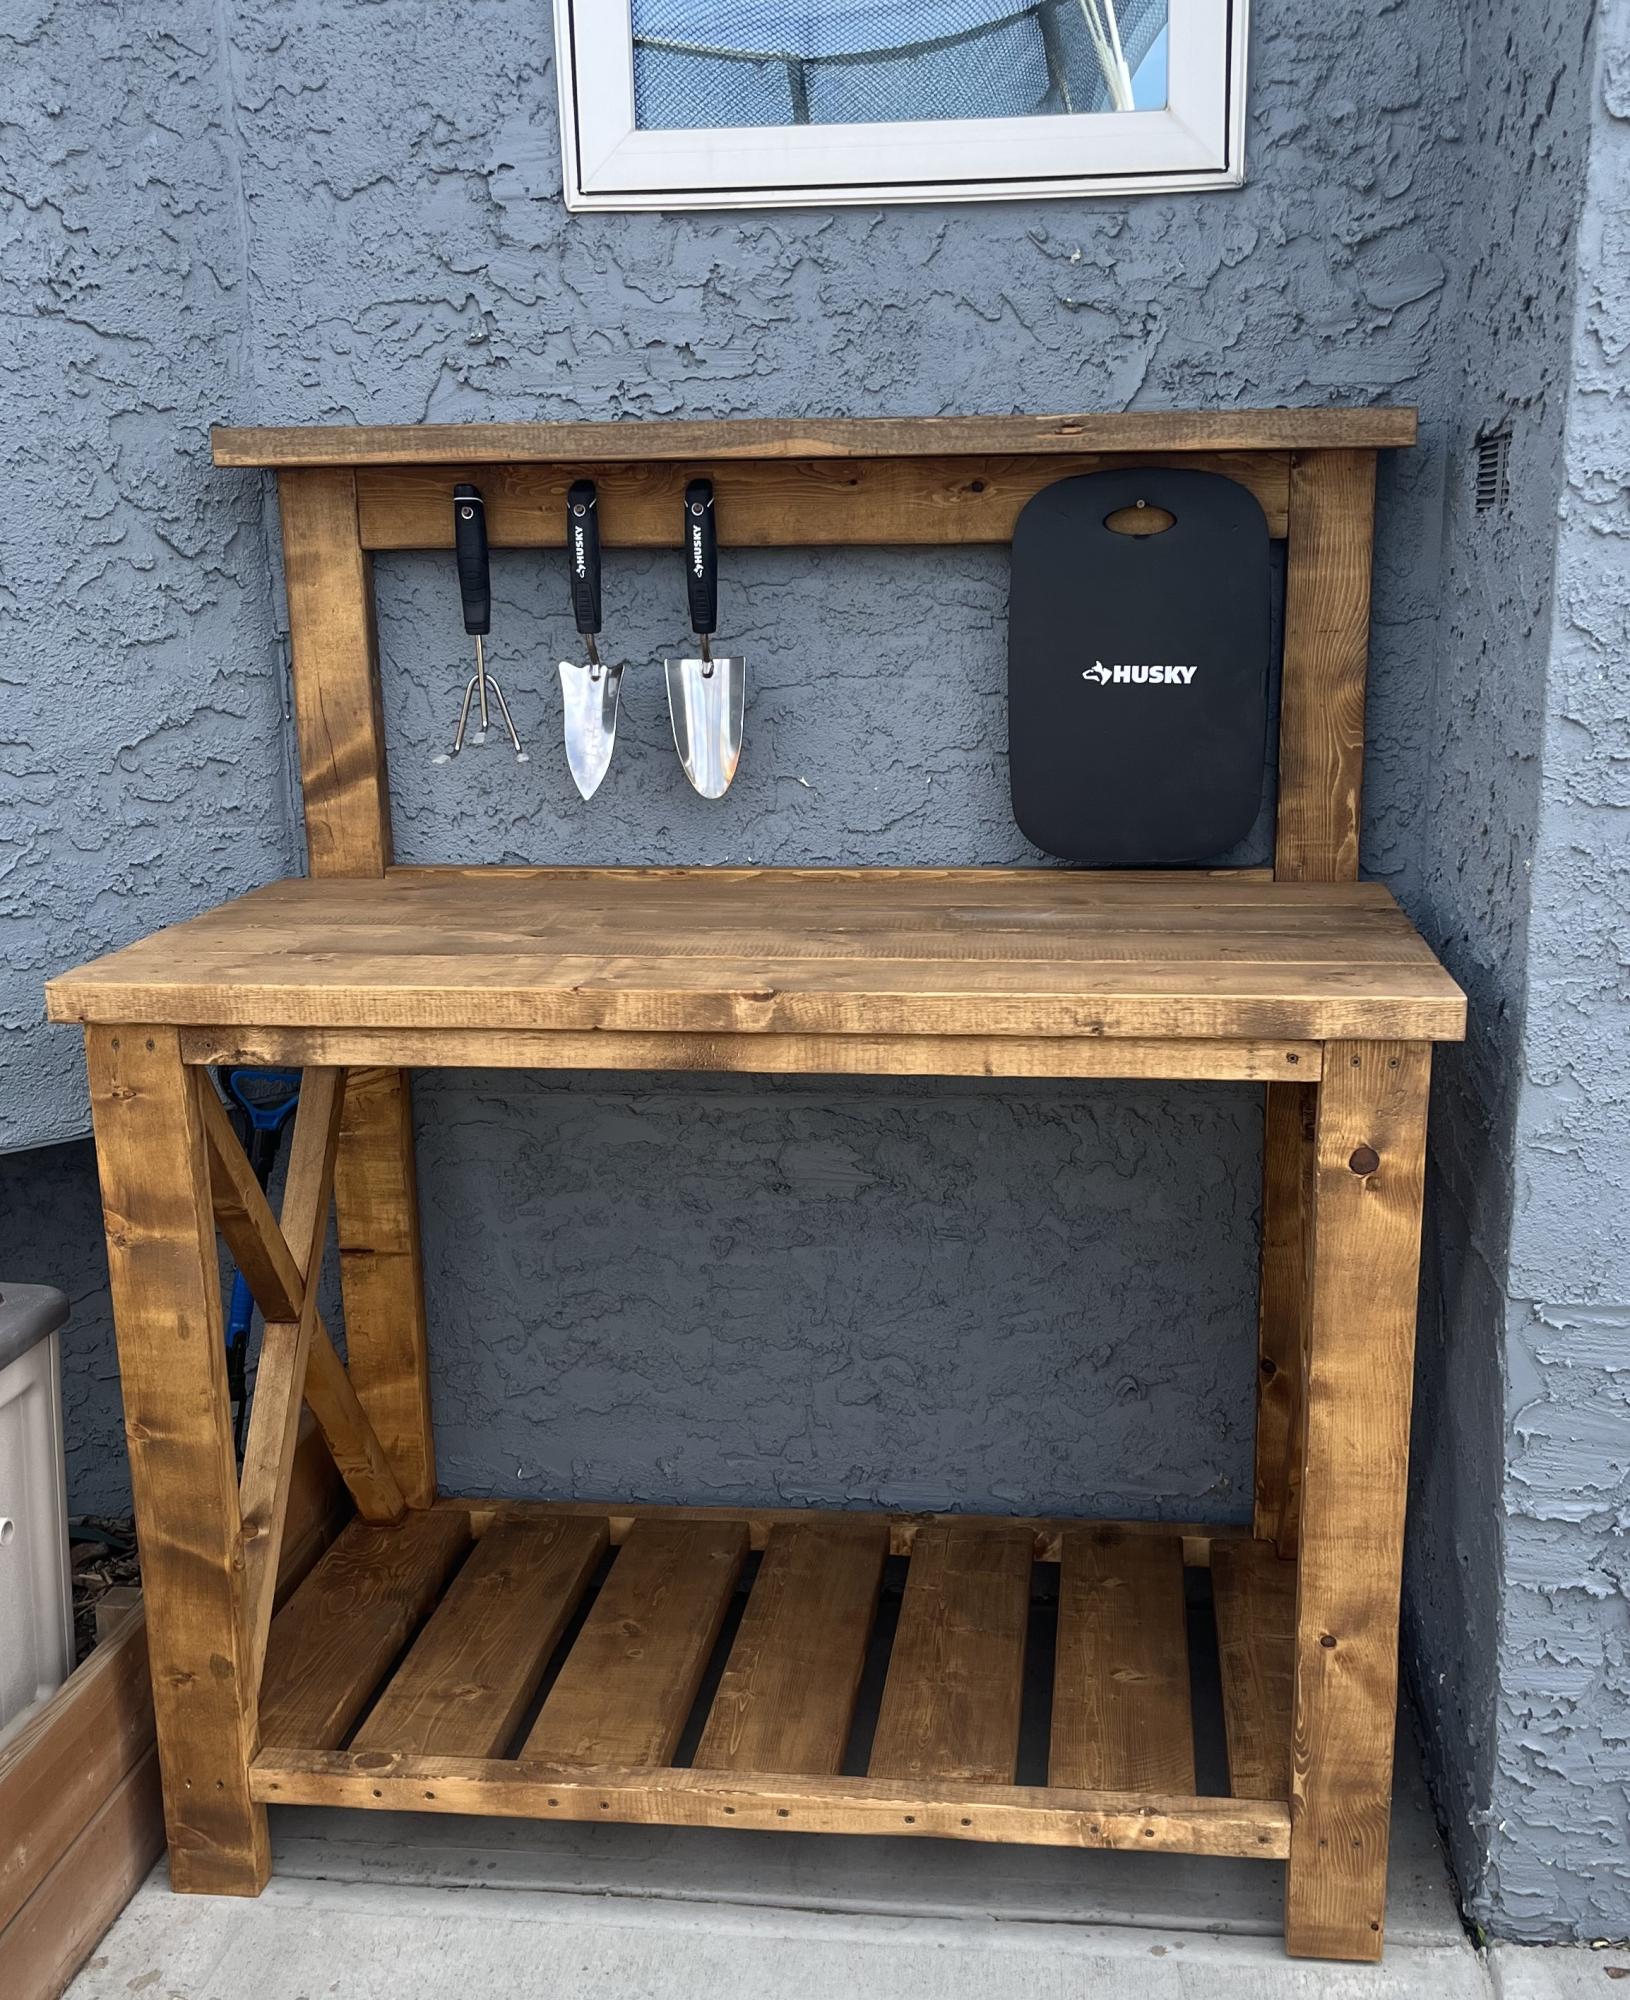
Farmhouse Potting Bench

Submitted by Anonymous (not verified) on Thu, 05/12/2022 - 11:47

Excellent video. Was able to create this with minor changes to the dimensions.
Was a well received gift for Mother’s Day.

Comments

Table, sized just right

Submitted by sgilly on Sun, 07/10/2011 - 19:01

Whew! This was a challenge. Yes, it should have been easy - Ana's plans are really straight forward and seem easy enough to follow. I think I just have a hard time following directions! First, the table needed to be small, so I was going to have to tweak the plans anyway - why not make it just a bit different? Well, because then it's not so simple!
Almost finished with my first plan, the table boards started splitting. I had to make what I had work, so back to the drawing board, and the end result did turn out beautifully.
The chairs were a challenge because I really didn't want to use my husband's BIG circular saw. I bought a new cordless, lighter saw - and it wouldn't cut through the 2x4s. After butchering the first set of legs, I dampened my fears and pulled out the big saw. How silly I was - it was easy to use and cut right through those 2x4s with ease! Once I had the legs cut it was pretty simple to put the chairs together. I would suggest that you sand and finish all the pieces before you begin putting them together. And, attach the seat slats before attaching the seat to the back piece! I ended up adding an additional 2x2 across the seat so that I'd have something to nail the slats to (Thank you to my son for that idea!).
I had the table and 4 chairs sitting on the lawn waiting for my son to pick up, and had quite a few people stopping by to ask about them. I always tell everyone that I've found this wonderful site just full of beautiful furniture plans waiting to be built - thanks, Ana!

Estimated Cost
$200-250 for table and 4 chairs
Estimated Time Investment
Week Long Project (20 Hours or More)
Finish Used
Minwax stain with polyurethane, mission oak.
Recommended Skill Level
Beginner

Comments

Step Stools are Awesome

Submitted by Jake on Tue, 08/13/2013 - 18:55

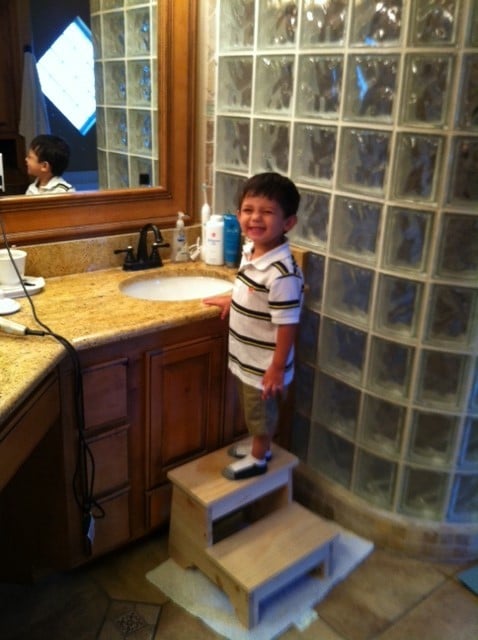
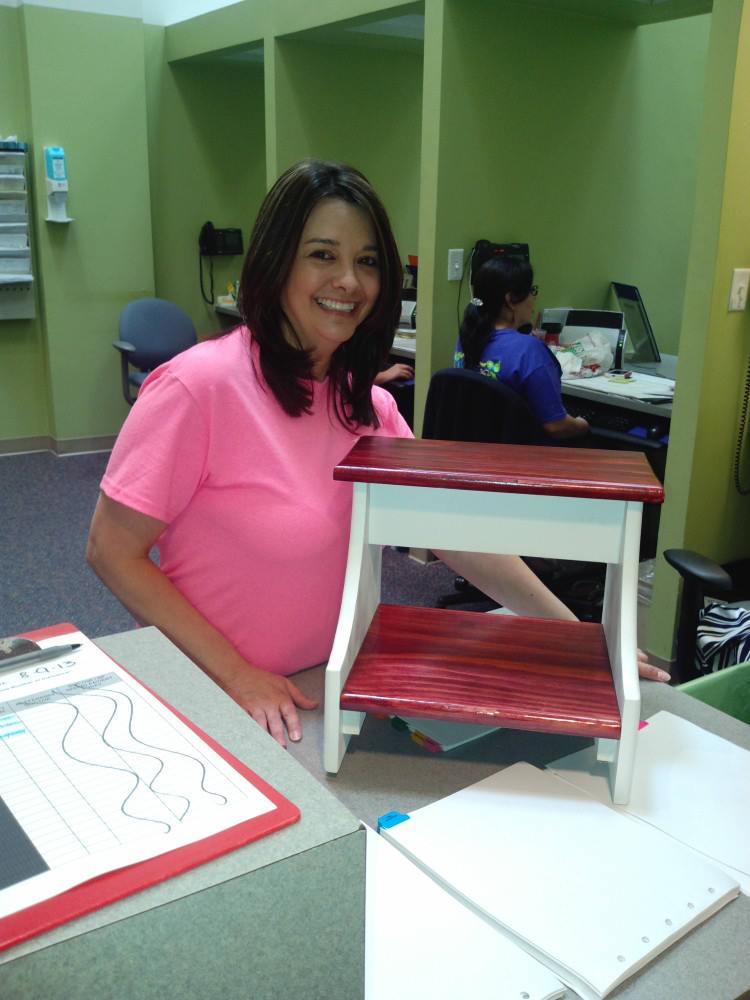
About three years ago I made my first project from Ana's plan for the Super Easy Little Tricky Ladder Table. It is the one on the right in the opening picture. That little step stool (that is what it is used for) has stood the test of my 175 lbs and the terrors of two grandkids dragging it around for all sorts of mischief. Since then I have made another version of that same stool but a little wider and shorter for more stability and I like the new proportions

I have also made one of Ana's Vintage Step Stools and that is the one with the kid standing on it in the bathroom. Perfect. The last picture shows my knock-off of a classic Shaker step stool except I hinged the top to add a small amount of storage under it. That is not me in the picture. Its a co-worker.

I encourage everyone to build these stools. My family has found them to be very very useful in the kitchen, in the bathroom, reaching high places in closets and I even use them to paint rooms. Easier than dragging a step ladder around.

My only caution is to use the best grade of pine or a stronger wood and to overdo the strength of the lower step connections. Do NOT build these out of furring strip wood. I did and it collapsed immediately. Not the joint but a leg below the lower step connection.
Estimated Cost
About $36 for all four. Two days per stool to build and finish.
Estimated Time Investment
Weekend Project (10-20 Hours)
Finish Used
A great variety as the photos show. On the last stool I tried the paste stain to my horror.
Recommended Skill Level
Beginner

Laundry dresser using 1x4 boards

Submitted by Drspear98 on Fri, 08/10/2018 - 10:11

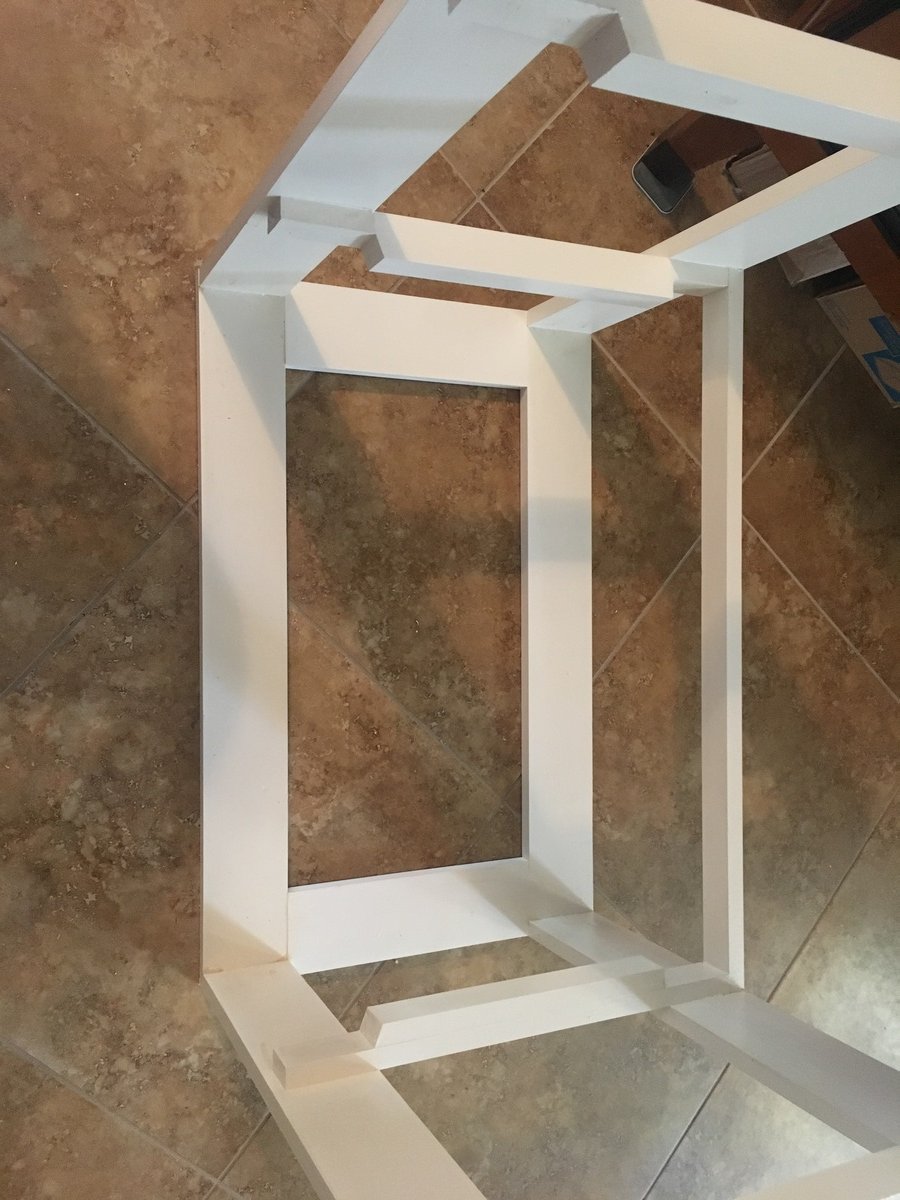
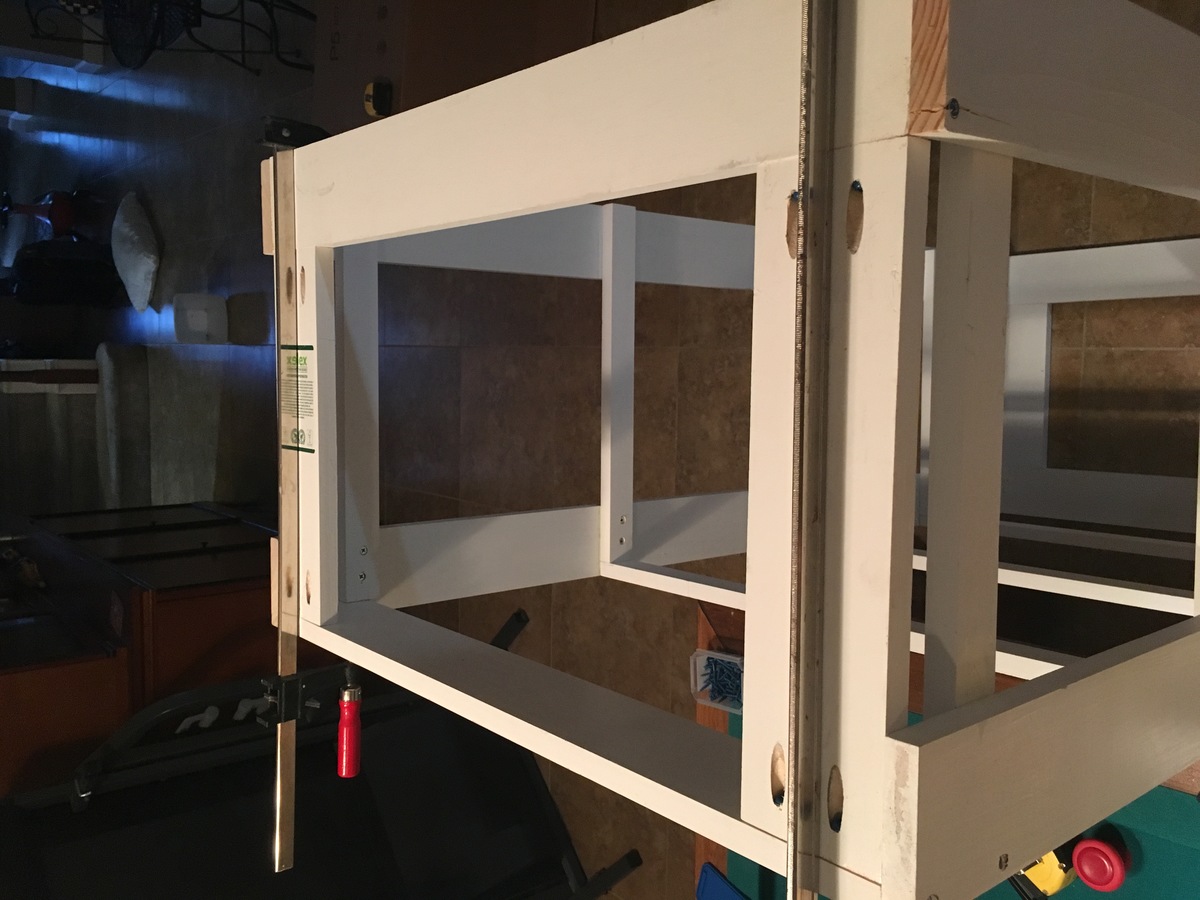
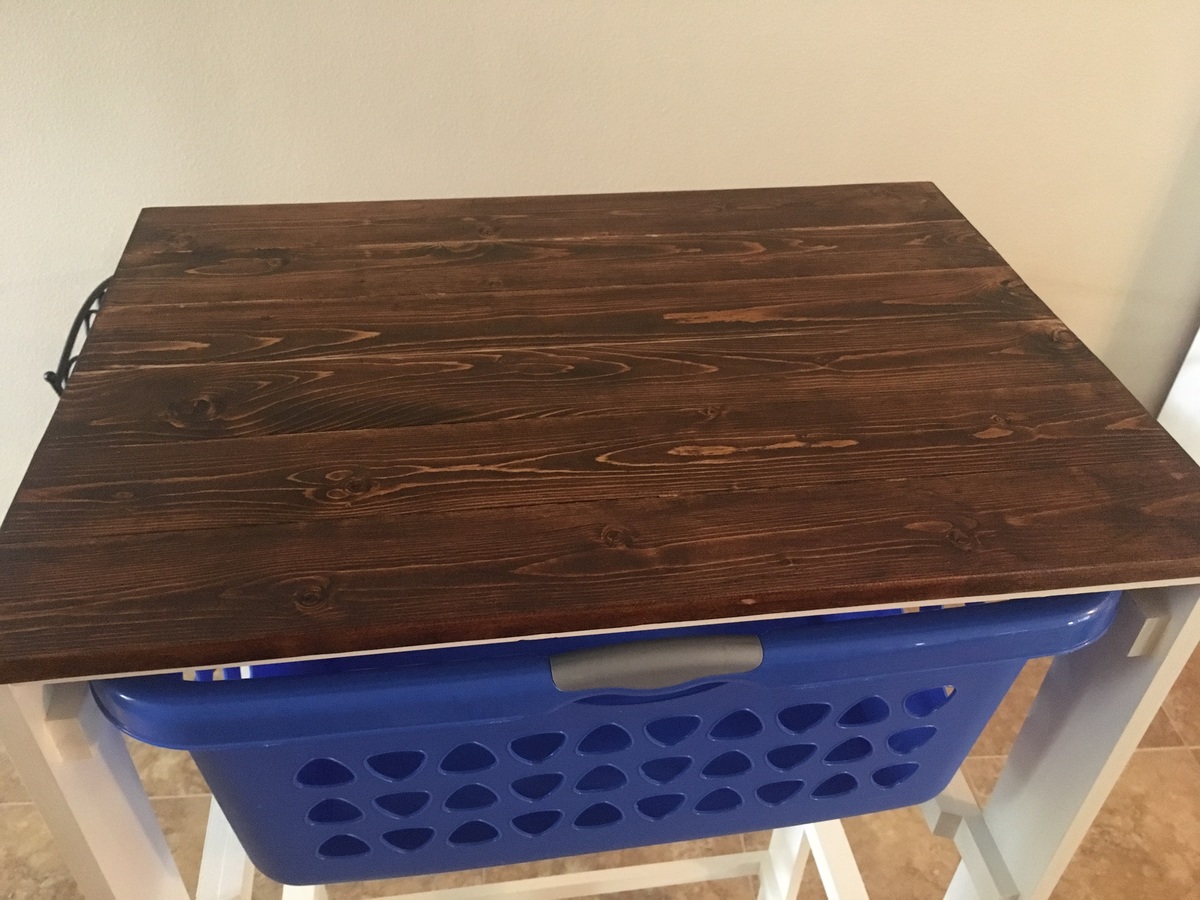
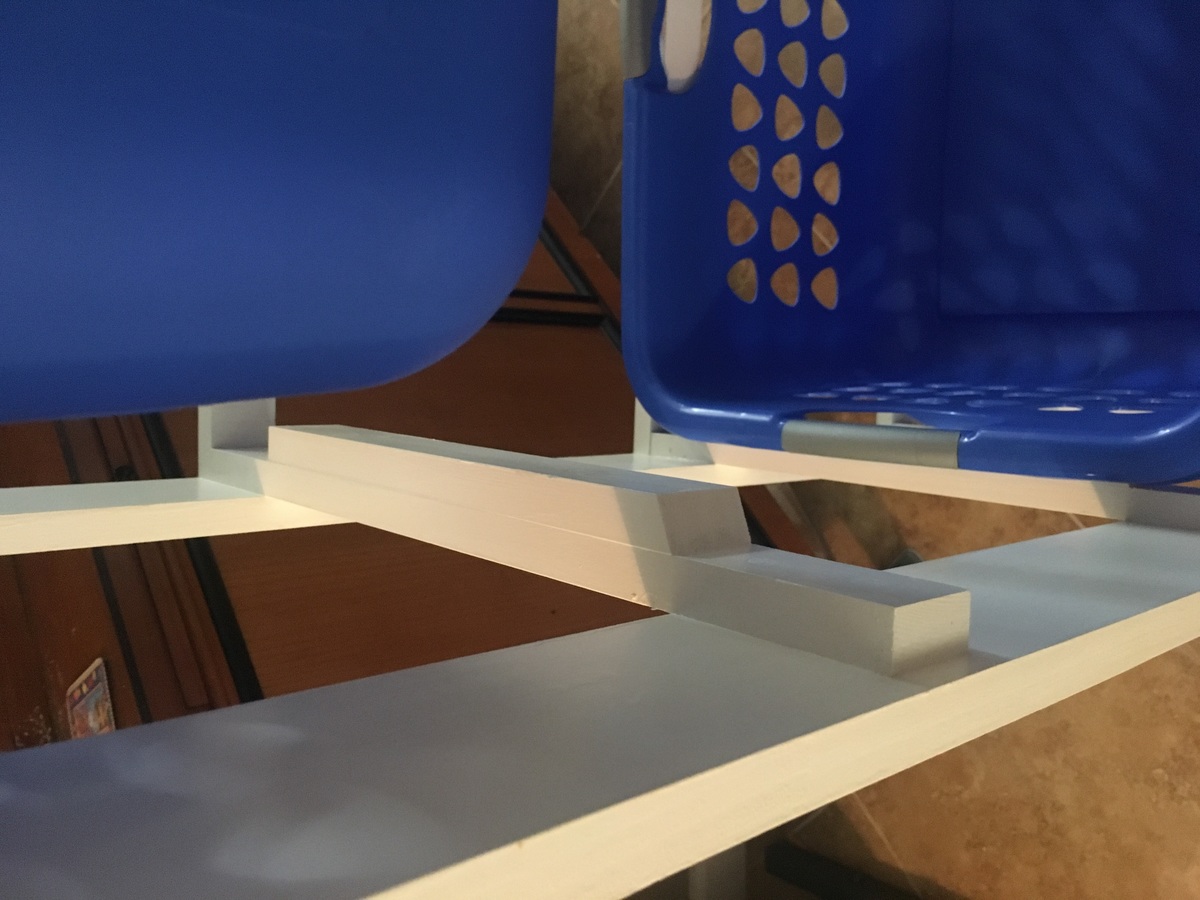
i made a laundry dresser about three years ago, but we had a water filtration sytem installed in our laundry room and I had to build another one to fit the new dimensions. I loved this idea because it’s simple, and more open. I wanted to choose some larger, sturdier baskets, so I chose the Sterilite 2-bushel baskets. I bought them at Walmart. I am not an expert in woodworking, but I am very happy with the results. I accidentally made it a little too wide, but I added another 1x2 to the rack where the baskets hang, and now the baskets fit perfectly. I chose pre-primed pine boards because I hate sanding and I hate painting. The top are just normal 1x4 pines that I glued together and fastened from underneath. I did have to sand those. I also did add a coat of paint that matches my baseboards. All in all, I am pleastly surprised that it turned out.
Estimated Cost
Under $100
Estimated Time Investment
Weekend Project (10-20 Hours)
Finish Used
Stain, latex paint, polyurethane gloss for top
Recommended Skill Level
Beginner

Colorado Backyard Gable Greenhouse

Submitted by Anonymous (not verified) on Tue, 05/24/2022 - 20:17

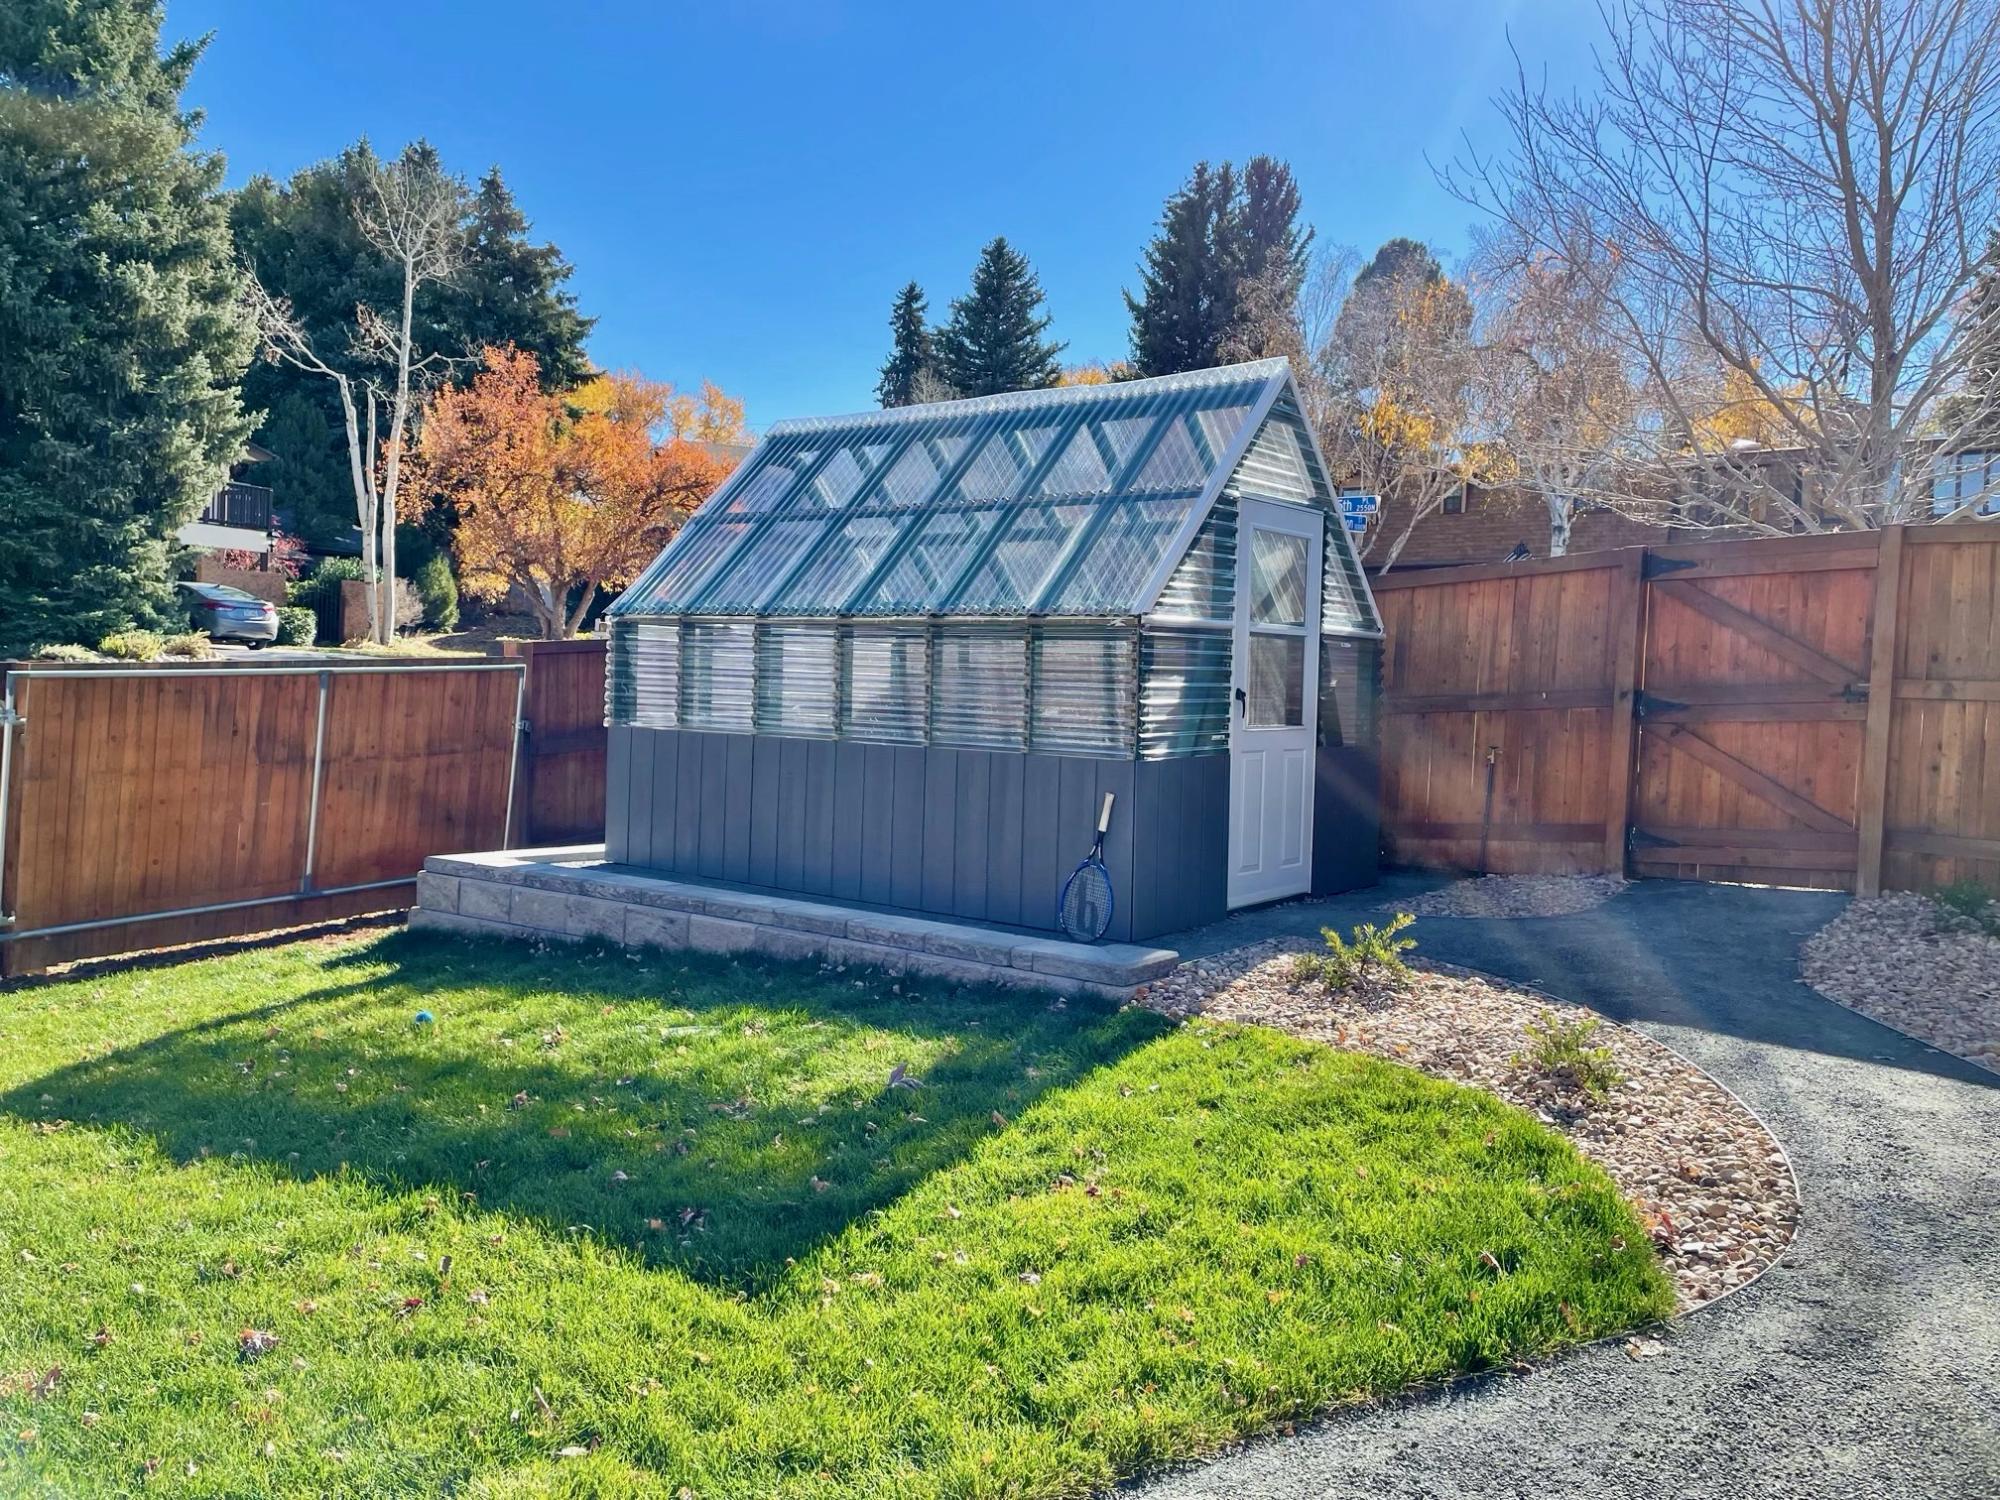
We started this project last fall with the goal of creating a multi use hobby greenhouse with plenty of space for the kids to get their hands dirty. We purchased the Small Gable Roof Greenhouse plans and made our first (of many) trips to the hardware store. Since becoming homeowners in 2015, we've done countless projects but nothing as big as this. We are still very much learning the nuances of greenhouse growing in Colorado, but that has become a fun experience for our entire family. Since completing the structure, I've found that I'm more interested in making the space more functional than I am in actually gardening. I added a shelf built almost entirely from old pallets, a raised cedar bed and solar powered exhaust fan/lights. Luckily, my wife loves spending time in there tending to the plants! As the summer heat sets in, we will face new challenges of how to keep the space cool. Maybe by adding a shade cloth and misters? Regardless of what the "output" looks like we are loving this new hobby and are looking forward to learning new skills!

Comments

Clara Table and $4 Chairs

Submitted by canesa on Thu, 07/14/2011 - 22:58

These chairs were super easy to make and so was the table. I did make a couple of changes if you'd like to read about it on my blog.
http://isteppedoutofmycomfortzone.blogspot.com/2011/01/i-love-to-build-…

Built from Plan(s)
Estimated Cost
$15 - $20
Estimated Time Investment
Afternoon Project (3-6 Hours)
Finish Used
I sanded it smooth with 320 grit sandpaper and gave it to her unfished so she could choose her colors.
Recommended Skill Level
Beginner

Outdoor Farmhouse Table

Outdoor farmhouse table built using Ana's plans. Modified the plan slightly, used 3 2X4s on the top (instead of the 2 1X4's that Ana's plan used) and attached everything from underneath using pocket screws so that no hardware is visible from the top. Used a nailer board under each side of the tabletop to provide a place to attach the top without using huge screws.

Table was built using non-pressure treated lumber (because we wanted the stain to stick well). The finish was done with 2 coats of a chocolate outdoor stain. Took 2 days from start to finish, although much of that time was waiting for the paint and/or glue to dry. Very simple project, only used a few tools. The only "big" tool we used was a 12" sliding compound saw to make the end cuts. Also used the Kreg jig in a few places where we didn't have clamps large enough or, in the case of the table top, we wanted the wood to be able to "float" without warping other boards.

Built from Plan(s)
Estimated Cost
150
Estimated Time Investment
Weekend Project (10-20 Hours)
Finish Used
Chocolate outdoor stain/sealant (2 coats), no rubbing off the stain, applied moderately thick coats and allowed the wood to absorb the stain.
Recommended Skill Level
Intermediate

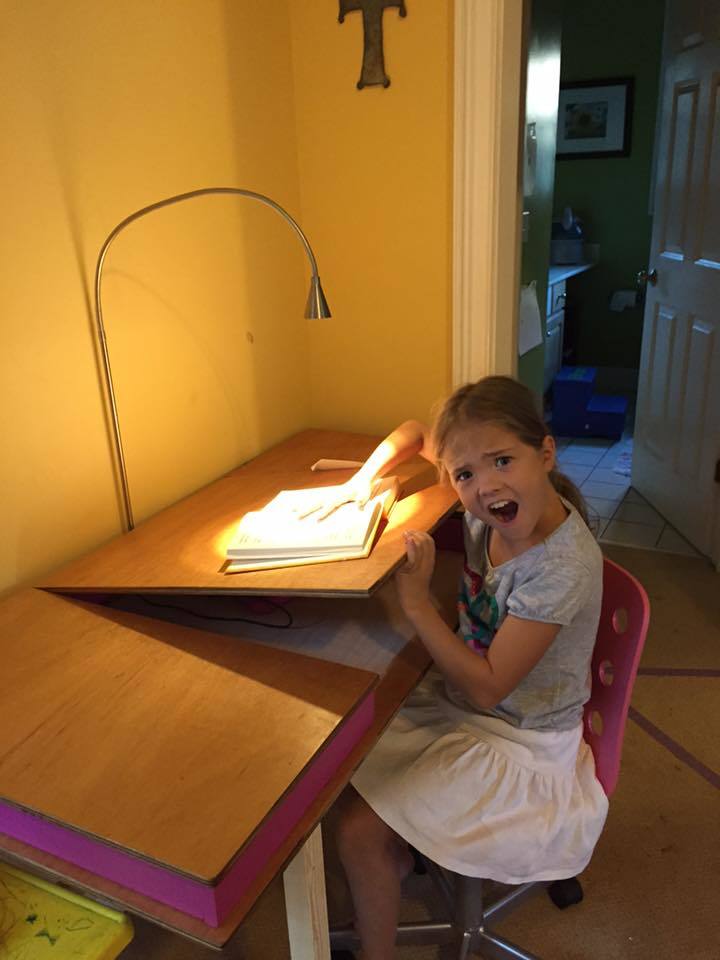
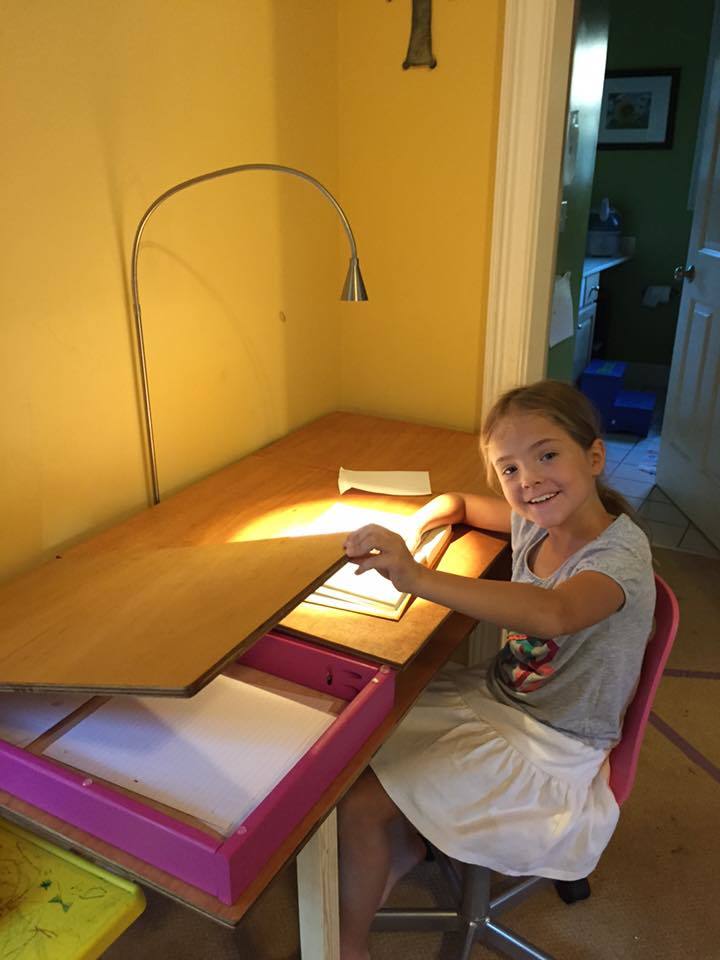
Kids' Desks

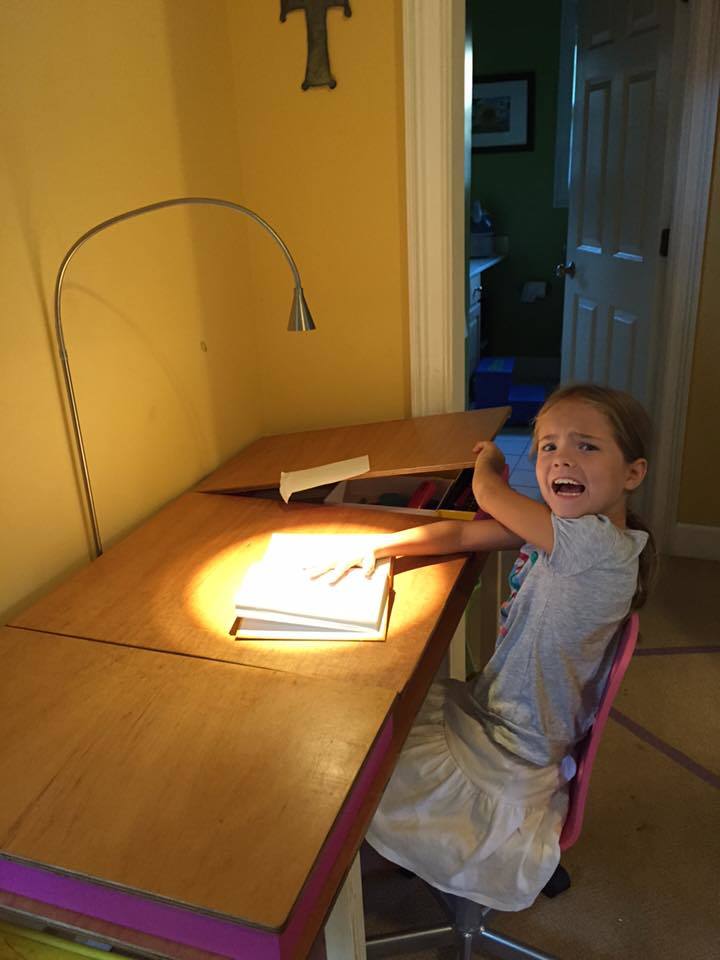
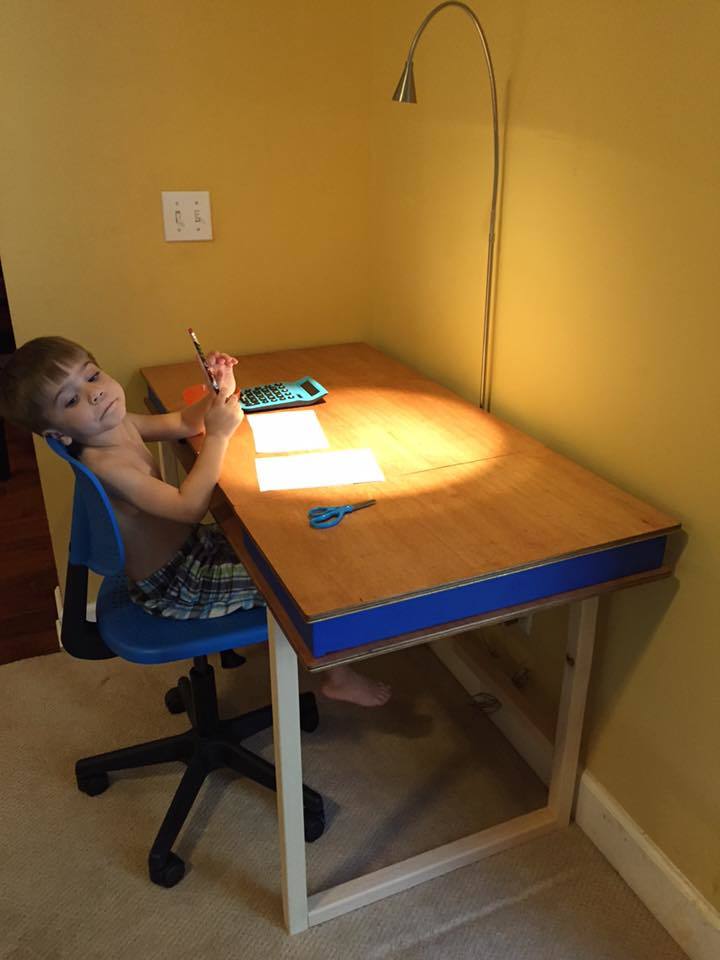
Submitted by docfin02 on Mon, 09/14/2015 - 18:52

Simple design, very practical, and the kids love them

Estimated Cost
$100 for two desks
Estimated Time Investment
Weekend Project (10-20 Hours)
Finish Used
polyurethane on desktop
Recommended Skill Level
Beginner

Comments

L-Shaped Triple Bunk

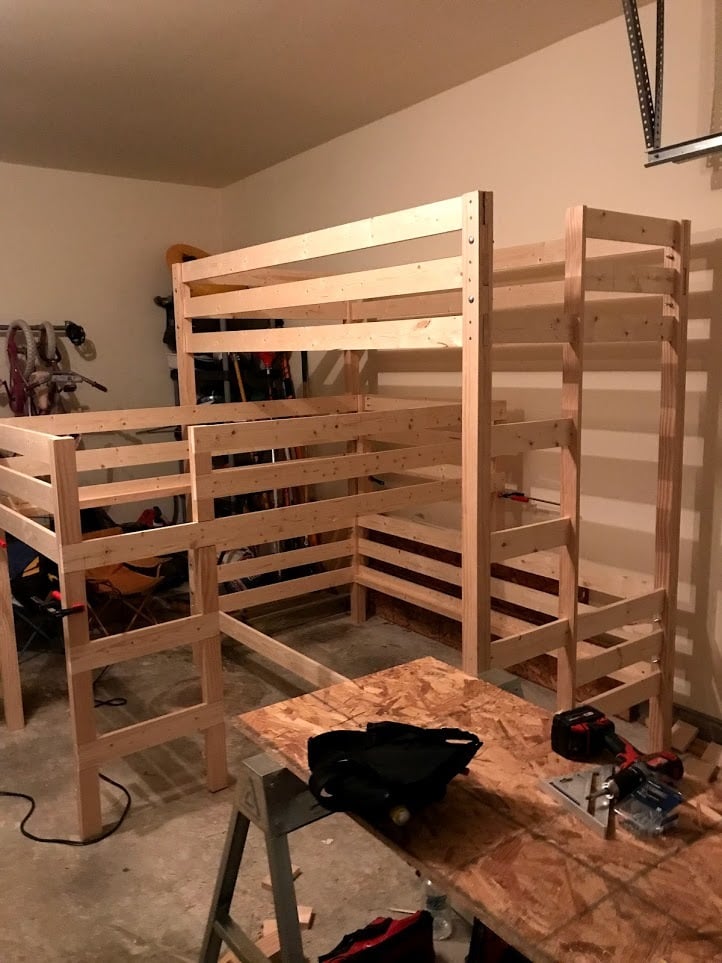
Submitted by mommy to 3 on Sat, 09/01/2018 - 20:21

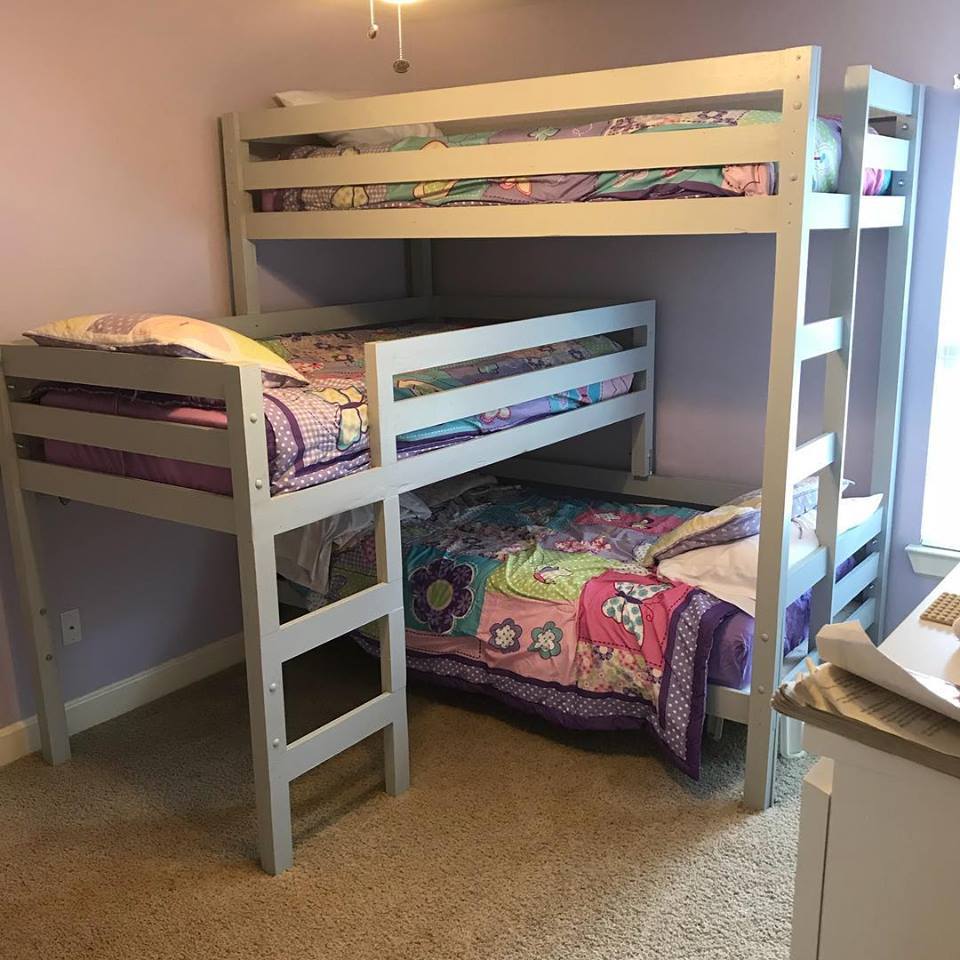
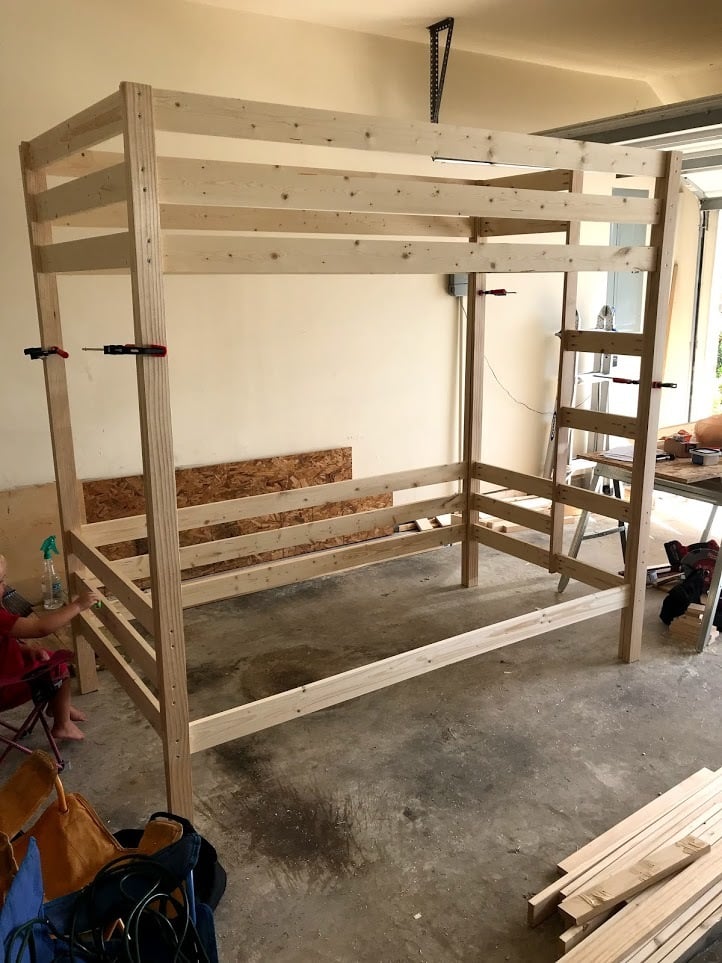
We recently had our 6th child and needed to rearrange our kids' rooms.  We decided to put our 3 oldest girls together and wanted a triple bunk.  We used the classic bunk plans, but increased the height to allow for a middle bunk.  We wanted L-shaped to give each child some headroom.  We used pine wood, common board and select pine.  We finished it off with two coats of Behr interior latex paint/primer in one, satin finish.  Finished dimensions--height from floor to base of bottom bunk, 10 in.  from floor to top of top rail, 79.5 in.

Built from Plan(s)
Estimated Cost
$350 for wood/screws
$40 for paint
~$500 for tools--this was only our second build and our last build only required a drill.
Estimated Time Investment
Week Long Project (20 Hours or More)
Finish Used
Behr interior latex paint/primer in one, satin finish. Color is "classic silver"
Recommended Skill Level
Intermediate

Comments

bcheese06

Tue, 02/18/2020 - 20:41

This is exactly what my boys need in their room. I'm having a hard time grasping how you did the middle bunk. Is it just the top bunk chopped right before the horizontal slats of the bottom bunk? tia

Husky Farmhouse Table and Bench

Submitted by frmoody on Fri, 06/03/2022 - 09:23

I have built several of these tables but this was the first one with turned table legs. They were somewhat expensive but I think the final product looks great with them. I actually stained the bottom aprons and legs the same colour as the top and then put on two coats of an antique white followed by a little scuffing up with sandpaper. I also cut the aprons from 2 x 6's so they were actually 4" in width. I used MinWax Jacobean stain which I had never used before. I then applied three coats of Varathane Satin finish. Not the best photo from my garage but no way I was getting it inside my house for a better photograph. Thanks for the great plans Ana.

Built from Plan(s)

Comments

Tall Farmhouse Queen

Submitted by chbowman on Fri, 07/15/2011 - 19:41

This bed is our first build. We added 4 inches to the height of posts on headboard and footboard. We also used brackets rather than screwing directly into footboard to make the bed easier to move if we ever need to.

Built from Plan(s)
Estimated Cost
$175
Estimated Time Investment
Weekend Project (10-20 Hours)
Finish Used
Two coats of Bin primer followed by two coats of Behr Premium Plus Ultra Heavy Cream.
Recommended Skill Level
Beginner

Comments

Brandon R. (not verified)

Sun, 07/15/2012 - 01:43

I just finished building this same bed and I'm looking for
an easy way to mount it together invade I new to move it. Where did you find brackets for the head and foot board? Could you post a picture of them?

Thanks,

Brandon

Mrs Johnson (not verified)

Mon, 10/01/2012 - 00:42

How tall is the bed from the ground to the bottom of the side rail? I'm wanting 14" so I don't need a box spring {we're both tall so I don't want to feel like I'm on the ground}

Patchwork Three Drawer Rolling Dressers

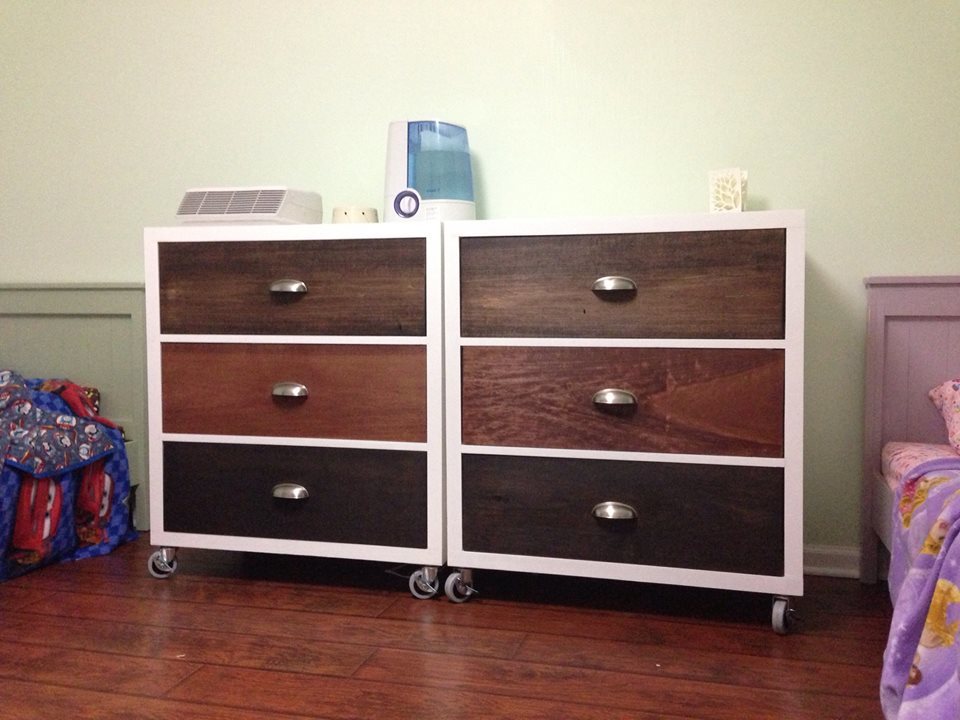
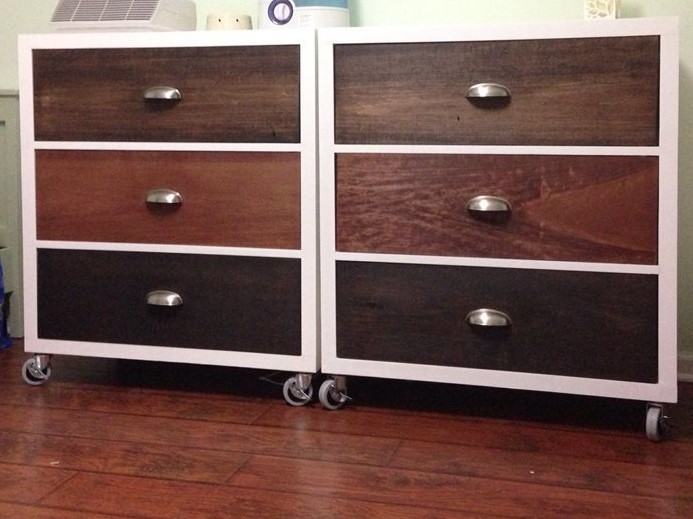
Submitted by nmnguyen7 on Tue, 08/20/2013 - 05:42

We decided to build these for the kids, to get the old Ikea dressers out of their rooms. The build went very easy. Now the kids have a room full of only handmade (ana-white) furniture!

Built from Plan(s)
Estimated Cost
$400 for the pair, including hardware
Estimated Time Investment
Weekend Project (10-20 Hours)
Finish Used
Random left over stains :)
Recommended Skill Level
Beginner

Comments