Community Brag Posts
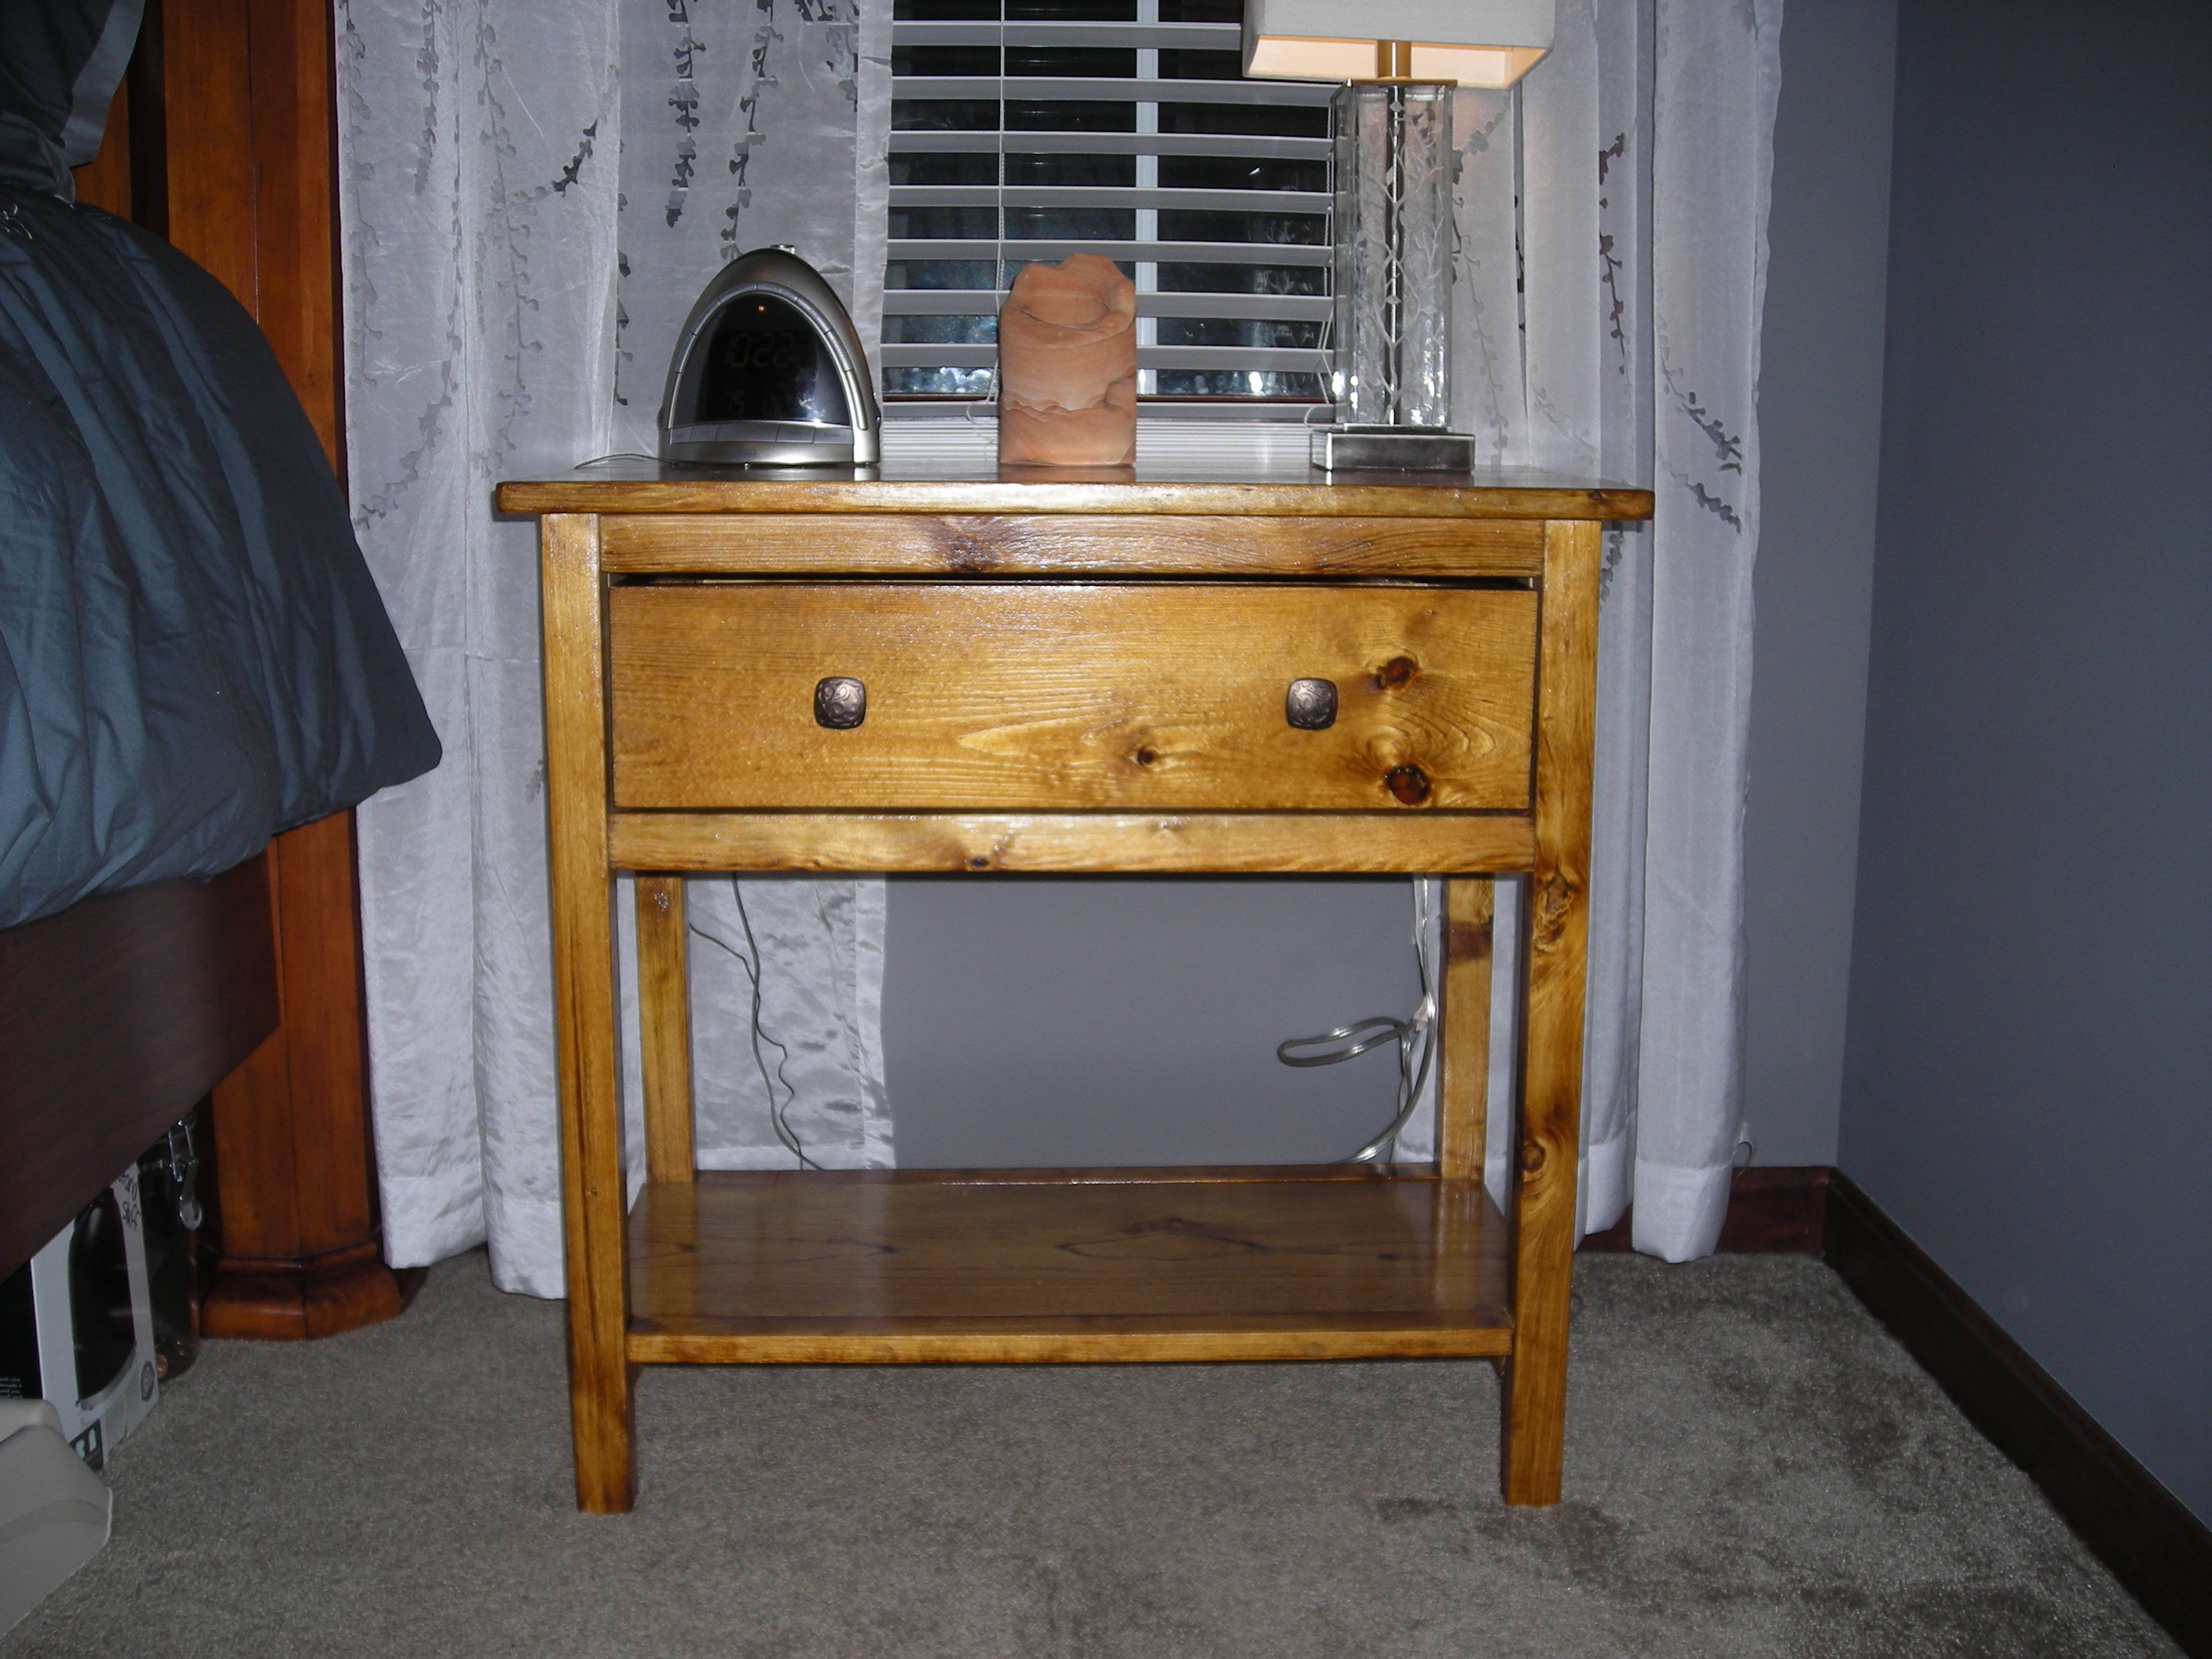
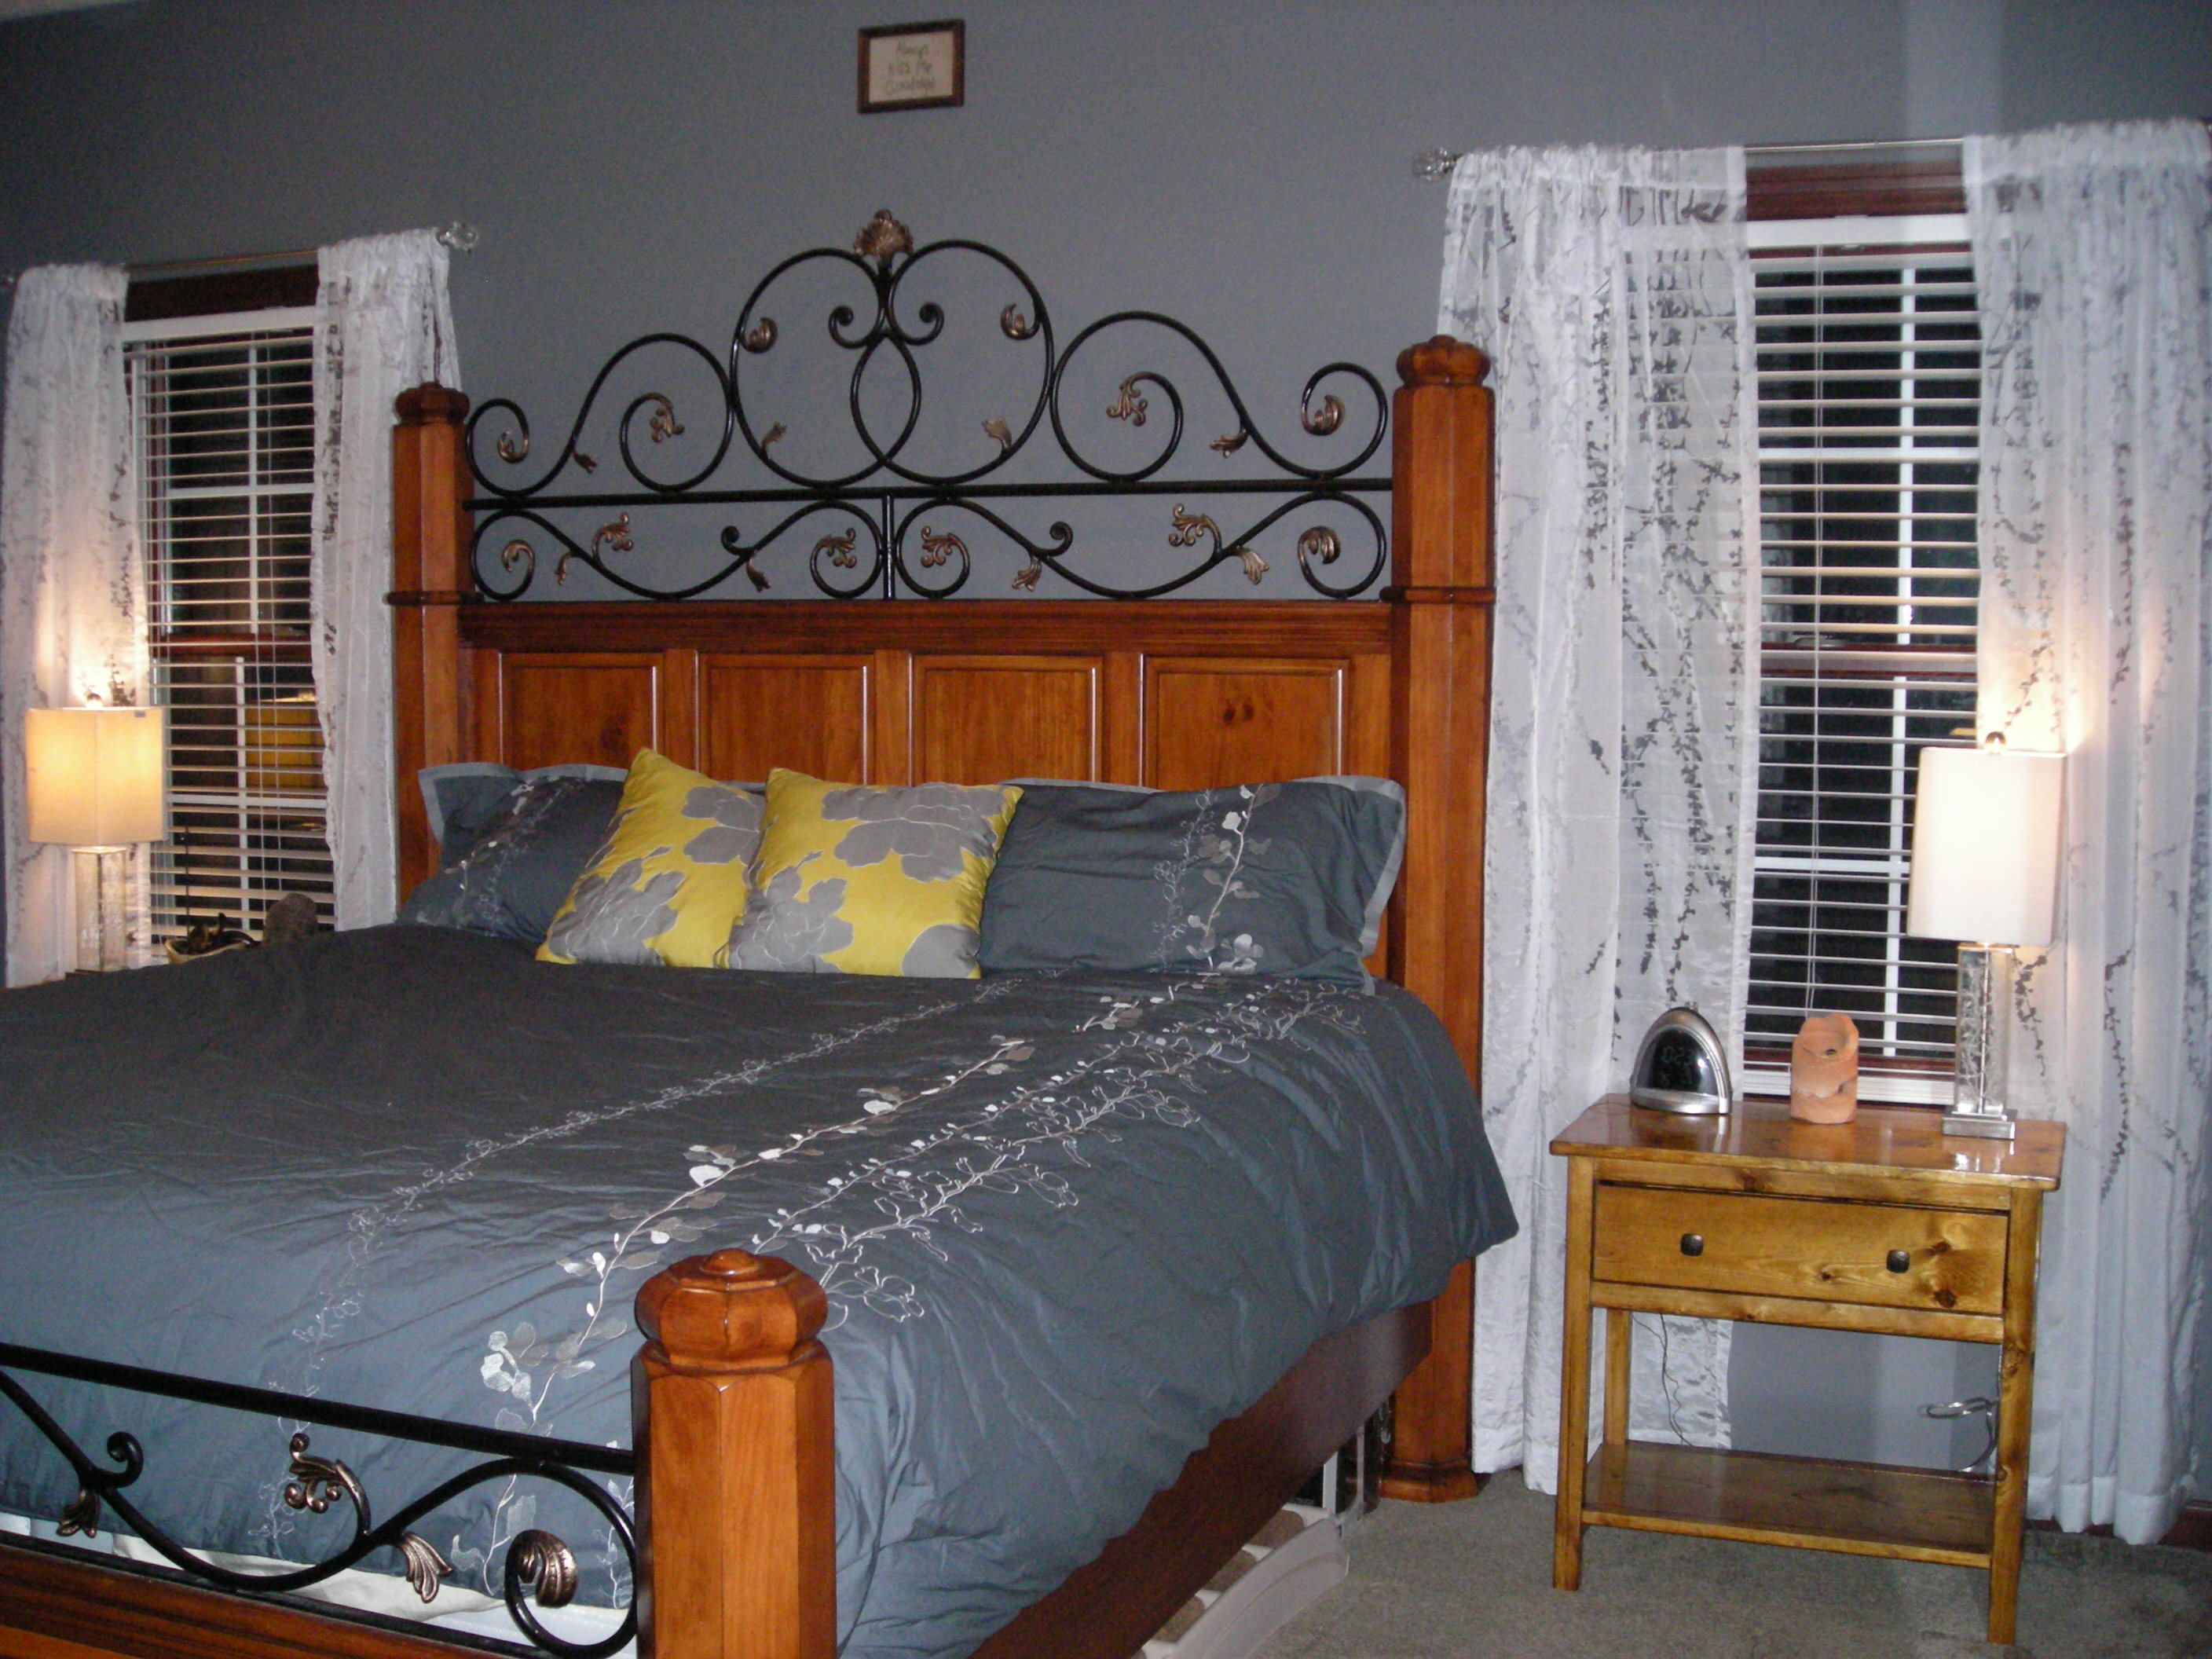
Master Bedroom Transformation
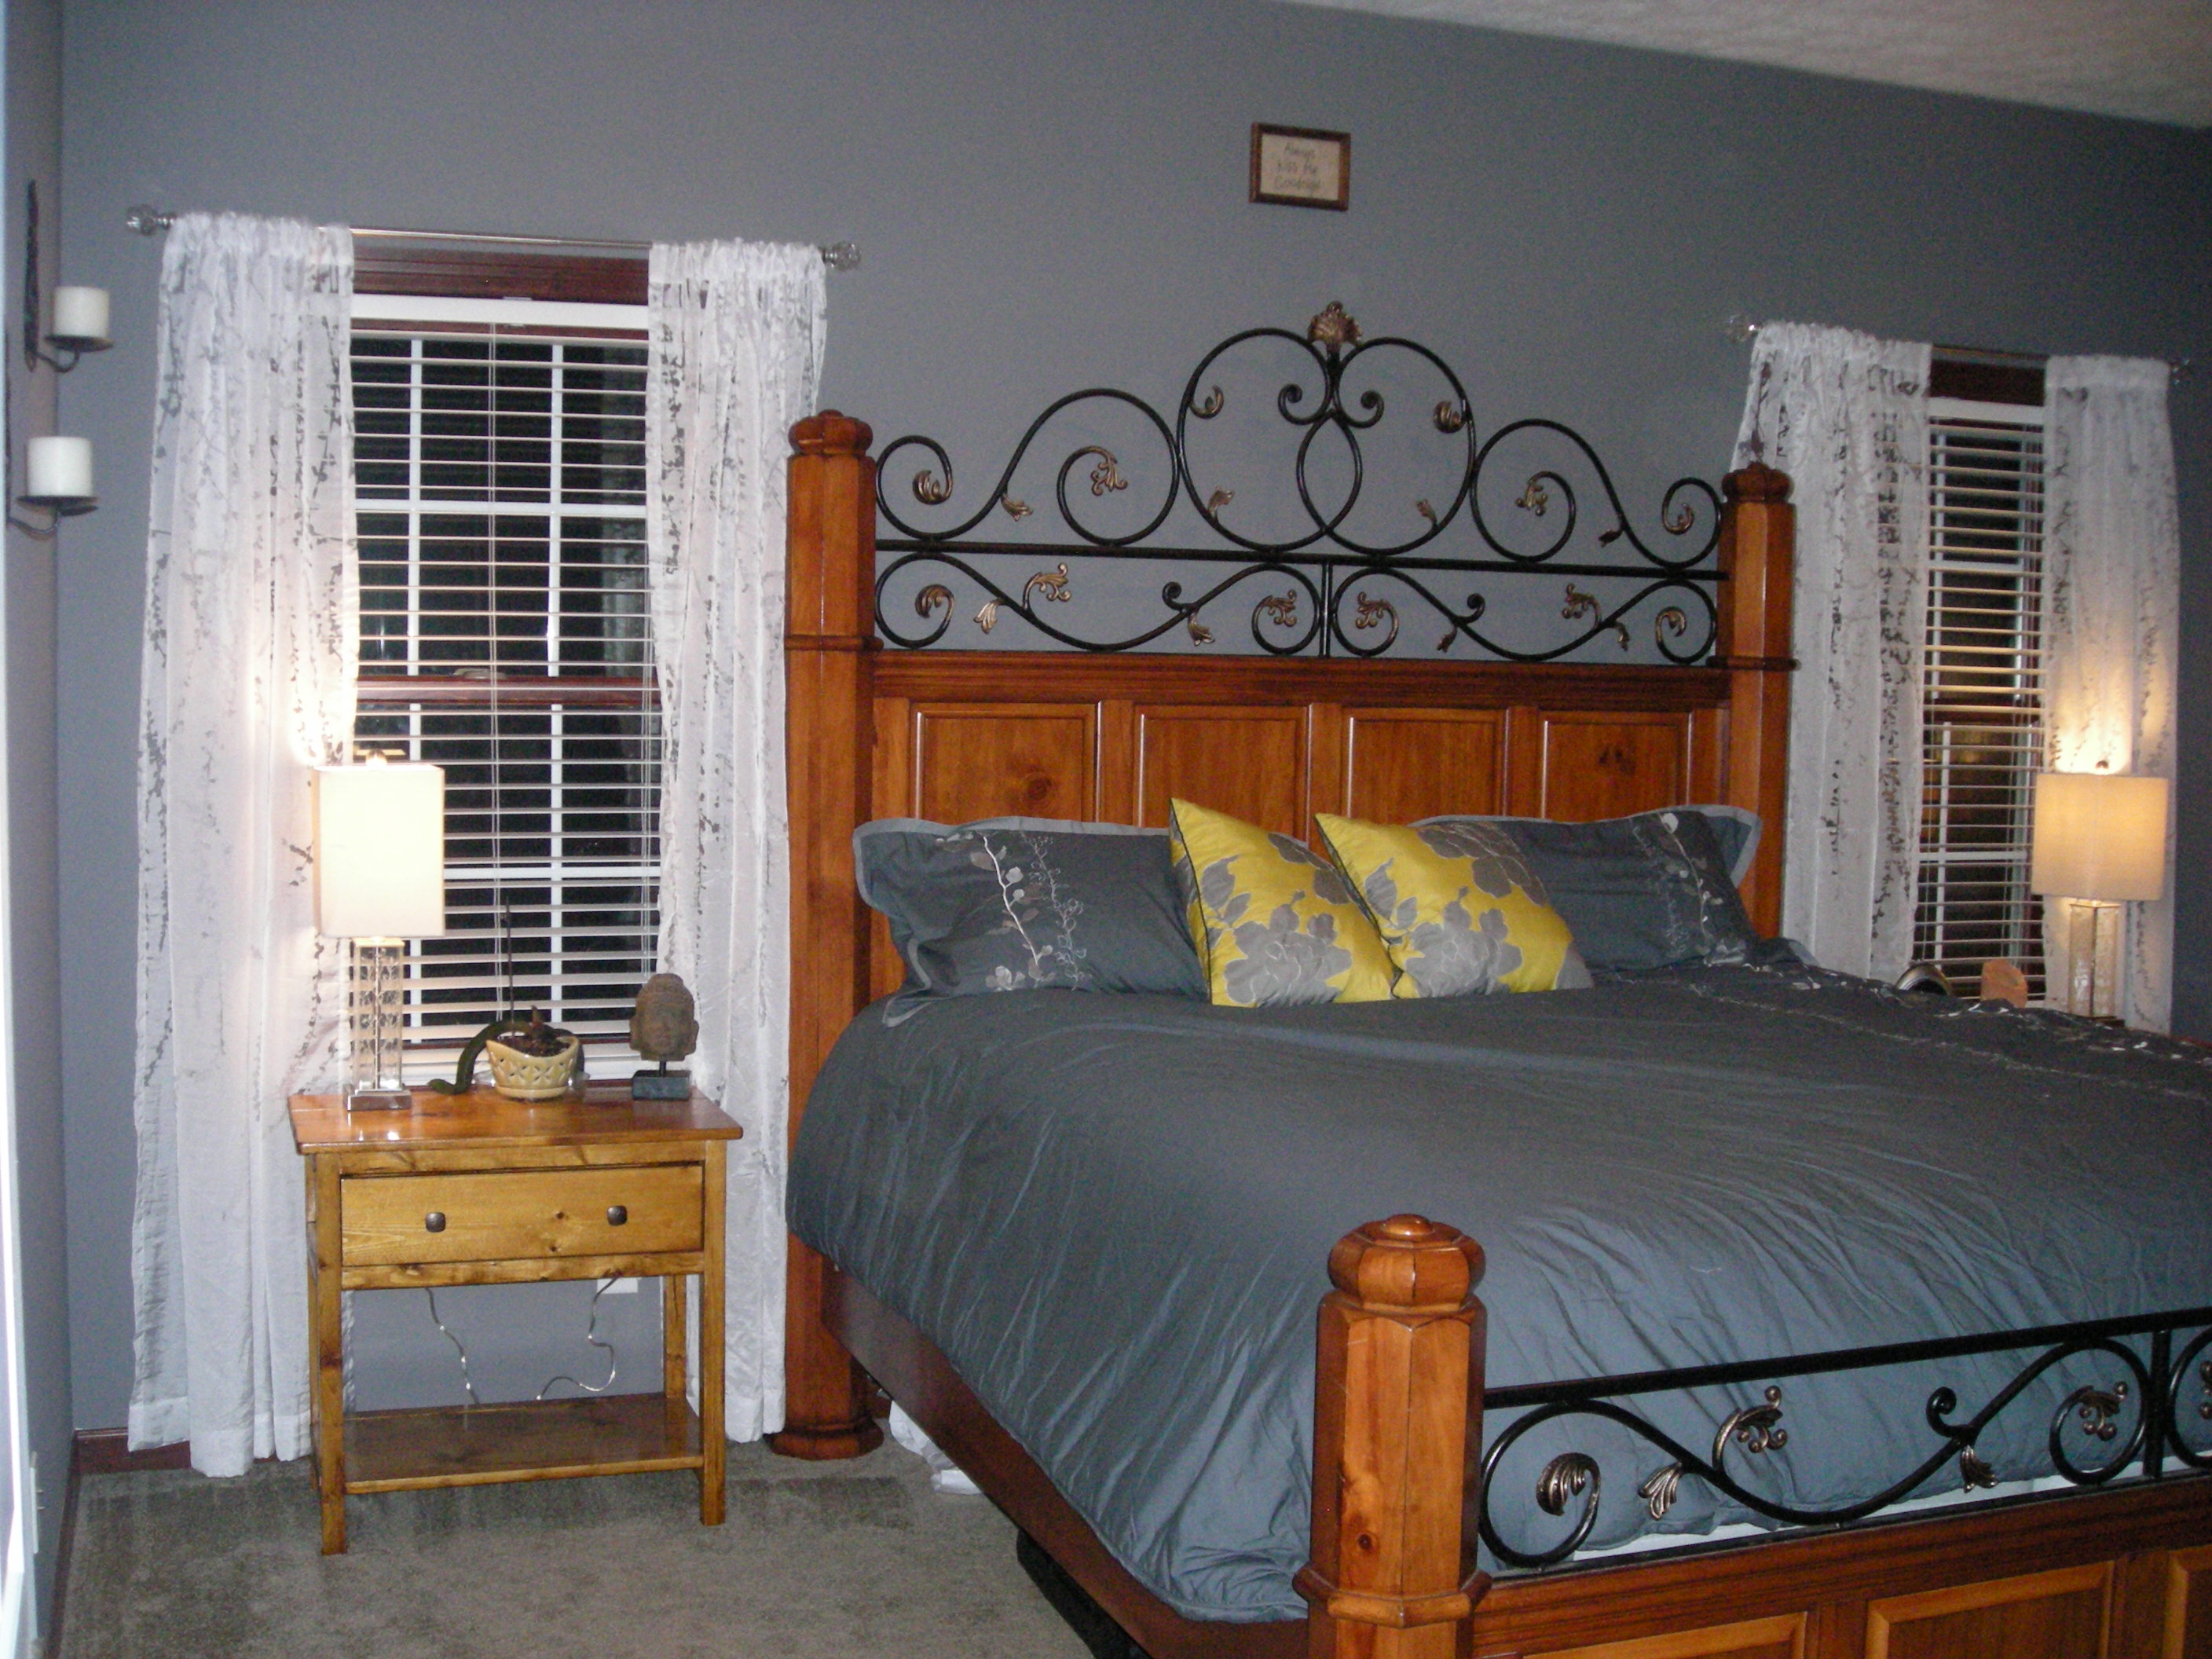
I have a large master bedroom, but a severe lack of furniture. I love love love my king bed, but couldn't find any night stands to meet my needs or budget. So I built the farmhouse bedside tables! I love how large and tall they are, adequately flanking my large bed. I missed the mark on matching the stain color of my bed, but I worked so hard on these tables, I still love them.
I call this a master bedroom transformation because I also painted, added new bedding, and new lamps during this project. I'm so excited for my husband to come home from his month-long business trip to see all that I have accomplished in his absence!

Built from Plan(s)
Estimated Cost
Approximately $100 for both tables.
Estimated Time Investment
Weekend Project (10-20 Hours)
Finish Used
Minwax Golden Oak Stain and Minwax Semi-Gloss Polyurethane.
Recommended Skill Level
Beginner
Farmhouse Table
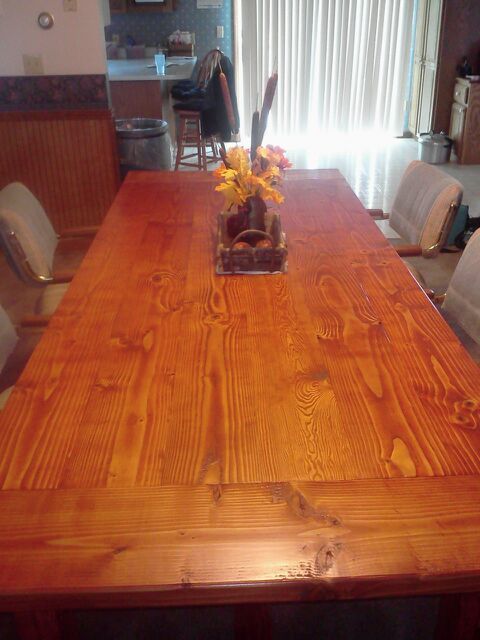
I made this with the help of my dad. This was my first project and it turned out so well! Such a great addition to the house, it really warms up the room. So glad I found this!
Built from Plan(s)
Estimated Time Investment
Week Long Project (20 Hours or More)
Recommended Skill Level
Intermediate
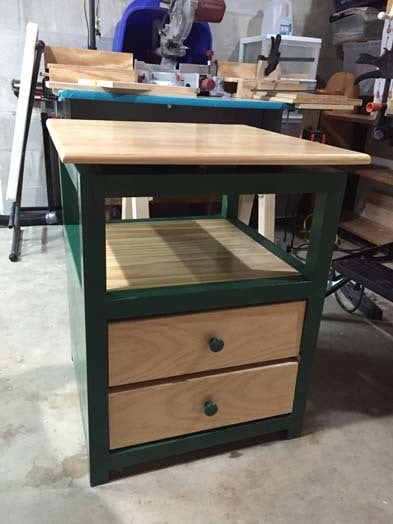
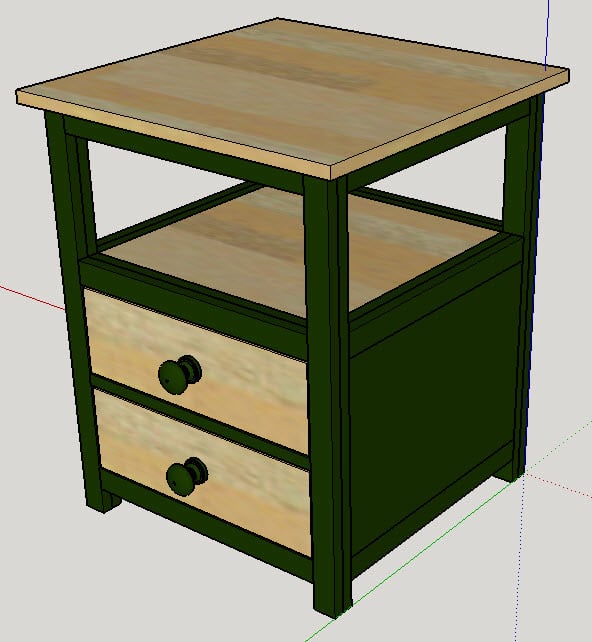
Rhyan End Table - Turtlecove Variant
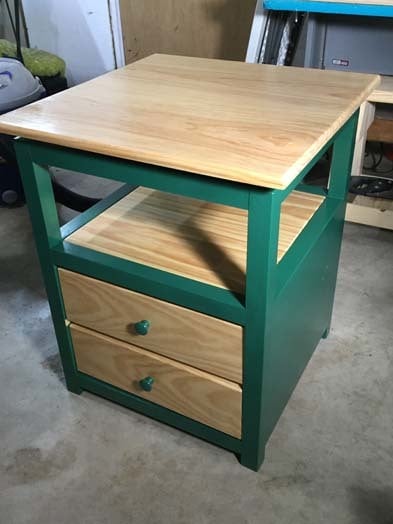
What I really liked about this plan is its versatility. Relatively easy with pocket hole joinery and inexpensive materials, I used paint to match existing furniture and solid wood tops and drawer fronts to add just a touch of elegance.
Built from Plan(s)
Estimated Cost
$150
Estimated Time Investment
Week Long Project (20 Hours or More)
Finish Used
one can green spray paint and General Finishes Top Coat gloss
Recommended Skill Level
Intermediate
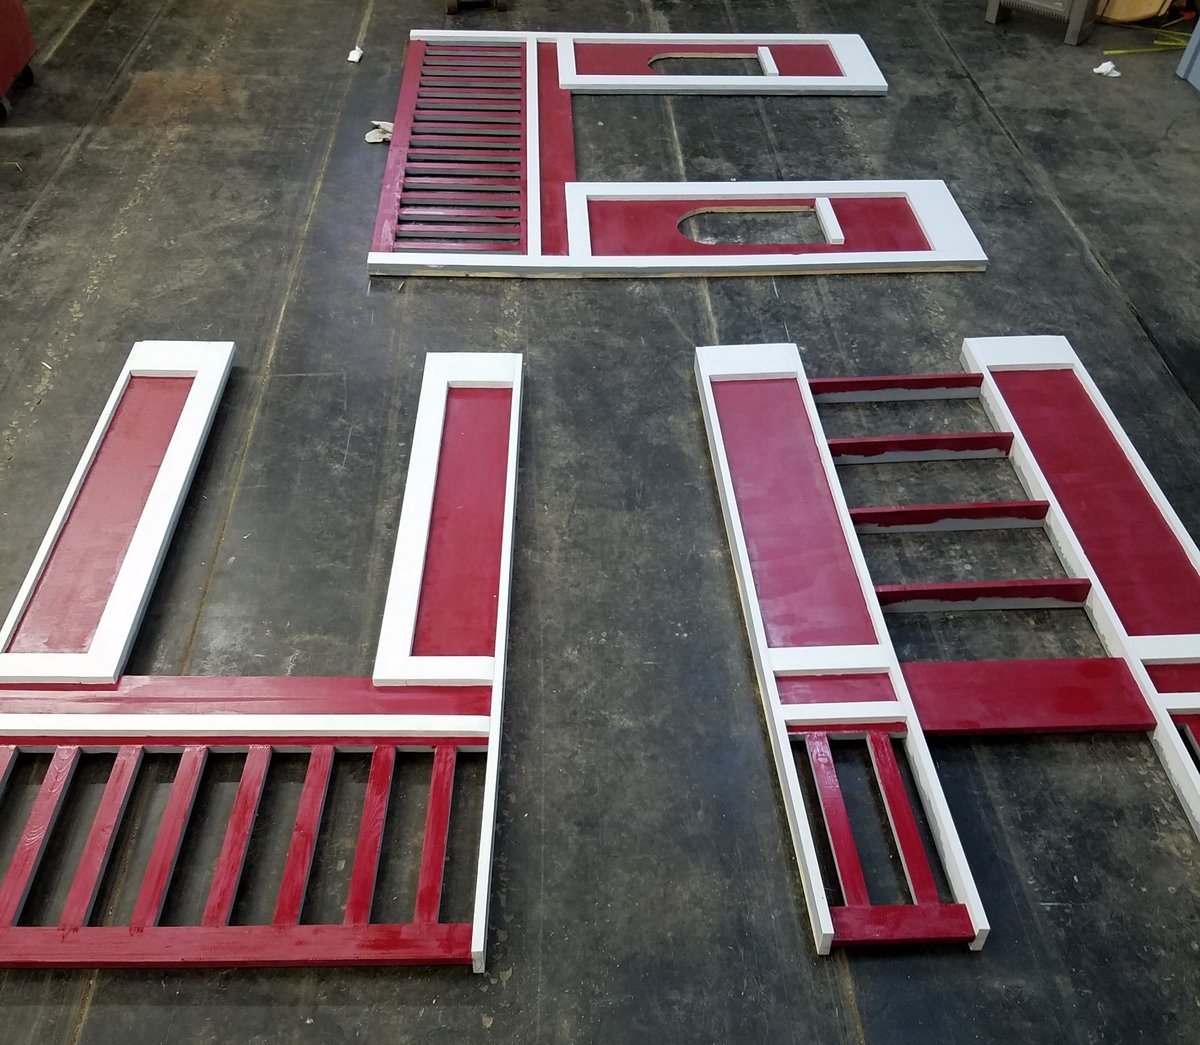
Fire Station Loft Bed
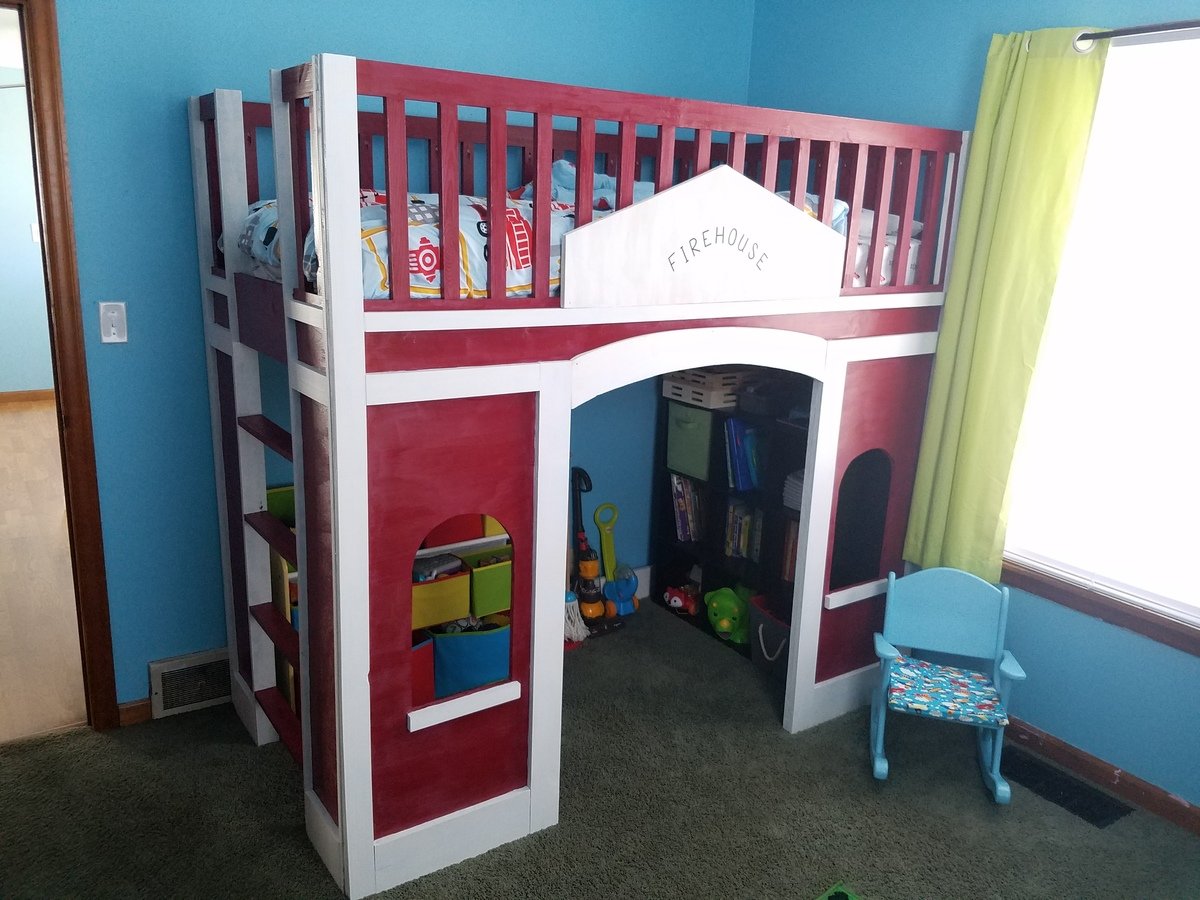
Fairly easy and fun build! We followed the plans almost entirely and spent a few hours each day throughout a week working on it, painting it was definitely the most time consuming part. It came together very easily in the bedroom and was done just in time to surprise our 3 year old for Christmas, he loves it! And I love that we can fit another twin bed underneath to turn it from a loft to bunk beds in the future.
Built from Plan(s)
Estimated Cost
$200
Estimated Time Investment
Week Long Project (20 Hours or More)
Finish Used
Gray primer, Red door&trim paint, White paint
Recommended Skill Level
Beginner
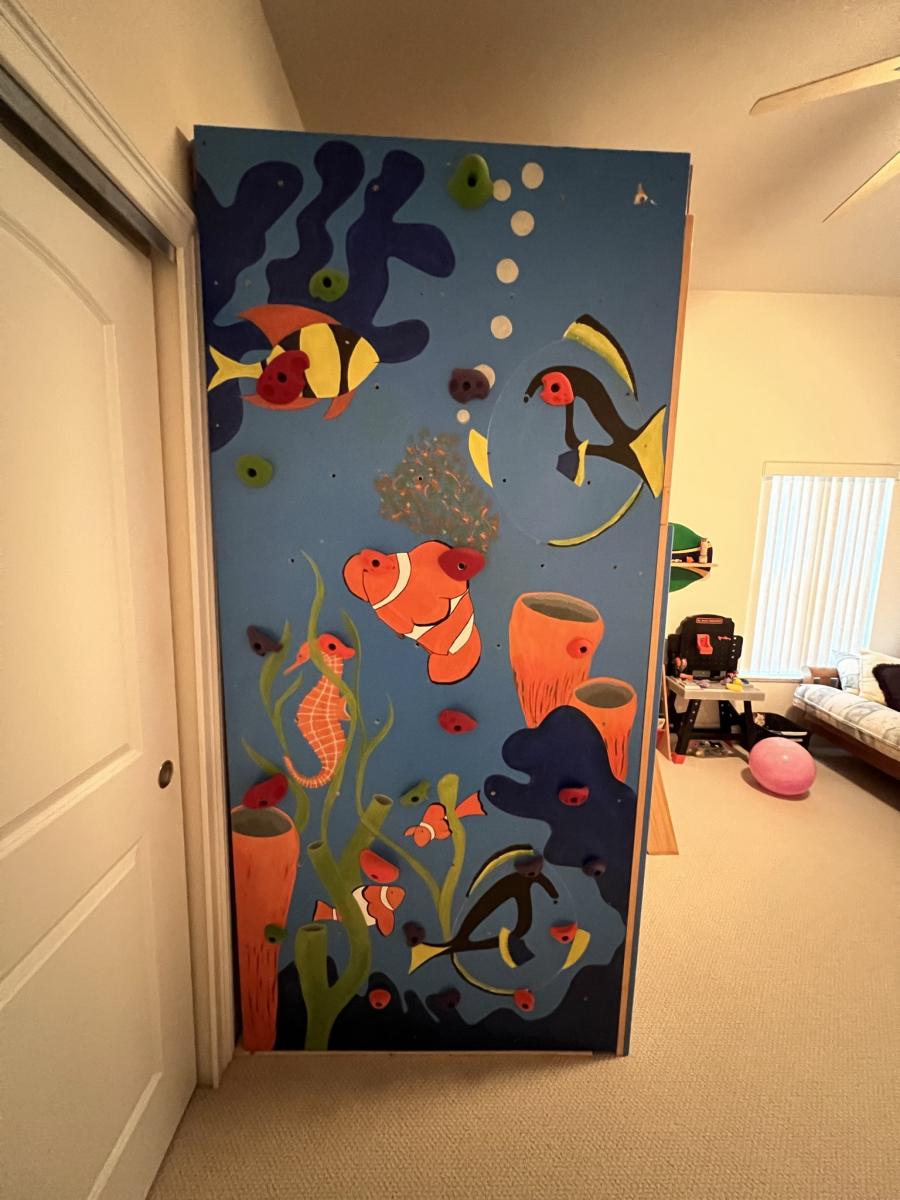
Clubhouse Bunkbed w/Climbing Wall
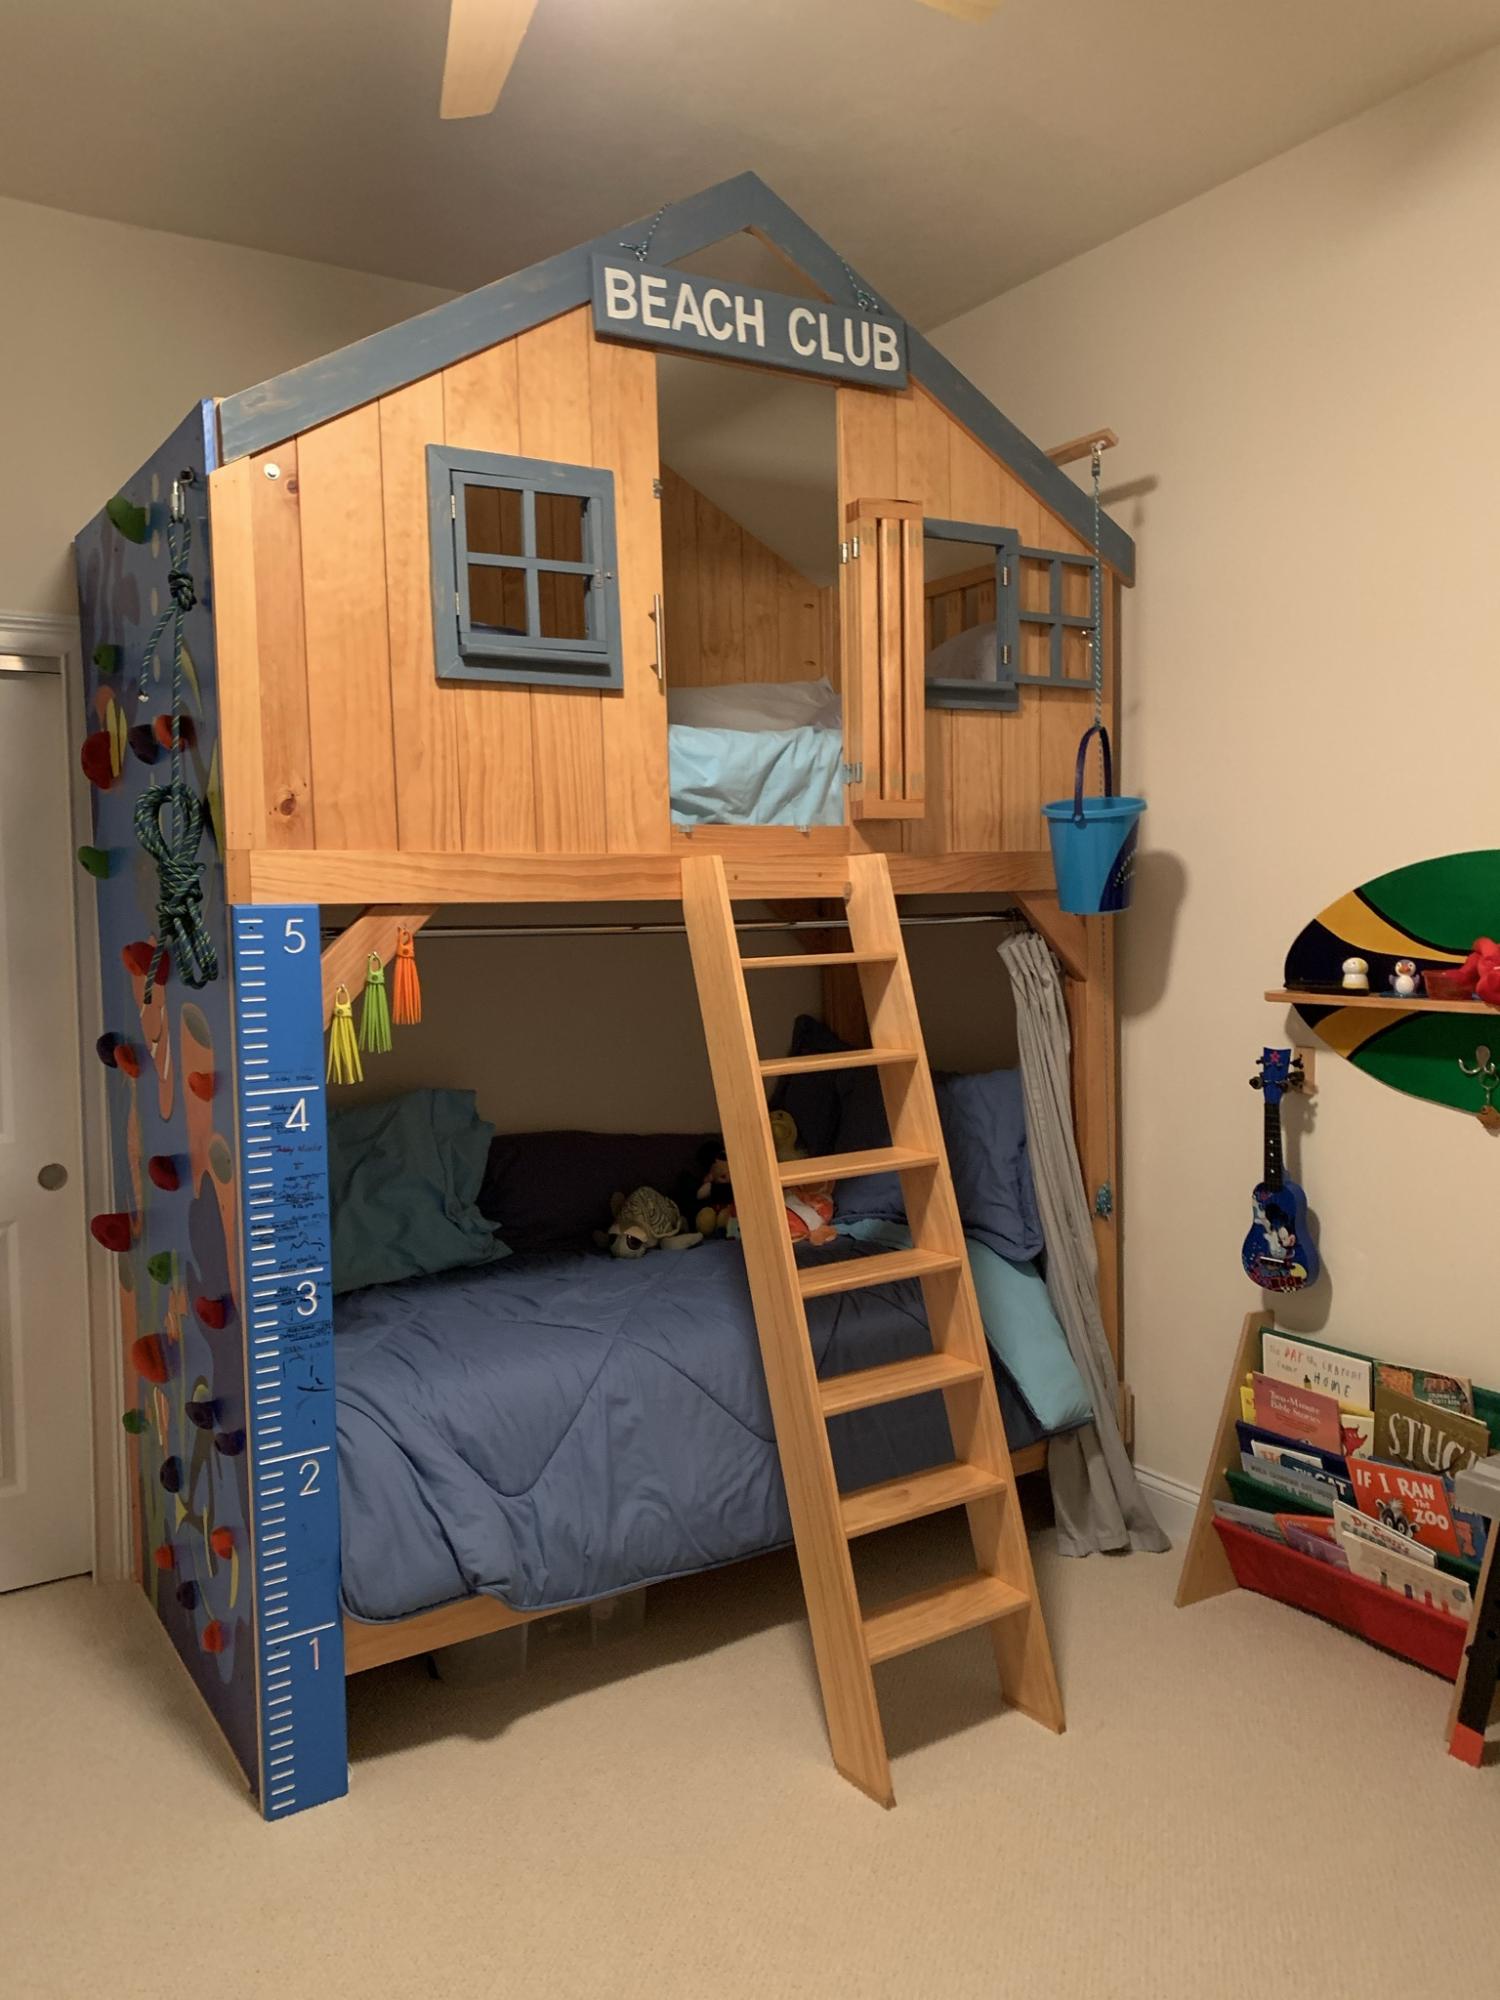
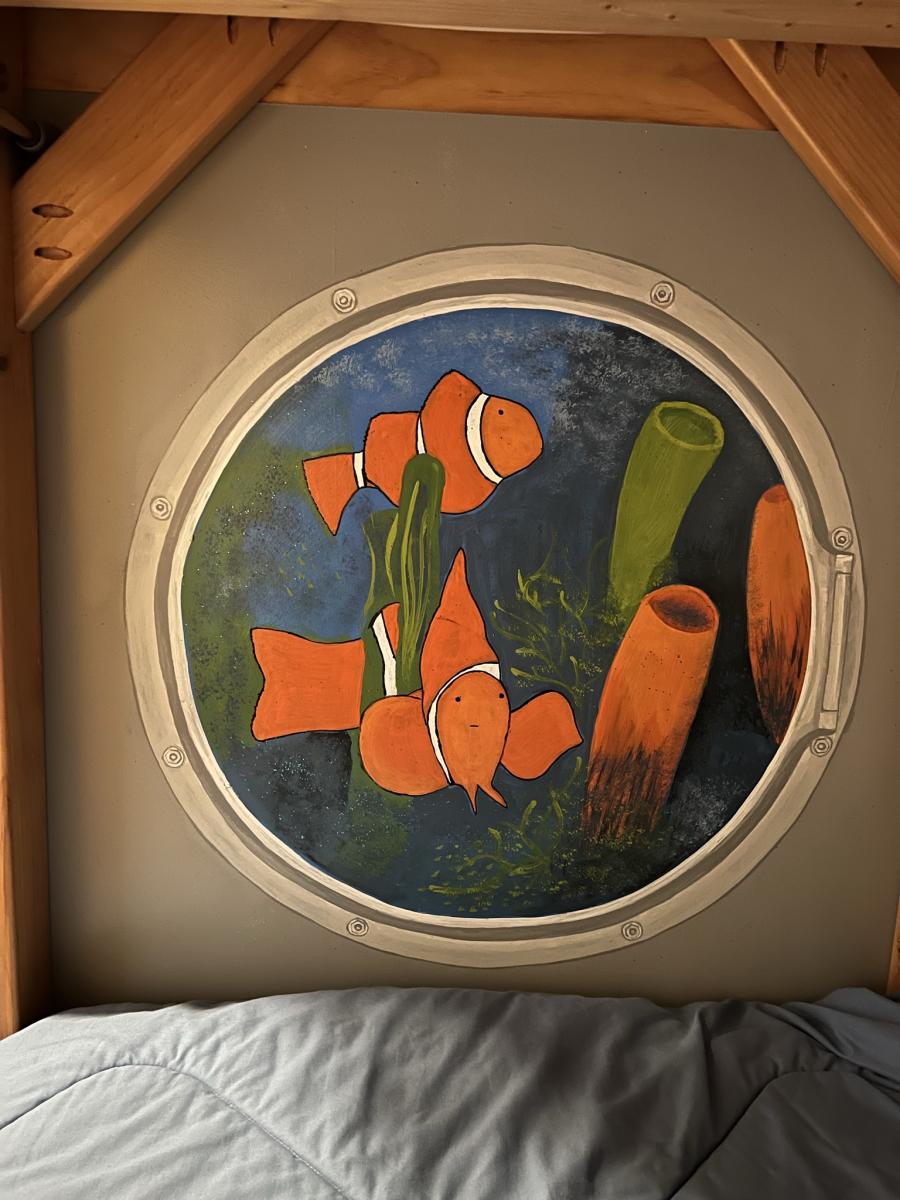
This is my first Anna White project that I built almost 10 years ago when I was a new grandma. Much to my surprise, it has endured and is still a fun place for 4 grandkids. I revised the Clubhouse bed plans by raising the loft and building it into a bunk bed (I have 10 foot ceilings making this possible), with one end covered by a 4x8' 3/4" plywood climbing wall (with toddler climbing set hardware) painted in seascape that allows them to climb up and over rather than using the removable ladder. I also added a tri-fold latching "baby gate" to the loft for safety if I was called out of the room while the littlest ones were up in the clubhouse. I also added a bucket on a pulley system to let the kids "deliver" items to the clubhouse window from the ground and a "flood level" measuring stick to let them measure their growth progress. To cover the backside of the plywood climbing wall and the hold screws and make sure all was nice and smooth, I added a 1/4 MDF sheet on the inside and painted with a porthole to simulate a submarine when the curtain is closed.
Built from Plan(s)
Comments
Wed, 11/09/2022 - 10:11
Amazing project!
You have to be the sweetest grandma around, this is so awesome! Love all the added details and growth chart, thank you for sharing.
Bedside Tables

This is our very first building project from plans. We loved them. Our first night stand twisted because our 2x2s weren't as straight as we thought they were. With a few times of repositioning them, it turned out fine. The 2nd night stand went together much quicker and easier.
We are hooked! Thank you Ana for great plans!
Built from Plan(s)
Estimated Cost
$52 each
Estimated Time Investment
Weekend Project (10-20 Hours)
Finish Used
Dark Walnut Stain and polyurethane
Recommended Skill Level
Intermediate
Comments

Sun, 09/04/2011 - 19:47
Awesome first project
These look wonderful! I love the look of the wood grain through the stain. Good job :)
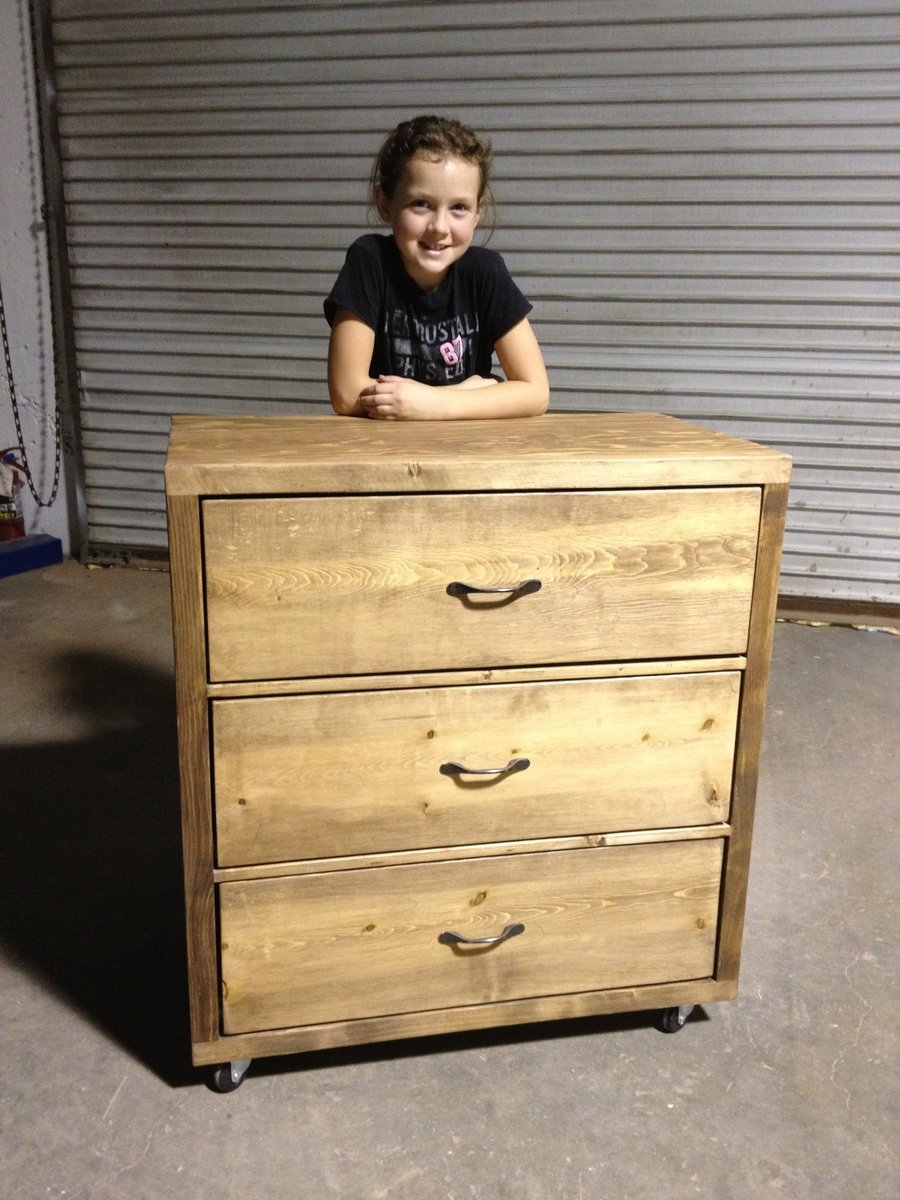
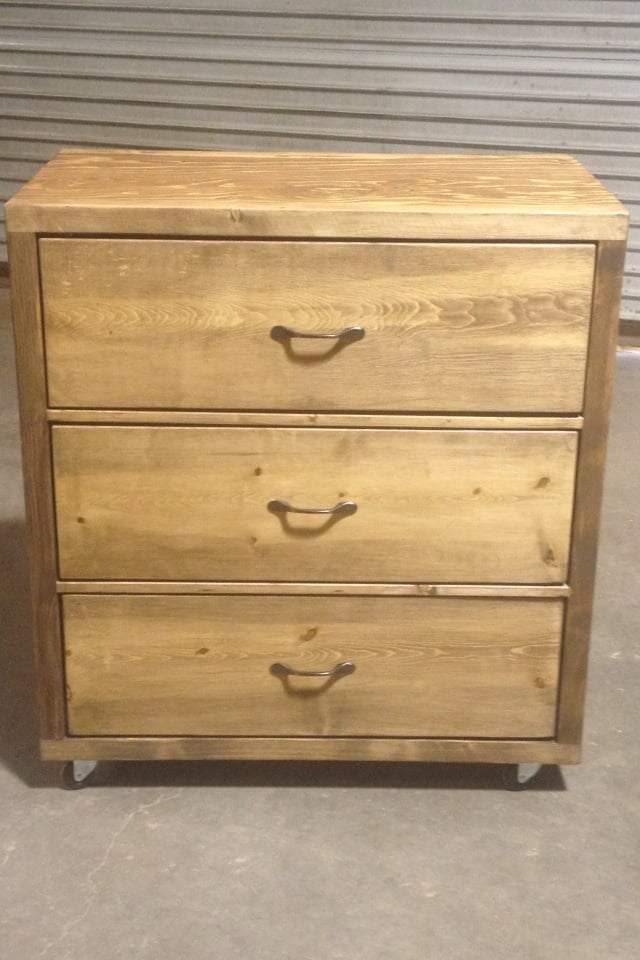
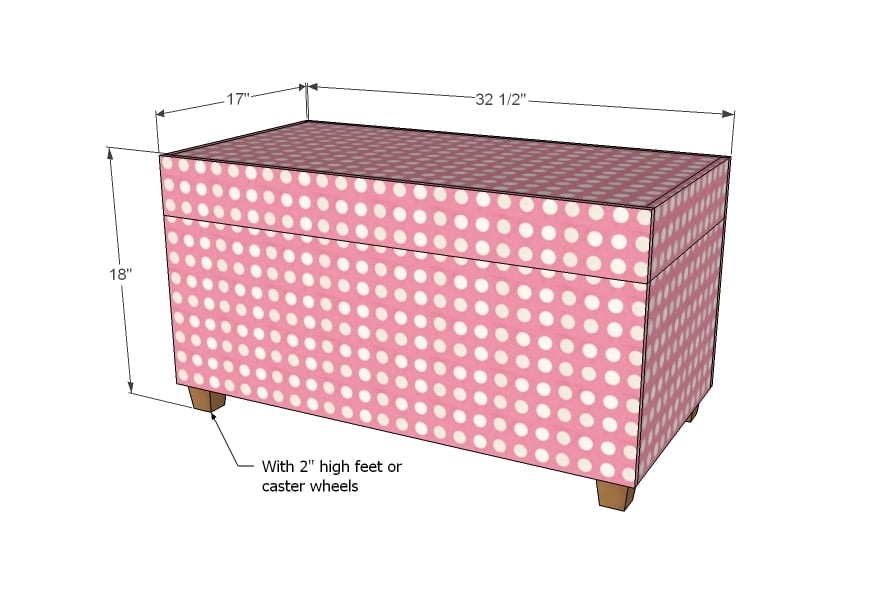
3 drawer rolling dresser

Super fun and easy! This was my first kreg jig build! Not sure how I got by before I got one!
Built from Plan(s)
Estimated Cost
$130
Estimated Time Investment
Day Project (6-9 Hours)
Finish Used
Dark walnut wiped off after 5 min.
Recommended Skill Level
Beginner
Comments
Console table
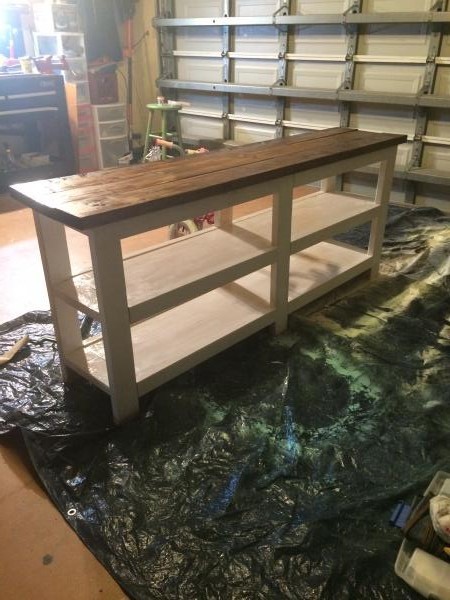
Loved building this table. This was my first time building anything! I have a lot to learn but I think it turned out great!
Built from Plan(s)
Estimated Cost
$60
Estimated Time Investment
Weekend Project (10-20 Hours)
Finish Used
Mission oak stain on top and chalk paint in kid gloves color
Recommended Skill Level
Intermediate
Rustic X coffee table
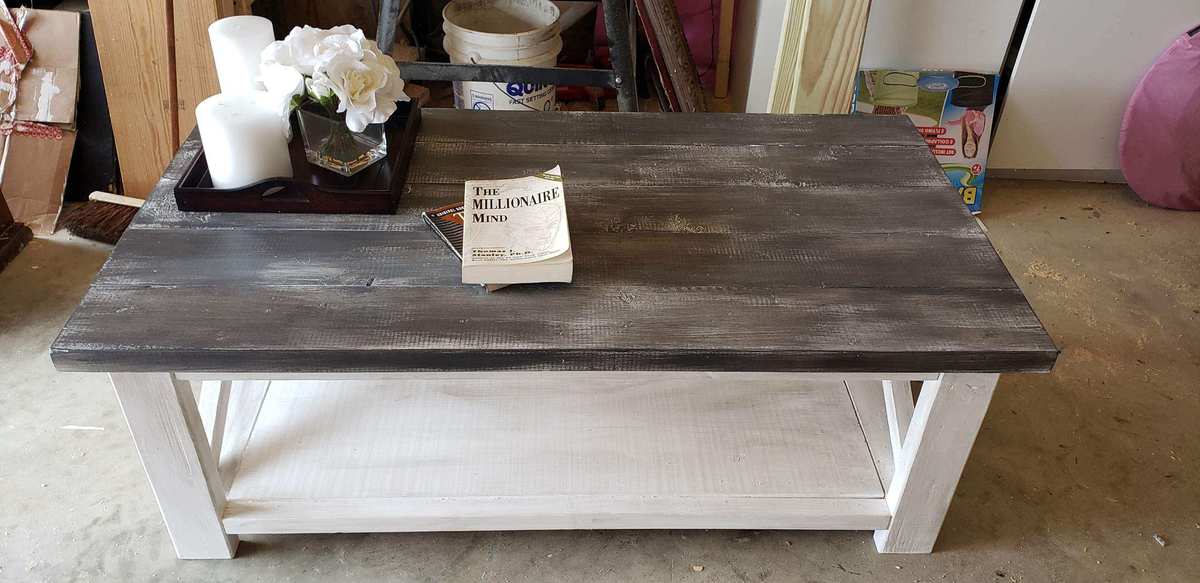
First coffee table build. Plans were perfect! Built for $50, sold for $255
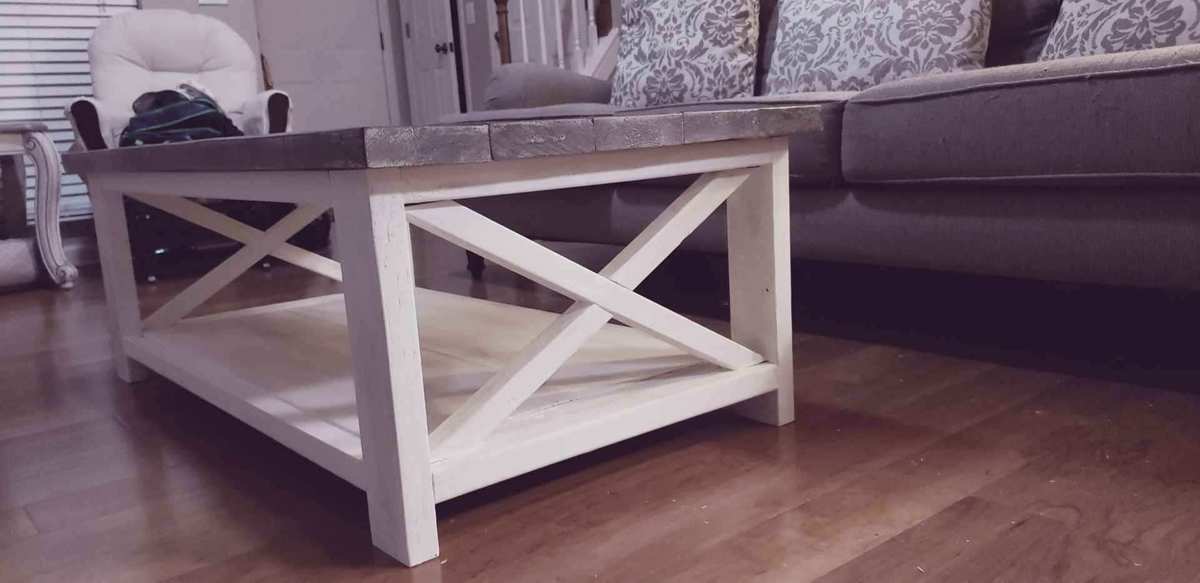
Built from Plan(s)
Estimated Cost
50
Estimated Time Investment
Day Project (6-9 Hours)
Finish Used
Chalk paint
Recommended Skill Level
Beginner
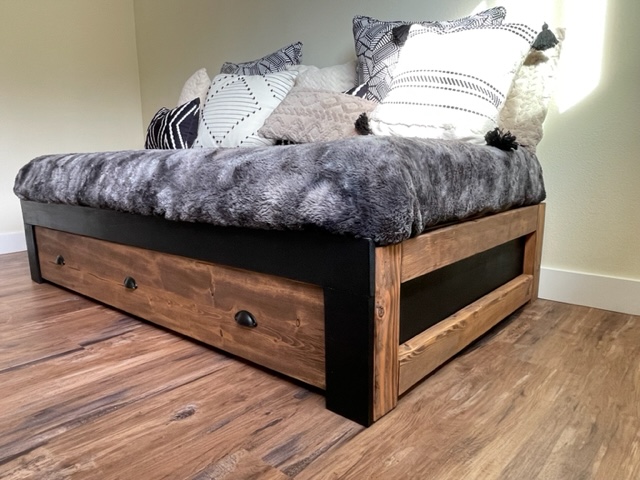
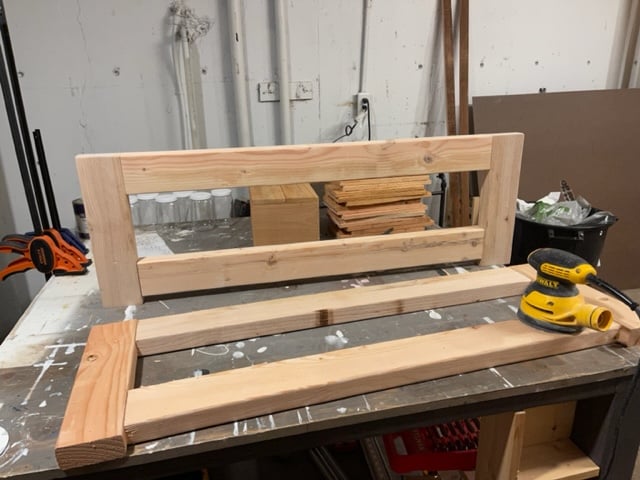
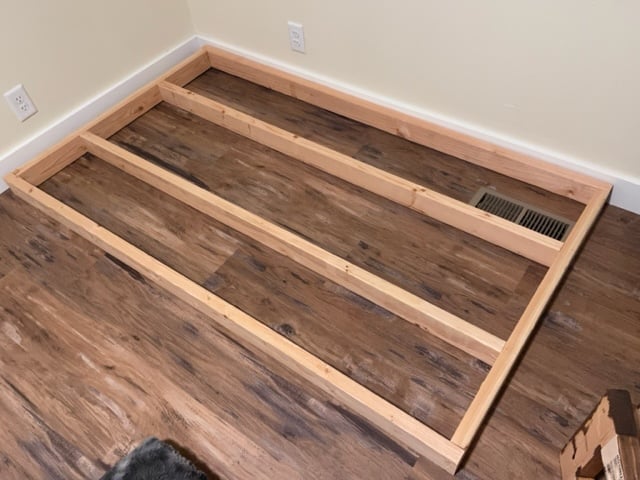
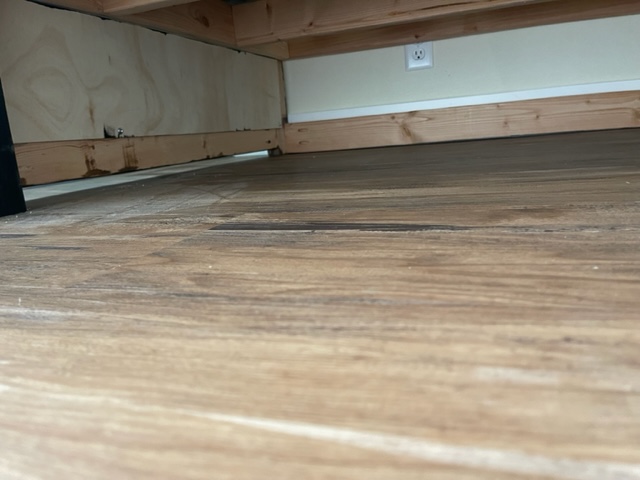
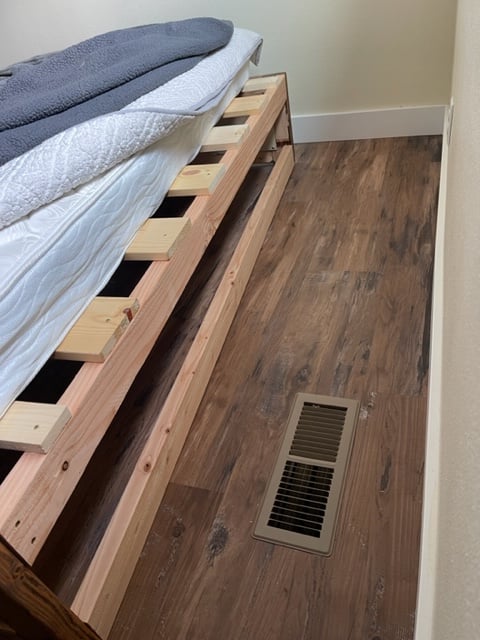
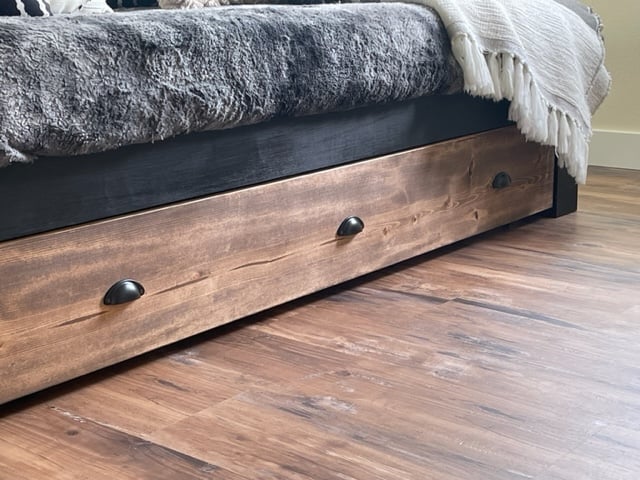
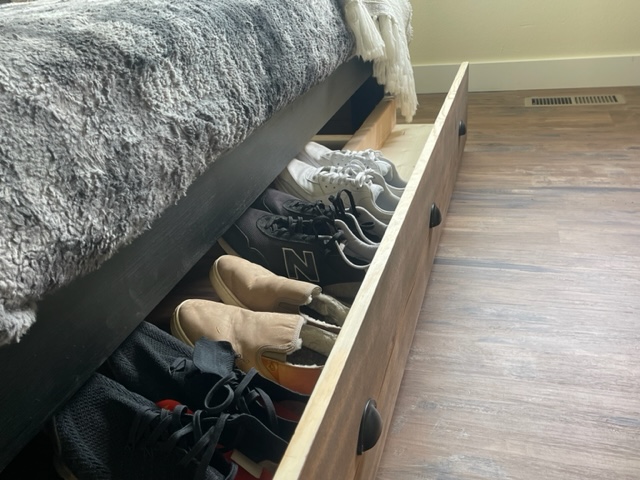
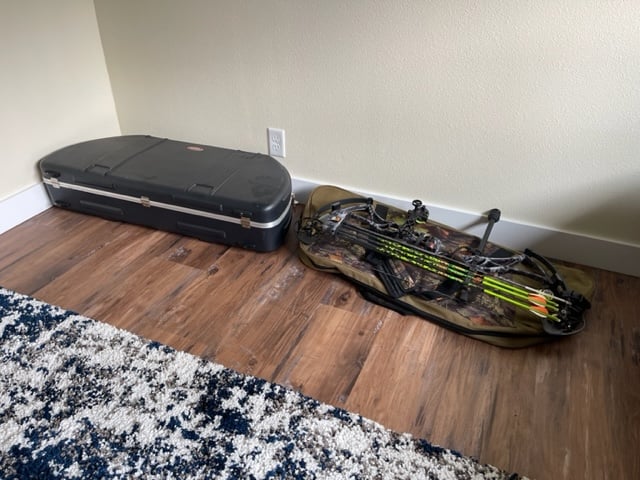
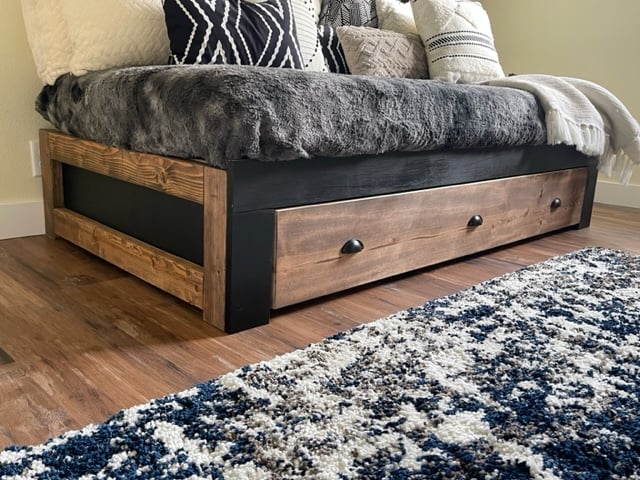
Platform Bed with Shoe Trundle
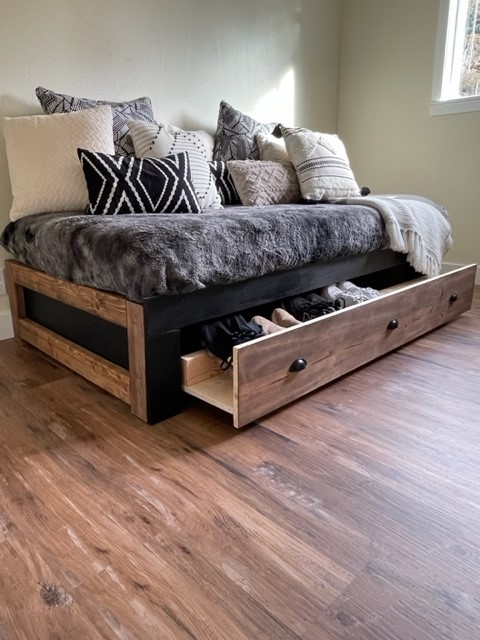
We had some bulky items that needed to be stored. So I came up with dimensions for a low platform bed so the bows could slide under. I decided to build a faux drawer to conceal the bulky items and added shoe storage into the faux trundle drawer. Of course I used one of Ana's plans for the basic idea and modified from there!

Built from Plan(s)
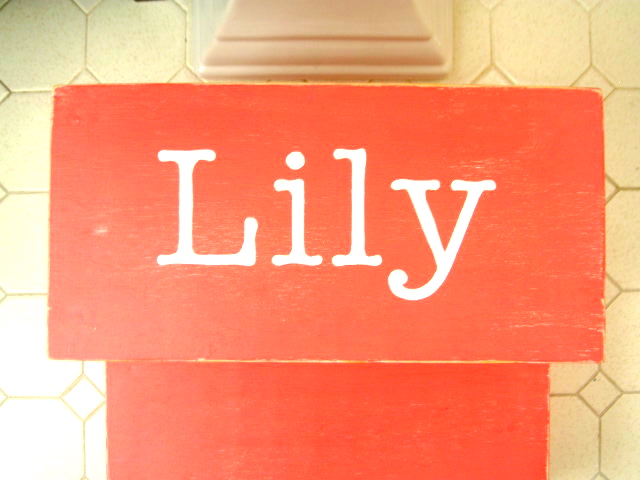
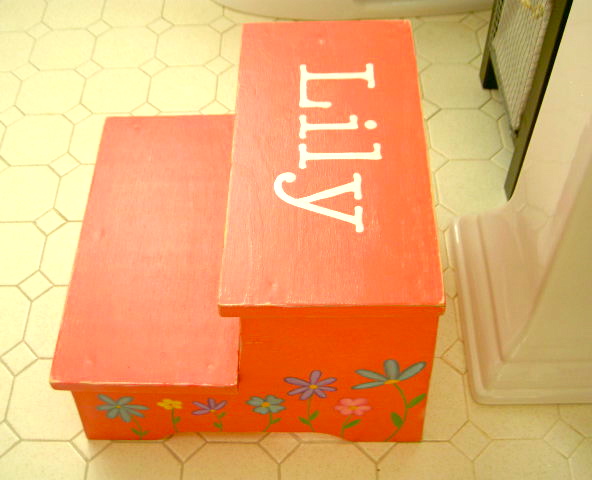
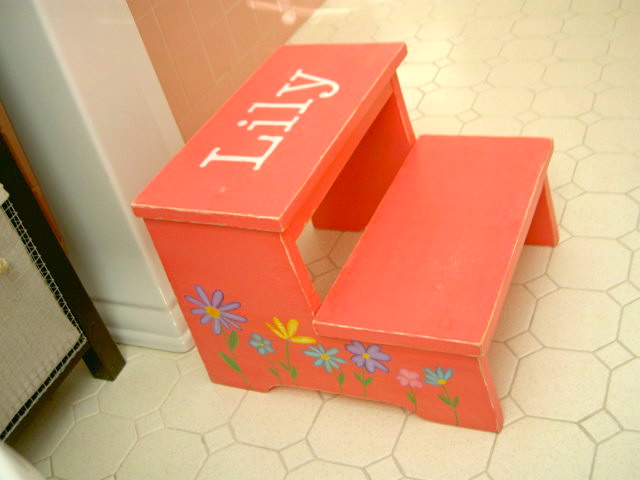
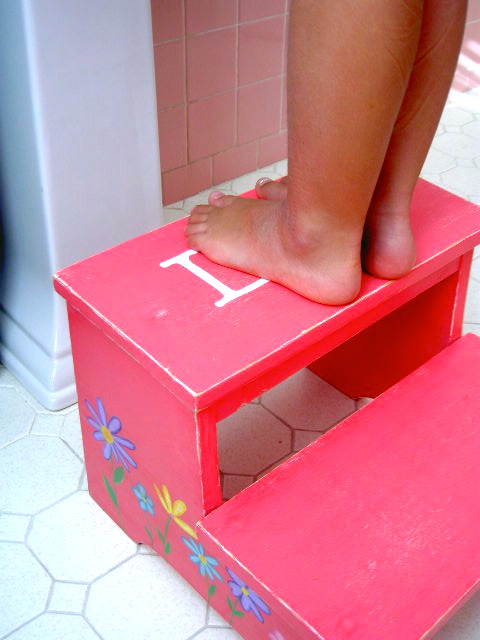
step stool #2
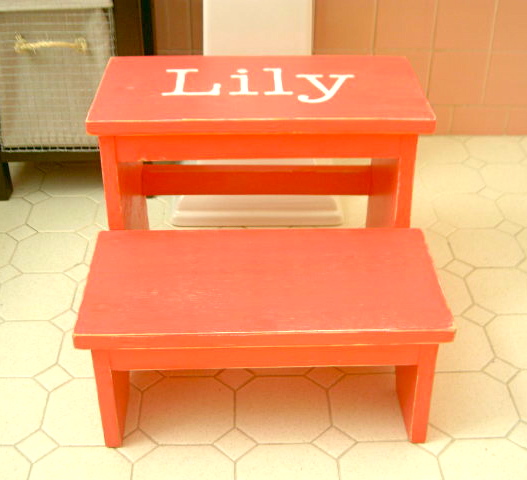
kids step stool made using scraps, personalized with name and flowers

Estimated Cost
$0
Estimated Time Investment
Afternoon Project (3-6 Hours)
Finish Used
1. prime
2. two coats Behr watermelon
3. satin poly
2. two coats Behr watermelon
3. satin poly
Recommended Skill Level
Beginner
Comments

Sat, 09/03/2011 - 10:02
LOVE the name and flowers!
LOVE the name and flowers! Just adds such a charming touch!

In reply to LOVE the name and flowers! by Ana White
Sat, 09/03/2011 - 19:14
Thanks Ana
comments from you truly make my day. I'm working on a big build (Brady Entry units x 2) custom size, mixed finishes. Thank goodness kids go back to school on Wed., Mommy needs some 'build time'. Enjoy the long weekend.
West Elm Outdoor Sectional

My husband surprised me by making this sectional after I found the plans on your site. THANK YOU! We love it! It's been the centre of many cocktails and conversations over the years!
Note: cost includes the cost of the outdoor cushions which were purchased at Lowes Canada and slightly modified.
Estimated Cost
$800.00, including cushions
Estimated Time Investment
Weekend Project (10-20 Hours)
Finish Used
Left as is. This sectional sits outside all year long (we store the cushions indoors over the winter).
Recommended Skill Level
Beginner
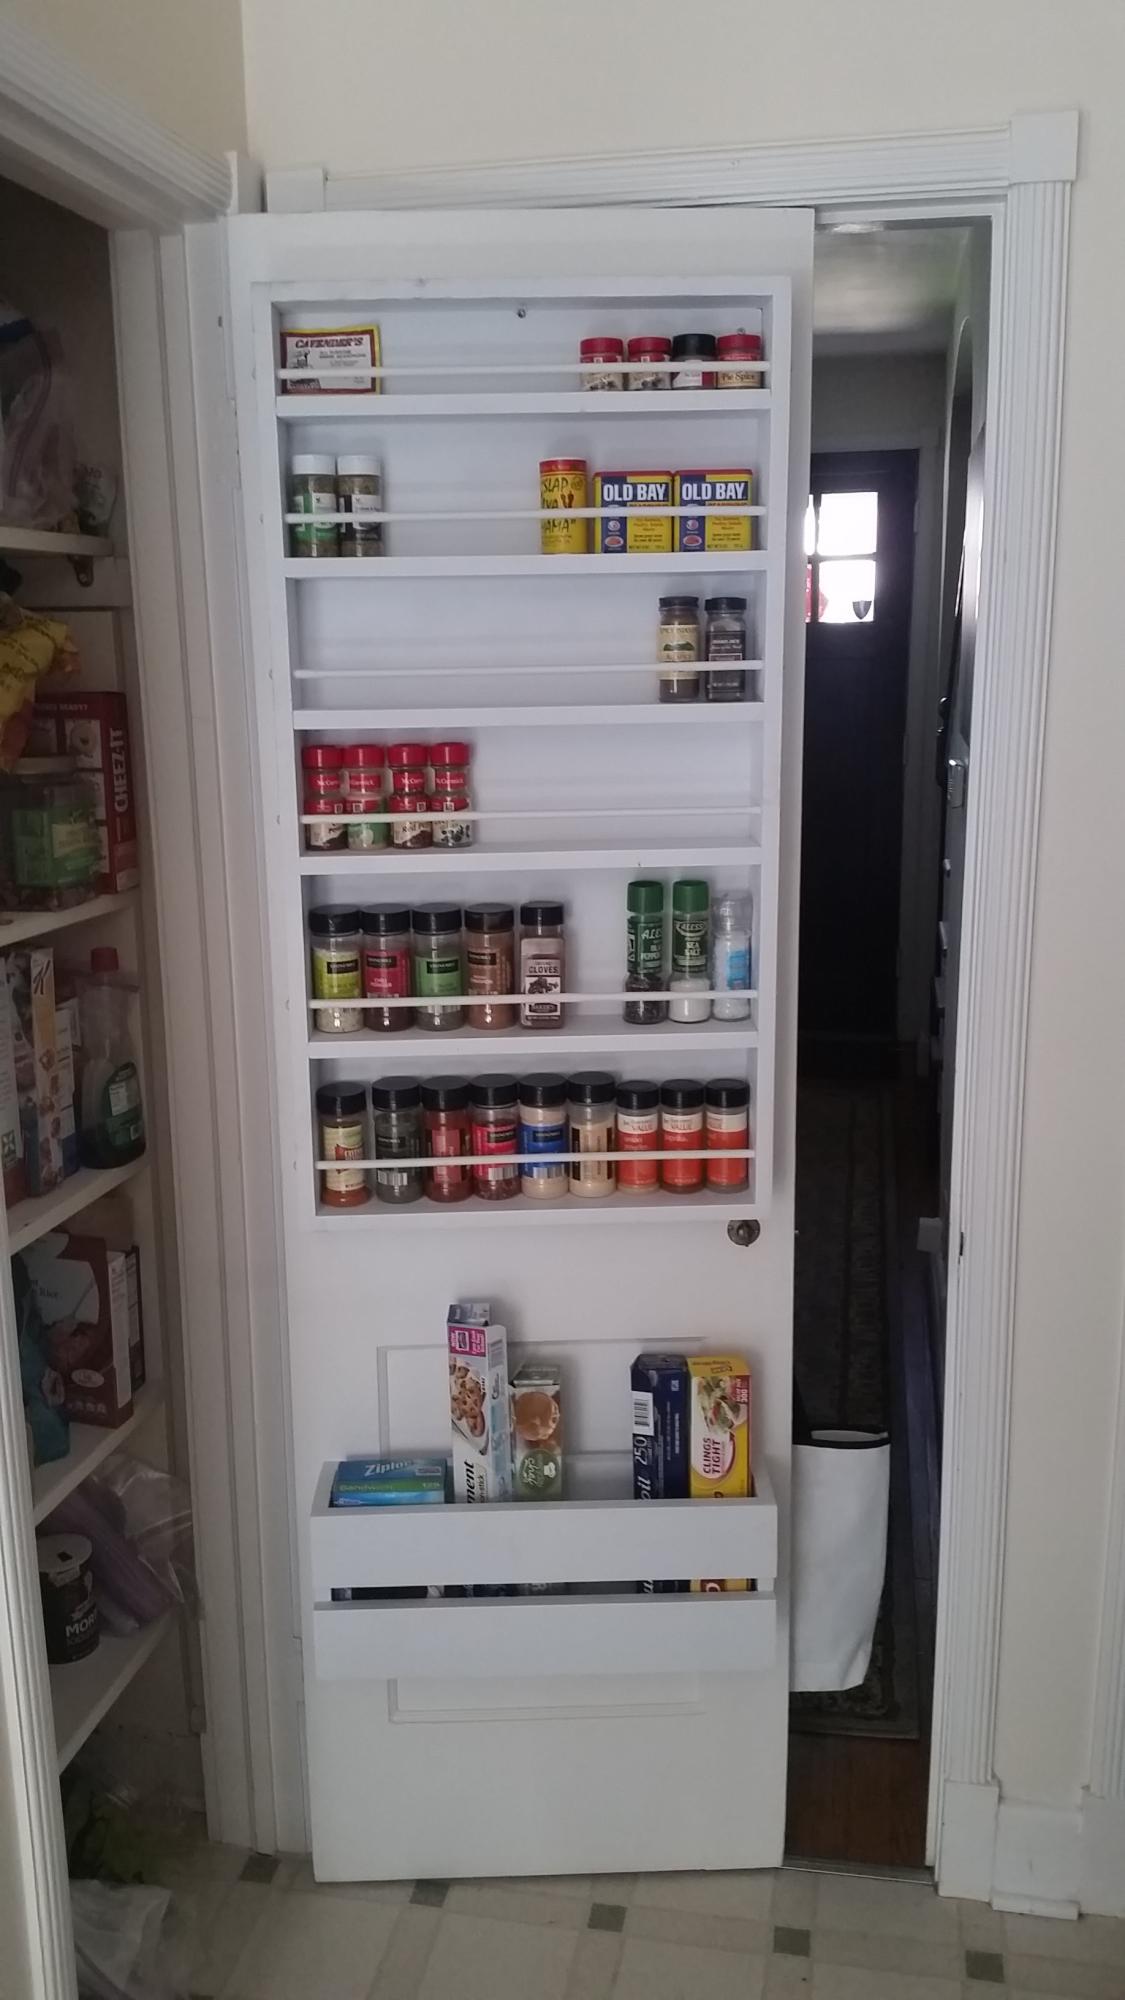
Wooden Slat Entry Closet

As the days have gotten shorter and the nights have grown colder I’ve found myself breaking out the winter coats and boots. The problem is, I didn’t have any place to store my coats or shoes. My house doesn’t have a coat closet. And in the past I’ve had a problem with scarves, shoes and winter gear clogging my front entryway. So I set out to come up with a solution. I needed inspiration. I needed guidance. My entry closet needed to be aesthetically pleasing because it would be near the front door and visible from the great room. So I went to Pinterest to search for a solution. I found these plans for an Industrial Style Wood Slat Closet System with Galvanized Pipes by Ana White.
Estimated Cost
$20 - I used wood I had in stock. So the only thing I purchased were the wooden dowels and screws.
Estimated Time Investment
Weekend Project (10-20 Hours)
Finish Used
Use what you have and make it work. Sometimes you can create the look for less by recycling items found within your workshop or home.
Recommended Skill Level
Intermediate
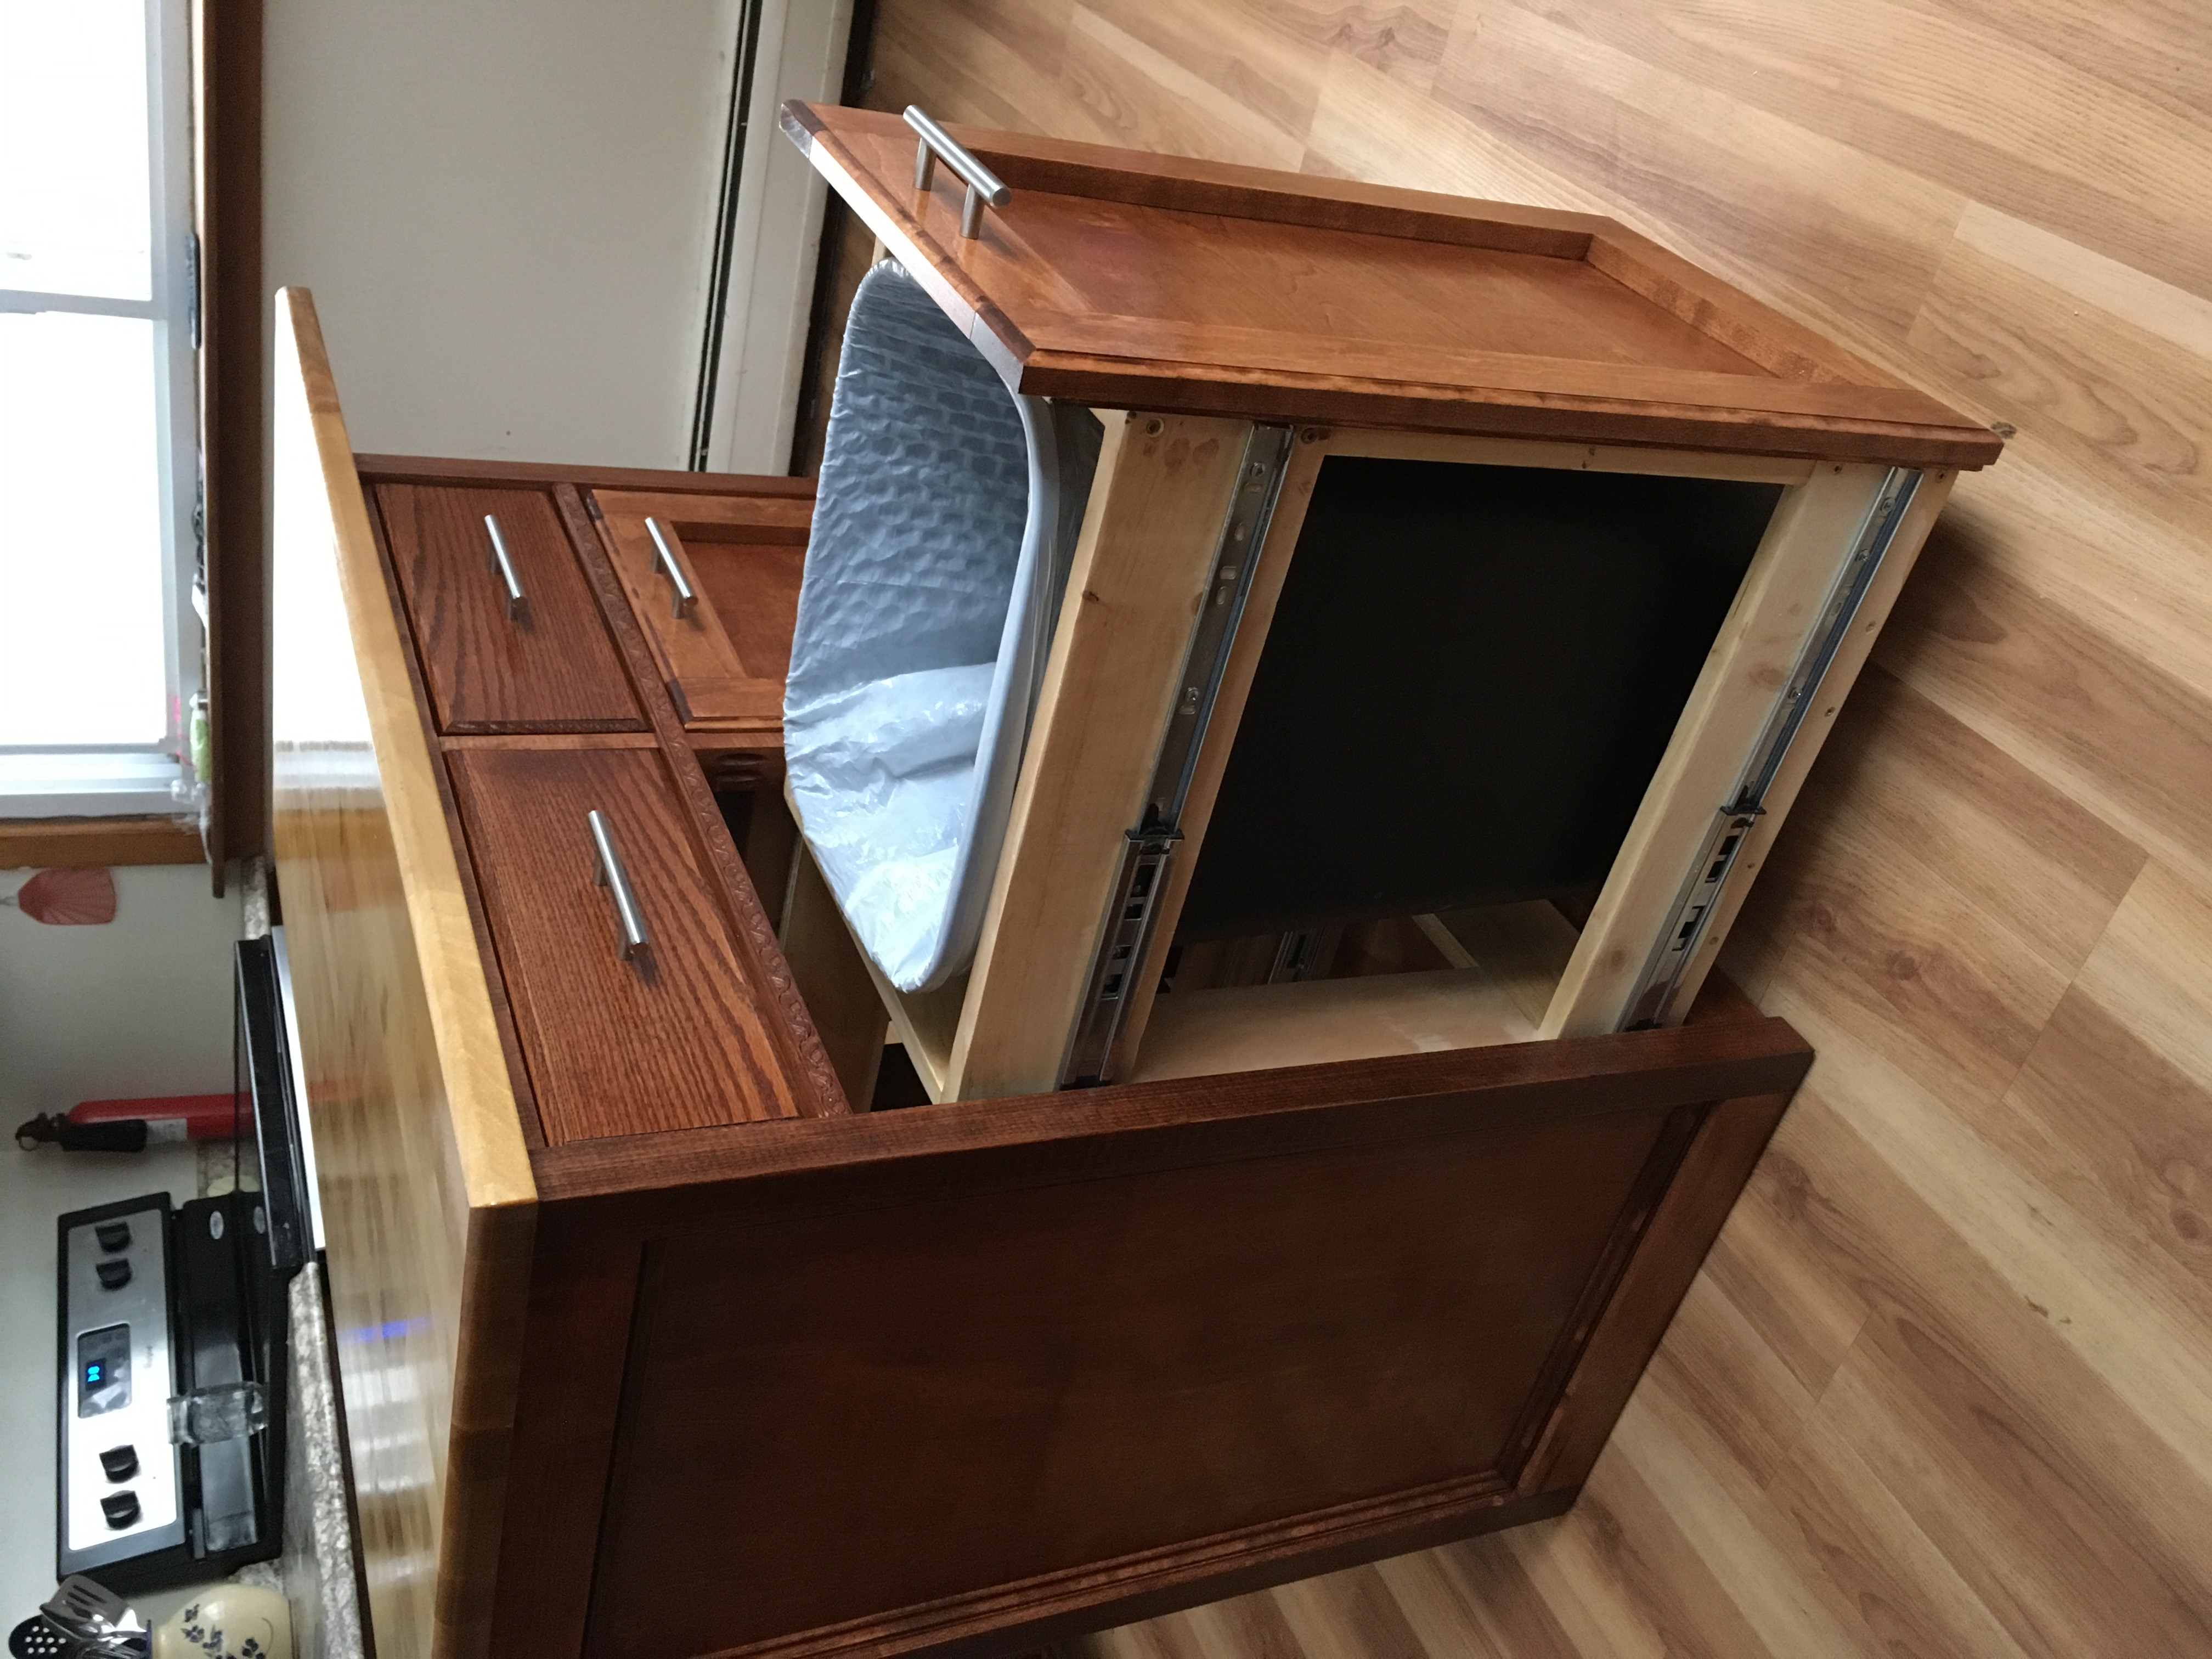
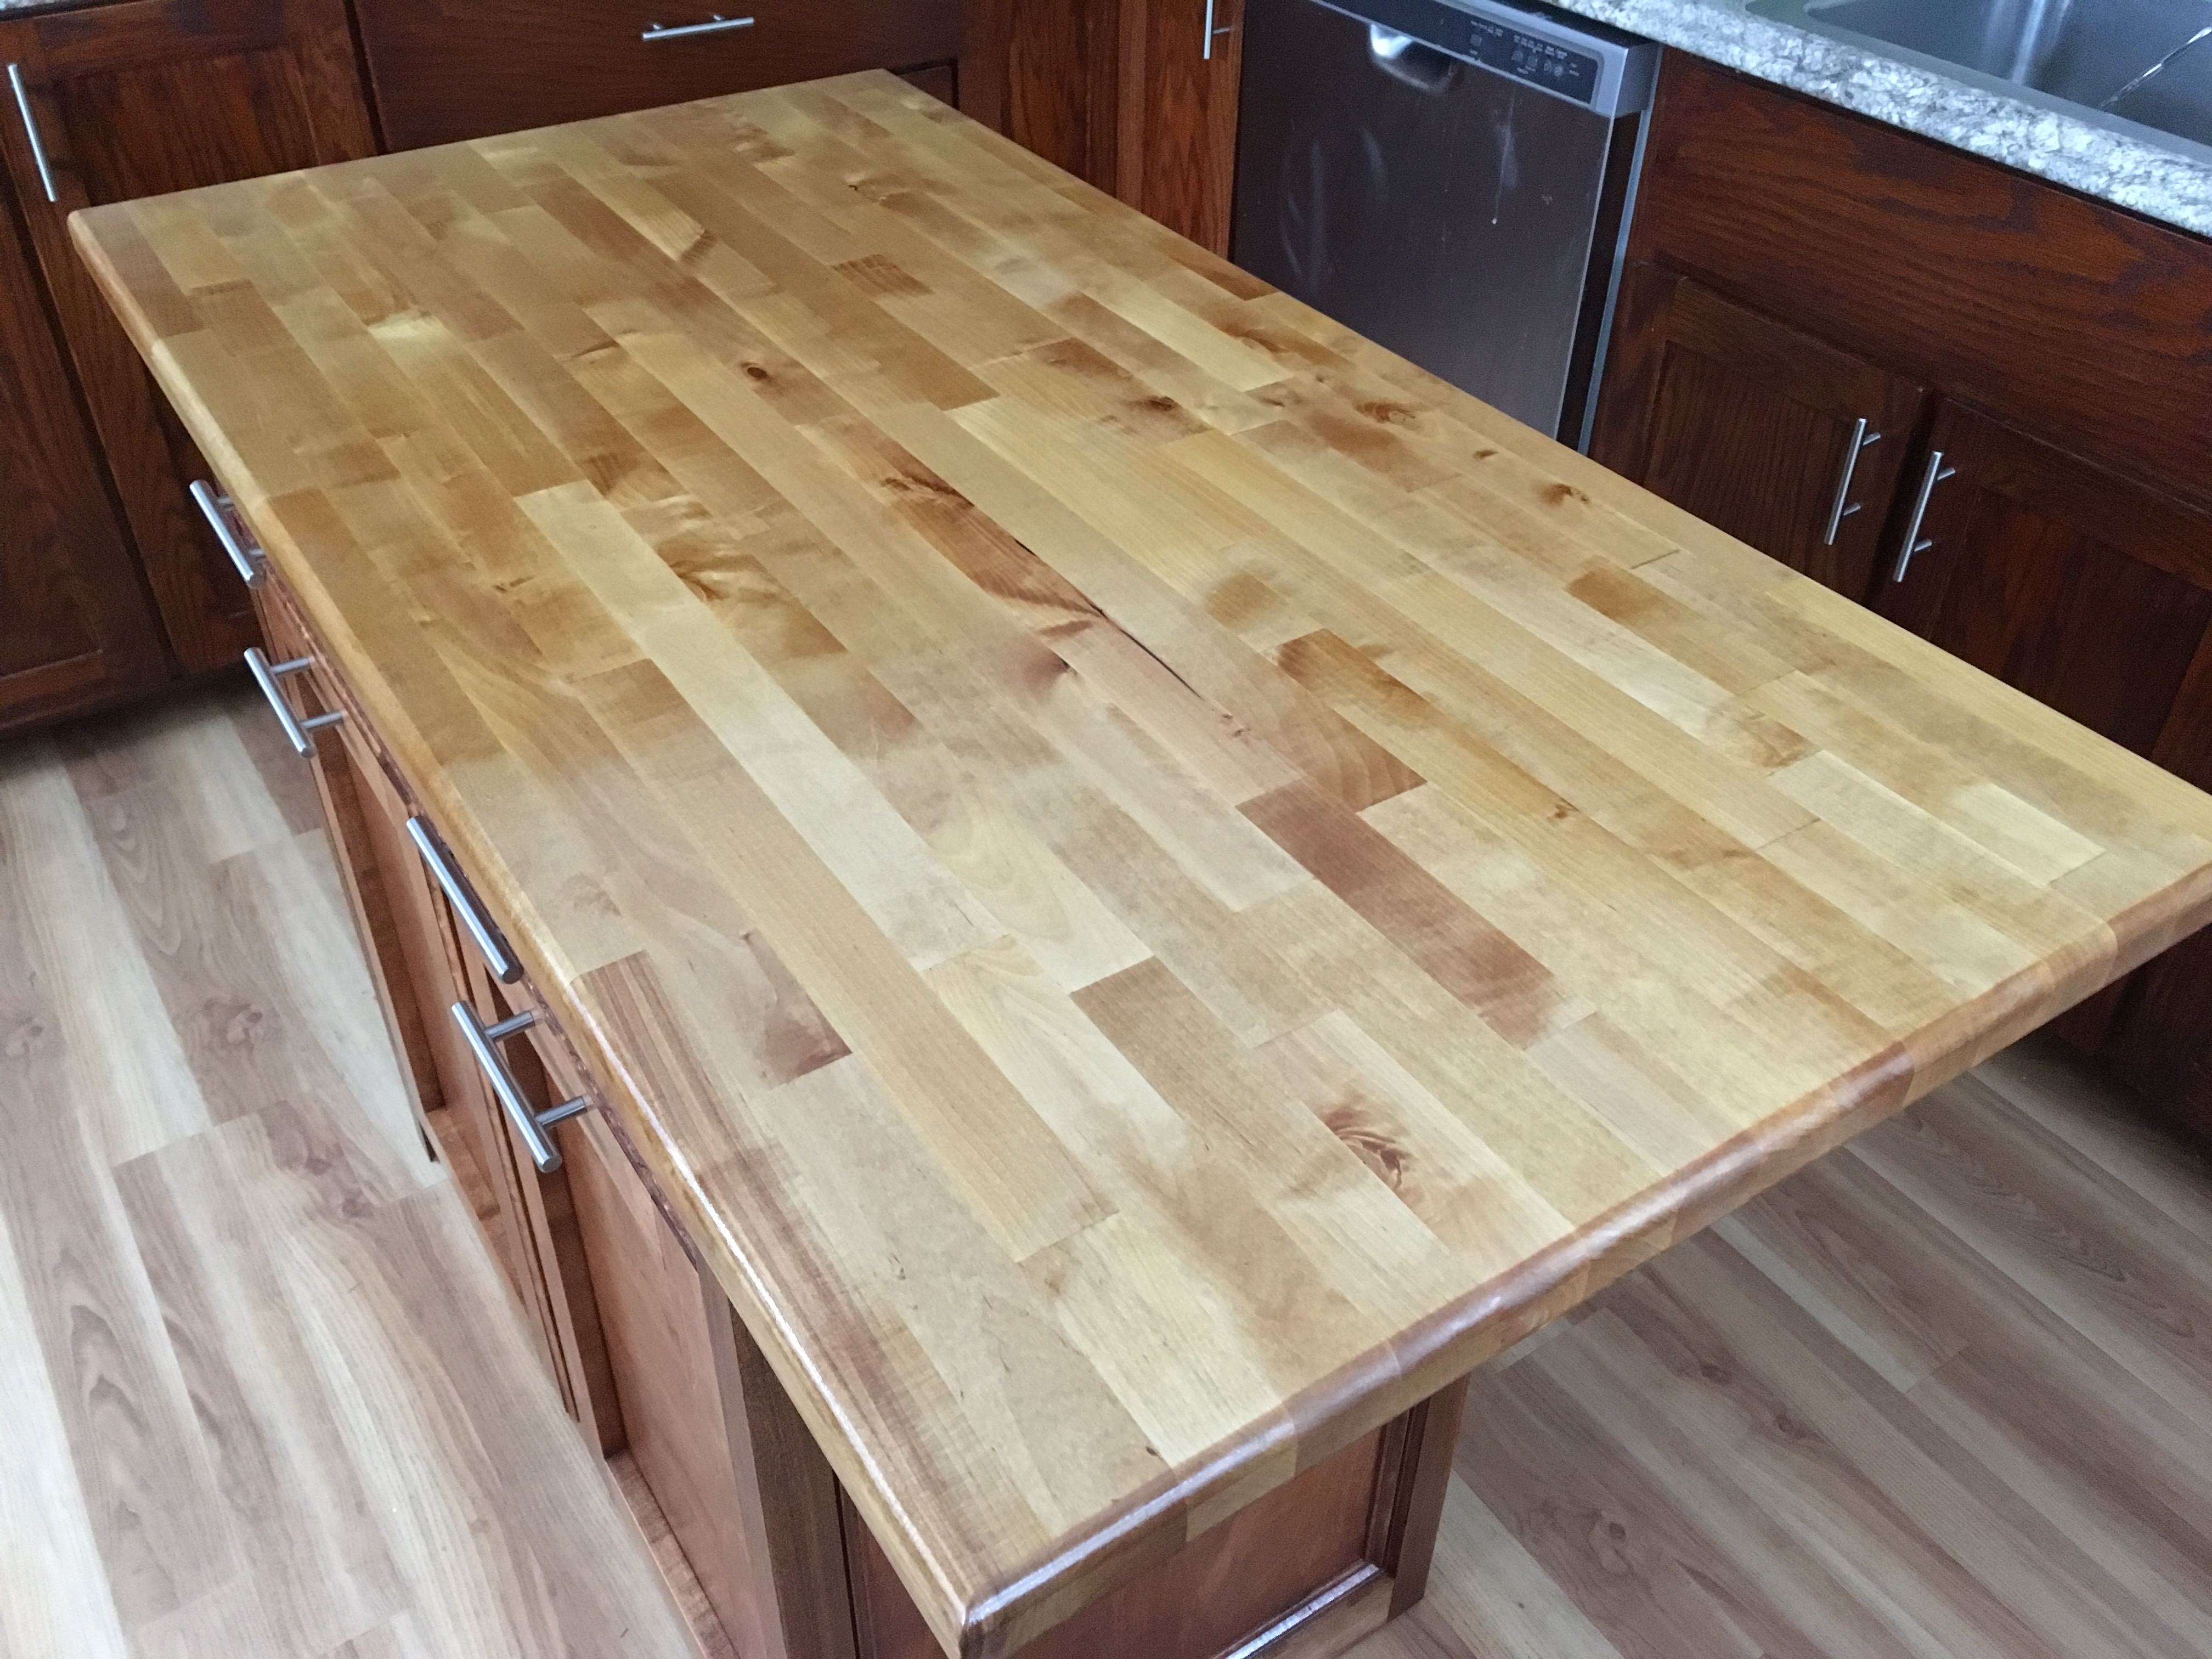
Recycling and Garbage Cabinet
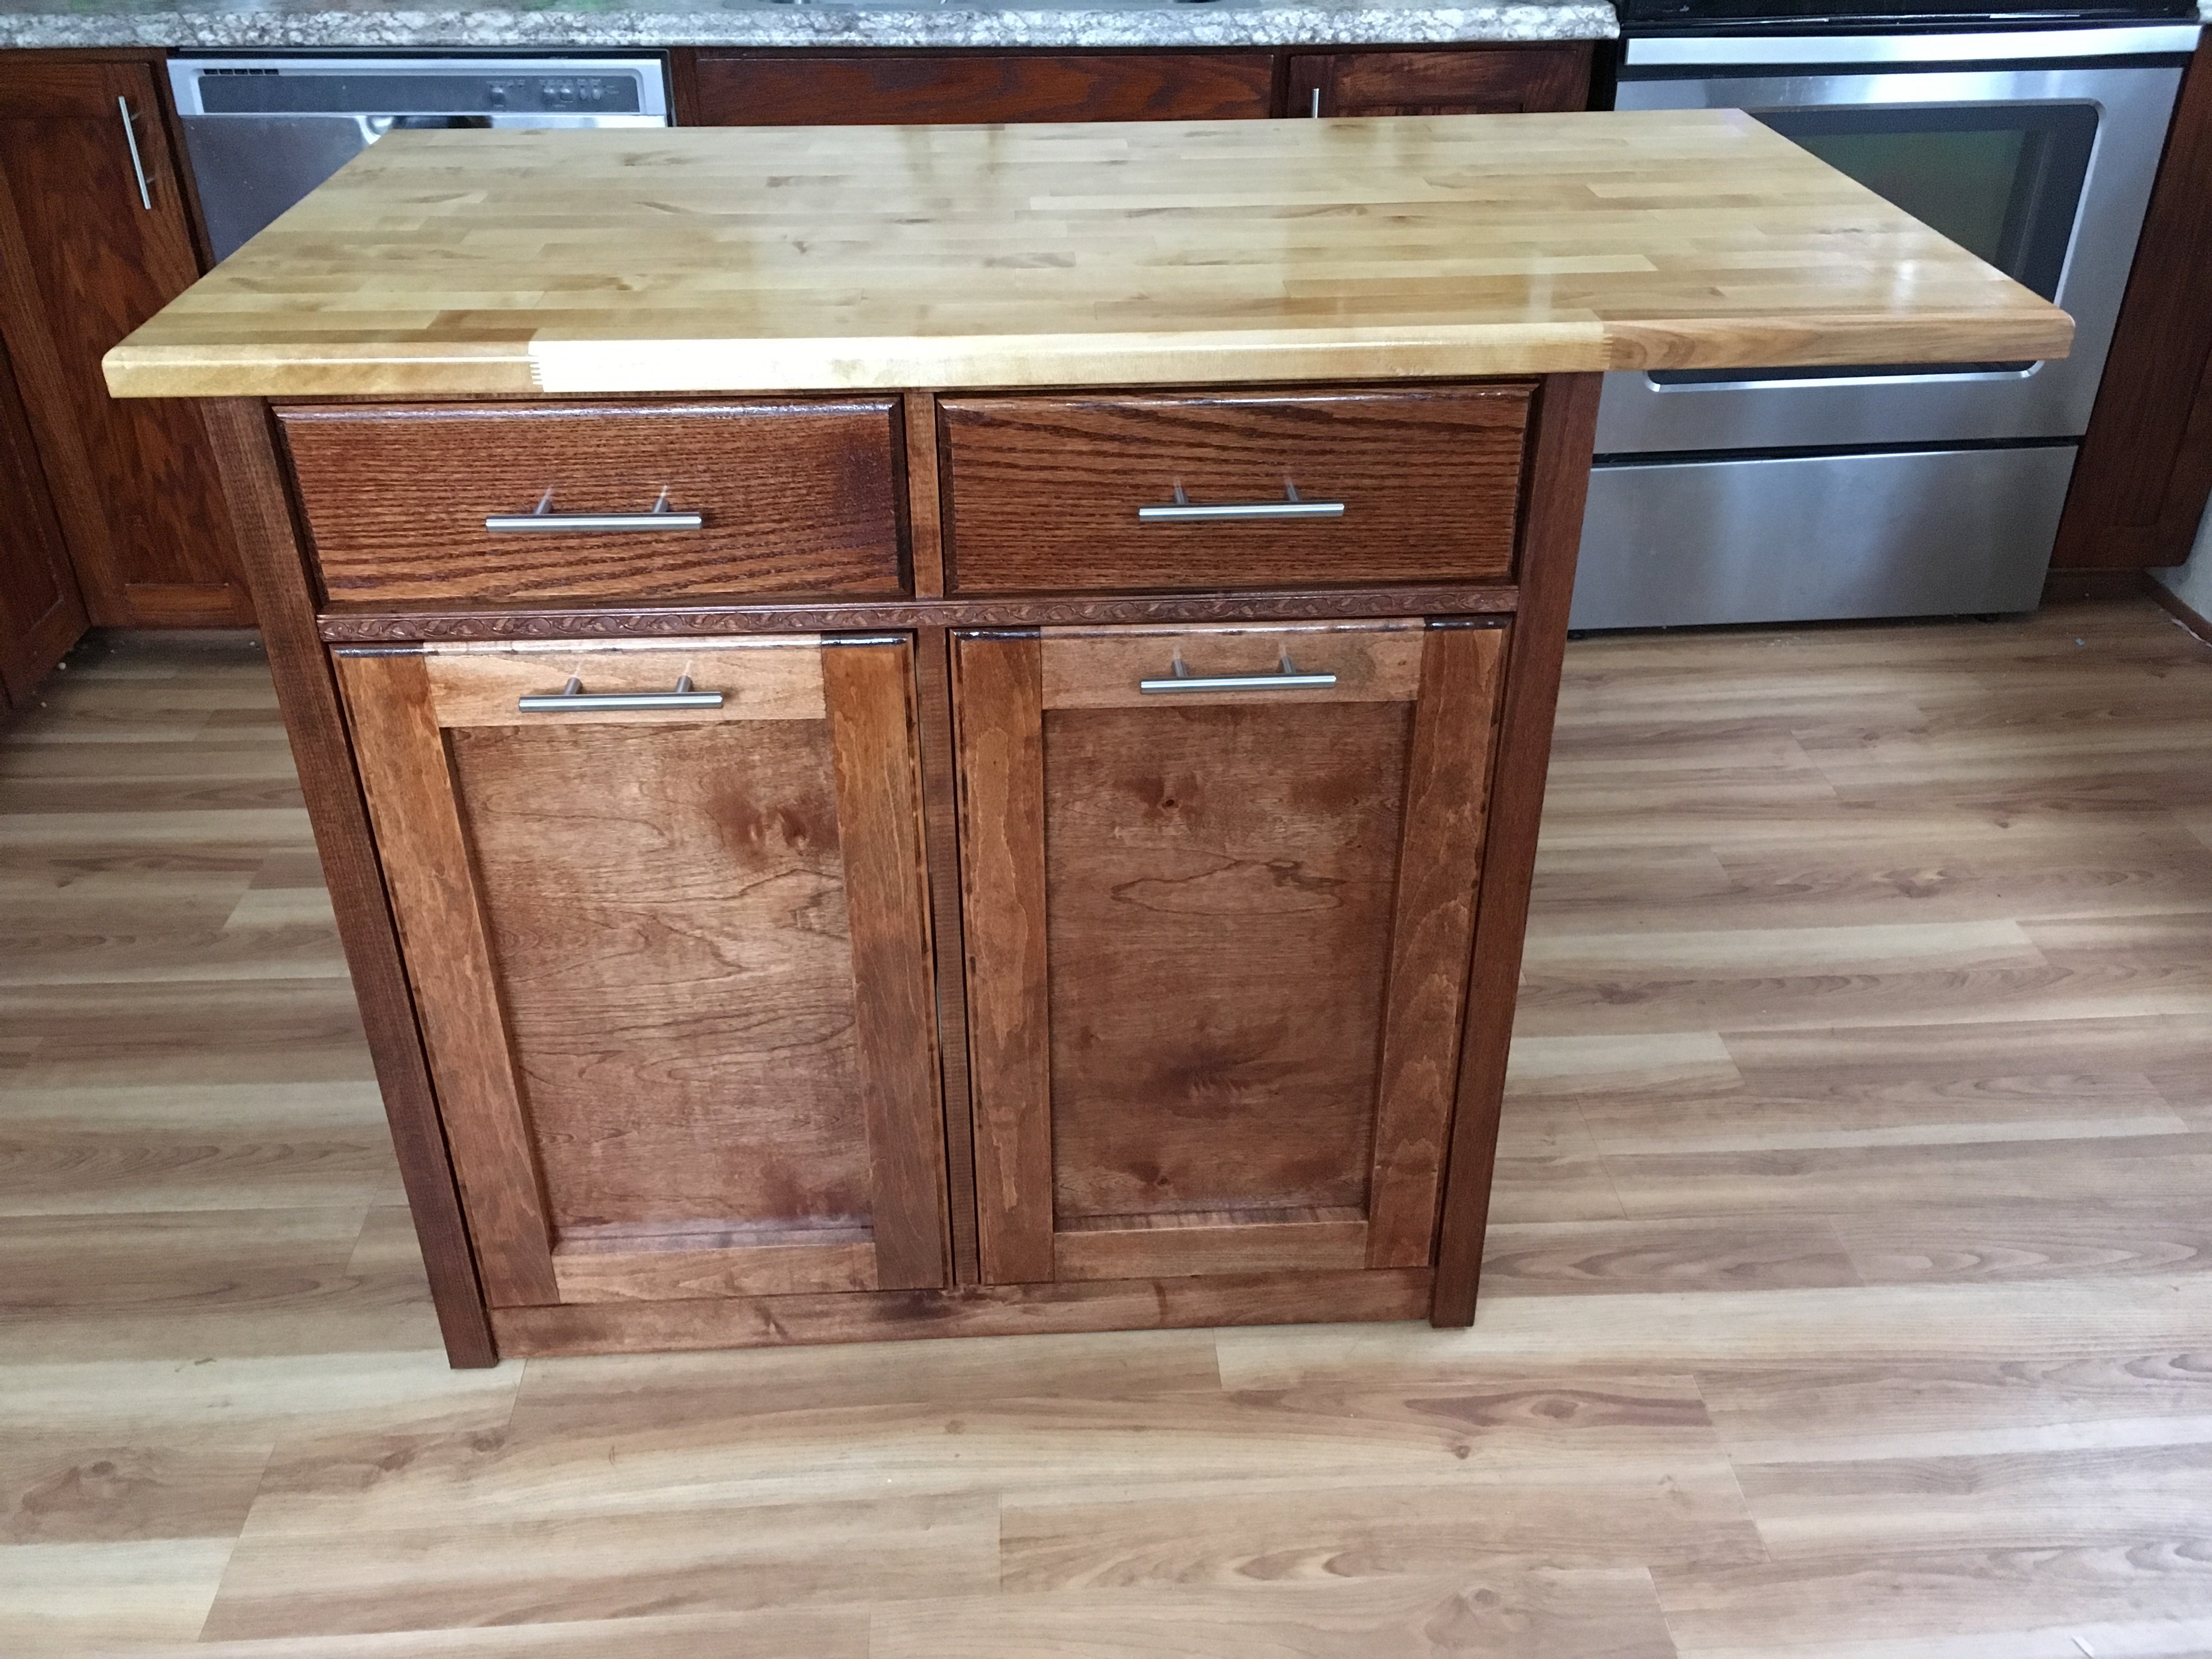
We needed a place for our garbage/recycling bins that would look nice and was inaccessible to our dogs. I decided to make two drawers for the bins and two drawers for storage. I found a set of 10 drawer slides on Amazon for around $50. They are heavy duty and full extension. I measured our garbage bins and built to size. The total height of the cabinet is 36" including the countertop. The cabinet width is 35.5" and the depth is 20". The butcher block countertop(25" by 48") was purchased from Home Depot for $98. I only had to do a light sanding, router the edge, and apply a finish. The cabinet will be located along a wall and have room for a counter height chair. This will allow my youngest to have a snack while I work in the kitchen. Although I didn't use a specific plan, I used ideas from several of Ana's designs. Thank you for the inspiration Ana!
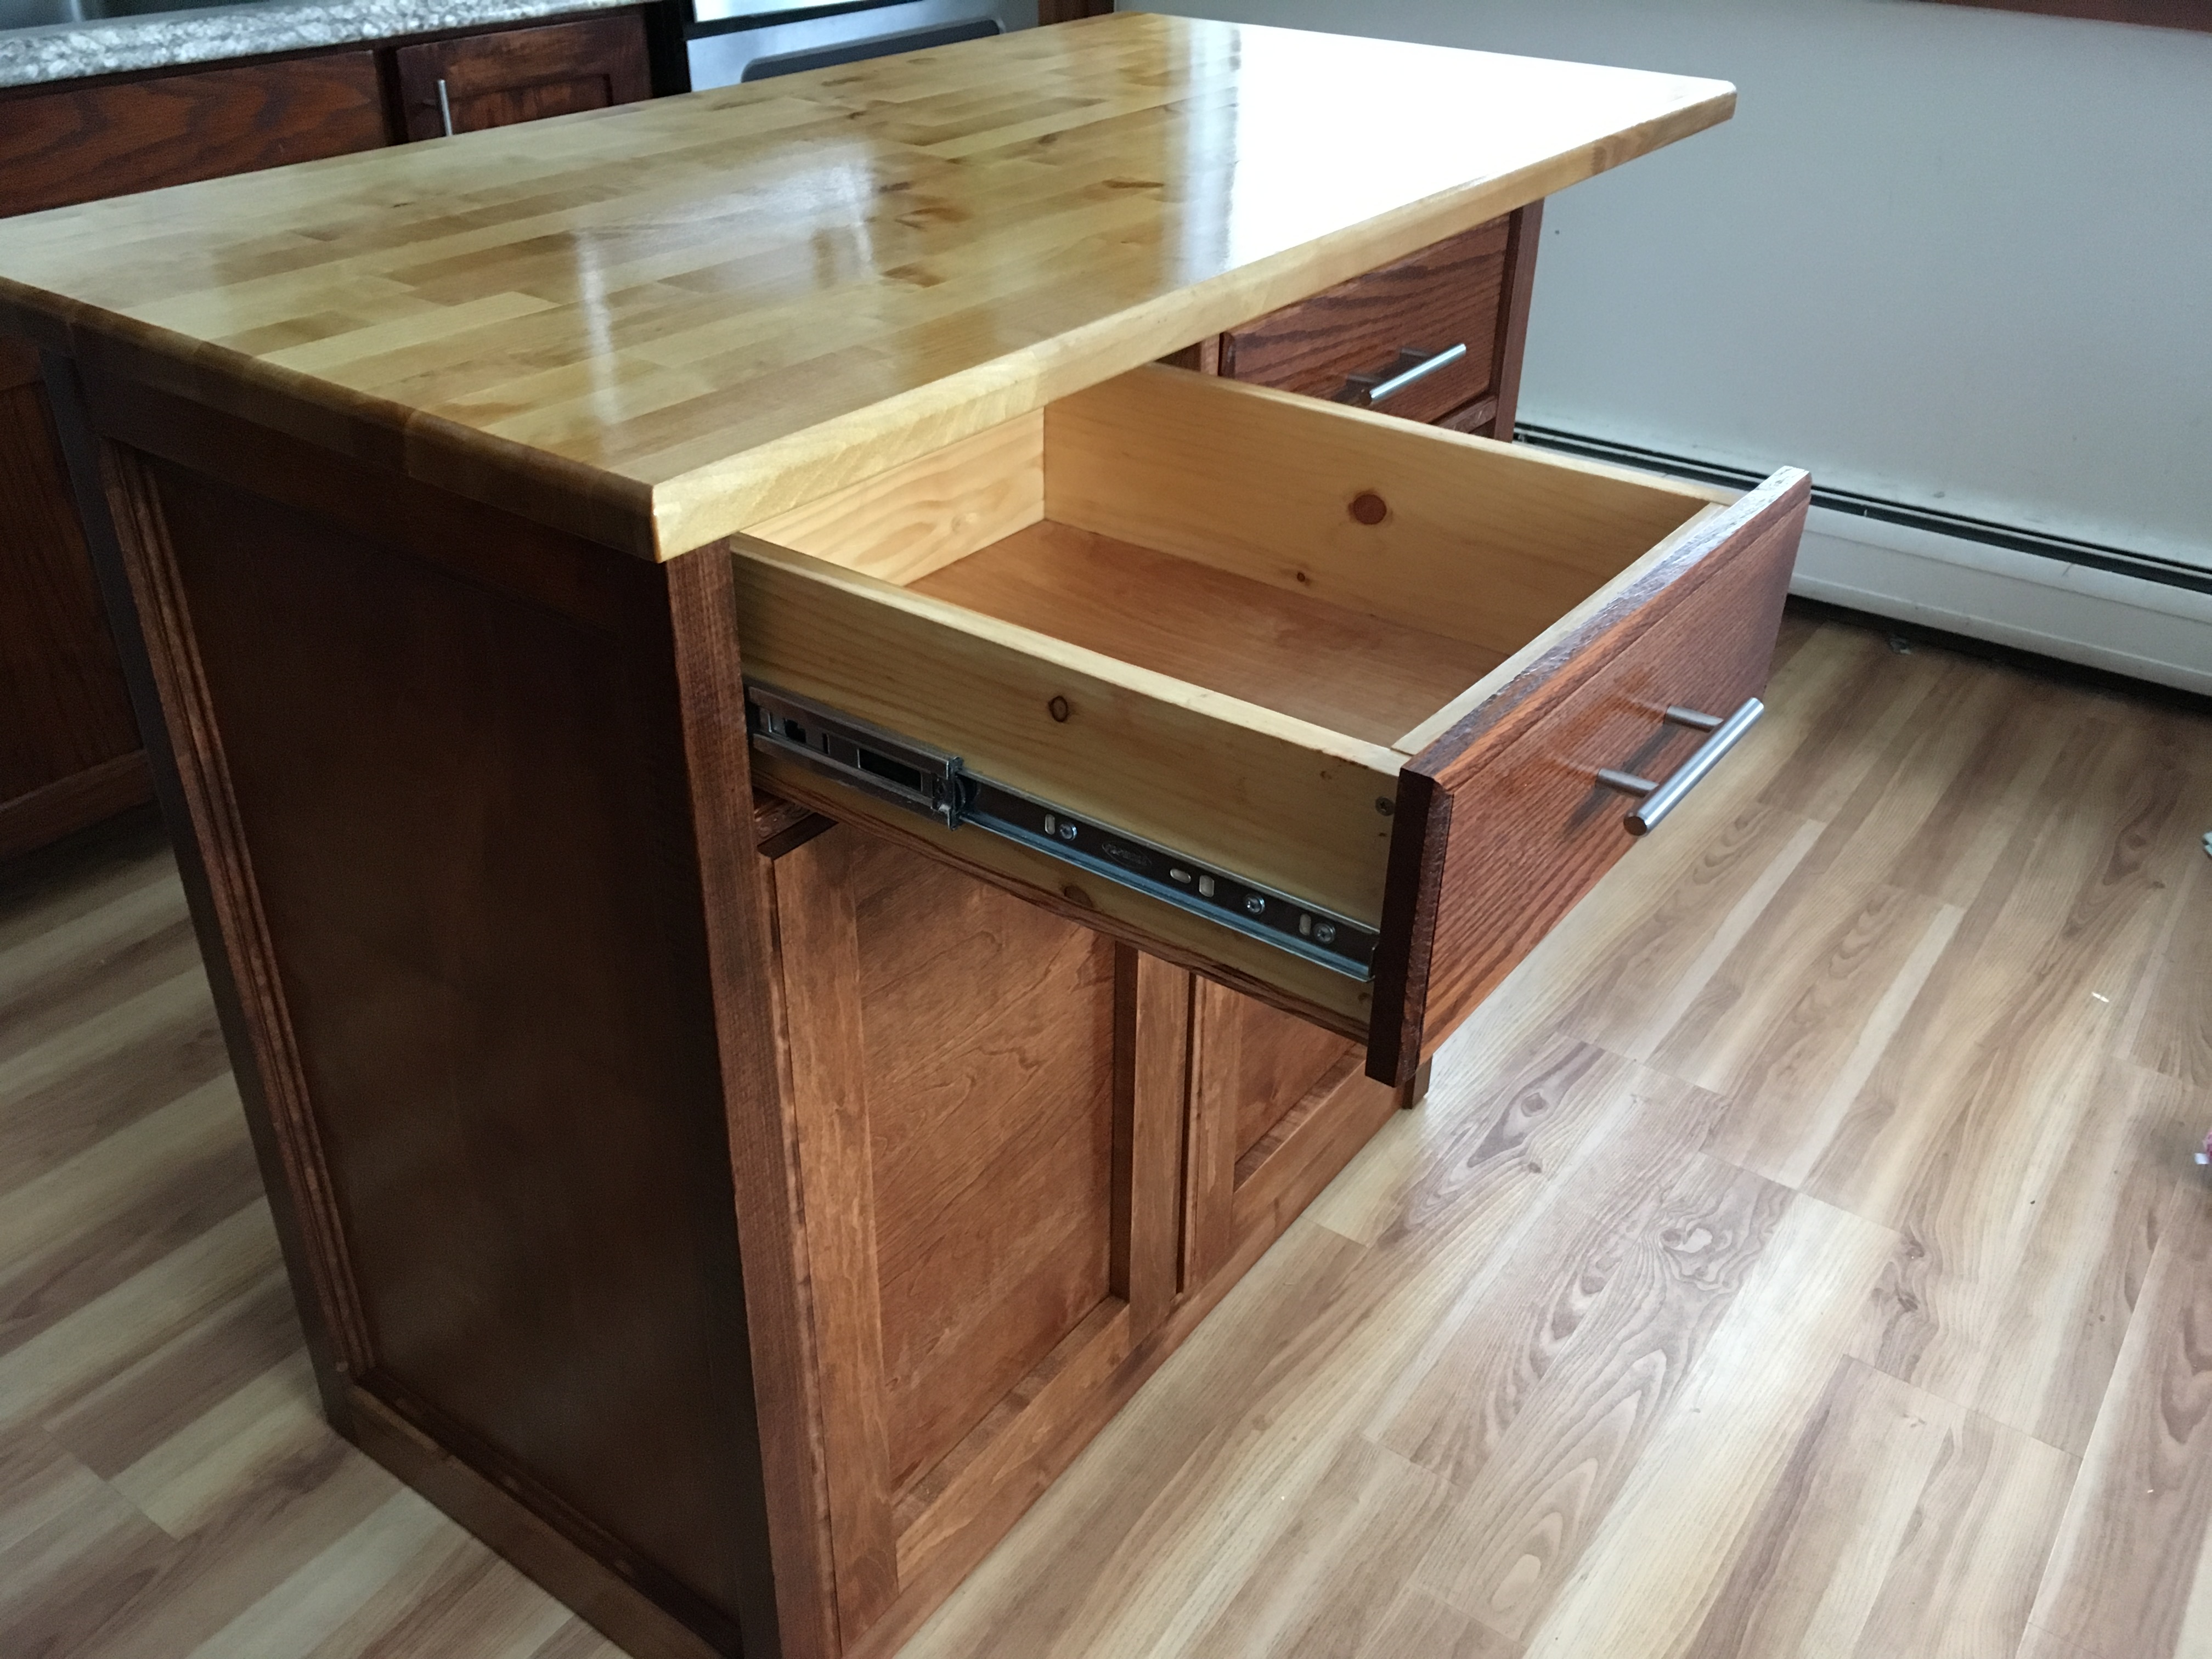
Estimated Cost
$300, but I have leftover wood and drawer slides
Estimated Time Investment
Weekend Project (10-20 Hours)
Finish Used
The stain is a mixture of Varathane Traditional Cherry 3X and Minwax English Chestnut.
I used Waterlox sealer/finish VOC compliant on the whole cabinet. For the countertop, I only used the Waterlox. Waterlox is really beautiful, but you will need a respirator mask and plenty of ventilation.
I used Waterlox sealer/finish VOC compliant on the whole cabinet. For the countertop, I only used the Waterlox. Waterlox is really beautiful, but you will need a respirator mask and plenty of ventilation.
Recommended Skill Level
Intermediate
Comments
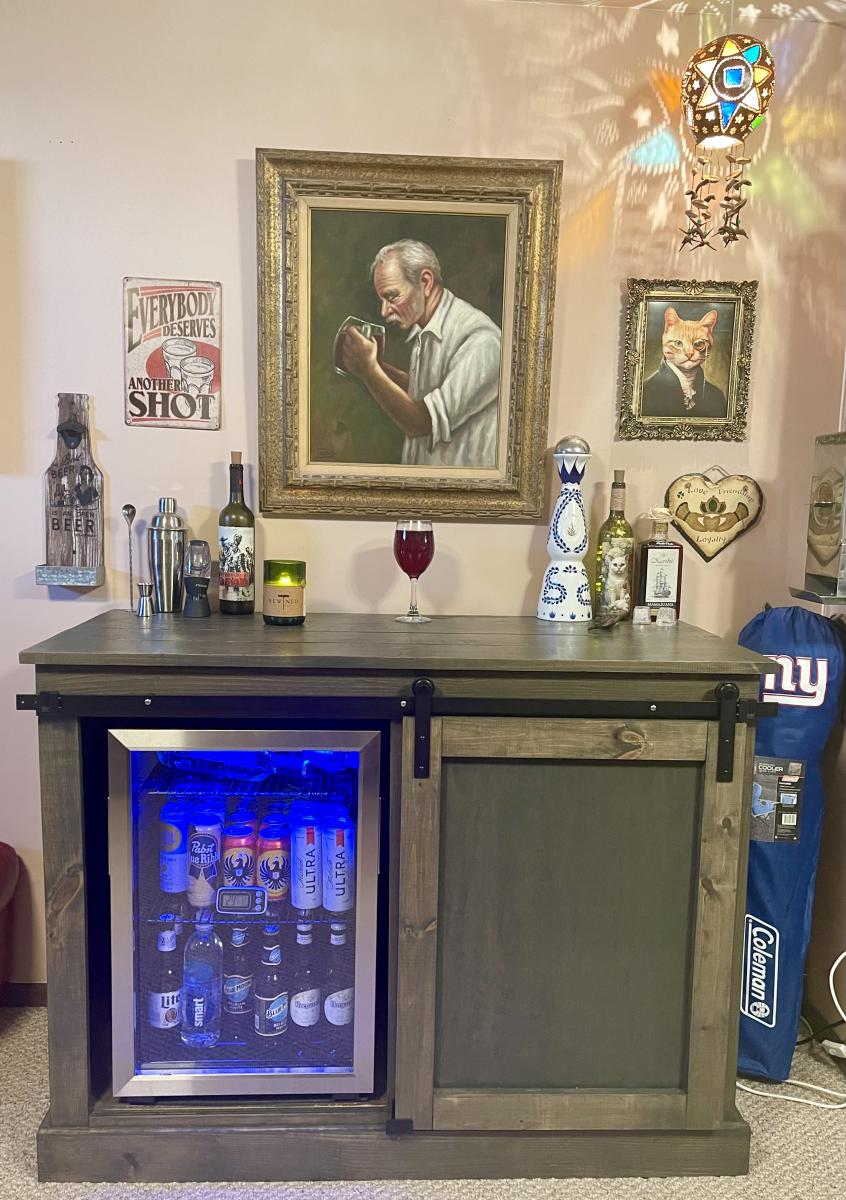
Ana’s West Elm Emerson by Lindsay Watson
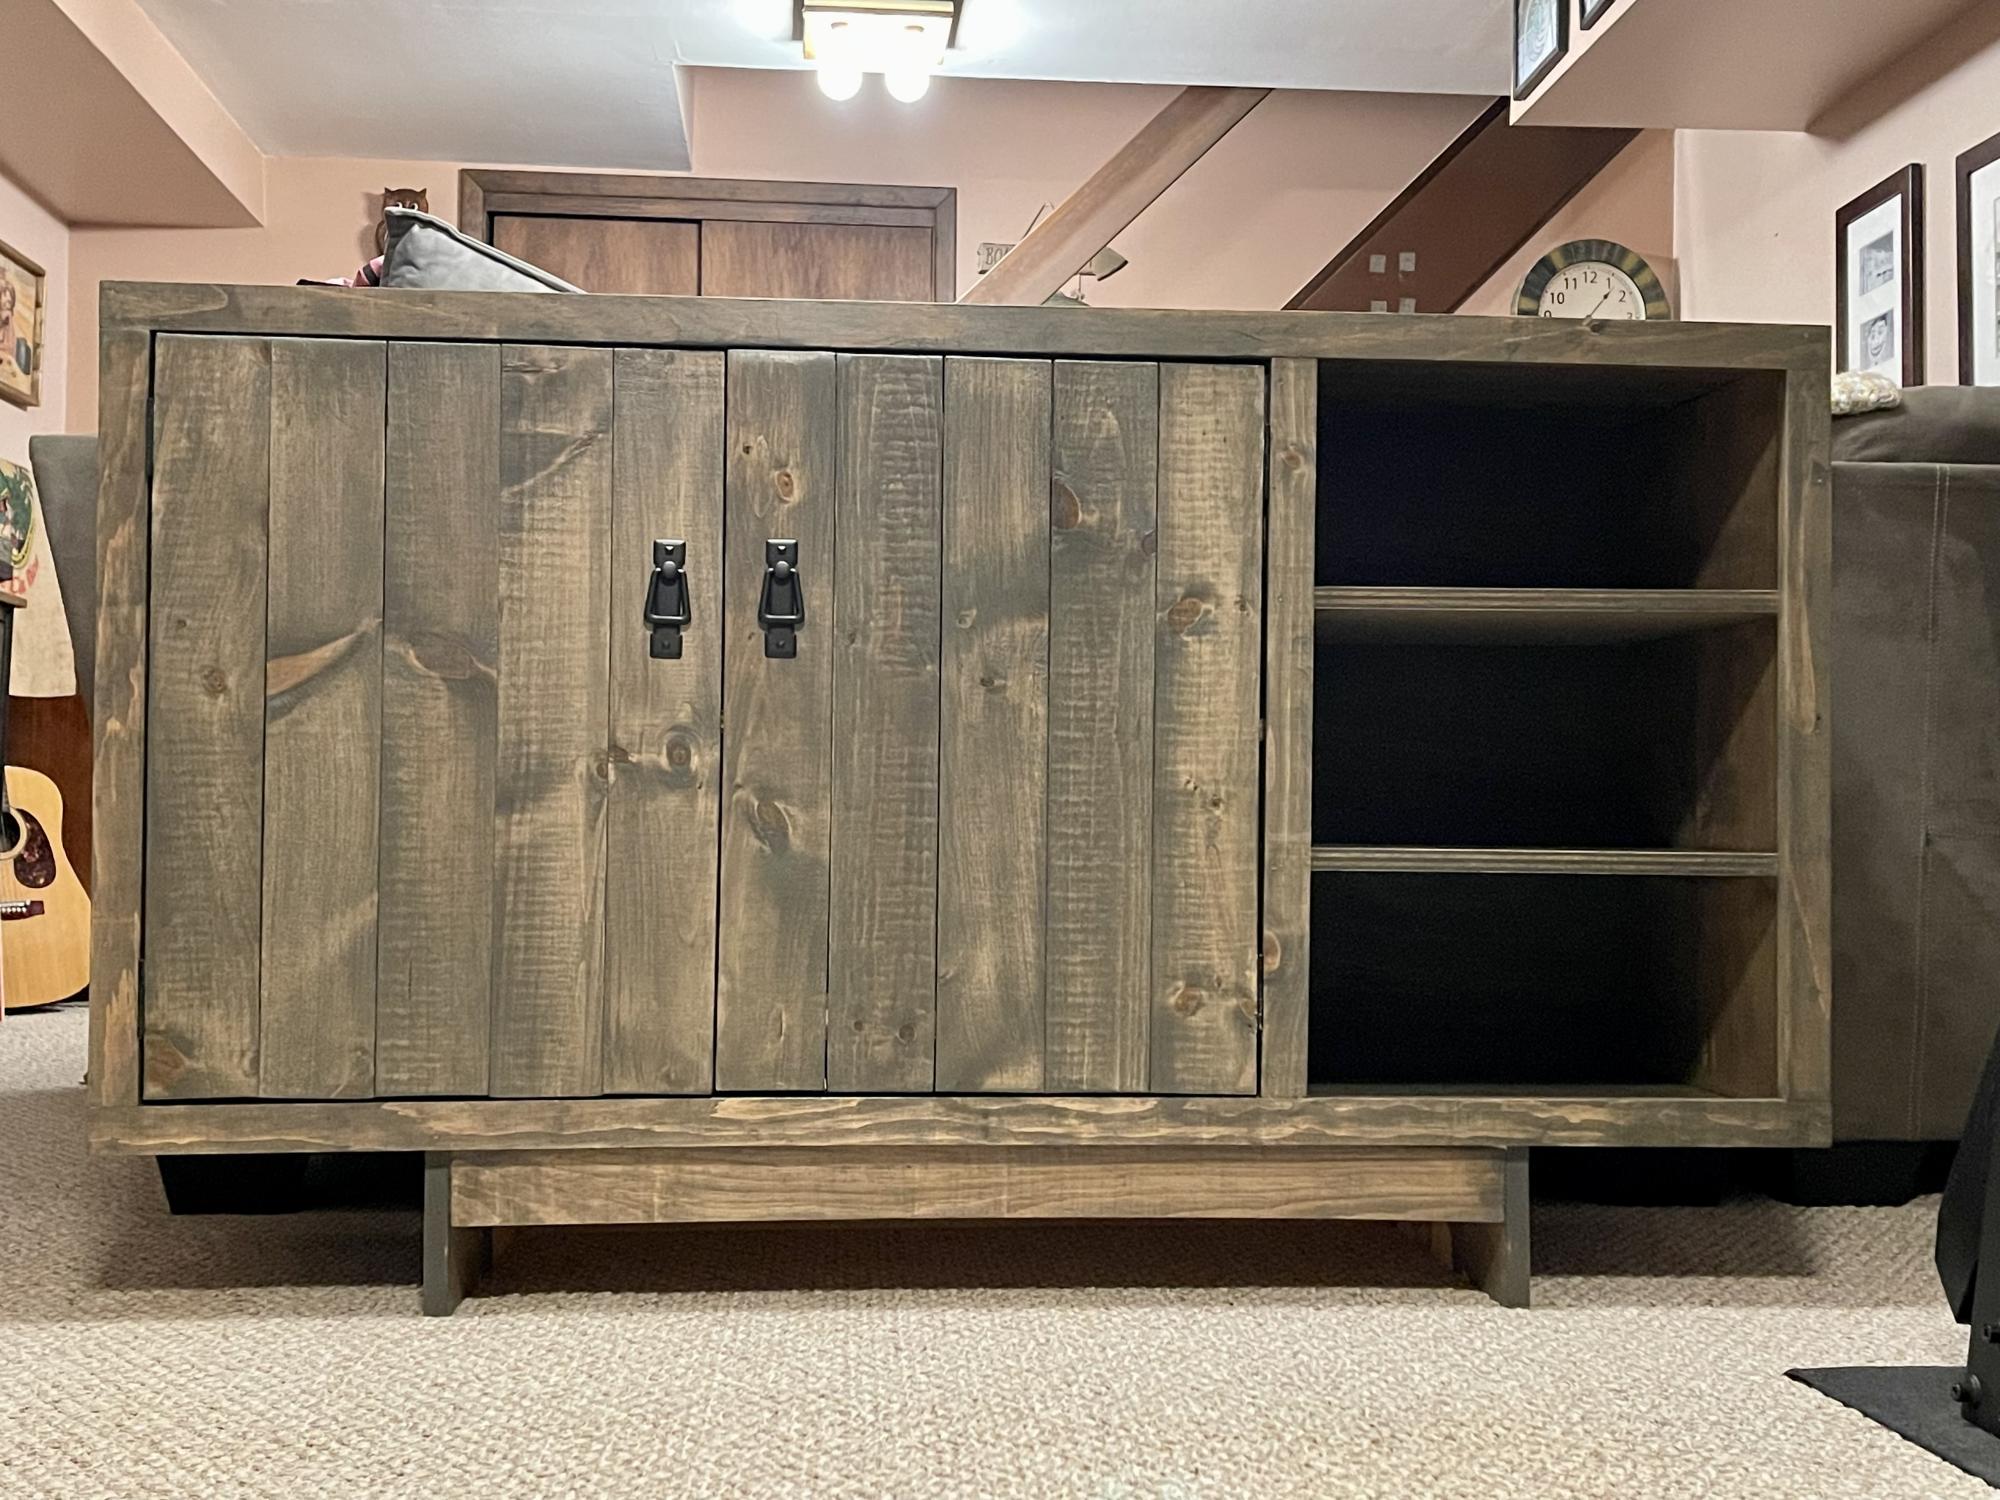
Ana’s West Elm Emersen Plan stained in Aged Barrel
Love it. Matches the bar I made
Comments
Sat, 12/03/2022 - 12:23
Stunning pieces!
Better than anything you could buy in a store, love the finish choice! Thanks for sharing.
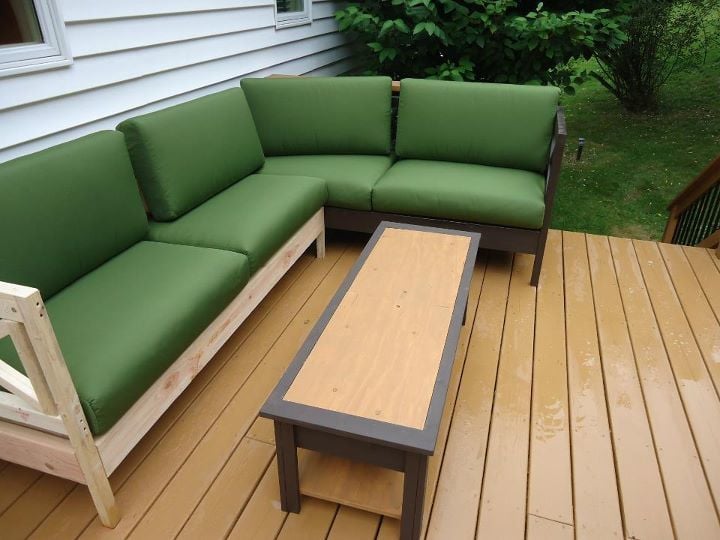
Weatherly Sofa Sectional and Mom's Lego Table
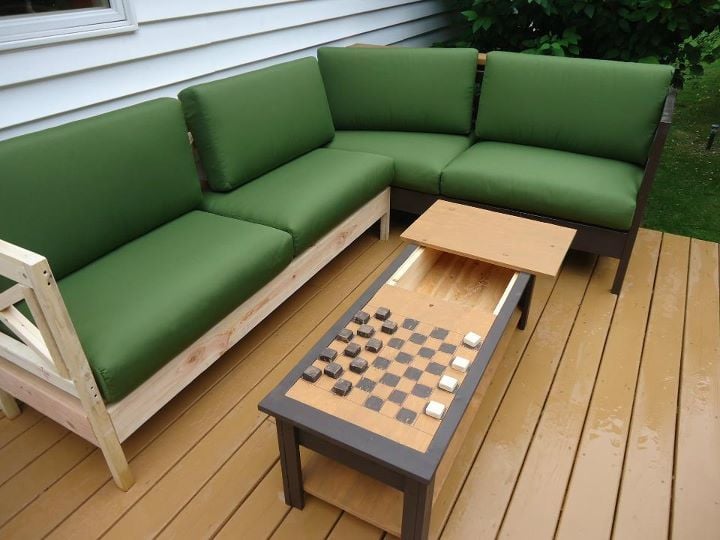
Two weatherly sofas butted up against each other make a great sectional! The "Lego" table has a checkerboard on the bottom of one of the removeable table top sides, and the other acts as a water table for the little one to splash around in. Thanks so much for the plans! These were all fun projects!
Built from Plan(s)
Estimated Cost
$360 for wood, stain and cushions.
Estimated Time Investment
Weekend Project (10-20 Hours)
Finish Used
Water based stain.
Recommended Skill Level
Beginner
Comments

candle ledges
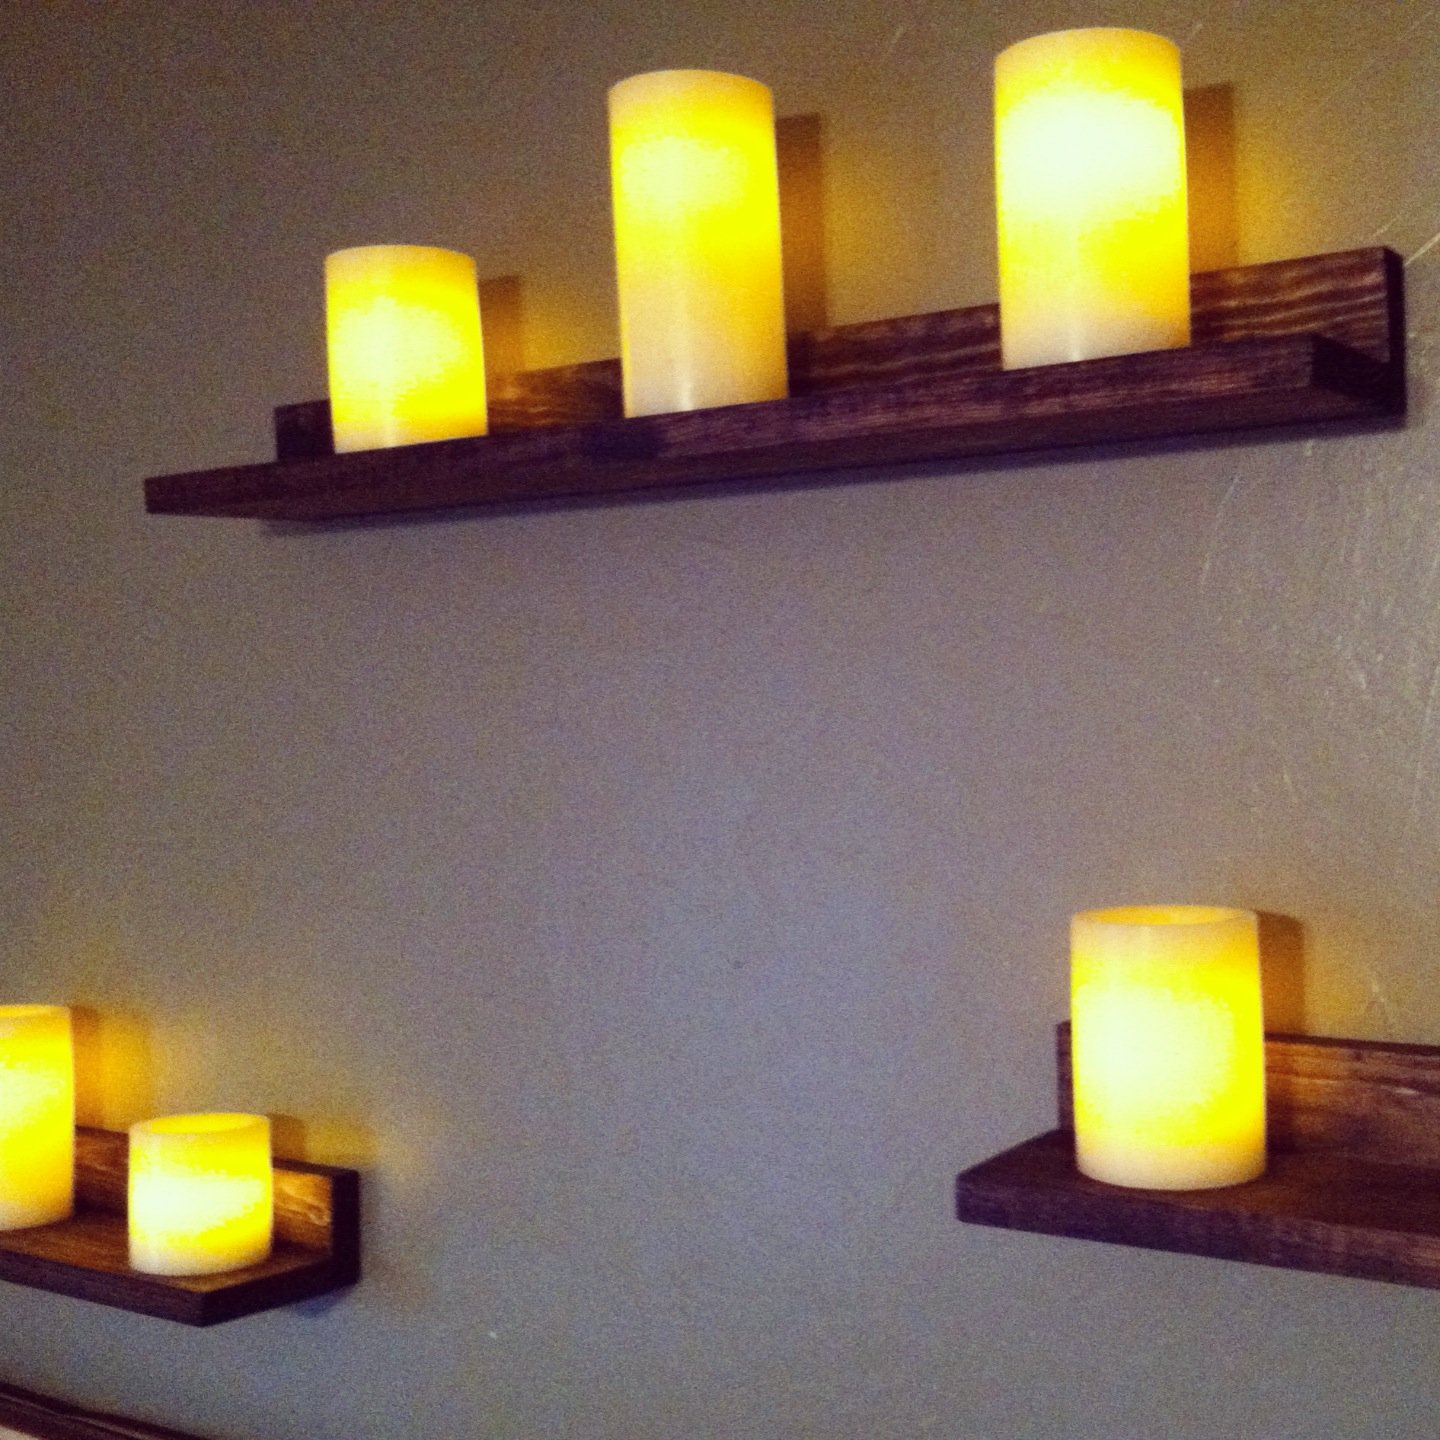
Super easy candle ledges!

Built from Plan(s)
Estimated Time Investment
An Hour or Two (0-2 Hours)
Finish Used
minwax mahogany
Recommended Skill Level
Starter Project
Pub Style Table
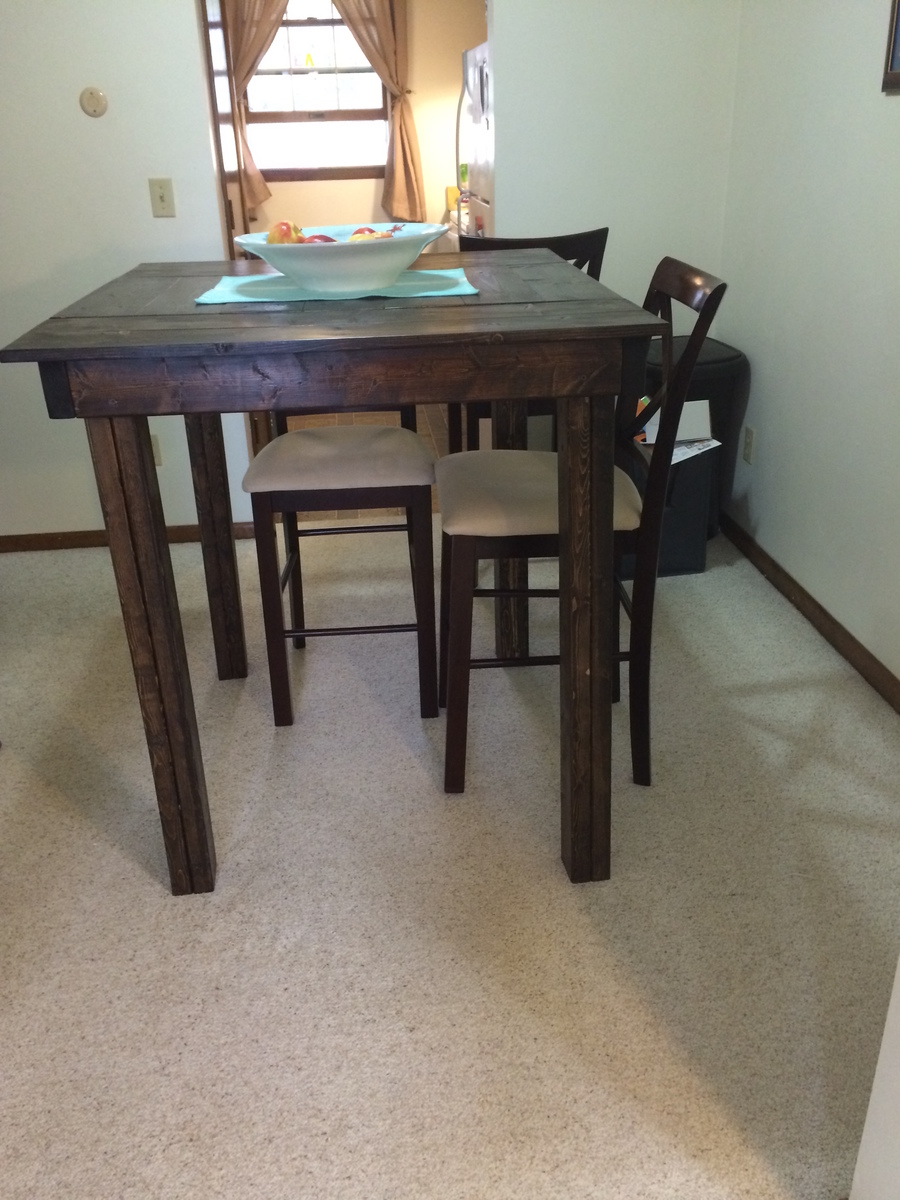
Made from the above plans. Instead of use pocket screws I just drilled through the table top and used wood filler to fill the counter sunk holes. It was an easy solution and really isn't noticeable. I used basic pine for it as I wanted a very rustic/reclaimed look and think I achieved that. We also didn't have a saw that could 4x4's so instead I just took 2 2x4s and glued/wood screwed them together. Gives the table another fun dimension. Used a few coats of stain and then poly over top. Went with 1x6s instead of 2x6 to save some weight.

Built from Plan(s)
Estimated Cost
$50-$80
Estimated Time Investment
Weekend Project (10-20 Hours)
Recommended Skill Level
Beginner
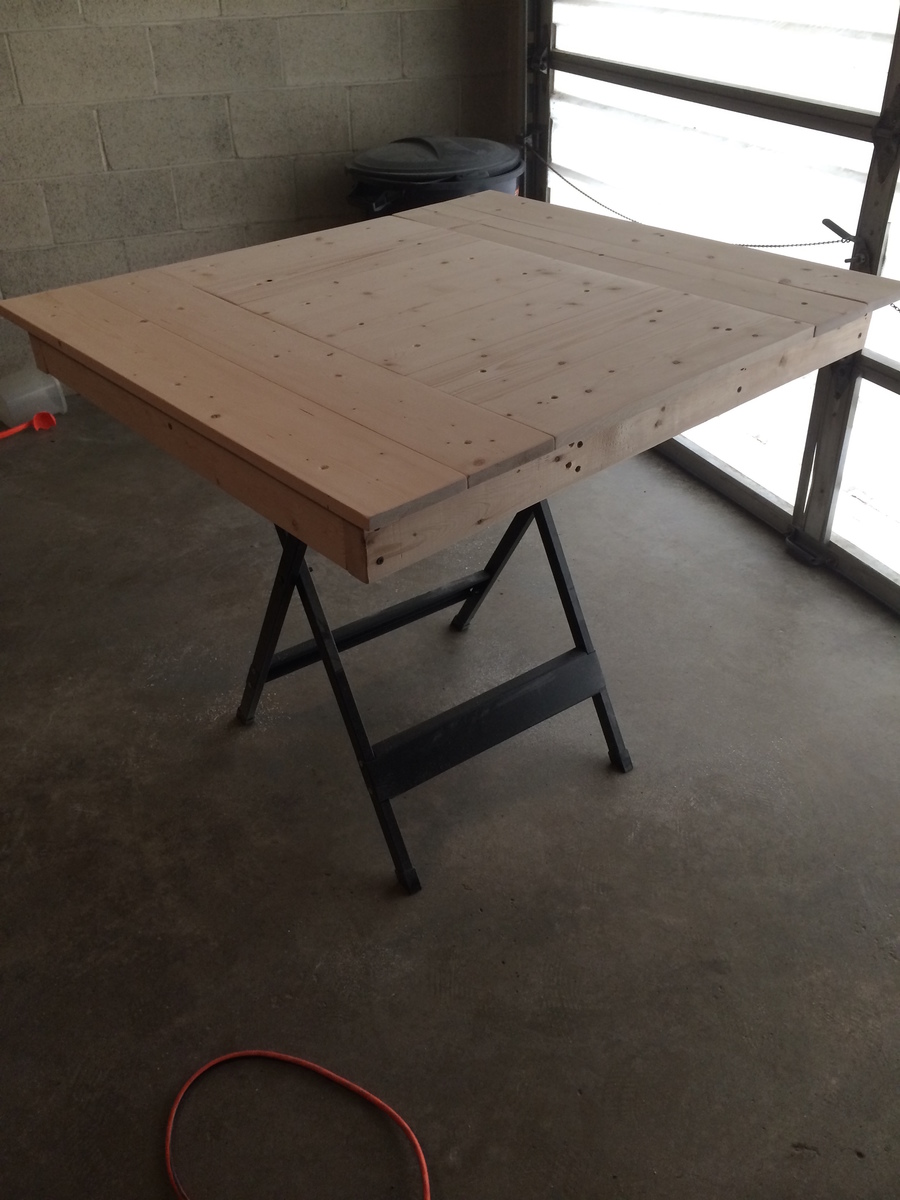
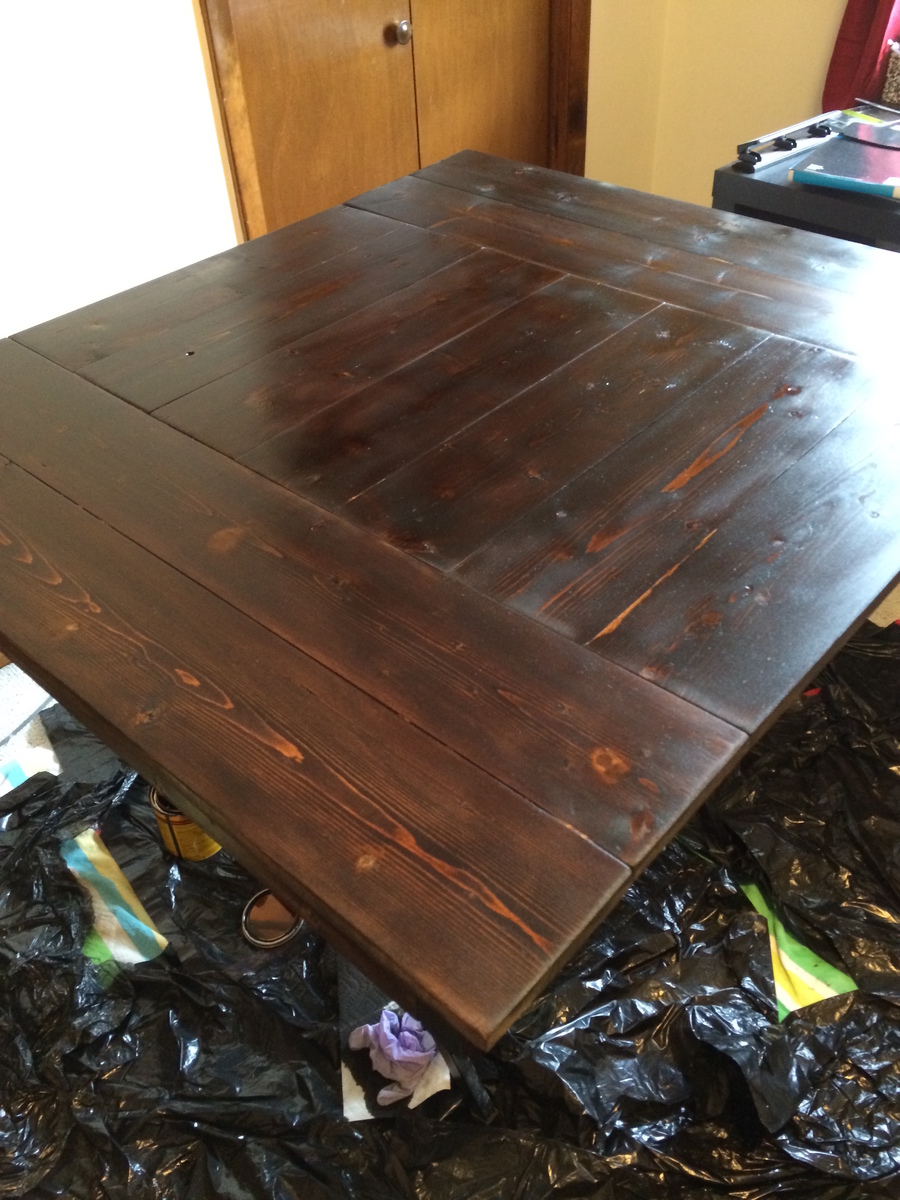
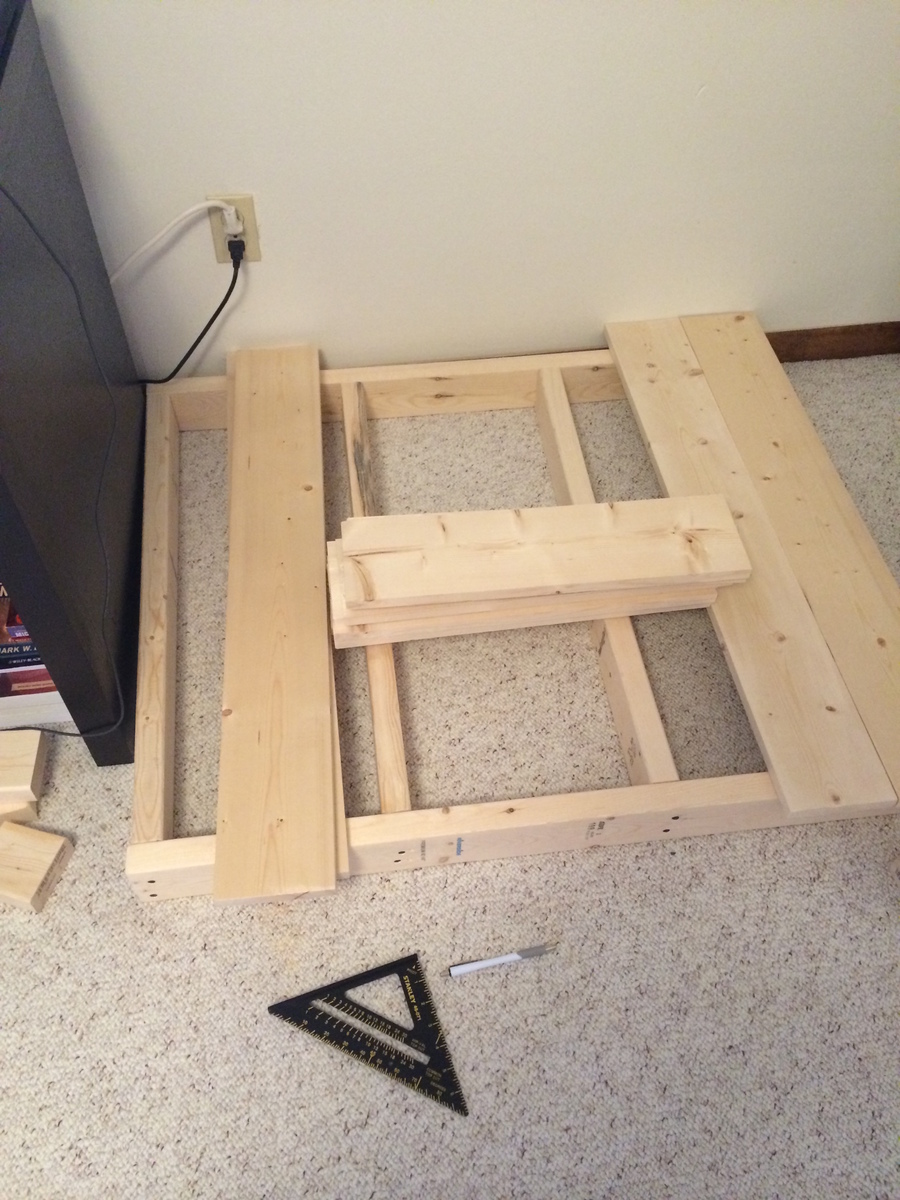
Walnut top farmhouse Table
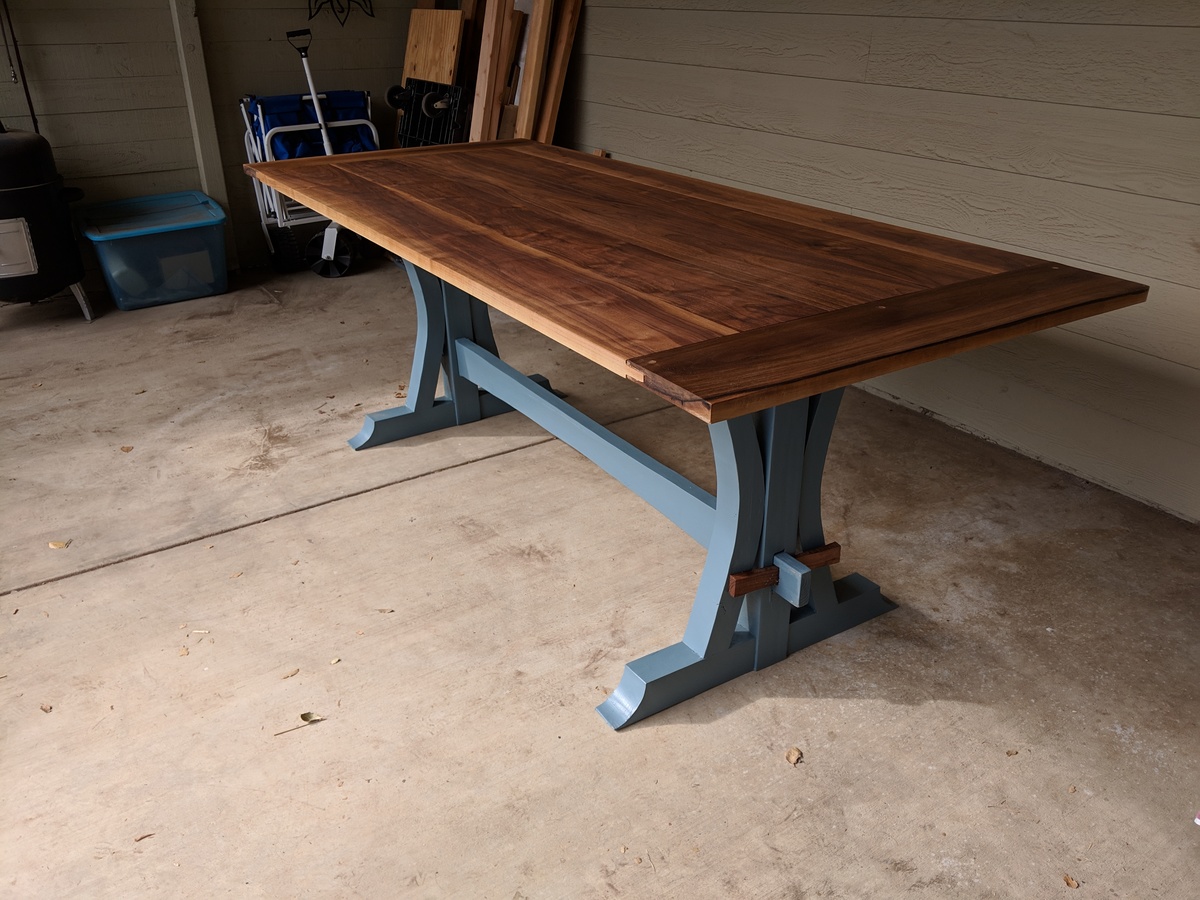
Farmhouse table with walnut top and breadboard ends. Edges of boards were put together with tonque and grove. I use a router to do that and I used a router for the breadboard ends. I have the ends held in with three dowls. The walnut made this an expensive project. The wood for the top was around $600. 2 by 6 pine boards could be used instead for a lot less money. I wanted to try something that required more advance woodworking skills such as tongue and grove and mortise and tenon. It took awhile and I had plenty of mistakes tyring to get it right. I have built similar tables using pocket hole screws but I found that the boards tended to seperate and or crack over time. I did not use glue on this table top as I want the wood to be able to expand and contract without splitting.
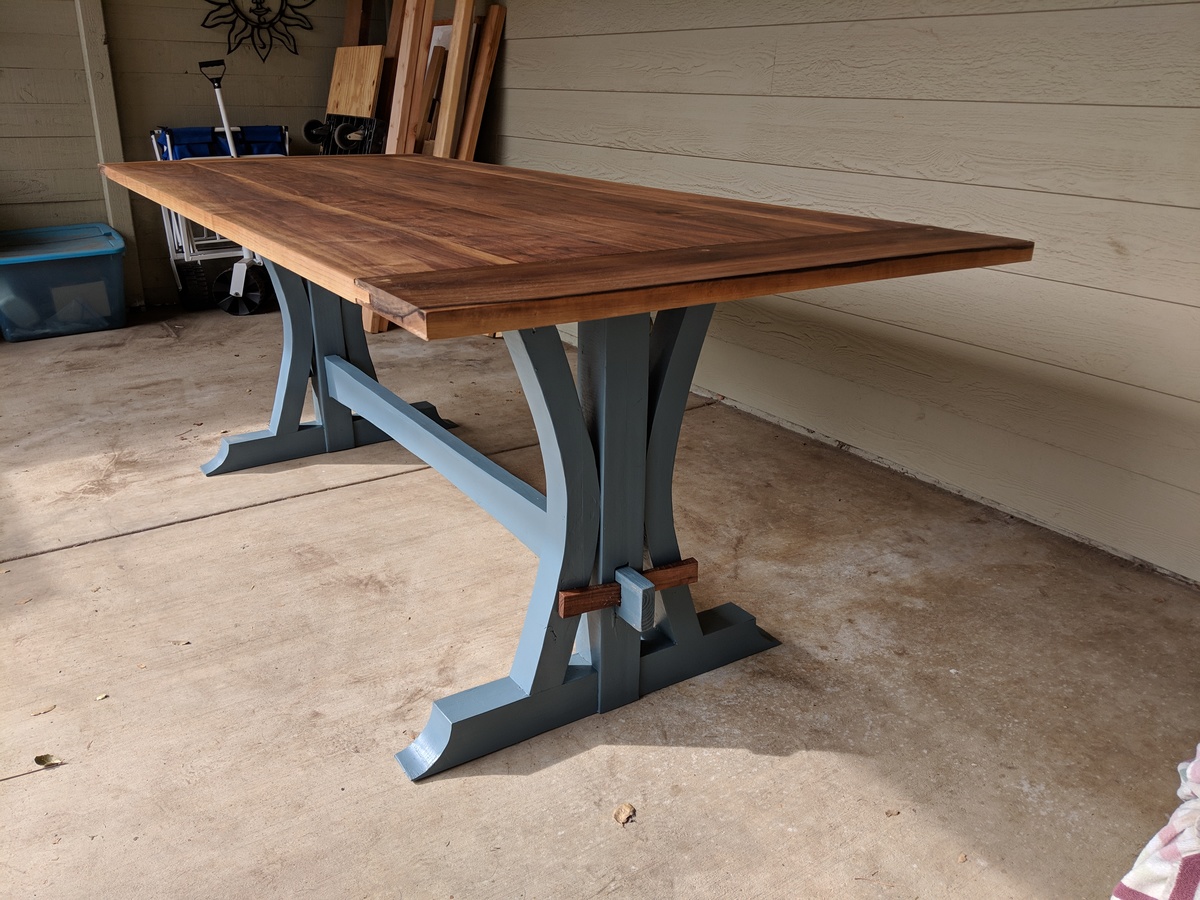
Estimated Cost
$800
Estimated Time Investment
Week Long Project (20 Hours or More)
Finish Used
Clear wood protector.
Recommended Skill Level
Intermediate
Great holiday gift idea

Thank you for a great gift idea!
Comments
Ana White Admin
Wed, 10/19/2022 - 08:32
Great spice organization!
Looks great and perfect space saver and organizer!