Kids art center
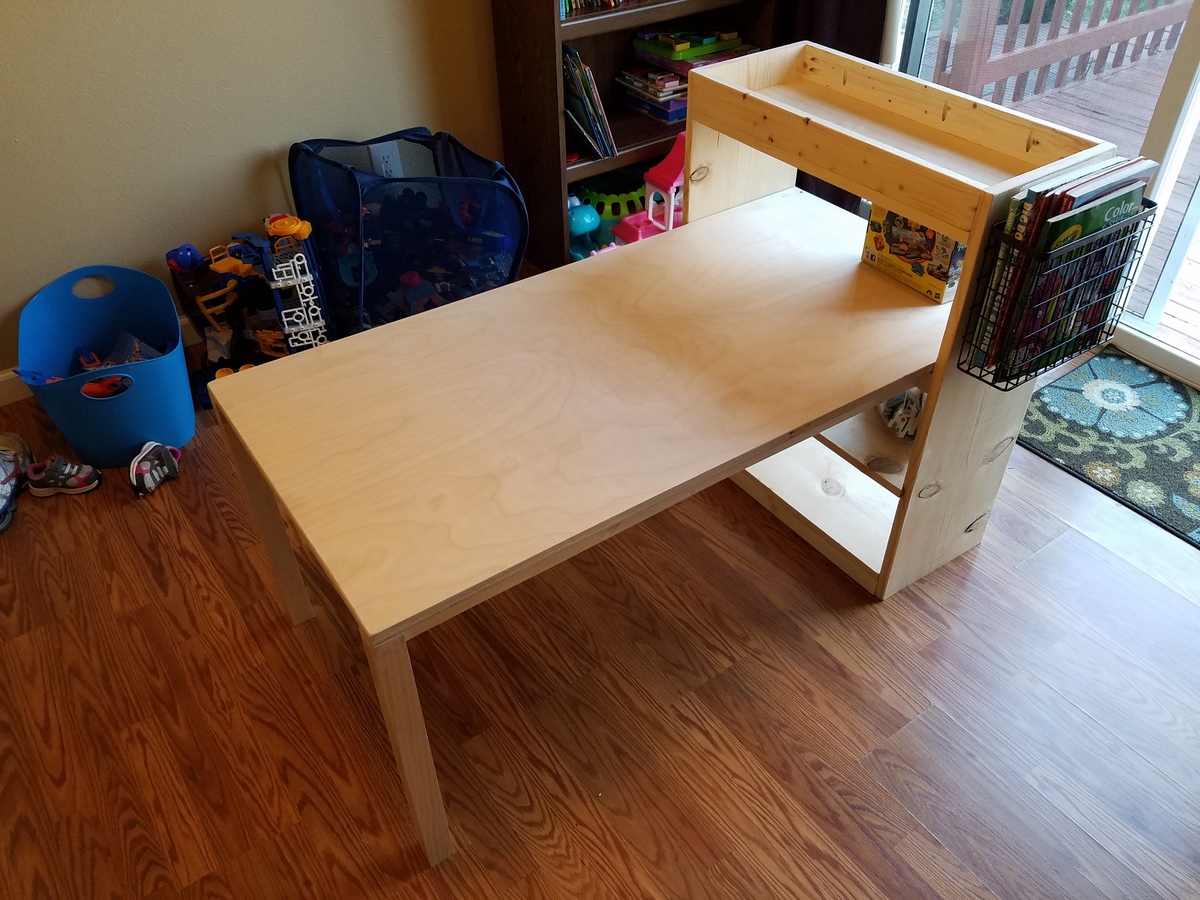
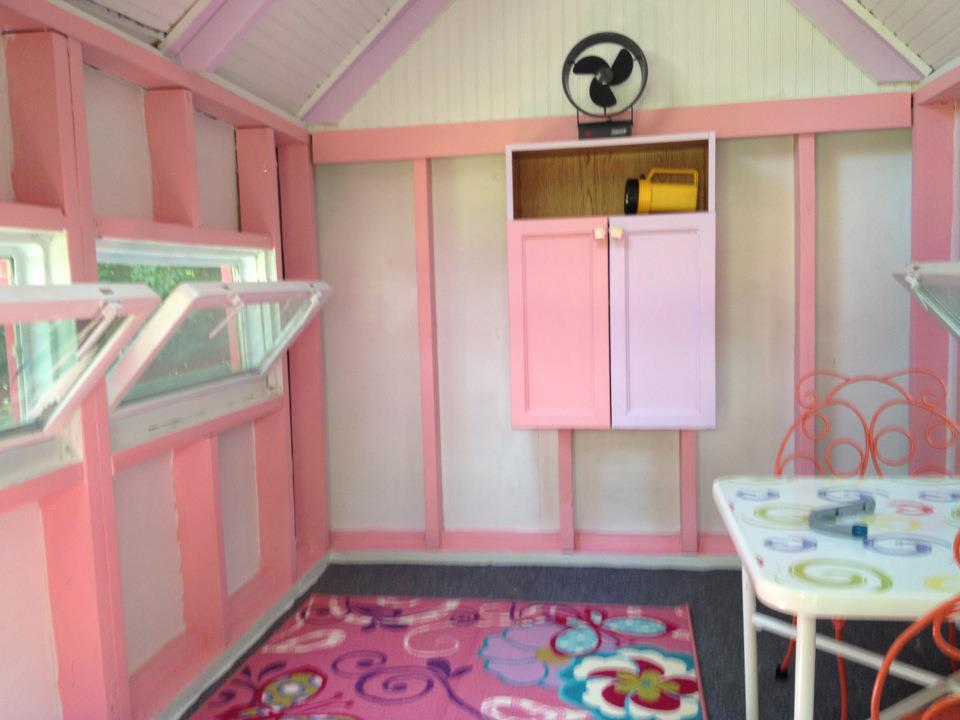
This kids art center went together very well! The kids haven't stopped playing on it.
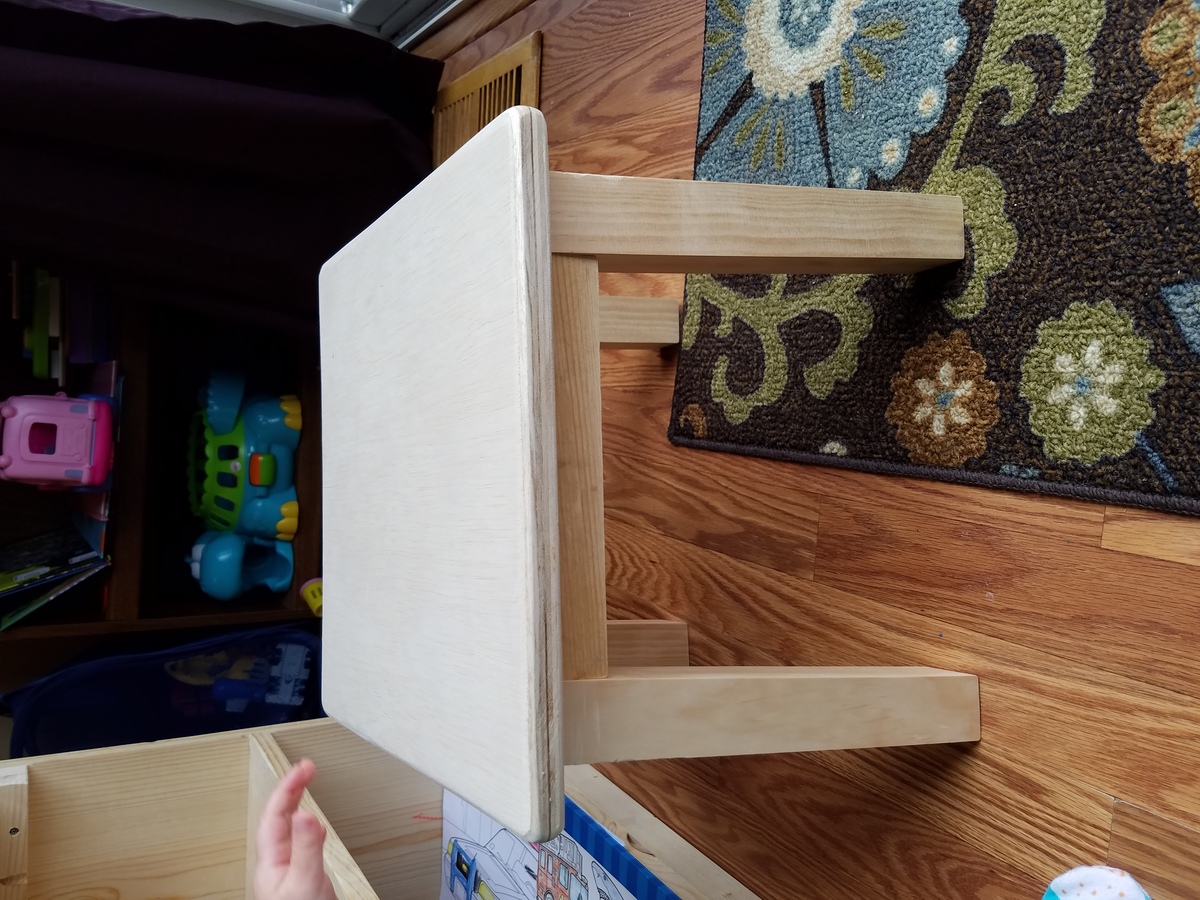

This kids art center went together very well! The kids haven't stopped playing on it.

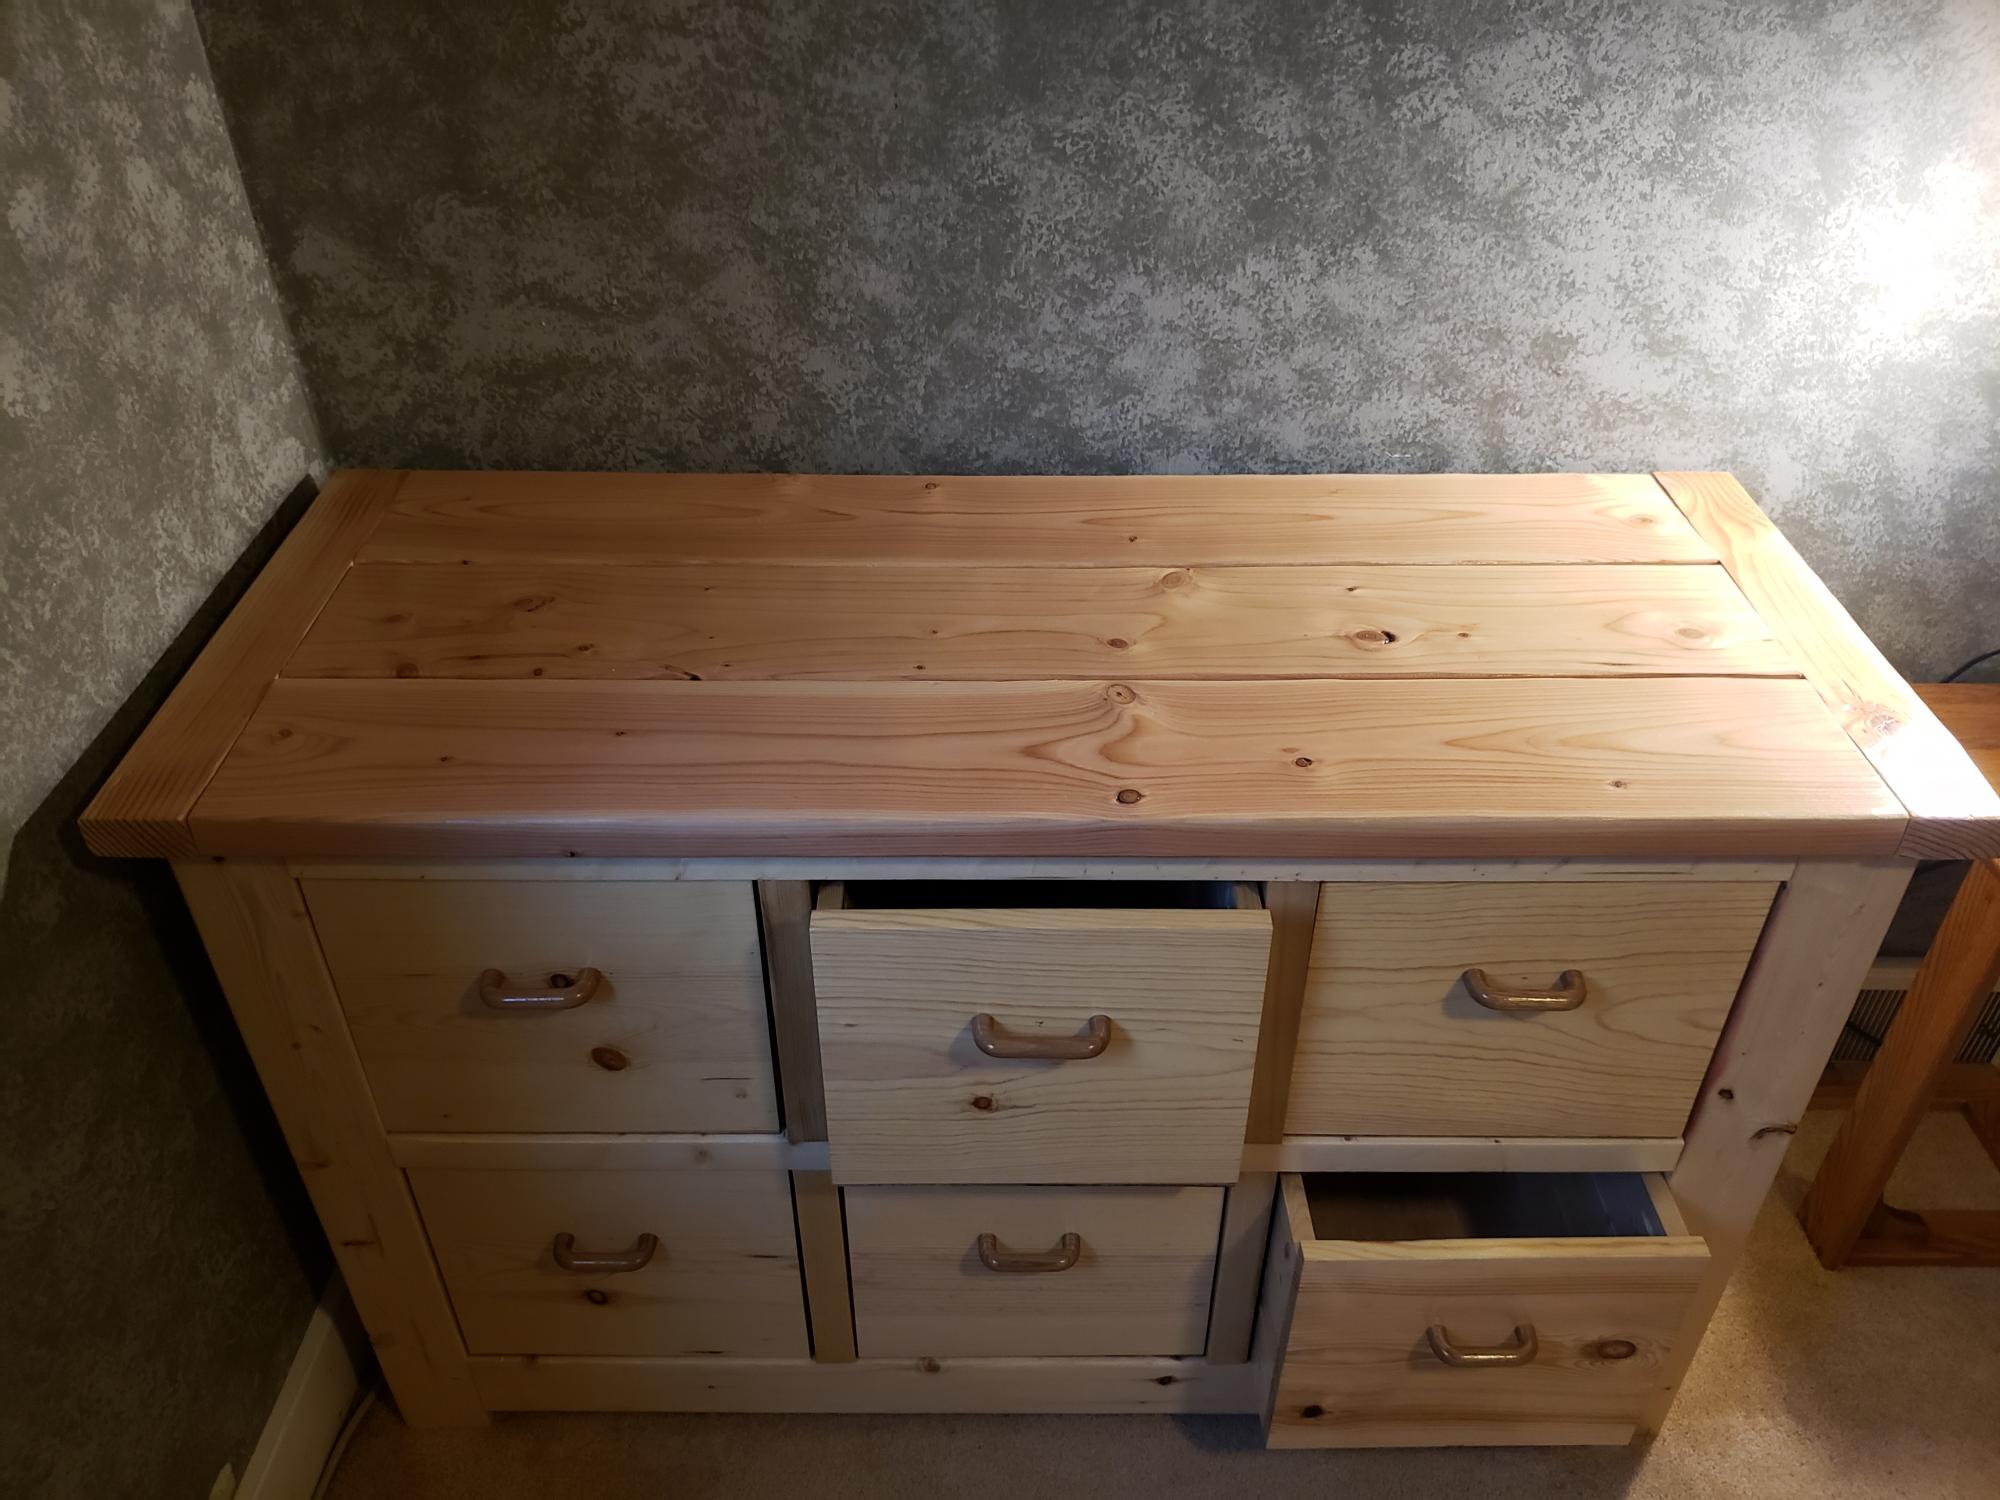
I had fun building this dresser I'm building a second one. I built the second one already
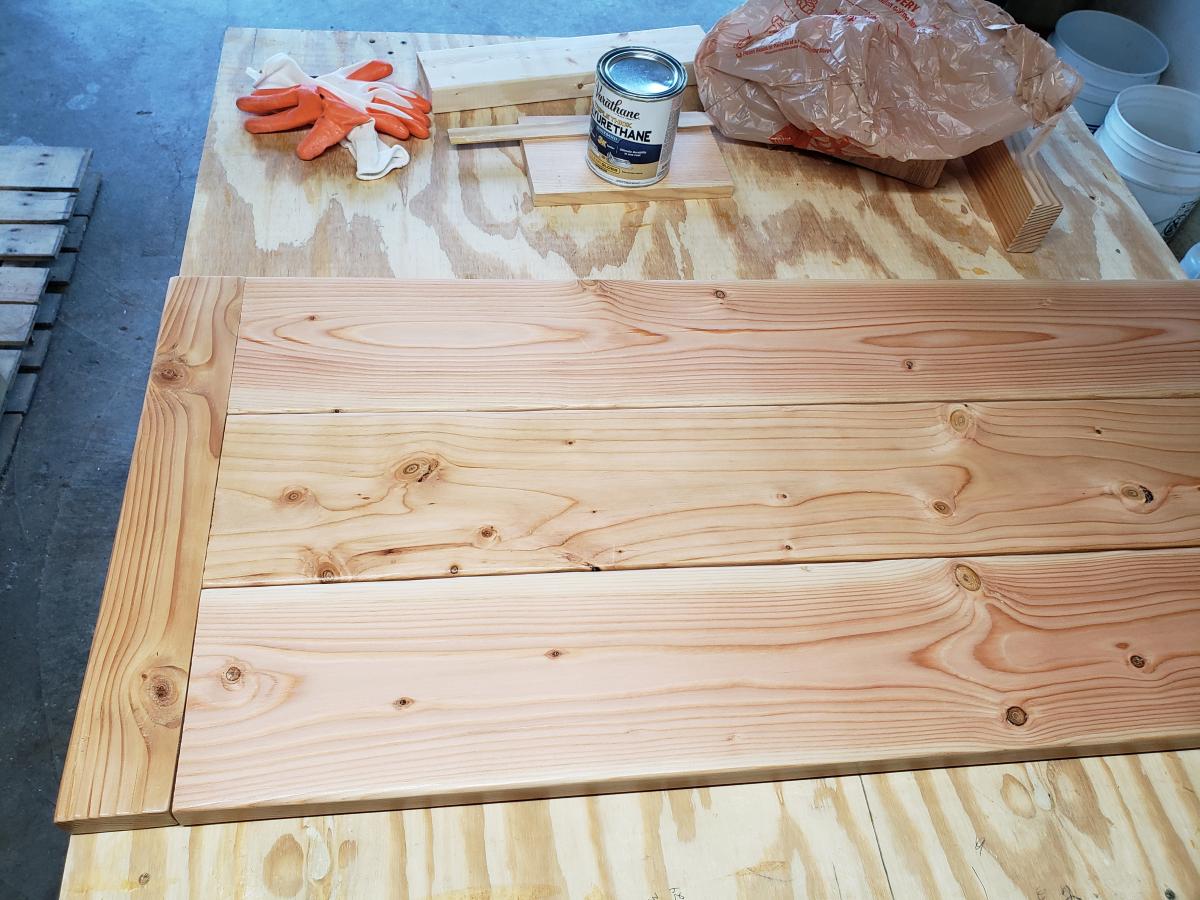
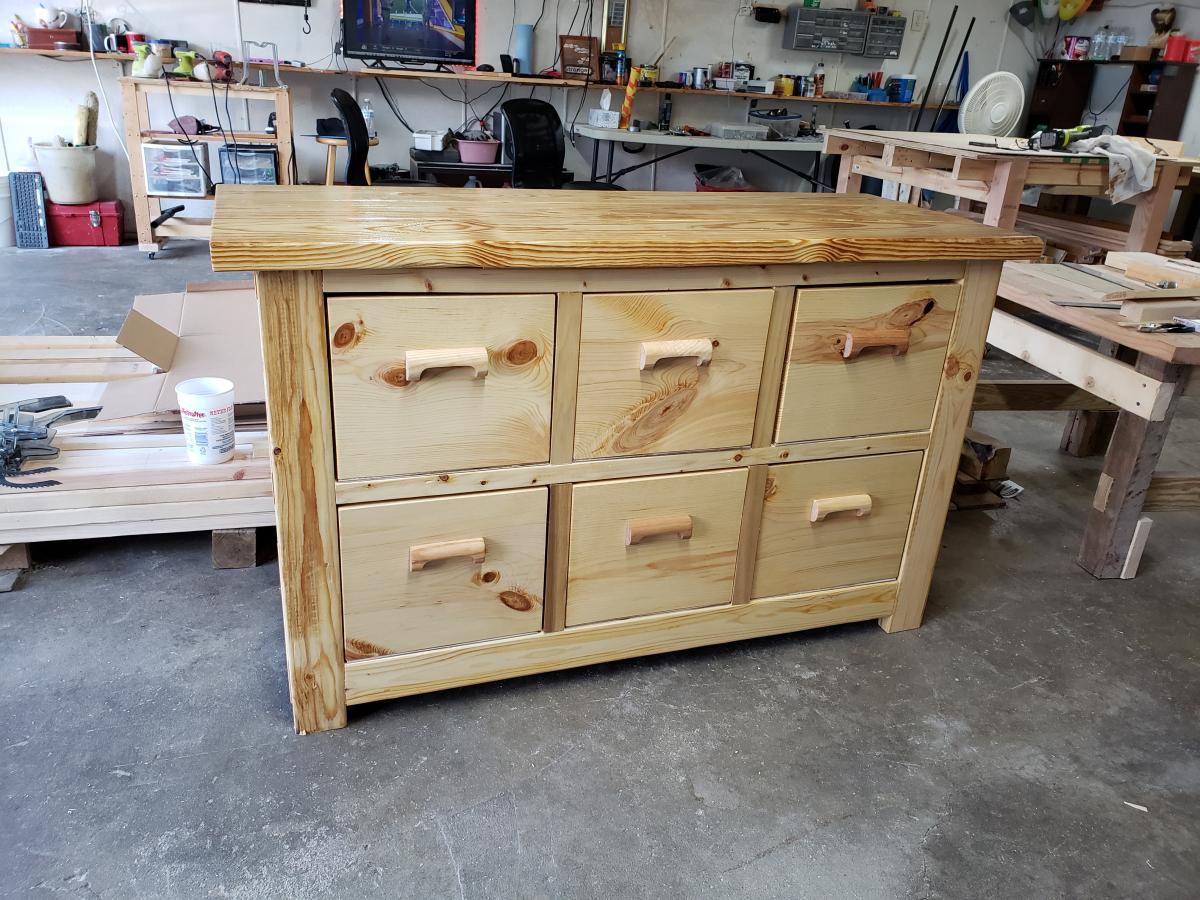
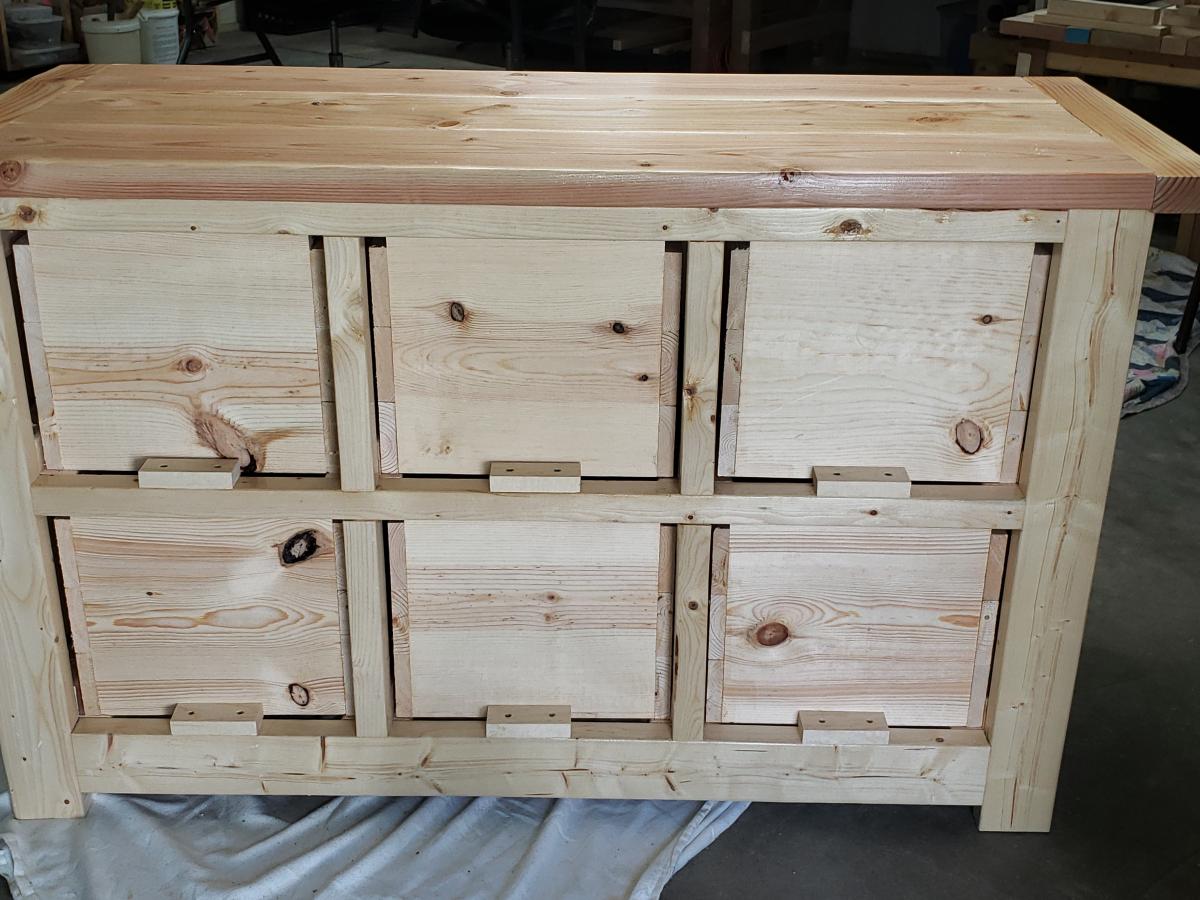
This is my second build from Ana's site. - Lisa Elaine on Facebook
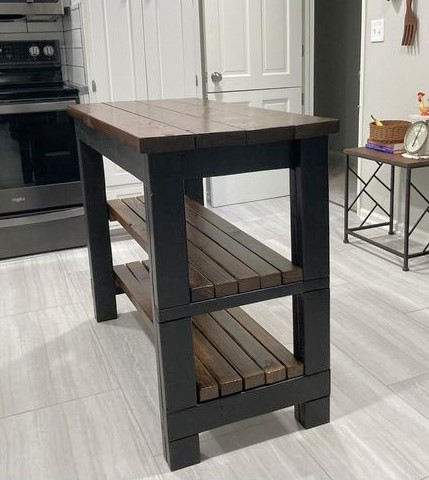
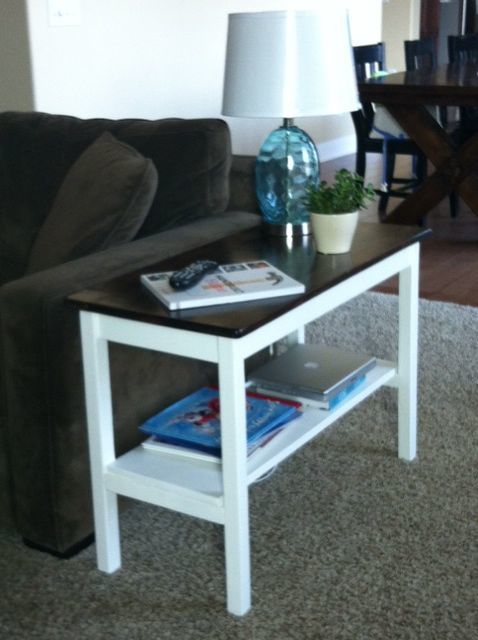
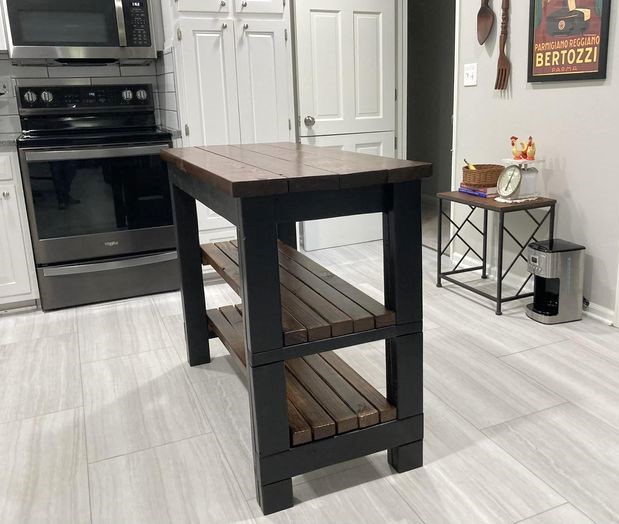
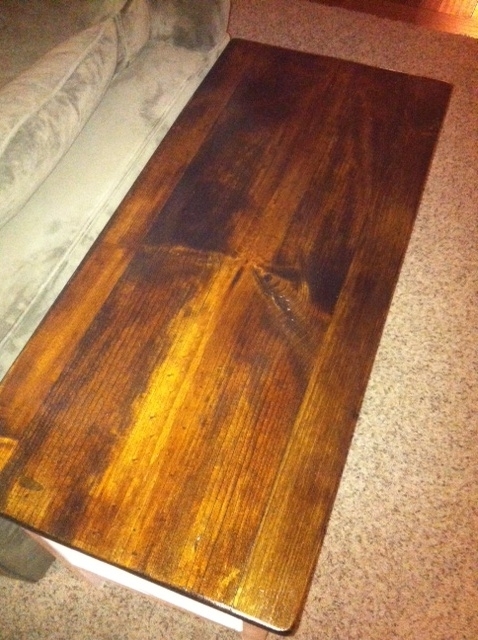
It took me longer than it would a normal because it was my first completed project. I couldn't decide if I wanted to build the top or use plywood or a project panel. I ended up building it using Aspen 1x3 for the apron and whitewood boards for the rest. I probably wouldn't buy the Aspen again. I would use whitewood for all or maybe pine. I do prefer the wider apron that the 1x3 provided.
Also, Jen from House of Wood suggested painting prior to putting the top on which was a great tip!! I stained my top after I put it on though, because I didn't want to accidentally scratch it trying to move it into place.
I glued everything and attached with pocket hole screws just for safety. One thing I learned is that wood glue does not stain, so I had to sand it down completely and sand off the glue that seeped for the final result I got.
Also, having paintable caulk is a good tip. I got a board for my lower shelf that was slightly bowed and the caulk was great to hide my beginner imperfections.
It was really easy build (keeping things square was the hardest part, but the carpet hides the small wobble I had on the cement). It looks great in our living room.
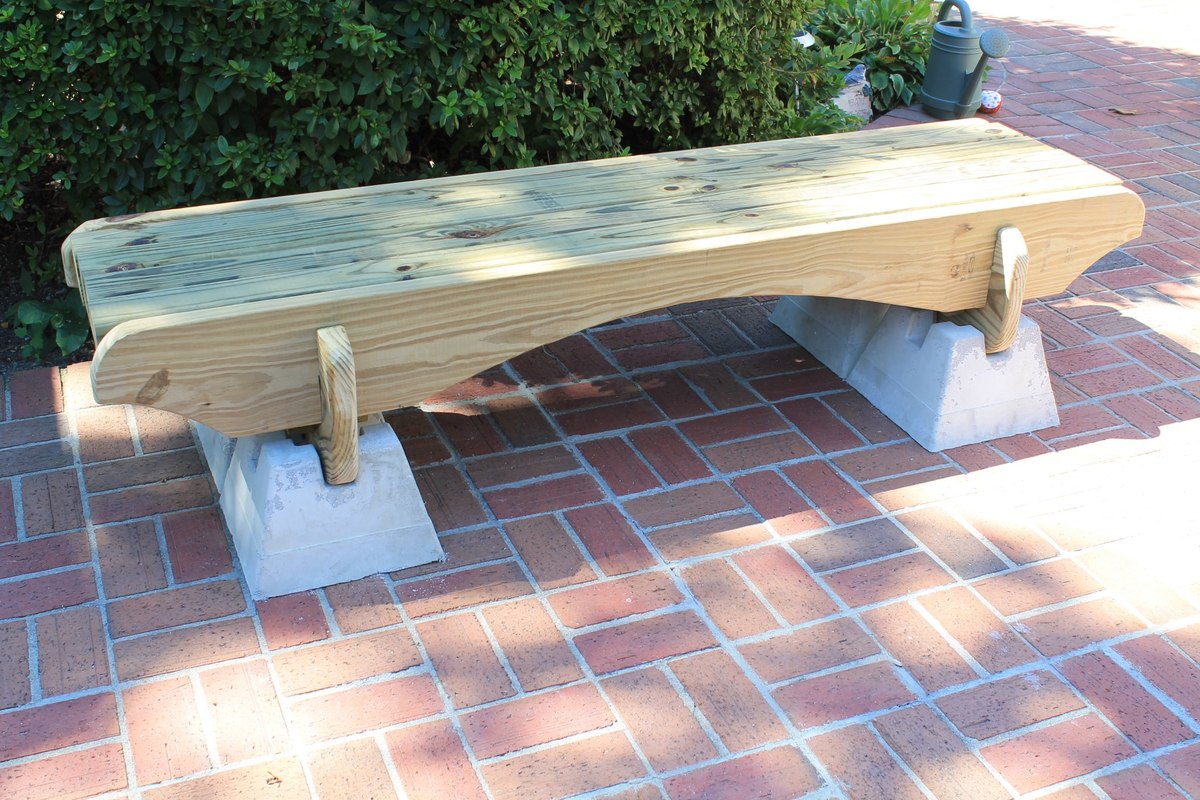
This is made by using treated lumber and concrete deck piers. The genius of this bench is that there are no screws. It fits together like a puzzle and sits on concrete deck piers. I left it untreated for a bit and decided to let the piers stay gray. The original plans called for the piers to be stained black and a stain to be applied to the wood. I wanted to post this as inspiration but will add the link to the template for the wood pieces at a later time.
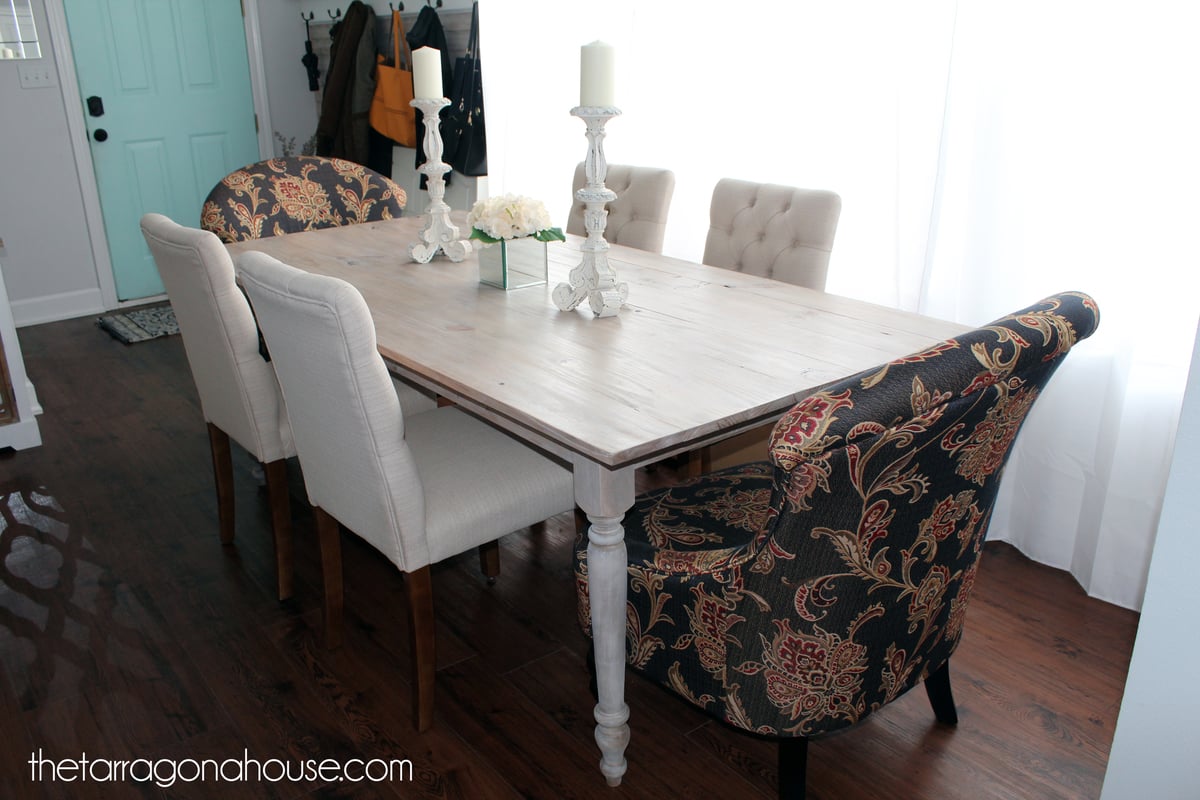
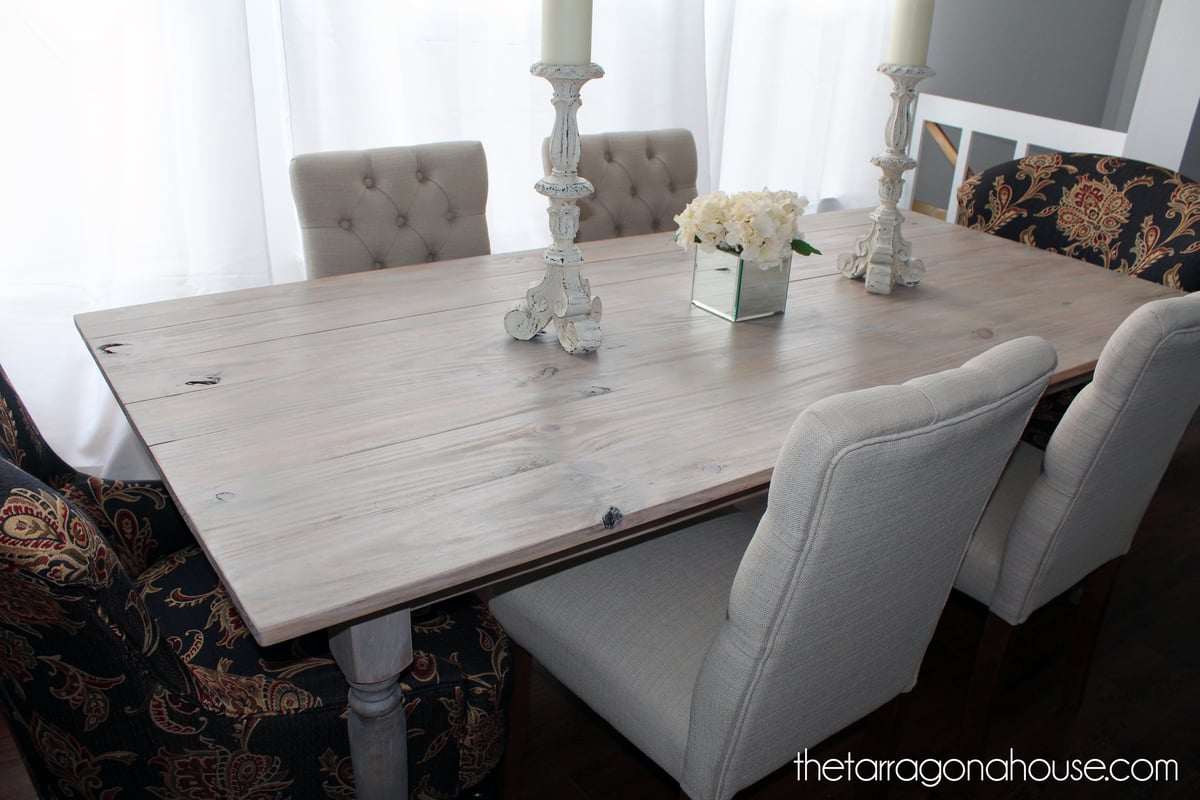
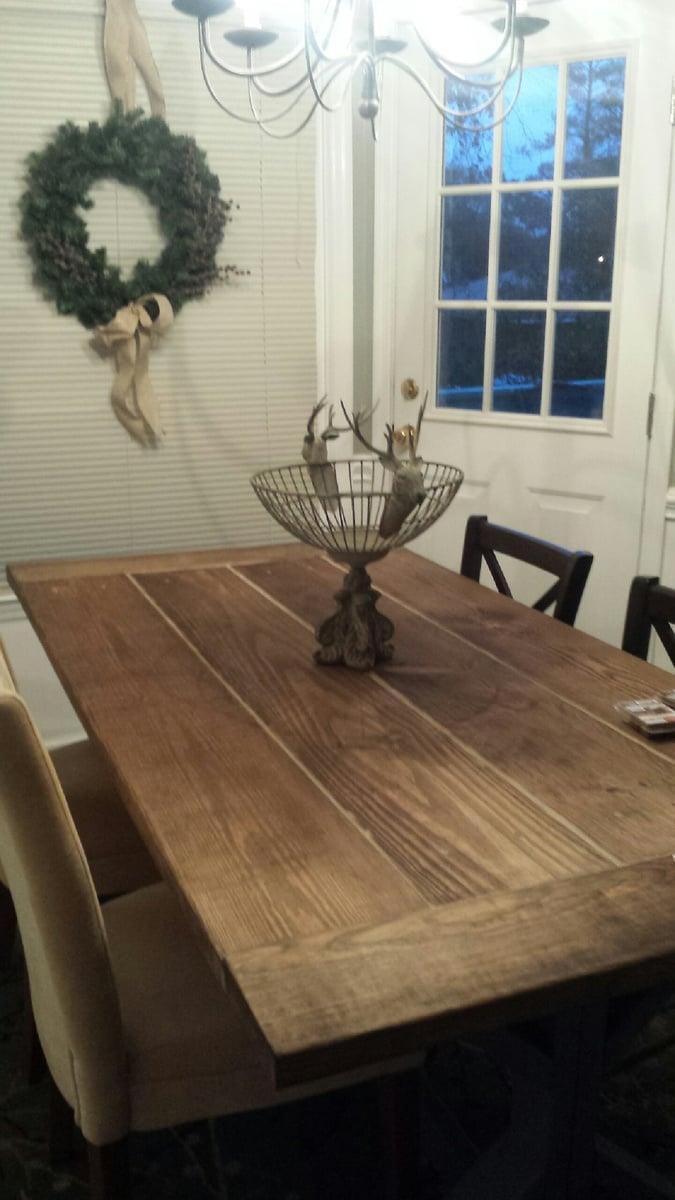
I used these plans to build our lovely new dining table. For more details, please see my post: http://thetarragonahouse.com/2016/12/31/our-new-whitewashed-farmhouse-t… .


Used the plans of the play stool, then used the kreg jig to attach three 2x6 boards to make a thicker stool top. Jig sawed around the edges after tracing a design and used a Dremel to create the animal design border Turned out super cute and goddaughter loved it!

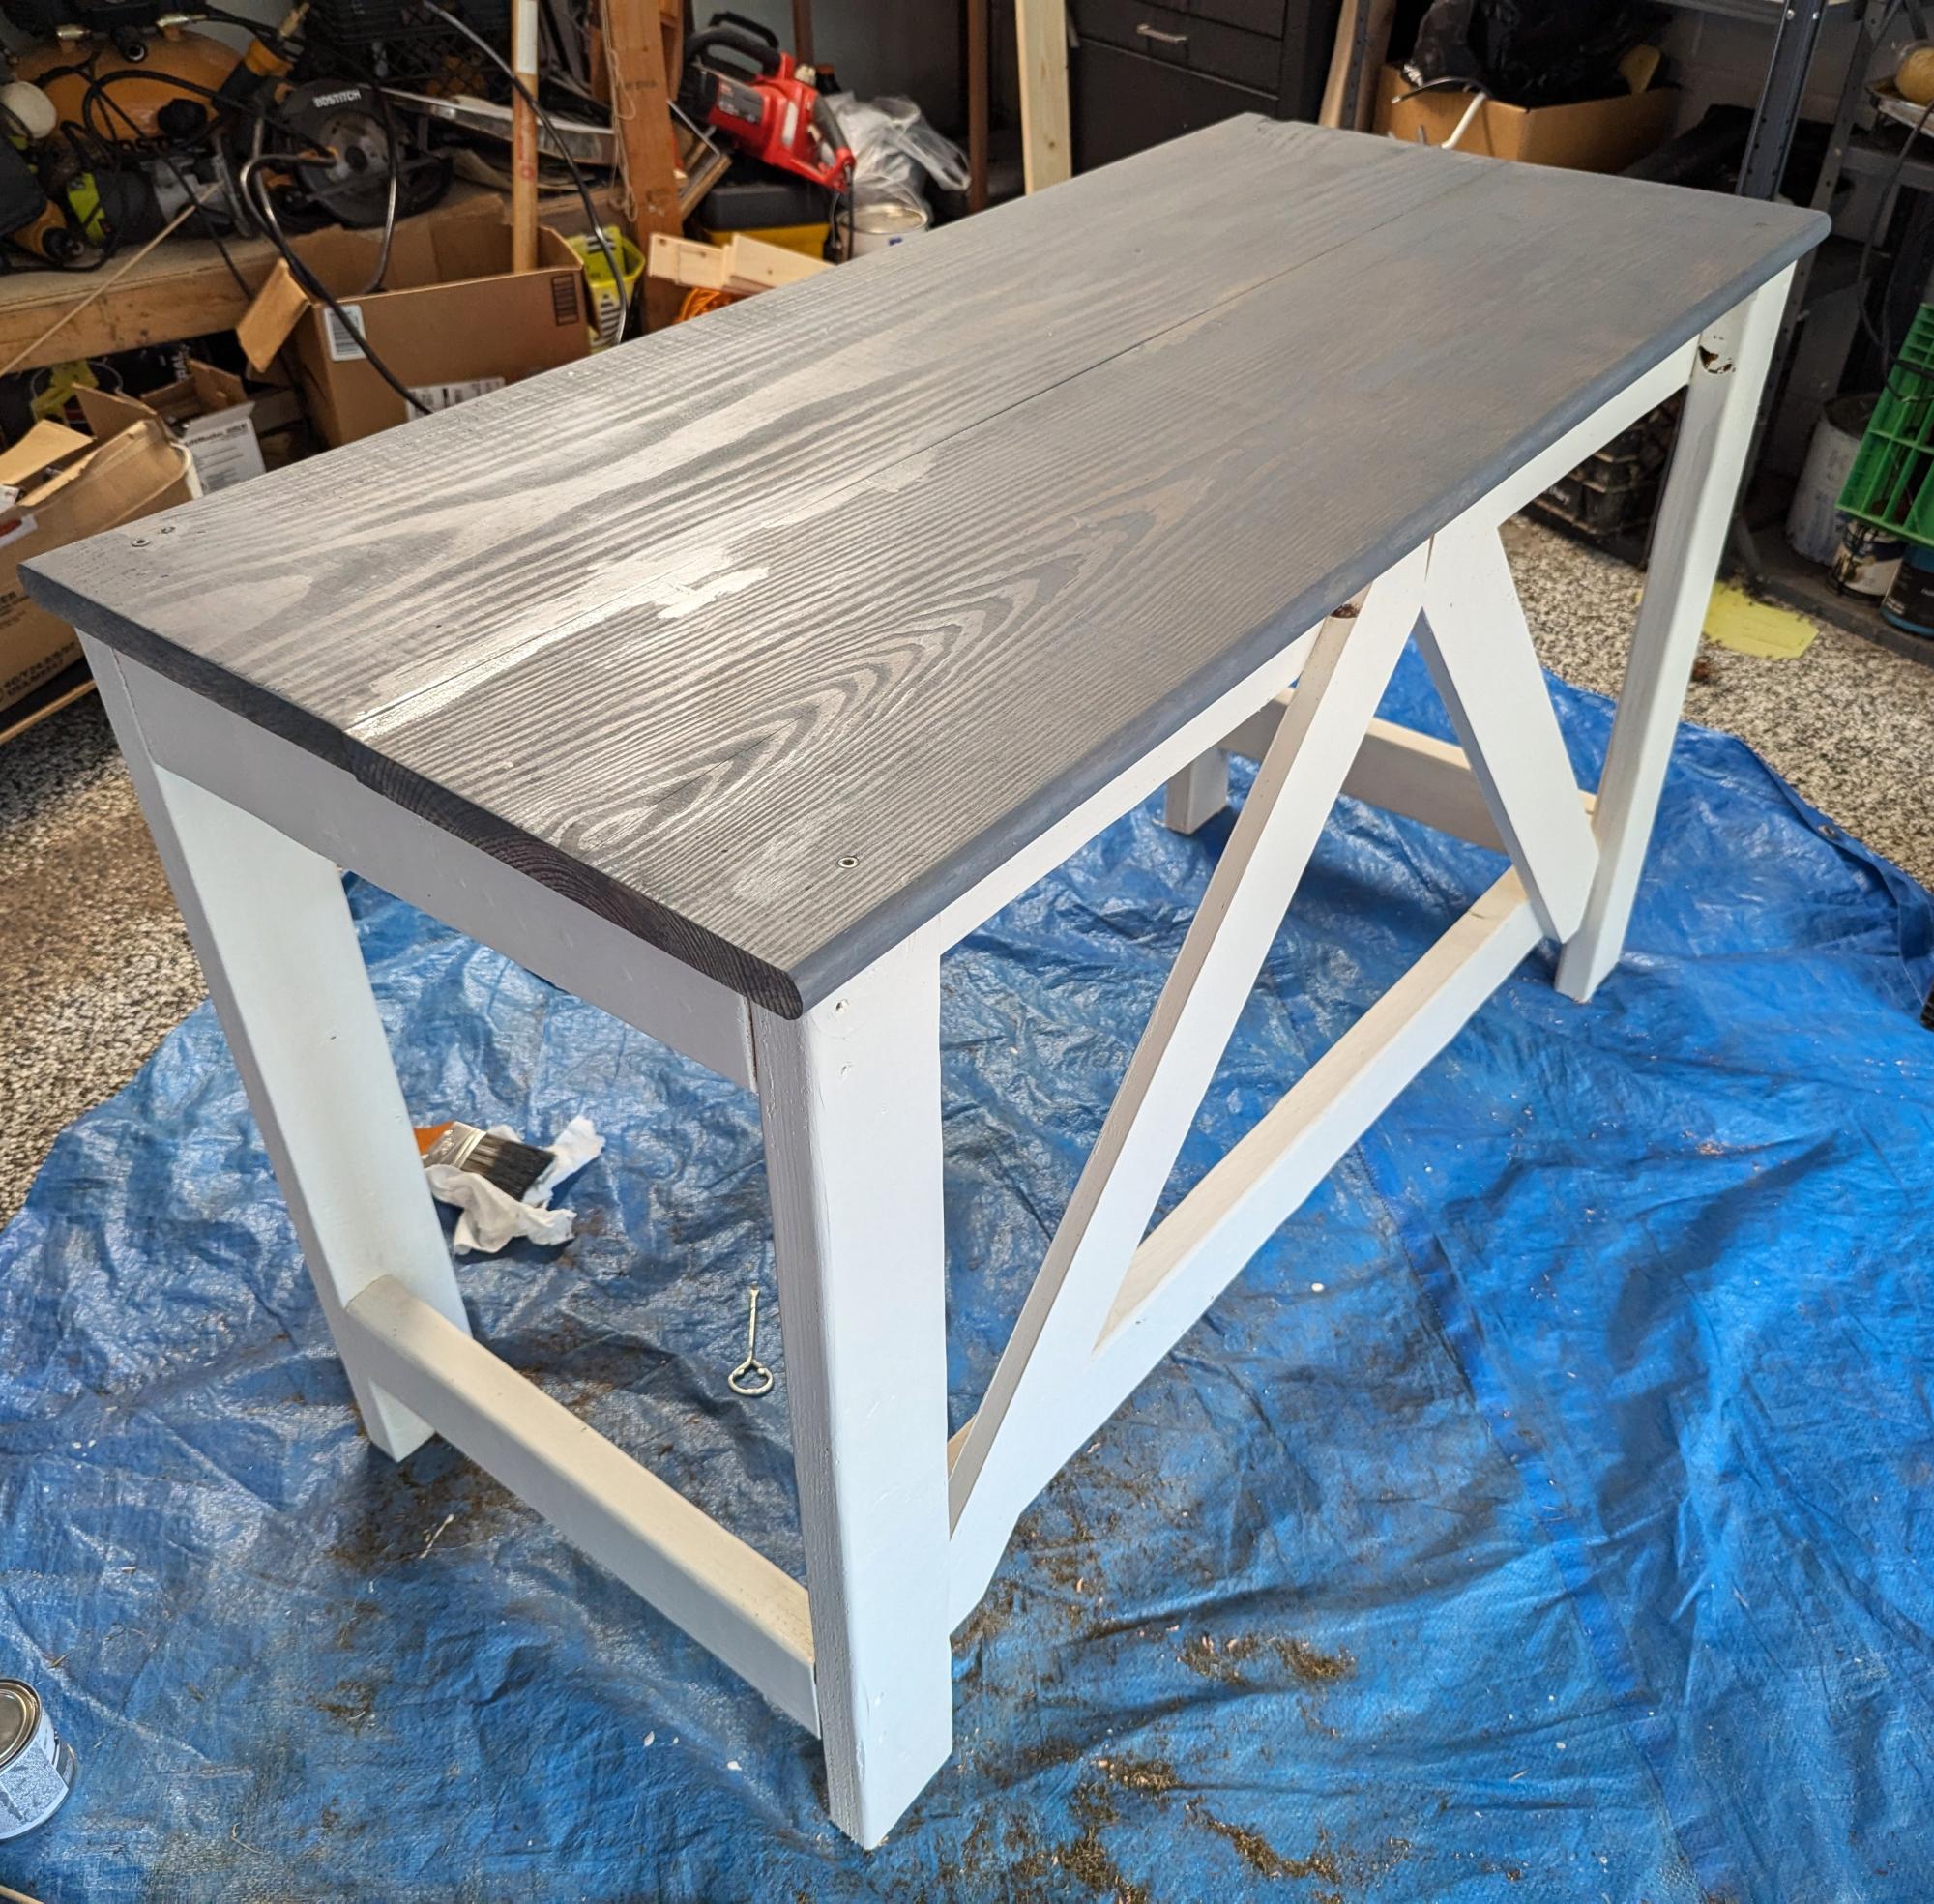
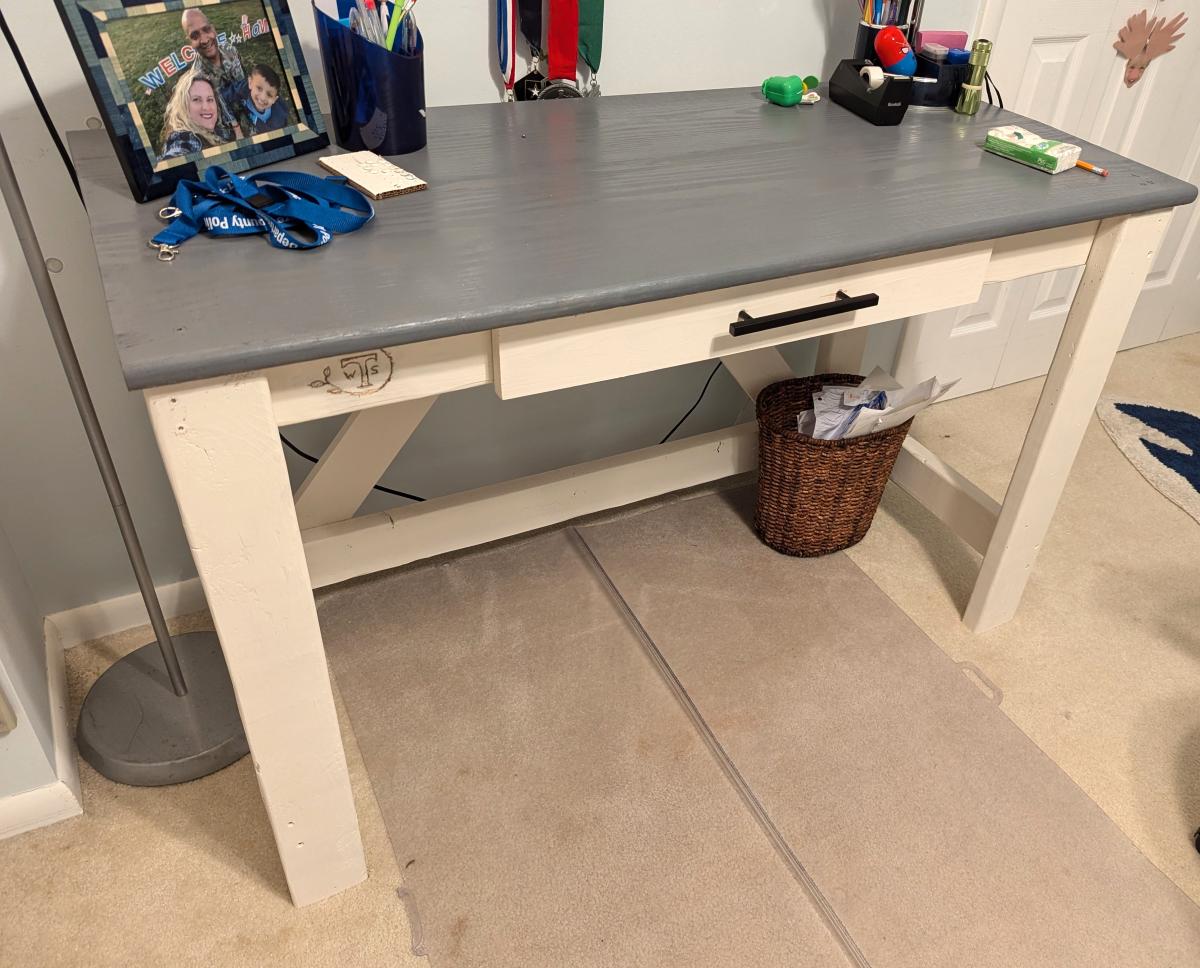
Built a desk for my son. Total costs about $90. Took a weekend just with painting
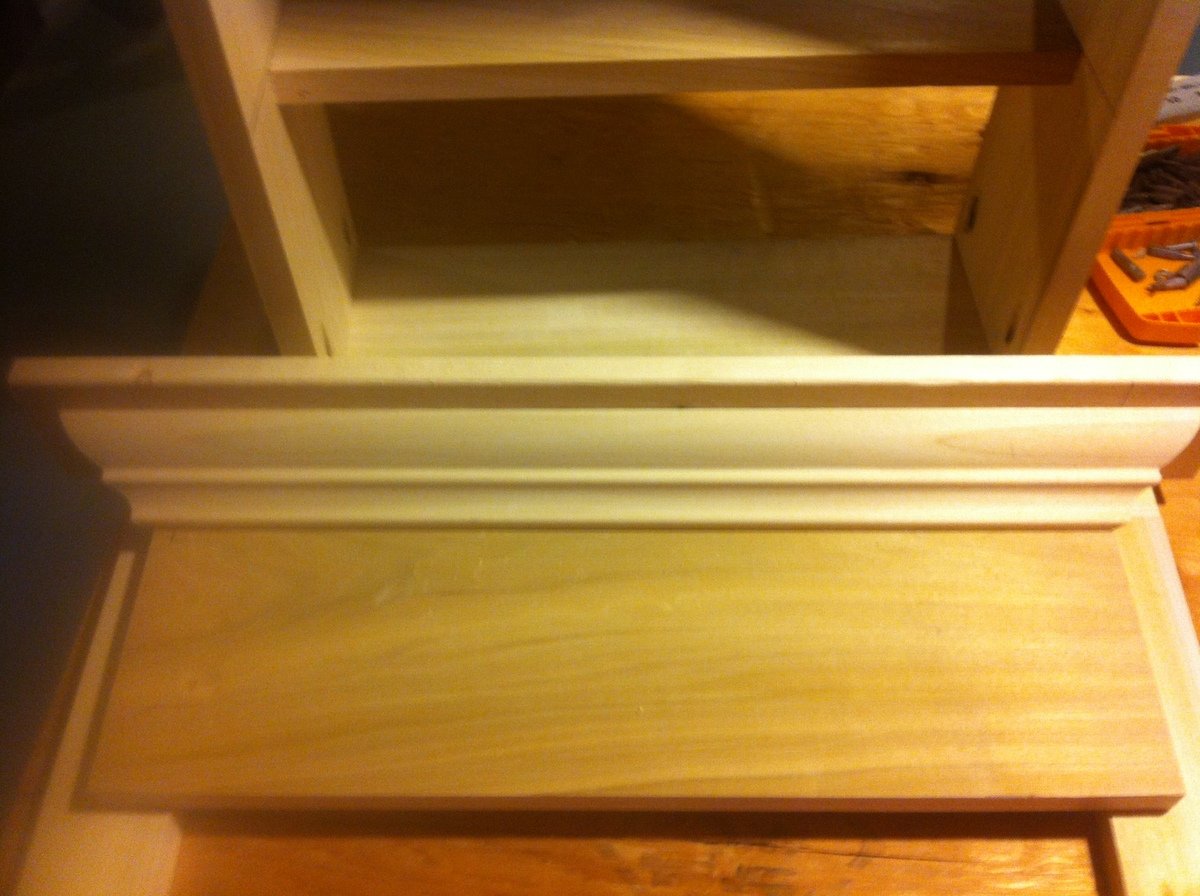
crown ledge shelf in poplar scraps - i used a scrap 1x6 for the backside to hang my hooks off of.
I built this at the Home Depot "Do it Herself" class last month. I have been trying to figure out something for a large ironing board (for yardage of fabric for quilting) for quite some time now. I decided this was PERFECT! I removed the top tray, and added a 2' X 4' craft board on top, covered it with insulbright and canvas and it's a perfect Ironging station!! I keep the ironing supplies underneath, and I have tons of extra storage space, it's WONDERFUL!
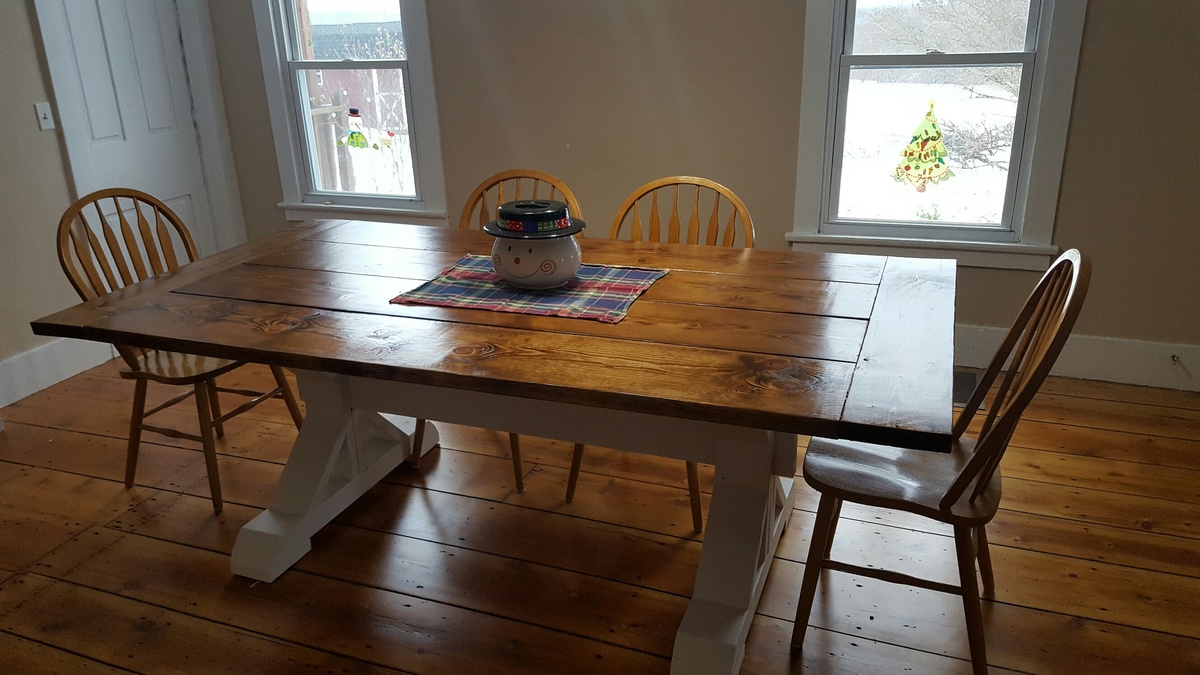
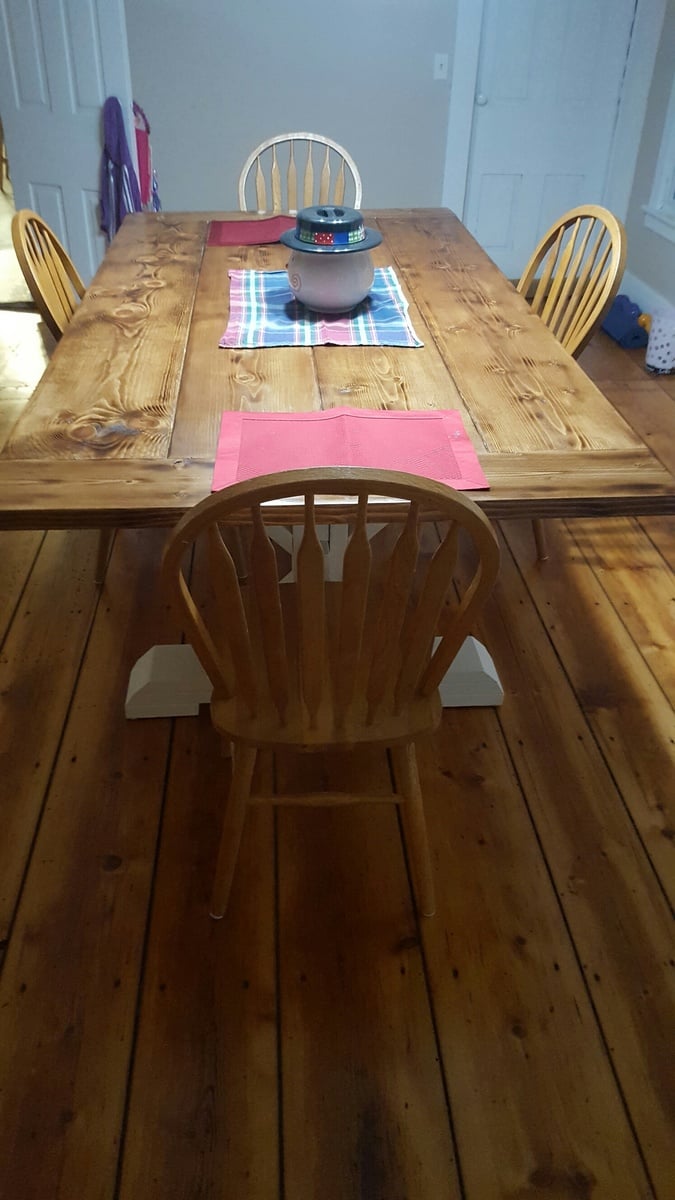
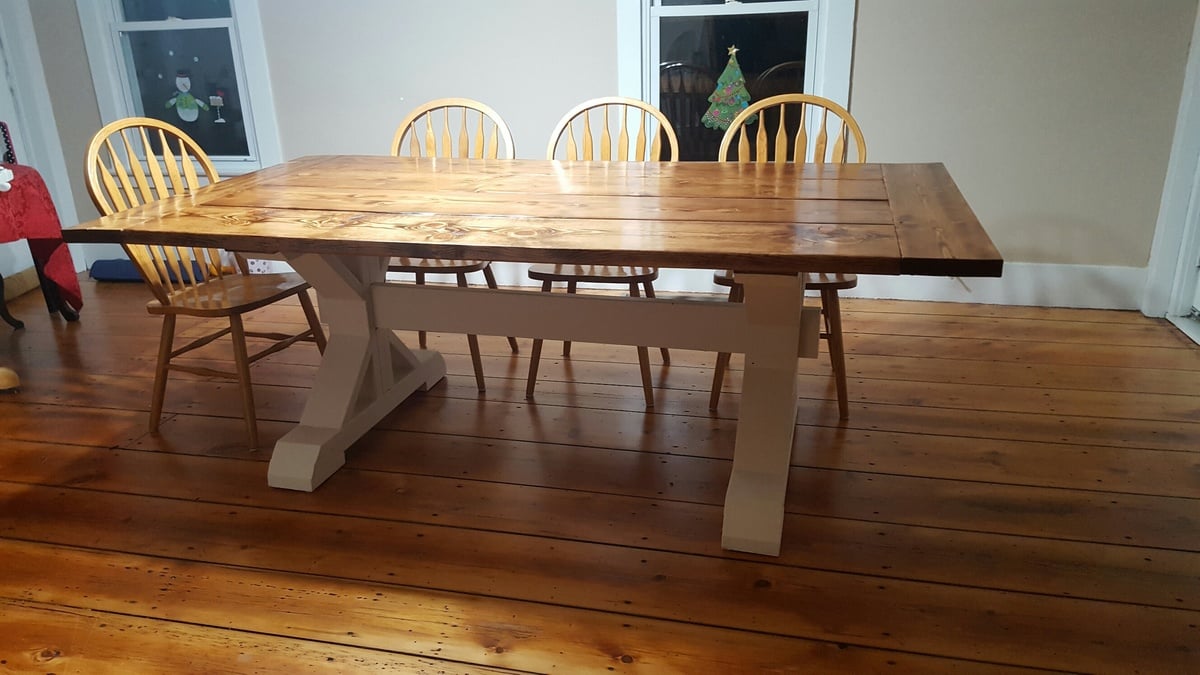
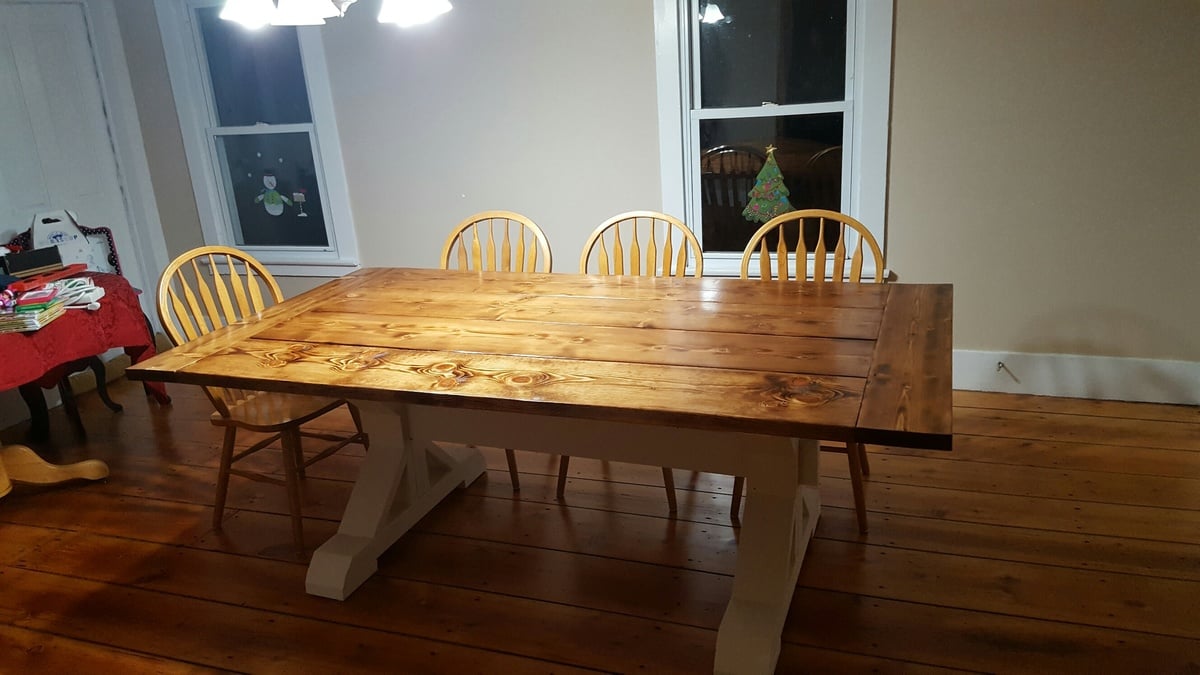
Built my wife a farmhouse table. We kind of took 3 different plans and made 1 table. We used the table top from one set of plans, the legs from another, and the X design from a 3rd. We built it on our week off for Christmas. Building wise it took 10-20 hours, but there was a lot of drying time with all the stain and poly. Two coats of Early American stain and 3 coats of poly on the table top. It's about 7' long, and the only problem now is we don't have enough chairs.

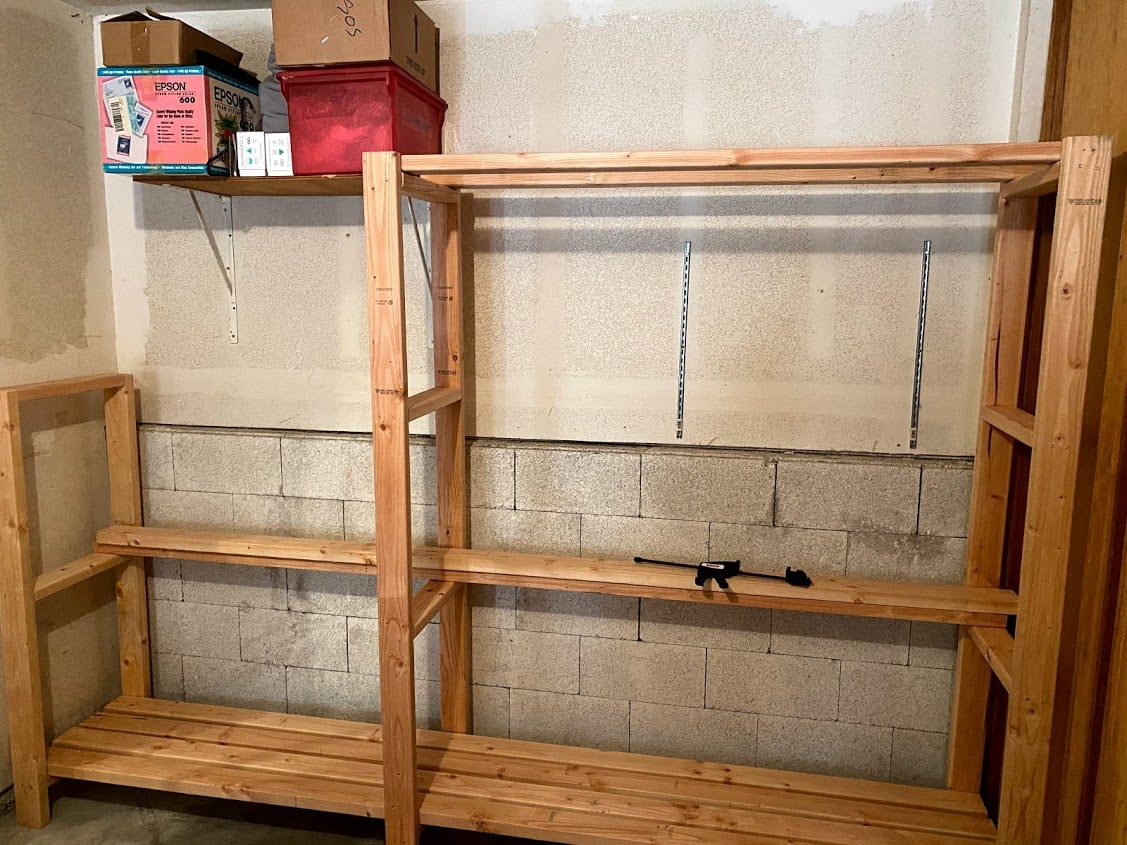
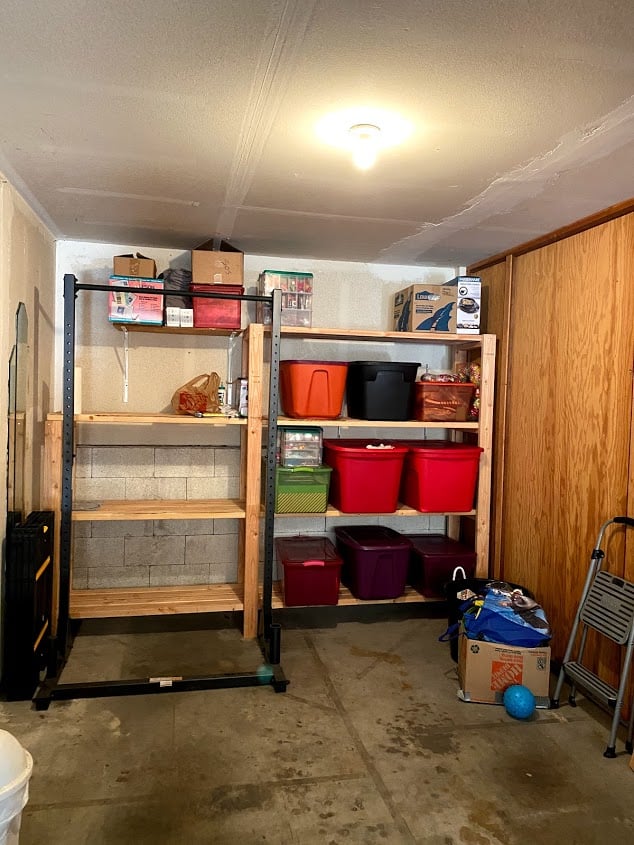
First project ever! I have been planning to build this for at least a year, and I finally did it! I had to modify the plan to fit my space, but it worked out well. They cut the wood for me at the store, so I did not make any cuts myself, just assembled all of the pieces together. I used all 2x4s, 8' and 10', cut down to my measurements. I did not finish the shelves since it is just for the garage, but I did sand rough board edges and some of the faces. I just used an palm sander and coarse sandpaper (80 grit). Please double check all measurements and lists because I forgot to add my shorter shelf supports to the list and had to go back to the store. I also forgot to add the width of the top shelf to those two shorter supports, so the shelf boards are resting on the top instead of nestled into the supports. It turned out not to be a functional problem, but a good lesson to learn. I also learned to make sure my driver battery is charged fully before starting - that took a large chunk out of my first day building and I had to finish the next day. My husband helped with some lifting and holding, but I mostly did this on my own in one weekend, so you CAN do it! Don't wait like I did - it is soooooooo useful and it looks great! All of my friends are really impressed and it feels so good to have made something like this! Thank you Ana!!

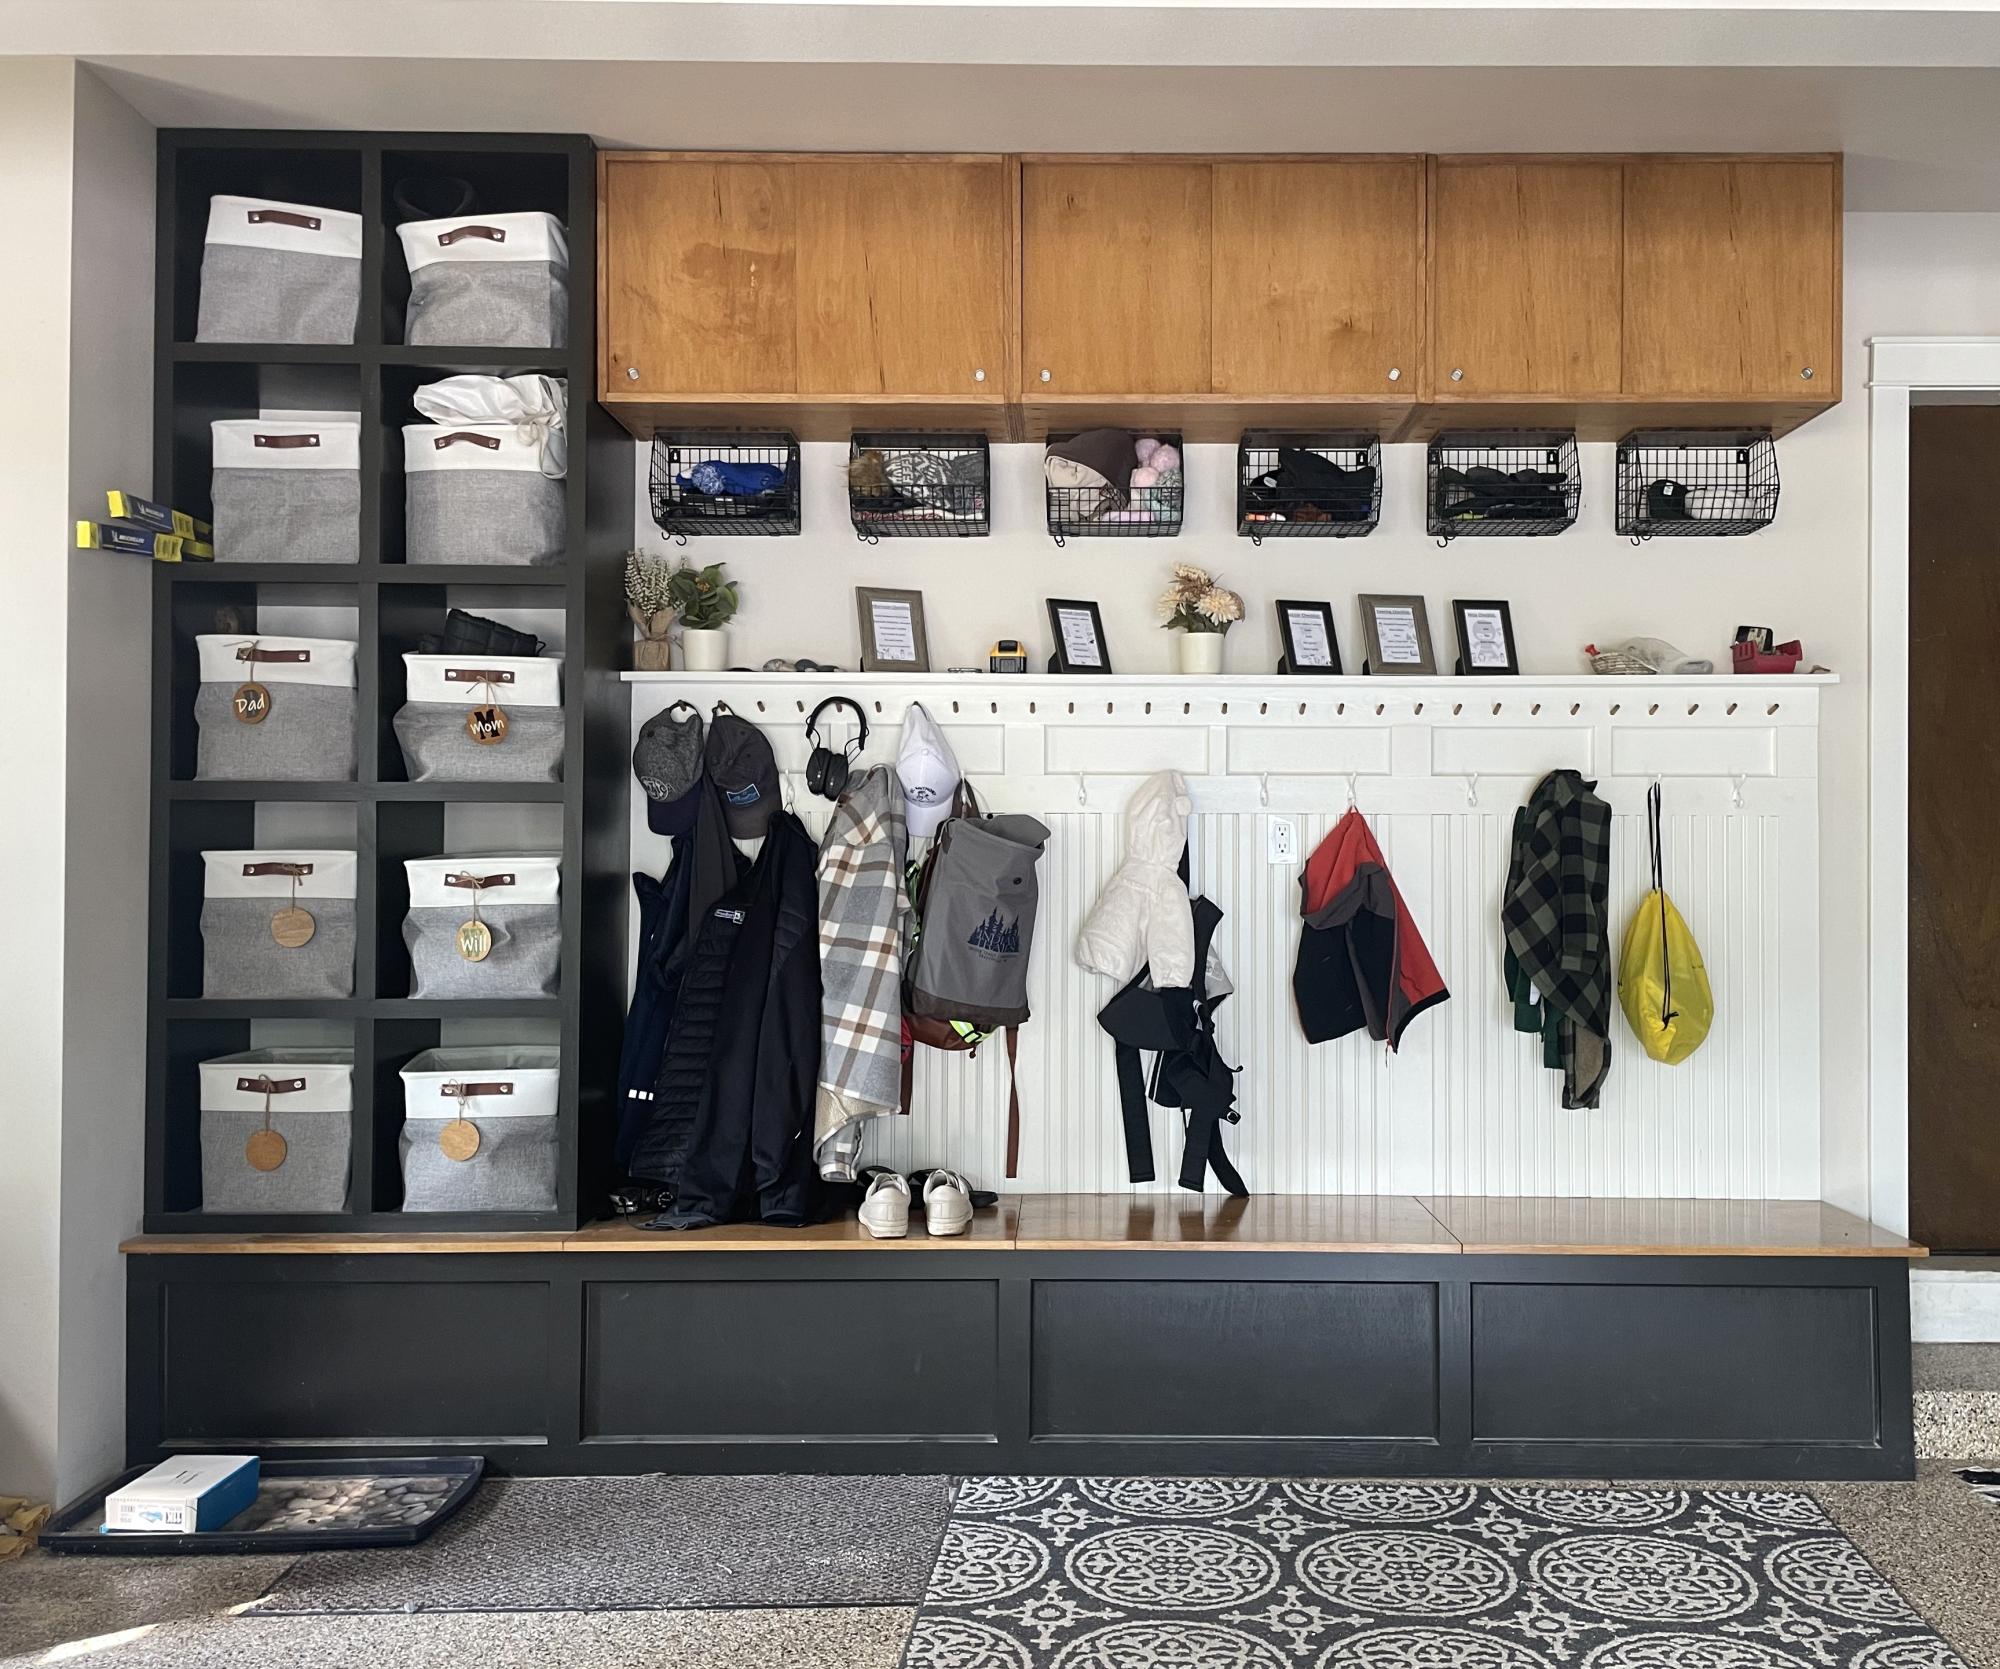
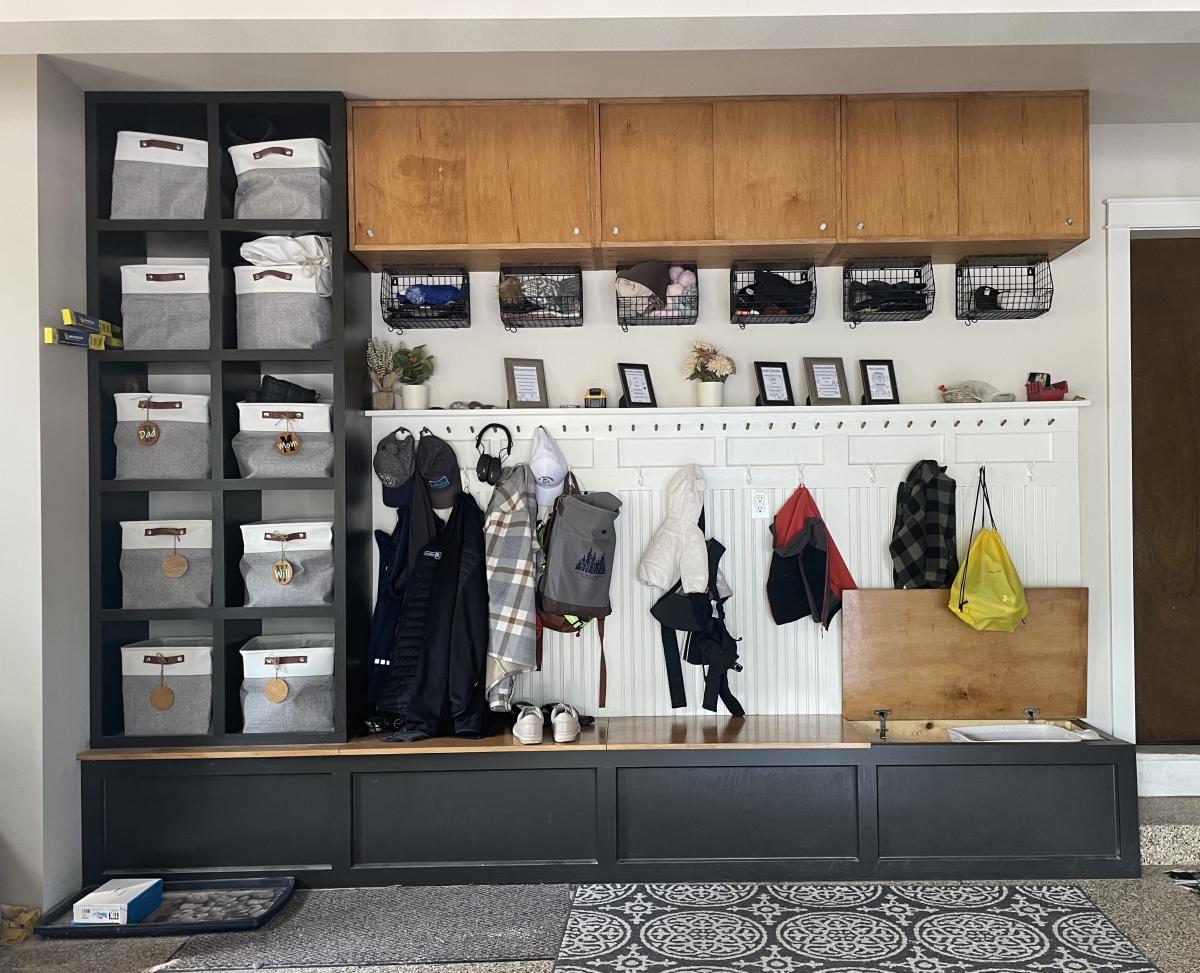
Took this plan as inspiration for our garage remodel. This is the back wall of our 2-car garage. Each kid ended up with their own section complete with hooks for coats and backpacks, baskets for hats and mittens, the bench storage for sports gear, and their own shoe cubby off to the left. This bench was a game changer for school nights! - Lindsey M
Fri, 10/11/2024 - 11:29
Ugh. The cabinets up above are a no starter. They should at least be painted in the same color scheme
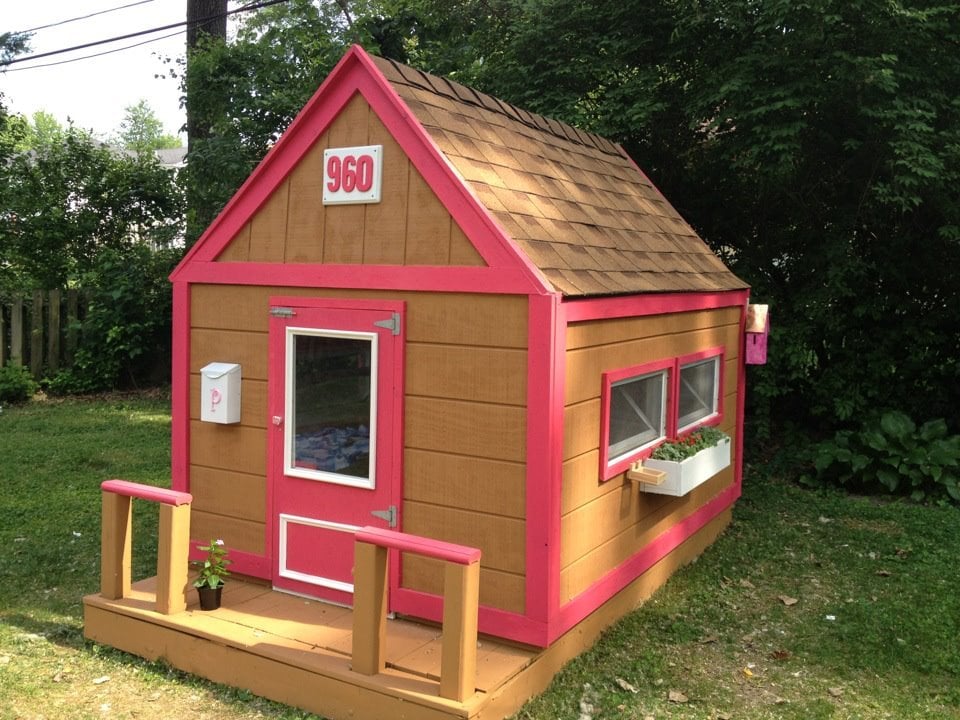
A year ago I built my daughter a custom dollhouse for a Christmas present. She asked if I could make her one in her size. Initially, I laughed and said that I didn't think I could pull something like that off. Over the next Spring Break, I decided to give it a try. After pricing out custom playhouse kits online, I figured I could do it myself. I watched some youtube videos and looked at pictures online and came up with a project plan. The detailed step-by-step instructions along with pics are available on my blog: www.momthebuilder.net. Good luck with your playhouse project!!!
Fri, 12/07/2012 - 02:43
This came out beautiful. Great job! Love all the attention to detail and the rug is awesome, too!
Modified the Gaby Kitchen Island plans to fit our own needs! LOVE THIS PIECE!
We wanted to make our daughter a play kitchen for her birthday. We have a farmhouse sink so we wanted her to have one just like ours. My husband built it out of wood. We wanted the cabinets to look like Shaker cabinets so we added trim to them & the Fridge. We bought the handles from Home Depot. If you have any questions I will be happy to answer them.
This is a combination of the Ultimate Garage Shelving Plans (https://www.ana-white.com/woodworking-projects/ultimate-garage-shelving…) and the Best DIY Garage Shelves (https://www.ana-white.com/woodworking-projects/best-diy-garage-shelves-…). We mostly followed the Ultimate plans but didn't add the metal supports. Instead, we had shorter spans and were able to attach the shelves to the upper part of our metal storage shed. Simple plans, easy to understand, took a weekend for two adults to complete.

My handy husband whipped this little bed up from the leftover wood of the rustic "X" end table! I love it so much, a great toy / newborn prop!! I wanted to finish it with the steel wool/vinegar method, but it was too late, he already painted it. I love it just the way it is! Thank you for the awesome plan!!
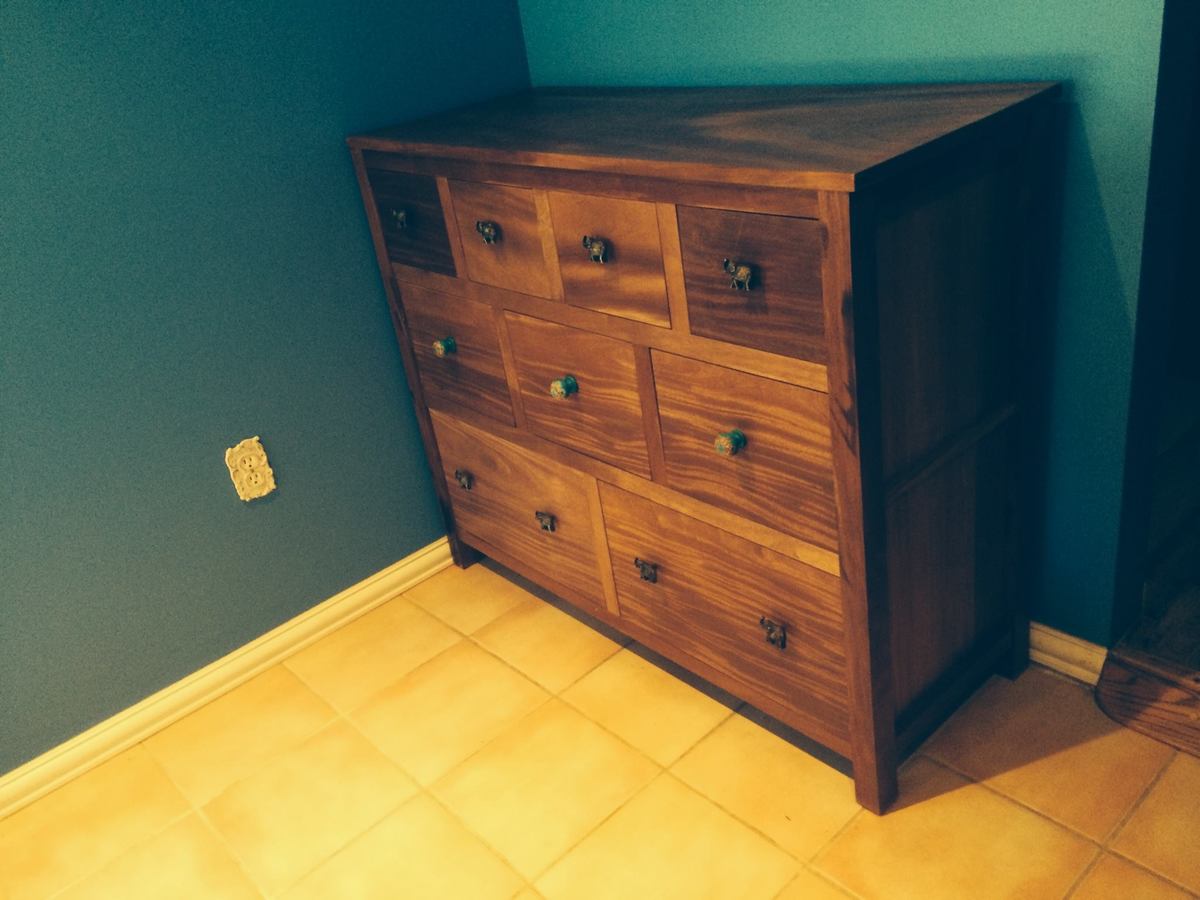
9 drawer dresser made out of African mahogany wood.
Wed, 09/24/2014 - 15:45
Wow, this is gorgeous! Beautiful build, that mahogany is amazing!
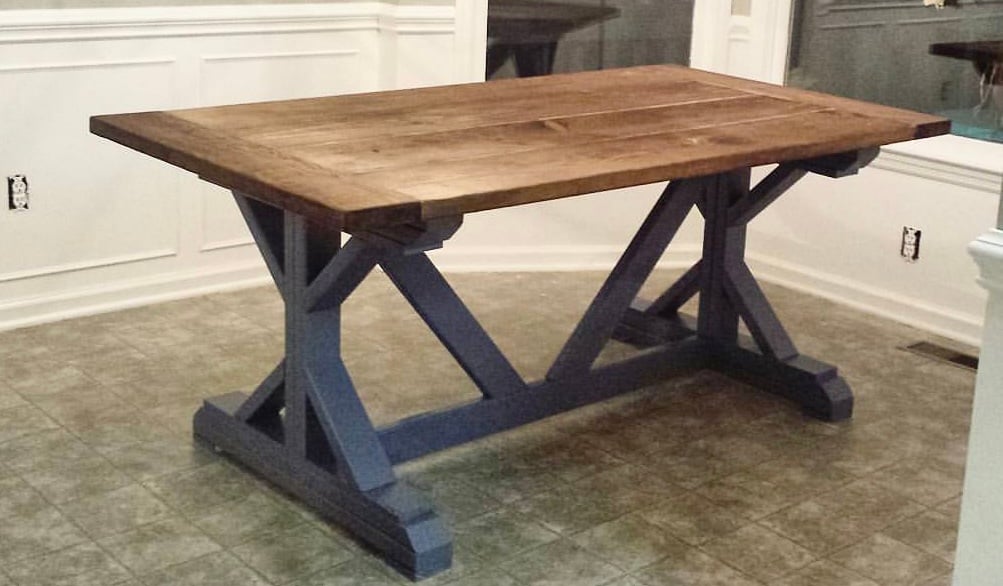
I modified this plan just a little on the ends, and I can not tell you how pleased I am with it! I did run into some issues with lining the boards up properly due to imperfections (and not laying the boards out ahead of time in the store because I was rushing at closing time), but in the end, I decided to add a wood filler in between the boards and everyone just raves over it. I could not imagine it having come out better. I would not do it any other way.
Thank you Ana!!
PS... I have a wonderful idea for a loft bed, but the plans are not provided. I know you would do it justice.. how do I submit the photo????
Tue, 07/30/2019 - 08:01
Jeff,
I do apologize for not having seen your comment! I will work on plans as soon as possible and let you know when they are available. Thank you! :)
Sat, 05/30/2020 - 07:34
I also liked this table but never found the plans for it. I did find a very similar table with plans at:
https://www.shanty-2-chic.com/2012/06/fancy-x-farmhouse-table.html
Looks like just the bottom of the legs are different...