Community Brag Posts

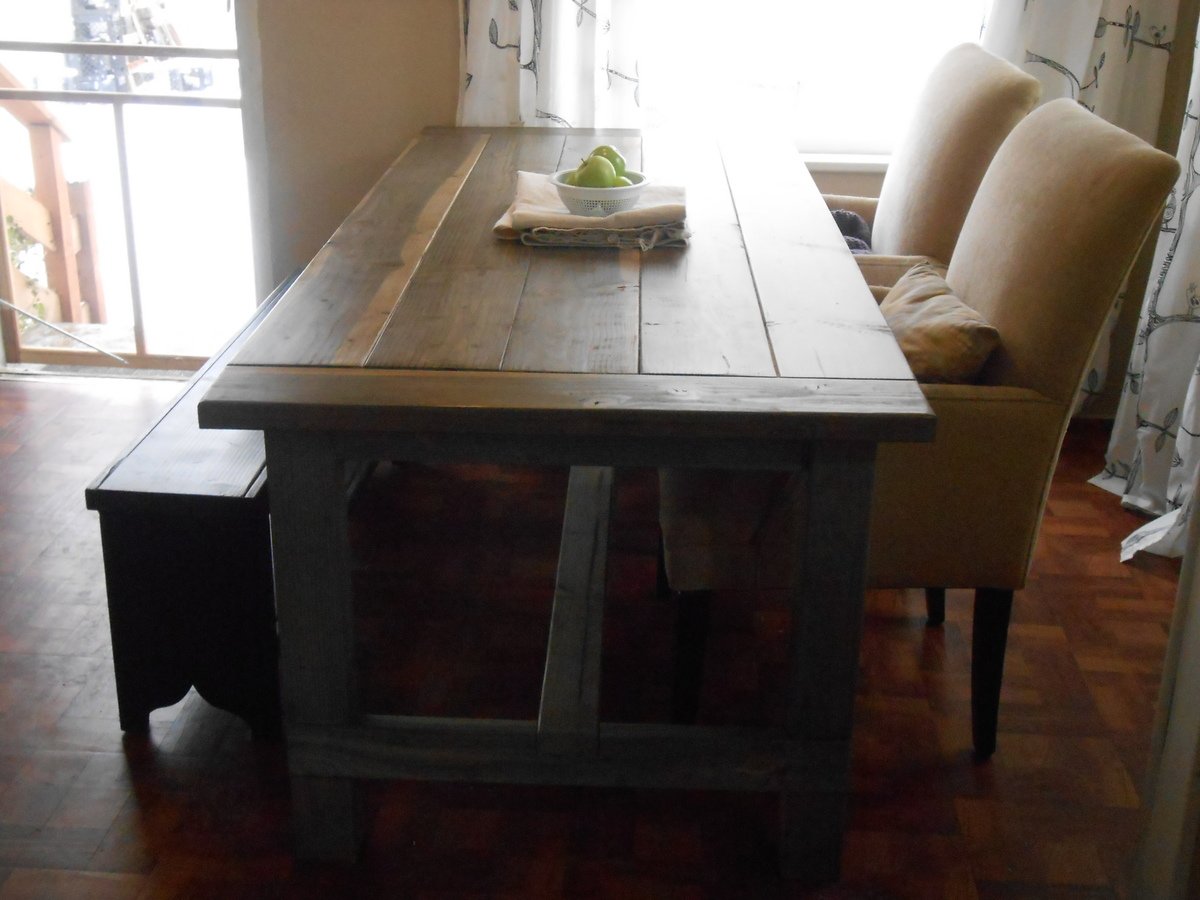
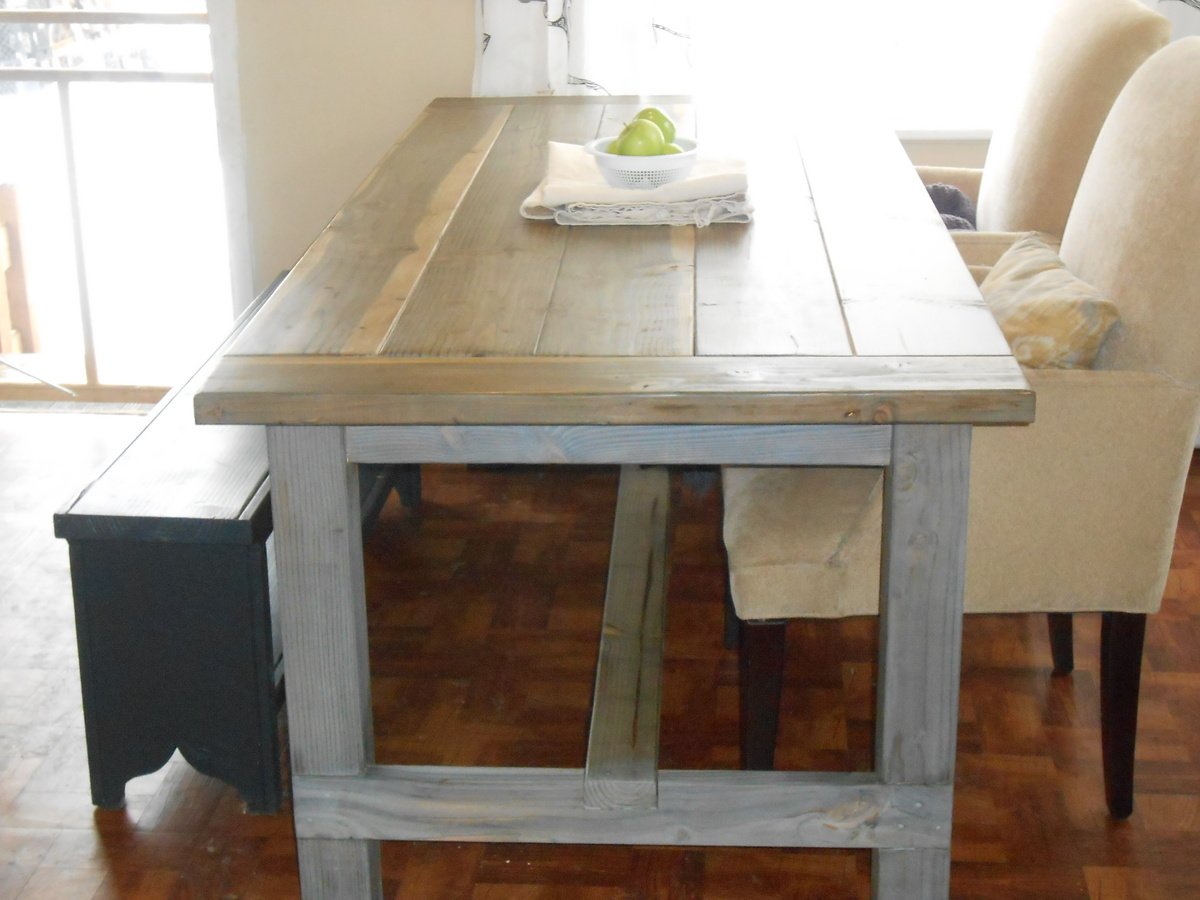
Oxidized Farmhouse Table

Submitted by ksmith311 on Tue, 11/05/2013 - 11:48

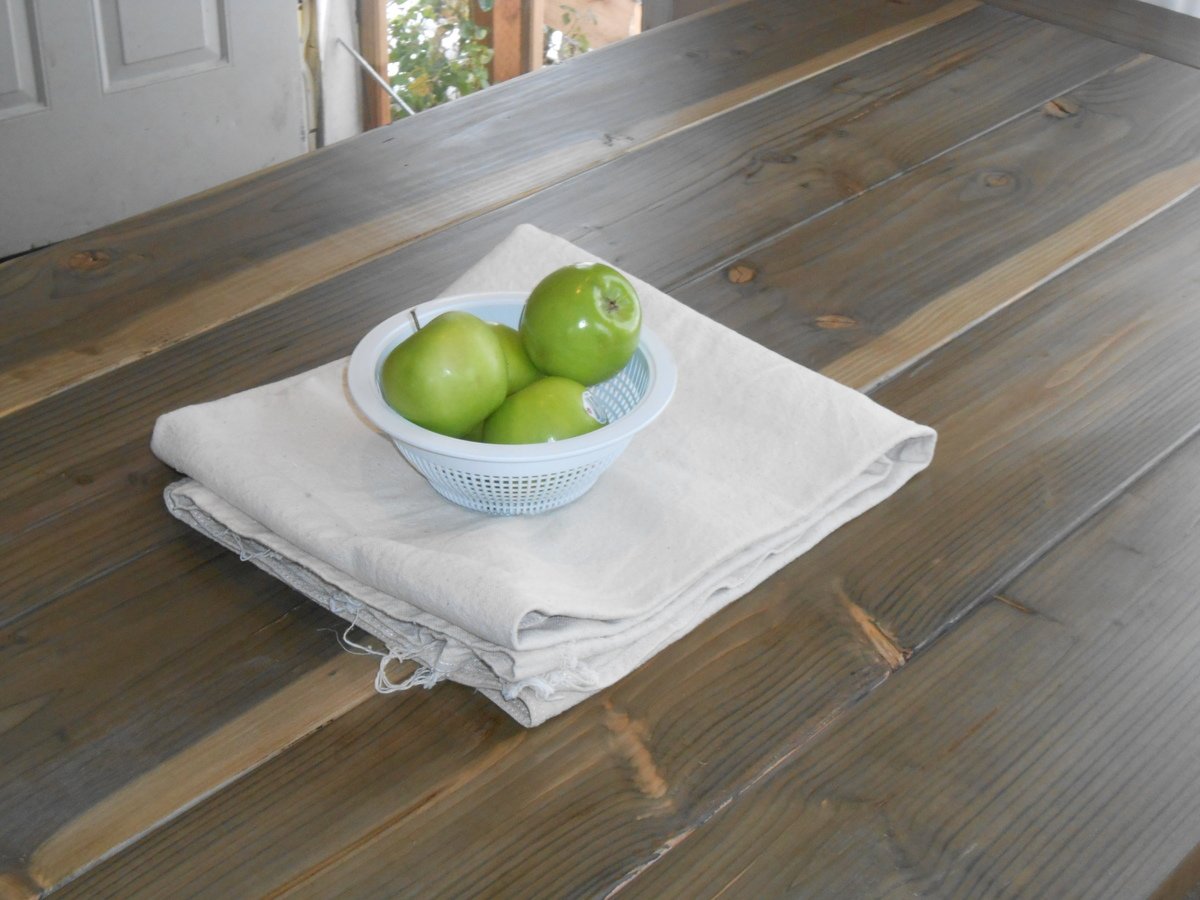
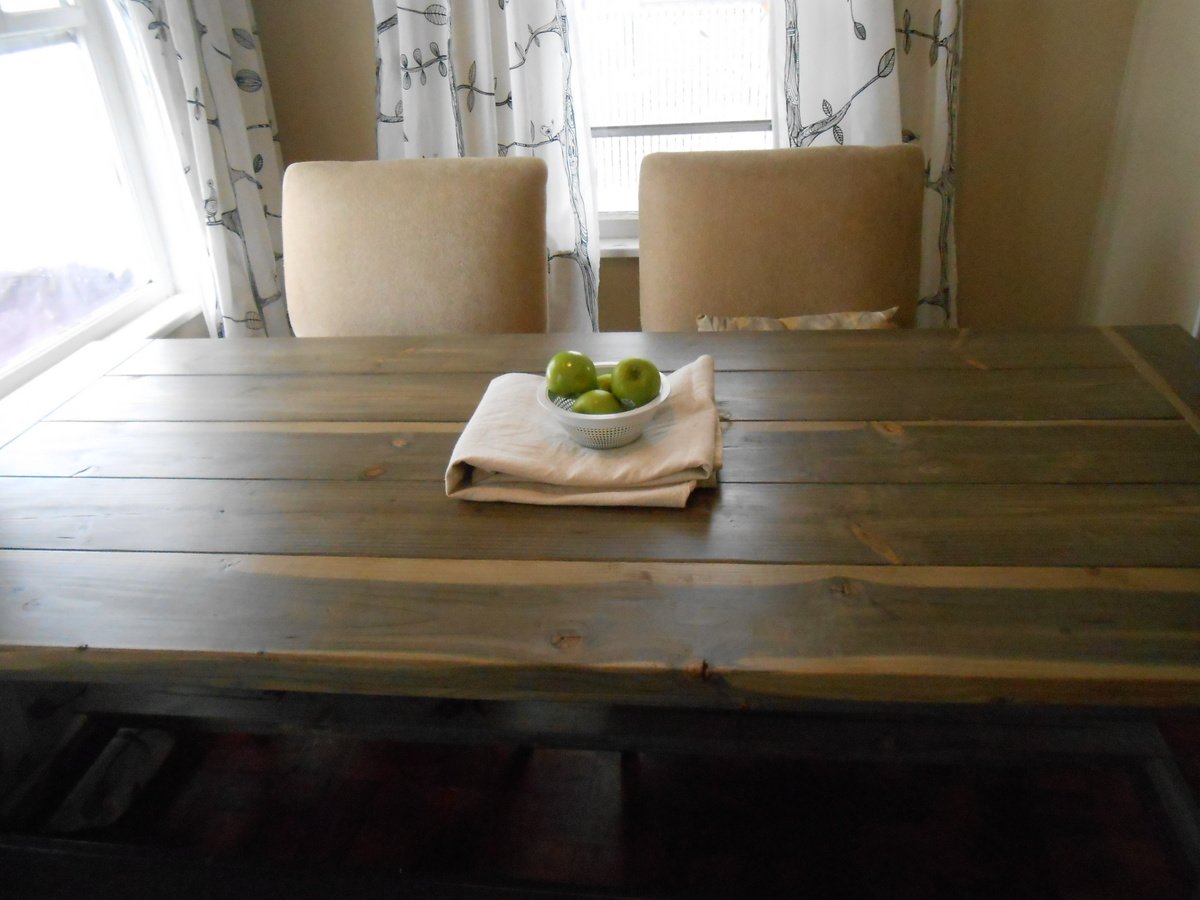
This is the second Farmhouse Table we've built and this one is sooooo much nicer than our first one. The build went smoother the table top turned out more straight with less high spots. The oxidized finish is super gray due to the cold weather here.

So beautiful!

Estimated Cost
$60
Estimated Time Investment
Day Project (6-9 Hours)
Finish Used
Oxidized solution diluted with vinegar, Dark wax & paste finish wax then buffed.
Recommended Skill Level
Beginner

Comments

RN woodworker

Tue, 11/05/2013 - 12:40

Nice Job! Looks great! Was there something that you did that helped prevent high spots in the table top? I will be building a table in the near future and was curious if there is a trick to it. Thanks!

bclute

Tue, 11/05/2013 - 17:27

Is the table top also douglas fir? The finish of the top came out great. Is it the same finish as the base? I love the top and hope I can do the same!

ksmith311

Tue, 11/05/2013 - 17:35

Thank you! The table top is douglas fir as well. I just bought the cheap framing lumber from the blue store which I believe is doug. fir. The finish is the same except that I waxed the top 2x with dark wax and 2x with clear wax and then buffed it. I only waxed the legs once with brown wax so it does look a little bit lighter.

Shelving the idea in Texas

Submitted by Anonymous (not verified) on Wed, 01/20/2016 - 20:33

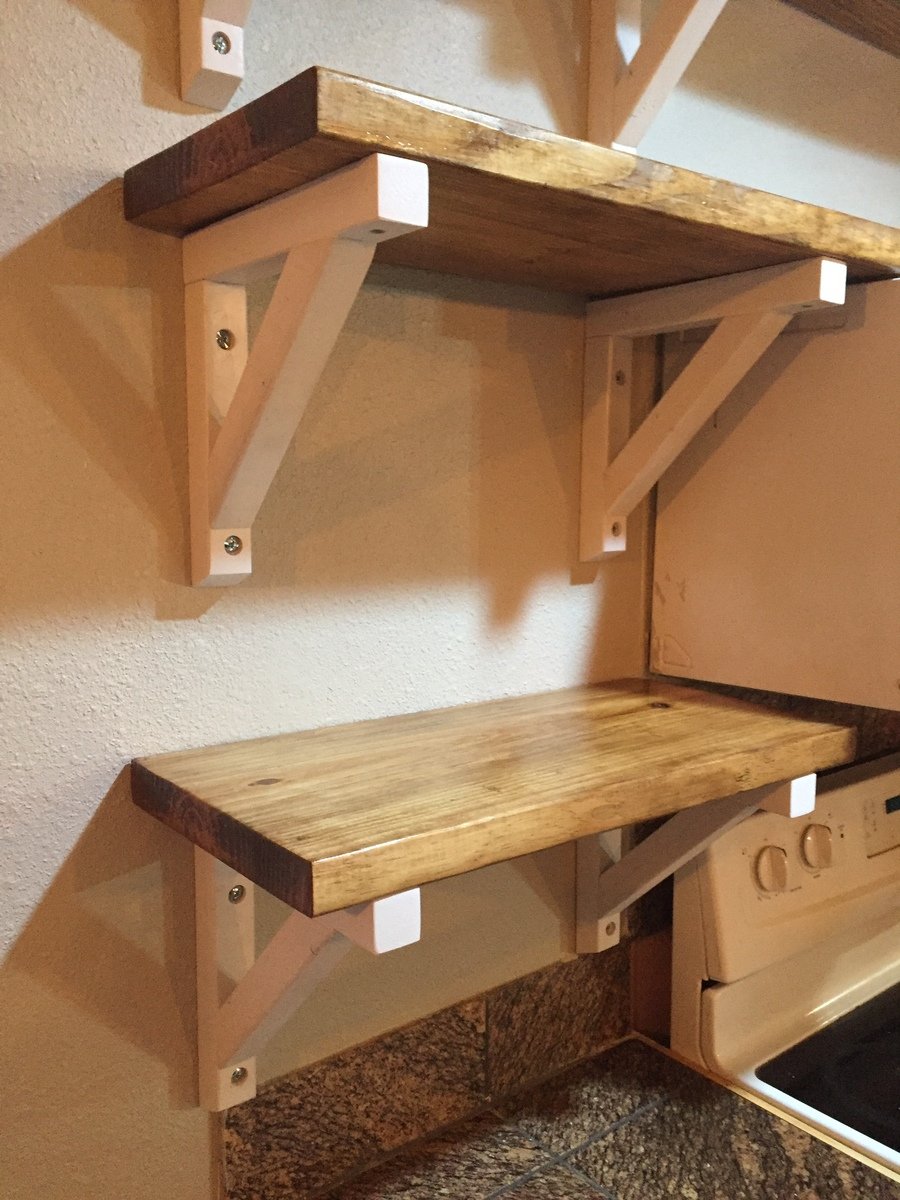
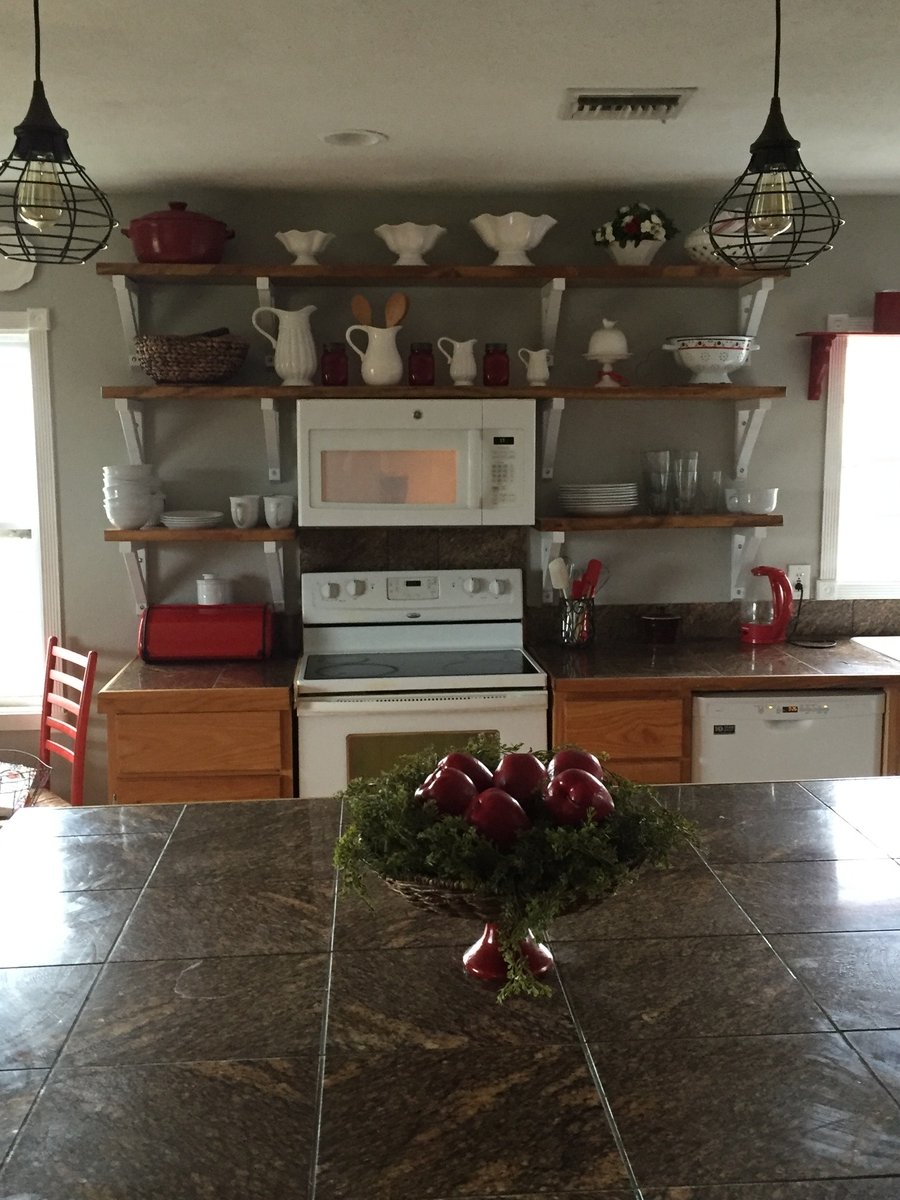
We tweaked a few things, to make the brackets more personalized. We changed the measurements to suit our space, added a decorative bevel to the bottom of the brackets, and used 2x12's for the shelves. We love the warm open feel these shelves give to our farmhouse kitchen! Thanks, Ana, for providing so much help and inspiration!

Estimated Cost
Less than $40
Estimated Time Investment
Weekend Project (10-20 Hours)
Finish Used
Minwax Early American stain and Rustoleum glossy white 2 in 1 spray paint
Recommended Skill Level
Starter Project

Adirondack Stool or End Table

Submitted by Clang on Wed, 06/19/2019 - 19:45

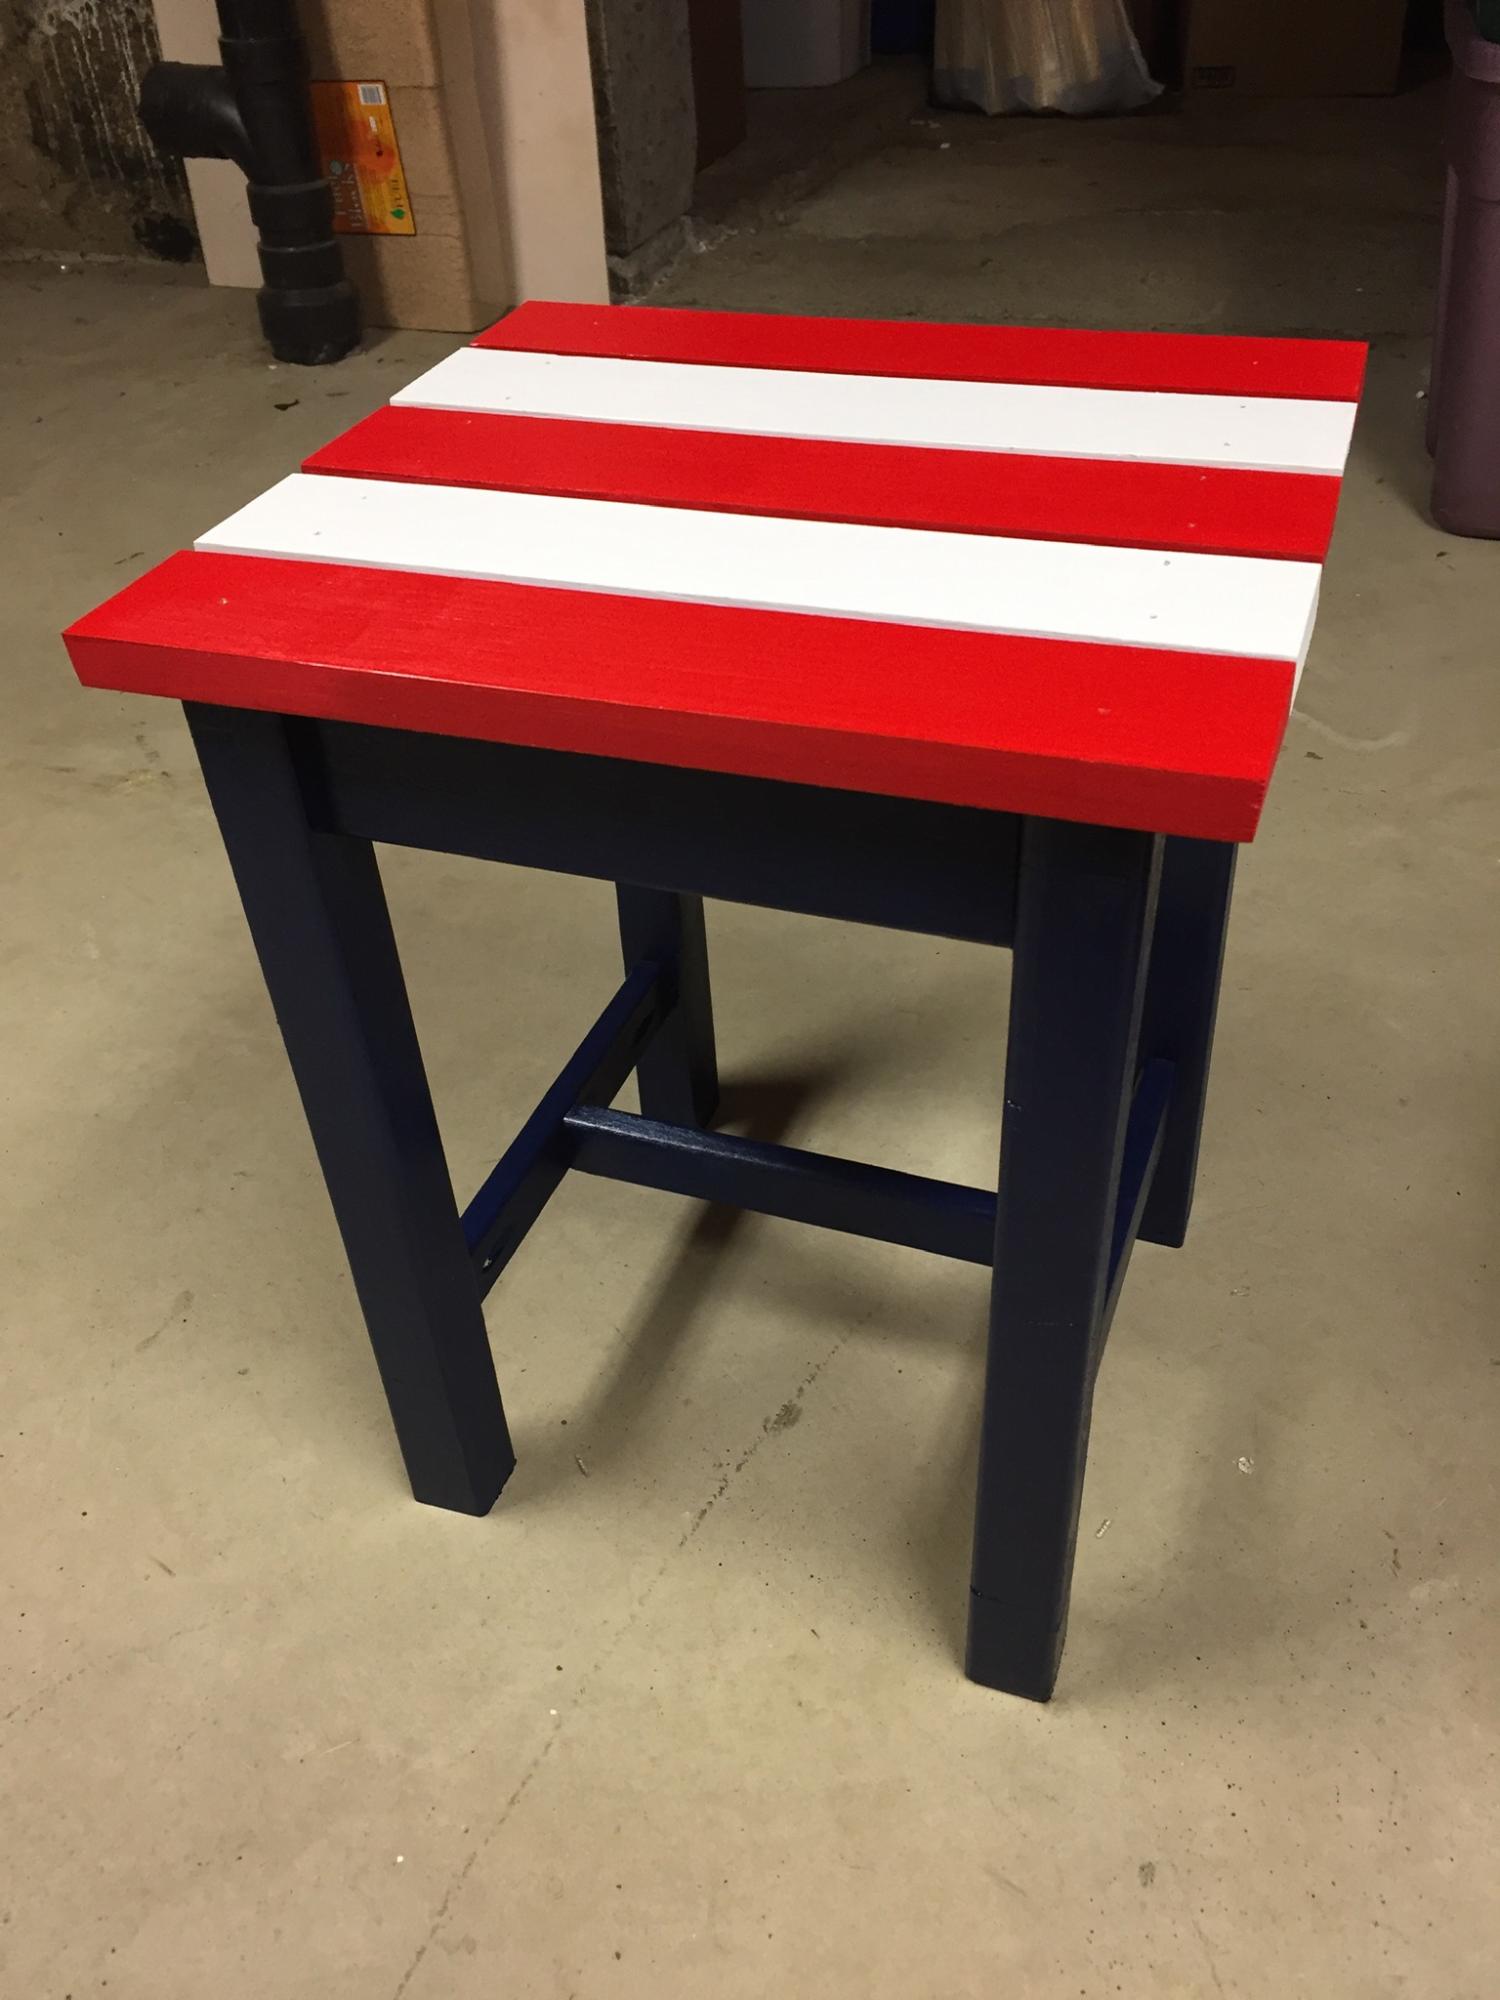
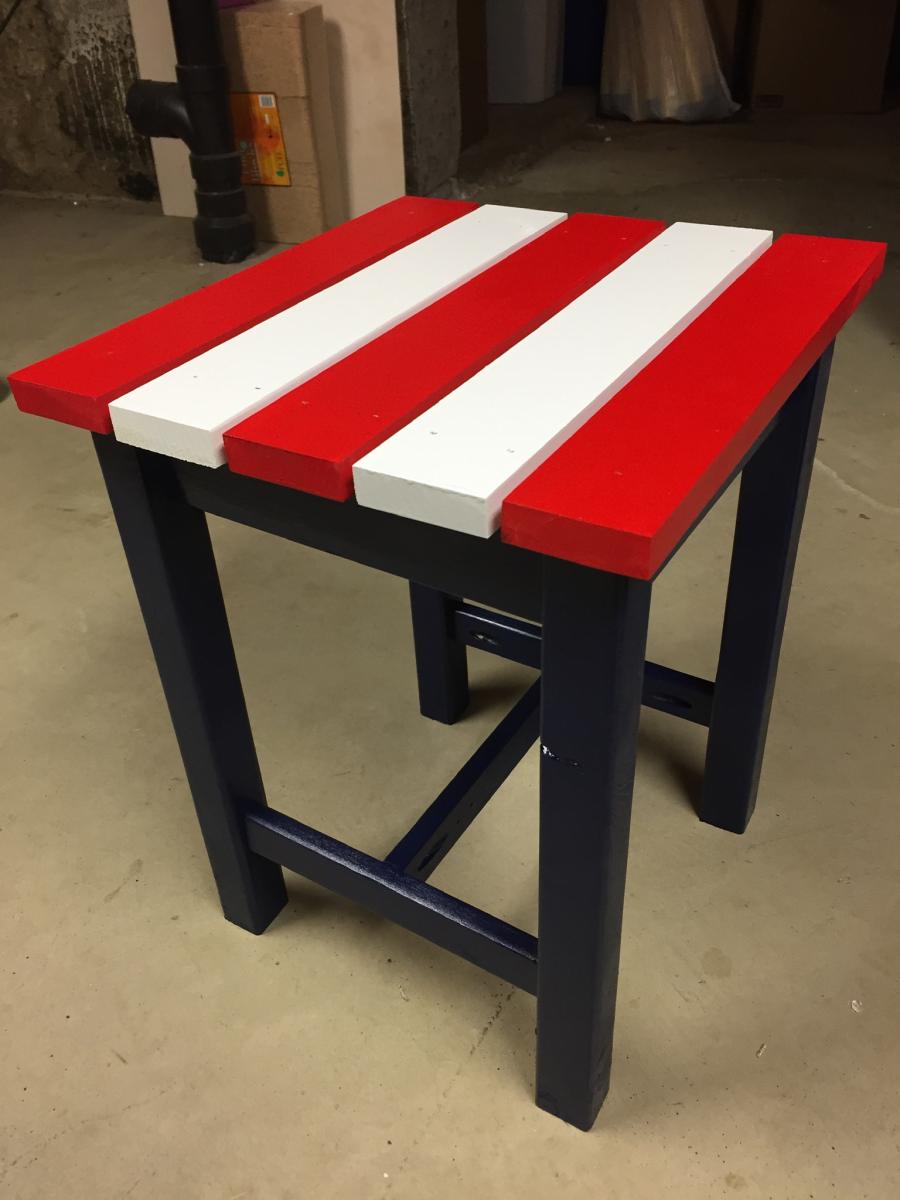
I love making this table, my take on the Patriotic theme. Sanding and Painting always add time, this is a fairly easy project.

Built from Plan(s)
Estimated Cost
$10
Estimated Time Investment
Weekend Project (10-20 Hours)
Finish Used
Rustoleum Latex Paint
Recommended Skill Level
Beginner

Comments

Dining Room Table

Submitted by Anonymous (not verified) on Tue, 04/04/2023 - 06:31

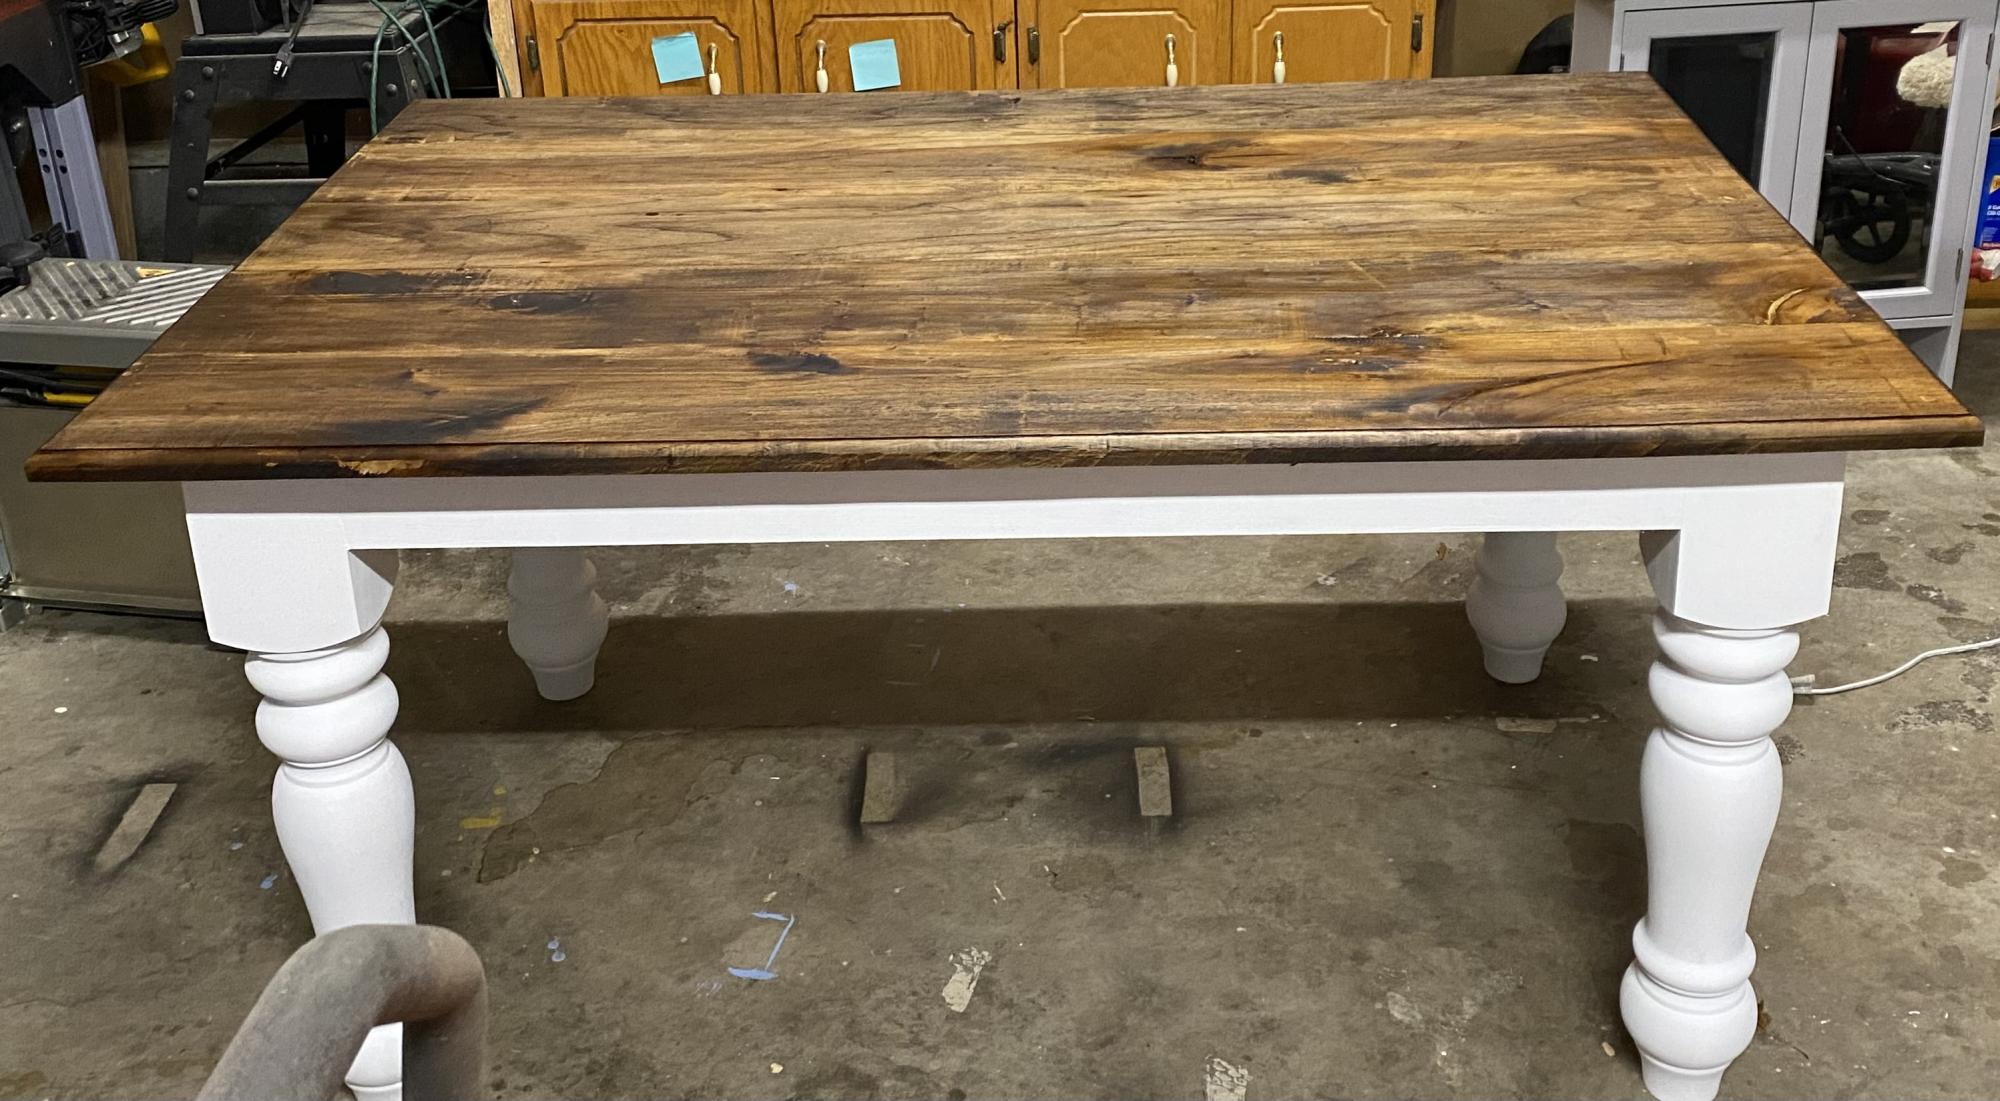
This table was made out of Pecan. The legs are pine. I think the basic plan was from Ana-White.com but I am not sure.

Built from Plan(s)

Comments

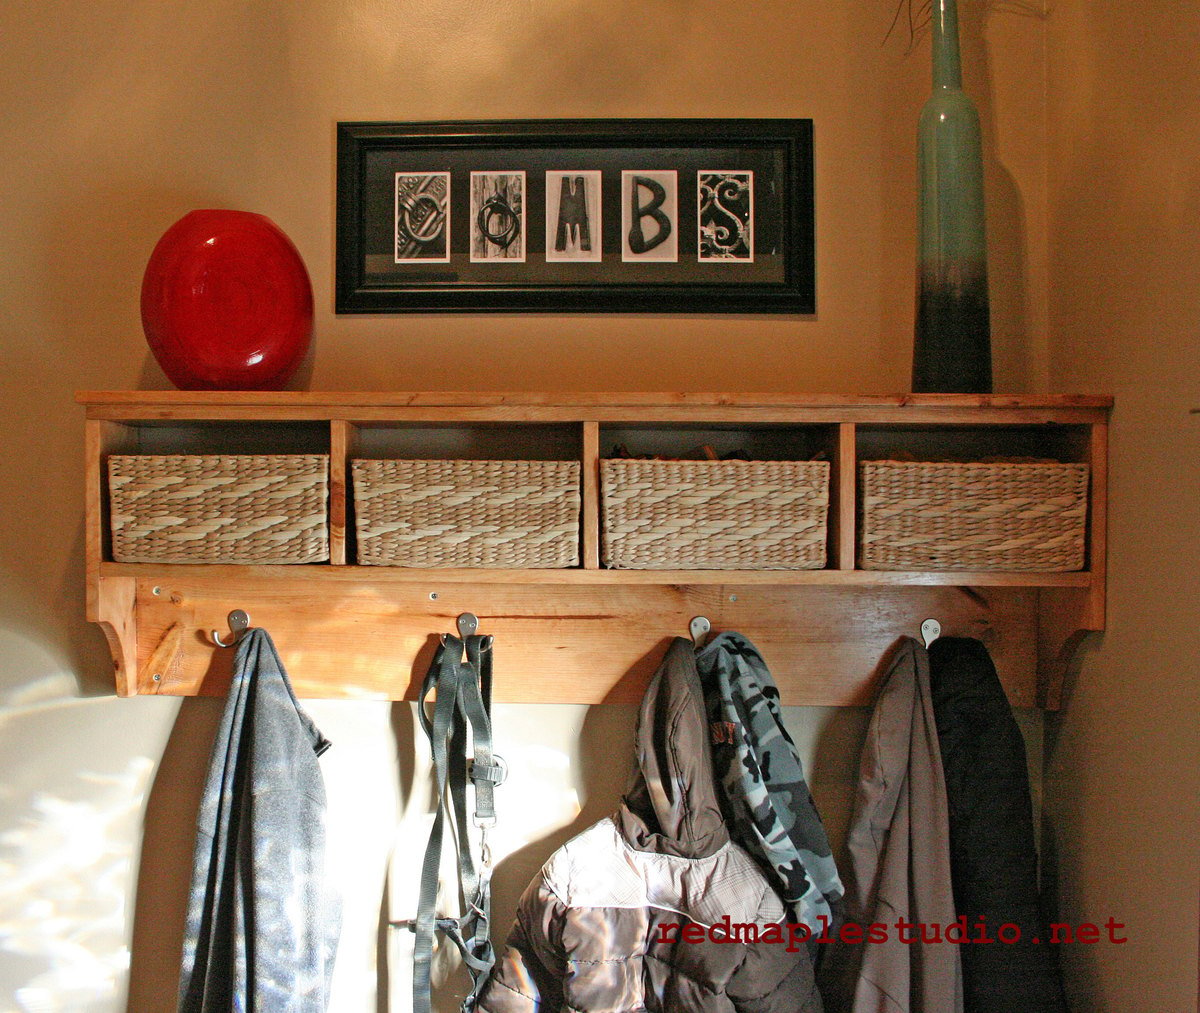
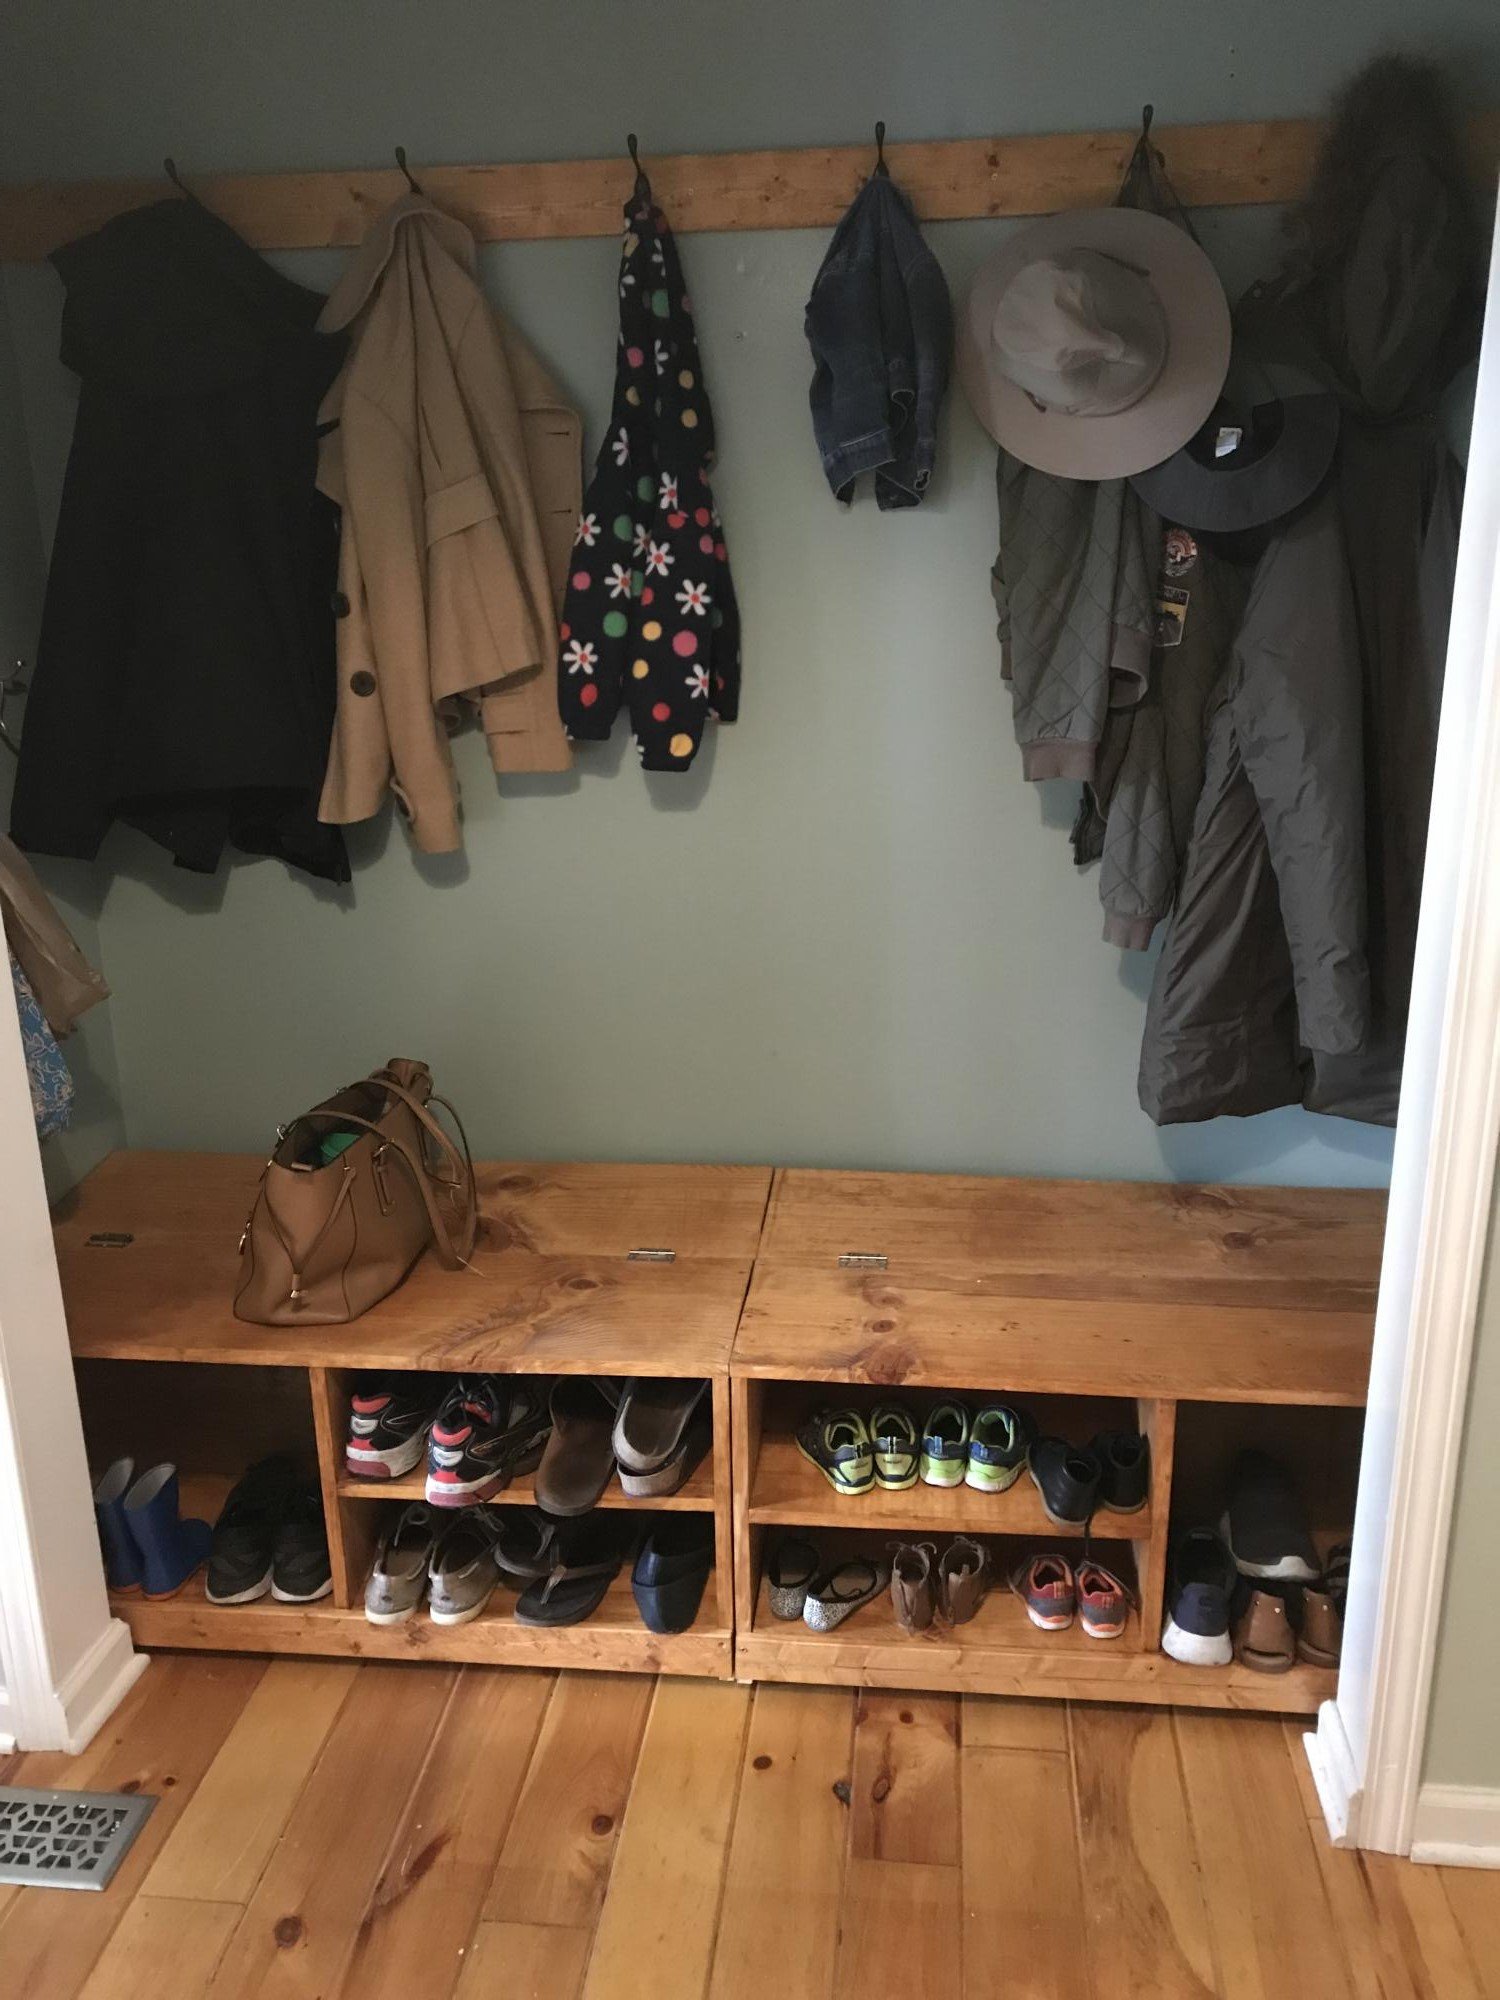
Entryway Shelf

This is a nice shelf for our tiny entryway. The baskets are perfect to hold our individual hats, gloves and scarves during the winter. Customized for four and we also left the back off because we didn't feel that it needed it. We made this out of leftover wood and stain from our son's storage bed.

Estimated Cost
$50
Estimated Time Investment
An Hour or Two (0-2 Hours)
Finish Used
Minwax Polyshades in Pecan.
Recommended Skill Level
Beginner

Comments

dream dollhouse

Submitted by kmanntai on Thu, 11/07/2013 - 10:44

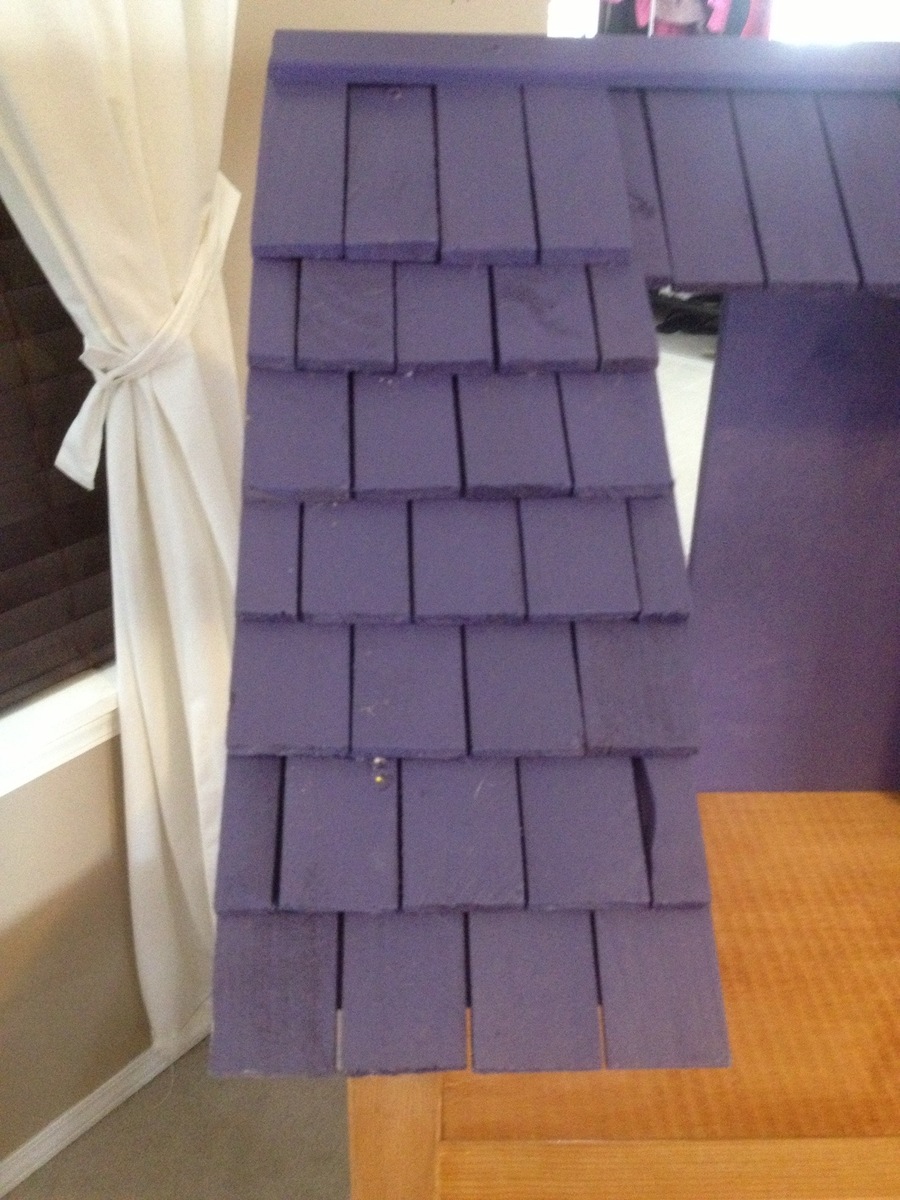
My dad and I made this for my 3 year old and she absolutely loves it. The wood that was recommended to use for the roof didn't cut well with the pattern so we decided to be creative and used door shims to make the roof look like it was made of shingles. We used scrap book paper and decoupage for the walls. Still having a hard time finding the right sized doll furniture for it, but it's a great house. Very sturdy and we put wheels on the bottom.

Estimated Cost
$200
Estimated Time Investment
Week Long Project (20 Hours or More)
Finish Used
treated the wood with a tinted stain and used semi gloss paint for the roof.
Recommended Skill Level
Intermediate

Comments

spiceylg

Fri, 11/08/2013 - 05:44

This came out great and I love the addition of the wheels. Clever!

American Girl Doll Bunk Beds

Submitted by Anonymous (not verified) on Thu, 01/21/2016 - 19:27

This was easily made from the plans on Ana White's website.  I spent about $20 total on the bed and $7 on the fabric.  I had the foam from another project.  I could have spent less on the wood, but I opted to buy the sanded pine boards for they are much straighter! Thanks for the plans....it saved me about $150 that I can now spend on more projects!

Estimated Cost
$20 for bed and $7 for bedding
Estimated Time Investment
Day Project (6-9 Hours)
Finish Used
Walmart Grotto colored Chalk Paint with pinkish-orange bottom layer to show through on distressed edges. Sealed with Poly-Acrylic.
Recommended Skill Level
Intermediate

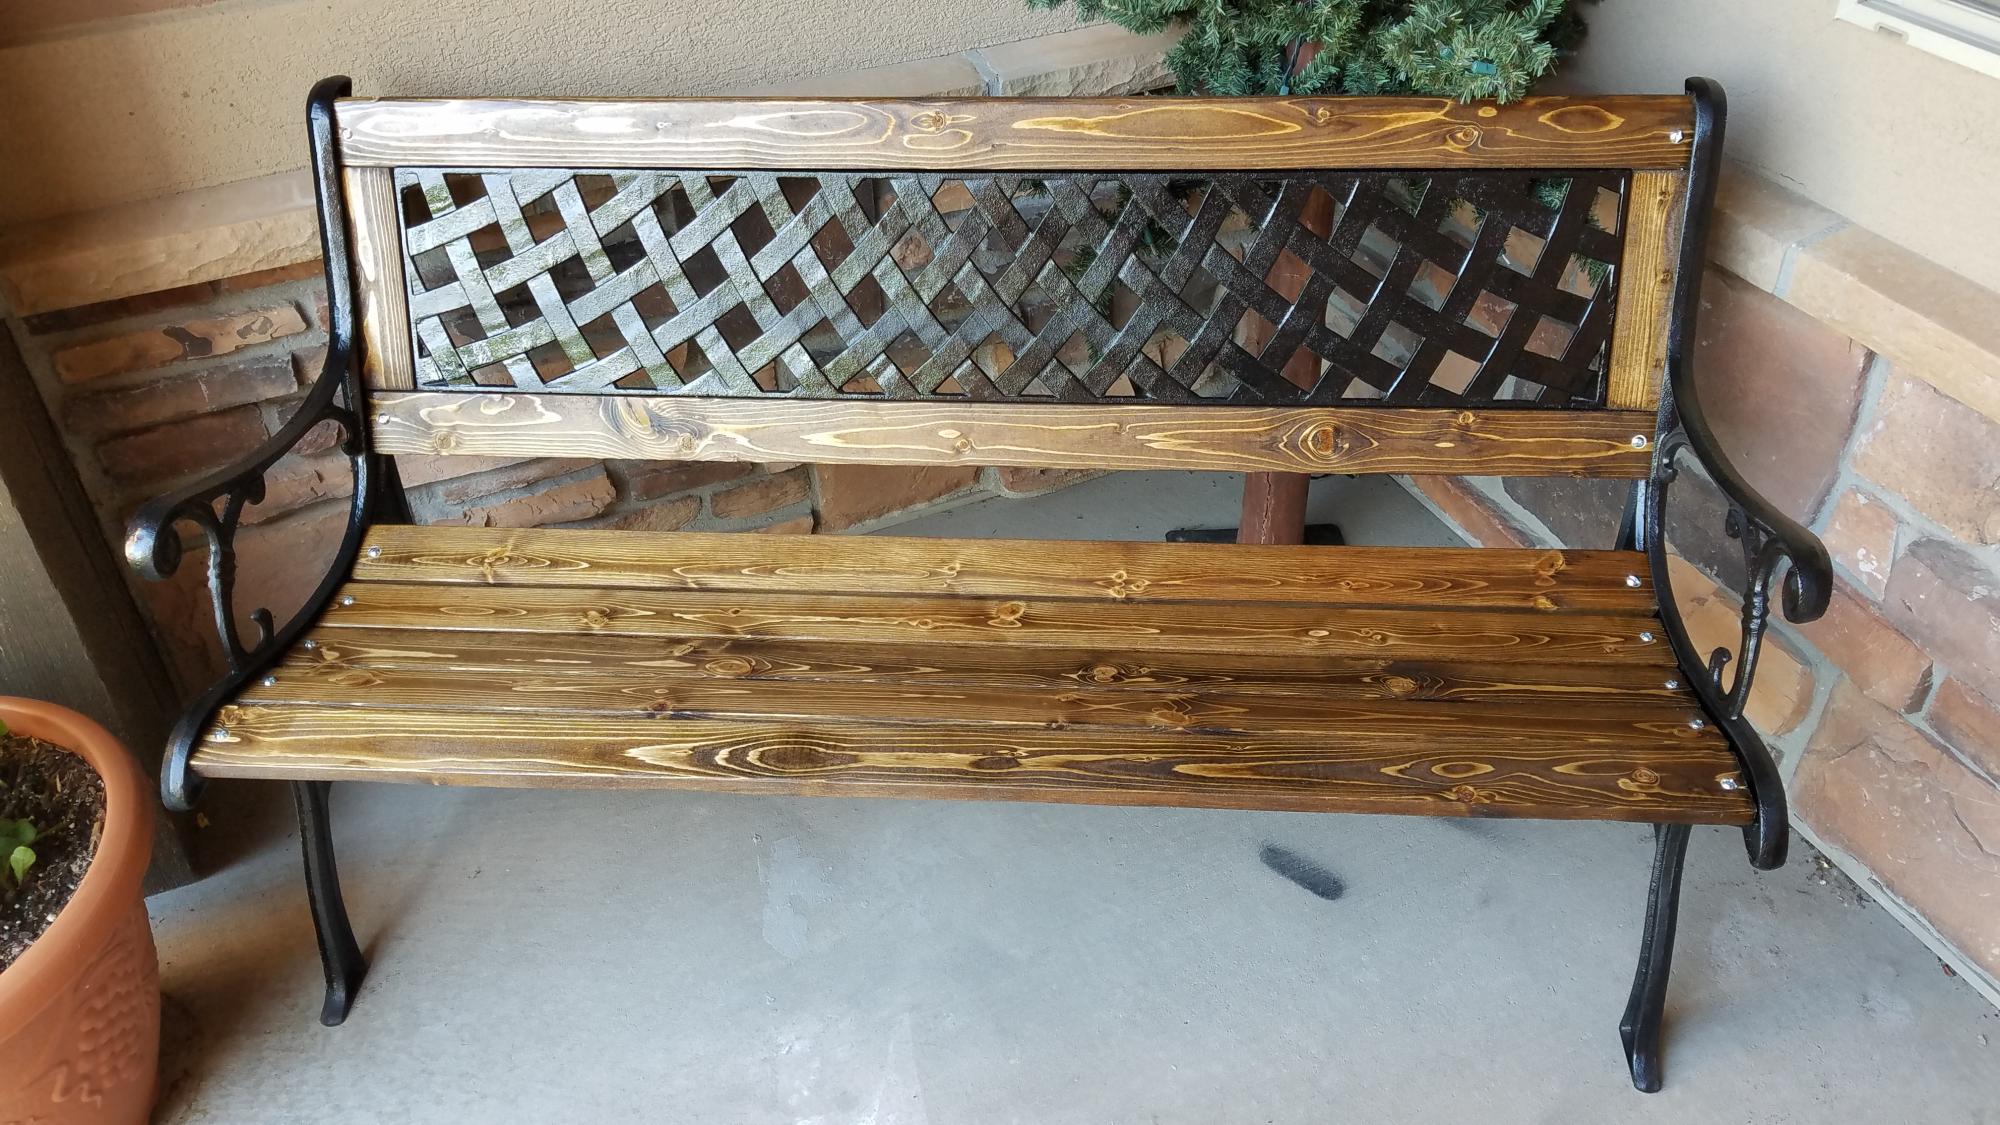
Rebuilt outdoor bench

Found a bench on a second hand site for $5. The wood was rotting and the metal was rusted. Brought it home, took it apart, cleaned the metal parts and cut pine 1x3s to size. With some black Rustoleum paint for the metal, stain I had on hand, and an oil based top coat, I have a beautiful new bench for my front porch. 

Estimated Cost
$20
Estimated Time Investment
Afternoon Project (3-6 Hours)
Recommended Skill Level
Beginner

Comments

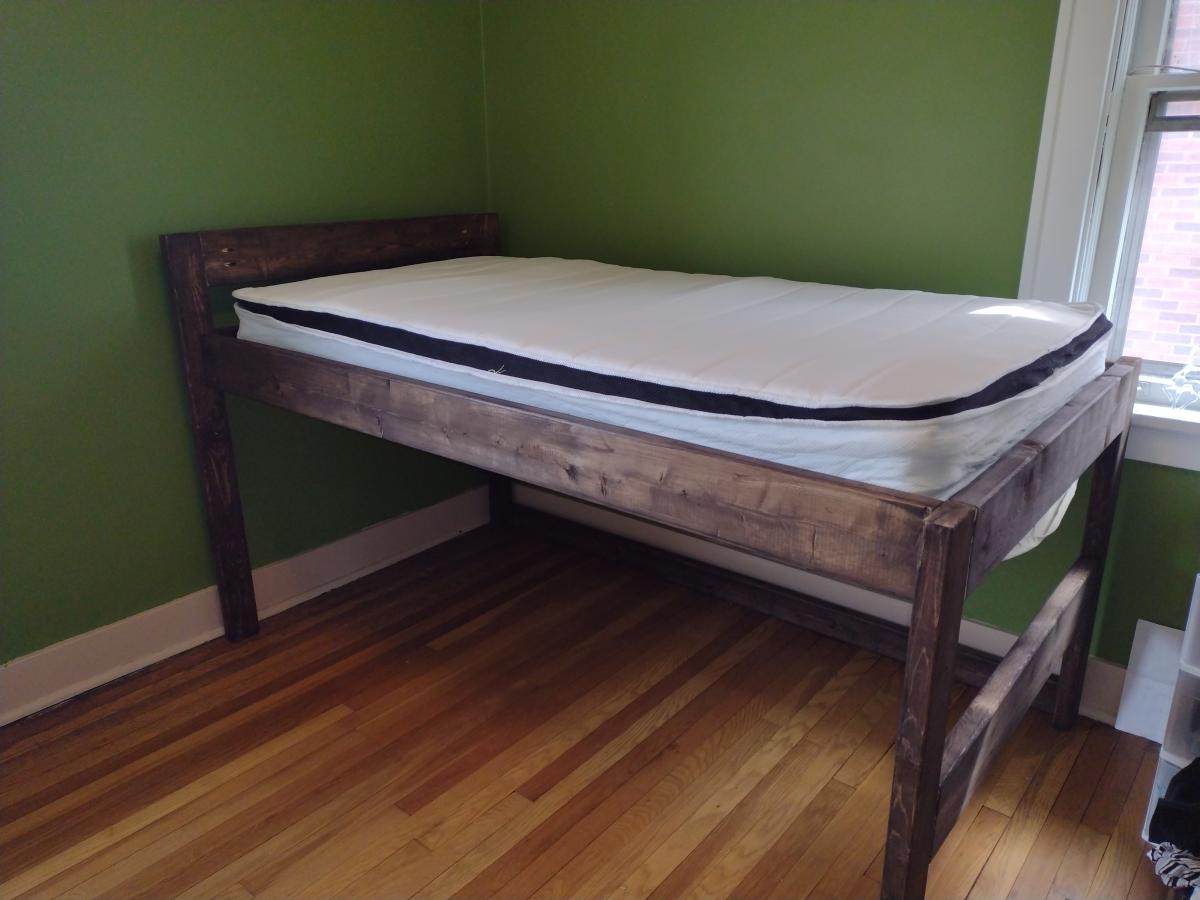
New bed for my youngest

Submitted by Anonymous (not verified) on Mon, 04/10/2023 - 15:45

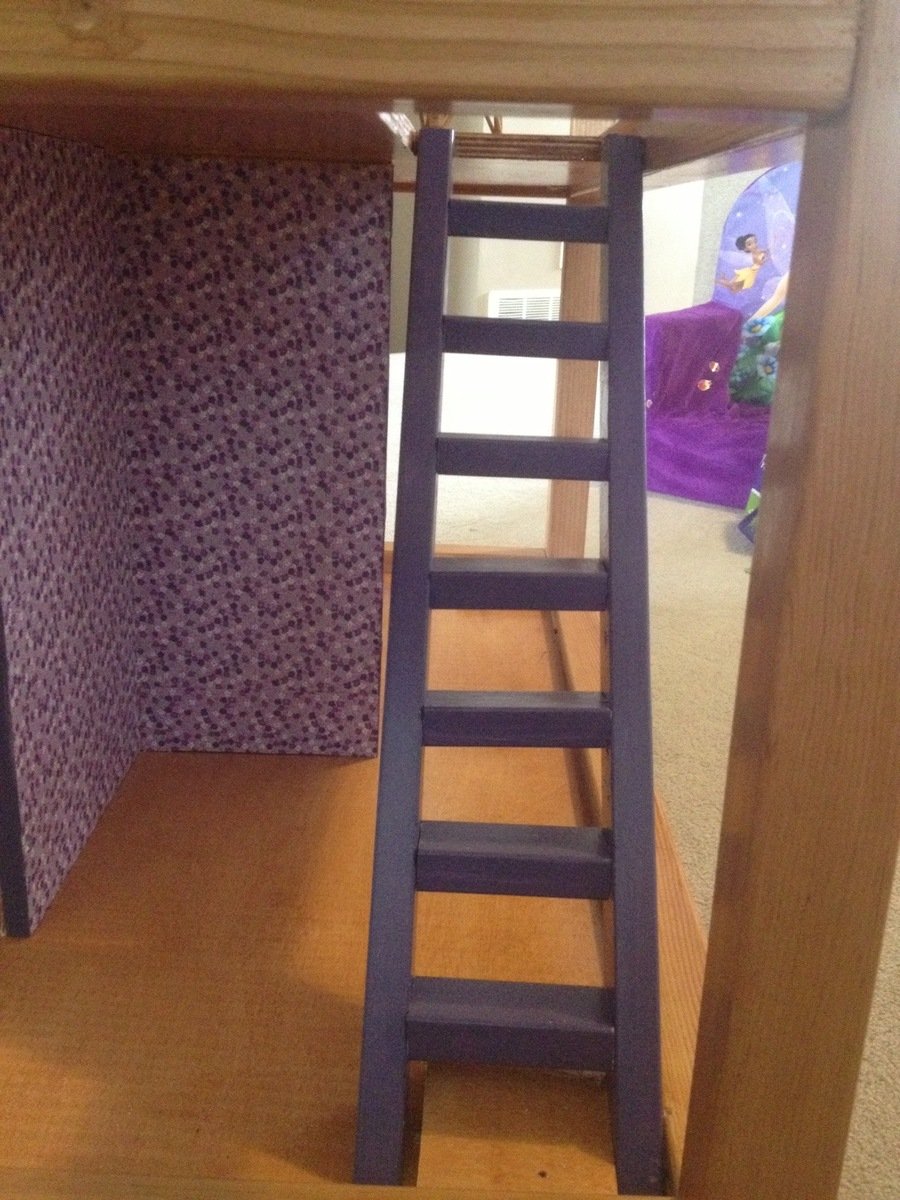
Moved into a new house after a fire destroyed almost everything, rather than buying new beds for my kids, we decided to build! They turned out beautifully, and the kids love them! Decided to modify the camp loft bed, removing the stairs and using the foot of the bed a ladder style.

Comments

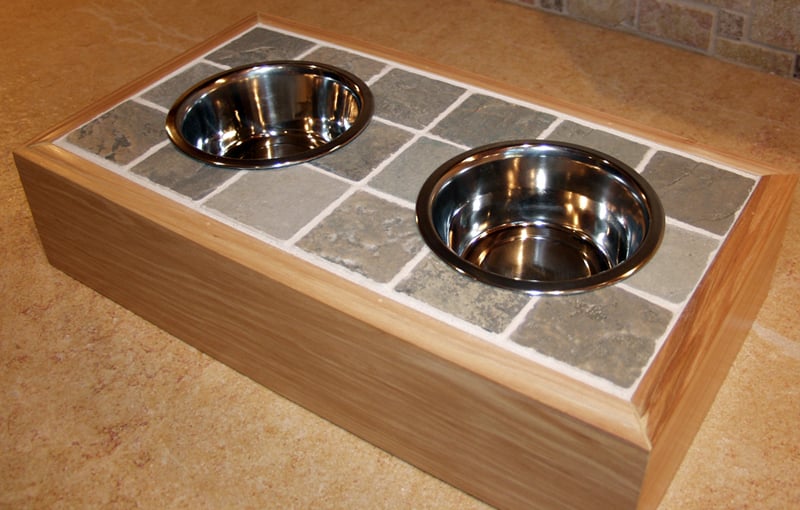
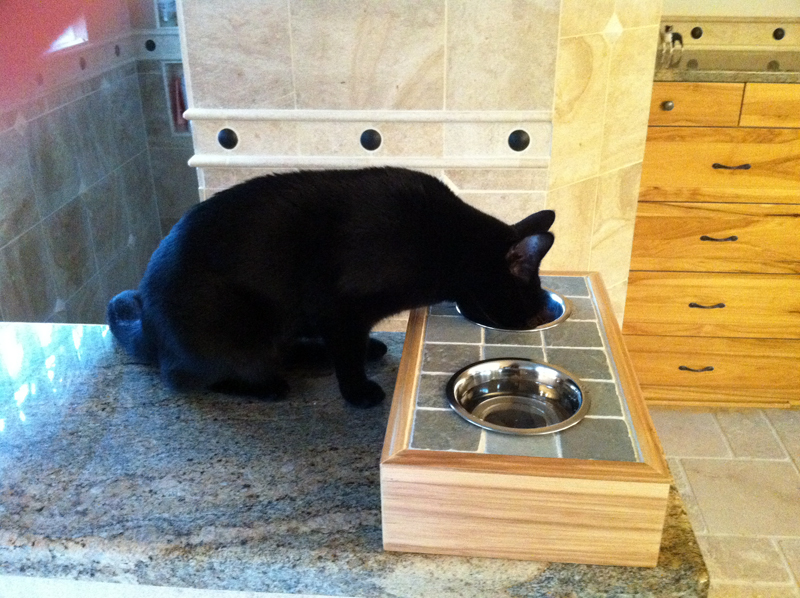
Raised Pet/Cat Feeder - Small

Submitted by Joni on Mon, 12/19/2011 - 11:13

I didn't really use any of the construction techniques from the plan, but I got the idea based on seeing the platform feeder. I used spare wood (with routed trim already on it) that matched my bathroom, and made the cats a nicer looking feeder (one that they couldn't keep knocking to the floor and breaking!). The tile is mounted on cement hardibacker board, which is attached to the 3/4" wood platform. I used a zip saw to cut out the circles in the wood and the cement board (with the appropriate drill bit). I used a tile nipper to form the tile around the bowl opening. I added several coats of varnish to finish.

Built from Plan(s)
Finish Used
4 coats of General Finishes EnduroVar.
Recommended Skill Level
Beginner

Comments

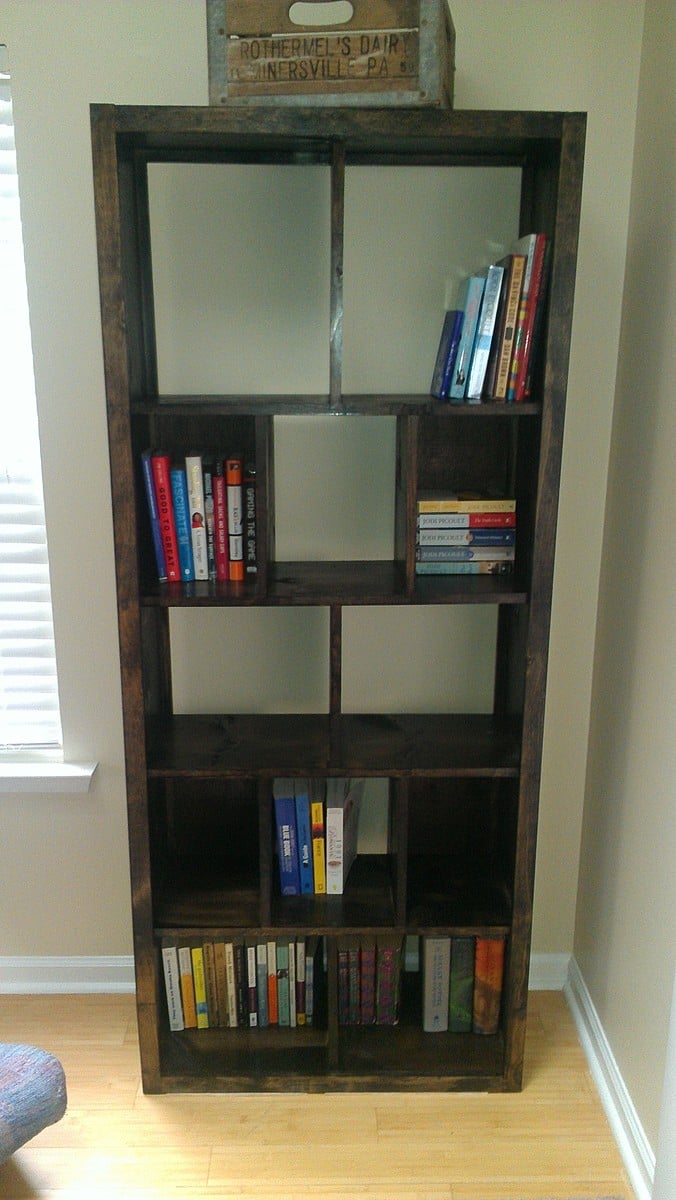
Subway Tile Bookshelf

I used the Subway Tile Bookshelf plans and made it 74" total in height. Each of the bottom 4 shelves measured 14" and the top one was about 18" (I forget exact measurement). Instead of putting the plywood on two of the boxes, I switched it up and placed them on 4 boxes.

Love the plans and concept. Thanks!

Built from Plan(s)
Estimated Time Investment
Weekend Project (10-20 Hours)
Finish Used
Jacobean colored stain.
Recommended Skill Level
Beginner

Platform Bed and Headboard

Submitted by ScottG on Tue, 01/26/2016 - 01:24

Built a platform bed and headboard using 2x4s for the main frame and 1x4s for the trim pieces on the bed. The headboard was made using 1x6s for the frame and 1x4 scrap pices from the slats used for the vertical pieces. Used a Minwax water-based "pearl gray" stain for the 1x8 sides and a Minwax oil-based walnut stain for the frame and trim pieces. Used the K5 Kreg jig to join most of the pieces. The Kre Jig was a new purchase and my advice would be to practice with the jig before starting the project. It takes awhile to get the hang of the jig and to make sure that you are using the correct screw lengths. The very complete and detailed plans can be found in the attached links.

Built from Plan(s)
Estimated Cost
Wood cost was about $100 and this would include the 2x4 for the frame, the 1x4 furring strips for the slats and headboard, and the 1x4 and 1x6 trim and frame boards. The stain and polycrylic sealer cost about $20. You should also budget for Kreg screws, wood glue, nails, etc. I did have to buy several clamp, and the Kreg Jig cost a bit, but is well worth it. I've used the the clamps and the jig on many projects since the original purchase.
Estimated Time Investment
Week Long Project (20 Hours or More)
Finish Used
Minwax water based and oil-based stains and Polycrylic water-based sealer. .
Recommended Skill Level
Intermediate

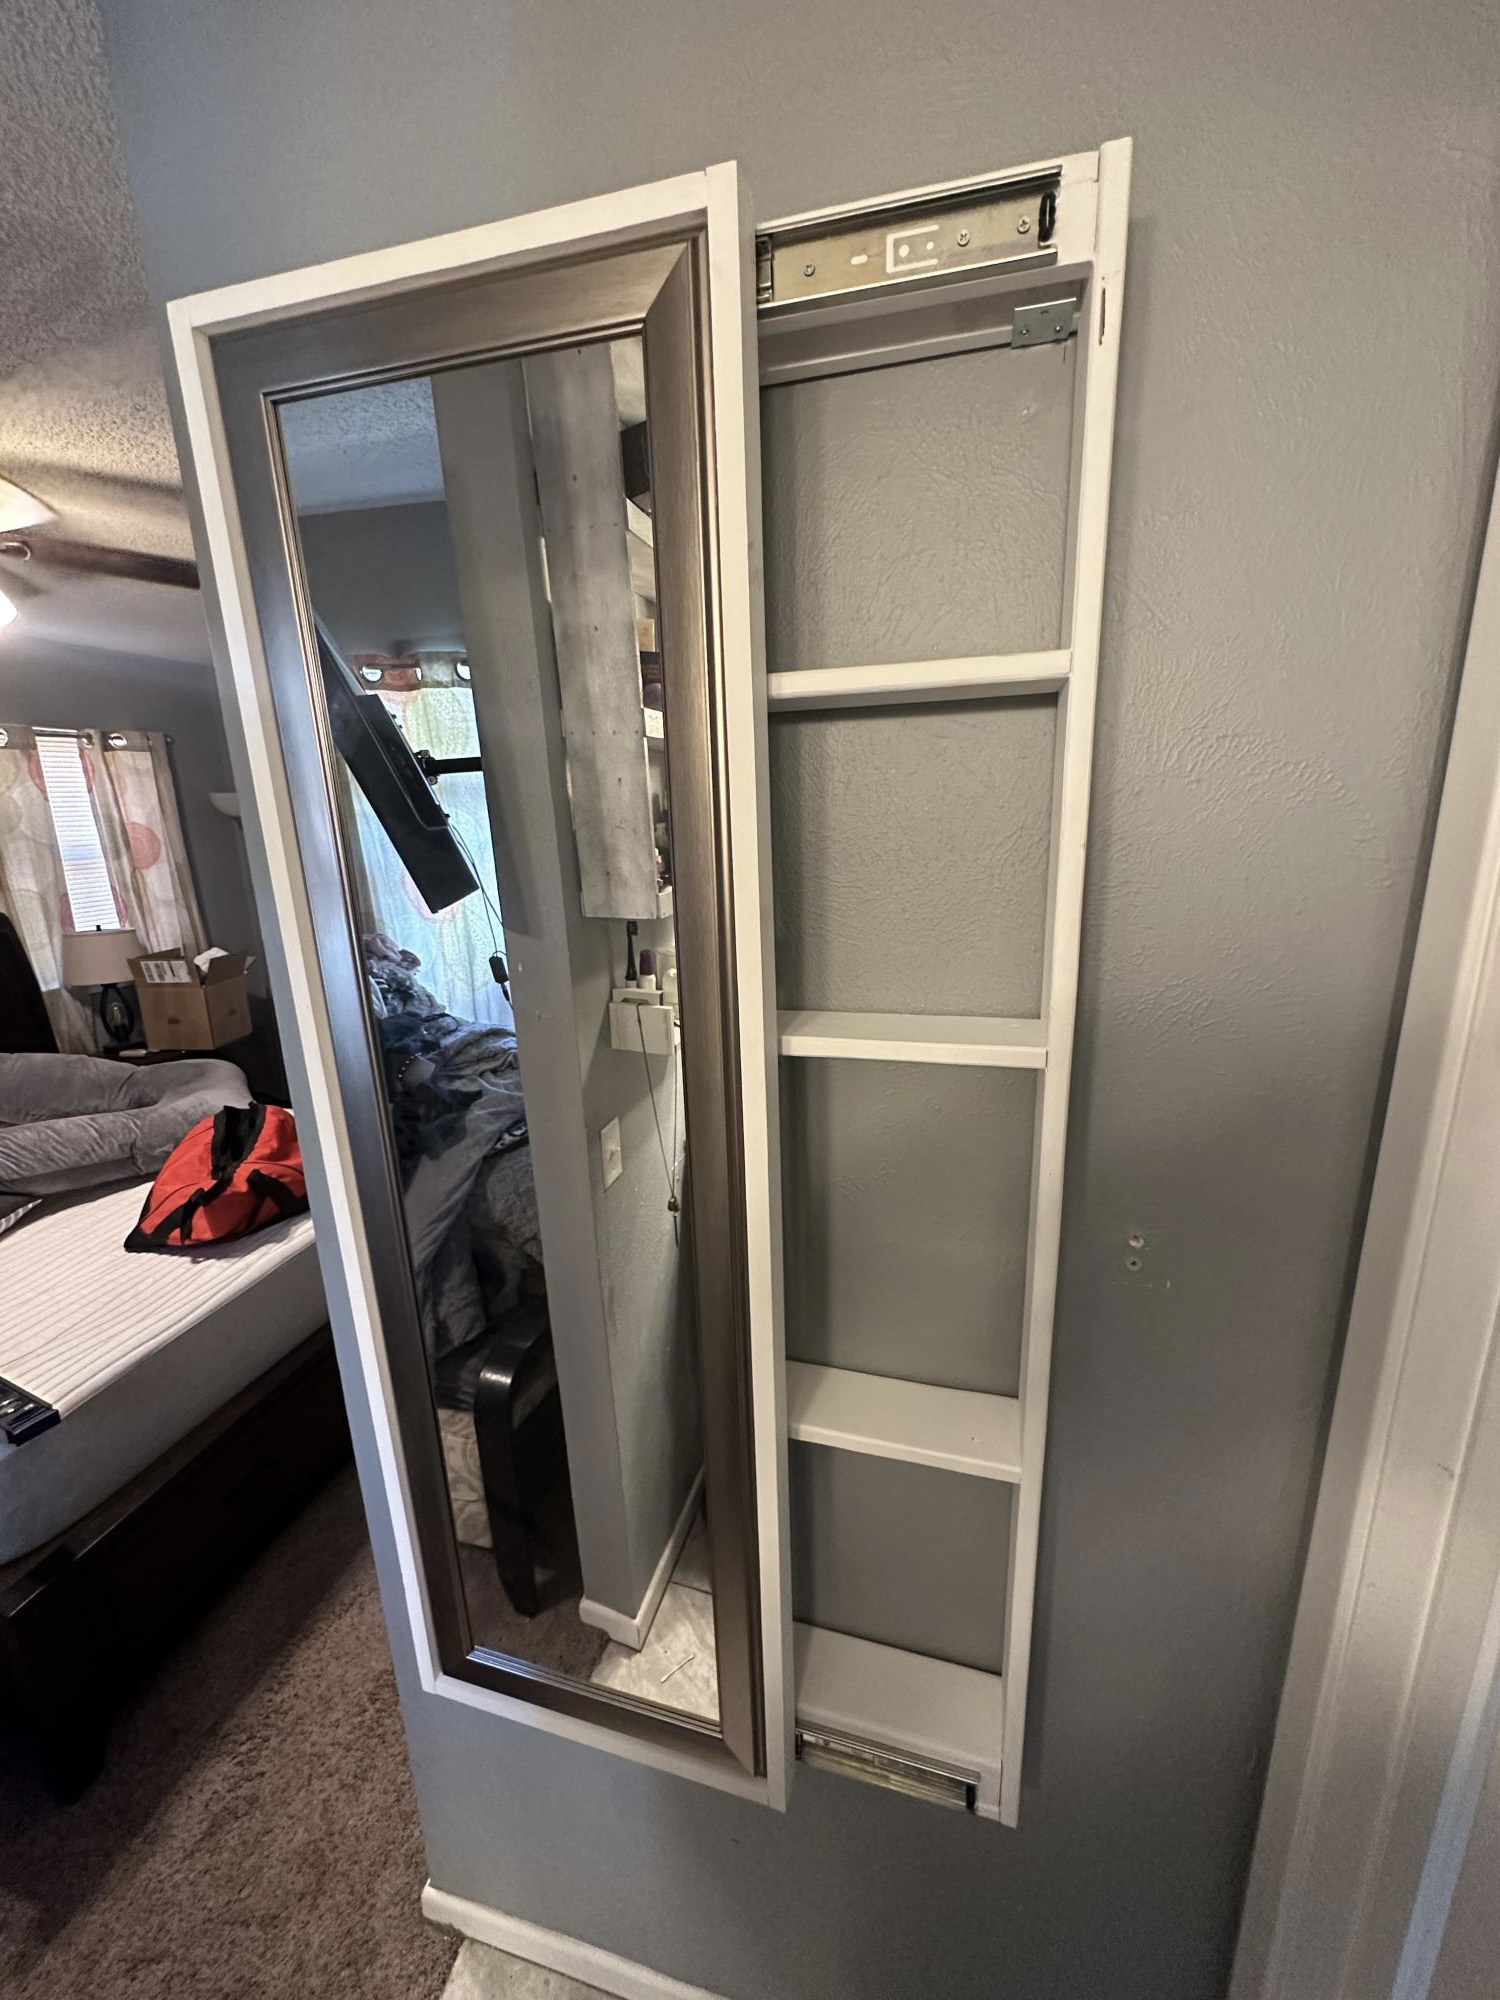
Mirror hidden shelf

Submitted by Bread0186 on Fri, 04/14/2023 - 17:52

Built 2 of these for some friends. One of them plans on putting it in the wall! Loved the build and they love the product.

Comments

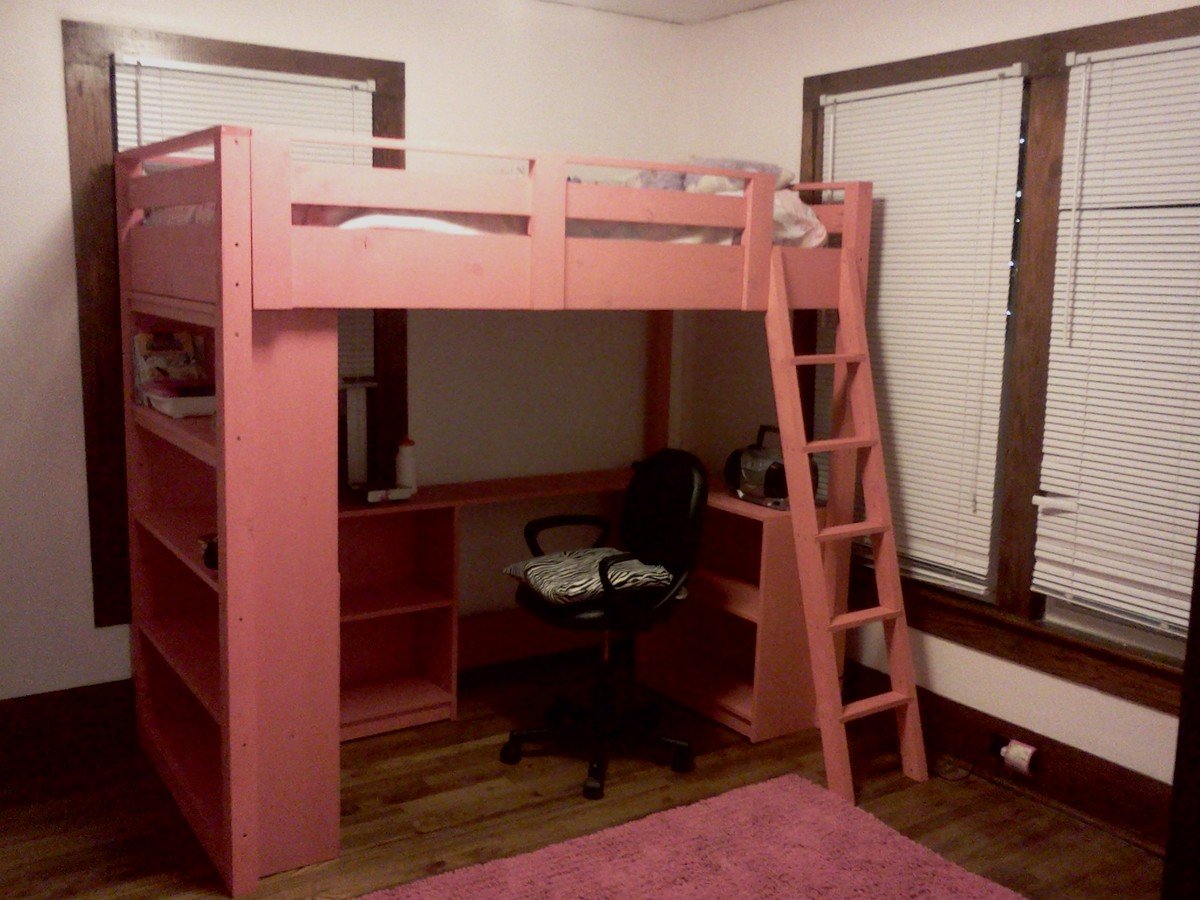
Loft bed

Submitted by jbyler on Fri, 12/23/2011 - 09:19

Husband built the loft bed plans for our oldest daughter. She said this was he was the best dad in the world!

Estimated Cost
$300 with mattress
Estimated Time Investment
Weekend Project (10-20 Hours)
Finish Used
We painted the wood 1 coat with a little touch up, gives it a "pink stained" wood look
Recommended Skill Level
Beginner

Comments

jbyler

Fri, 12/23/2011 - 09:20

We are so excited to complete this project for our oldest, but of course the middle child is wanting a bunk bed too-guess we'll be building one of those soon.

Double Wide Cedar Fence Picket Storage Shed

Submitted by moosmani on Mon, 11/11/2013 - 03:12

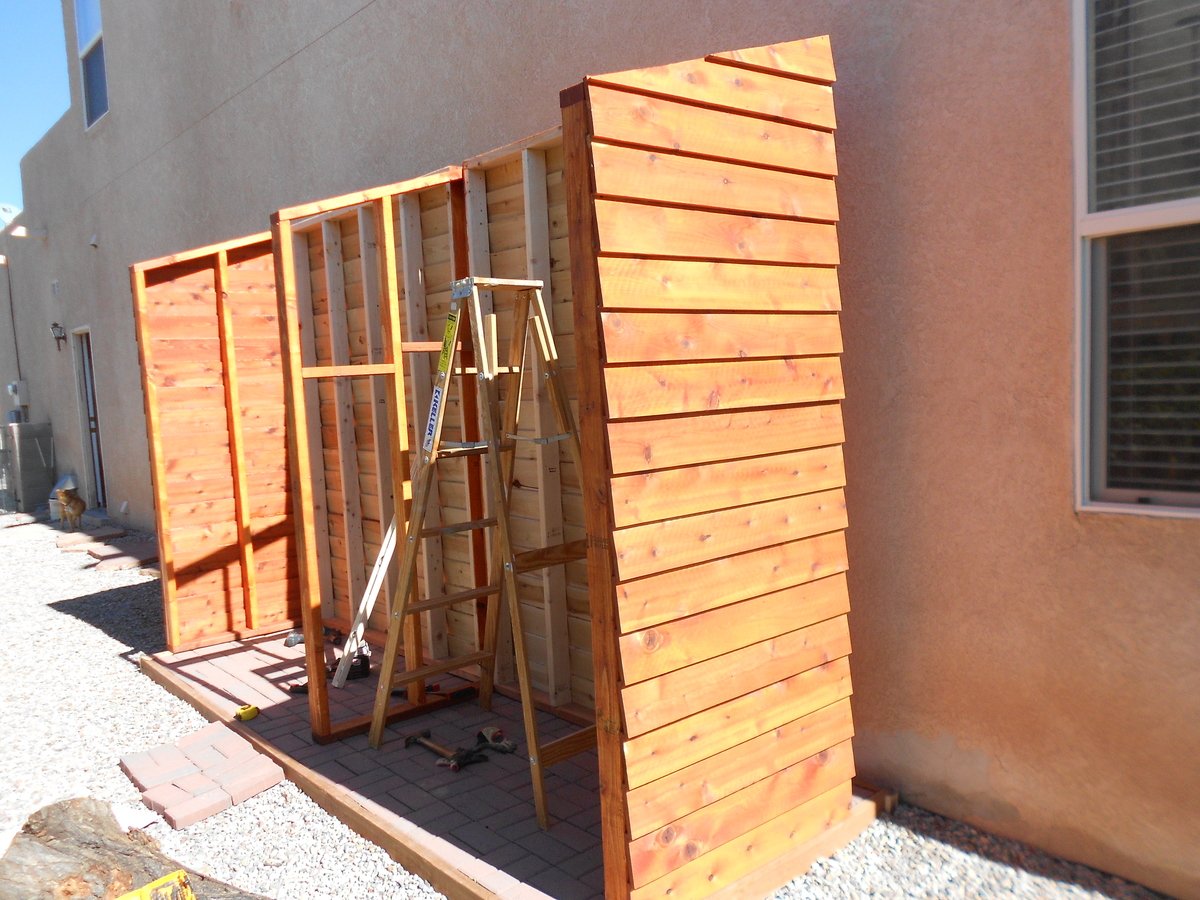
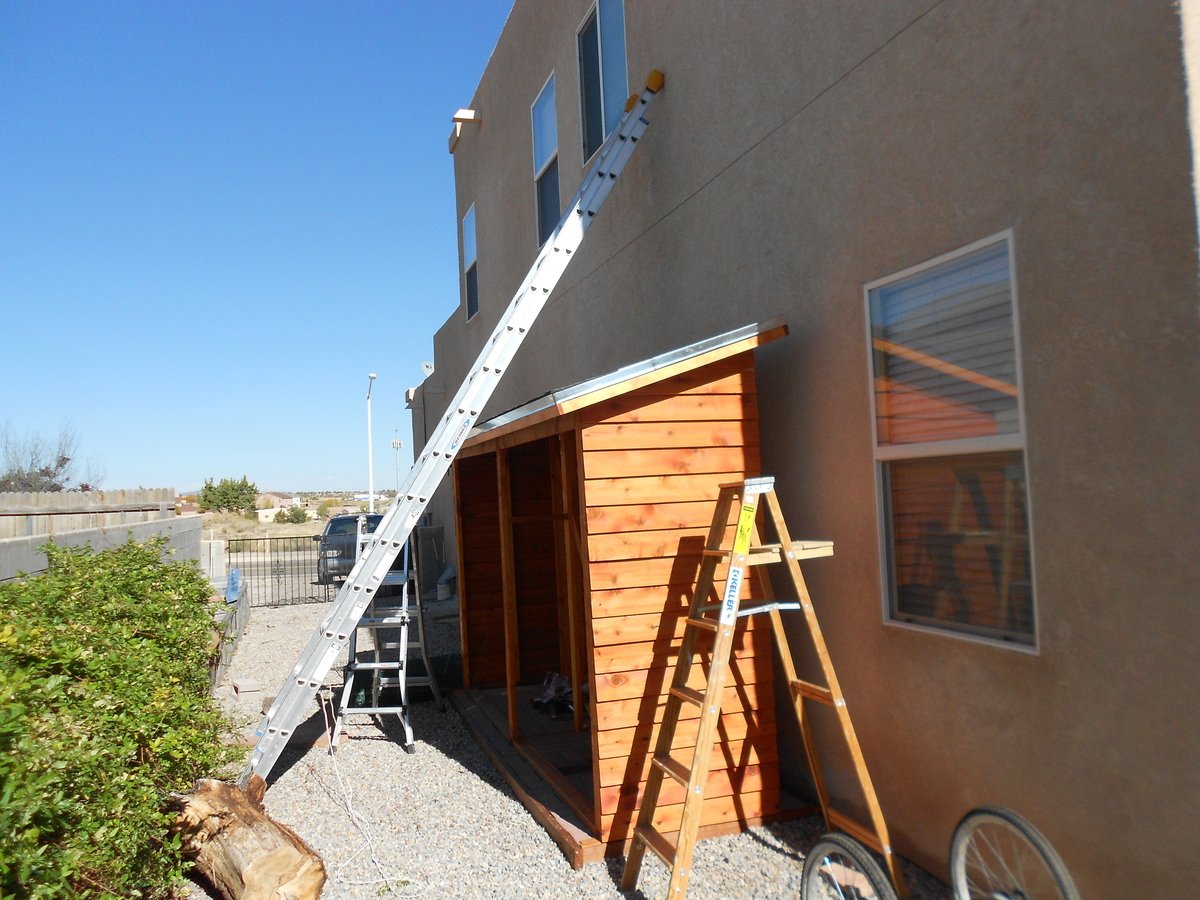
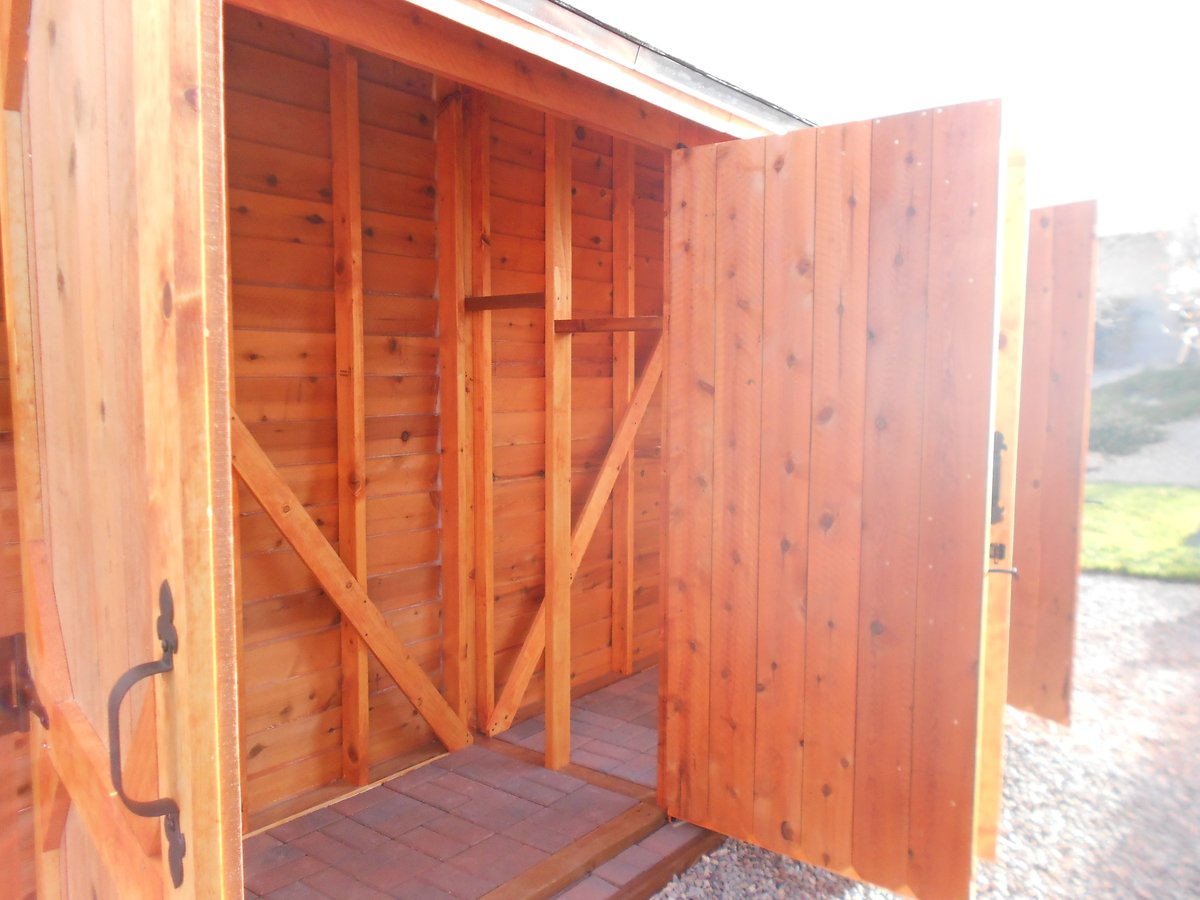
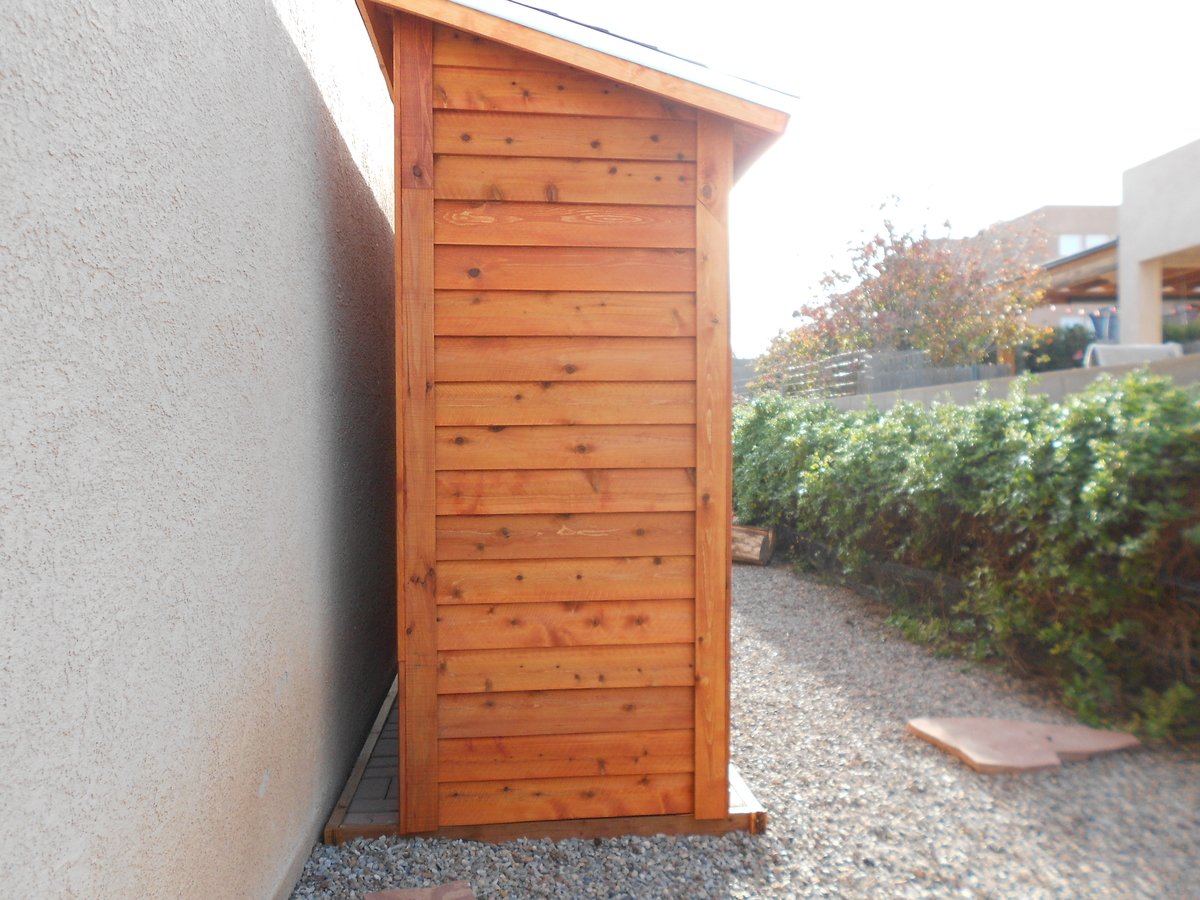
I read and studied every comment and brag post about this shed. I must have read the plans a hundred times before I got up the courage to tackle it. It’s a very attractive and affordable shed design. I thought a double wide version would be perfect for our long, narrow side yard, and it is! I mostly stuck to the plans except for a few things. I made it 10” taller overall so there would be plenty of head clearance under the doorway. That was a very easy modification. I used 2x4s for the walls instead of 2x2s because we have high winds in our area. That modification was a little bit more challenging, but I planned it out and it worked! Also I used 2x6s for the headers instead of 2x4s. I also added 2x4s at the thresholds because I couldn’t image making it stay square without them. I basically made two sheds joined by a common wall in the center. I did not increase the depth, mostly because I was afraid to mess with the angles and how that would change the pitch of the roof. Joining two sheds together meant that I didn’t have to put the exterior pickets on the middle wall. But it also meant that I had to build 4 doors. Yuck. They were difficult to get lined up and level, but I was amazed it actually worked and that all the doors operate properly and smoothly. I was questioning the wisdom of my decision to do 4 doors while I was in the thick of it, but now that all the work is done, I love that I can open all 4 doors and have easy access to absolutely everything in the shed. Very convenient! I told my dad I was building a shed and he recommend that I add cross braces. It seemed sturdy enough without them but it certainly can’t hurt. My dad knows everything about building and I know nothing, so I took his recommendation. If I were to do this again, I would overlap the cedar pickets by 1” instead of ½”. My pickets were not quite wide enough. I could swear they shrunk after I applied the stain/uv protection. I used liquid nails along each lap but it didn’t hold. Where the glue DID hold tight, the wood split lengthwise. Anyway, for whatever reason, gaps appeared and I spent a fortune on clear silicon applied on the interior walls to make it water tight. I had to keep going back for “just one more tube.” So with hind sight I would have been better off just buying a few more pickets and increasing the overlap. Another thing I might do is make it deeper. I decided against it initially because I was worried that increasing the depth would make it flimsy. Now I don’t think that would be a problem. This shed is sturdy. I can’t say thank you enough. Great plans and a great website! I am completely hooked.
Built from Plan(s)
Estimated Time Investment
Week Long Project (20 Hours or More)
Recommended Skill Level
Intermediate

Comments

moosmani

Mon, 11/11/2013 - 14:56

I kept every receipt from caulking gun to stains and brushes. I just now added it up and it came to (cringe) just under $900. But I have lots of left overs for another shed and it's still a huge bargain. Other sheds that are similar to this plan are much smaller and start at $1,999 and up! I think it was well worth it to have a sturdy bargain shed that's also beautiful.

t0mpr1c3

Sat, 01/22/2022 - 23:01

It looks great with the stain. I think your Dad's advice was good. Also I like that the heavier timbers add rigidity to the frame.
Seasonal And Holiday

Bunk bed

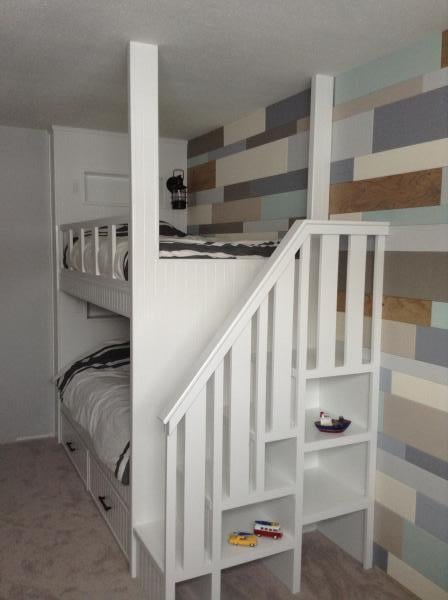
Built this bunk bed for my two boys. Used the sweet pea storage stairs plan as a starting point and altered things from there to suit. The wall is just 3/8 plywood cut into planks and painted various colours. 

Finish Used
White semigloss. Monamel from General paint.
Recommended Skill Level
Intermediate

Comments

dog kennel night stand

For my son's new black lab pup. Started with rough cut maple.

Estimated Time Investment
Weekend Project (10-20 Hours)
Recommended Skill Level
Intermediate

Comments

chicken boxes that work!

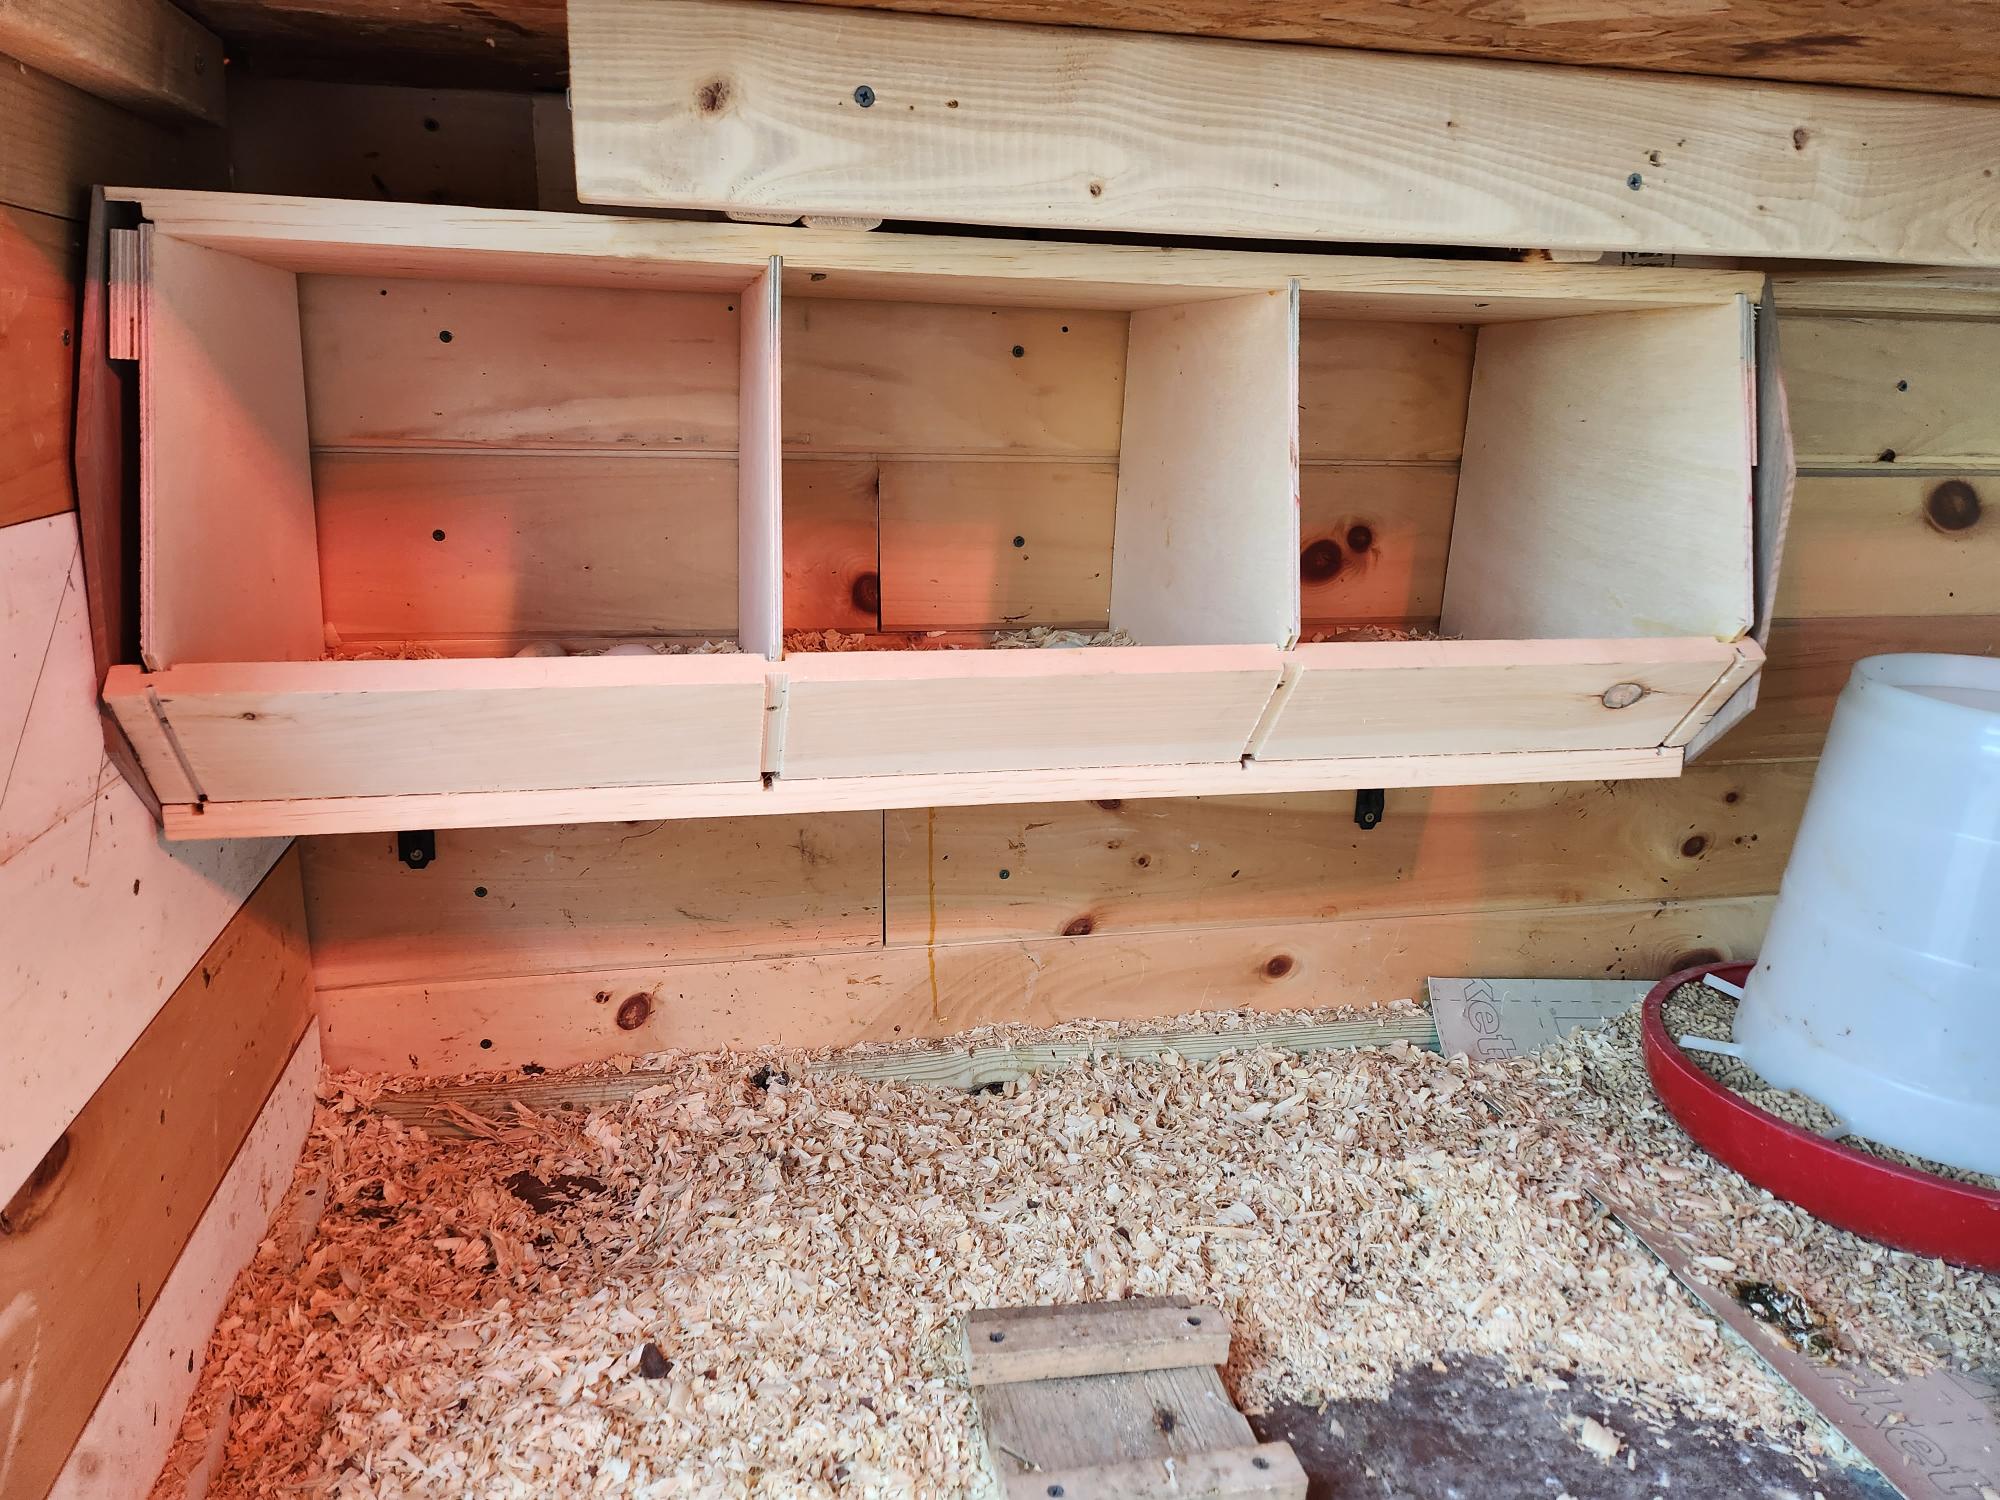
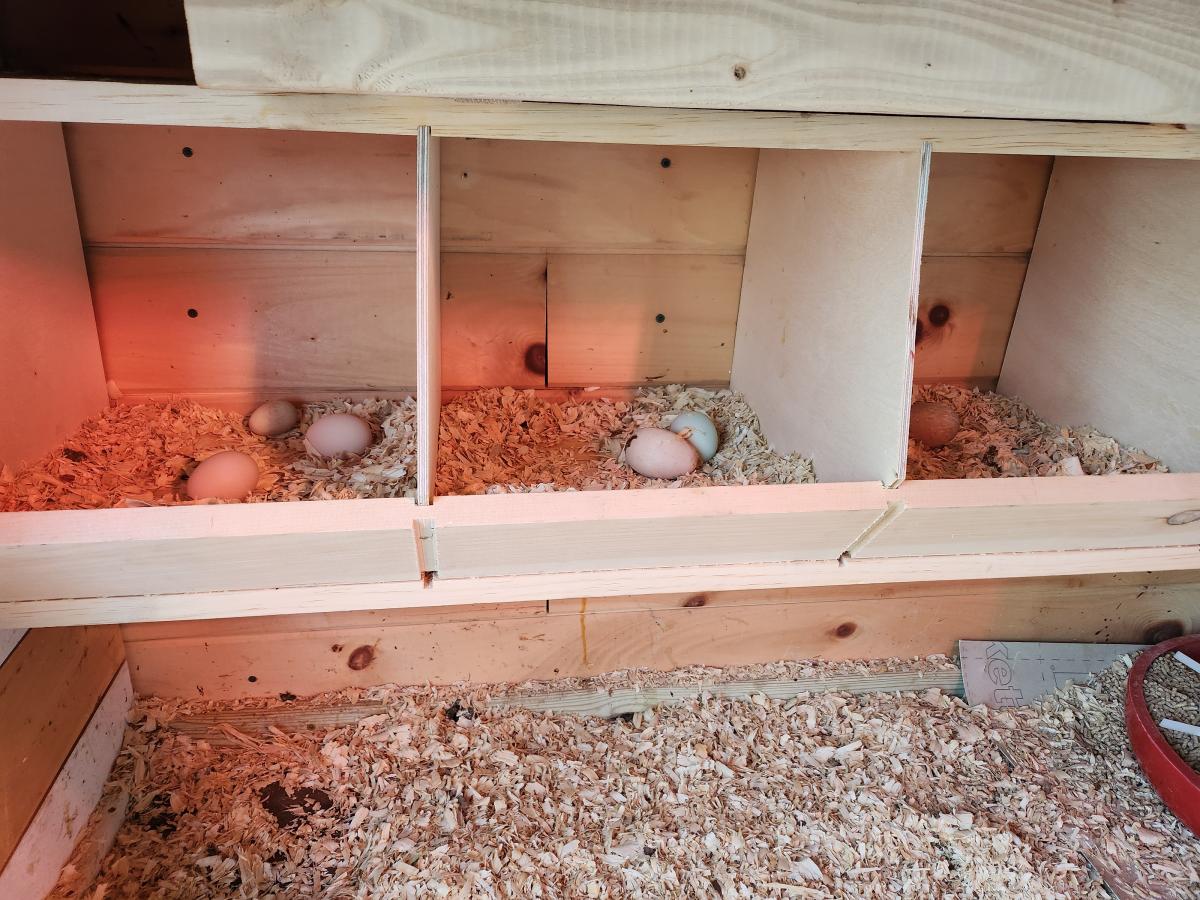
I have tried all sorts of nest boxes. No one ever used them. I decided to make the one from Anna White's site. I used joinery to attach the various pieces. The best thing of all: I find girls sitting in the boxes and take eggs from them. It really is awesome. I got a photo with real eggs and you can also see the wooden eggs to entice them to try it out. Thank you so much! I will build another one for the other side of the the wall.

Built from Plan(s)

Comments

Christmas Kitchen Set

Submitted by Fuchsia on Mon, 12/26/2011 - 10:44

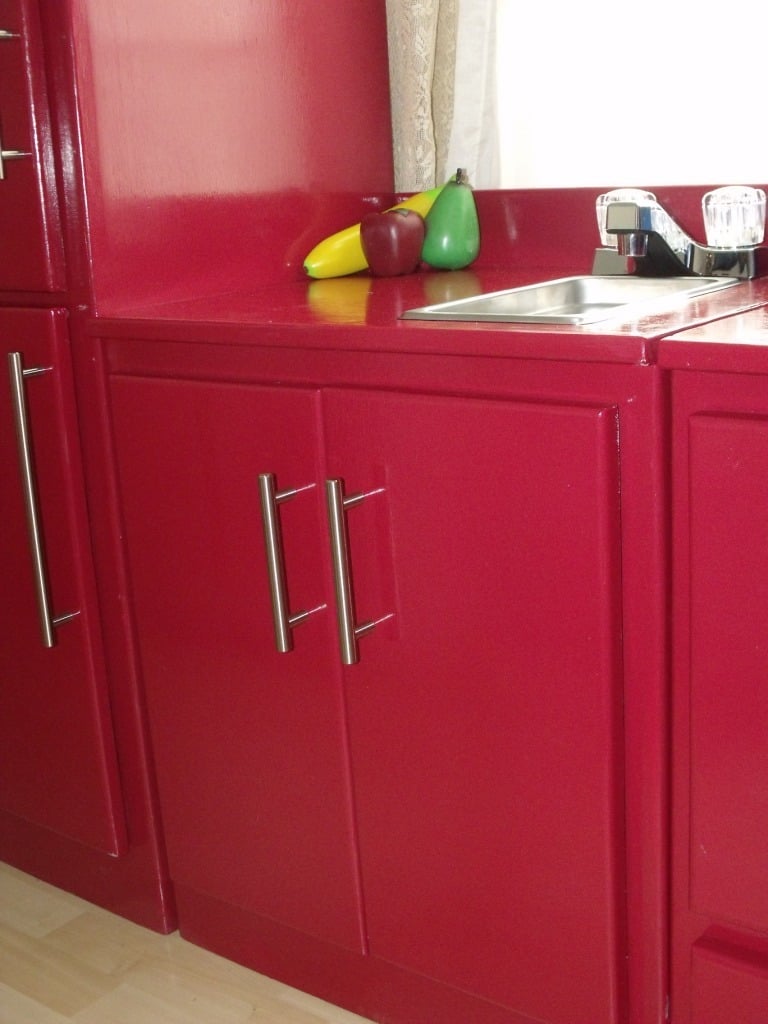
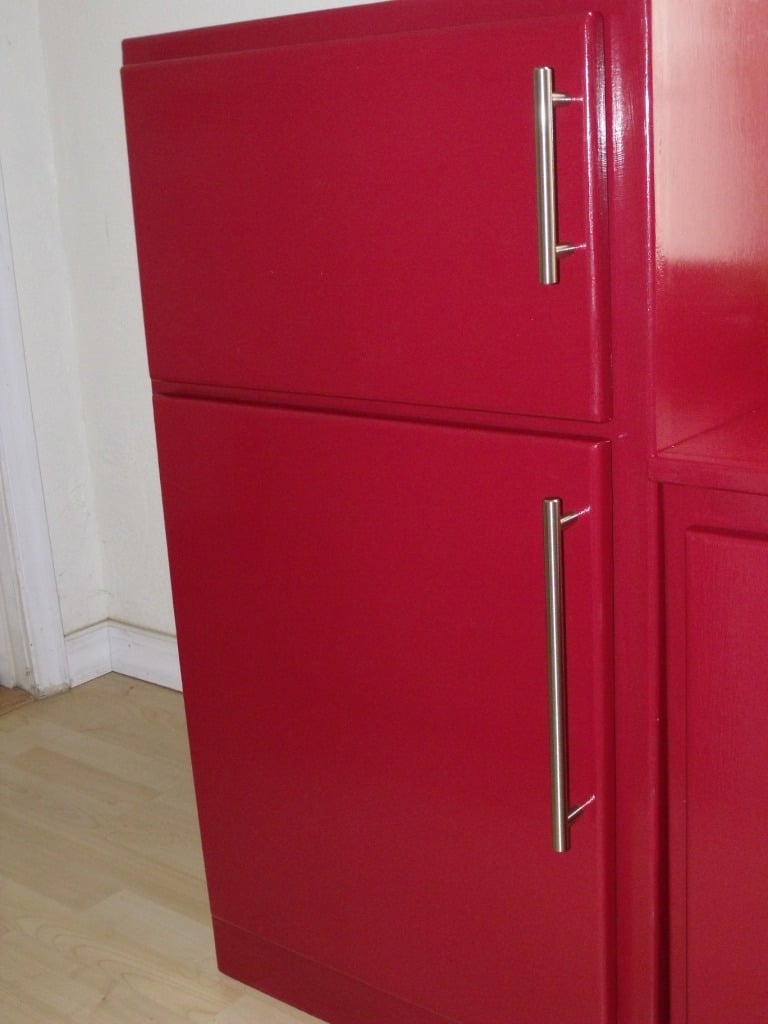
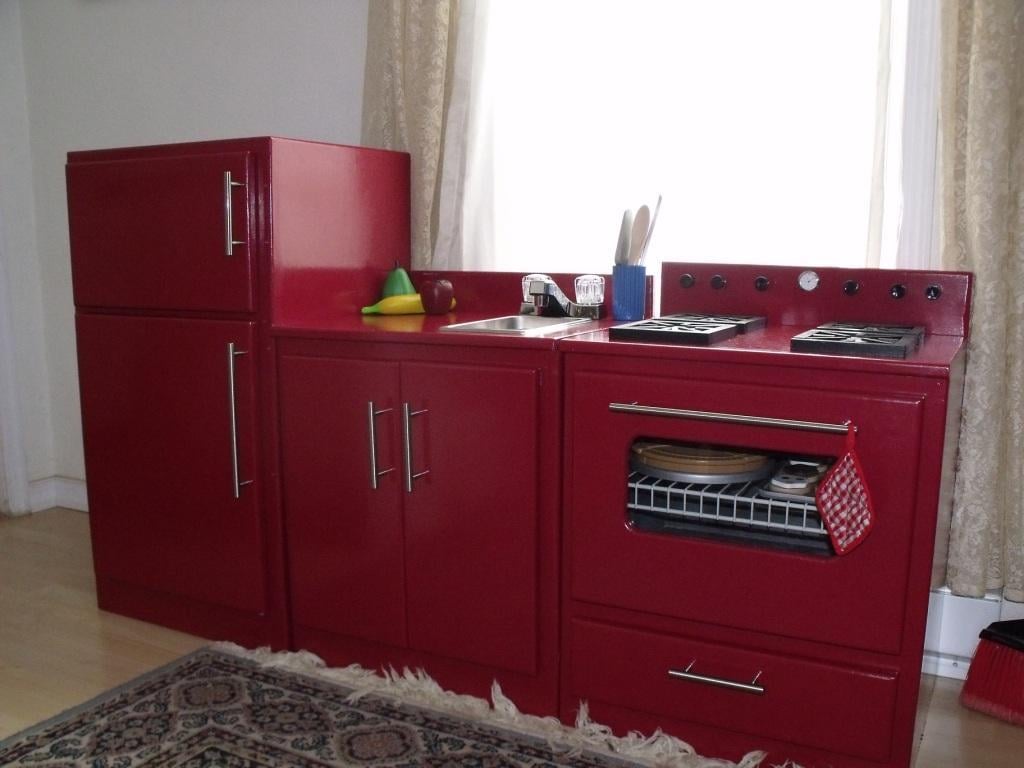
My father in law and I built this kitchen set for my two daughters, ages 3 yrs and 9 months. It was so fun to work with my father in law. I have built a few things before (table, chairs, doll bed, etc.) but nothing of this quality or magnitude. He is a great woodworker and knows how to do all the neat finishing touches that just make the project look really professional. I learned a ton working with him and had a blast!
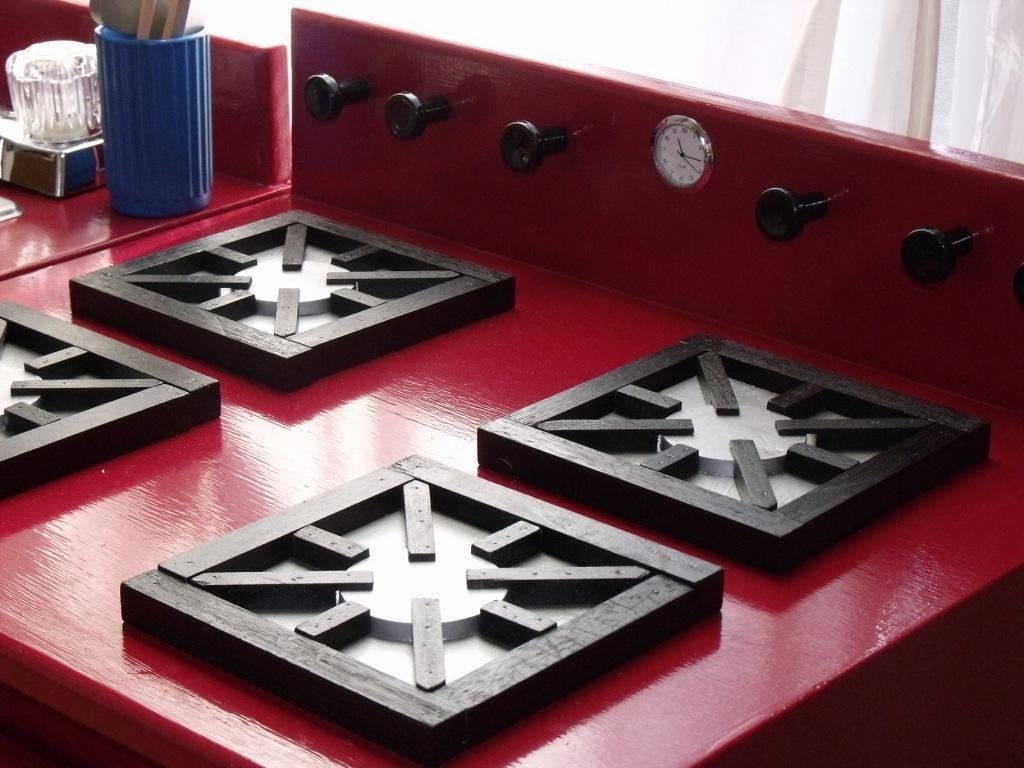
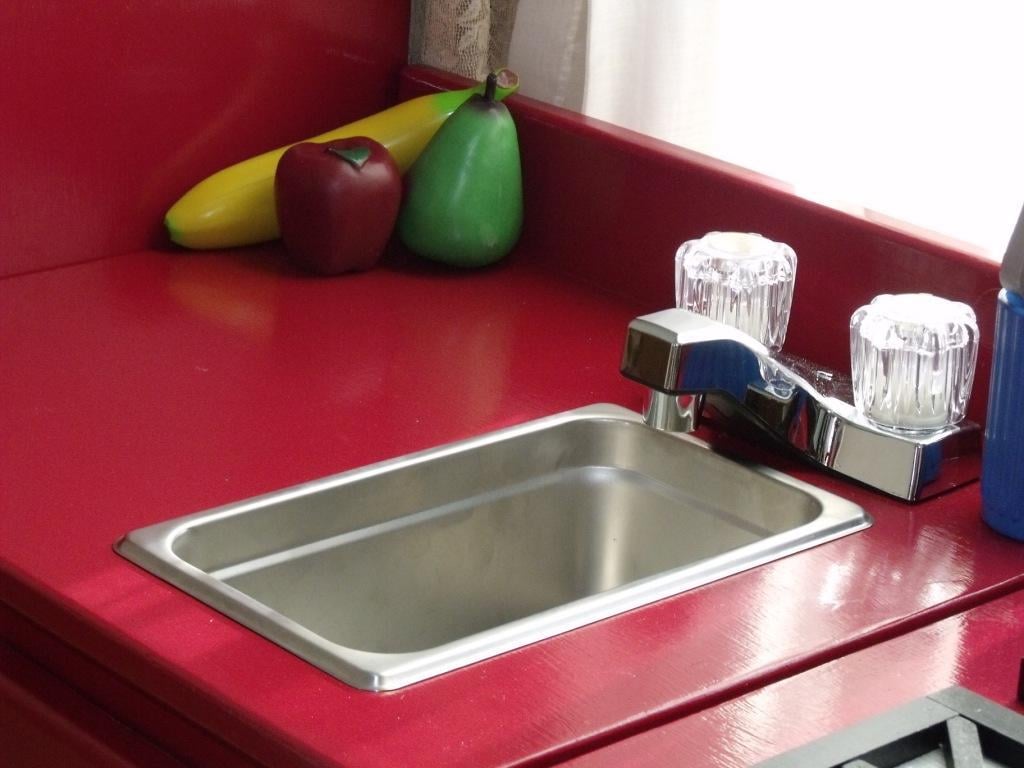
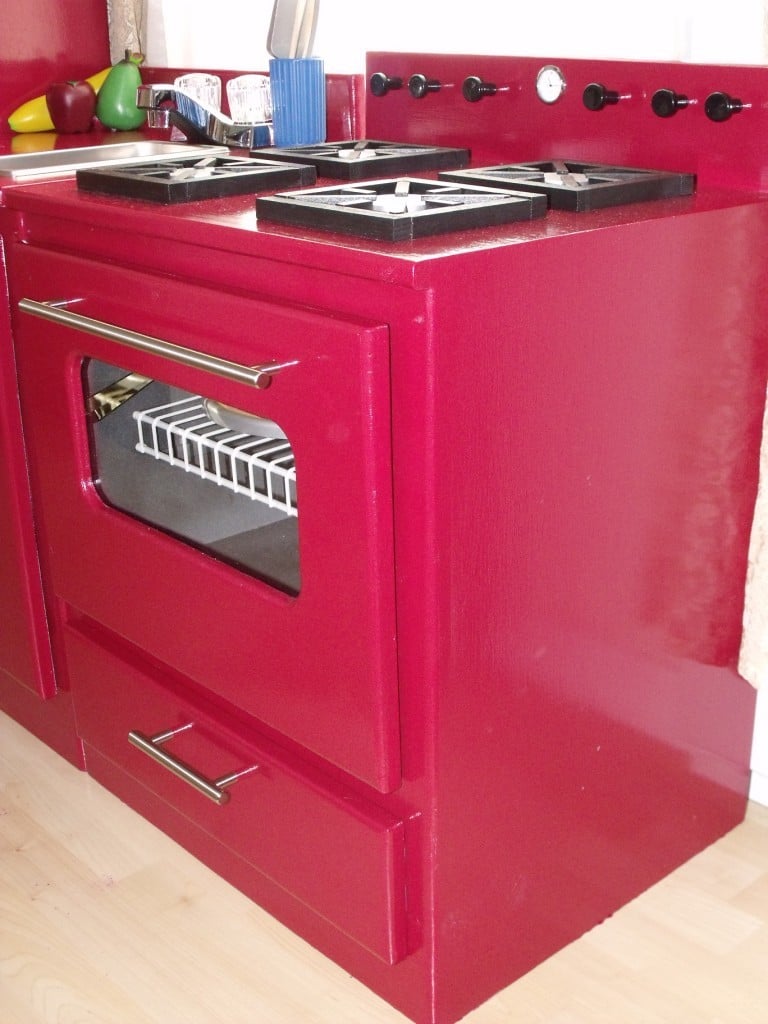
I was inspired by Ana's kitchen sets and used a combo of then and the Lowes plans and I was very happy with how it turned out. I changed a few things: put two doors under the sink, made "gas" burners instead of "electric", used half the sink cabinet top for the sink and left the other half for counter space, added a clock to the stove, made the oven door open down.
The sink is a food service warming pan 1/4 size and the faucet came from Wal-Mart for $10. I will probably replace it with a nicer one from the ReStore when I get a chance
Break down of costs:
Lumber: $100
Hinges and pulls: $40
Paint and primer: $45
Burners: $20
Sink: $24

Estimated Cost
$230
Estimated Time Investment
Week Long Project (20 Hours or More)
Finish Used
Exterior: Glidden Red Delicious high gloss enamel
Interior: White
Oven: grey stone textured spray paint
Recommended Skill Level
Intermediate

Comments

Cindy from Indiana (not verified)

Mon, 12/26/2011 - 13:09

Holy cow! Fantastic job! You guys really pulled it together and I really love the creative use of hardware, etc.

Fuchsia

Wed, 02/29/2012 - 10:03

Sorry I didn't see your comment sooner - I made the burners with craft wood circles and squares and 1/2 inch pieces of wood. I notched the ends over the circle with a chisel.

Media Console

Submitted by kittykat on Fri, 11/15/2013 - 17:31

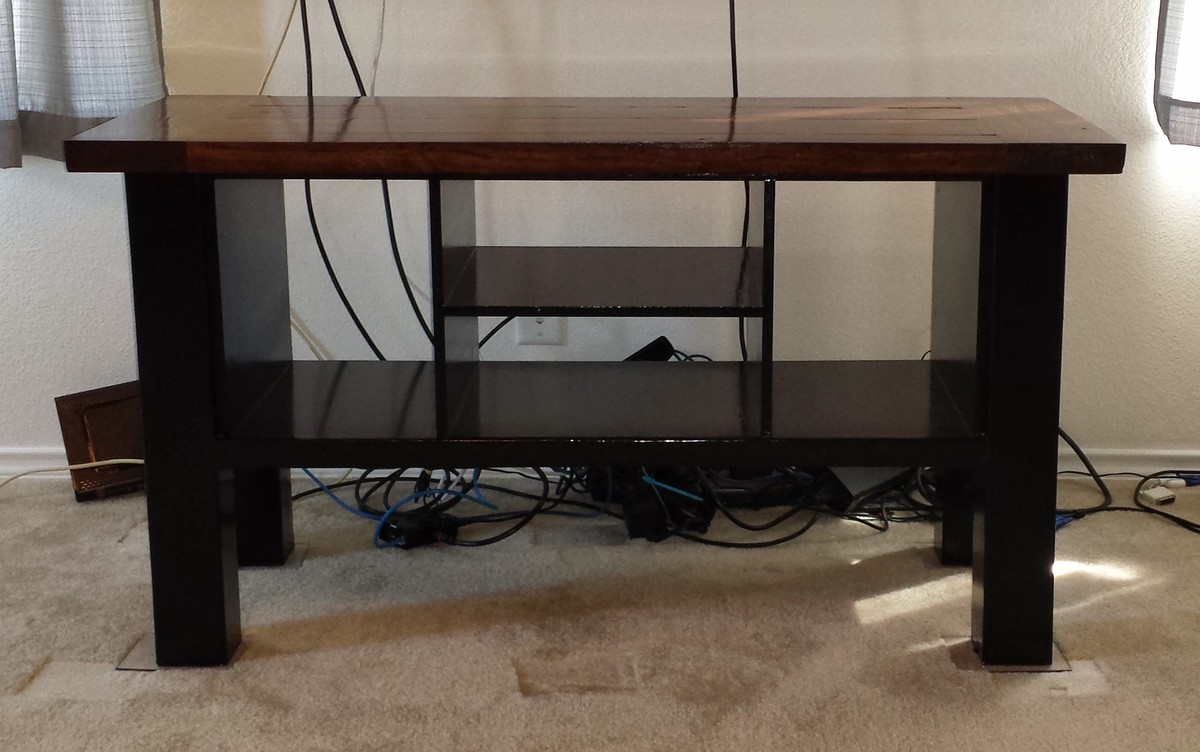
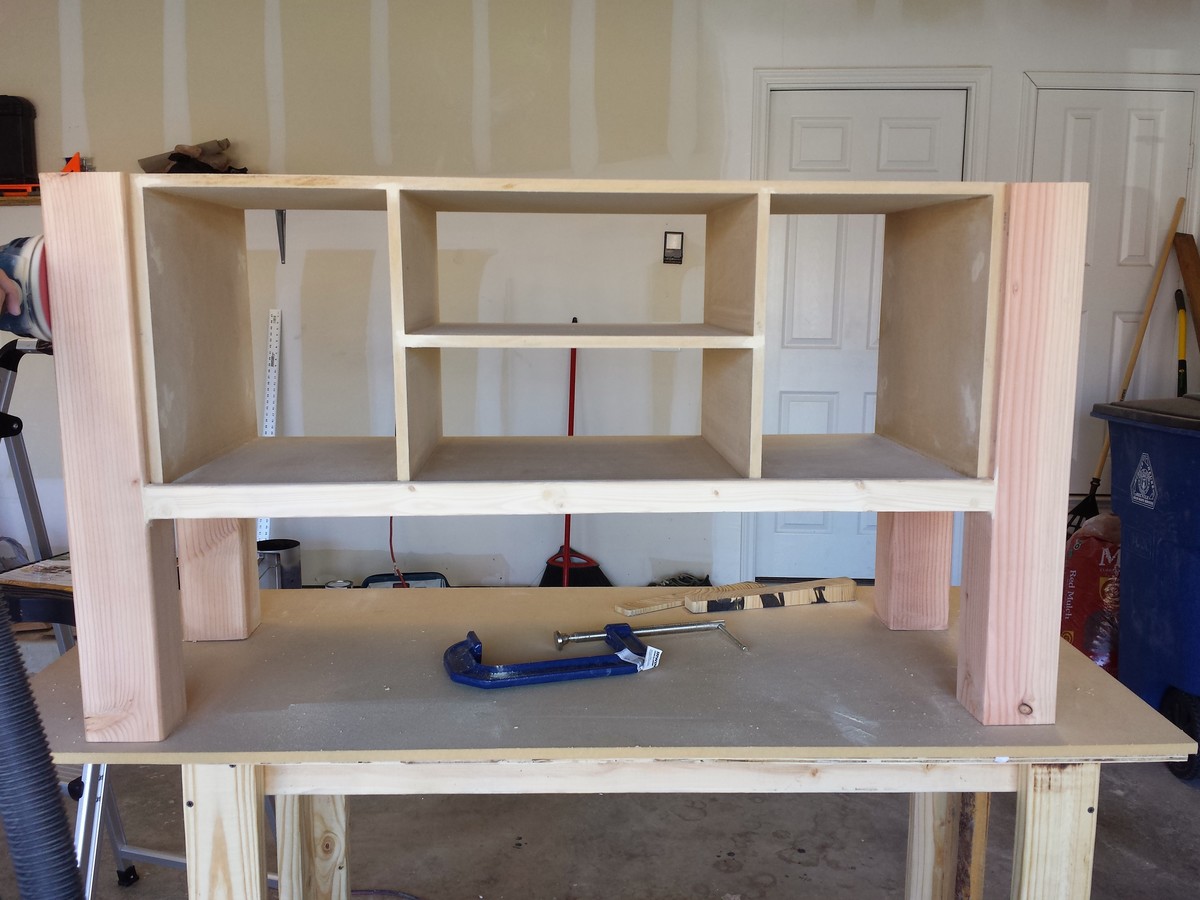
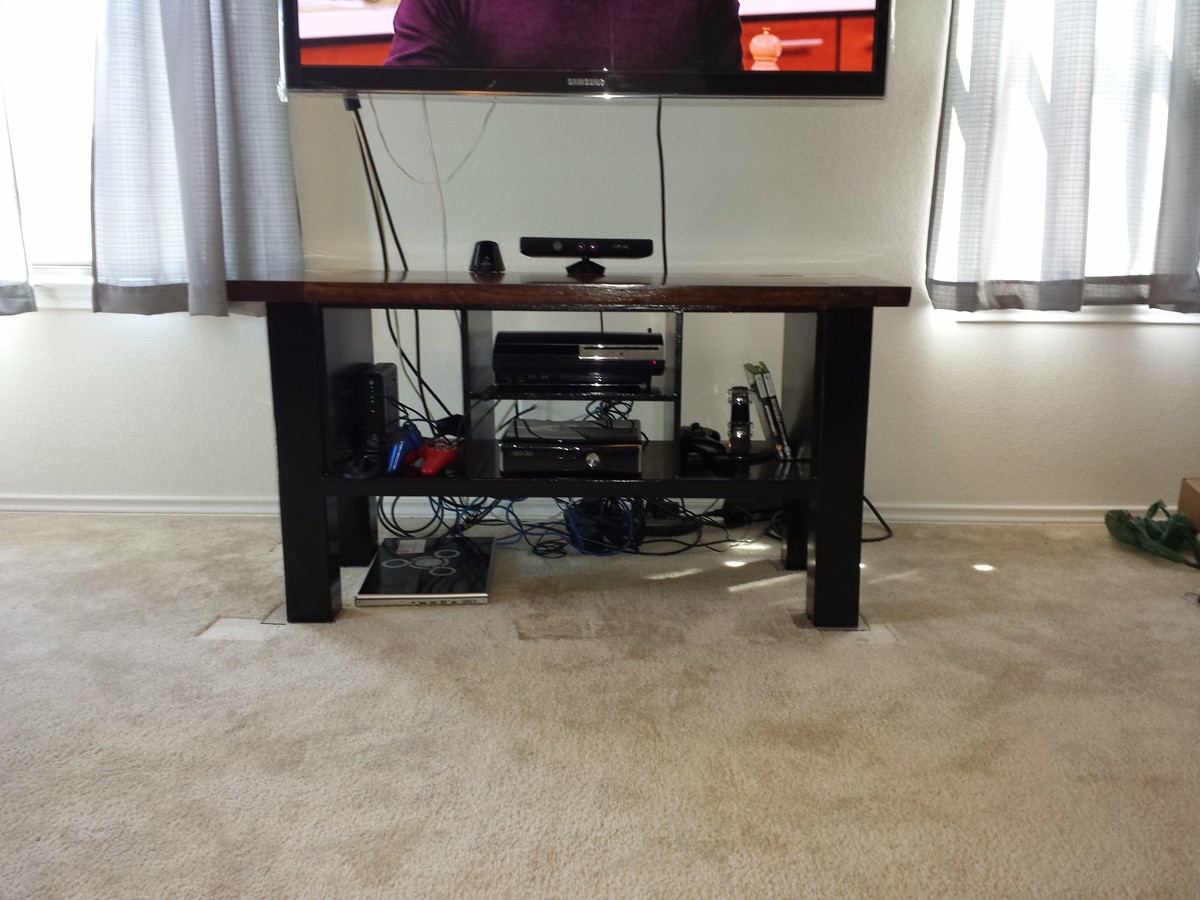
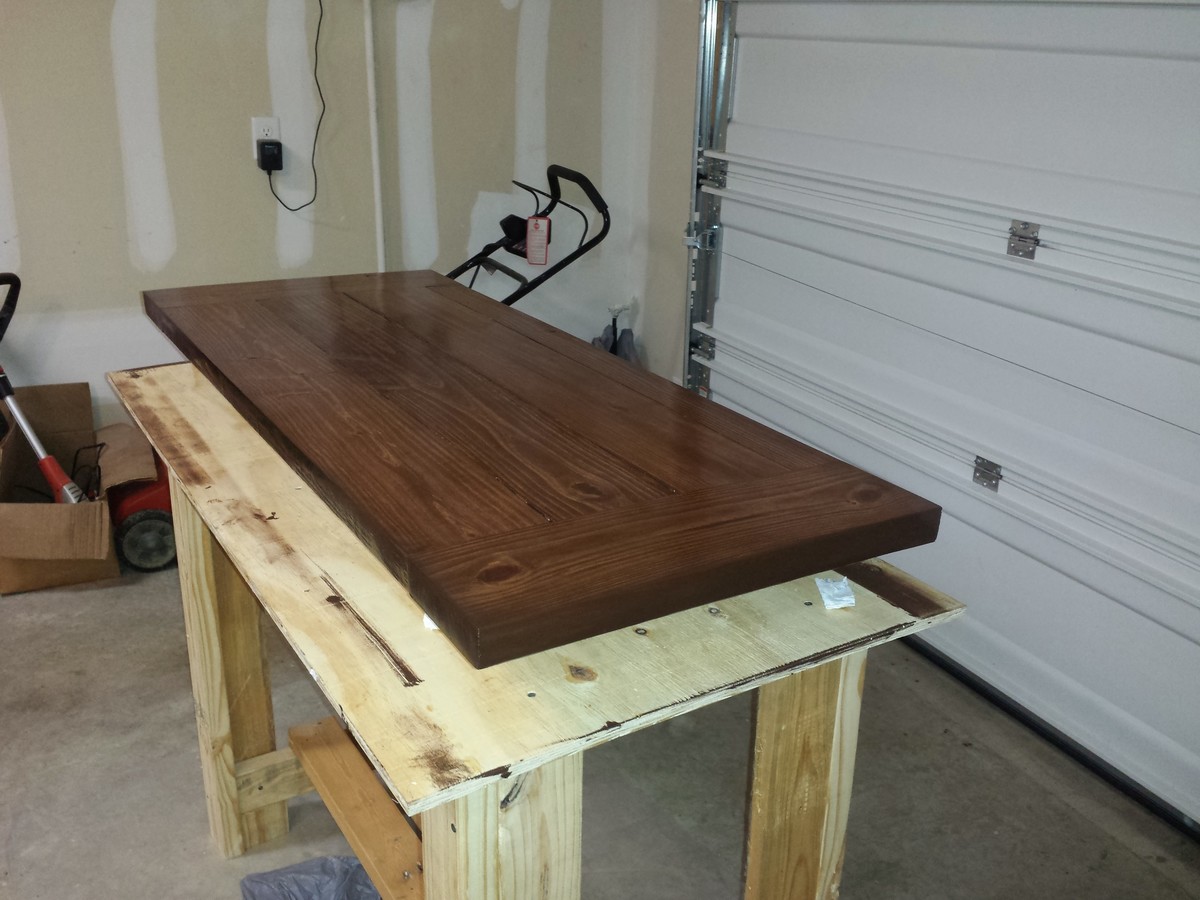
Took a 3 day weekend to put this together. We used biscuit joiner so that we wouldn't have any gaps in the top. Left the back open so our consoles could breath in their little spots. Modified the plans so it's only 4 foot long and fits perfectly under our TV.

Built from Plan(s)
Estimated Time Investment
Weekend Project (10-20 Hours)
Finish Used
Black paint and walnut stain
Recommended Skill Level
Intermediate