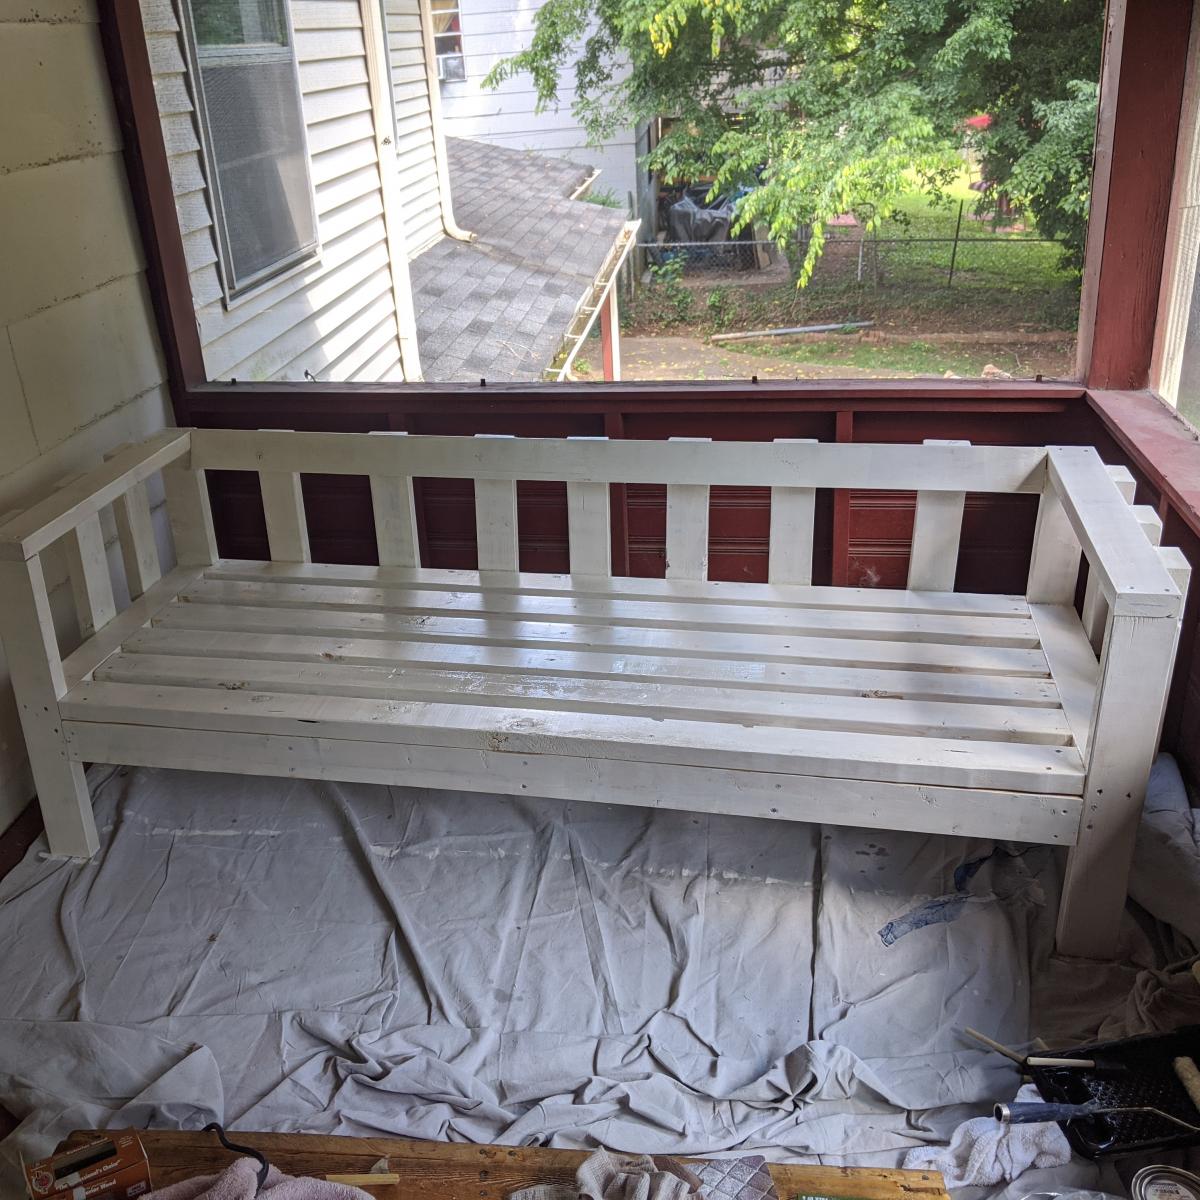
Large Modern Porch Swing + Ghetto Stand
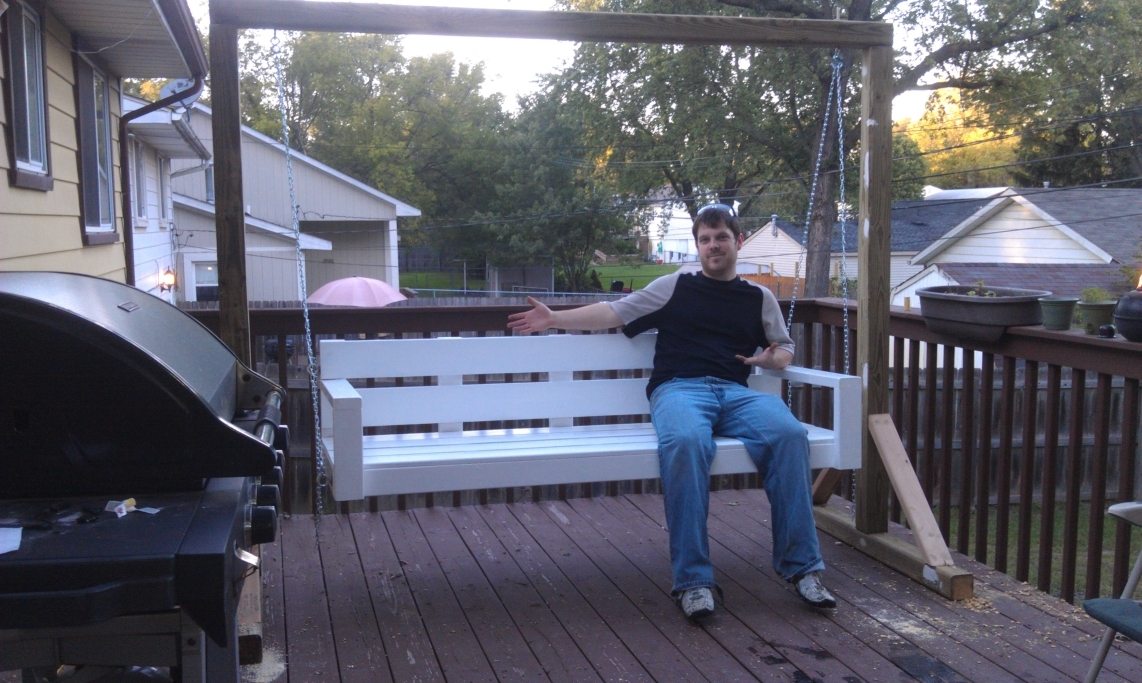
Made the swing then just kinda came up with my own frame.

Made the swing then just kinda came up with my own frame.
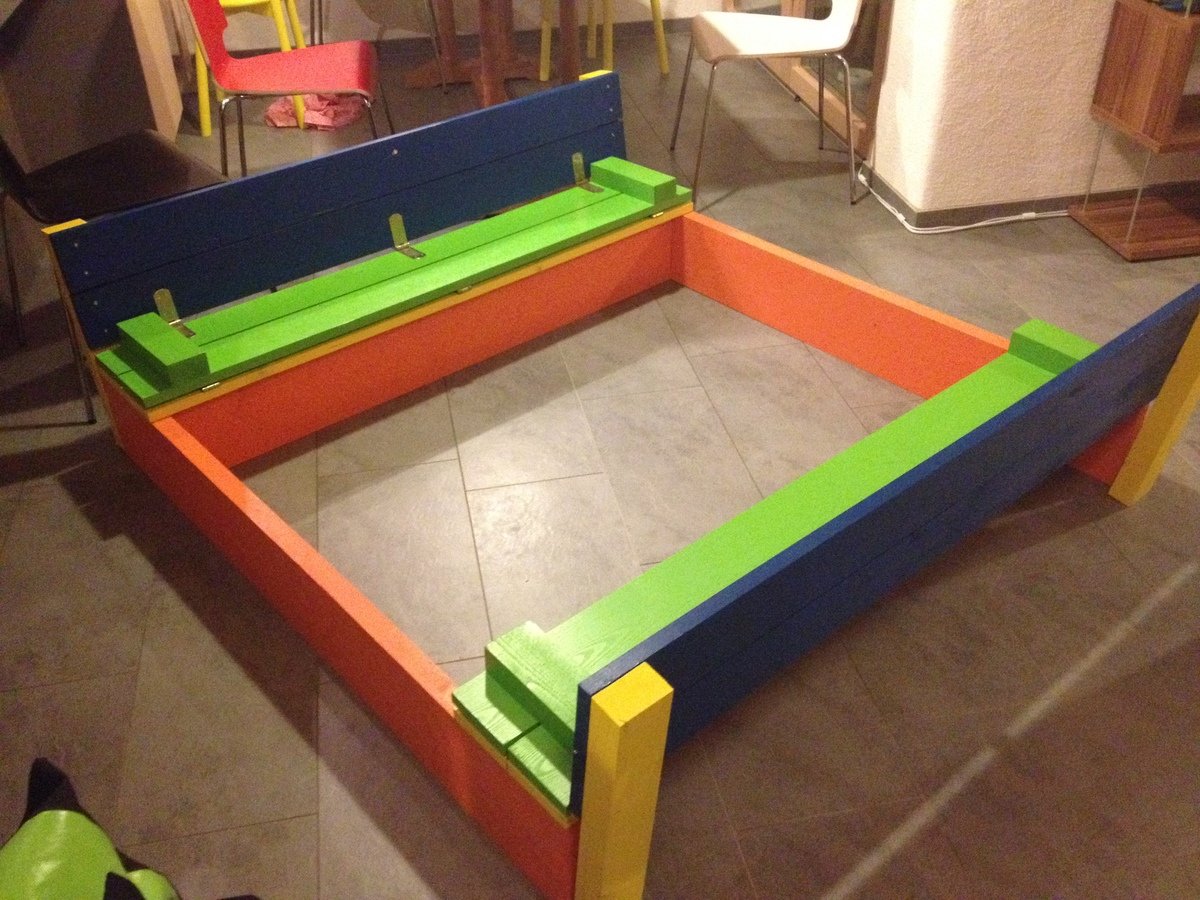
This was our first build from this website and we are so pleased! Having seen very involved plans on an Australian website for a similar sandpit, I was so pleased to come across this version, with its far simpler design!
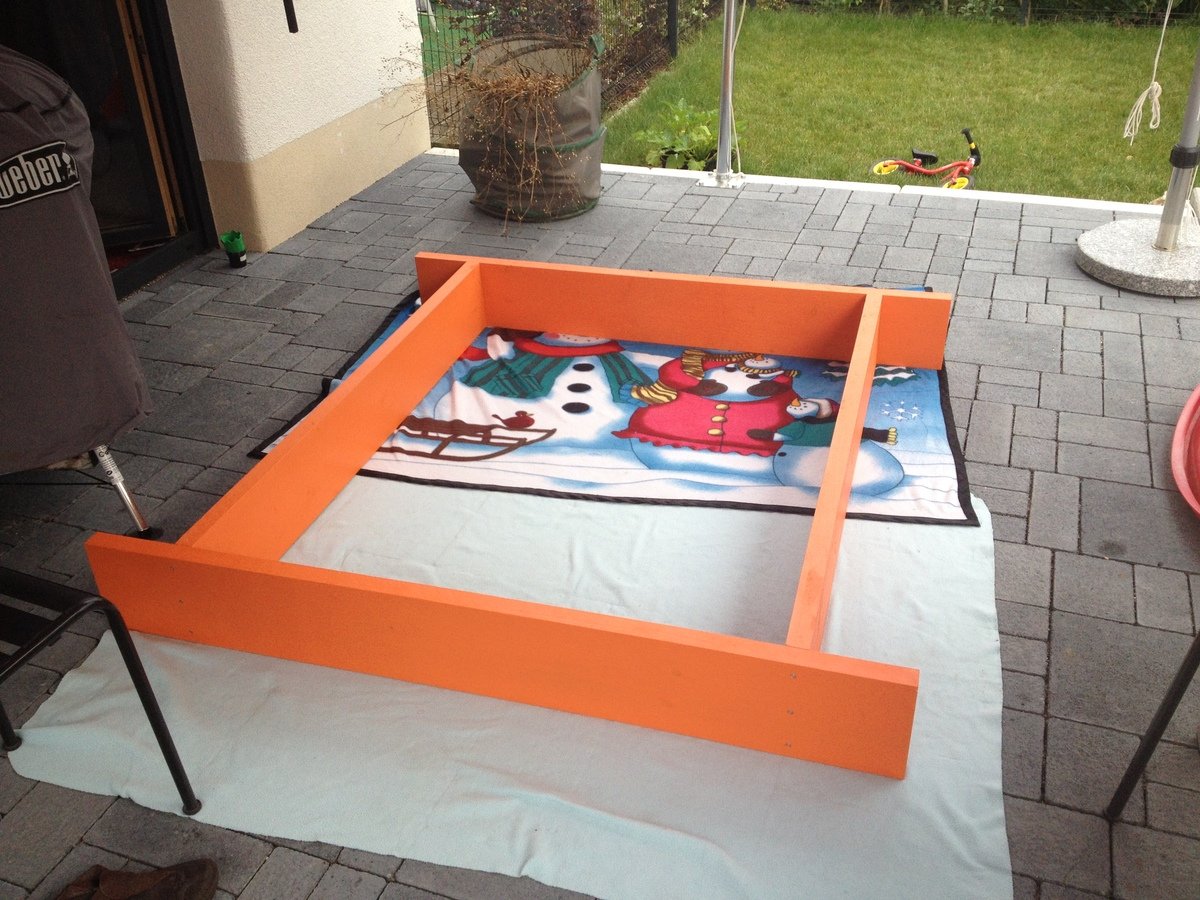
We wanted a slightly bigger sandpit, so I needed to do some modifications, and while I was enlarging it, I also converted to metric sizes, and designed specifically for the timber I knew I could buy locally (very obscure and inconsistent seeming German sizes). So the end result is a 1.5x1.5m sandpit, that has so far had 6 kids playing happily in it at once!
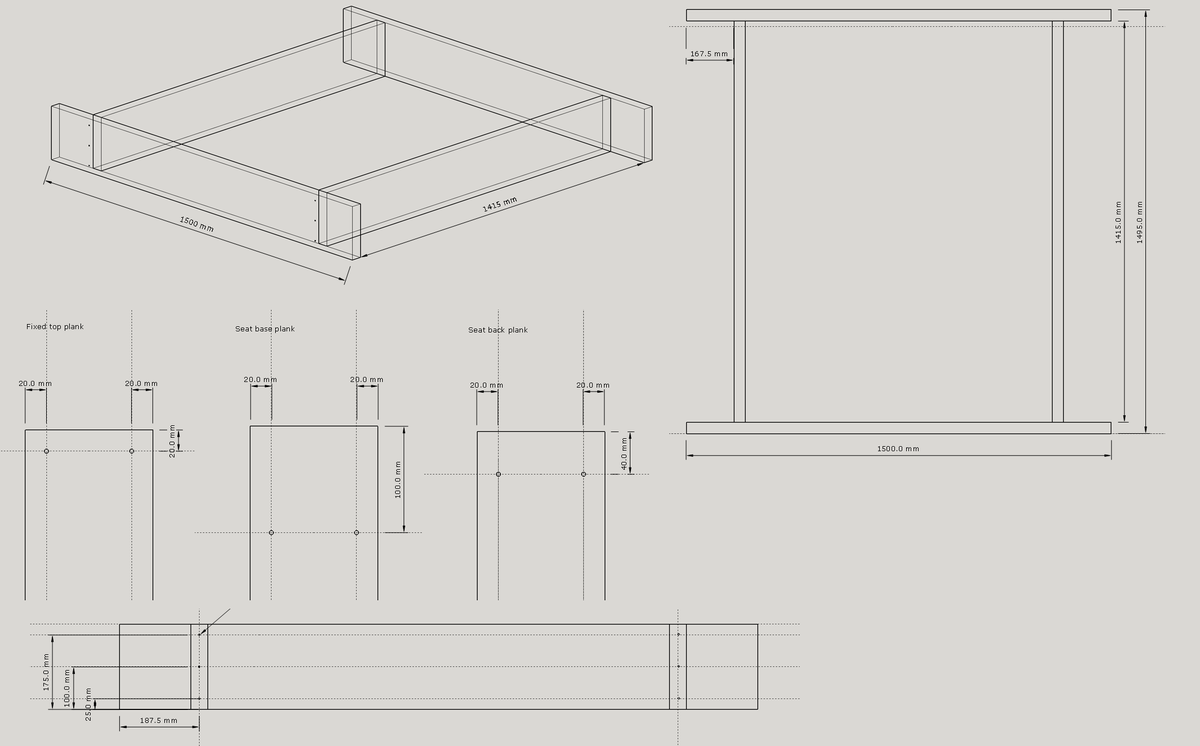
I've put in the drawings I used, and the cutting list for larger sizes in case anyone else is working in metric, or wants a bigger size!
Our other modification was to offset the shorter sections of the base to run along the front plank of the bench seat - there were two main benefits for this - we need a lot less sand, as there is none wasted under the seat, and the seat is supported and can't bow downwards!
The dimensions and layout we used are in the images.
Supplies
Timber
2 - 200 x 40 x 3000mm
6 - 120 x 24 x 3000mm
1 - 80 x 50 x 3000mm
Hinges
12 - 140mm long (the original design had 8, we went with three per edge to allow for the extra width)
Self tapping decking screws
18 - 5 x 80
48 - 5 x 50
96 - 3 x 20 (or enough for your hinges, depending on the design)
Paint
3 - 375ml PU Acrylic Paint, suitable for exterior use (top planks and seat supports)
1 - 750ml PU Acrylic Paint, suitable for exterior use (base)
Weed matting and staple gun
Sand
I calculated I would need 20 x 25kg bags - in the end we needed 11 - don't ask me where we went so wrong!
Cutting list
2 - 200 x 40 x 1500 (long sides of base)
2 - 200 x 40 x 1415 (short sides of base)
12 - 120 x 24 x 1495 (top slats - just under half a plank, to allow for waste)
4 - 80 x 50 x 245 (armrests / seat braces)
4 - 80 x 50 x 495 (back supports of seats)
I gladly paid 5 Euro for the wood to be cut in Hornbach - it should have been more than this, but the guy was generous!
12 hinges (the original design had 8, we went with three per edge to allow for the extra width)
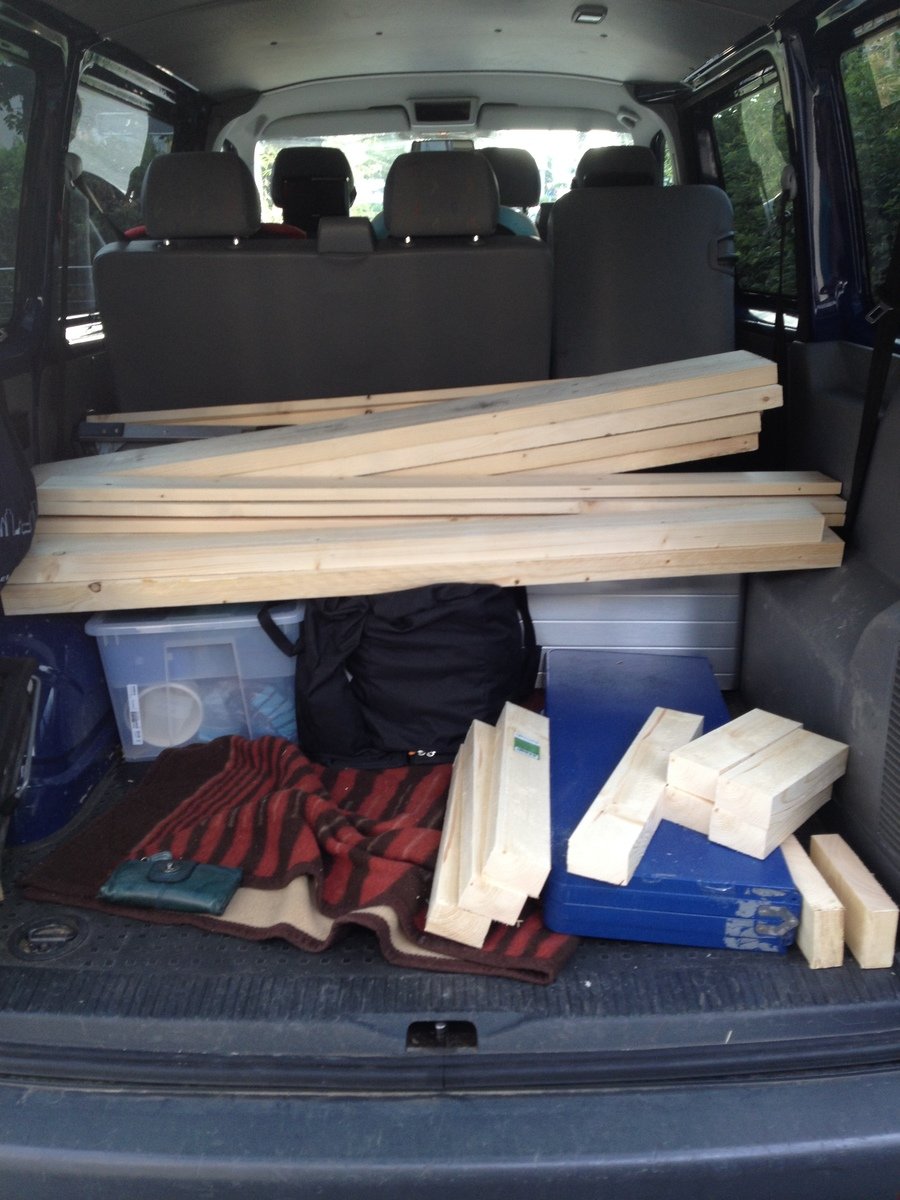
On Sunday we had the idea, on Monday I drew up the plans, on Tuesday I went shopping! Once all our wood was home safely, we sanded it down - most edges weren't badly finished, but there were a few splinters that needed getting rid of!
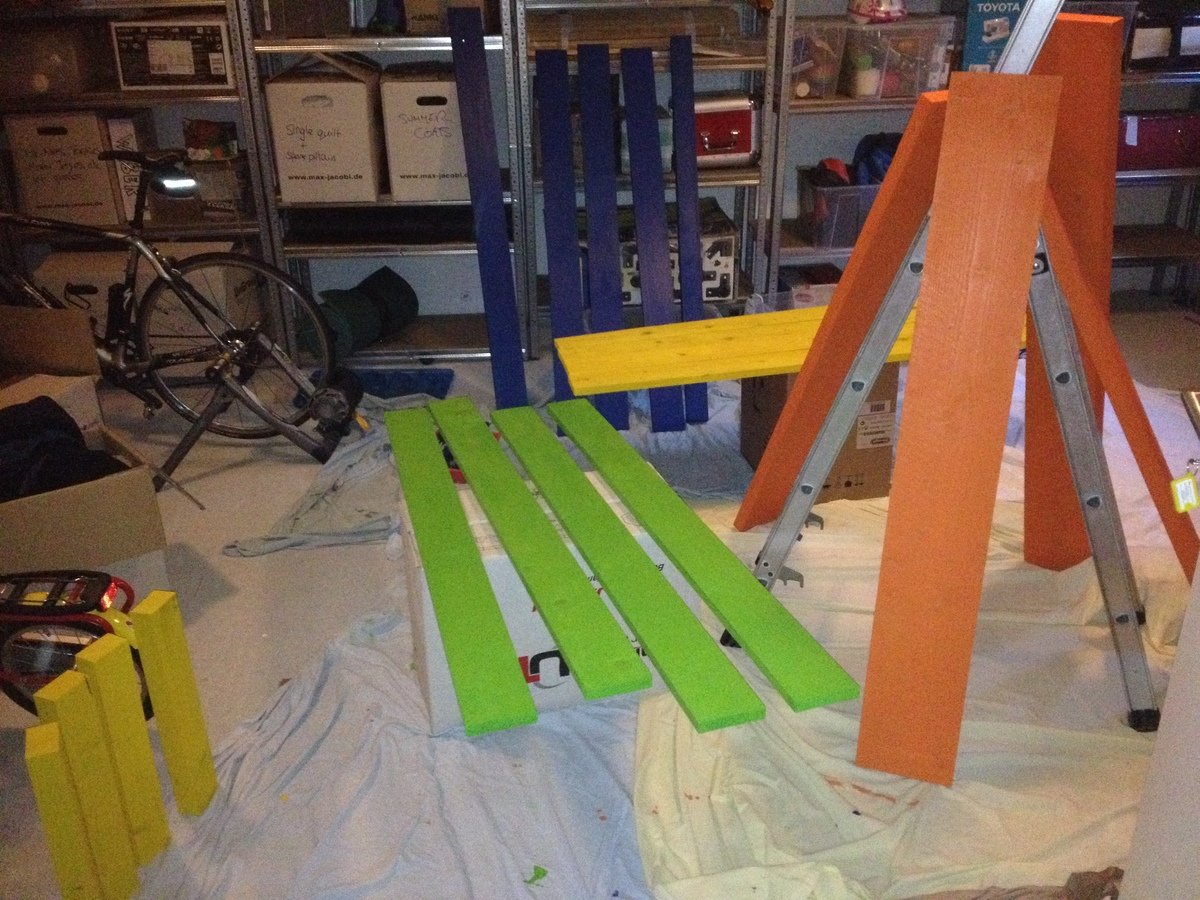
The next two nights Mr W gallantly set to work with the paint brush. After two nights, the wood all had two good coats of paint and we were ready to start assembling on Friday.
I pre-drilled the base of the bench before the second coat of paint - three holes for each butt joint - with some careful measuring this made screwing the base together really easy!
The top planks were also pre drilled, but there unfortunately my tiredness made me make mistakes, and some had to be re-drilled! Spacing the planks out took a lot of time, but I am glad I made the effort. I used cereal box, and experimented with different numbers of layers - I knew I wanted a theoretical 5.4mm gap, but it took some time to get the right number of layers of carefully creased and concertinaed card!
Having got our spacing wedge sorted, we screwed the blue planks in place at either end of the base. We then assembled the green seat section, and the blue/yellow back rest. Following a tip from the comments section, we added the hinge to the seat/back combo first, as this ends up being on the underside. Once those two hinged sections were made, they were then laid in place on the base (card wedge spacers in place) and then the final hinges added. The final assembly took about 5 hours - but this was partly because we started outside, then had to move everything inside when a huge thunderstorm rolled in!
The next morning we got busy with the staple gun and tacked weed matting over the base, then it was hauled in to position and filled up! For us getting this done and dusted was important, otherwise it could have dragged on a lot, but we are terribly proud that it was done in less than a week from being fist conceived!
I hope the metric/enlarged plans are of use to someone else too. One other idea we had, which we didn't get round to building in, was a support bar to be fitted when you close the pit, so the kids can play on top as a stage when it is not being used for a sandpit!
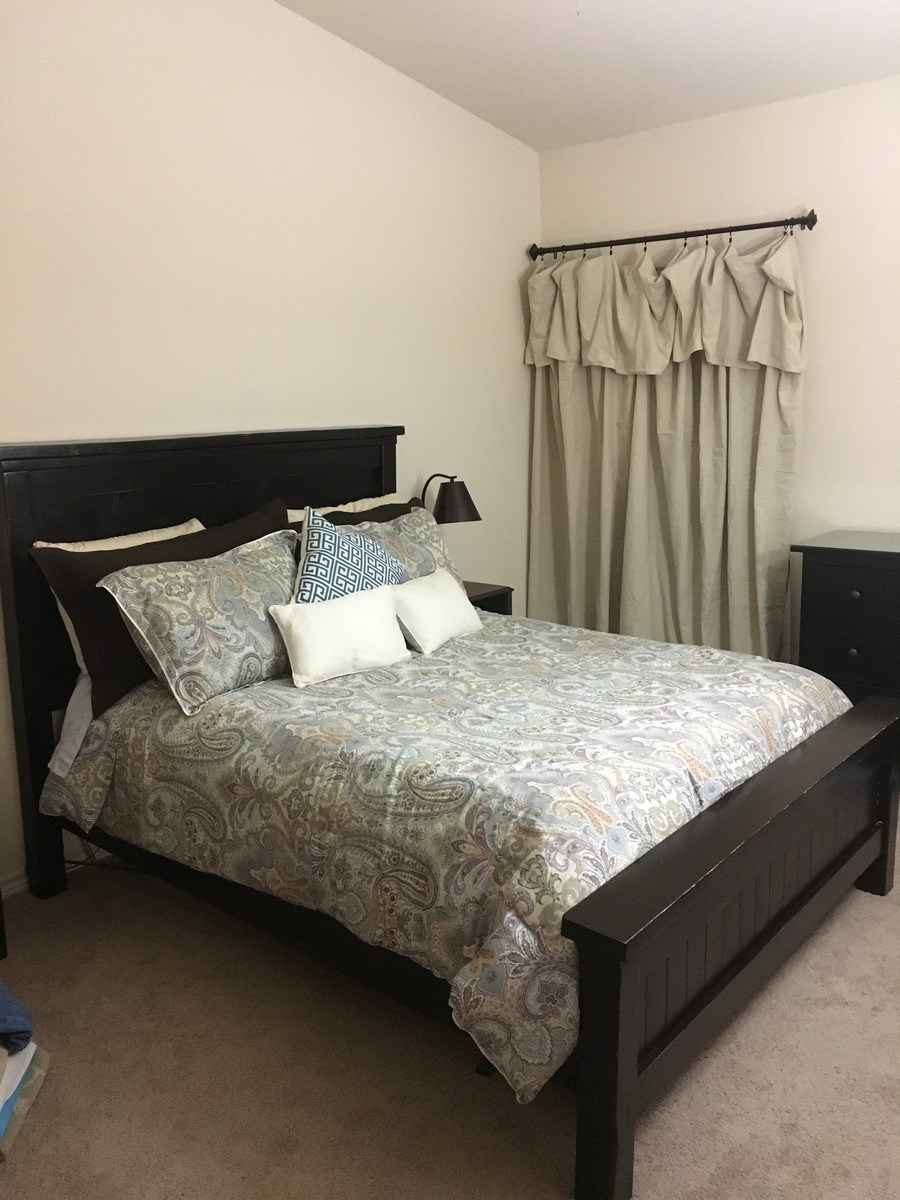
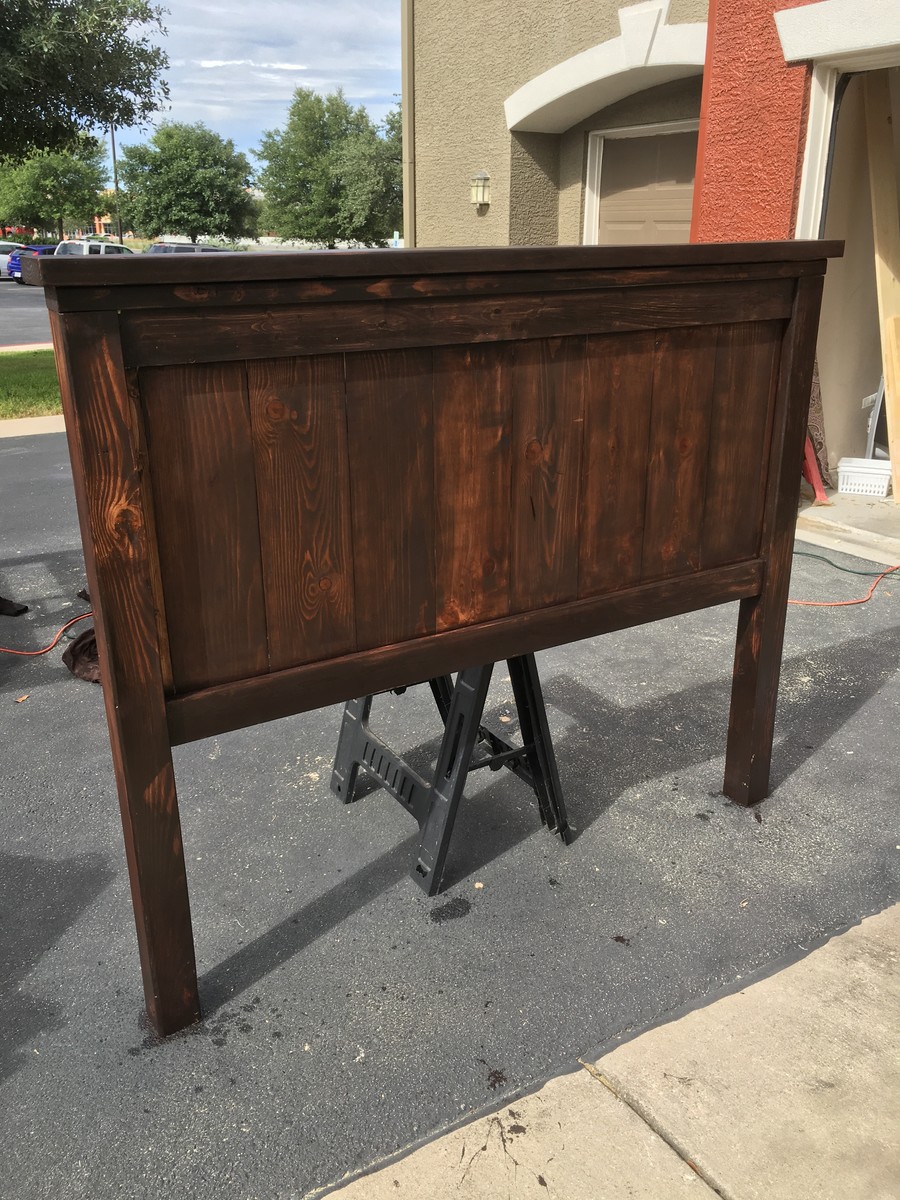
After being deployed for a year, my husband and I needed to spend quality time together. I showed him the Queen Farmhouse Bed Plans and he loved it. We spent a weekend clearing out our over stuffed garage - sorting through things with a common goal in mind. He loves woodworking and we love spending time together. We spent two weekends cutting and sanding and putting it together. We spent another doing three coats of stain and two MinWax poly coats. We finally finished this weekend and I absolutely LOVE it. I SERIOUSLY love how solid this bed is. He bought the wood to build two matching nightstands this morning...and I can't wait until tomorrow to start on them.
Thank you so much for sharing your plans and for so many sharing their brag posts - it was wonderful to read through them and see all the variations.

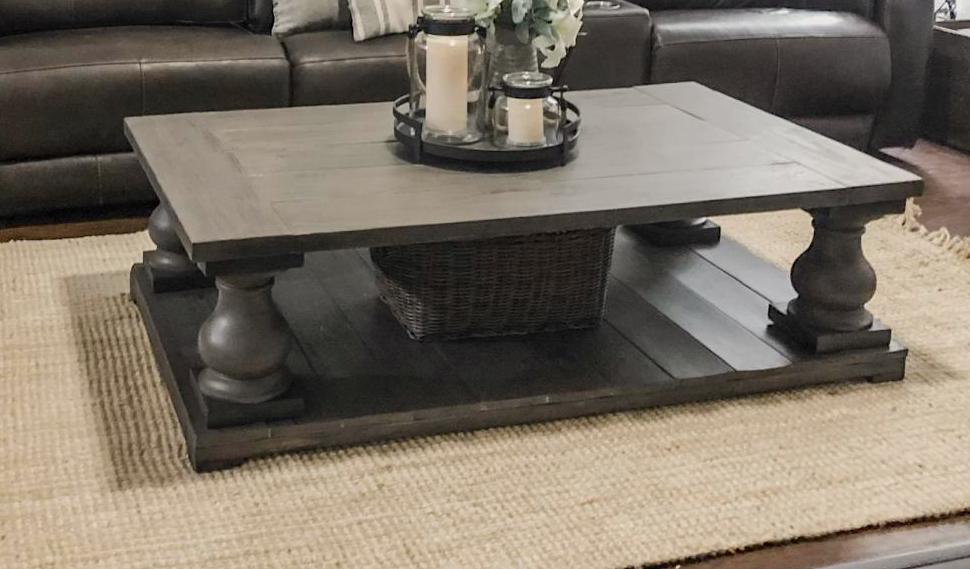
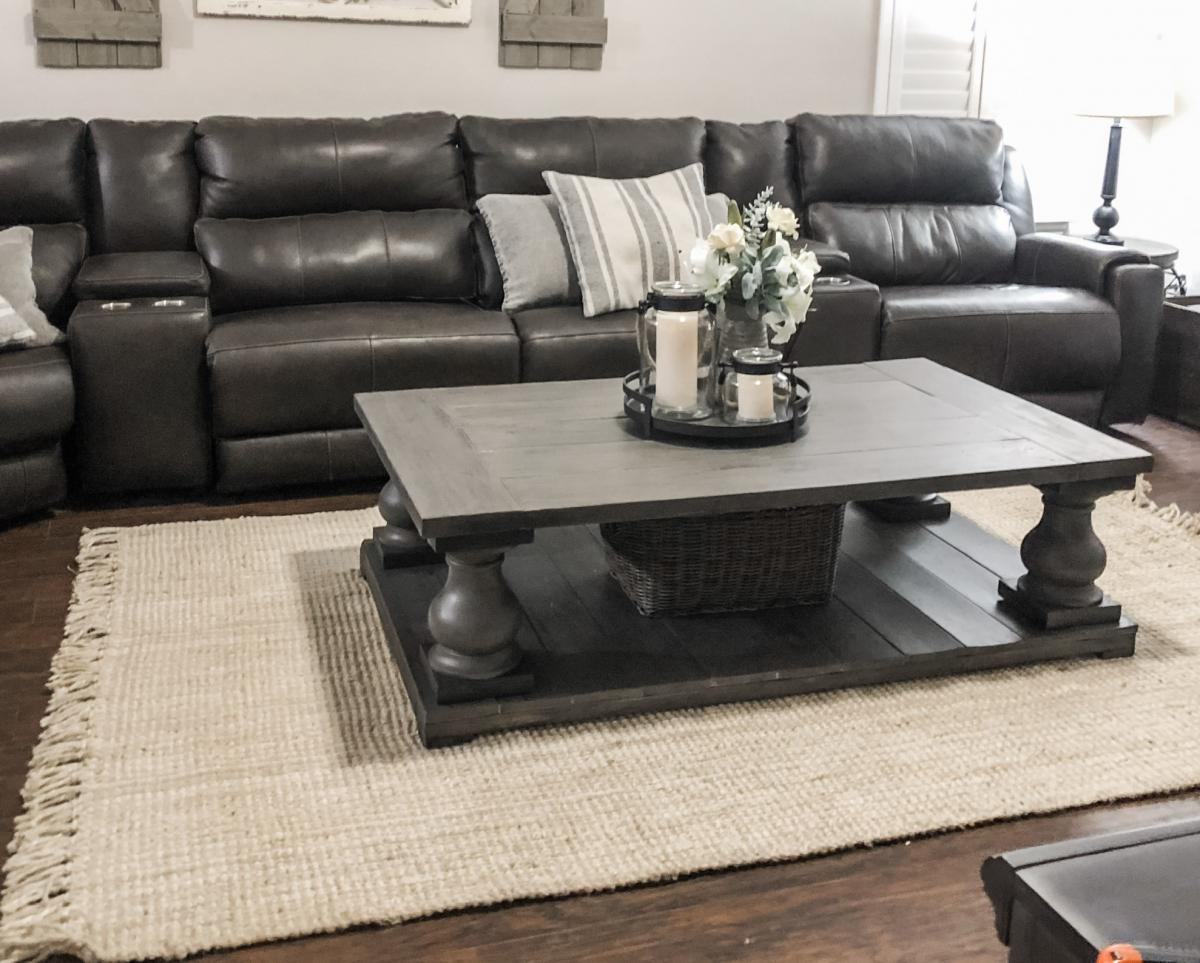
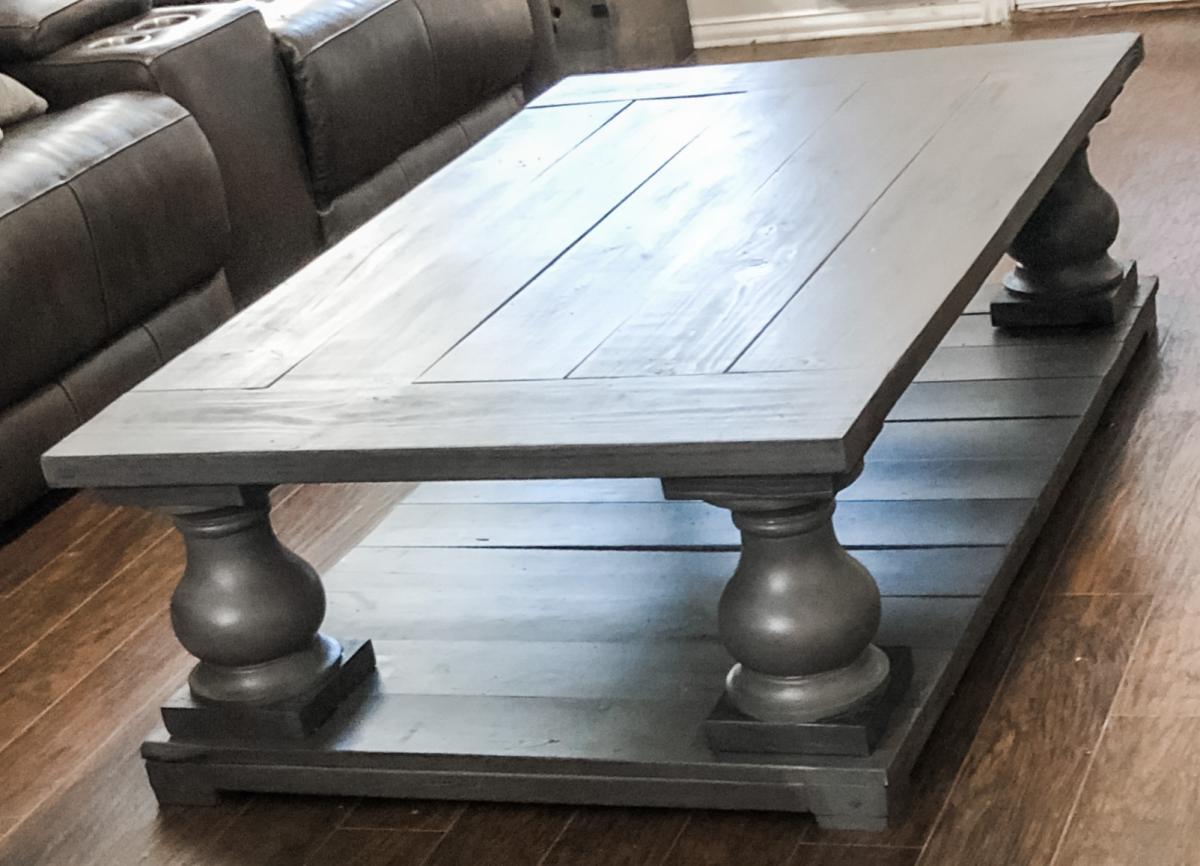
Love this table! Created from Ana Whites Balustrade Coffee Table plans. Looks just like the table from RH.
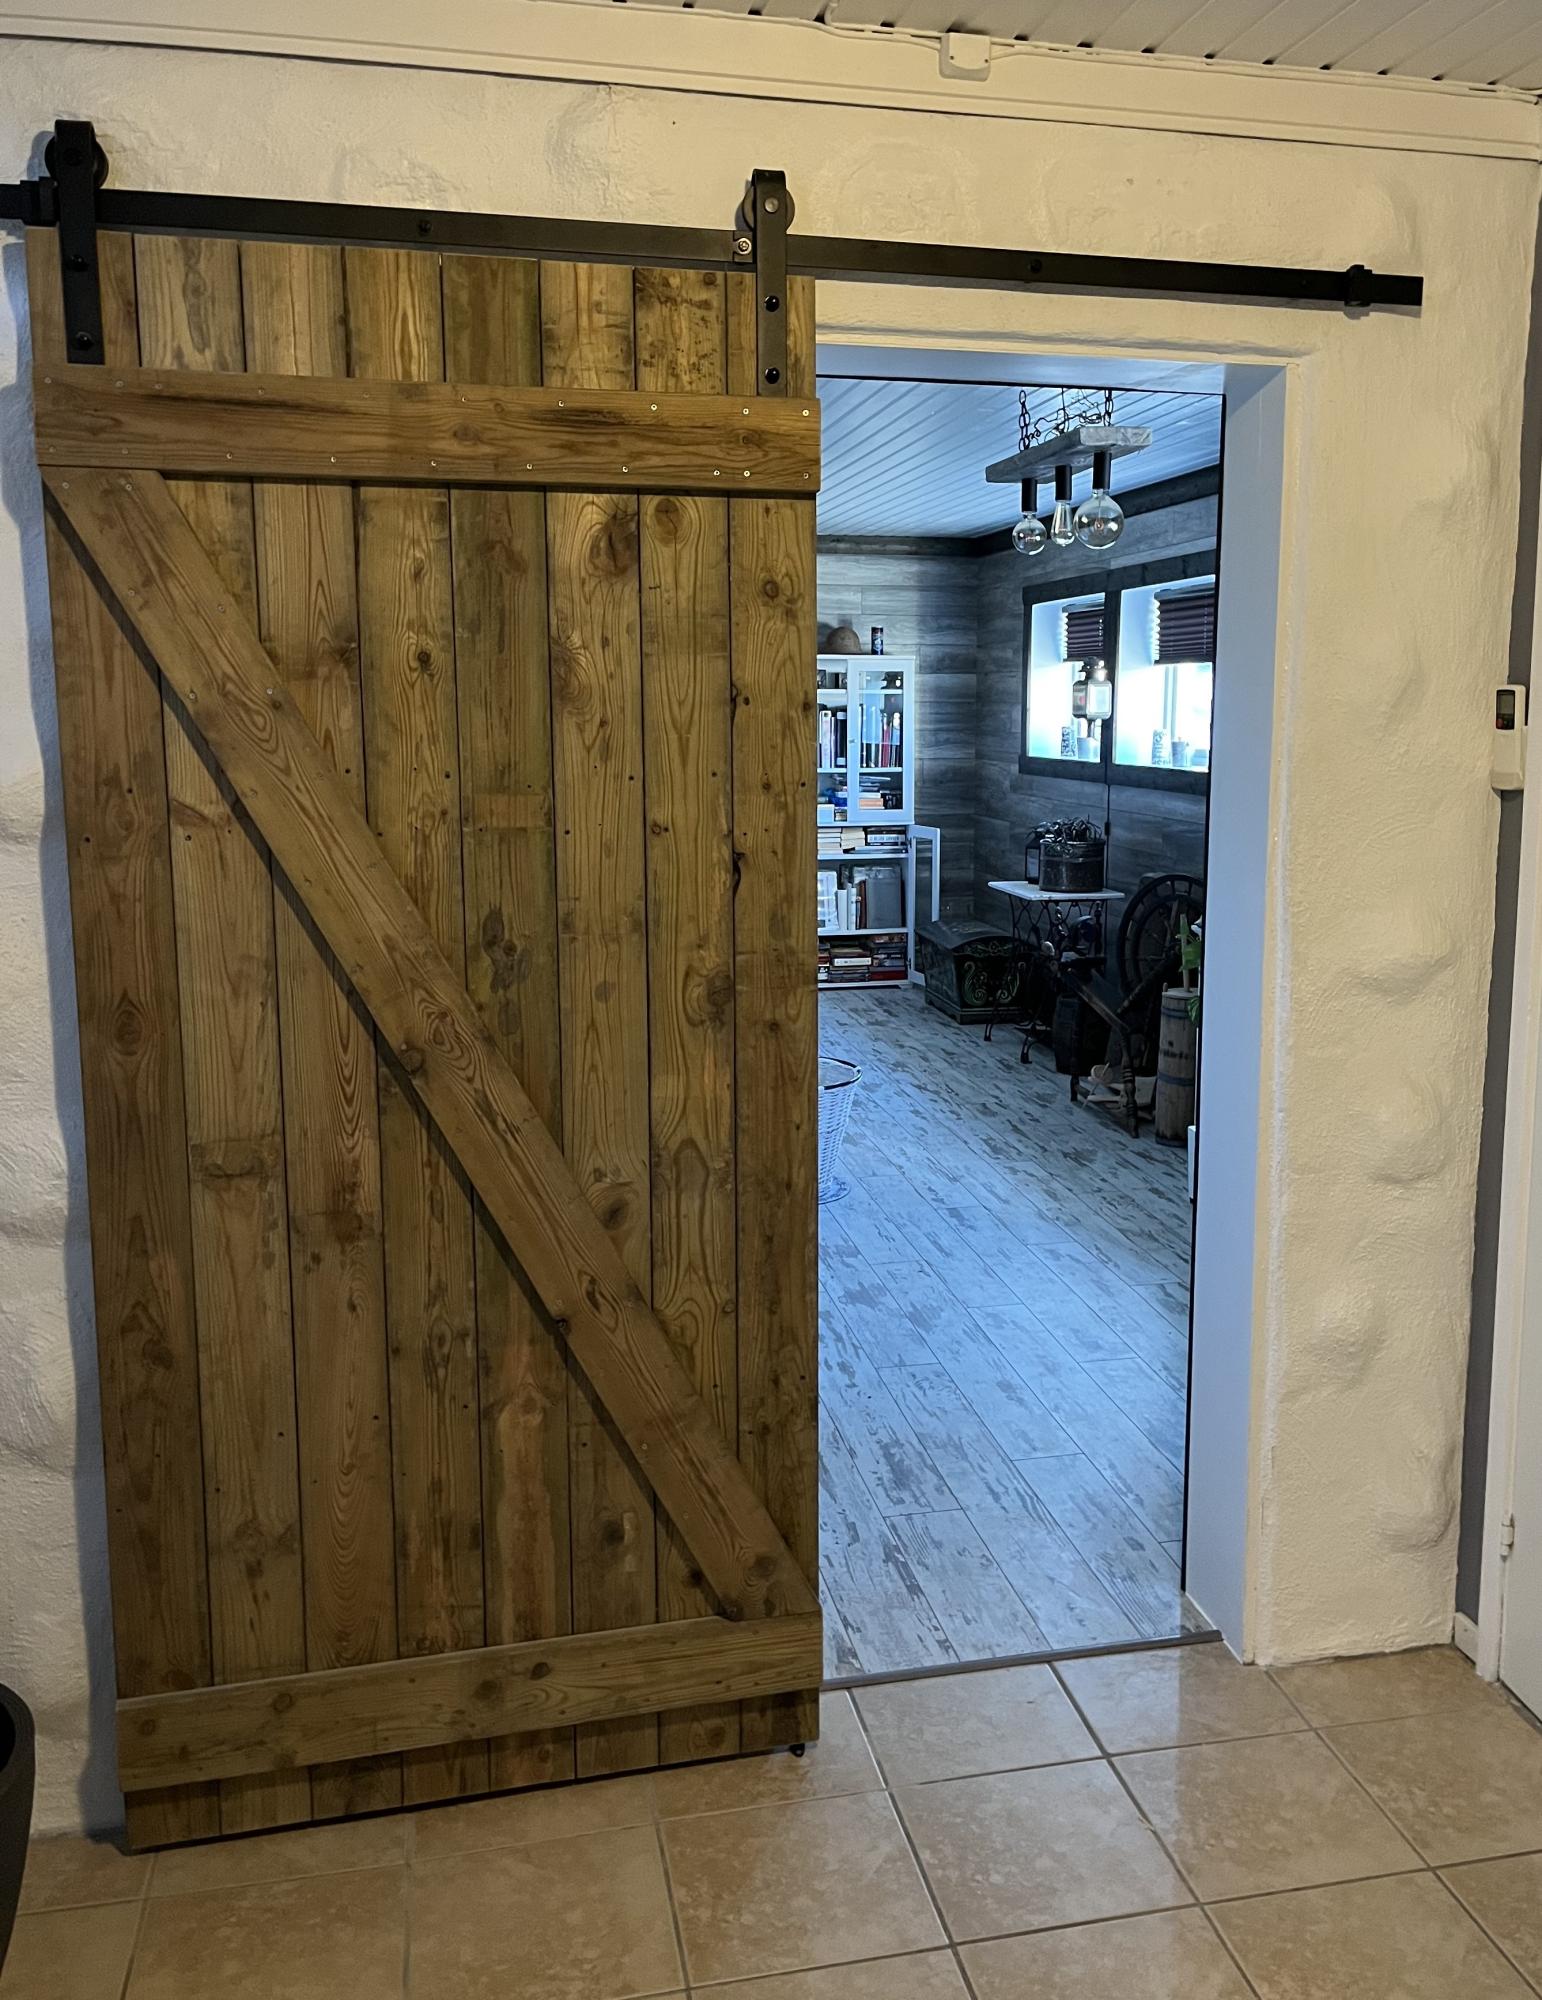
DIY Wood Barn Door
The Swede in Norway
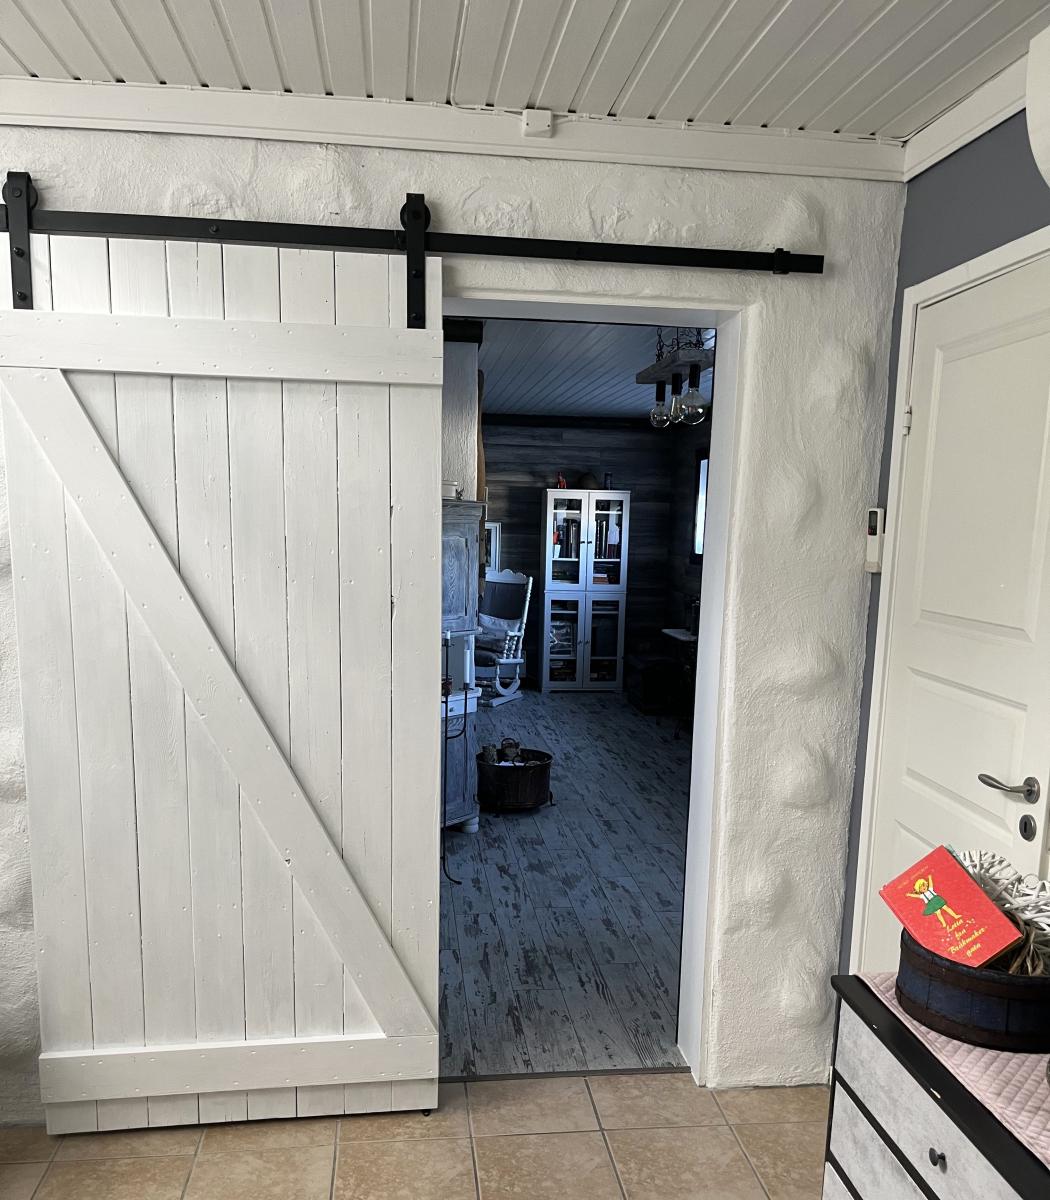
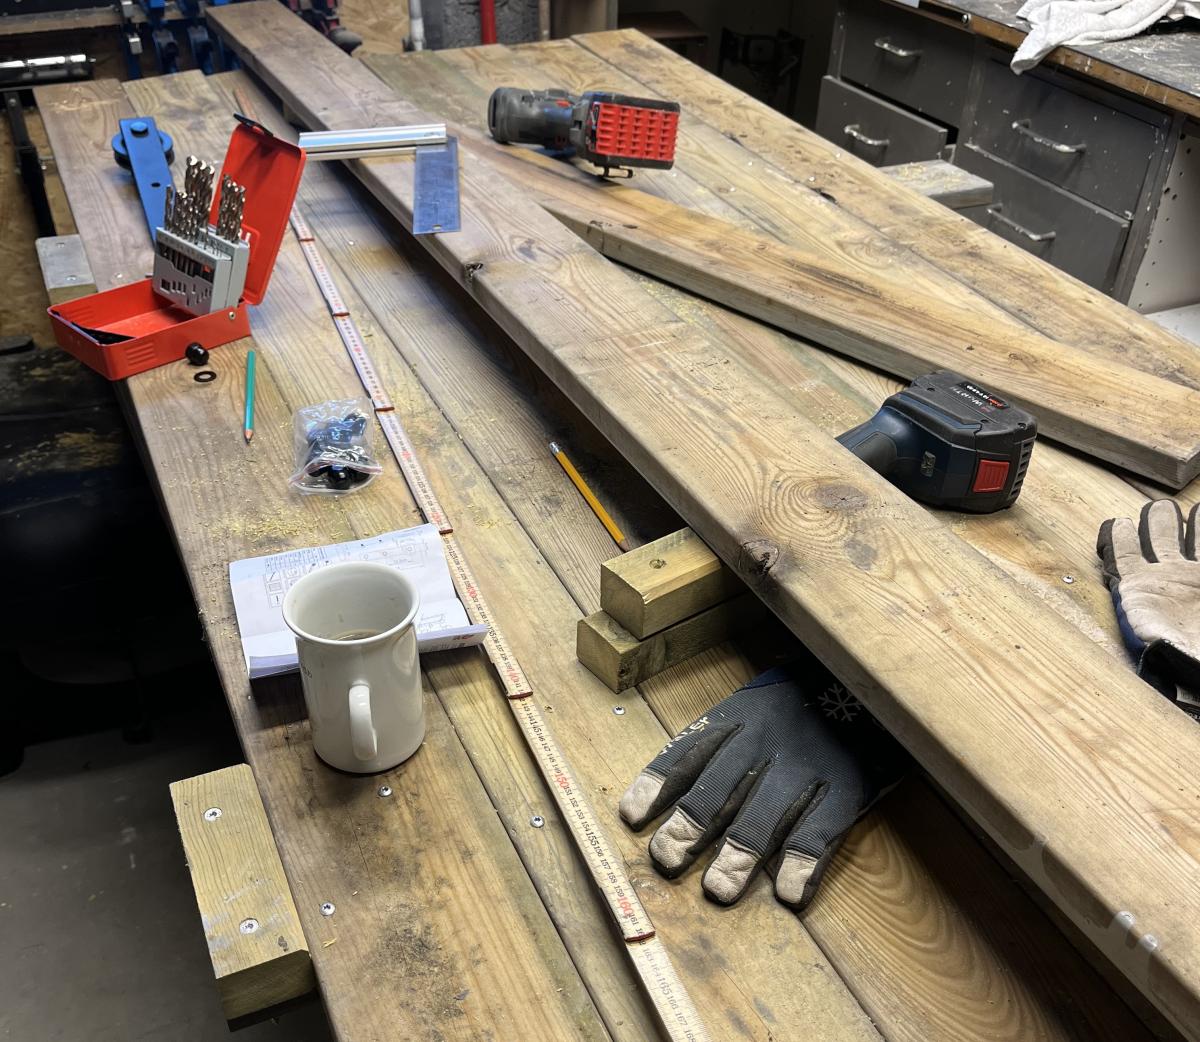
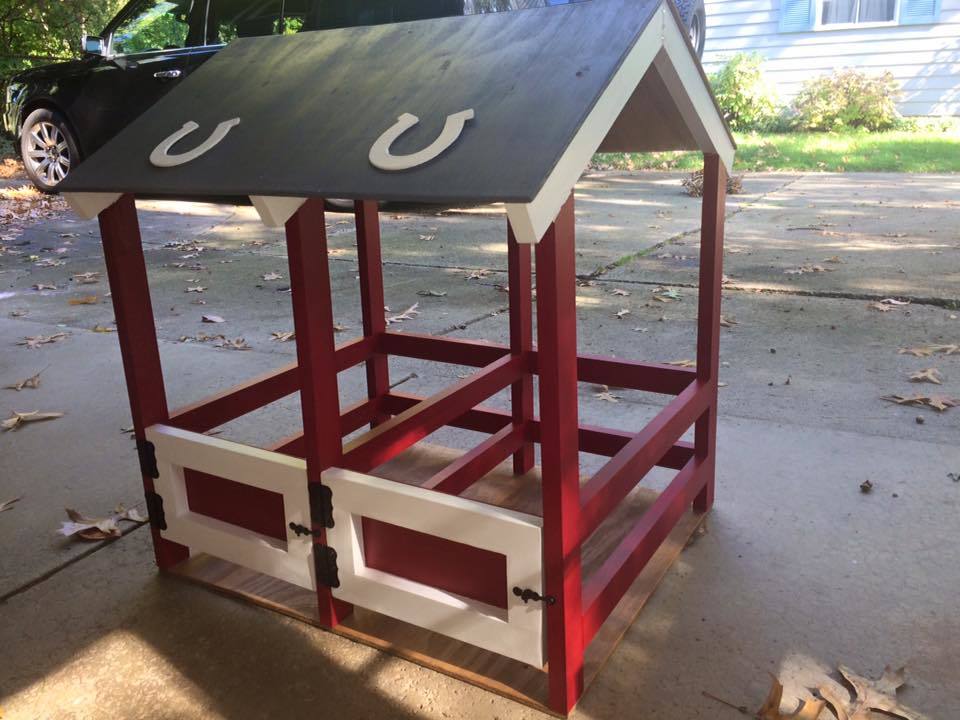
This took me much longer than I anticipated, mostly due to my being a novice and stubbornly trying to complete the project without the Kreg jig. Everything went much more smoothly once I had all of the proper tools.
I had to sneak to do all of this during my toddler's naptime on school days. It took me nearly 20 hours over two weeks to finish as I had to clean everything up and hide it so he wouldn't see it and tell his sister! If I would have had the Kreg jig from the start, I would have saved myself a significant amount of time and effort.
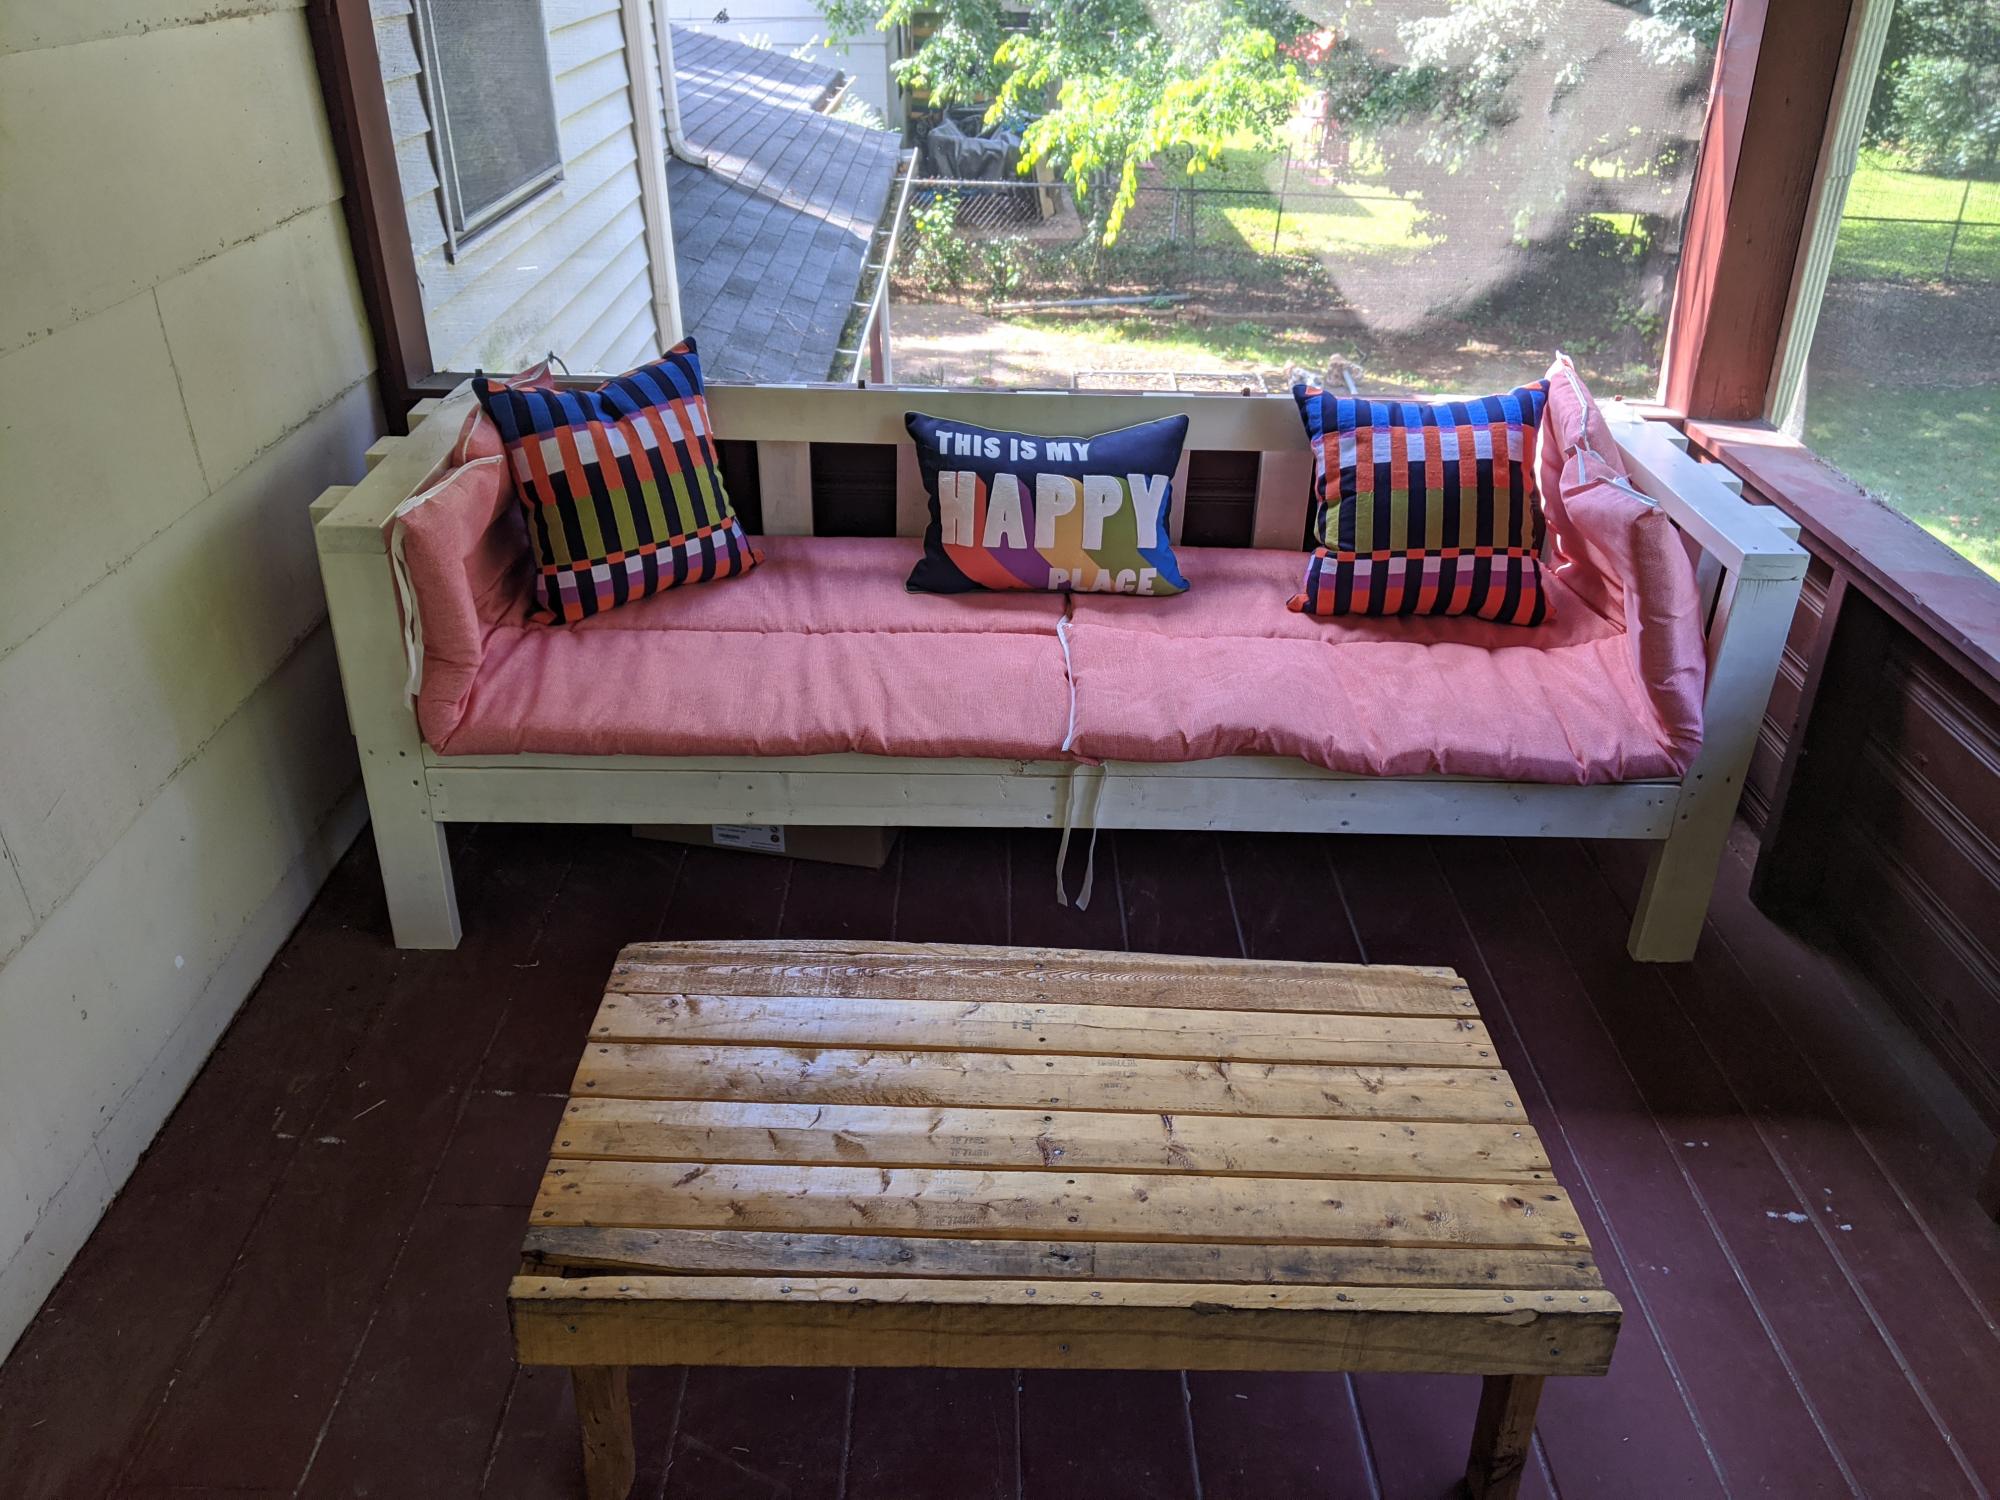
This was my first solo woodworking project since 7th grade shop class in 1997. This was so easy to put together! I added "slats" from left over lumber to keep my pillows from squishing out. Thanks Ana White for creating easy to follow instructions! I've now got the woodworking bug!
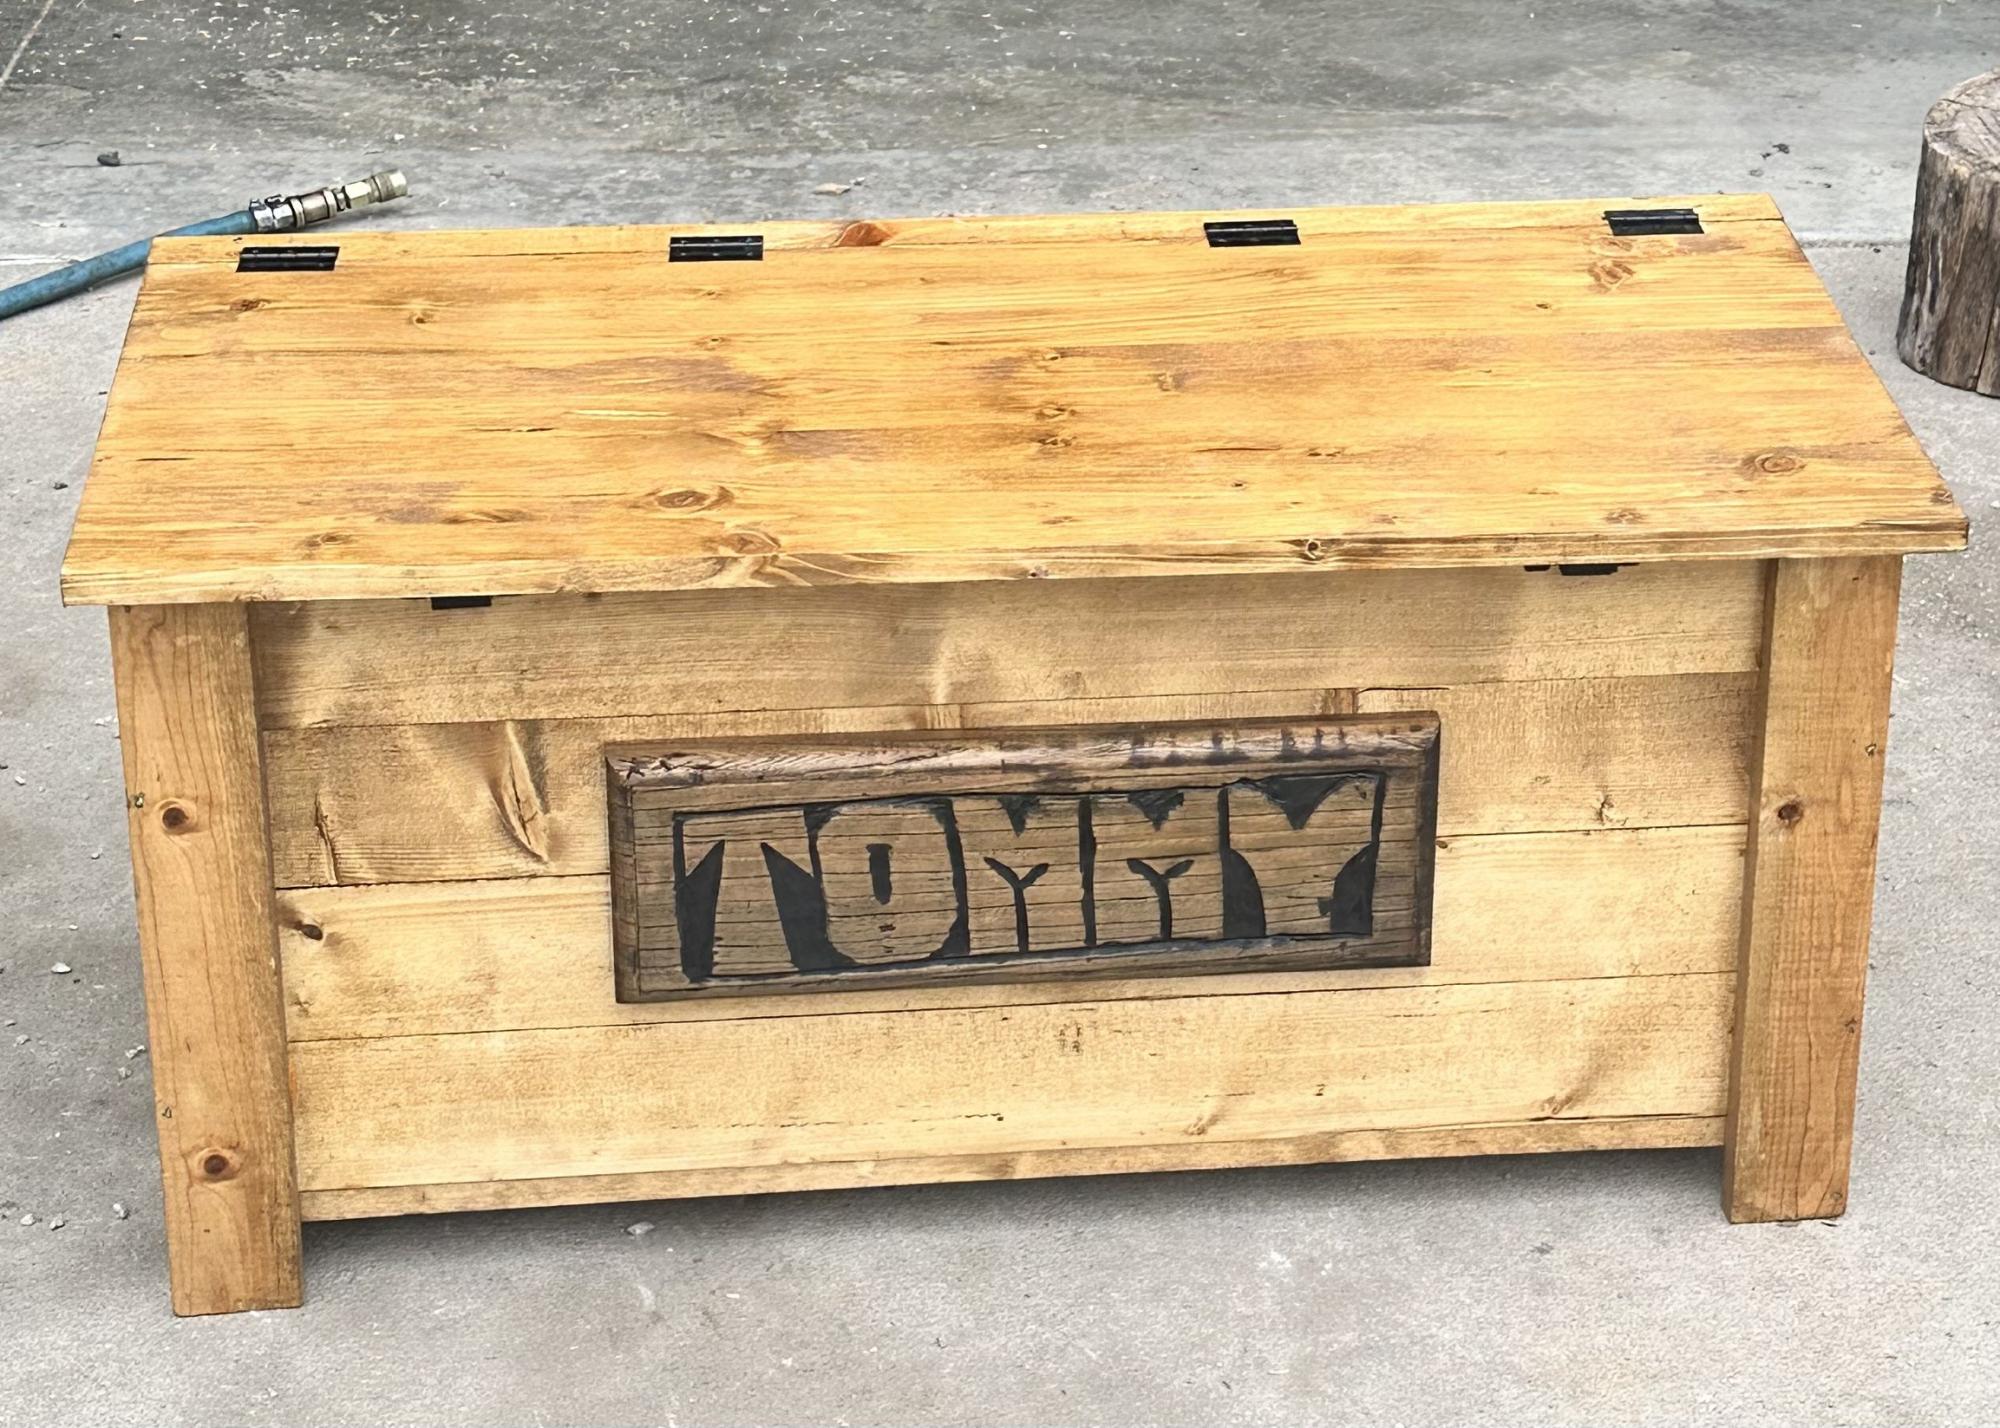
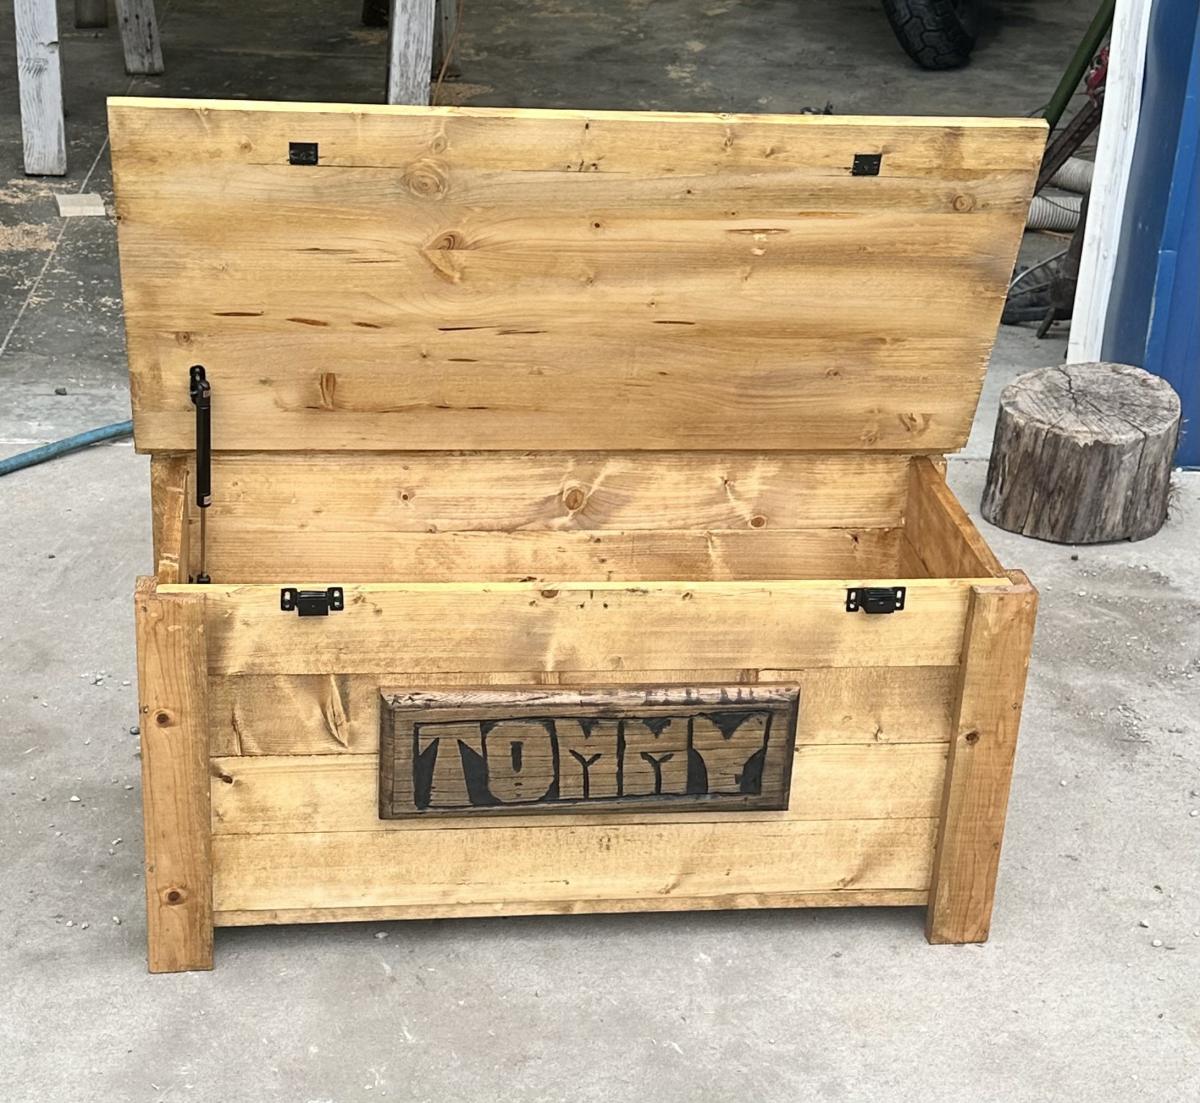
I built this for my grandsons first birthday! I added a hydraulic shock from Lowe’s. It was really stiff and it took two cabinet door magnets to hold it shut. The name board is from my great grandfathers saw mill from the farm my dad still lives on. I do hope he enjoys it as much as me and my dad enjoyed building it for him!!
Chappy
We built these bunk beds and absolutely love them!


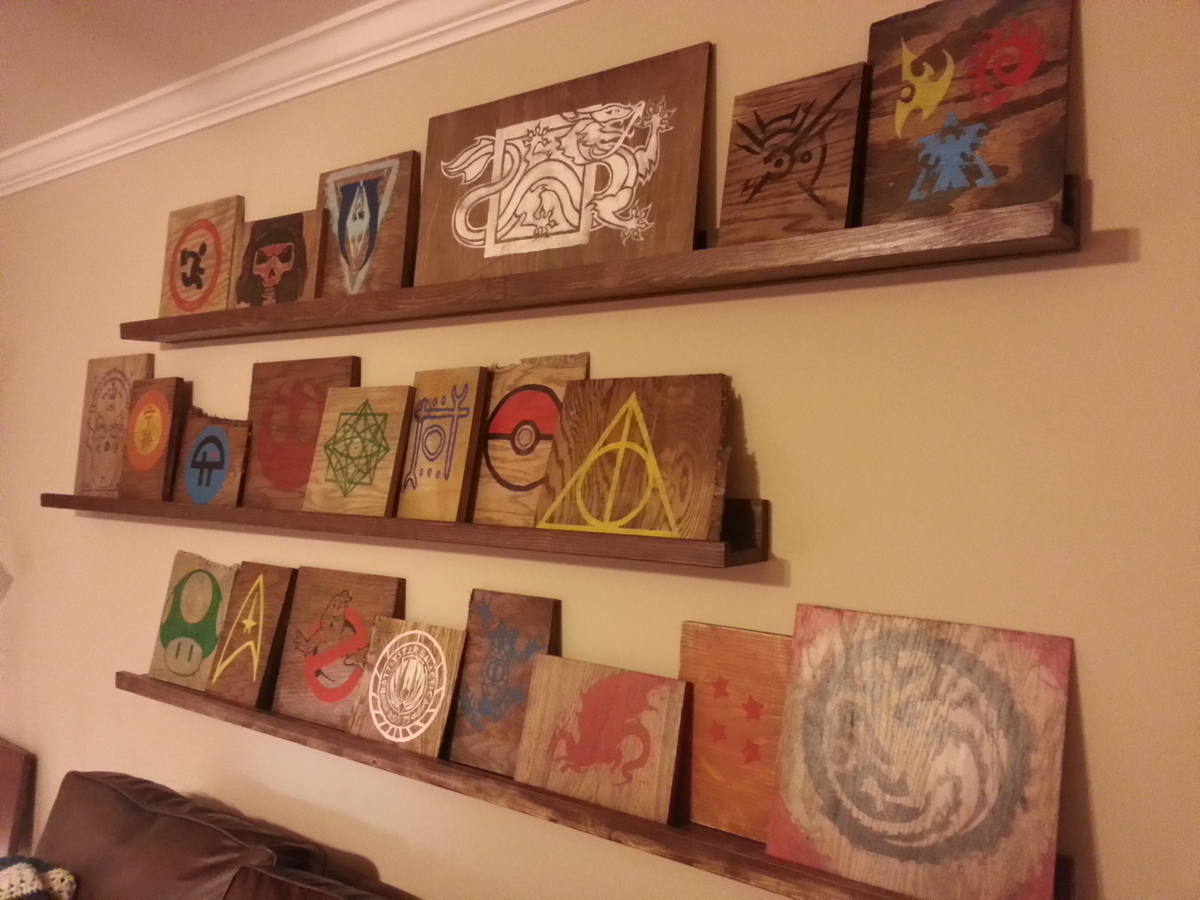
A nice quick build to add some decoration to the house. I made three ledges at 80" long. I had initially made them for a different room that could only allow 80" ledges, but ended up not being able to put them there because the wall was too curved to attach the ledges. Ledges have two coats of Miniwax Special Walnut Oil stain and Polycrilic.
All the "art" things were painted on old scrap from a years worth of ana-white projects. I used the three different stains I had left over (Miniwax Aged Oak Gel Stain, Weathered Oak Oil Stain, & Special Walnut Oil Stain) and alternated them on the three different types of wood scraps (Oak, pine, & maple). Then I "distressed" them with physical abuse and watered down acrylic craft paint. The designs were also acrylic craft paint. Then I sanded it all down to give it a worn look.
Mon, 07/14/2014 - 19:11
These are beautiful and creative! I see some staples from my own childhood there. :) Come do mine!
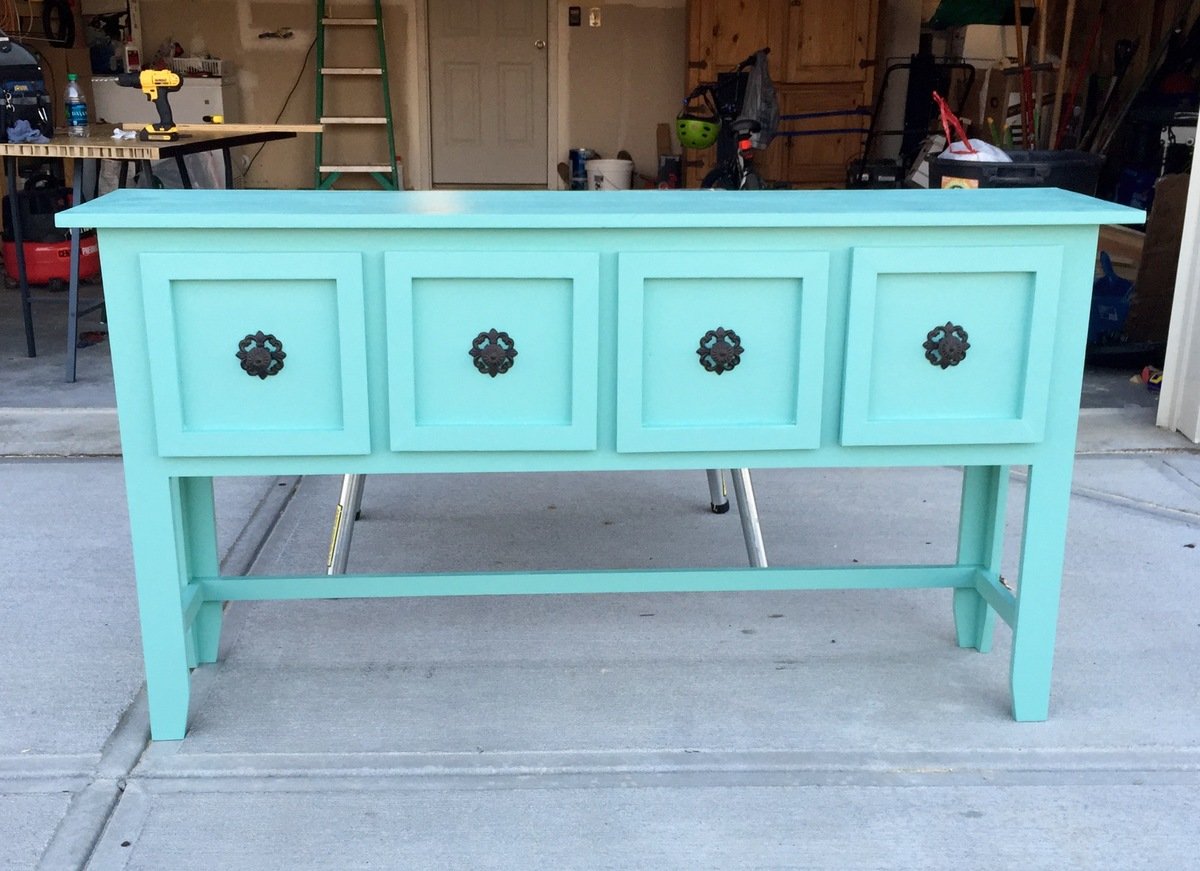
We needed an entry way table with storage. The Balin Console Table was the perfect size for our needs. I modified the drawers by attaching a wood frame around each one. I decided to taper the legs with my mitre saw. The hardware was purchased at Pottery Barn ($4/each) and the color is Valspar Turquoise / Gray - Semi Gloss. I extended the leg length 6" to make the cabinet counter top heigth (plans call for a table heigth).
Project was easy (8 hours) from construction to finish.
One advantage I had was using a sliding power mitre saw with a 12 1/4" cross cut for the 1x12 material. It's possible to get a decent cut with a circular saw but the sliding compound mitre saw definitely makes that portion of the project go much quicker.
For best results, I recommend finish sanding with 220 grit and 2 coats of paint rubbing with steel wool after first paint application.
Base was completely made from reclaimed 2x4's. Desktop made from Oak plywood
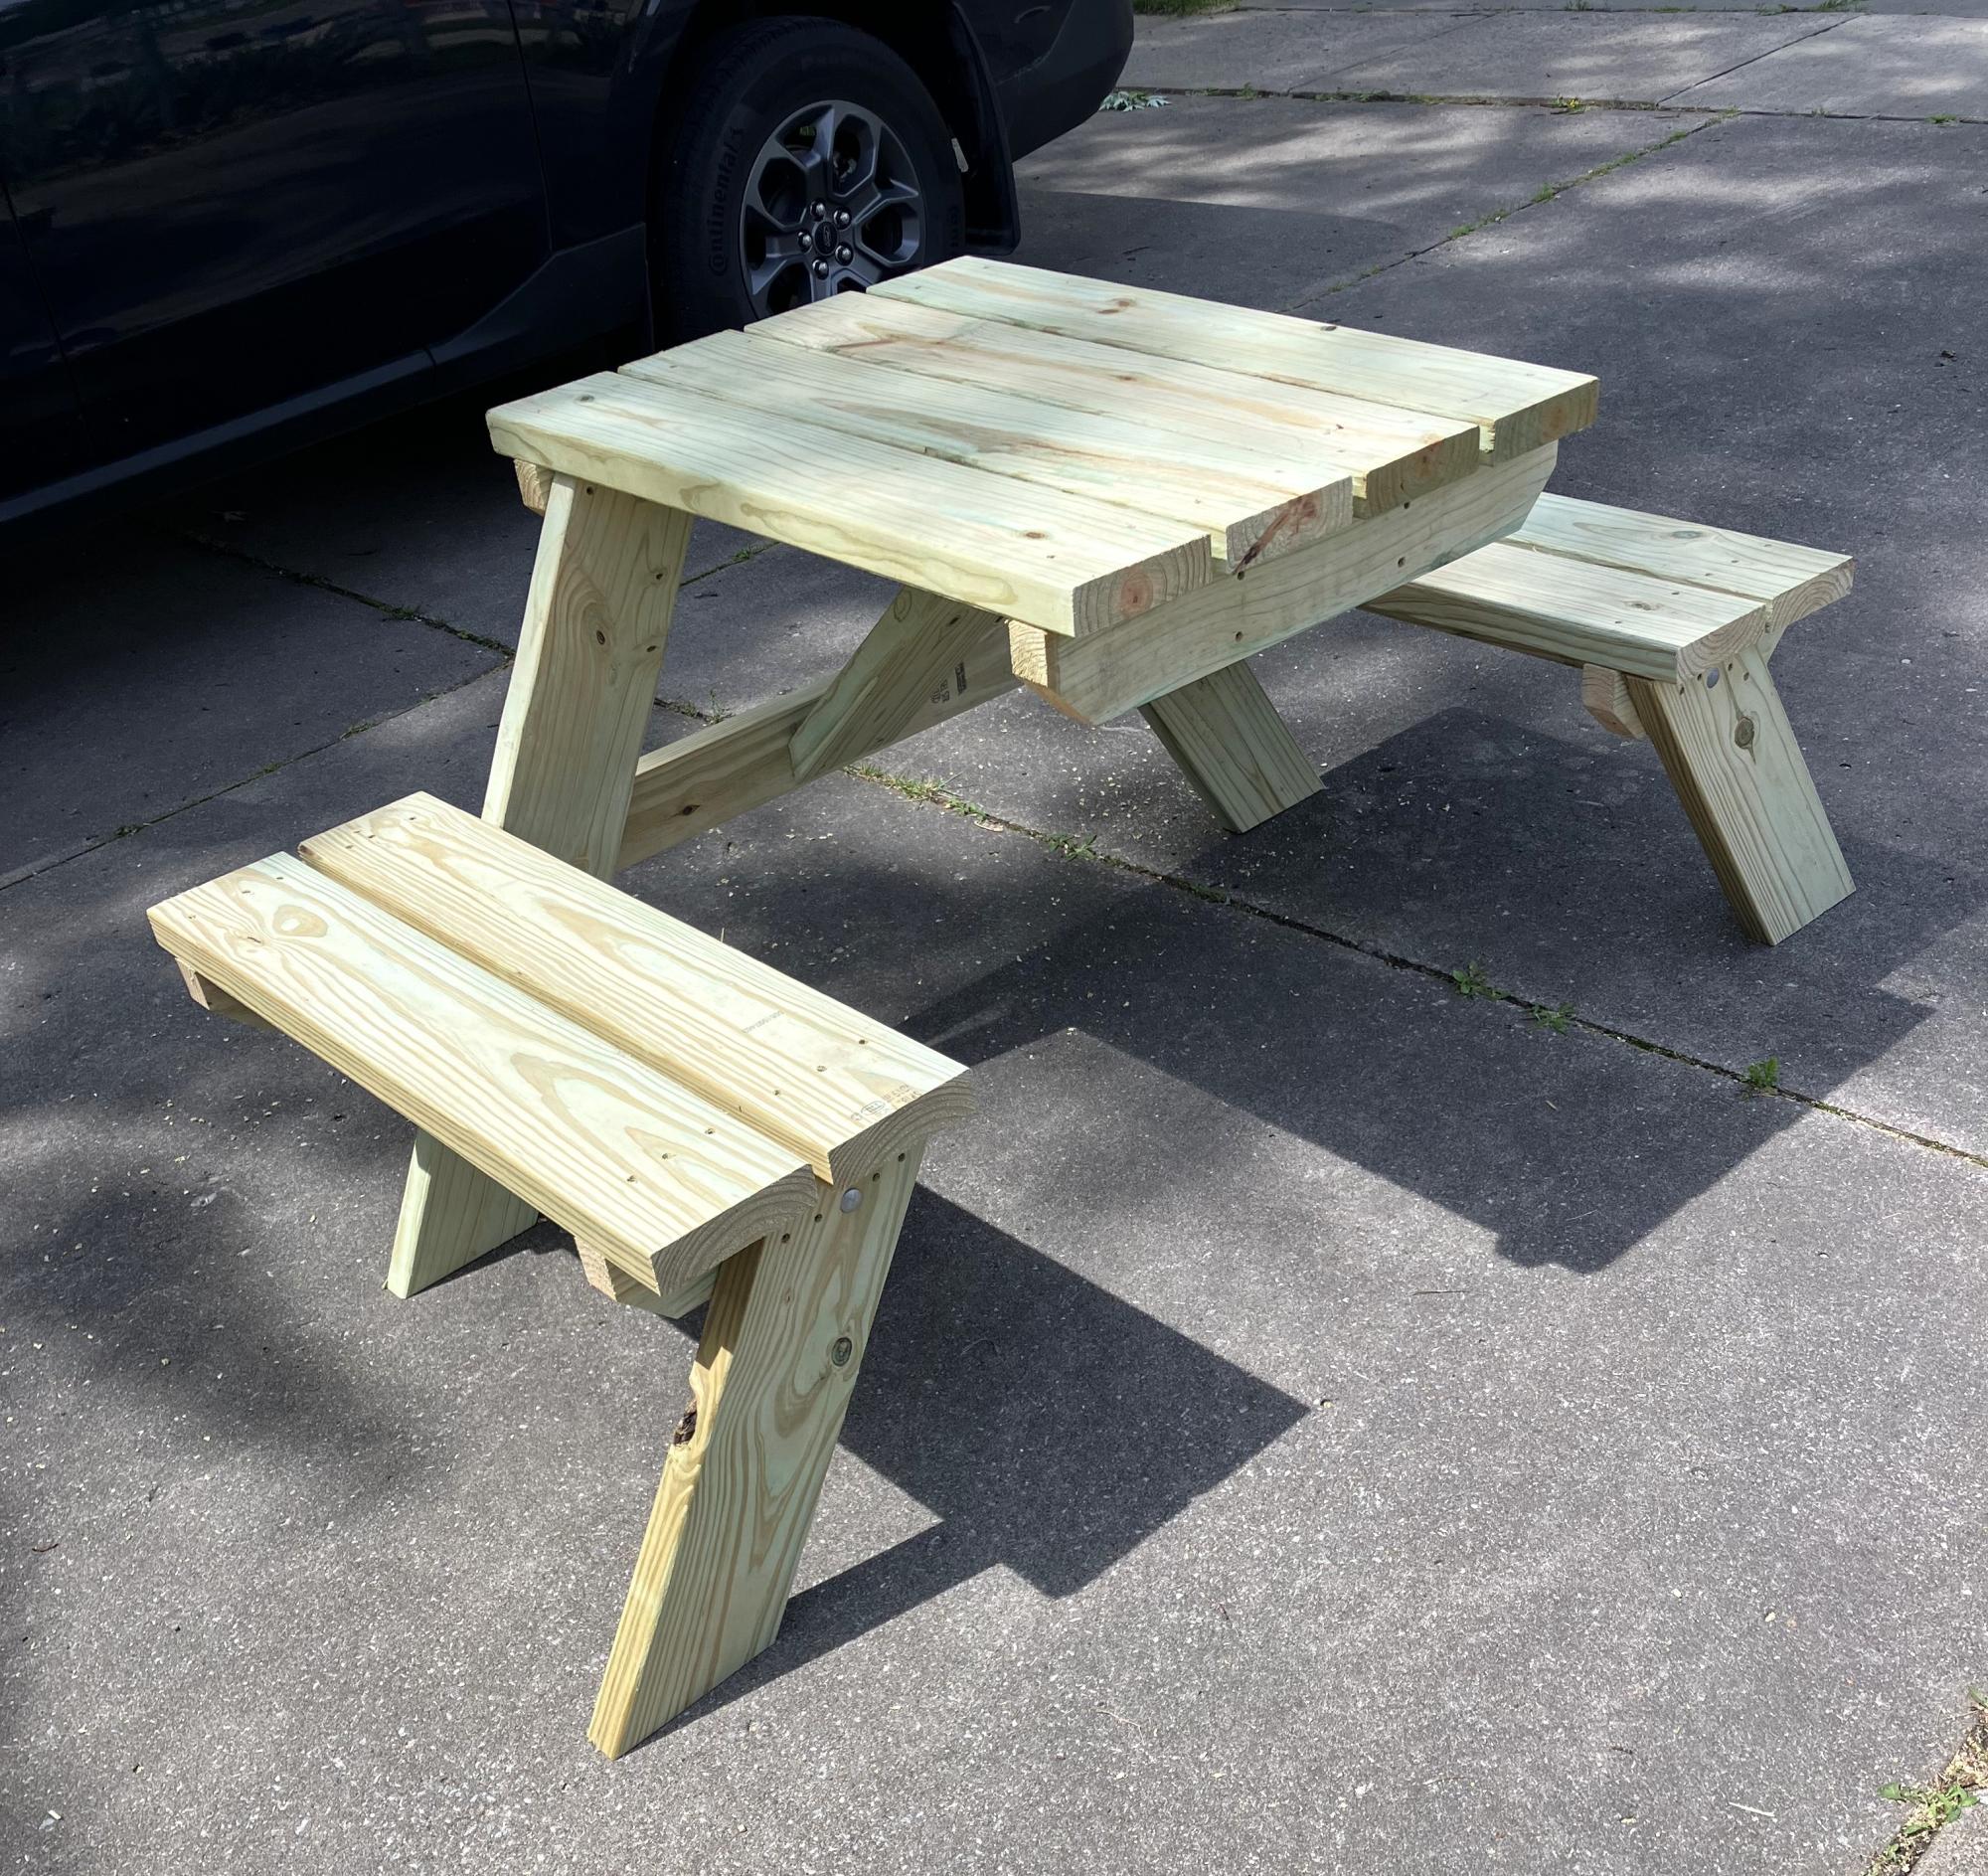
I used 1 10 ft long 2x6 and 3 8 ft long 3x6 along with recommend 2x4’s and had enough material. Fun build made for brother in law, 2nd person really helped for step 7.
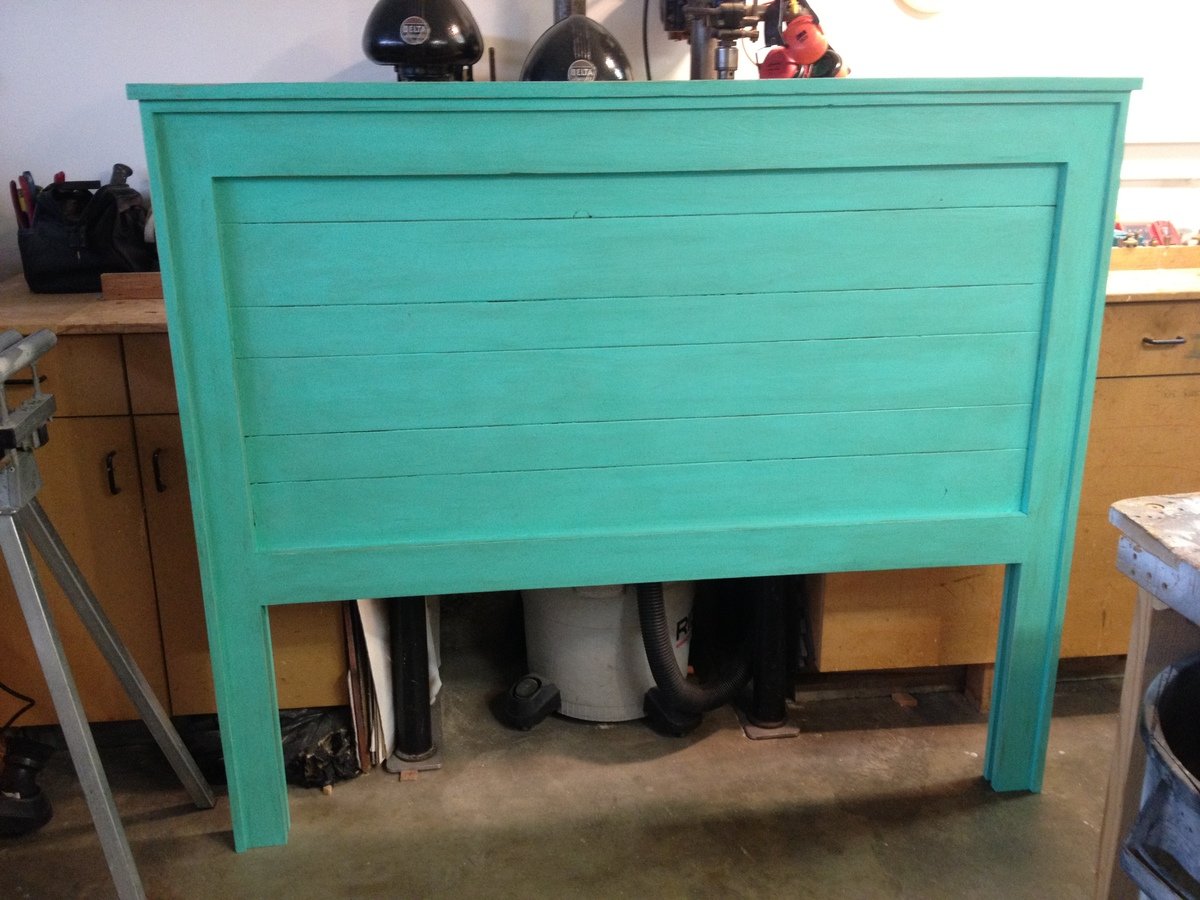
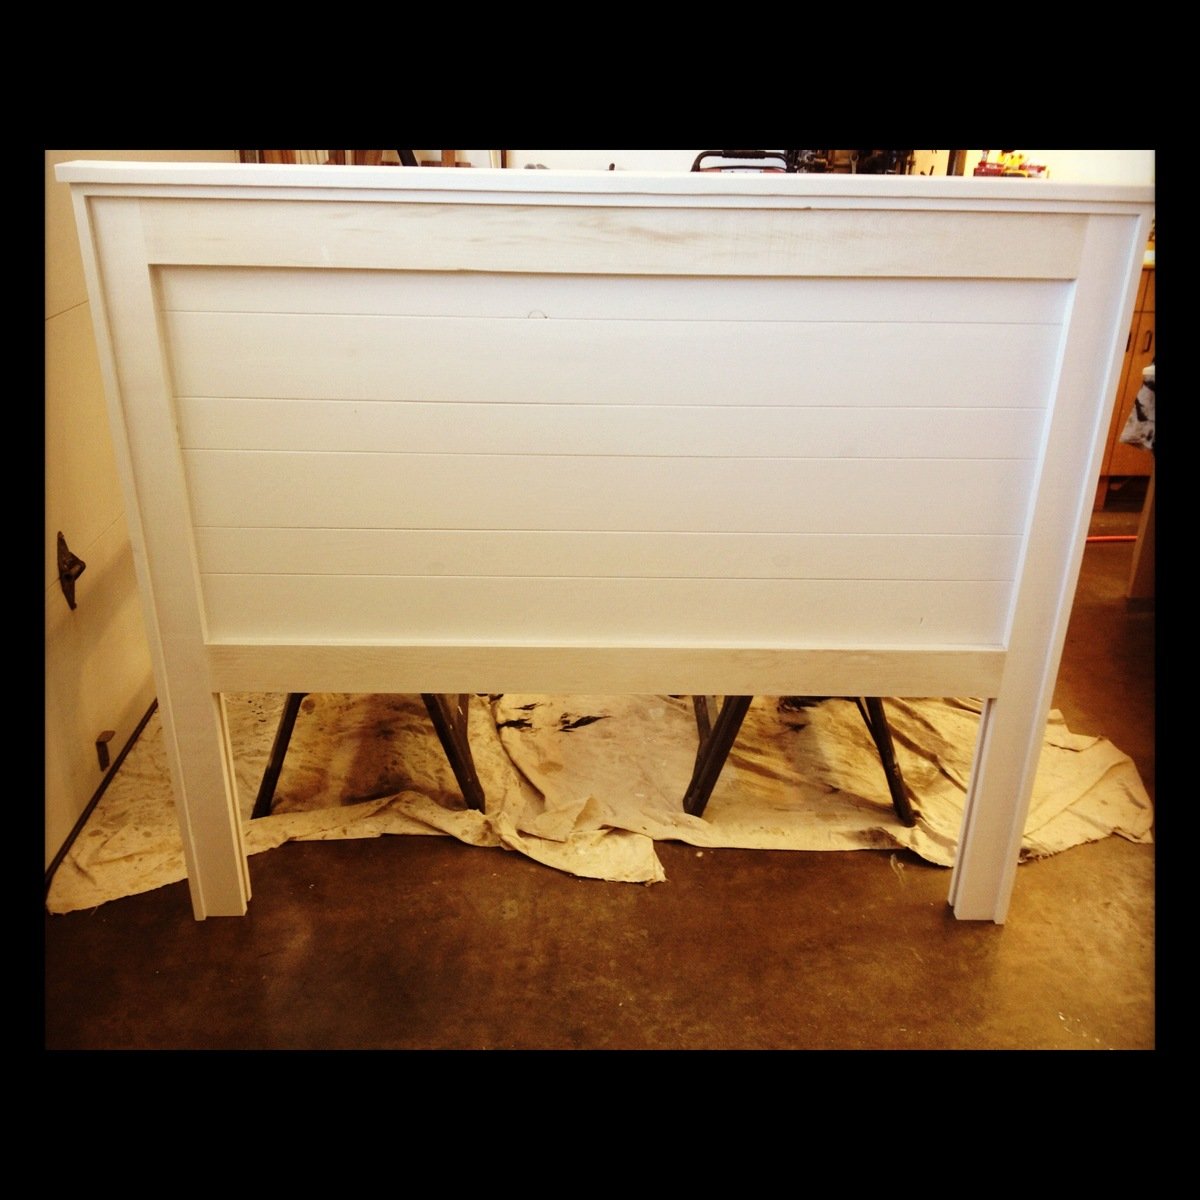
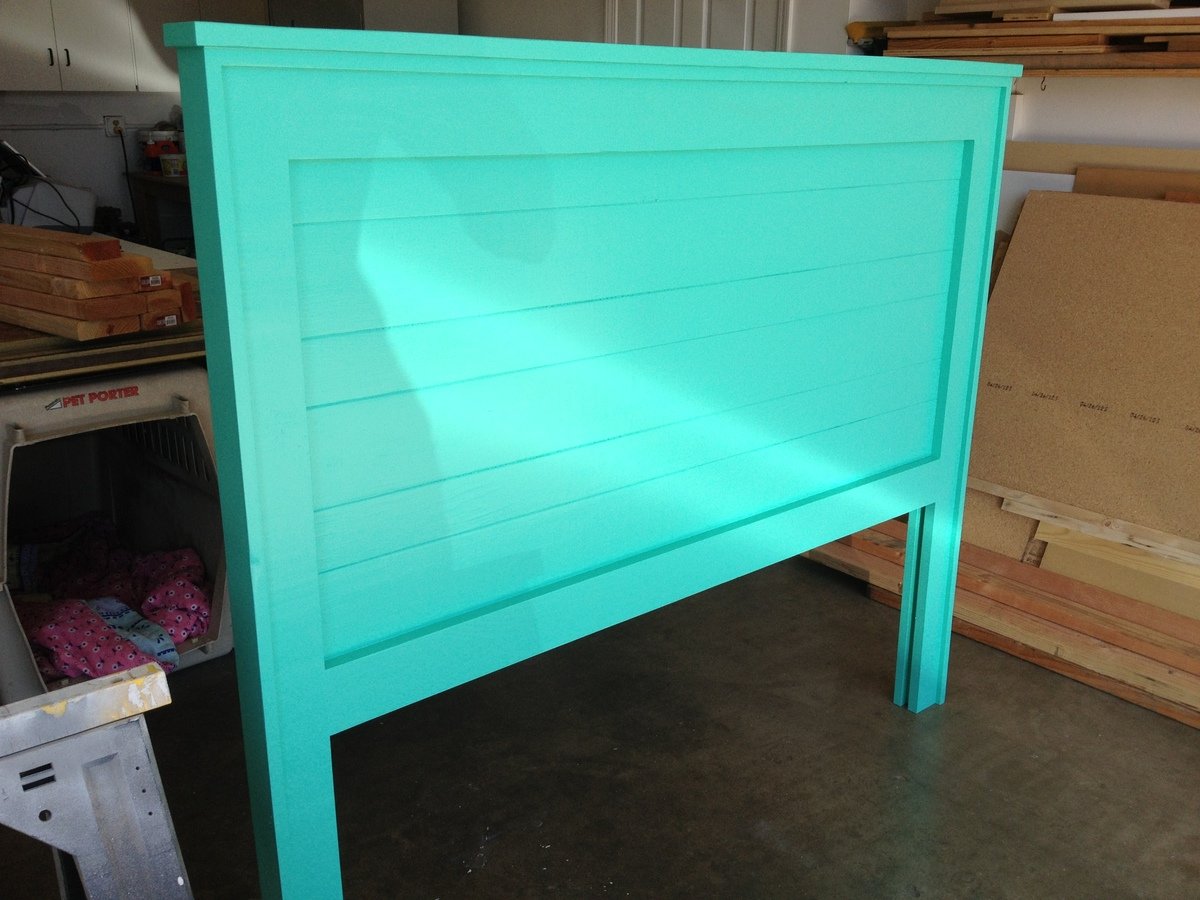
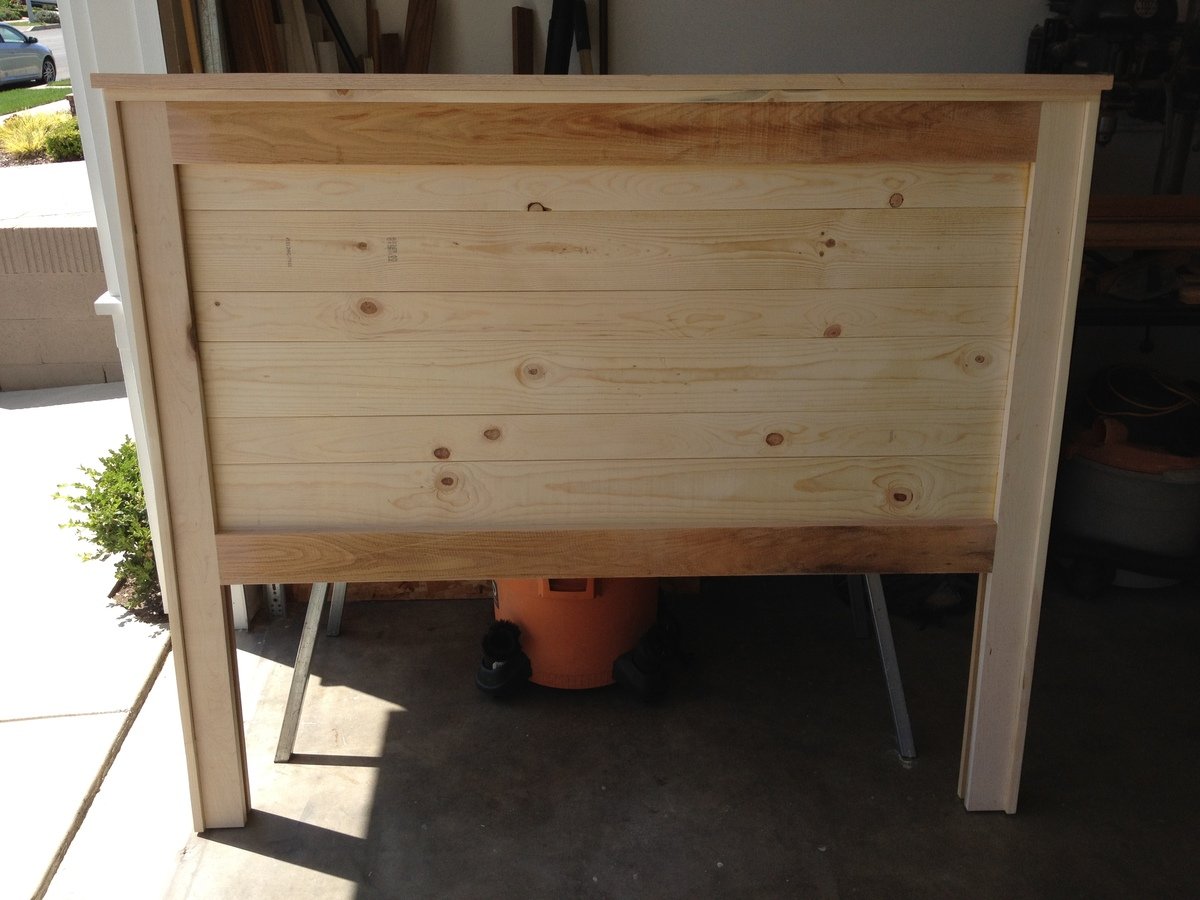
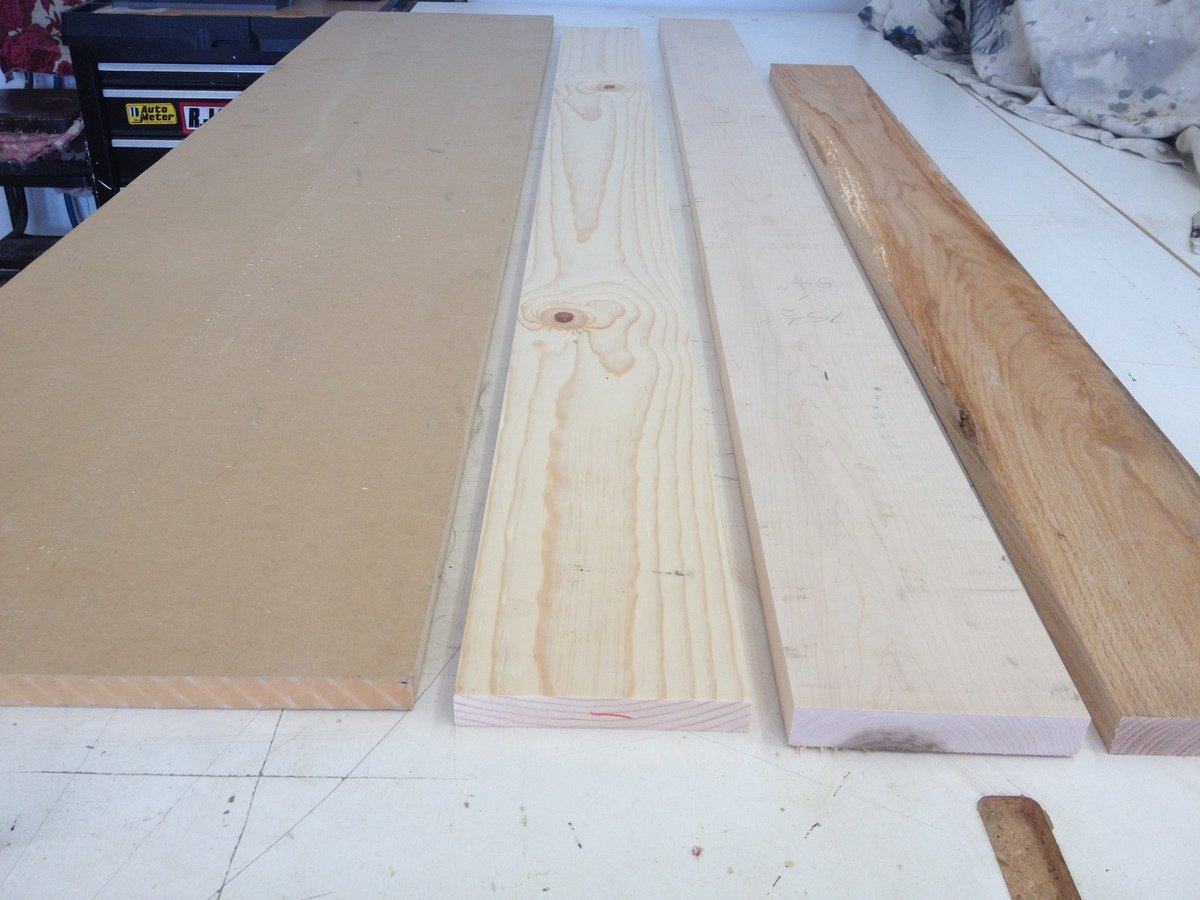
This is a Pottery Barn inspired headboard. You can see from the pictures posted that I used 4 different kinds of wood. Reason being that money is tight and I had extra wood laying around the garage. I really enjoyed this project thanks to Anna's post here http://ana-white.com/2010/03/plans-mason-headboard-its-all-in-finish.ht…. I noticed there was a lot of posts concerning the finish. For my headboard I used 2 coats of primer, sanding in between coats. 2 coats of paint. 1 coat of chocolate glaze ( 4 parts glaze, 1 part stain). 1 coat of sealer. I followed this post for my finish http://ana-white.com/2012/05/distressed-turquoise-chocolate-glaze. Good luck everyone. Feel free to ask questions.
- Brad
Build time: 2.5 hours
Painting time: 4 hours
Building cost: Free (reclaimed wood)
Painting cost: $25-$30
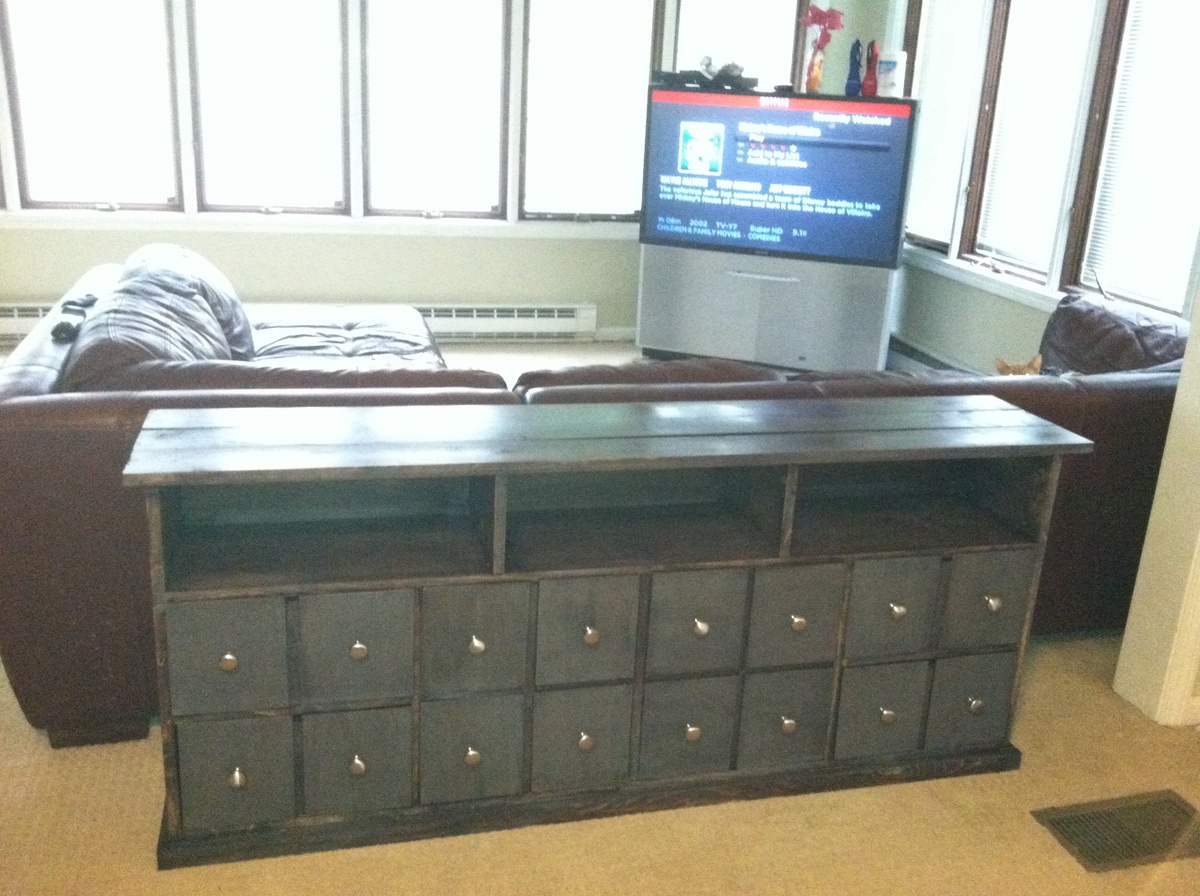
This was my second project off Ana White's website. The construction was not as difficult as I would have thought. The staining on the other hand was very time intensive. I made an amended version of the table since I only wanted a 1x12 vs. 1x16. All in all, I am extremely happy with how this turned out.
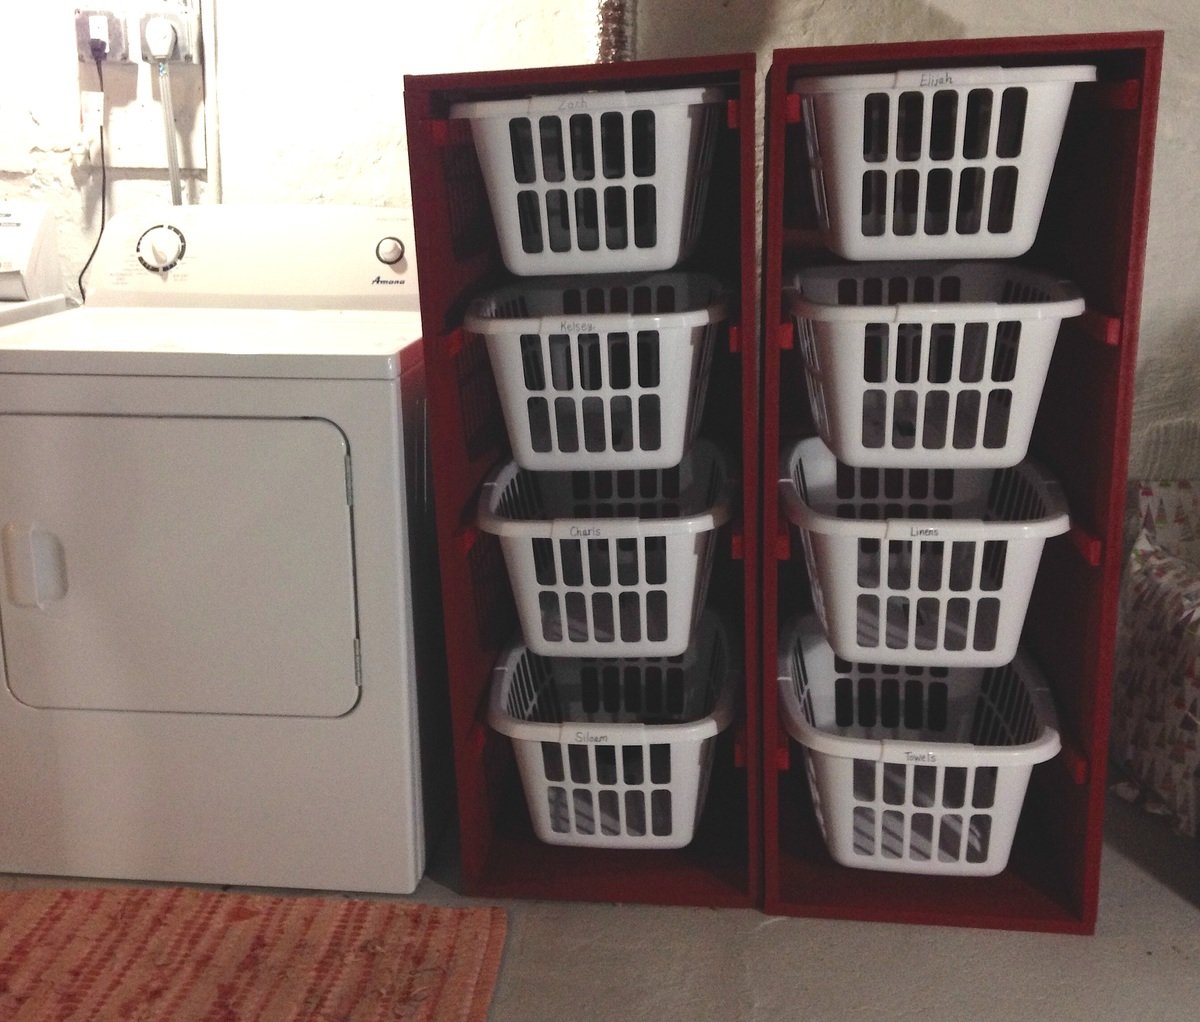
We are expecting baby #4, and I knew we needed to get the laundry under control before we added a new family member. I cannot tell you how helpful these have been for eliminating laundry piles and encouraging our kids to put away their own baskets. And I splurged on a $9 gallon of "oops" paint from Home Depot to make them fun and cheery, too. I highly recommend this laundry sorter project for those who feel like the laundry never ends. It's such a great investment in your sanity!
Thu, 10/27/2016 - 12:21
I love the paint color!! I plan to build this. I just want it to have doors and look like a dresser almost. Where did you get your baskets?
Thu, 10/27/2016 - 12:22
I love the paint color!! I plan to build this. I just want it to have doors and look like a dresser almost. Where did you get your baskets?
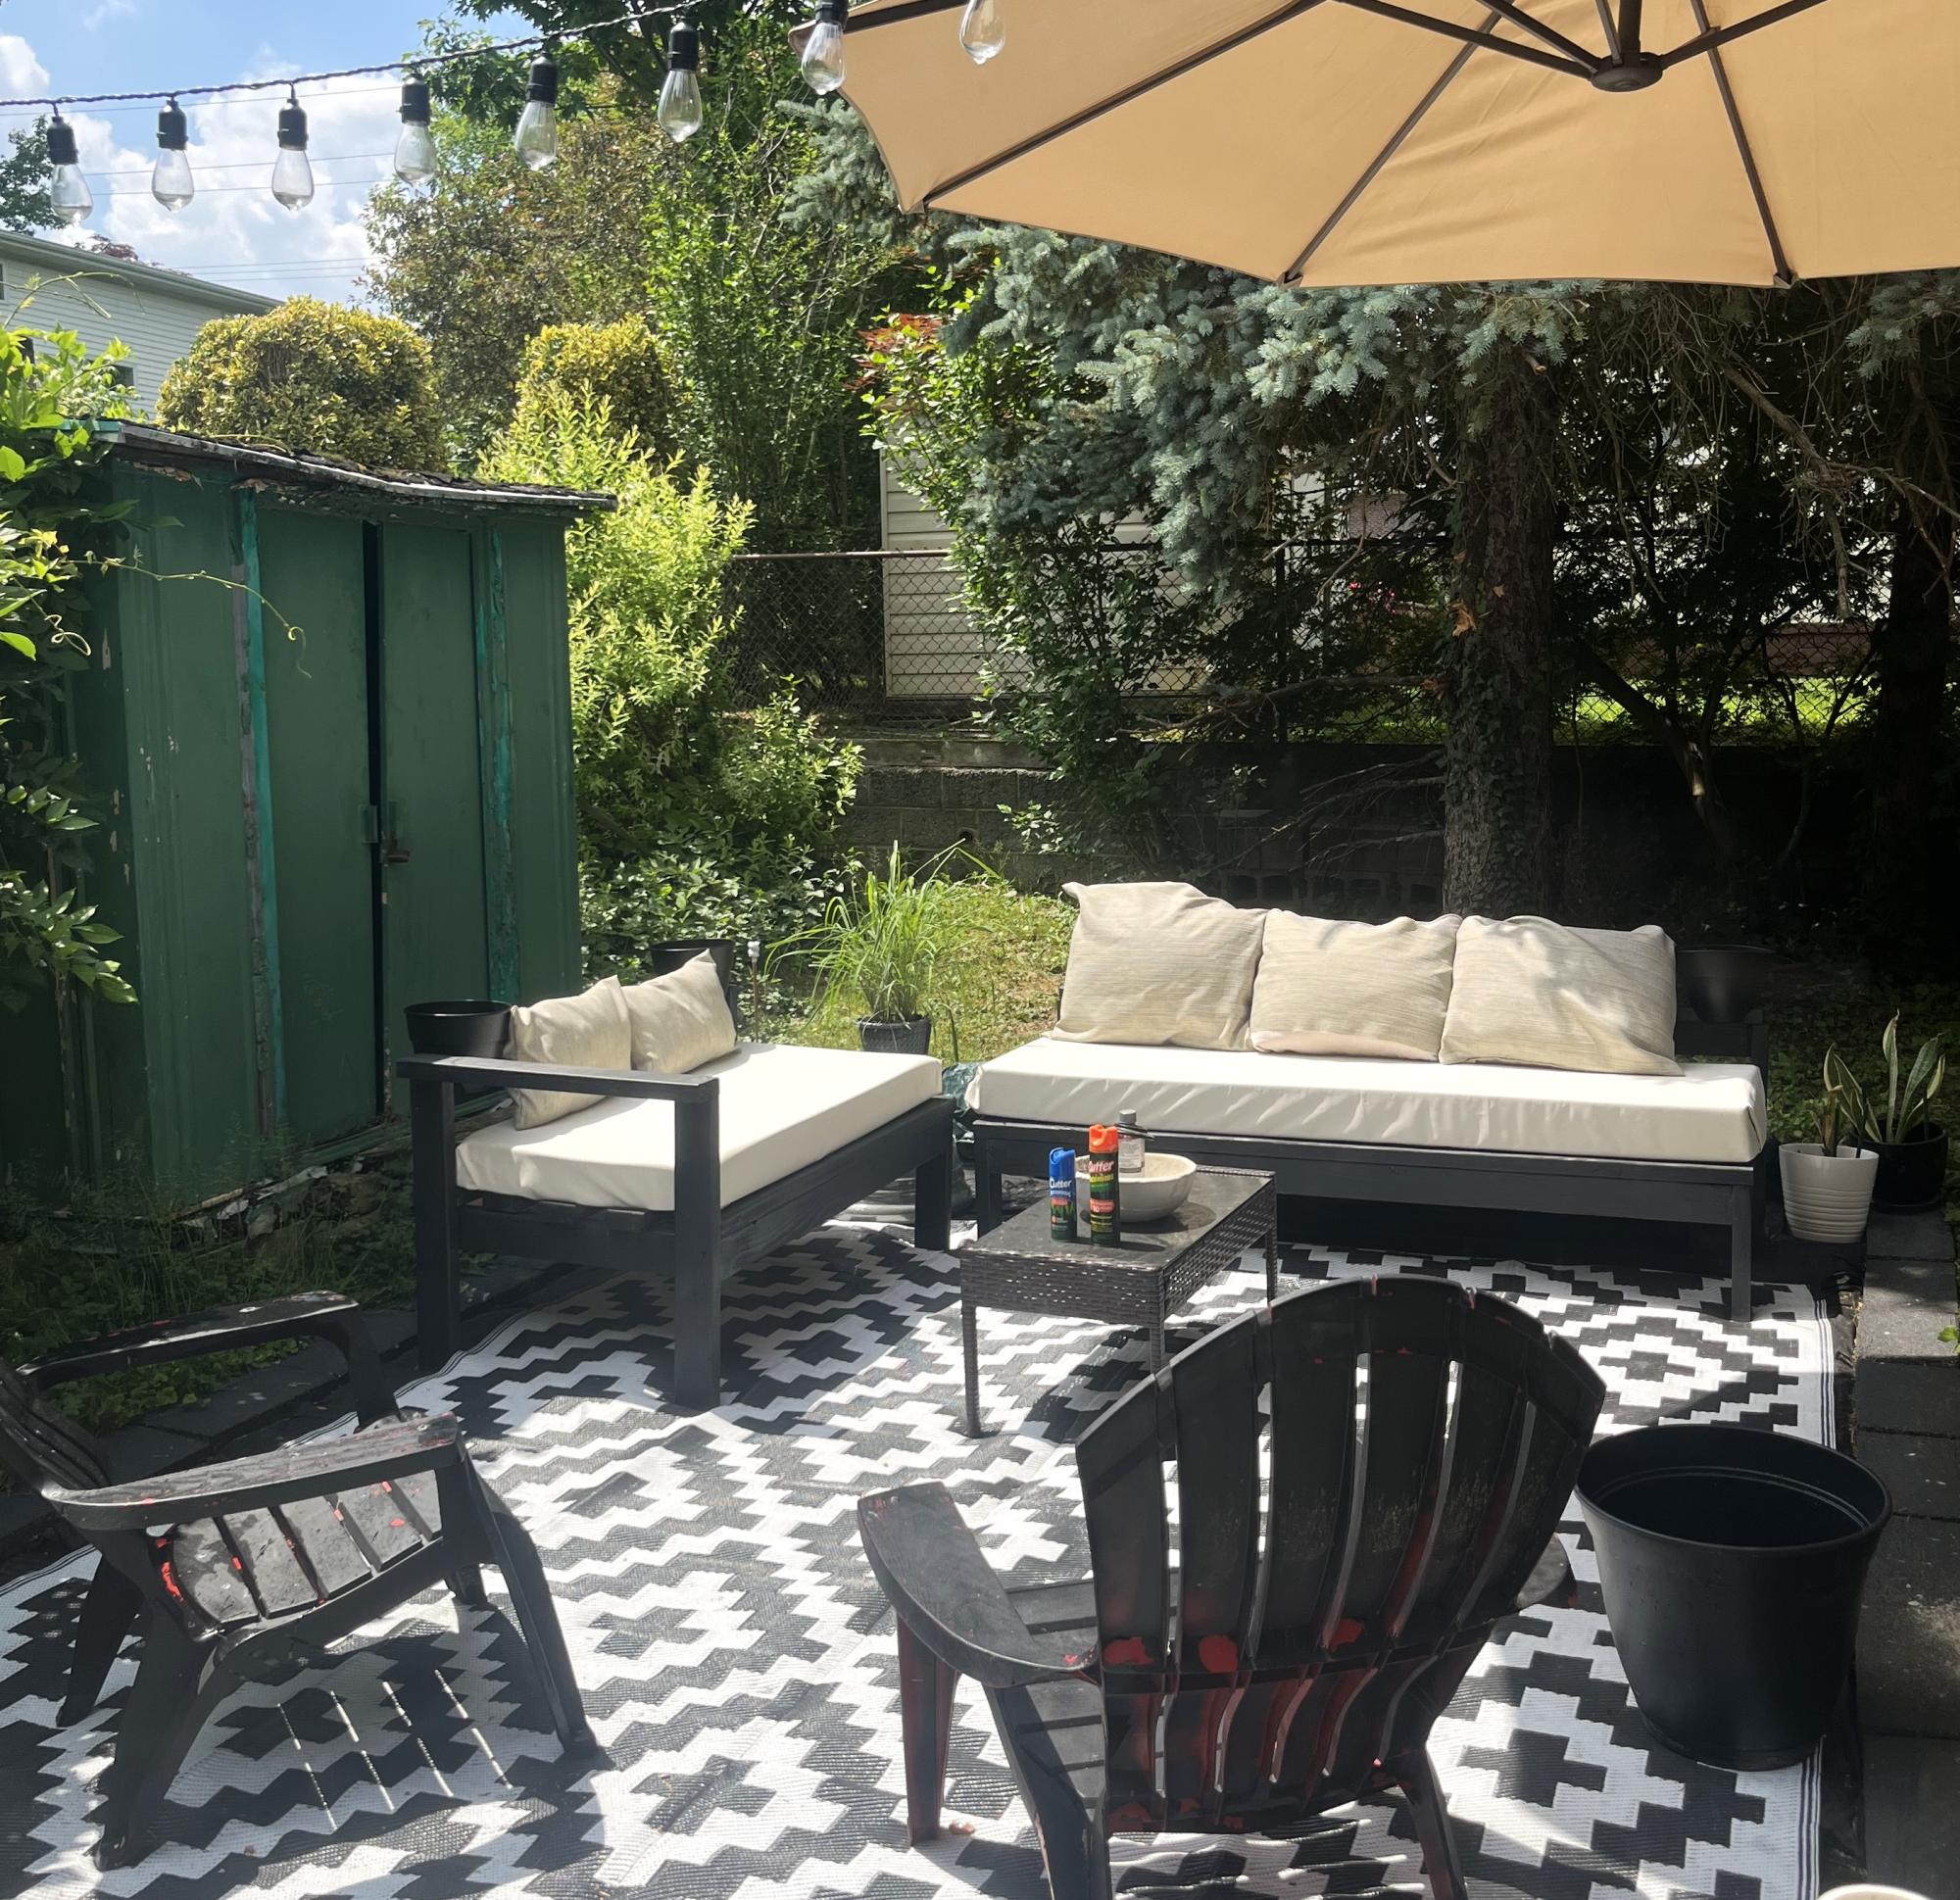
Finally finished my outdoor space just in time for the start of summer! Thank you for sharing the plans and instructions. I also made the beginner dining table for my outdoor eating space.

We have Pottery Barn furniture in our cottage and I wanted a bench for our bedroom. I found this plan was very close to the "Benchwright" style and I'm very happy with the results, including the match in stain colour. It cost me approx. $40 vs $650 at Pottery Barn. The effort was definitely worthwhile !
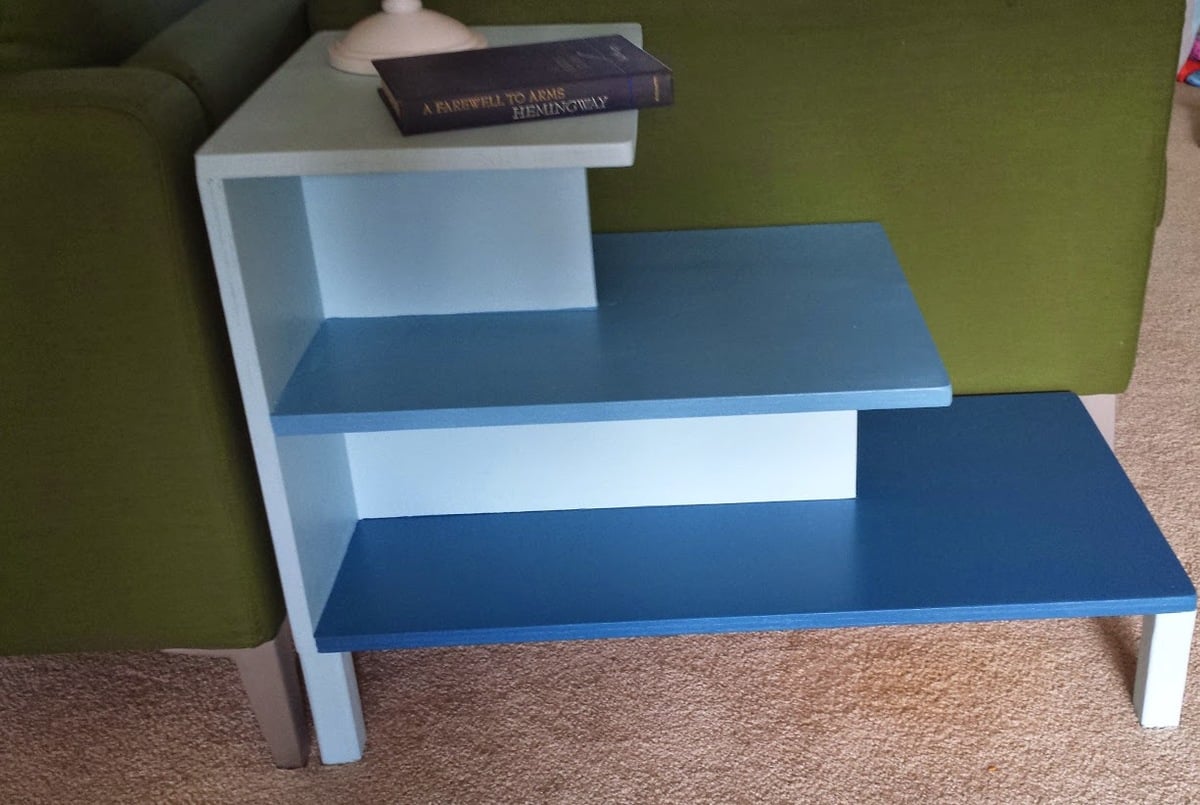
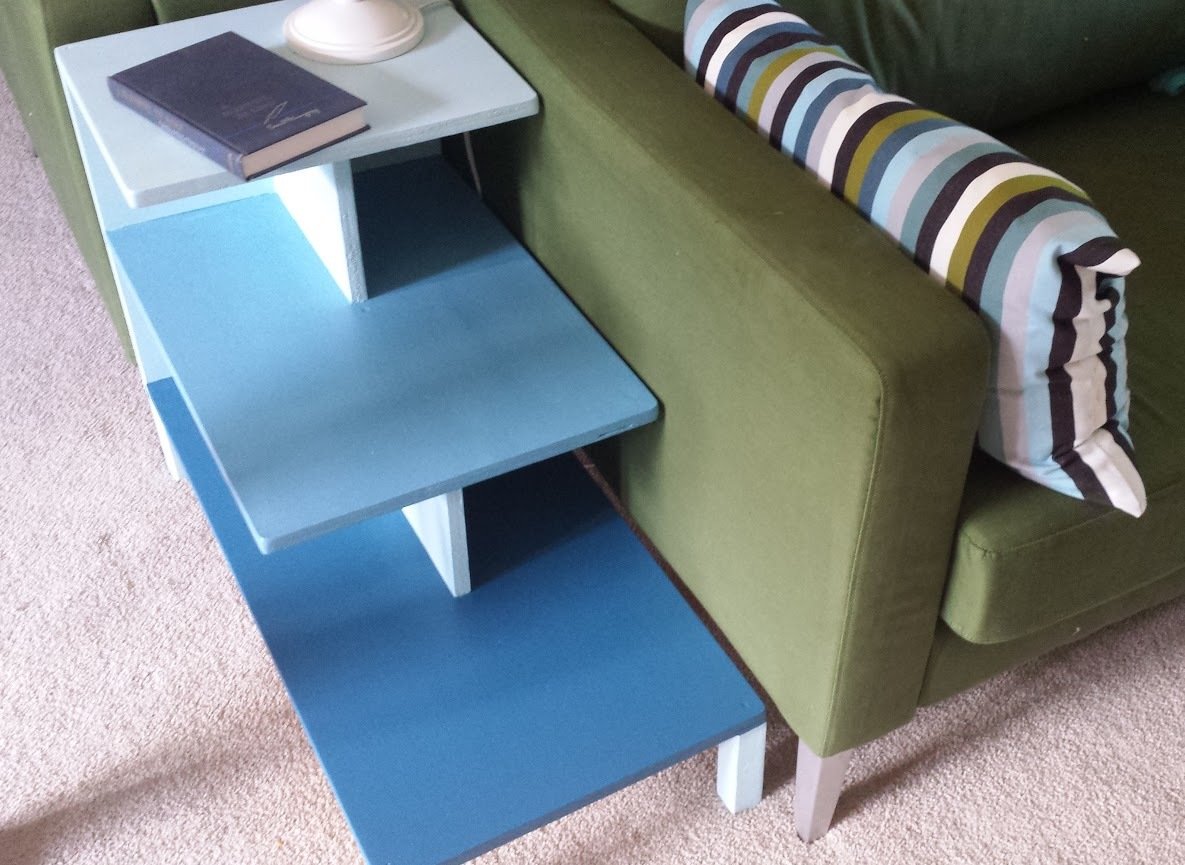
I needed a table to fit in the gap of my offset and back to back couches. I made the bottom shelf a little bit longer to better fit the space. I also added additional screws to the back for more stabilization since I knew my kids would find the steps irresistible. The different hues of blue make it more interesting.
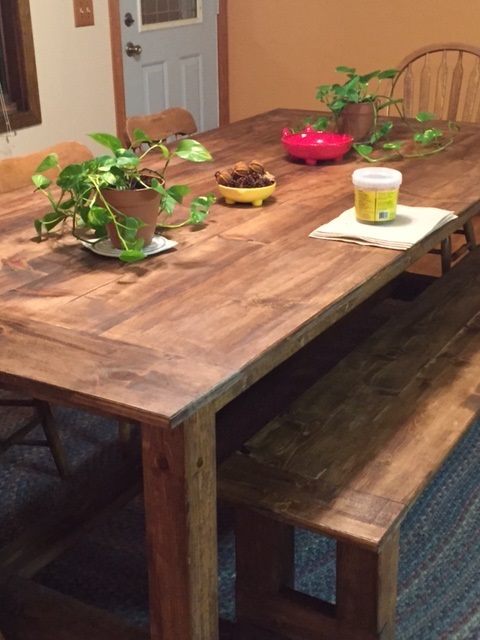
My boyfriend and I made this farm style table based on plans from Ana's site. We LOVE it. We wanted it to appear rustic with natural woods tones so we used Special Walnut Stain, Poly, and Light Brown Briwax. Even though it looks raw, its silky smooth to the touch.
Thanks for posting these plans! We already on to our next project. We have the wood purchased for the rustic coffee table and console table, and I have my eye on the farmhouse bed frame and a set of night stand tables.
Kate
Comments
mikejillnelson
Tue, 09/11/2012 - 05:04
Comfortable?
I have been considering making this bench for a friend but I wonder how comfortable it is...is it comfortable? Does it require a cushion? Is the back high enough to be comfortable leaning back in it for long periods? Also - how long did you wait to paint your pressure treated wood? I just recently learned you have to allow pressure treated wood dry out before painting...no one seems to tell you how long you have to wait though. Thanks for any help/opinions you share.
In reply to Comfortable? by mikejillnelson
mrhelton
Wed, 09/12/2012 - 19:38
Needs Tweaking
Honestly, it's not very comfortable. I think the seat part is a little too long, and the back is a little too short. We're going to put a beefy cushion on the back, and I think that's going to help because it will push us forward a little bit. It's not bad to sit in, but I definitely think it could be tweaked.
I let the wood dry out for 4 days (but I cut and assembled it the day I bought the wood). I'm not sure if that was long enough of not, but I was getting impatient, and, like you, couldn't find any real answers on drying time. It wasn't really that wet to begin, though. Hope that helps!
tracysmith
Thu, 09/13/2012 - 00:04
I have to laugh
I thought my kids and I were the only ones who used "ghetto" as a way to describe things... but I have to say that your frame looks great, it serves its purpose so I have to respectfully disagree with you, it doesn't look anything like "ghetto" :-)
In reply to I have to laugh by tracysmith
mrhelton
Thu, 09/13/2012 - 15:31
:D
Well thank you! I put the first coat of white paint on the frame today and it looks much nicer now!
Joe (not verified)
Tue, 01/22/2013 - 10:02
Hey, can you post the
Hey, can you post the dimensions of your frame? its exactly what I'm looking for. Do you have it screwed down to the deck? will it tip over?
Joe (not verified)
Tue, 01/22/2013 - 11:27
Hey, can you post the
Hey, can you post the dimensions of your frame? its exactly what I'm looking for. Do you have it screwed down to the deck? will it tip over?
jtv001
Fri, 10/27/2023 - 13:58
Would love the frame plans.
Would love the frame plans.