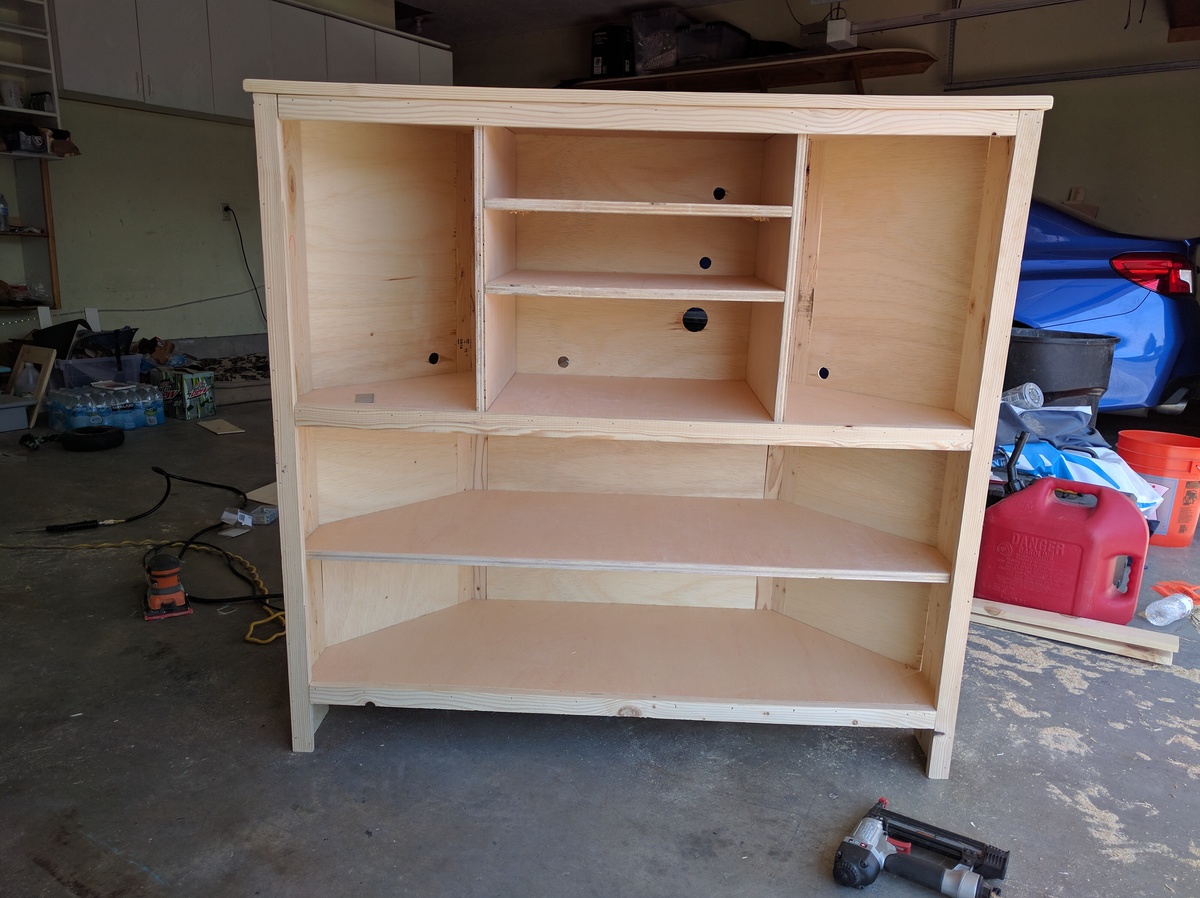
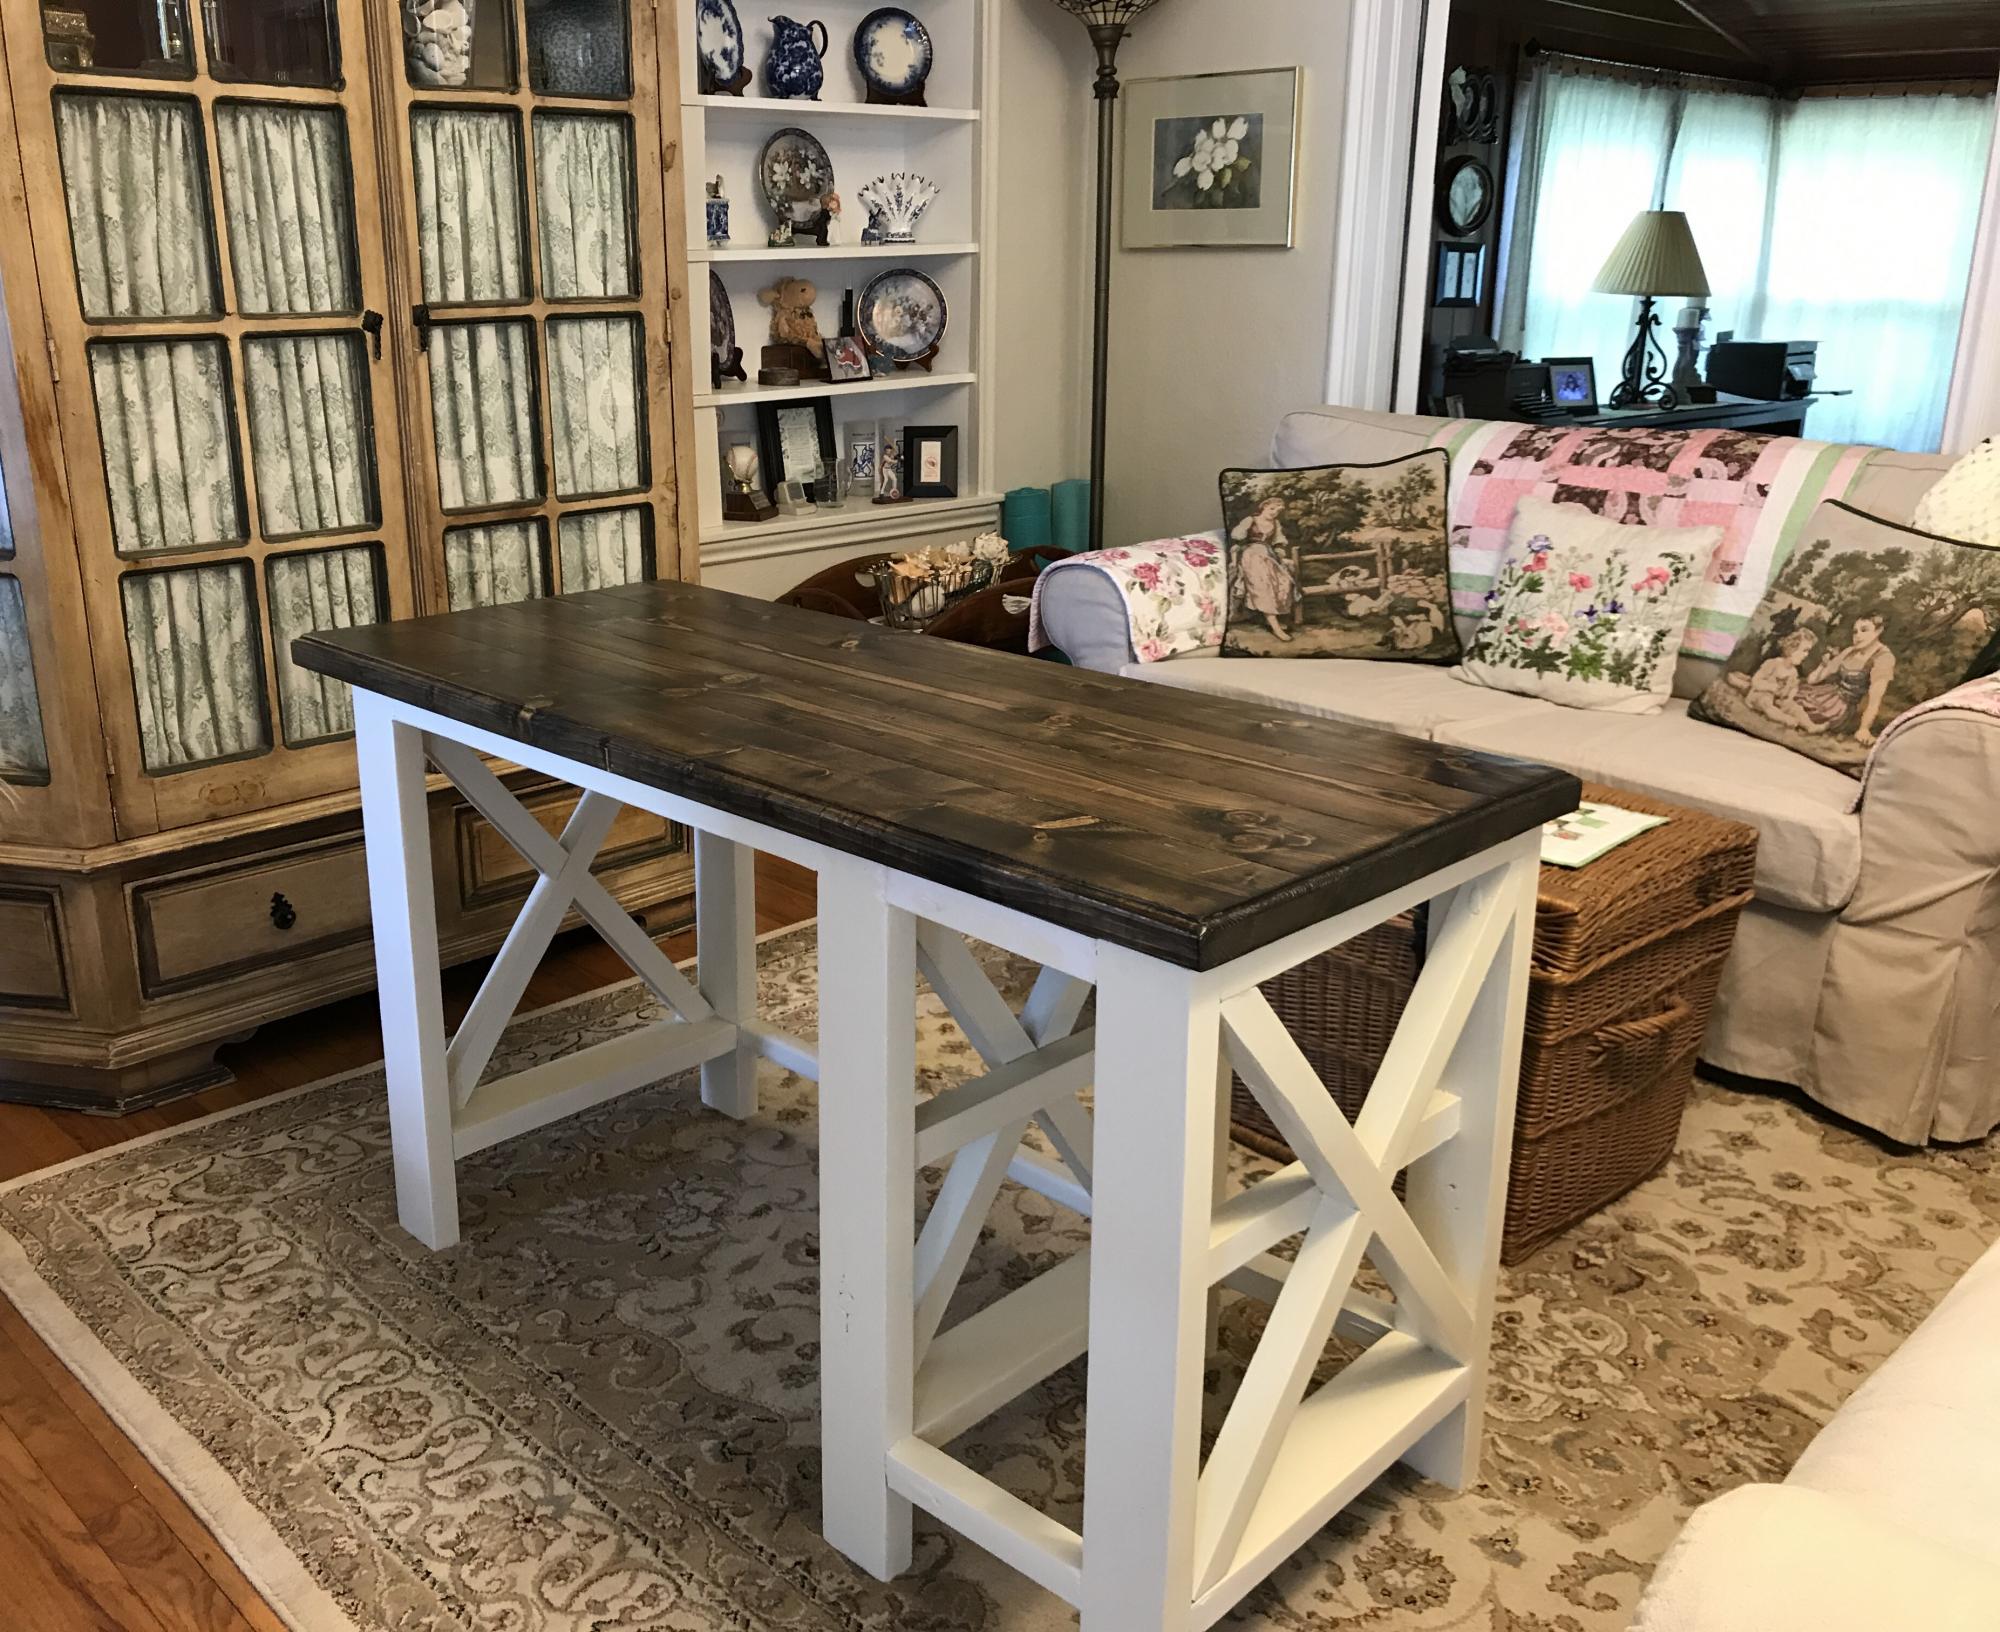
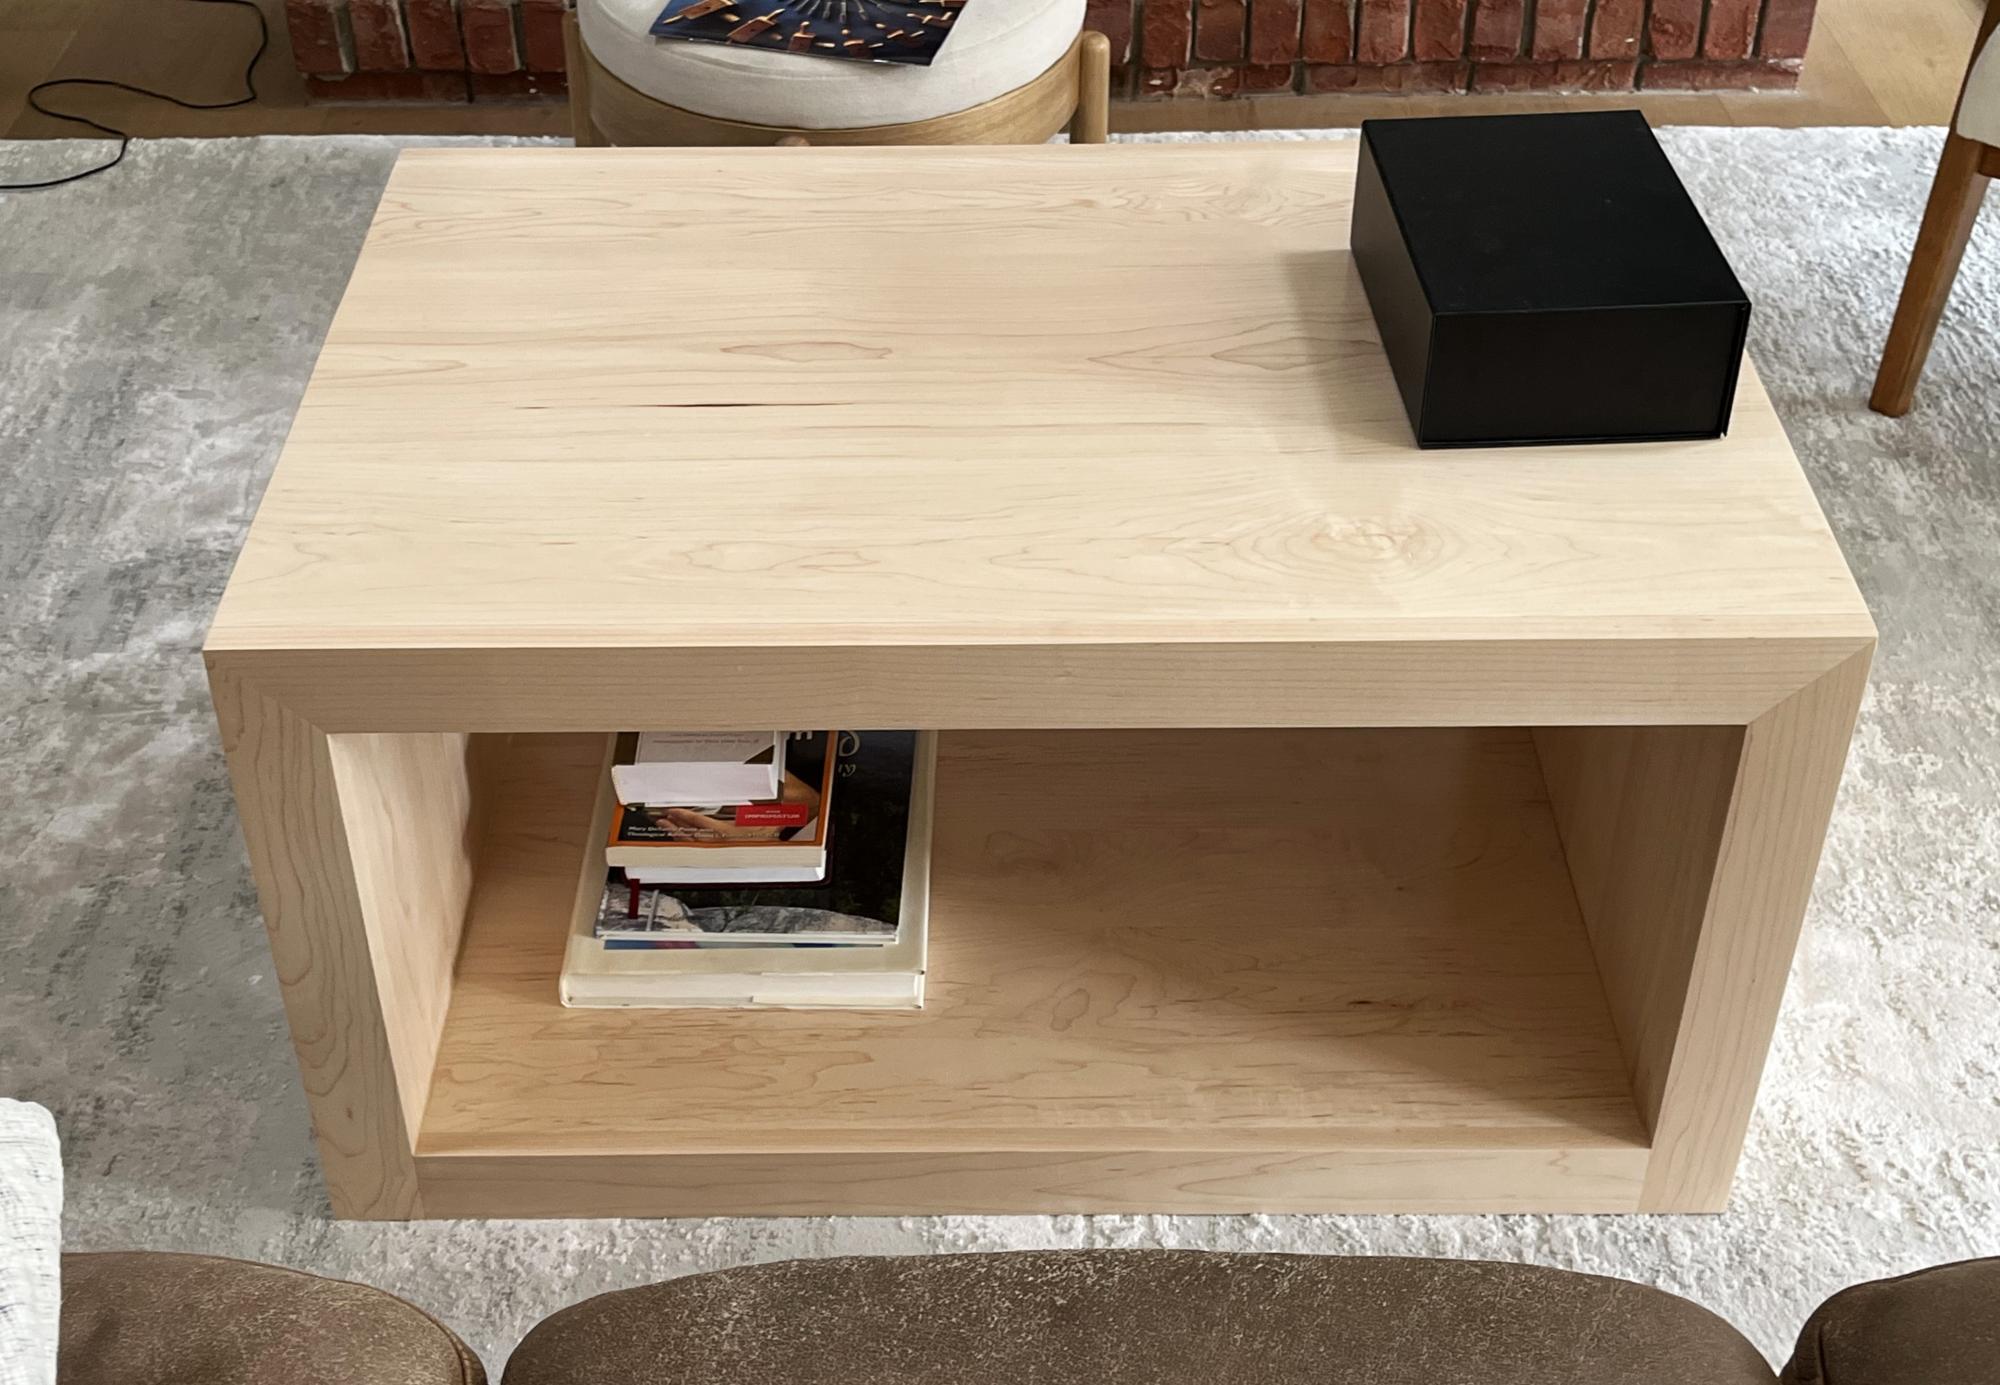
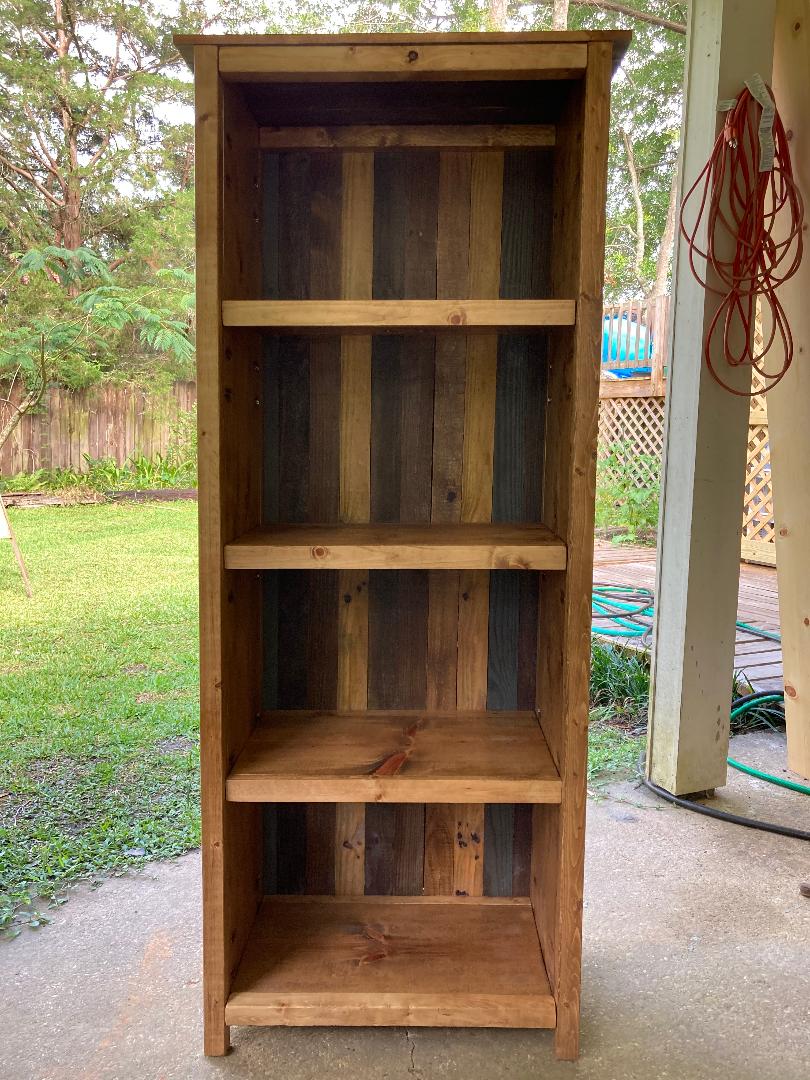
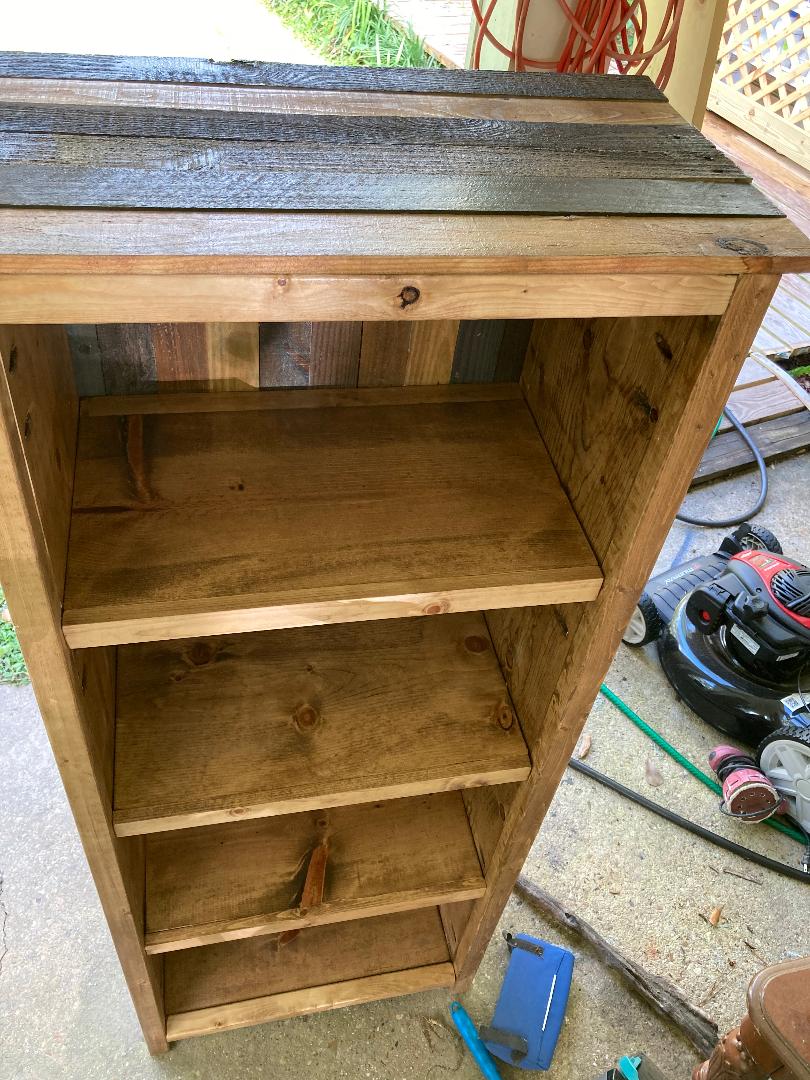
Storage for baby toys, burp cloths and boppy!
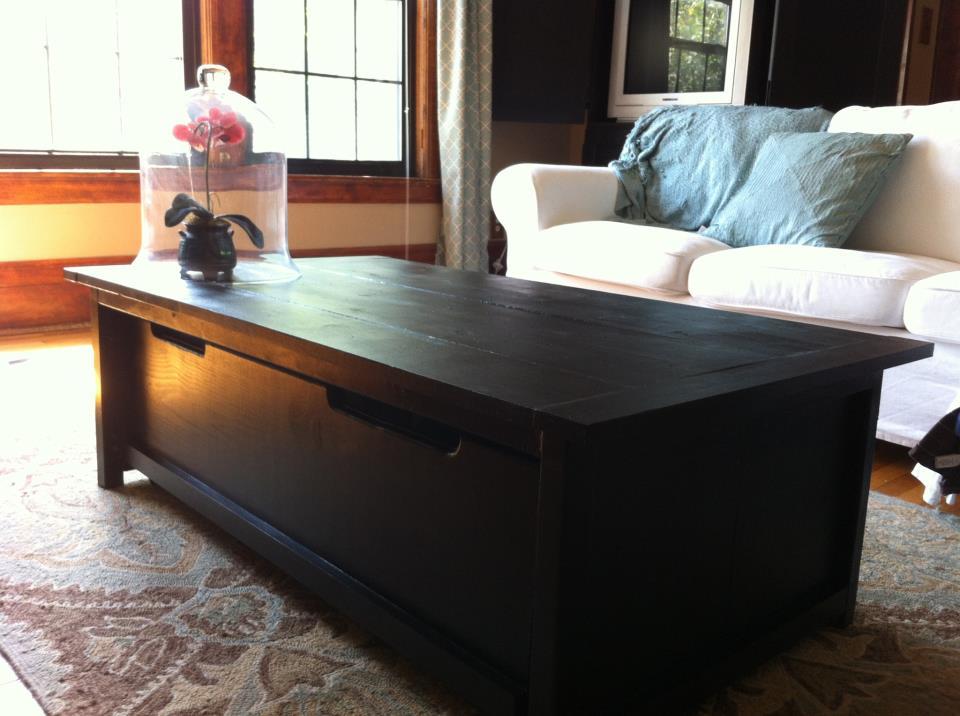
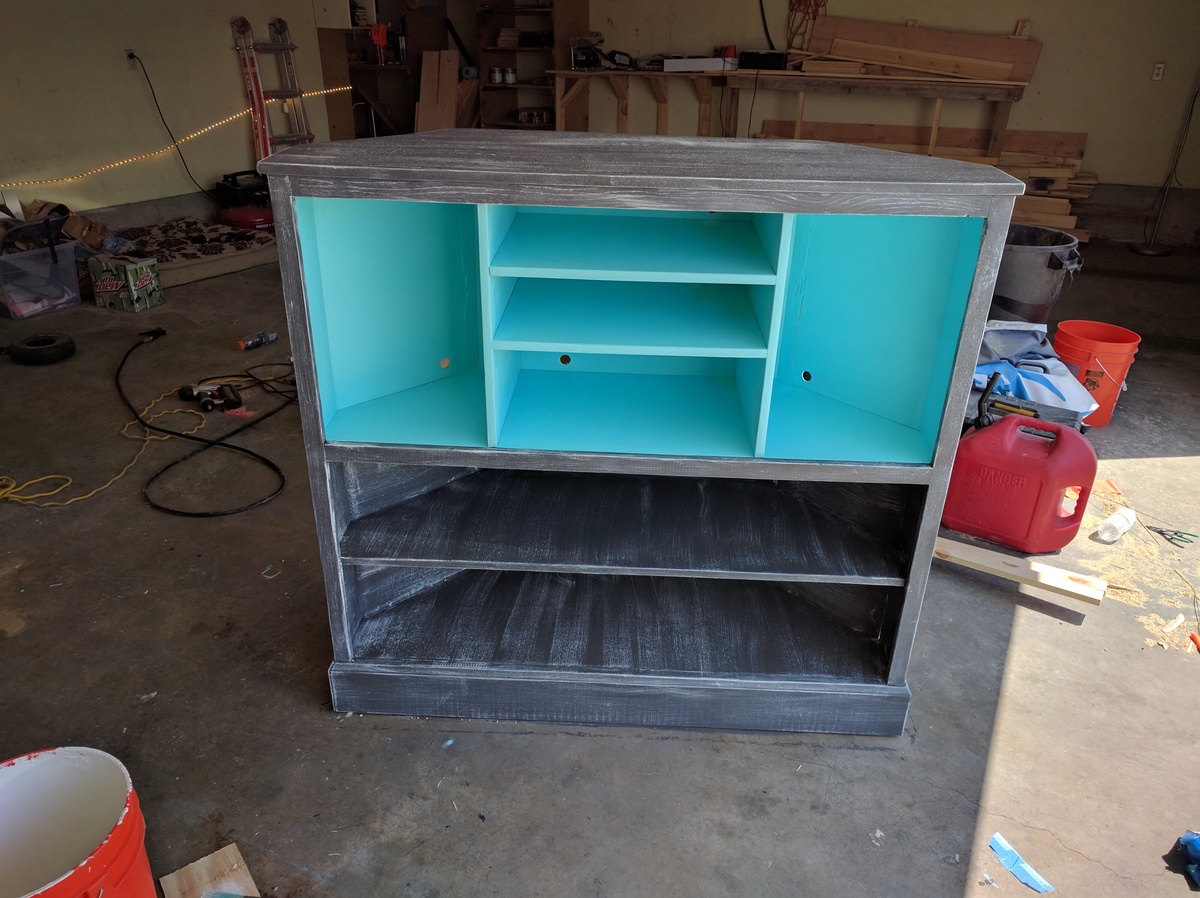
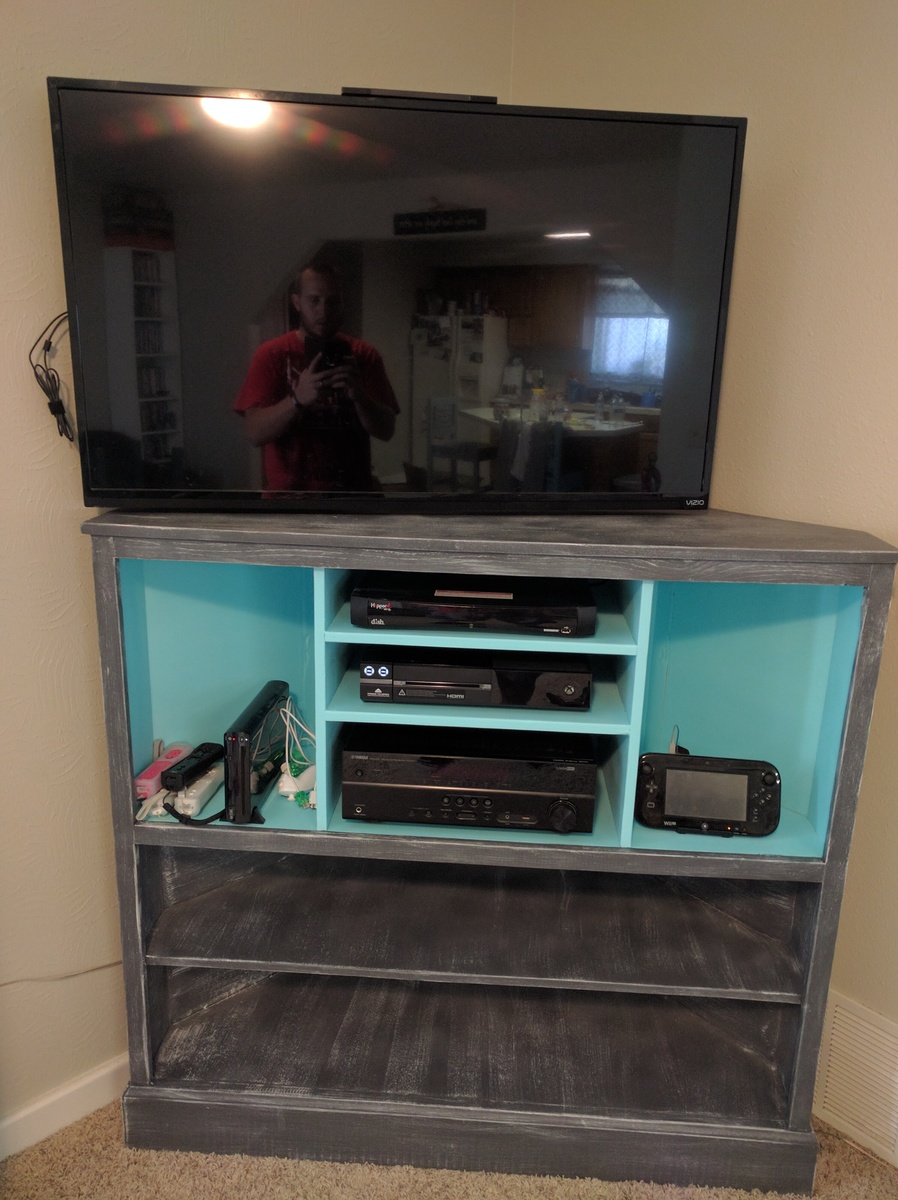
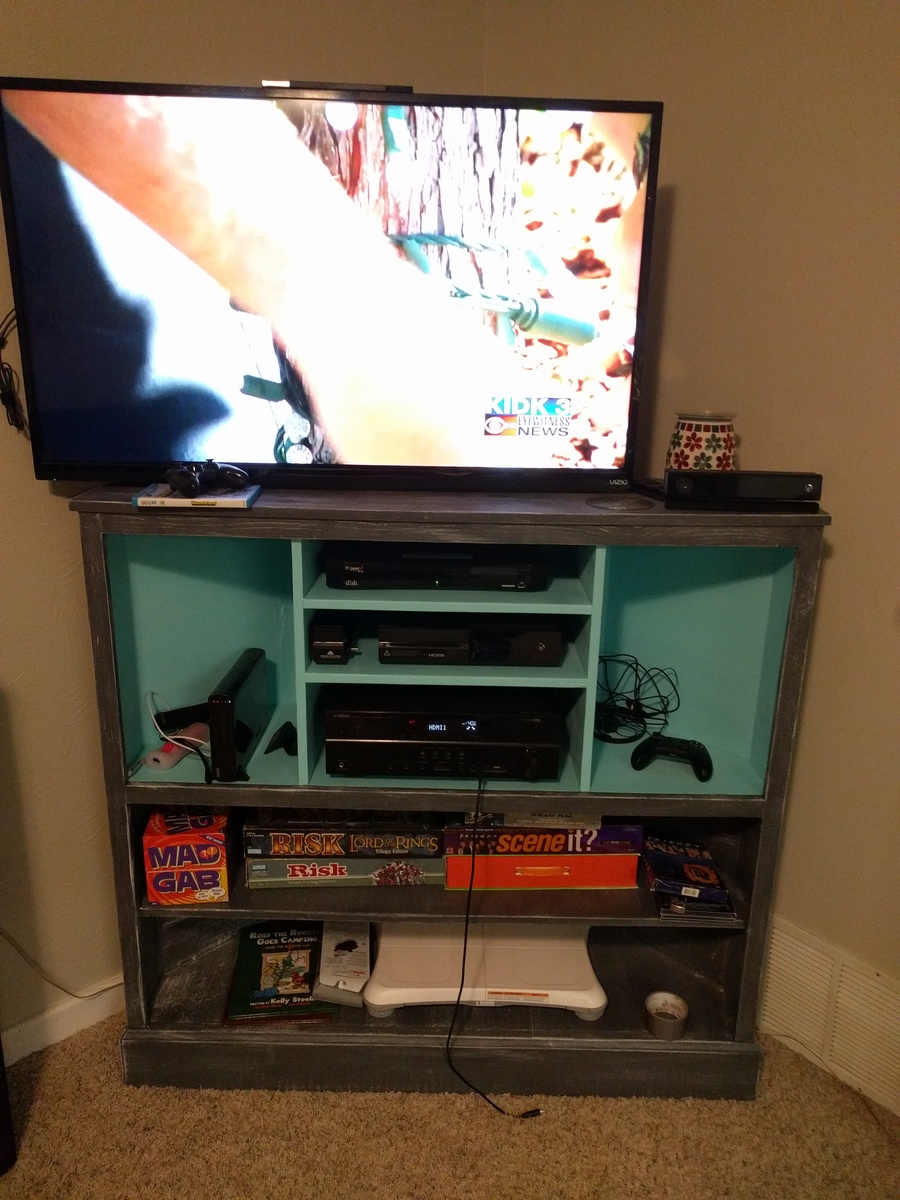
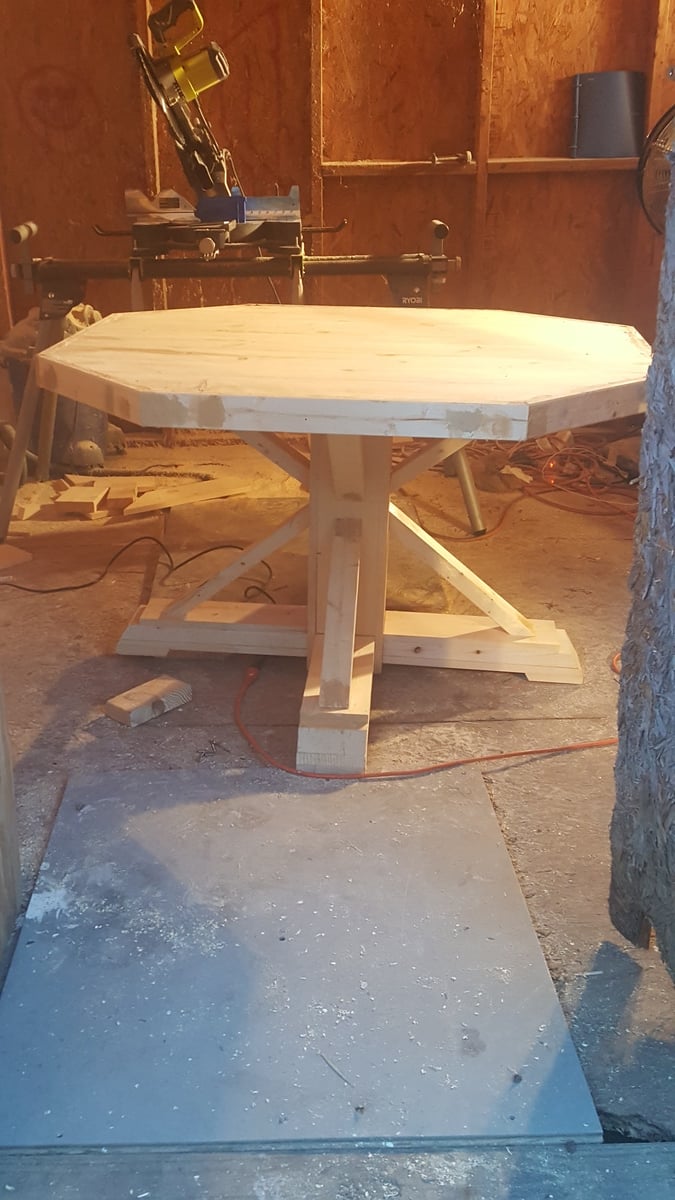
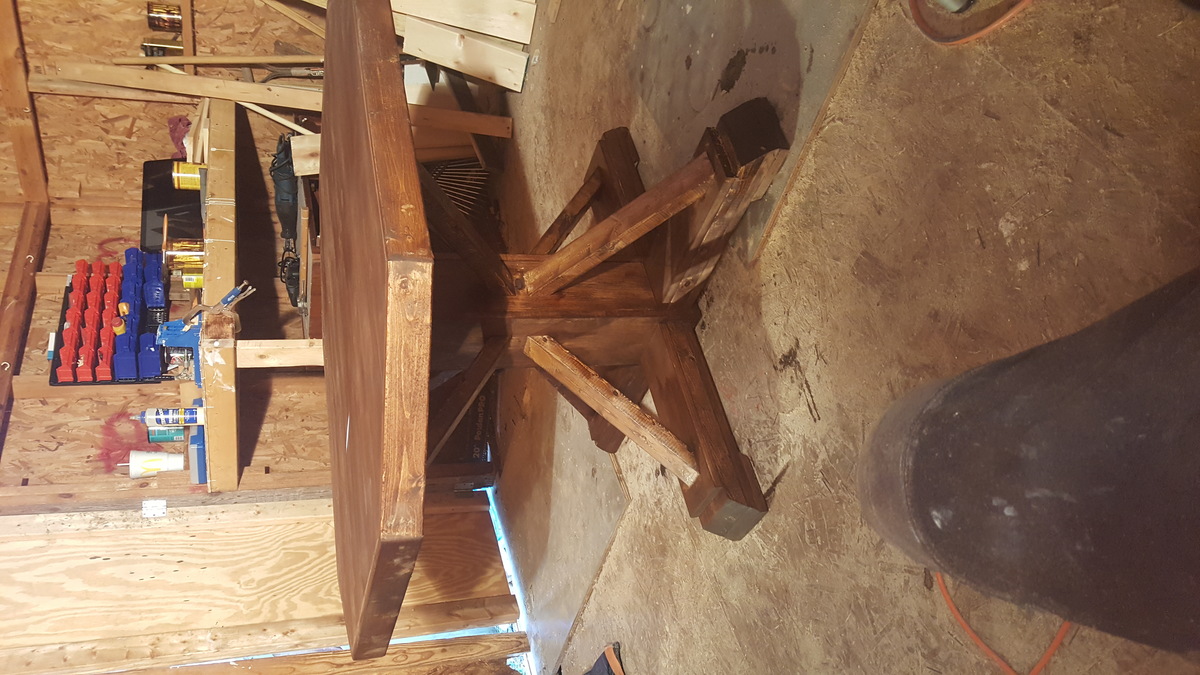
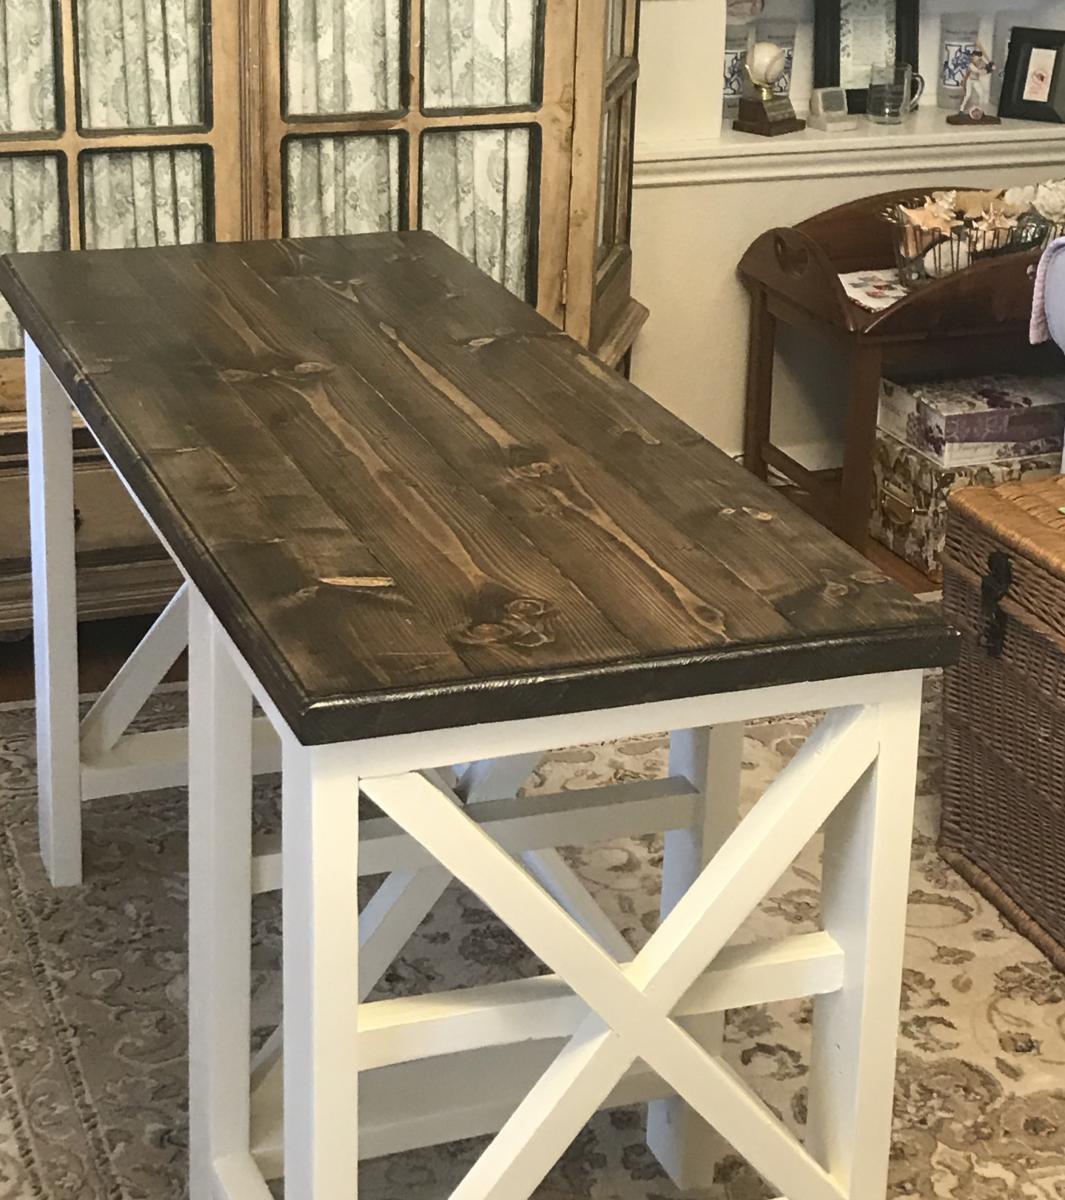
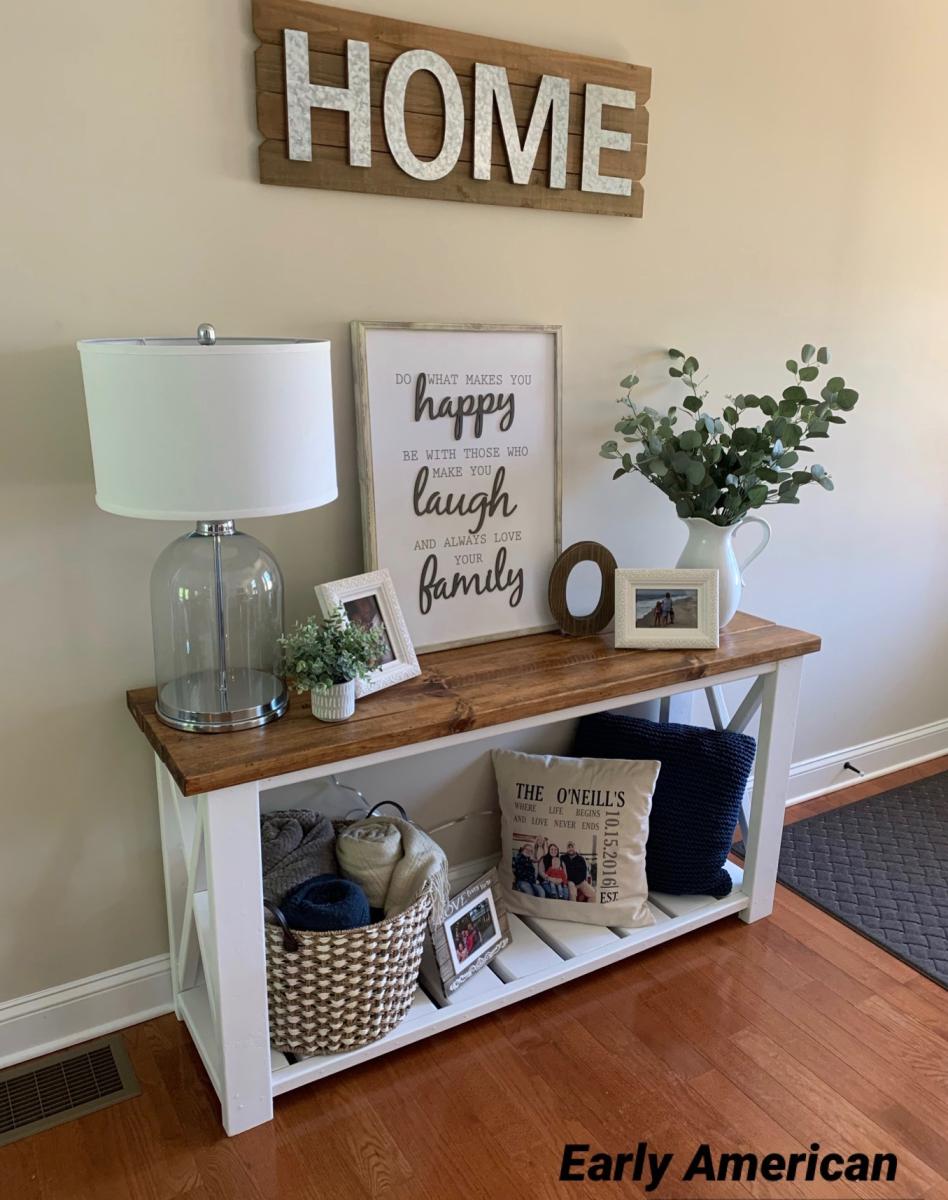
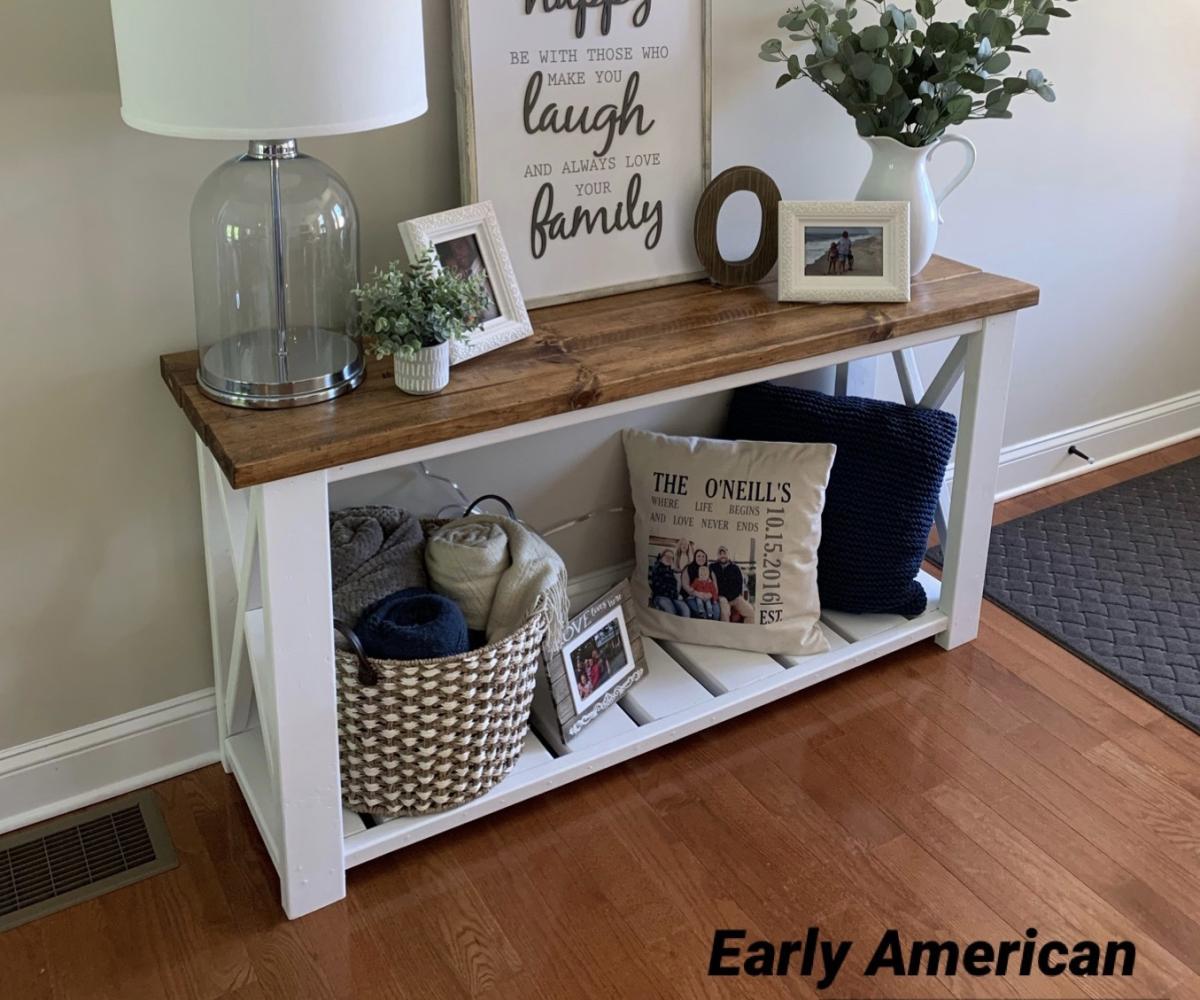
After buying materials for a not so baby friendly antique factory cart coffee table, which I unhappily had to veto, my husband was able to quickly assemble this table and it sat unfinished for a few months. He painted it a black semi-gloss inside and out.
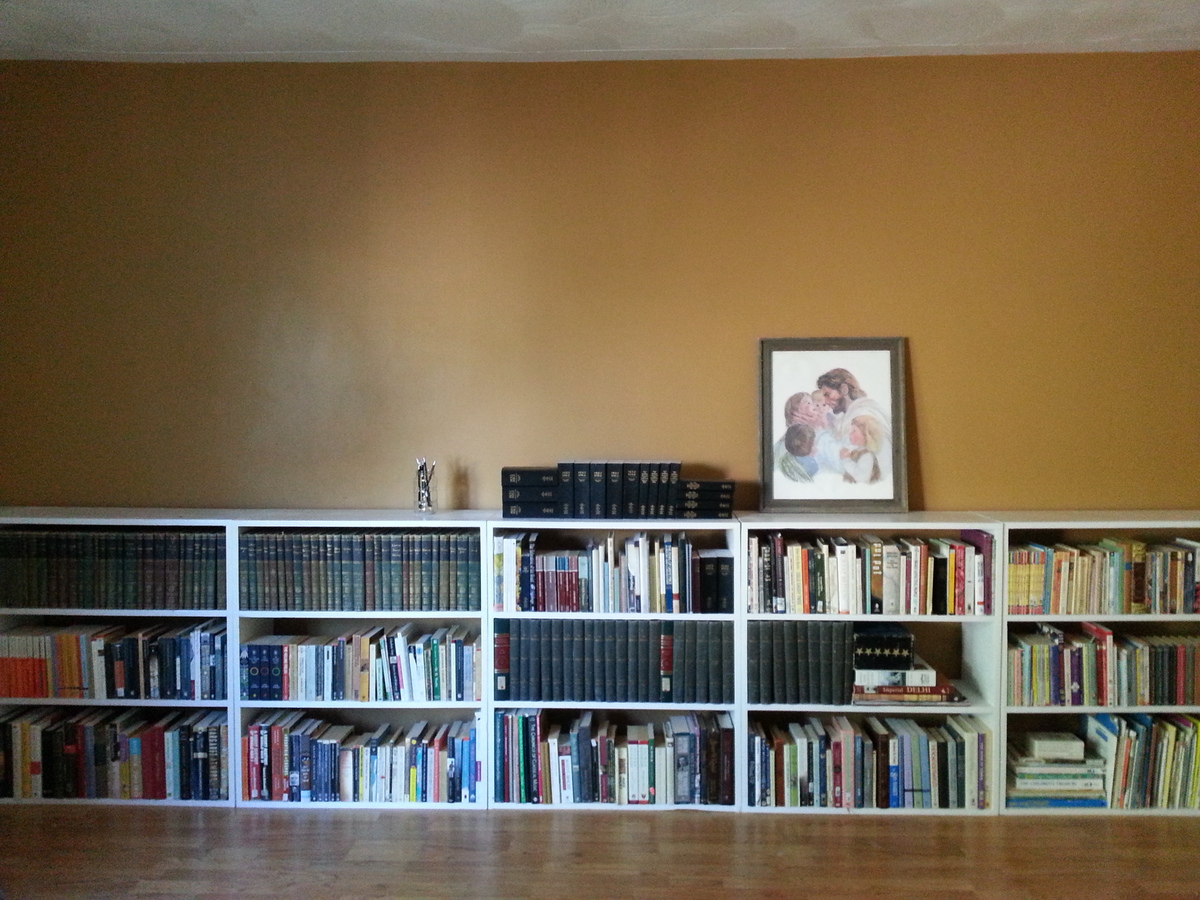
It fits the boppy, lots of blankets and 4 fabric cubes to hold toys, rings, burp cloths... perfect to hide at least some of the baby stuff that has taken over our home.
And now I NEED the apothecary trundle coffee table for the den!
Built from Plan(s)
Estimated Time Investment
Weekend Project (10-20 Hours)
Recommended Skill Level
Beginner