Community Brag Posts

Julia Nightstand

Submitted by krochelle on Thu, 05/15/2014 - 12:48

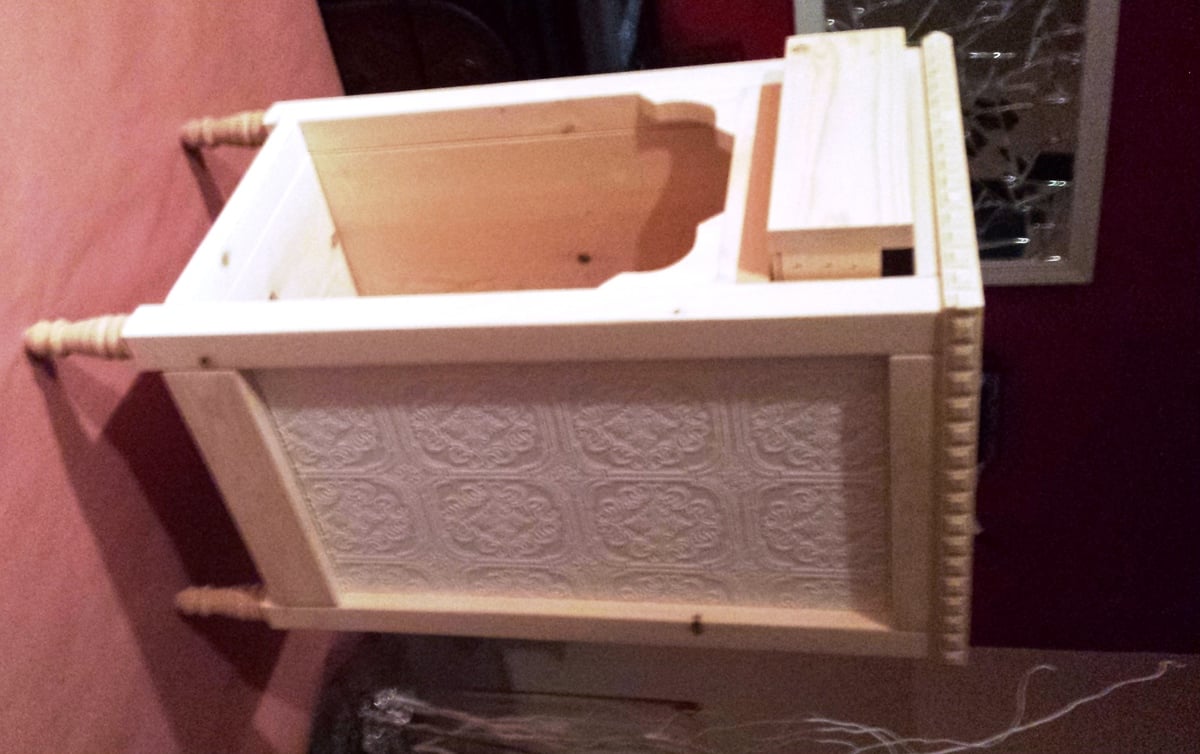
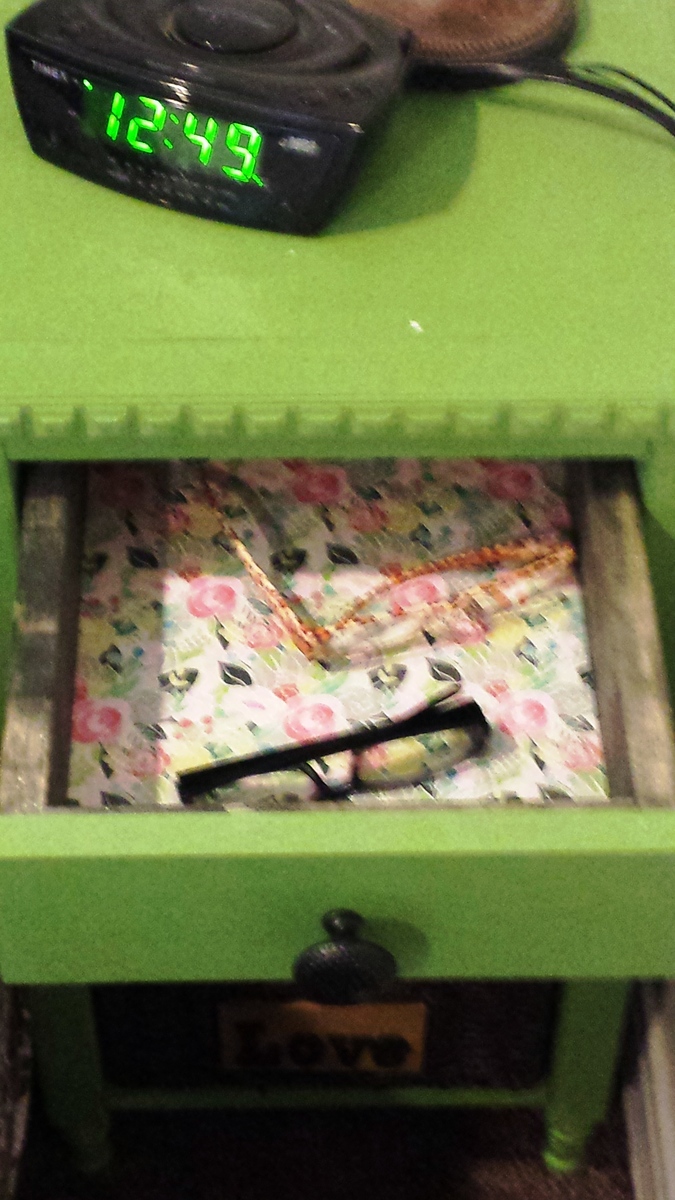
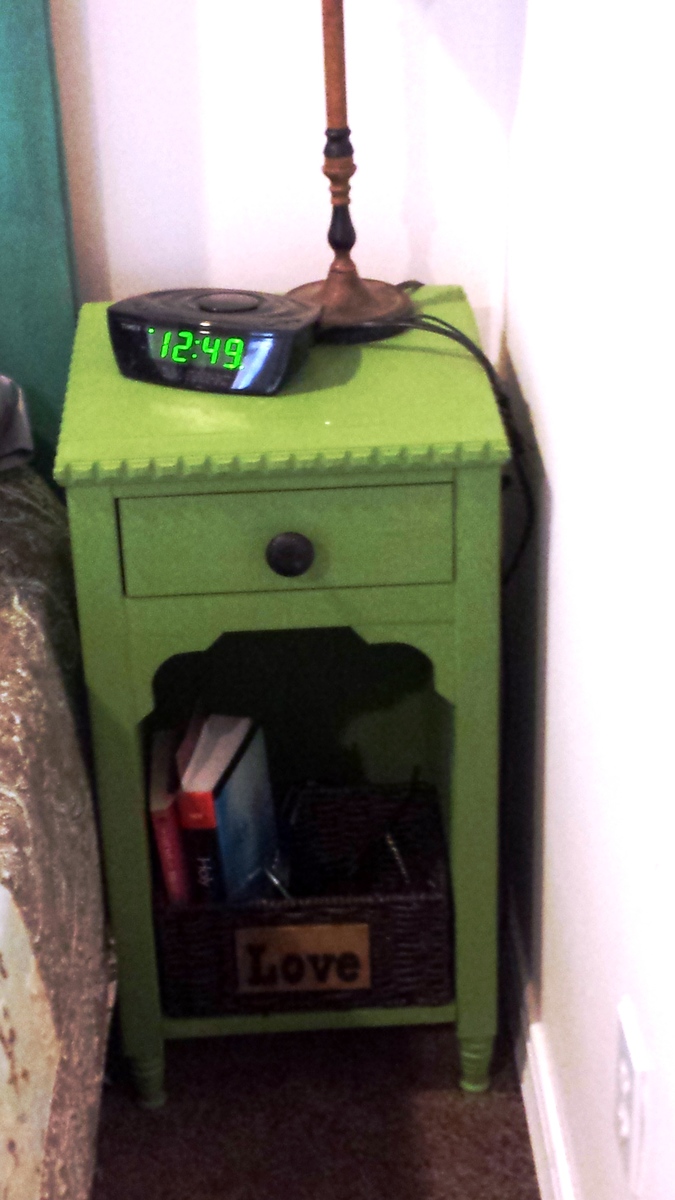
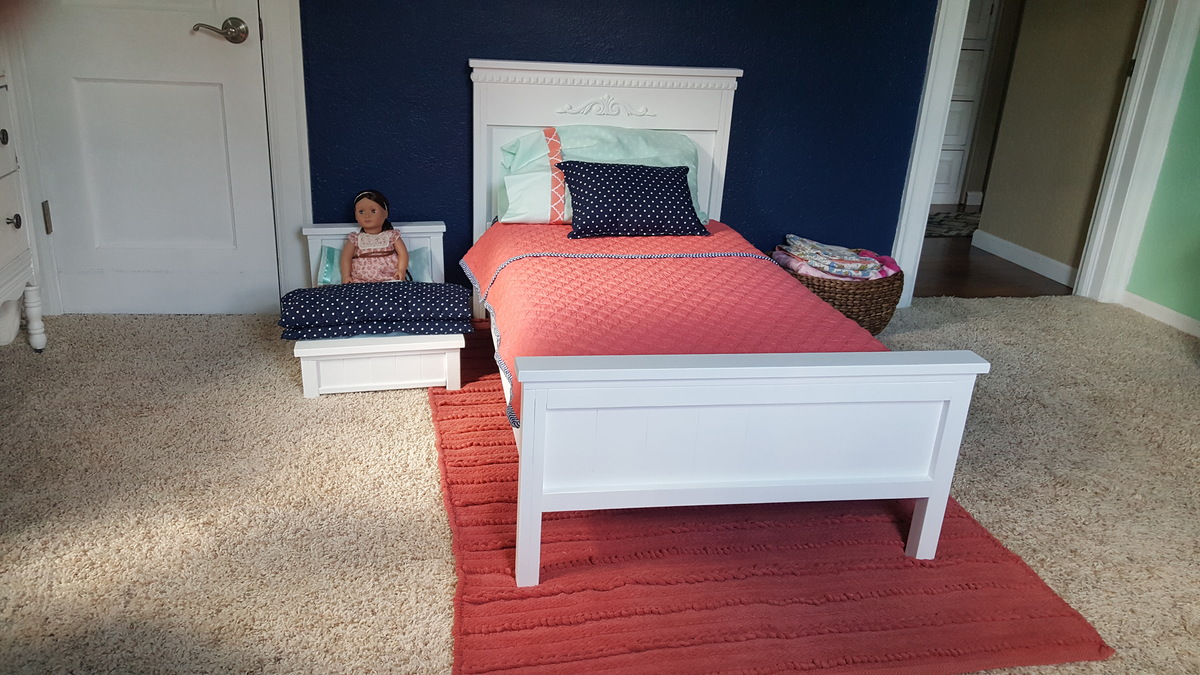
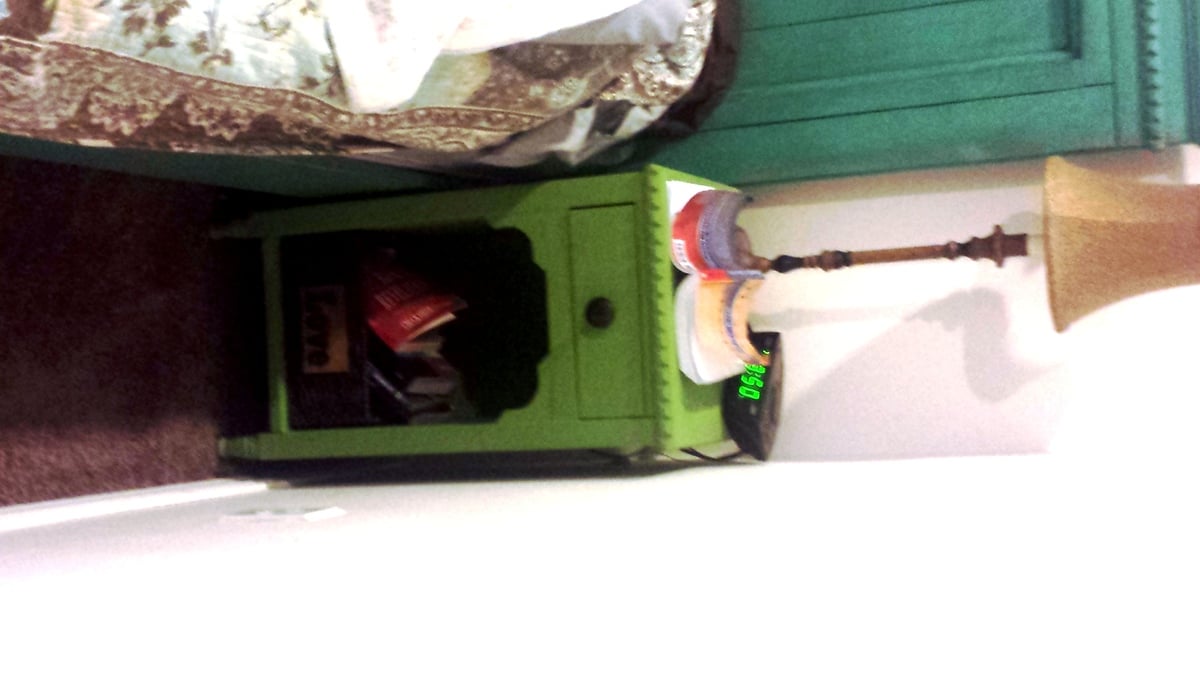
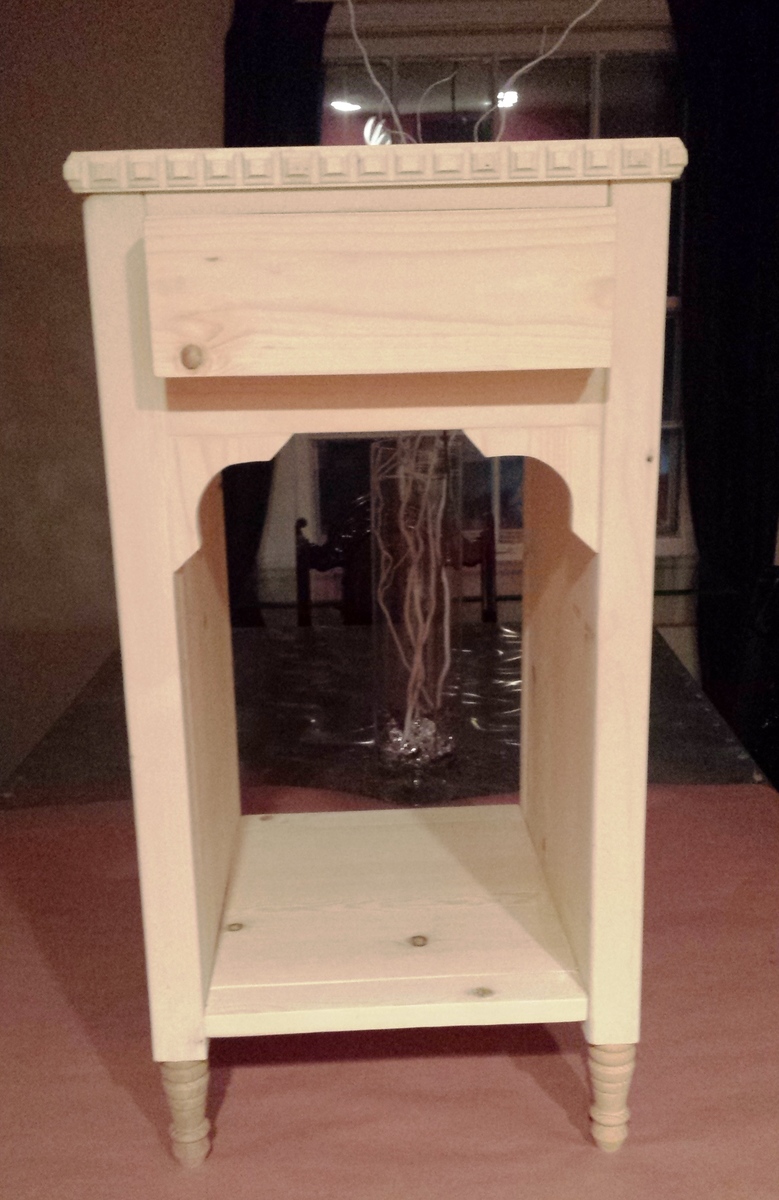
I used the Julia Nightstand plans but added textured wallpaper to the side panels and also decoupaged scrapbook paper on the inside of the drawer. The back was wainscoting which was painted the same color as the nightstand (this was a chalk paint). I added a thin support piece of wood above each side of the drawer to prevent it from flipping downward while it was open

Built from Plan(s)
Estimated Cost
$30
Estimated Time Investment
Day Project (6-9 Hours)
Recommended Skill Level
Beginner

Modern Adirondack Chair

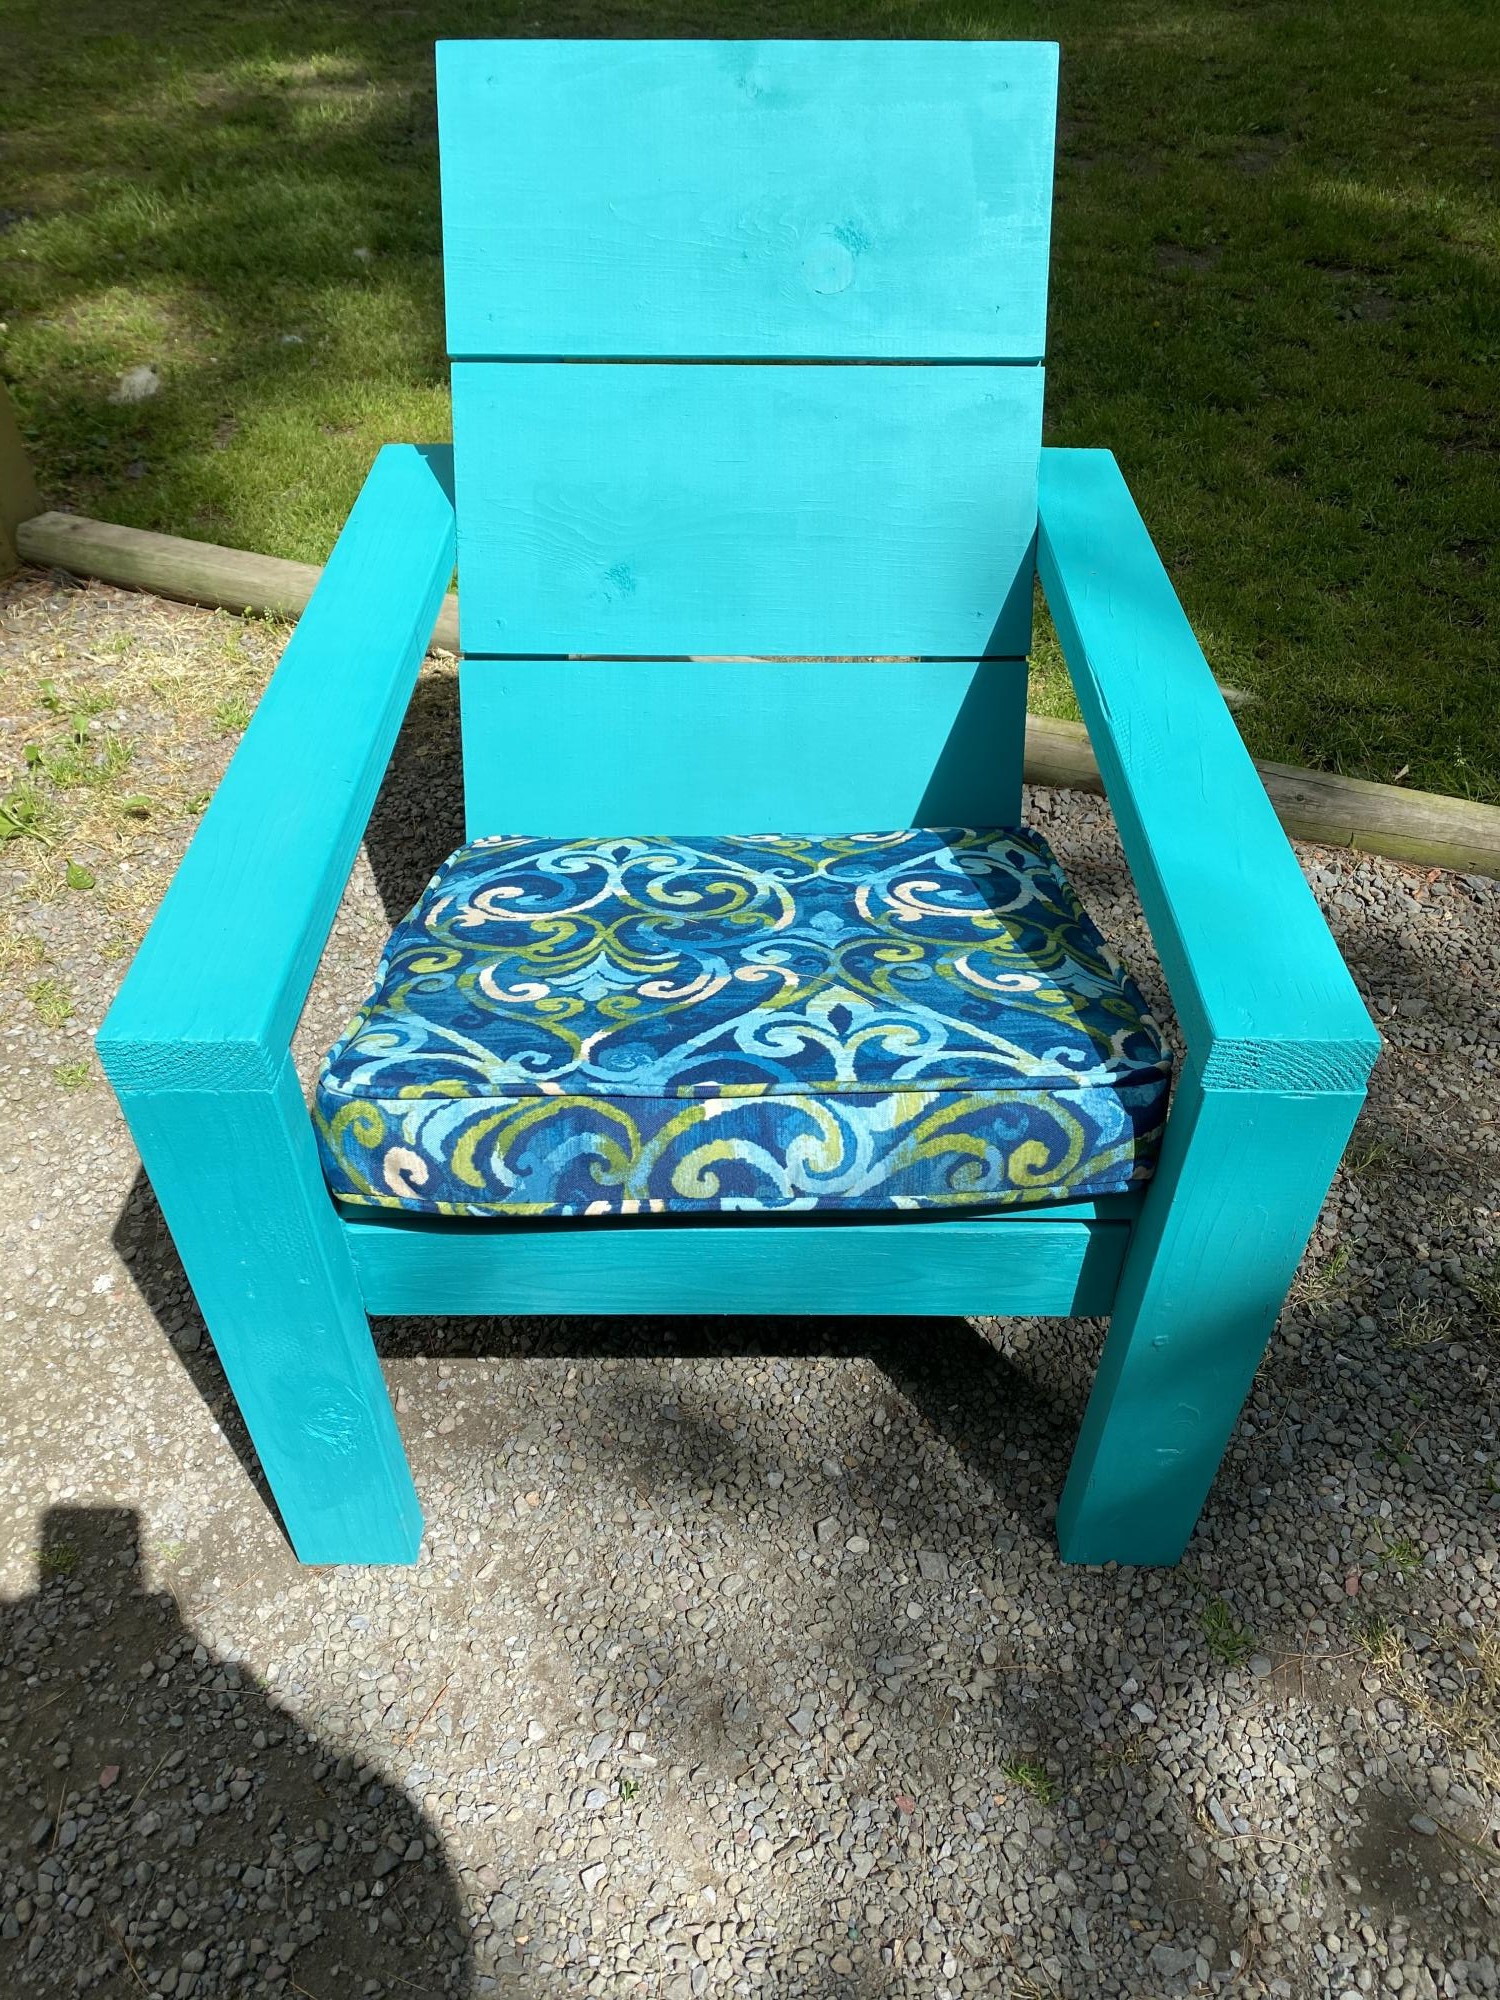
Just made a set of your modern Adirondack Chairs. Fun and easy project. Finished with Benjamin Moore Arborcoat solid stain in Aruba Blue for a nice beachy look and weather protection. Added a cushion from Lowe’s and enjoy. Thanks for the great plans.

Estimated Cost
$50 with cushion
Estimated Time Investment
Afternoon Project (3-6 Hours)
Finish Used
Benjamin Moore Arborcoat solid deck stain
Recommended Skill Level
Intermediate

Comments

Bookshelf and Bench Built-in

Submitted by Anonymous (not verified) on Fri, 02/23/2024 - 10:39

I apologize for not having before and after shots from the same perspective, but this is the bookcase I built to replace the very poorly sized and very poor quality bookcase that was in this room before. The room has a slanted ceiling that goes from 8' to 16,' and has baseboard heaters that got in the way of cabinetry. I worked around it. These were my first cabinets, and they didn't come out exactly has I had envisioned, but they're pretty darn close! The shelves are all on brackets that are screwed into studs in the wall, and the boards that make the sides of the bookcase aren't even screwed down. I wanted something that would be sturdy and yet easy to take down or change. I left space in the middle because we'd like to put in a fireplace one day...

MelissaLeigh144

ten dollar ledges

Submitted by vic b on Wed, 07/25/2012 - 18:31

super quick and easy, why don't I have these all over the house.

Estimated Time Investment
An Hour or Two (0-2 Hours)
Finish Used
maple stain and varnish combo
Recommended Skill Level
Starter Project

Bathroom Wall Storage Unit

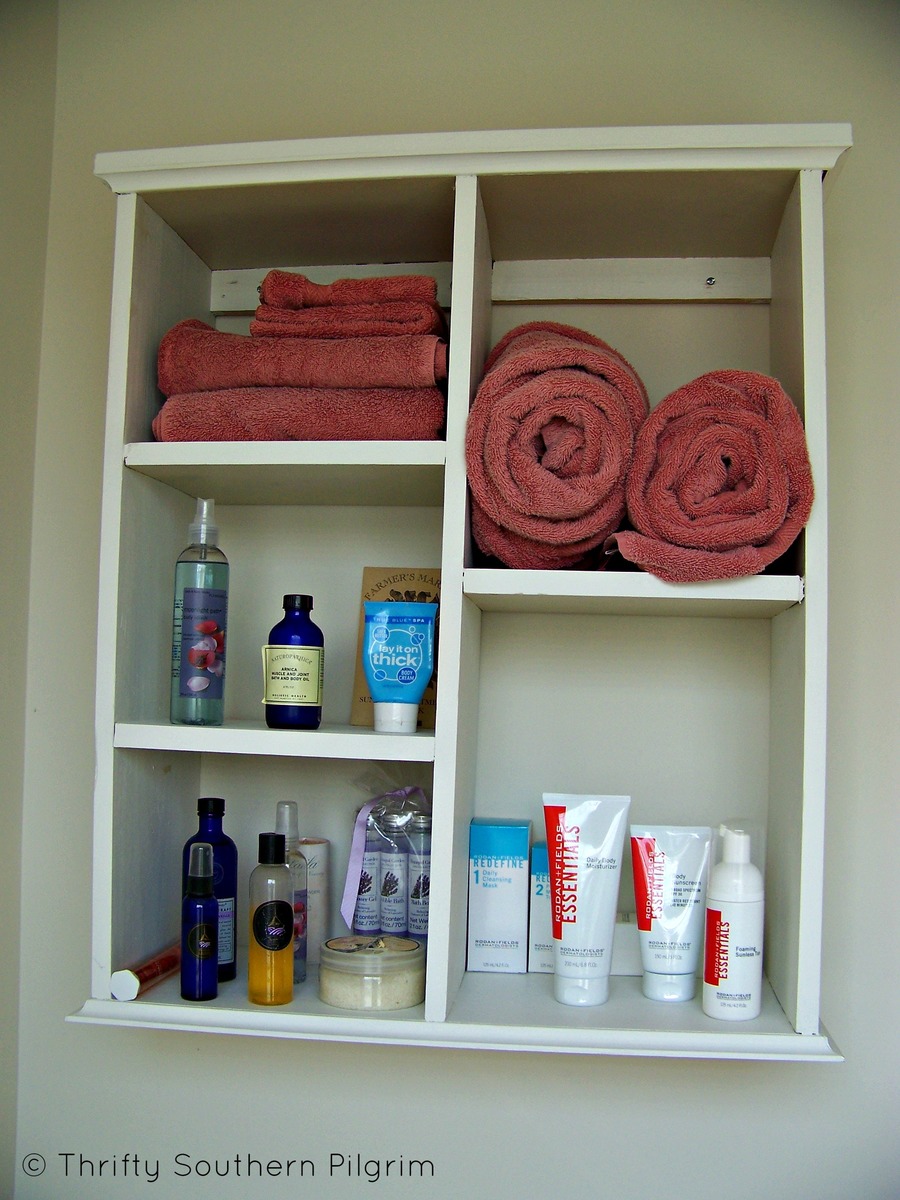
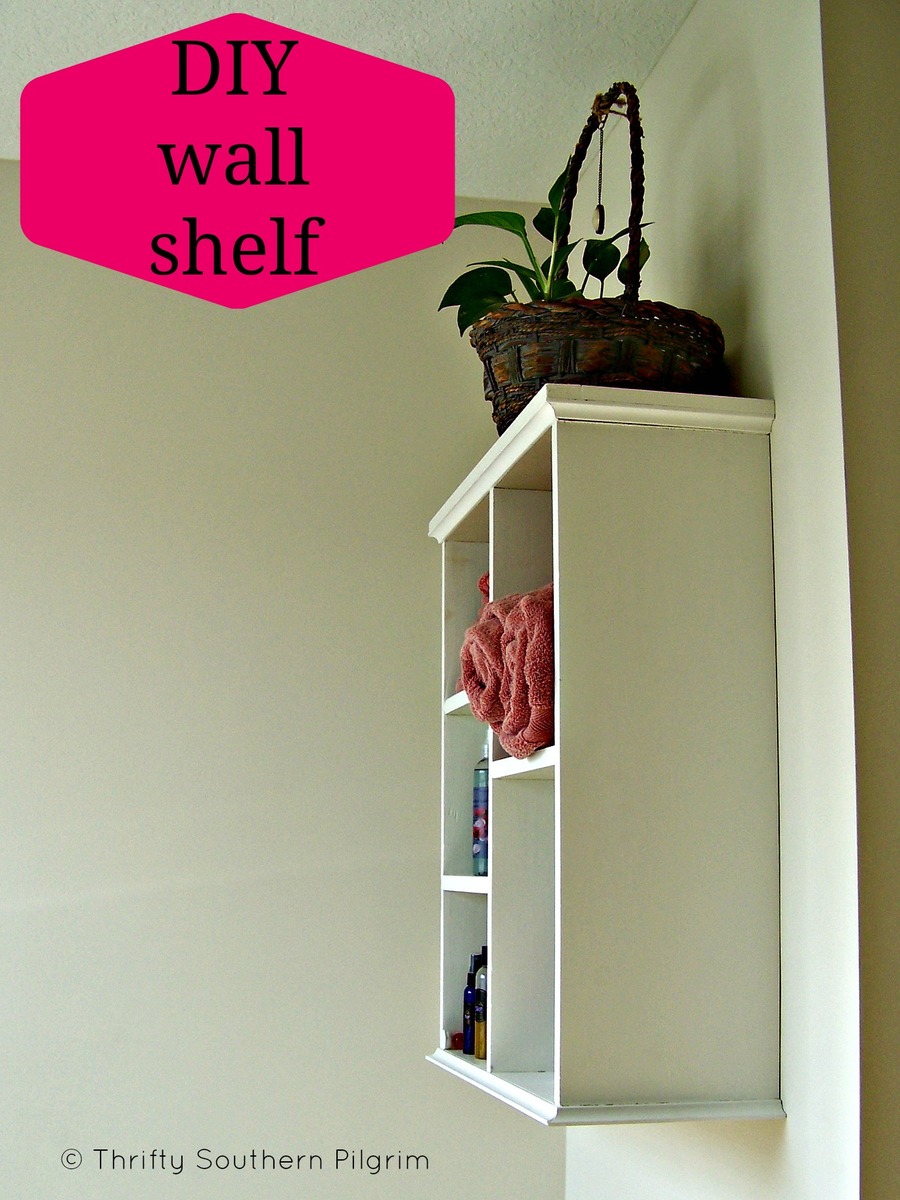
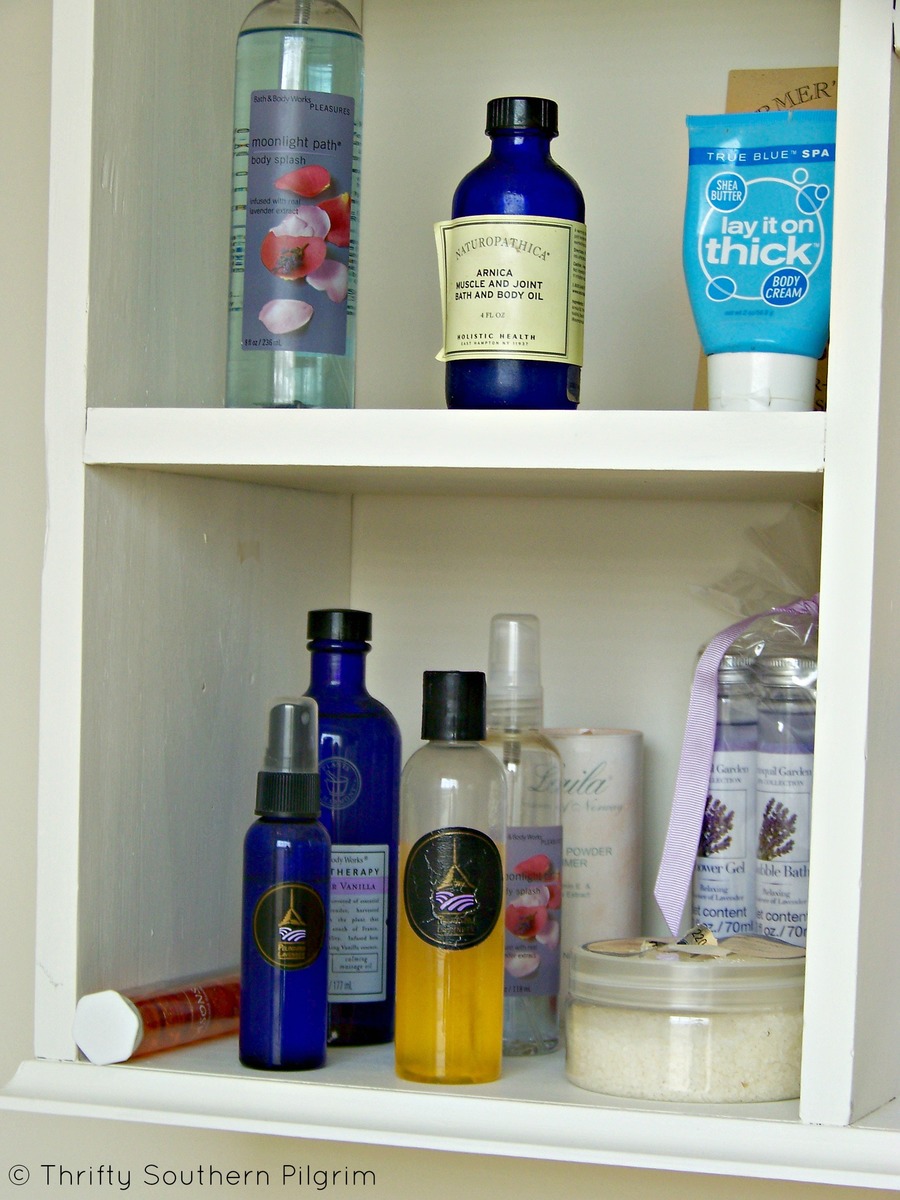
I built this storage unit for a bathroom in our new home from Ana White plans in her book, The Handbuilt Home. I had most material on hand, only having to purchase some trim. It was very doable and not difficult.

Estimated Cost
< $10
Estimated Time Investment
Afternoon Project (3-6 Hours)
Finish Used
Paint
Recommended Skill Level
Intermediate

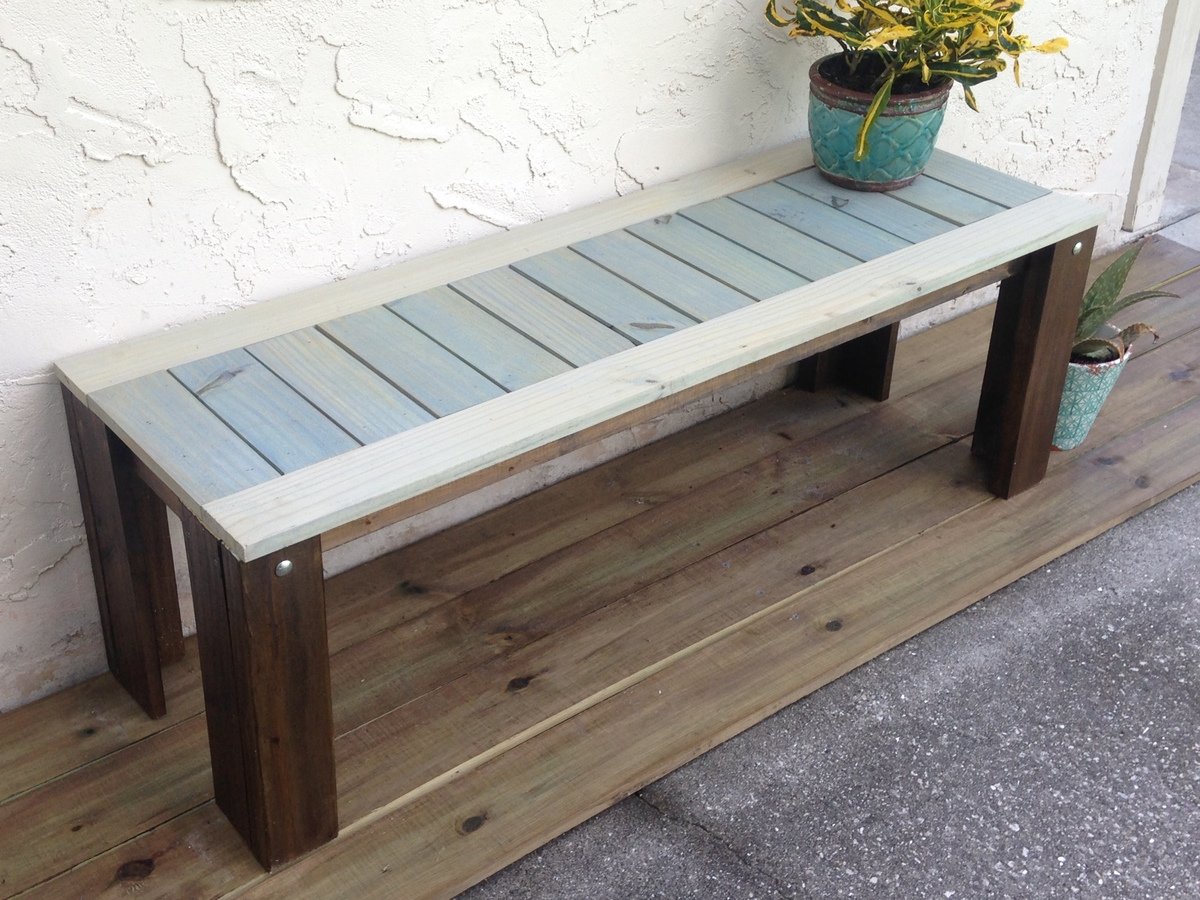
Sittin', thinkin' and dreamin' bench for my Mermaid Mansion

Submitted by Anonymous (not verified) on Sat, 08/20/2016 - 15:55

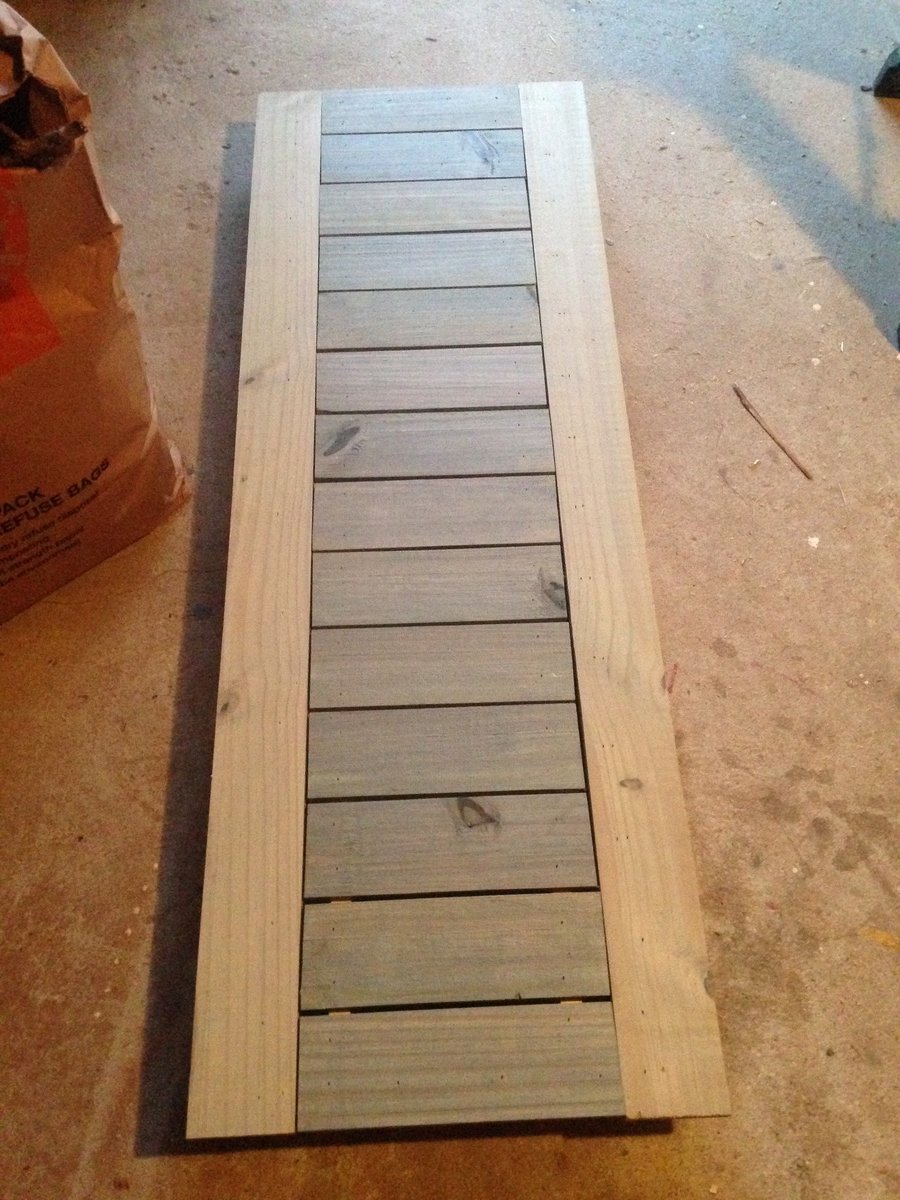
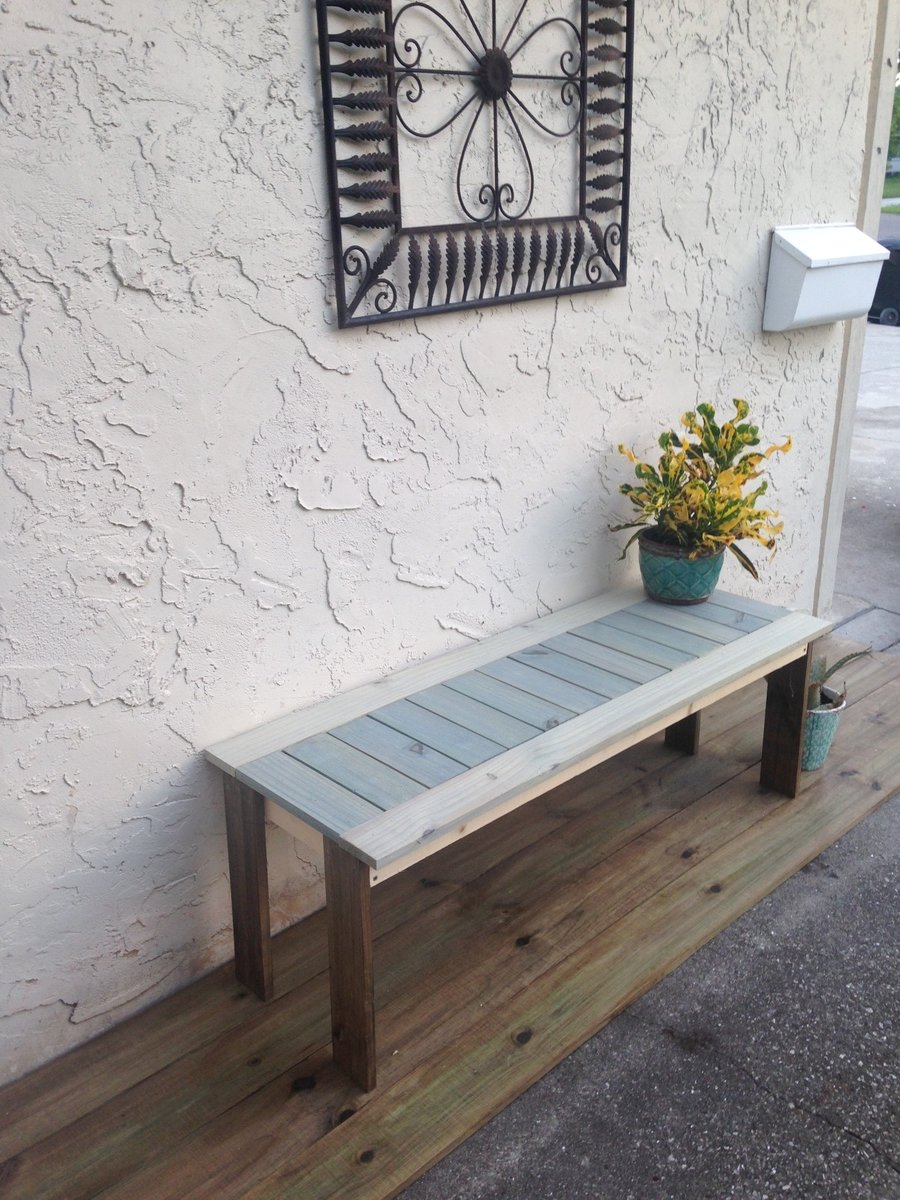
I made this bench to replace a sidewalk planter box outside my front door.  The only modifications I made were adding 4- 2x4 supporting legs - you can see them in the first photo.  This just makes the legs a little sturdier and I also added some carriage bolts to give a slight decorative touch as well as to anchor the legs to the frame.  I use a nail gun and some wood glue to secure the 2x4 to the side of the existing leg, and voila!  Thank you for a very easy to understand and follow project, Ana!

Built from Plan(s)
Estimated Cost
$60, wood, screws and stain
Estimated Time Investment
Afternoon Project (3-6 Hours)
Finish Used
Behrs outdoor stain and sealer, semi-transparent colors.
Recommended Skill Level
Beginner

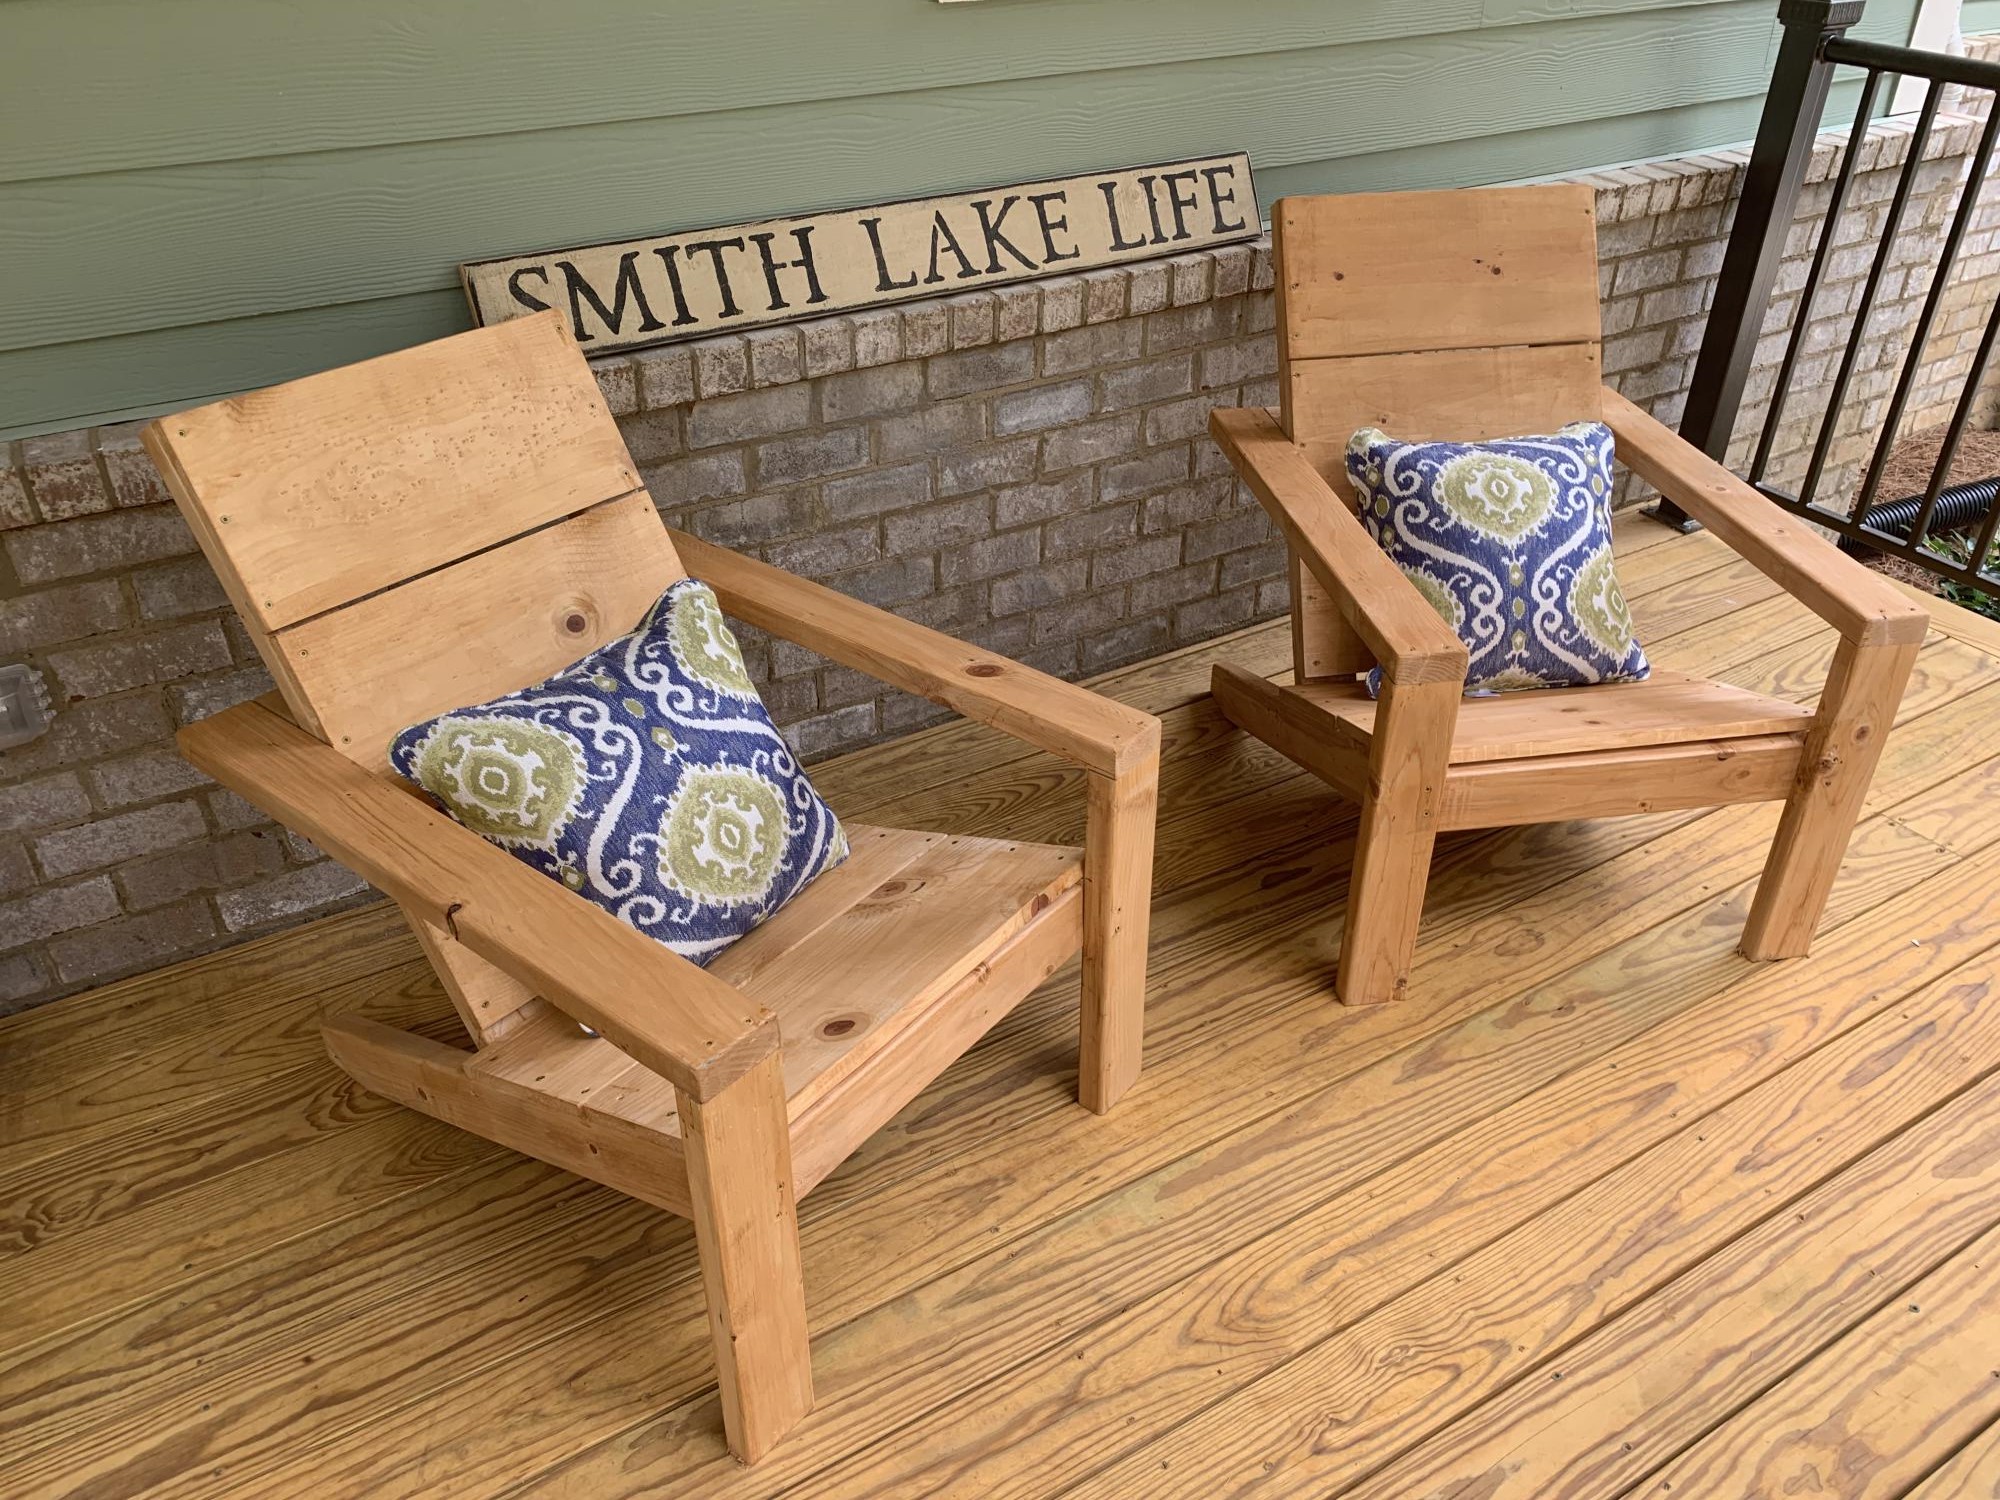
Adirondack Chairs

Submitted by Anonymous (not verified) on Wed, 06/03/2020 - 08:15

Modern Adirondack Chairs on our front porch lakeside!

Estimated Cost
$45
Estimated Time Investment
An Hour or Two (0-2 Hours)
Finish Used
Thompson Acorn stain and seal
Recommended Skill Level
Beginner

Bathroom Vanity

Submitted by boxermum on Sun, 07/29/2012 - 18:18

We purchased an unloved Victorian Farmhouse in 2008 and have been working on it ever since. The latest project is the main bathroom. It started out really small and dark. Like most rooms in the house we had to gut the room and start from scratch and like most projects the cost was much more than we anticipated. We had to come up with some creative ways to get what we wanted on a shoestring budget. Part of that creativity involved building our own bathroom vanity. I knew I wanted marble to compliment the marble floor we installed. I took to Craigslist and found a marble slab for 75 bucks. Then we scoured for plans and made modifications that would work with our ideas and dimensions. We still need to install the vessel sink and the wall-mount faucet to complete the vanity, but we are really happy with what we've created, and I don't think we could have found exactly what we were looking for anyway. I'm so grateful for this site and for the support everyone here offers!

We created the legs out of 3 - 1x3's that we glued and clamped together. We decided on a slat bottom shelf to help with any moisture issues that might happen in a bathroom. The drawers were probably the trickiest part of the build, but my husband says even those were not overly challenging. We just primed and painted to match the custom beadboard my husband also created in the garage. He also replicated and created period moldings for around the windows and doors. Finally, we built a custom built-in medicine cabinet that I will be posting in another brag post.

The bathroom really turned out better than I could have imagined and it was all built using materials from Home Depot - no special orders here!

Estimated Cost
$35
Estimated Time Investment
Day Project (6-9 Hours)
Finish Used
We topped the vanity with Cararra white marble, primed with Kilz and painted Behr's Silk Pillow in Satin finish. The chrome hardware is from the Martha Stewart line found at Home Depot.
Recommended Skill Level
Intermediate

My modified version

Submitted by Anonymous (not verified) on Tue, 08/23/2016 - 19:05

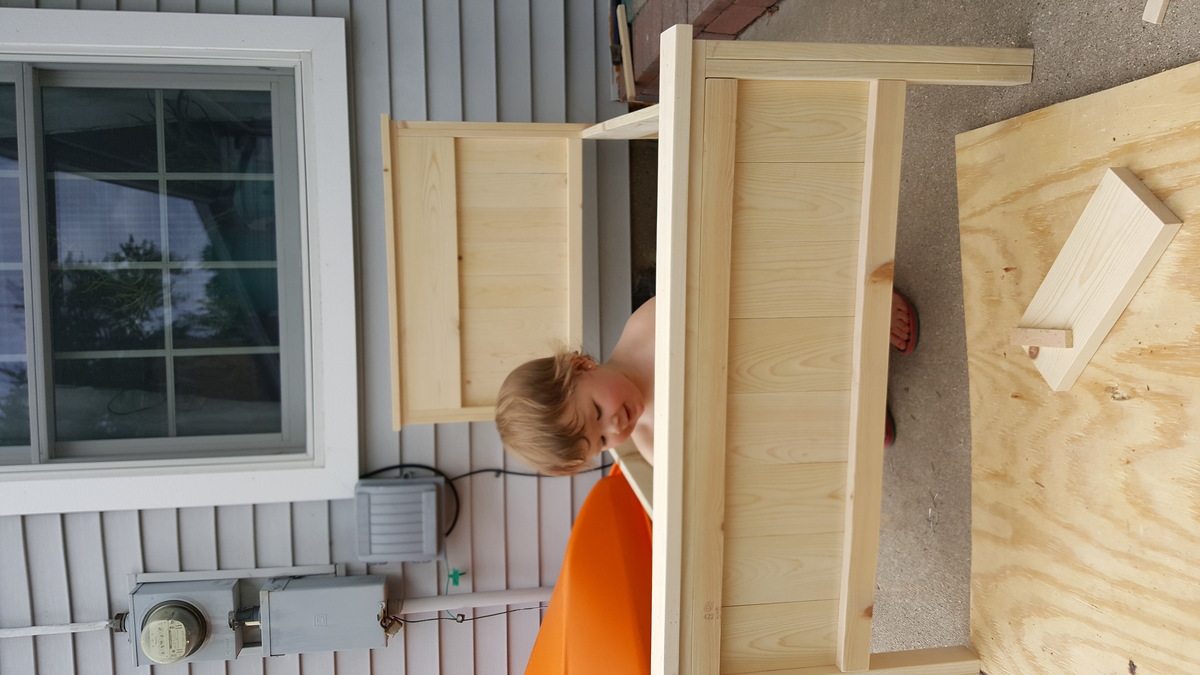
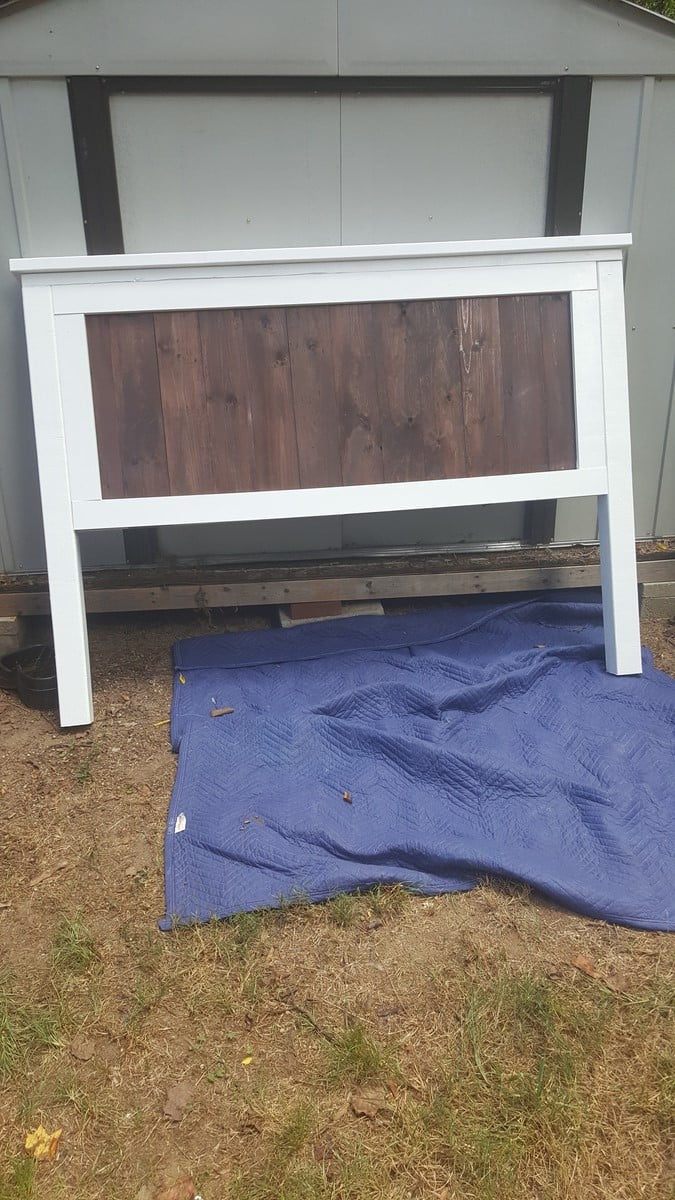
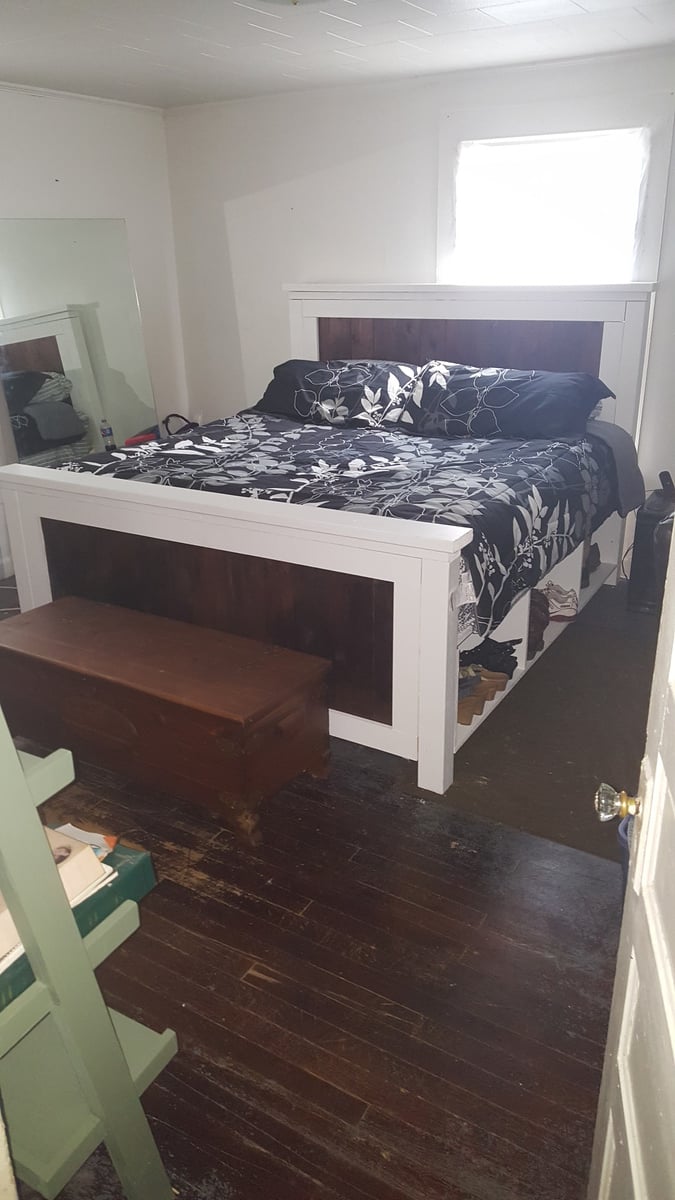
I modified this bed plan. Decided to go flush with outside of bed post and wanted footboard same height as mattress

Estimated Cost
$300
Estimated Time Investment
Week Long Project (20 Hours or More)
Finish Used
Red chestnut
Recommended Skill Level
Intermediate

Beginner farm table modified into a desk!

Submitted by Anonymous (not verified) on Fri, 06/05/2020 - 12:10

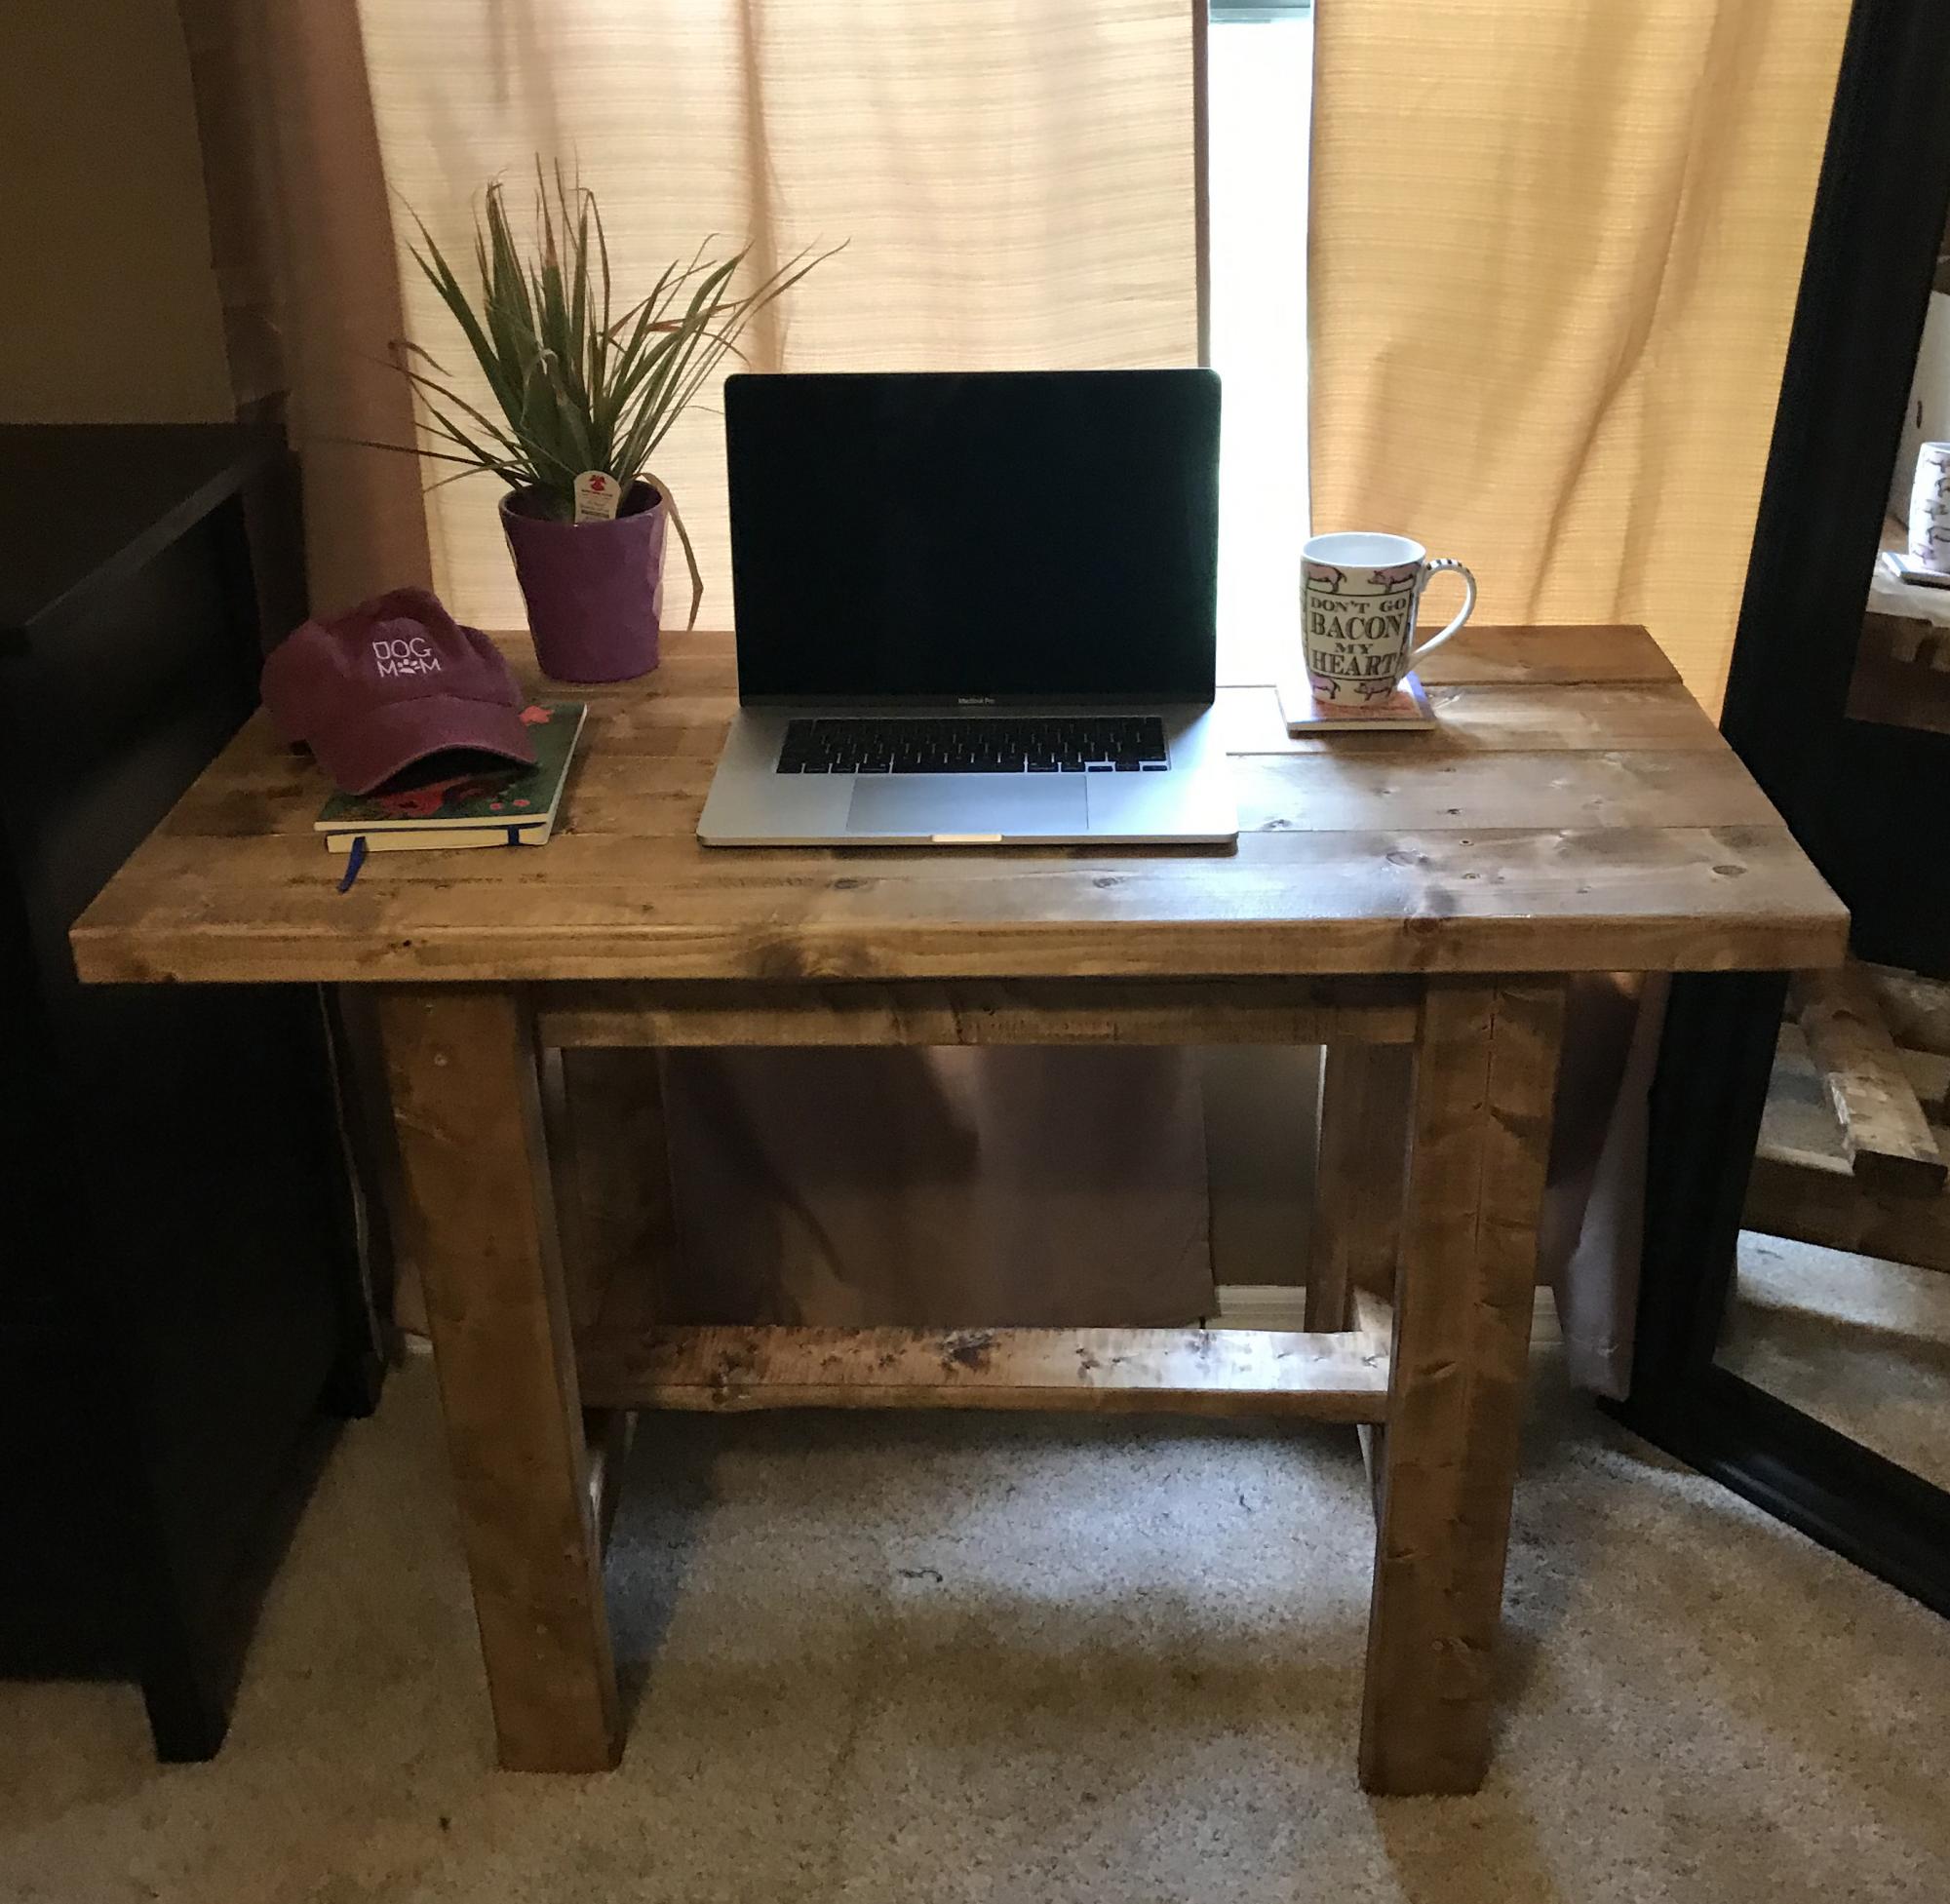
I modified the Beginner Farm Table plans into a work-from-home desk! It is perfect for my little office. This was my first project. It was a breeze to build - total time was just under two hours.

Estimated Cost
$35
Estimated Time Investment
An Hour or Two (0-2 Hours)
Finish Used
Walnut Watco Danish Oil
Recommended Skill Level
Starter Project

Weatherly Sectional

We modified the Weatherly Sofa plans to fit the 29" cushion covers we found on sale at Pottery Barn, and we filled the cushions with the DIY inserts from Cushion Source. Instead of using 1x2's for the X's, we used 1x3's and my husband spent the better part of an afternoon trying to figure out the angles!

The wood and paint came to about $100, and the cushions were $500 for the inserts and covers (6 cushions and 14 pillows) when all was said and done. A bit expensive, but we love it!

Estimated Time Investment
Week Long Project (20 Hours or More)
Finish Used
Antique White paint from Sherwin Williams - we're going to cover it with a satin clear finish once we get our energy back!
Recommended Skill Level
Intermediate

Comments

Ji

Tue, 07/31/2012 - 08:49

I am surprised at how good white cusions look on white wood. Where did you get the cusions and how did you build the feet?

ojessiesgirlo

Thu, 08/02/2012 - 17:03

We got the cushion covers from Pottery Barn during their summer sale and used a 20% off coupon, then filled them with inserts from Cushion Source (DIY section)

The feet were just feet from Lowe's - we just screwed them on!

MelTheHandyWife

Thu, 04/11/2013 - 13:07

I'm gearing up to build my own sectional and I'm wondering if you changed any other dimensions besides the ones for the X's. I think it looks amazing and I'd like to know what size lumber you used for yours. Thanks!

Marieb52

Wed, 03/12/2014 - 16:03

I would REALLY like to get these new measurements from you. I like the way this looks better with the 1x3's and I don't trust myself to be able to figure out those new angles. Could you please give me the measurements you used to make these X's out of 1x3's? Also, it looks like you used 3x3's for the posts? And maybe 2x3's for the sides and bottoms of the x's. I'm not sure and I'm dying to know because this is beautiful. I'd like to make it soon. I really appreciate your help. Thanks!

$1.18 Bird Feeder

Submitted by jaime19861 on Mon, 05/26/2014 - 11:11

I have been trying to attract more birds. I built and put up some more birdhouses, added a bird bath, and wanted to add some more feeders. I found this quick and easy plan and I had to build it.

This took me less than an hour to build. I bought my picket from Menards when it was on sale for $1.18. That's not a bad price for a bird feeder!

You can see the steps I took to build this on my blog.
http://jaimeofalltrades.blogspot.com/2014/05/make-bird-feeder-for-under…

Built from Plan(s)
Estimated Cost
2.00
Estimated Time Investment
An Hour or Two (0-2 Hours)
Recommended Skill Level
Starter Project

Comments

jessehawks

Sun, 03/01/2020 - 17:05

I can tell just from looking at this wood it was treated with a copper based chemical (note the green/blue blotches) while cedar is a good natural resistant wood these can sometimes be treated a well check for those greenish blotches around the Heartwood lines, chemical won't penetrate the tree sap in the wood and builds up along these lines. *I've worked in the pressure treated industry as a chemical tech for 3 years, and industry as a whole for more than 7.

Bathroom shelf

Submitted by Anonymous (not verified) on Sat, 08/27/2016 - 13:26

Very easy build! This took just a few hours to complete and gave us some much needed flare for out tiny guest bathroom! 

Estimated Time Investment
Afternoon Project (3-6 Hours)
Finish Used
Paint
Recommended Skill Level
Starter Project

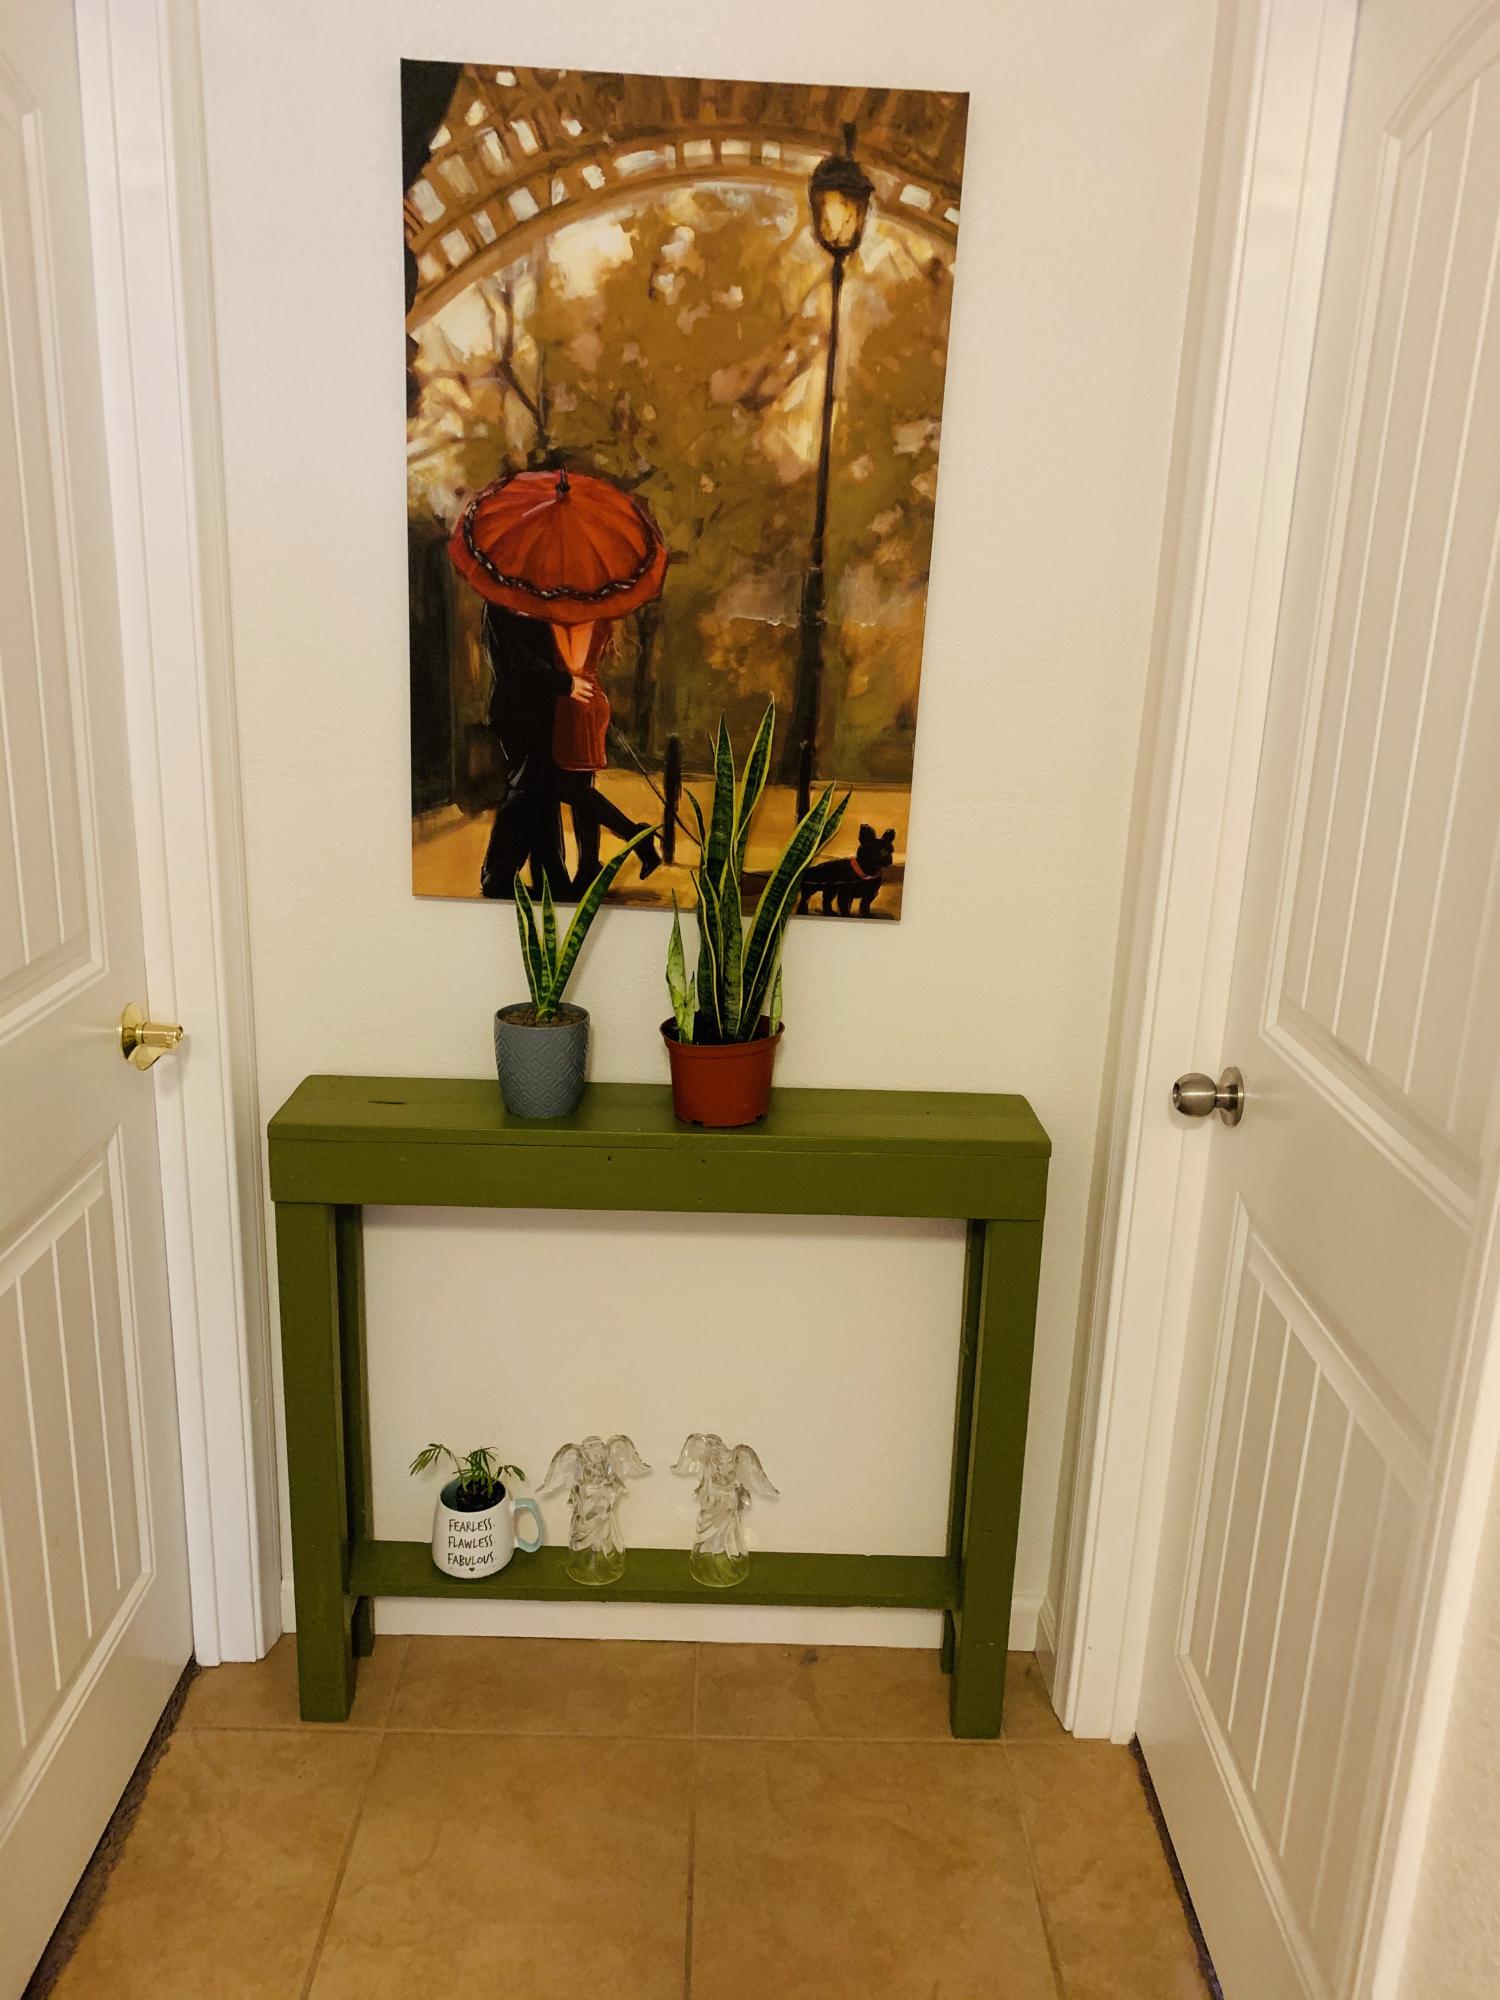
Hallway table

Submitted by Anonymous (not verified) on Mon, 06/08/2020 - 08:19

My wife told Me the picture was so lonely
So I made this hallway table to complete the picture frame

Clip Art

Submitted by red98dawg on Fri, 08/03/2012 - 07:45

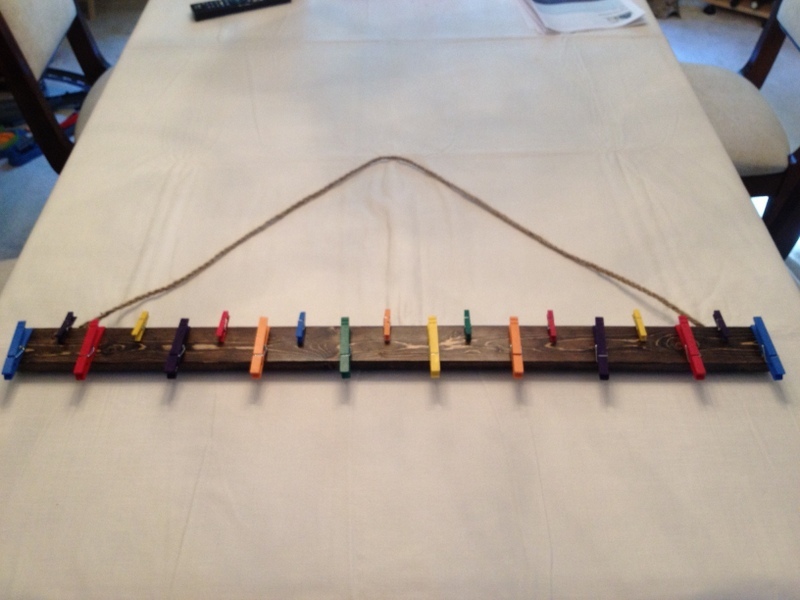
This is such a great way to show off art from school. I used scrap wood and regular and small clothes pins. I thought I could put photos in the small clips on top and the artwork on the bottom larger ones.

Built from Plan(s)
Estimated Cost
$5
Estimated Time Investment
An Hour or Two (0-2 Hours)
Finish Used
Minwax - Jacobean, 1 coat
Minwax - Fast-Drying Polyurethane, 2 coats
Various art paint we had from other projects
Recommended Skill Level
Beginner

Breakfast Bar Conversion to Storage Shelving

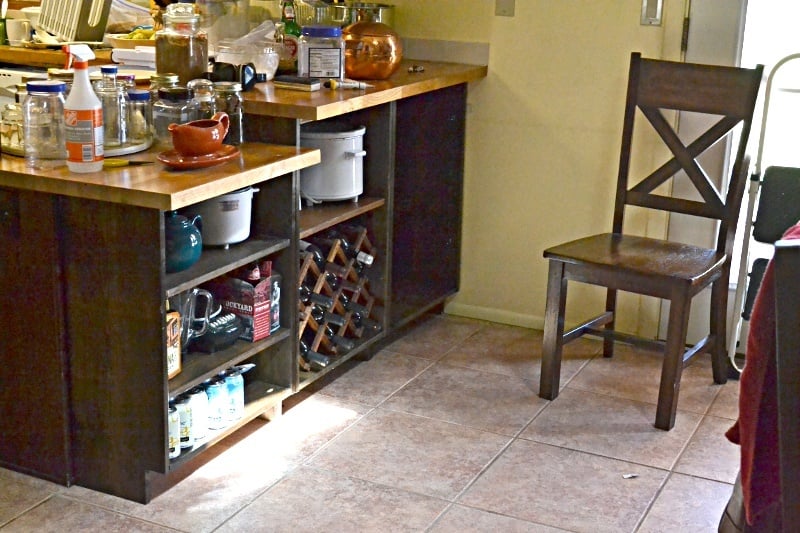
Added kitchen and dining room storage by building bookcases / shelf units to fit under the peninsula breakfast bar overhang. It's the simplest possible "box with a toe-kick", loosely based on Ana's plans for a bookshelf and the closet master system.

Much of the "working time" was stain and finishing time. Actual cutting and assembly time was under 3 hours.

No dimensions: every breakfast bar is different.

1 - The boards were cut to fit under the overhang, with 1/8 or less clearance. Top and bottom of unit is between the upright pieces.

2 - Width of units was also cut to fit. One unit is the width of the lower section of countertop (appx 23 in), the taller section was divided into 2 equal units (appx 21 in)

Shelves were cut about 1/4" narrower than the insiude dimension of the unit, to allow for insertion and the shelf pegs.

3 - Toekick space cut to match the cabinet on the far side of the peninsula. Used a circular saw and then a hand saw to finish the corners.

4 - Drilled pocketholes in the top and bottom boards.

5 - Used Rockler's jig for drilling shelf pin holes in the 6 uprights. Oops! I should have drilled every possible hole. I drilled every other hole and don't have the shelf flexibility I really need.

6 - Stained and topcoated everything, let it dry.

7 - Assembled each shelf unit, using corner clamps and a carpenter's square to make sure it was square. The bottom shelf is screwed at the same level as the toe-kick.

8 - Slid units under the overhang, shimmed them firmly under the countertop.

9 - Added shelf pegs and shelves

DONE!

Doors could be added, using the hinges for inset doors on frameless cabinets.

==========
NOTES:
The units are backless. I considered nailing a 1/8 hardboard back onto them, but because the finished back of the peninsula is visible behind them, and they are shimmed into place to prevent slouching it was not needed.

Cost is low because we had some 1x12 boards in the attic. Already had the tools and stain from earlier projects. 3 1x12 x 6ft boards were new, the rest were salvage.
Estimated Cost
$100
Estimated Time Investment
Week Long Project (20 Hours or More)
Finish Used
Minwax Jacobean oil stain - one coat wiped on after light sanding

General Finishes gel topcoat - one coat wiped on
Recommended Skill Level
Beginner
Back