Community Brag Posts

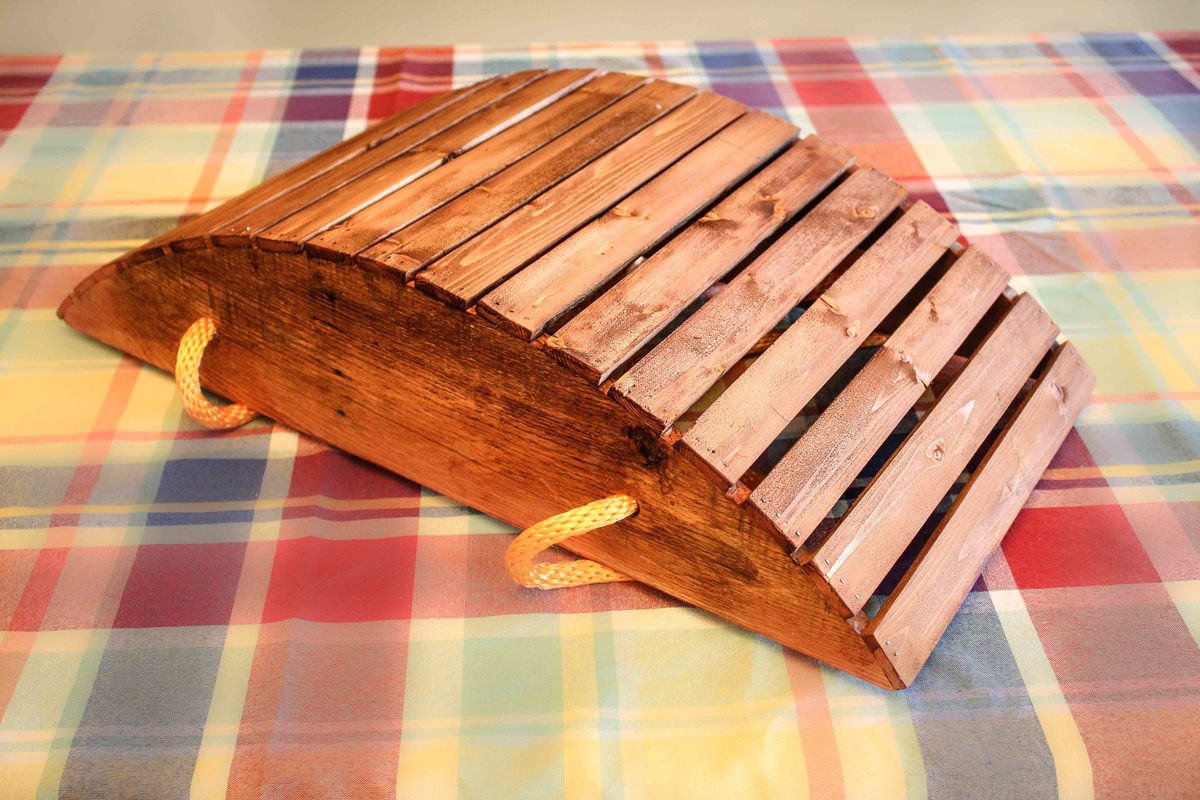
Harvest Basket

Submitted by mtairymd on Sat, 03/14/2015 - 10:49

Build Instructions:

http://www.instructables.com/id/Harvest-Basket-Garden-Trug/

Video of Build:

https://www.youtube.com/watch?v=3DlhZ6-gpak&feature=youtu.be

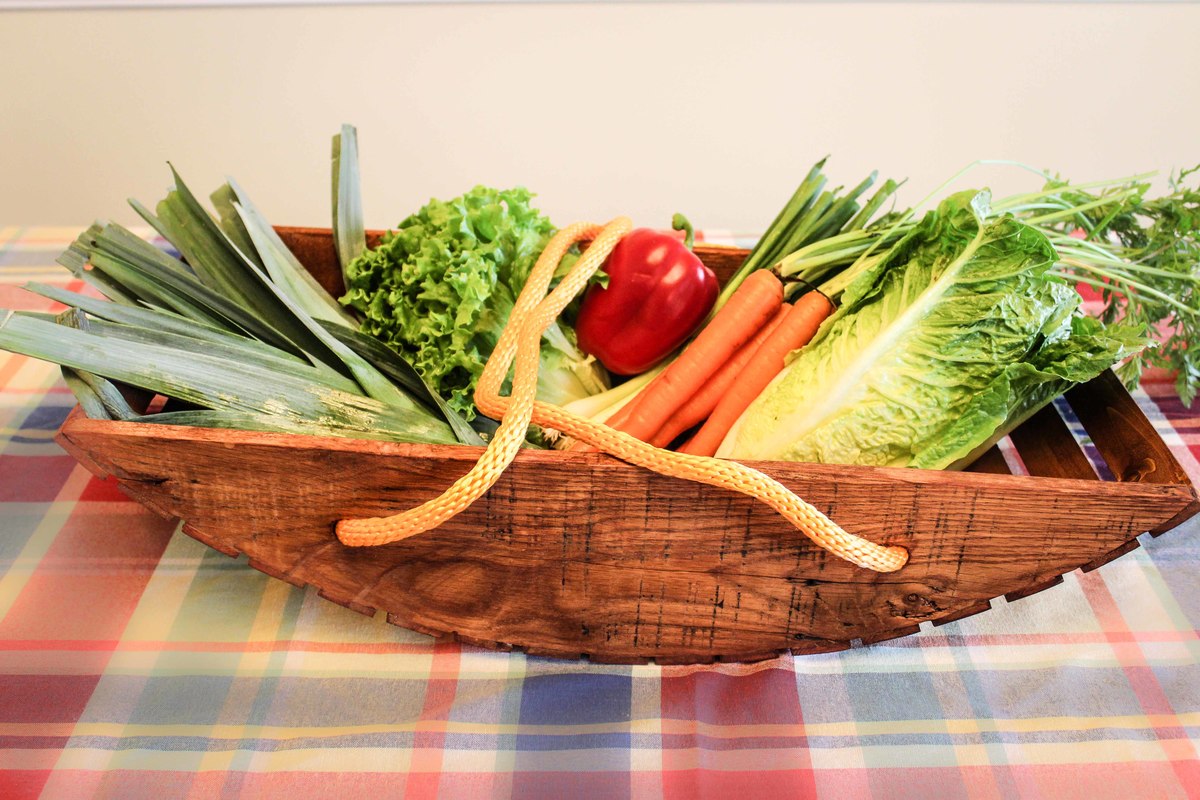
This is a simple design built from reclaimed wood and purchased ¼” wood slats.  It cost very little and only took a couple of hours to complete the build.  The goal was light weight, shallow and wide for collecting leafy vegetables, easy to handle and somewhat attractive. 

Estimated Time Investment
An Hour or Two (0-2 Hours)
Finish Used
Natural Stain - see link above
Recommended Skill Level
Starter Project

Comments

Faux Driftwood Finish Media Console

Submitted by Anonymous (not verified) on Sun, 06/11/2017 - 19:37


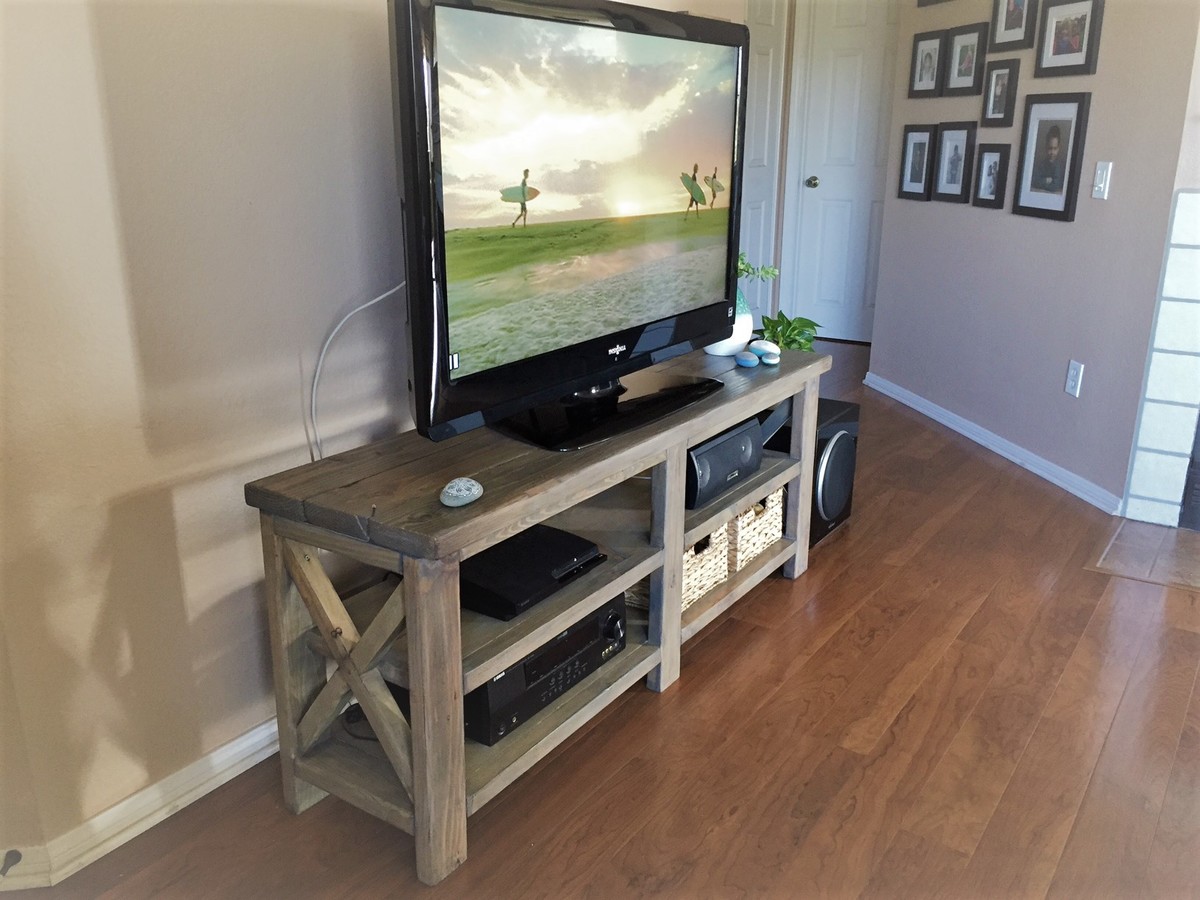
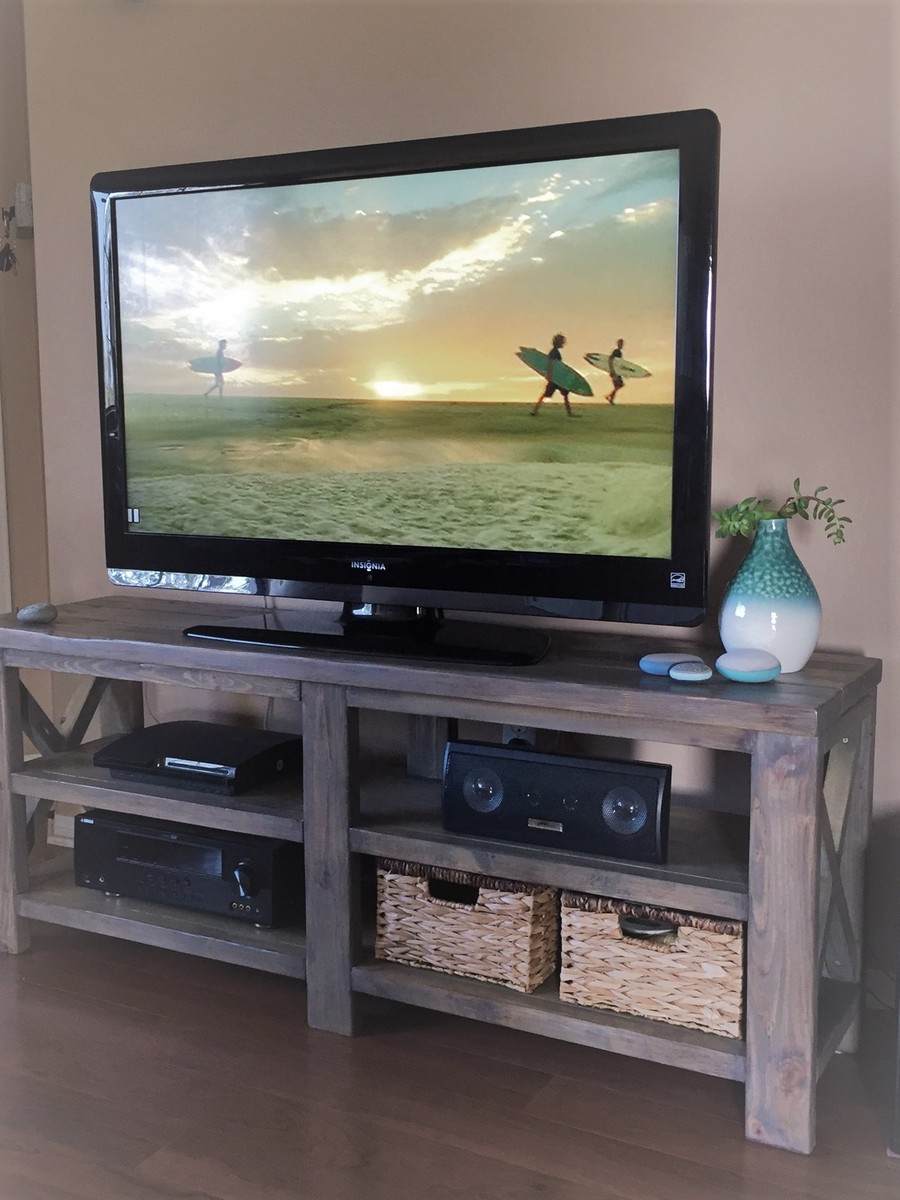
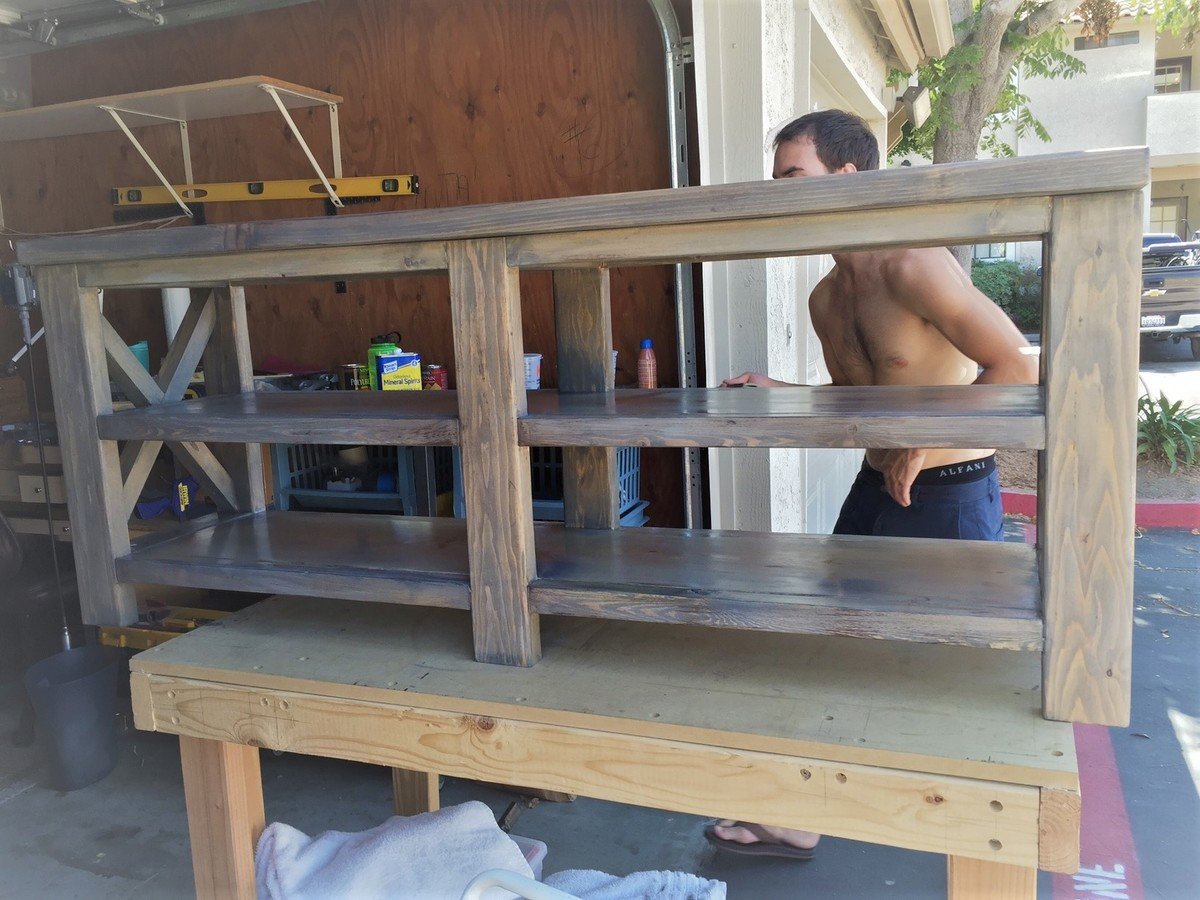
My girlfriend requested I make this stand for our TV which is 46". (It looks like something she wanted from a furniture store that was being sold for around $1,100.)  I followed the plan, but customized the size. My table is 60" long and 24" high.


We wanted to make a weatherbeaten "driftwood" look. The Classic Gray was darker and had more opacity with one coat than expected, so we stopped at one coat.  Classic Gray is a lot "cooler" in tone before the clear coats, because the clear polyurethane I used  has a warm tint to it. (In the future, I also want to try the crystal clear Minwax Polycrylic, which would not warm the tone of the gray.) After the stain, we added some brown dry brushstrokes to make it look rustic or aged. 

I lightly sanded between each of the clear coats. Two coats on the under parts and three coats on the top. 

I added felt pads that I cut to fit to protect our floors from scratching. 

The wood is part pine and part common board. 

Girlfriend loves it! It is a huge hit. Lots of compliments from neighbors as I worked, too. 

Built from Plan(s)
Estimated Cost
$100
Estimated Time Investment
Weekend Project (10-20 Hours)
Finish Used
Sanded to 220

1 application of Minwax pre-stain Wood Conditioner

1 coat Minwax Wood Finish Penetrating Stain, color Classic Gray

Dry brushstrokes of Martha Stewart Vanilla Bean Multi-Surface Satin Acrylic Craft Paint at edges (color is a neutral grayish brown)

2 coats of Minwax Polyurethane, Clear Satin
Recommended Skill Level
Beginner

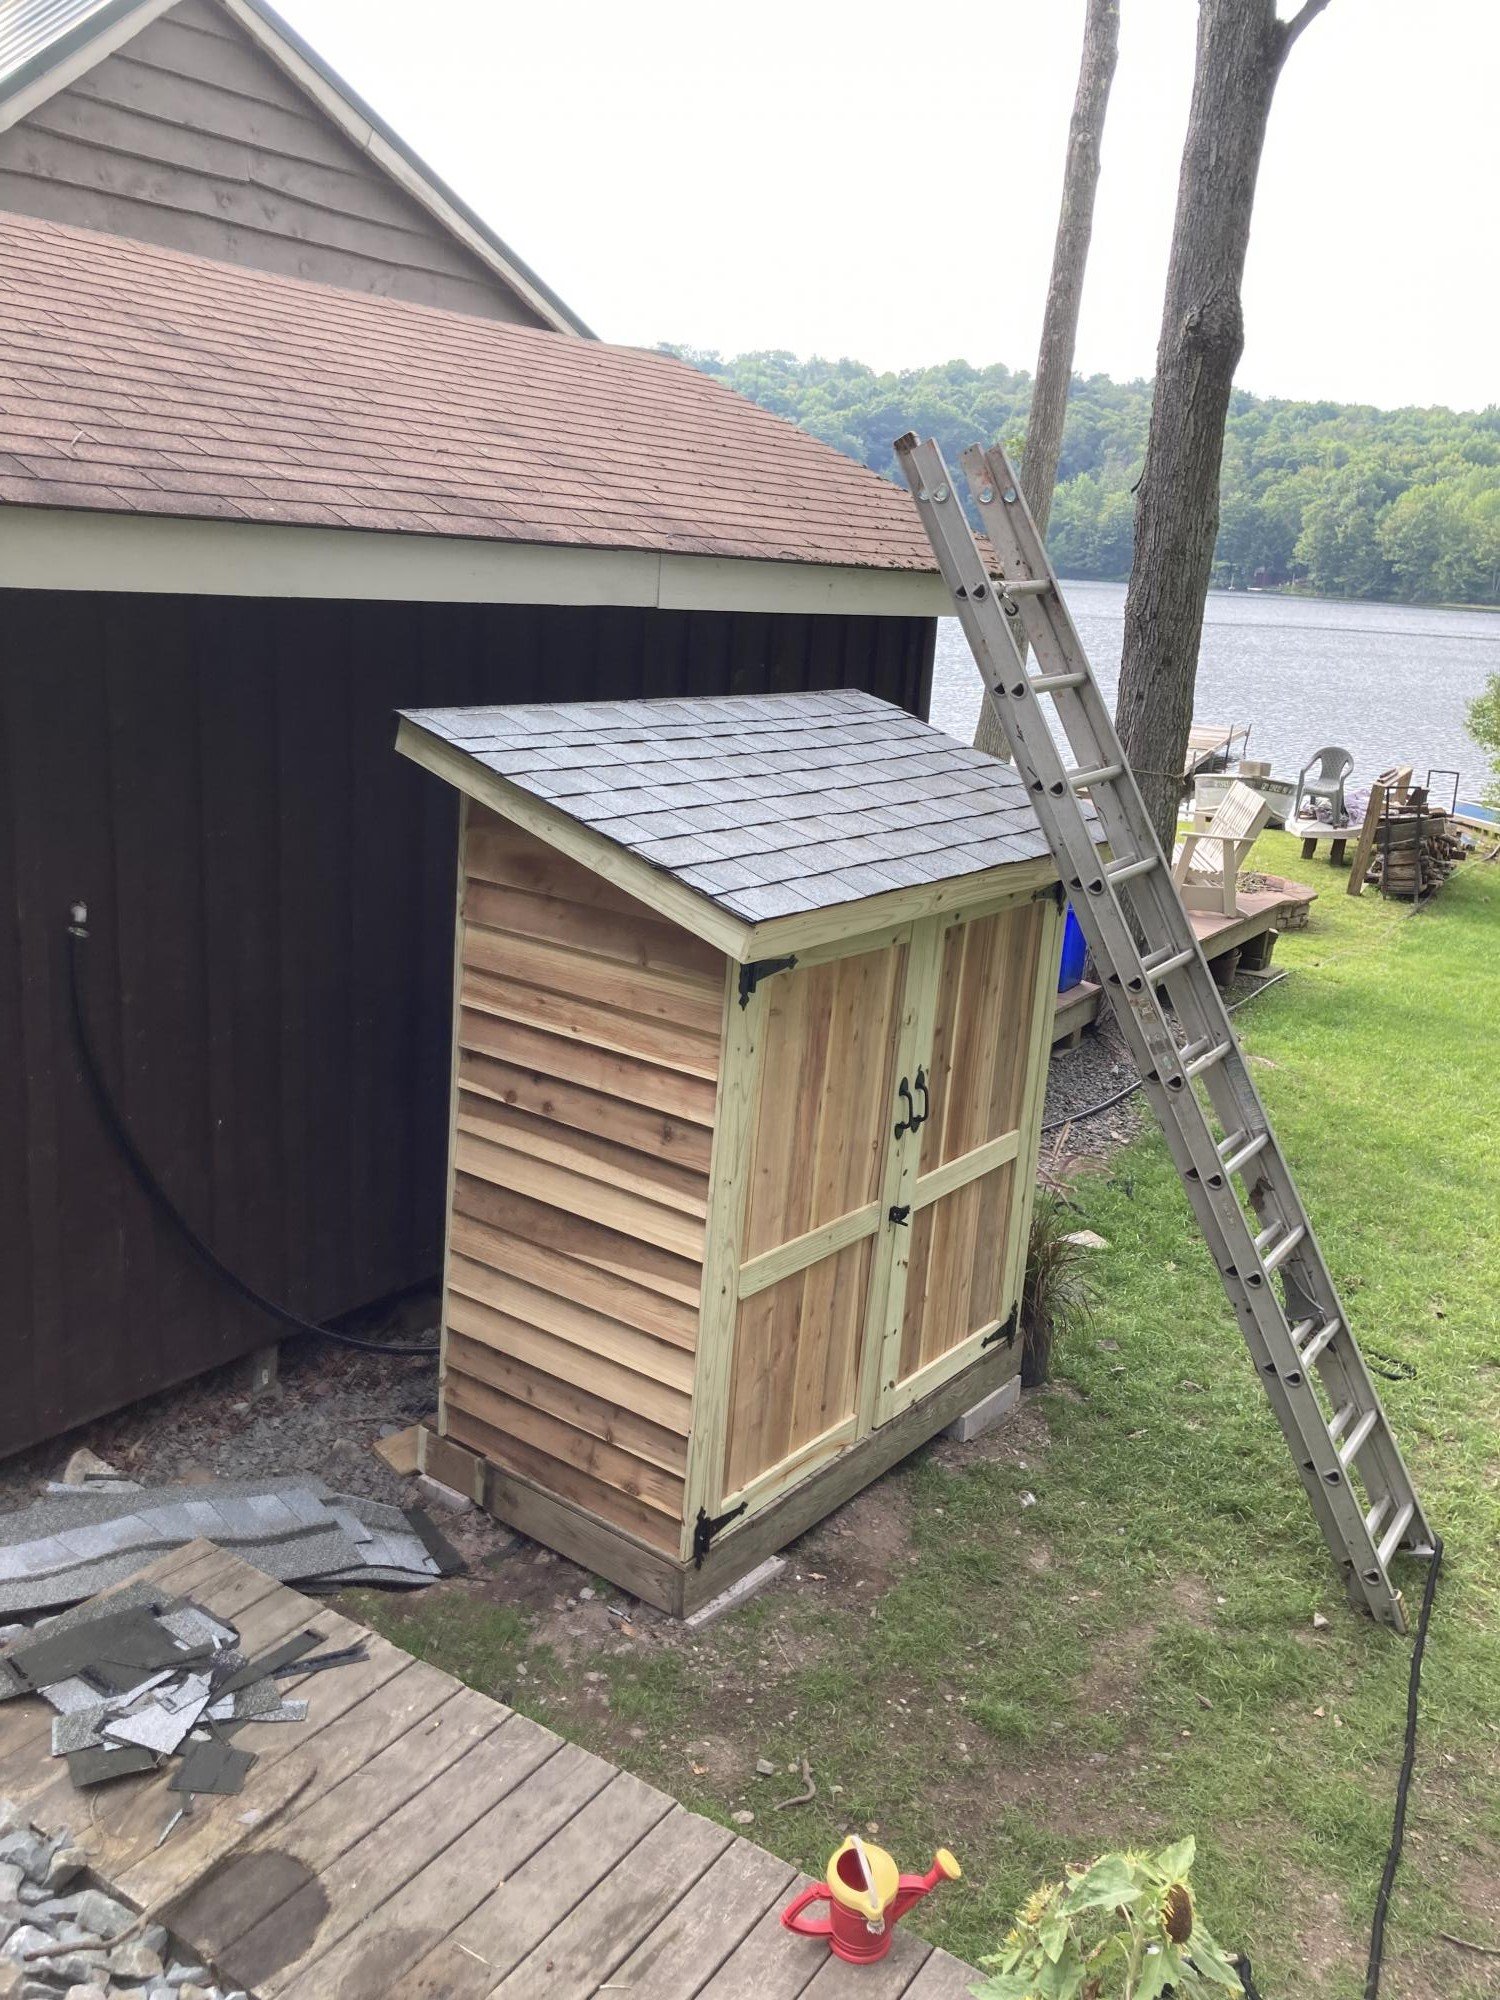
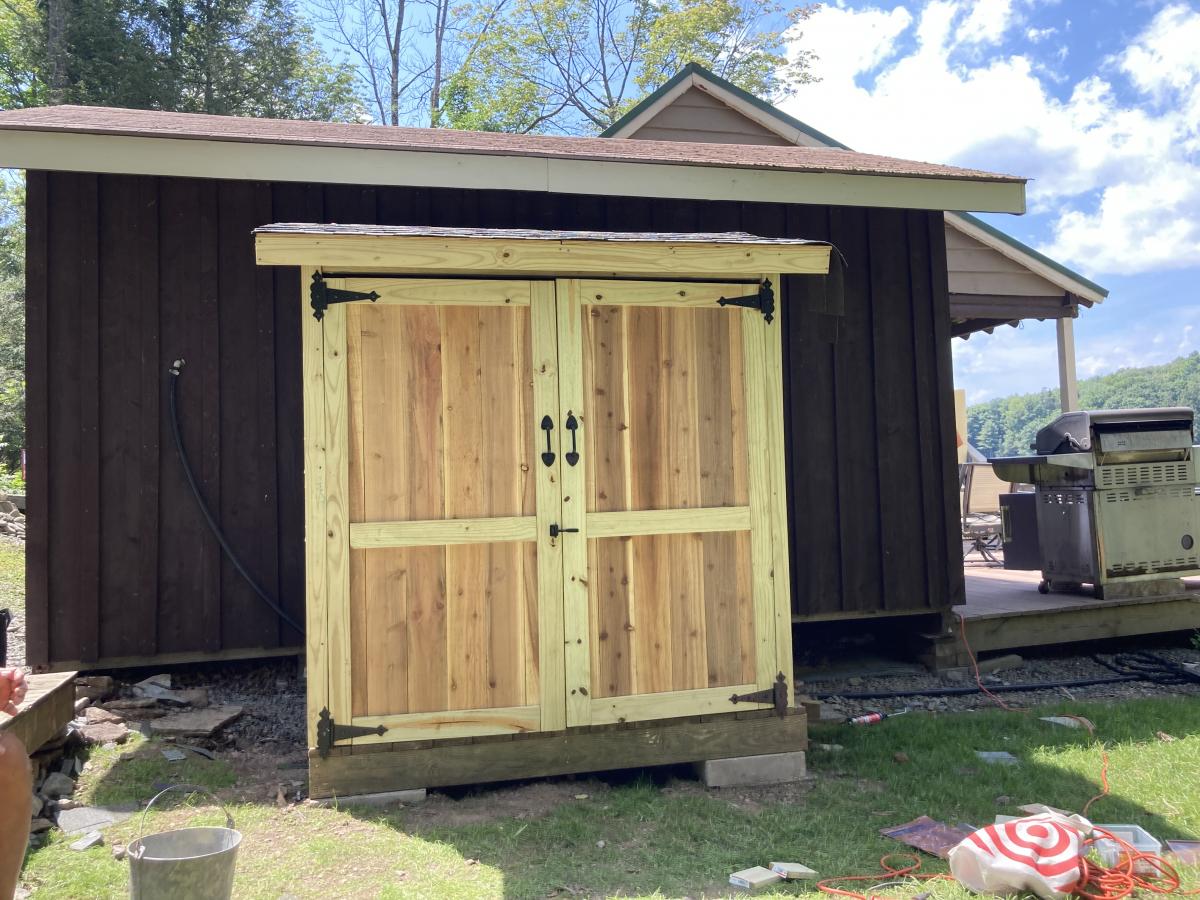
Small cedar shed

Submitted by sarusso82 on Sun, 08/08/2021 - 05:41

First shot at using plans from Ana, and thought it was great! Can’t wait to try another!

Built from Plan(s)
Estimated Cost
500
Estimated Time Investment
Weekend Project (10-20 Hours)
Recommended Skill Level
Beginner

Comments

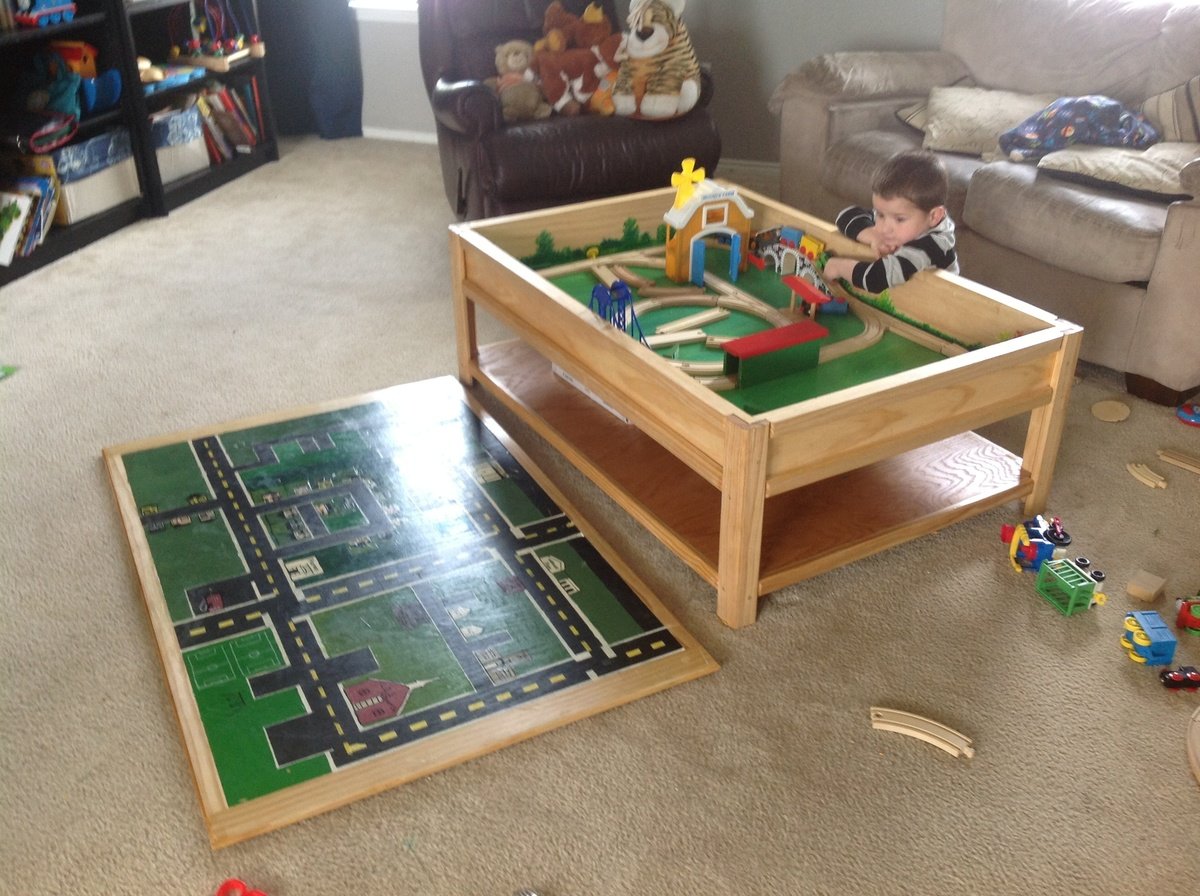
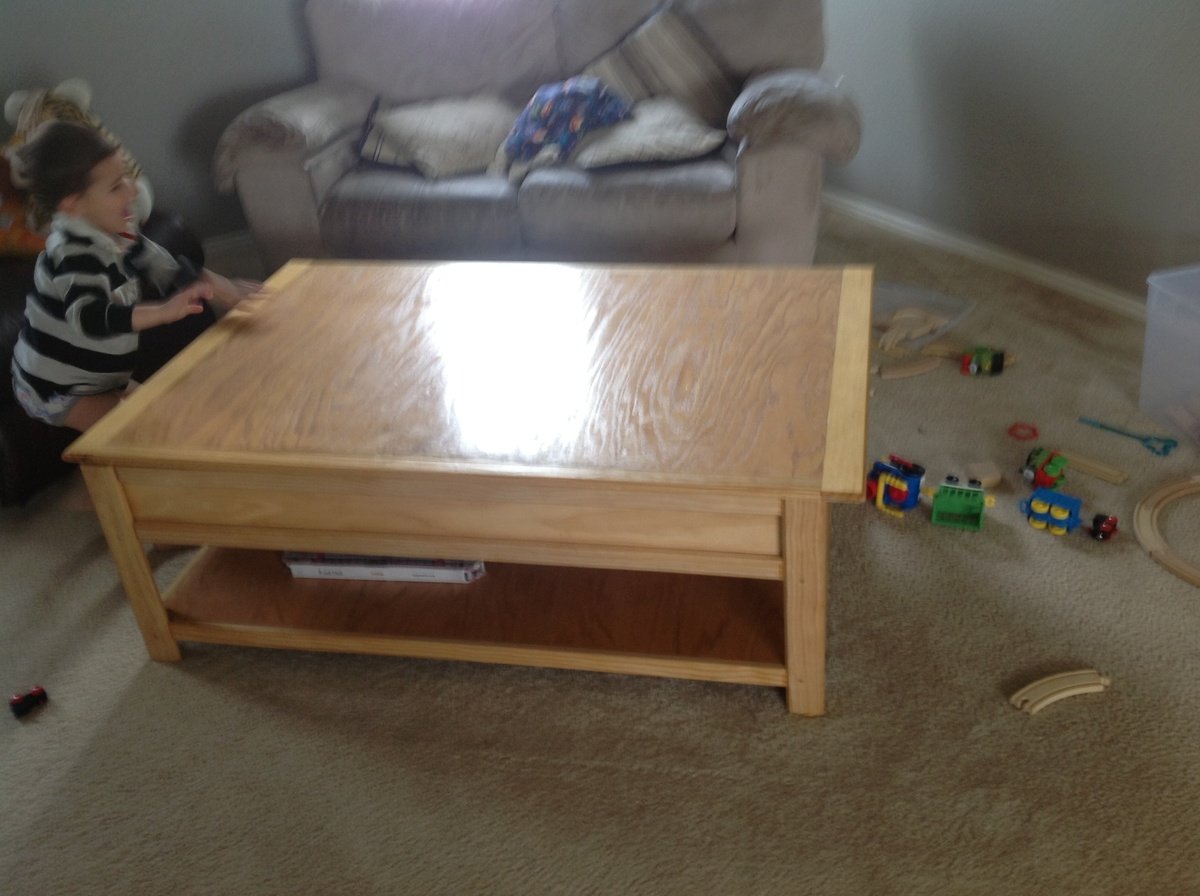
Train & car table

Submitted by Jrich on Thu, 04/25/2013 - 12:58

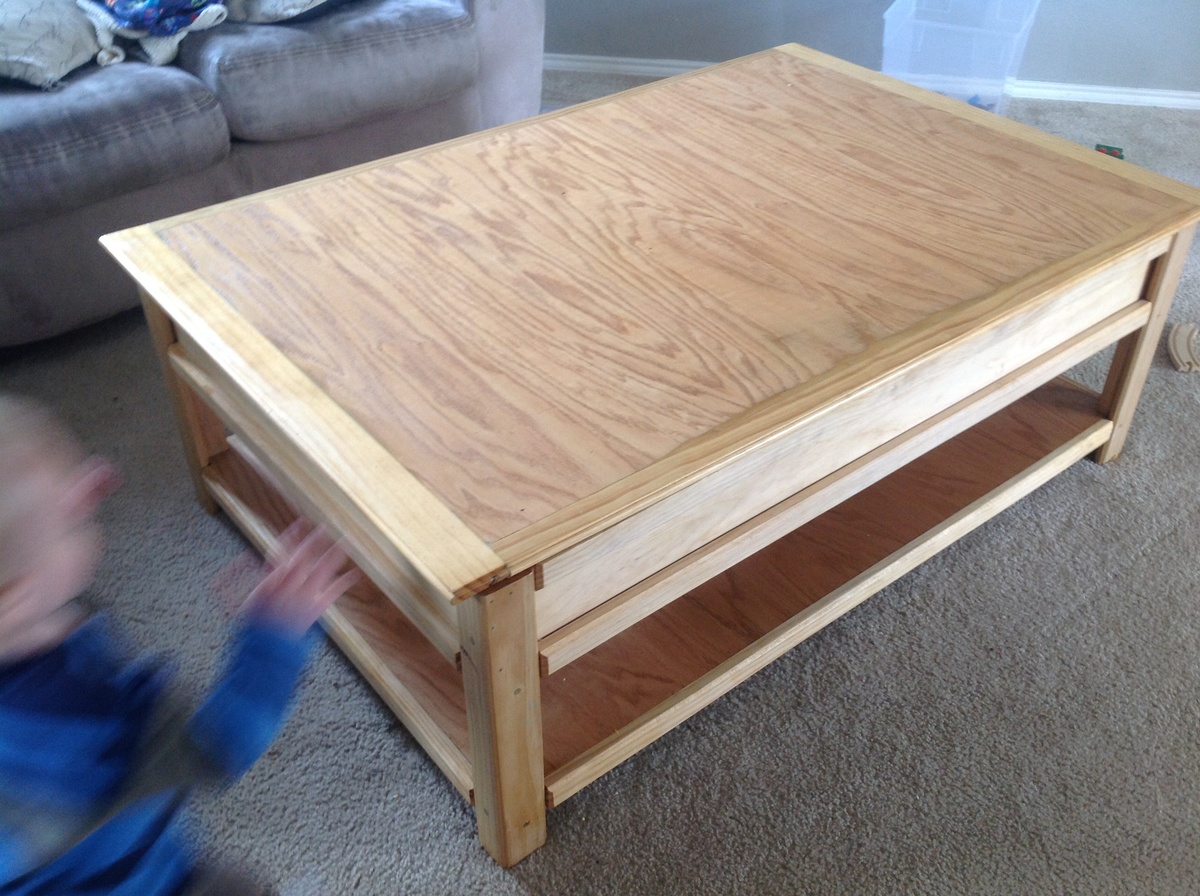
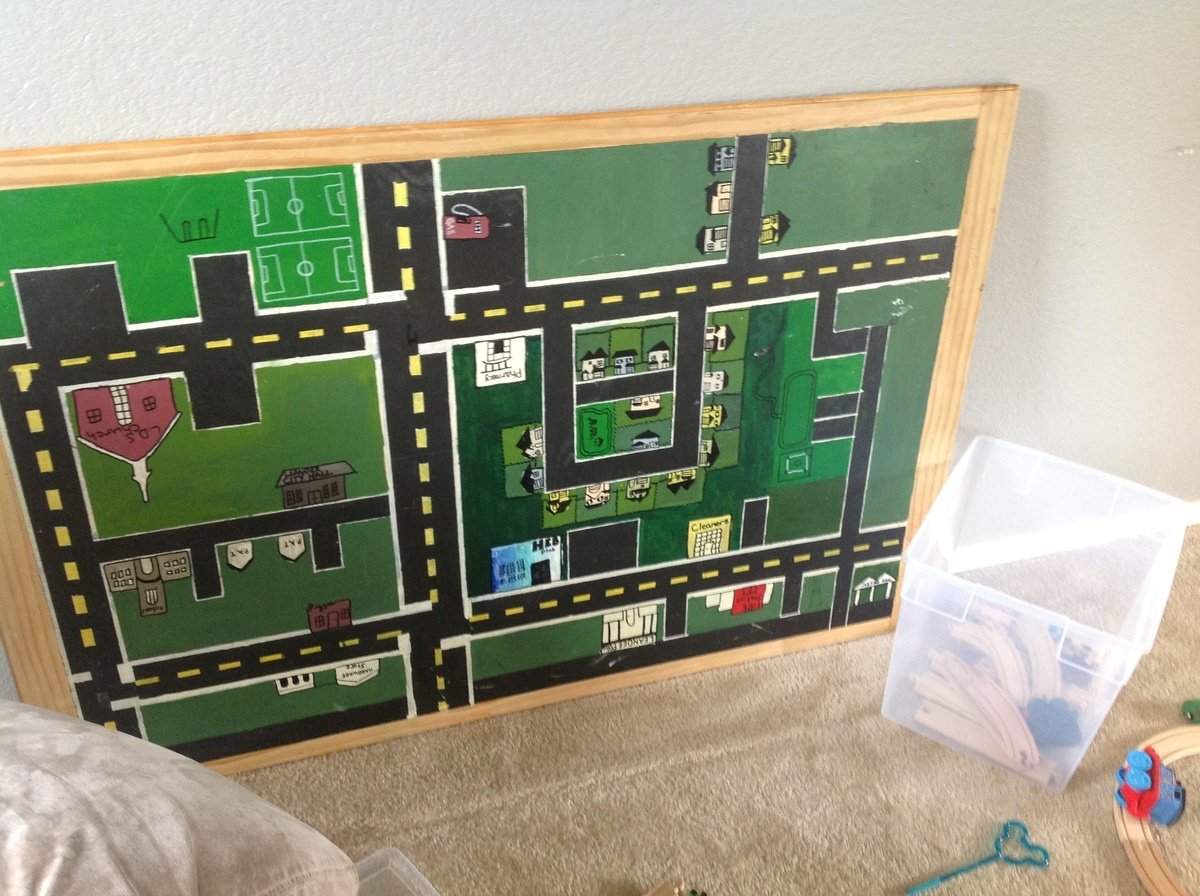
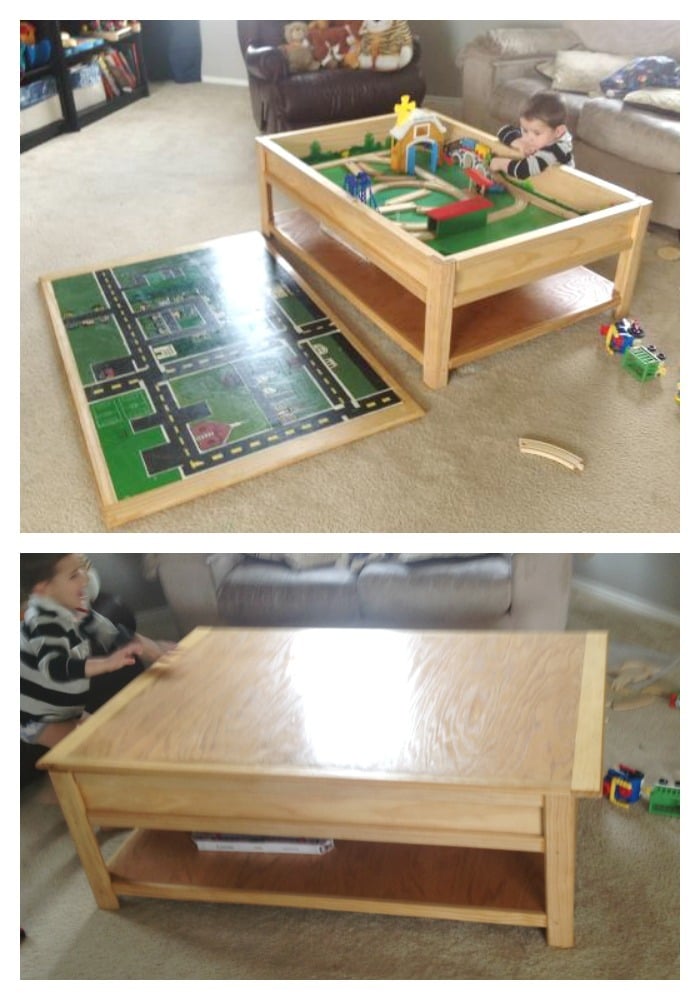
We customized the train table a bit and laminated the top into one solid piece so that we could paint a car map of our neighborhood on the underside. It's heavy! But with two boys in the house it's never really on anyways! :)

Built from Plan(s)
Estimated Time Investment
Week Long Project (20 Hours or More)
Finish Used
Tung oil
Recommended Skill Level
Beginner

Comments

mswendsen

Thu, 03/06/2014 - 22:26

I was wondering how you made it possible to lift and what the process was to do the map? I am wanting to do something like this for hot wheels for our friends son so he has something to play with when they come over.
Thank you

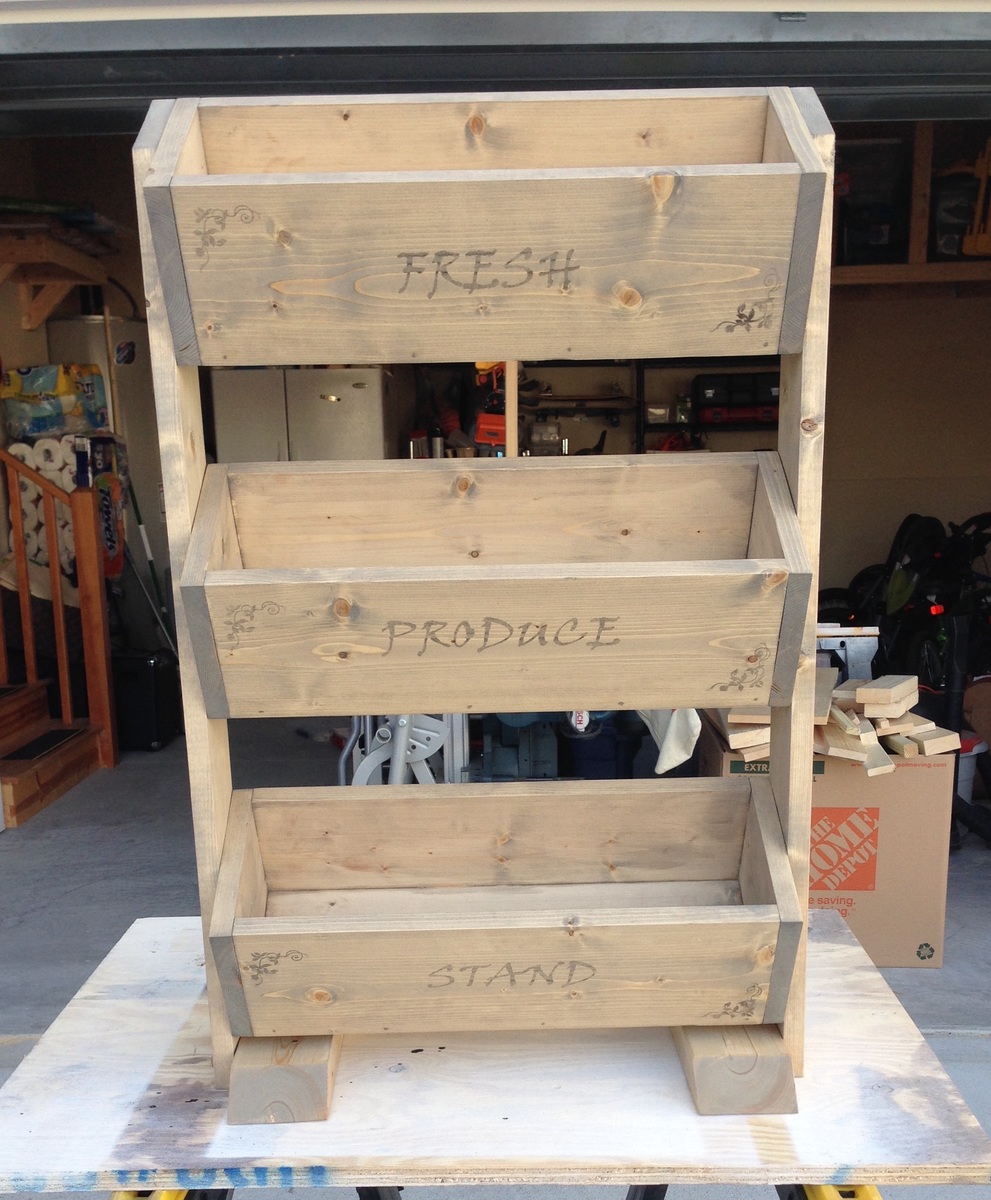
Produce Stand

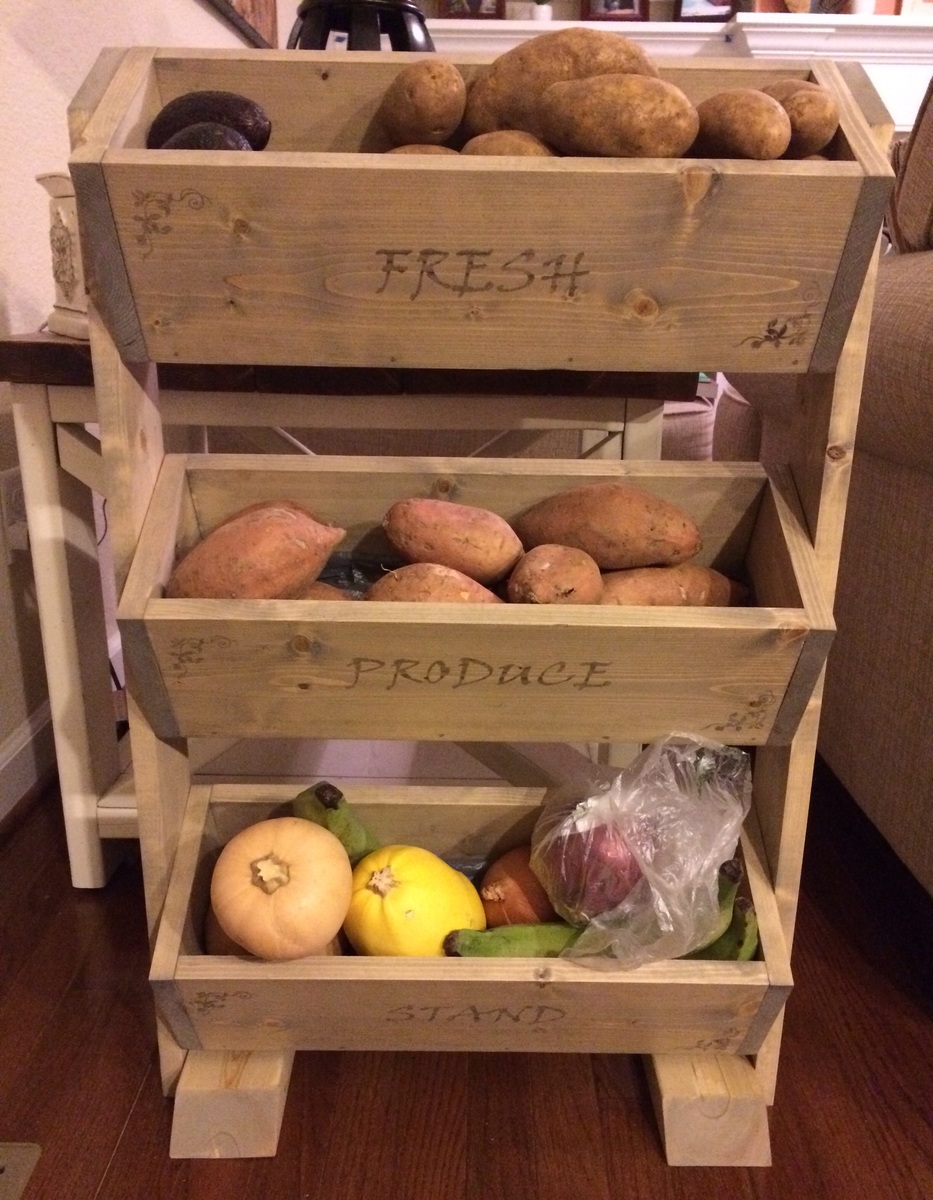
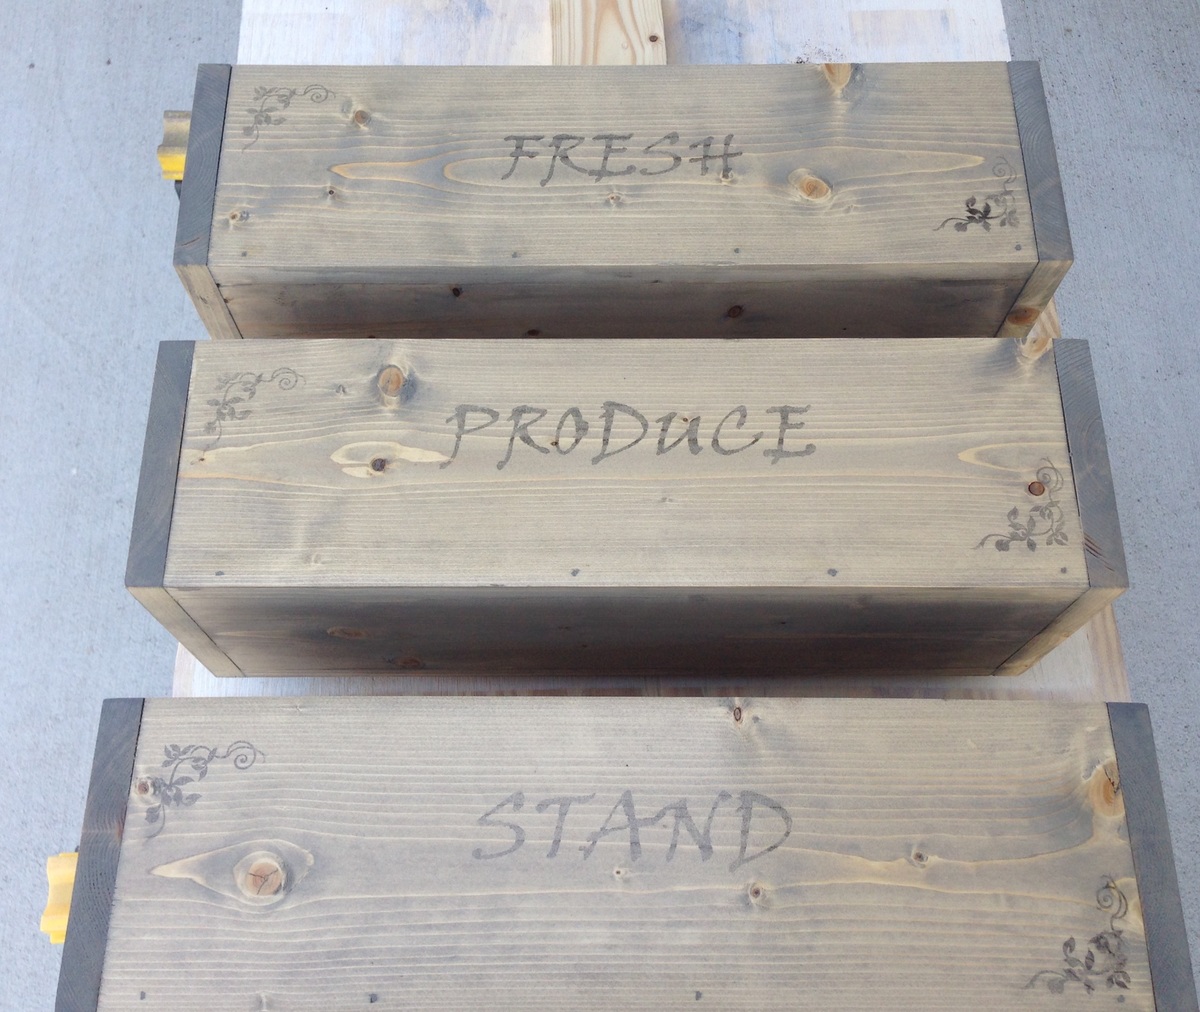
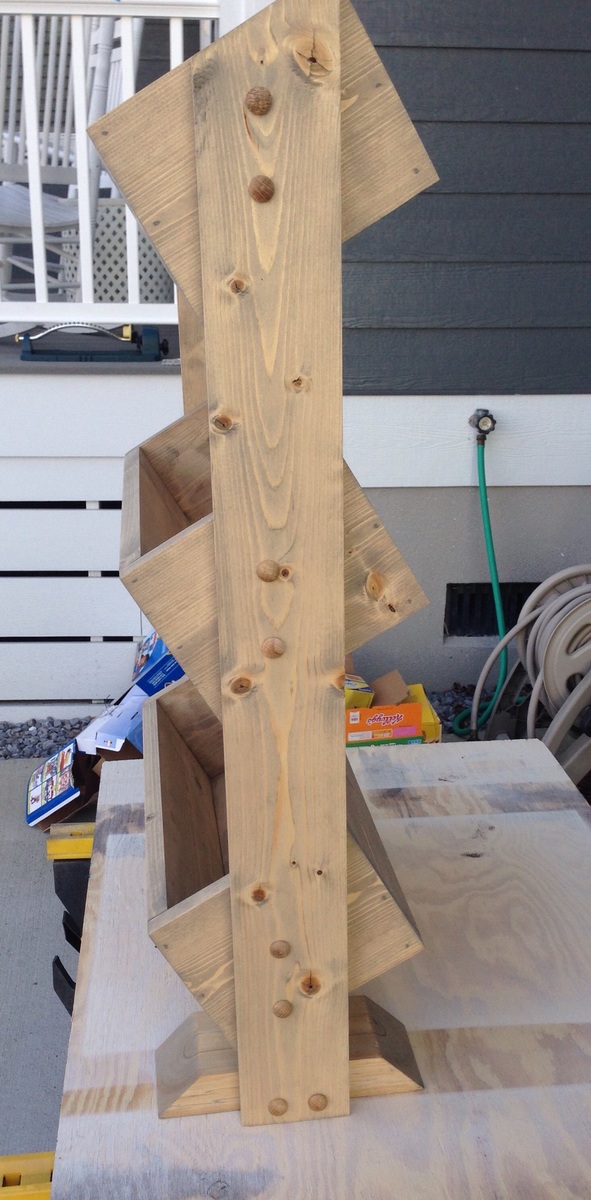
I really enjoyed this project!  It was very easy and inexpensive.  I used Weathered Oak stain to make the pine look aged.  I also countersunk all of the screws and used oak button dowels to give it a finished look.  I learned how to create the wording and images through YouTube.  Search: how to transfer an inkjet photo to wood.  Cool trick.

Estimated Cost
$35
Estimated Time Investment
Afternoon Project (3-6 Hours)
Finish Used
Weathered Oak
Recommended Skill Level
Beginner

Comments

Debbie742

Tue, 12/01/2015 - 04:50

My sister in law would like one of these and I'm wondering what angle cut you used for your support boards?  I like the idea of going corner to corner vs trying to get each one centered and not making a mistake. I'm also wondering about spacing and if you kept the measurements the same as "Over The Big Moon" ?  Thanks so much!!!


Debora Cadene

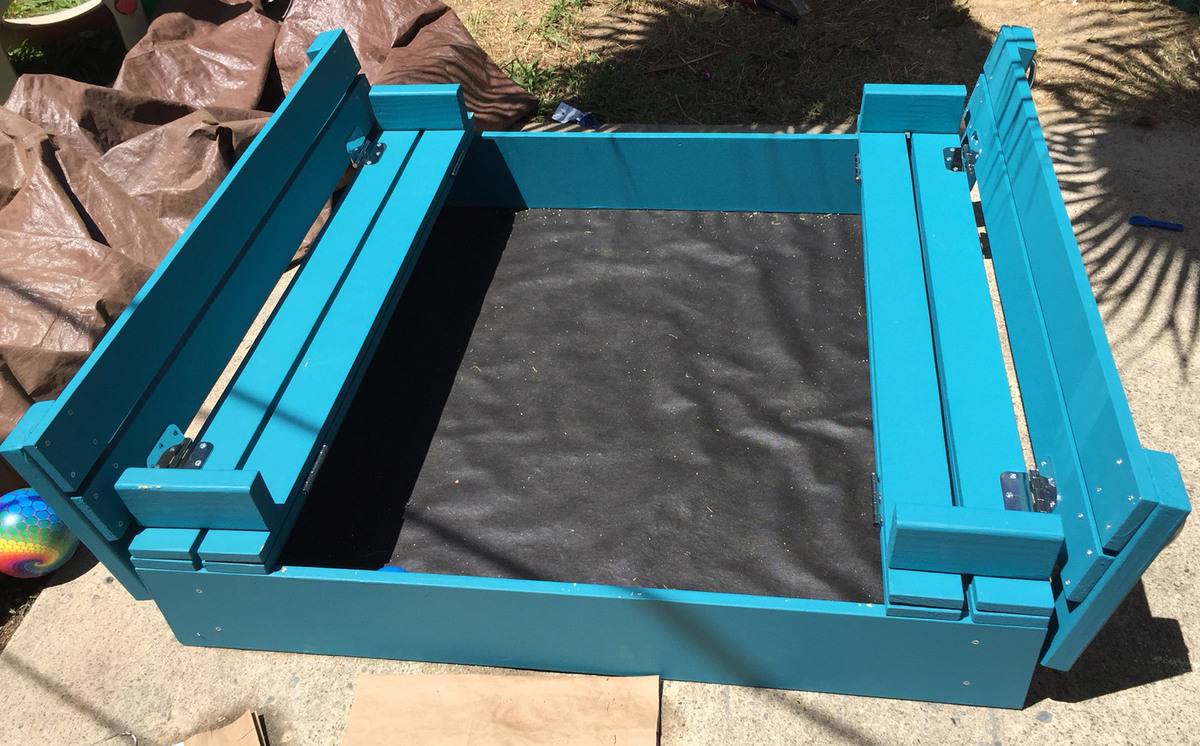
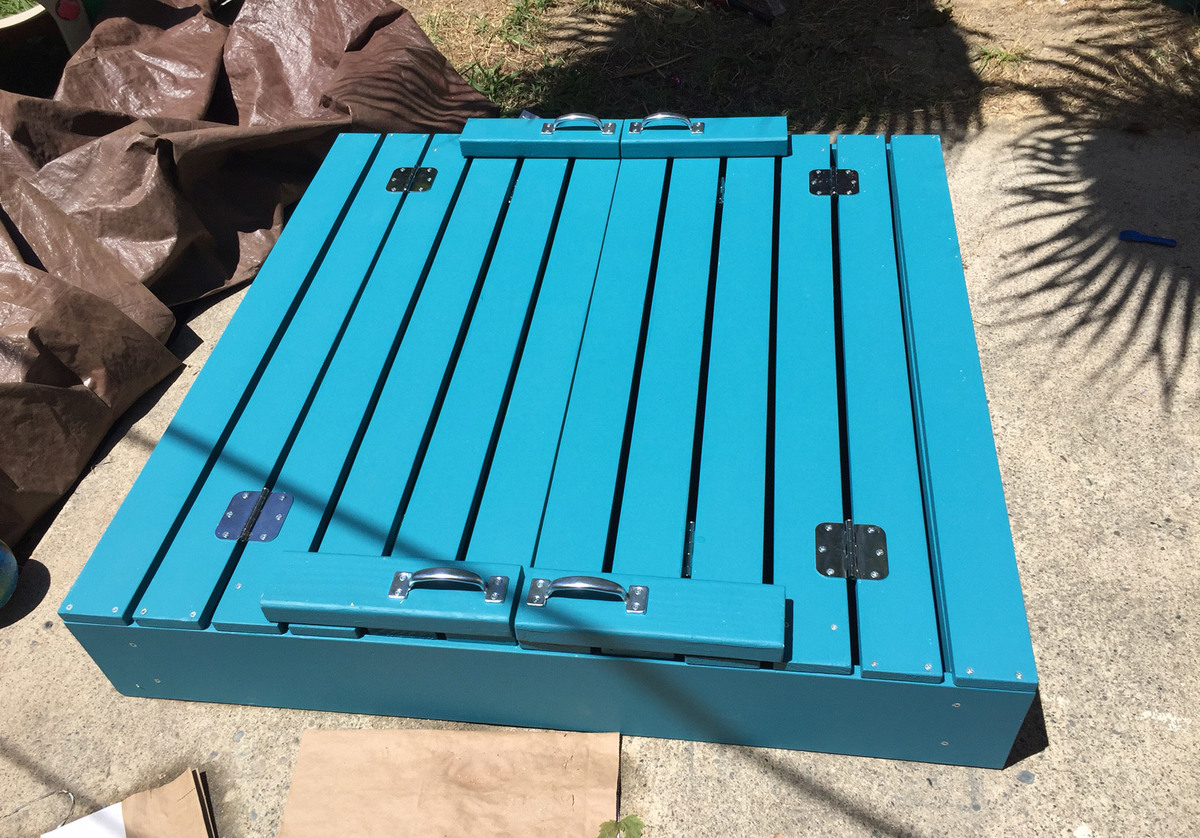
Sandbox w/ Built In Seats

Submitted by Anonymous (not verified) on Wed, 06/14/2017 - 07:30

I have built some other stuff before, but not with paint and sanding and such. It was definitely a great learning project. There are imperfections, but it's a toy, so kids will be having fun and that is all that matters.

Built from Plan(s)
Estimated Cost
$100... but, the paint will be used on other projects, and I paid for better boards for on top.
Estimated Time Investment
Weekend Project (10-20 Hours)
Recommended Skill Level
Beginner

Comments

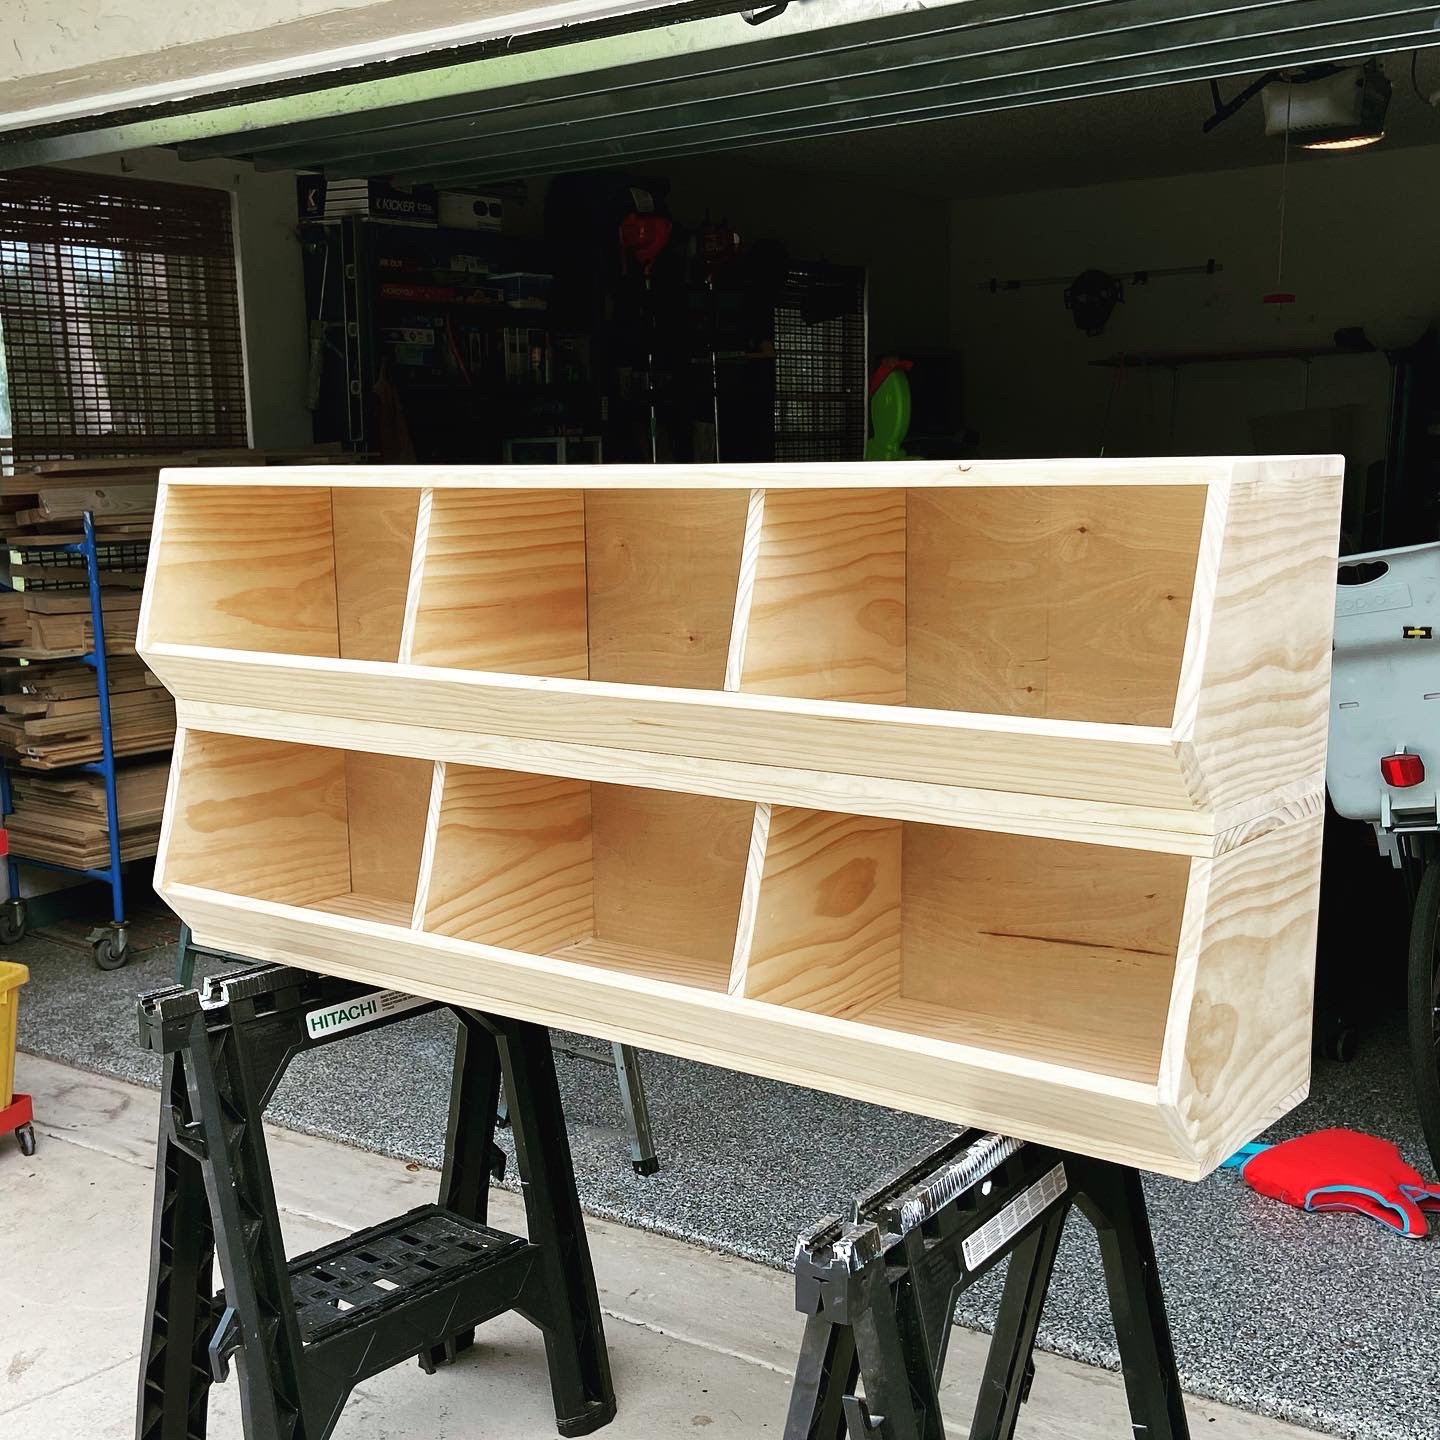
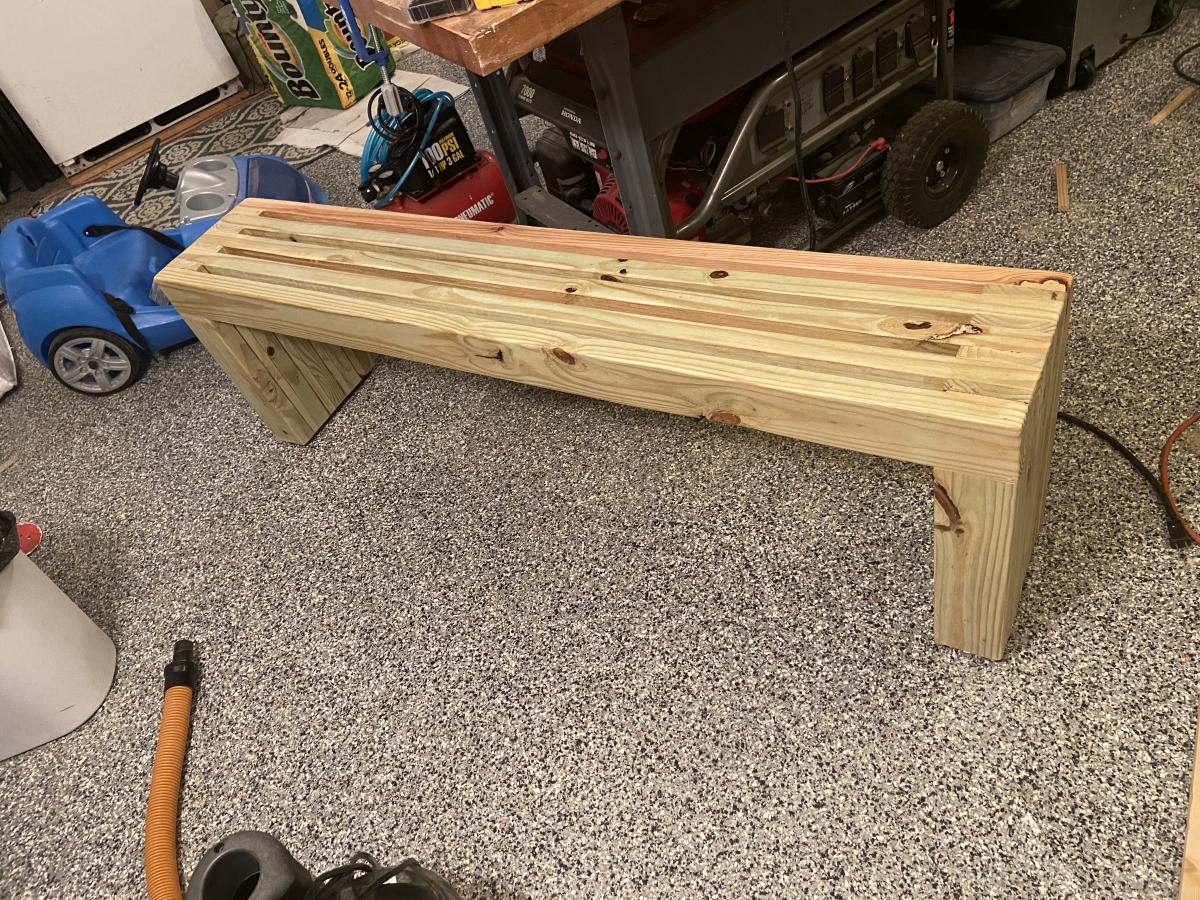
Photo dump!!

Submitted by Anonymous (not verified) on Thu, 08/26/2021 - 04:13

I have built all these recently with the help of your plans! Thank you!!

Comments

Petite Planked Wood Sideboard

Submitted by moosmani on Sun, 04/28/2013 - 14:22

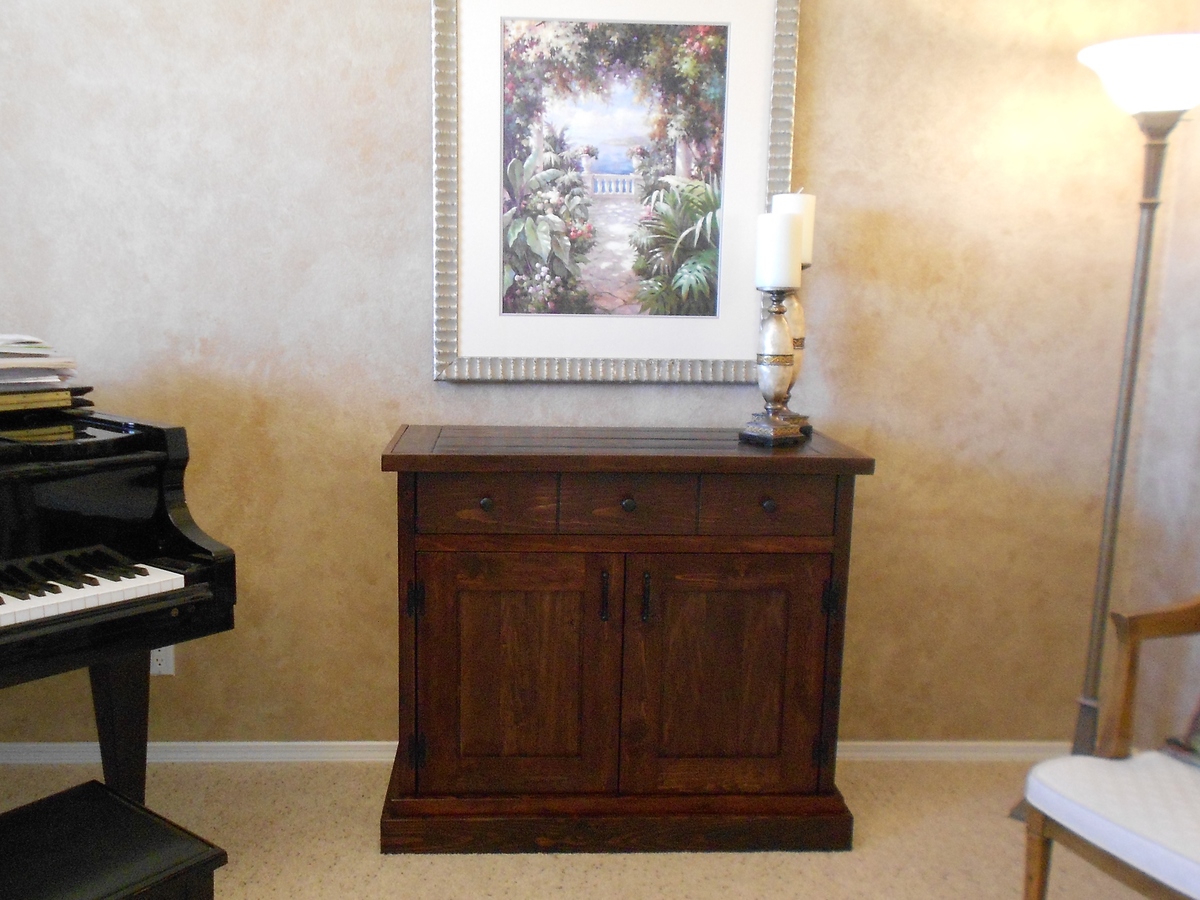
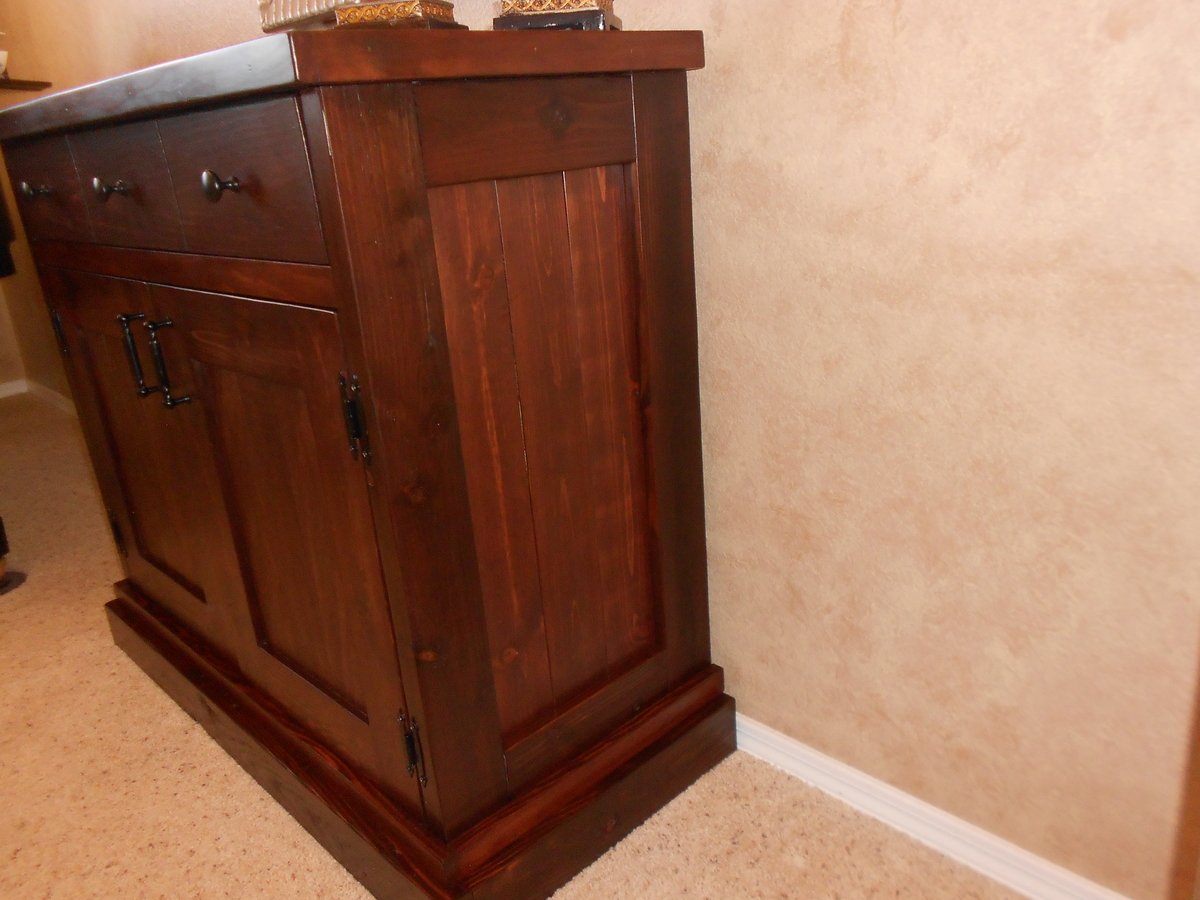
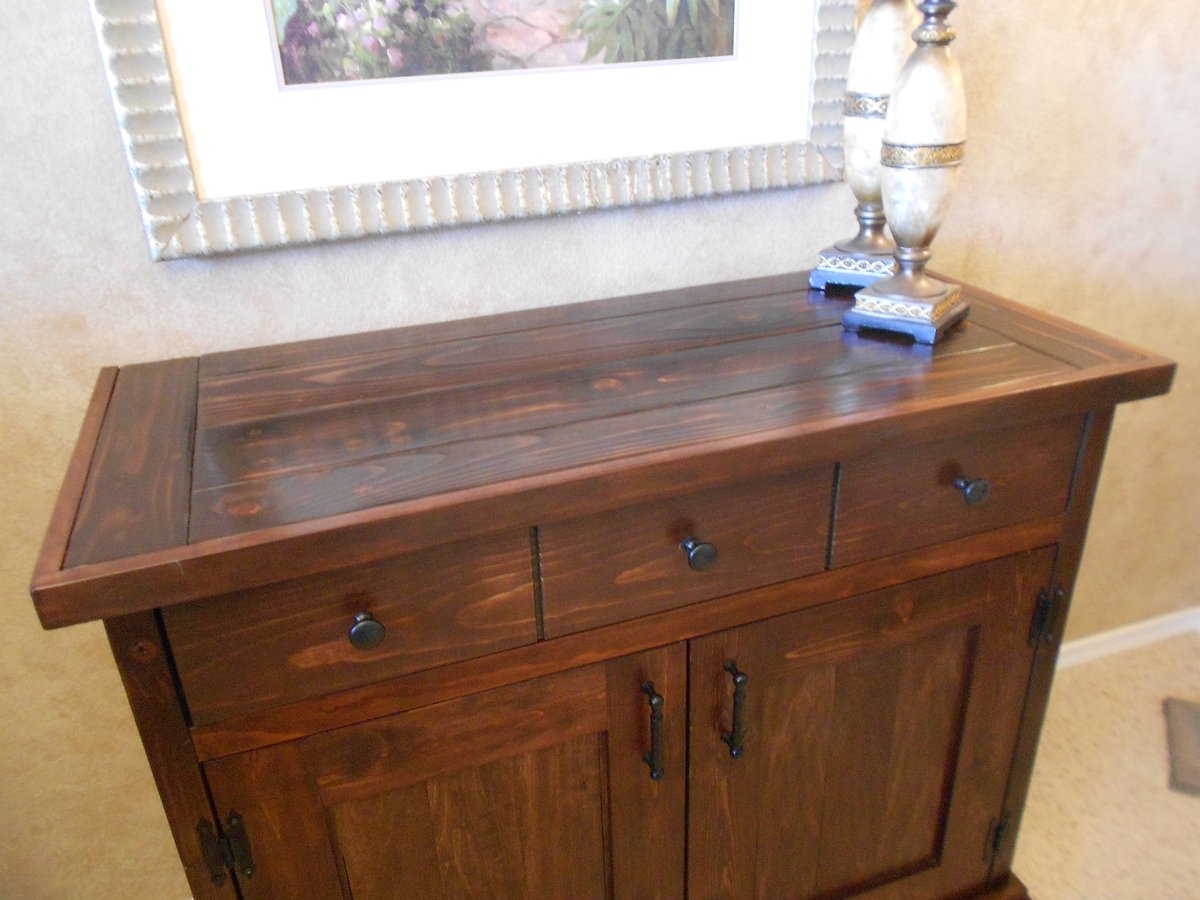
I loved the look of the planked wood sideboard but it was too big for my space. I was inspired by Knot Perfect’s smaller version. I really liked everything about how his looked, including the finish. My finish didn’t turn out quite as nice as his, but I am still very happy with it.

Built from Plan(s)
Estimated Time Investment
Week Long Project (20 Hours or More)
Recommended Skill Level
Beginner

Comments

jbayer80

Sun, 04/28/2013 - 14:35

Wow....looks like you used the most expensive wood you could find...nice work!

anb80

Wed, 09/18/2013 - 10:16

I love it! Could you possibly post your measurements. I'm looking at building this for our entry way and the size looks about right. Also, what stain did you use. Great job!

Rustic X Kitchen Island

Submitted by tedgray86 on Wed, 03/18/2015 - 21:50

Ask for materials used

Estimated Time Investment
Day Project (6-9 Hours)
Recommended Skill Level
Intermediate

Comments

outdoor club chairs and couch set

Submitted by Anonymous (not verified) on Sat, 06/17/2017 - 14:16

We found an outdoor set online that we LOVED - until we saw the price tag haha! So DIY to the rescue, as always. This was our first project that we have ever done based on our own plans, but I did refer to Ana's adirondack post when deciding on the back-tilt of the chairs' support. The simplicity of the set definitely helped with the fact that we blazed our own trail - just straight cuts with a miter saw and screws! Easy peasy. We LOVE it, especially because they're so solid with these 4x4's so our kids can run all over these things like monkeys. DIY forever!

Estimated Cost
500
Estimated Time Investment
Weekend Project (10-20 Hours)
Finish Used
weathered grey from Rustoleum
Recommended Skill Level
Starter Project

Comments

Modern Farmhouse Bed Twin version

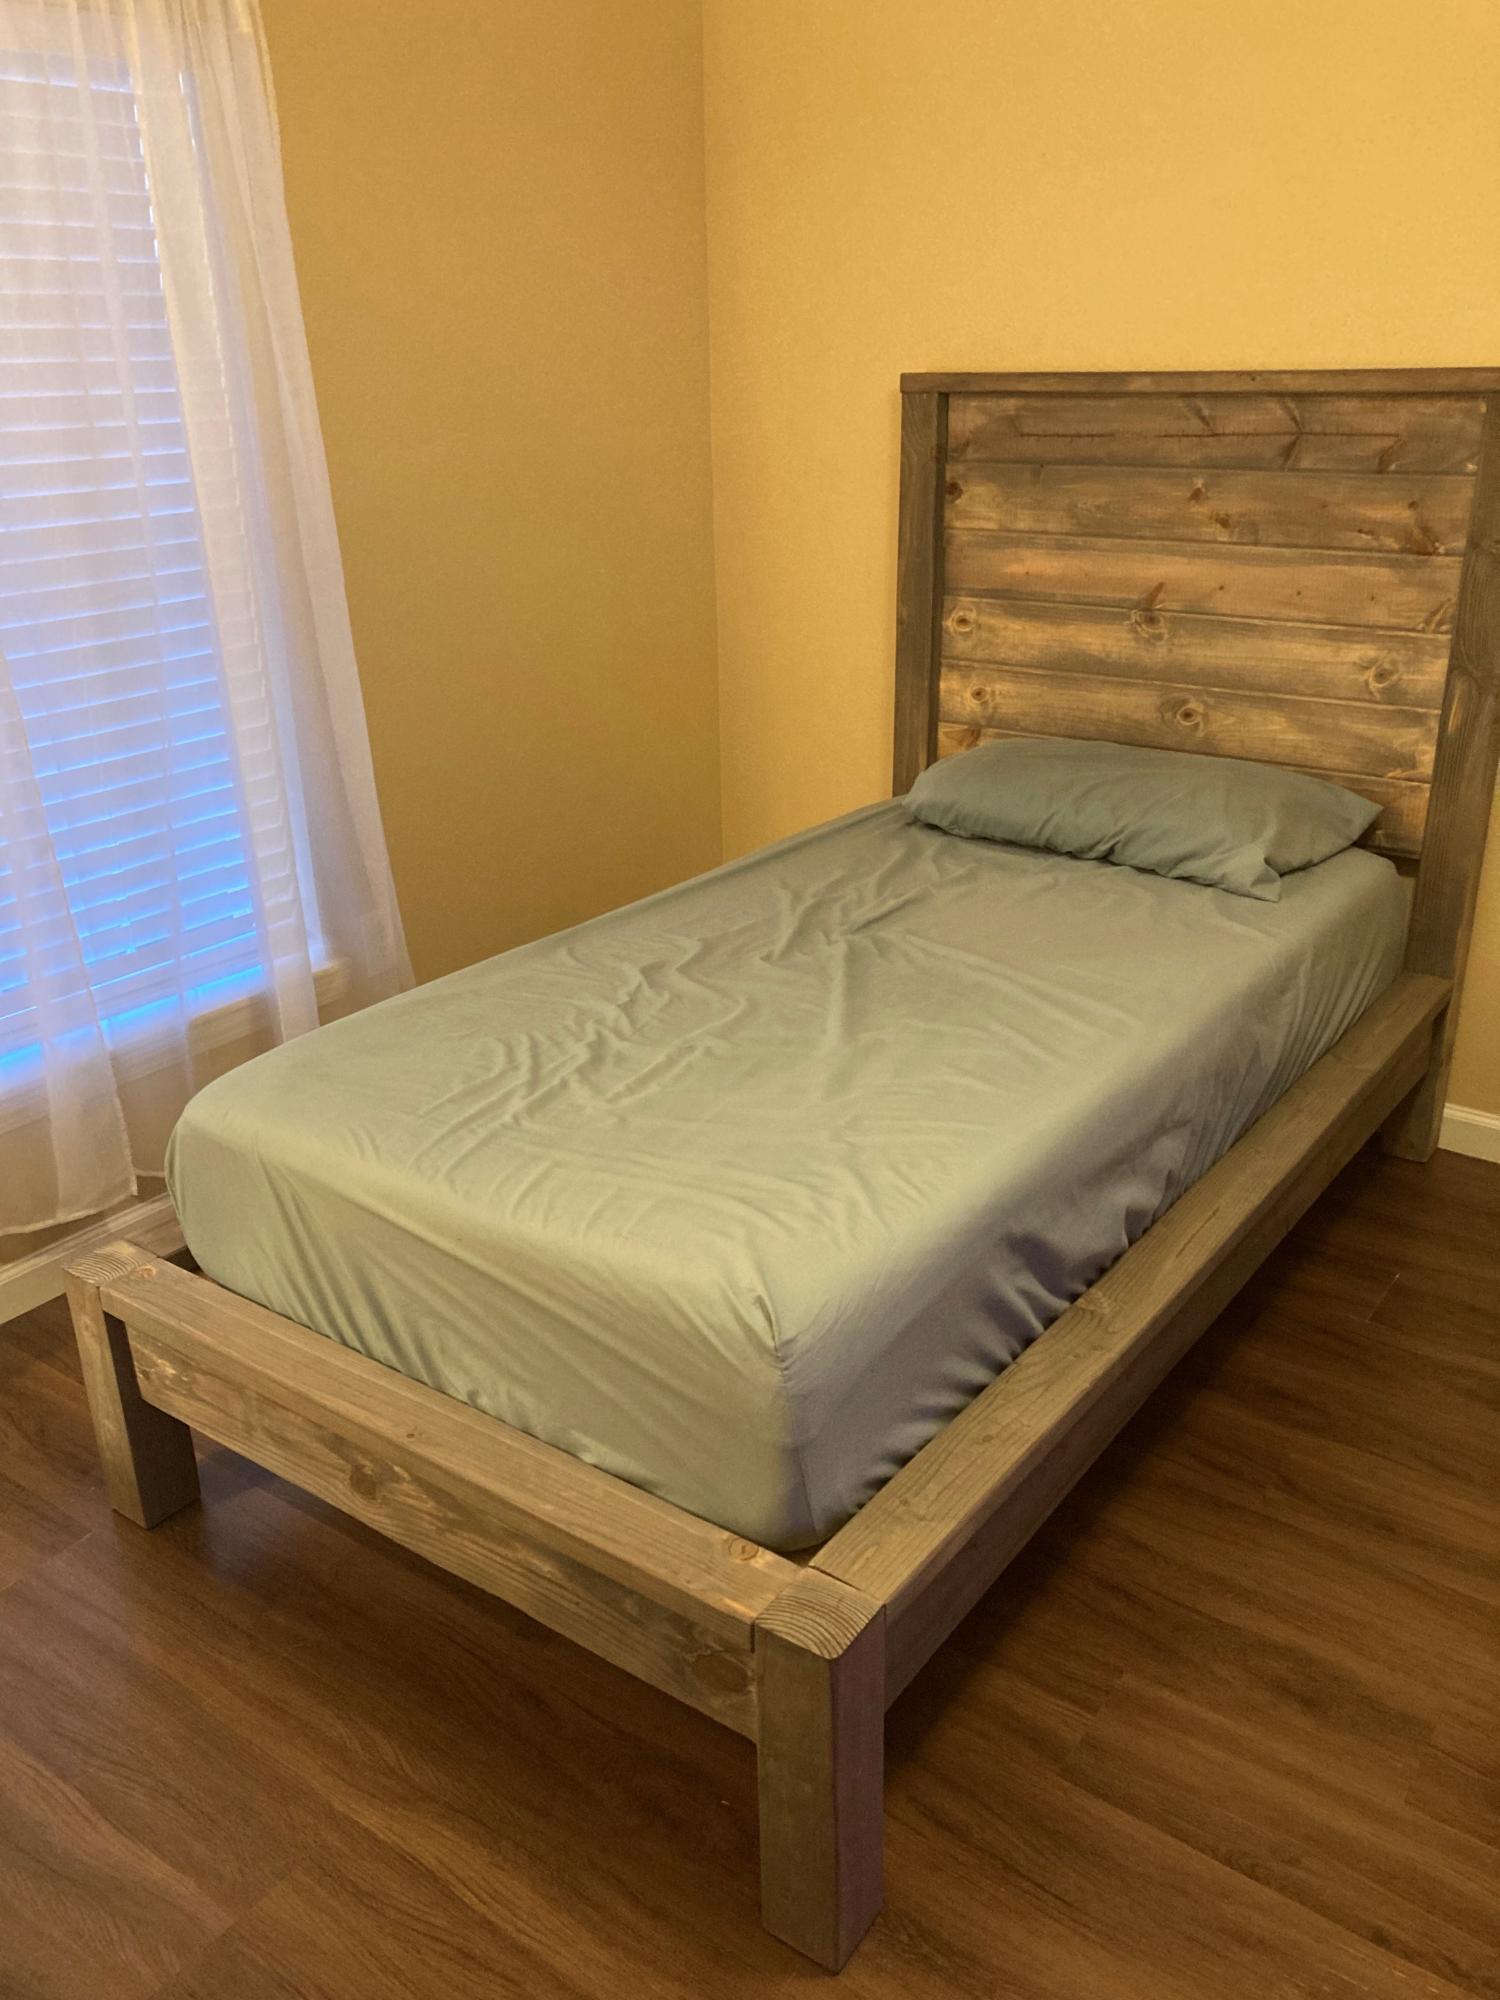
I built this bed for my (adult) son. The instructions were easy to follow. I left off the 2 x 2" cleats on the headboard to make it easier to attach the tongue and groove headboard pieces with pocket hole screws (I did lay two 2 x 2's underneath the tongue & groove pieces for spacing as I attached the boards). Since I made this as a platform bed I added a 6th tongue & groove headboard piece and the optional center cleat underneath. I used the suggested Varathane Weathered Wood Accelerator for the finish; mine came out much more grey than the bed pictured with the plans and my son liked the finish (I did too). Finding non-pressure treated 4x4's and semi-straight 2x4's was the hardest part. I used pine wood and bought all the lumber for about $175 (purchased at peak COVID lumber prices). This bed is definitely solid and I'm looking forward to making the matching nightstand! Thank you Ana for the bed plans!

Built from Plan(s)

Comments

Modern Farmhouse Table and Bench

Submitted by sherm917 on Mon, 04/29/2013 - 19:56

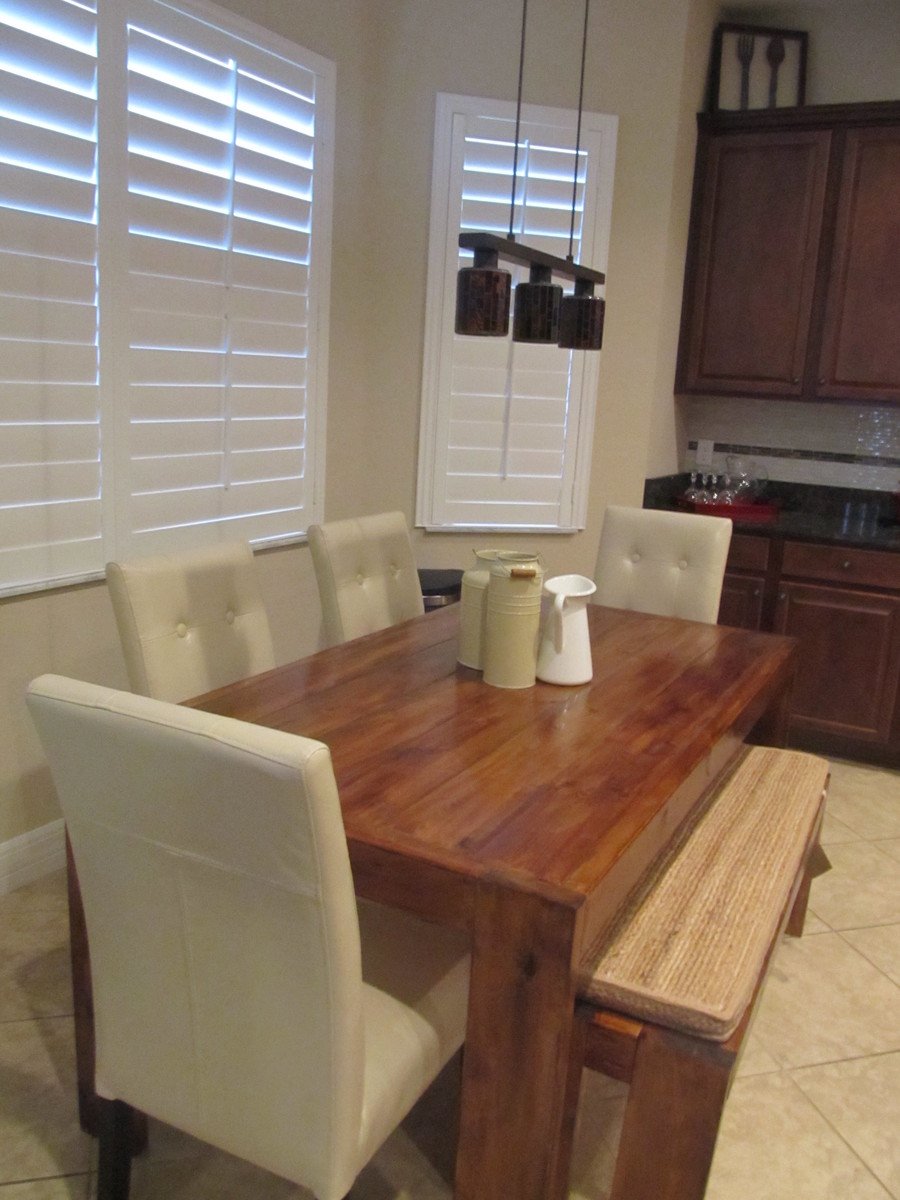
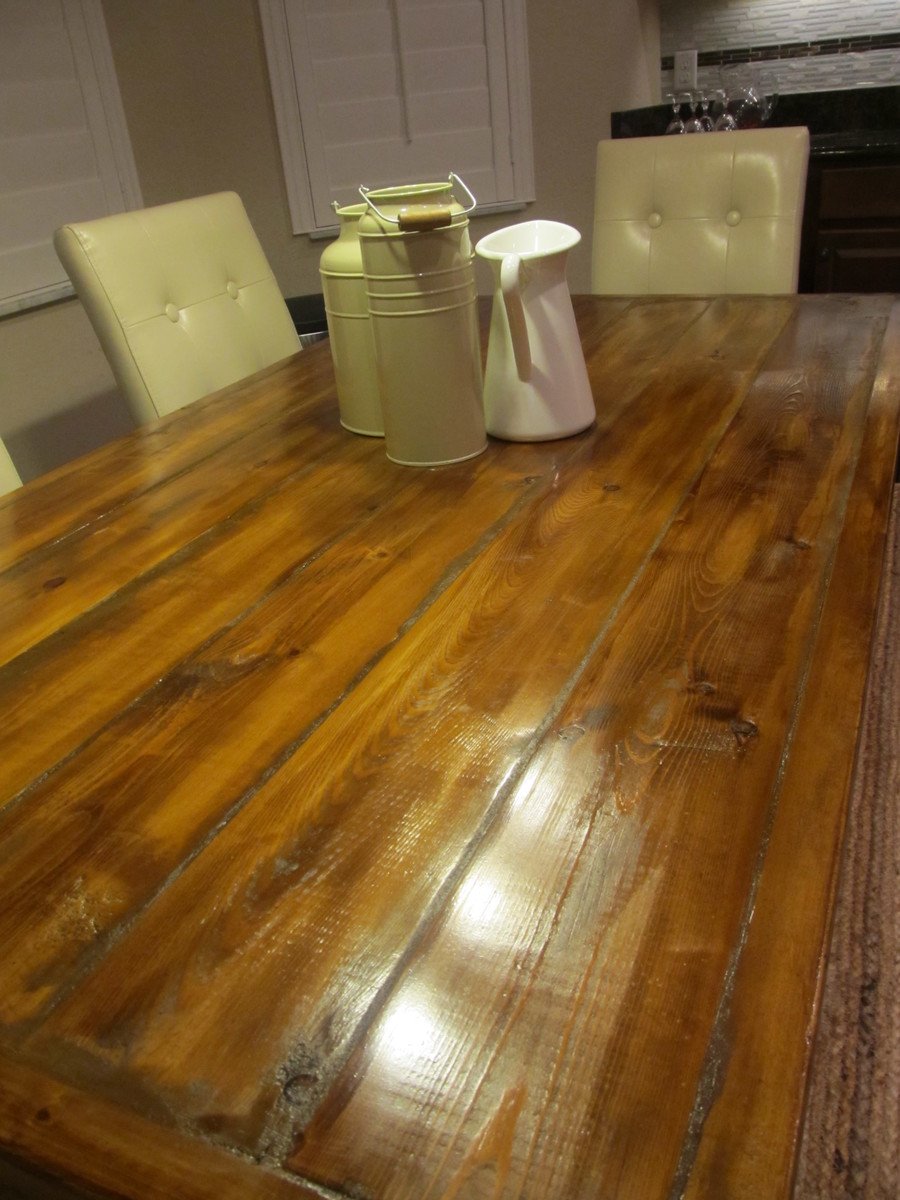
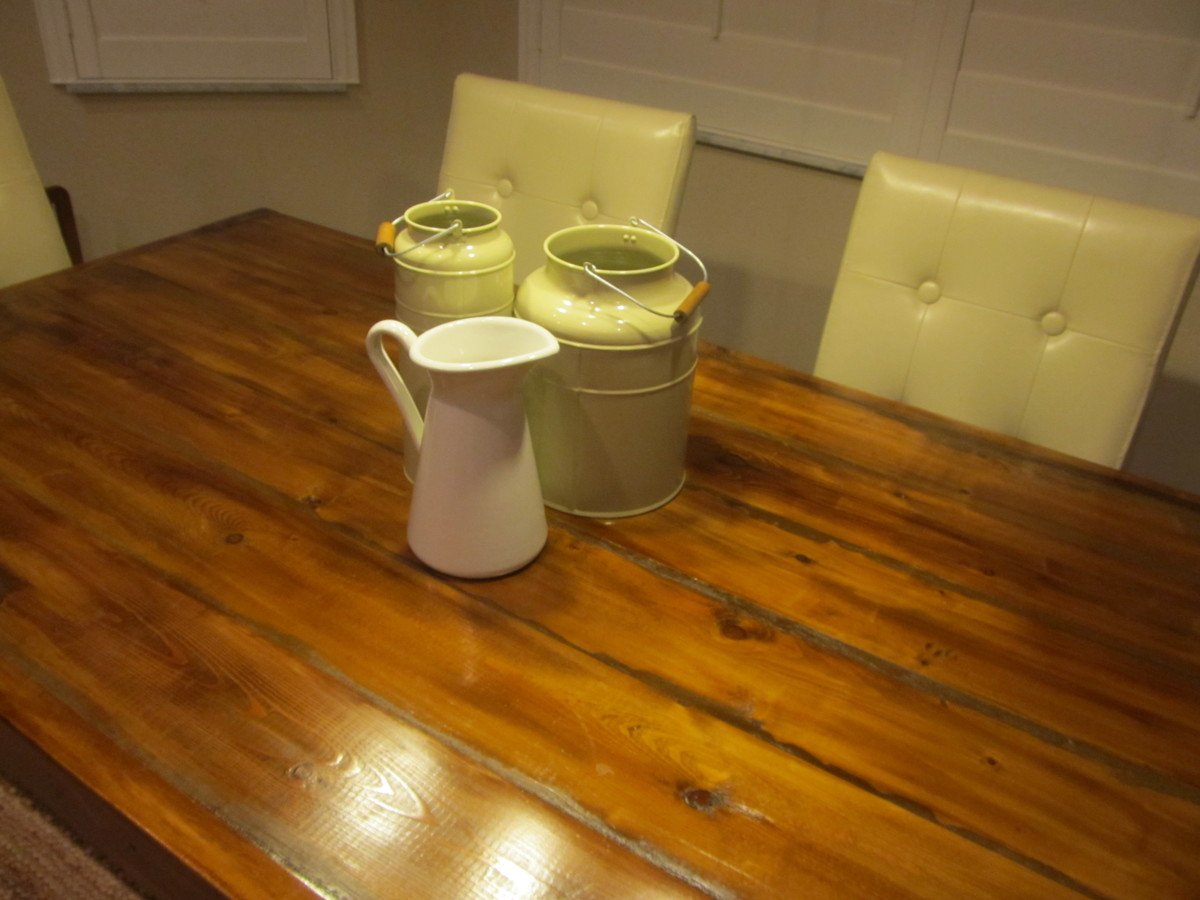
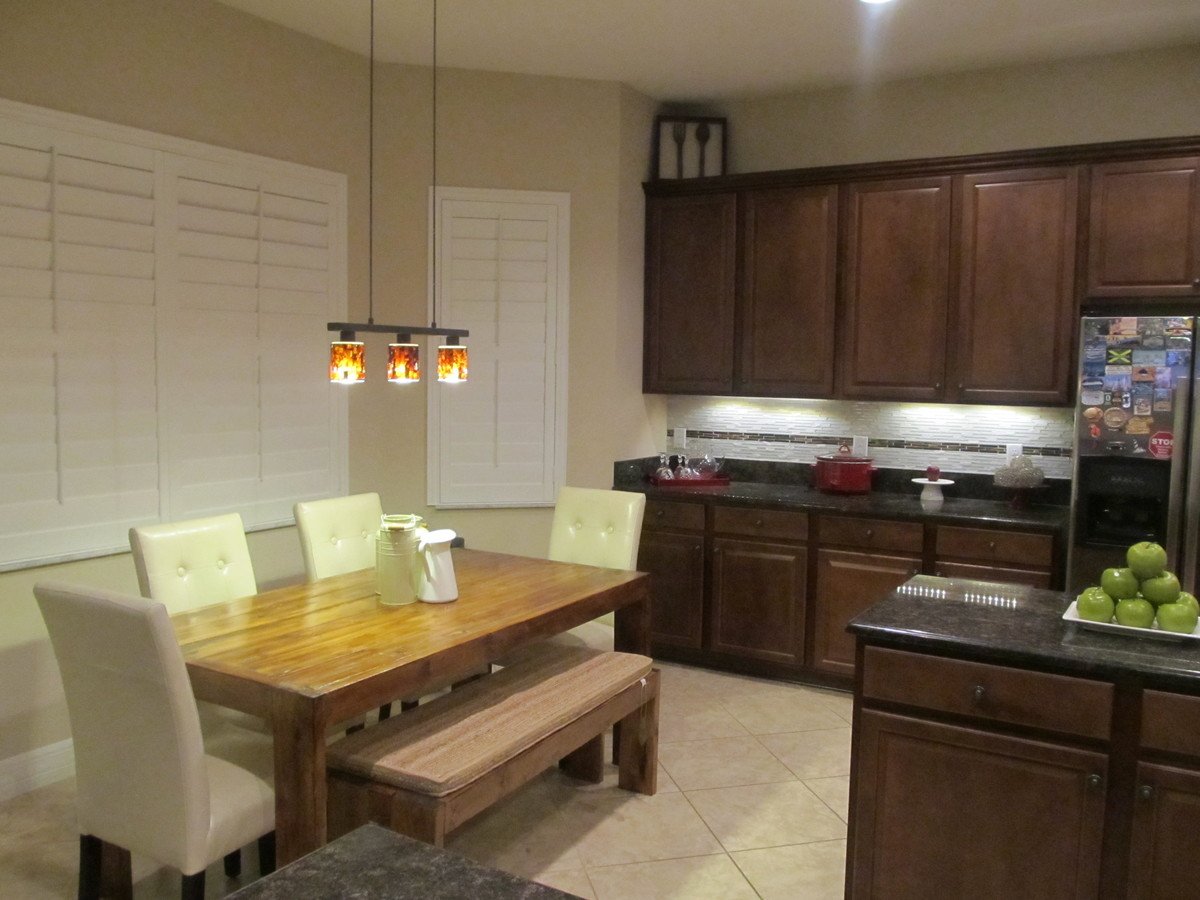
This was my first project. It took me a longer time than planned because I kept making mistakes and kept going back and trying to fix them. The plan was simple enough and I learned alot from this project. I can't wait to start my next one!

Built from Plan(s)
Estimated Time Investment
Week Long Project (20 Hours or More)
Finish Used
MINWAX POLYSHADES Mission Oak Satin, 2 coats
Recommended Skill Level
Starter Project

DIY Wooden Toy Truck

I built a wooden toy truck using a leftover 1x4 board in my garage.  For this build I used Ana White's plans for the wood wheelie cars.  This was a quick and easy project  and my first project using my scroll saw. Not too shabby for my first go at toy making.  However, I am not happy with the finished toy.  If I did it all over again, I would take my time with the finish.  Also, the driver was not perpendicular to the truck's body when I created the holes for the axles, so the truck leans slightly. My son does not seem to notice its flaws, so I will try to overlook them as well!  Check out the blog link for more project details!

Estimated Cost
I had most of the supplies on hand. I had to purchase a wood dowel and some wooden wheels, so no more than $5.
Estimated Time Investment
Afternoon Project (3-6 Hours)
Finish Used
Acrylic Craft paint sealed with Mod Podge (Matte Finish)
Recommended Skill Level
Starter Project

Console turned TV Stand

Submitted by Anonymous (not verified) on Thu, 06/22/2017 - 12:18

Took the console table and made some slight modifications to give different compartments for a TV stand :) Currently made the "Rustic" themed coffee table and some end tables. All have the matching "X" accents on the sides. Cabinet set into the center with shelves on either side. It's nice to have customized shelf heights for my various TV accessories. 

Built from Plan(s)
Estimated Time Investment
Weekend Project (10-20 Hours)
Finish Used
Minwax Dark Walnut
2 coats of Minwax Clear Semi-Gloss
Recommended Skill Level
Intermediate

Fancy X Farmhouse Table

Submitted by classywolf on Mon, 09/13/2021 - 09:13

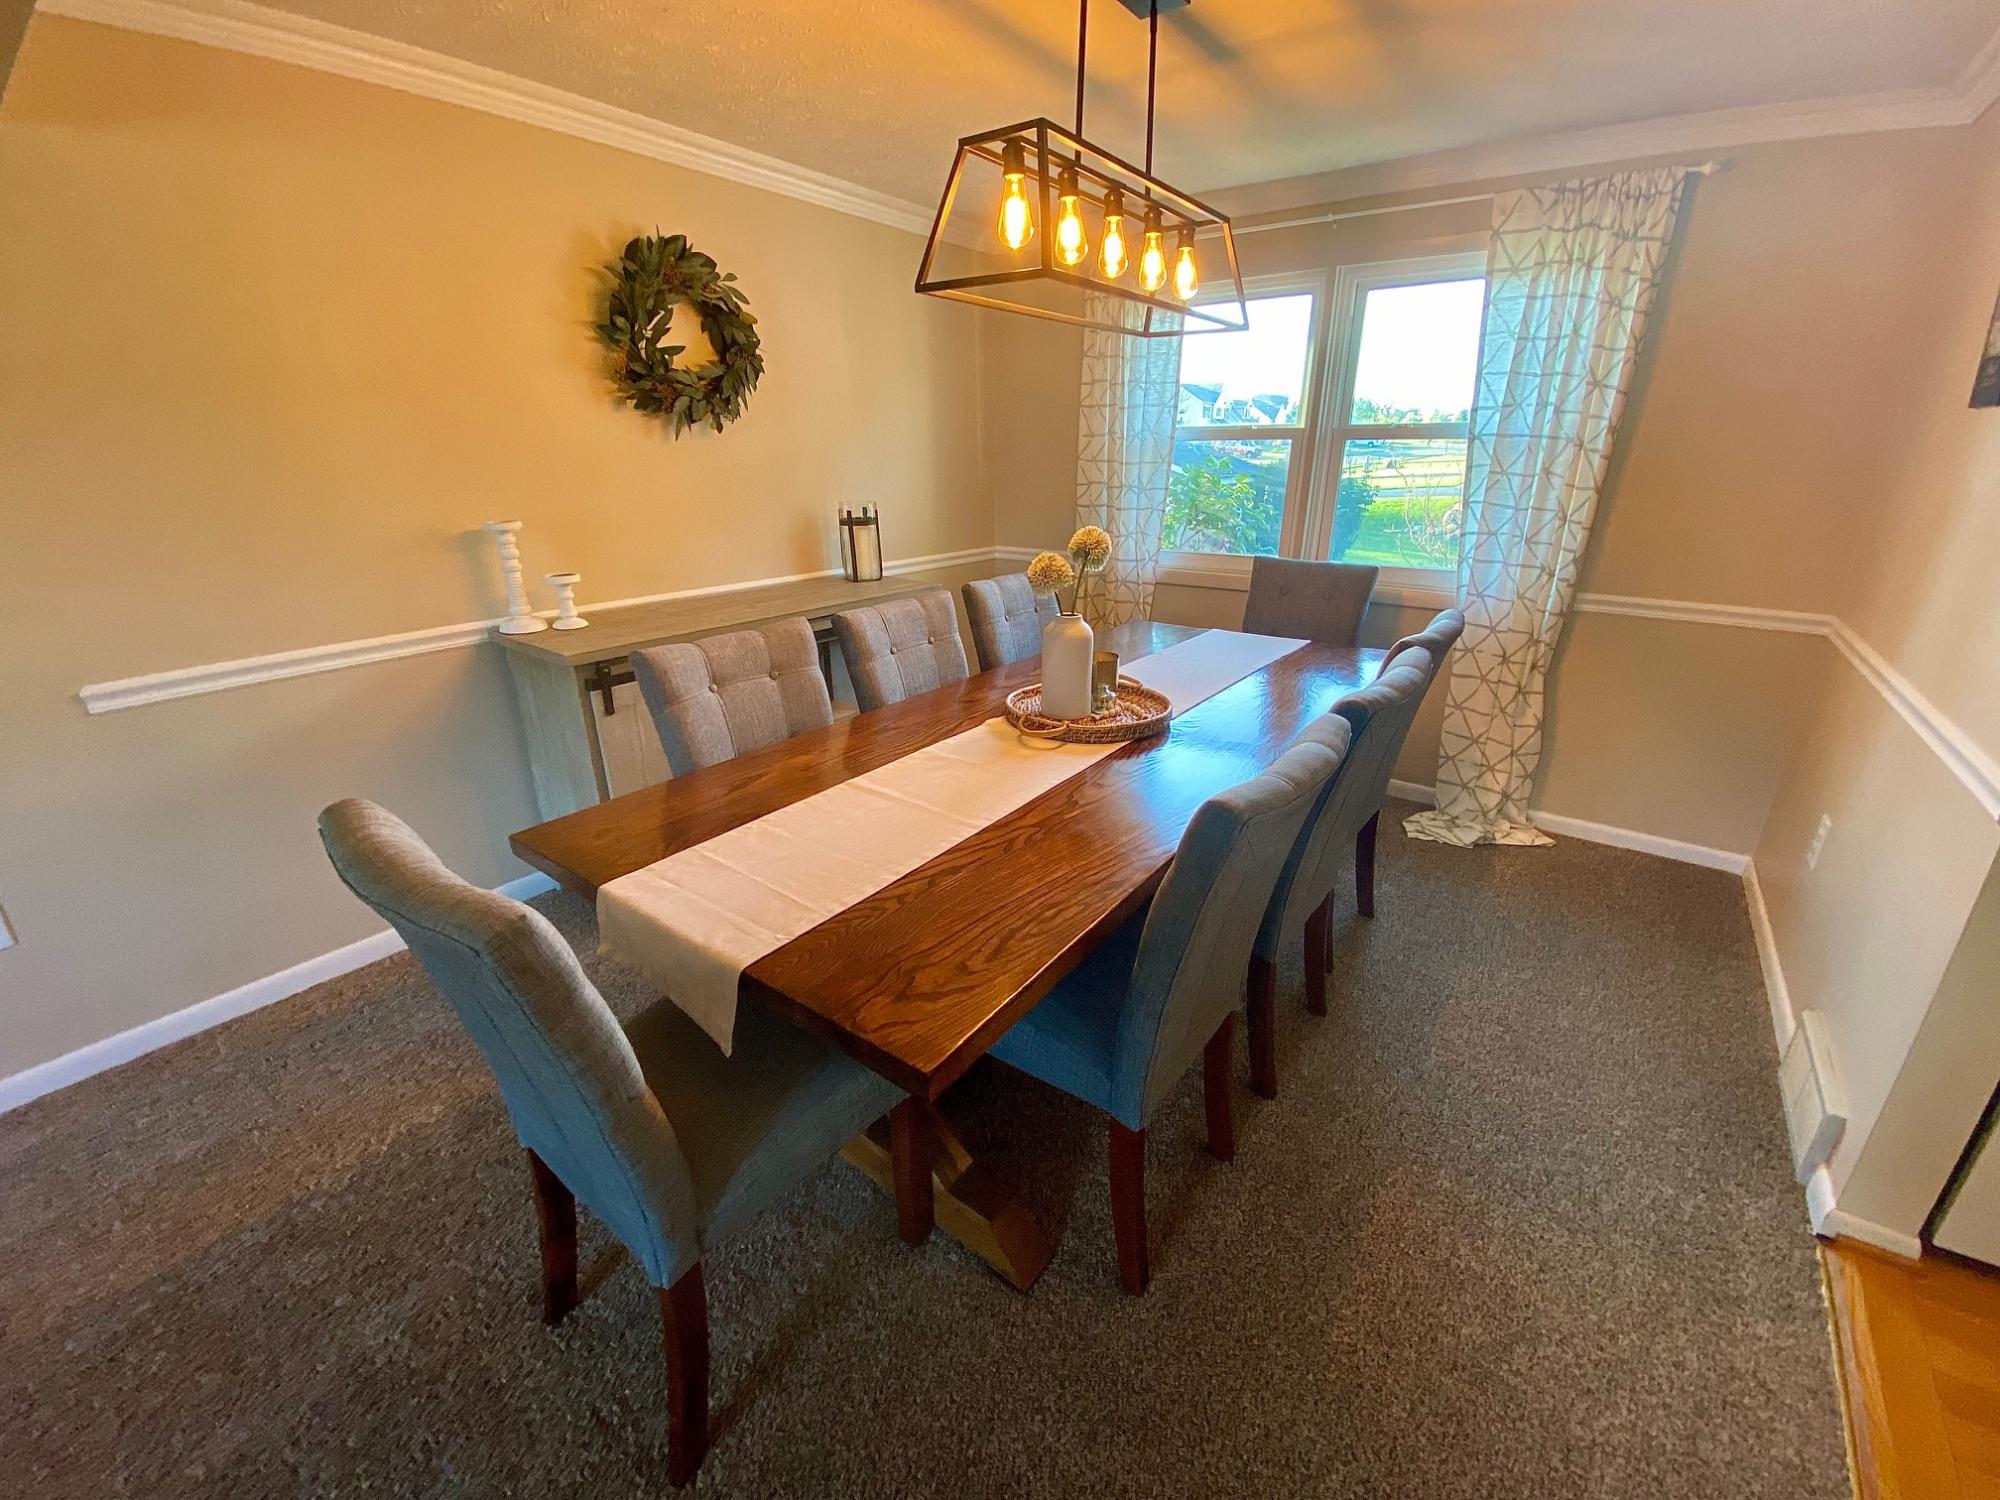
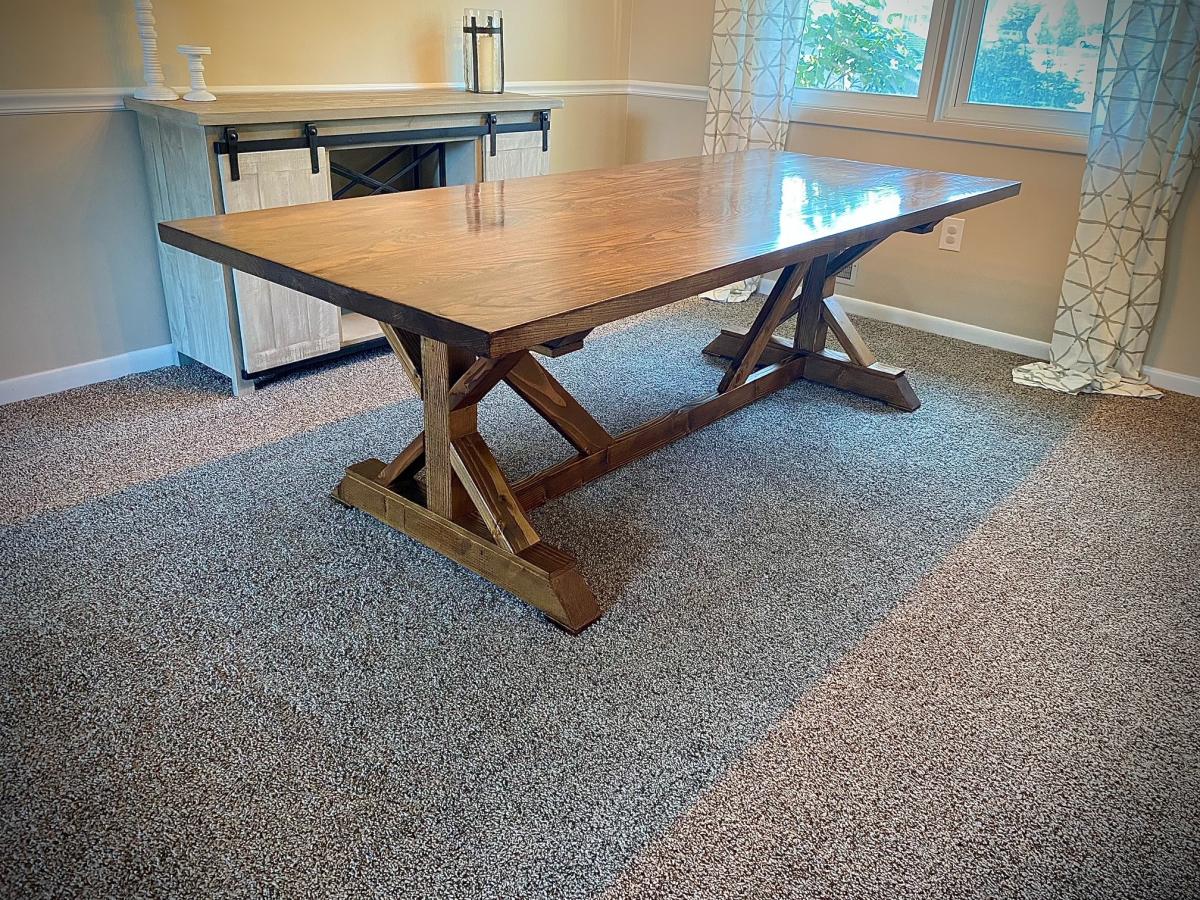
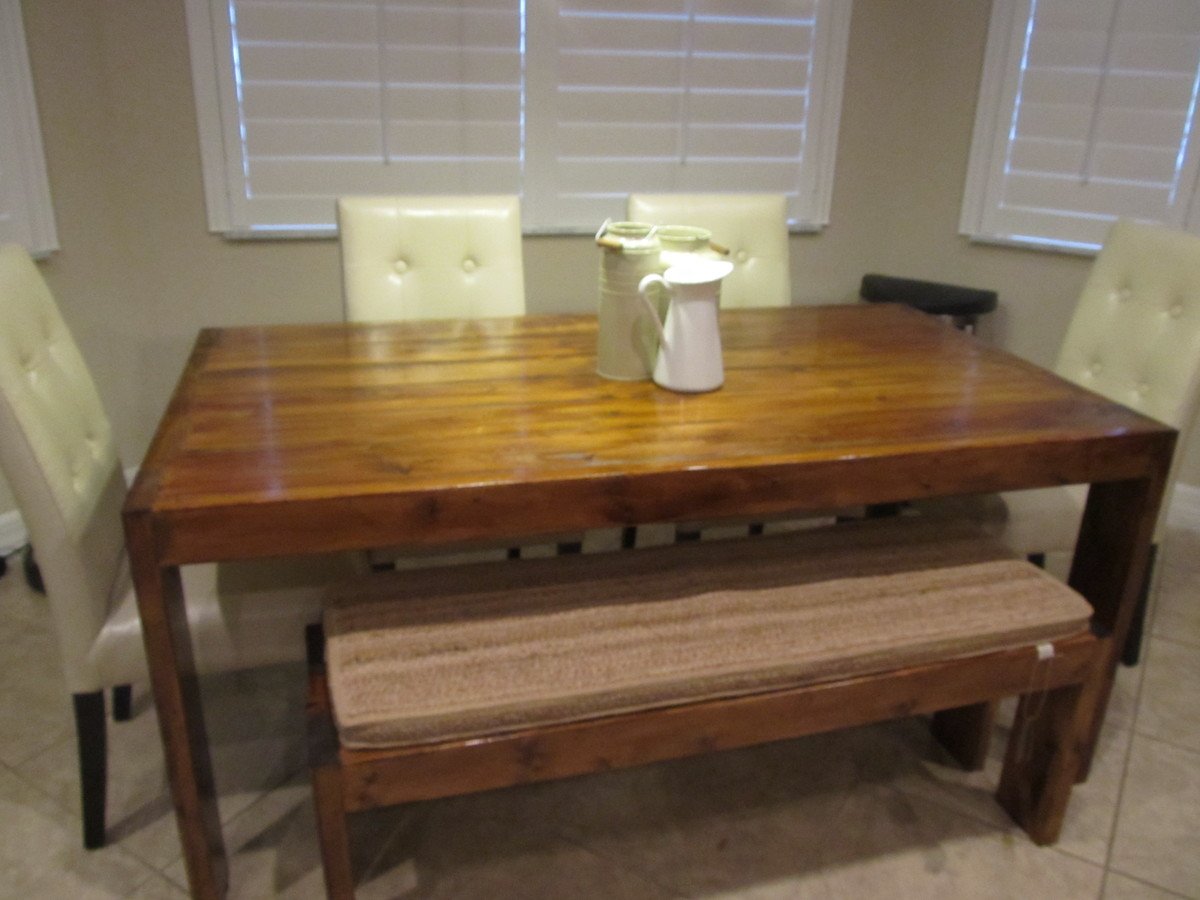
First AW project - very easy to follow with the plans, comments, and some basic problem solving. We like others did substitute some 4x4s for her stacked 2x4s.

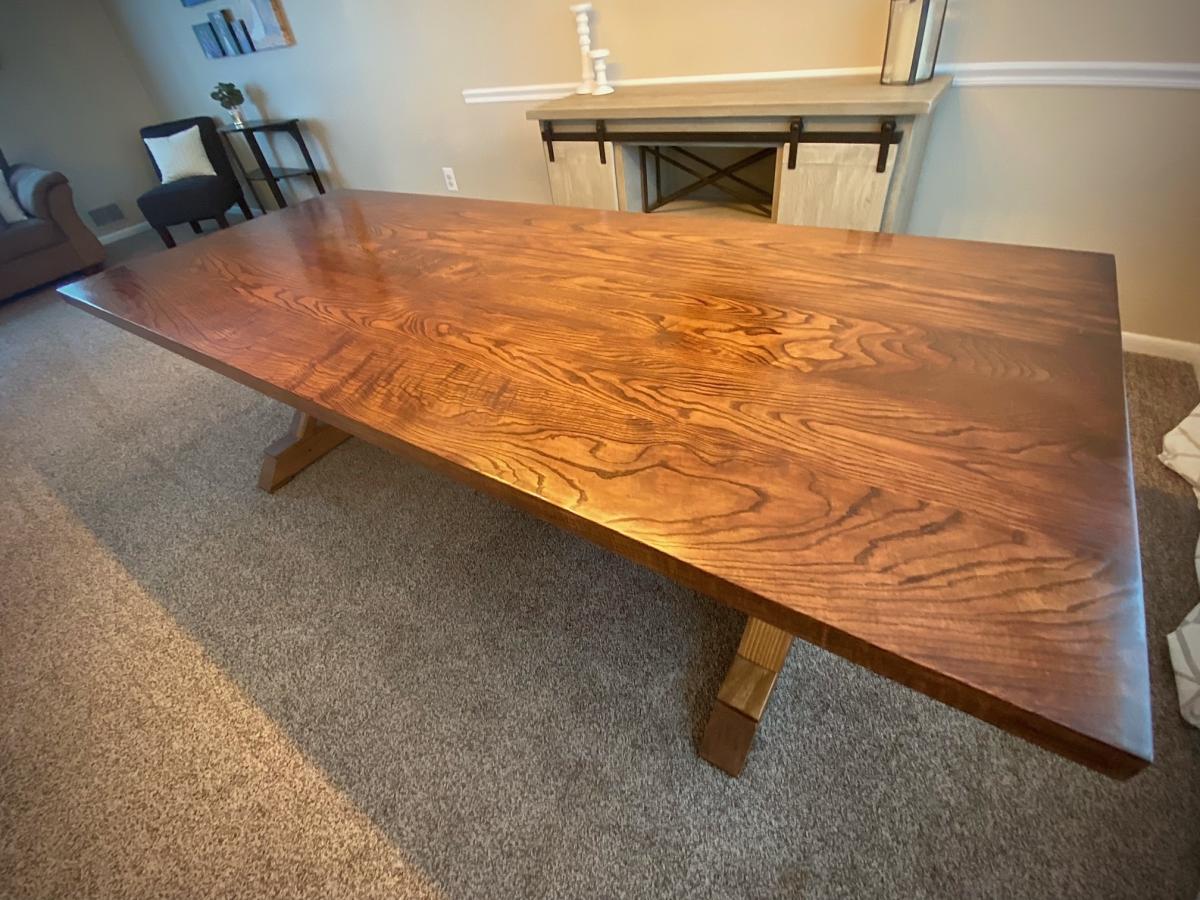
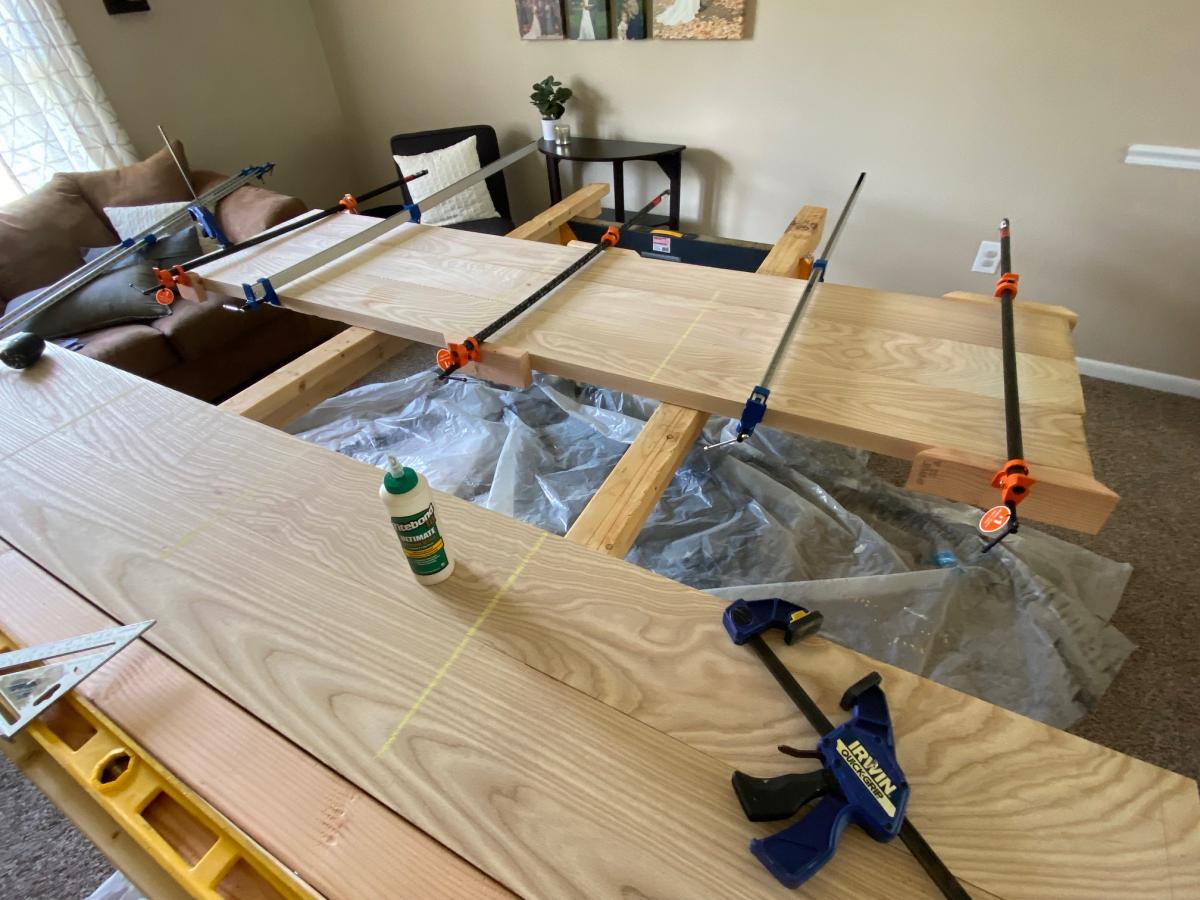
We used 2x8 Ash boards for the top, rough milled down at a local hardwood depot. ($600...Ouch). The lumber was glued up with Titebond iii and clamped with pipe clamps. Then used a combination of electric planer and belt sander to make sure it was completely flat and even after the glue up. Finish sanding was done with a 6" orbital, and the ends were cut flush with a circ saw.

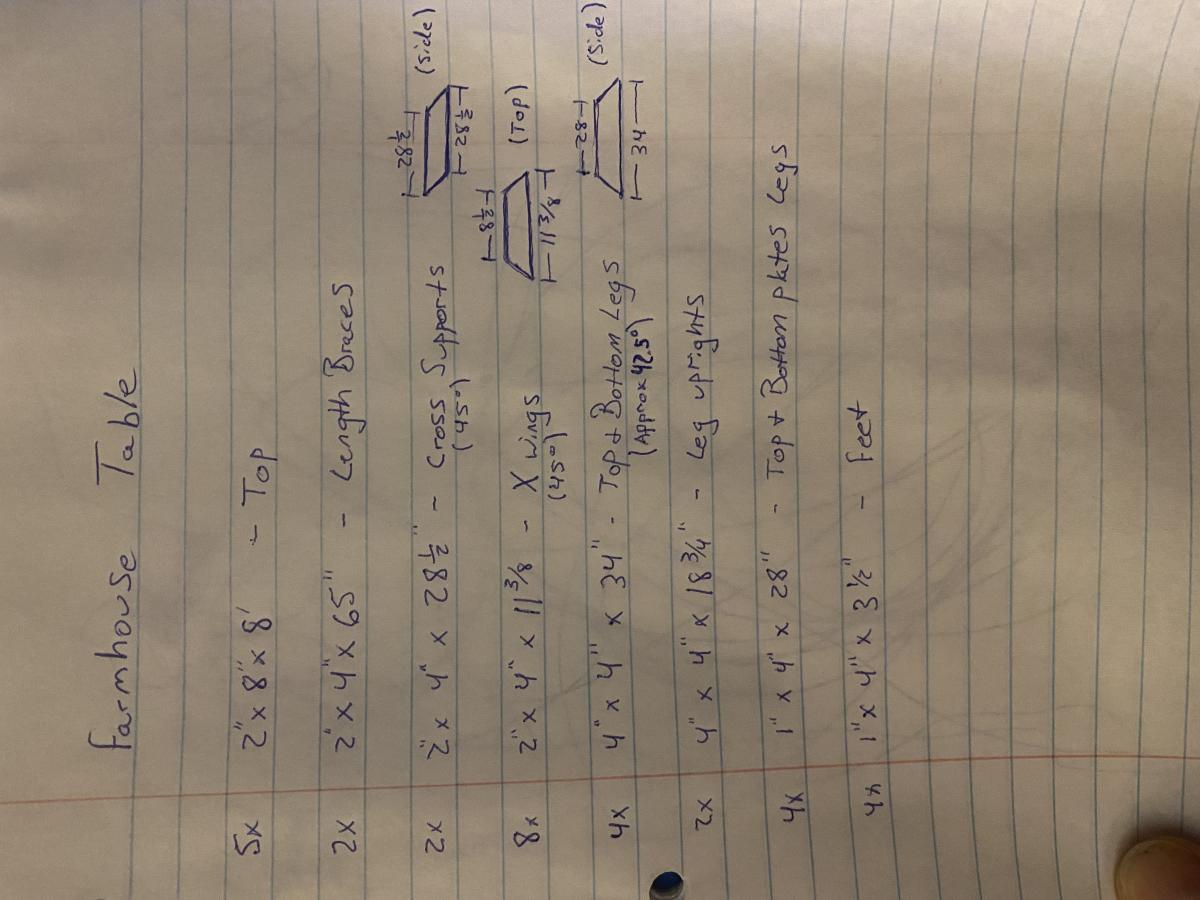
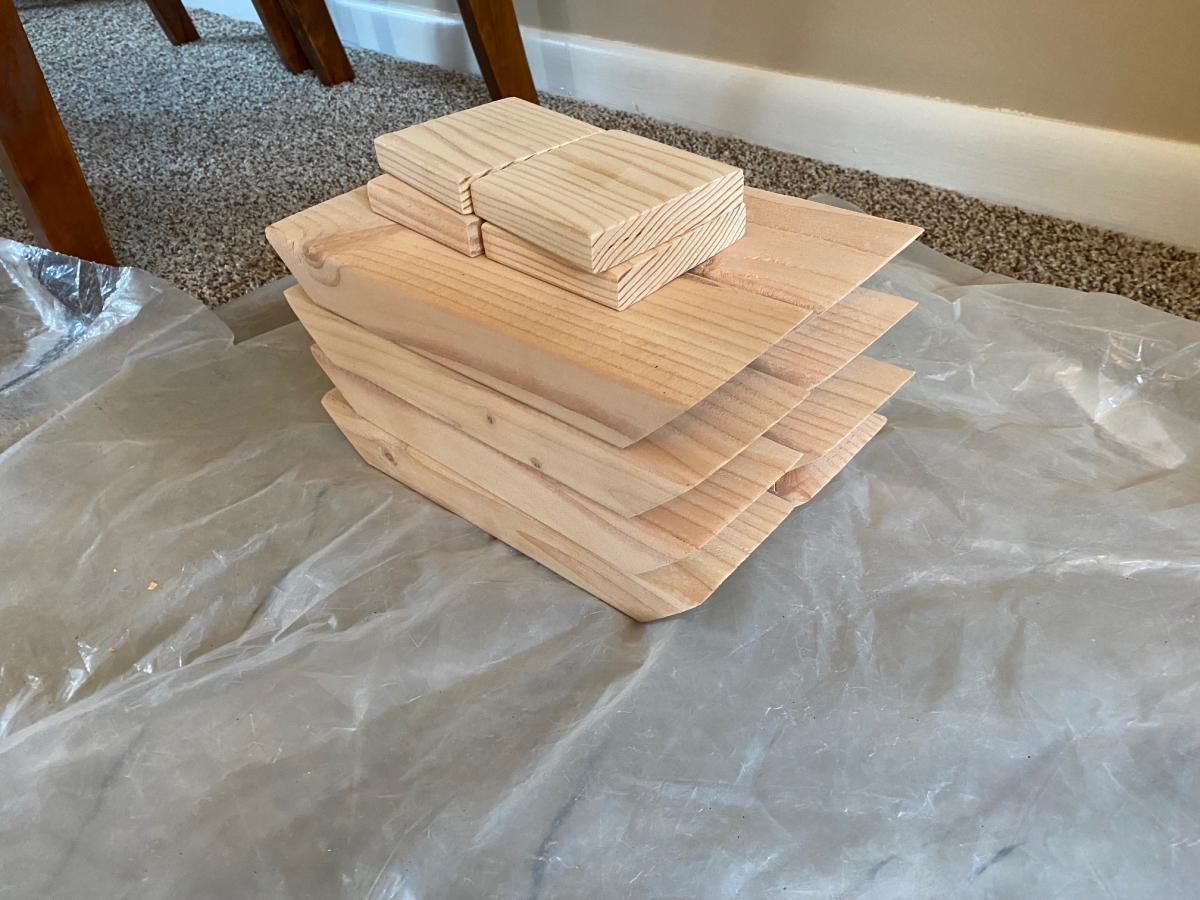
The base of the table was the easiest (and cheapest). It is made of kiln dried Doug Fir from the blue big box store. A photo of the cut list we used is attached. Used a chop saw for everything. This video helped visualize everything even though ours were not exactly the same. We used similar screw selection as this video as well:

https://www.youtube.com/watch?v=qg_hwoekV80

We used a kreg bit to predrill/counter sink our screws. Then purchased Douglas fir wood plugs from this etsy user. Didnt feel like cutting our own. This user has a lot of other species as well.

https://www.etsy.com/listing/991000659/douglas-fir-clear-tapered-wood-p…

A lot of people had questions about how to connect the top to the base. We routed a groove on the top of the base on each side and connected the two with Z clips. We used this method:

https://www.youtube.com/watch?v=J7Z69COtzzw

And these clips:

https://www.amazon.com/Table-Fasteners-Connectors-Screws-Brackets14/dp/…

Finishing was the most stressful part. Our first staining attempt was very blotchy despite being sanded very well and using a preconditioner. Since we spent so much money on the top and wanted this to be a perfect heirloom piece, we ended up re-planing and sanding the whole top (Kill me). We then used this method to precondition the wood by The Wood Whisperer - which worked great:

https://youtu.be/rjPX1byriM8

The table final coat was finished using these methods by PMK Woodworking. 3:2:1 ratio of
Mineral Spirits: Oil Based Poly: Boiled Linseed Oil:

https://www.youtube.com/watch?v=MxP5YuTHyic
https://www.youtube.com/watch?v=J_6g4oGEJ5s

Overall very happy. Took way longer and cost way more than expected. But hopefully will be our forever table that our kids will fight over one day. If you wanted to do this cheap and have it look rustic with imperfections, that would also be great and very doable.

Thanks to Ana, all the links above, and all your comments!
Good luck
Built from Plan(s)

Comments

Parsons Desk

Submitted by babooshka on Wed, 05/01/2013 - 22:13

This was a good project and I'm not very advanced. I increased the size of the table top to 60x28 and decided to just increase the width of each drawer by 6" and keep the aprons at 6" I was able to find a piece of oak plywood that added to the cost but I have two big pieces left over for future projects.

One thing to watch out for - the cut list says the leg trimmings should be 25 1/2 but the drawing shows 25 3/4. Shame on me for not adding it up, but I ended up having to trim 1/4 off the top of the center leg boards before putting the plywood on it.

On the top I measured out where I put the drawer housing support screws, overscrewed them then added some 3/8 flat oak caps. I also did this at each corner into the legs. I think it gave it a nice worn look to offset the modern feel of the desk.

Built from Plan(s)
Estimated Cost
$250
Estimated Time Investment
Weekend Project (10-20 Hours)
Finish Used
Ash color stain (2 coats), semi-gloss poly (2 coats).
Recommended Skill Level
Beginner

Slide out spice drawers

Submitted by AndyH on Sun, 03/22/2015 - 14:44

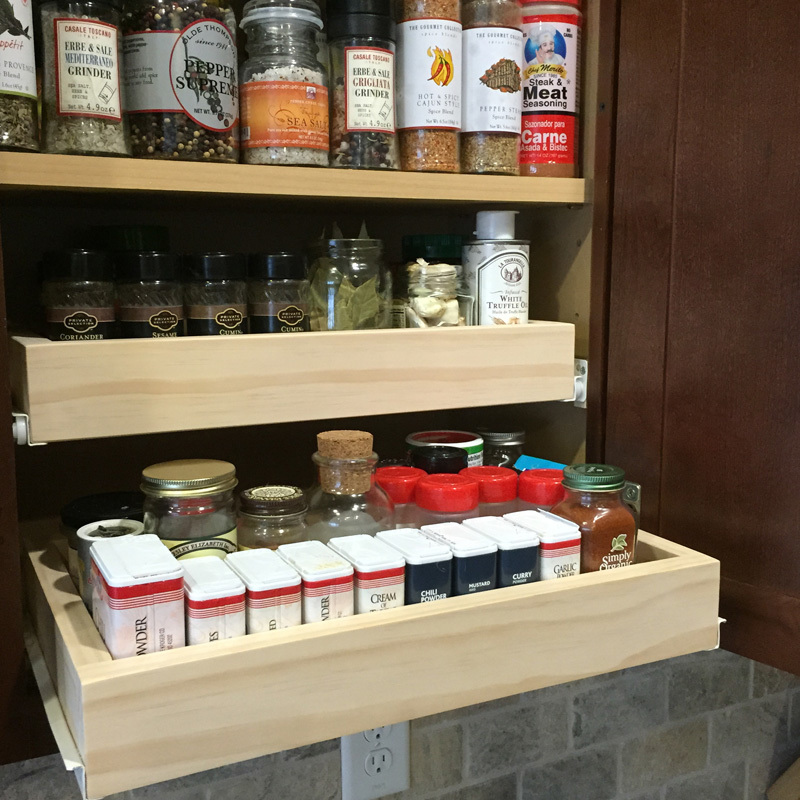
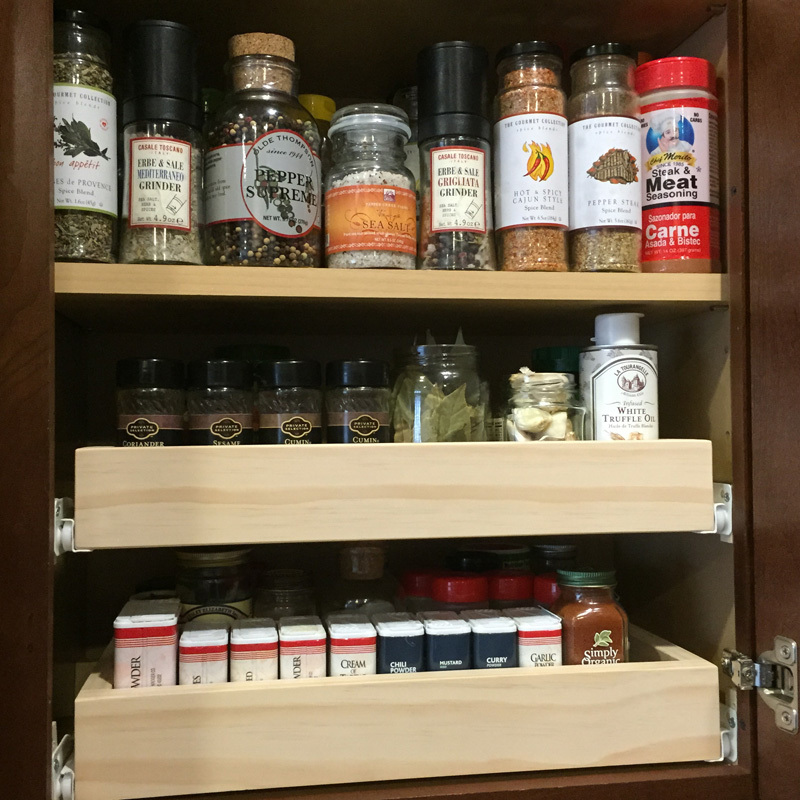
Slide out spice drawers.  Simple build from 1 piece of 1 by 3 and 1/4 inch plywood for base.


Estimated Time Investment
An Hour or Two (0-2 Hours)
Finish Used
Just Matte poly for a clear finish.
Recommended Skill Level
Beginner

Comments

Painter Ladder Shelf (modified)

Client wanted some to sell cookies out on her porch. So I added a blackboard at her request so she could put prices and e-transfer info. Top shelf will also house an honor box for cash. Papa & Grammy Creations.

Built from Plan(s)

Comments

Modified Rustic X Console

As soon as I saw the "Rustic X Console" table, I knew I wanted it !! I love the rustic look without being too country. I needed something to hold all the TV components (cable box, DVD player, etc) as well as kids toys. Something that would store what we have now and transition with us through the years. As the kids gets older and toys start to move out, I can still use it! We modified the plan by adding a small shelf at the top to hold our media stuff. I like having the very top free from clutter. Everything is tucked away but still easy to access. It's perfect !!

We finished it by using a green paint wash with leftover paint from our kitchen (3 parts paint to 1 part water). It worked perfectly. We can still see the wood grain and it adds a little color without being too overpowering.

Estimated Cost
$120
Estimated Time Investment
Weekend Project (10-20 Hours)
Finish Used
Paint wash made with leftover paint.
Recommended Skill Level
Intermediate

Cherry Stained Desk

Submitted by shoeffeine on Wed, 03/25/2015 - 12:39

My husband and I built this together, we stuck to the plans provided for the Martha Inspired Craft Table, however we left off the trim around the drawers for a simpler look.  The drawer pulls were purchased at Home Depot.  We used poplar wood that we stained with Georgian cherry gel stain from General Finishes.
Estimated Cost
For wood, screws, gel, top coat, drawer pulls and knobs ~ $300
Estimated Time Investment
Weekend Project (10-20 Hours)
Finish Used
General finishes Georgian cherry wood stain
Shellac topcoat

We sanded everything first, used a base coat to help prevent the poplar colors from bleeding though the stain and/or blotching, then used gel stain and then multiple coats of a satin finish accompanied with some light sanding with steel wool and soapy water to create a smooth desktop. Also attached the desktop from the inside rather than nailing from the top down.
Recommended Skill Level
Intermediate

Comments