Truss Shelves for Boy's Room
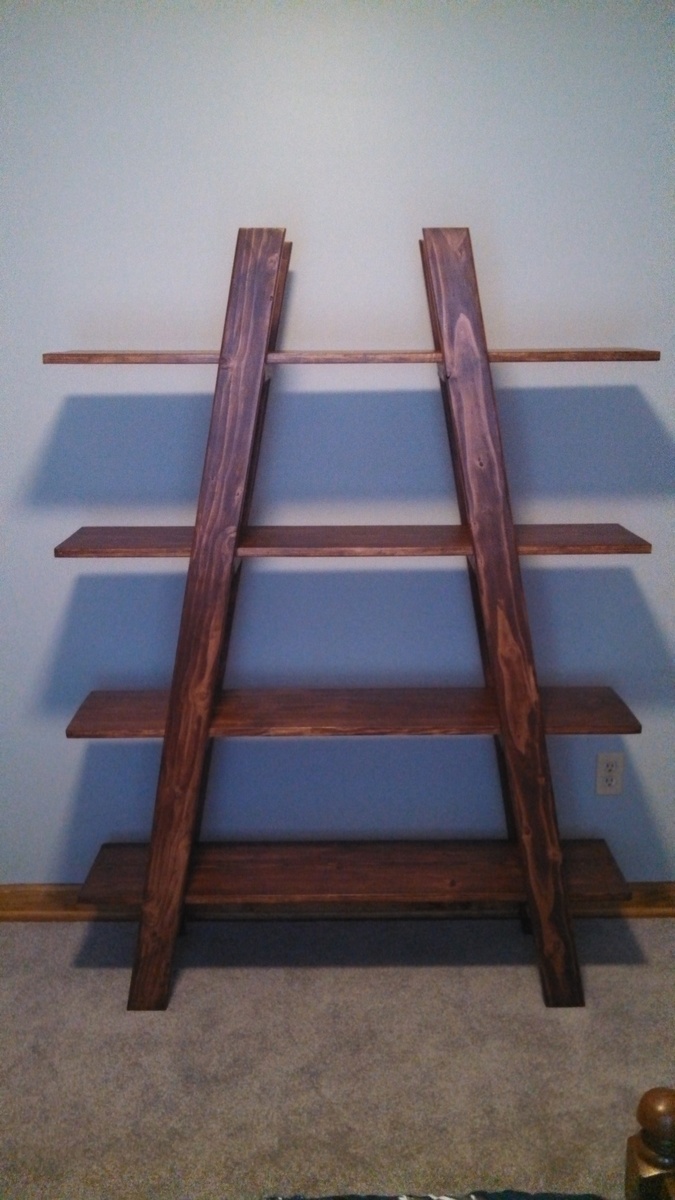
We needed storage for my son's room, and this project provided the perfect shelves for all those legos.
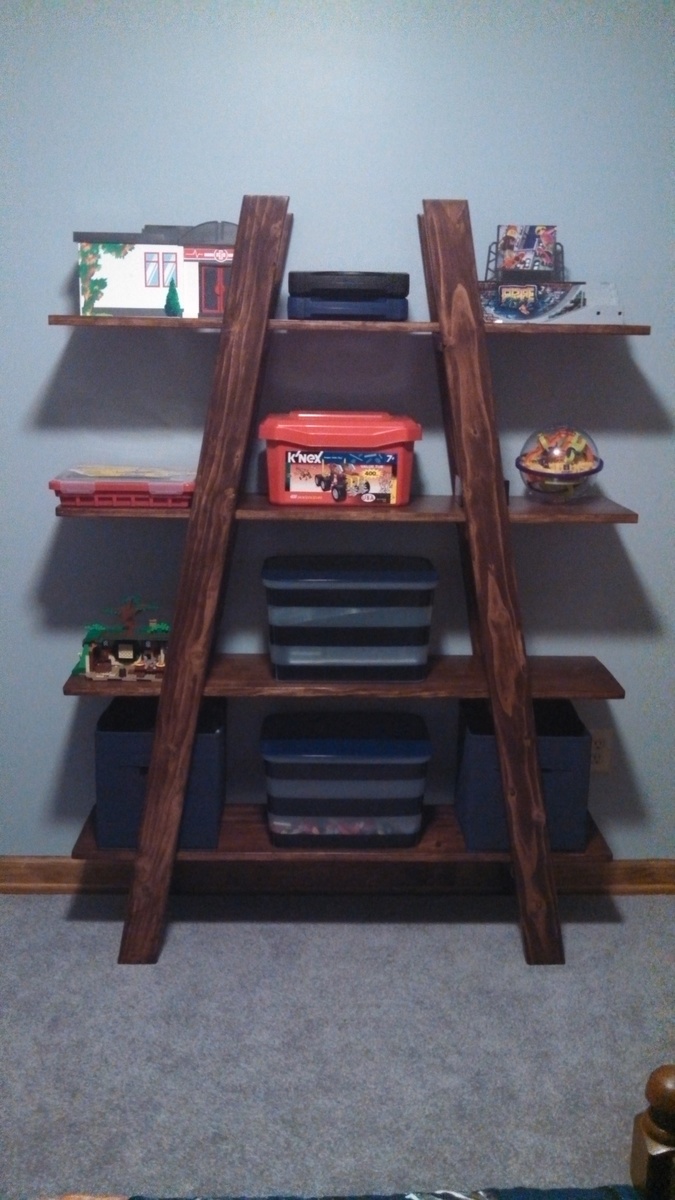

We needed storage for my son's room, and this project provided the perfect shelves for all those legos.

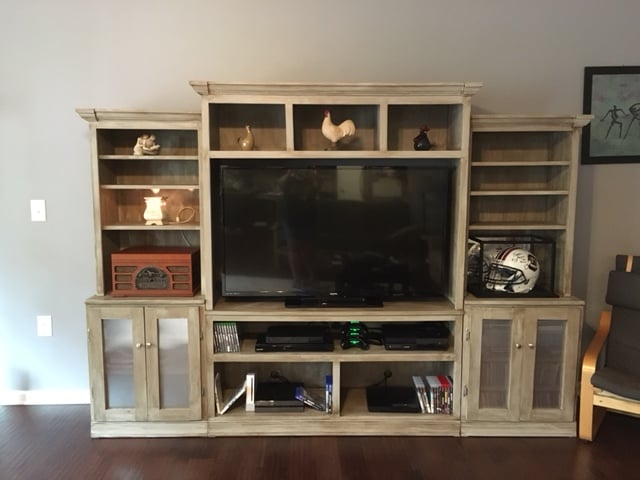
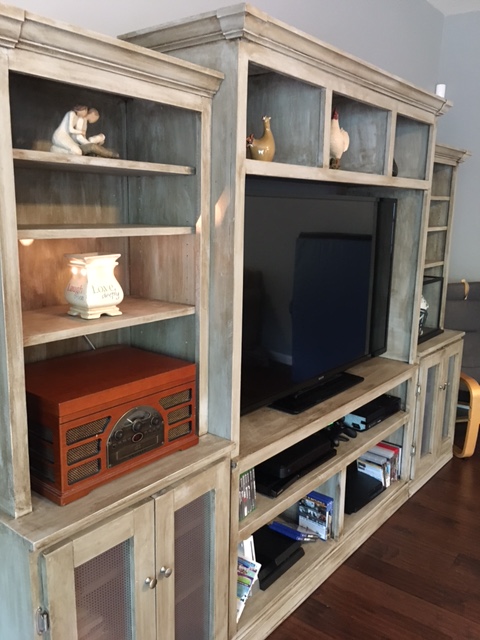
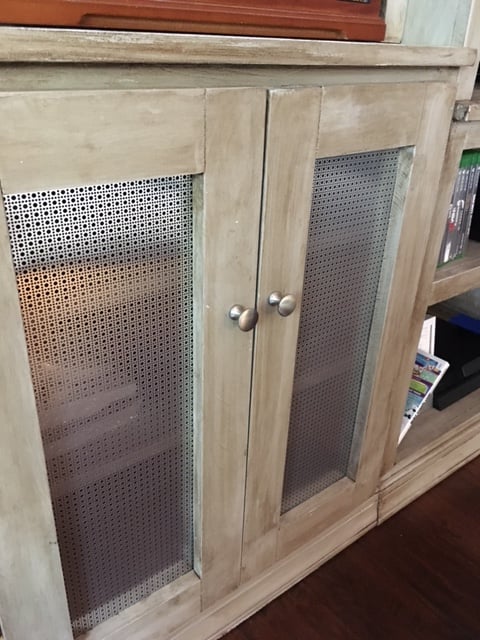
We recently moved into a new home and needed extra space to store some of our "stuff". I've built several of Anna White's designs and looked here to find one that would suit us. This plan was relatively simple to follow. I did alter the plans a bit to fit our needs (mainly making the center console piece wider and the sides a bit thinner). The crown molding was by far the hardest thing for me to master.
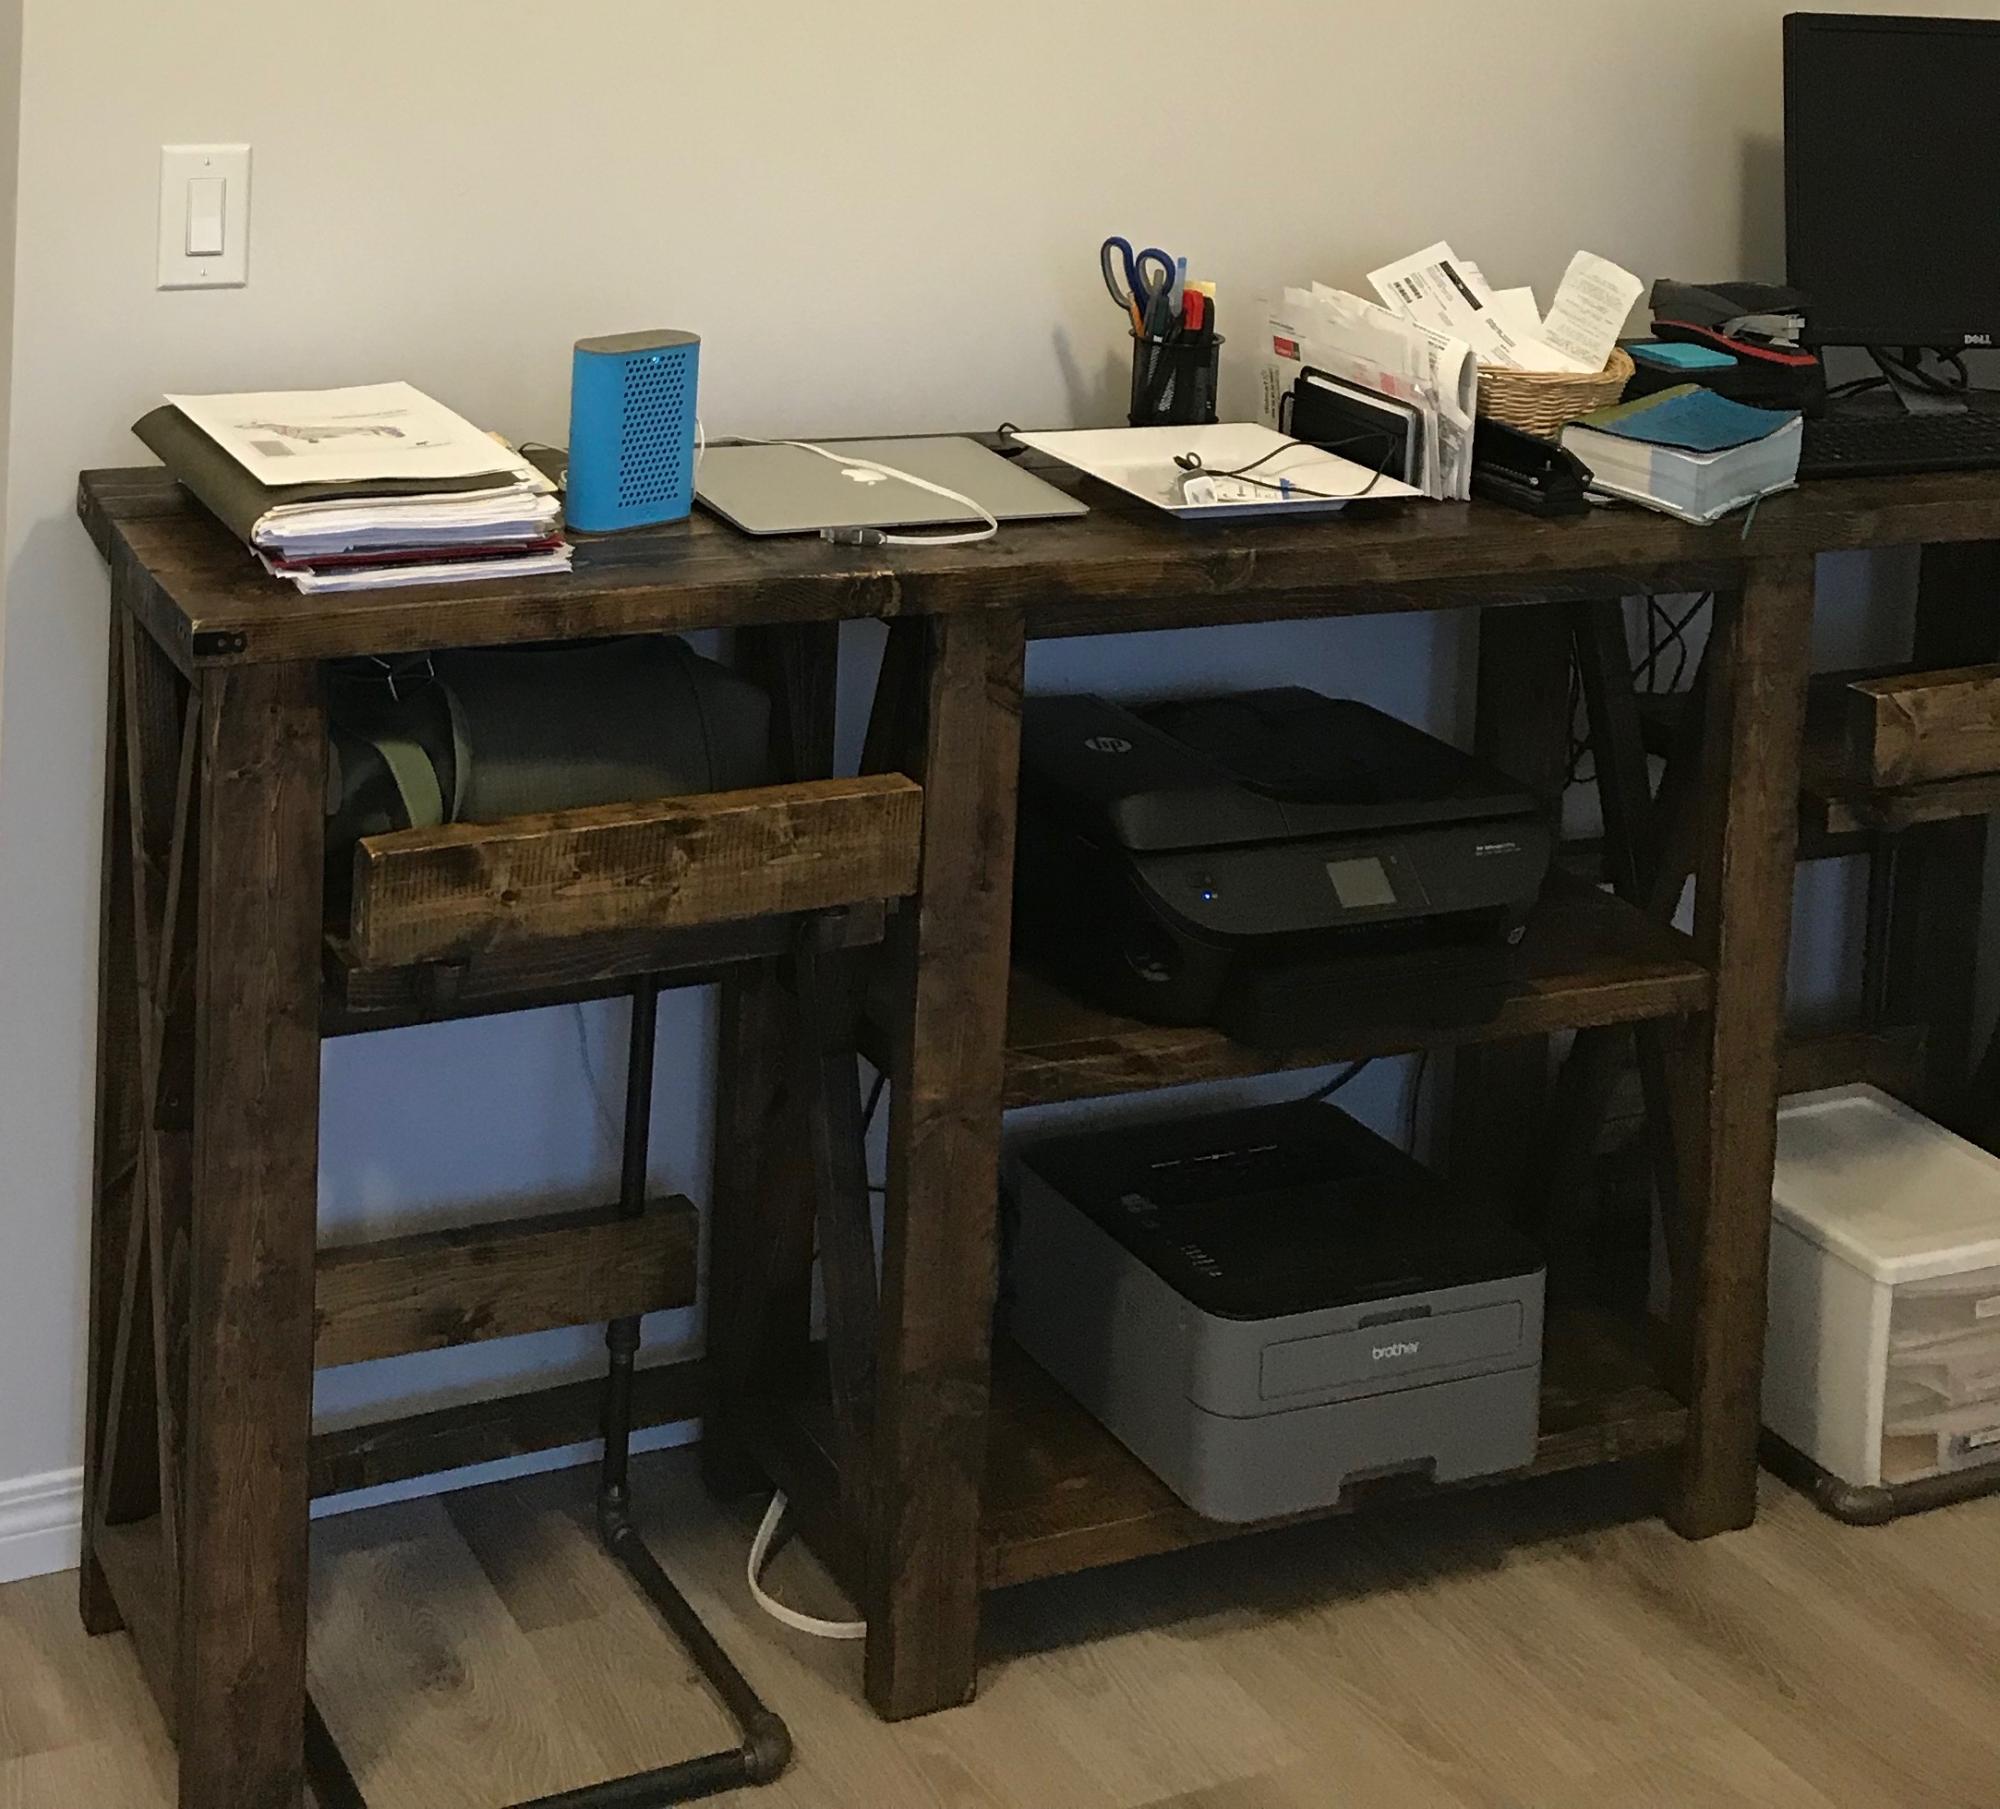
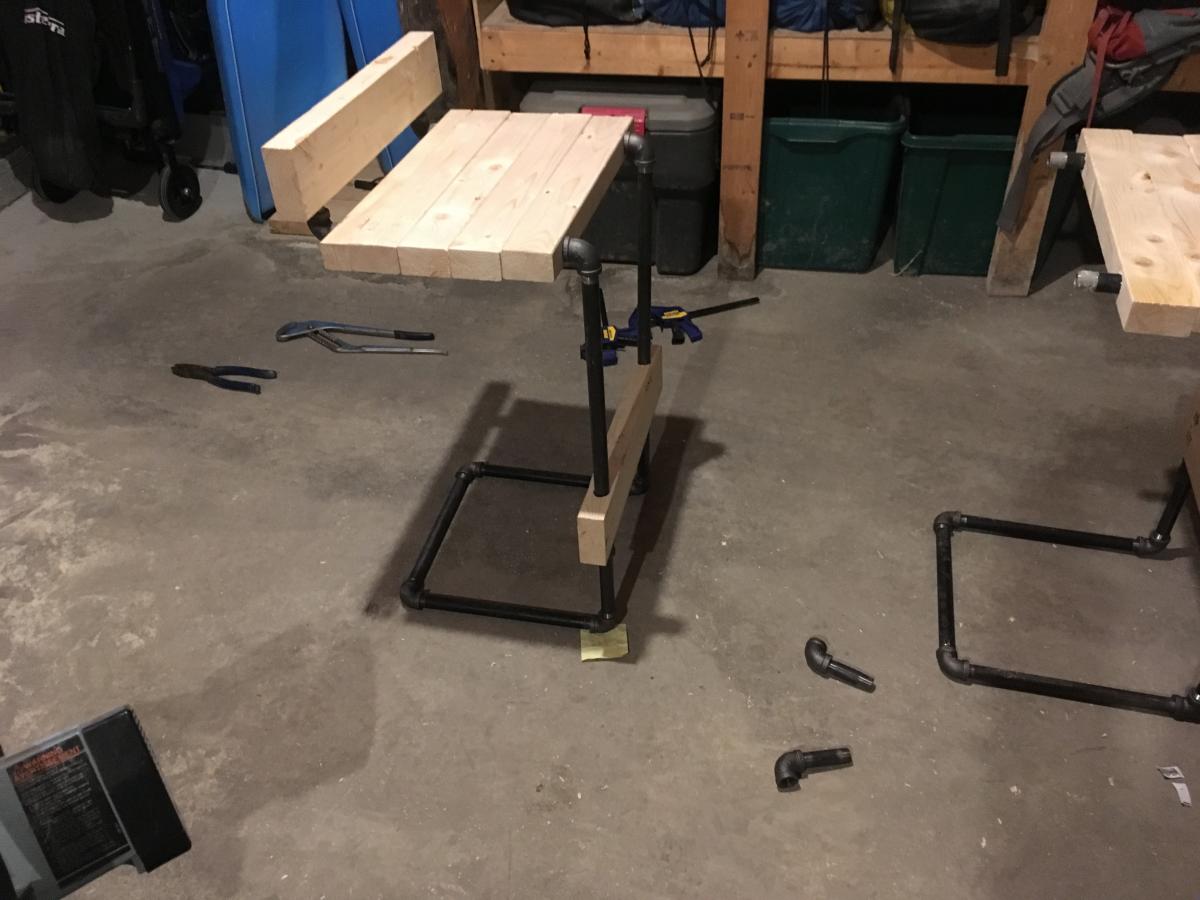
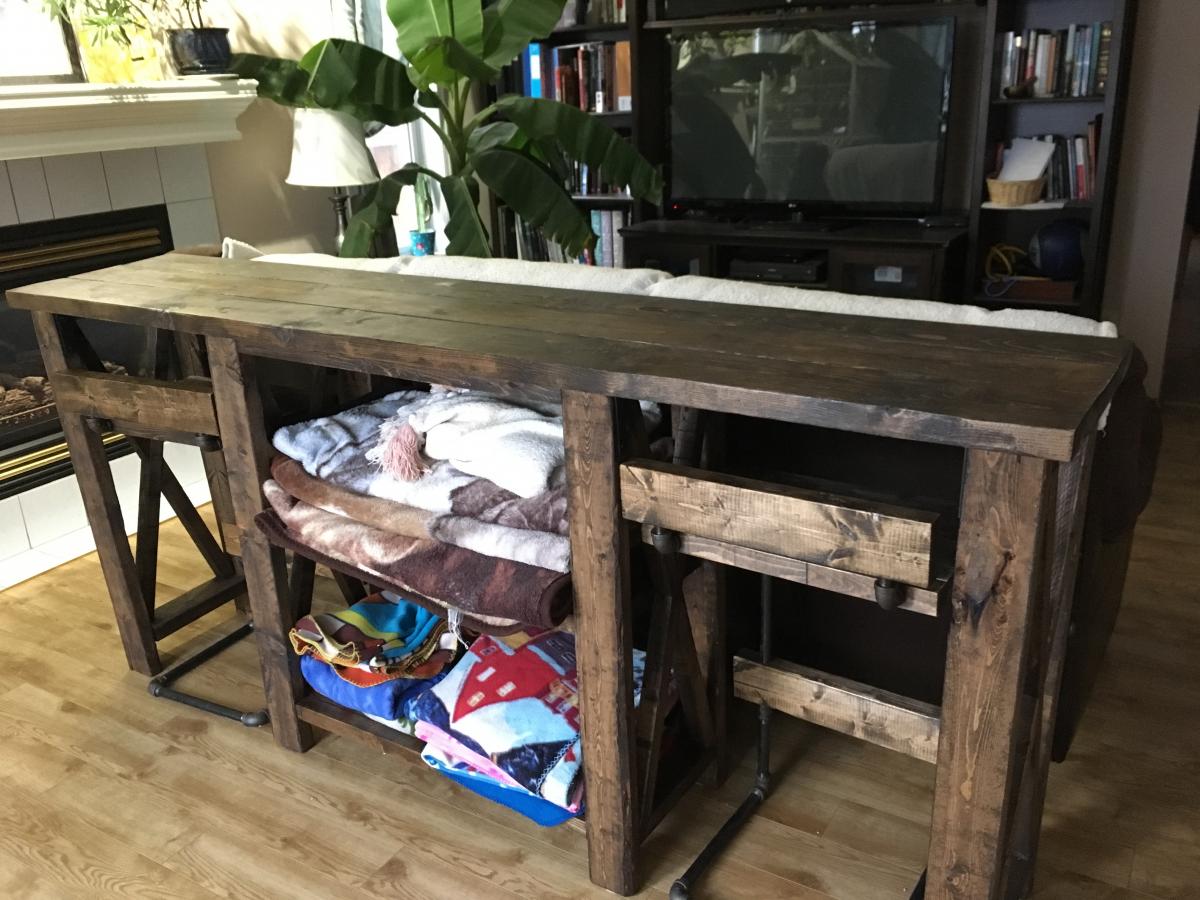
This sofa table (x-console) was built with pine and stained with expresso. we made two bar stools from "home made modern" so kids could use lap tops and socialize with us when we were watching TV.
We have since modified this project to have 3 drawers and a central games storage with hinged door That hardware was salvaged from an old desk we were turning into firewood..
Win Win
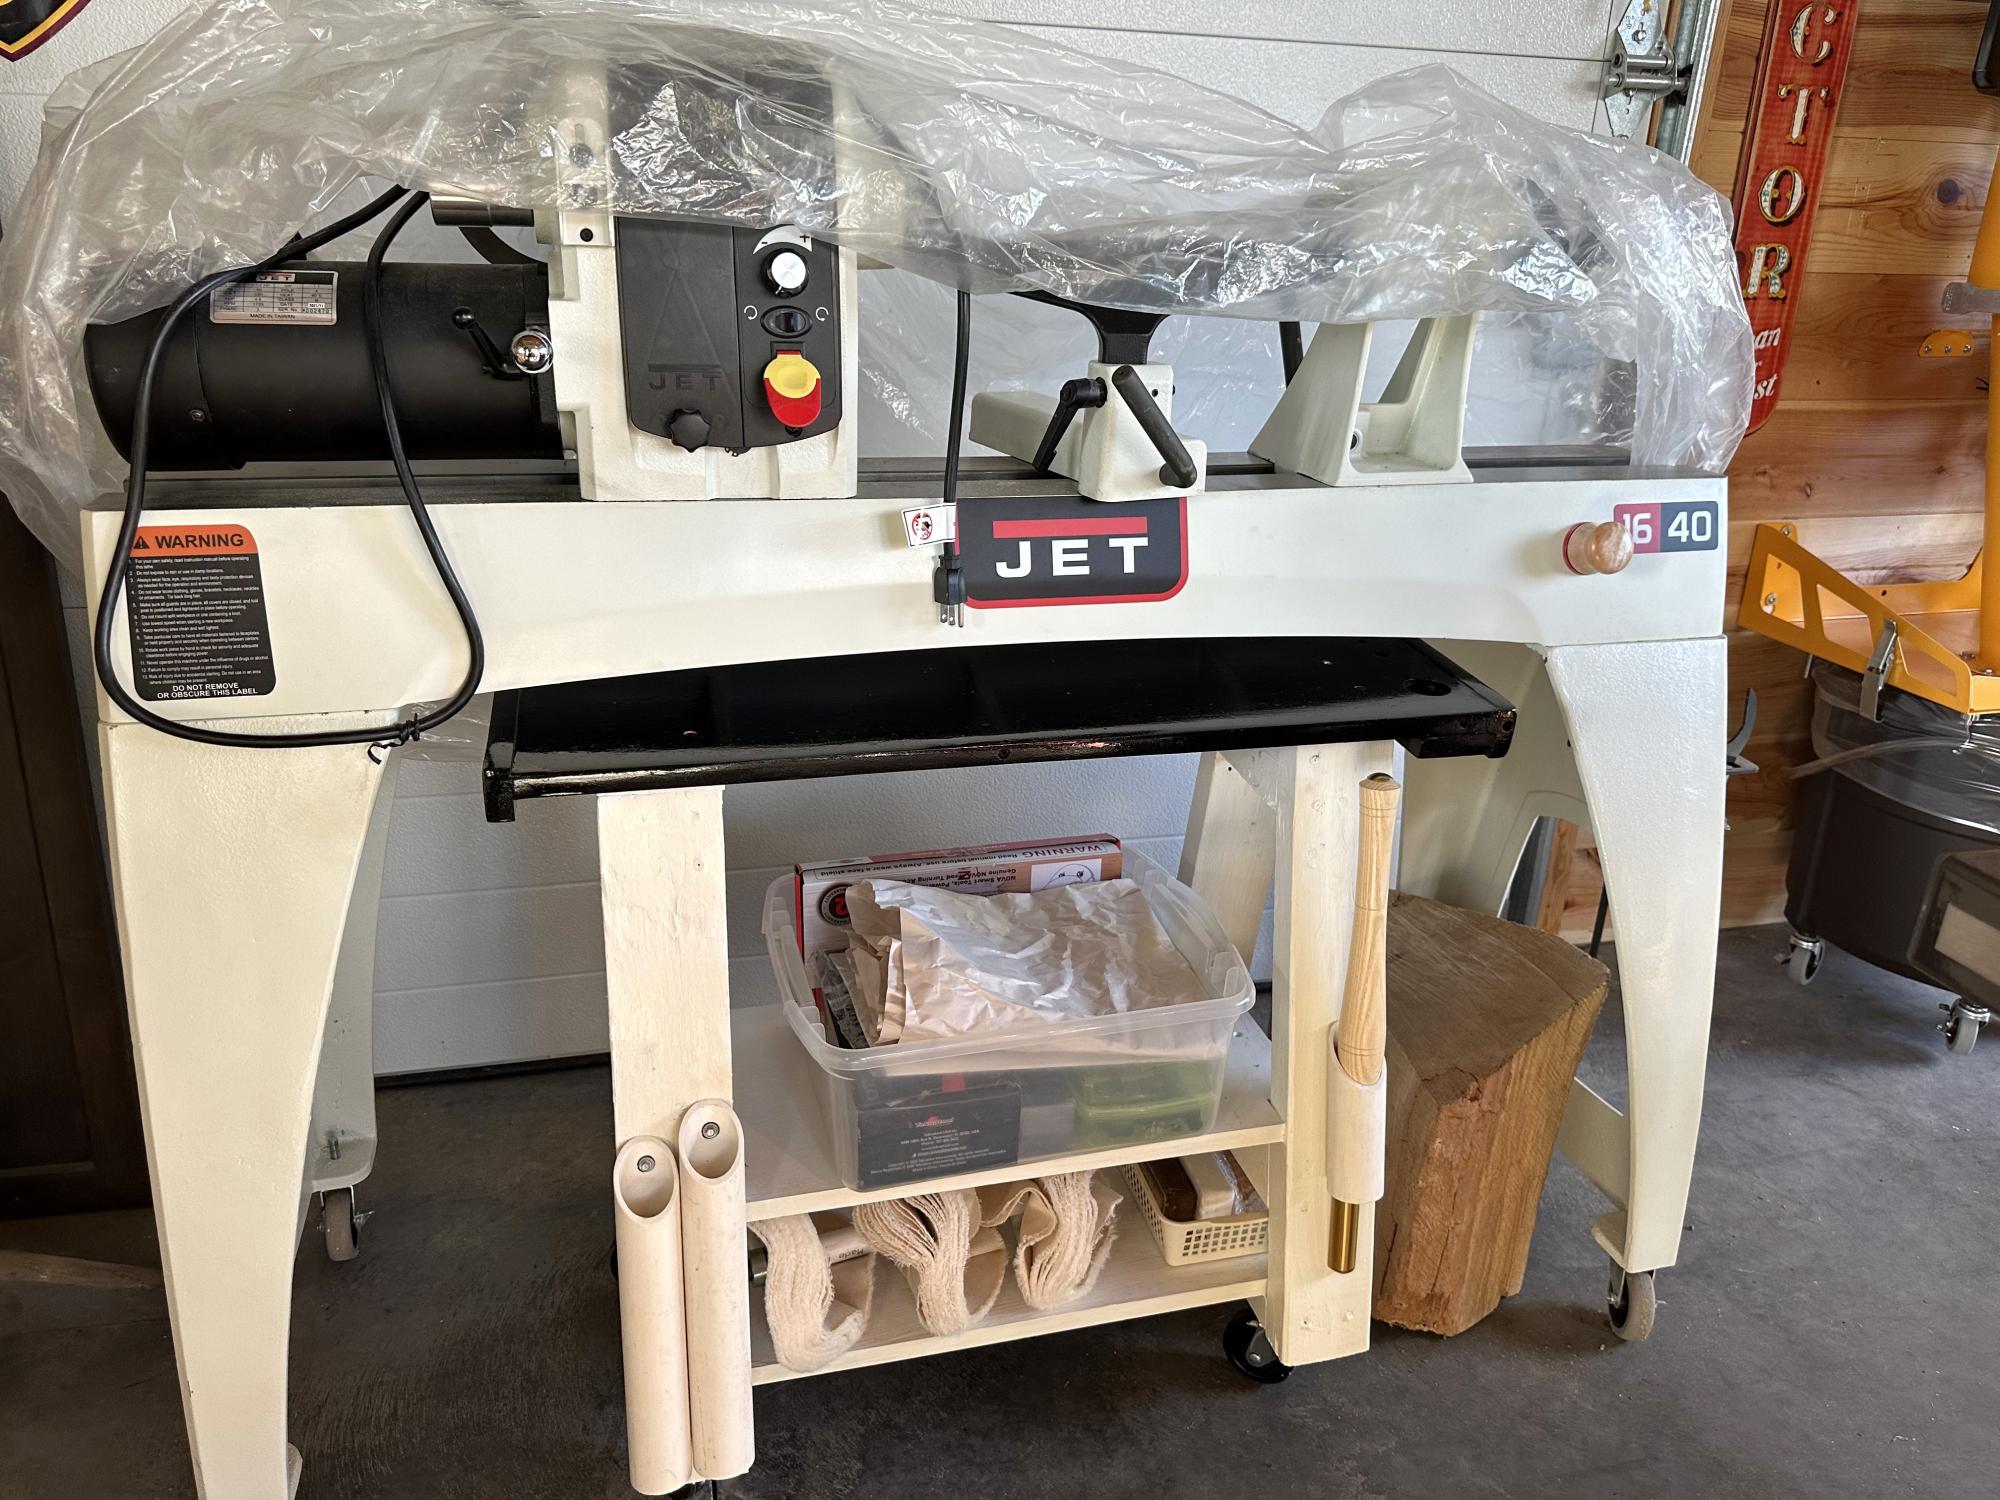
While using lathe it is helpful to have tools at hand. In general my lathe tools have custom racks/holders on wall but it is a nice adjunct to have the little table on wheels that stores underneath the lathe —at my side!
All parts are recycled wood from scrap box or dumpster!
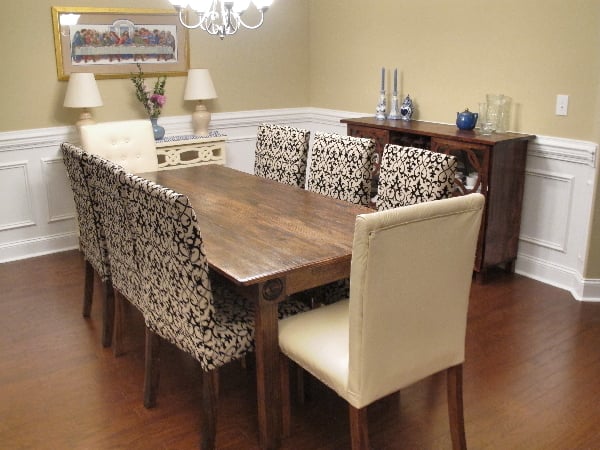
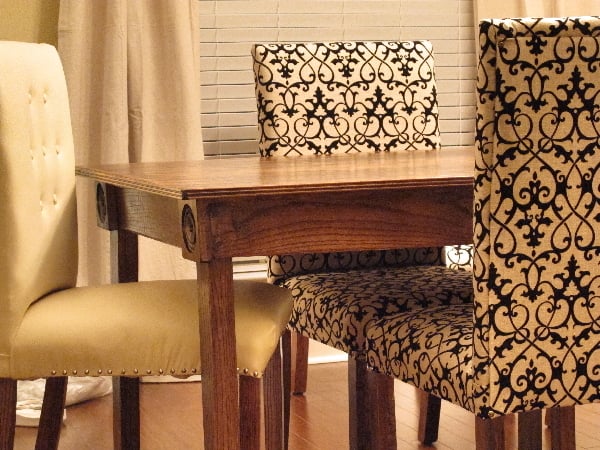
Measured 3'6"W X 8'L X 30"Tall, seats 6 to 8. Built it entirely from red oak. I built and upholstered these 8 chairs to go with this table. All the wood I used on all of these dining room furniture you see on this photo came from trees damaged or felled by the April 27 tornado outbreak near where we live.
Mon, 04/30/2012 - 09:29
Lovely! And I like that you used naturally felled wood. You've made lemonade with the lemons!
Wed, 10/03/2012 - 17:31
I'd love to have the plans for the chairs you made as well. I WANT this in my dining room! Beautiful!!!
Wed, 10/03/2012 - 17:33
I'd really like the plans for the chairs that you built to go with this table. I WANT this in my dining room and plan to convince my husband to build it for me. Beautiful!
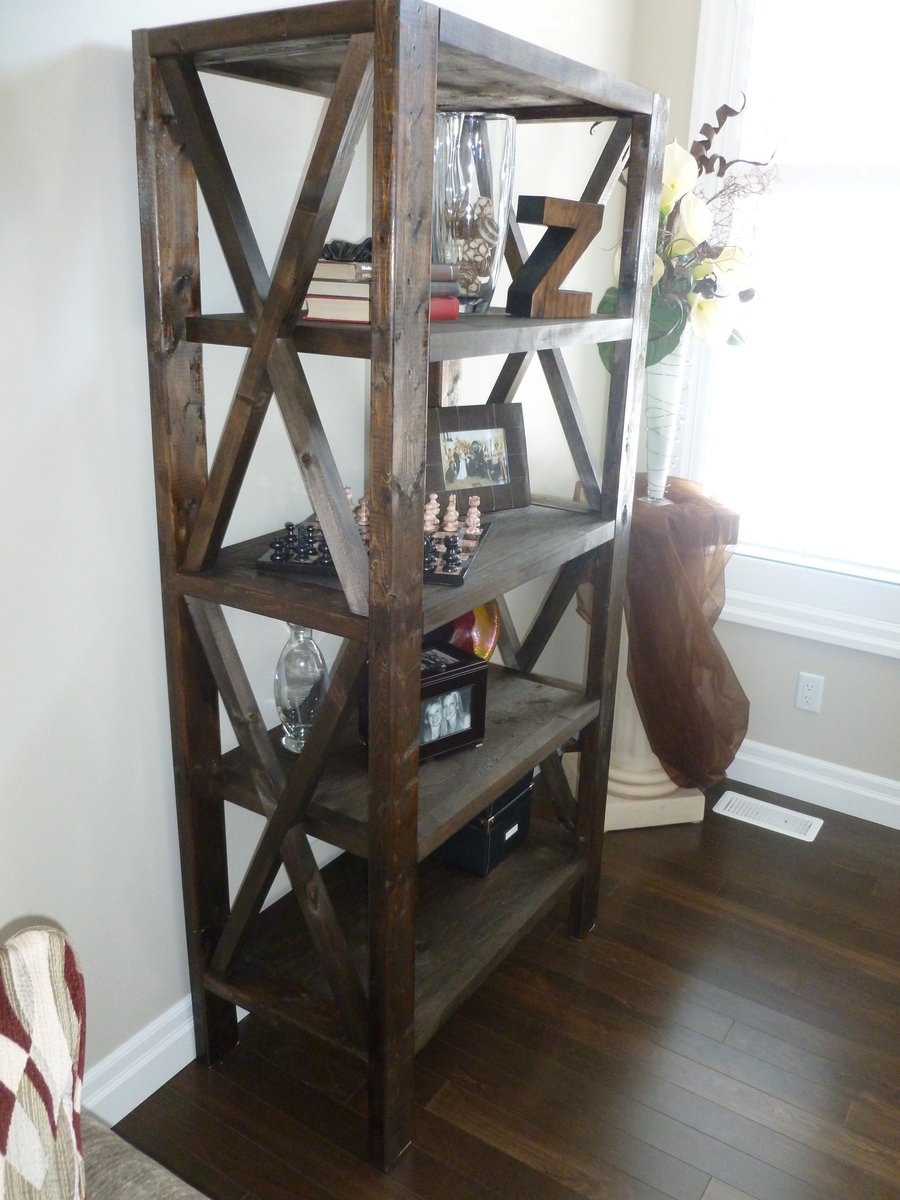
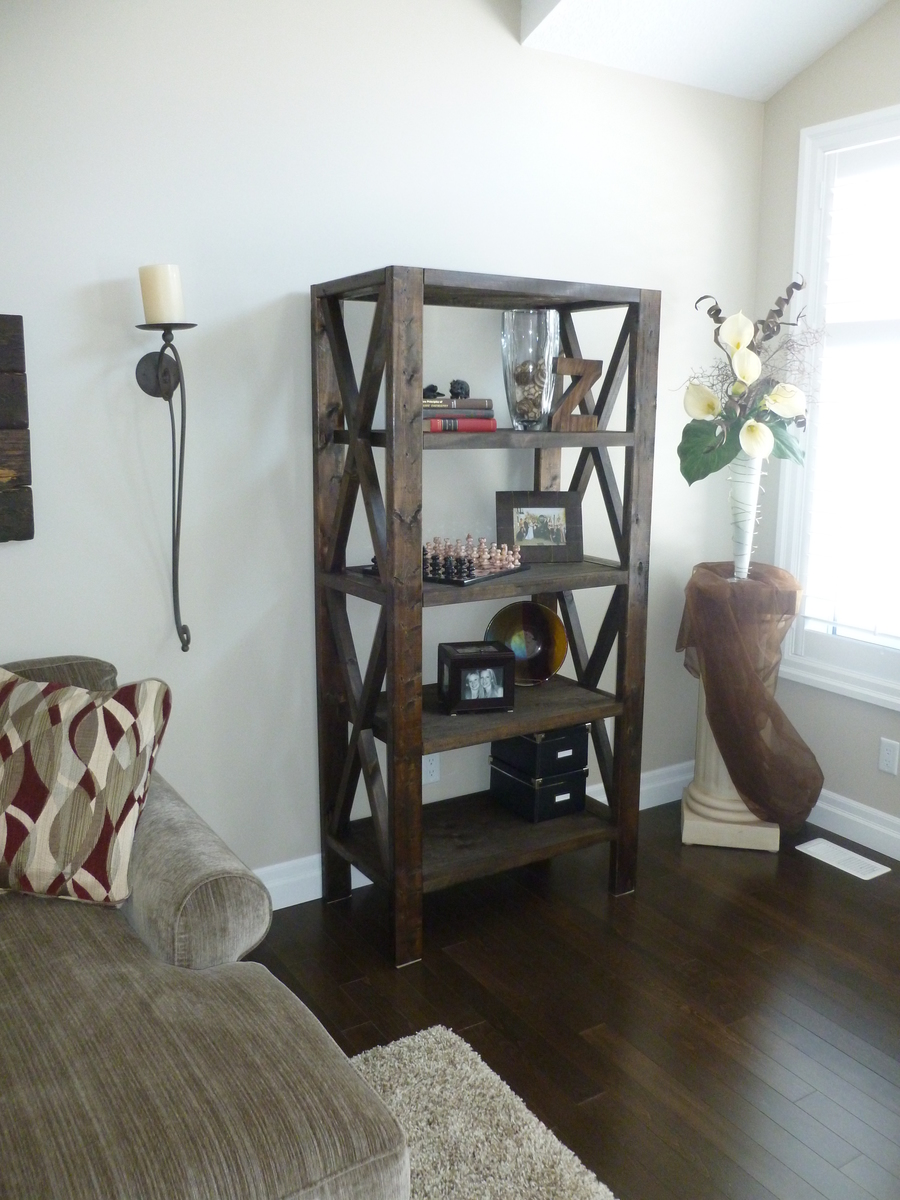
I wanted to build a piece for my living room that I could add onto later with other matching pieces. This was perfect since it has the matching coffee table, side table, and console table. It was my first time making angle cuts, and not tricky like I thought it would be. This is a very solid piece and fits in nicely with my decor.
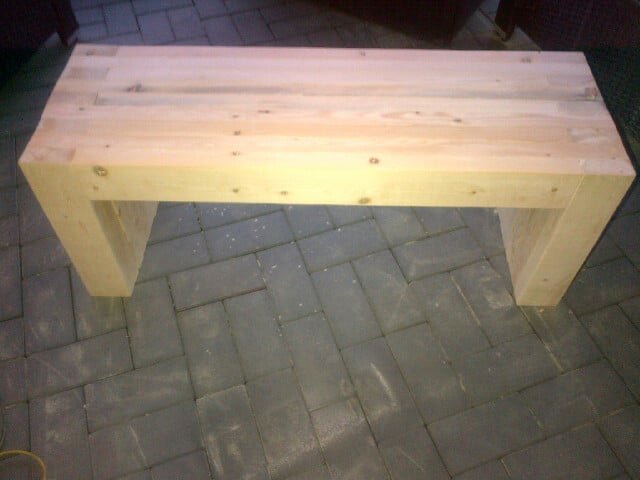
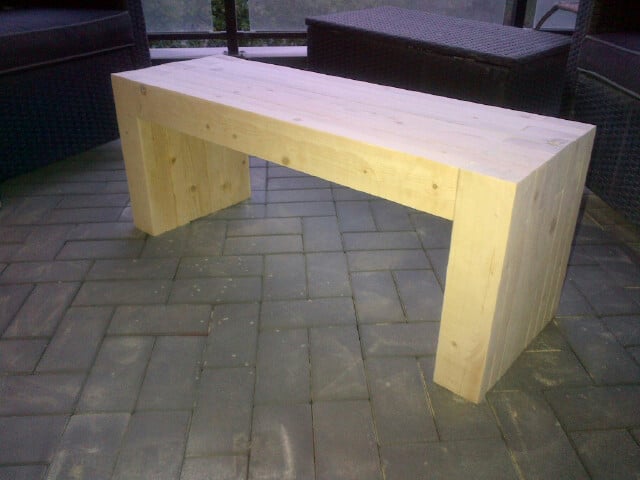
I lile the modern lines of this bench and it is easy to build. The longest part is waiting for the glue to cure.
Clair
woodpaintcreate.com
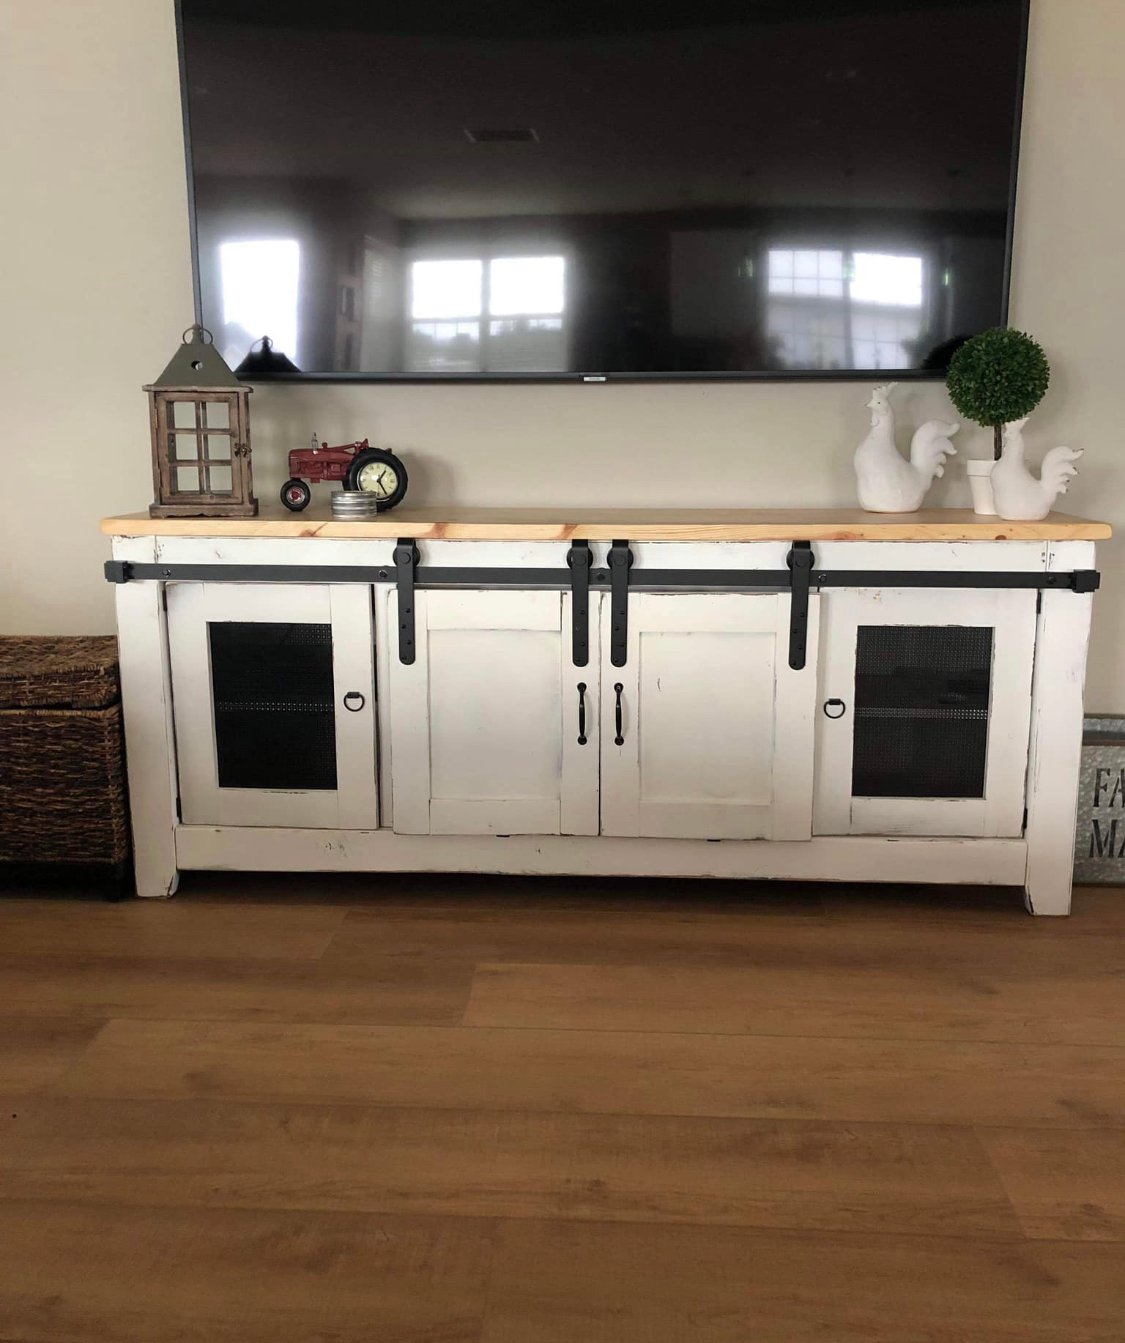
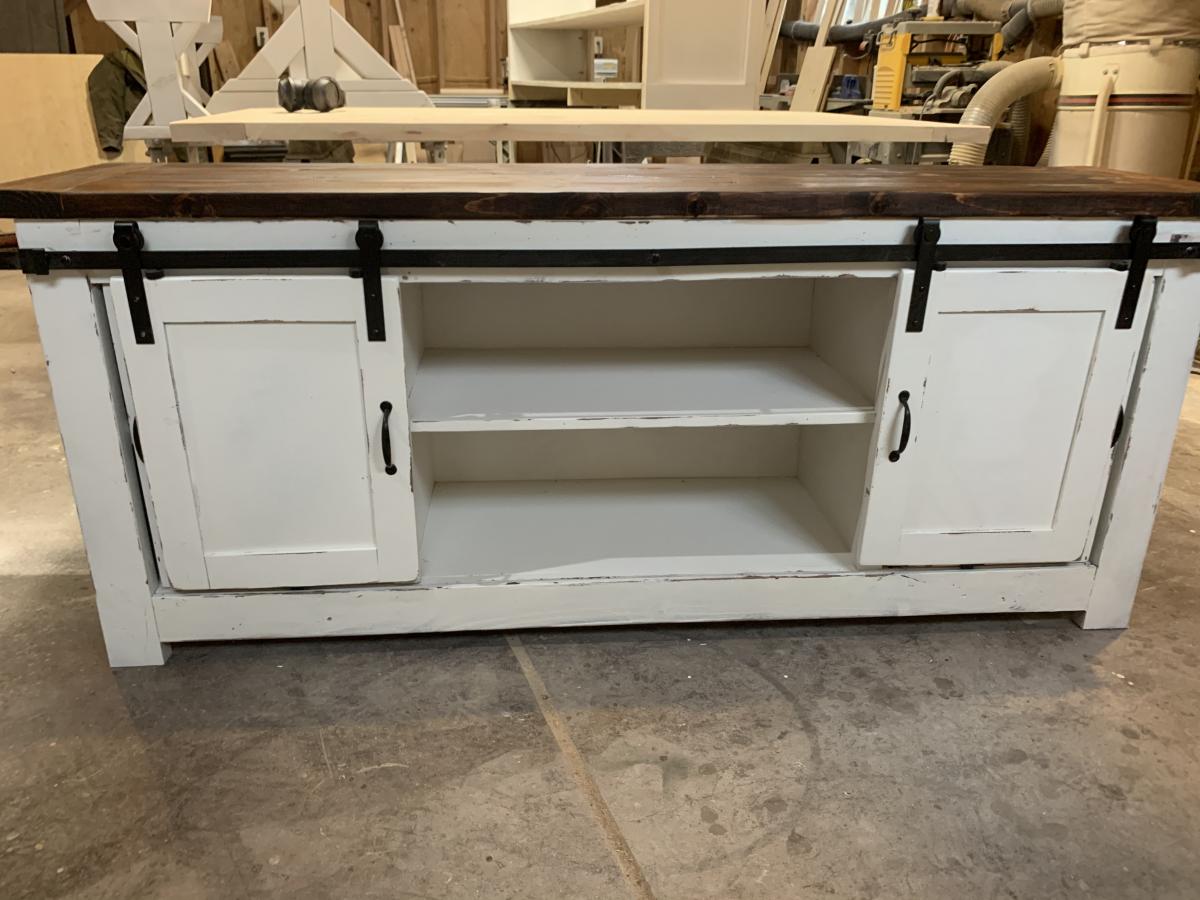
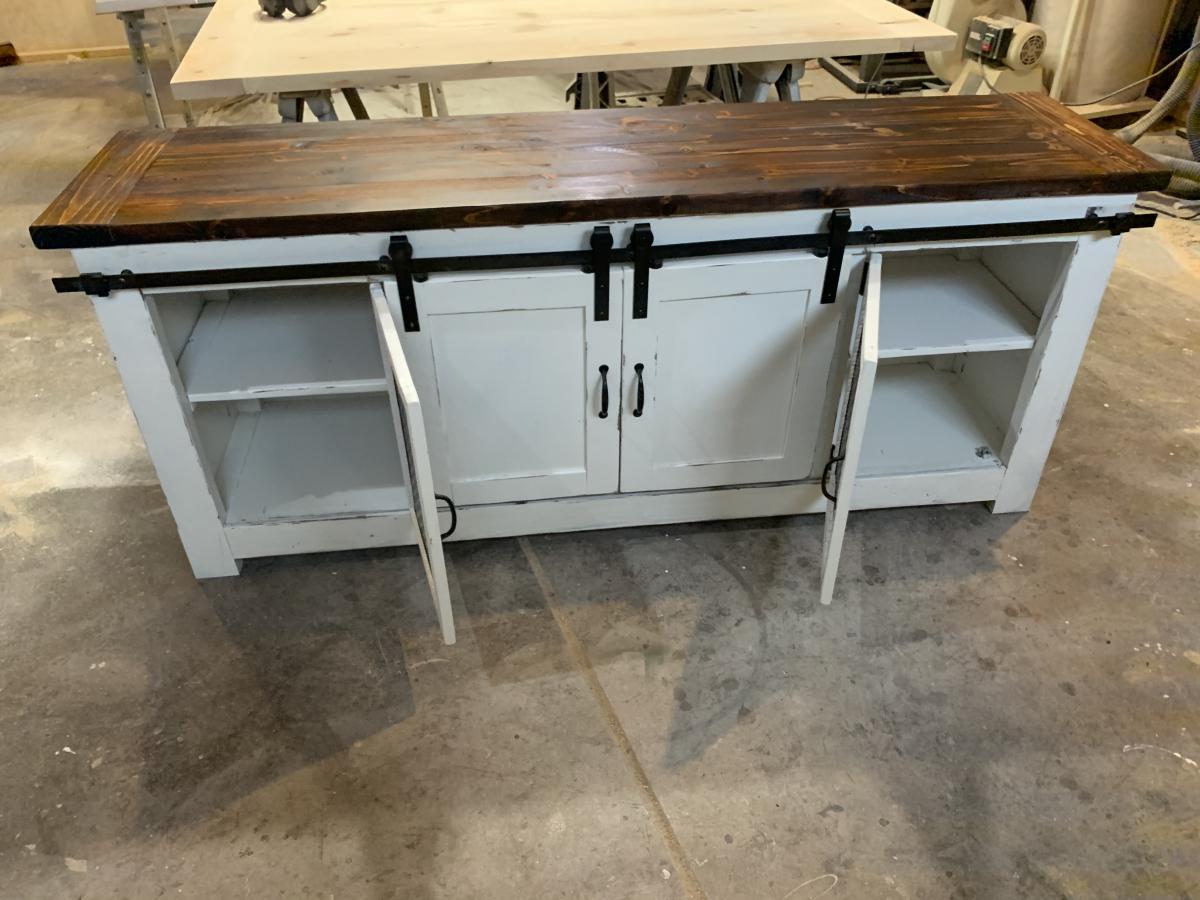
Hand made tv console that is distressed white!
Handmade custom pieces made to order! Check us out
Facebook Marney Marie
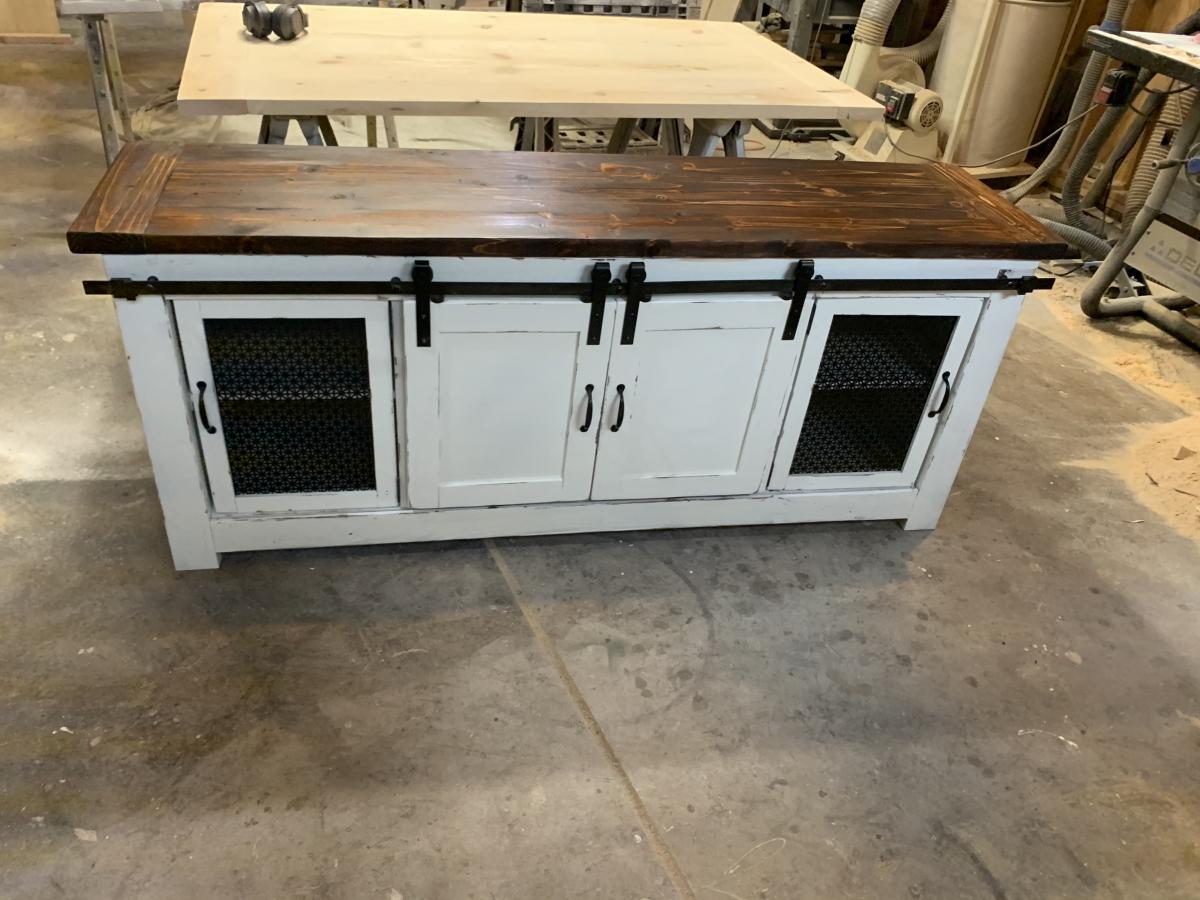
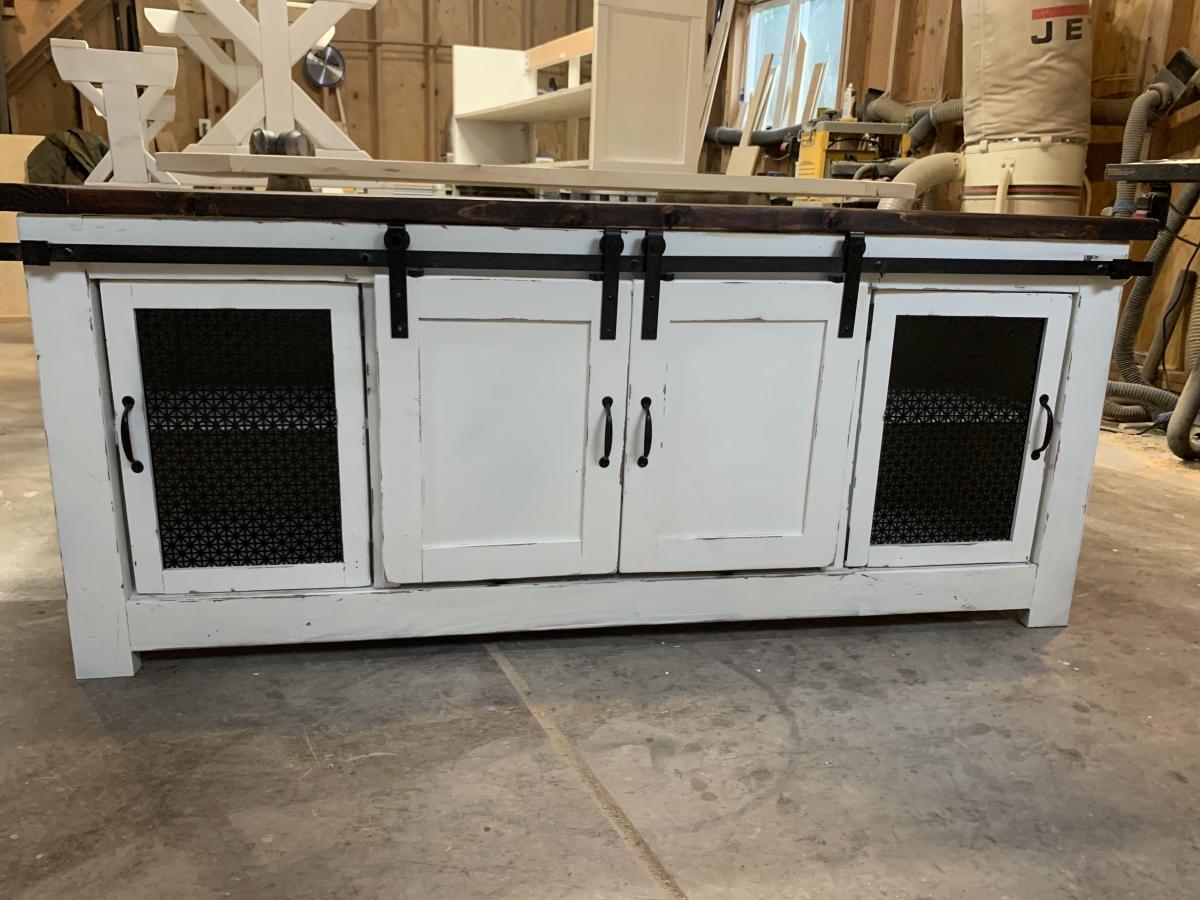
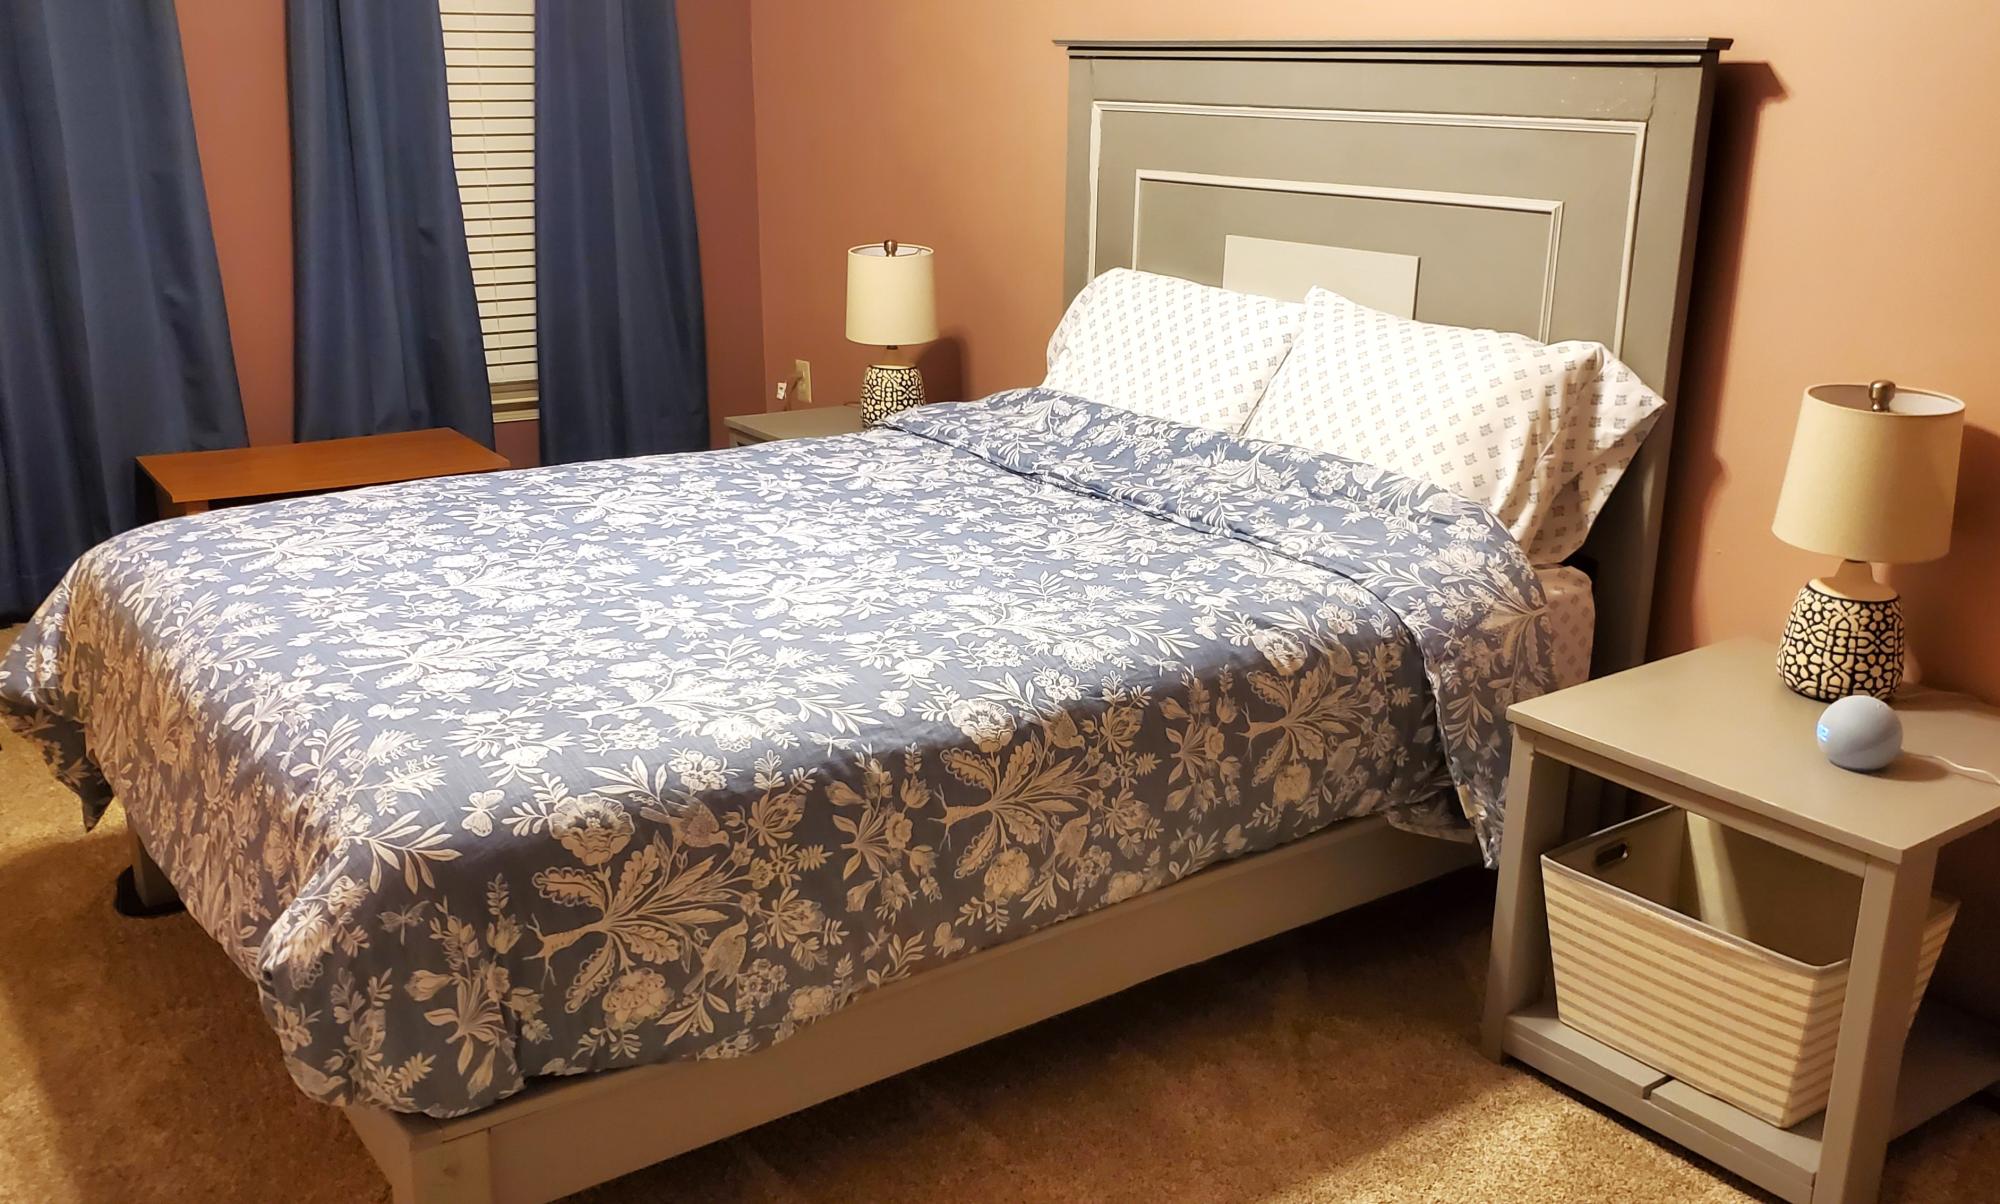
Essential bed frame with headboard customized from various Ana's bed plans. Side table nightstand from Ana's plans - easy and simple build. Great thanks to Ana and Jen for all they do.
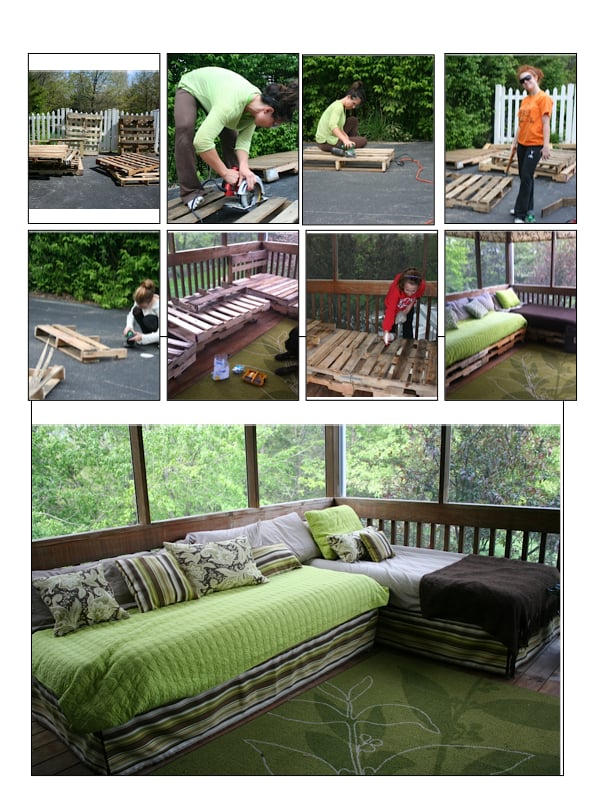
These are just a few of the photos we took while we built our first project. My daughters and I did it over a weekend.
We got 8 pallets from Lowes for FREE, and cut them down to fit two twin sized air mattresses (standard size) from Wal-mart ($15 each). We used about 1.5 pallets for the length, but stacked them two high for a total use of two full pallets, two half pallets, and then the remaining half pallets were used as back supports.
We sanded them after we removed any bad boards or nails.
Then, we used a circular saw to cut them to the appropriate length, added casters to the bottom pallets.
Secured the pallets together with brackets. Secured the back supports together with brackets.
Treated the wood, hated the stain we got at a special price from Menard's, so I decided to cover them with outdoor fabric.
Make the daybed skirts out of a flat sheet and outdoor fabric I got half off at Joanne Fabrics. Haven't sewn in 25 years!
Pretty happy with the first project. Still need to get cuter blankets, but I used what we had in the house.
Pricing:
Pallets free
Brackets and screws came to about $25
I didn't have the circular saw or sander so I had to purchase ($120 with some extra sanding pads)
Fabric $75
Air matresses $32
Sheet sets $20
Total: $275ish but I had sold some of my old patio furniture for $275, so it was a wash! And now, I have a circular saw and an orbital sander! Also, the fabric was optional. Had the pillows at home. Just recovered or took from the storage closet.
Now, onto other pallet projects! I have more pics if needed.
Fri, 05/04/2012 - 09:52
What a great job and so creative. I think it's awesome that you and your daughters did this together. Now, I'm going to go collect pallets.
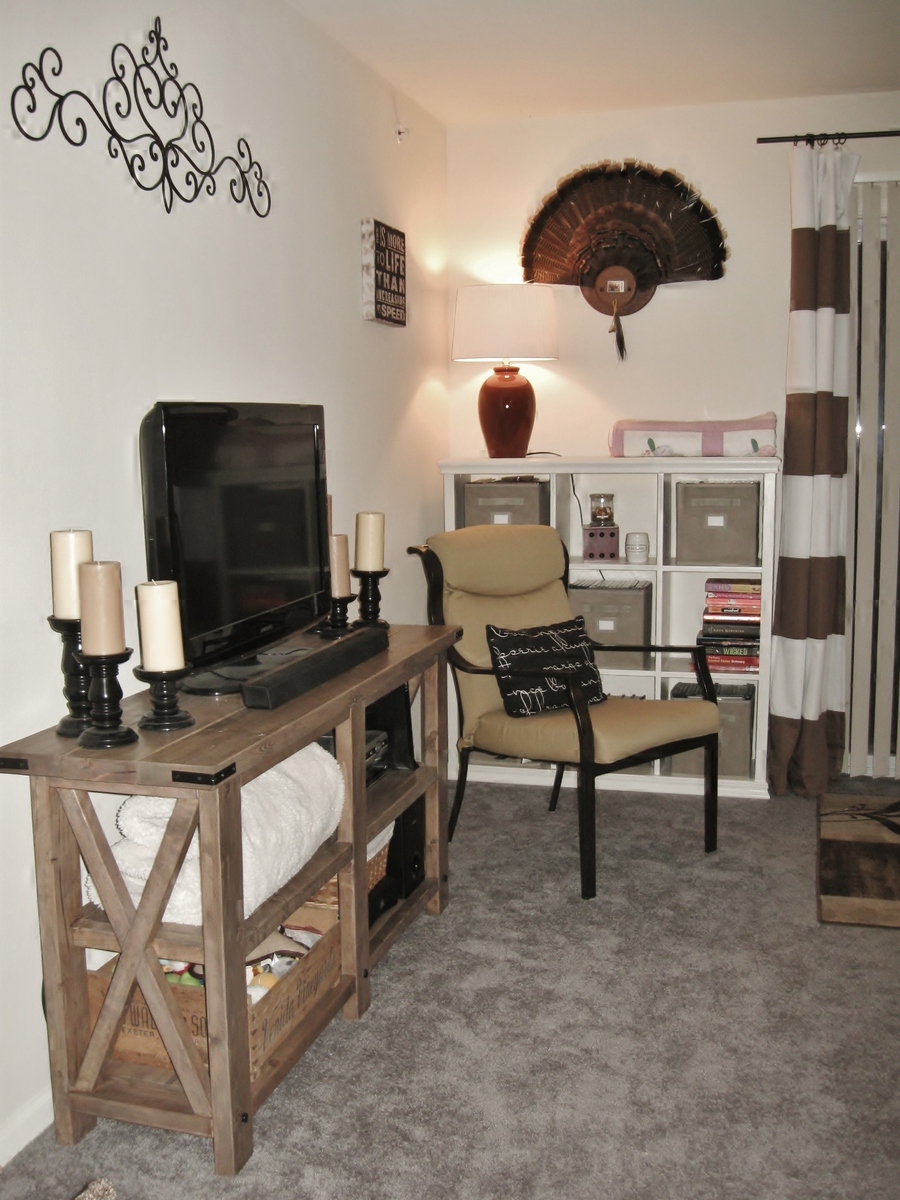
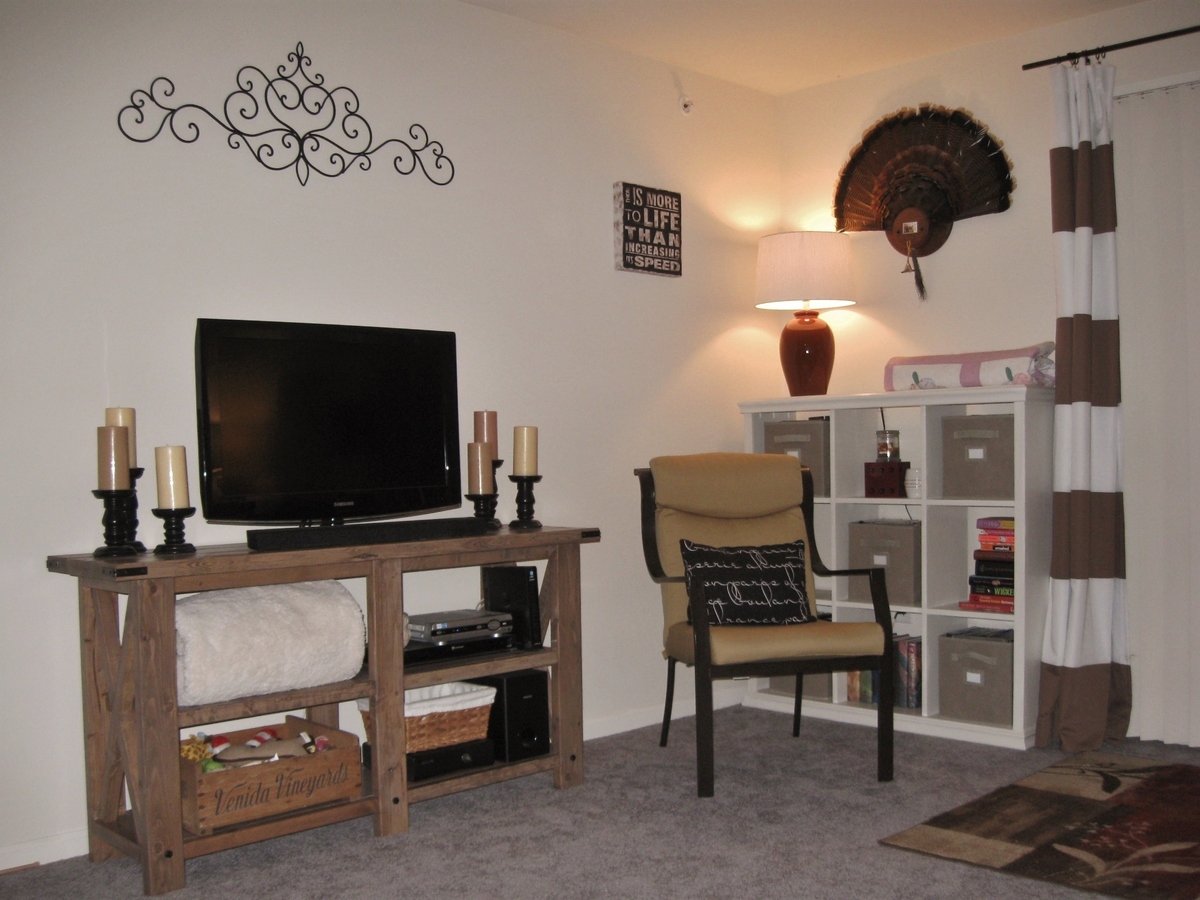
This is a modified version of the Rustic X Console, it isn't as long as the original.
I created this, with a little help from my Fiance, as a TV console. We have made furniture in the past, with plans from Ana White, but this is my favorite piece so far.
We looked for months for the right piece of furniture that wasn't extremely expensive or made of cardboard. Instead we found the plans for the Rustic X Console and thought it would be the perfect fit. I also created a cubby bookshelf at the same time to store my hundreds of movies.
Eventually our entire living room will be homemade, the next project on our list is the matching coffee table!
Wed, 04/16/2014 - 14:21
Beautiful. We are planning on building this as well and wanted a smaller version. Can you by chance share your measurements? What size TV do you have on the console? Thanks!
I needed some storage area for the guest bath, and this was perfect! Always an easy build when using Ana's plans!
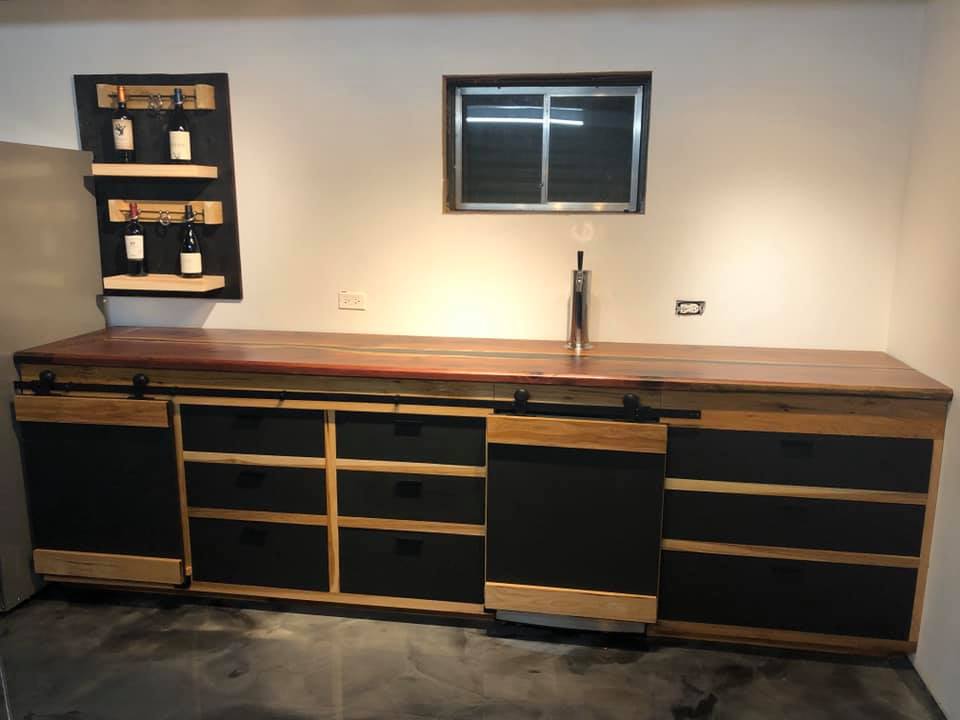
Built by Kev Staneart
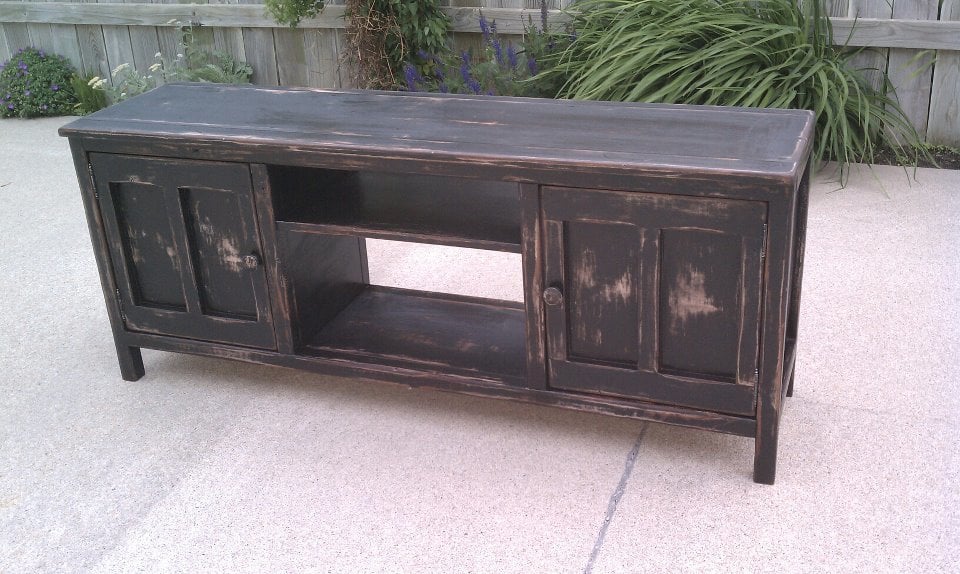
Built this for my girlfriend and my apartment. Used a method of painting and sanding and finished with a stain. Still plan to put some sort of protective top coat to give it a more even finish.
Mon, 12/16/2013 - 15:43
Do you remember what color of paint or stain you ended up with? I love the color and am going to be making this piece in the morning.
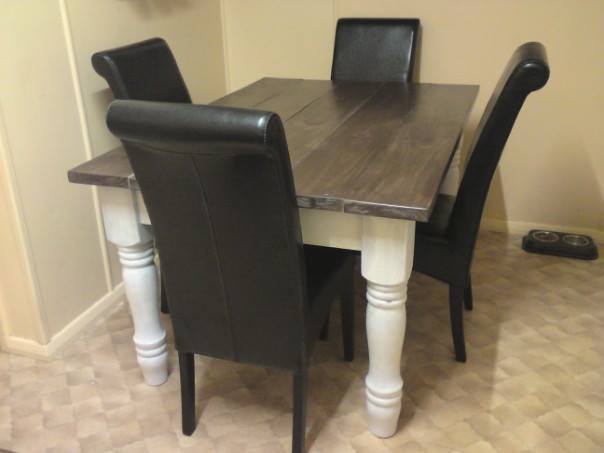
loved the husky dining table on Ana's website so sort of followed the plans this is how mine turned out :-) still in the process of distressing the legs and then varnishing
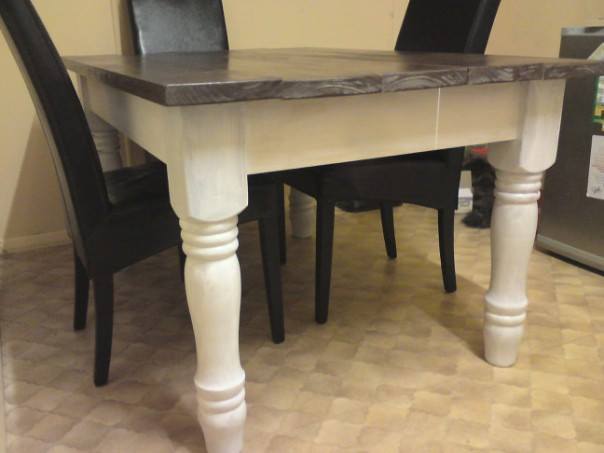
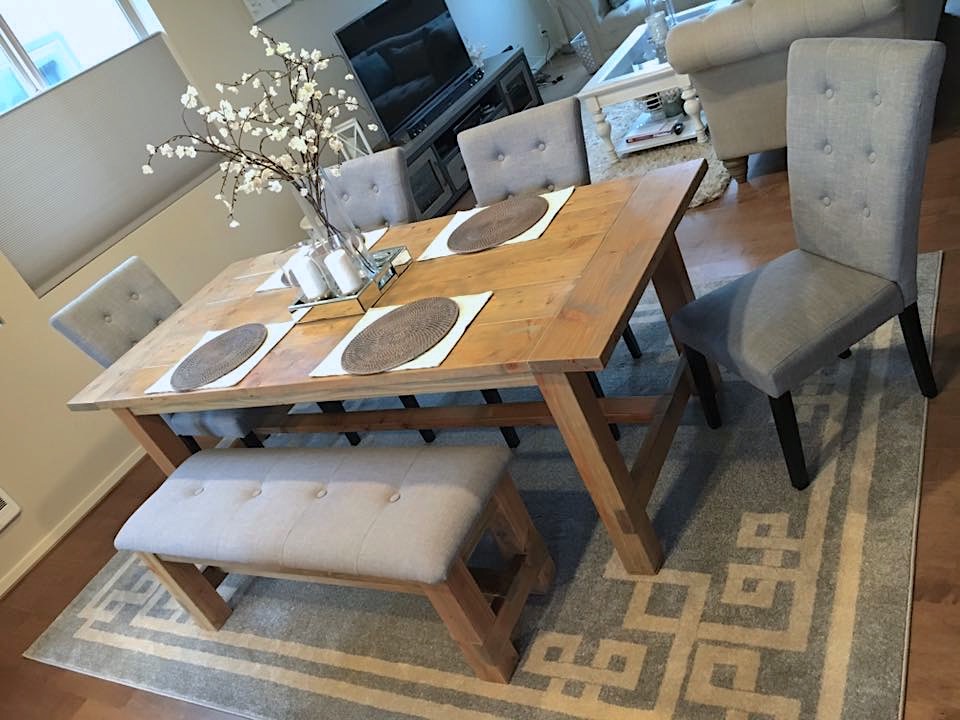
This was my first table, so there were a few hiccups, but I was pretty content with it.
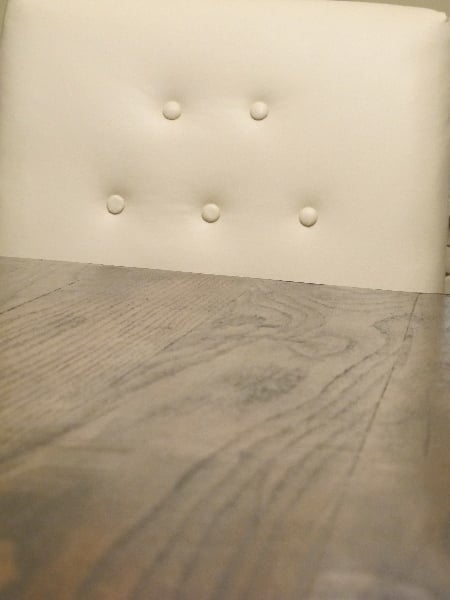
I recently made the bench that you see in the picture as well. I made it to match the table, so I pretended I was making a mini table. Used plywood for the top, padding, and wrapped it with fabric. I was trying to match the charis as much as possible. Finished it by making the buttons and tufting it.
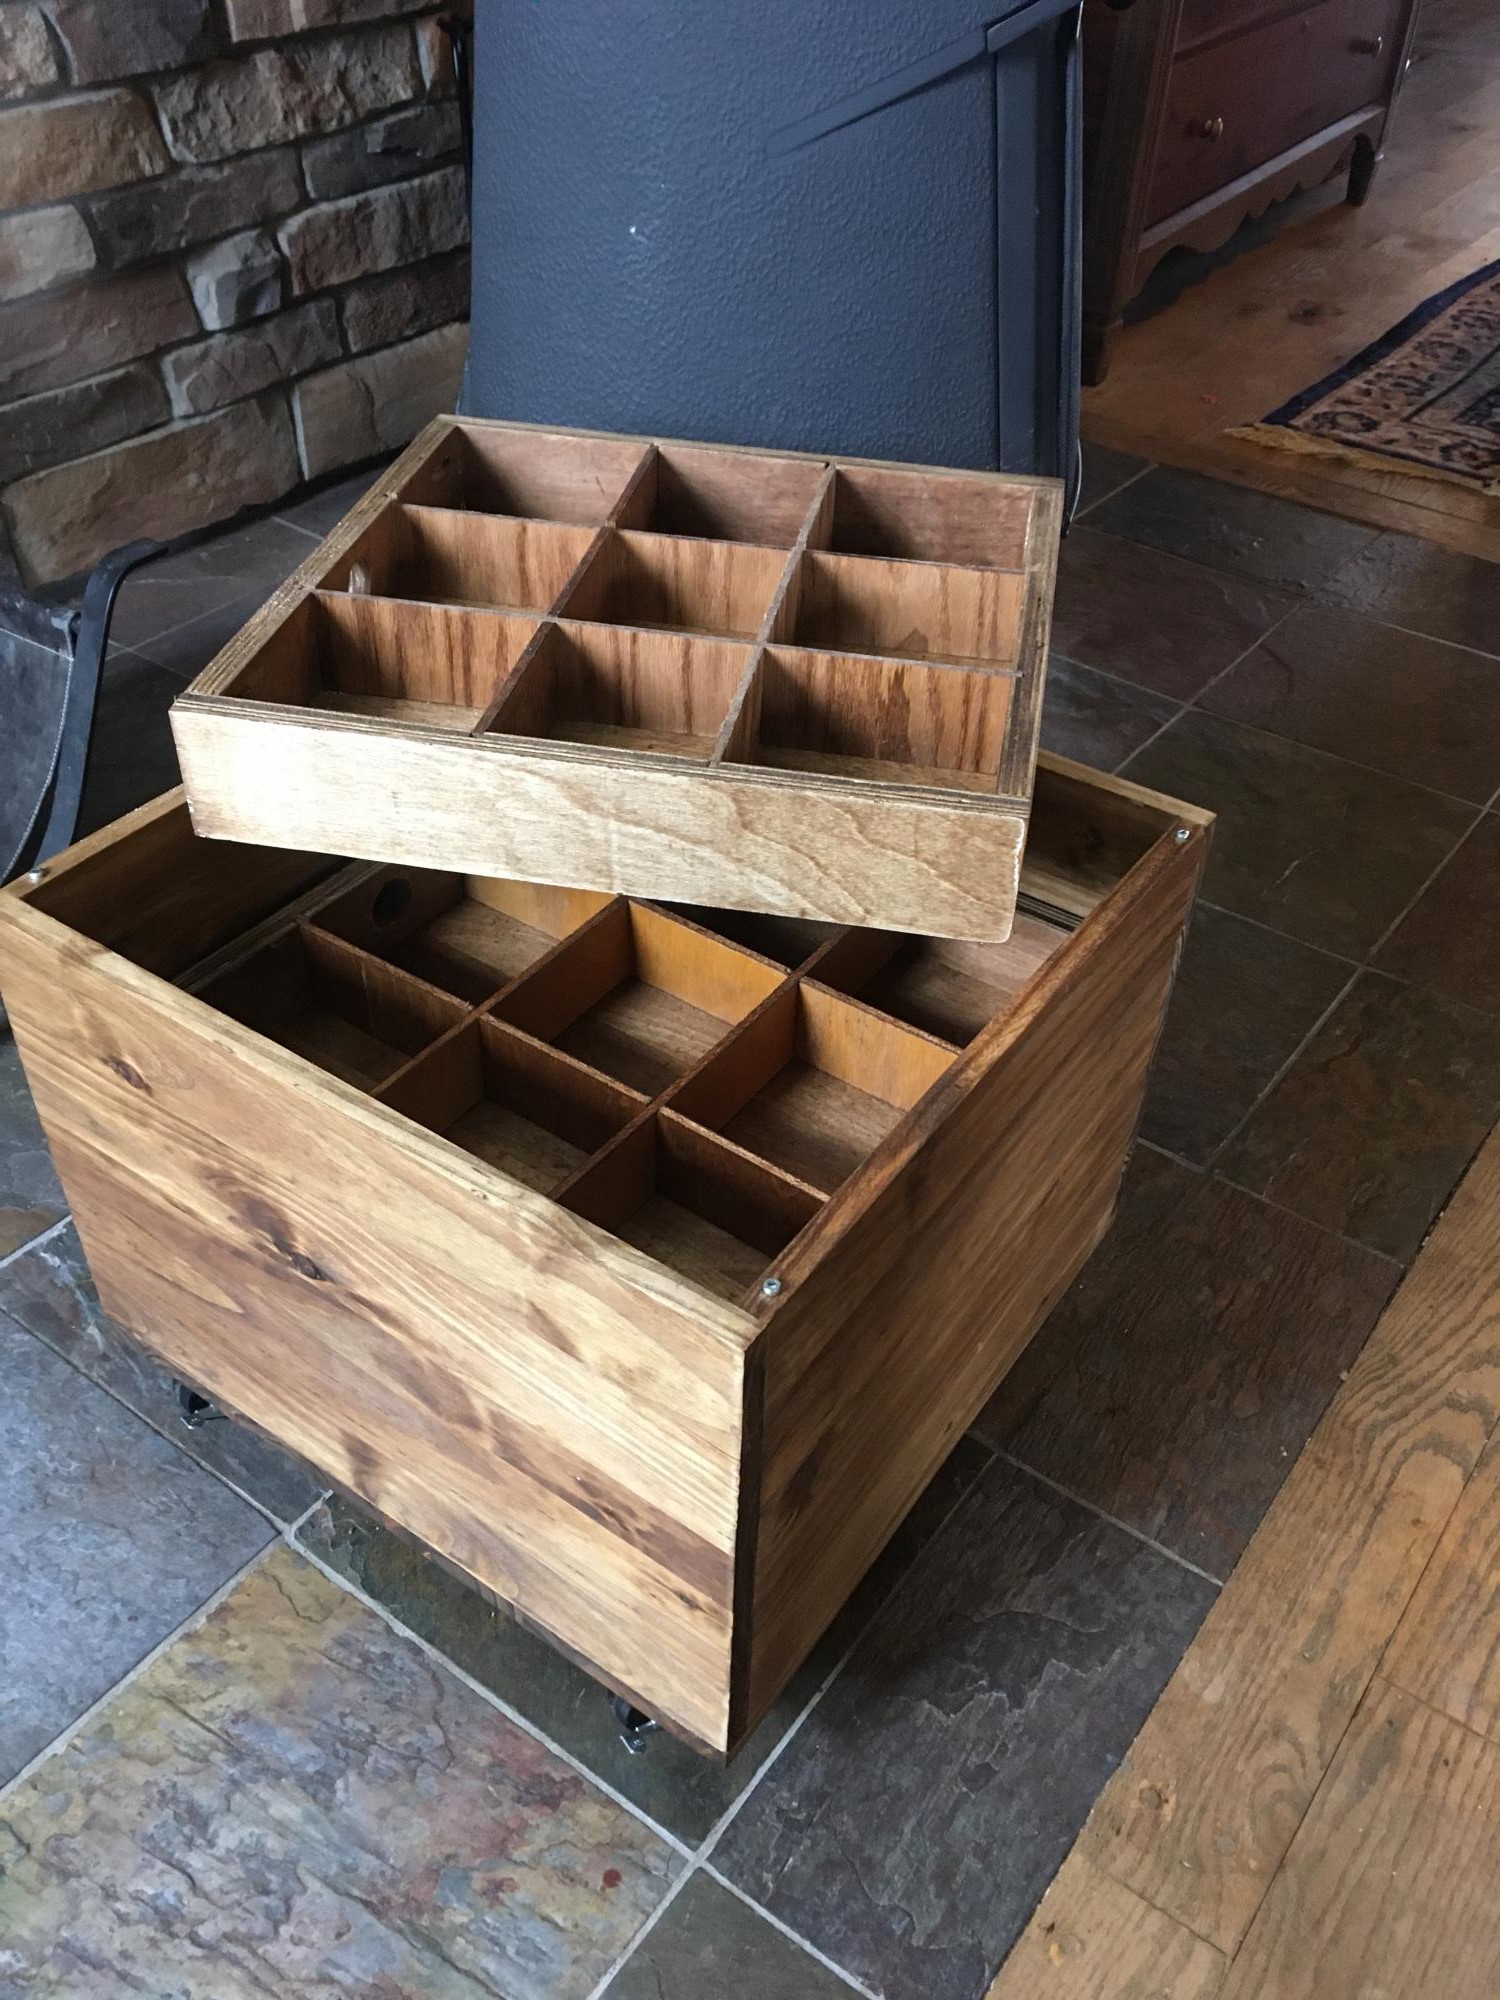
My daughter needed some mobile storage and a seat while using her sewing machine.
I came across Ana's mobile stool storage plan realizing I could make four stackable storage trays to go inside. I applied the Watco Walnut finish which I have seen Ana use before on her projects.
This project was a great birthday gift that will used for hopefully years to come!
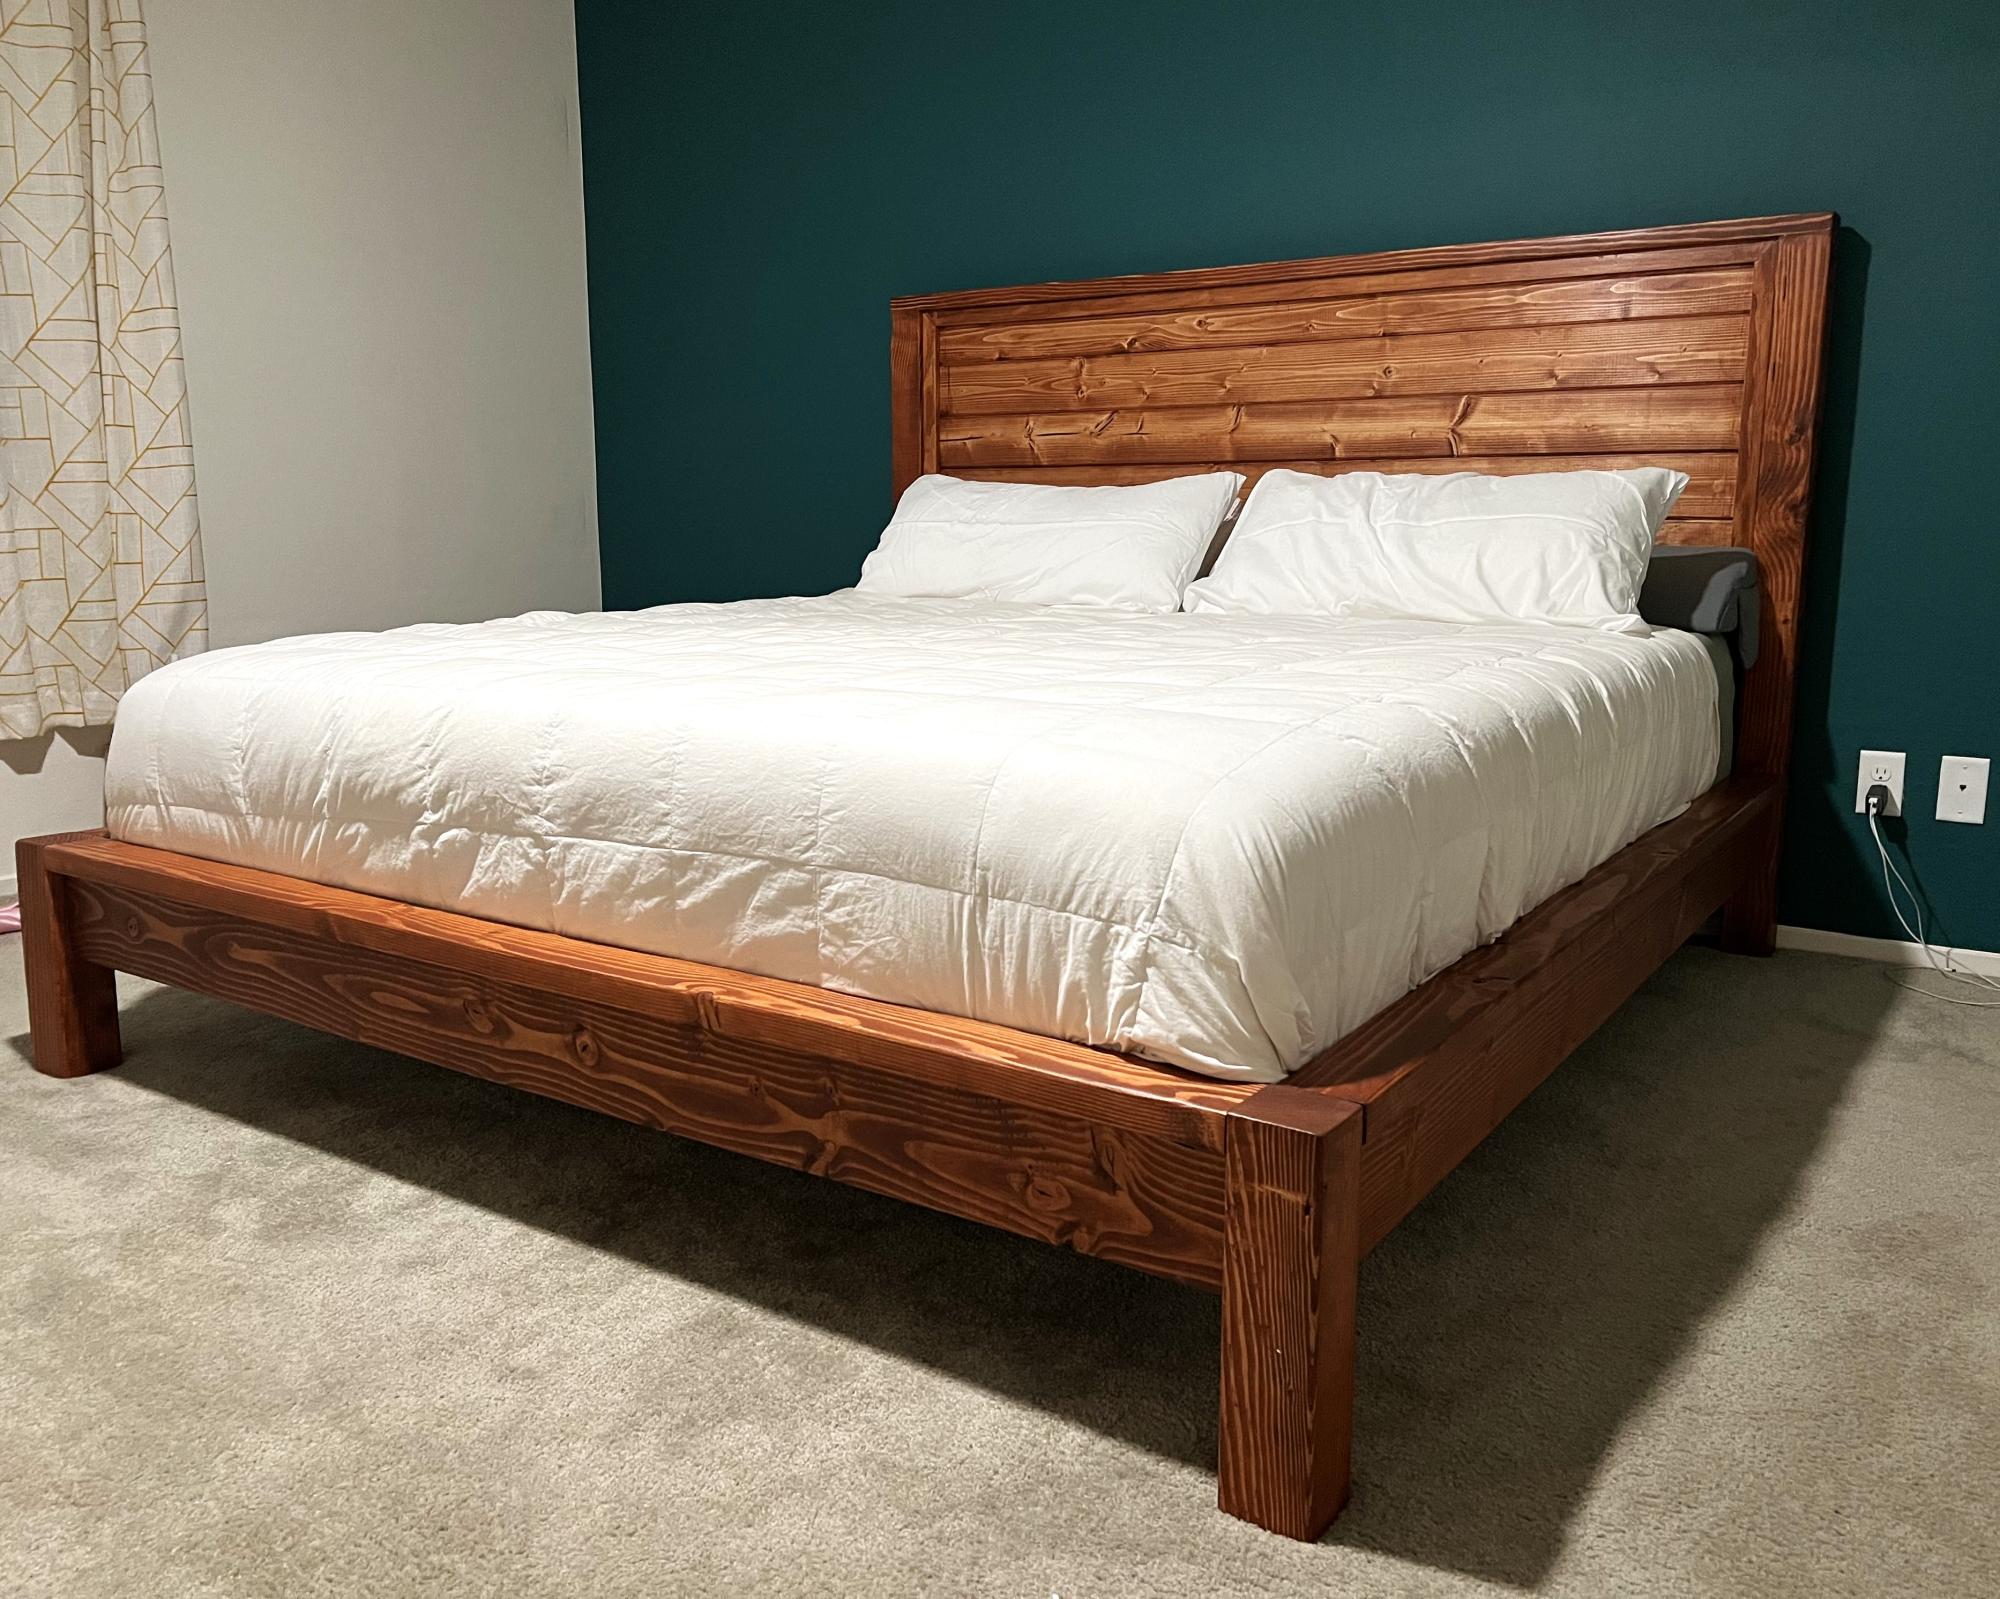
Turned out beautifully for our master bedroom!
My first project on my own!
Wed, 05/14/2014 - 00:46
For the end pieces at either end of the top of the bench and table, how did you secure them to the legs? It doesn't look like you cut the extra pieces to fill in the legs so that they are level with each other to make the base. I like how this version looks but it seems like half the 2x2 is barely attached to the legs. I'd love to hear how you did that so I can copy, thanks!
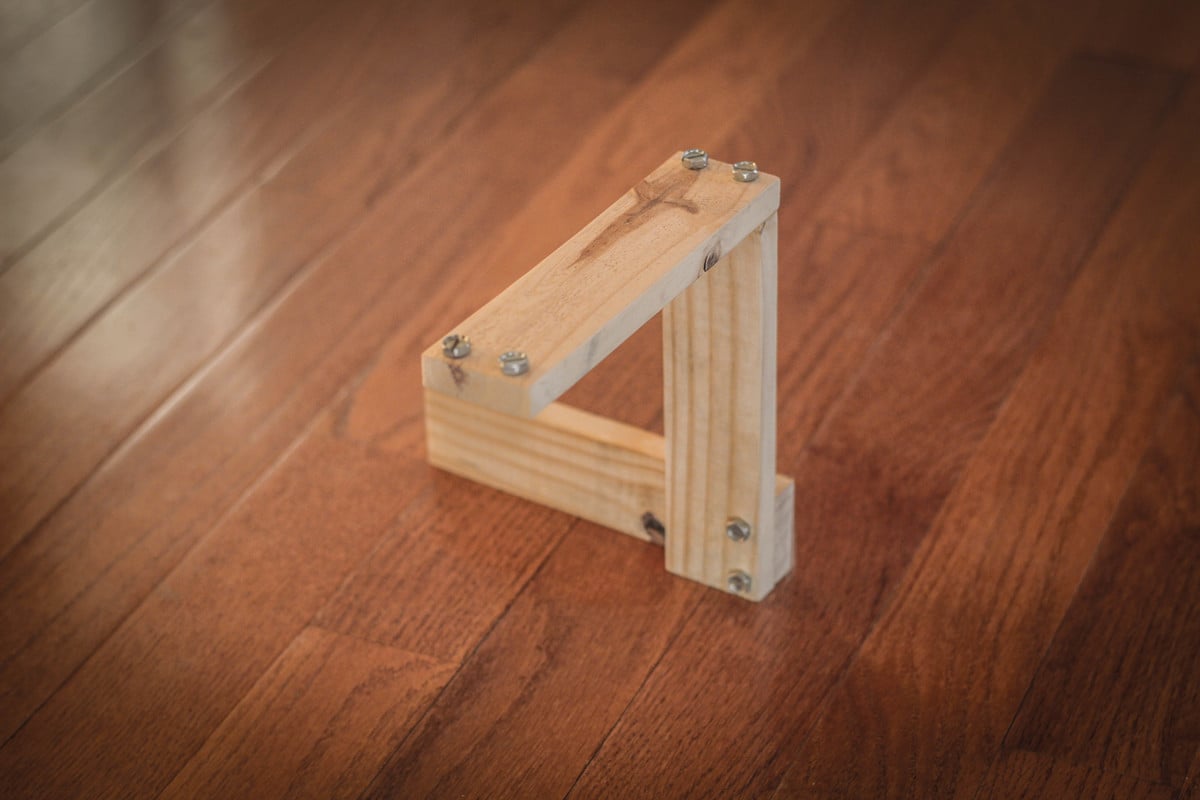
This is a modified version of the Penrose “Impossible” Triangle which is an interesting example of how the brain can be fooled. The main difference in this version is the use of hardware to simulate the triangle side connections. Watching the video is the easiest way to see how it works.
https://www.youtube.com/watch?v=_B2D5h74mMA
Please check out my other woodworking videos as well. Each video has a PDF drawing of the plans in the description.
https://www.youtube.com/playlist?list=PLcLIJdluqiyiI7J9qp5VAXrALMOftr0RT
