AP - Play Kitchen
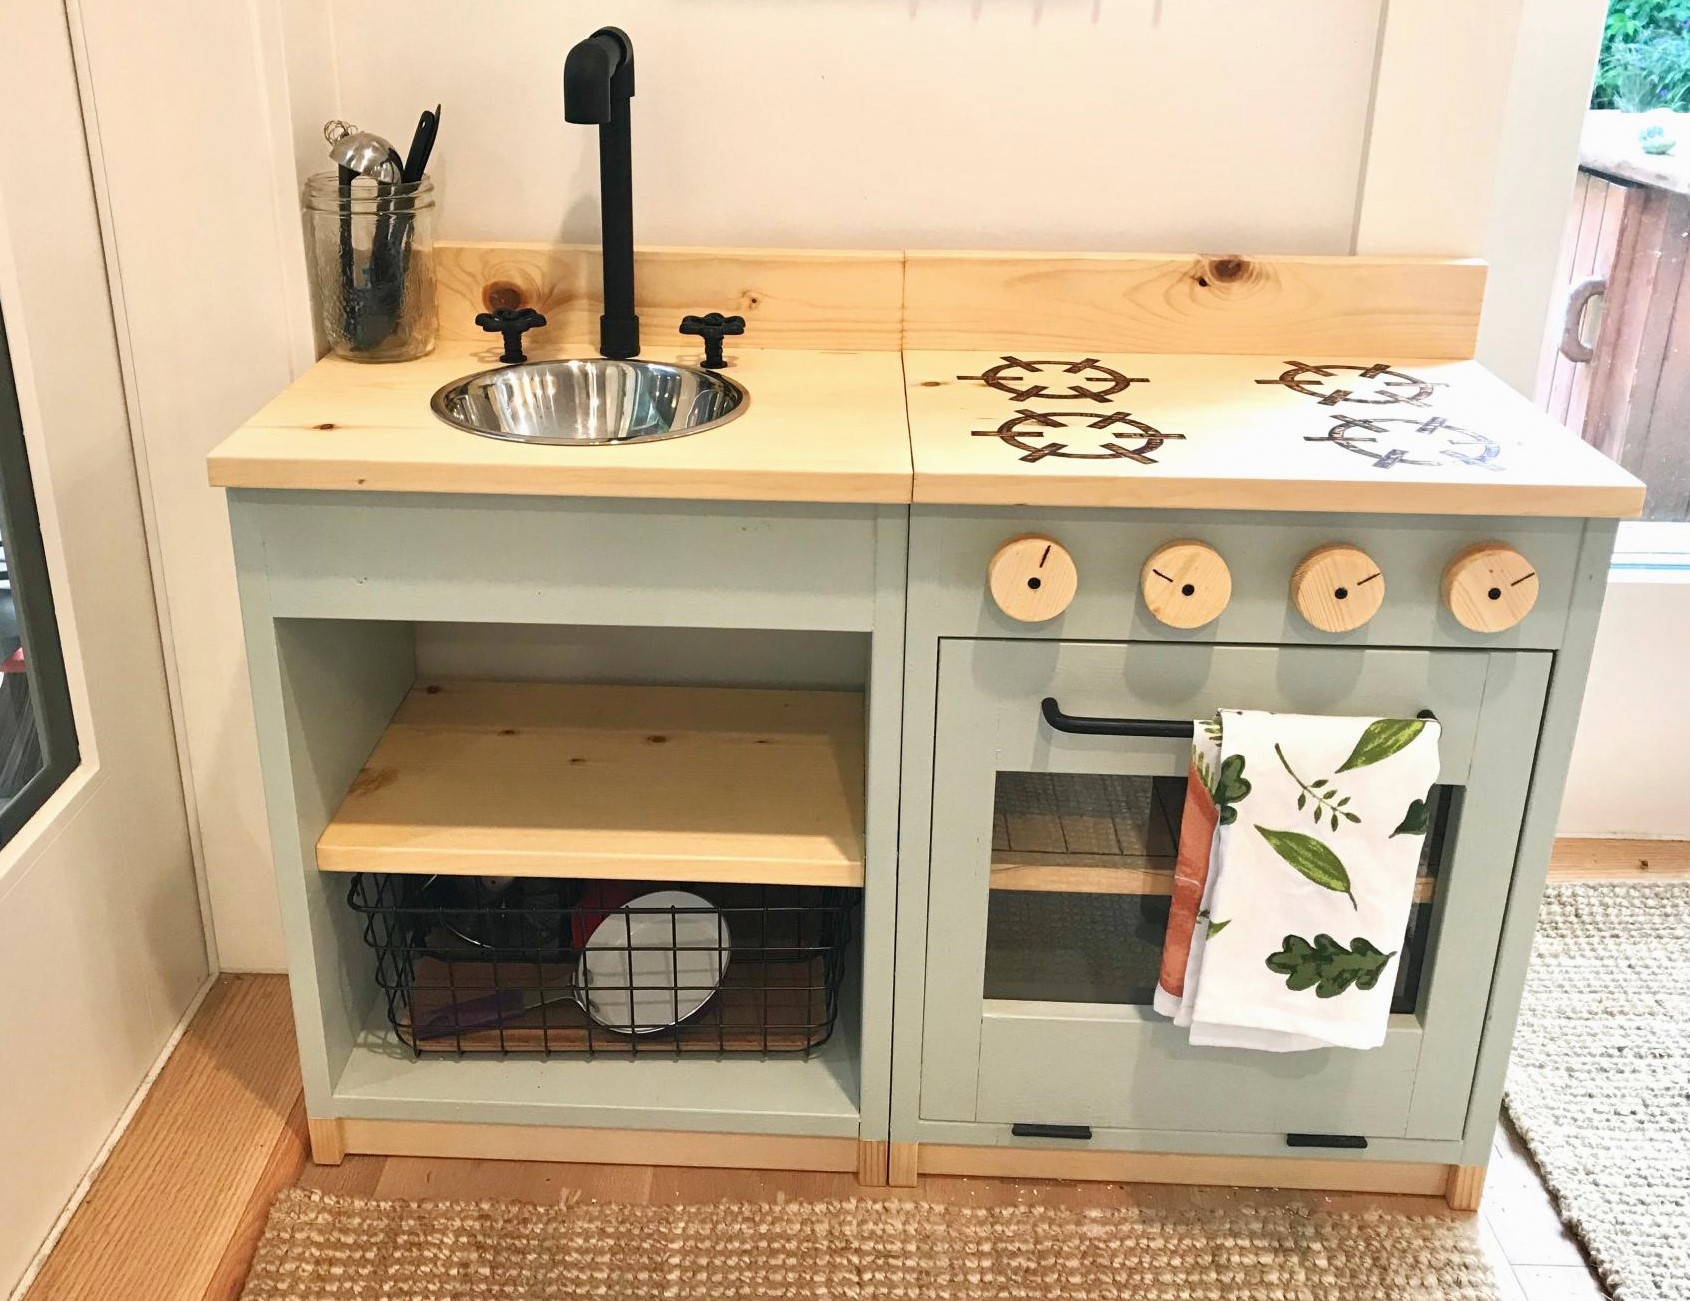
Loved the plans from the site Ana! I got inspired seeing all the lovely play kitchens that everyone had created! Thought I'd share the one I've made for my little one as well, she loves it!

Loved the plans from the site Ana! I got inspired seeing all the lovely play kitchens that everyone had created! Thought I'd share the one I've made for my little one as well, she loves it!
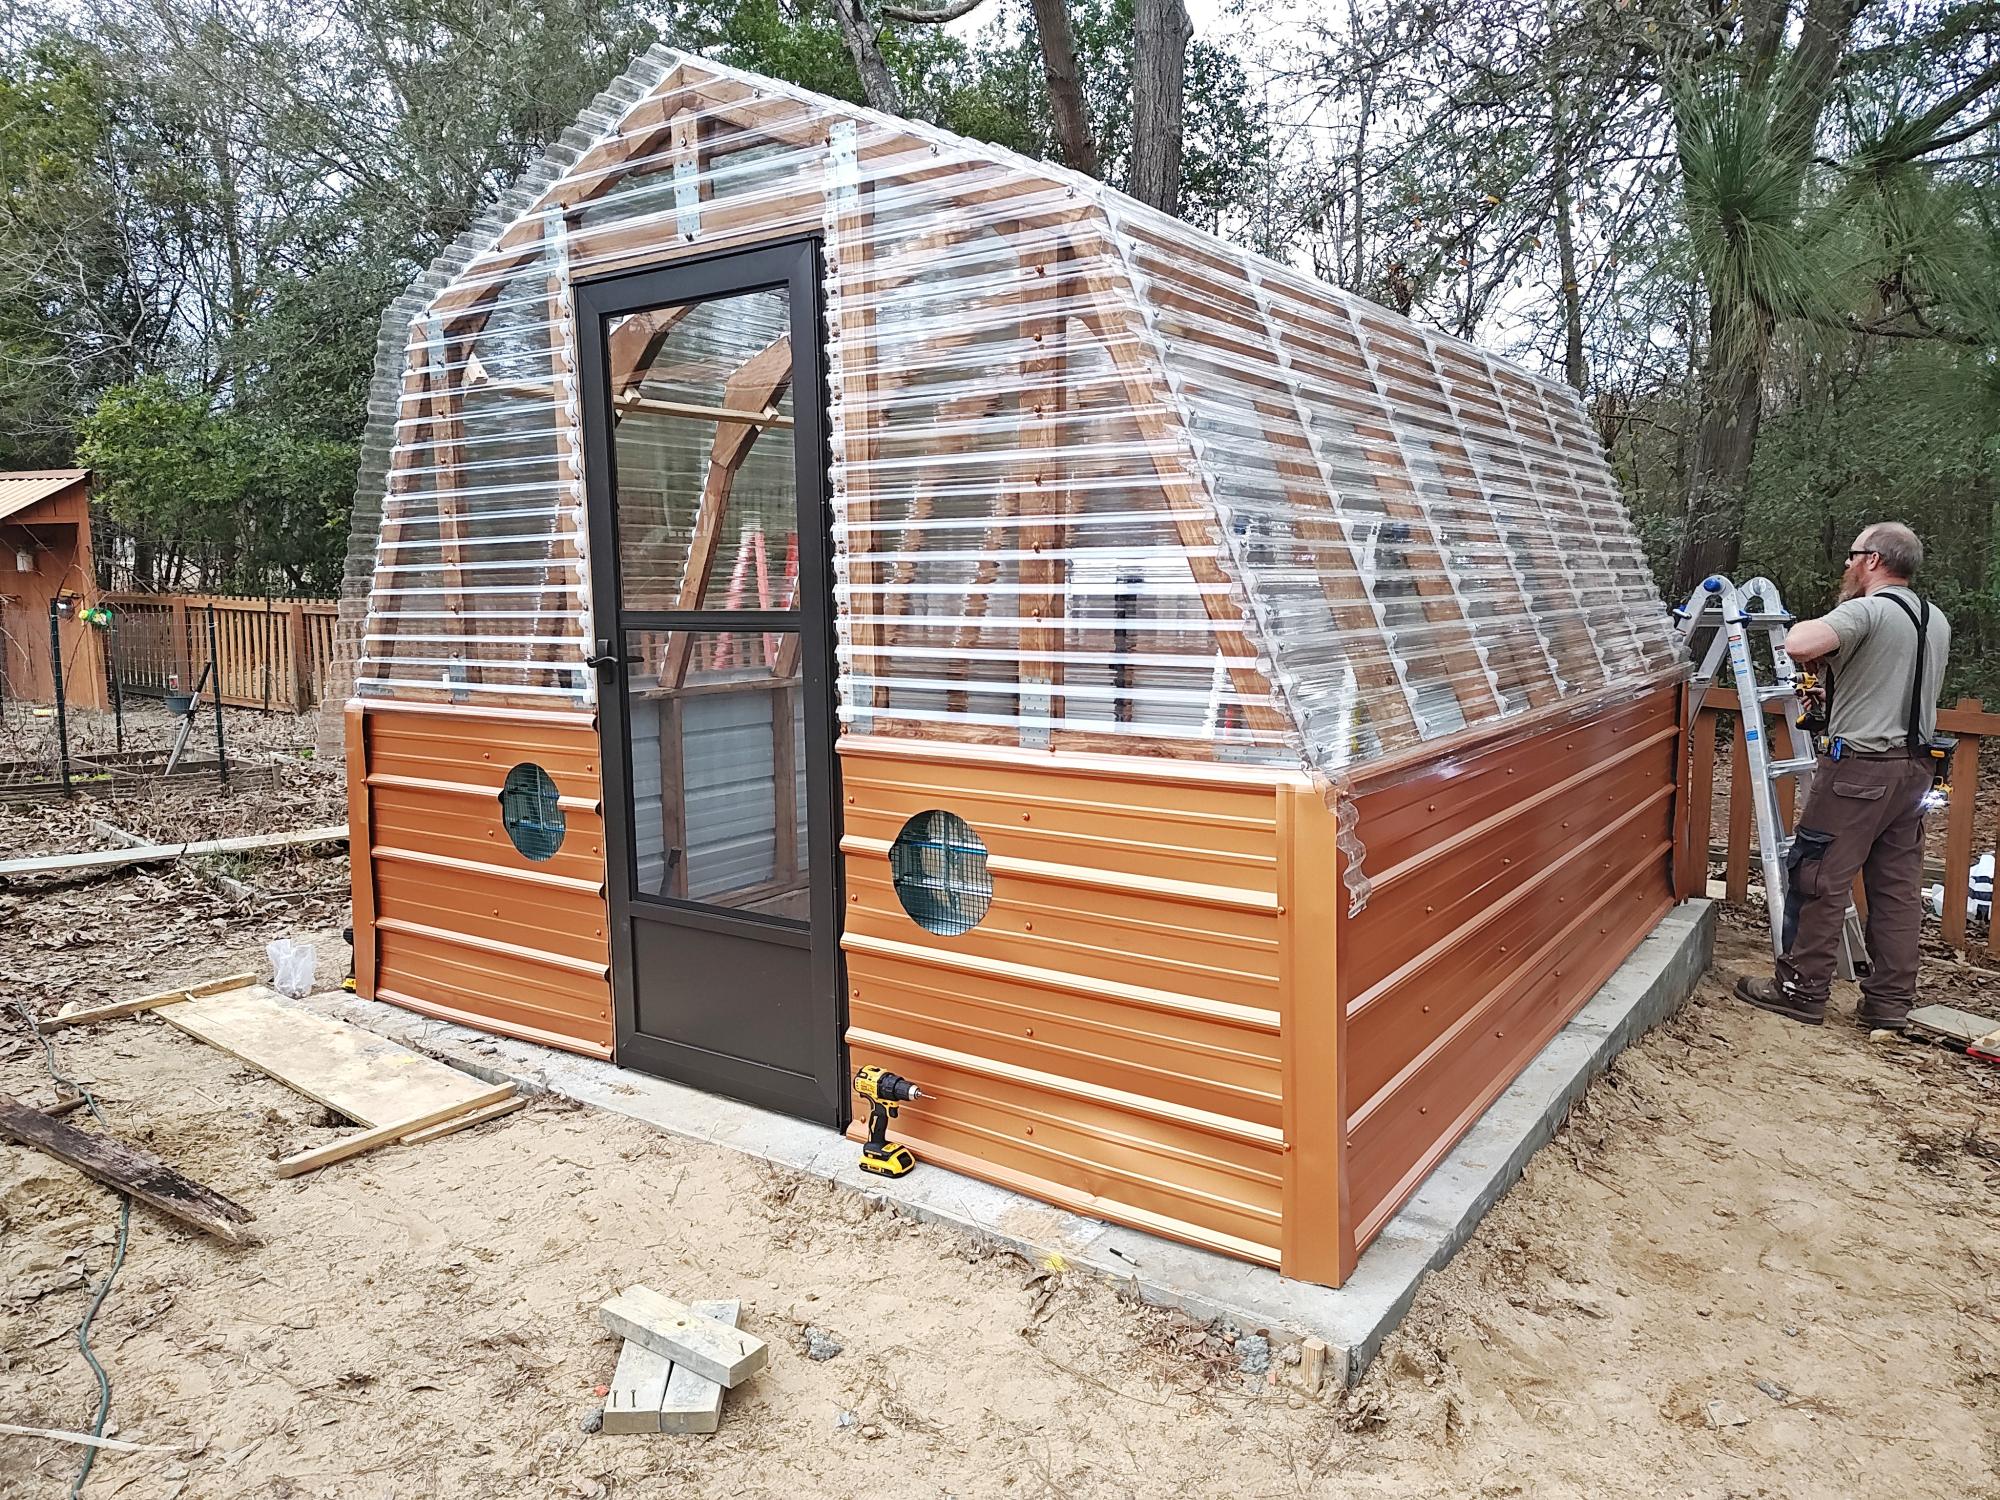
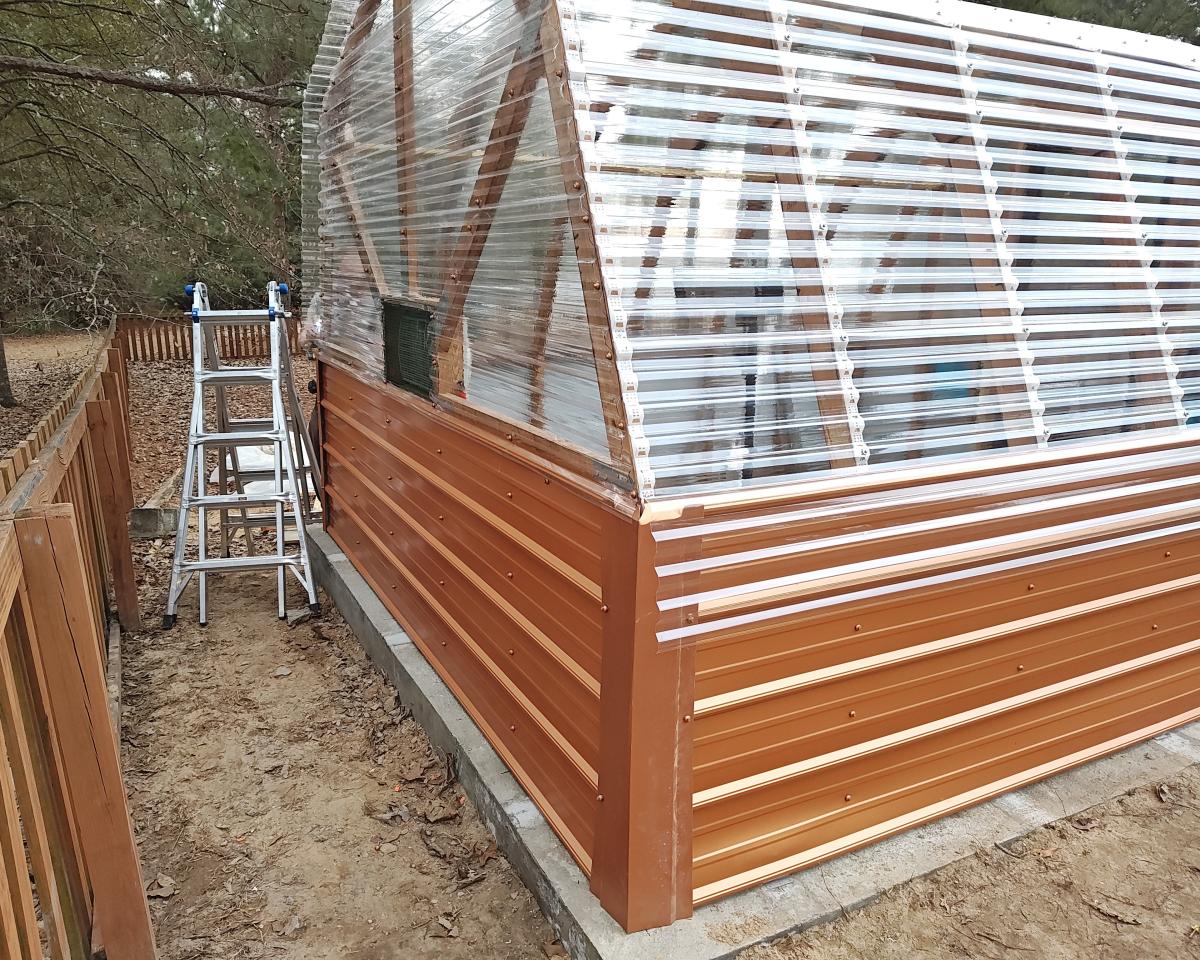
A variation on your barn style greenhouse. I included a cooling fan with intake louvers, temperature controlled heater and grow lights. Also used anchor bolts embedded in concrete footer.
David Buckmaster d [email protected]
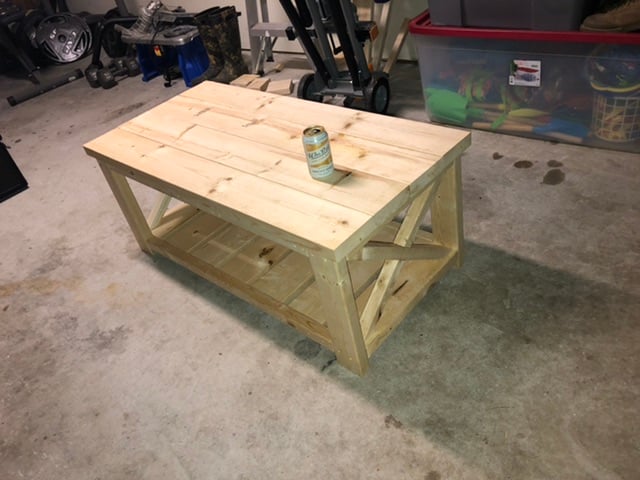
Quick and easy to build, the bit that took the longest was the stain, I used a maple satain and varnish.
The original (project from That's My Letter) was longer, deeper, and had two doors. I needed something smaller and narrower to fit the space and hold a tv. By cutting down the size, I was also able to make this using 1 sheet of 3/4 inch plywood instead of 2. After painting the aluminum hardware and pulley wheels, I learned that I probably could have had them powder coated by a family member. Unless you don't mind some of the paint coming off where the wheels rub, I would suggest trying powder coating or some more durable finish. Since it's a rustic look, I guess it doesn't matter all that much if some paint comes off. I used an off-brand pocket hole jig to construct the stand.
Tue, 05/20/2014 - 21:11
Thanks! You can find all the details on the hardware on the original tutorial at http://eastcoastcreativeblog.com/2014/03/sliding-door-console-table-tut…
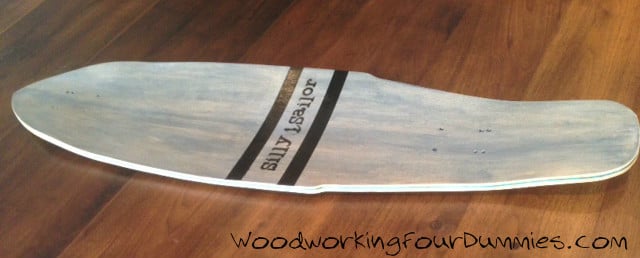
I decided to make longboards as birthday gifts for some of my other nephews. I had made a regular skateboard prior, but I decided to try longboards this time and I'll probably make one for myself down the road since I'm a bit of a child myself :)
More details and photos on my blog:
http://www.woodworkingfourdummies.com/blog/diy-longboard
Cheers,
Ian
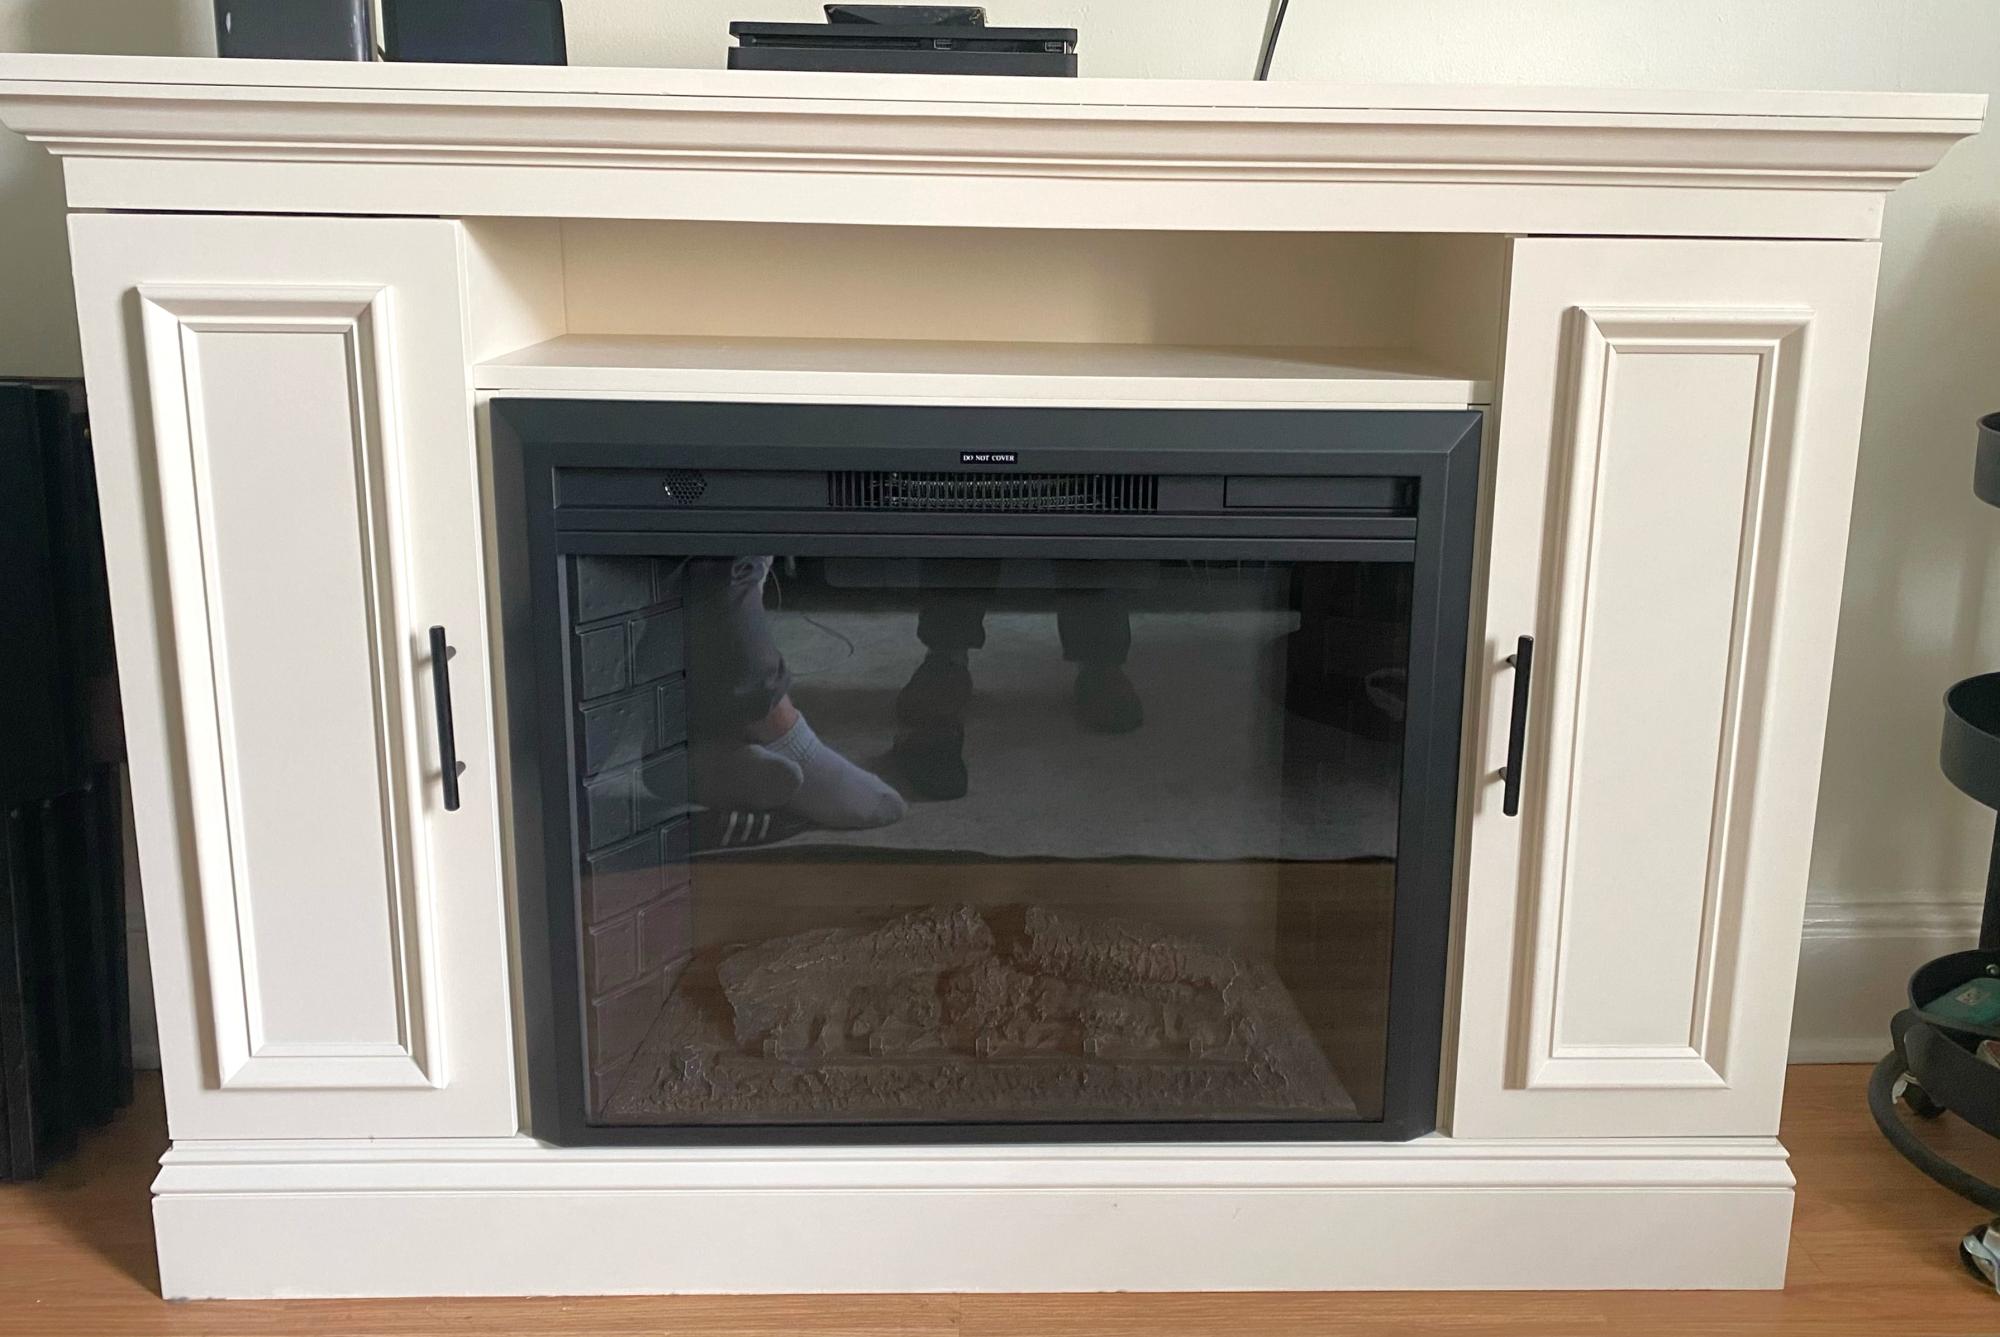
Faux fireplace.
Tim from Philly
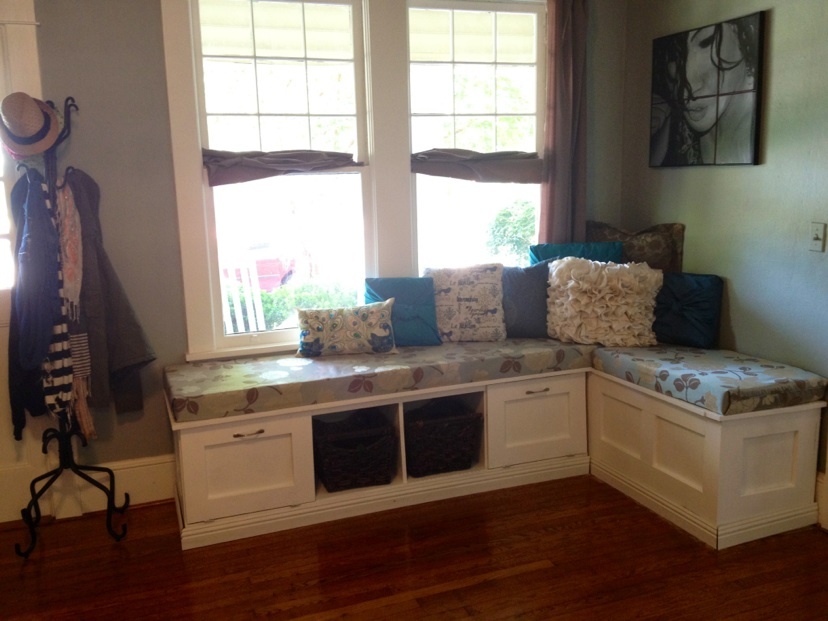
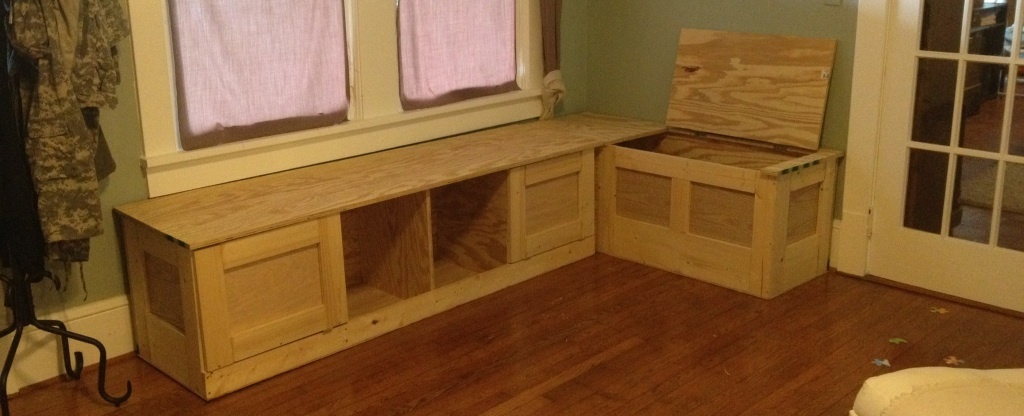
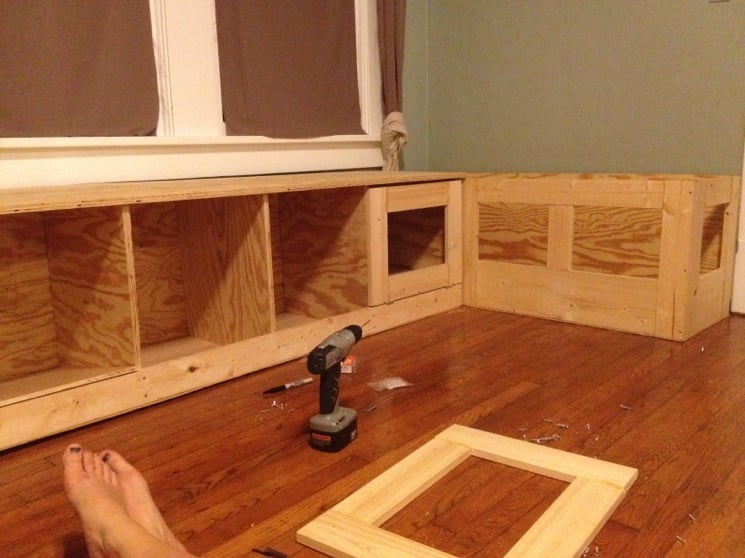
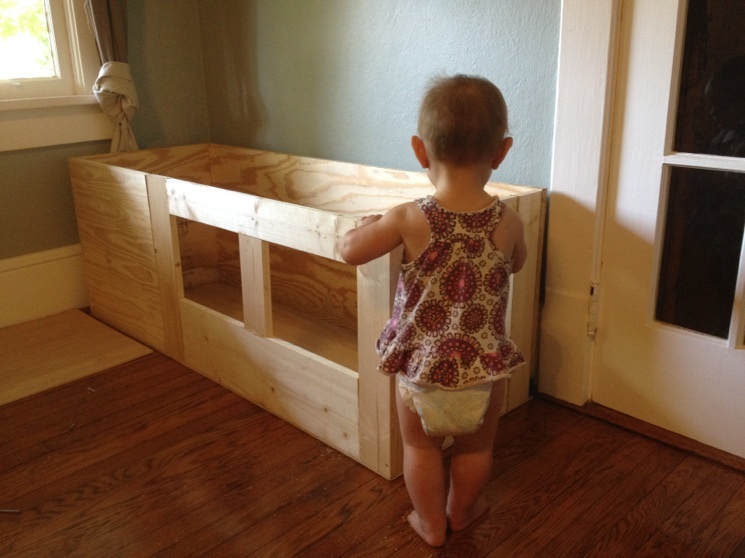
I needed a way to turn my large, open, many-windowed Foyer into a functioning entry way. I Loved Mimi's Storage Bench, but i needed the dimensions to be very different, so I used her bench as a concept guide.
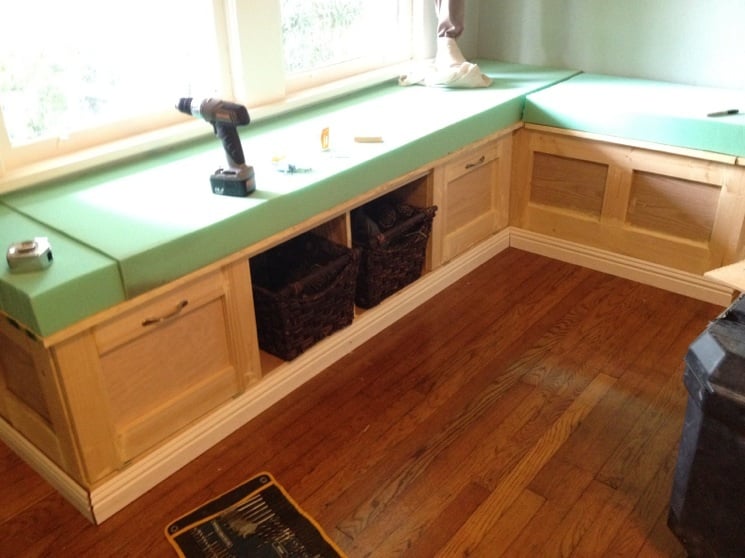
The bench under the window is 76 inches, and the bench on the right that backs into the corner is 58 inches. I used a four inch foam pad. I think the pad might have been excessive- it cost a lot more money than I had intended to spend.
This is my third building project. Previously I built some bookshelves and a set of shed doors.
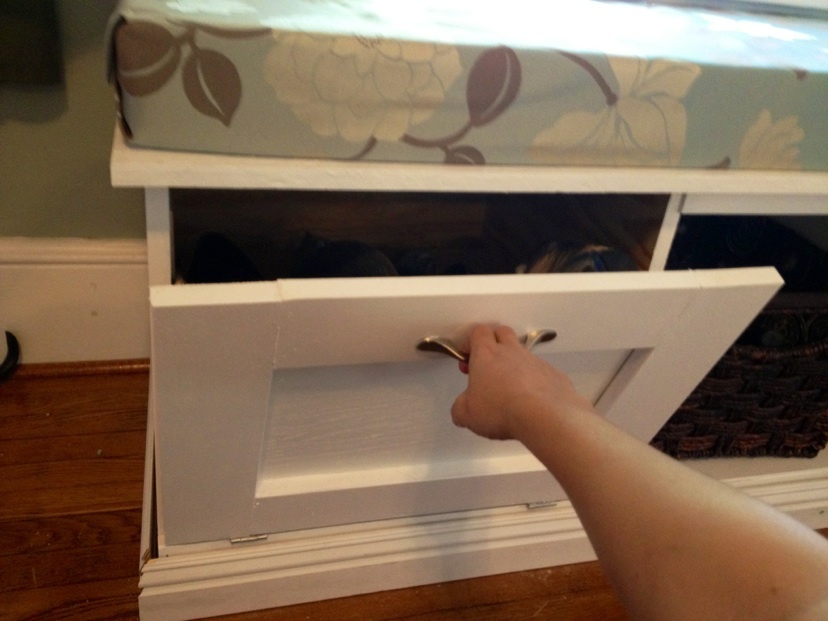
I would consider this an entry level project. The hinges on my fold down drawers were the most aggravating part. The whole project would have been much easier if I had been able to use Mimi's exact plans. As it was, I had to make my own cut list and purchase list.
Thu, 10/25/2012 - 06:46
I love this! It is exactly what I need in my kitchen. Do you happen to have the cut and purchase list you made?? Or other instructions? Thanks!!
Mon, 11/12/2012 - 11:28
This is fabulous! I would like to do this with a similar space that I have.
So I was searching for a sturdy table to build for outdoors next to my grill. I came across your plans for the Gaby kitchen Island and decided to give it a shot. Off to the lumber yard and as I am new to this I accidentally bought 4X6 's for the legs which threw me off just a little. No harm no foul just had to adjust and just made it that much more sturdy. I also wanted something I could use to throw some "beverages" into and decided on a basic stainless steel kitchen sink. Put in some plumbing and added a piece of 3/4" plywood to the top cut a hole with a router and routed the edges. Now I just need to close in the sides at the top and I am toying with the idea of making a butcher block as a lid for the sink. Then a little paint and it will be ready for summer.
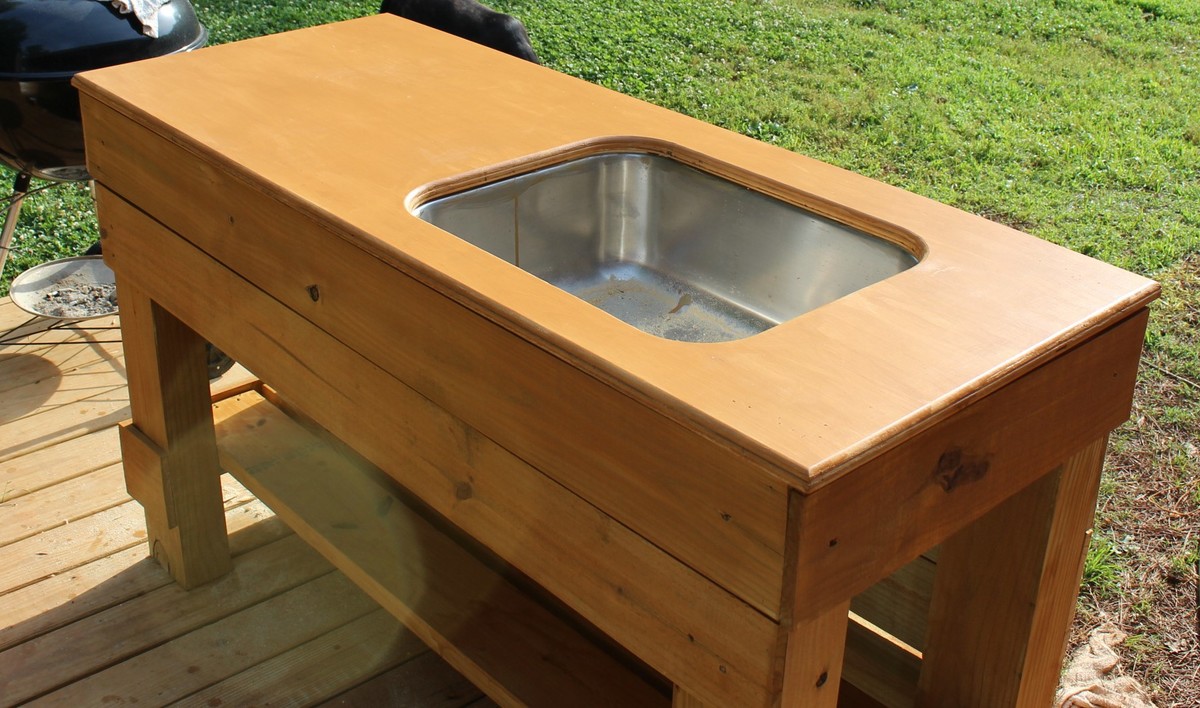
Fri, 05/23/2014 - 07:47
I had fun making this and learned a few things along the way.
My Father and I worked on this table together and had a blast! I was searching for something that I could customize for a long wall in our Family Room and these plans and resulting table were perfect.
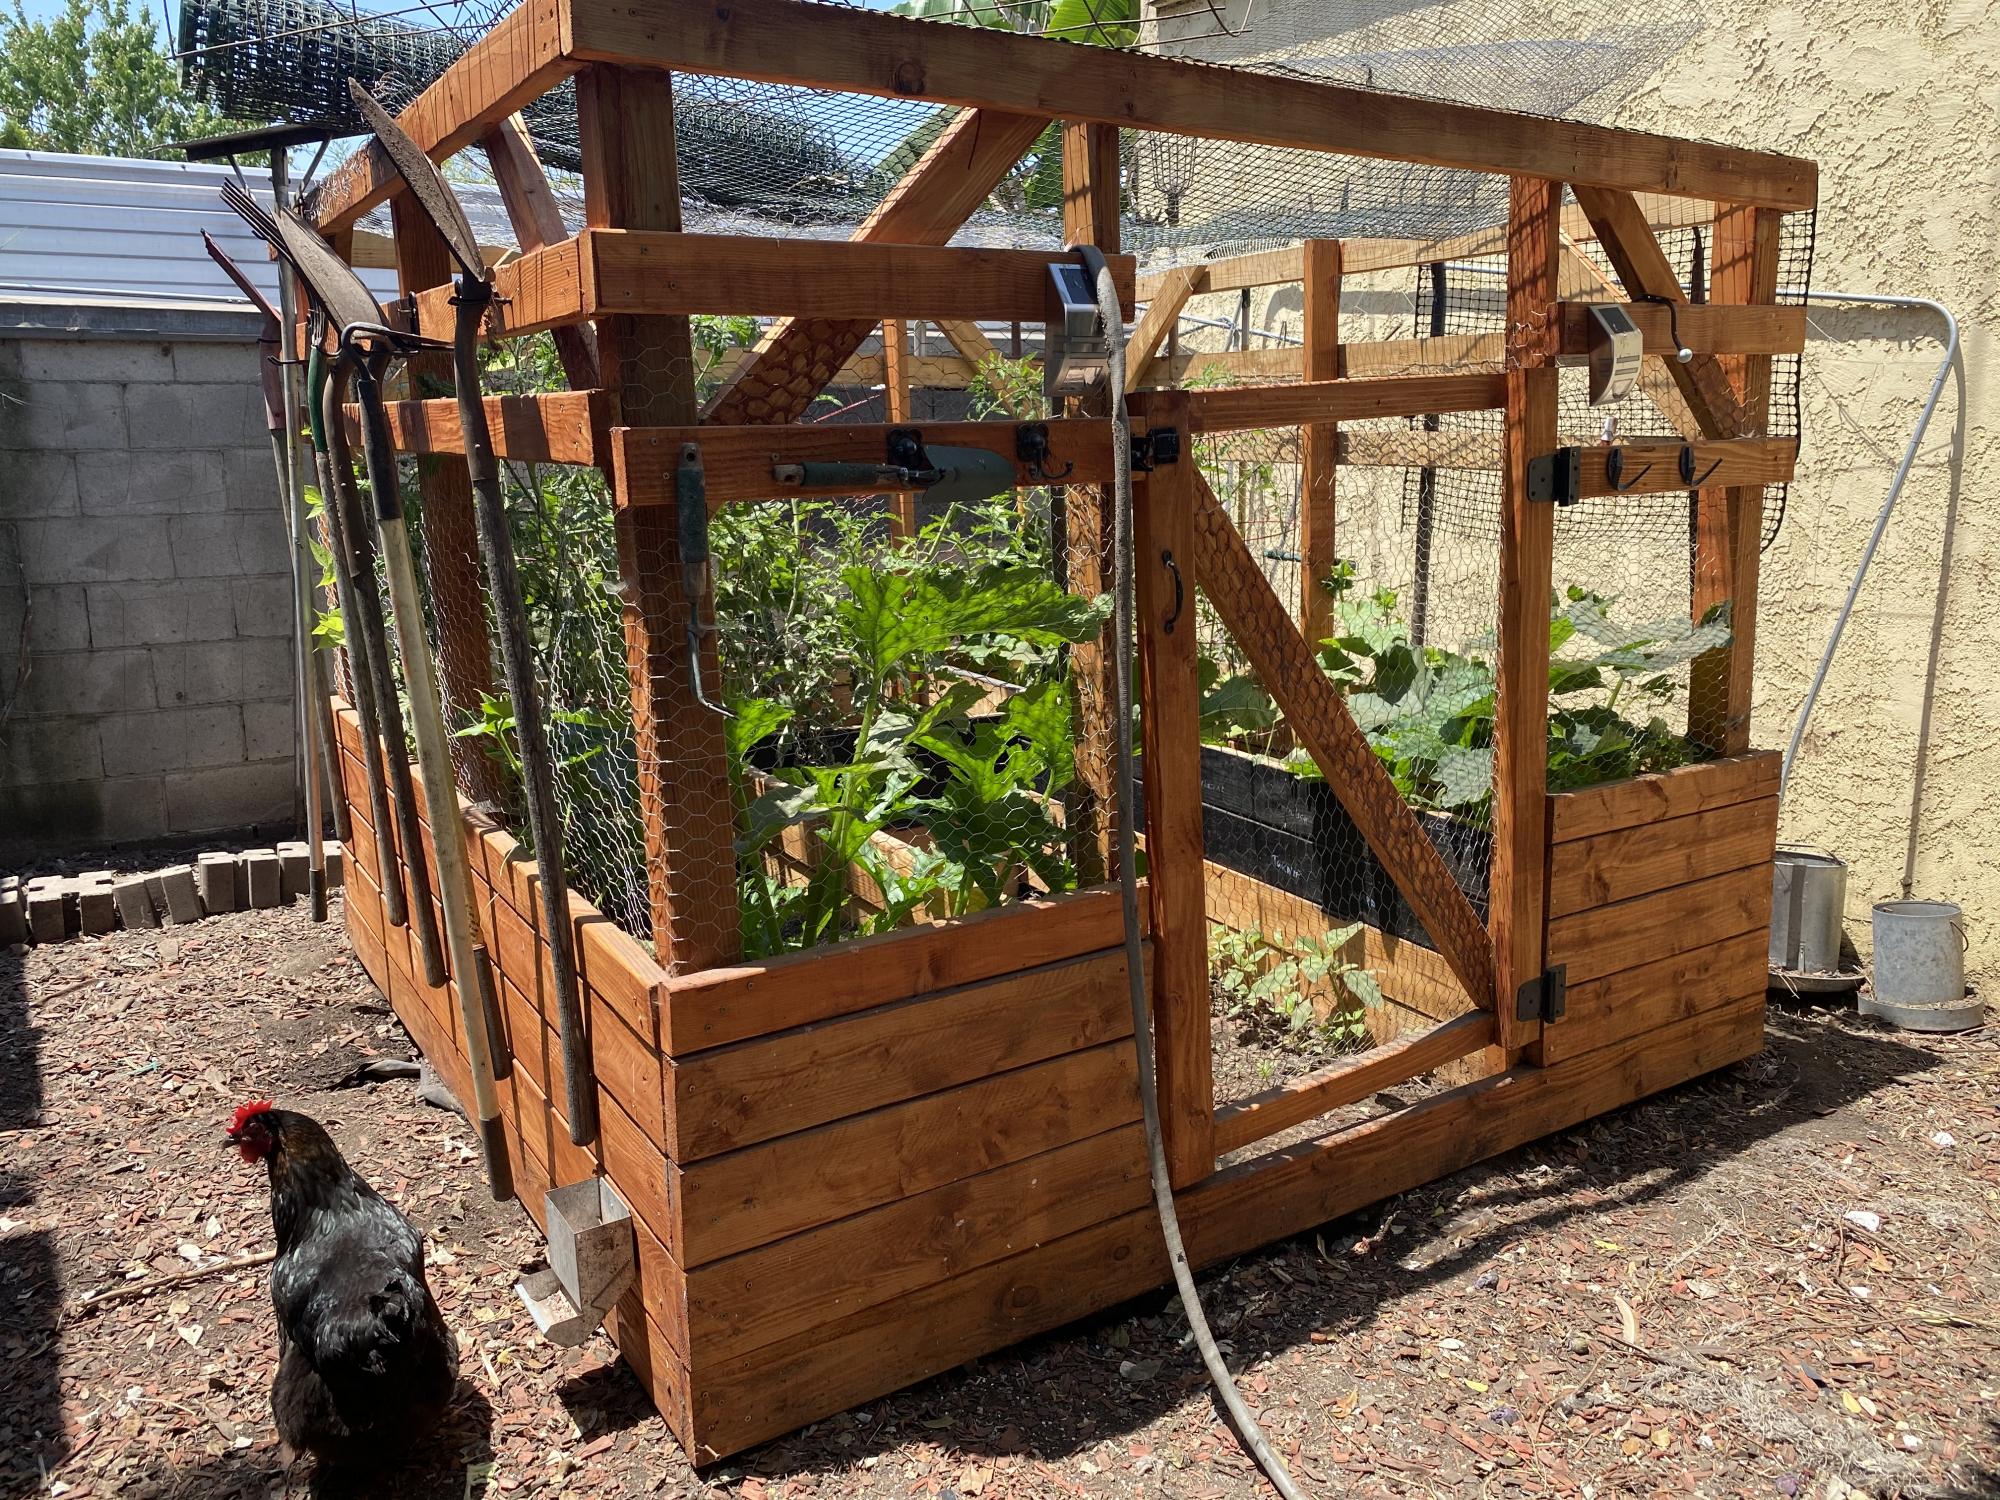
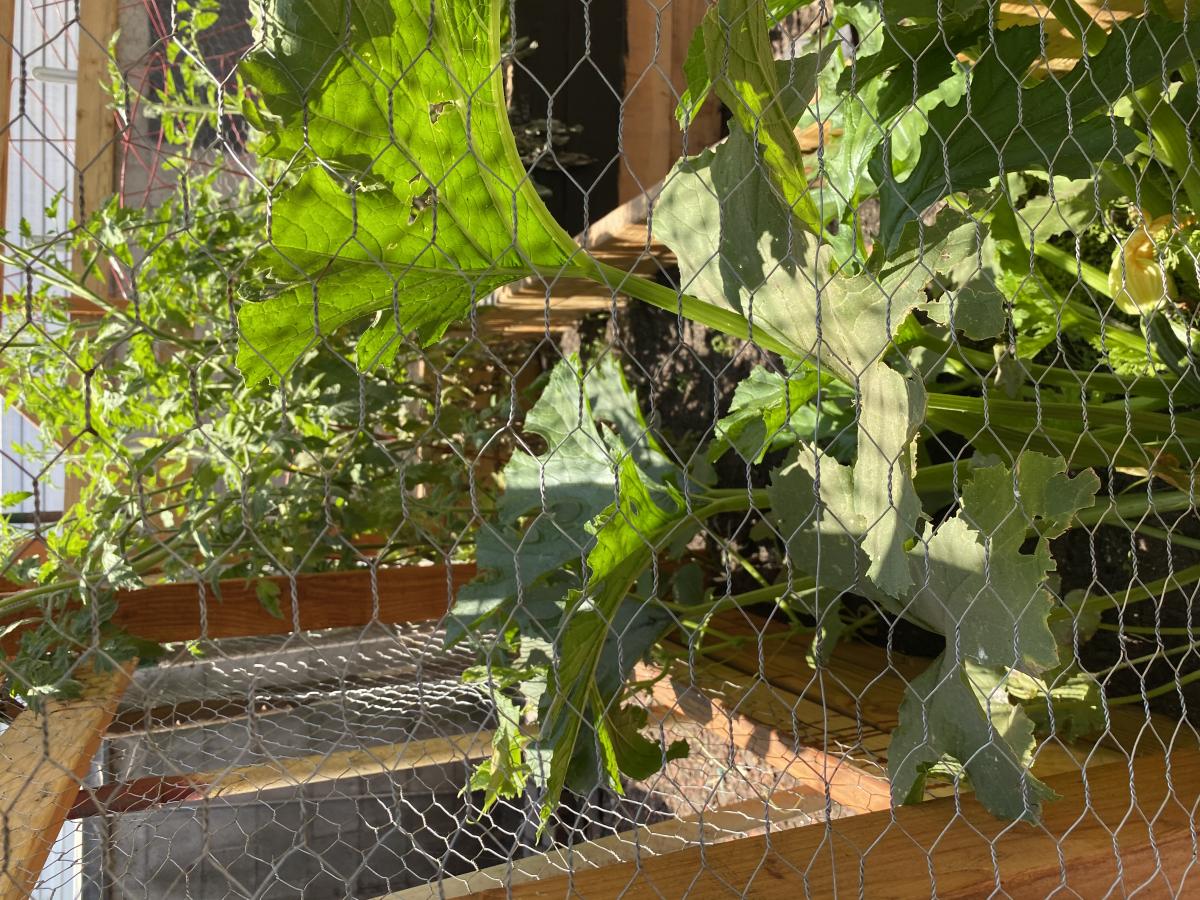
My chickens took over my garden area and being the voracious raptors they are, I needed to build a garden enclosure to keep my veggies safe. I modified a little, making my beds deeper. I also had to stretch chicken wire over the top to keep the great flyers out. I also used it as a way to organize my garden tools (which is possible because I live in Southern California with moderate temperatures and little rain. Thanks for the plans! Yvonne
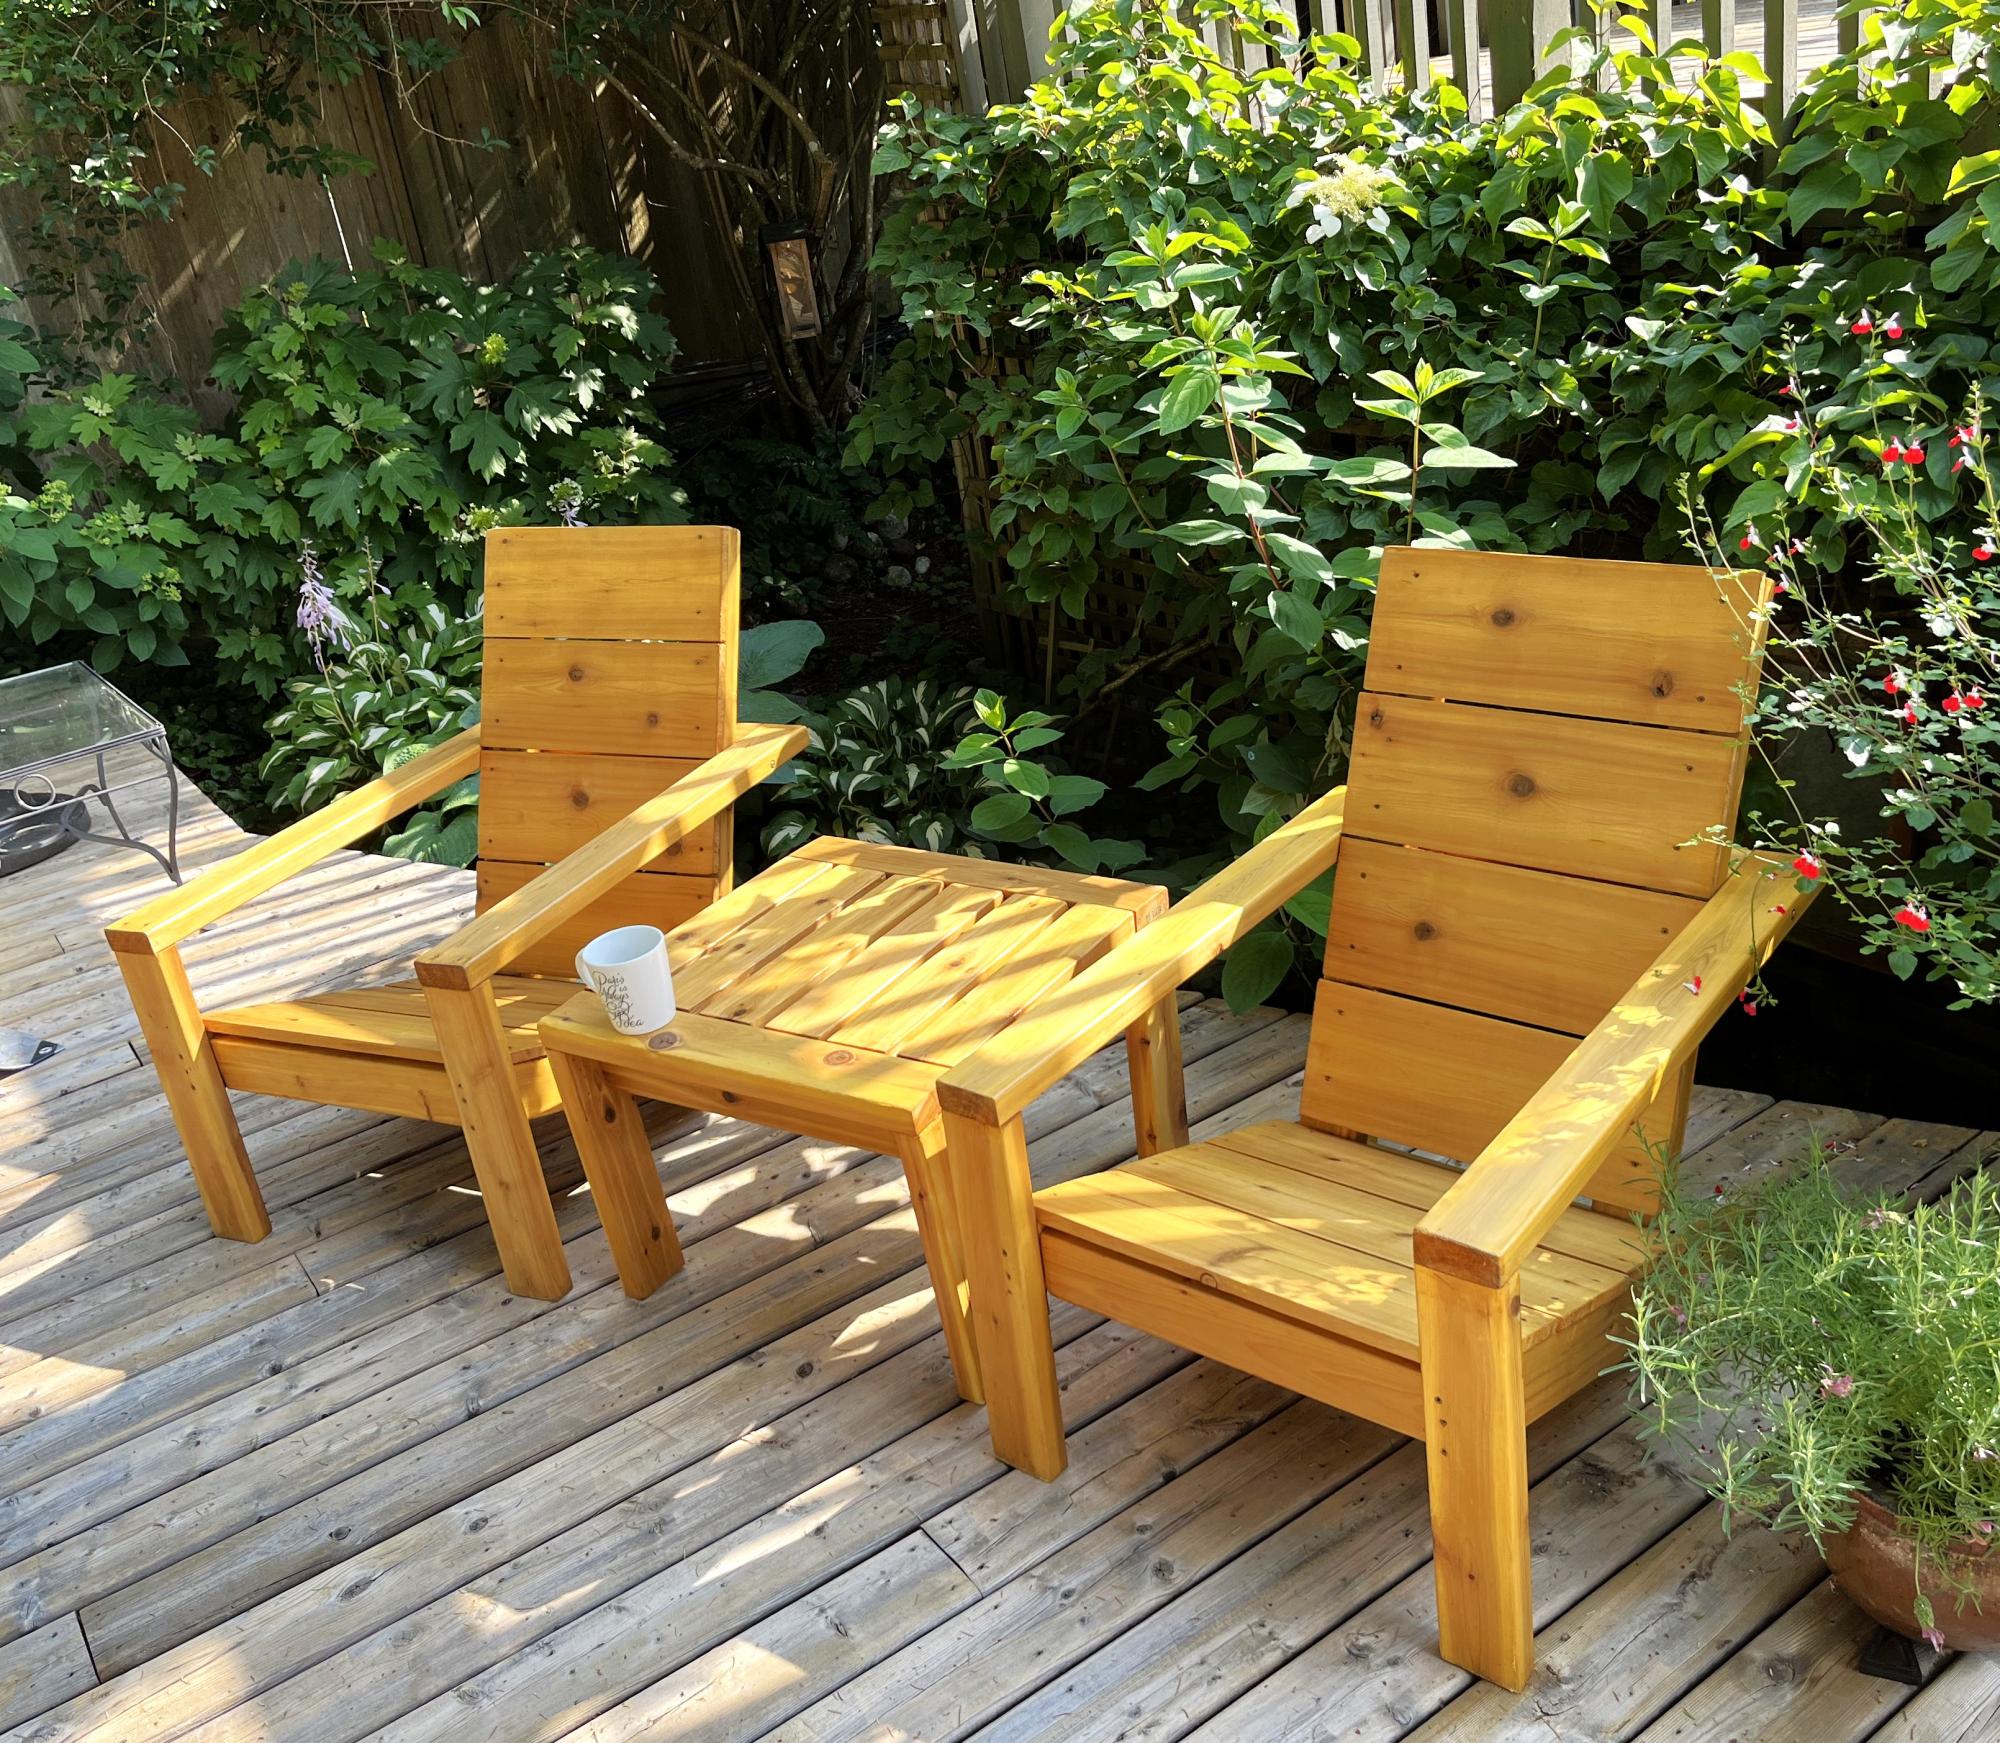
I added a 6 inch lag screw to support the arm in case someone sat on the arm. I also added small metal brackets hidden to help secure the leg strength.
Matt
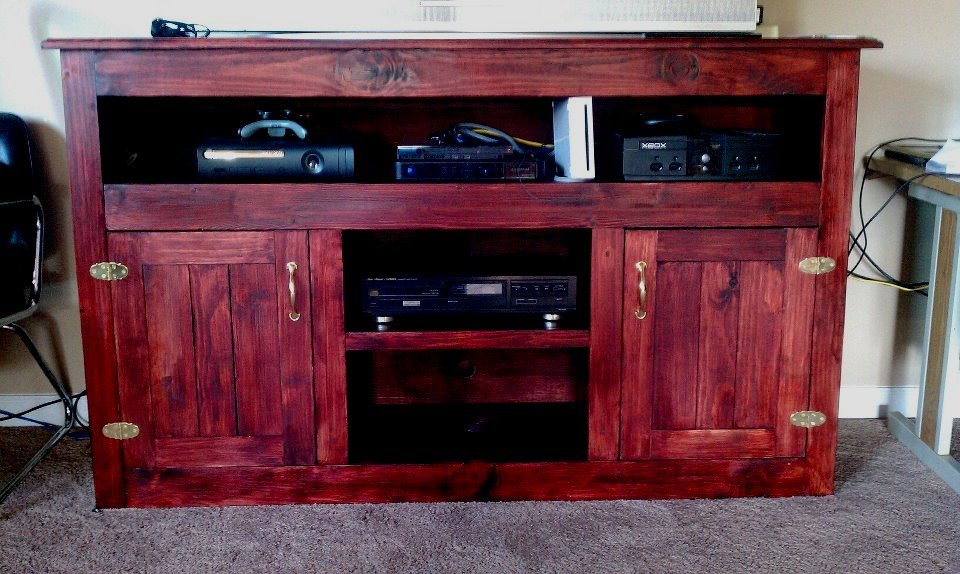
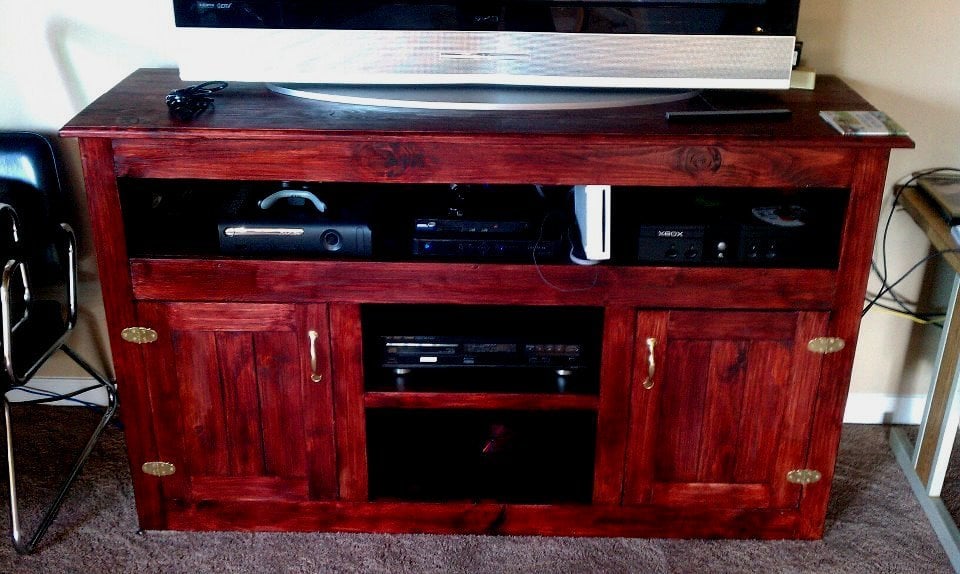
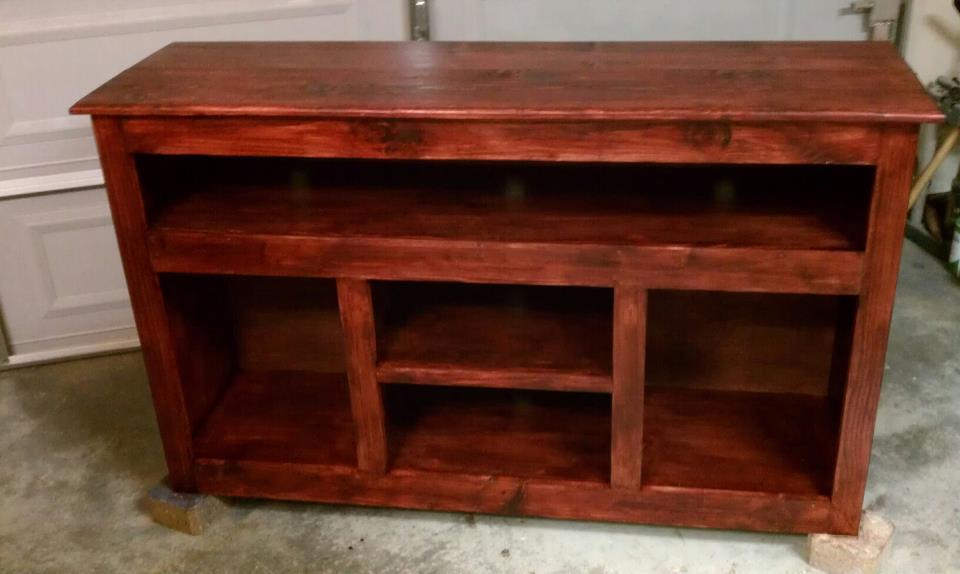
This design is a modification from another entertainment center I built earlier this year. I had a neighbor come over and fall in love with mine and asked if I could build another. I think it cam out pretty well, but tell me what you think....
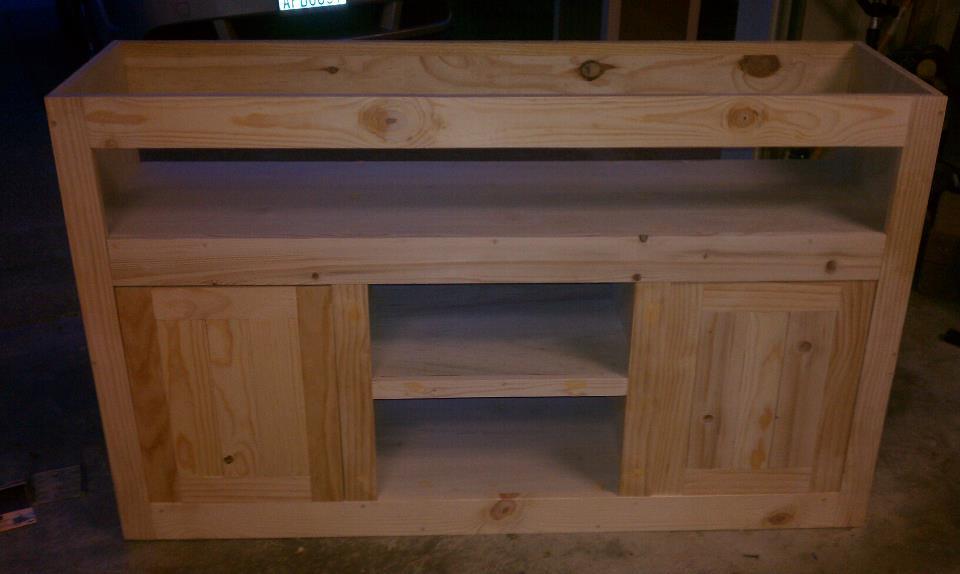
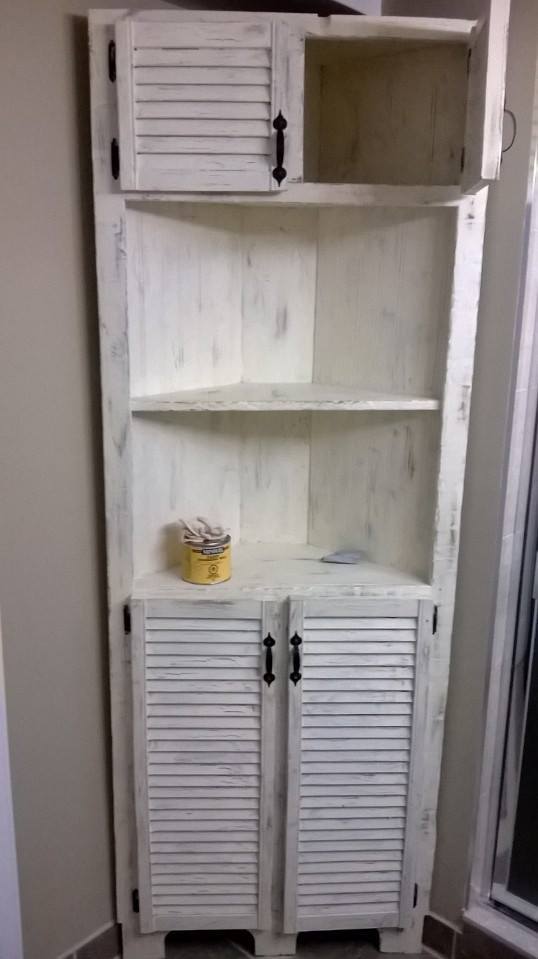
With a newly finished bathroom we were looking for some stylish storage that fit the space.
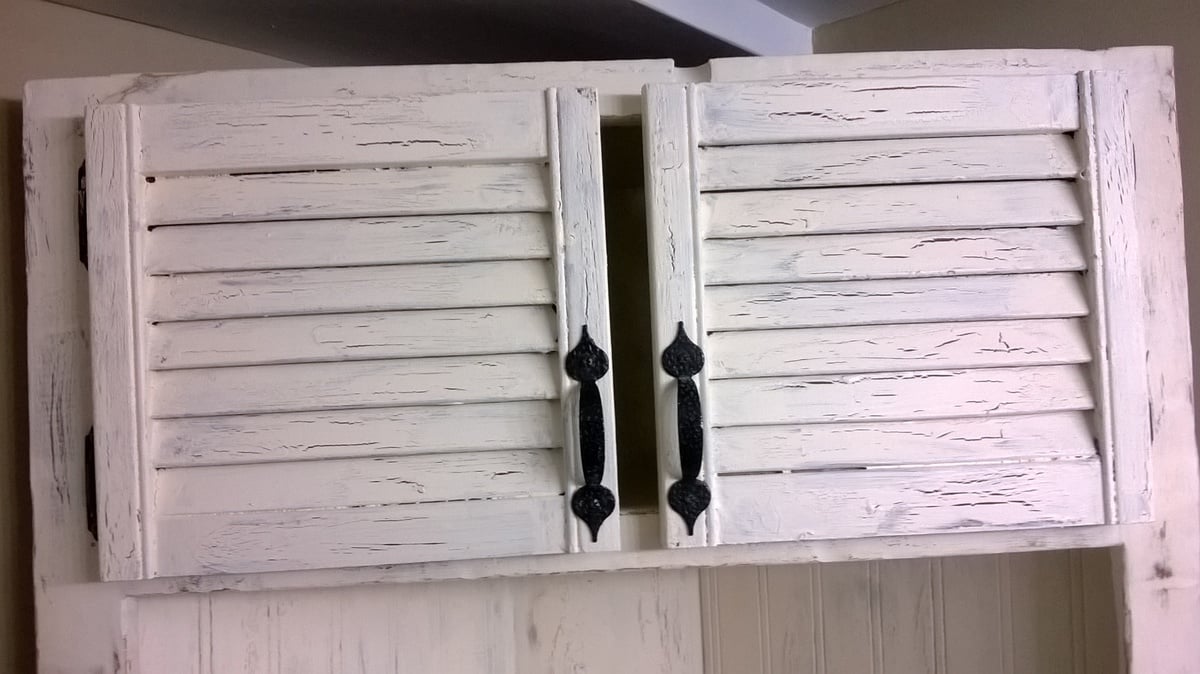
During the demo a number of pieces of cabinetry came down and a salvage most of that wood. I also had a couple bi-fold closet doors in my garage that i decided to put to use.
We're totally satisfied with the end product and will be continuing to try our hand at custom pieces.
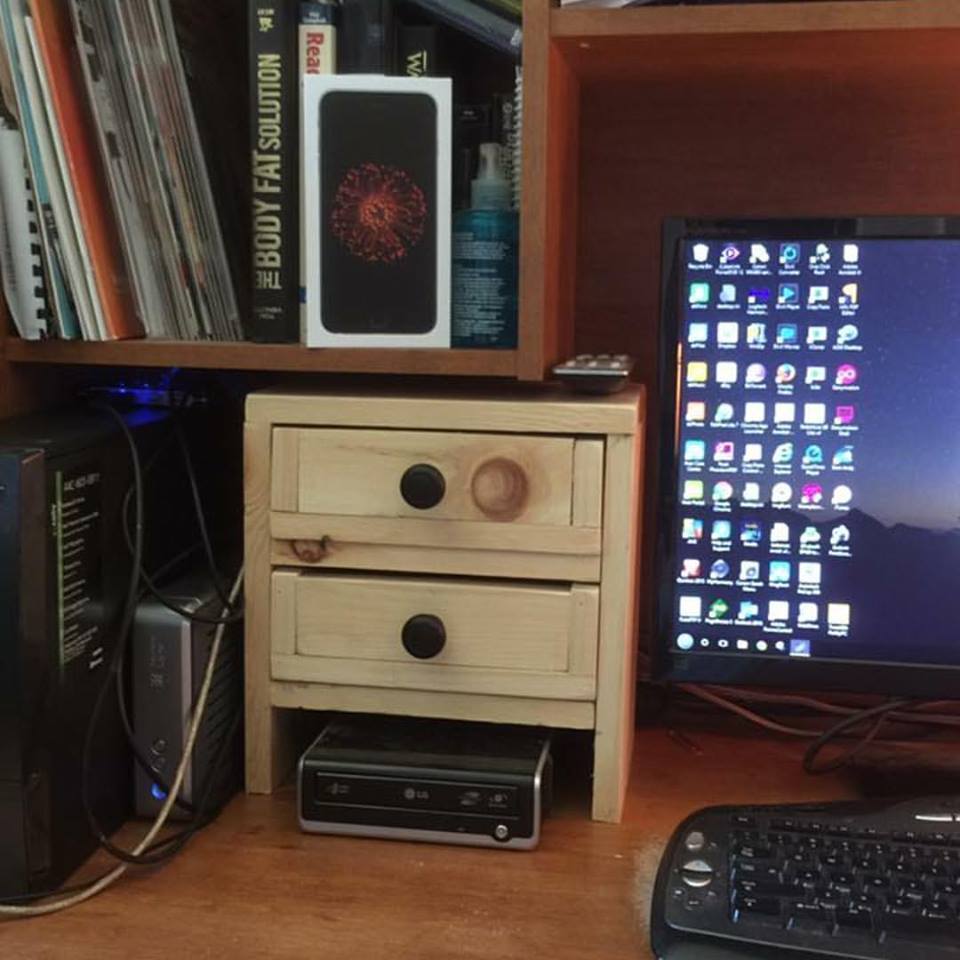
A much needed space to keep all my usb plugs and chargers but leave room for the dvd burner.
So I took your plans and modified it to suit my needs.
thanks for the incentive Ana as this is my second project I made after the outside bench :)
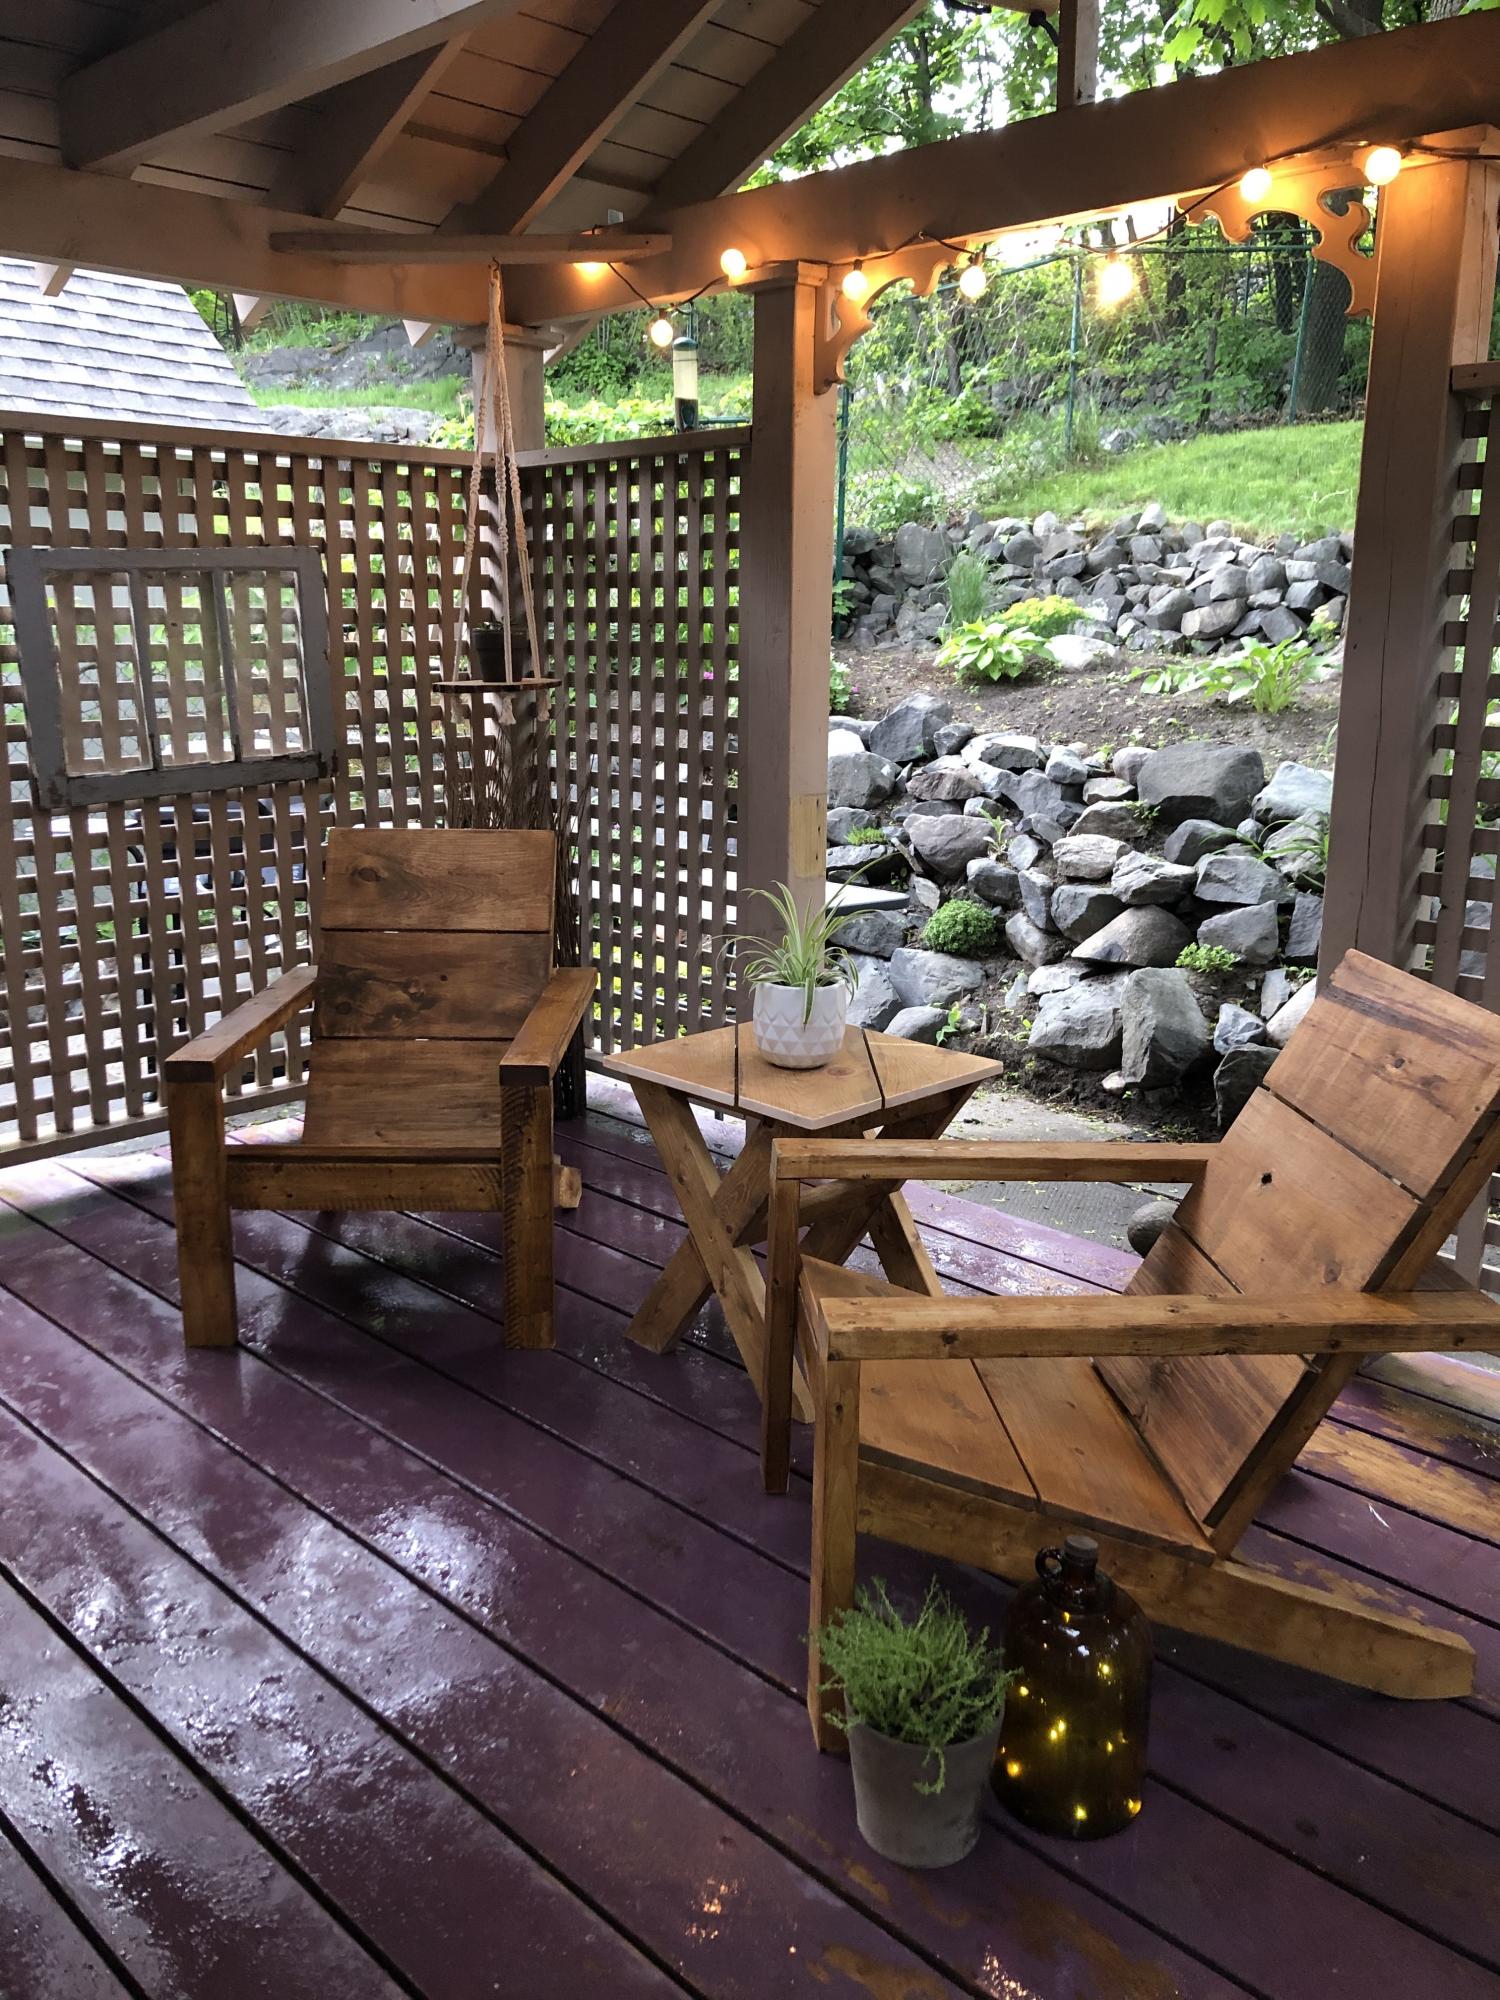
Loved these plans. Made a table as well. Great set!
Thu, 06/11/2020 - 13:18
I am so in love with the table you made to match! Did you find the plans here?
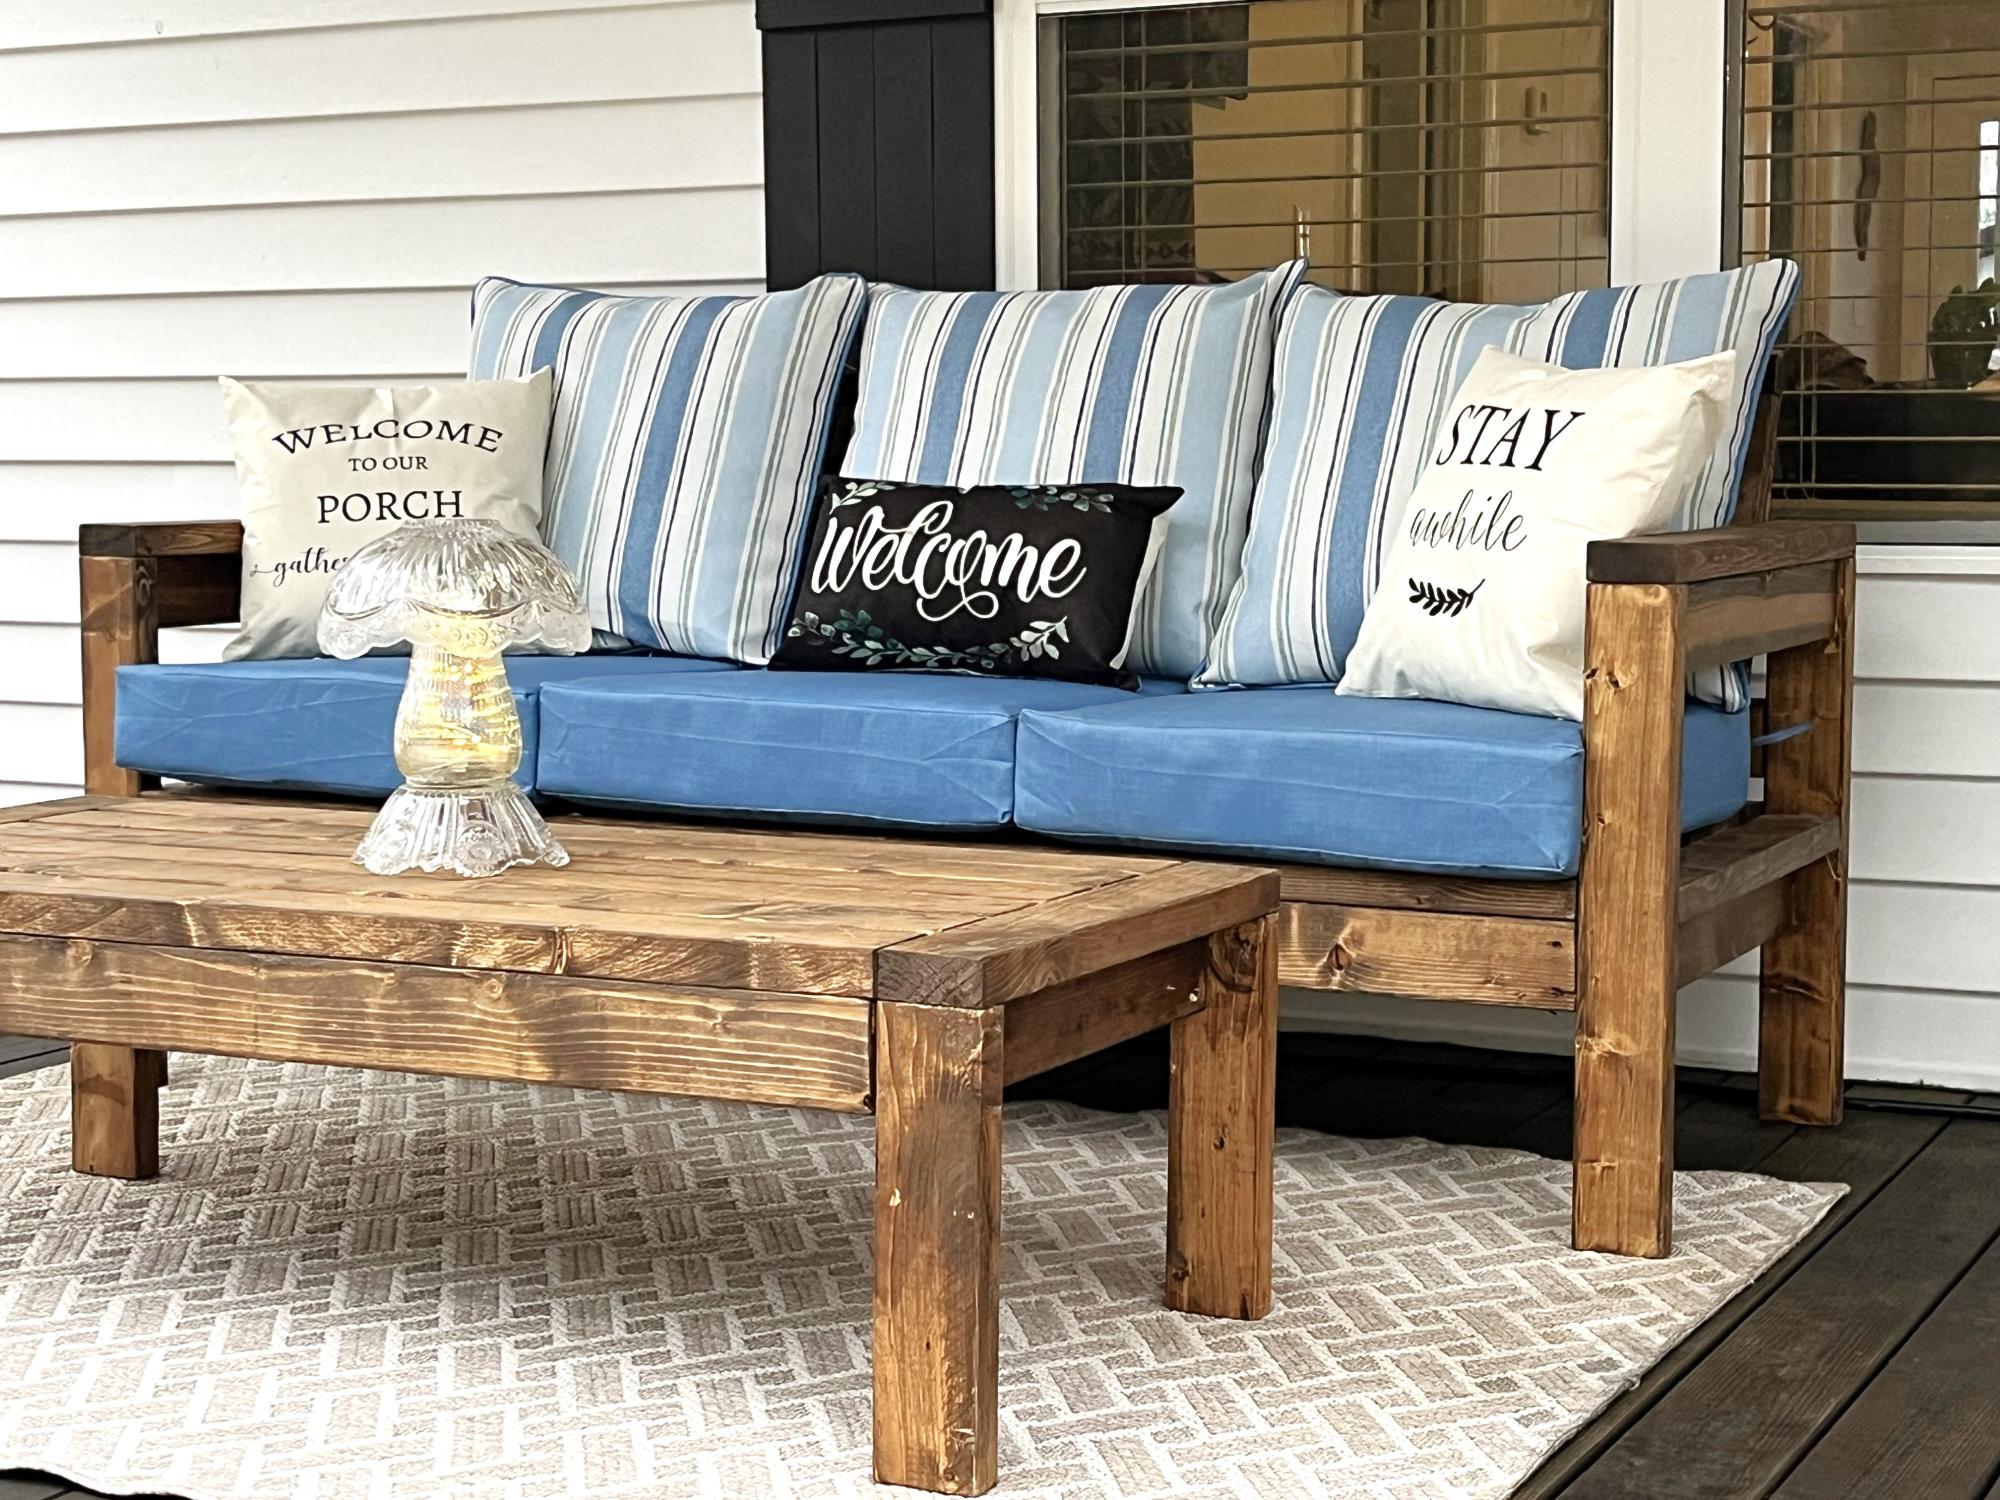
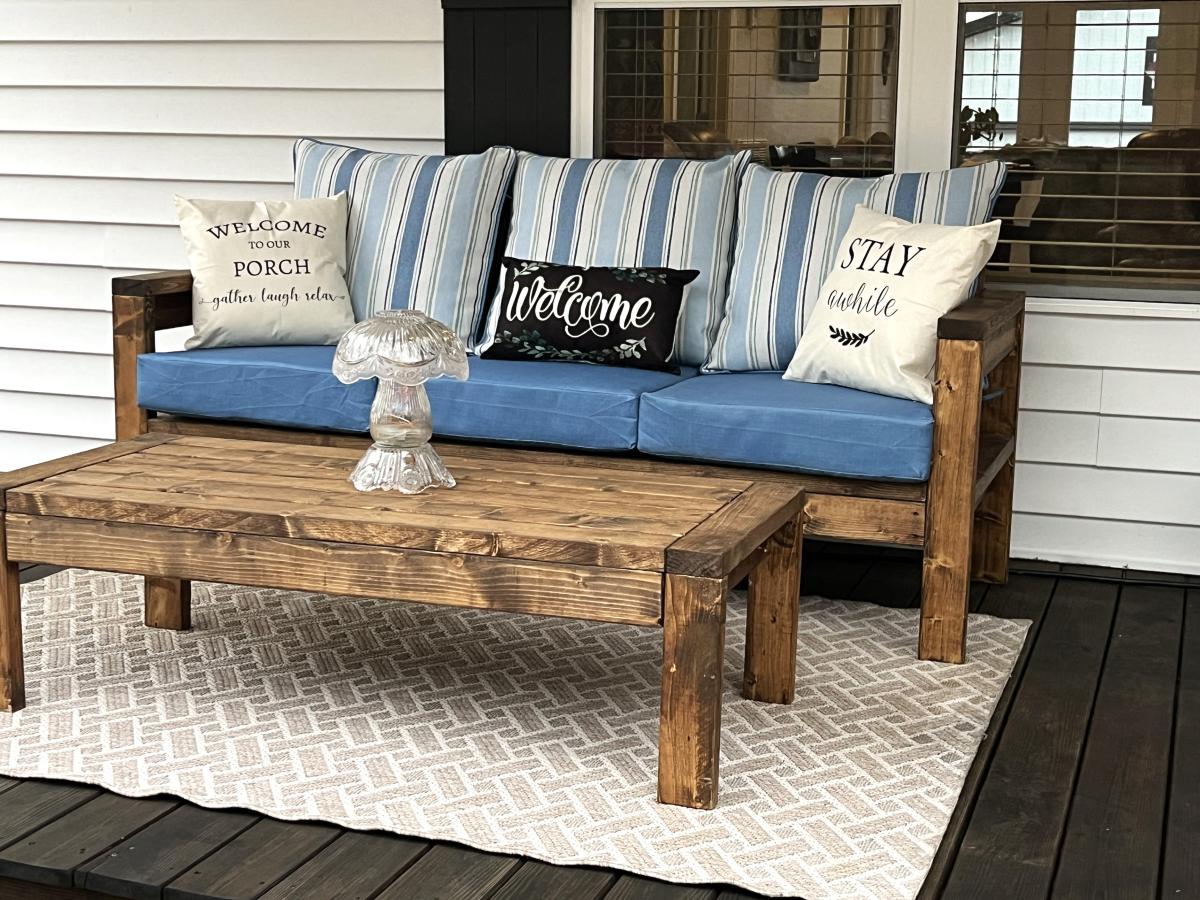
I previously had rocking chairs on my porch, but was looking for something much more comfortable that I could enjoy sitting on the porch and watching the squirrels play in the yard. Created this from your sofa plan.
Valerie Tanner
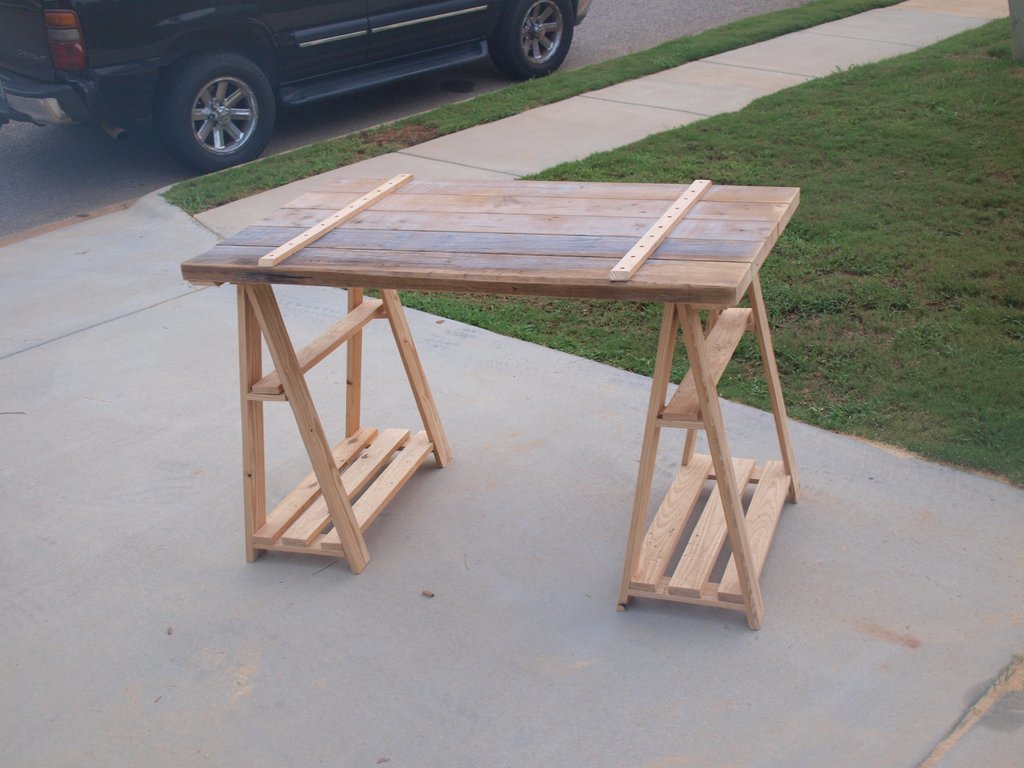
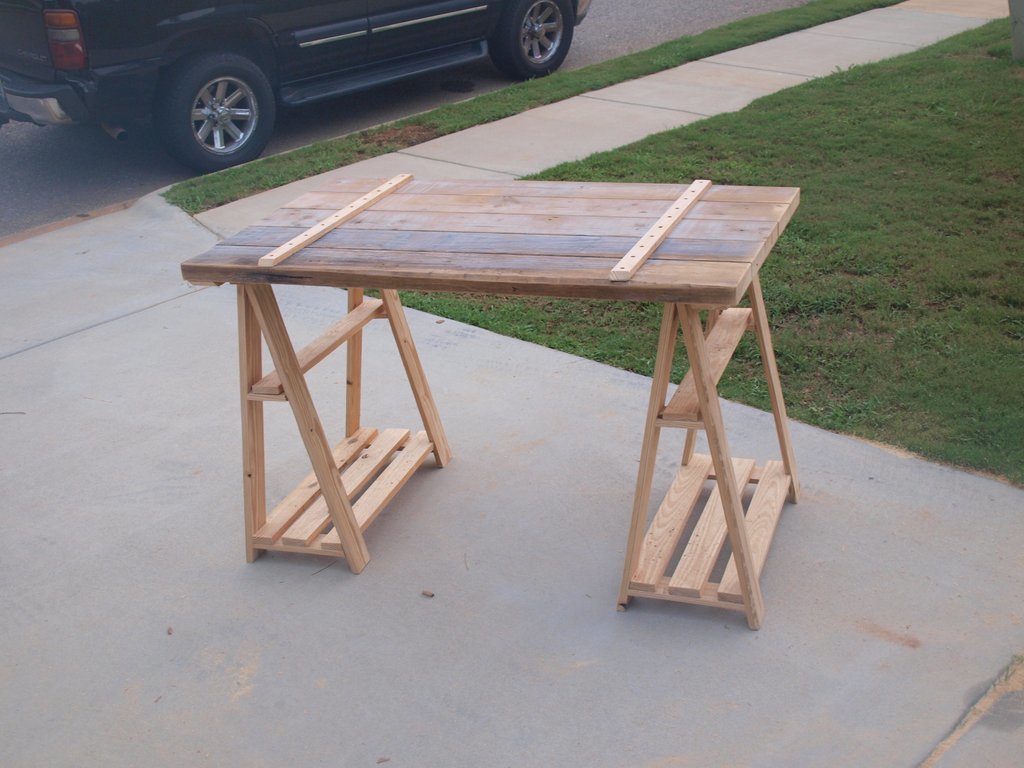
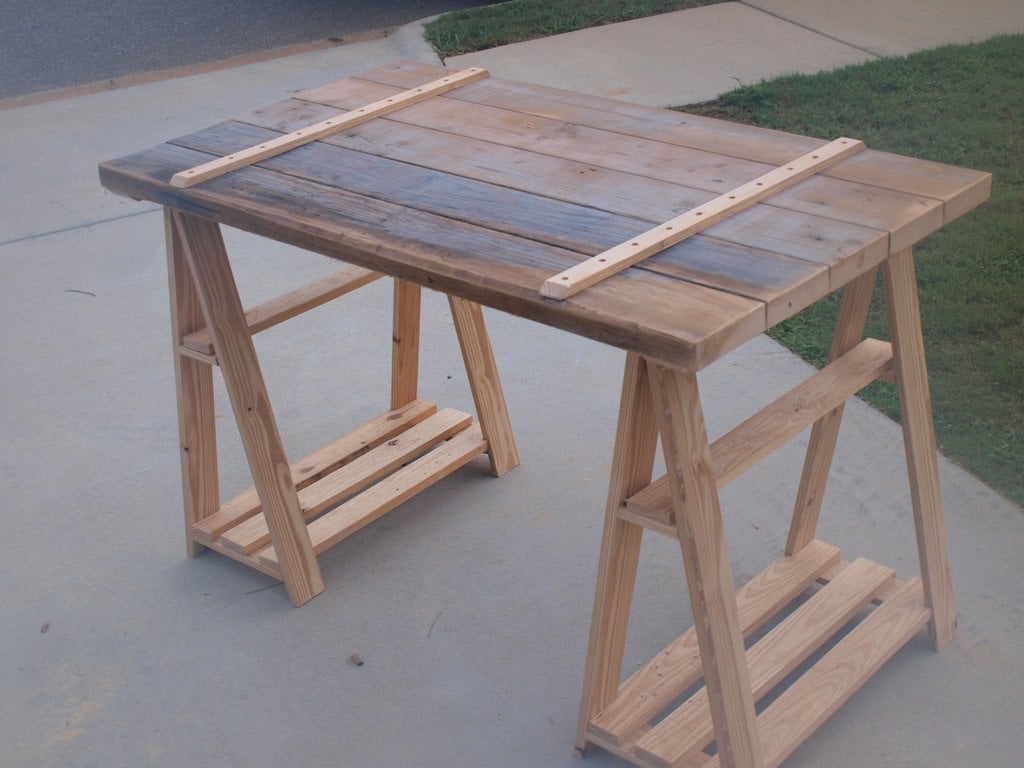
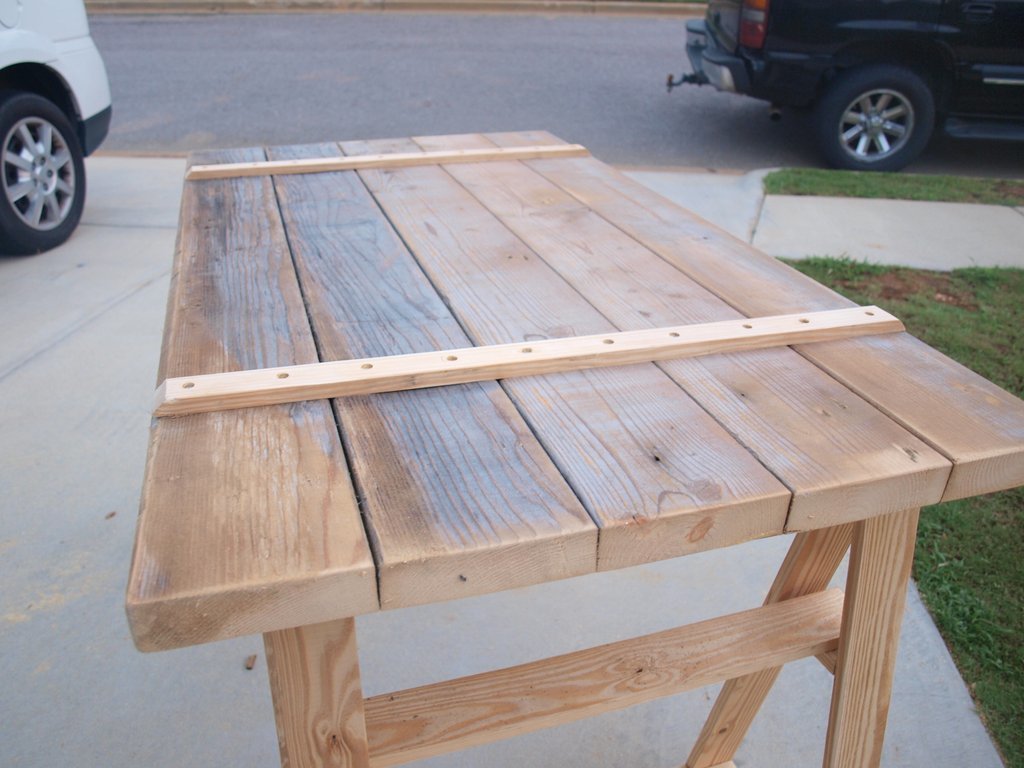
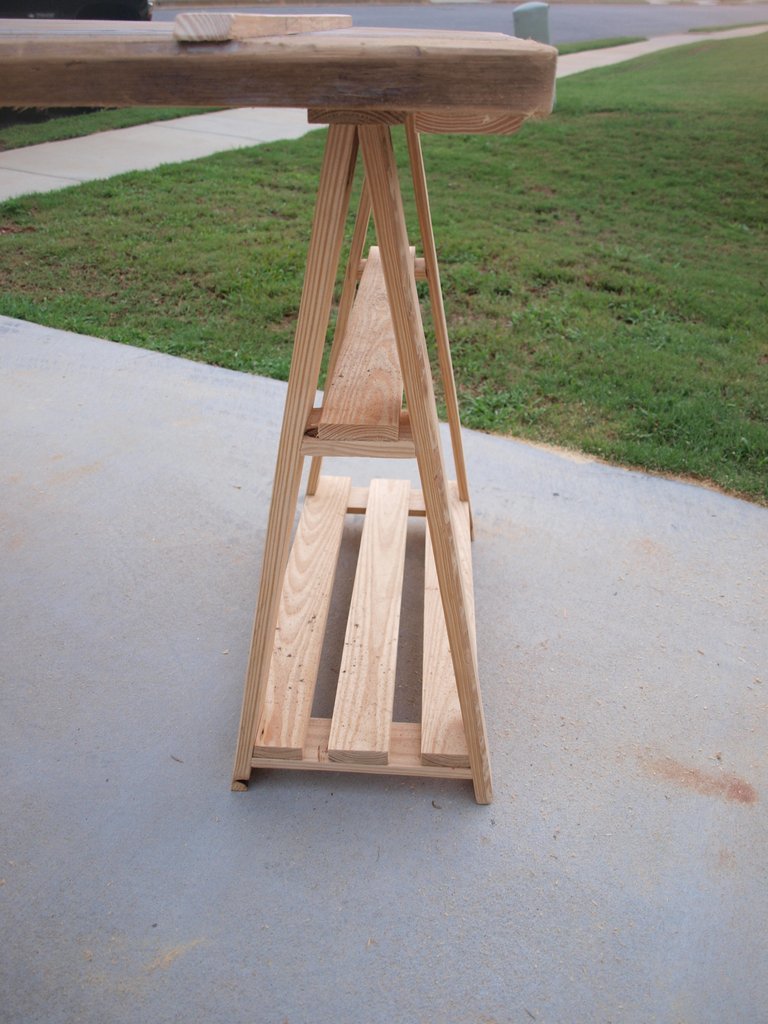
This was a fun project to do. I am going to add a piece of 24 x 24 sheet metal to the top of it to serve as a smooth flat area to write on. I didn’t have any 1 x 3′s on hand so I ripped several 2 x 4′s down to 1 x 3 which is where I came up with the 1 x 2′s that are running across the top. I’m working on imagineering a chair to go with it, I will post pictures of that as well when I get it put together. If you have a questions or comments feel free to post.
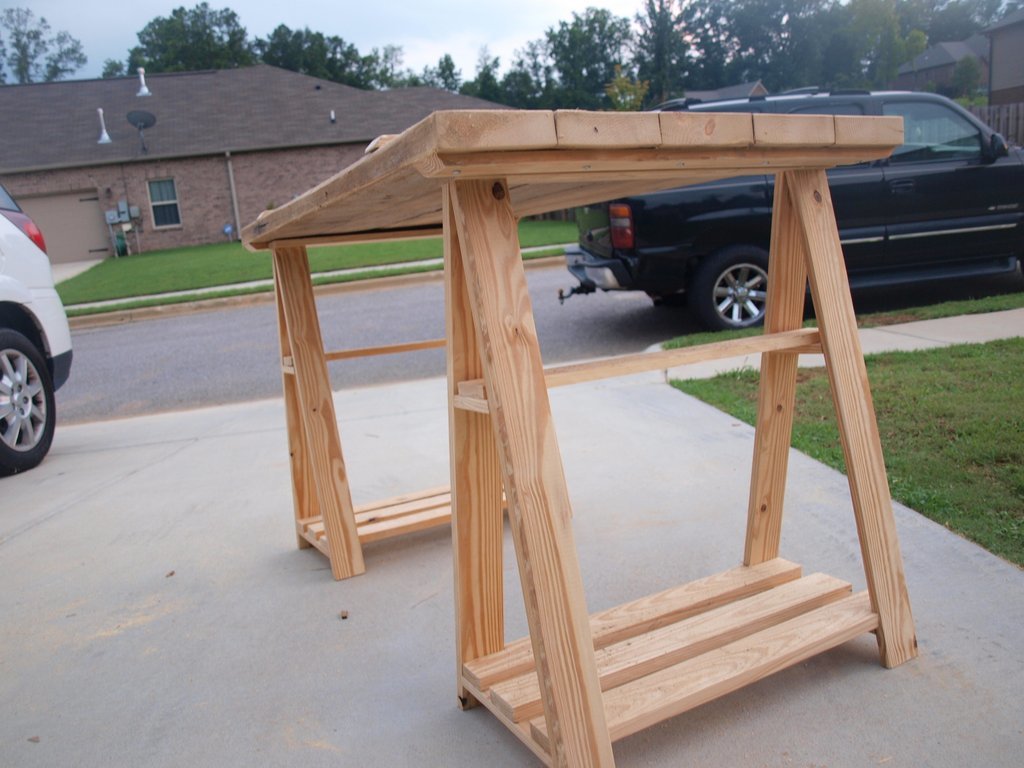
I used the Vintage Bar Stool plans and modified the height and depth of each chair so that they would fit with an indoor bar height. At the time I didn't have a kreg jig, so I used dowels to connect everything. It took much longer since I had to wait for the wood glue to dry, but they are very sturdy and you can't see and drill marks. I used milk paint over stain to get the distressed look, and I love how they turned out!

This was a fun project. Used just the standard cheapest wood from home depot. Seems like no matter how hard I work on trying to get good pieces, there is always something off with them. While the main parts of the project didn't take that much time, the sanding took a good deal of time. Maybe ill buy some better wood next time! Used a 60 grit, then a 150, then a 220. Used a minwax stain with a minwax poly in satin. sanded the poly with a 220 not to just get it smooth but to give it a less shiny look. Very happy with the finished product, but every project I learn a few things to bring to the project and improve. This table is very heavy.
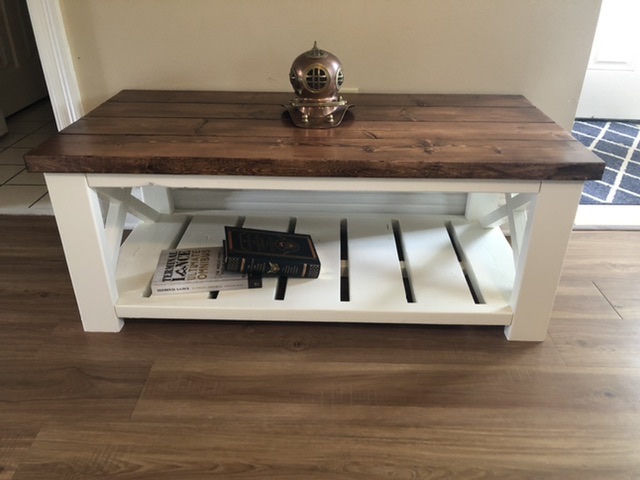
I had been wanting to get into woodworking for awhile and after searching the web I came across Ana’s site. The plans for this table were right near the top of the page and seemed like a realistic goal for me to practice with. I followed her plans and video and everything came together nicely. My wife loves the table so we decided to keep it even though we didn’t need it.
