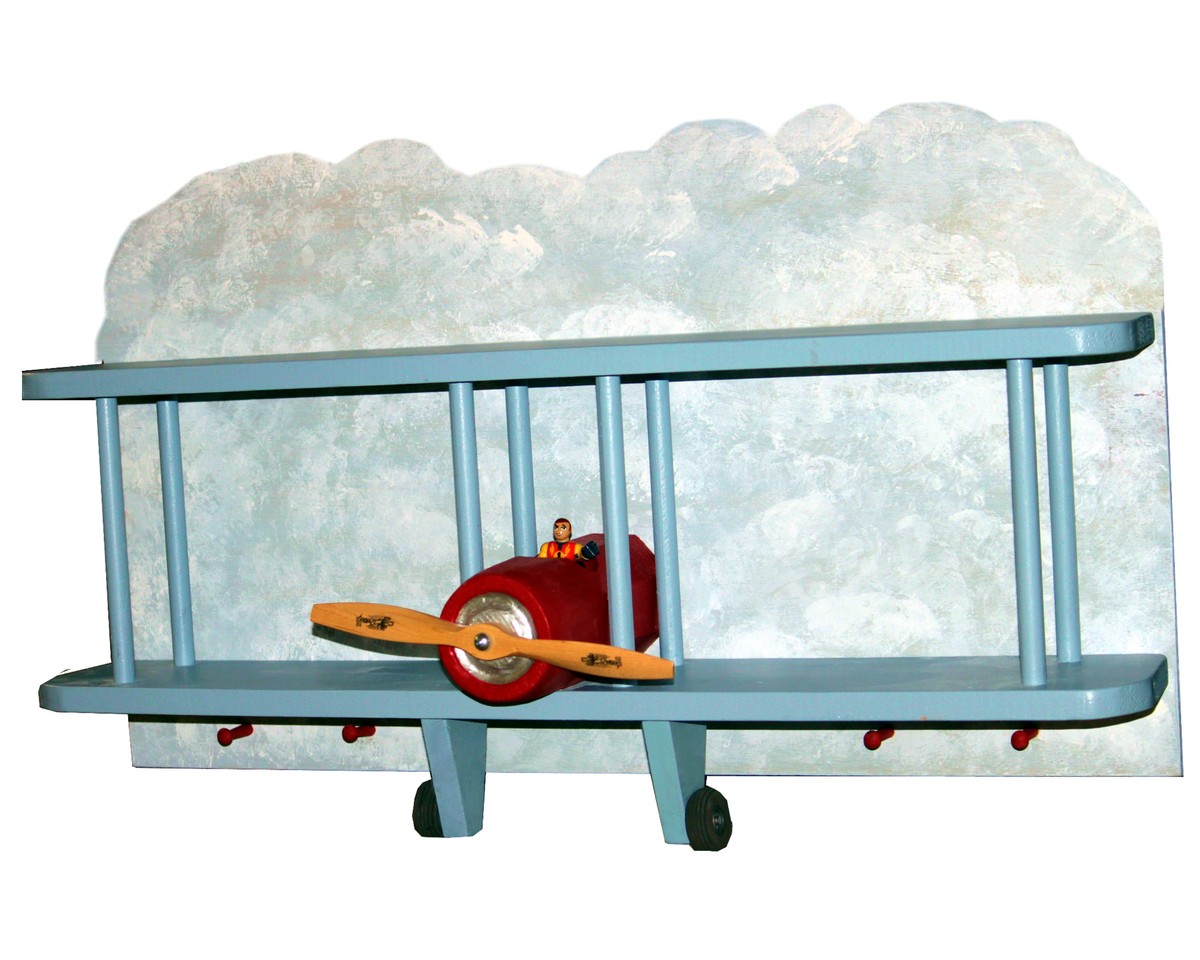
I got inspiration from your pattern, but decided to make it more realistic since my four year old grandson is a stickler for detail. Because I had scraps, the only cost for me was the propeller and wheels from a hobby store (about $8).
The body of the plane was cut from a scrap of 4X4 post; the corners were cut off at 45 degree angles to make it more rounded (sanding rounded it more). I used a dremel to carve the engine indentation. I used 5/8 inch dowels for the wing struts (only because I grabbed the wrong drill bit; you could use 1/2 inch). The wheels were attached to 2 1/2 X 4 inch pieces, which I mitered to make smaller at the bottom.
The backing was cut to fit the length of the shelf and 18 inches high. I painted the background a soft blue and then applied white for the clouds. After attaching it to the plane; I decided to add some pegs.
This is a Christmas gift for him because we are going to redo his room after the first of the year. I will be building him a loft bed from Ana's plans and adding some more airplane decor.


Comments
Ana White Admin
Fri, 02/24/2023 - 08:57
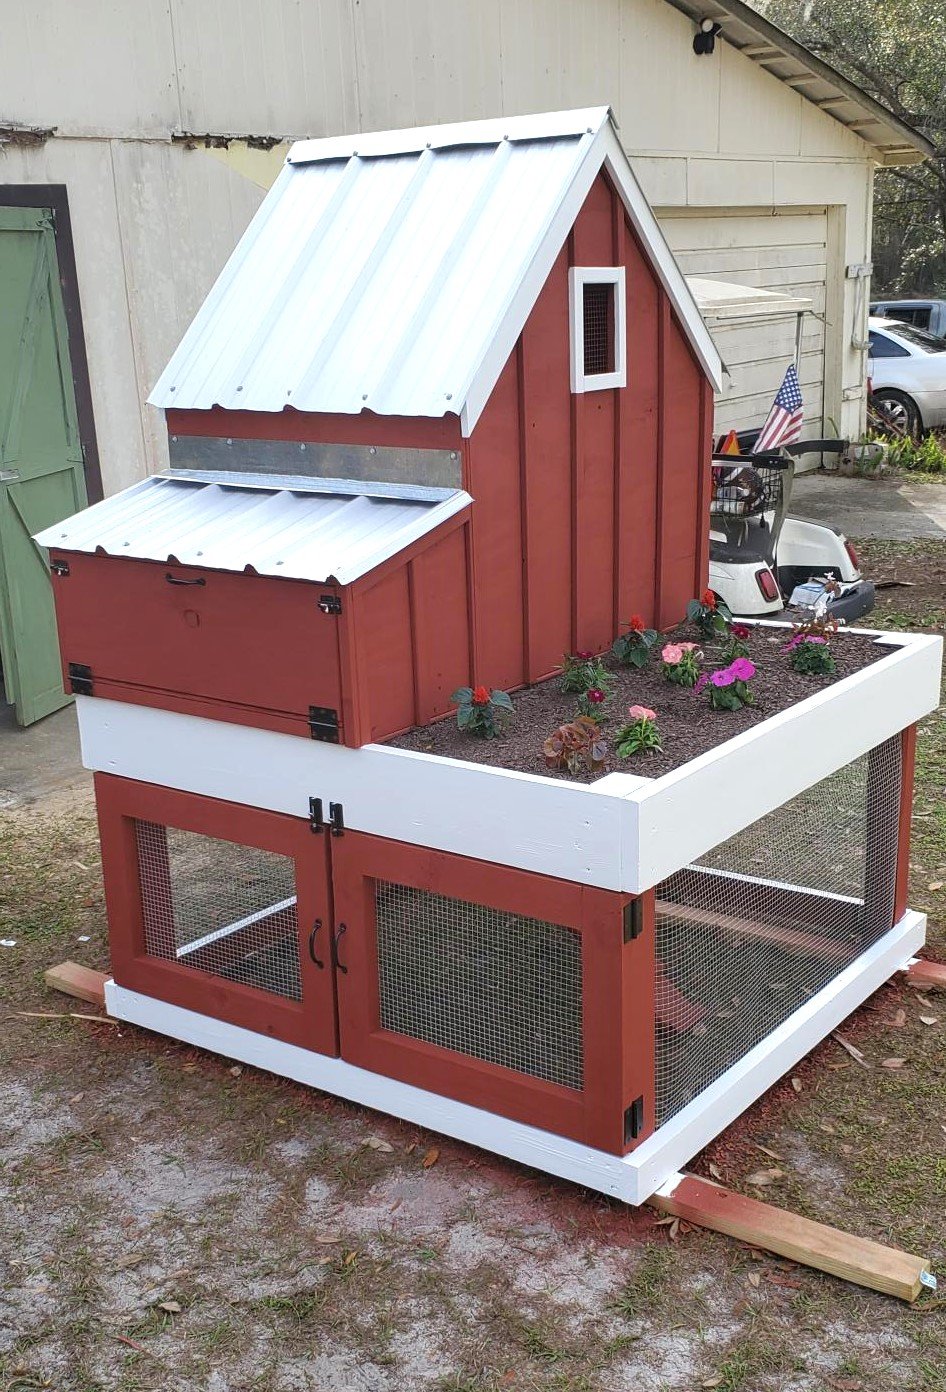
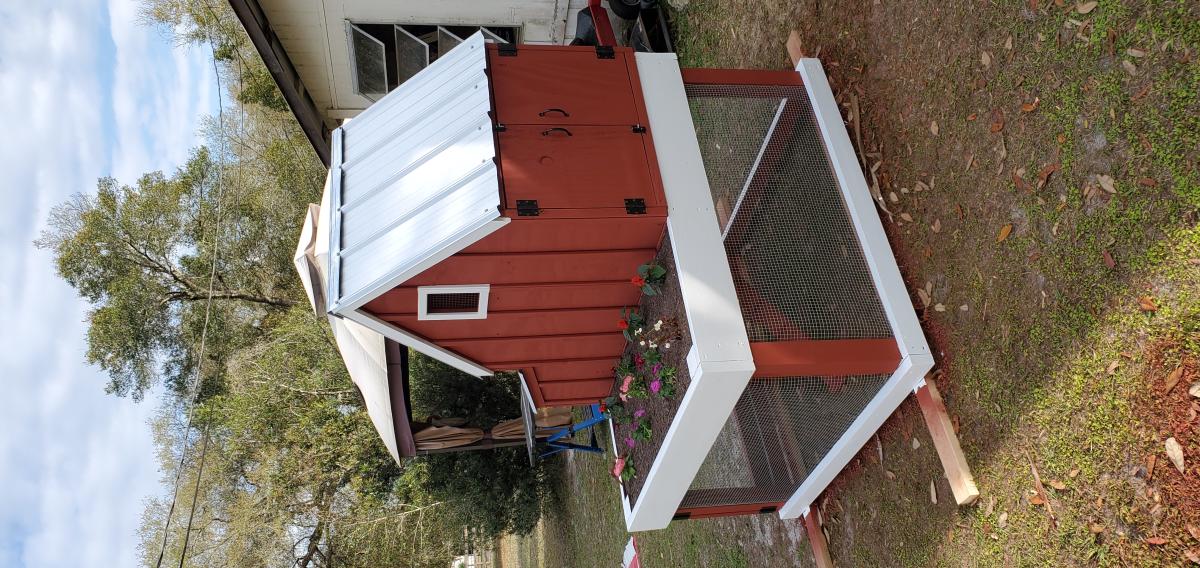
Great coop!
Thank you for sharing, looks awesome!