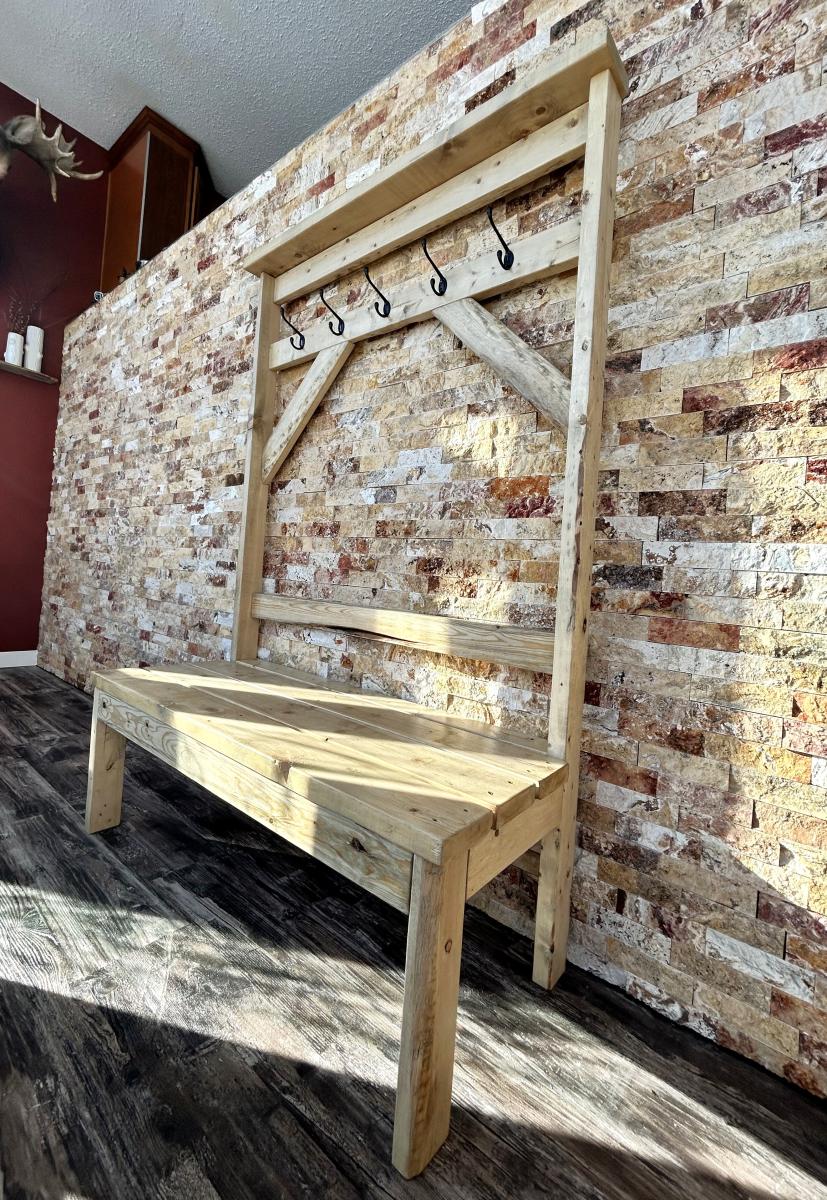
2x4 Hallway Bench with Coat Hooks and Shelf
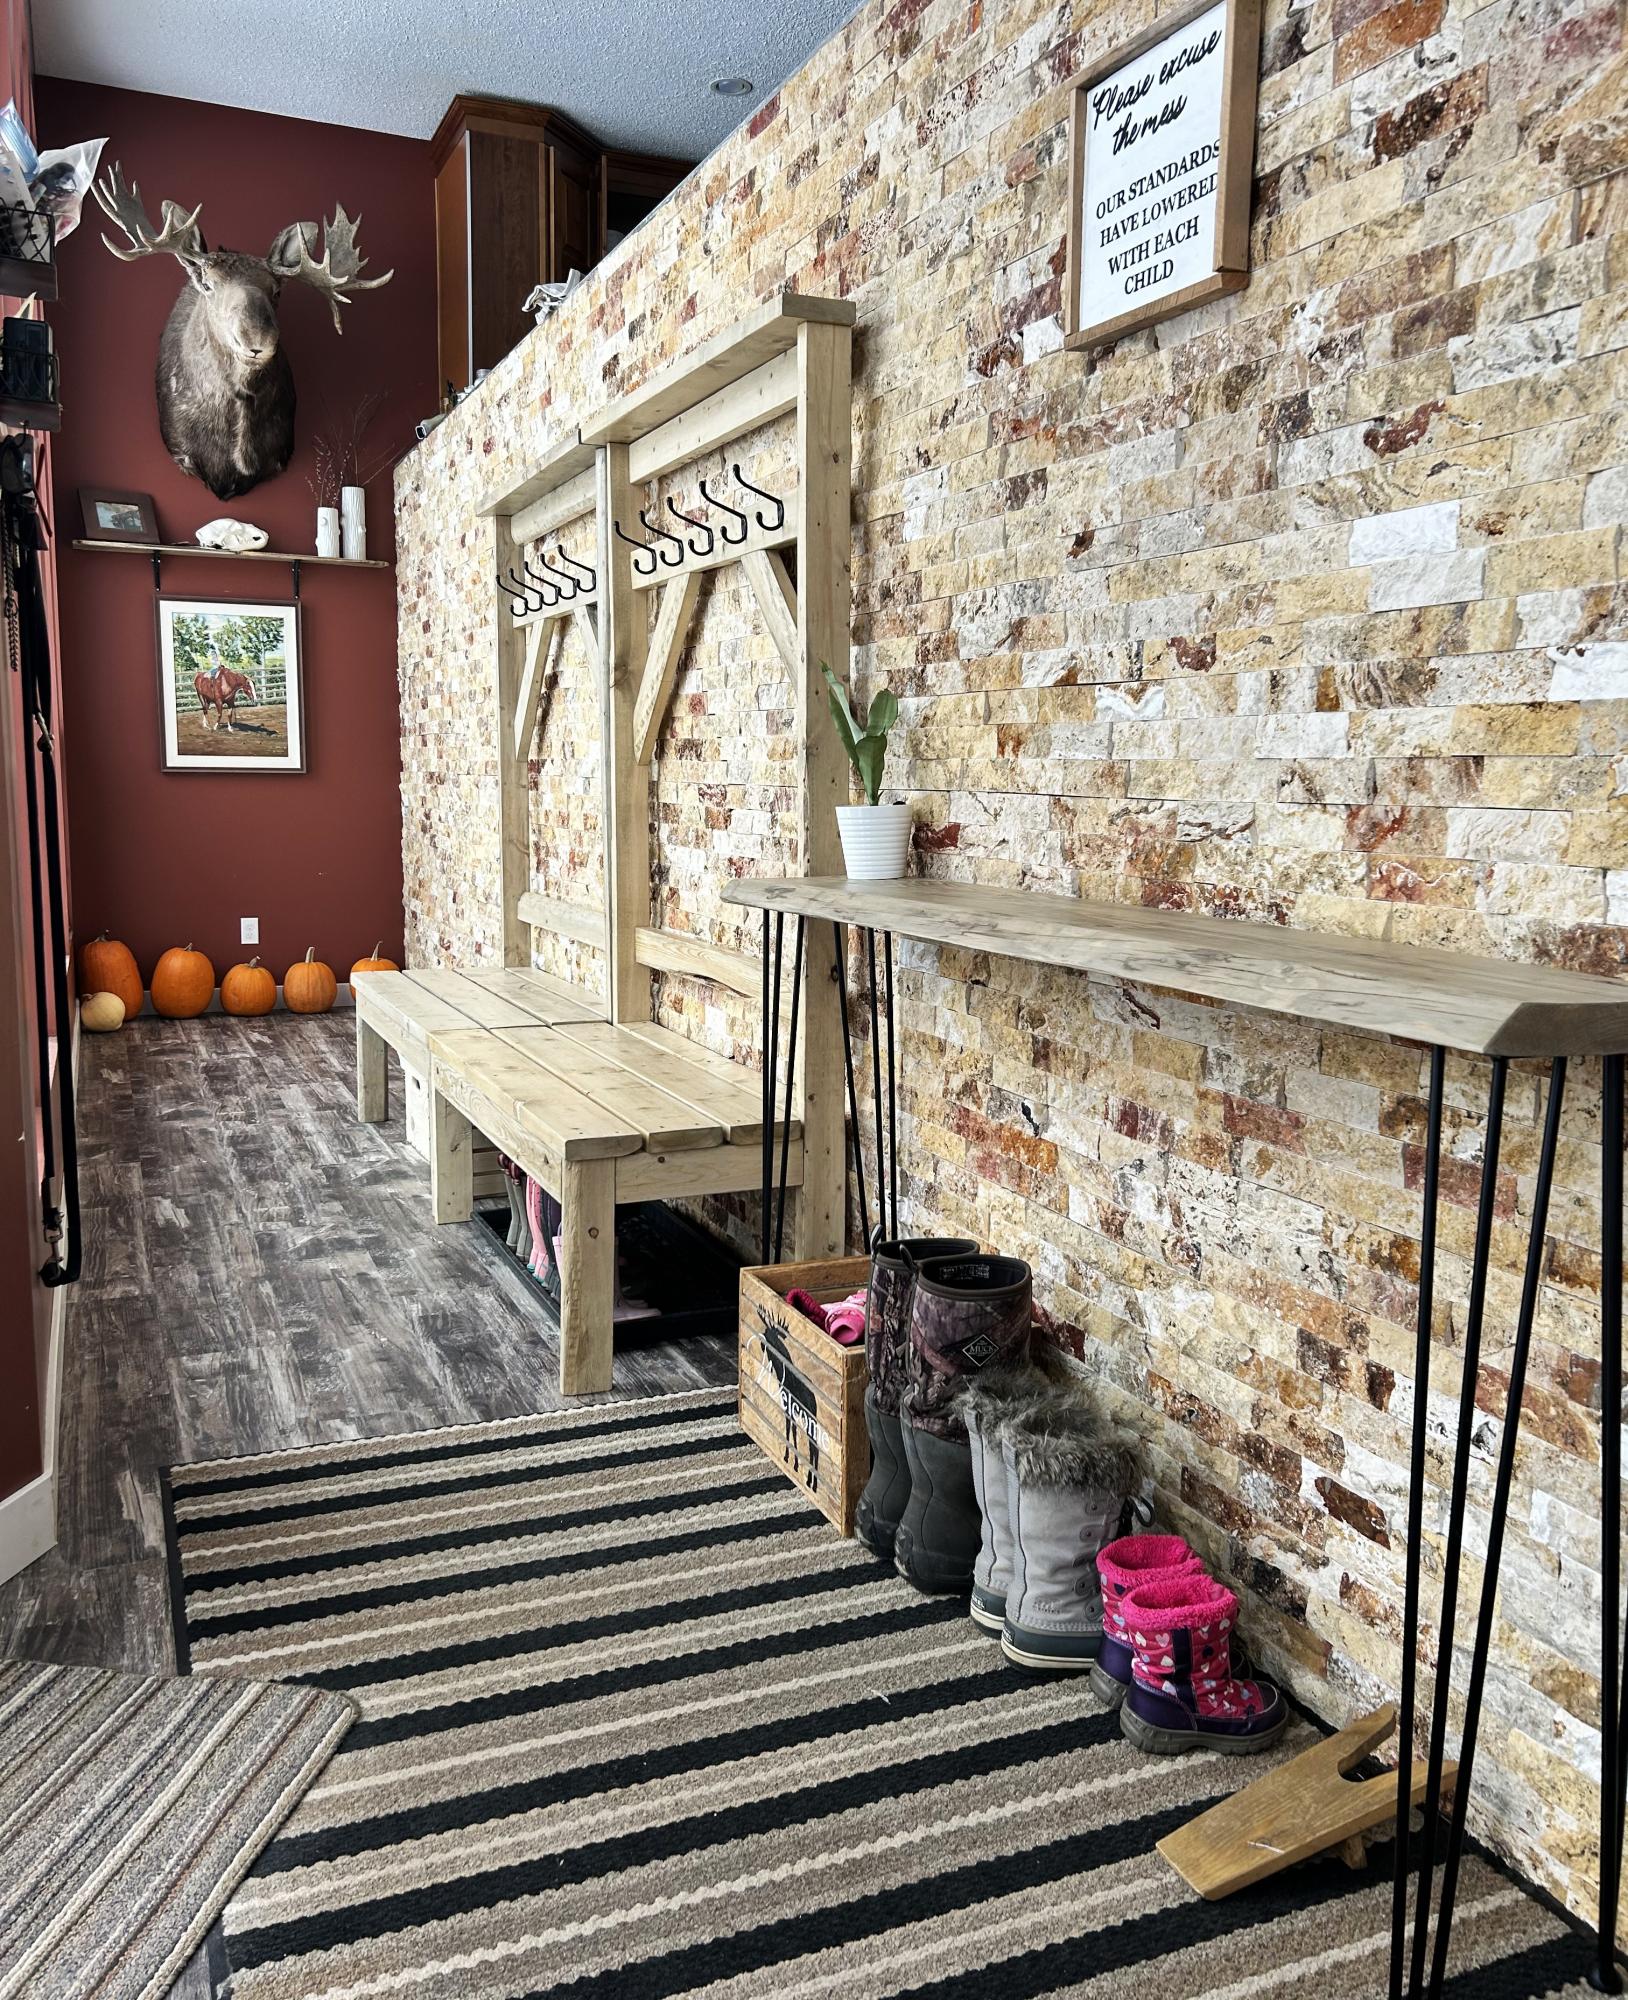
Using your entryway bench plans I made 2 of these. They are the envy of everyone who visits!
Brittany M
Built from Plan(s)
Seasonal And Holiday
Using your entryway bench plans I made 2 of these. They are the envy of everyone who visits!
Brittany M

This is my first project, and I'm so happy with how it turned out. This was so easy to make, a great place to start for beginners! Thank you Ana White for your inspirational website.
Really simple project, modified the plans a bit but kept the same concept. Had a lot of bun building.
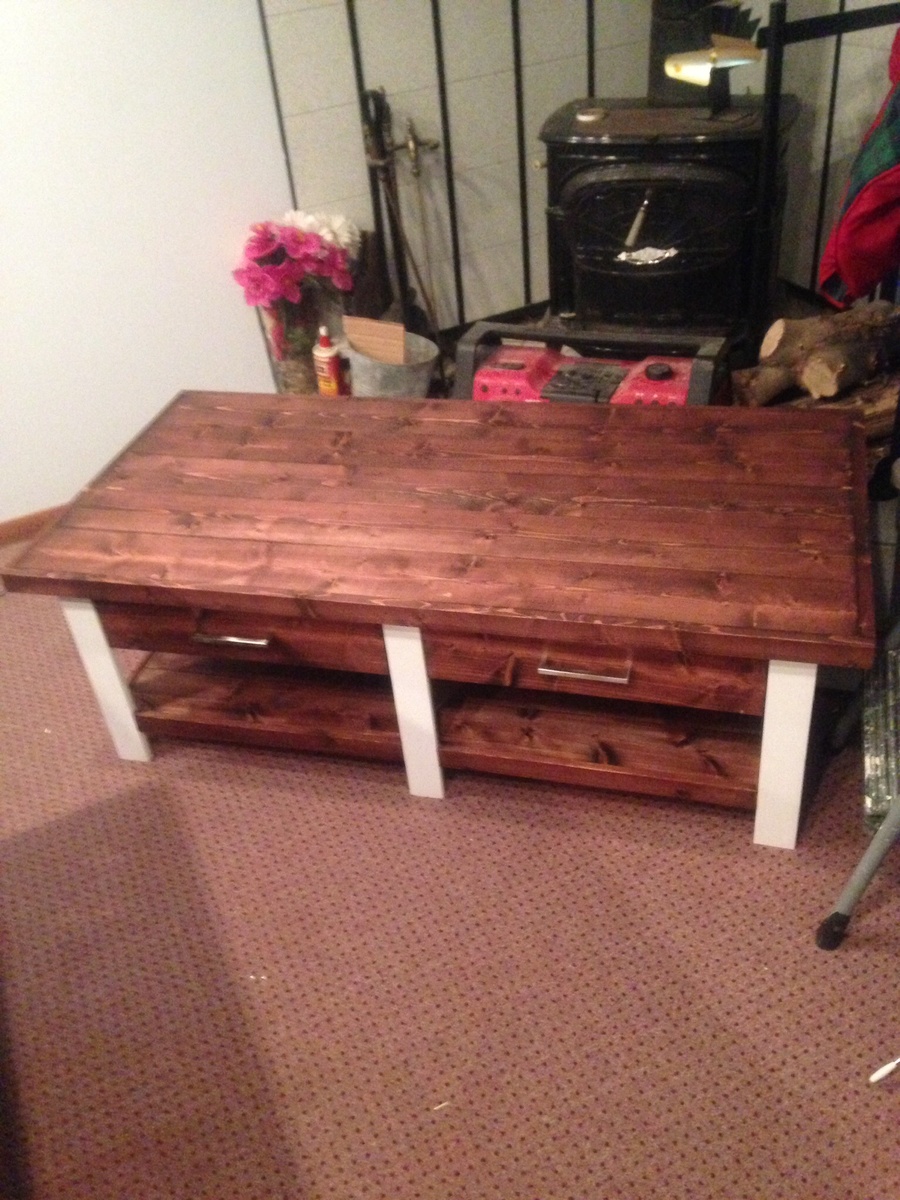

Mon, 09/01/2014 - 16:24
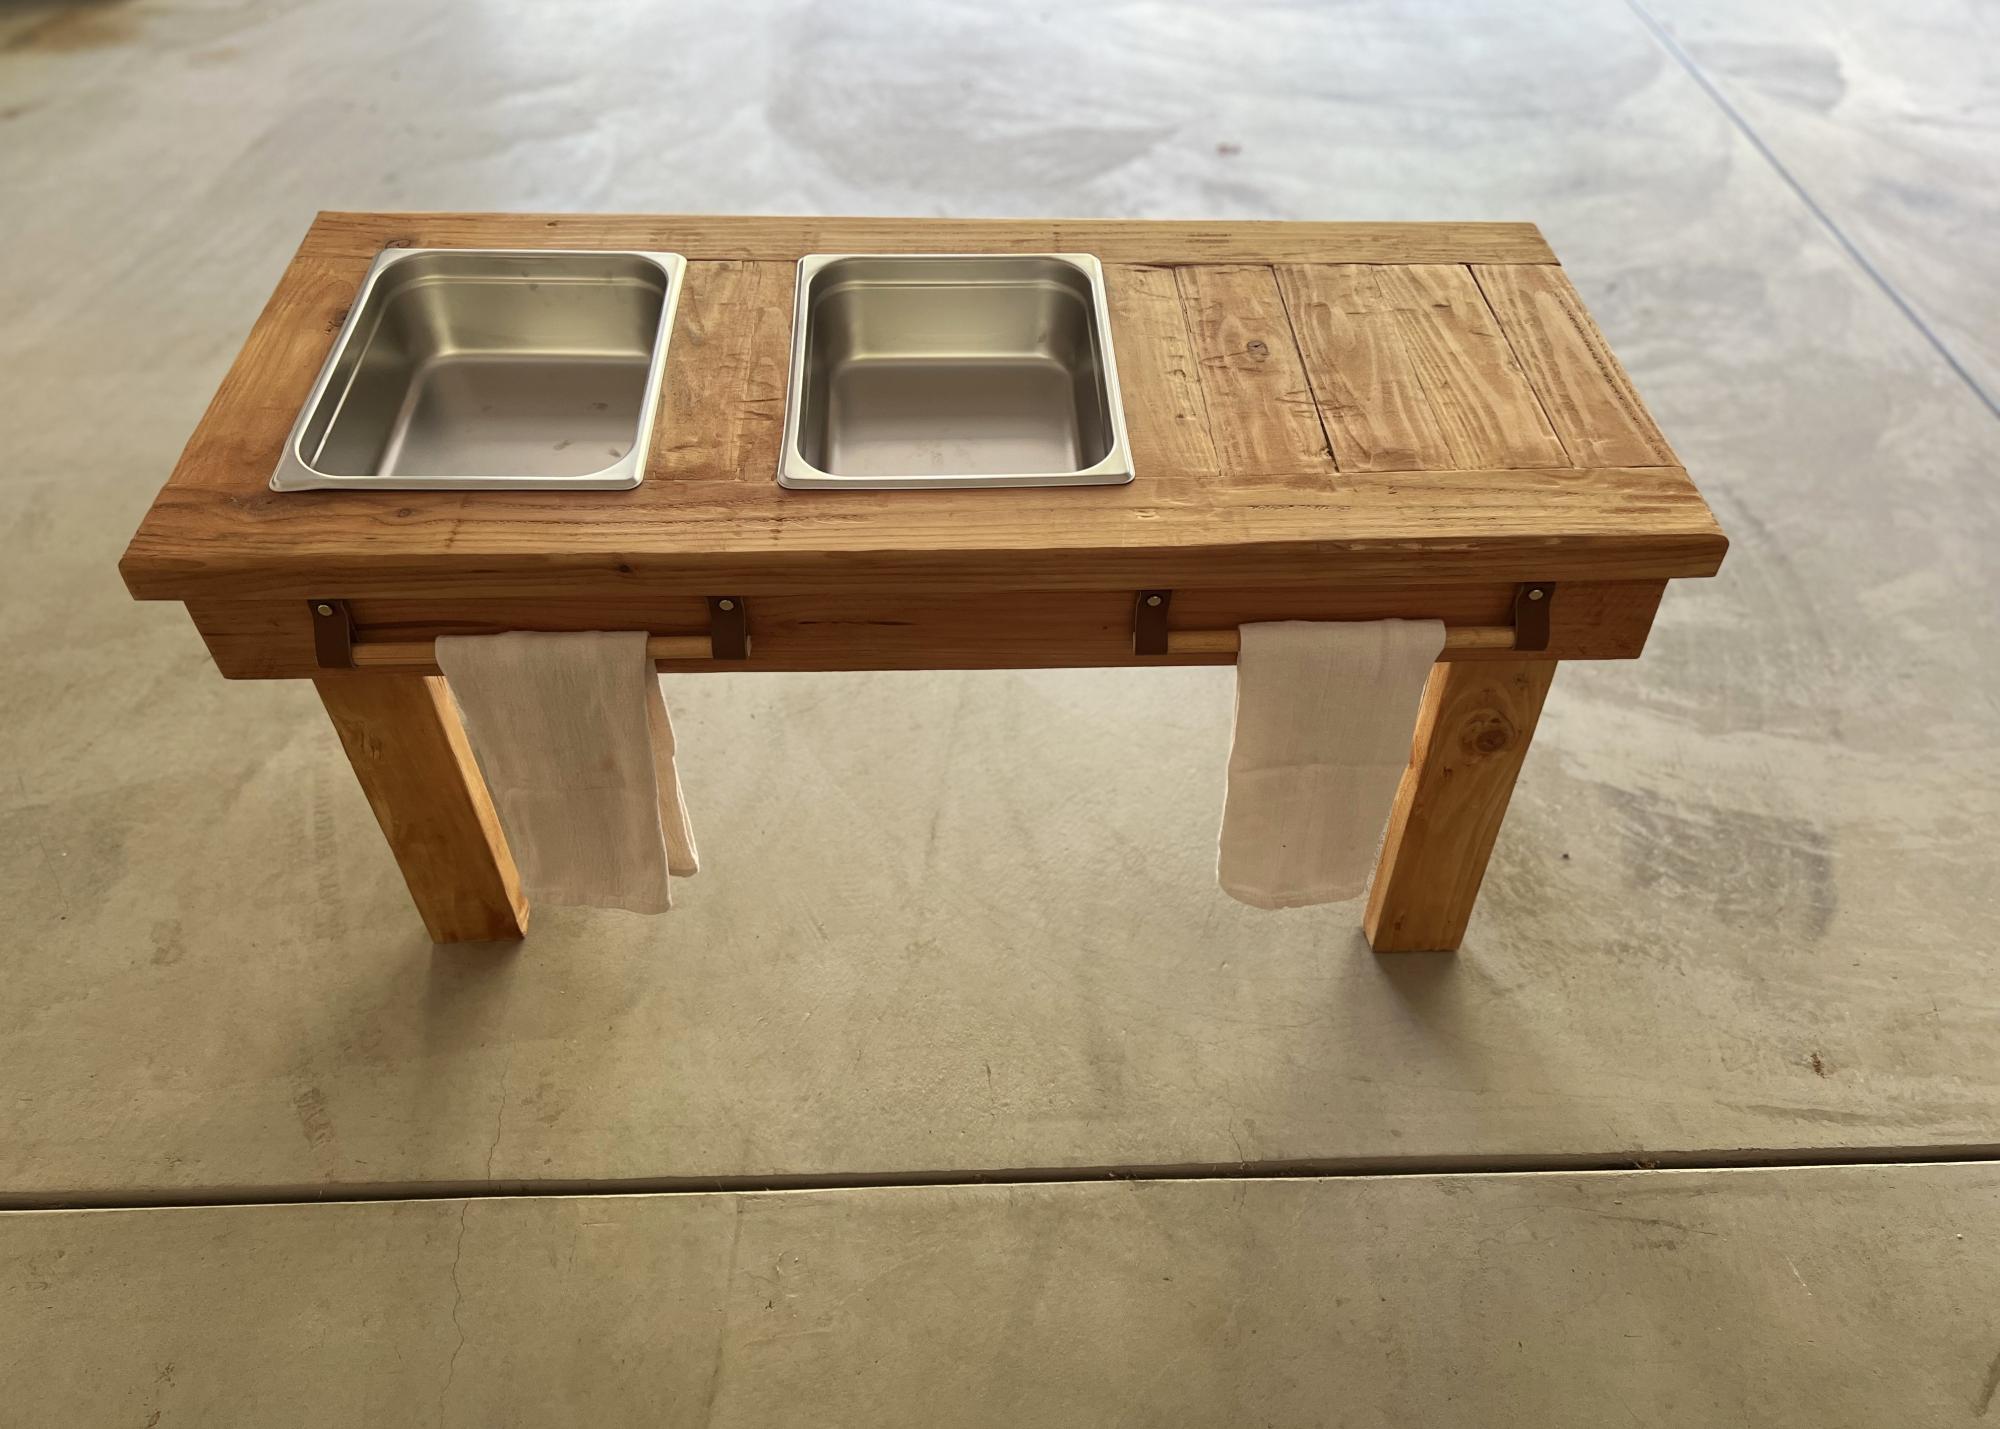
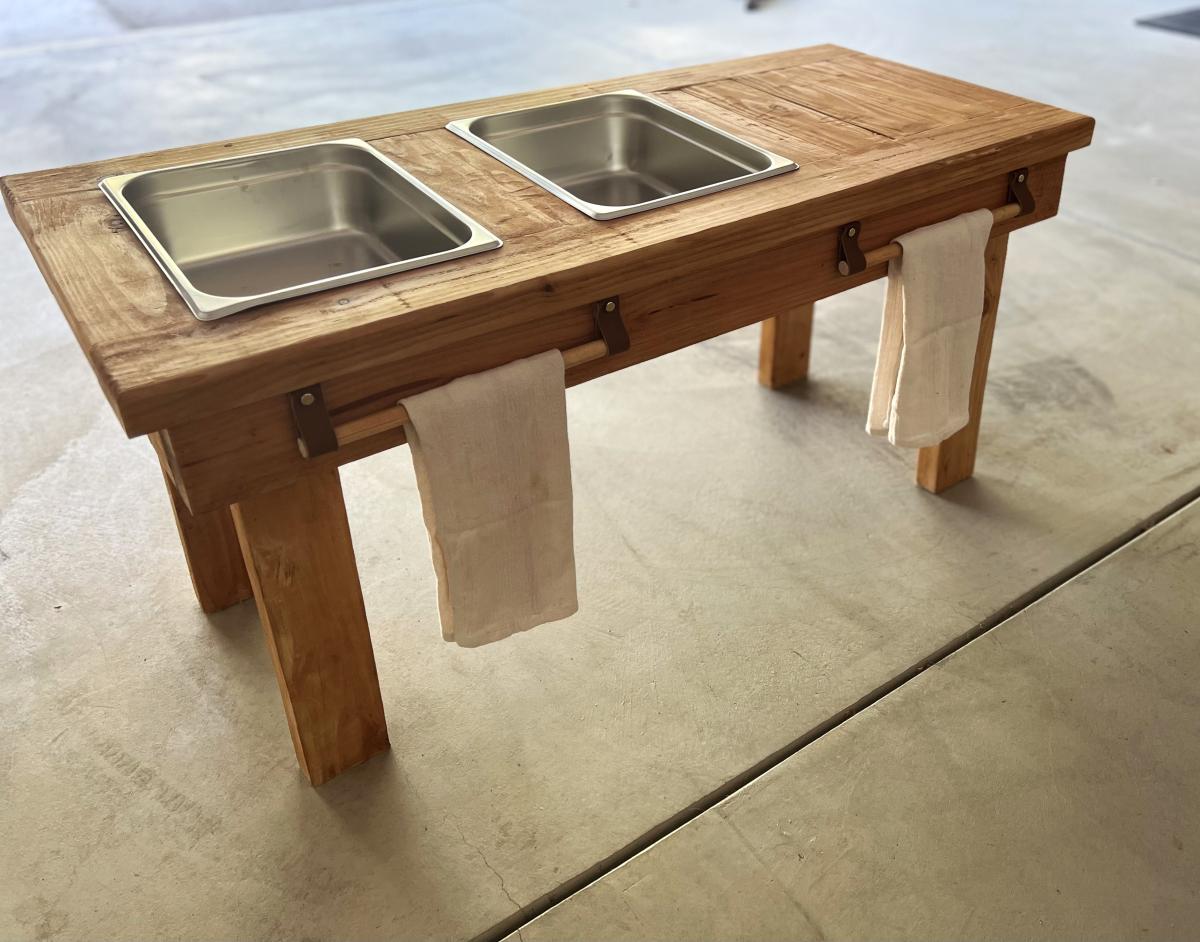
Why isn't anyone commenting on my table. Does no one like my table.
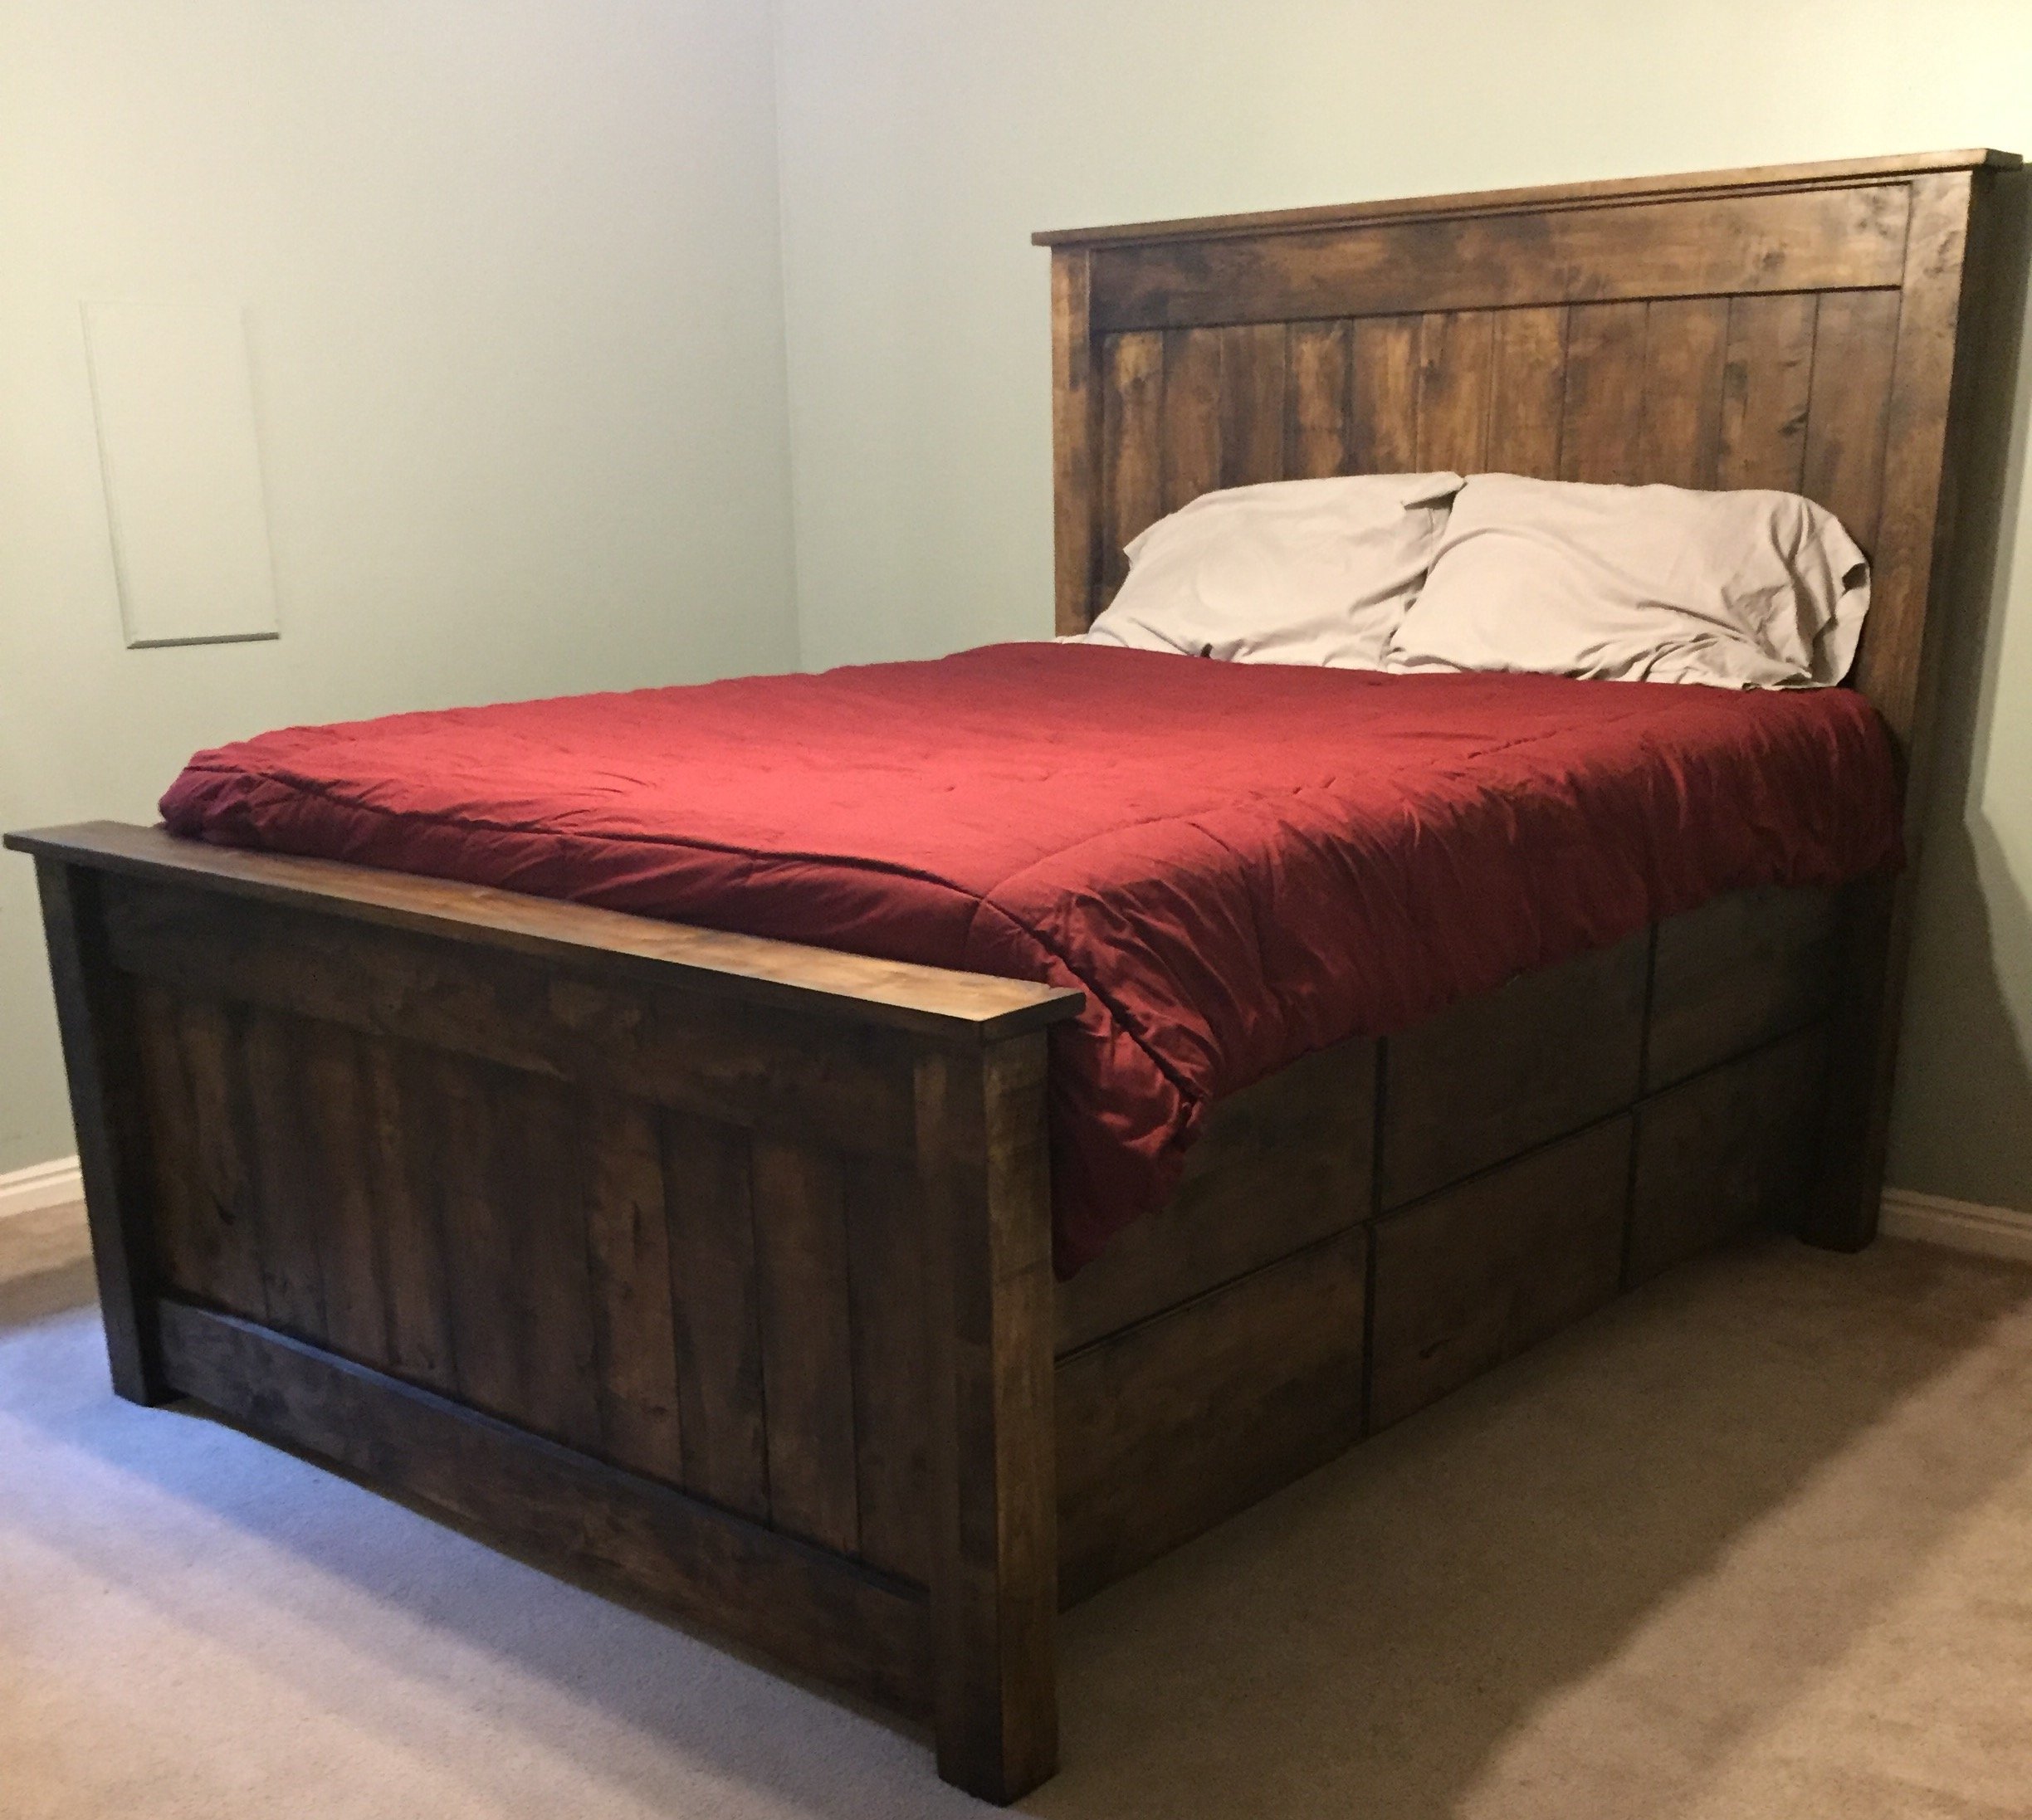
My brother-in-law and I took on this project in the fall of 2016. I don't mean to brag, but it turned out amazing. #happywifehappylife
We adopted the plans from the Full Farmhouse Bed Plans. But we added two banks of cabinets and made it a lot taller.
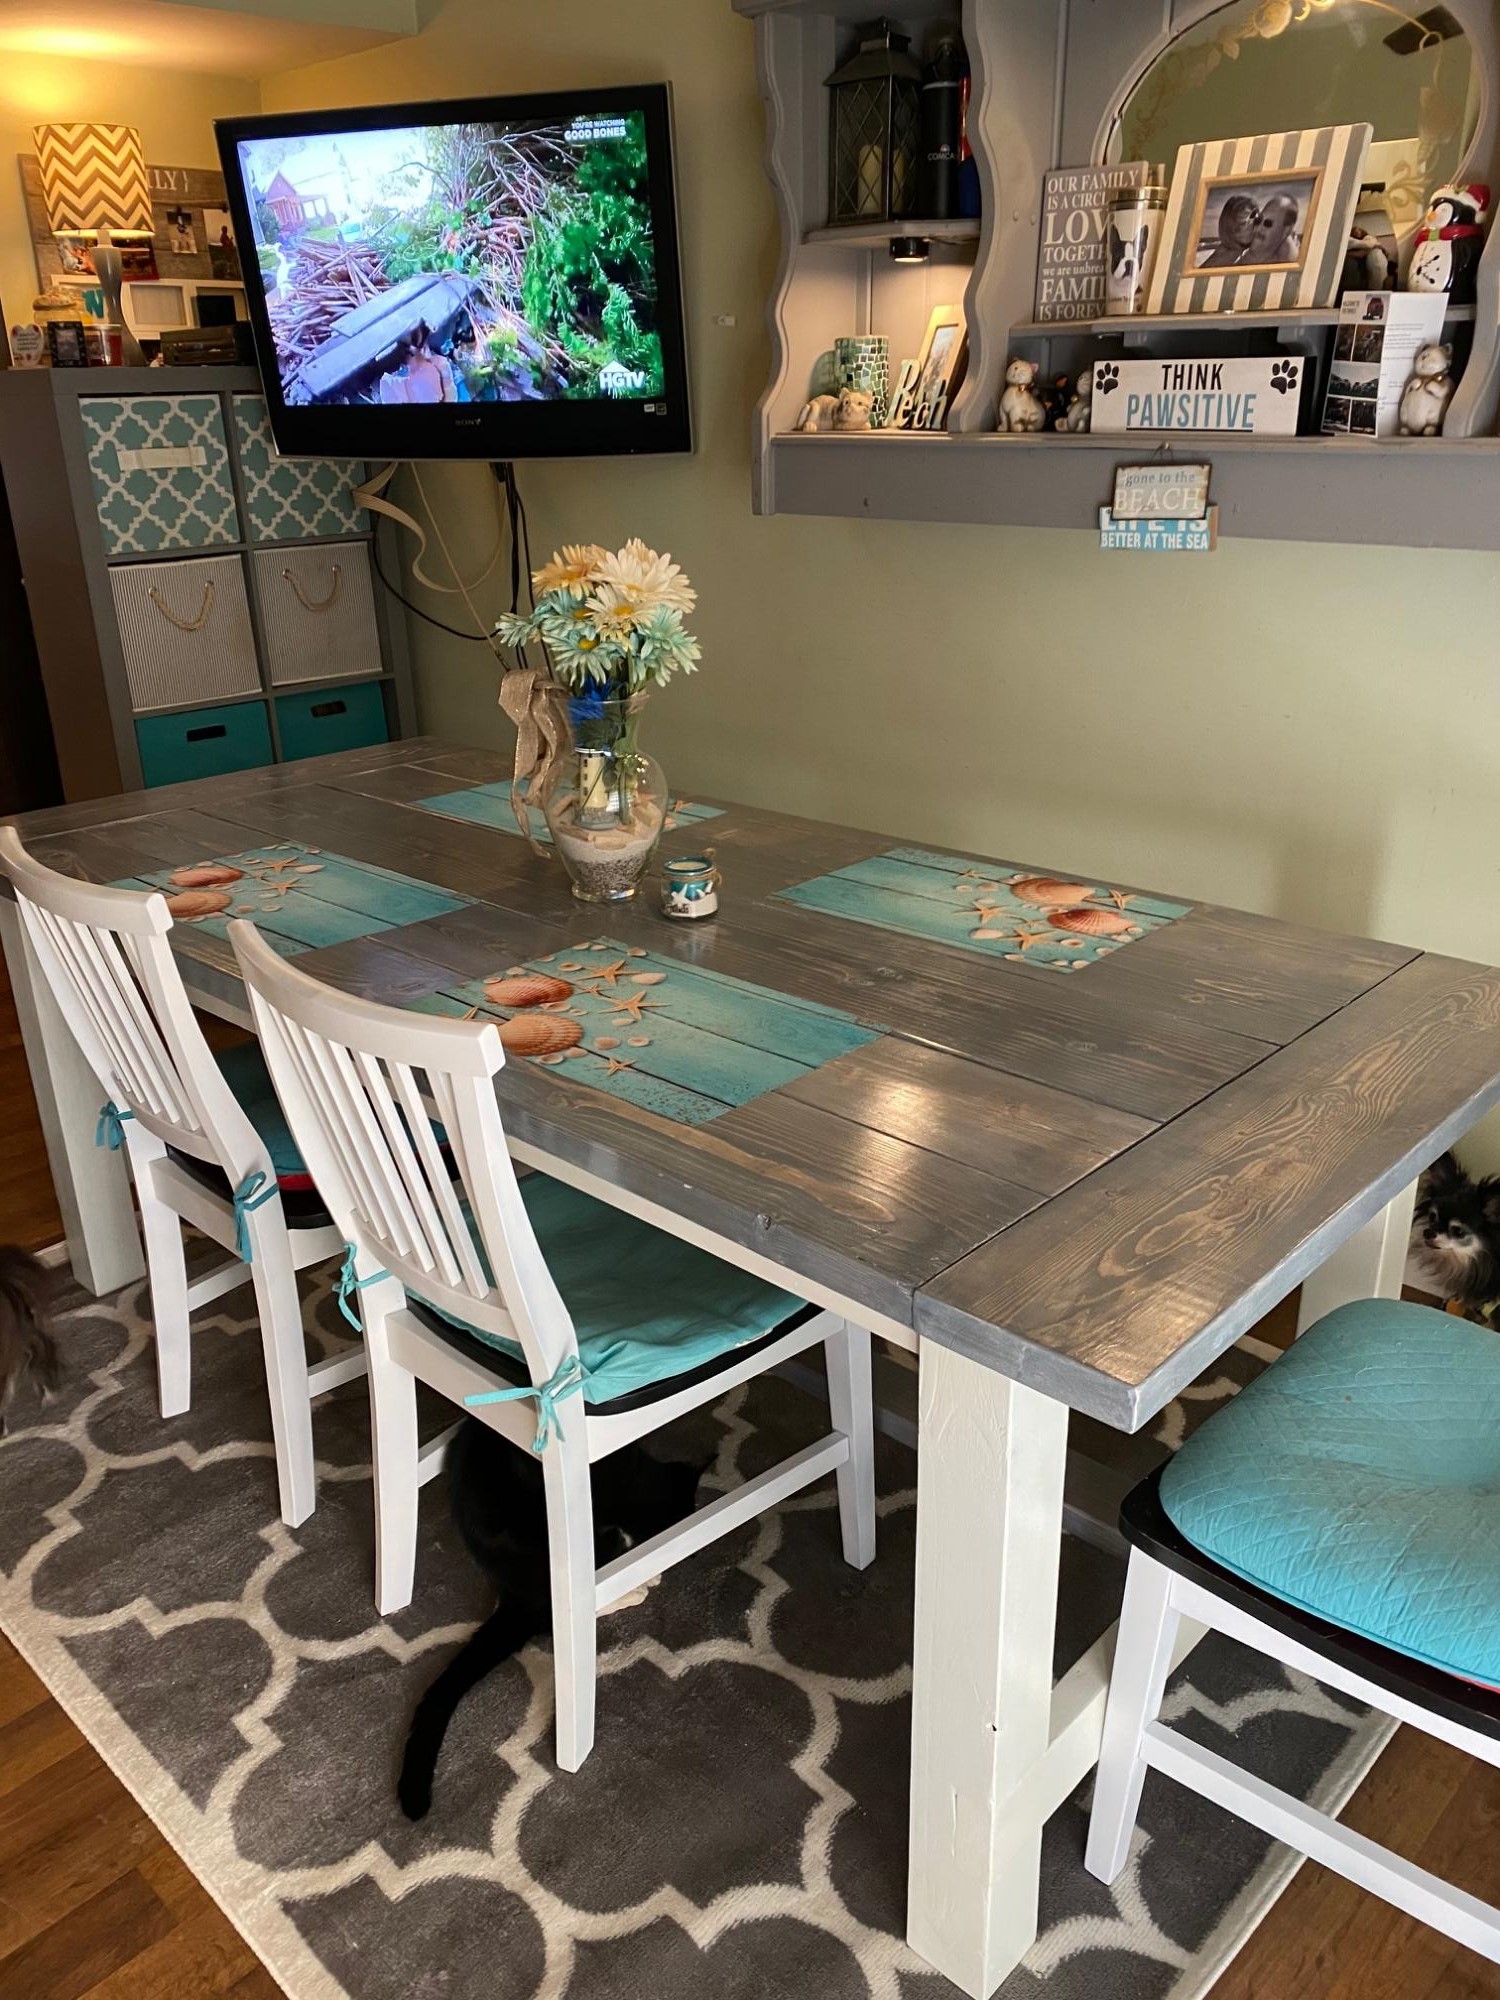
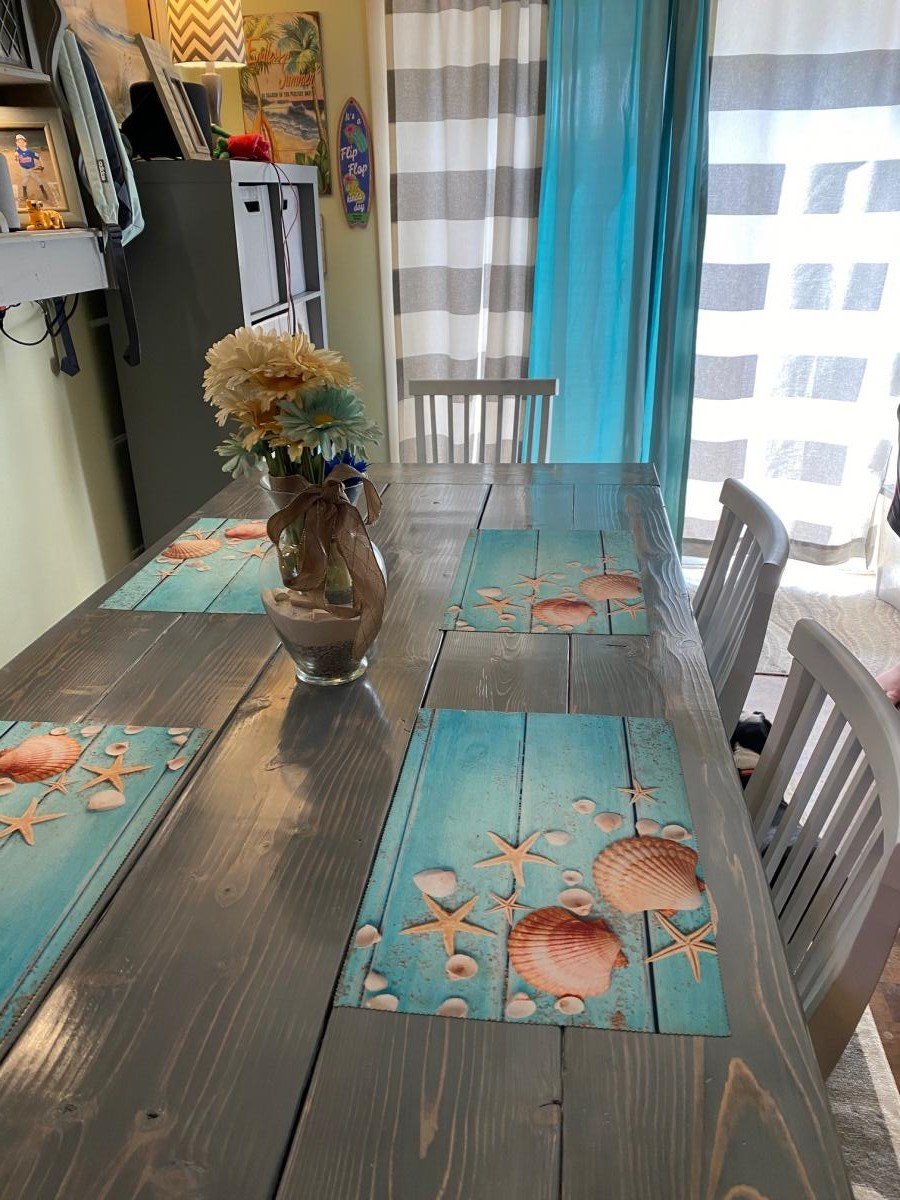
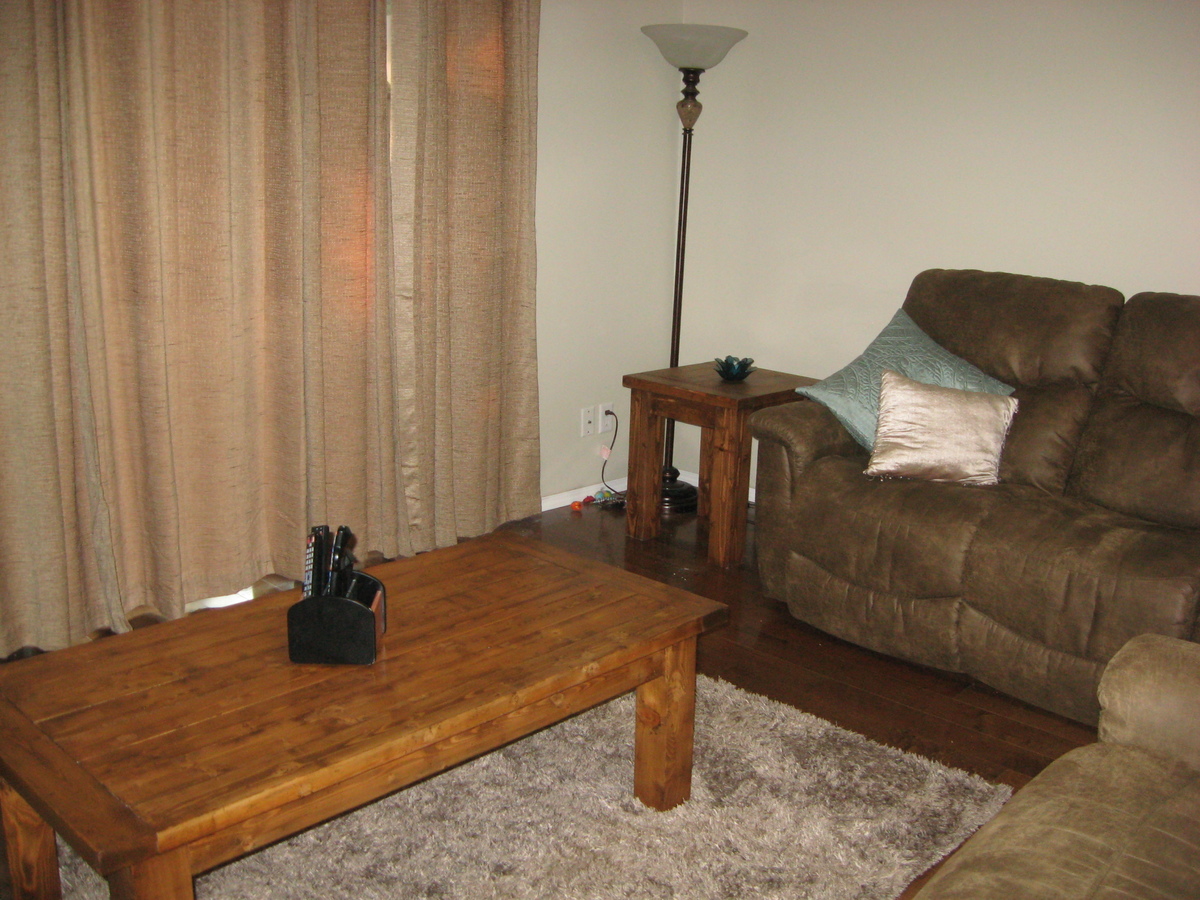
Thank you Ana for these plans! This is the updated farmhouse table that uses pocket holes. I thoroughly enjoyed making this table. I was so pleased with it and myself for what I had accomplished on this project! It turned out beautifully and my family and friends love it! It wasn’t that difficult to do, you just need to take your time and it will come together . Once you learn the set up of the kreg pocket hole jig, it really isn’t that difficult to do at all and so worth doing. I’m off to build a matching coffee table and tv stand. (Also plans found here)
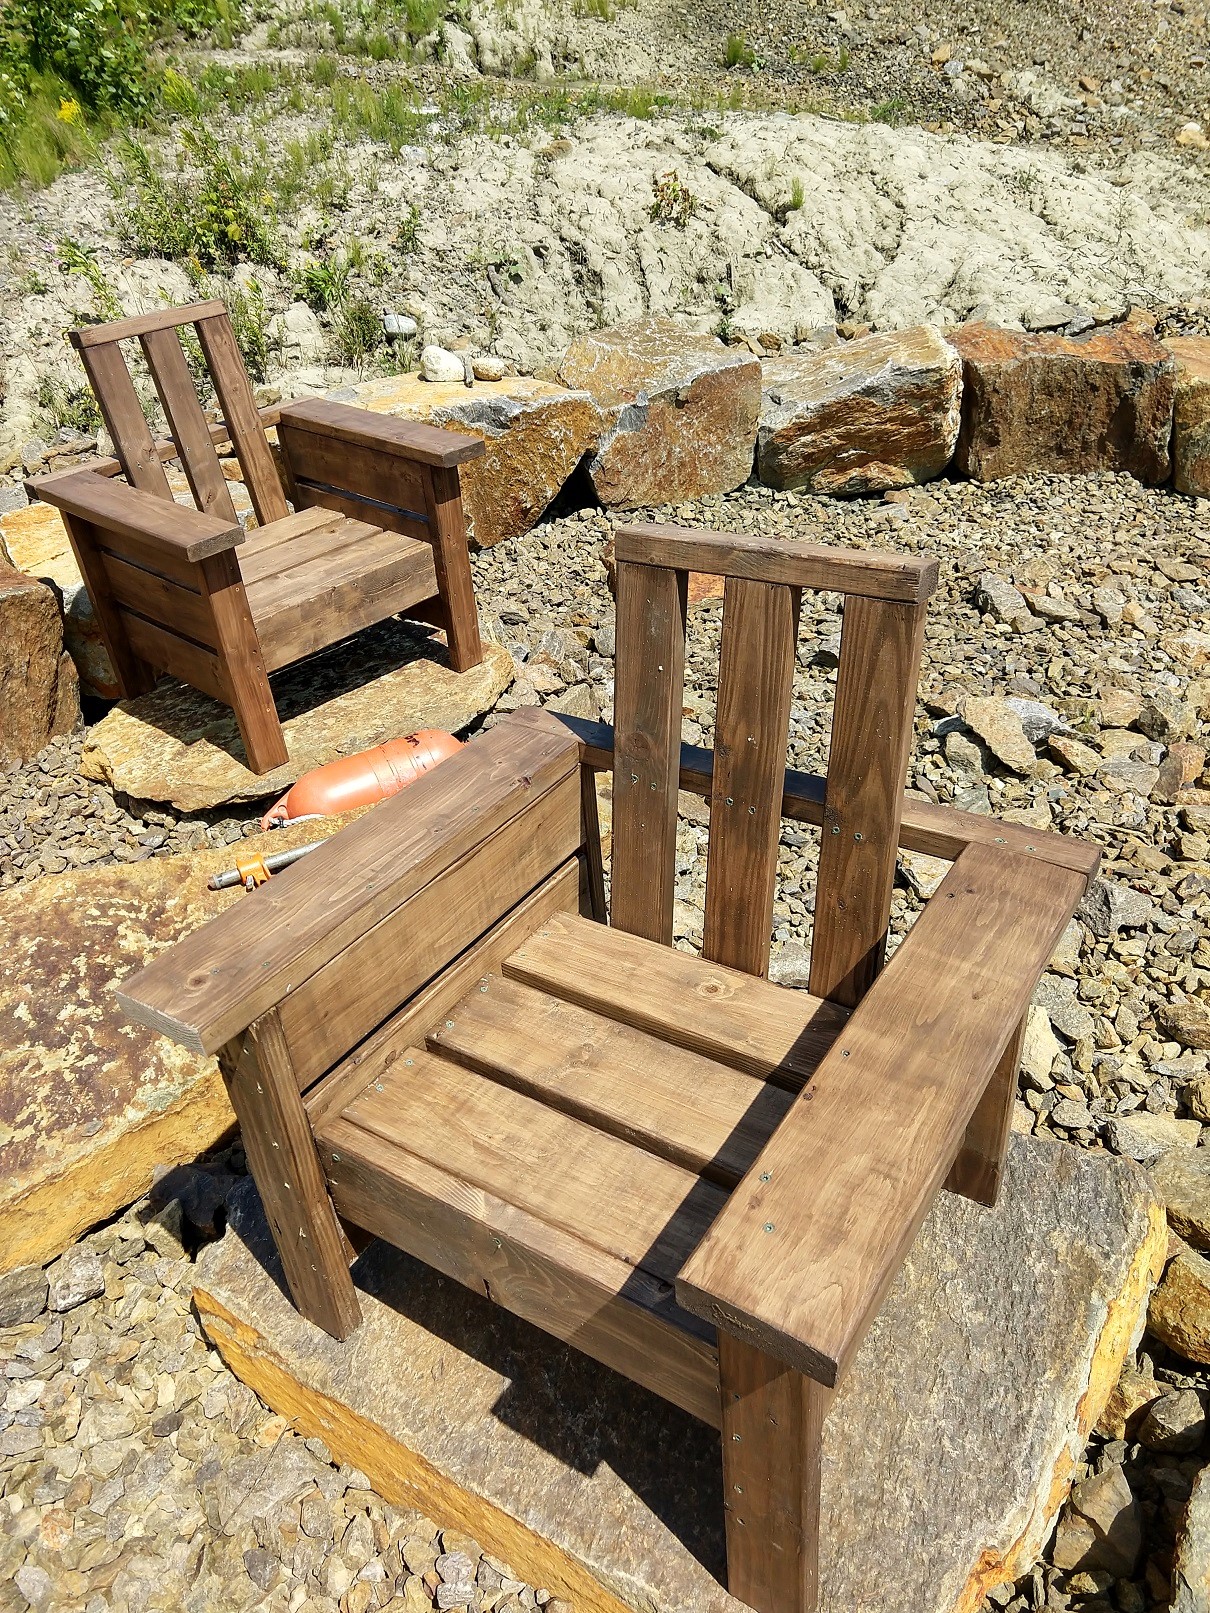
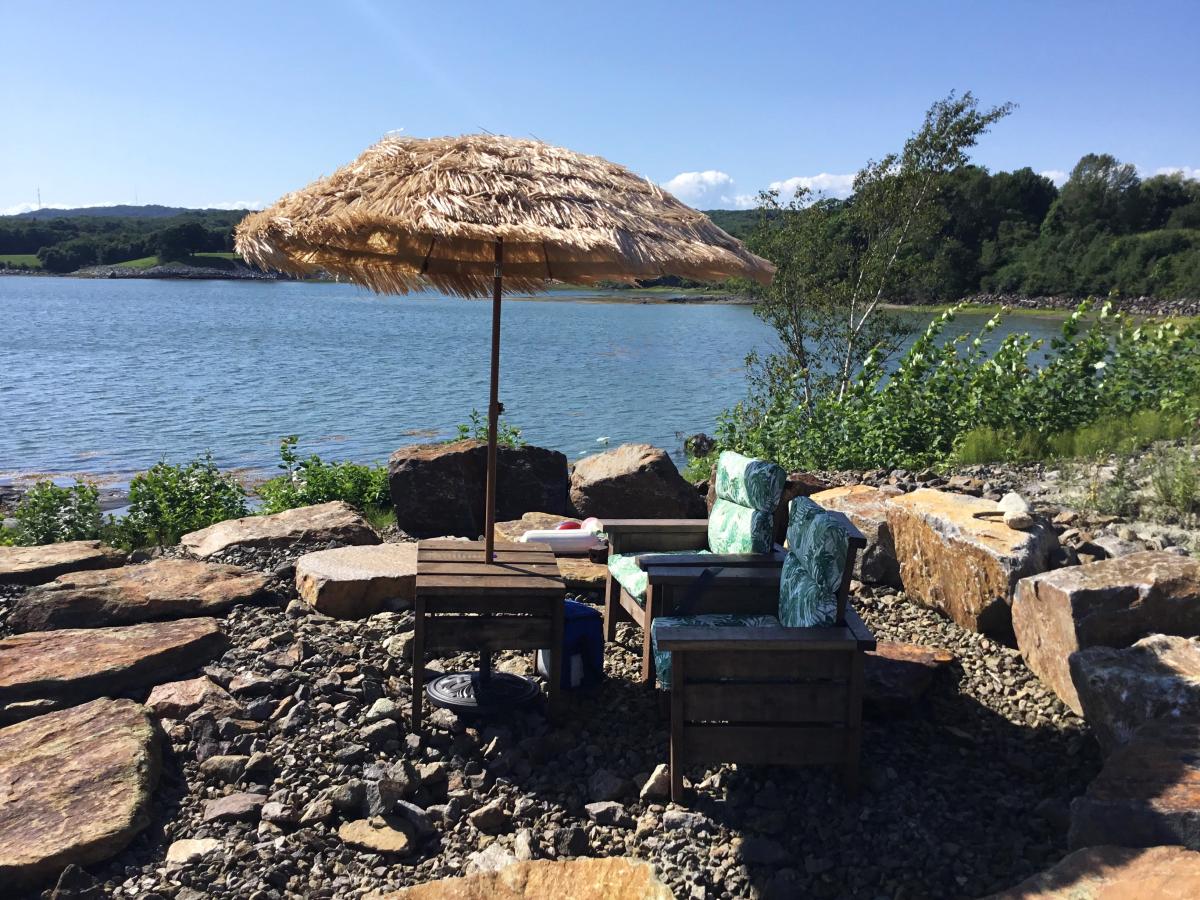
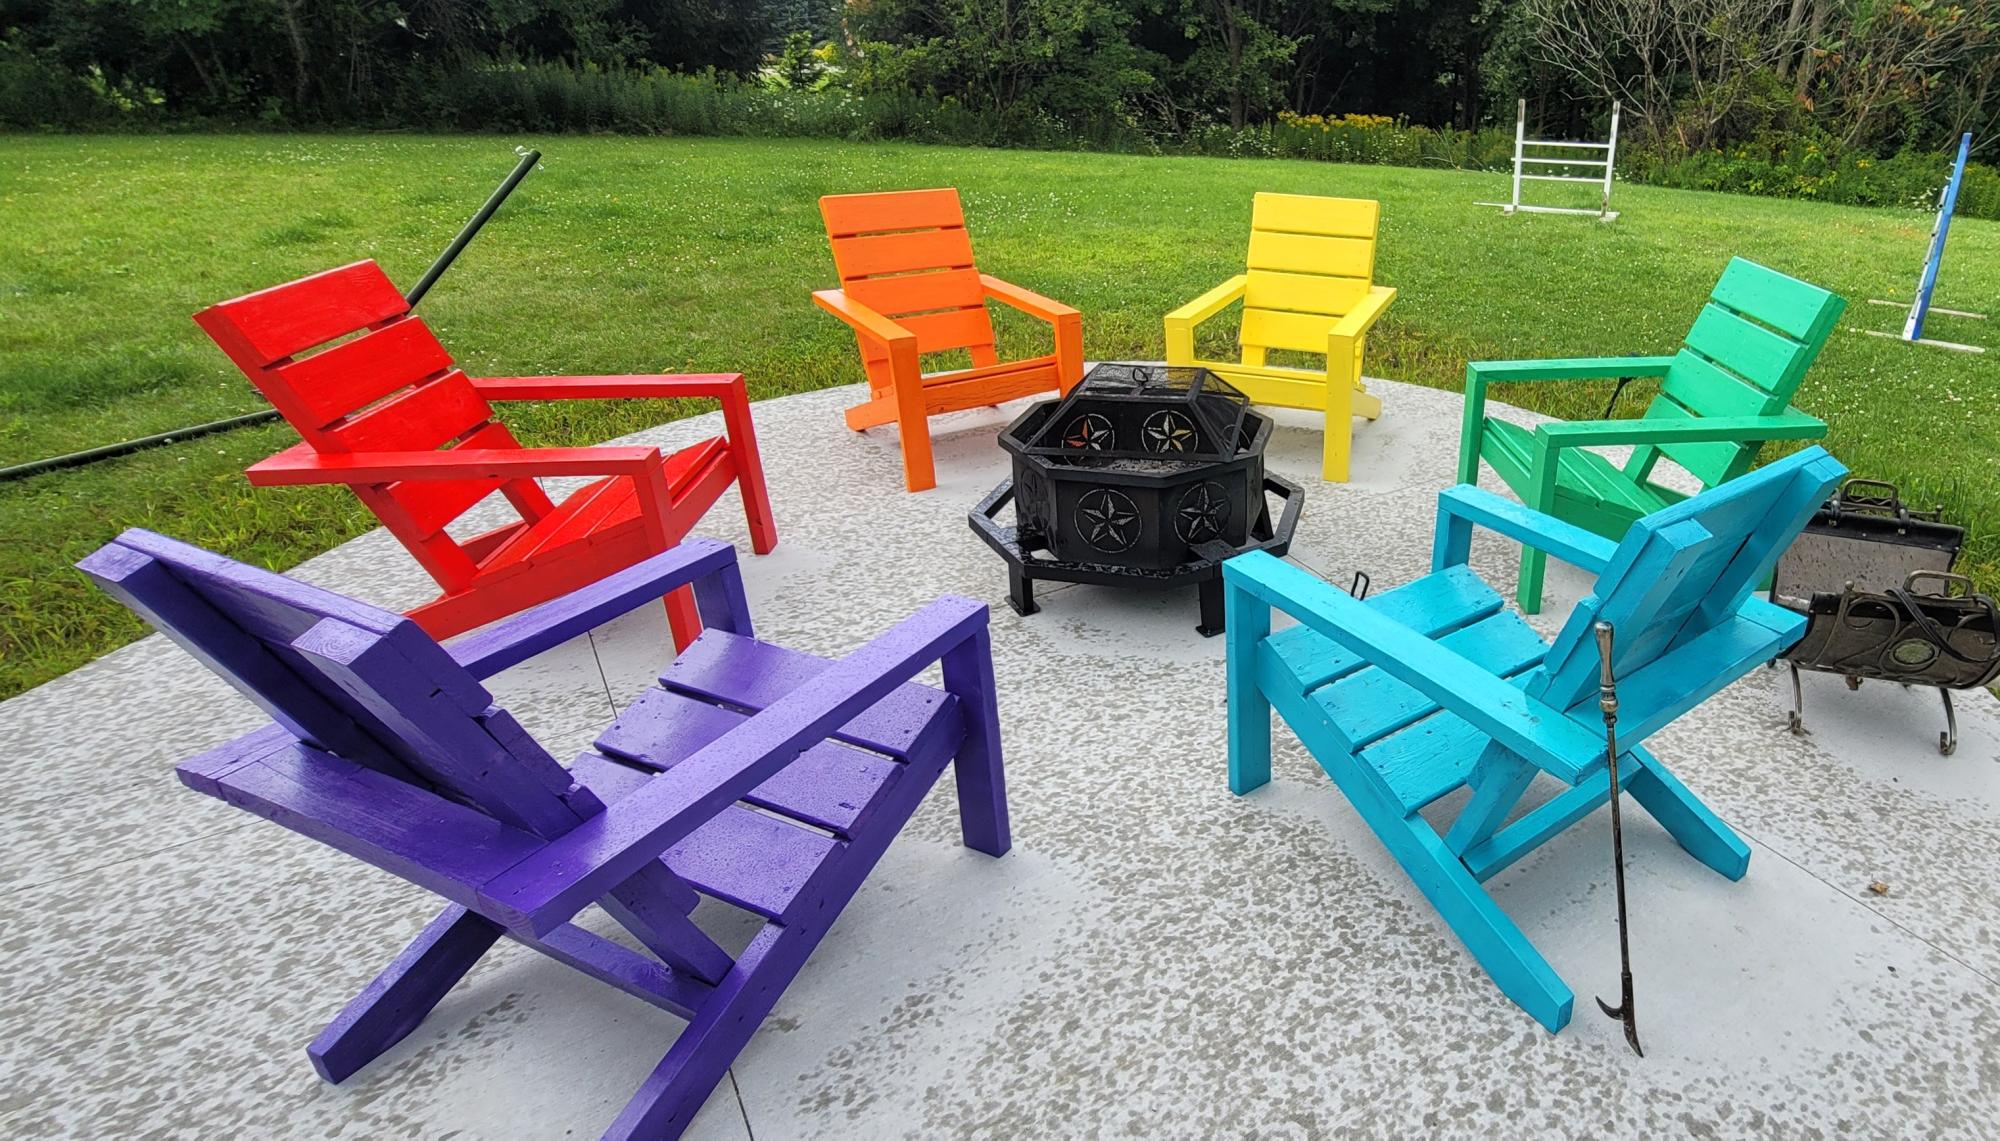
Modified two of your plans to make some chairs and table. Will be making two more this winter. Perfect for our Maine coast home.

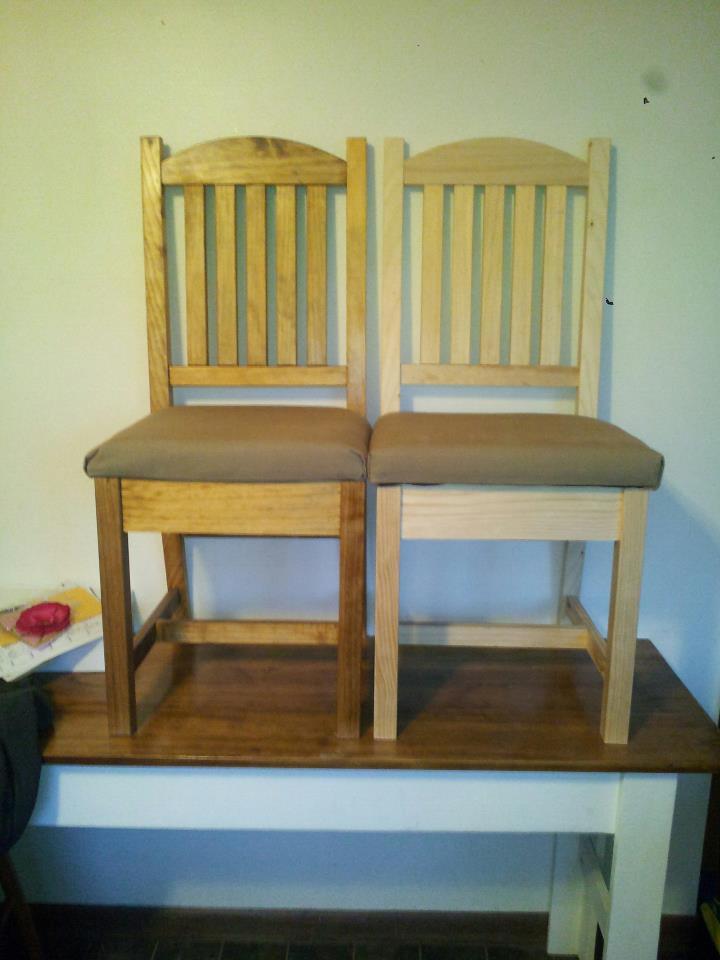
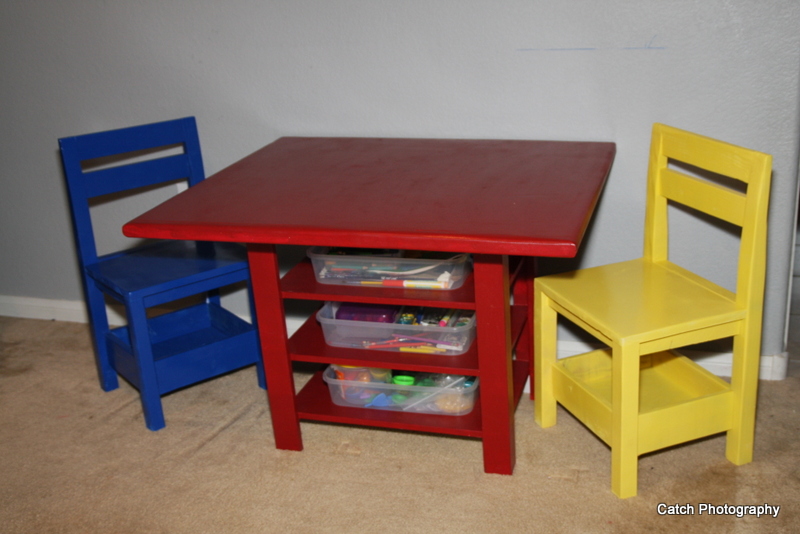
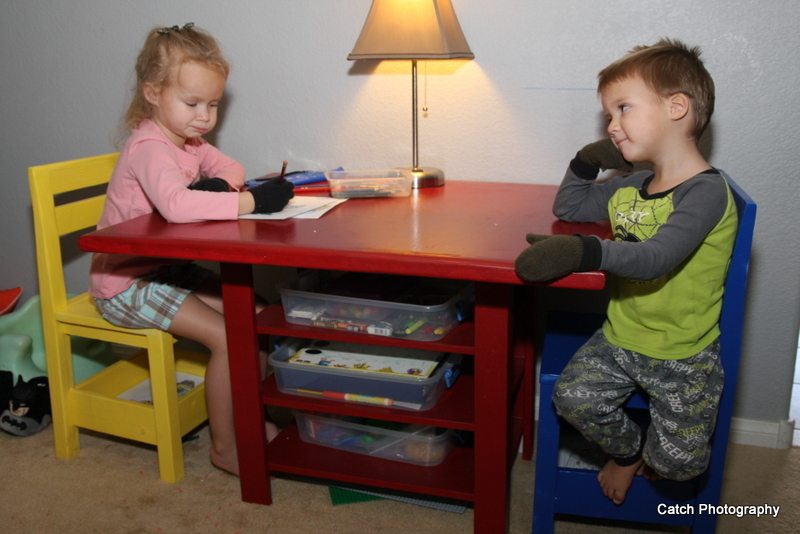
This is a build a month in the making... I started and assembled 3 chairs but just couldn't get them exactly the same, so I labeled them "garage chairs" and went on to the next project. It wasn't until the BF surprised me with a router and router table that I started dreaming of chairs again!! (It also helped that I begged and begged for a band saw for my birthday hehe) I built the Narrow Farmhouse Table for a homework table for my kids, and have been itching to create chairs to match. :)
I made a template for the chair leg, and arch for the top of the chair. I cut the legs down using a jig saw, and then used the router and cut them to the template. EXACTLY THE SAME! SCORE!! The rest was just following instructions. I did make the legs a little taller, and the whole chair more narrow.. Gotta fit 5 kids at this homework table!! The seat cushions were a breeze (they scared the crap out of me until I did it and realized how darn easy it was) and then just searched the internet until I found a back design I liked :) ANA IS AWESOME!!! And to think I used to spend my days sleeping or watching TV. I don't know if I've ever been more happy OR productive in my life! Finish is golden oak. Thanks again Ana!! I've saved thousands in the last few months DIYing and building building building!!


Although handy - these are the first pieces of furniture I have ever created. Used only 2X4 and 4X4 pieces - Douglas Fir right out of the lumber yard - not kiln dried wood. First time using pocket hole equipment - was worth getting the premium kit from Kreg's - drilled close to one hundred holes. Other than the equipment, the materials totaled less than $200 for all three pieces. $120 for the wood and another $80 for screws and paint products. Sanded the wood to a 220 finish and applied a Gel Dark Walnut stain and added 5 coats of clear satin from Minwax. Tried the wood conditioner on a test board and did not see not much difference so I decided to go without on all 3 pieces of furniture that I built. Experimented with different stainable wood fillers from Elmer's. Quite happy with the result - just in time for a visit from mom and dad. Total time for three pieces - close to 40 hours but worth it.

Thu, 08/21/2014 - 07:35
They look great! Mom and Dad are going to be quite proud... and maybe ask for a set of their own. ;)
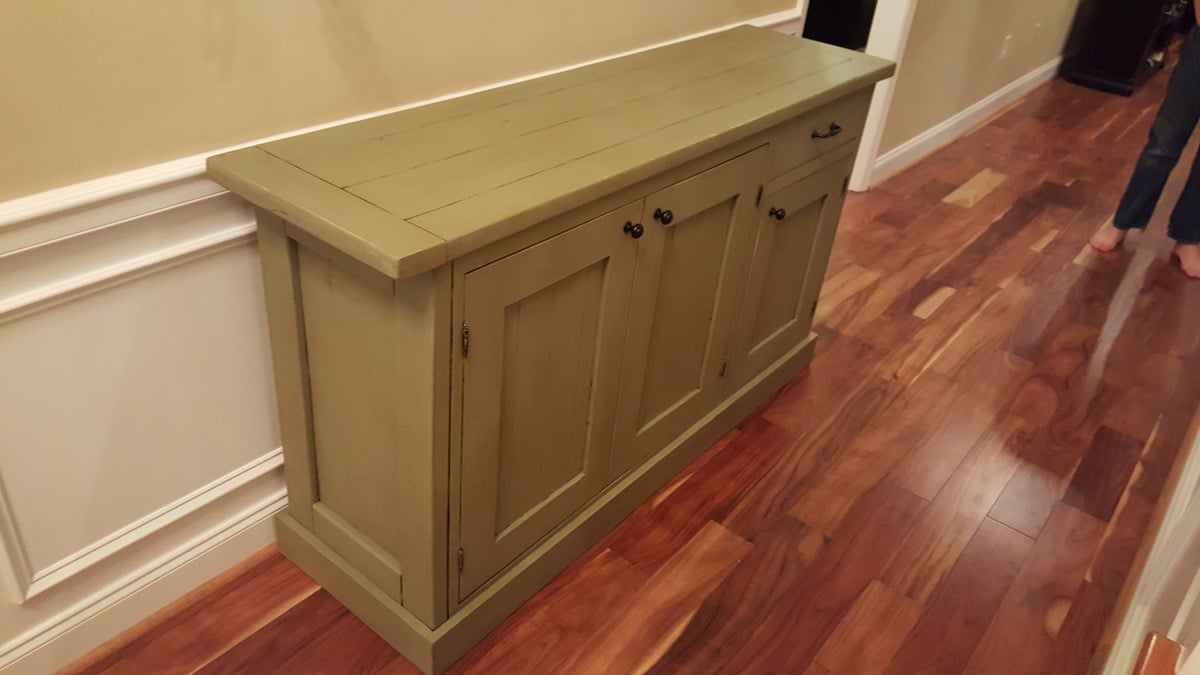
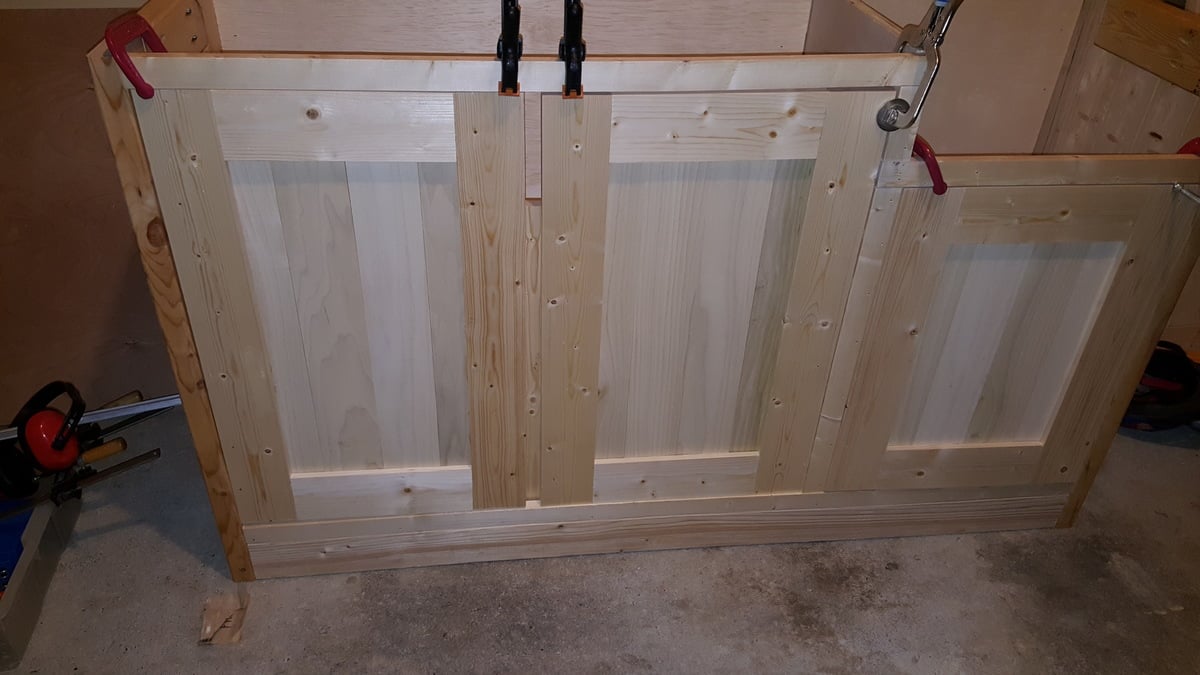
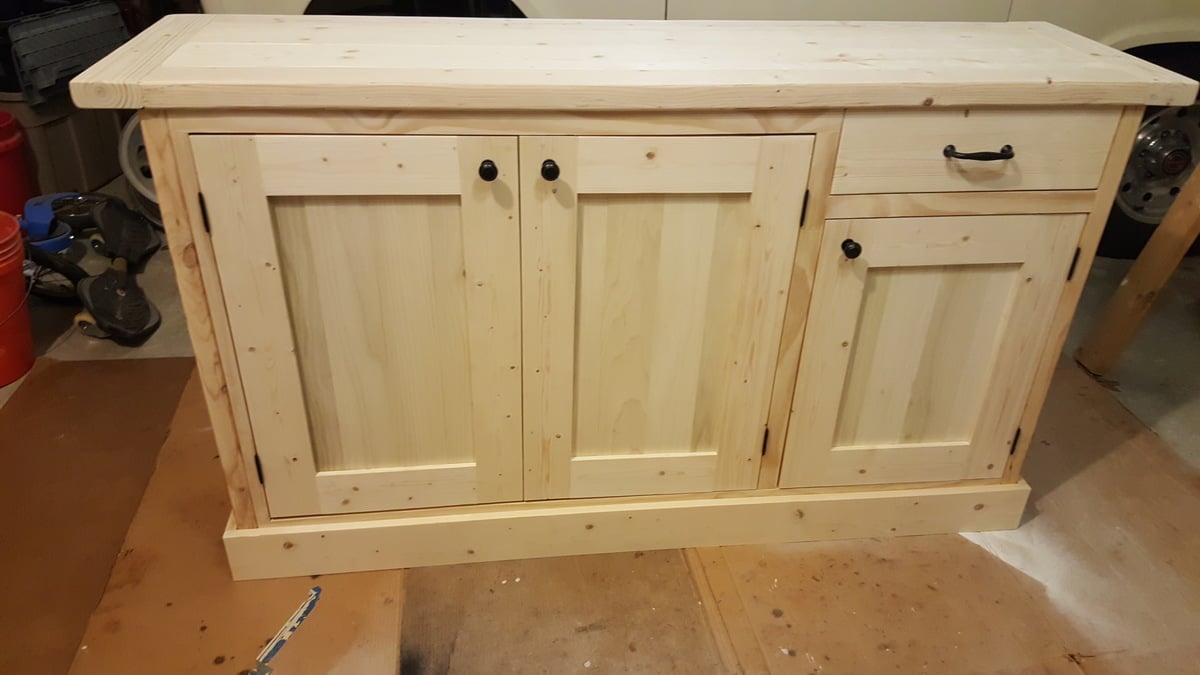
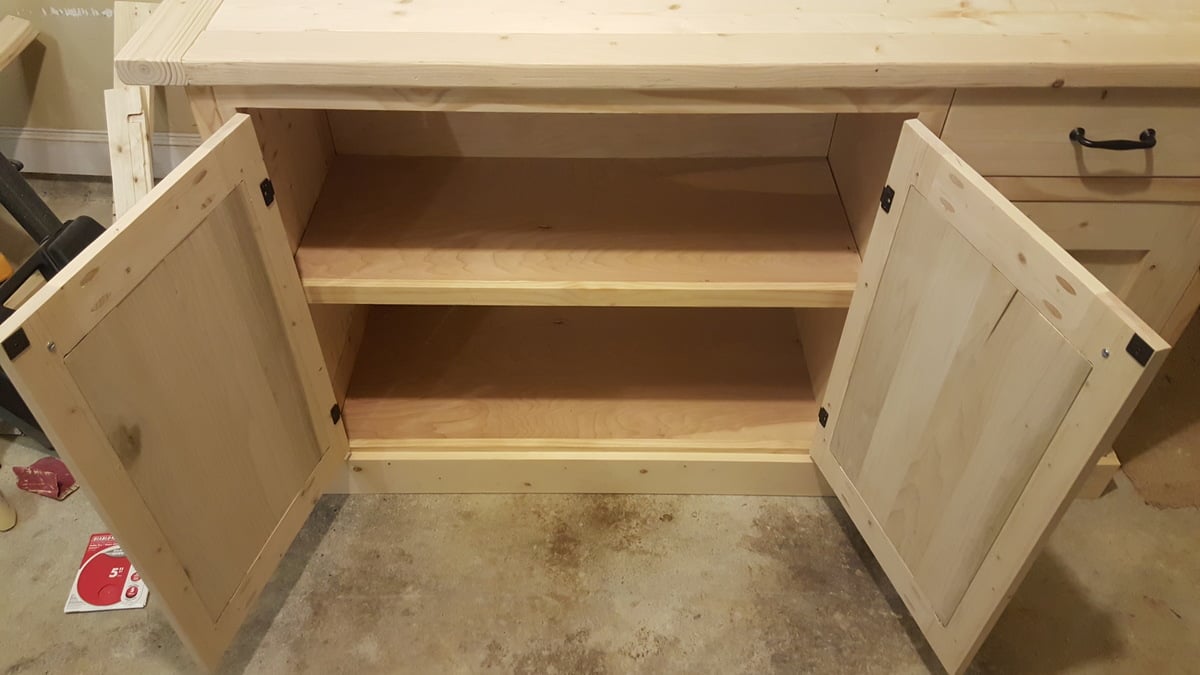
I built this slightly modified version of the buffet for my wife. She LOVEs it and did a great job finishing it with Annie Sloan paint and a wax (she's the finishing expert in the house). Plans were right on and I'm very pleased with the final product. Thanks for a great website and plans! Getting ready to undertake a dining room table now.
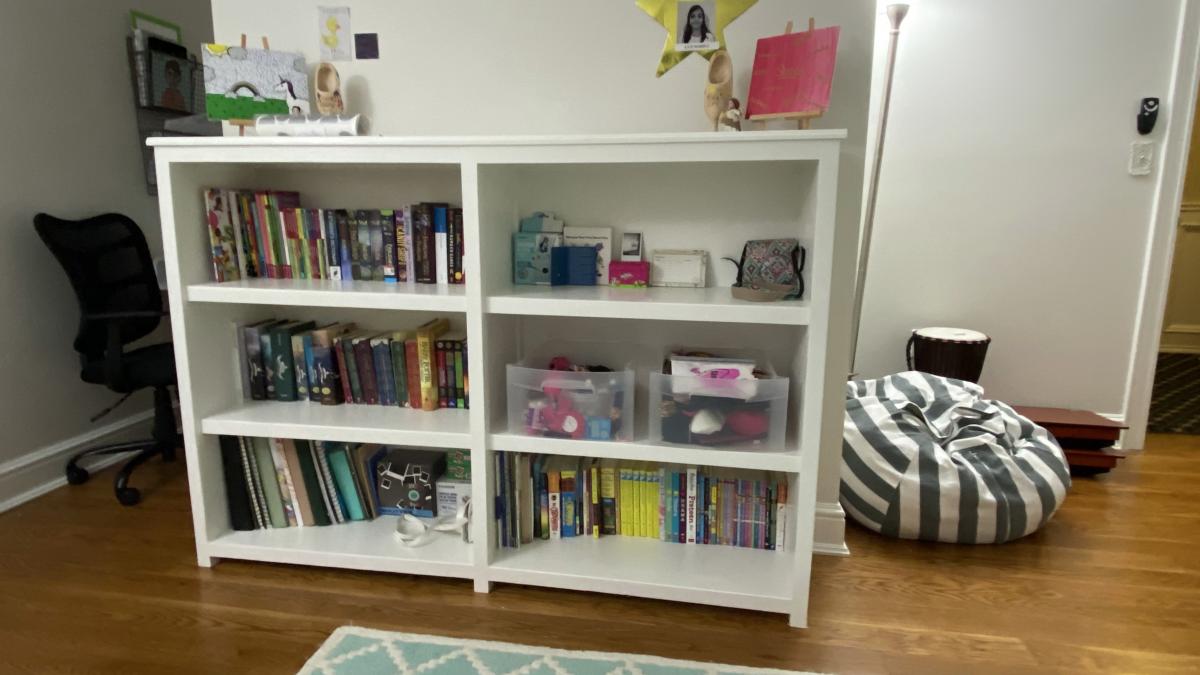
This was my first project, and I did it together with my two oldest children (13 & 11).
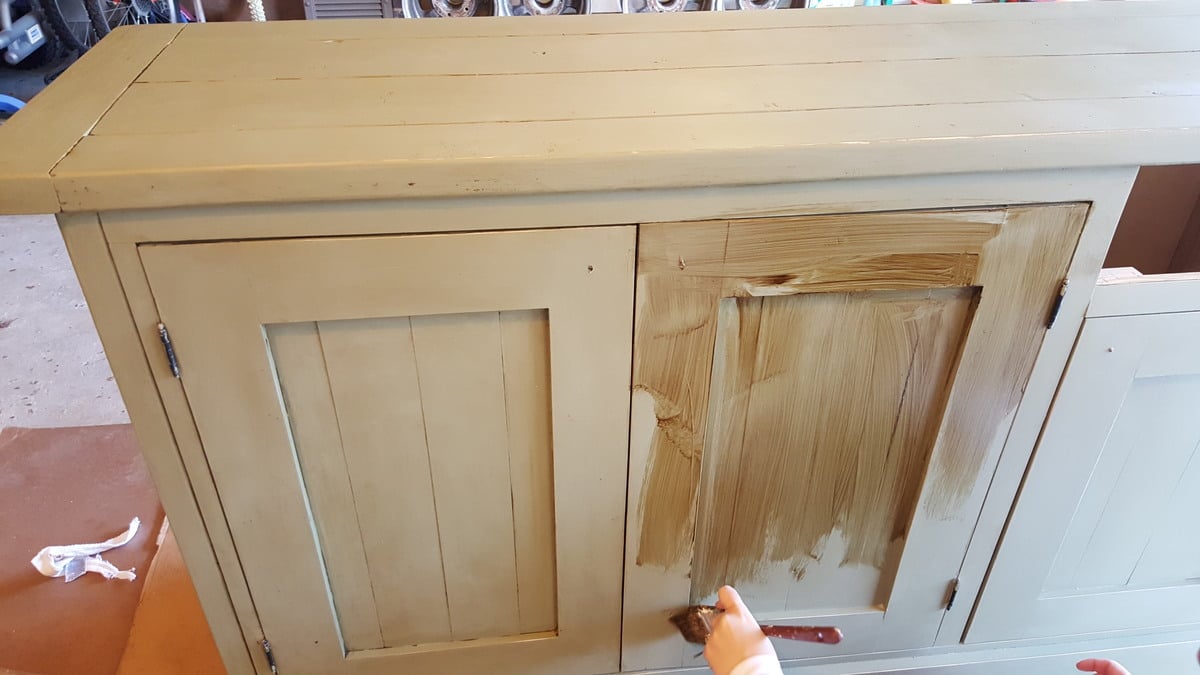
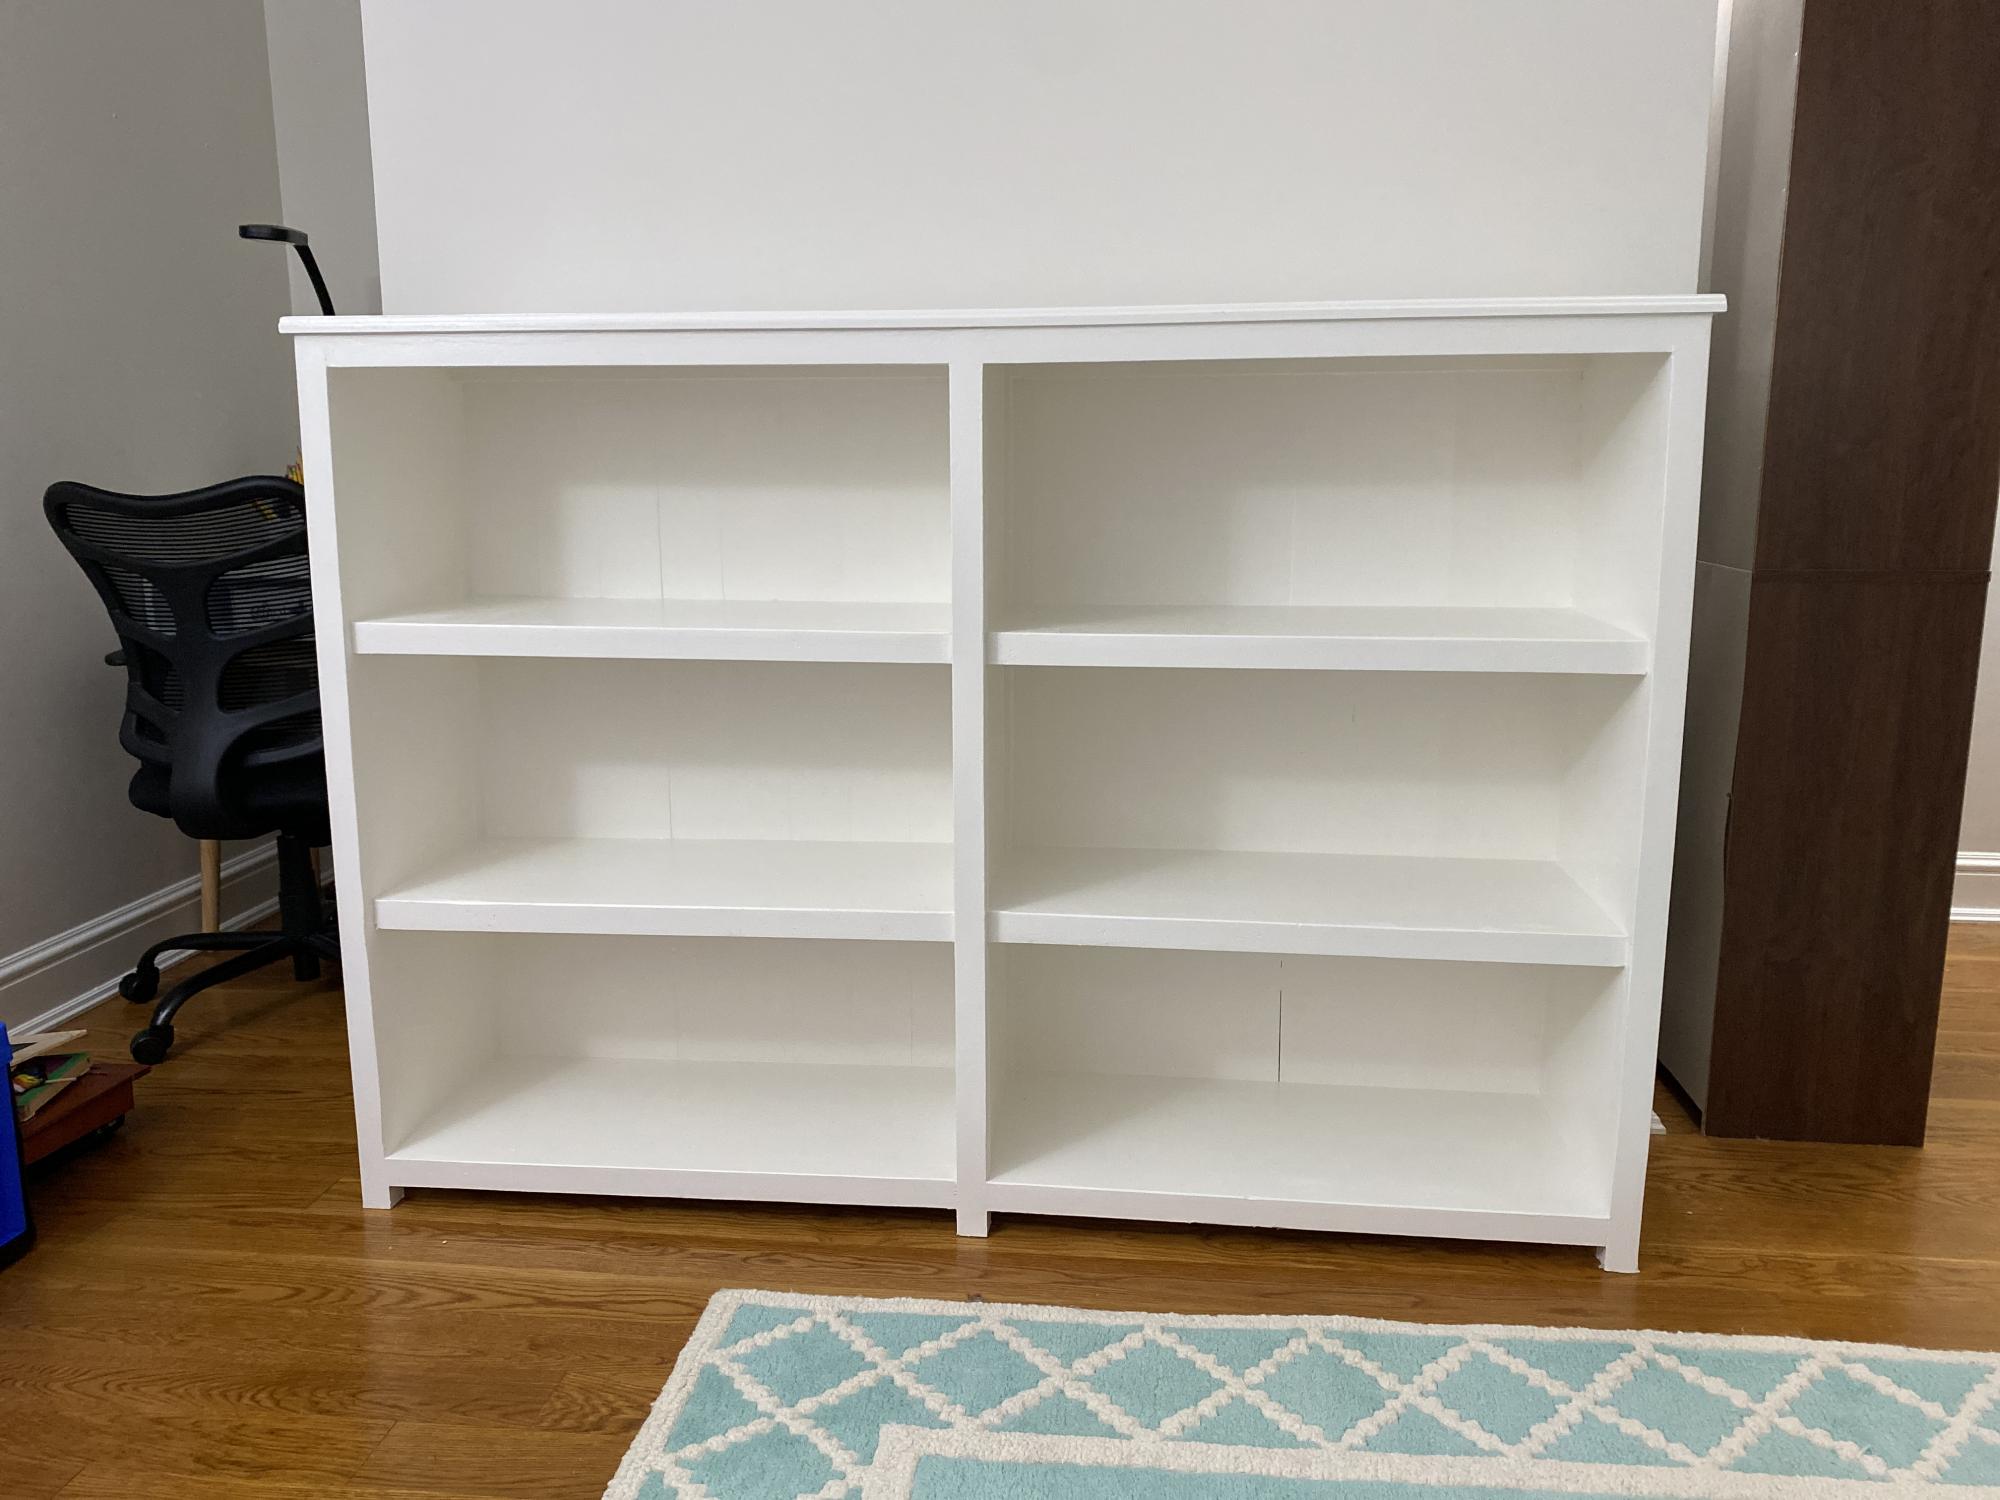
We started with the basic Kentwood Bookshelf plan, but wanted to have it a little shorter to make use of the tabletop. We also wanted it wider to fit a specific location in my daughters' room.
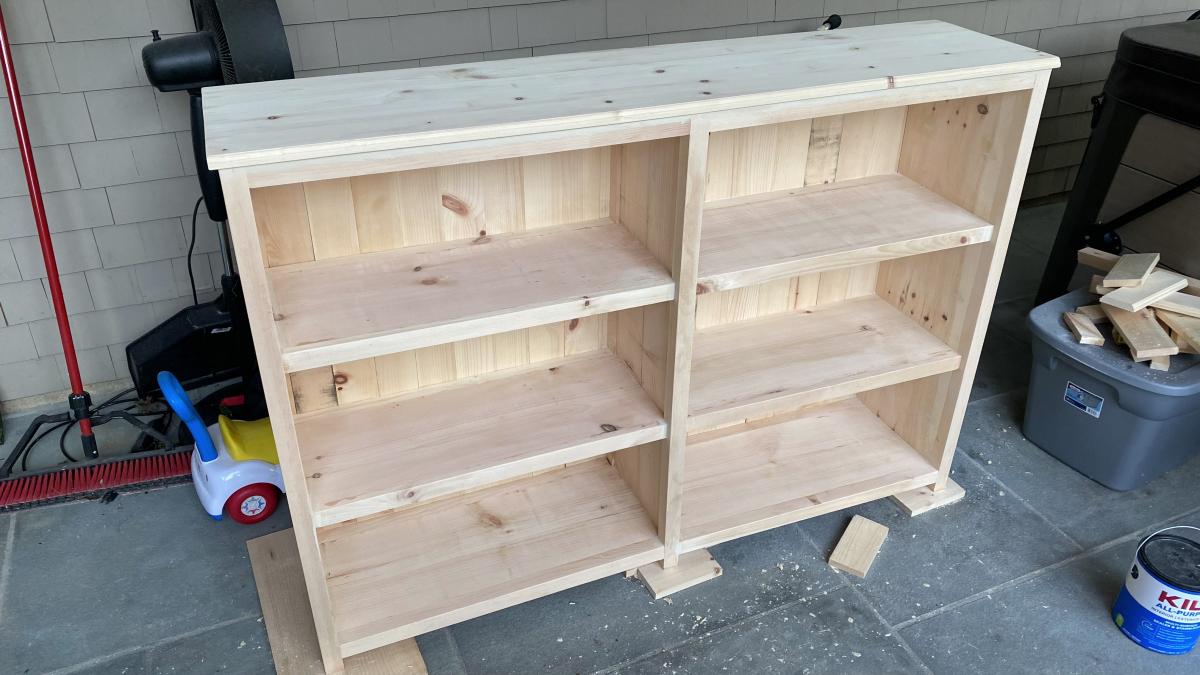
Broadly sticking to the Kentwood instructions, we measured the longer space we had and what that would mean for each of the measurements for the cuts. It was tricky to get the measurements right for the 1 x 12s in the middle which had to be a little longer than the 2 x 2 and 1 x 2 frame fronts to fit snuggly, but we got there.
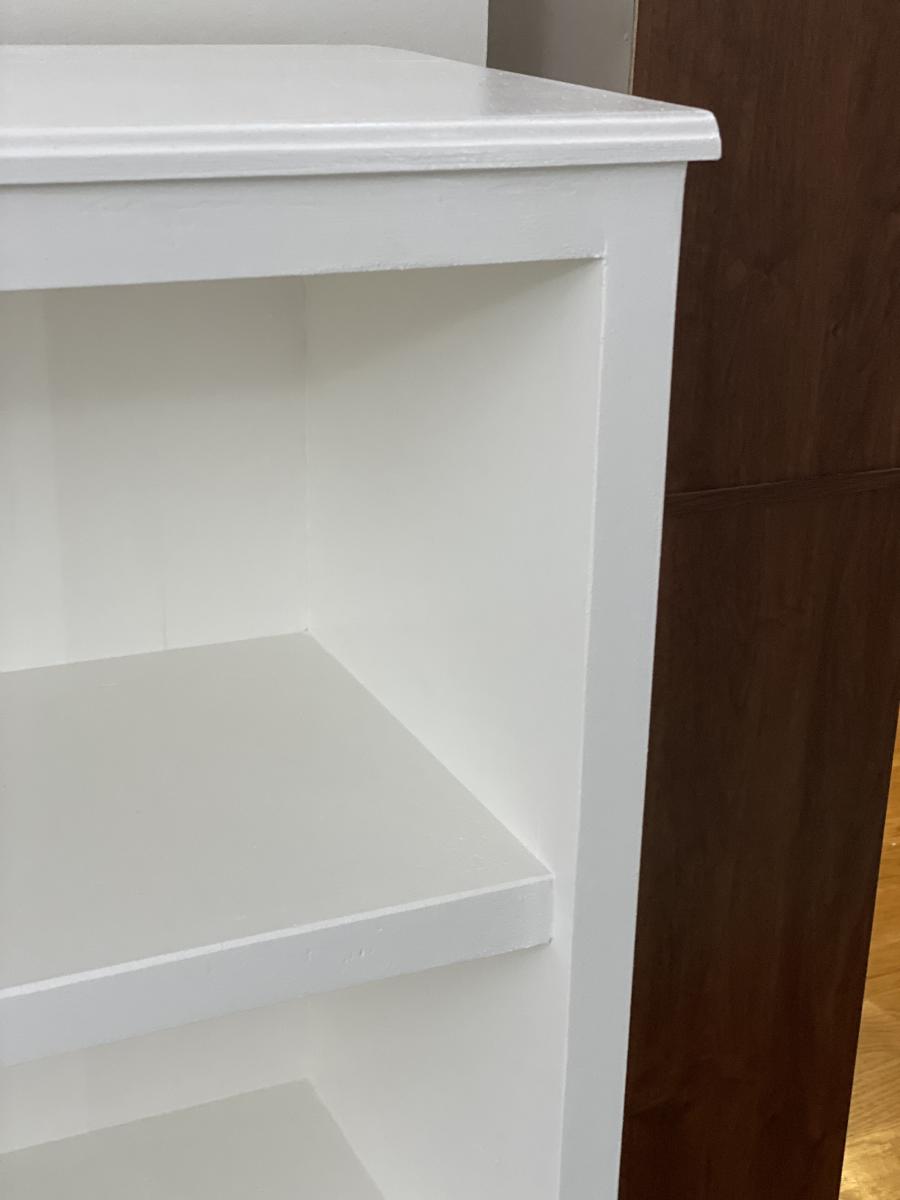
We finished the top and back with 1 x 4 boards instead of planking. It added cost and weight (whole thing probably weights 150 pounds), but hopefully it will last a long long time. We routed the front edge of the table top to give a nicer finish.
Painted it white in the end. Tried to put a clear coat over it, but made a mistake of using an oil-based clear coat which turned the whole thing yellow. Had to sand it down and repaint. Ugh. Lesson learned!
We're very happy with the results.
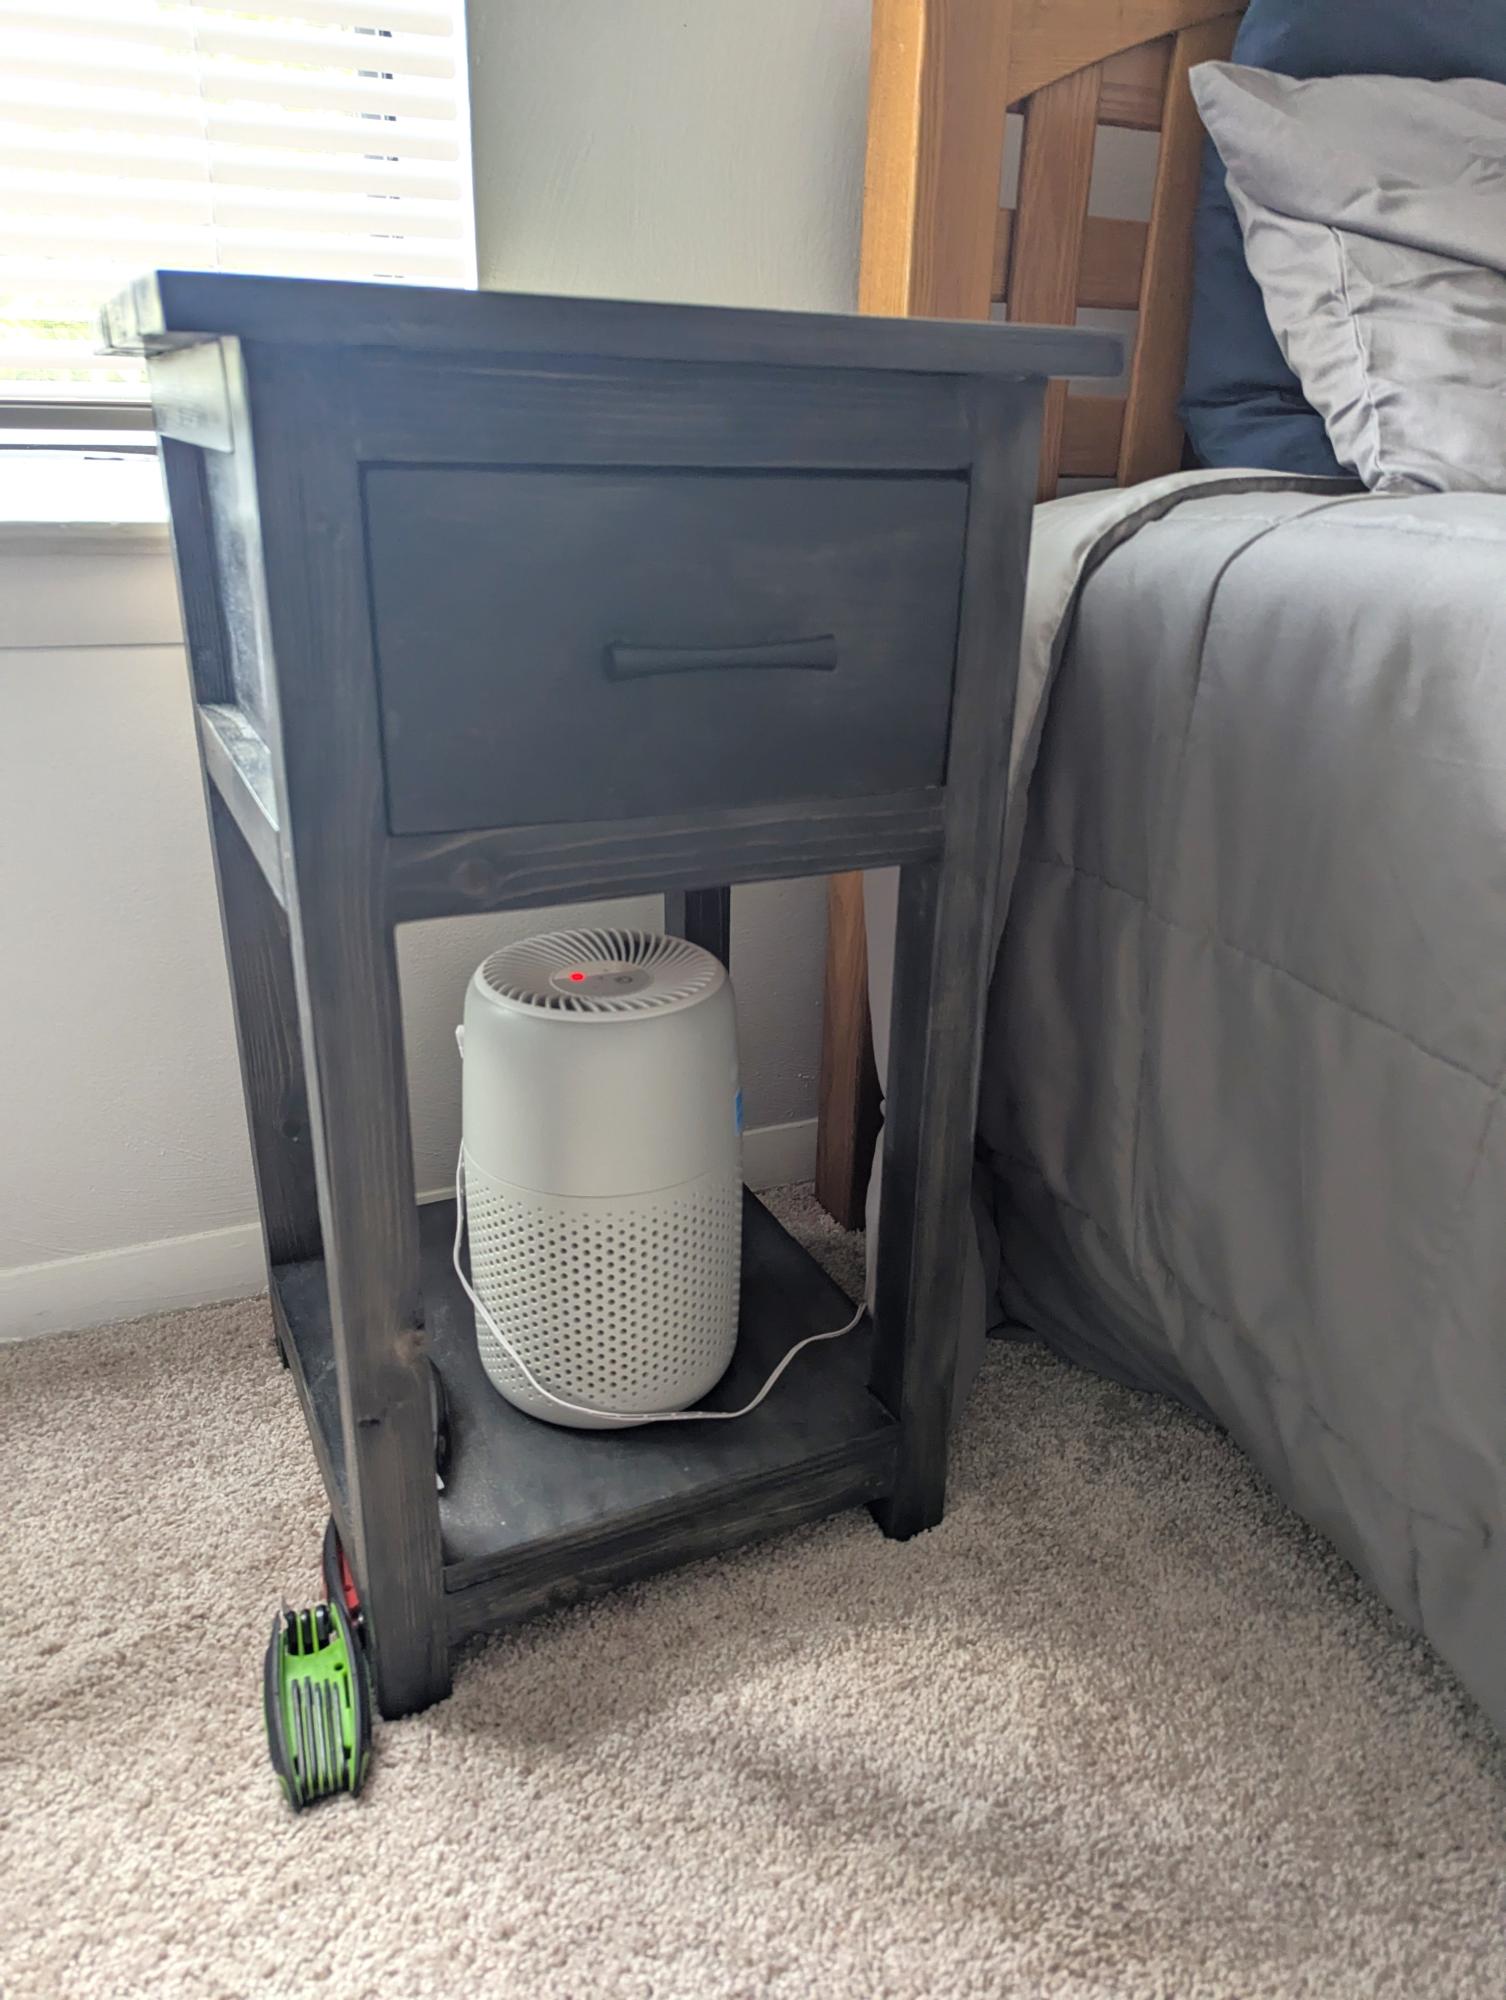
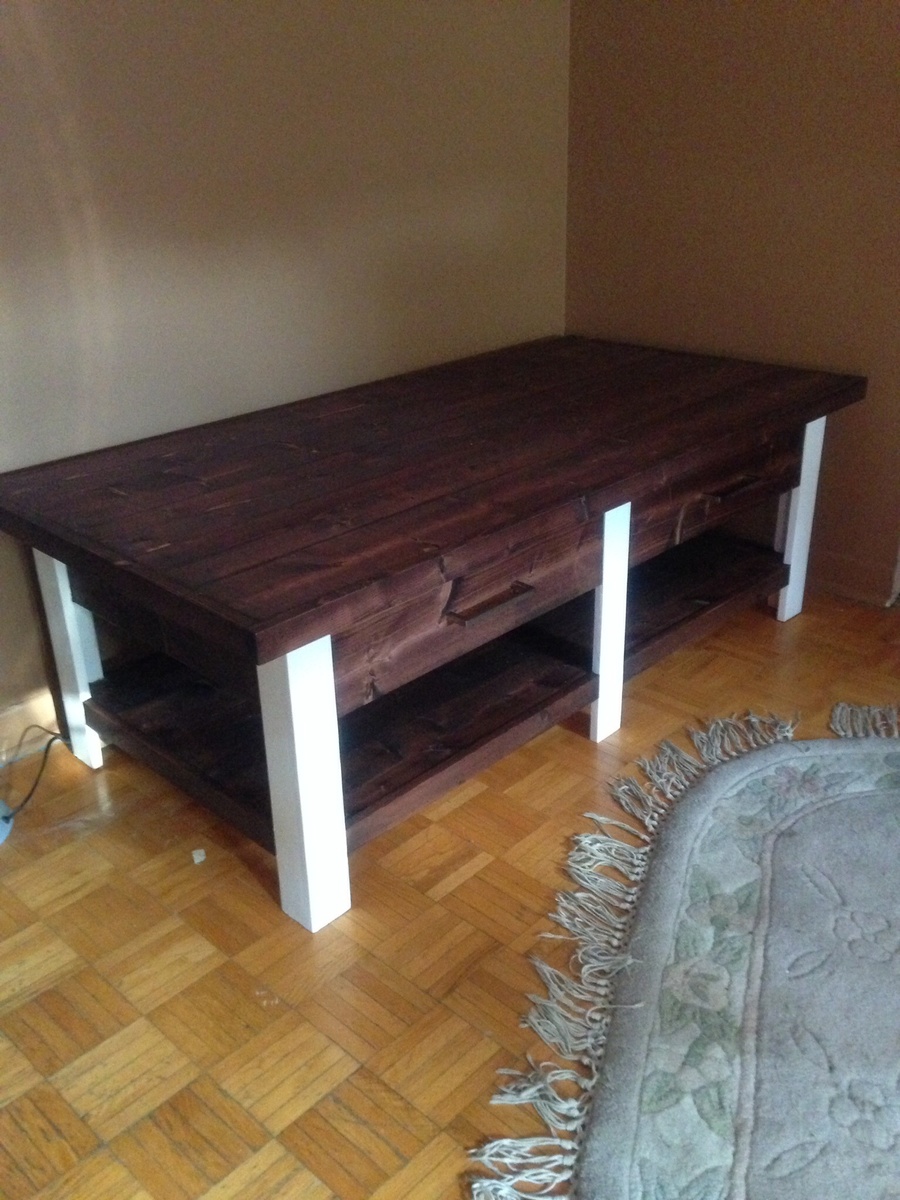
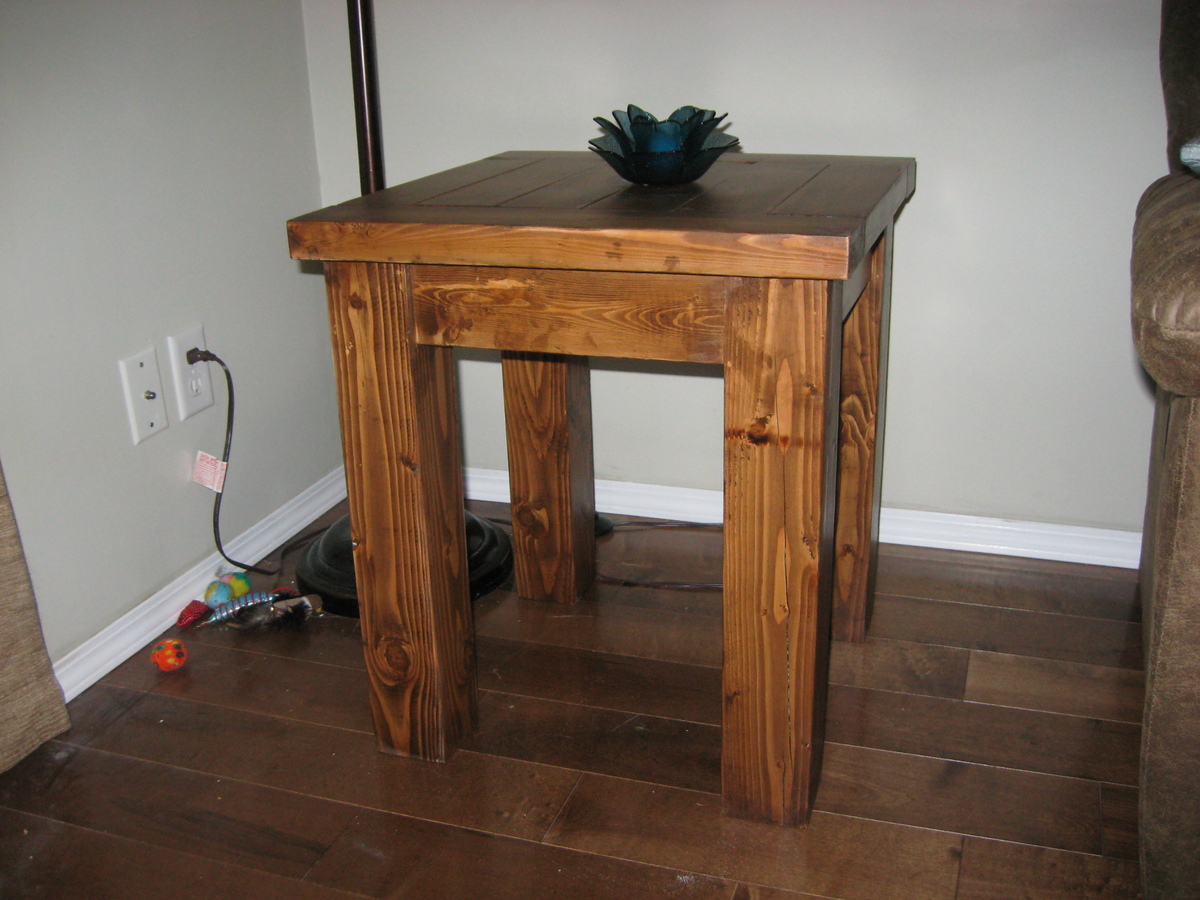
DIY End Table by Bonnie Jerry
I wanted a table with storage, I added a couple extra "shelves" This was the easiest design to do this with. Just be sure to add from the top shelf to the bottom if you are using a Kreg Jig. You might want to pre-paint also . My shelves are 5 inches apart to fit perfectly my little flat style containers for art stuff and playdough.
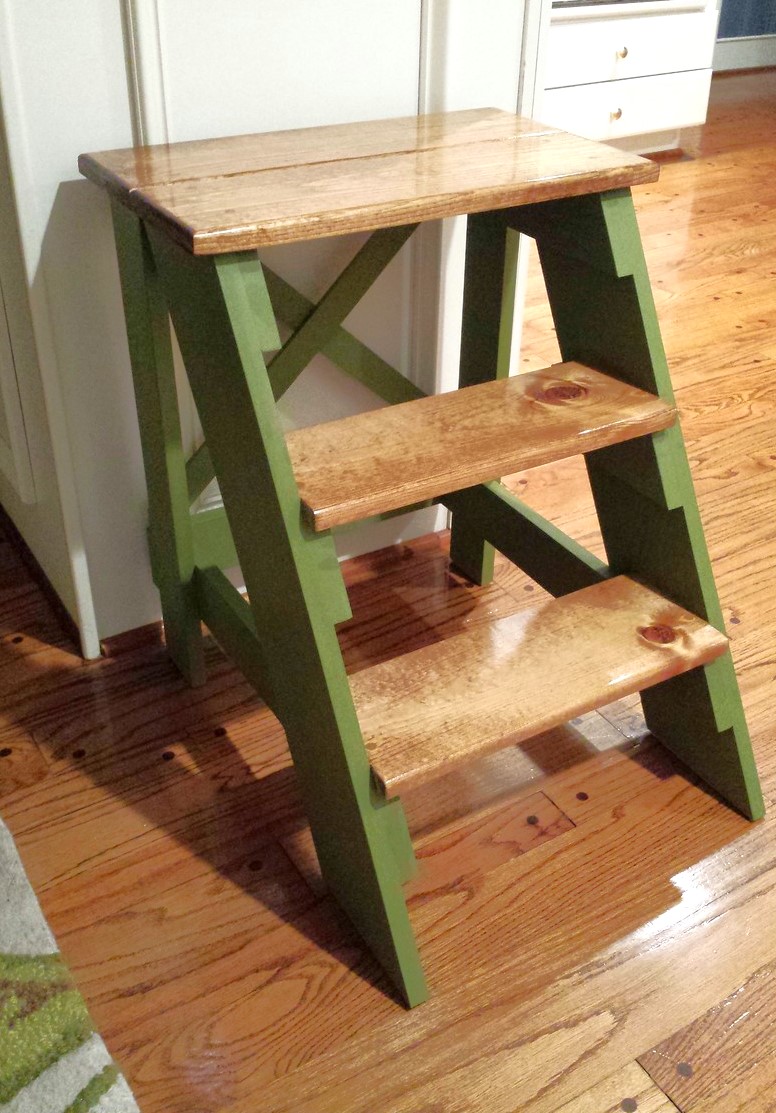
Did the multi-finish on the step stool. On the steps, I used the Minwax Pre-Stain Conditioner, followed by Minwax 'Early American' stain and then Minwax clear gloss polyurethane. The rest of the stool was painted with DIY chalk paint. The paint is 1 cup flat paint (Valspar Jungle Thicket) mixed with 1/3 cup plaster of paris and 1/3 cup water. The chalk paint portion was finished with the Minwax Finishing Paste Wax and gave the flat paint look a nice sheen.
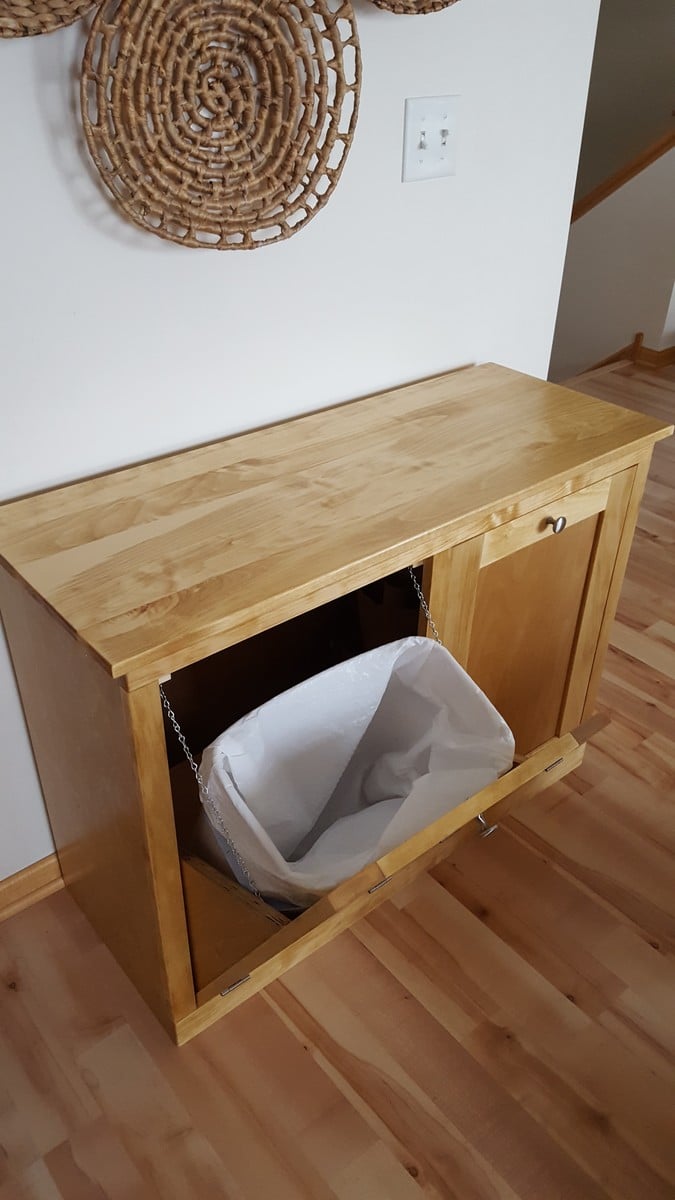
Tilt-out trash/recycling cabinet made with aspen stained with a combo of Minwax Natural and Golden Oak.

Sat, 10/31/2020 - 13:06
Love this. I don’t suppose you have plans available to share.
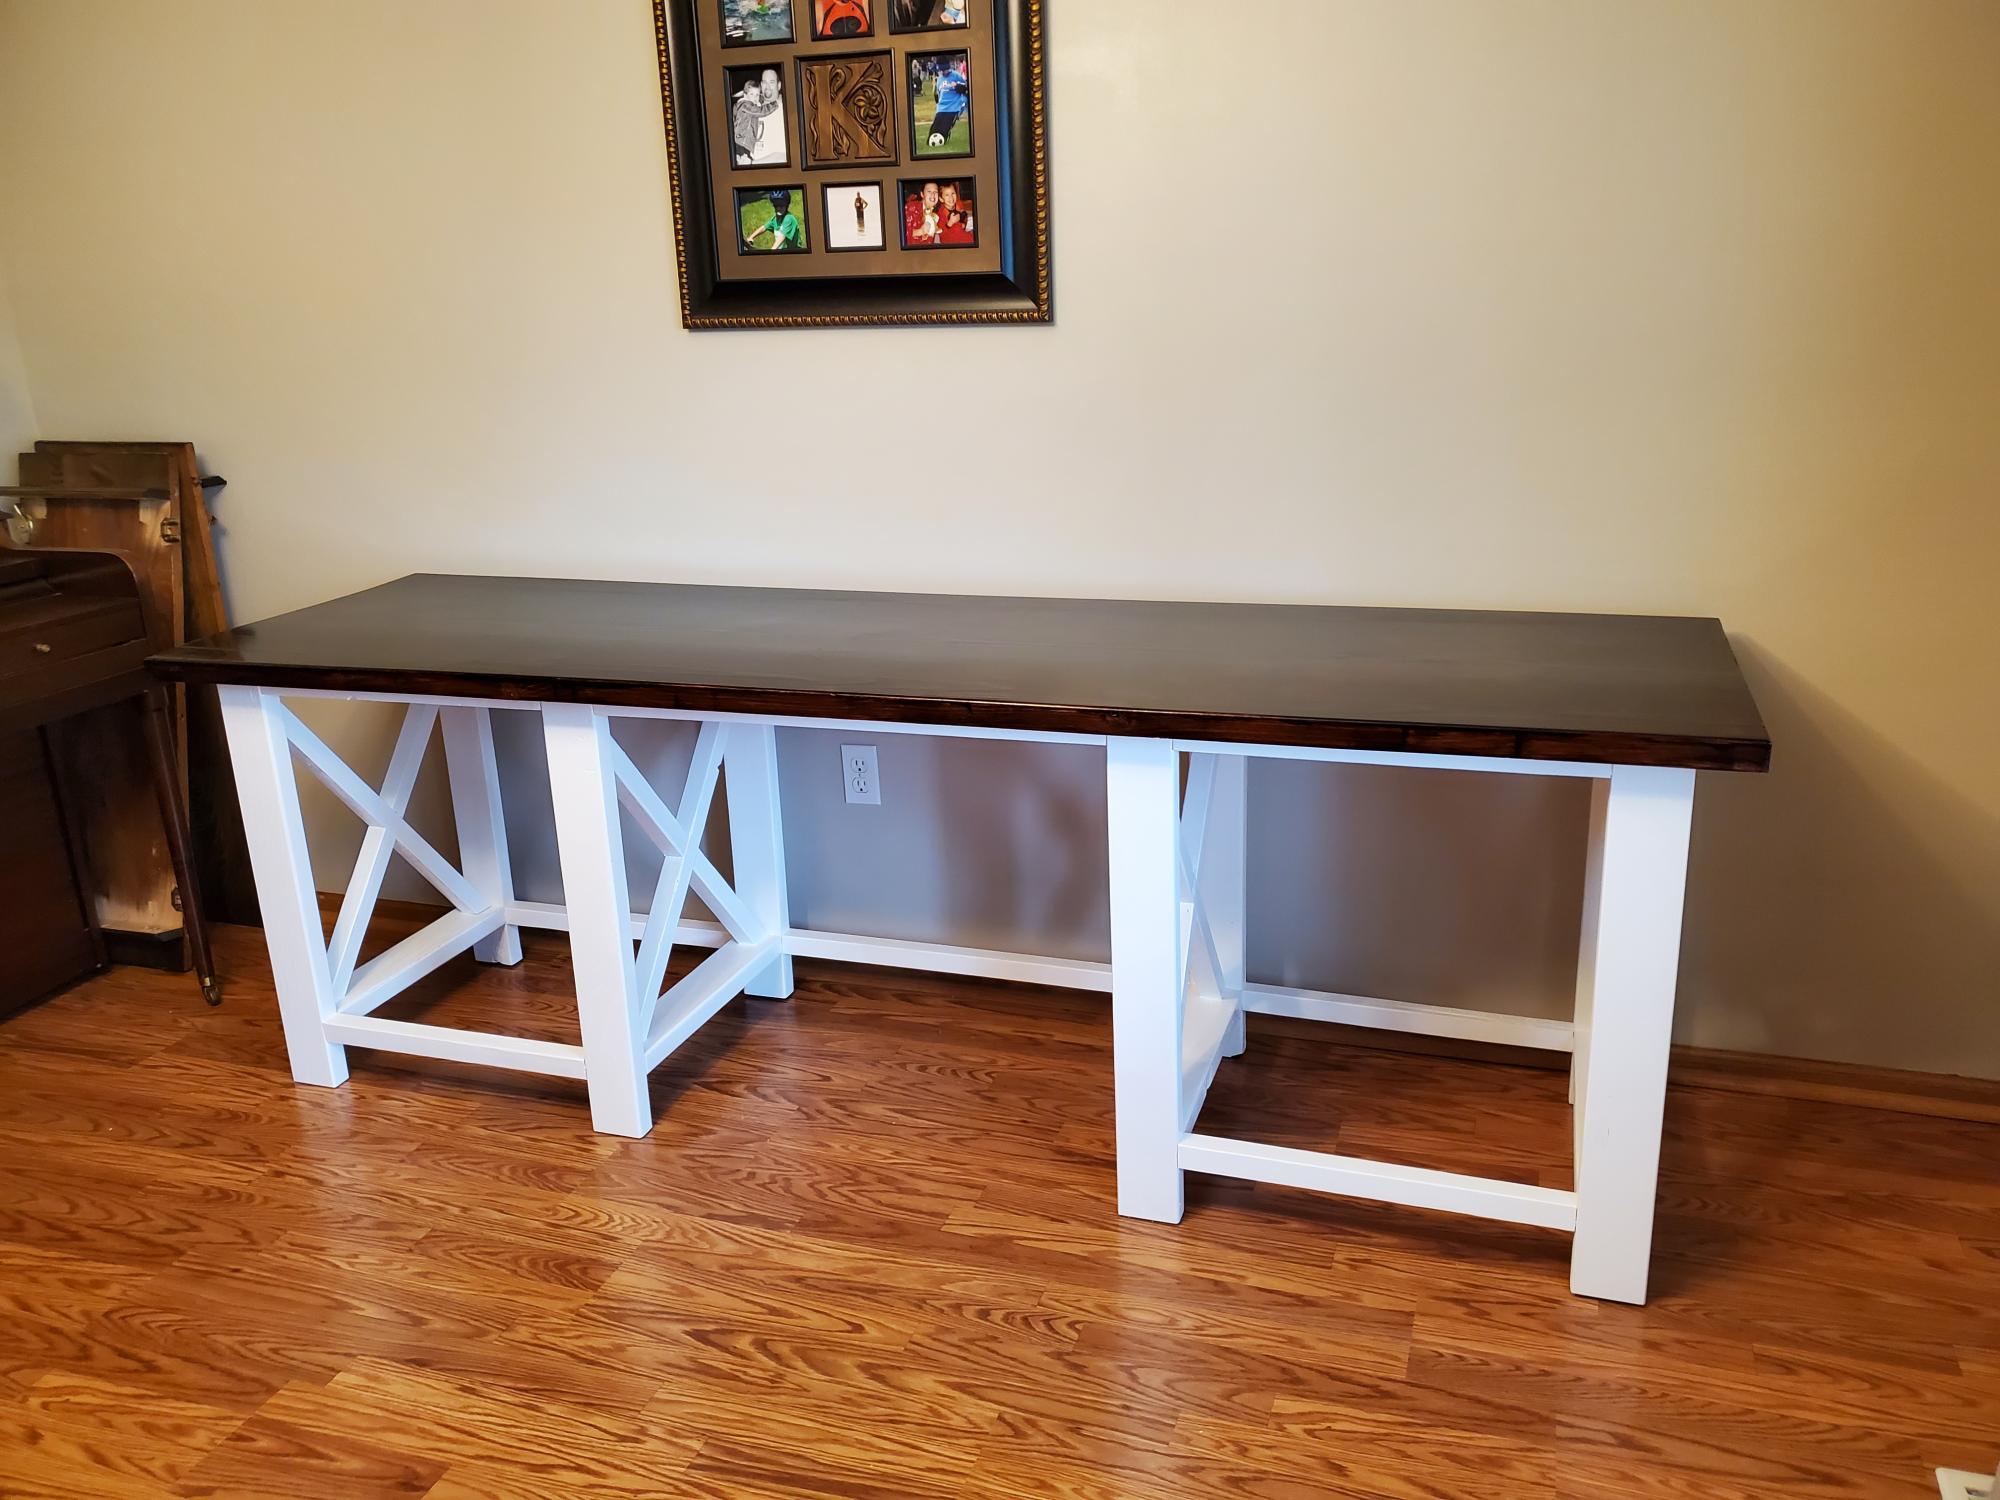
After learning I'll be working from home permanently, I asked my husband to use his talent to make me a desk. I have been sitting on a barstool since March and it just wasn't comfortable.
Viola. An Ana White farm house desk. It turned out wonderful and I'm so much more comfortable. He just needs to add the shelves when there is room in the garage again (he's now fixing our son's car with his brother!)
Modified Ana's design, and made these entirely from reclaimed wood that used to be a deck. Extremely comfortable and sturdy. Thanks for the plan! - John T Salzwedel
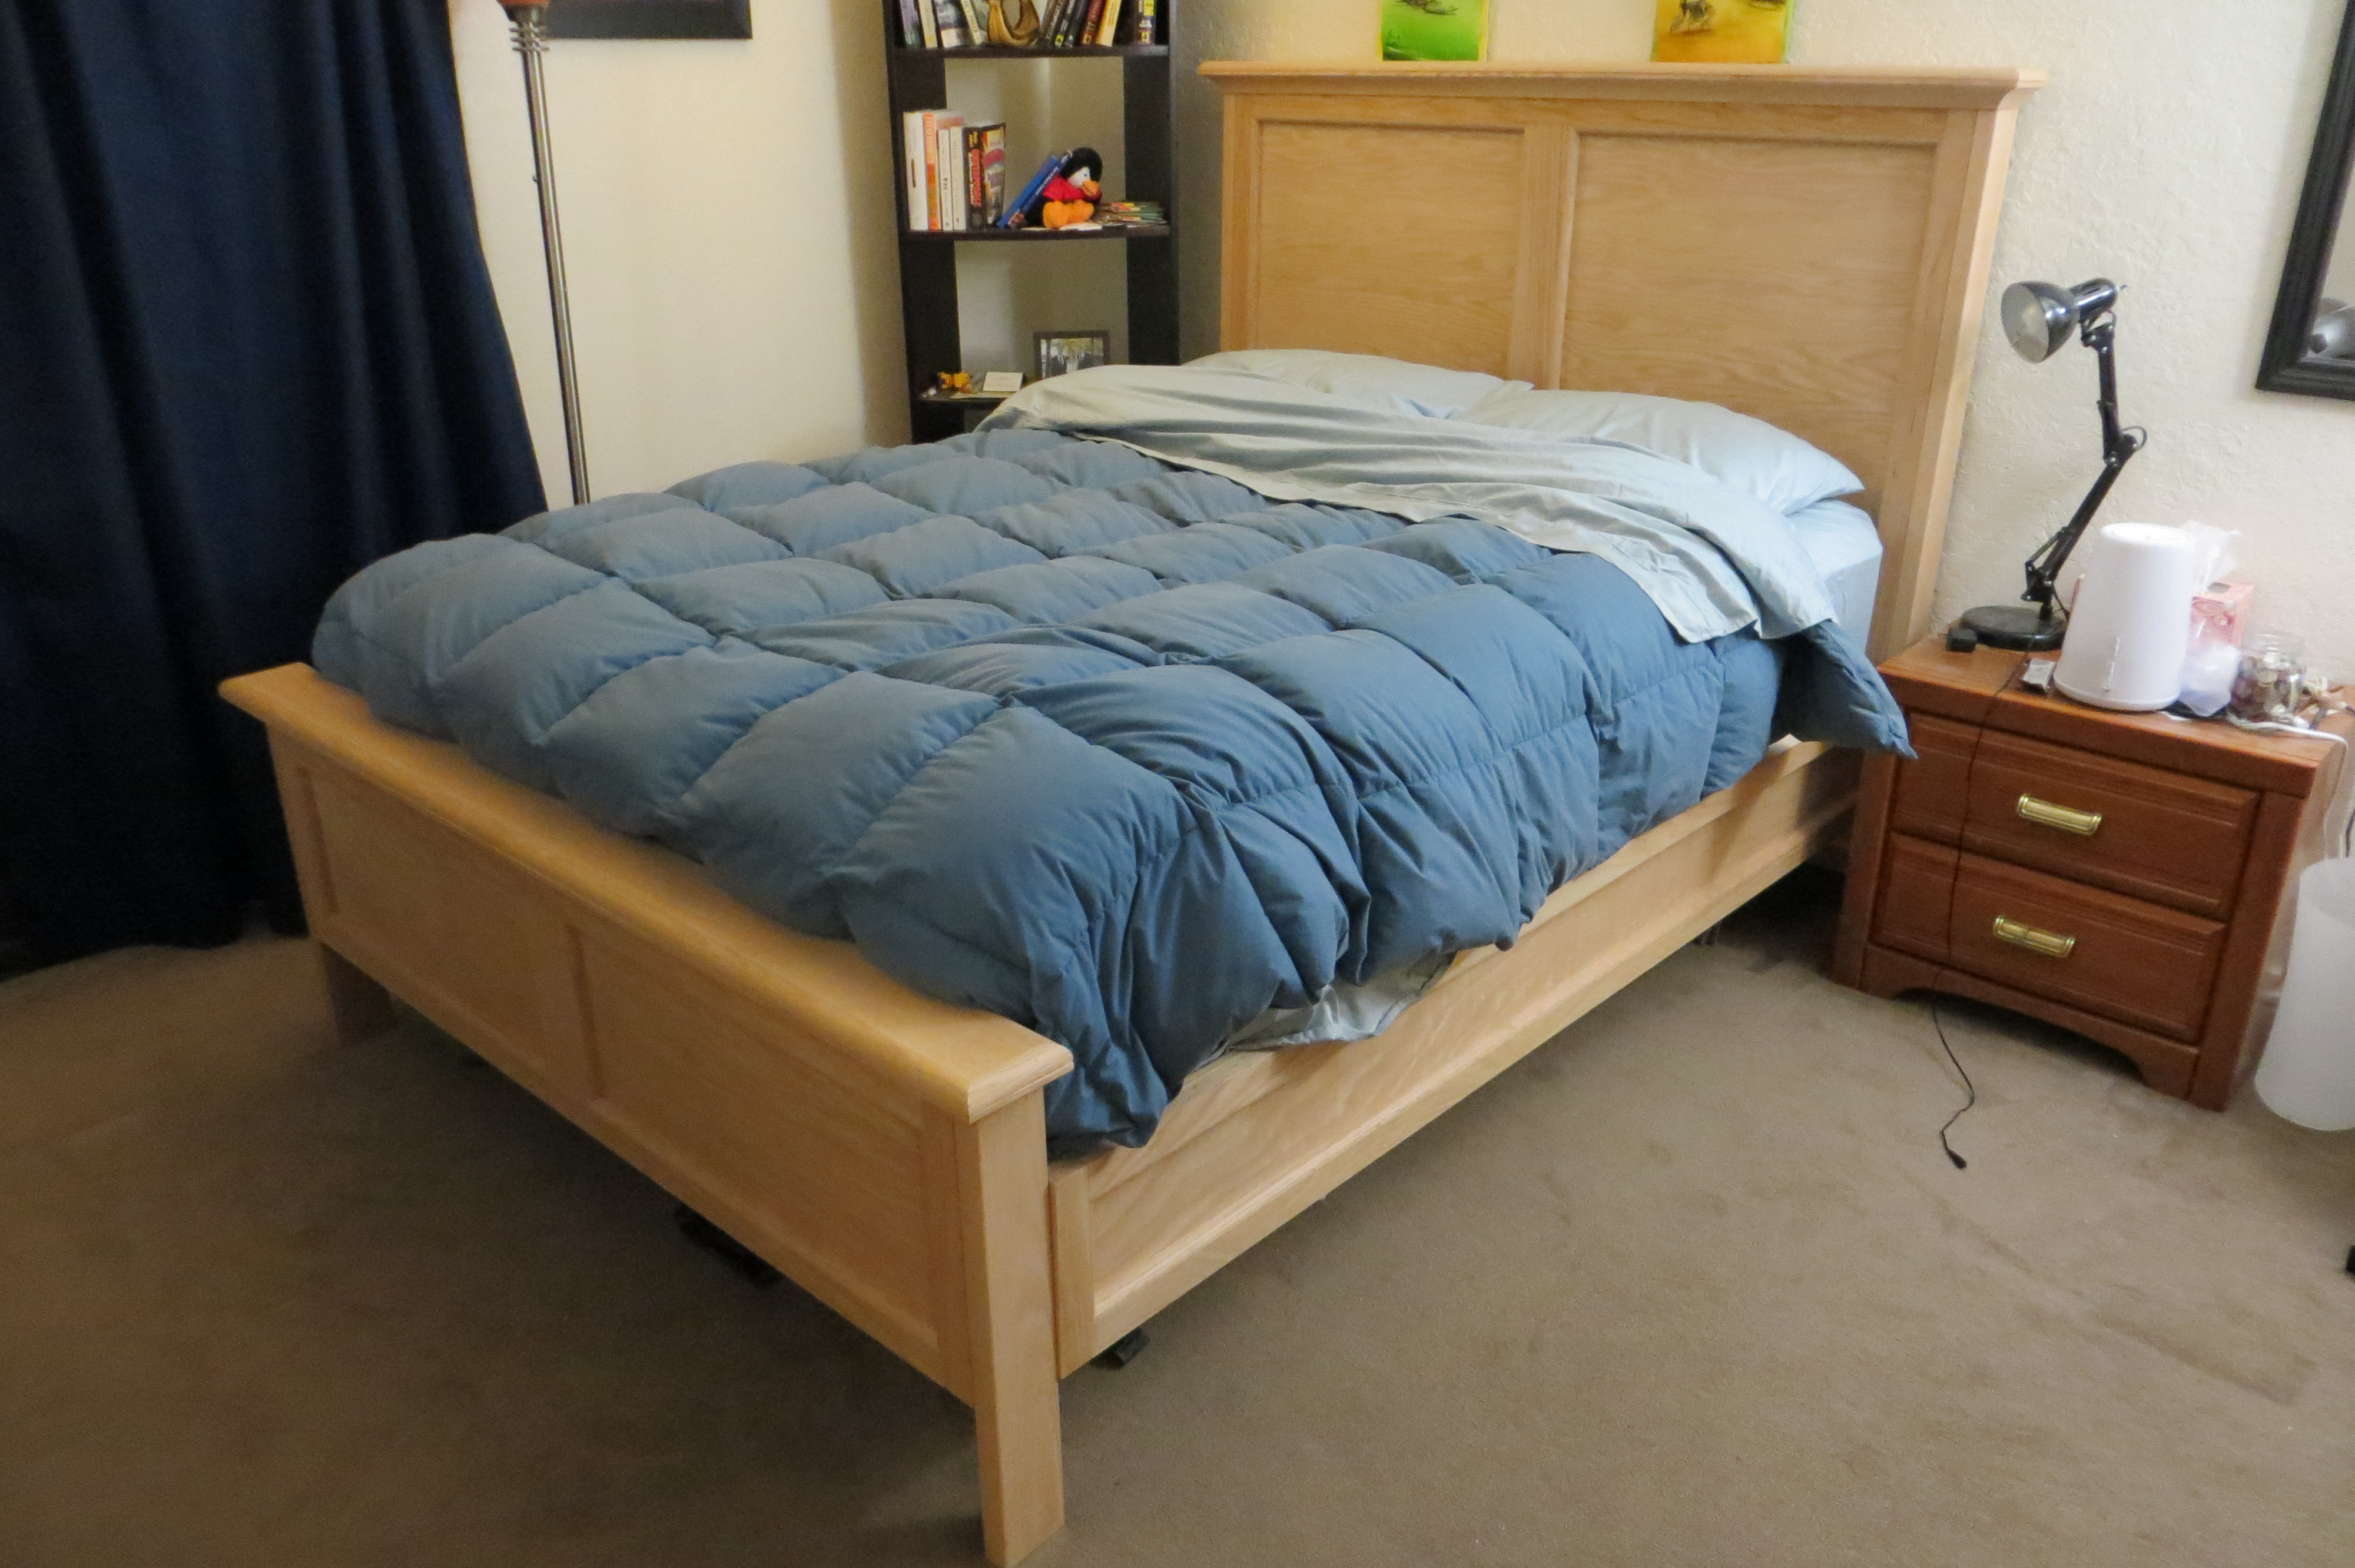
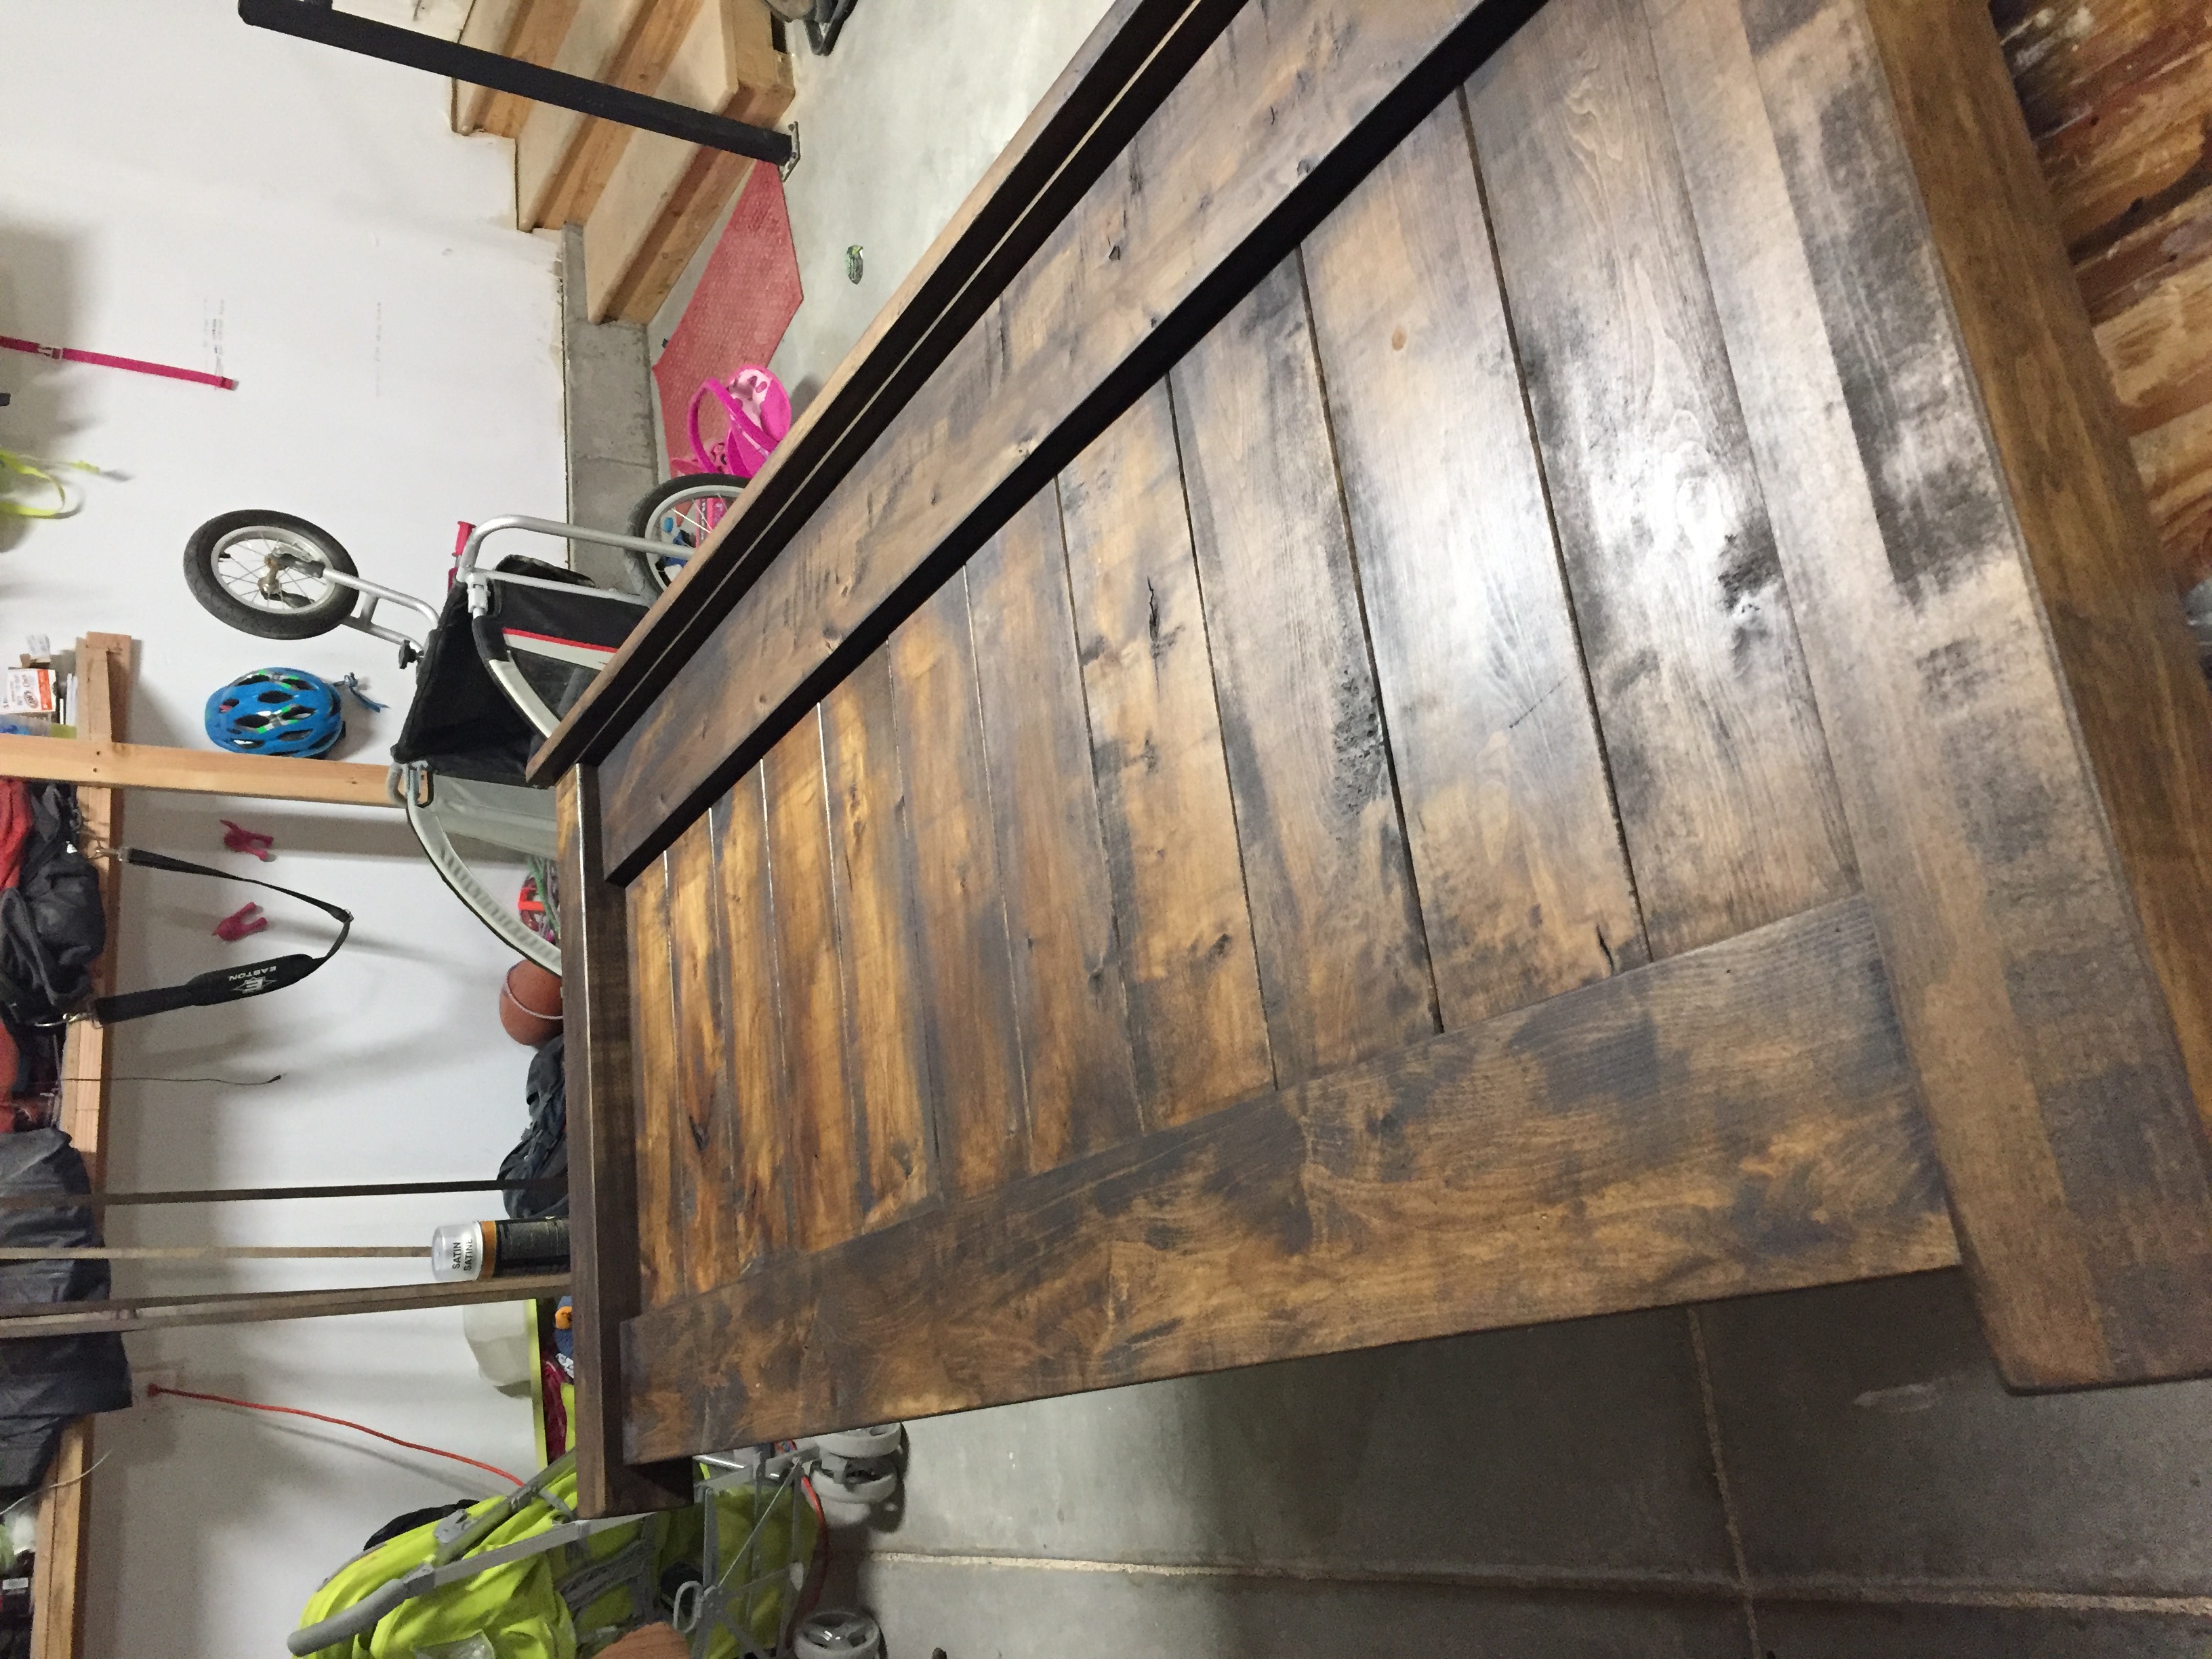
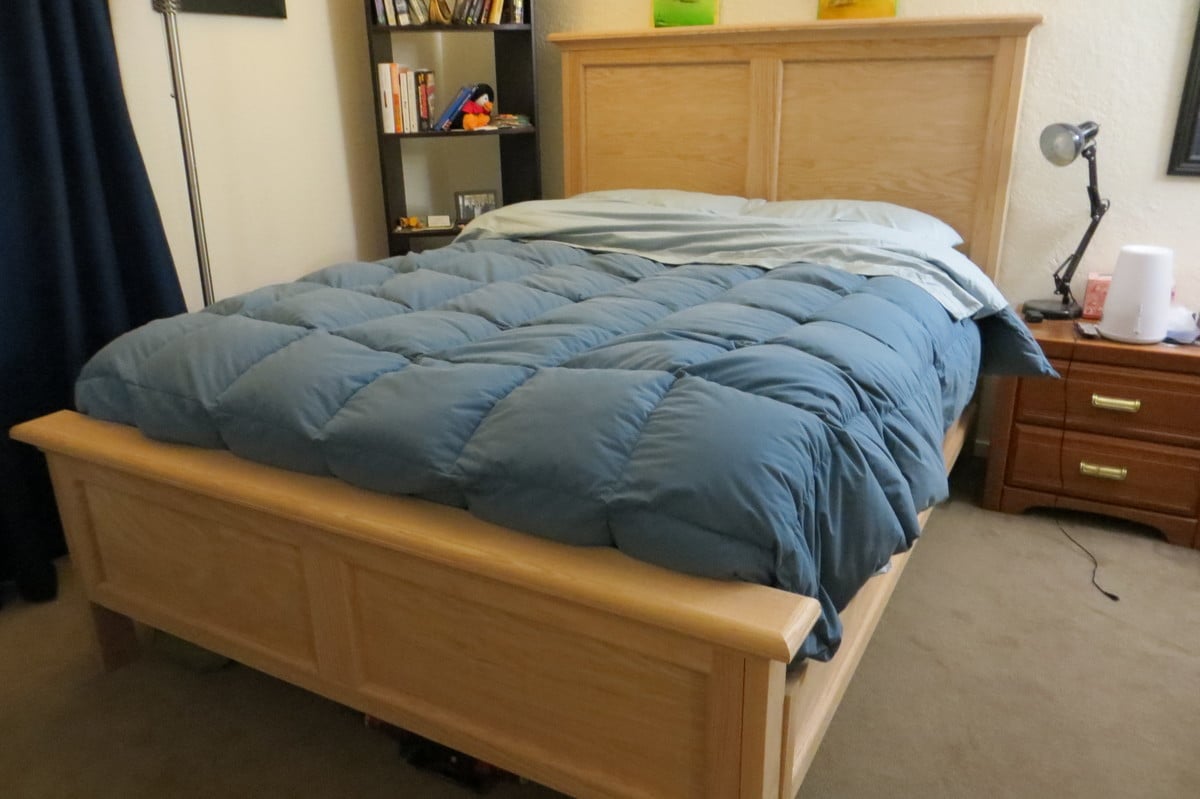
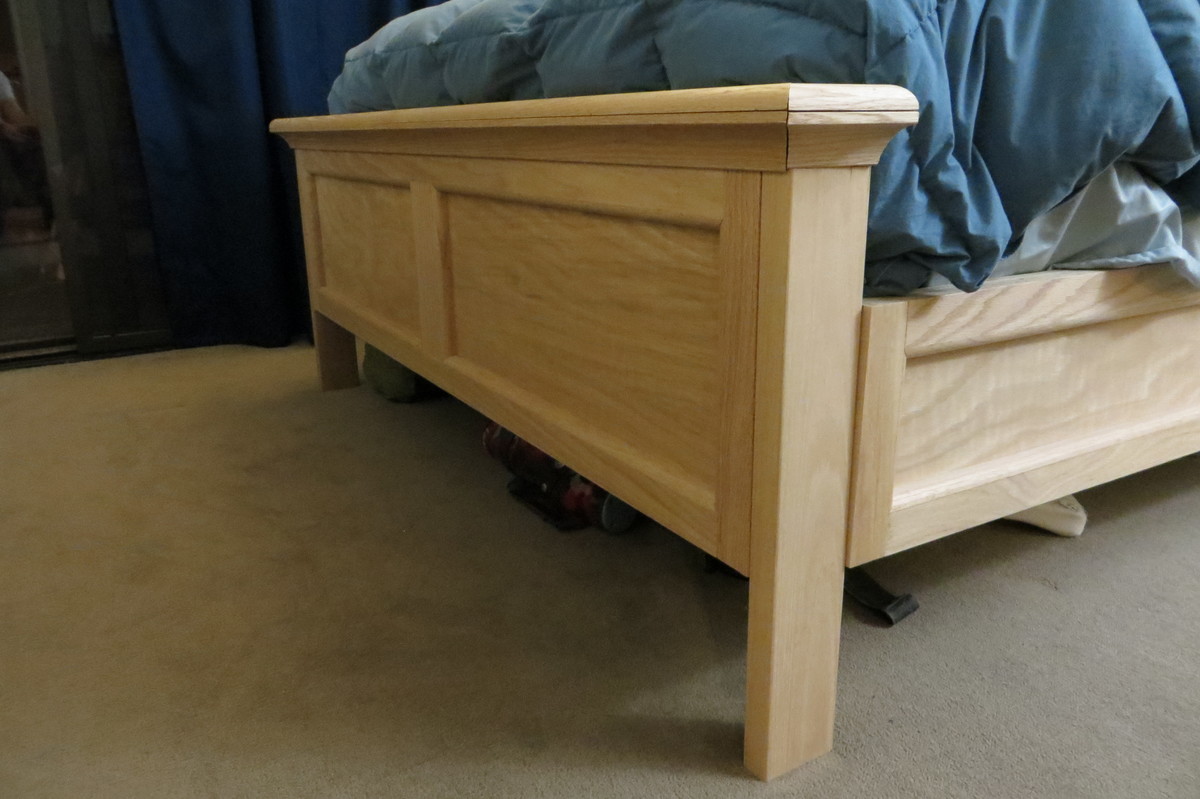
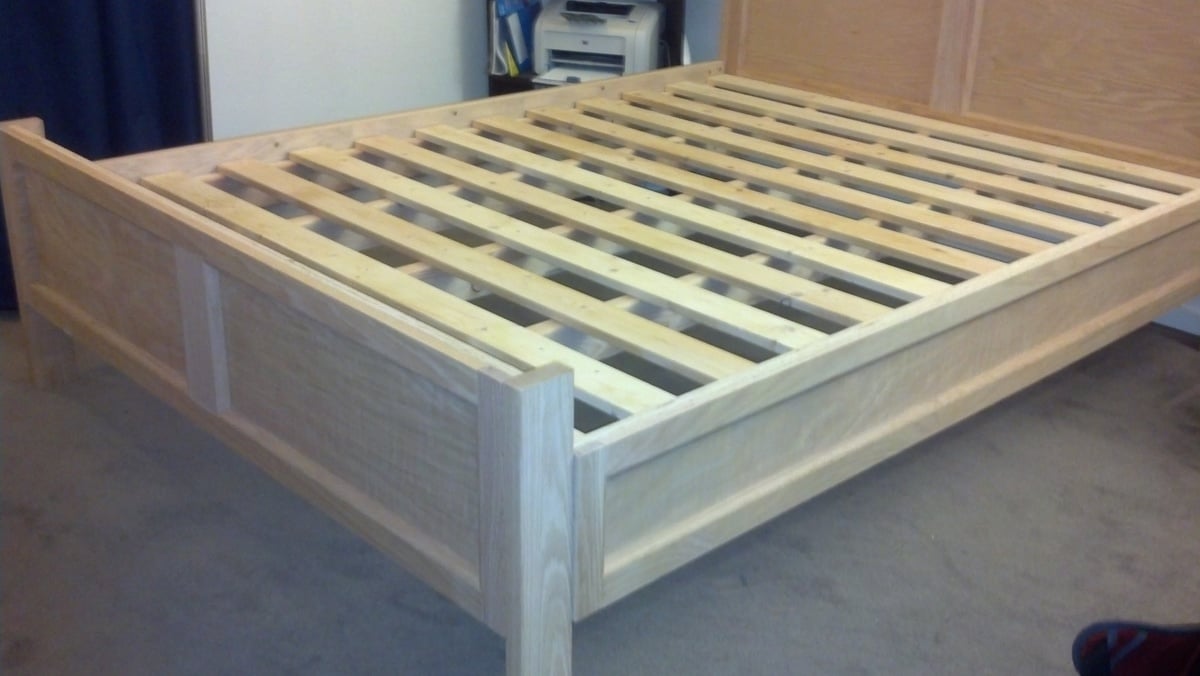
This was my second big project and I went ALL out! I was inspired by the modified farmhouse bed, but completely modified it to look like the Hudson bed from Pottery Barn. I designed it completely on my own too. All of the exterior is oak and the frame is fir and pine. This bed is super sturdy and sleeps great!
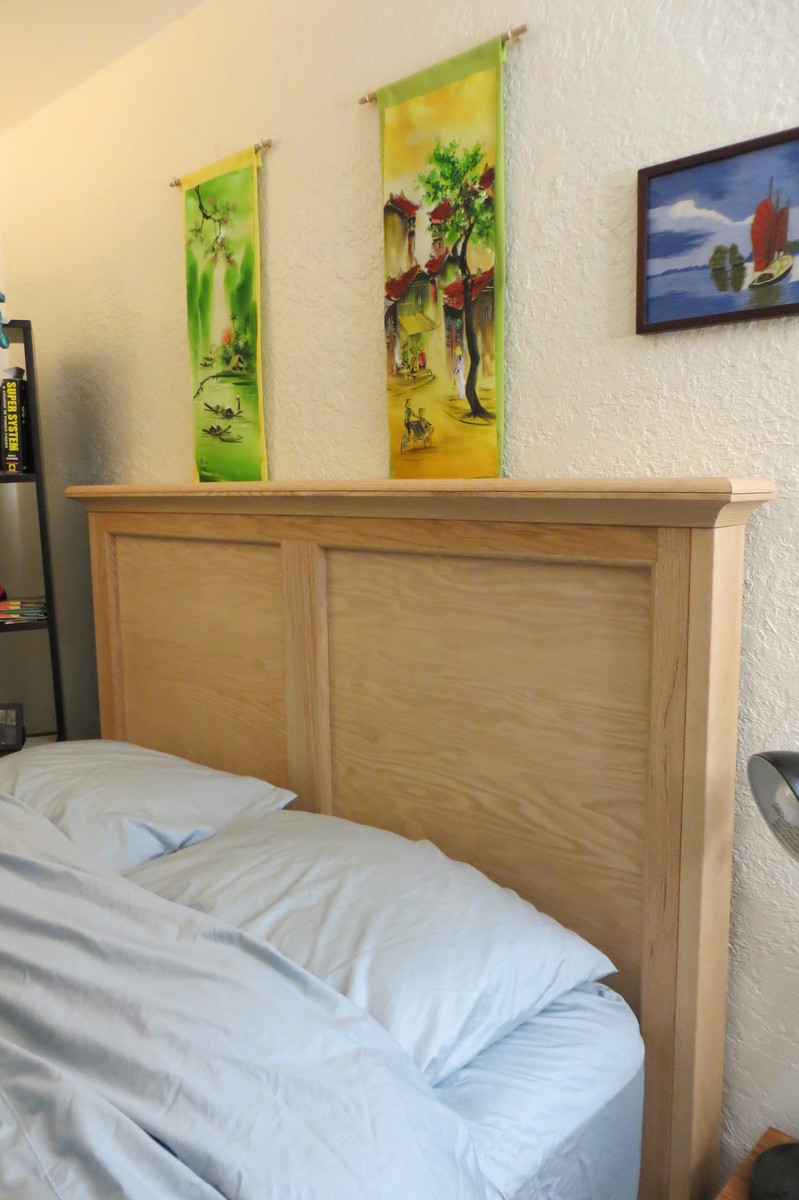
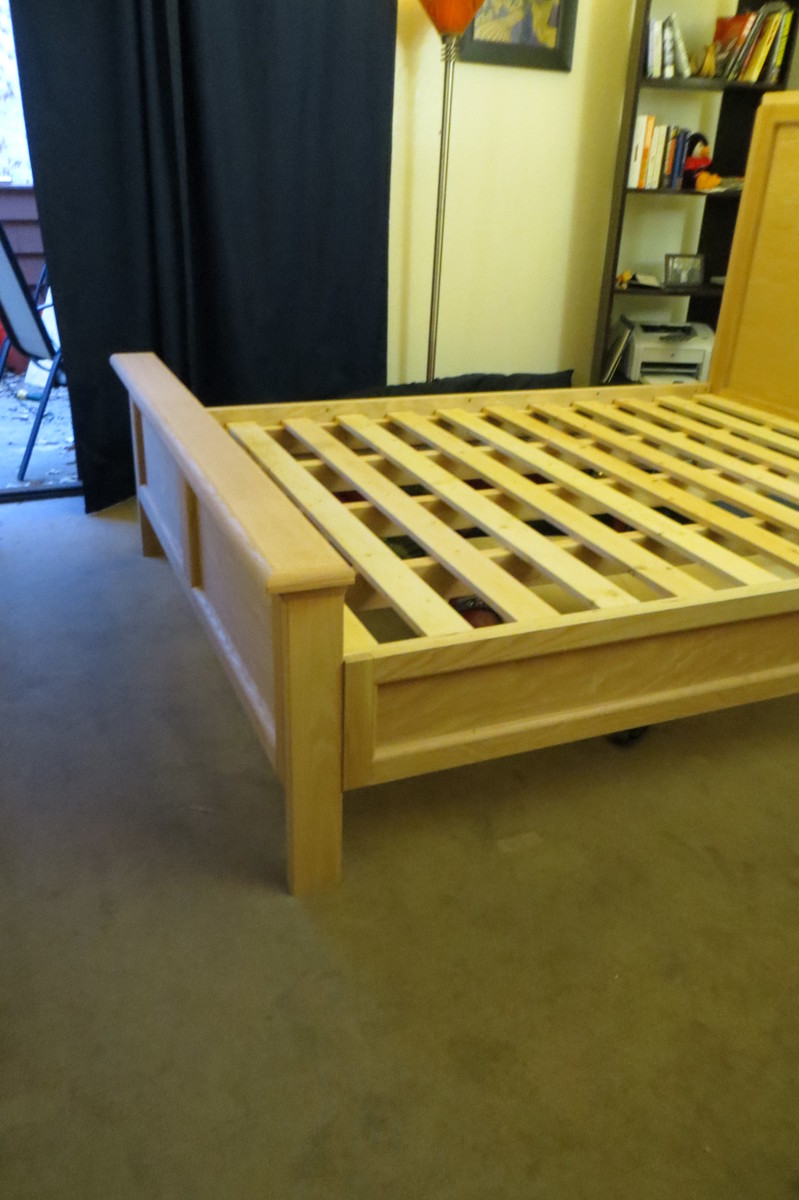
The sides, footboard, and headboard are made from oak plywood outlined by oak 1x2 and 1x3. Then added 1/2"x3/4" oak shoe molding for the indentations. The top of the footboard and headboard has 1.5" cove molding topped with quarter-round.
The total cost of all the material was $430. But I have enough leftover oak plywood to make a matching night table. I still need to stain it, but I love the raw oak smell and feel.
My only tools to create this was a circular saw, drill, screwdriver, miter box, and sander. The frame itself took only a few hours. All of the hand cutting of the molding and careful angles took most of the time (20+ hours) since it was my first time ever doing anything like this. The cove crown molding was especially difficult.
So....what color should I stain it?
Sat, 11/10/2012 - 12:30
Beautiful! I love my farmhouse bed too. Doesn't it feel so good to cozy up into something to sturdy and know you made it with your own two hands? I don't know if it goes with the rest of your furniture, but I like the blonde color it is now. Maybe just seal it with Polyacrylic or wax so it doesn't yellow?

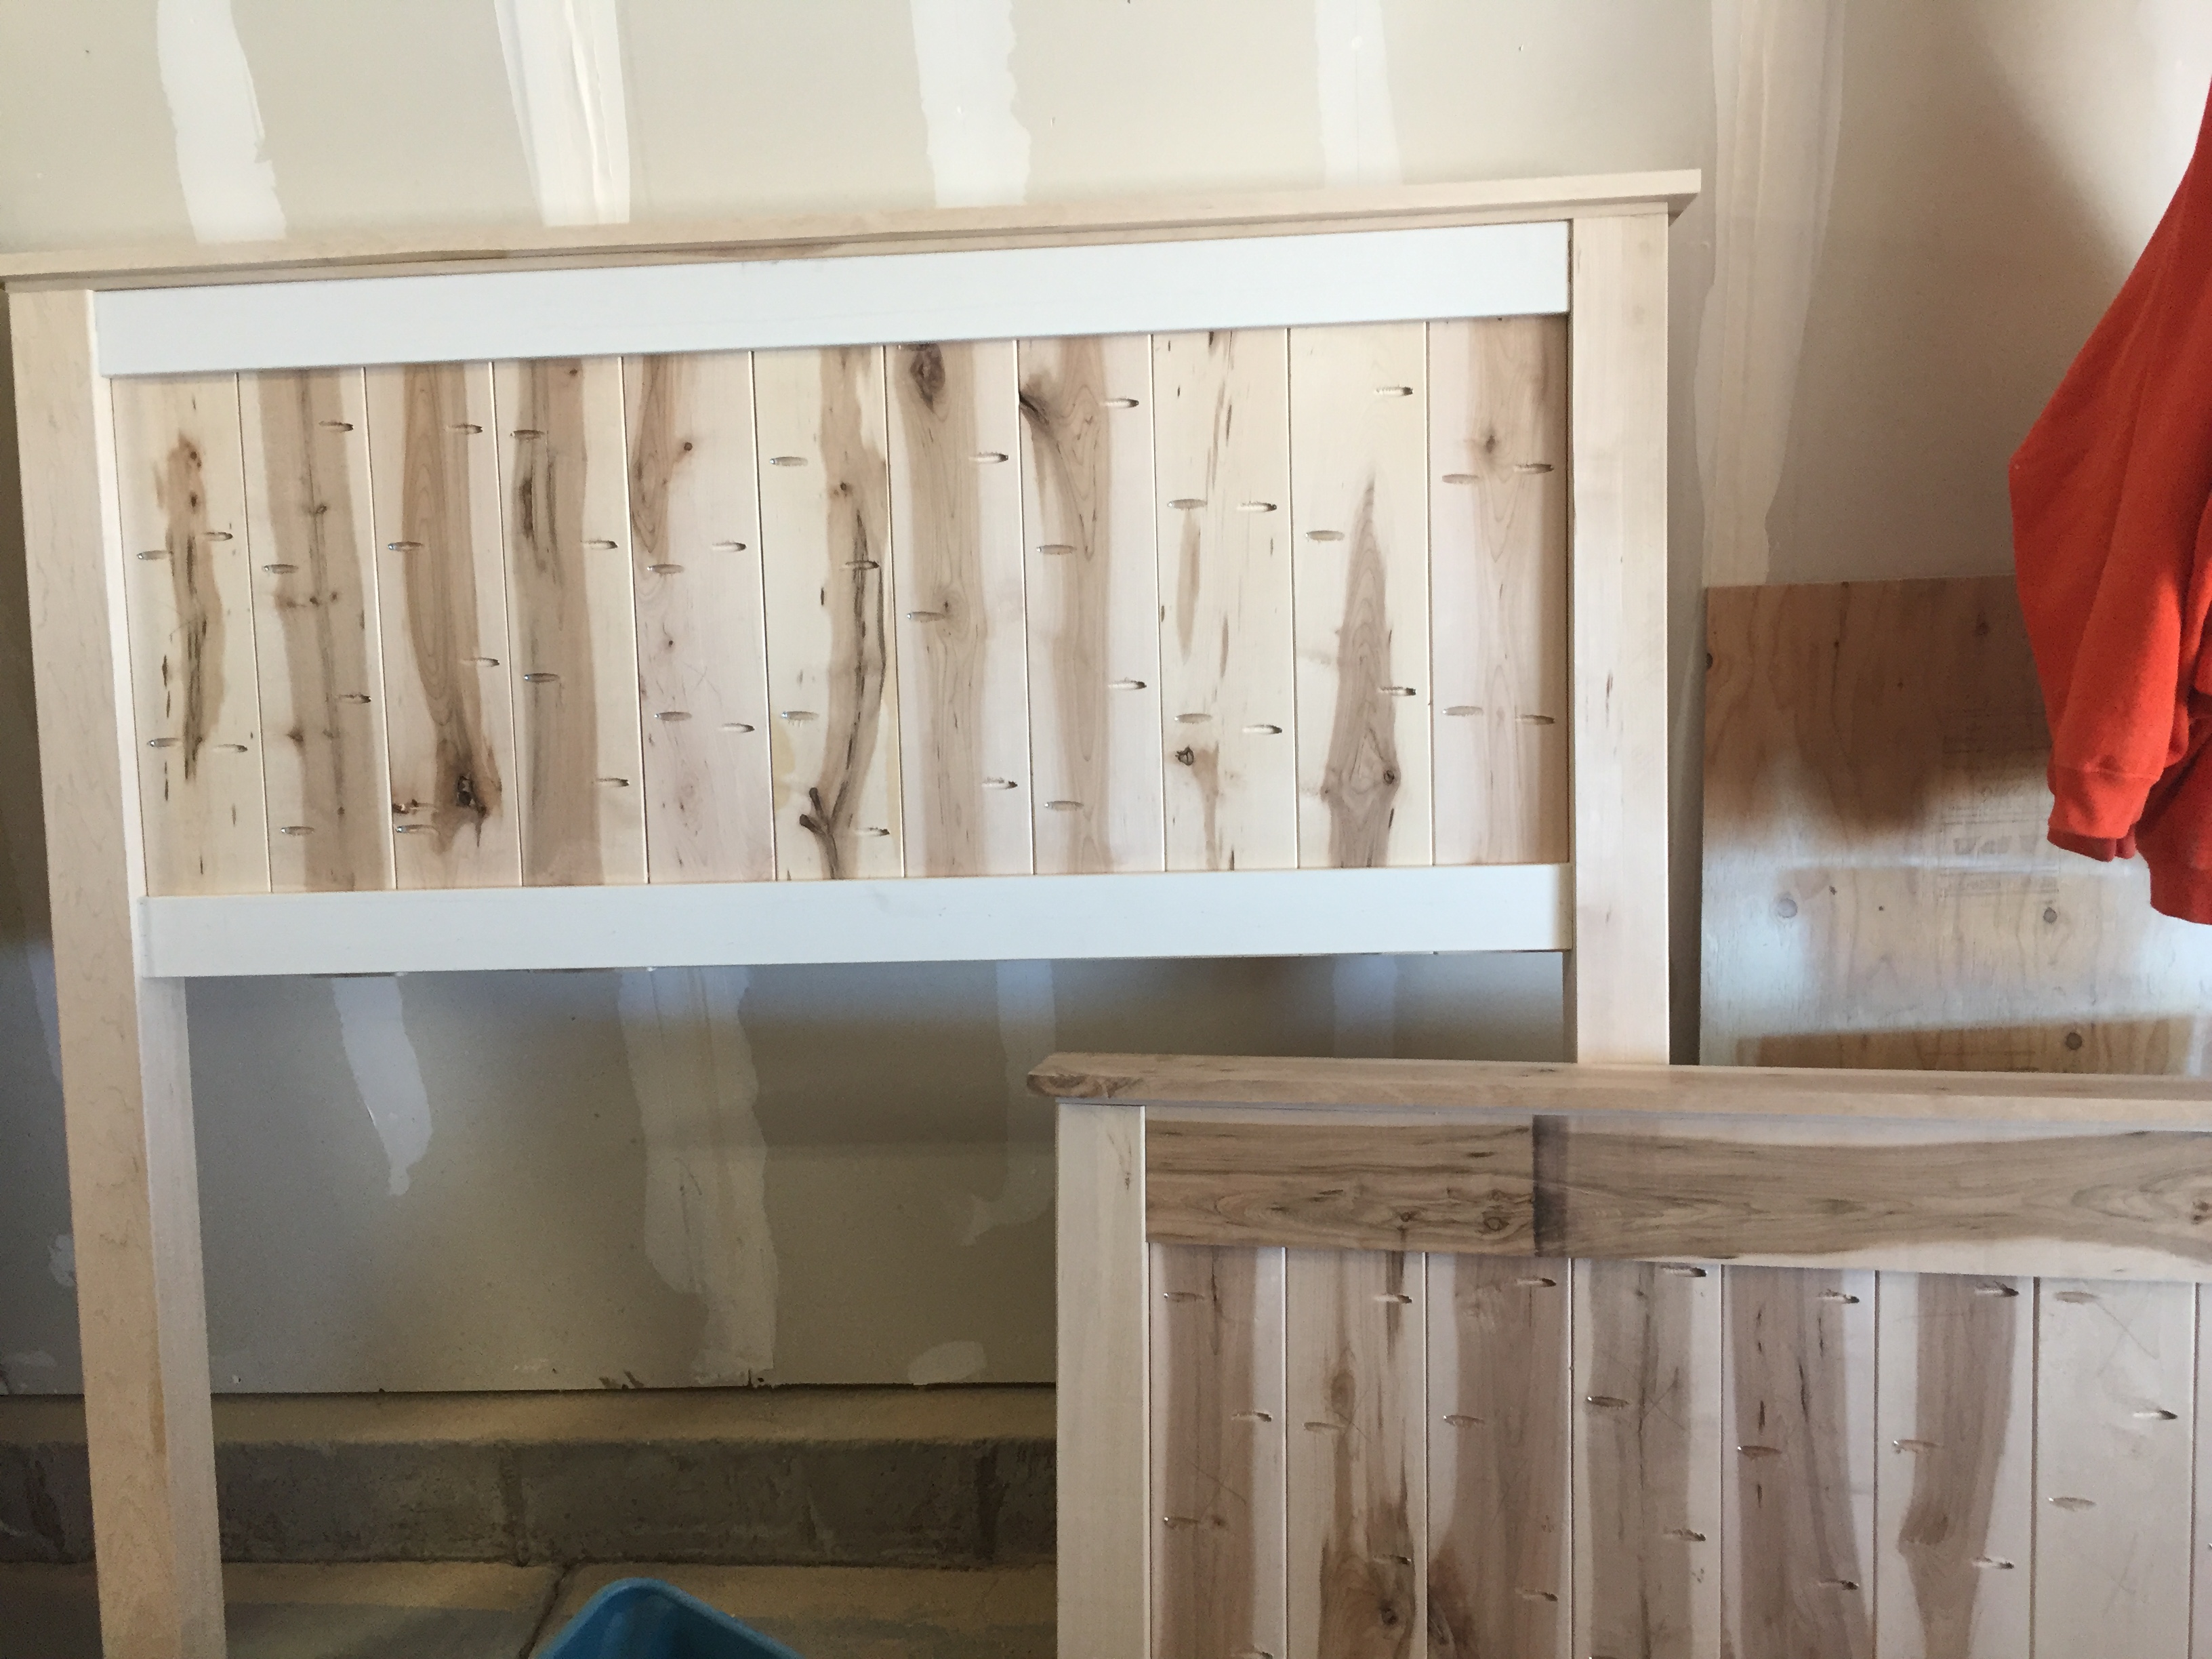
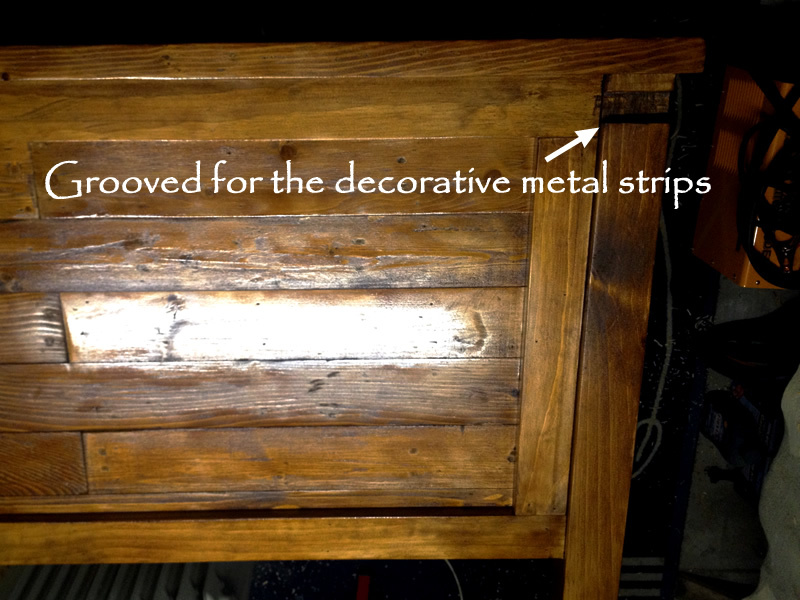
I made this bed for my son and his girlfriend.
I used pallet wood and new pine for this.
I also added two metal strips to the headboard for decoration.
The headboard is connected to the siderails with 2 bolts straight through the side of each leg. The siderails are on the inside of the headboard.
The siderails are connected to the foot of the bed with 2 bolts straight through the foot into the end of the siderails. I added a third fake bolt to balance the look.


In reply to Lovely Pallet Bed! by earthbybike
Wed, 10/15/2014 - 07:25
Hi EarthyByBike,
I had previously built the queen farmhouse bed and this bed was modeled from that one. I basically ran the boards vertical instead of horizontal. It uses most of the basic techniques as the farmhouse bed. I took the ideas from the farmhouse bed and then just changed it up a bit.
I can't remember the exact height of the bed but I think it was 165cm.
Mon, 10/13/2014 - 17:17
How high is the finished height of the headboard?
Thanks!
In reply to Headboard of the Queen Pallet Bed by earthbybike
Wed, 10/15/2014 - 07:25
I can't remember the exact height of the bed but I think it was 165cm.

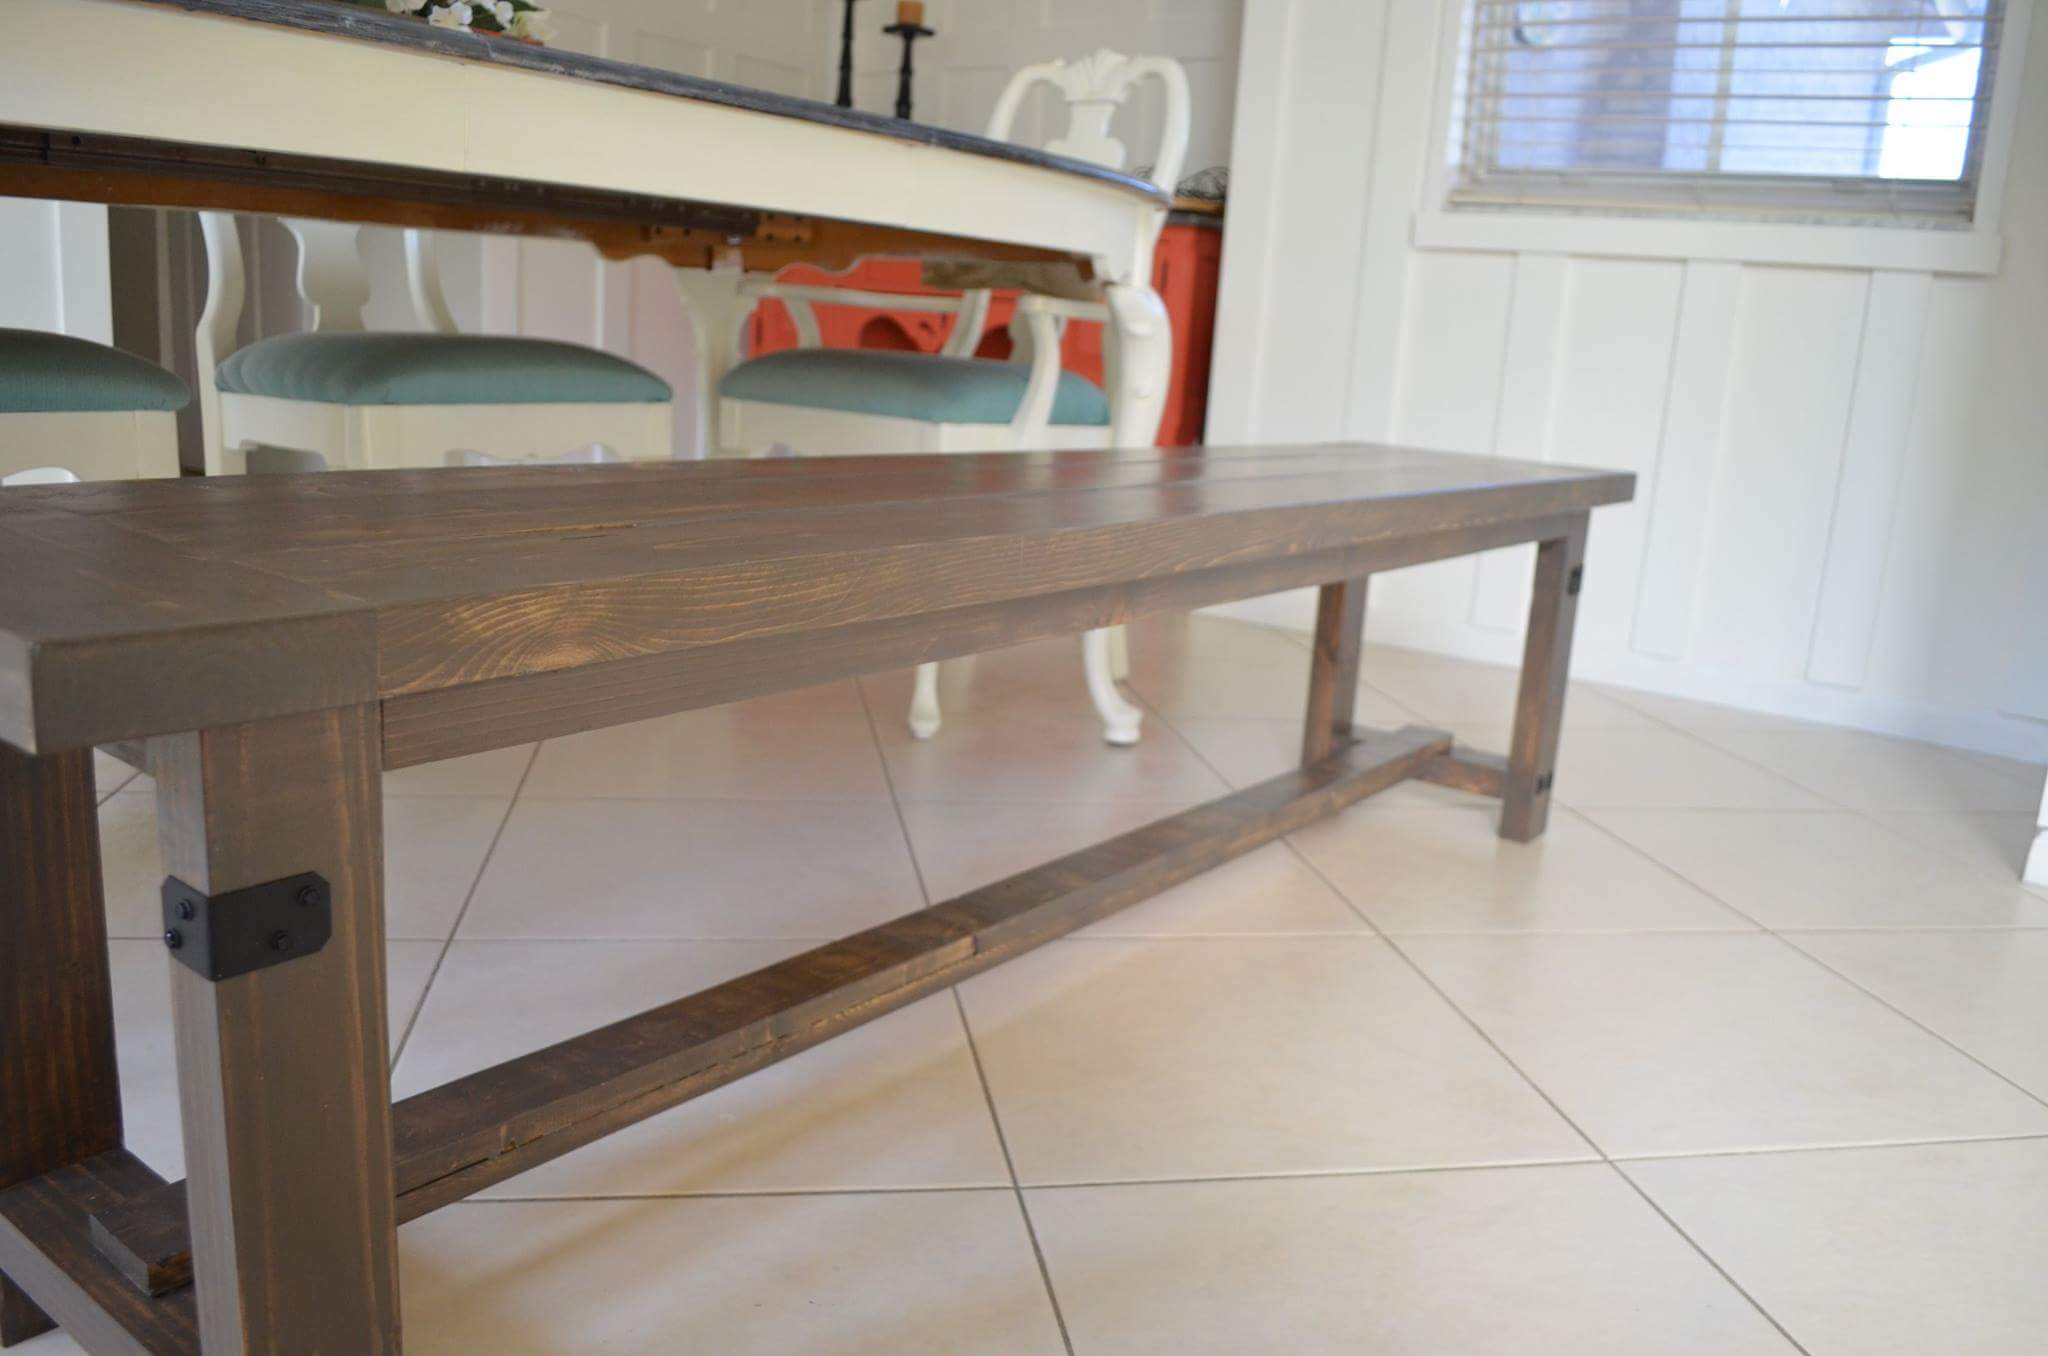
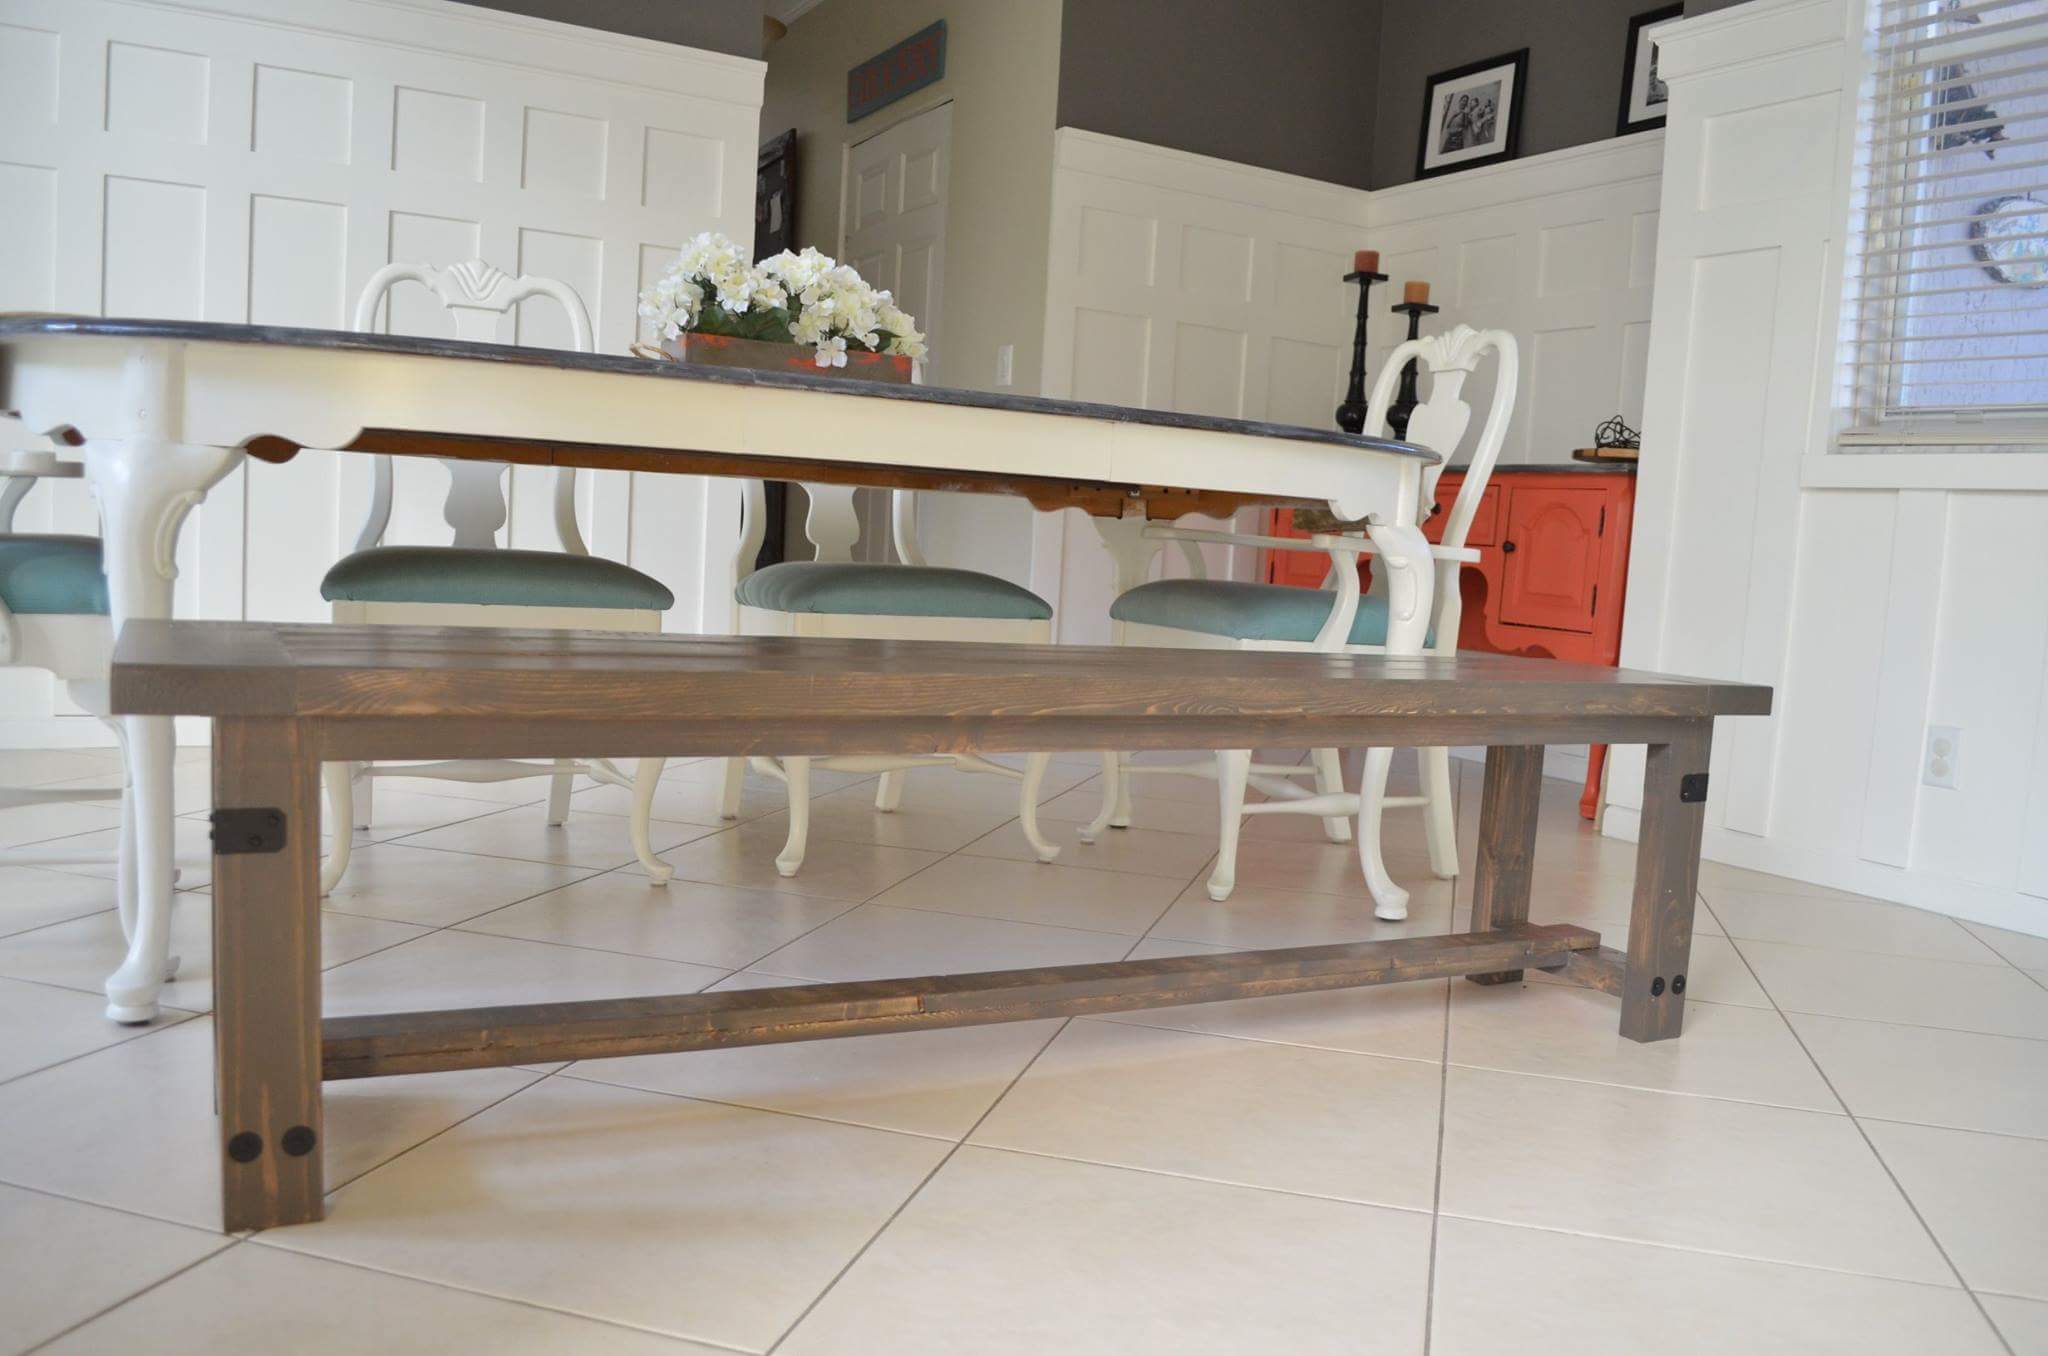
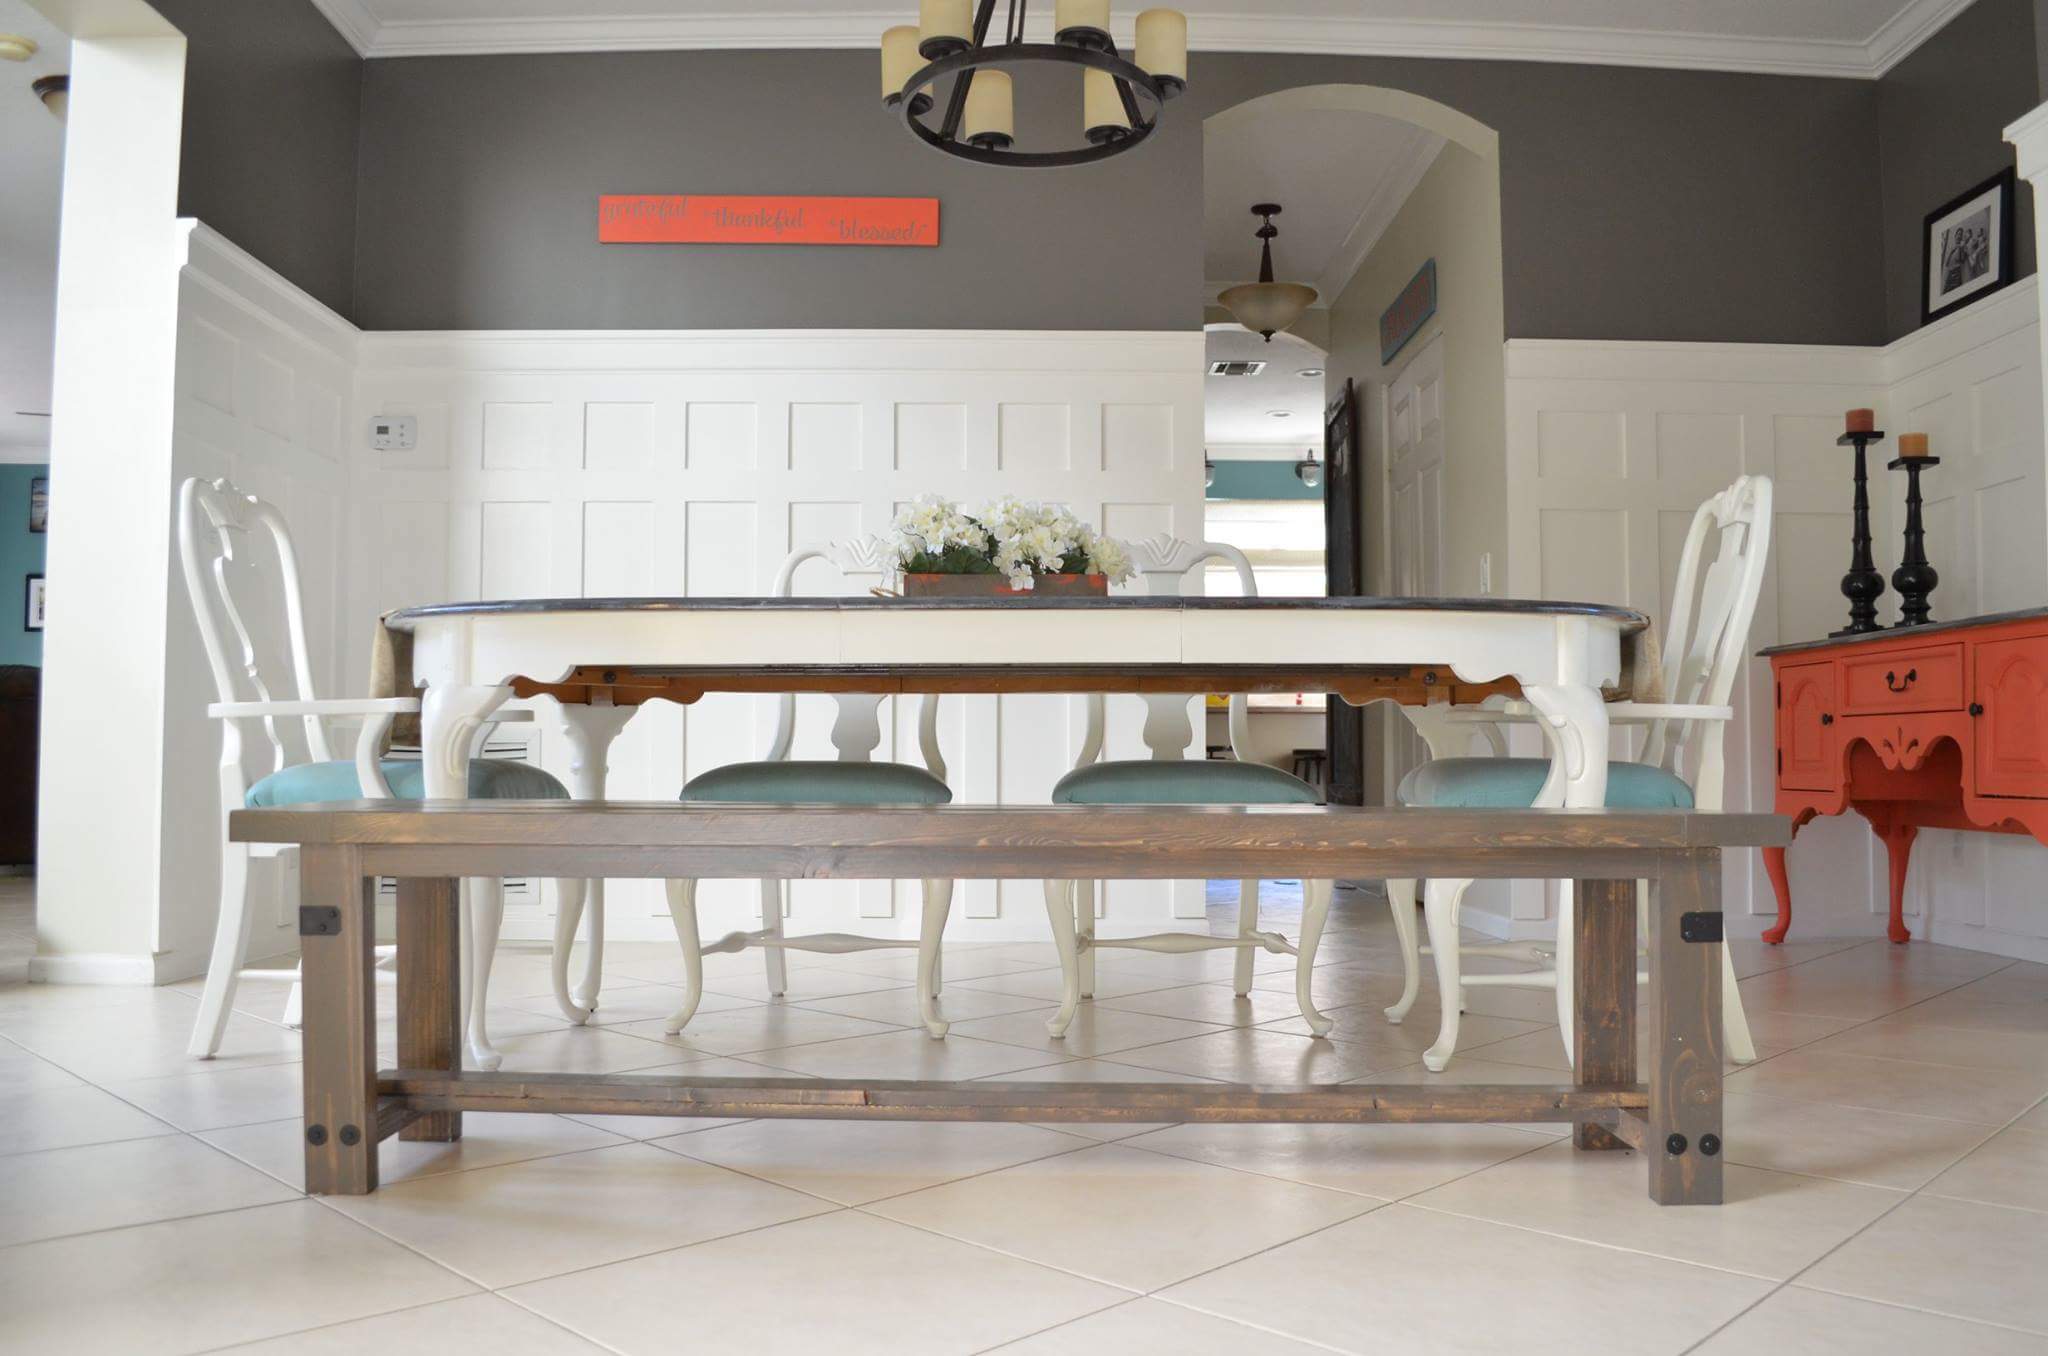
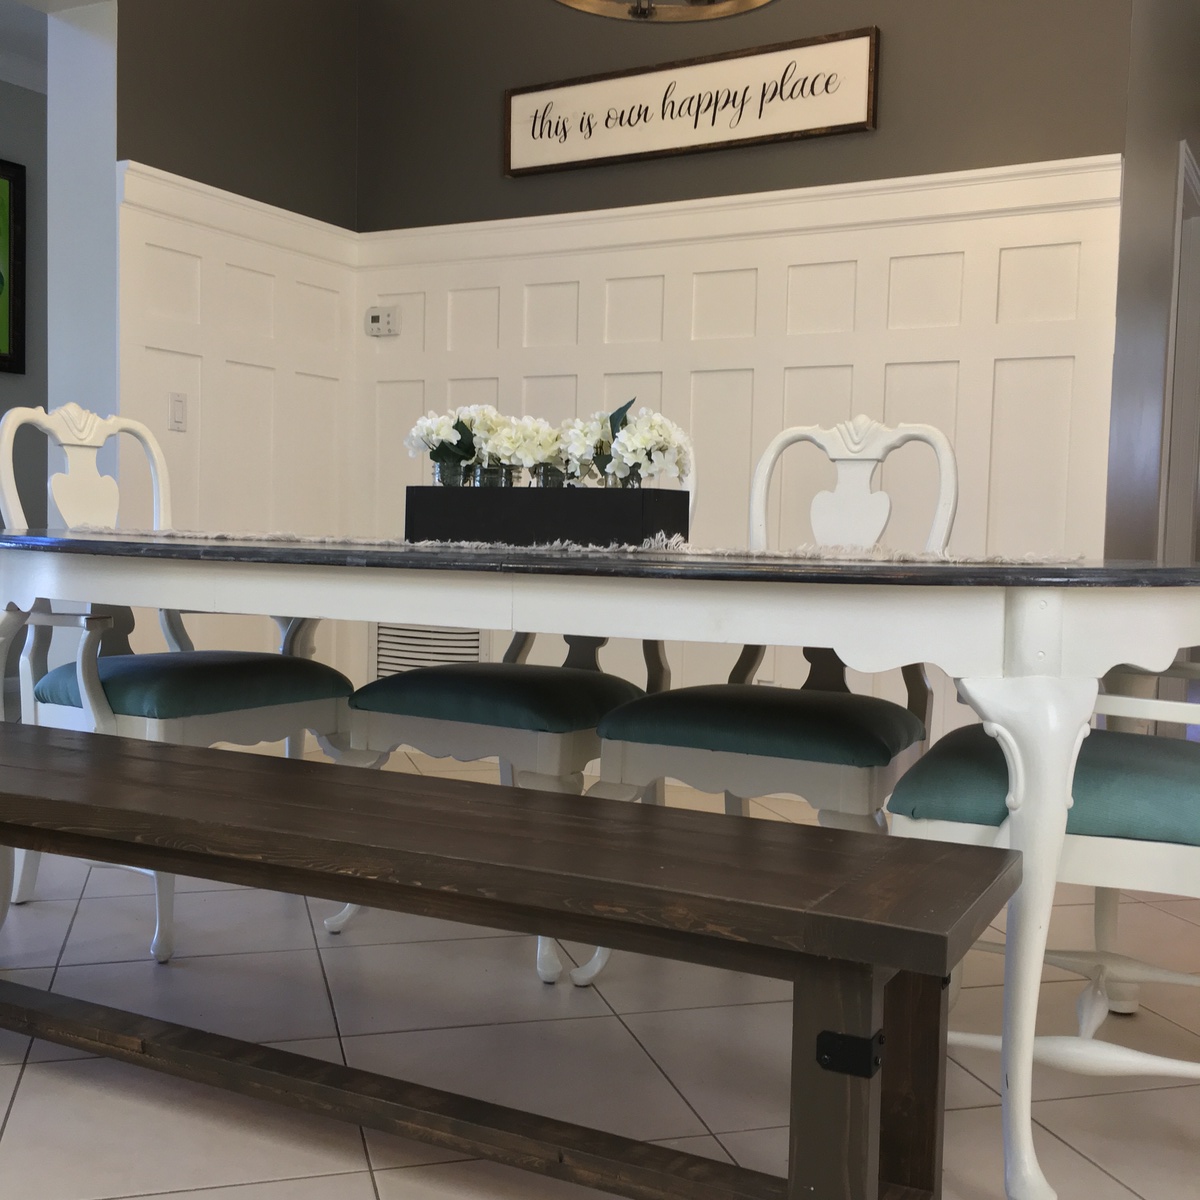
Built from Shanty2Chic Industrial Farmhouse Bench Plans
Pine and Main builder for the South Florida Area.

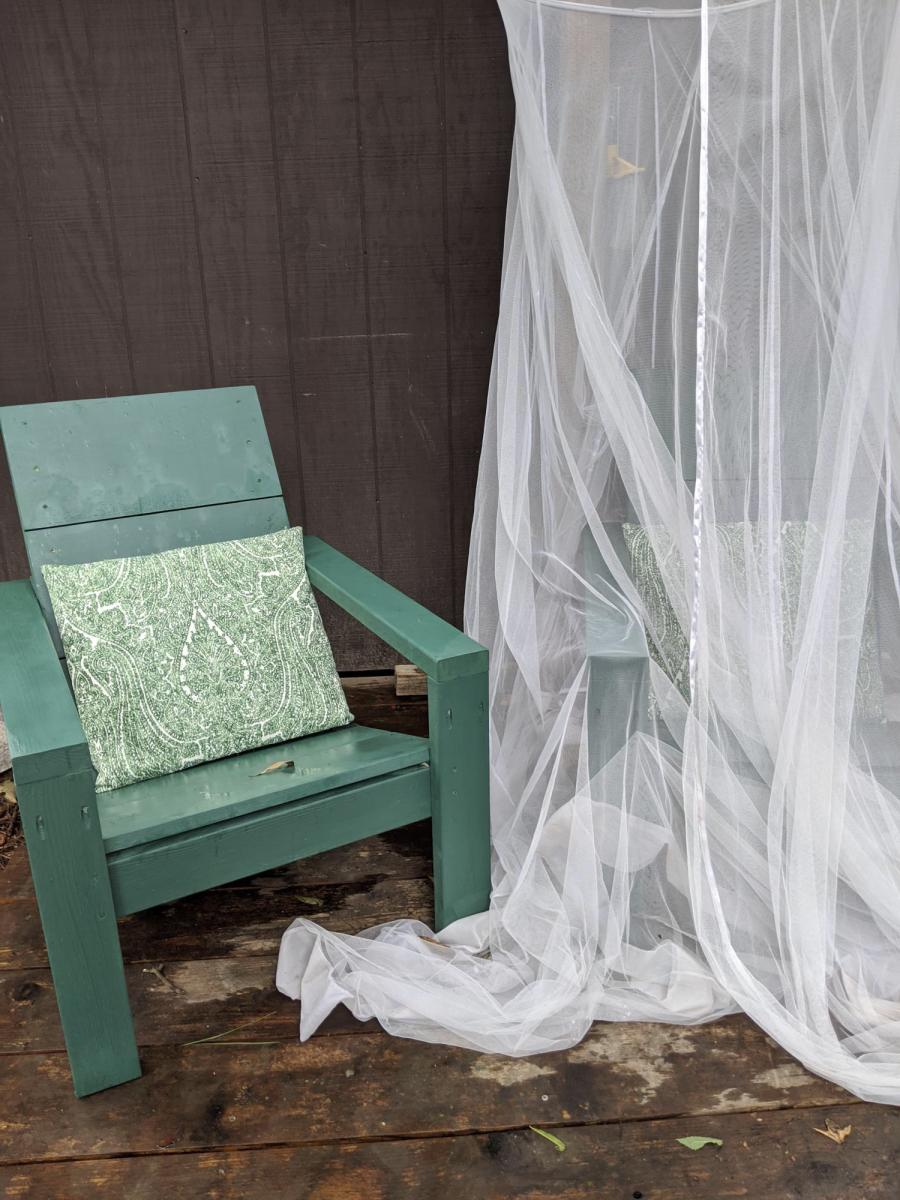
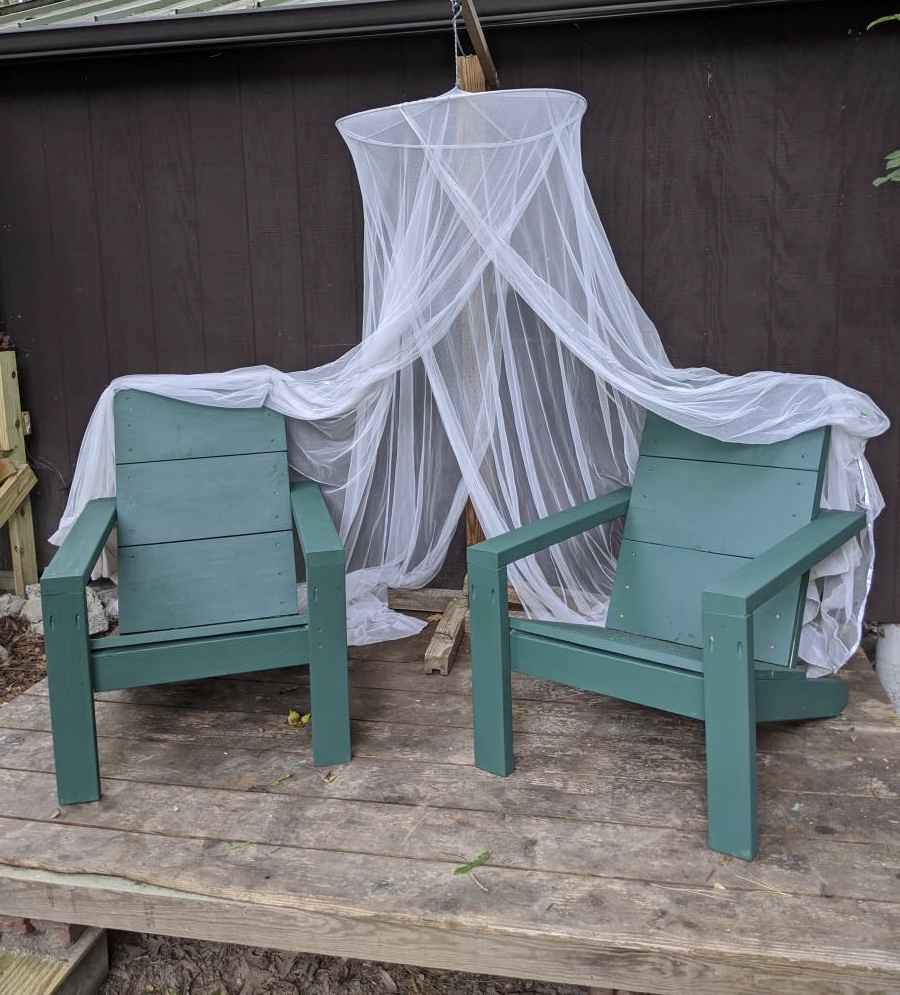
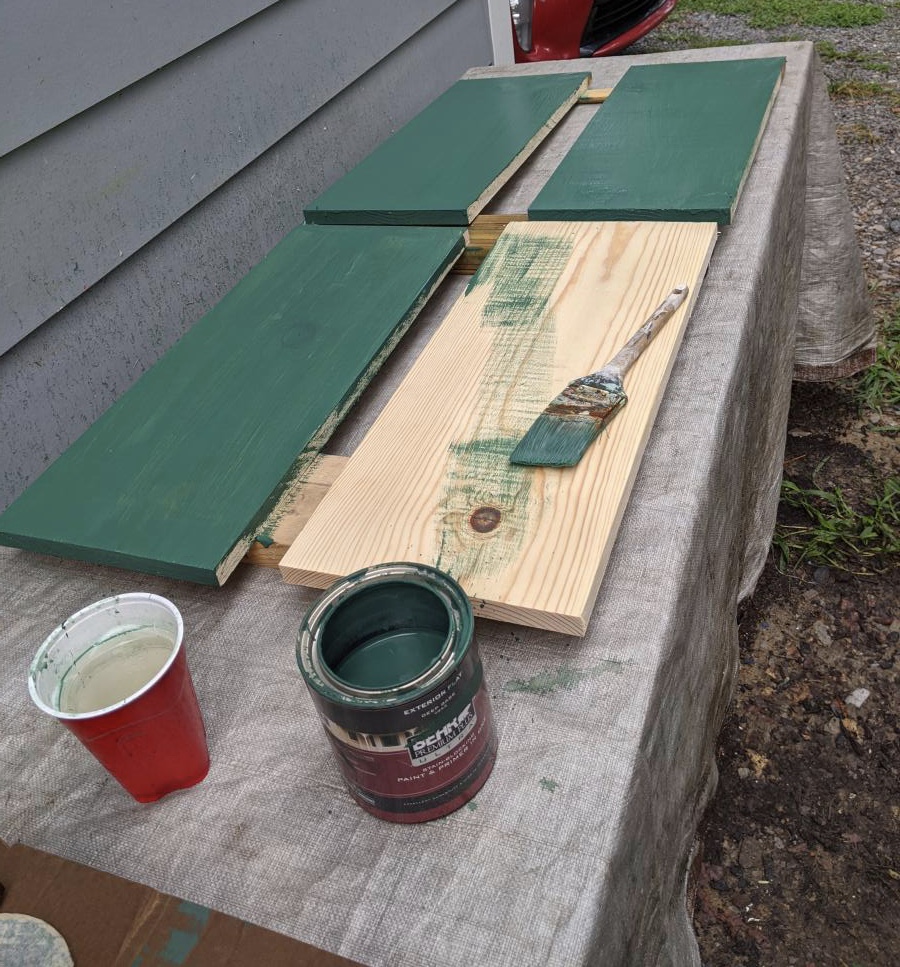
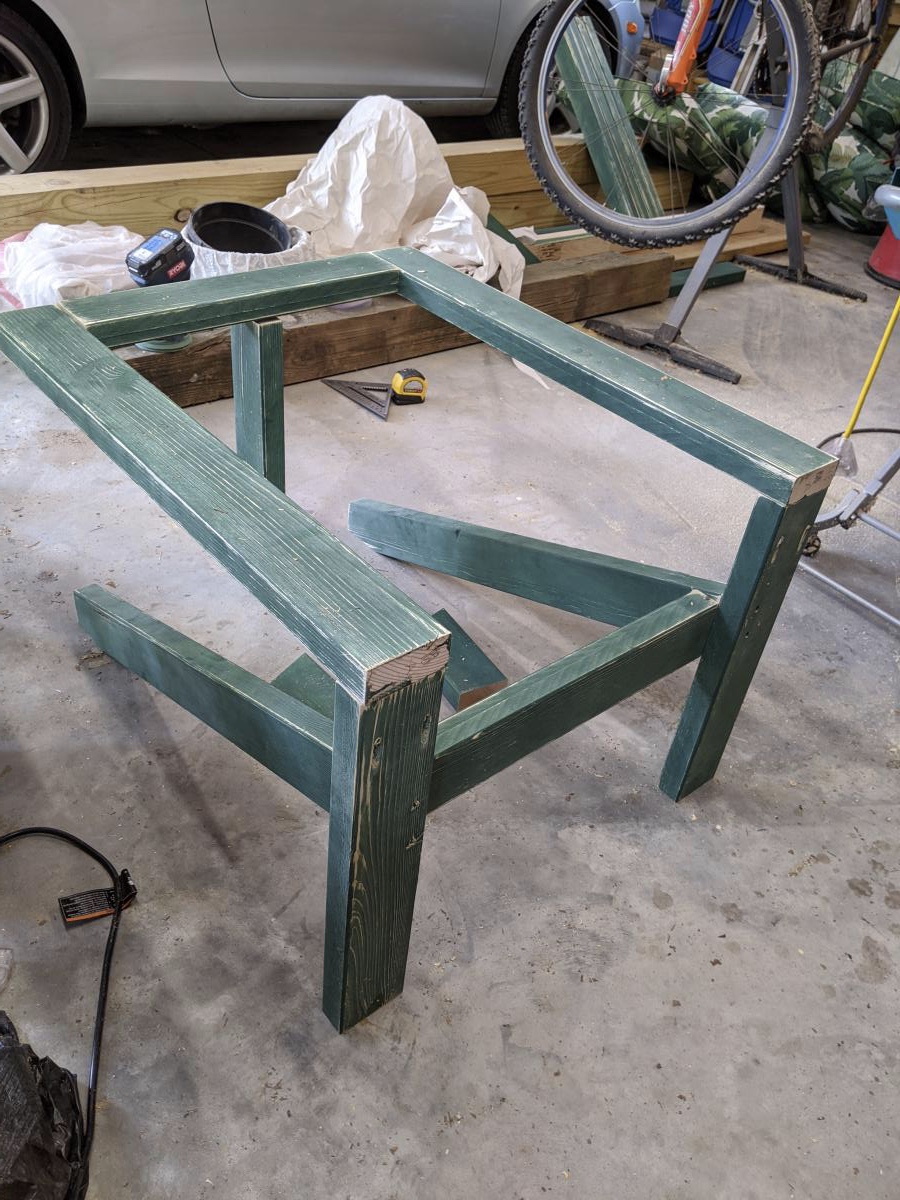
I followed Ana's plan to make this pair of woodsy chairs to go on the deck of our little shed in a wooded area behind our home. My only modification was that I had to purchase 1x10 for the decking and rip it down to size with my table saw. And I had to add a mosquito net!