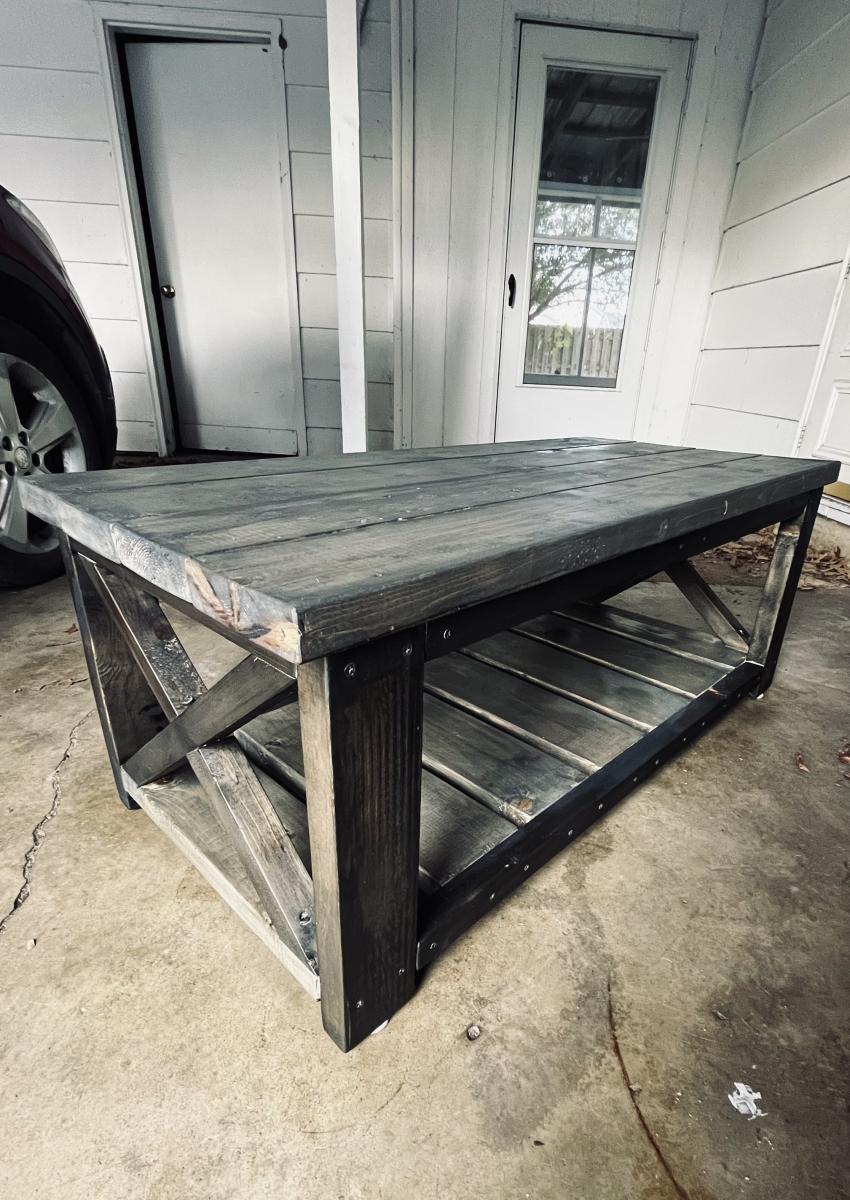
Rustic X Console Table
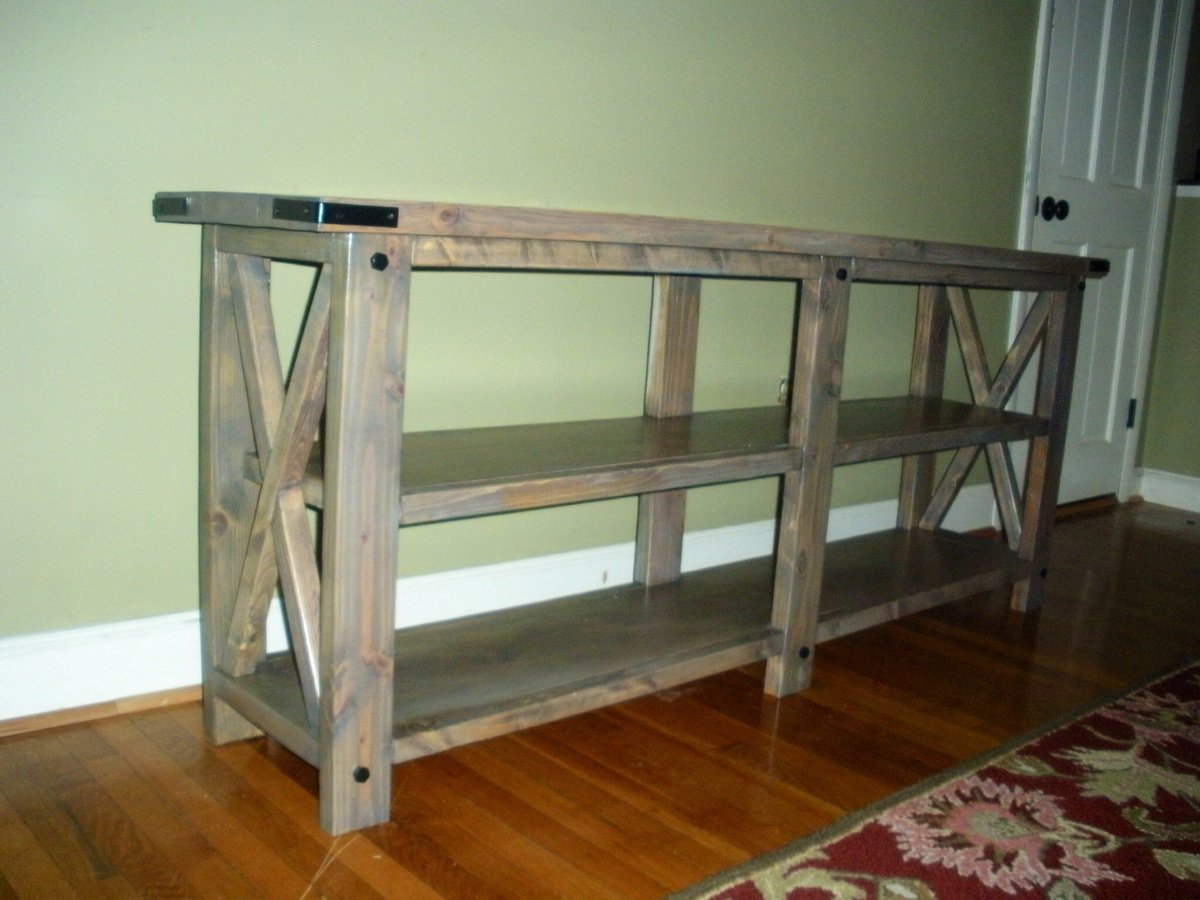
This was one of my favorite projects!!! I never could of completed this project without the guidance of Ana's blog and Hilary From the Friendly House. Thank you!!!
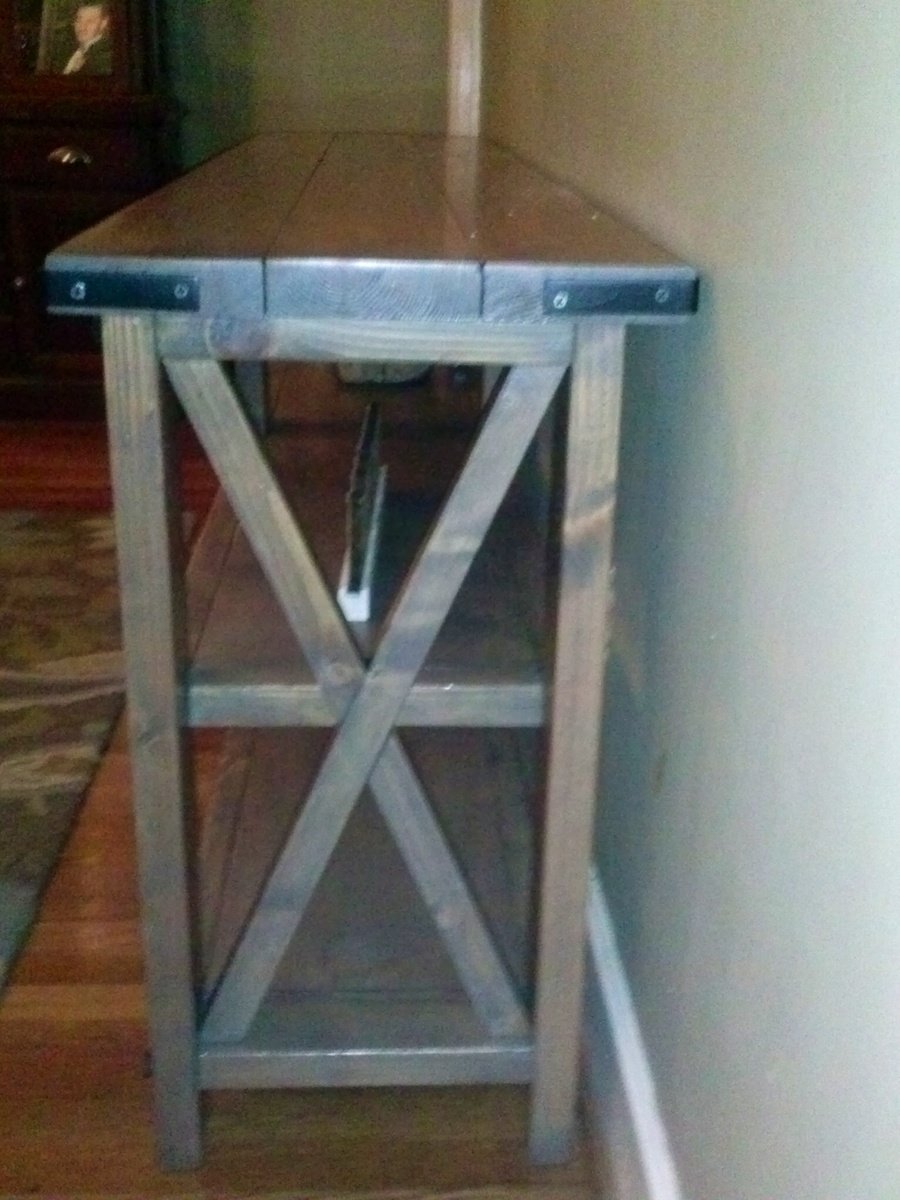

This was one of my favorite projects!!! I never could of completed this project without the guidance of Ana's blog and Hilary From the Friendly House. Thank you!!!

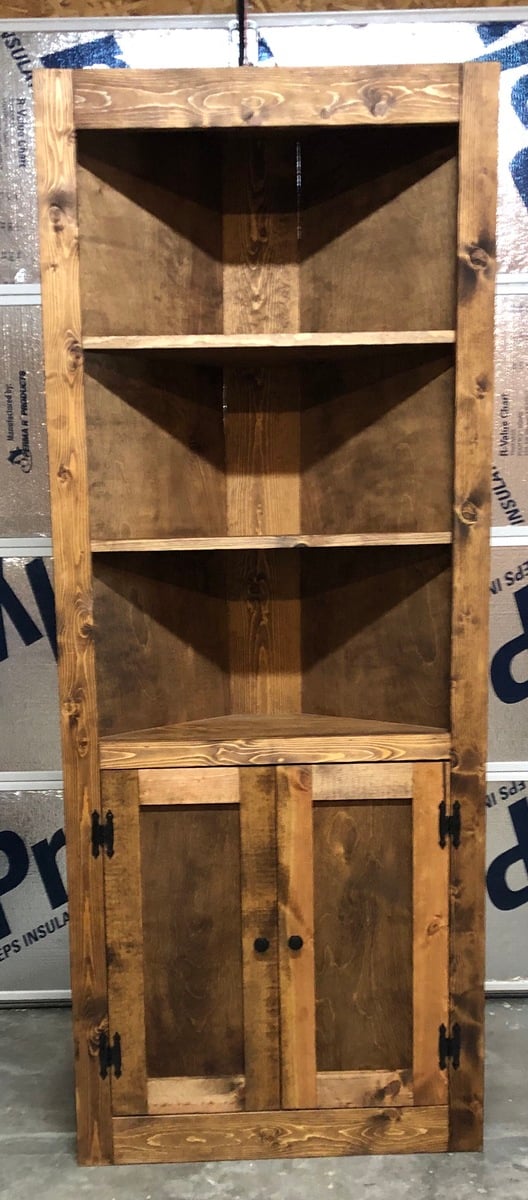
This took about 7 hours over the week after work.
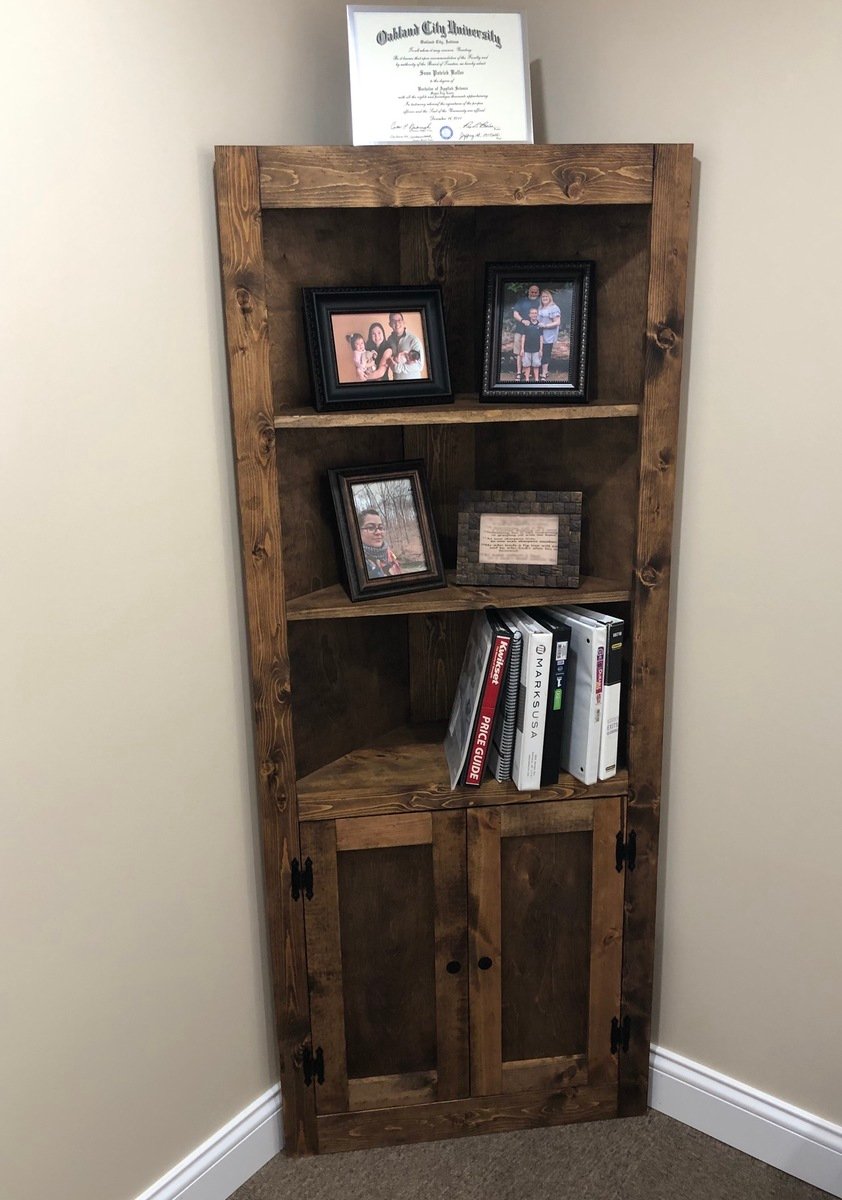
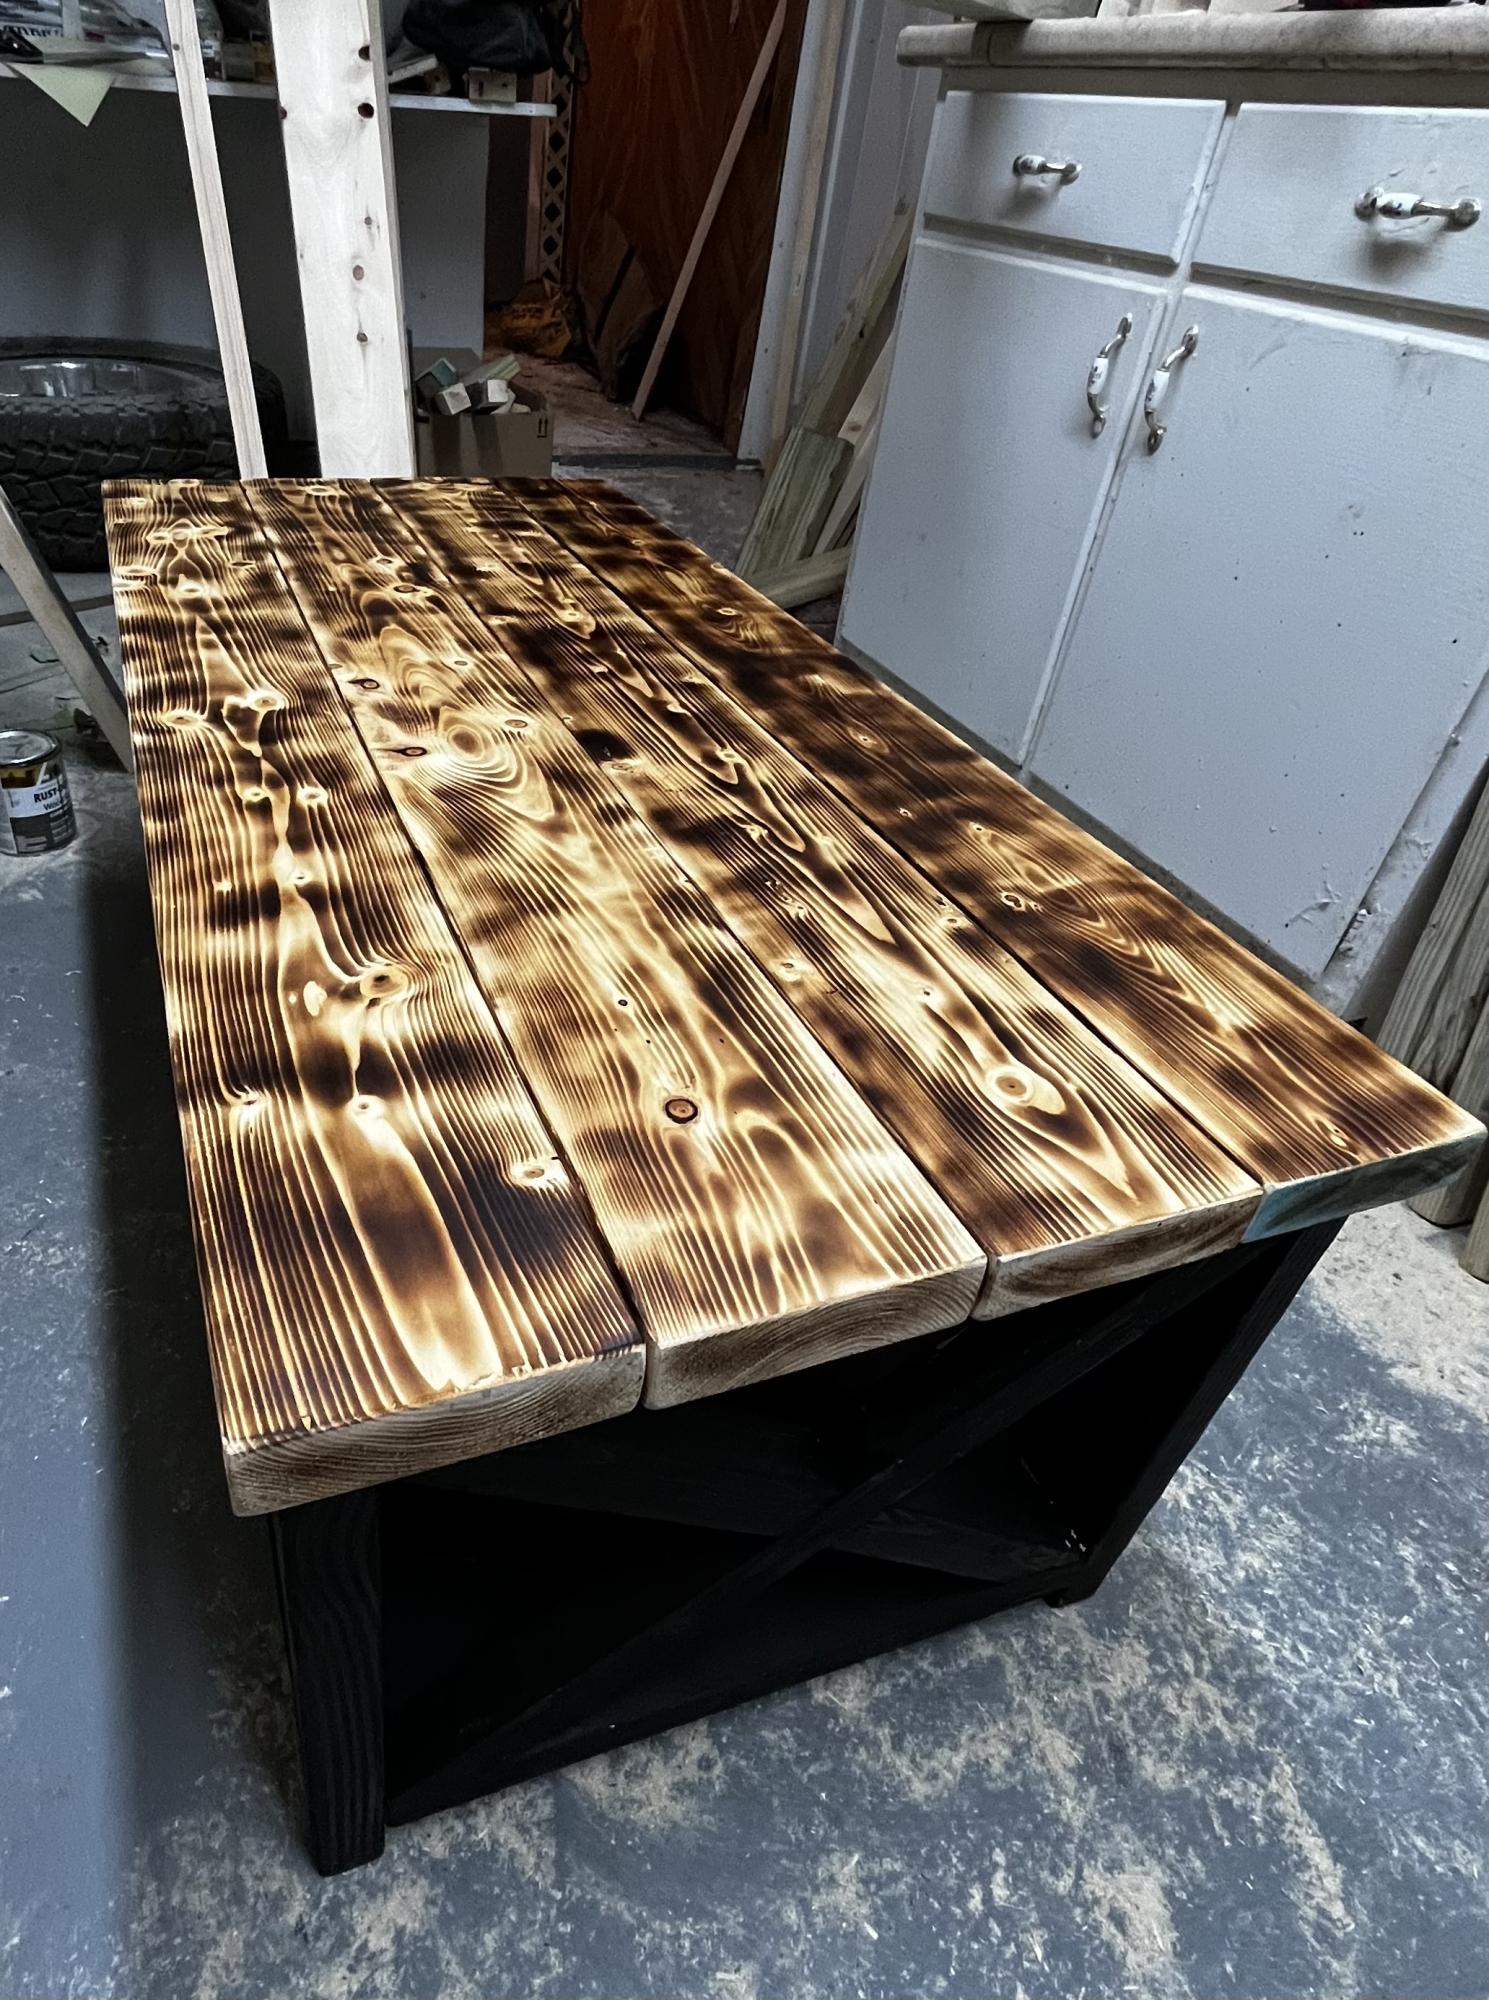
Working a full time job, I was still able to finish each table within a week (taking a couple hours a day to cut, build, sand, burn, stain, ect). These are my second and third tables that I’ve ever built and looking forward to making more.
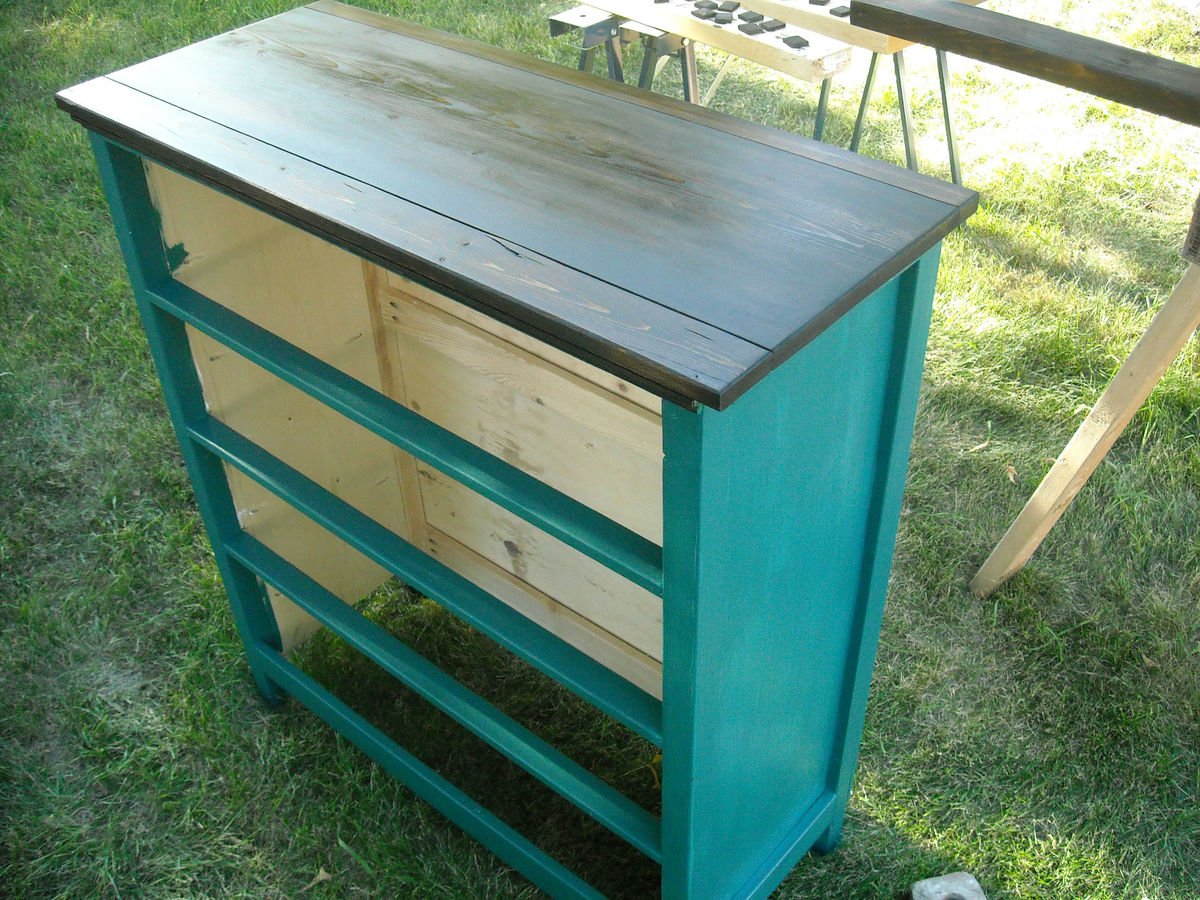
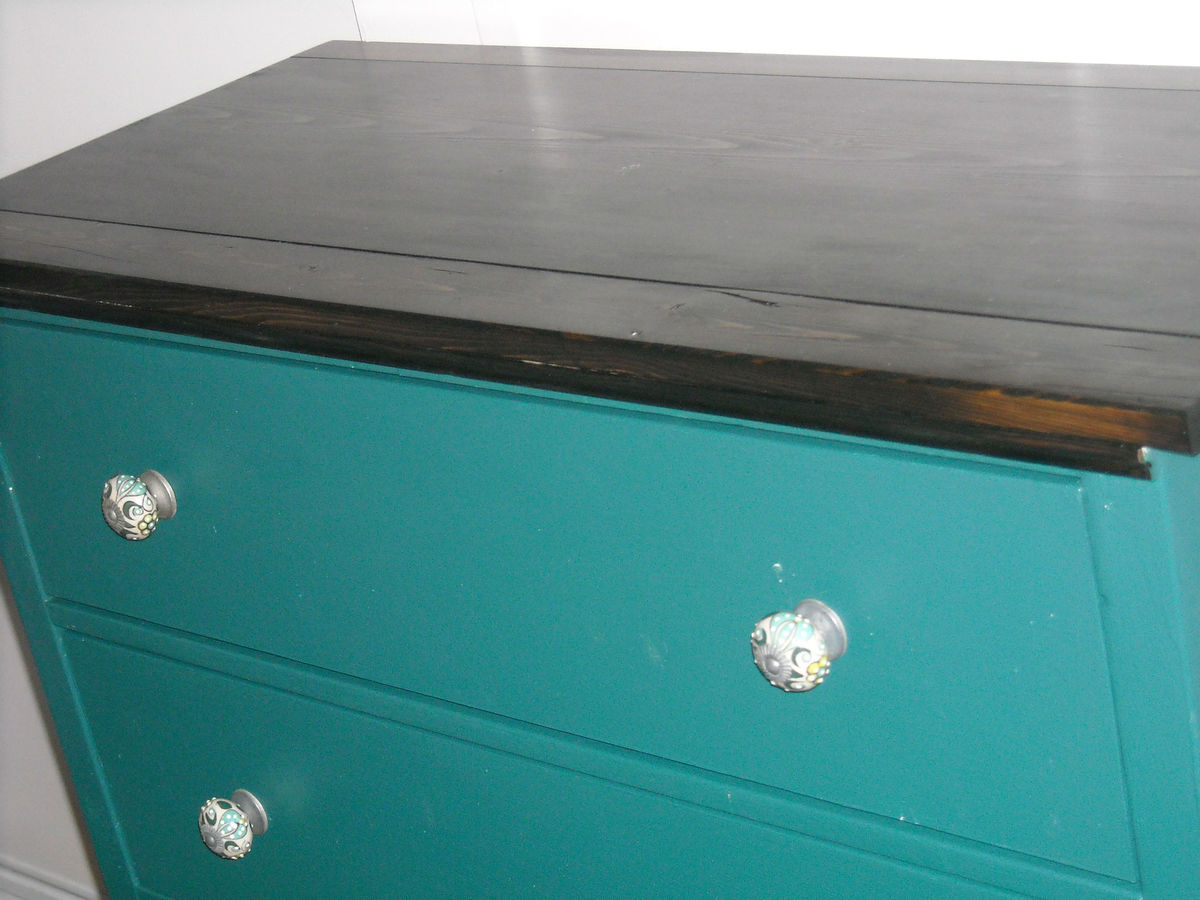
This was our last furniture build to complete our DIY bedroom makeover. We have a small space, so the dimensions of the Beach Cottage Dresser were perfect. We used mostly spruce, because we were going to paint the project. We used leftover accent paint from the walls and stained the top to match to rest of the furniture we've built. This was our third project.
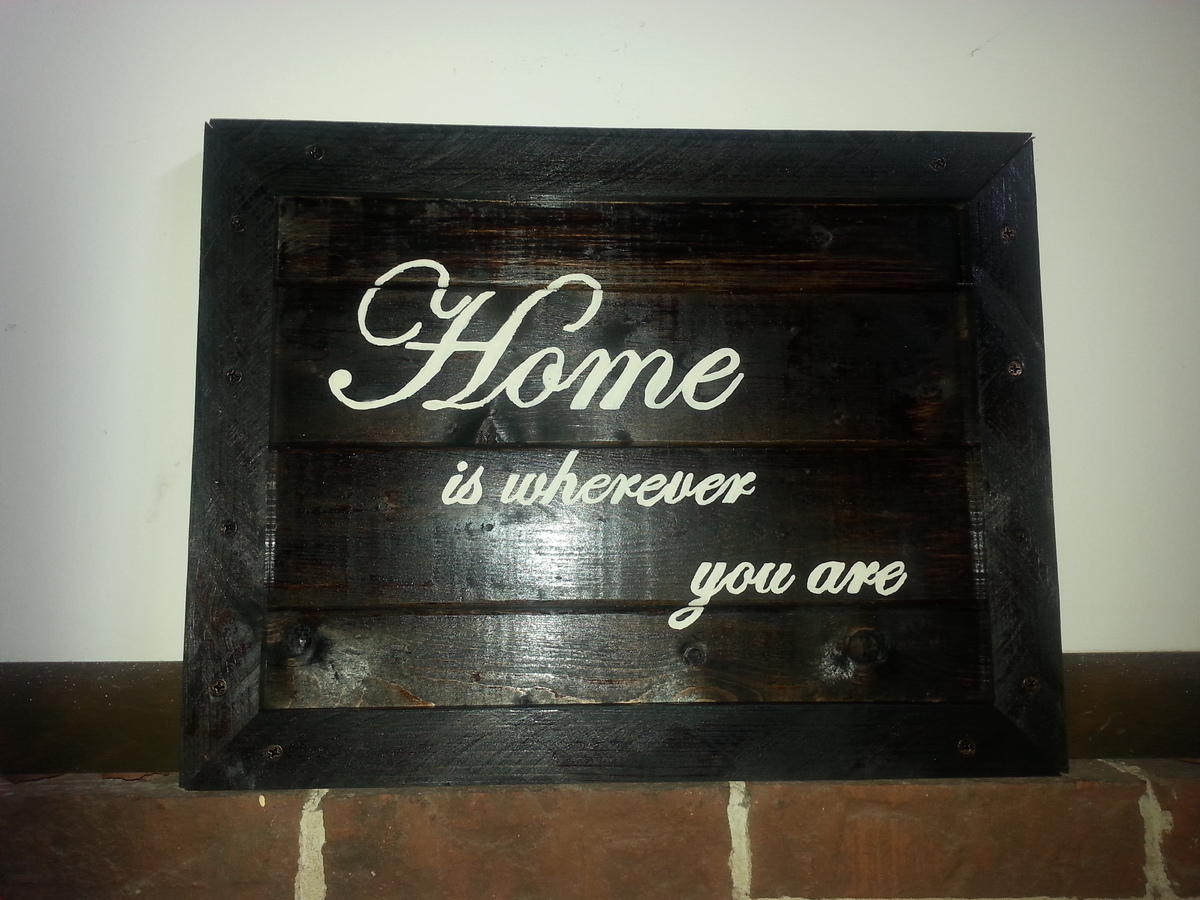
Well I decided to do some wall hangings and this one was my favorite all hand craftedand hand painted. Feeling inspired by wife I wrote this personal note to her "Home is wherever you are. "
Using four planks I lined them up and then made a picture frame and screwed it all together for a " farm door" look. Then I stained it and proceeded to paint it free hand.
This project didn't require much when it came to woodworking other than the wood mounted base. I have seen a few variations of pulley pendant lights on the web and thought it would be neat to build my own. I came across an old pulley and hanger at an antique mall. I bought the light hardware from a local big box store. I put some scrap lumber to use and applied some paint and stain I had around. I was hoping to make this my first custom made item to sell but once the Christmas season is over and the decorations are packed away, the Mrs. says she wants this hung in the house.Thanks for looking.
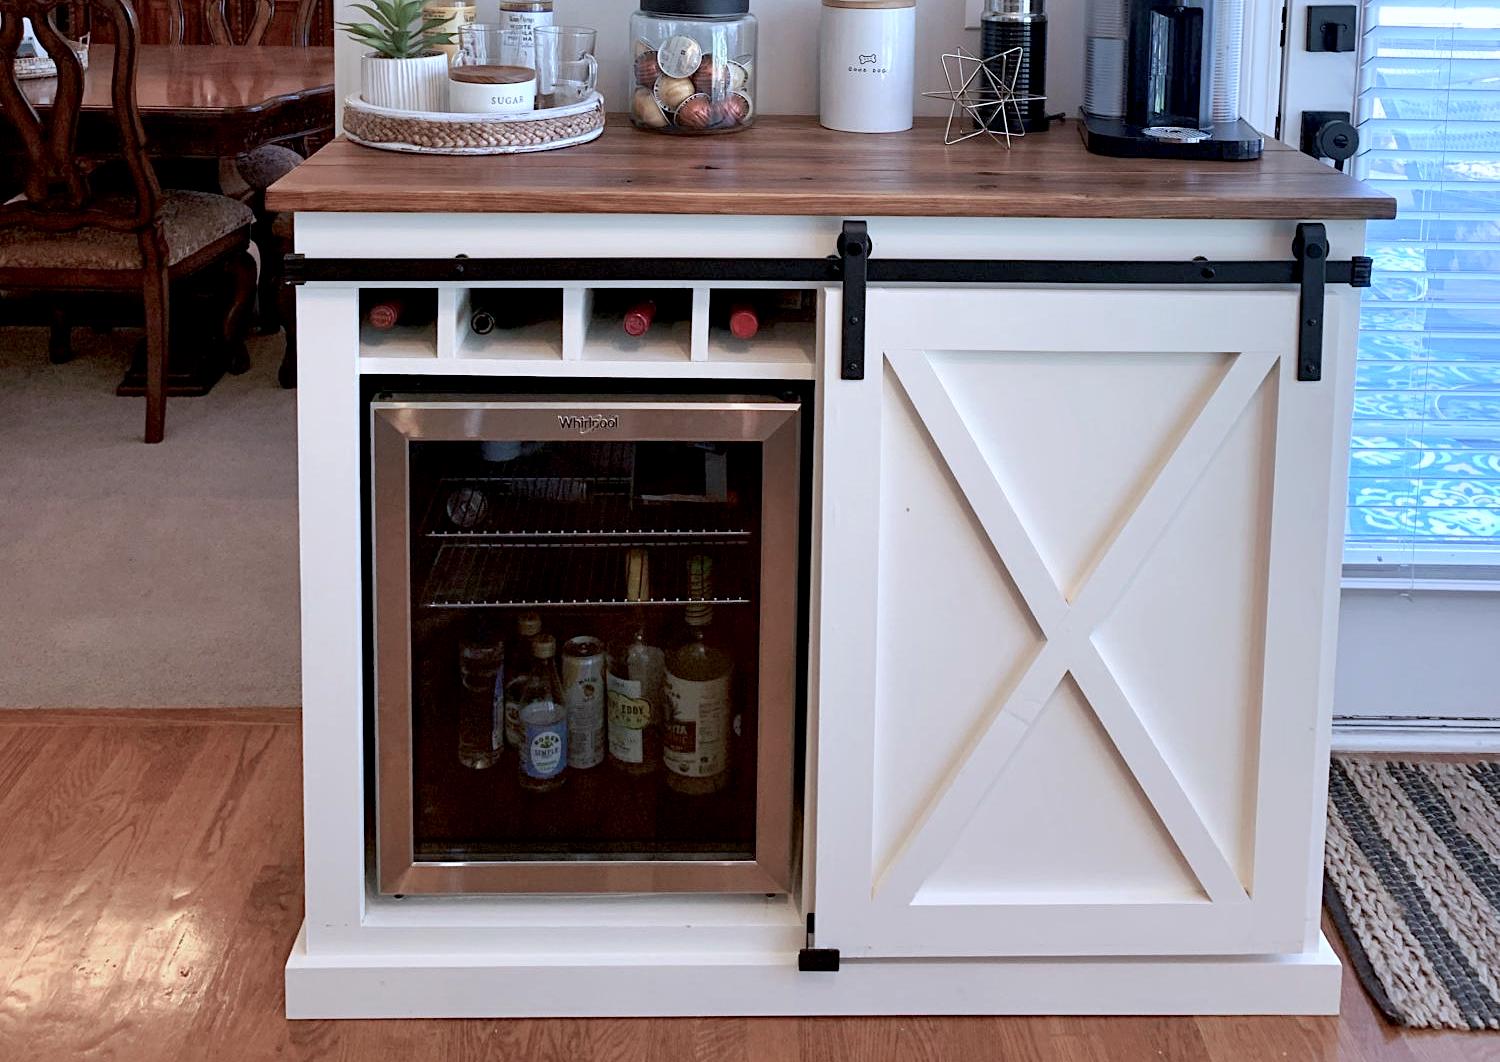
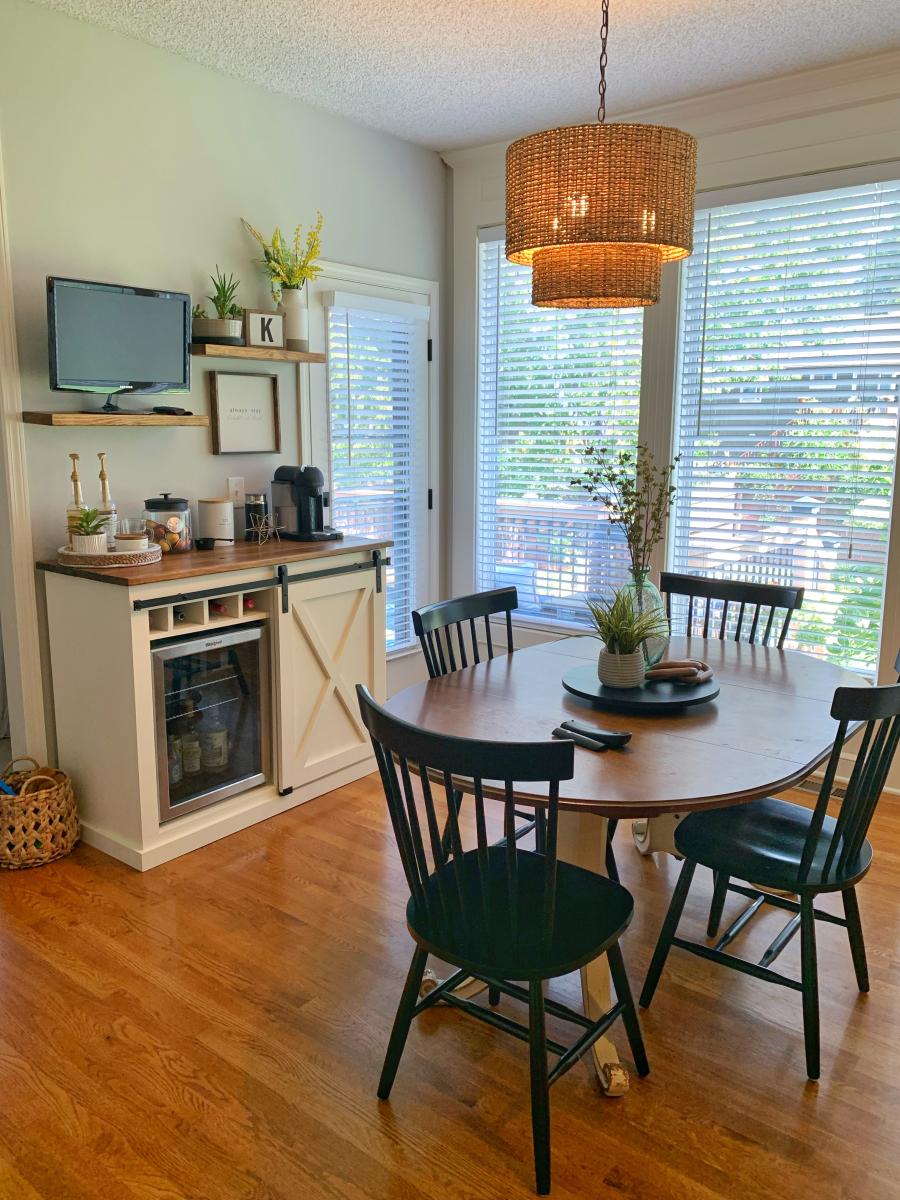
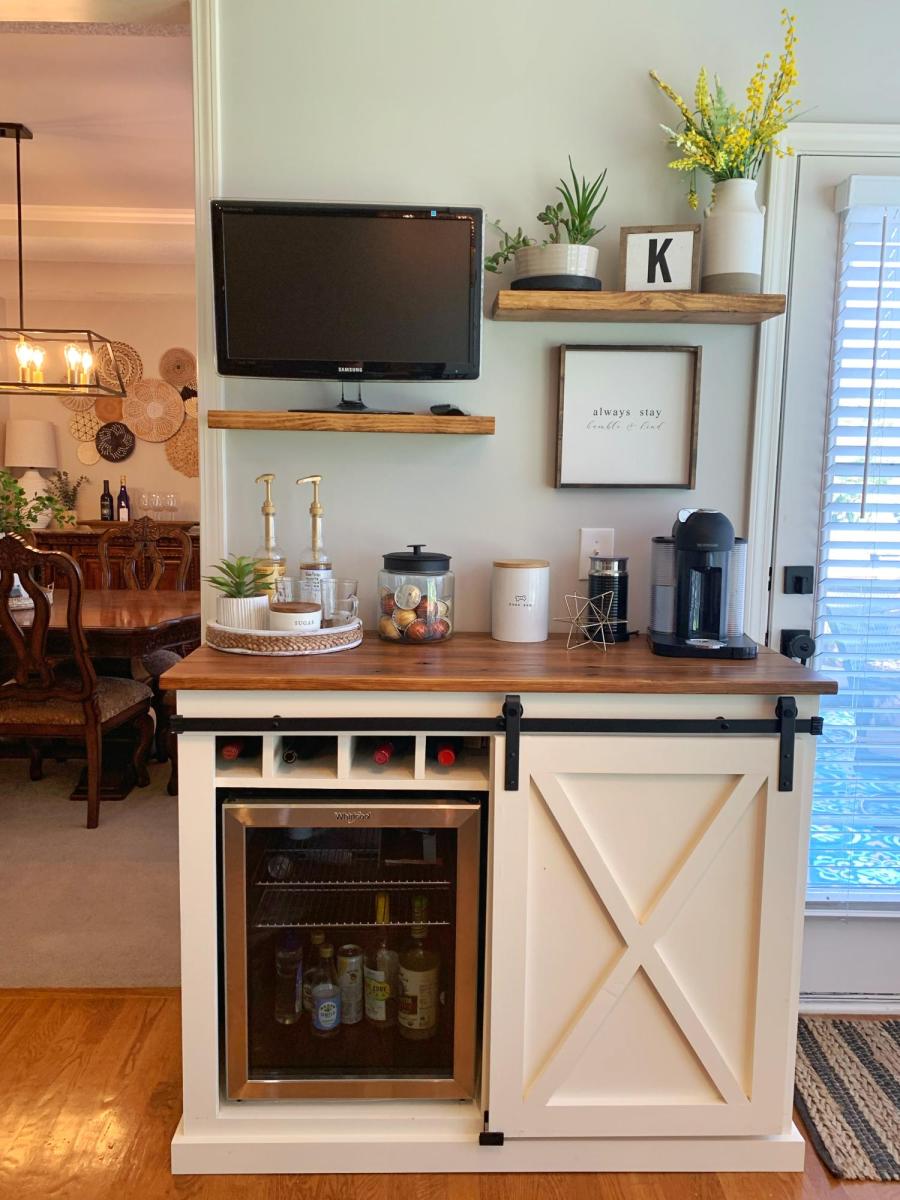
My wife wanted a coffee bar and I wanted a fridge for wine and beer. So we compromised on this.
Thu, 12/29/2022 - 10:02
Pretty much everything you ned in one place! Thank you for sharing, amazing build! Sharing to social media, please email [email protected] if you'd like us to tag you!
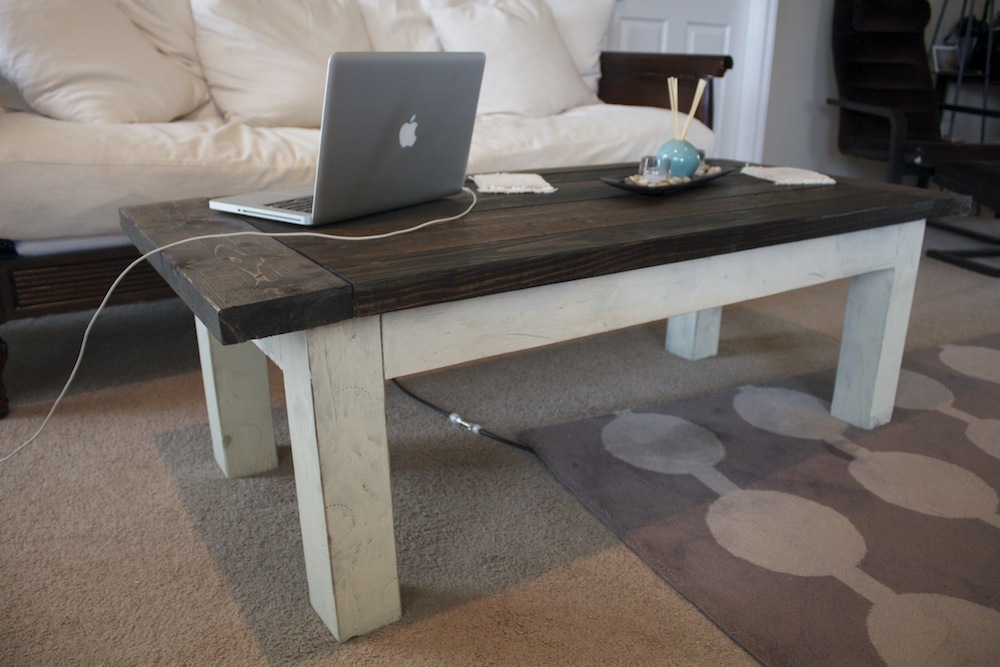
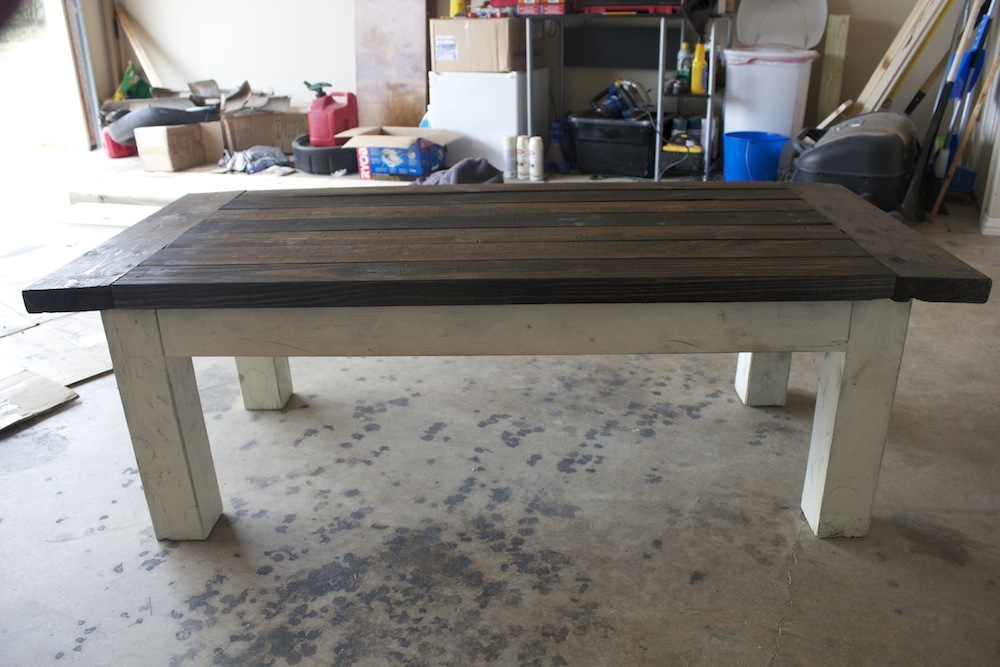
My Tryde coffe table. Fun to build and looks great! Thanks Ana!
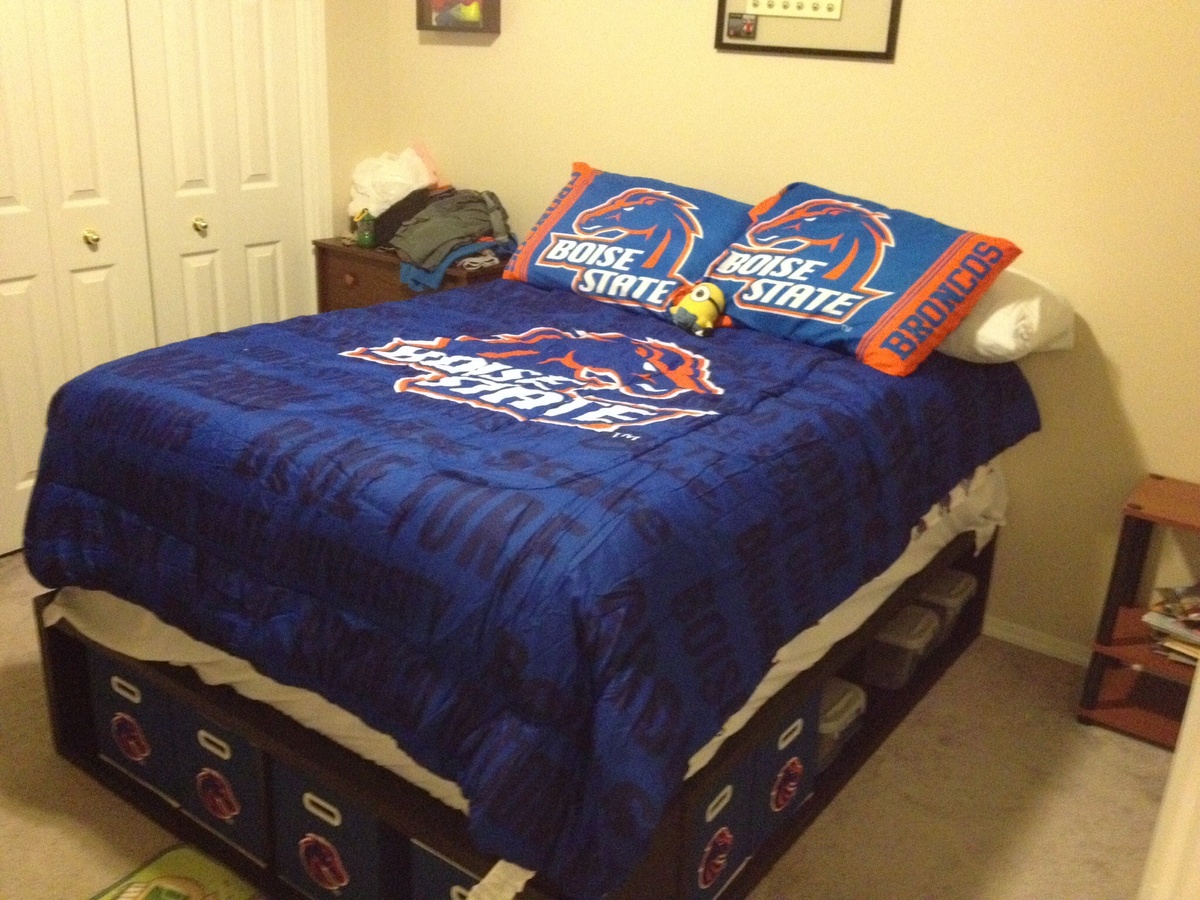
I started this project and wasn't sure what I was doing. This is the first project I've ever built and I look forward to the bigger and better projects I will be doing. As a spent several weeks online looking for the perfect bed to build for my son, I found this web page and truly found it to be easy to follow and easy to customize.
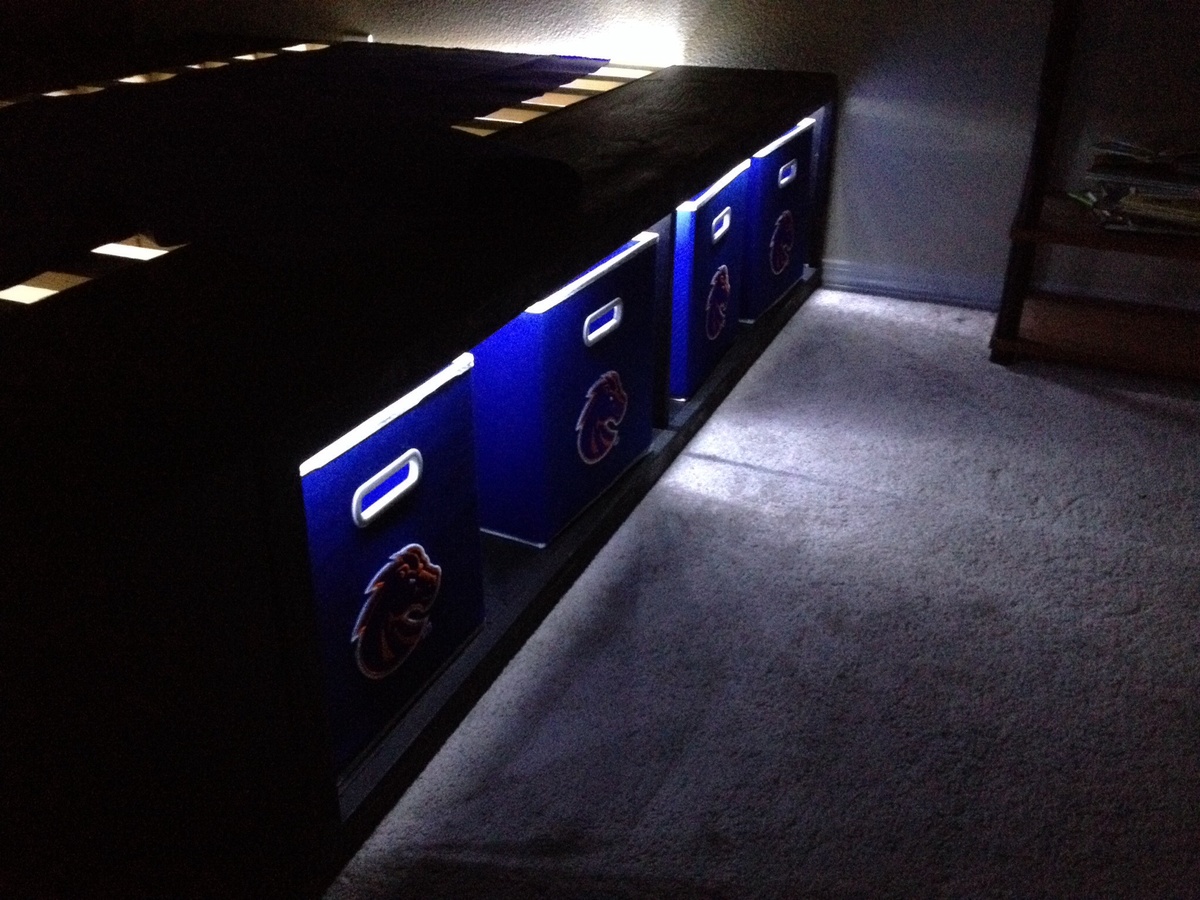
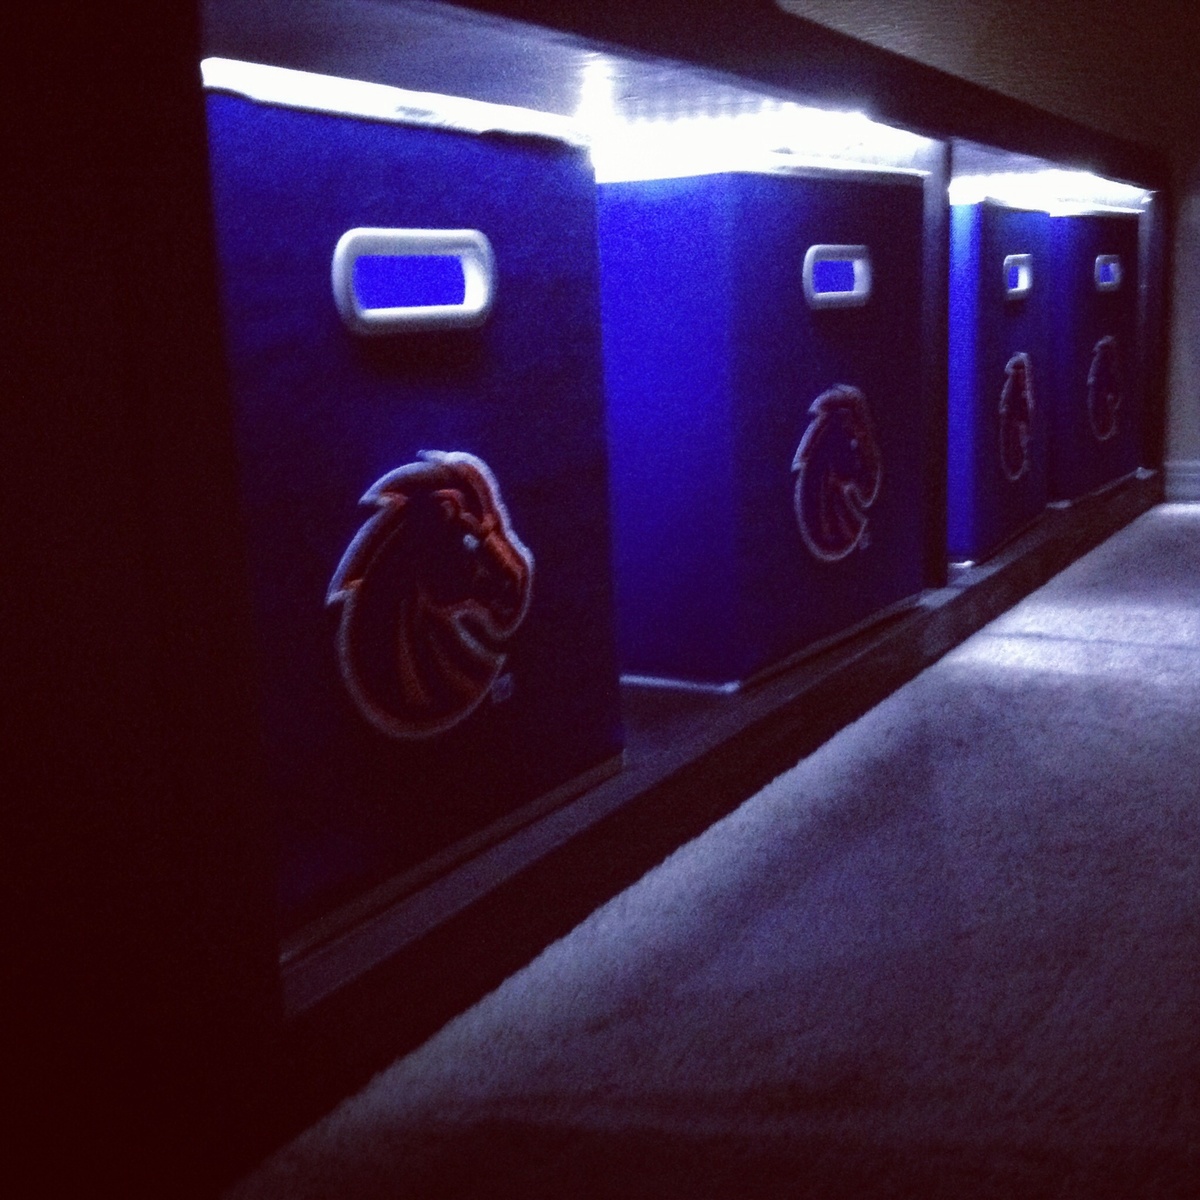
I built the bed and bought the fabric storage boxes at a local store and decided that the lights would be a great addition. I found some LED lights on Amazon.com which were extremely easy to install. The lights added only an additional $28, total, which added a cool new look to my sons room. He uses the lights as his nightlight and I love the way it turned out.
My next project will be the king farmhouse frame.
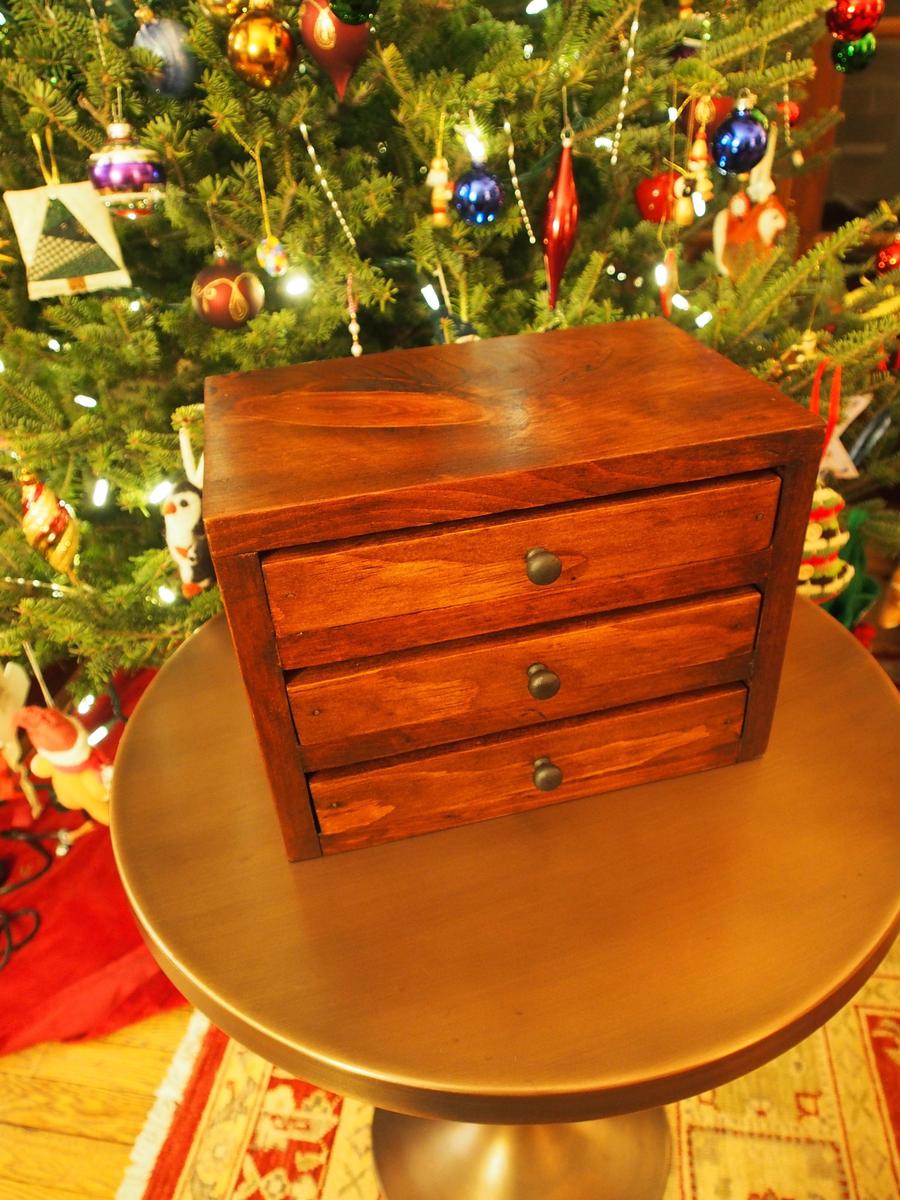
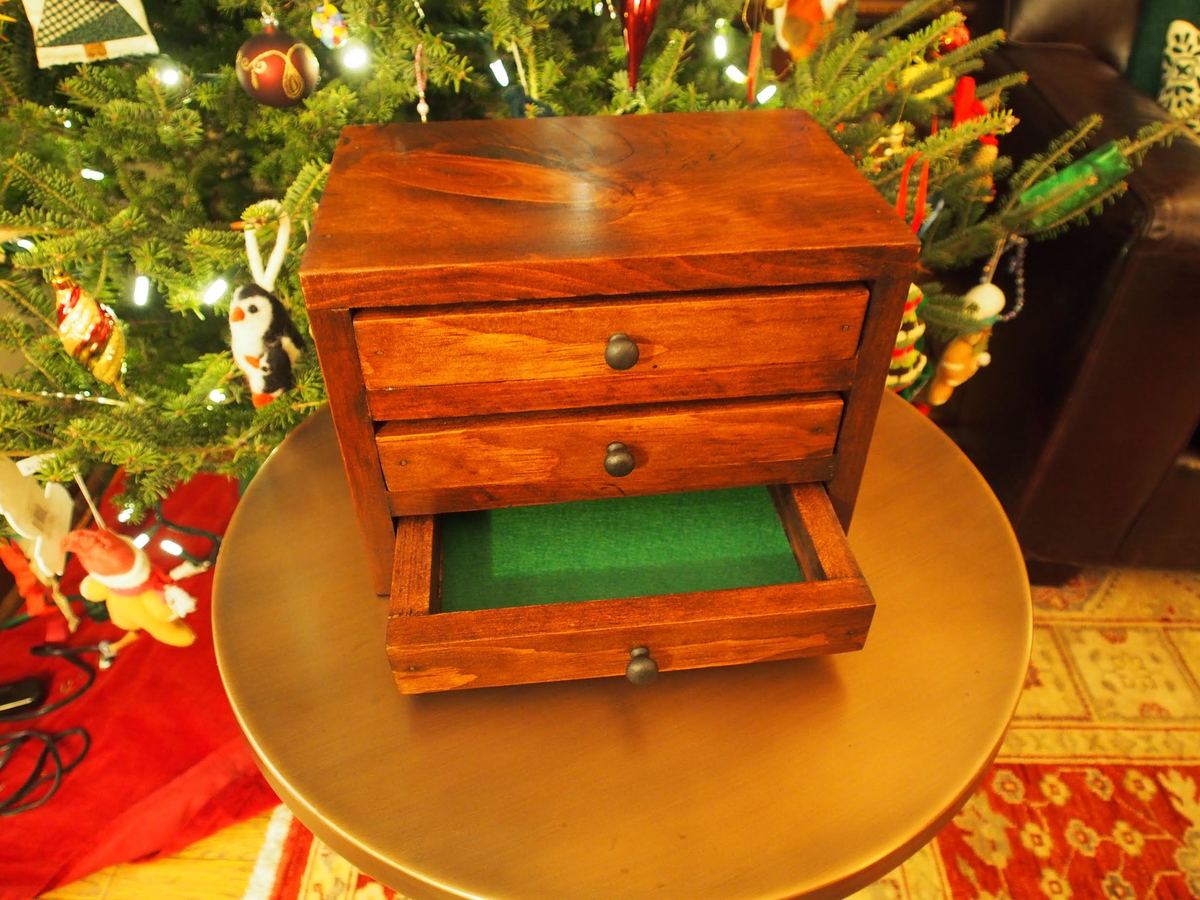
I built this as a Christmas gift for my office partner/best friend.
Sun, 01/03/2016 - 14:53
Gorgeous jewelry box! You did a fantastic job on this build! And your finish is amazing!
My daughter moved into her first apartment and asked me to make her a dining room table. I used the plans found on Ana's website and made a slight modifcations. I used 5/4" pine boards to build the tops and regular douglas fir 4x4s and 2x4s for the bases. All screws are hidden exept the lag bolts I painted black and used to bolt the end trusses to the center truss which gives it kind of a industrial type accent. Thanks to Ana White and Shanty 2 CHIC for the great plans. My daughter loved the table and bench and she is going to find chair for the other side of the table.
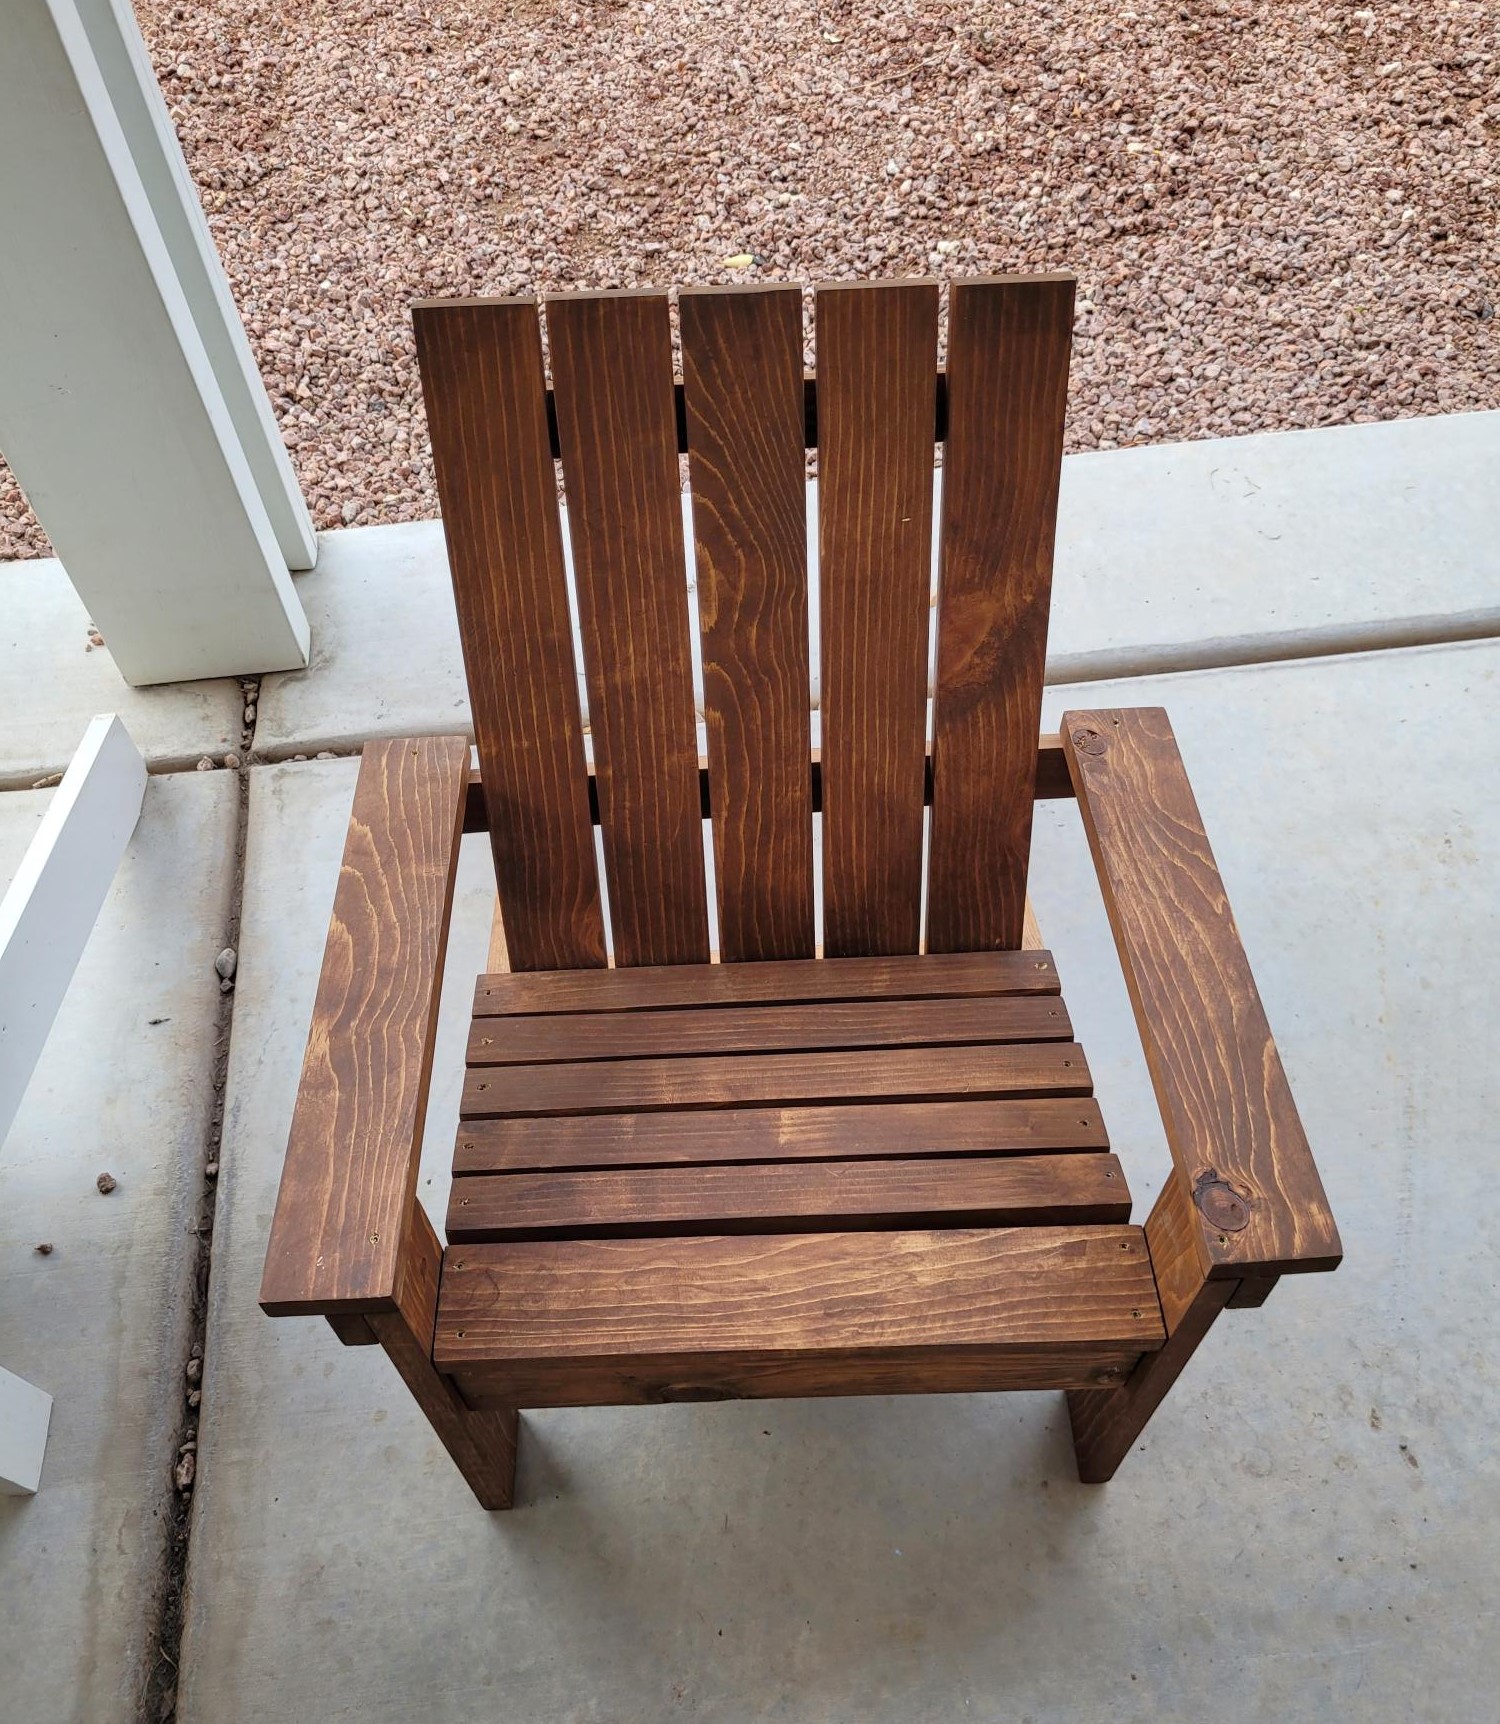
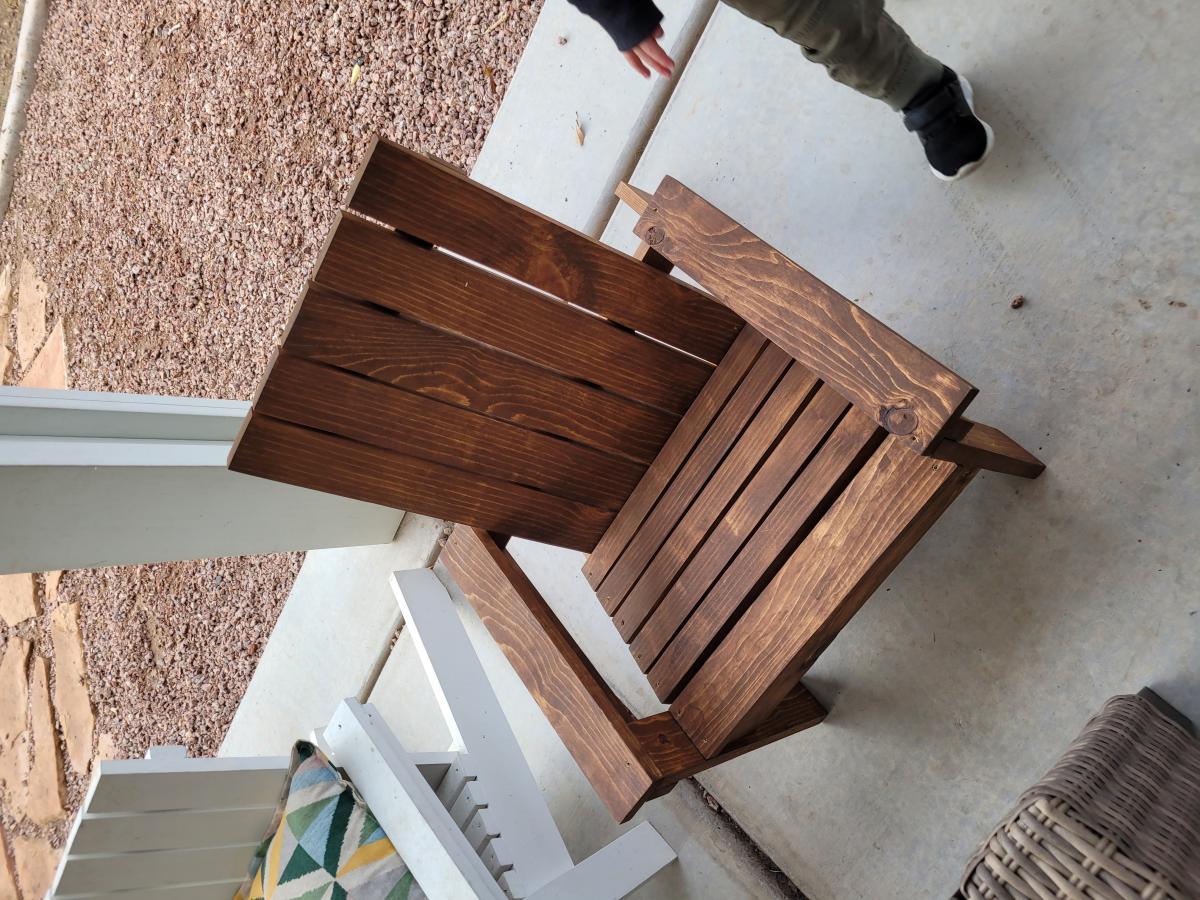
Turned out okay, still have some learning to do!
Sun, 01/08/2023 - 10:43
Thank you for sharing, there is always learning to be done, you did it!
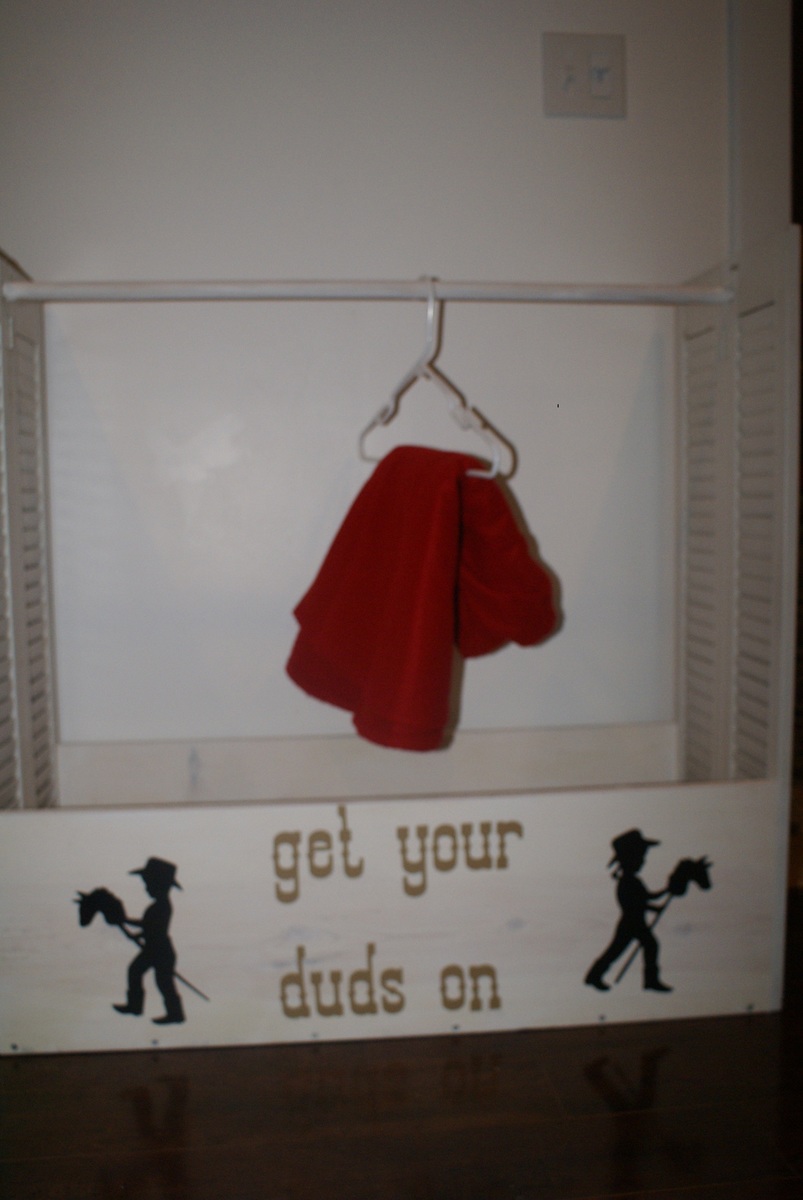
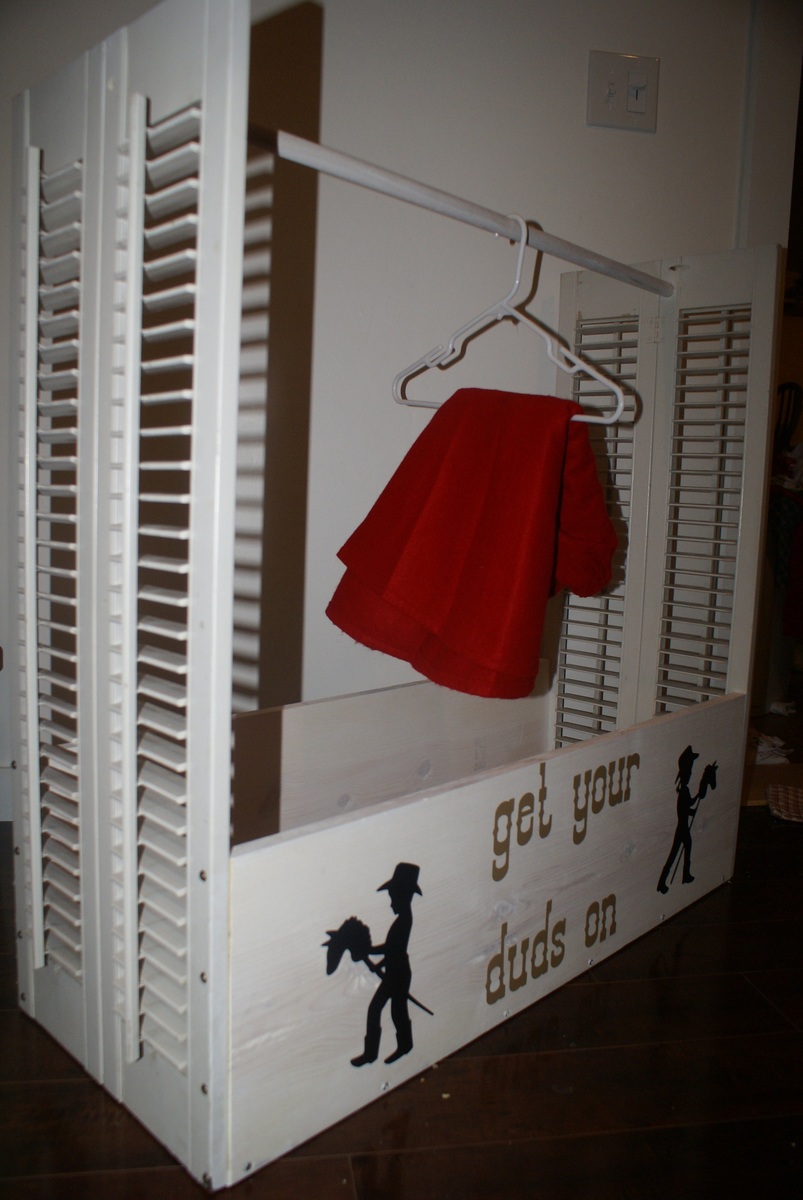
This dress up center was made by me & my hubby for our daughter's first classroom. We used old shutters for the ends and added a couple inches to the bottom & front/back boards to make them all match up. We used the "get your duds on" & Cricut vinyl to make it work for all the cowboys & cowgirls in her class! The shutters open & close giving them an added interest and a teaching moment to bring in recycling!
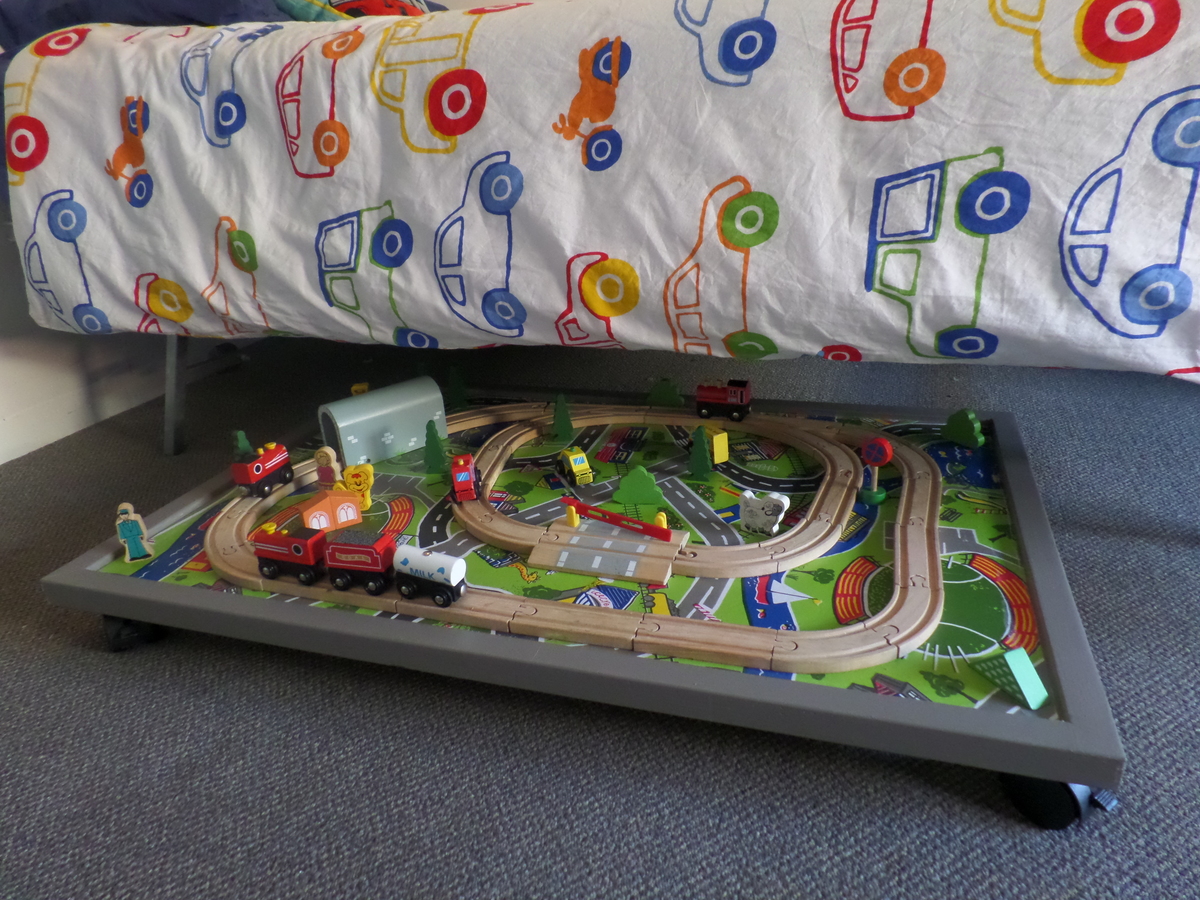
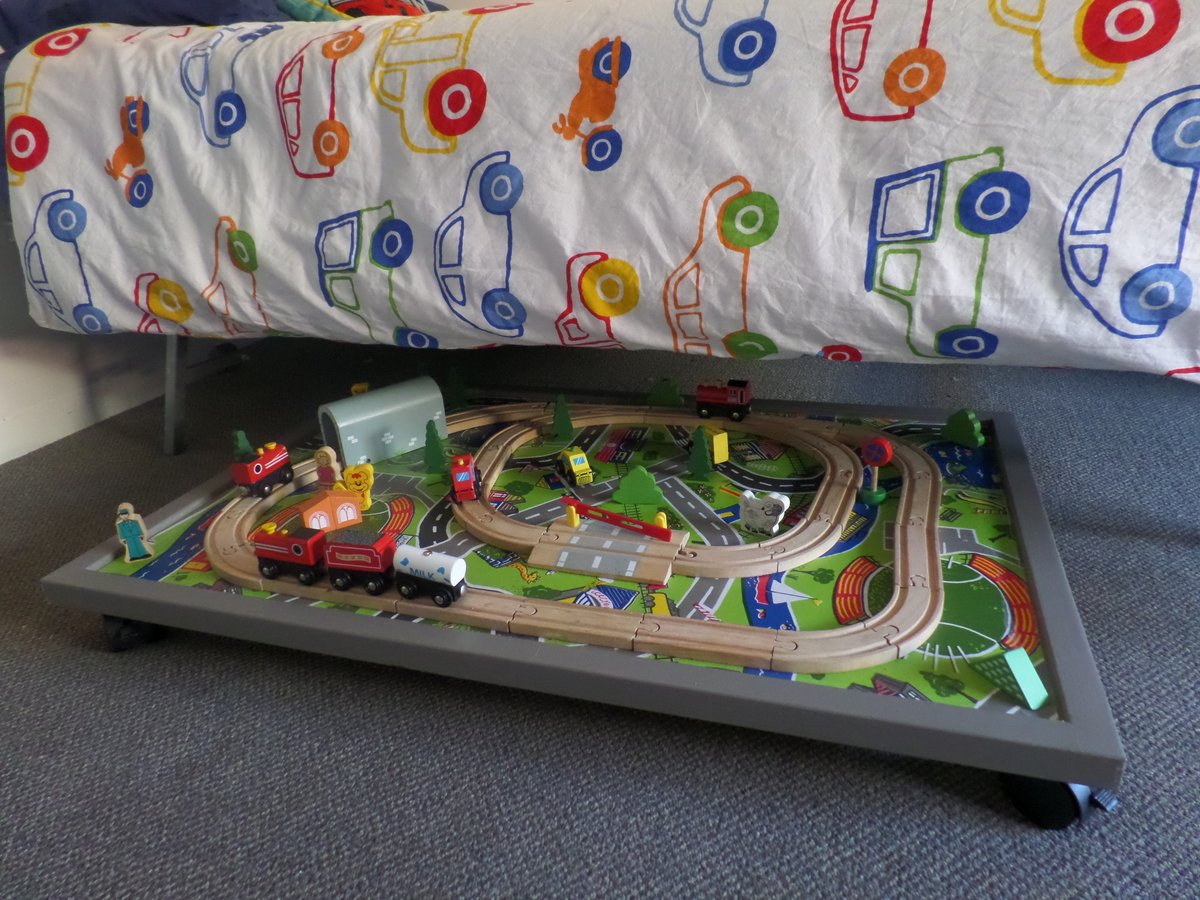
I actually made this before I came across your plans! My son loves it and i love that he can 'play and roll away!'
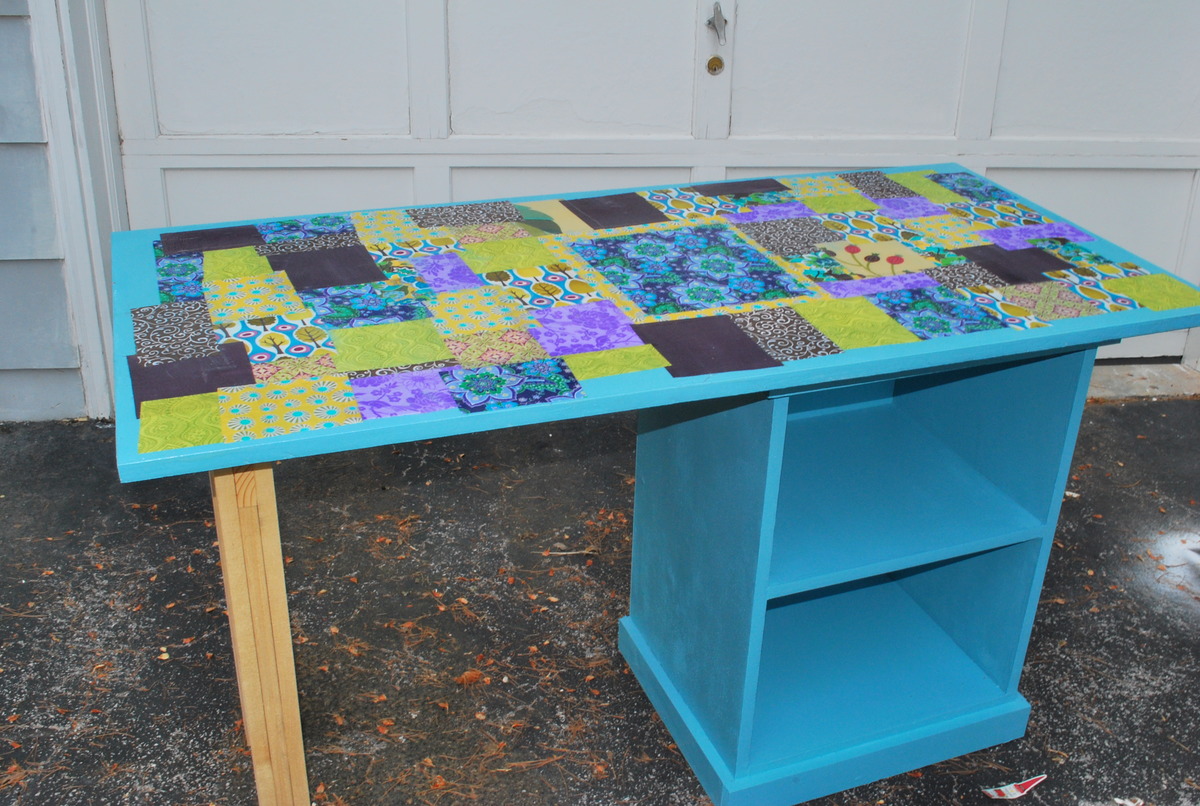
I needed a new sturdy sewing table so my husband built it for me. I painted it turquoise and then mod podged my fabric fabric squares in a crazy quilt design on the top. It is sealed with spray acrylic. I love it.
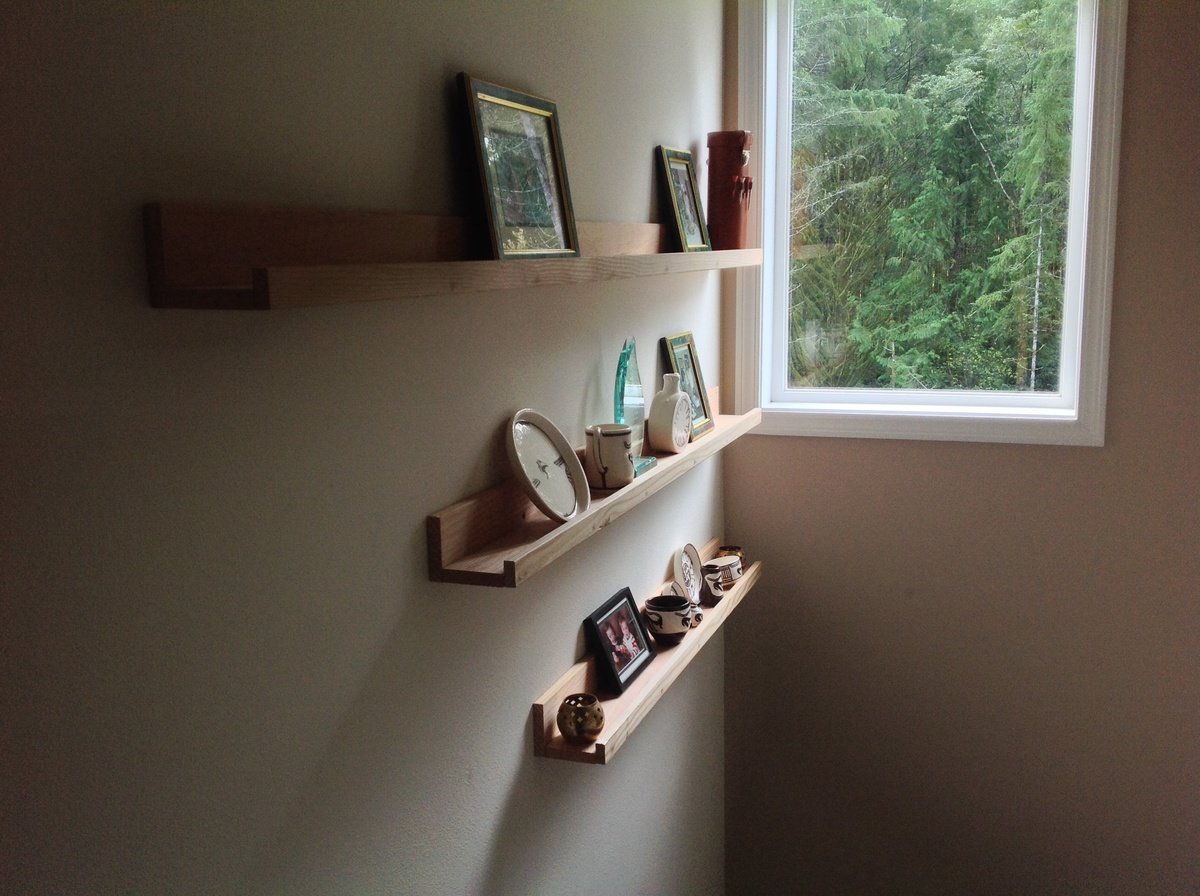
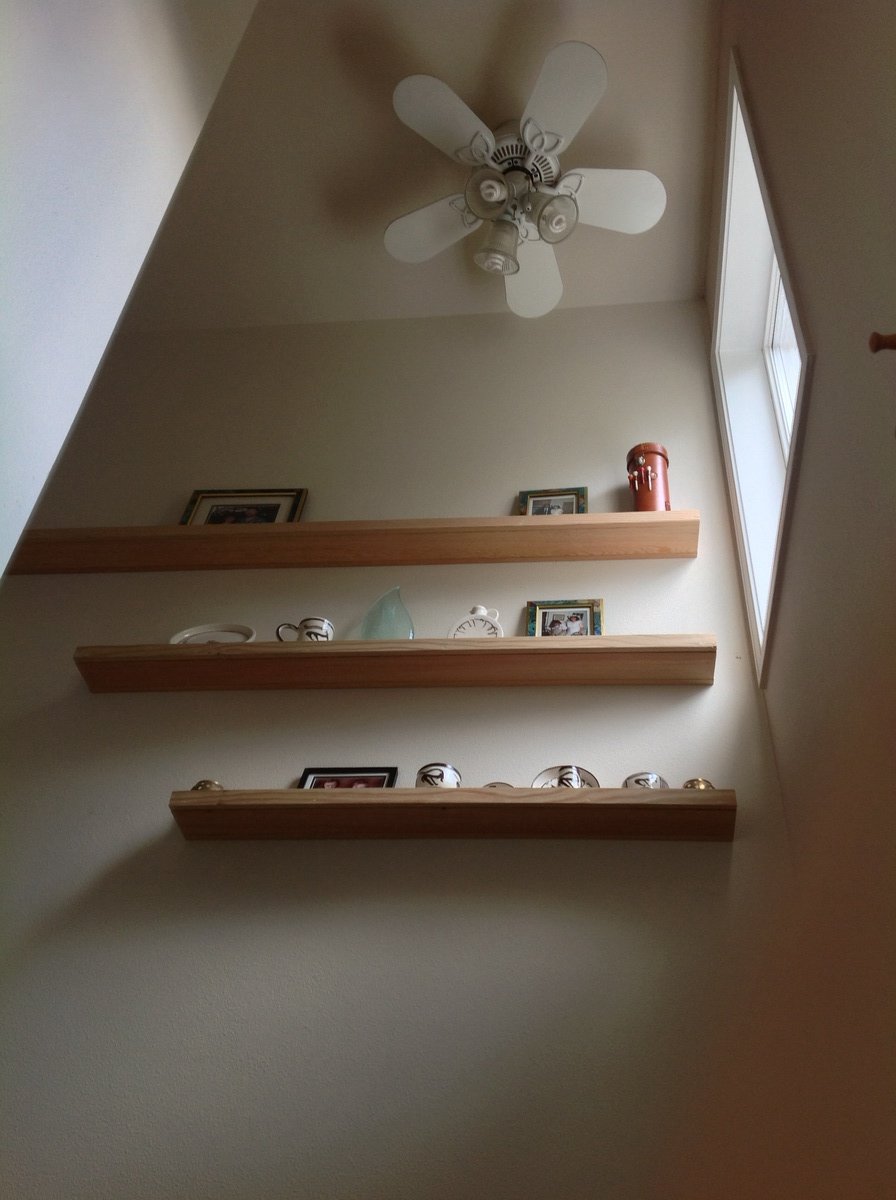
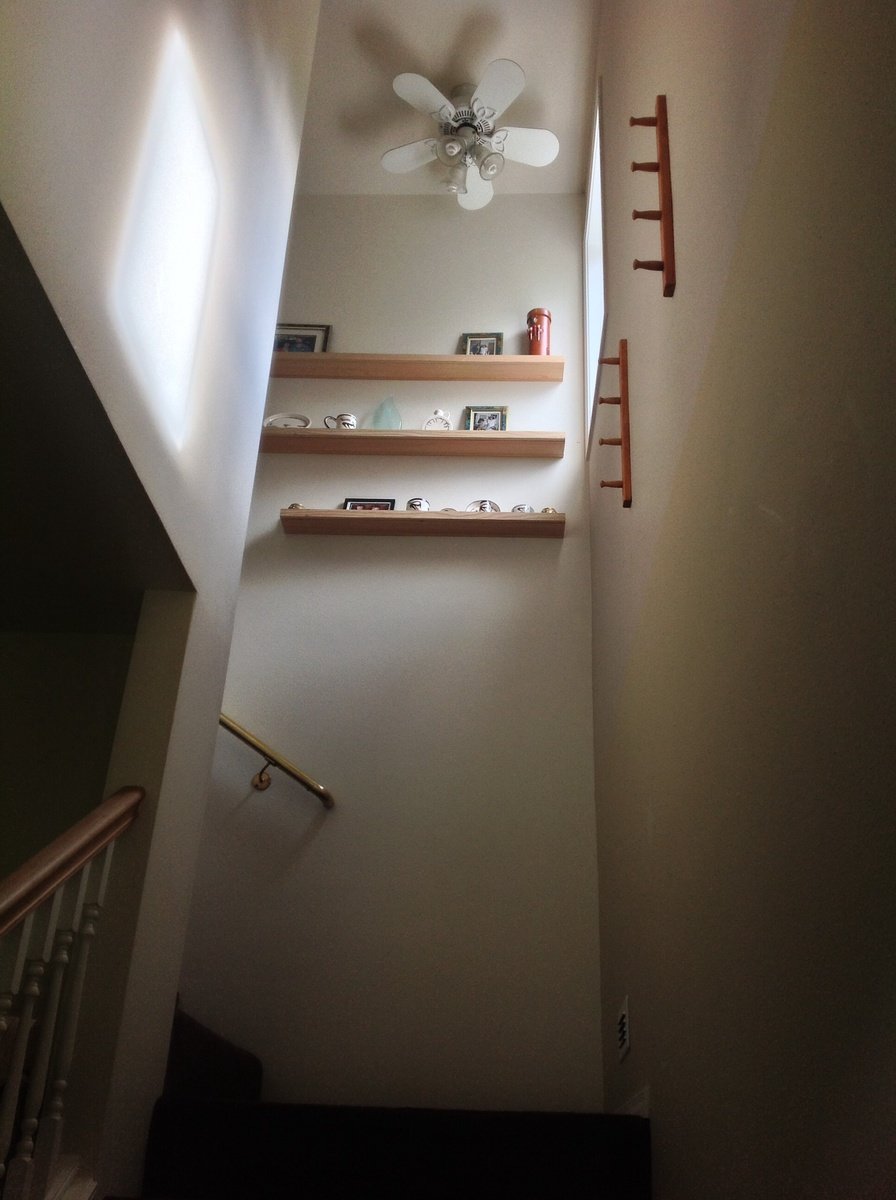
Built three 10 dollar ledges of fir for a tall, awkward area over our stairs. 3.5, 4.5, and 6 feet long. Looks great and finally can make use of that space. I initially bought red oak but decided it was too heavy (and too expensive at $90). Still need to putty the screw holes.
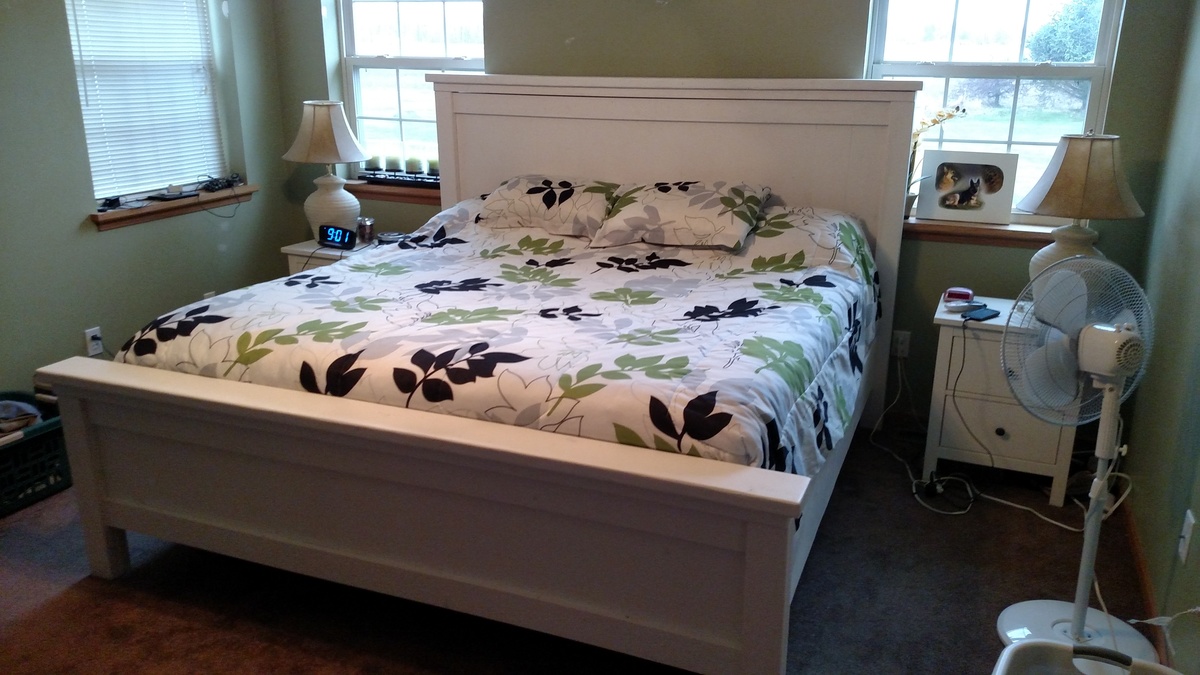
My bed frame dimensions were 76 wide by 80 length. So that is the inside demension after assembly. My headboard posts were cut to 54" and footboard posts were cut to 24". Headboard panels are 31.5" (14- 6" boards) and footboard panels are 15.5" (14- 6" boards). My posts were made from combining two 2x4s together. I plan on mounting the metal bed frame to the inside of the bed rails. I enjoyed this project greatly.
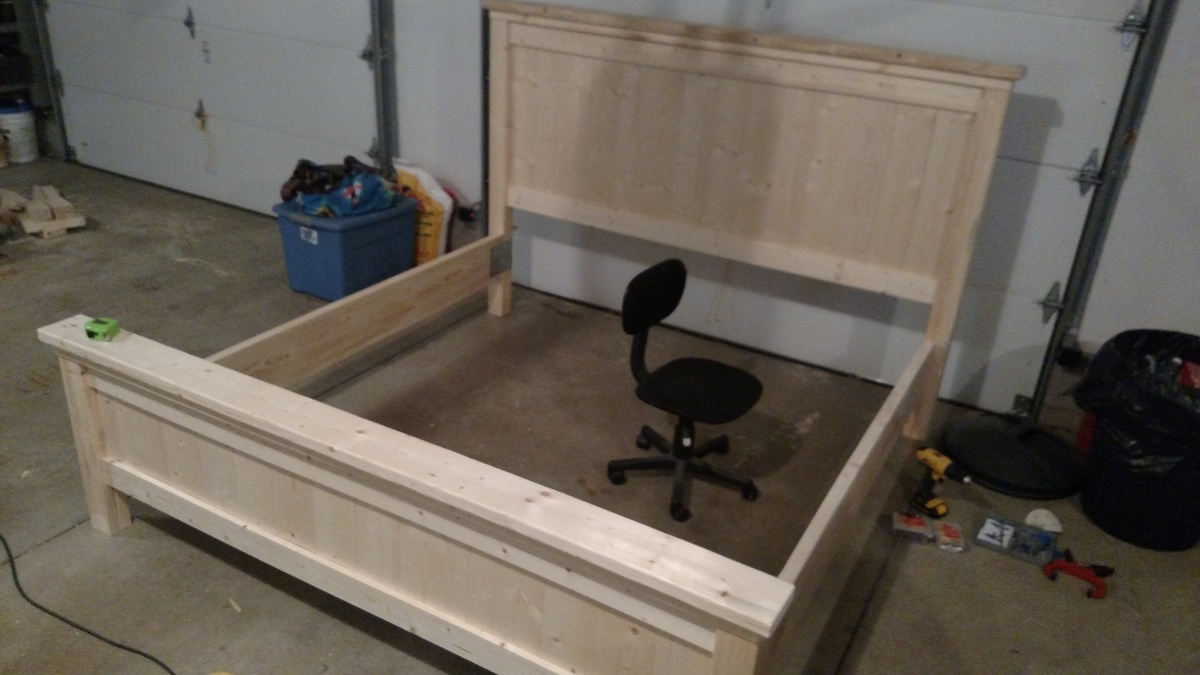
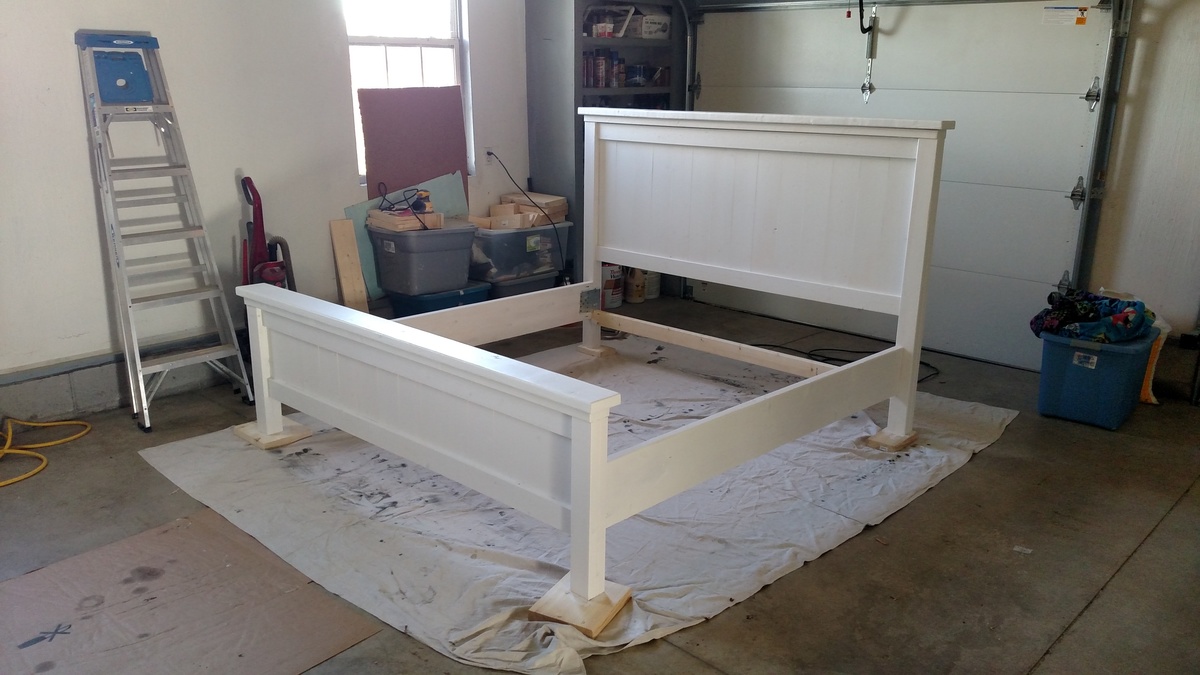
Made legs 16 inches to bring to height suitable for the mattress I had. My first project ever using Kreg K5.
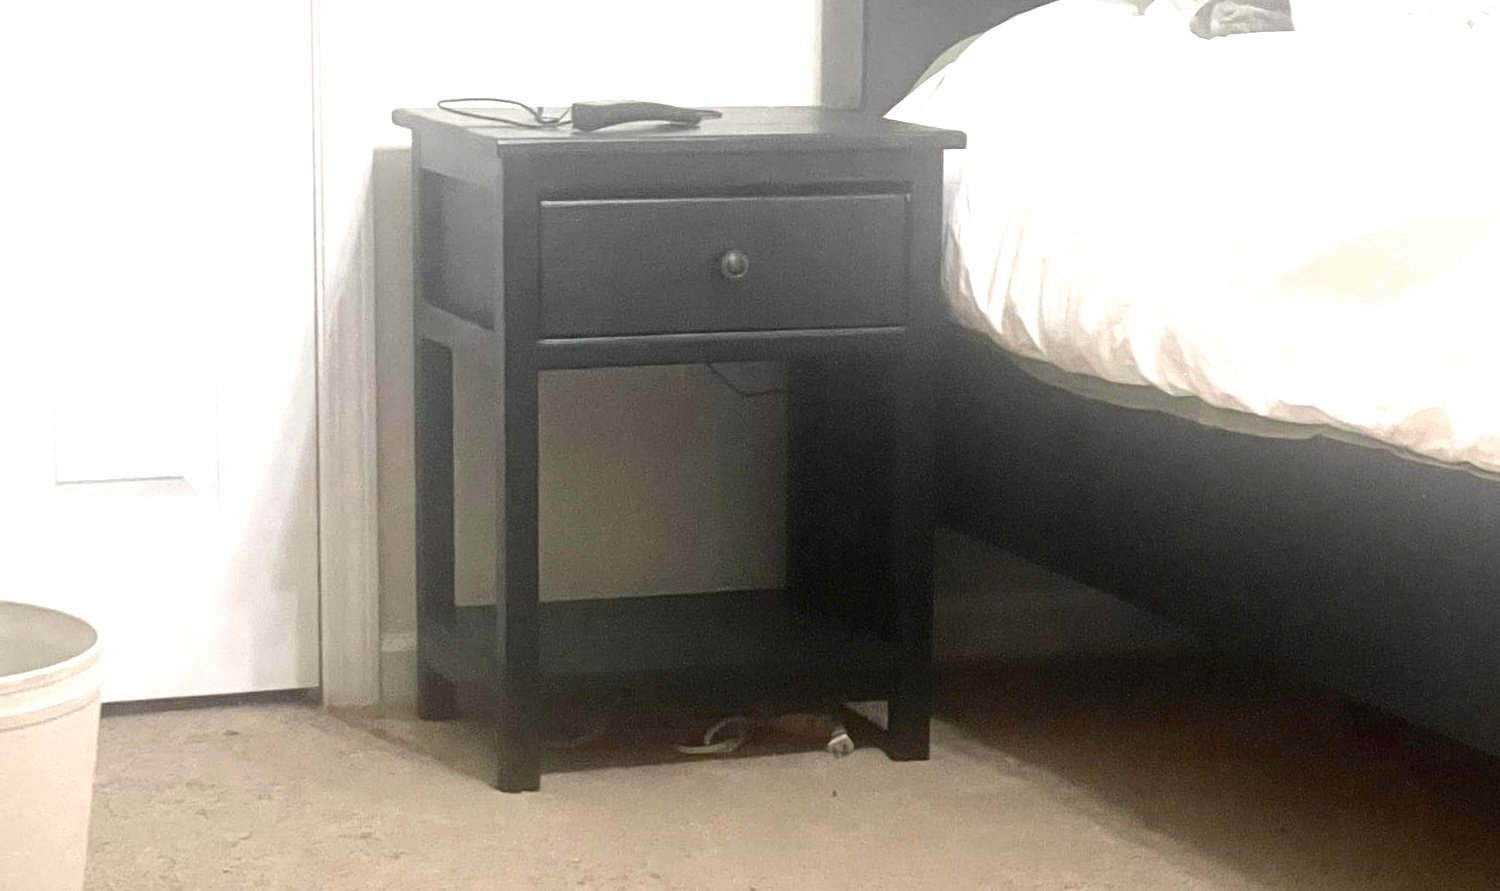
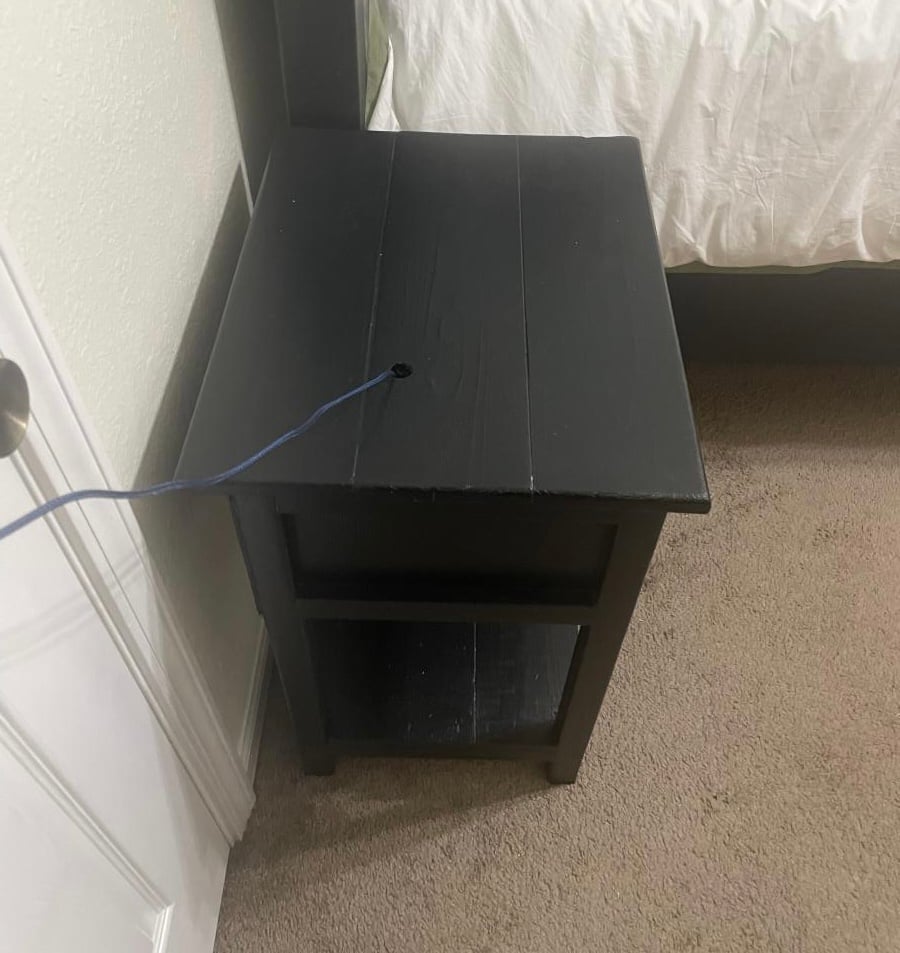
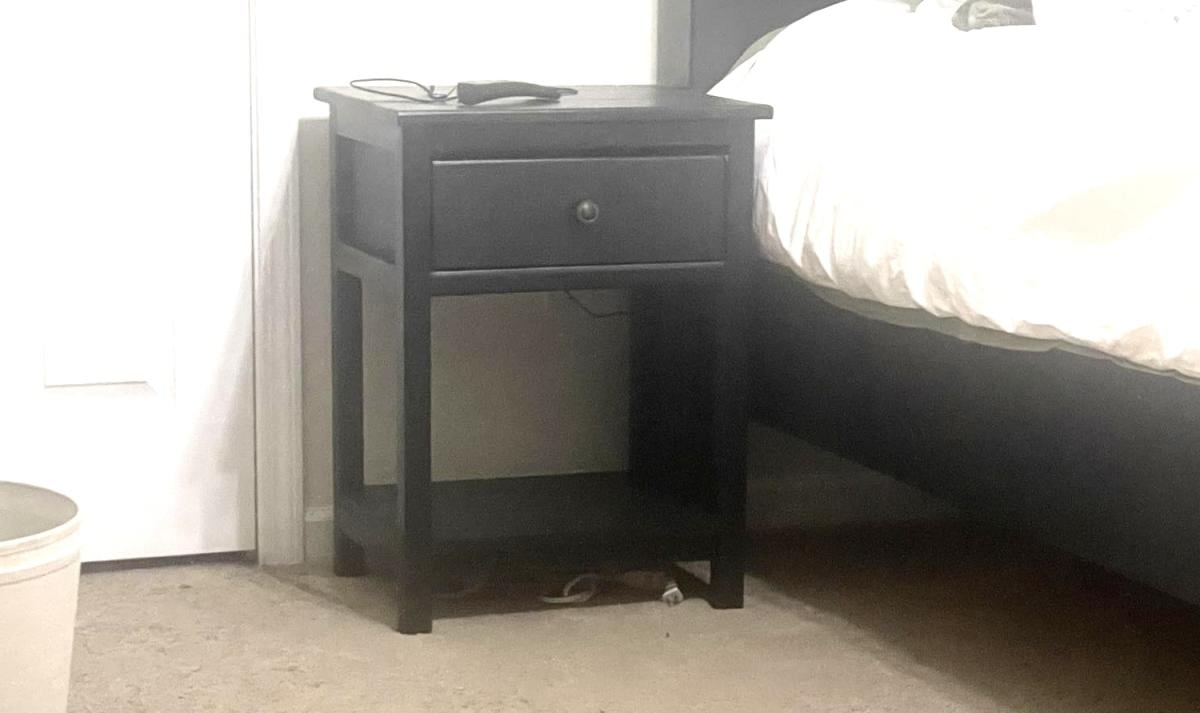
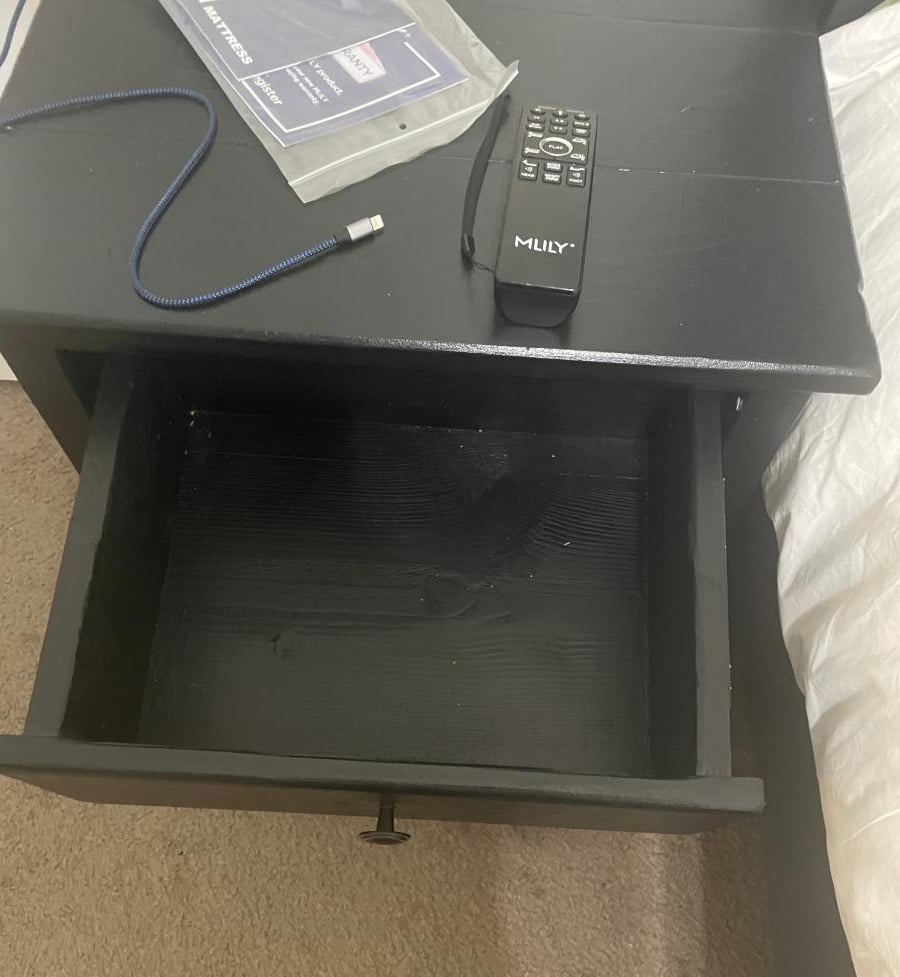
I built the farmhouse bed and needed side tables. These worked out great. Very easy to manipulate sizes to make larger
