Front porch bench
Second project. I built this bench for my front porch. This was a practice project to get comfortable with pocket screws before I attempt a large table for my back patio.
Second project. I built this bench for my front porch. This was a practice project to get comfortable with pocket screws before I attempt a large table for my back patio.
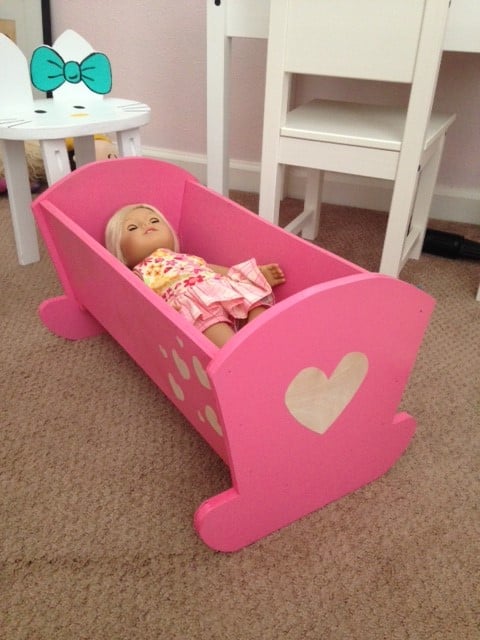
I used leftover plywood (1/4 inch) instead, but would only recommend it, if you plan to paint the cradle (due to splintering when you make your cuts). I also used my nail gun instead of screws, which worked fine since the wood is a lot thinner and lighter. The cradle is very sturdy and my 4-year-old loves it. Thanks for the awesome plans!!
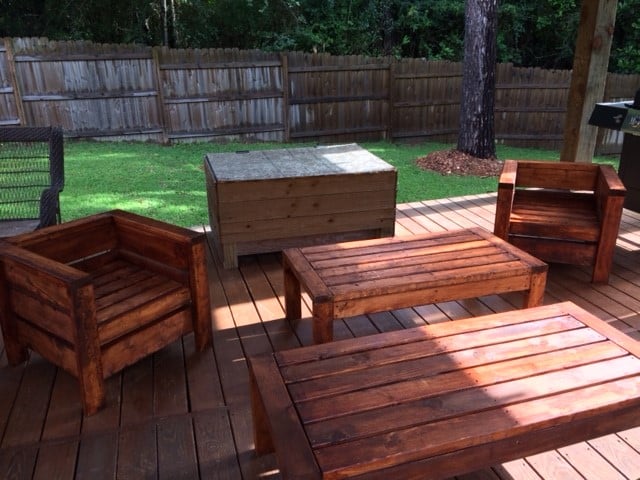
started with outdoor sofa, and ending making 4 chairs, loveseat, and 2 coffee tables
Mon, 05/18/2020 - 20:29
Love the look, posted on Facebook and had requests to build for others. Made my Mother - in-law 2 chairs and a coffee table for her birthday.
Mon, 05/18/2020 - 20:29
Loved the ease, price, and quality of this furniture.
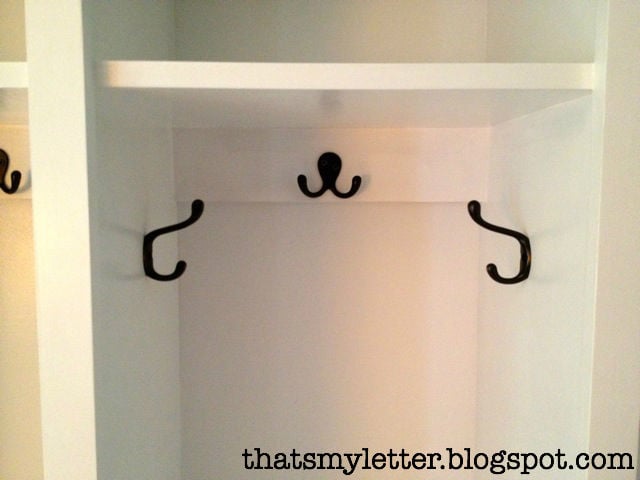
We had pool toys and nerf guns all over our porch! I decided to build a locker system for all of it! I already had the bench, so I modified the plans a bit to fit around it. I also added extra hooks for wet towels and goggles to be hung up to dry. Some of the hooks are large bolts that we had laying around the tool shed. They actually hold wet towels in place better than store bought hooks ;)
This was my first project. It was really easy to execute. I thought that I would have a hard time with the strips, but it was not what I imagined at all. It turned out very well.
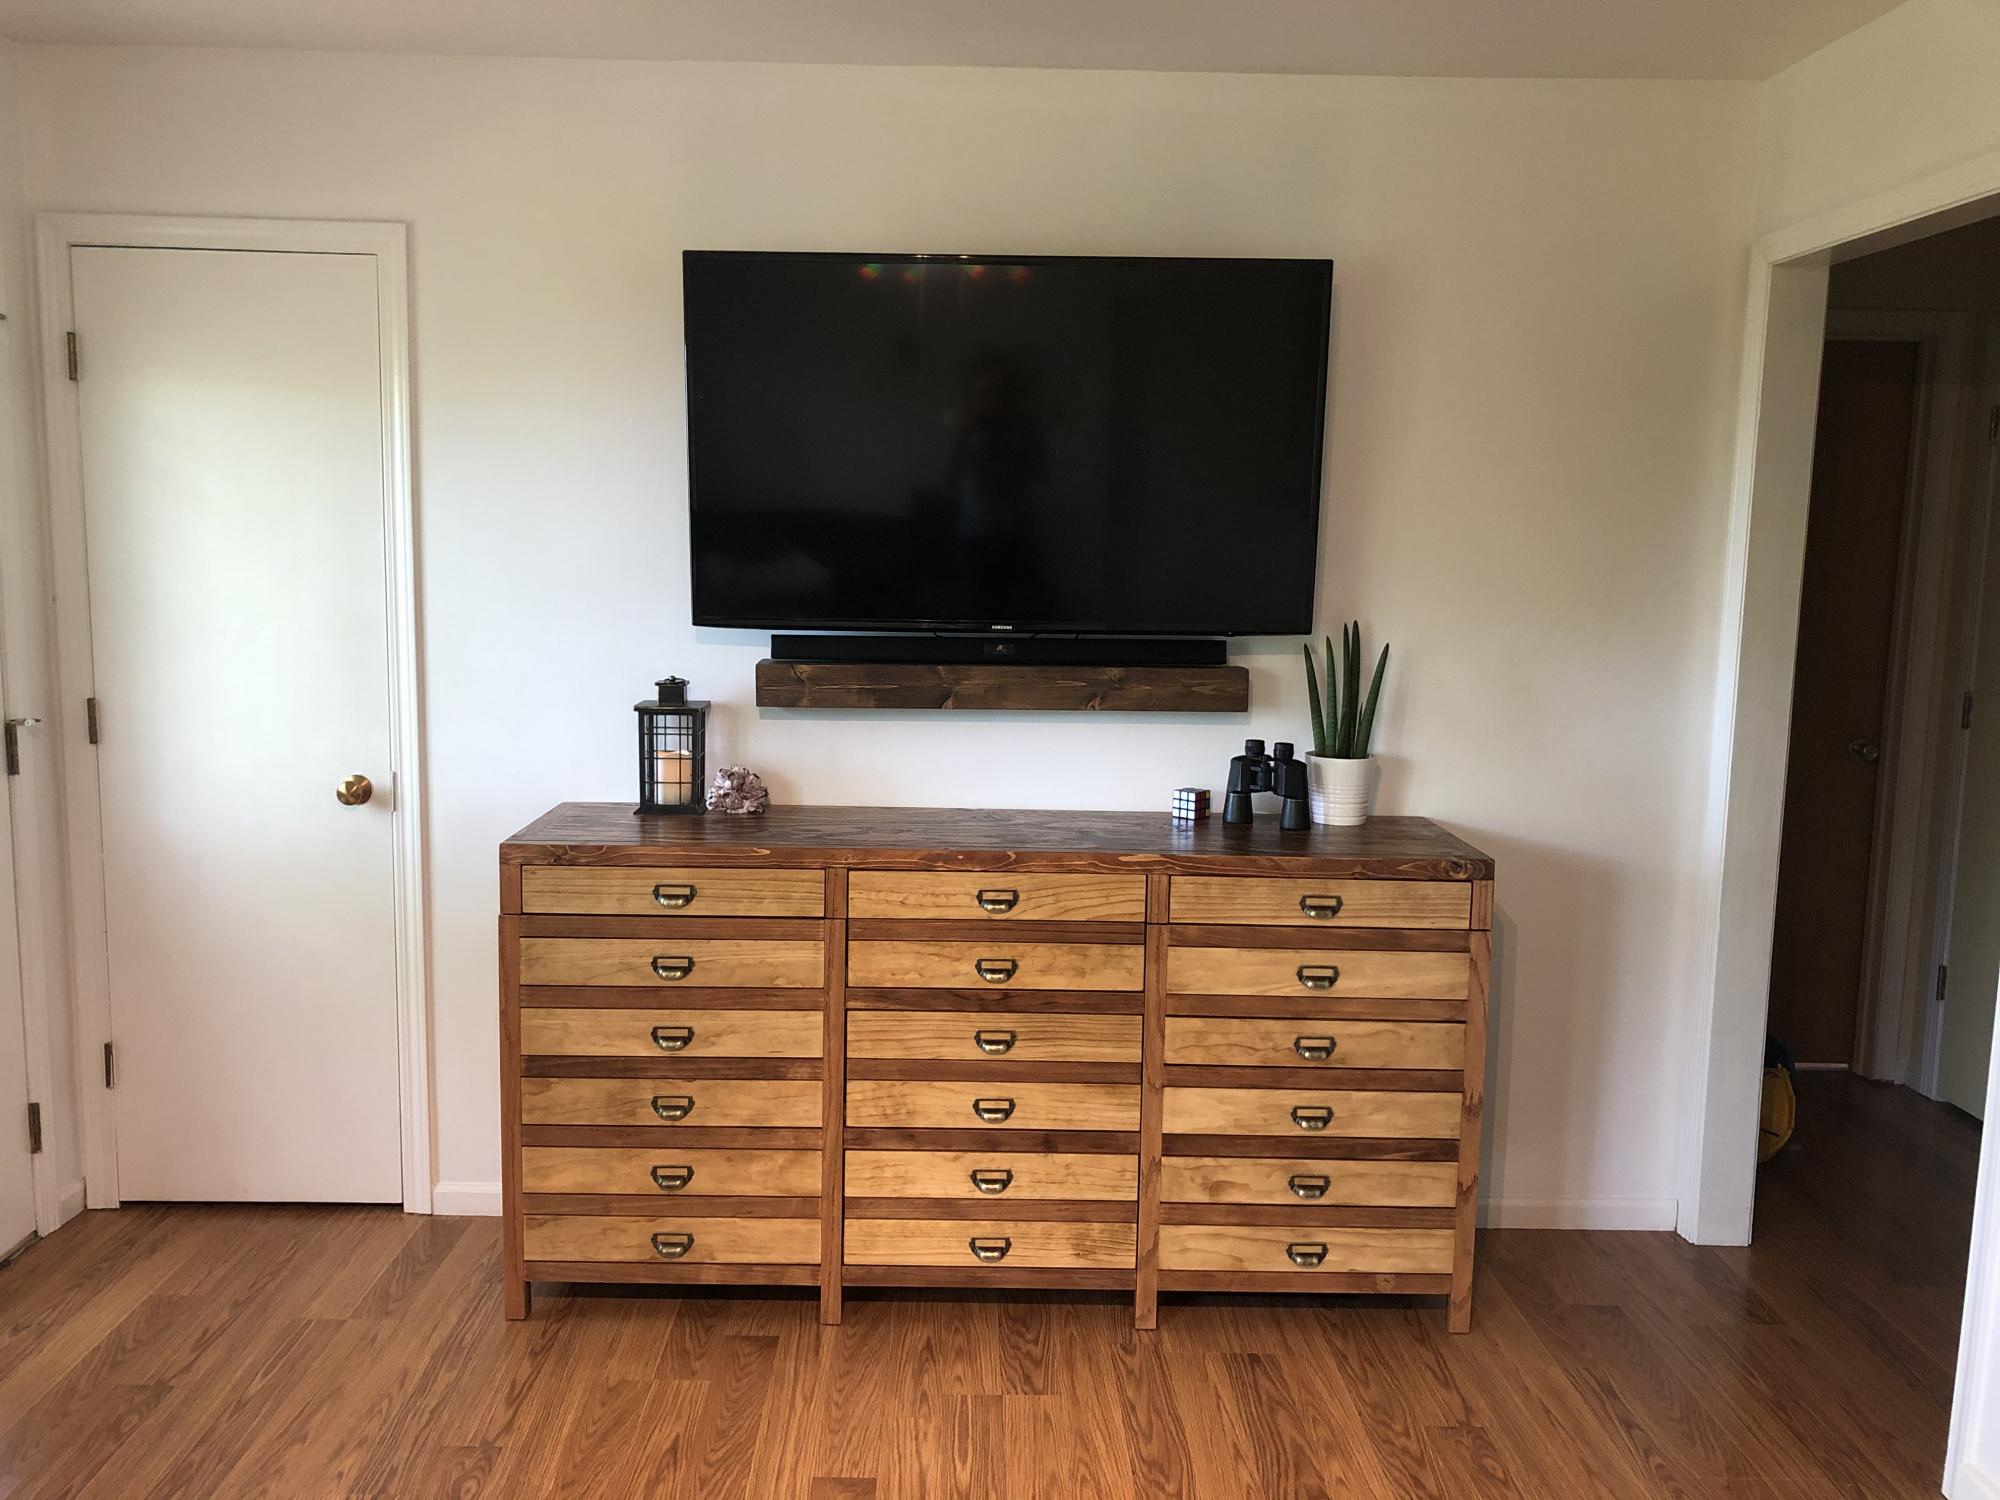
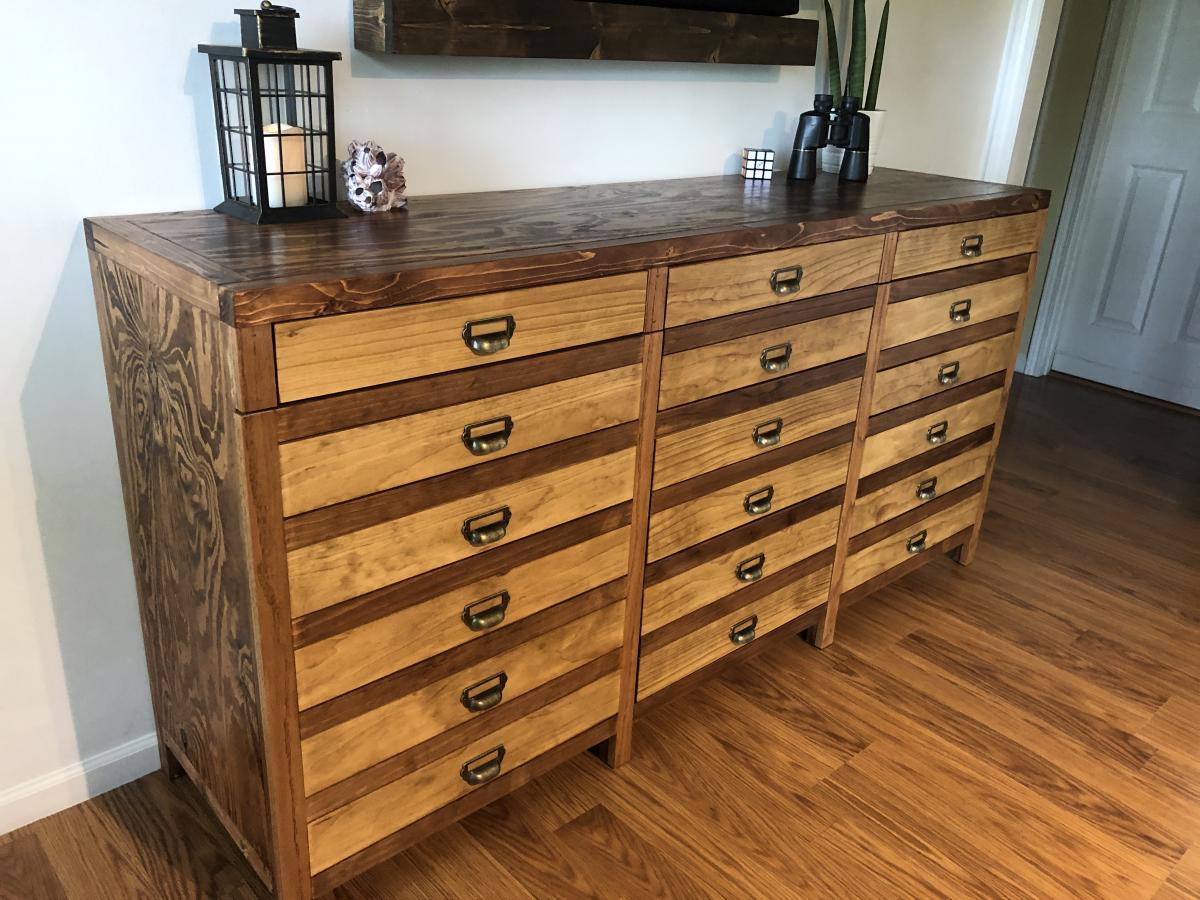
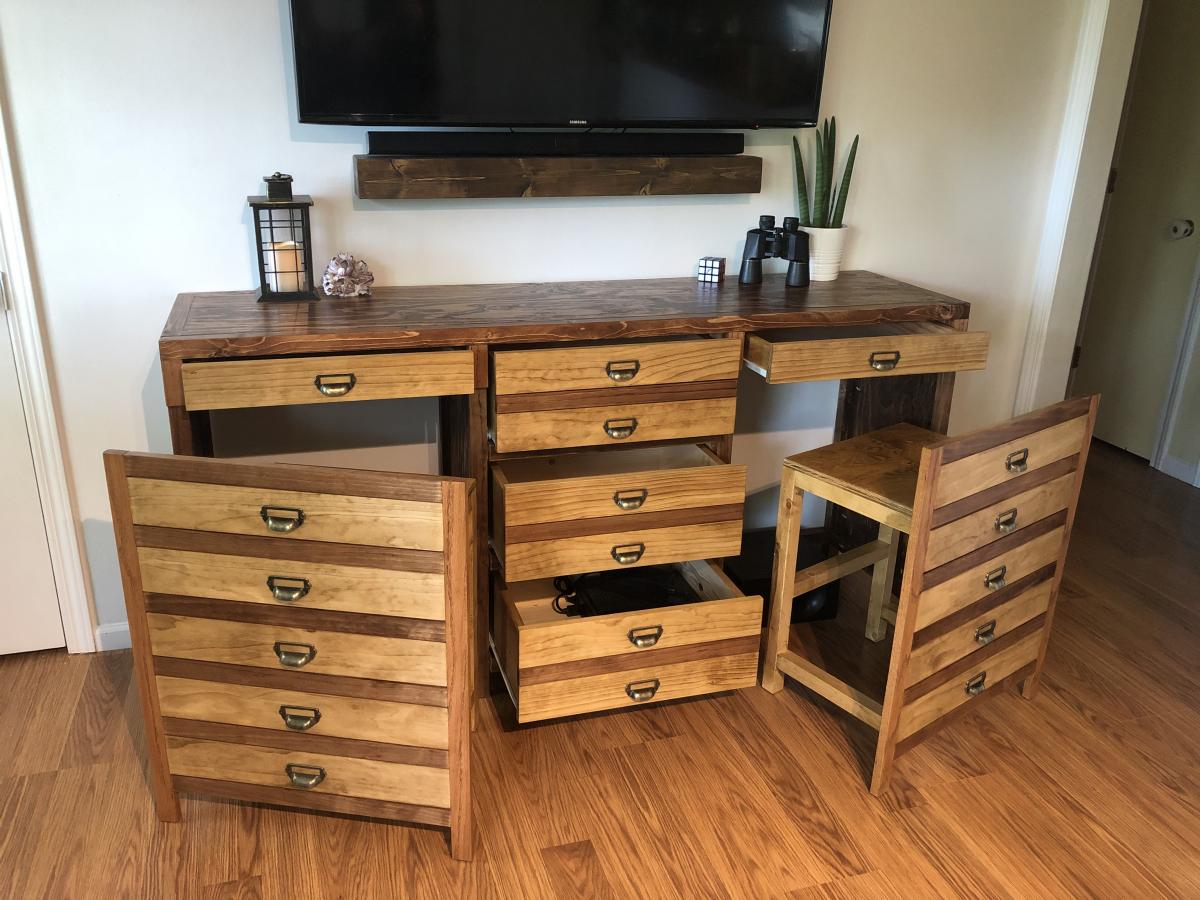
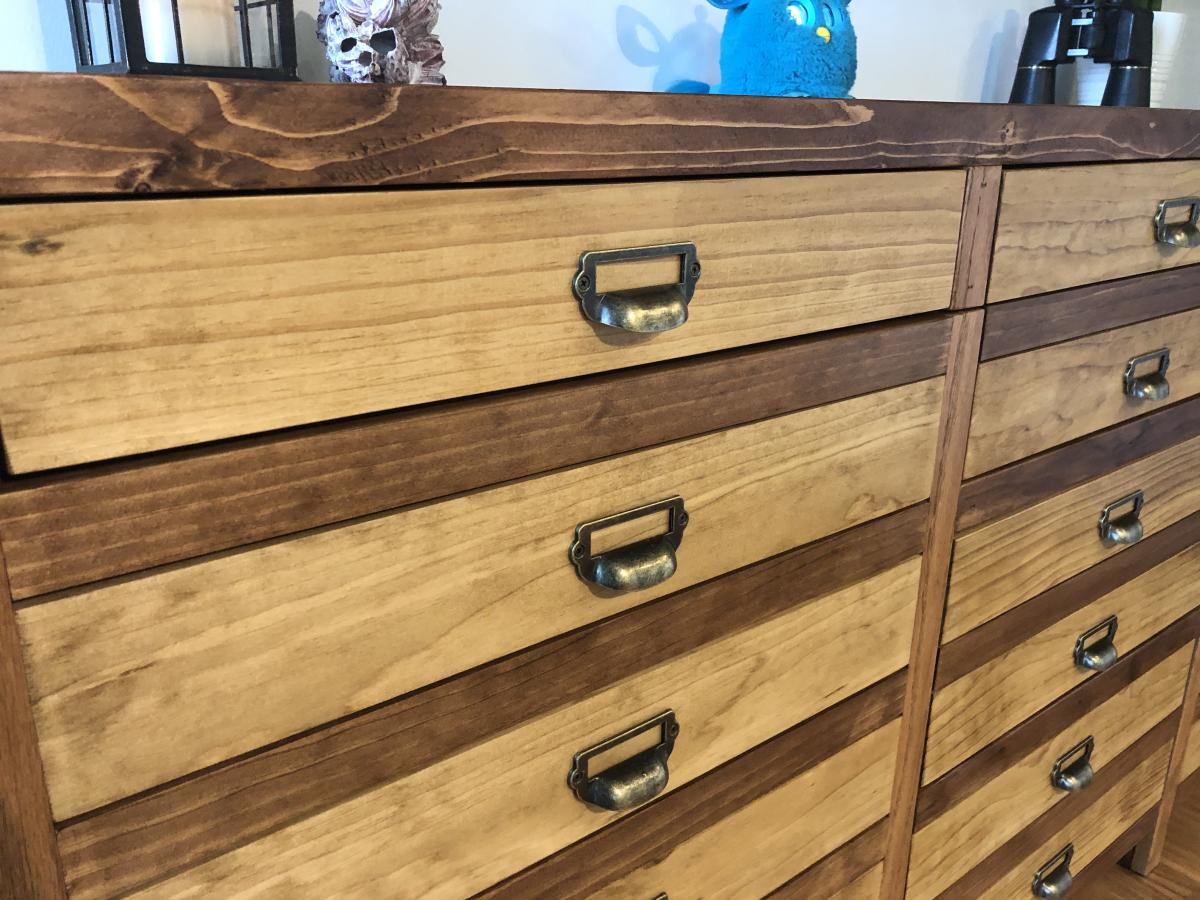
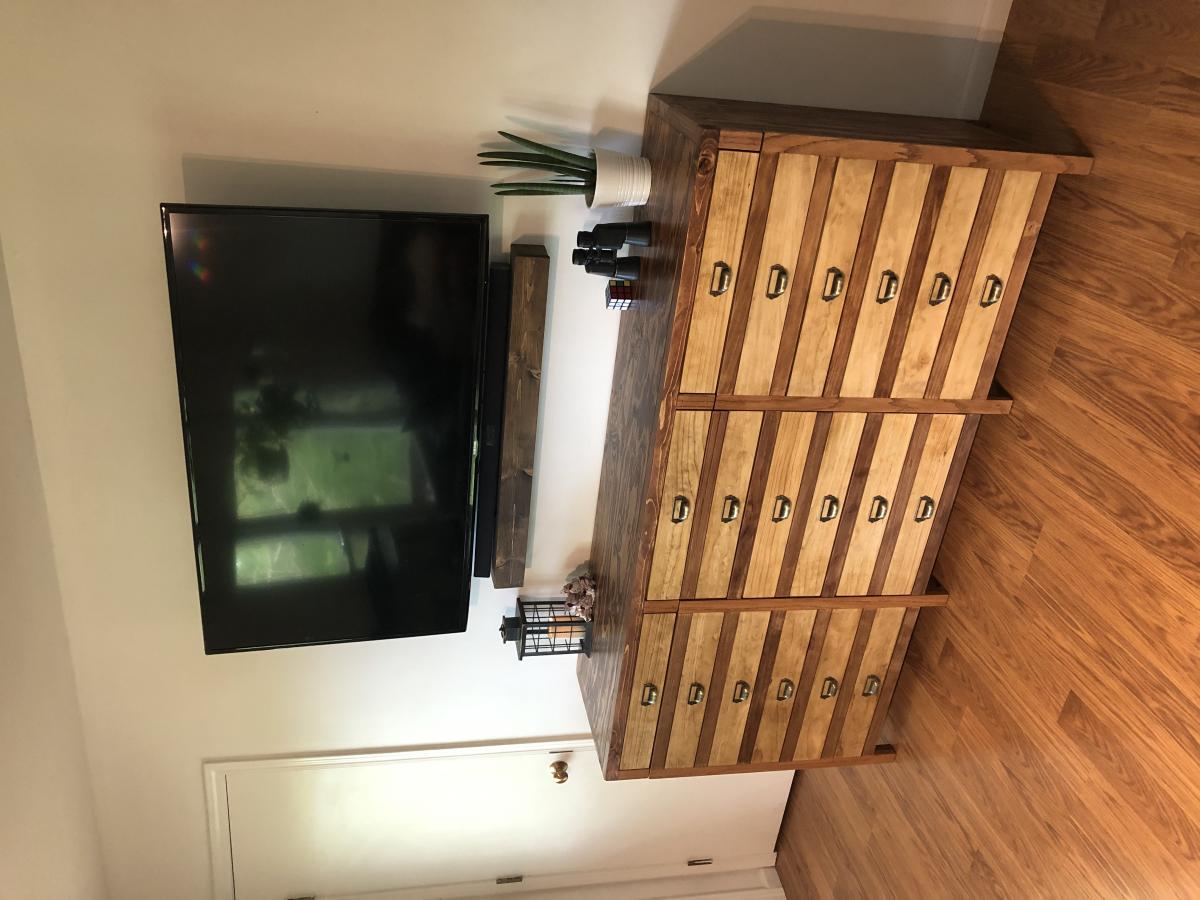
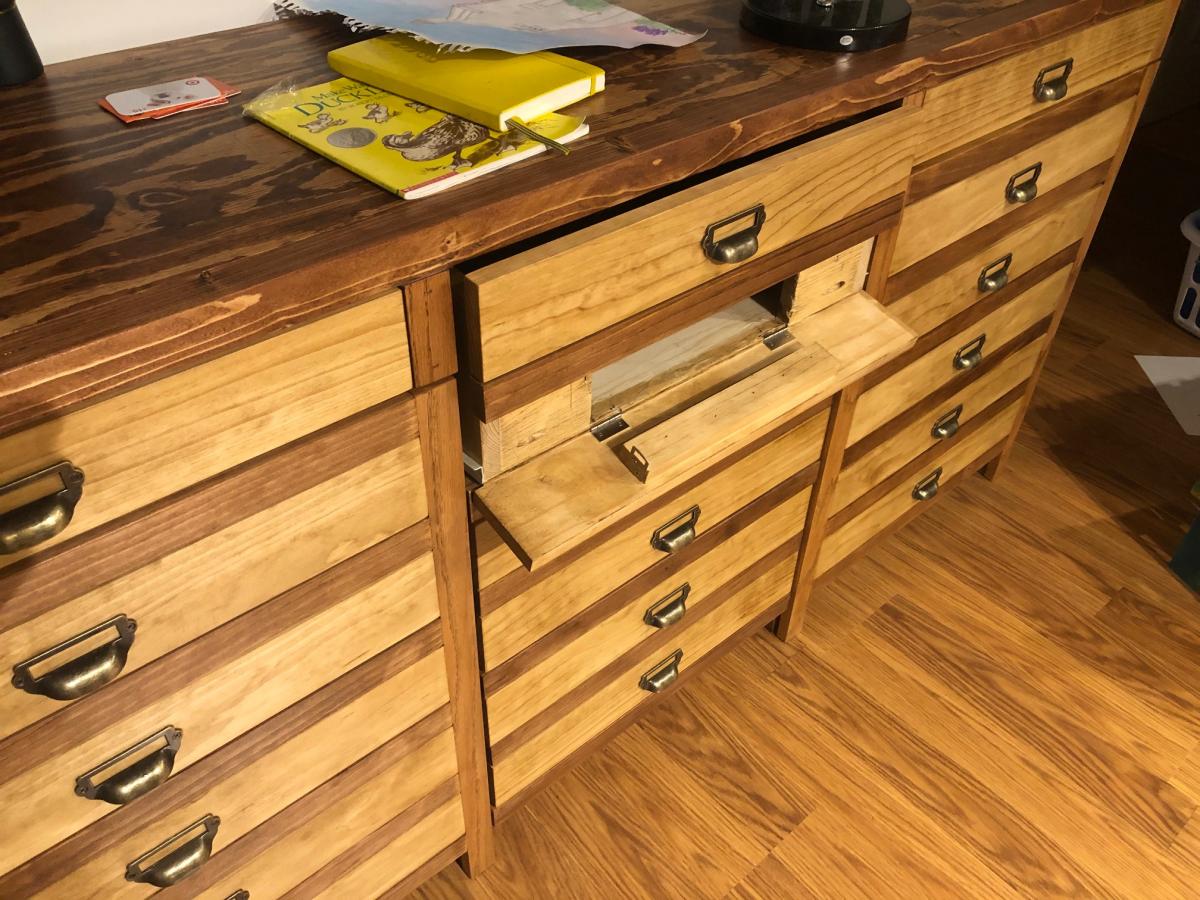
Loved this project, it has been on my wish list forever. It was my first time building drawers. We used red-oak wood for the hardwood legs and also for the little trim piece right above the leg. I stained the entire piece with golden oak stain and used red oak stain on top of that for everything except the faux drawer fronts and hardwood. This brought the pine 1x2s to a matching shade with the real red oak. If I did it over again, I would stain the drawer front and chair back pieces prior to assembly because I taped them all off when I applied the different colors, which was a pain. I bought the apothecary drawer pulls on amazon. I am beyond happy at the way it turned out. I even modified the top center drawer so I could put my printer in it. I cut a hole in the drawer box and put the bottom drawer front piece on a hinge so my printer paper could come out. I added a latch to the inside of the drawer to keep that flap shut when not in use. Thanks so much, Ana, for another amazing plan!
There were a few errors to the plan, as follows:
Plan calls for 7 -2x2 @ 8' but you actually need 9.
As for additional cuts, you will need:
4- 2x2 @ 20-1/4, not 2.
4-2x2 @ 23-1/4, not 2.
8 -2x2 @ 14-1/2, not 2.
8- 2x2 @12-3/4, not 2.
Thu, 06/11/2020 - 14:56
I love this, especially your printer modification. That's some ingenuity. Nicely done!
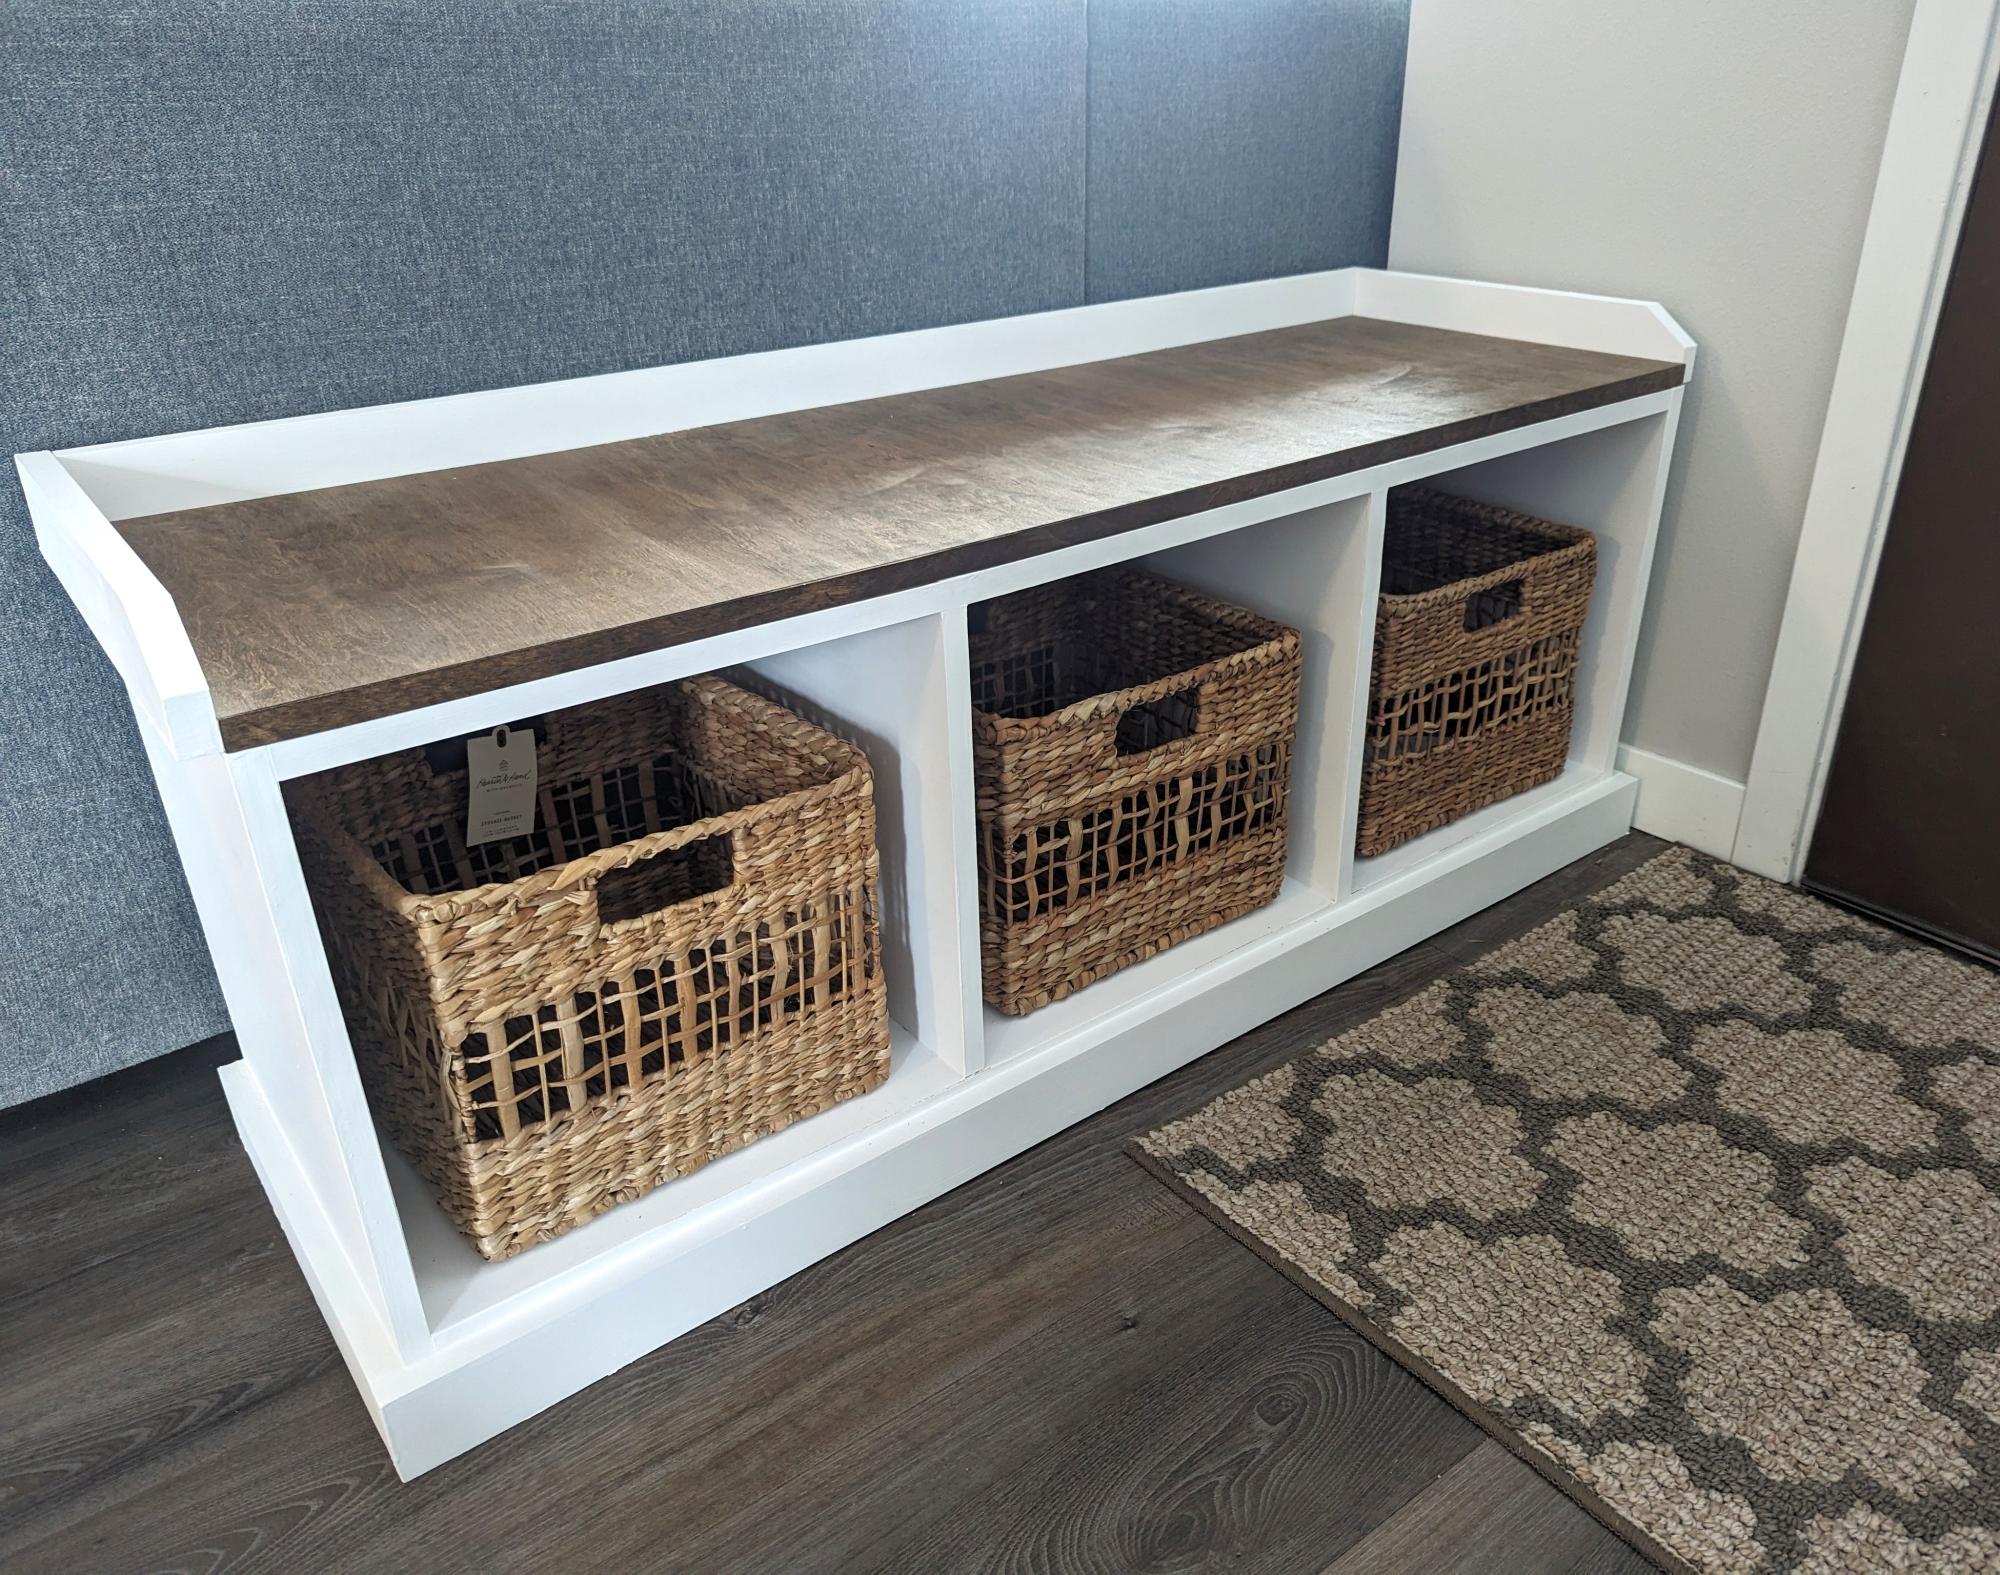
We followed the Essential Entryway Bench plan and modified it slightly to fit our home. We used a 35 degree miter cut at the corners of the trim, and finished the top with a dark walnut wood stain. The accent between the two colors is our favorite part!
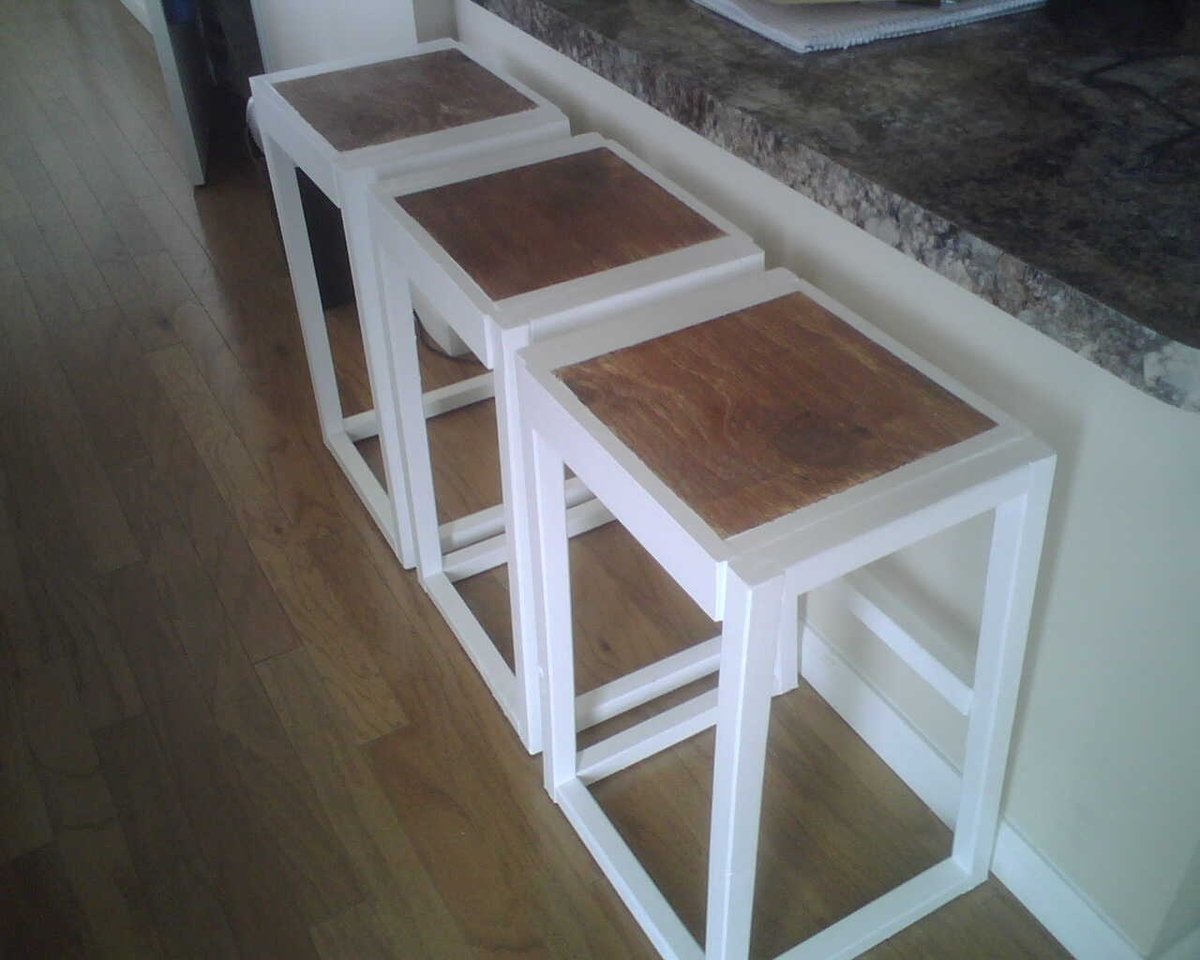
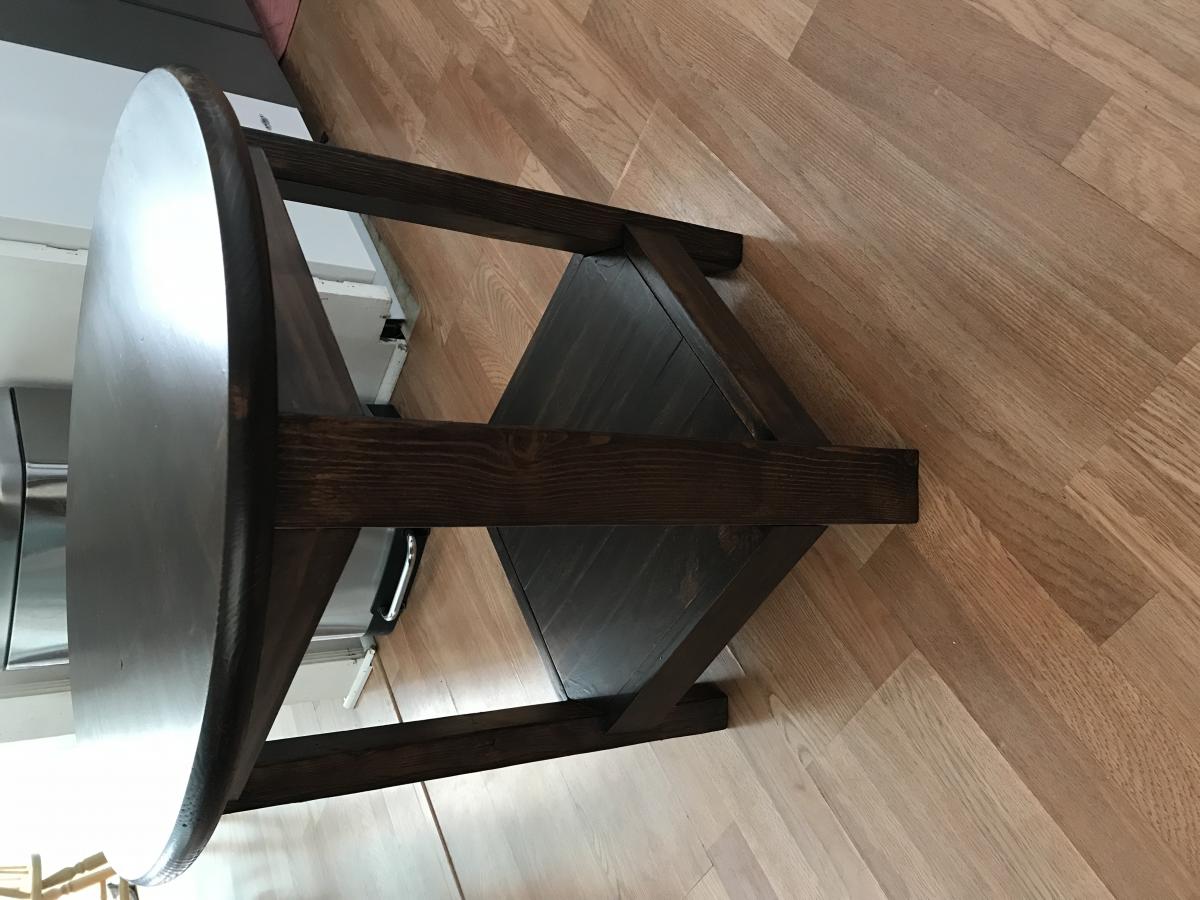
This was my first time building anything, since the tool box I made in wood-shop in highschool! I made the stools about 3" shorter than the plans to accommodate our low counter height. Otherwise, I really had no idea what I was doing, but learned a lot through the process. Also, I don't really have a great work space, other than the 10'x10' second bedroom in our NYC apartment. At least all the dust can stay in one place. Looking forward to my next project of an outdoor table for our terrace - I'm hooked!!! Thanks Ana for making this so accessible. Some of my friends now want to come over and build projects for their apartments too!

Didn't turn out identical to the plan. I changed some measurements to work with her porch and the space I had to hang it, but all in all I'm more then pleased with it! ;-)


Fri, 05/02/2014 - 08:19
Couldn't have done it without your plan! Thanks Ana! ;-)
Fri, 05/02/2014 - 18:33
Great job, I love your swing!!! Thank you so much for sharing photos!
FYI - Ryobi featured this swing in their commercial and are doing a $500 tool giveaway for people who build projects from the commercial!!! Here's the link http://www.ryobitools.com/nation/contests
Fri, 05/02/2014 - 18:33
Great job, I love your swing!!! Thank you so much for sharing photos!
FYI - Ryobi featured this swing in their commercial and are doing a $500 tool giveaway for people who build projects from the commercial!!! Here's the link http://www.ryobitools.com/nation/contests
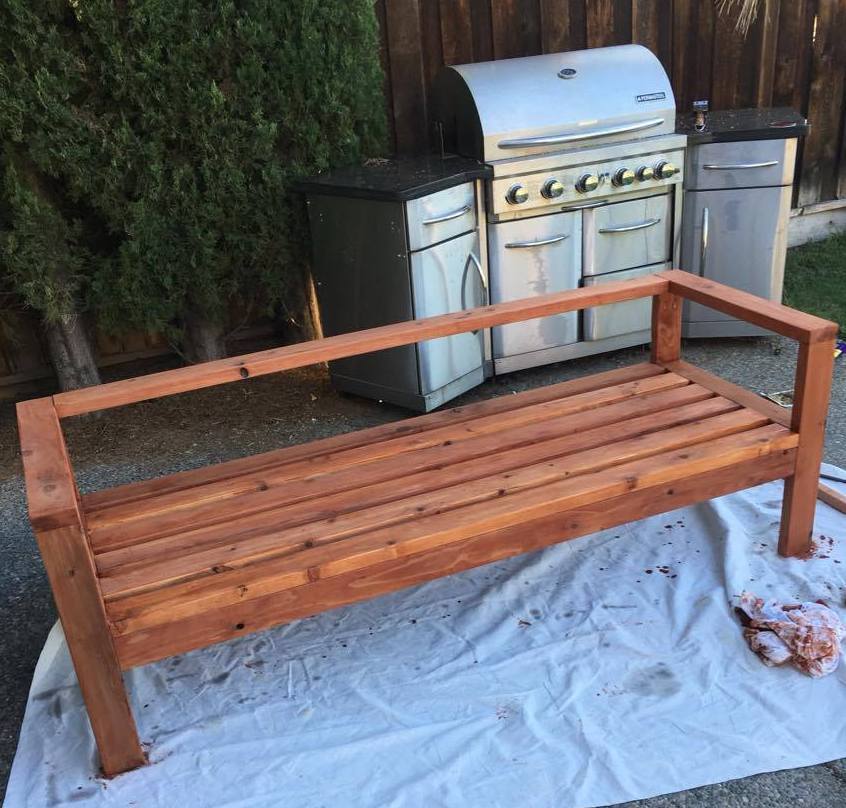
This is my attempt at the 2x4 outdoor sofa. The entire sofa is made out of 2x4 Redwood, so the cost was a little high at $150 for the wood. I'm still waiting on cushions, but I went overboard and bought them custom made so the total for those came out to $520. Overall, I could have easily bought a complete set online but hey, this is more fun!
My one concern is the back support. I'm thinking of building something angled in, but haven't thought of the best approach yet, that will still look good.
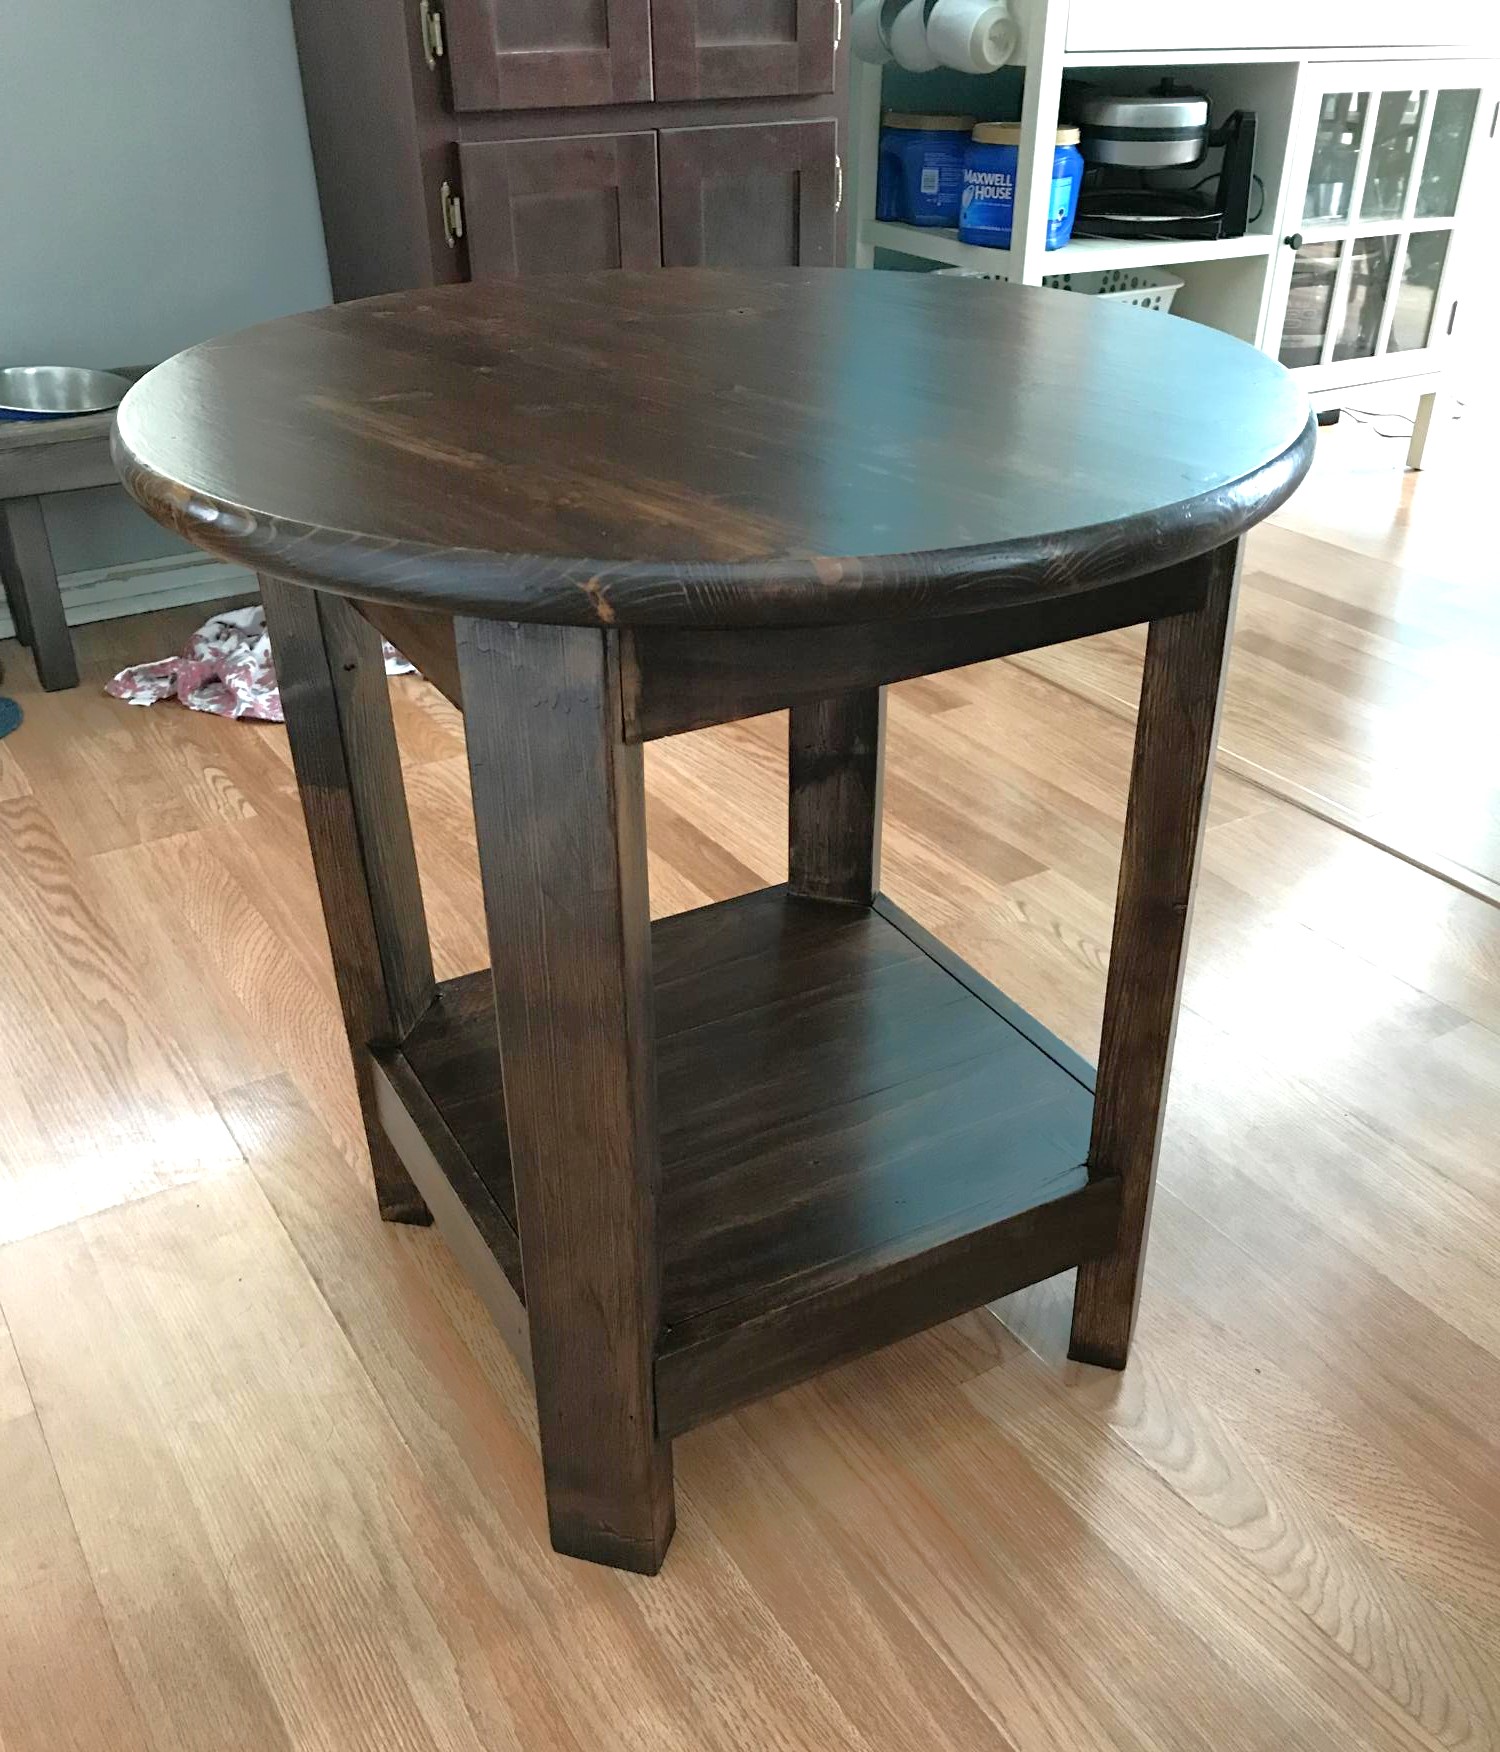
I built this table for my mother-in-law. I added a brace/frame for under the top. That helped me with the angled legs. This table takes a beating at their house as she watches kids all day long. The plans produce a very sturdy table. The whole table is Dark Walnut stain and Satin Poly(oil based).
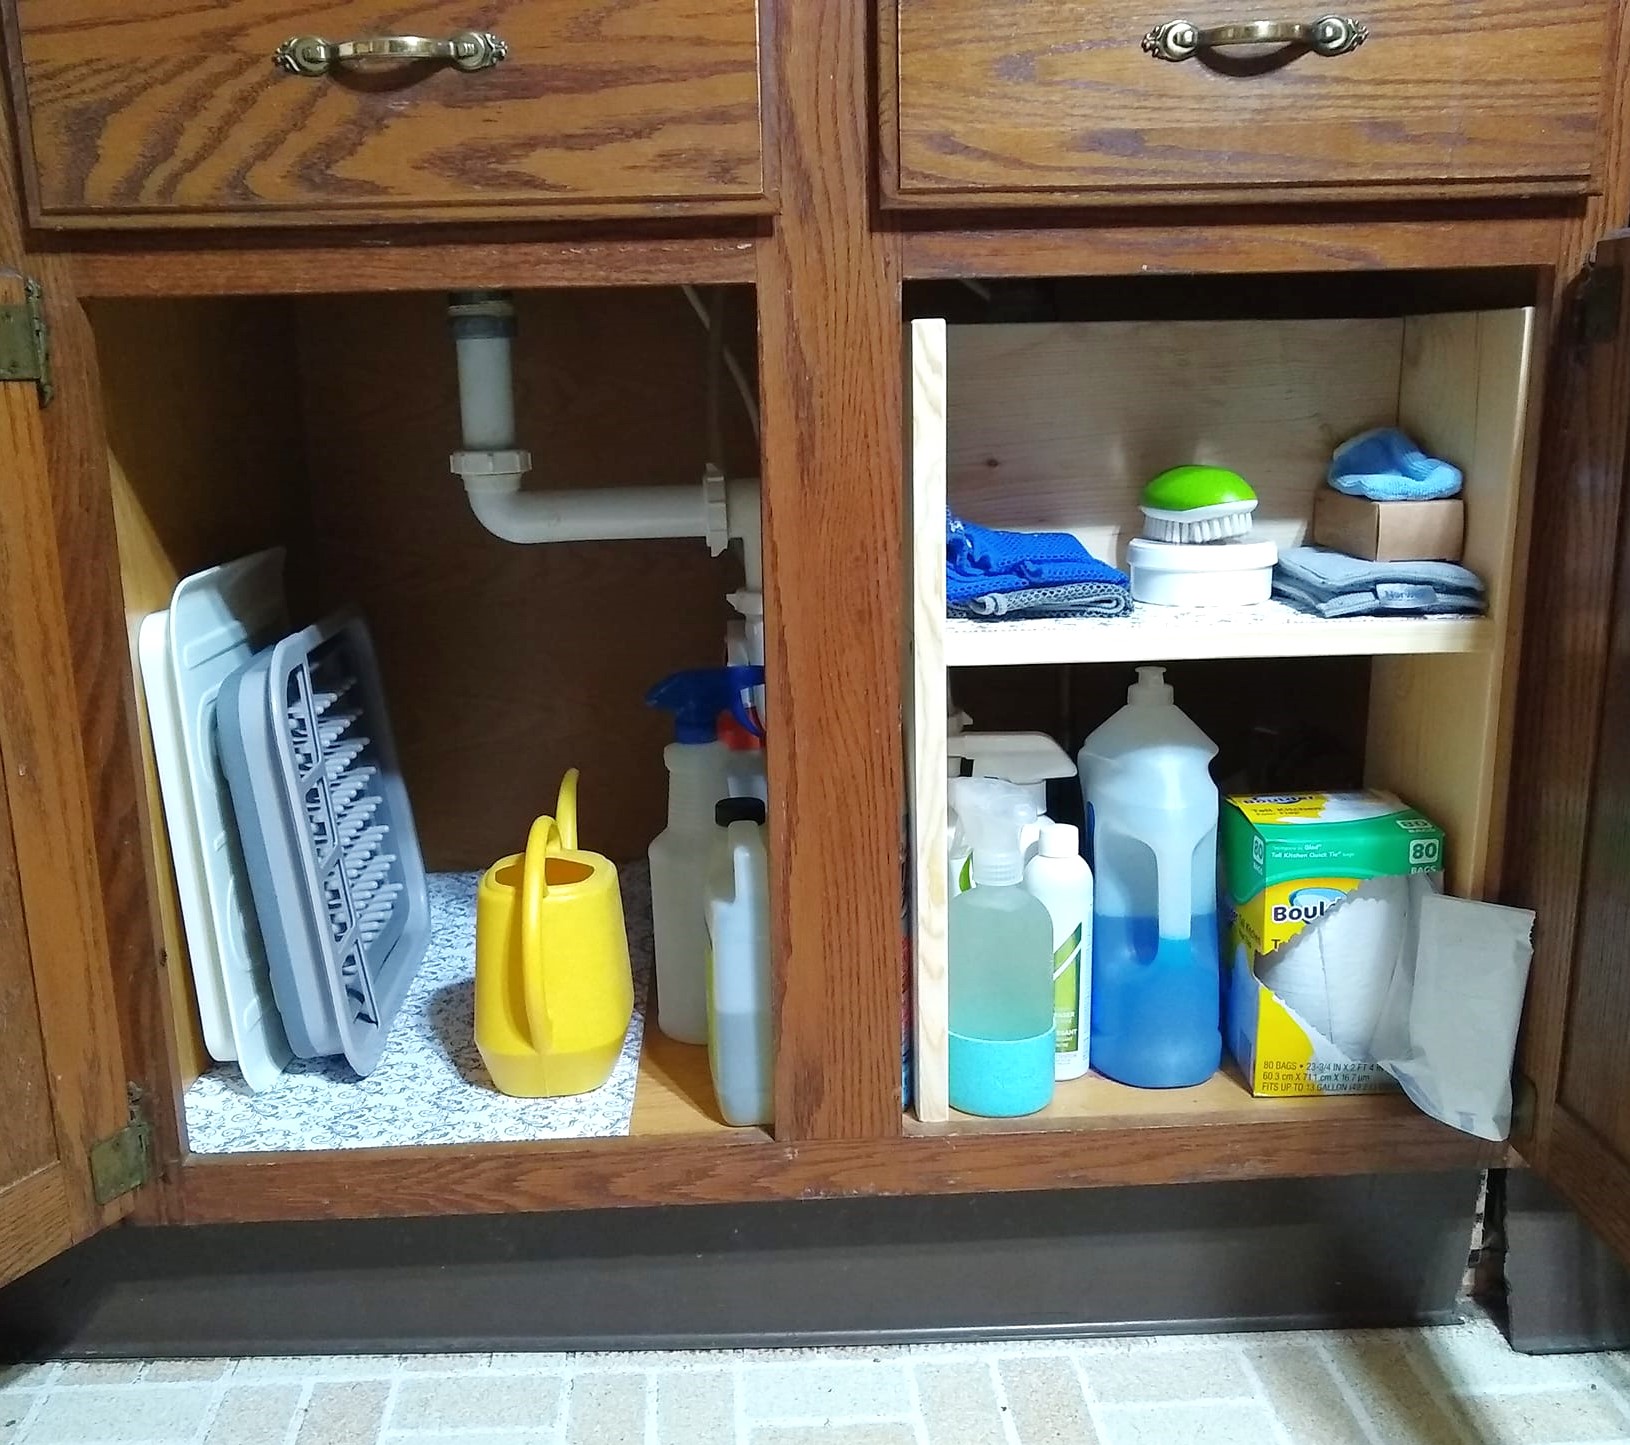
We live in an old house with lots of windows in the kitchen but not much storage space. Having previously tackled a kitchen island with the help of ana-white.com, I knew that the Under Sink Kitchen Organizer Shelf would be a much simpler project. We already had the tools and screws, so I picked up a couple of 3-foot 1x8s for about $7. The organizer is 20 inches high, 15 inches wide, and 7-1/4 inches deep. The shelf is only about 6-1/2 inches deep because I used 1x8 for the back, but it works.
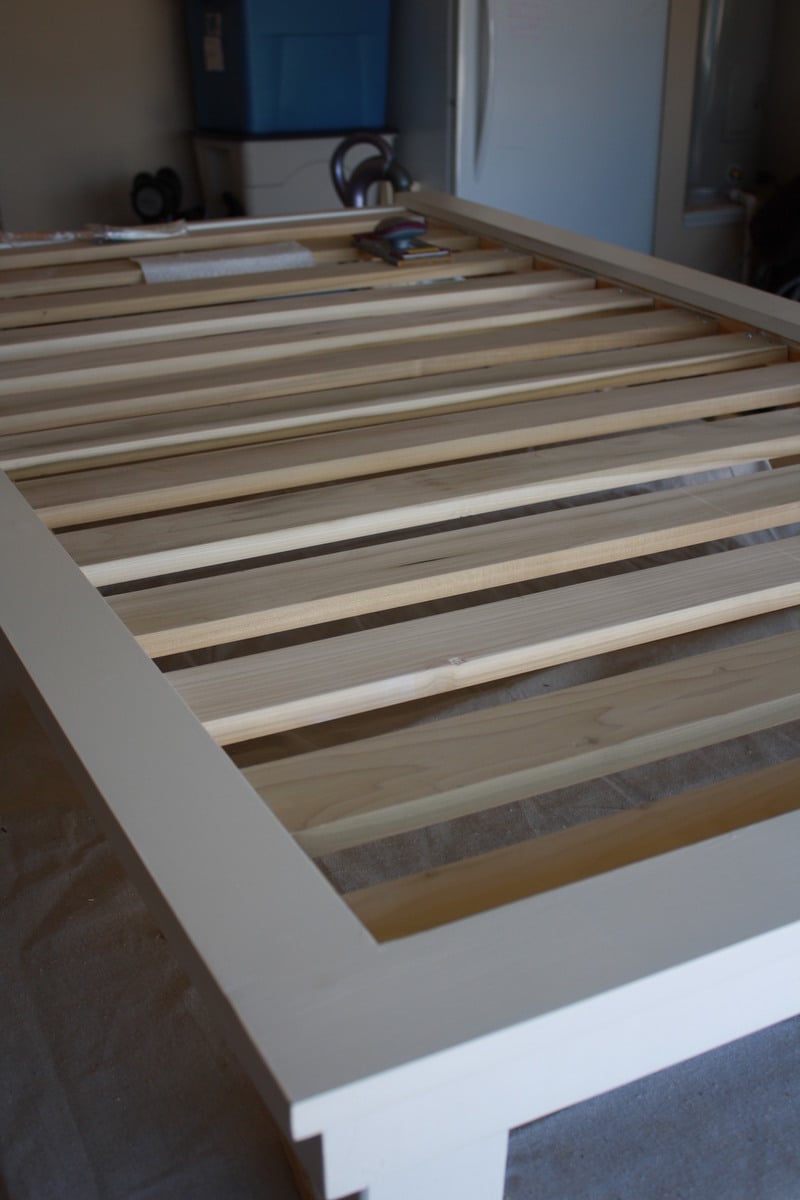
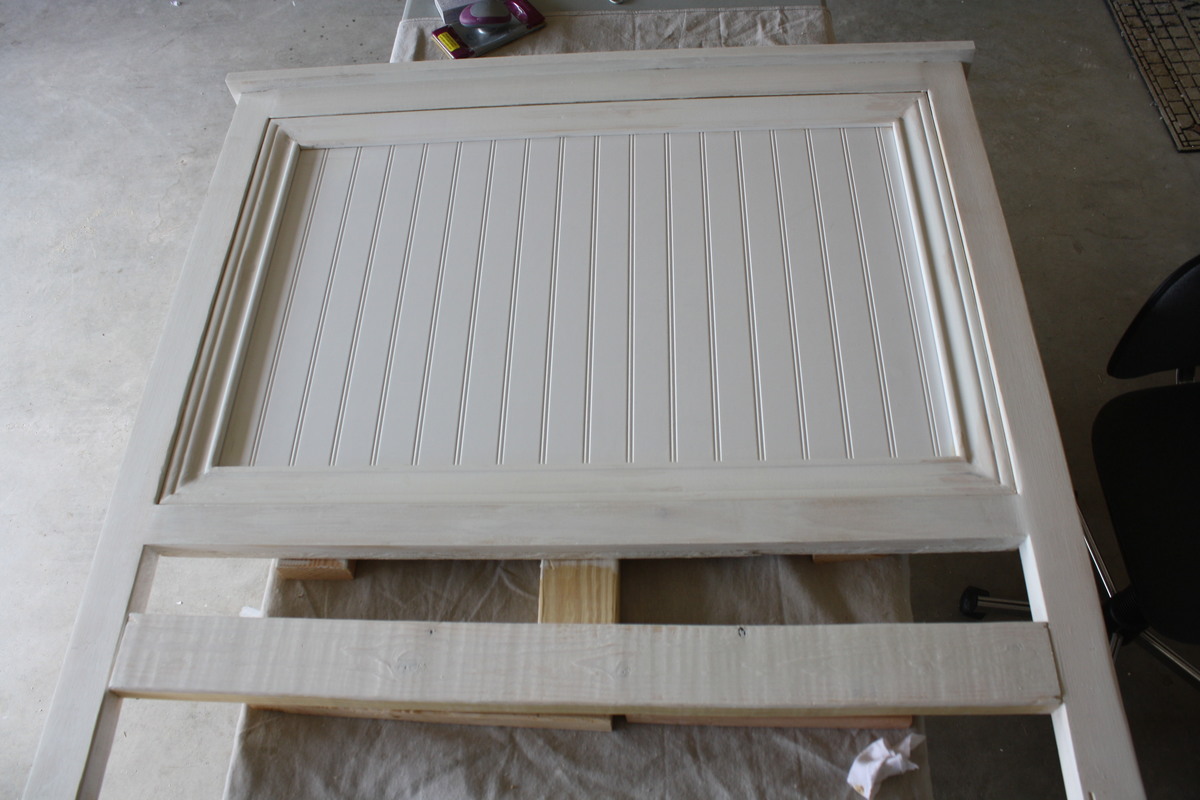
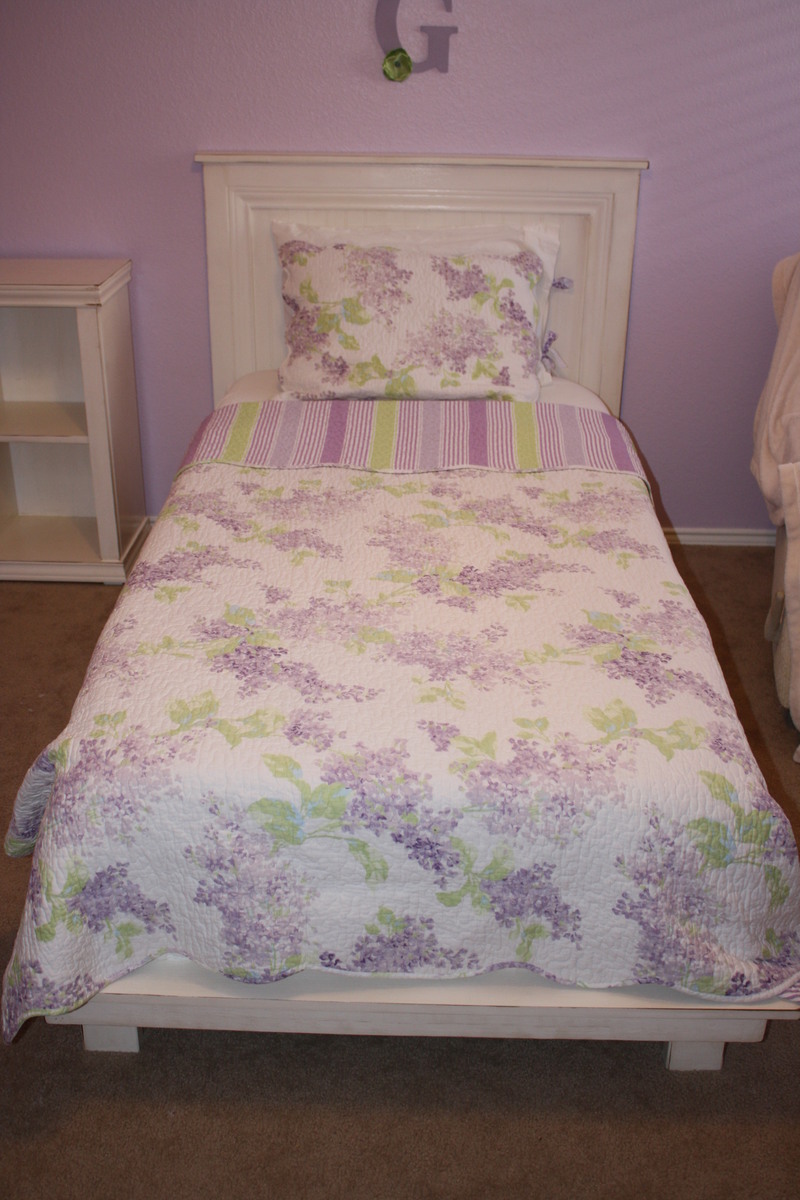
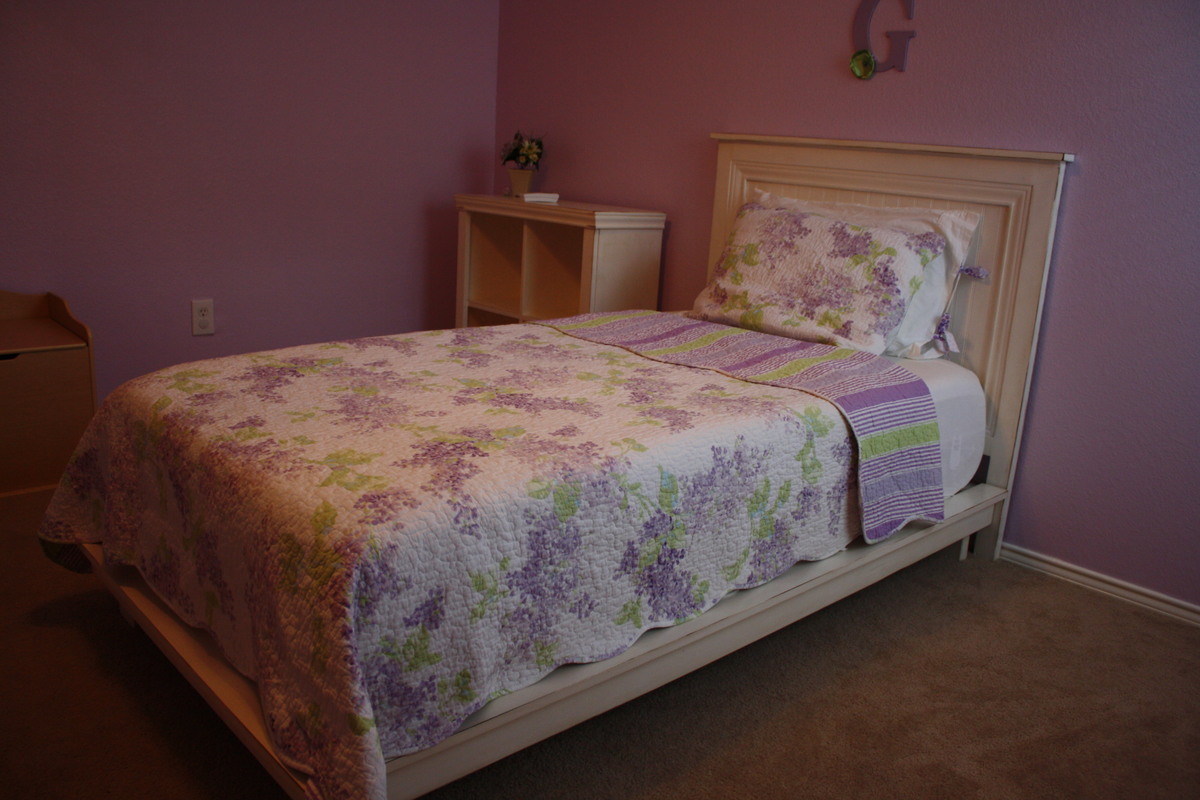
These plans came at just the right time for us as we needed to move our toddler to her first twin bed! I was set on beadboard for her room, so I modified the plan slightly by gluing the sheet of beadboard to the plywood, adding the molding to frame the beadboard and also adding a couple of inches to the legs. The thickness of the beadboard did not allow the back of the headboard to be flush with the legs, but it really isn't noticeable.
This bed is easy to build and extremely sturdy! We spent much more than the $75 listed on the plans, using both pine and poplar as we shopped around checking out our local retailers. Our local furniture store's least expensive solid wood bed was much scrawnier and $250 plus delivery, so we still came out ahead! The mattress is a 14" memory foam mattress bringing it much closer to an average bed height, but still very accessible for our 2 year old.
The bed only took a couple of evenings to build and the headboard came together in just an afternoon! However, most of that with a 2 year old, so it could come together quicker if you are sans kiddos :)
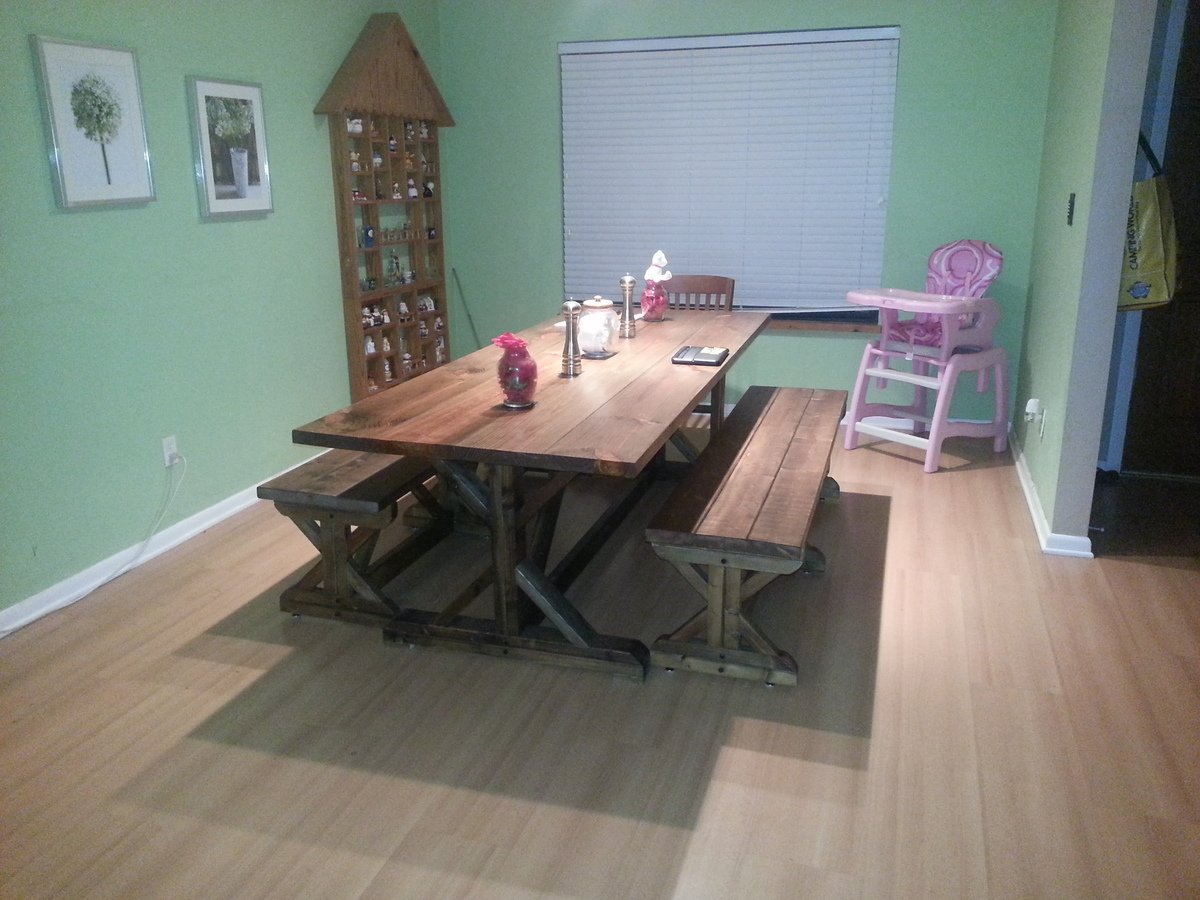
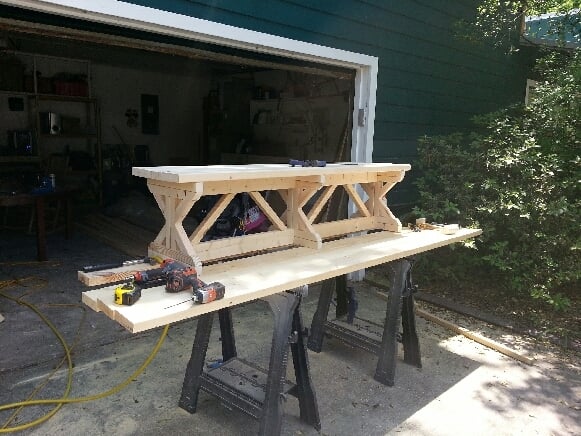
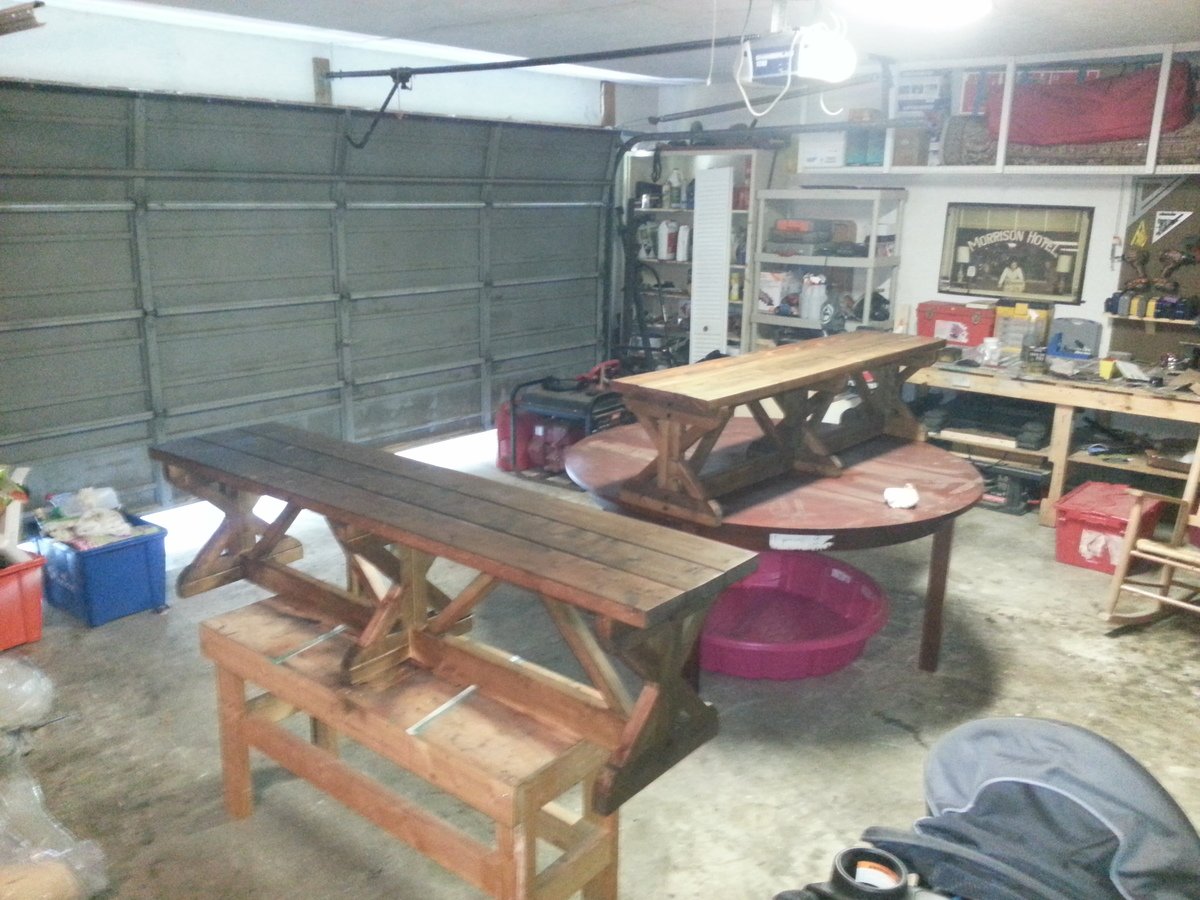
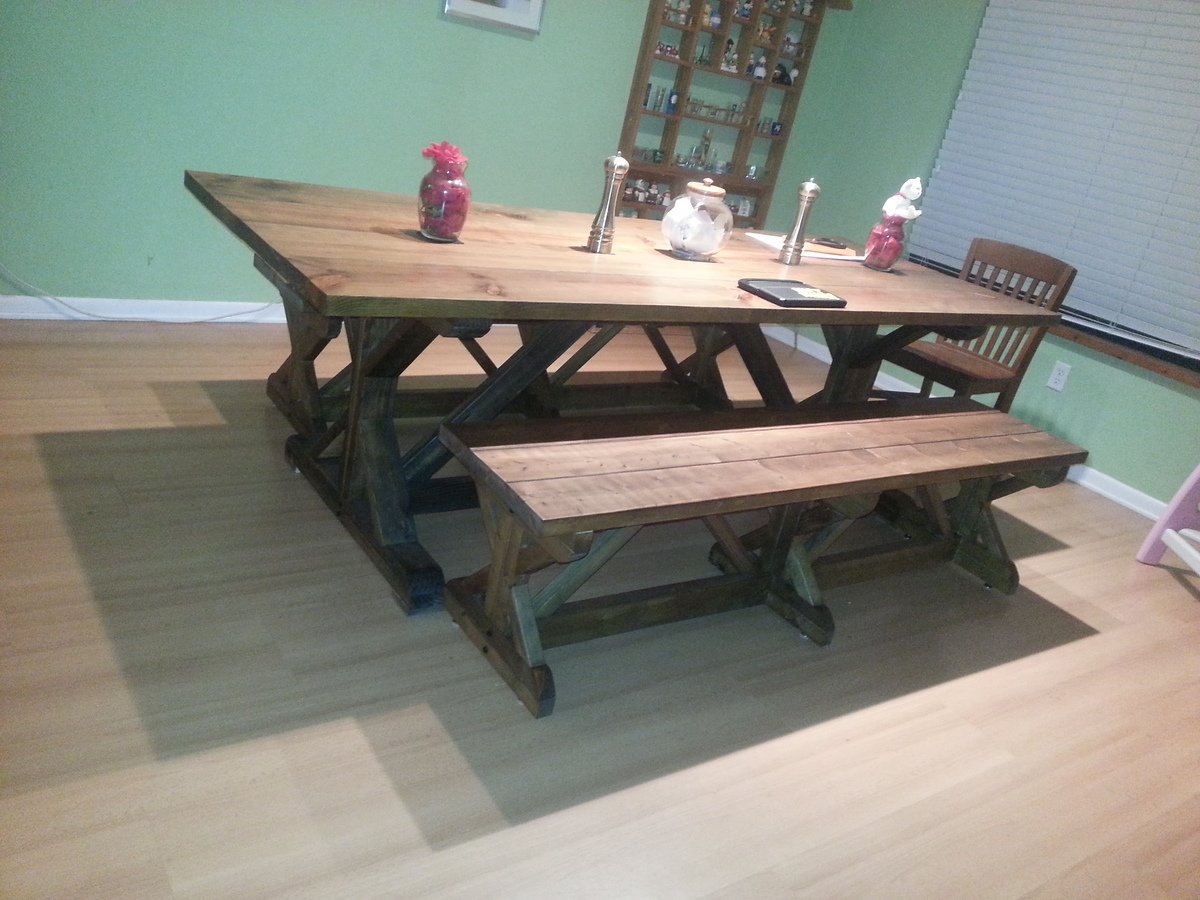
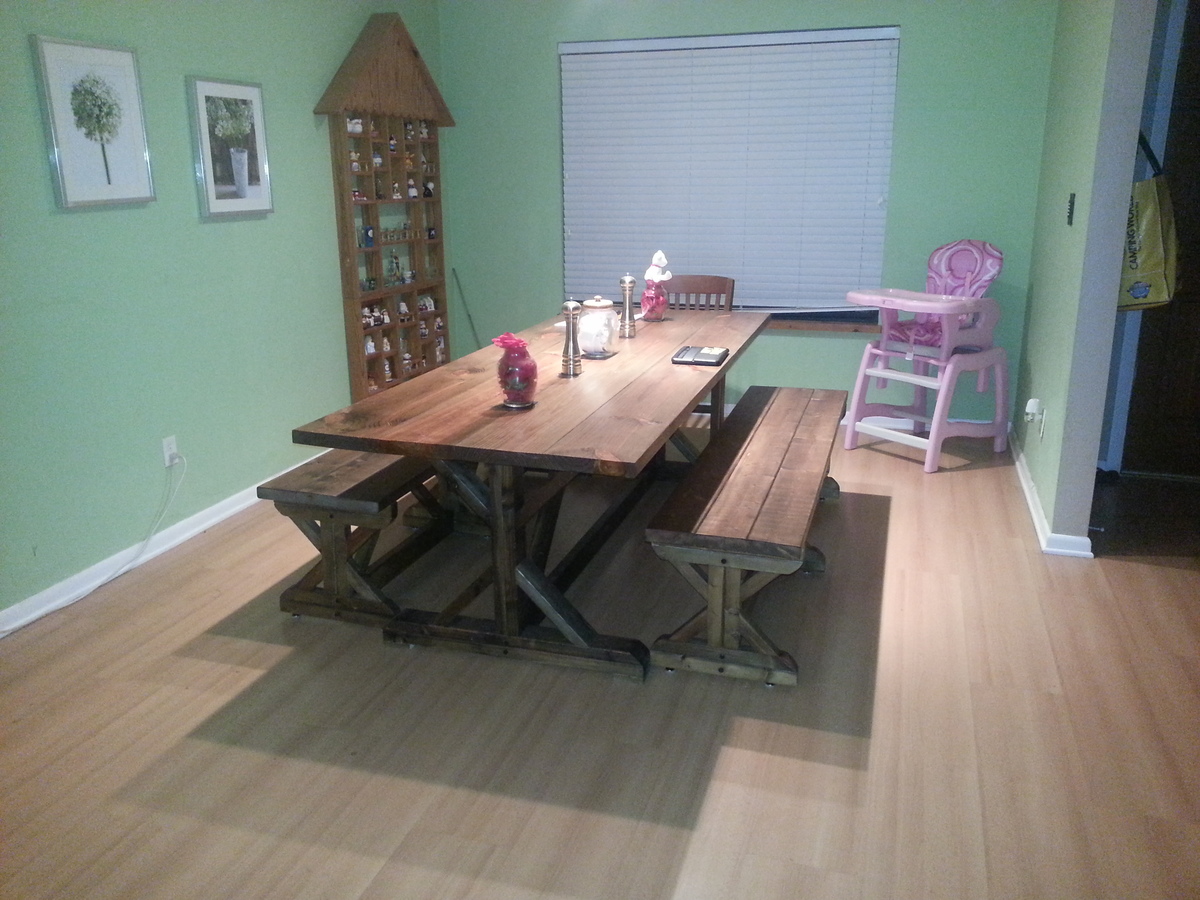
I built the table some months ago and my wife loved it so we decided to build a set of benches to go with it. I gotta say though i will never build these suckers again. Man there were so many cuts!!! The stain was steel wool, vinegar and tea bags and i used a rub on polly. The funny thing is I built both of these benches for a total of 30 bucks! I found all the wood laying around. I hope you all enjoy. Sorry about the horrible pictures I guess if I am going to be uploading pictures on here a better camera other than my smartphone is in order.
Loved a shoe cabinet at Mobler Furniture, but hated the 300 dollar price.
Figured Ana would have a plan: She Did. We used the Shoe Dresser plans but I built the gables in one piece to eliminate the need for separate feet. The overall length is only 38 inches. I built it counter height.
Because we used wood that we had laying around from previous projects, the drawers, and the unit are made of pine, while the top is made of oak. Total cost for the wood was 30 canadian dollars.
Rather than buy catches, I ran an extra support rail under the top, which made attaching the top easy, but also served as a "bump" for the closing door - it adds a satisfying clunk when closing the doors. I did the same for the second door too.
The handles were purchased for a project in our previous house and used here instead.
We used paintbrushable Tremclad matte black for the interior (23 bucks - used less than half the tin.)
We used 1.5 cans of spray Tremclad red enamel for the exterior (8 bucks a tin)
We hit it all with two coats of Zinsser sealer first - 14 bucks, used half.
Total hit was well under a hundred bucks.
Took me a couple days to work out the details, a day to construct, and about three days to paint, one for the undercoat, one for the black, one for the red.
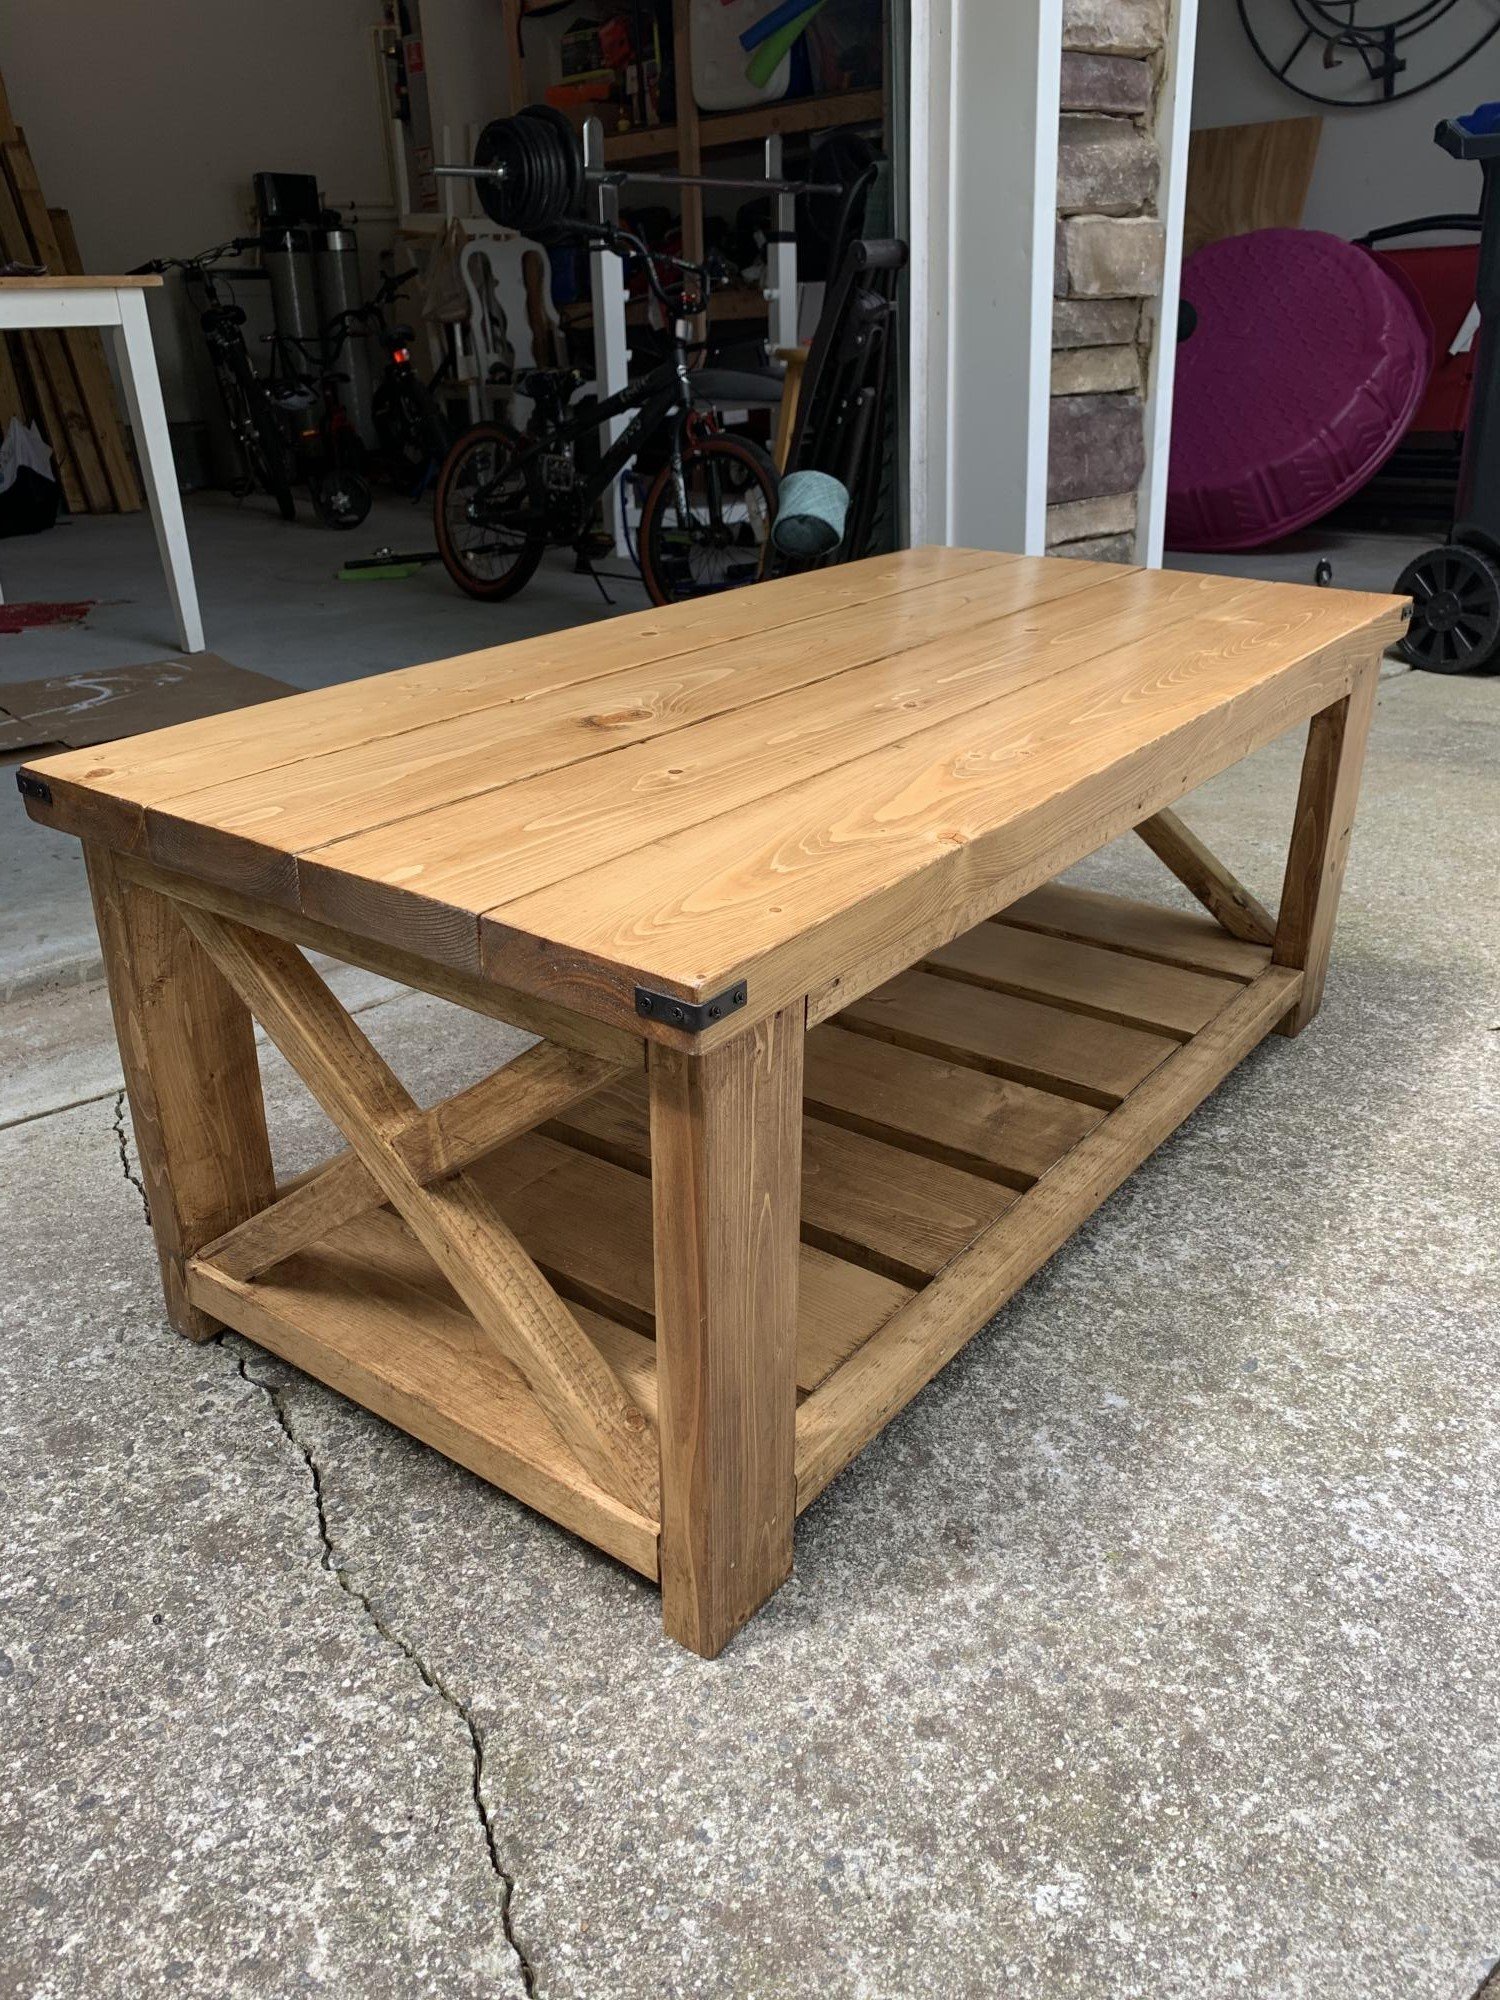
So Fun!! My first ever wood build!! I’m completely addicted now ha! Thank you so much! I’m learning so much from watching your videos.
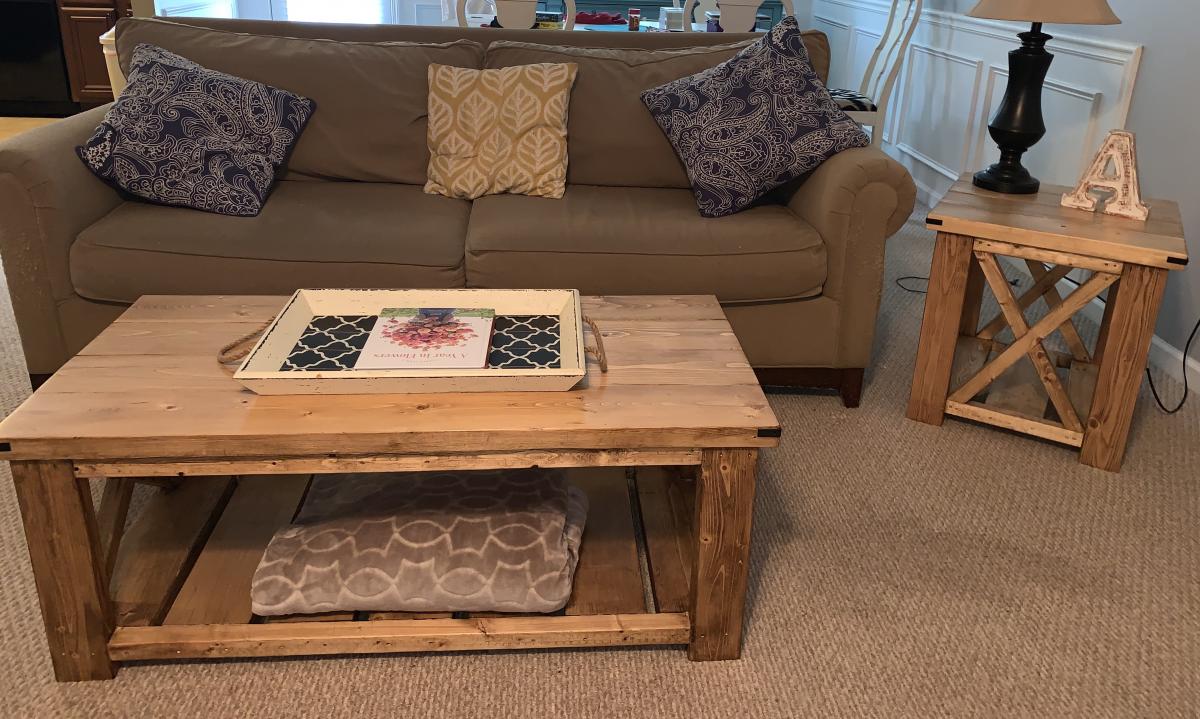
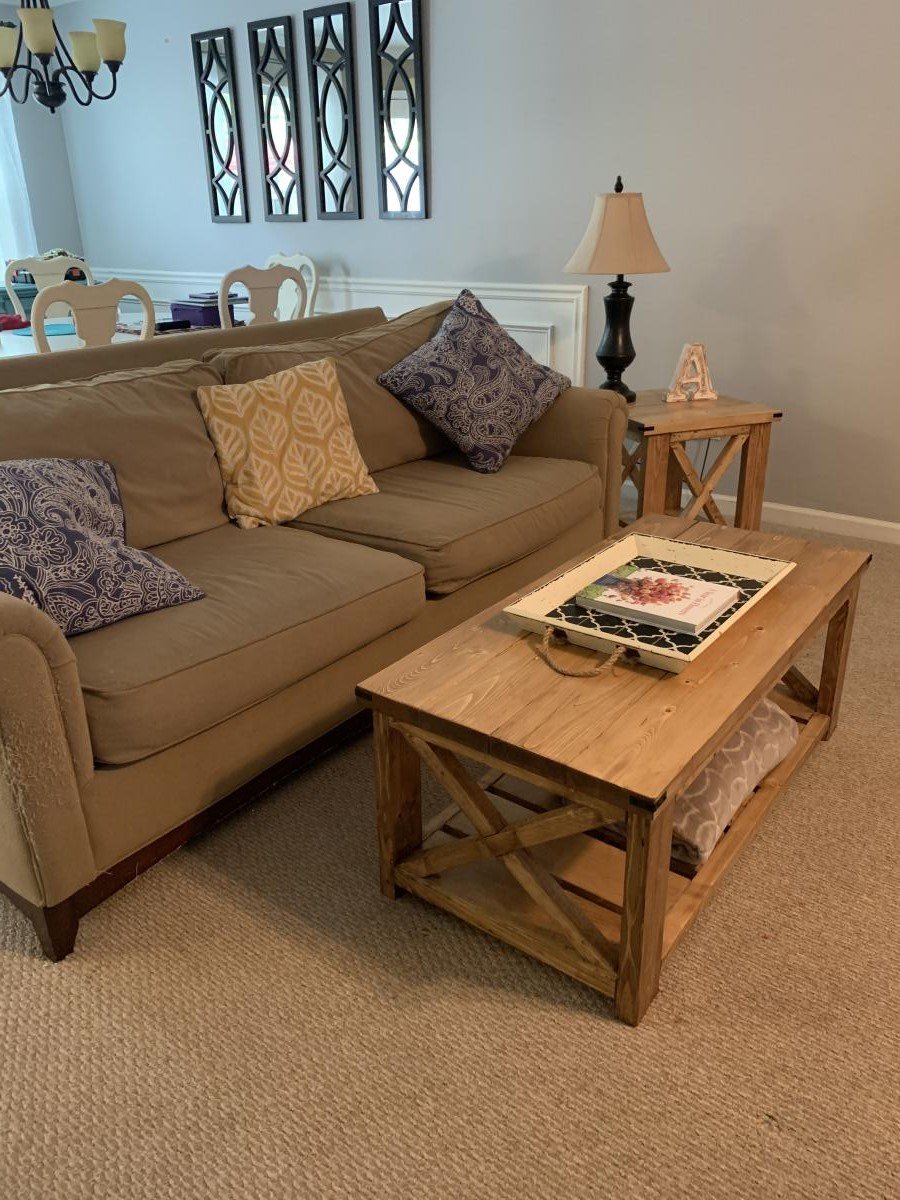
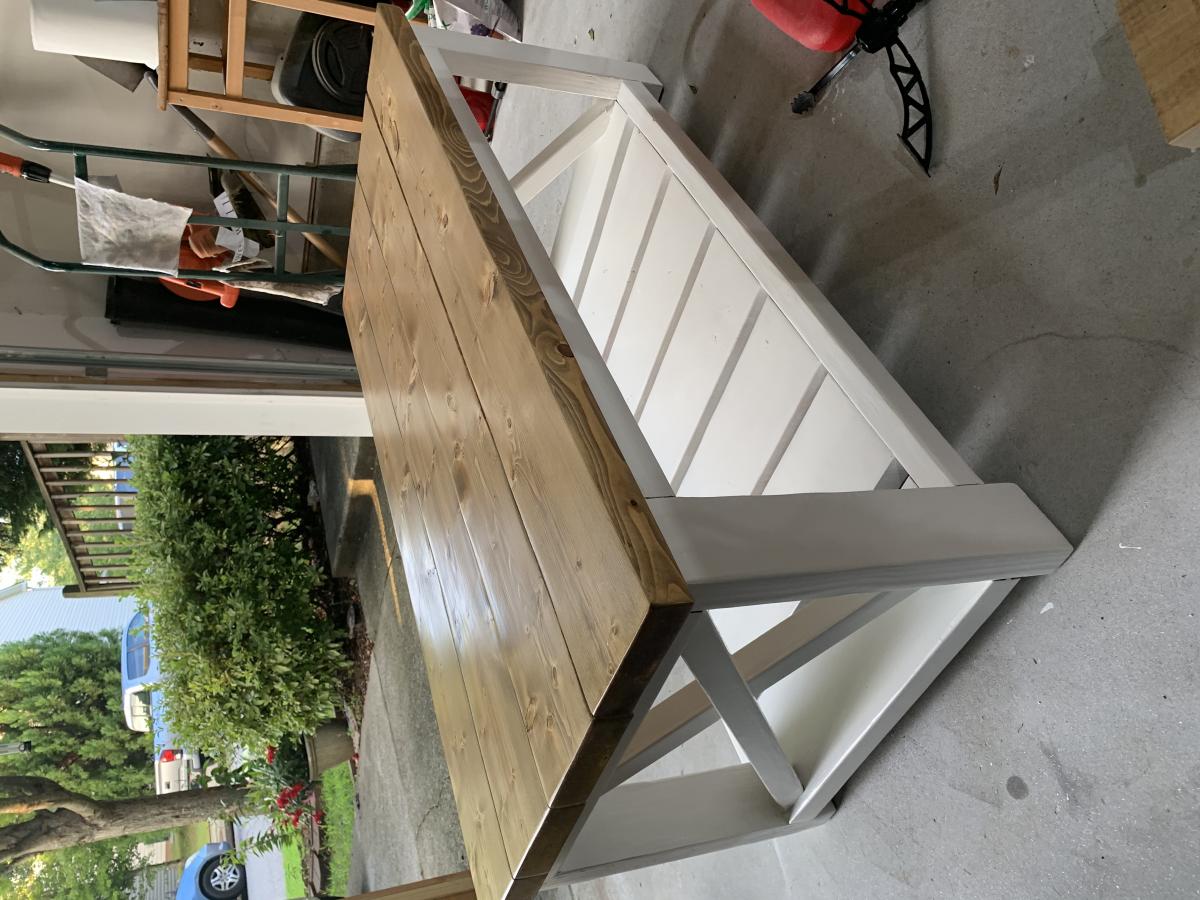
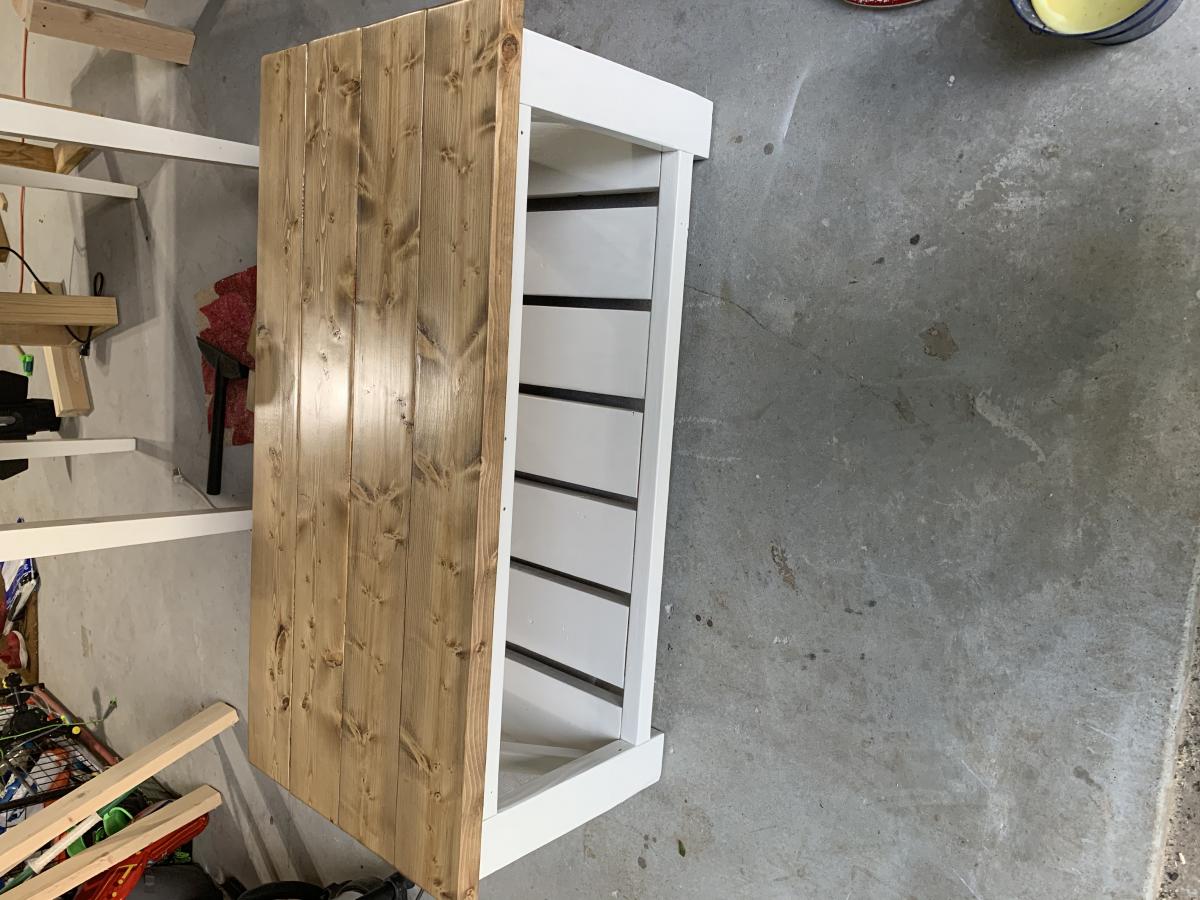
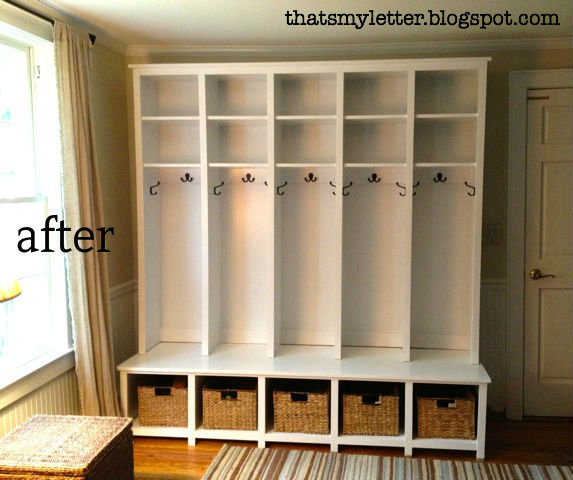
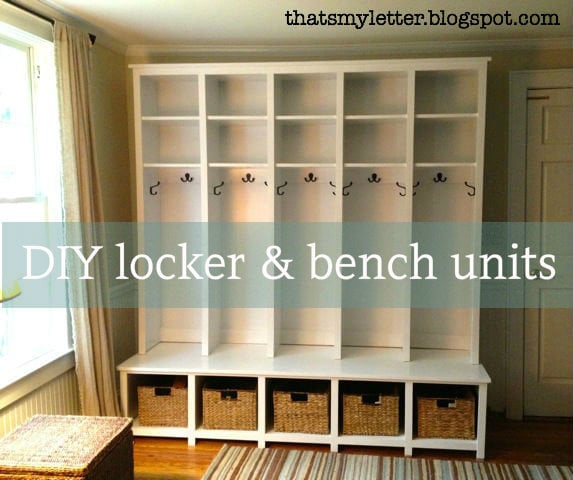
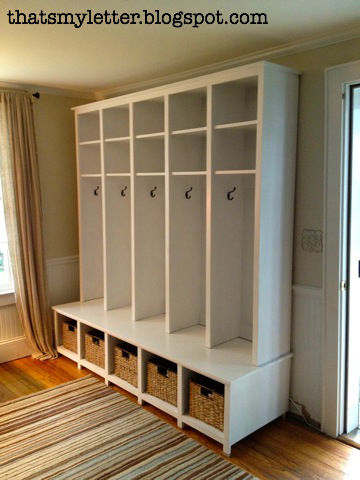
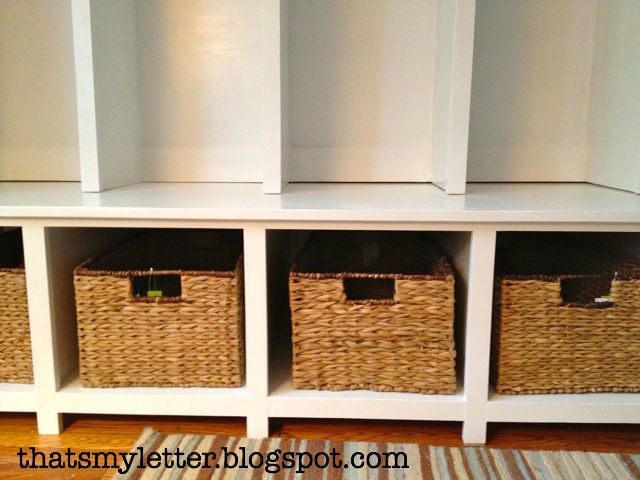
built to fit mudroom locker and bench unit using a combination of Ana's plans
Sat, 03/23/2013 - 20:48
I LOVE the look of this. Cannot wait for us to get our addition done to add something like this. Definitely a need with 5 kids in the house!
Comments
sabull01
Thu, 07/10/2014 - 07:19
*
*