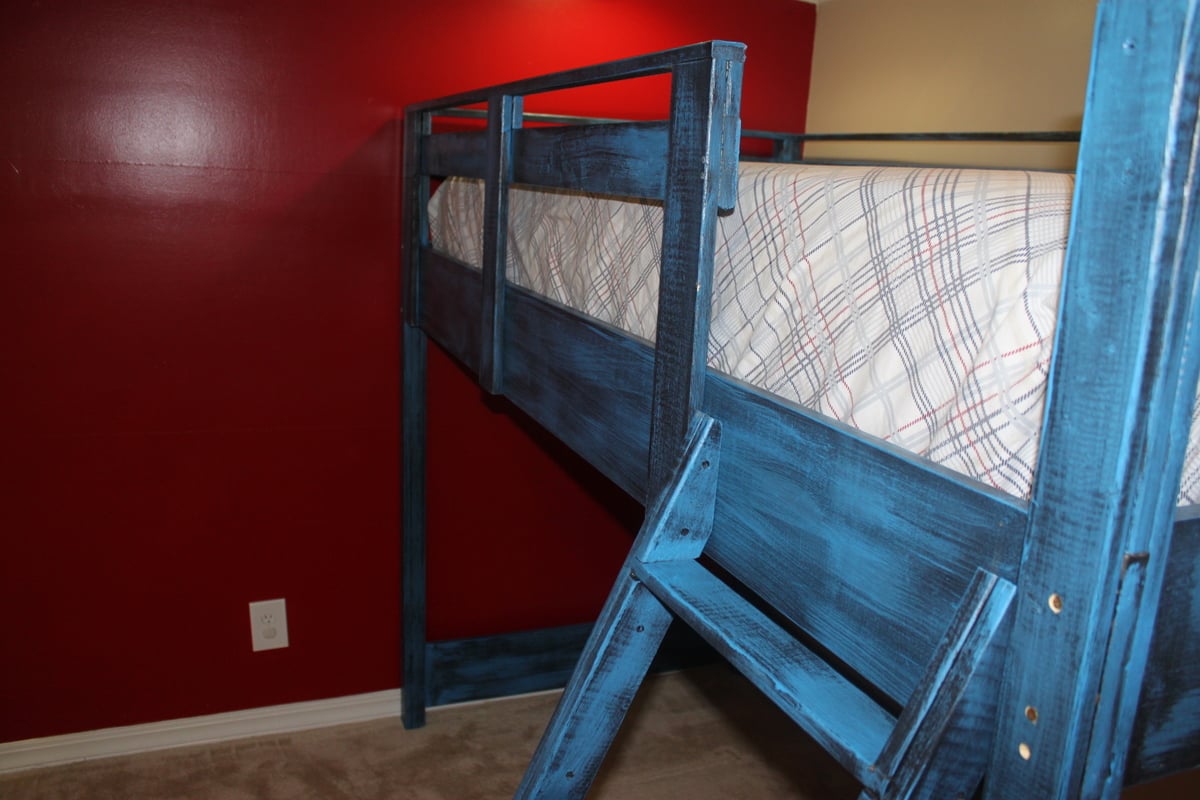
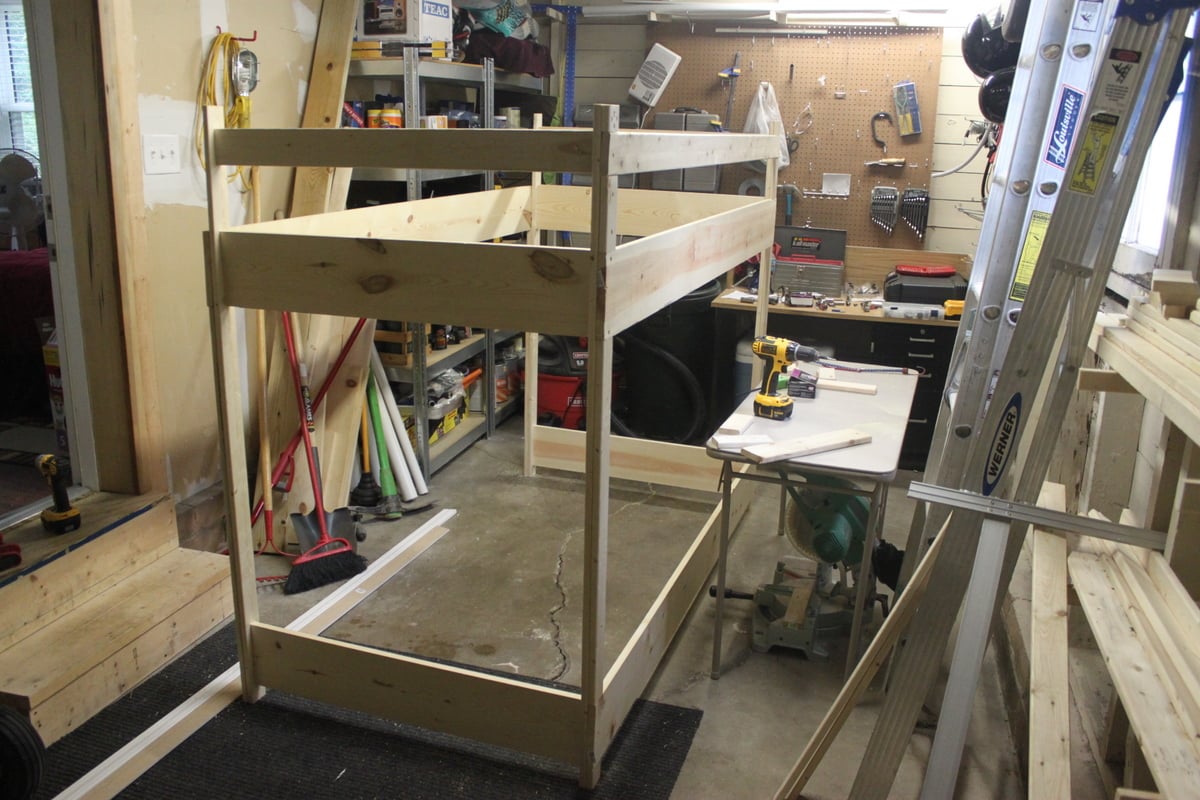
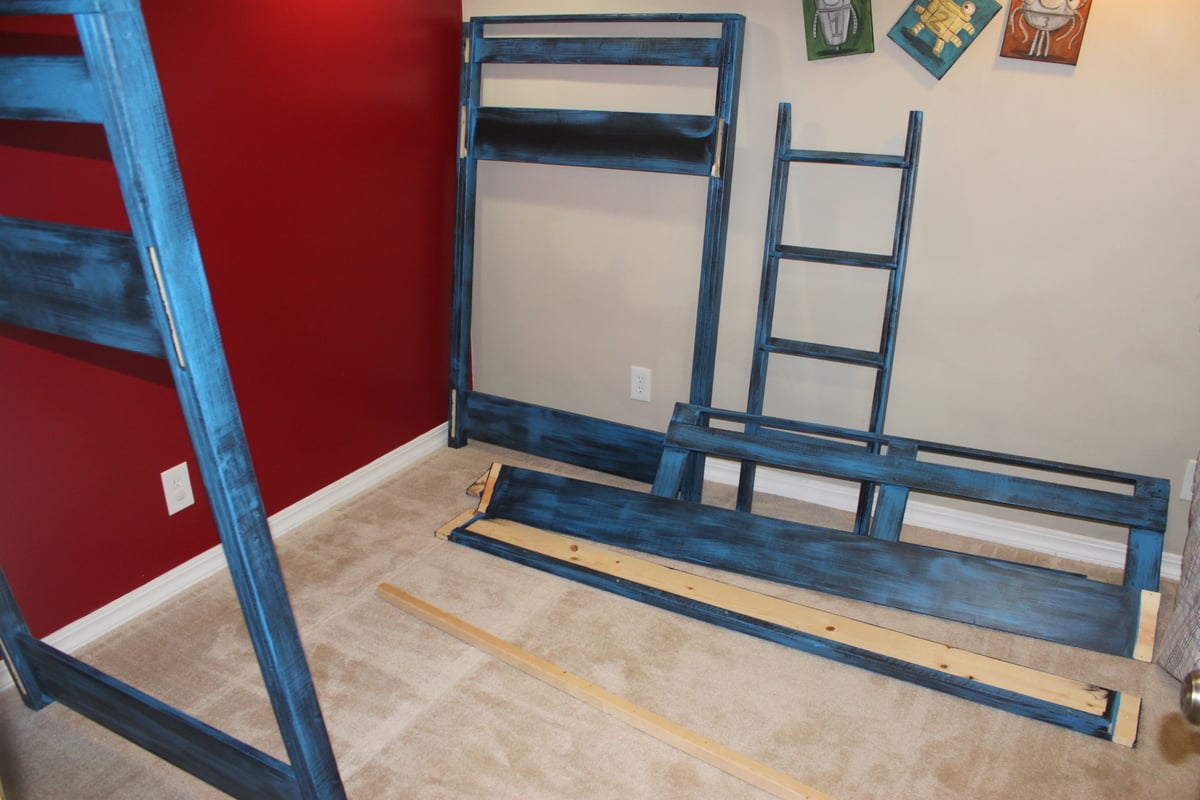
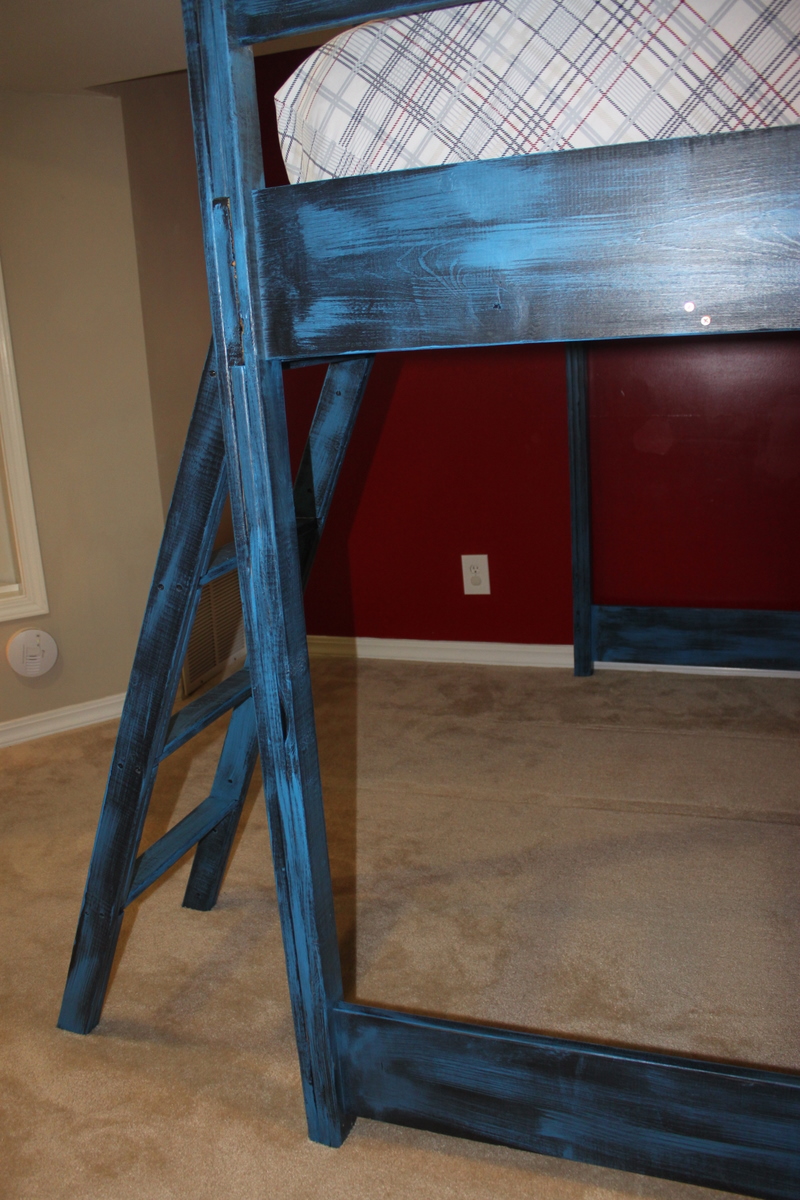
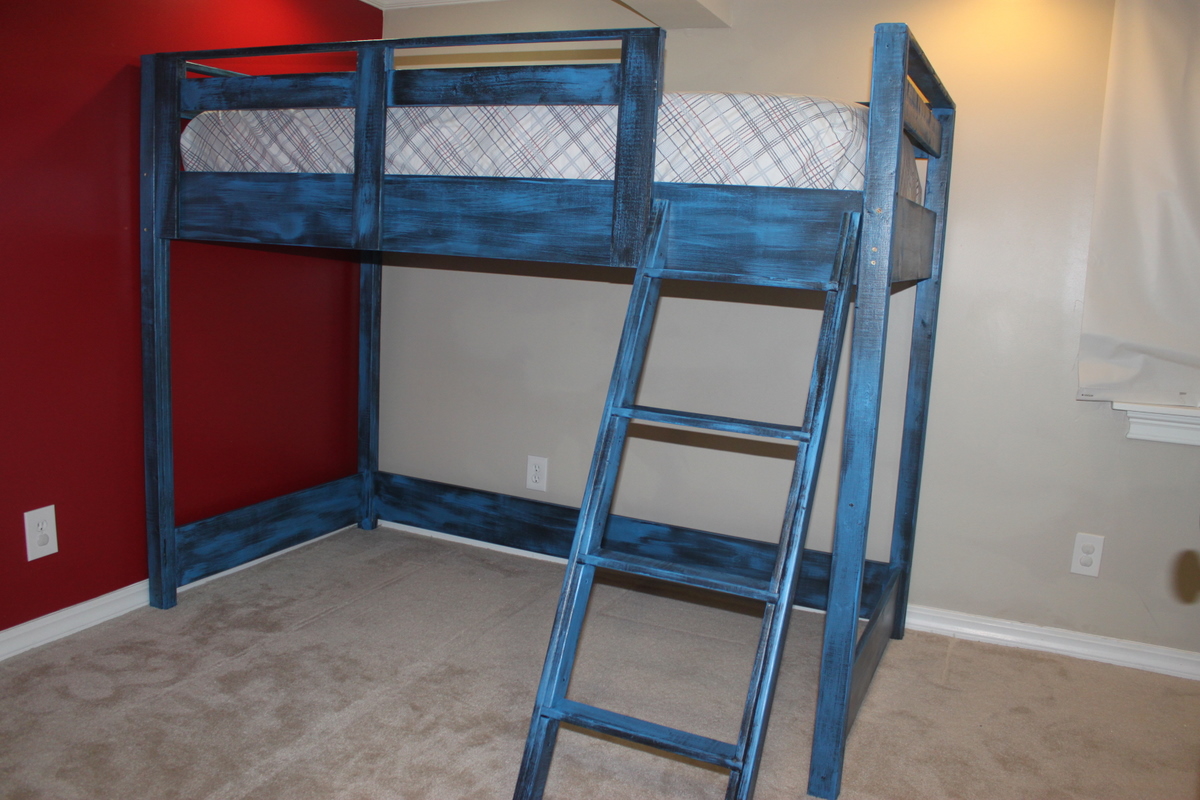
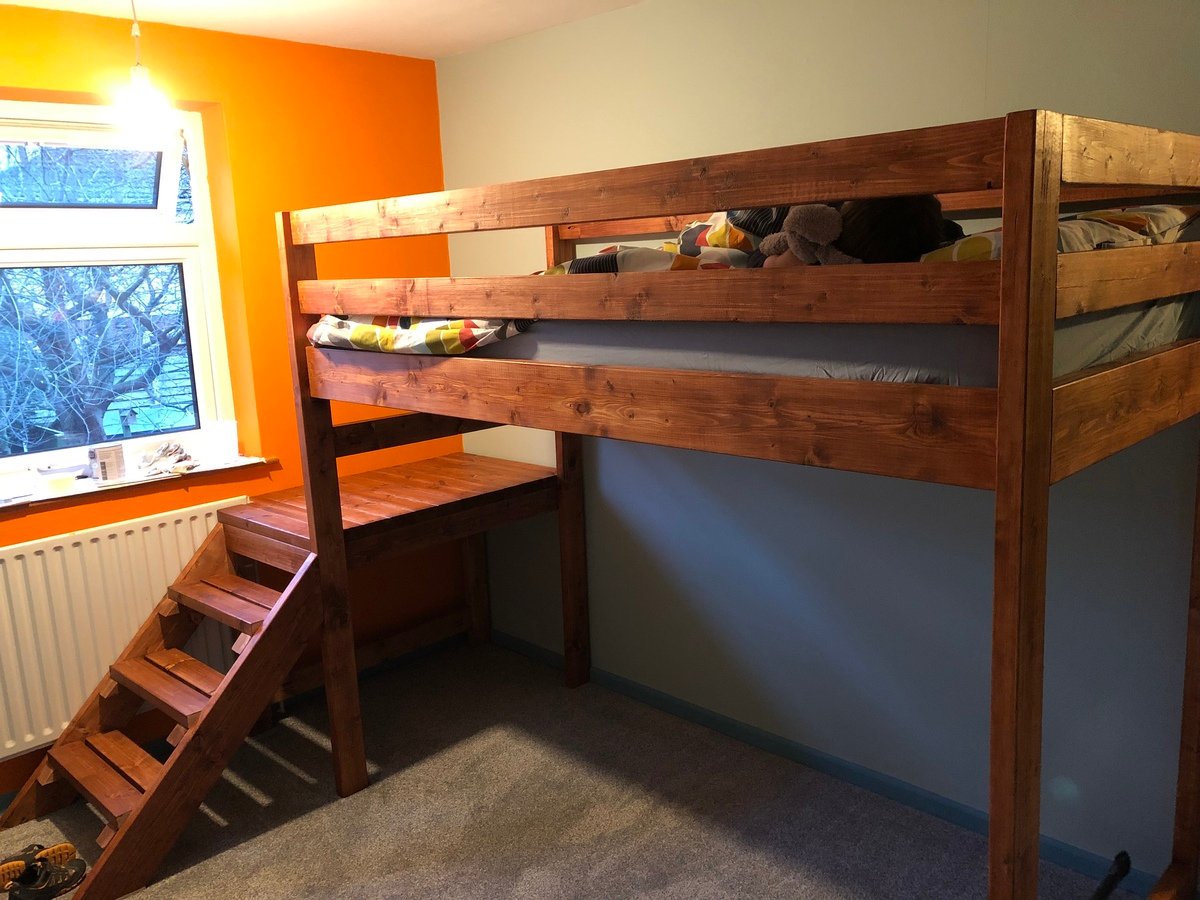
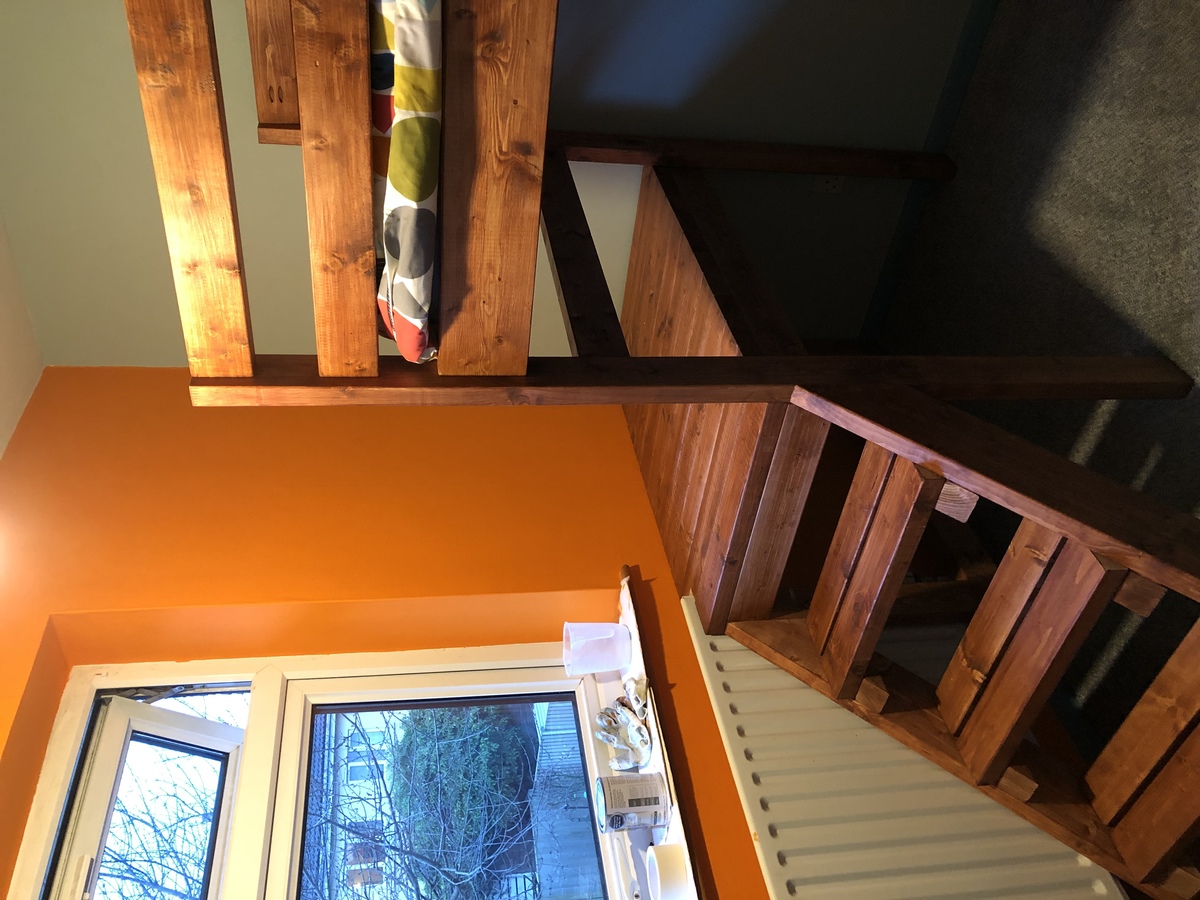
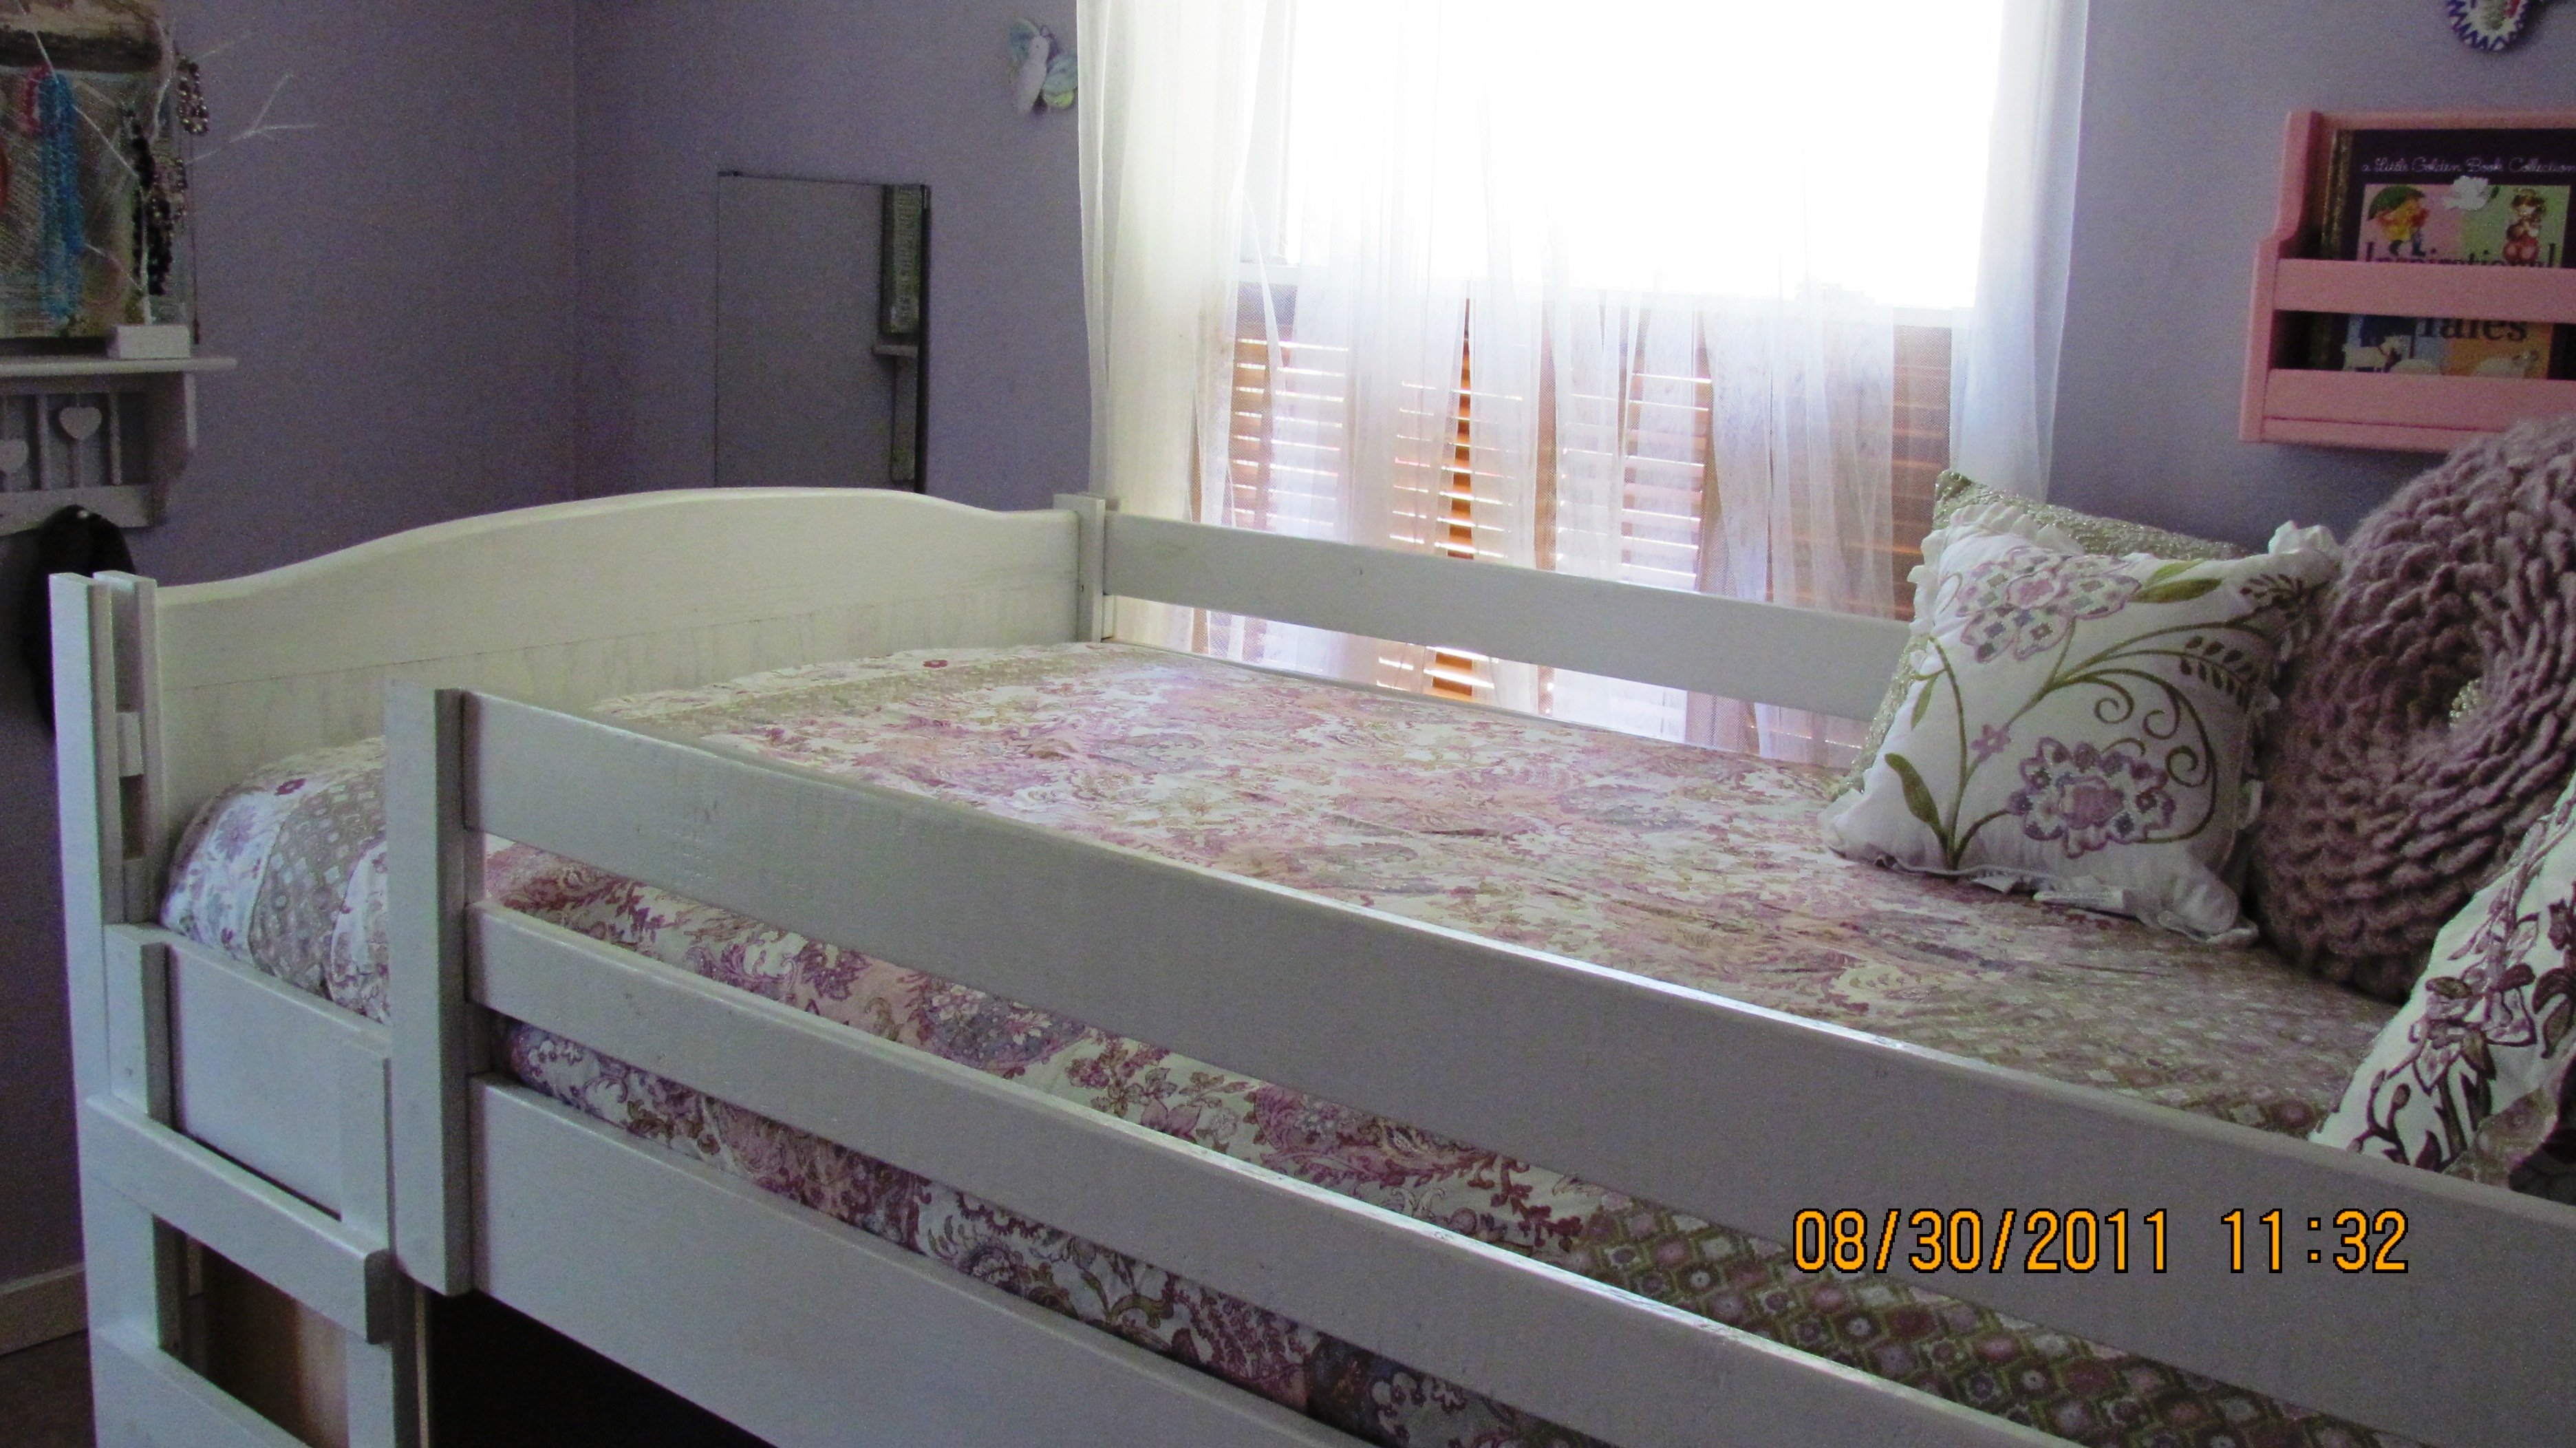
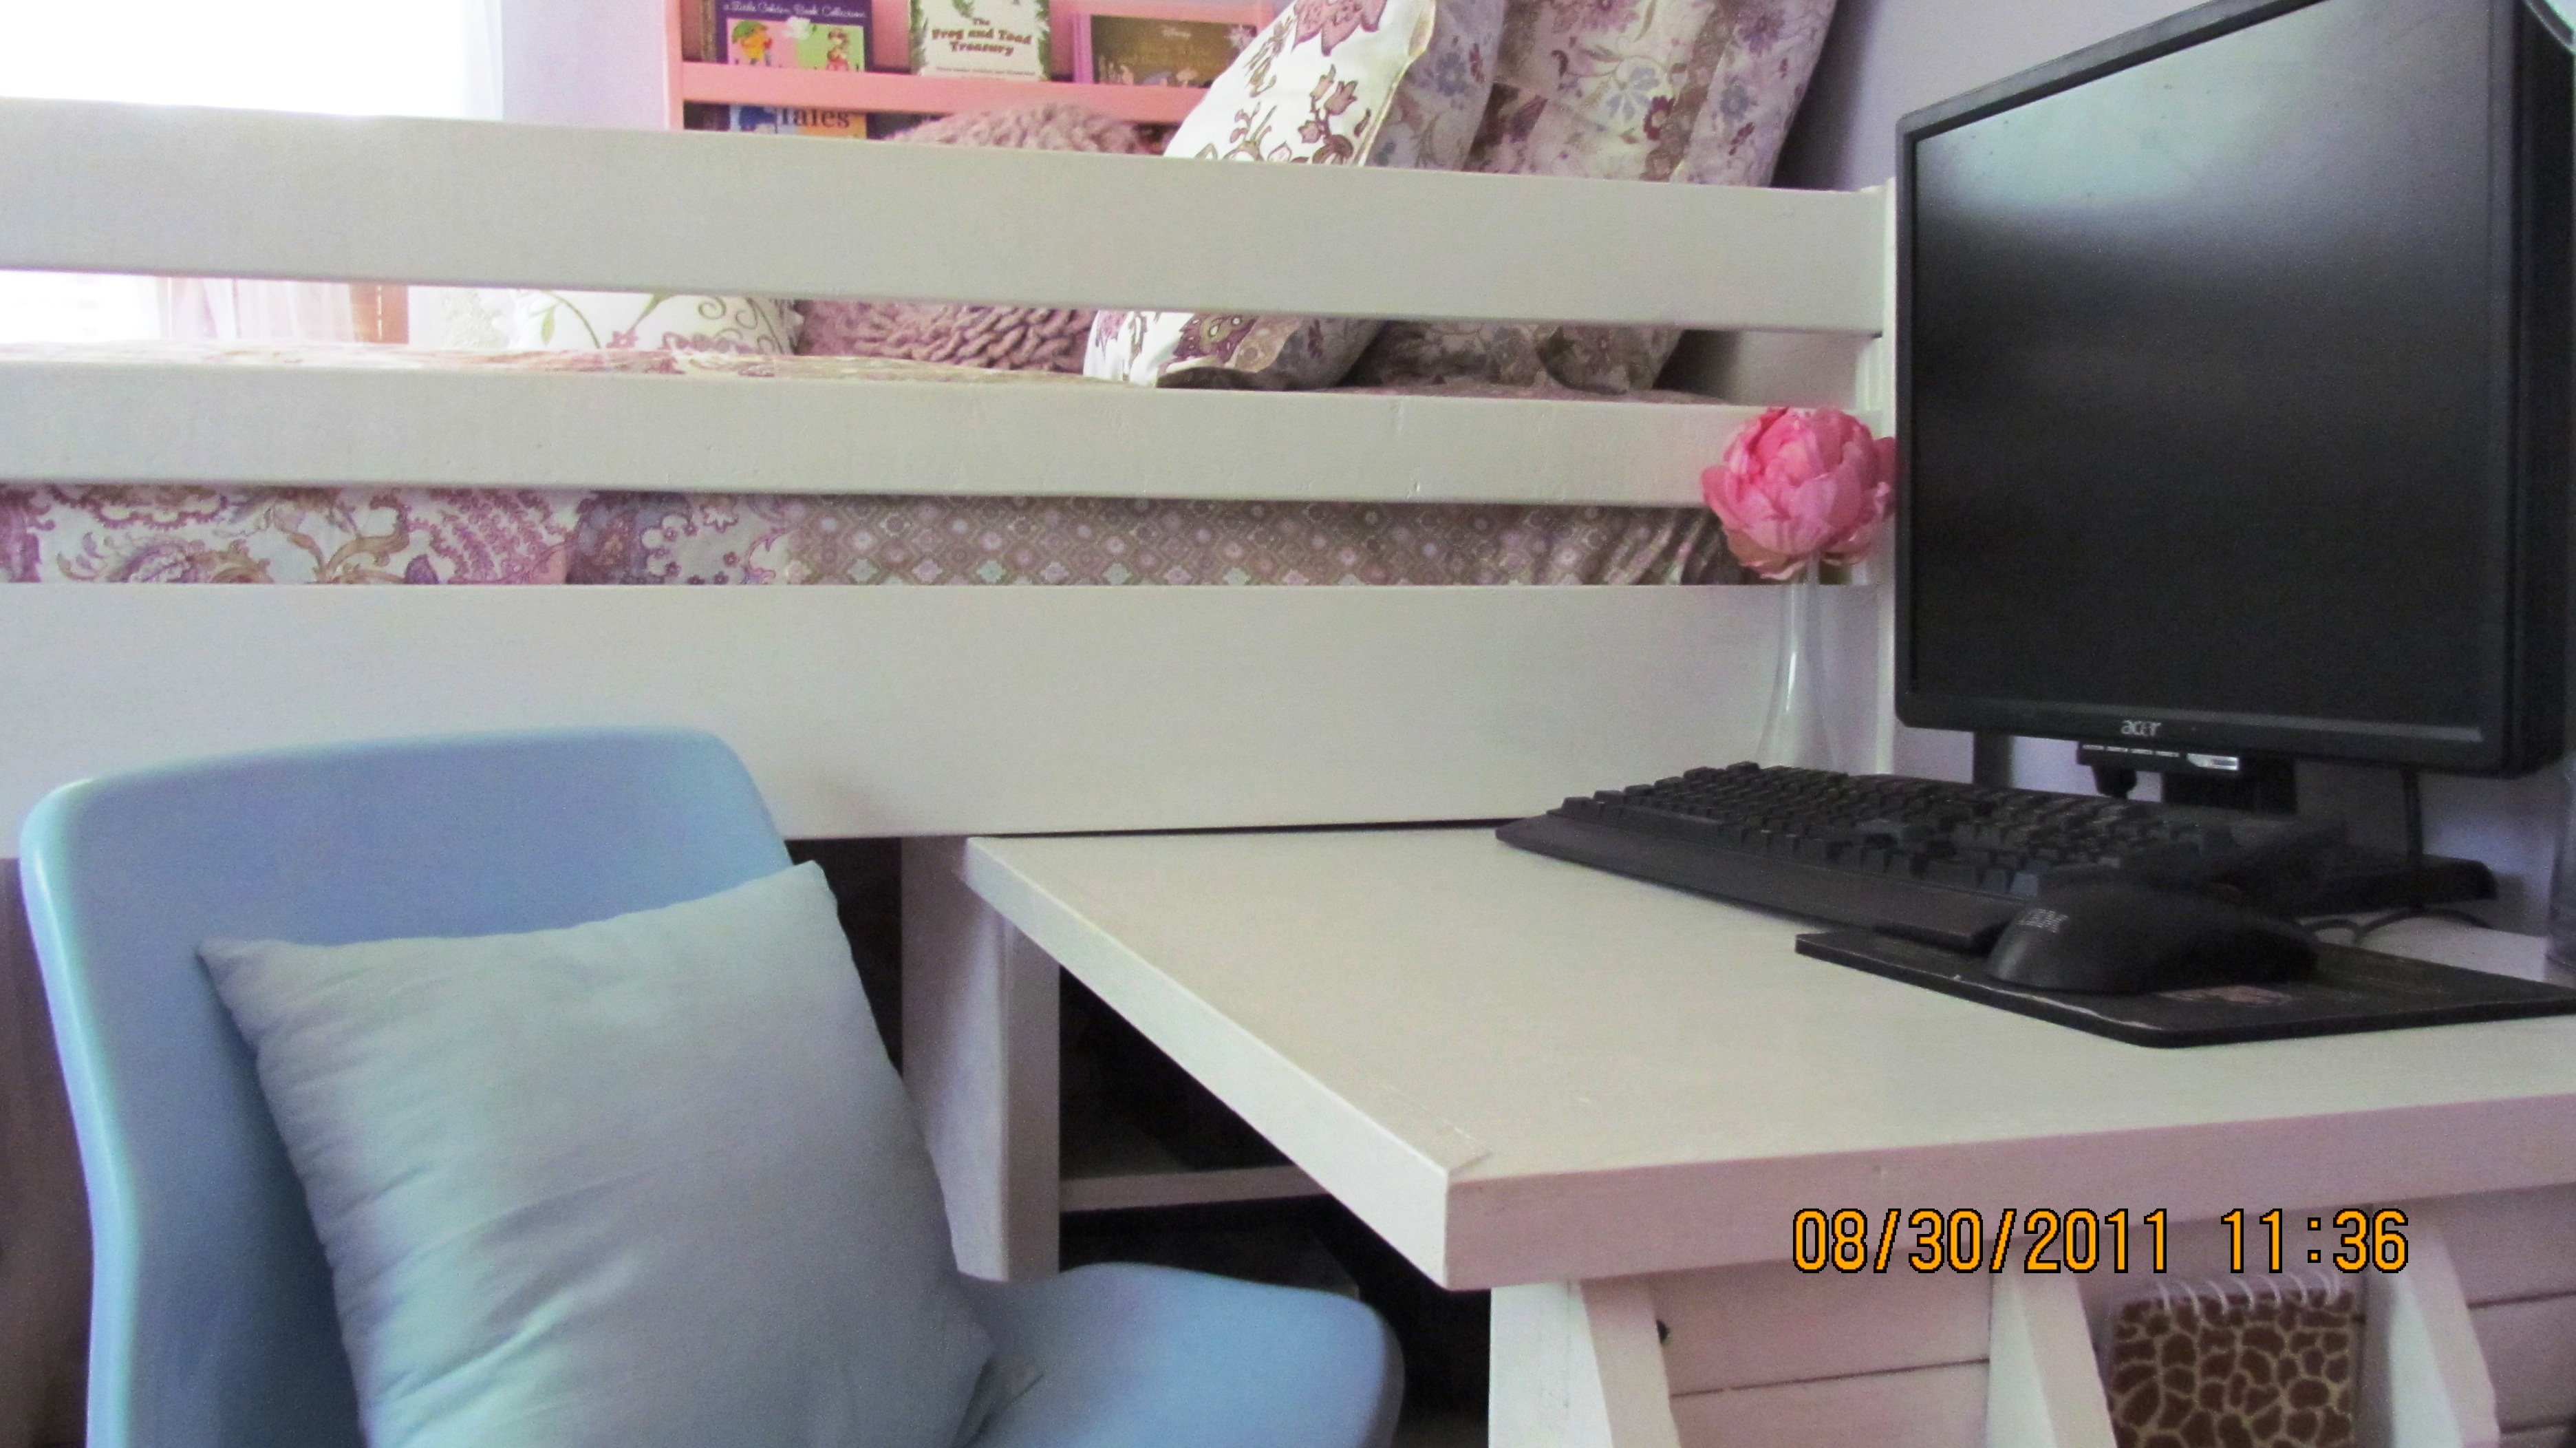
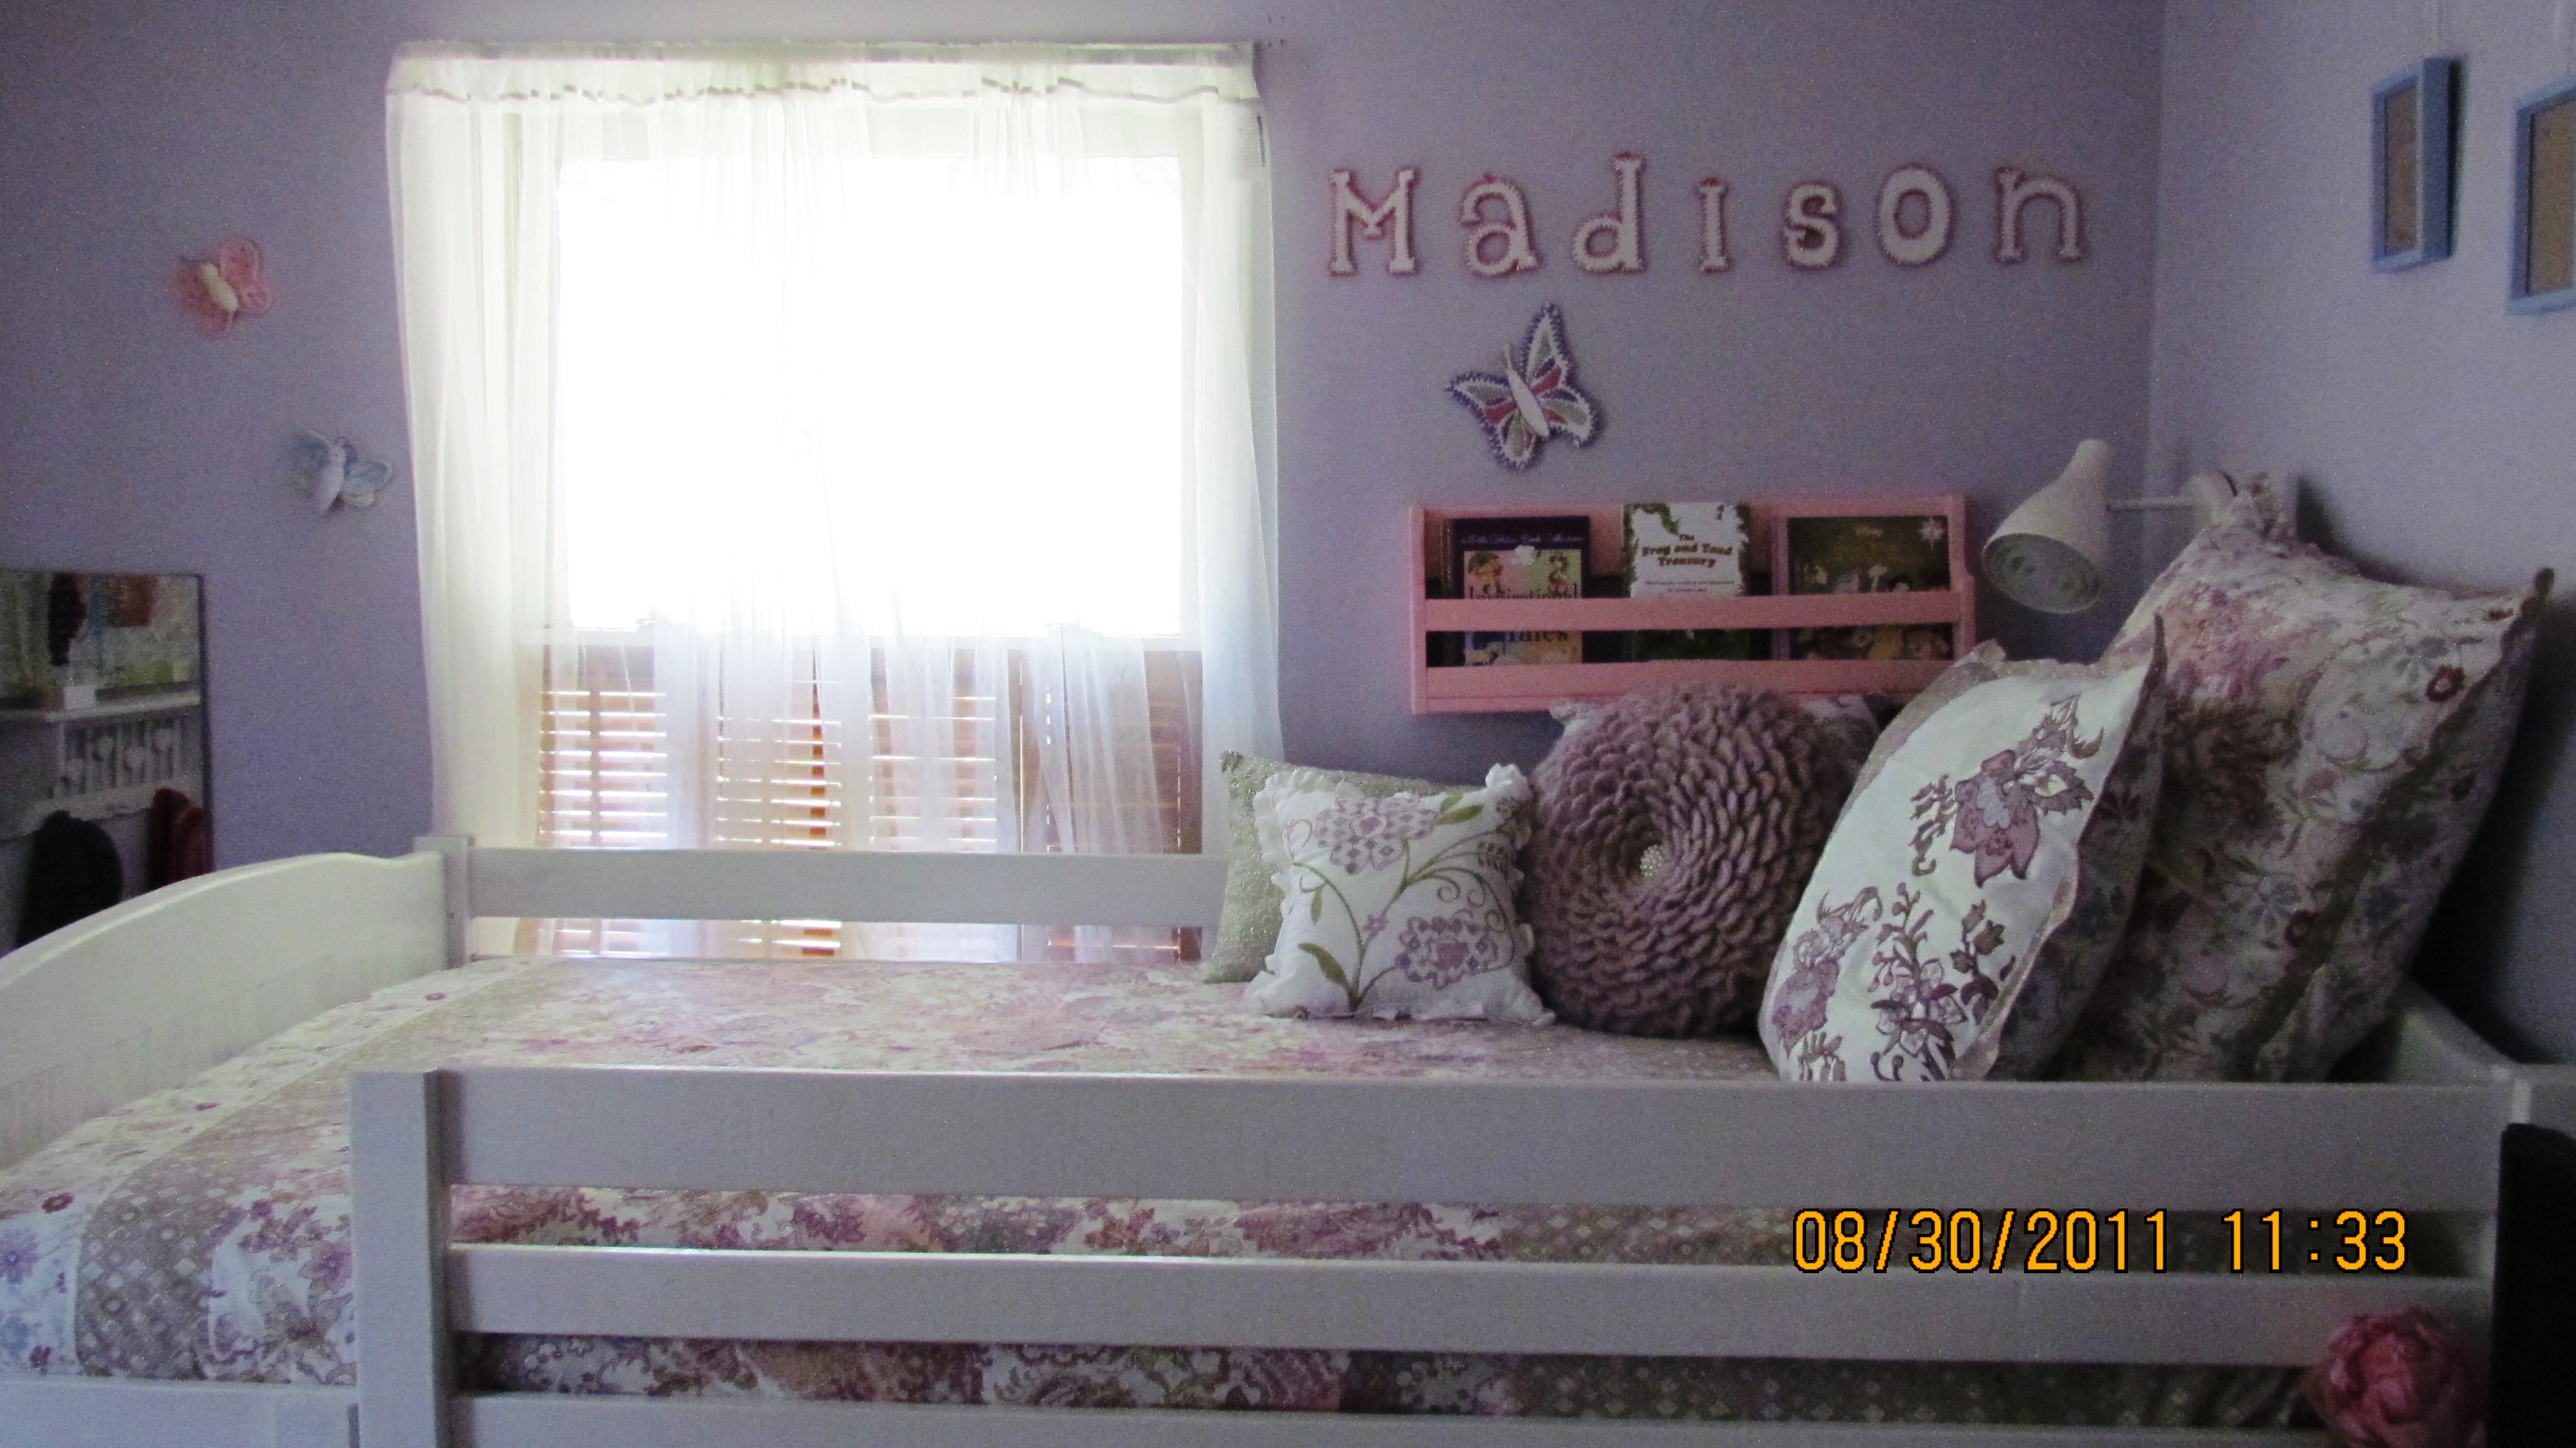
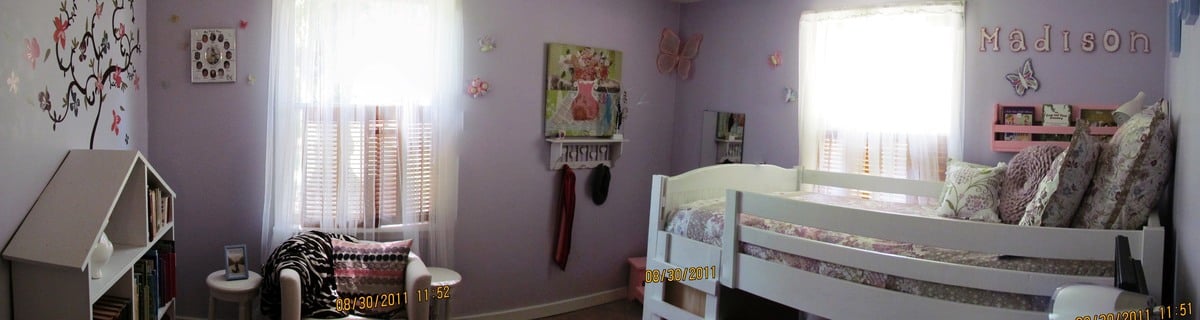
Fillman Storage Bed with Drawers
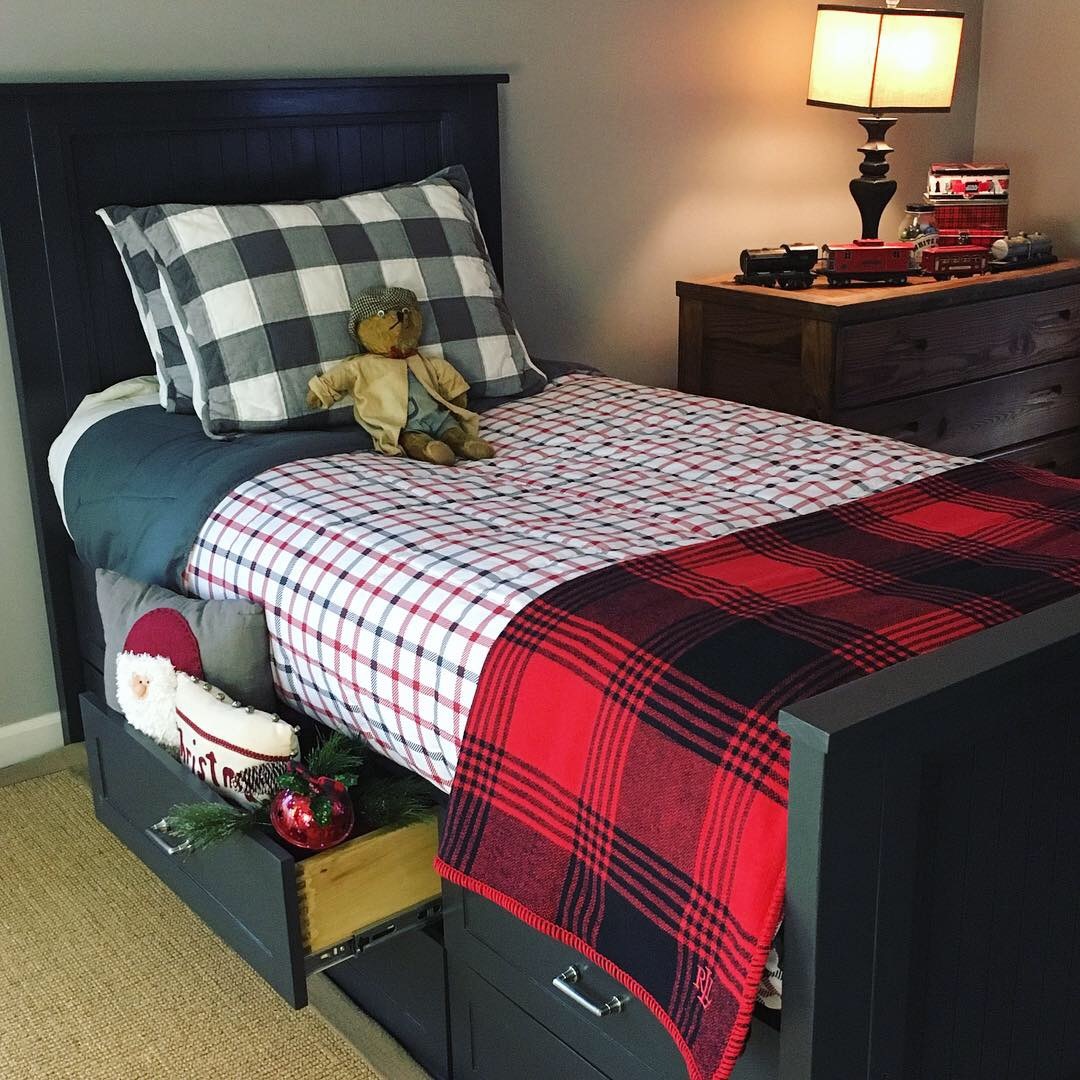
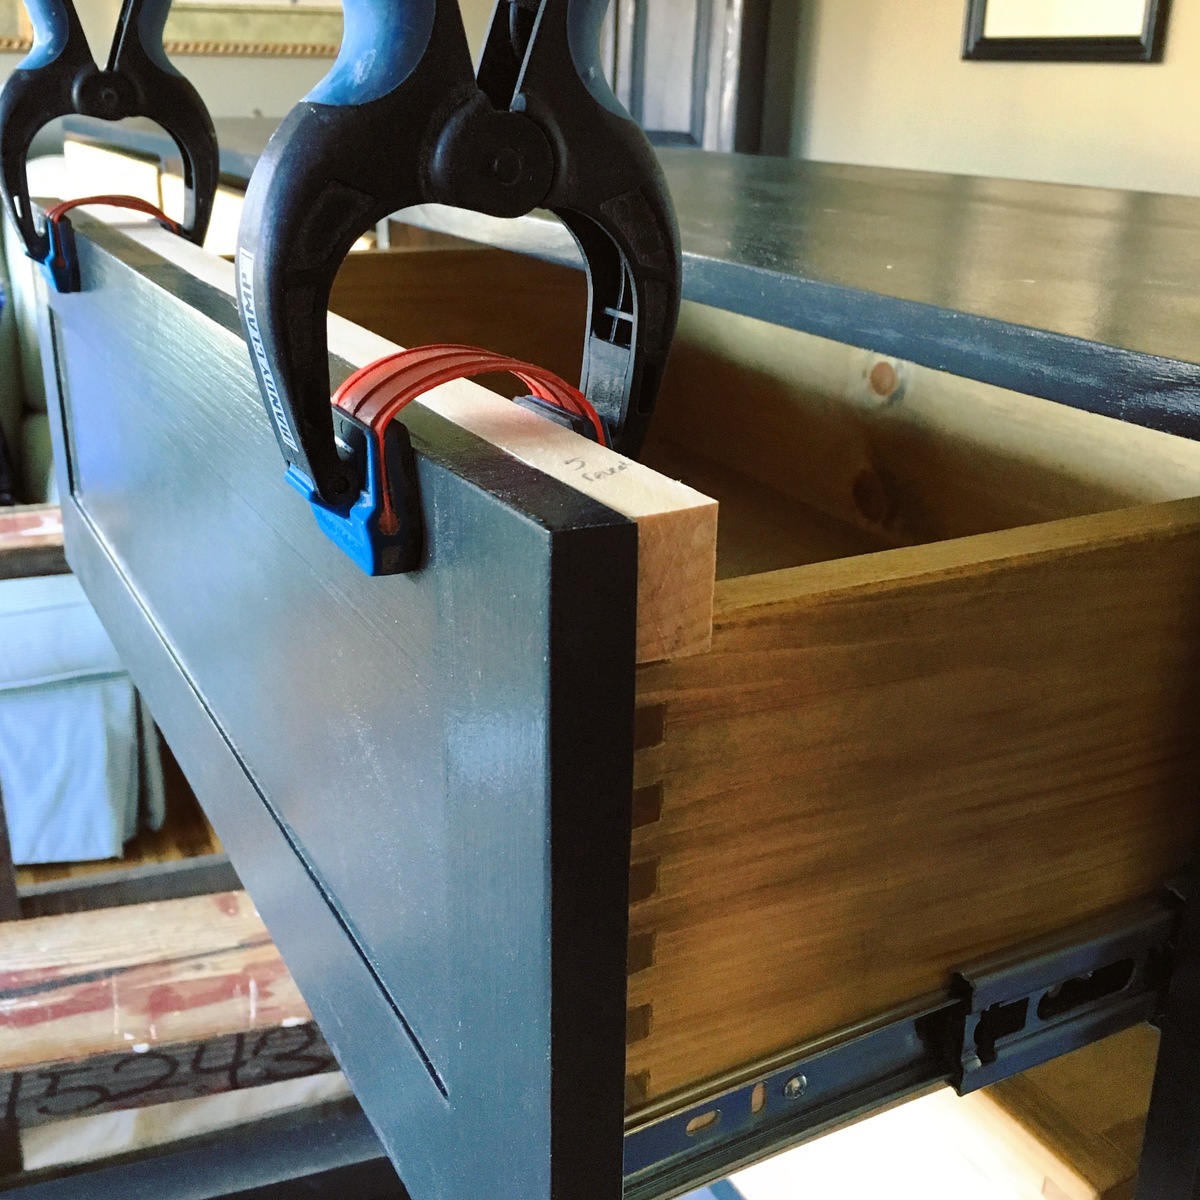
Utilizing Ana’s plans I was able to build this great bed with a few “ extras”. Box joint drawers..rail/stile drawer frames.. peg joinery to name a few! So much fun following these plans and achieving results that made one young man very happy! Thanks Ana!!
Built from Plan(s)
Estimated Cost
200$
Estimated Time Investment
Week Long Project (20 Hours or More)
Finish Used
Painted with a non latex paint and finished with a water based poly.
Recommended Skill Level
Advanced


Comments
Ana White
Fri, 01/04/2019 - 13:30
Wow, this is so beautiful and
Wow, this is so beautiful and obviously well made! I love the staging too! Thank you so much for using our plans and sharing a photo! Ana