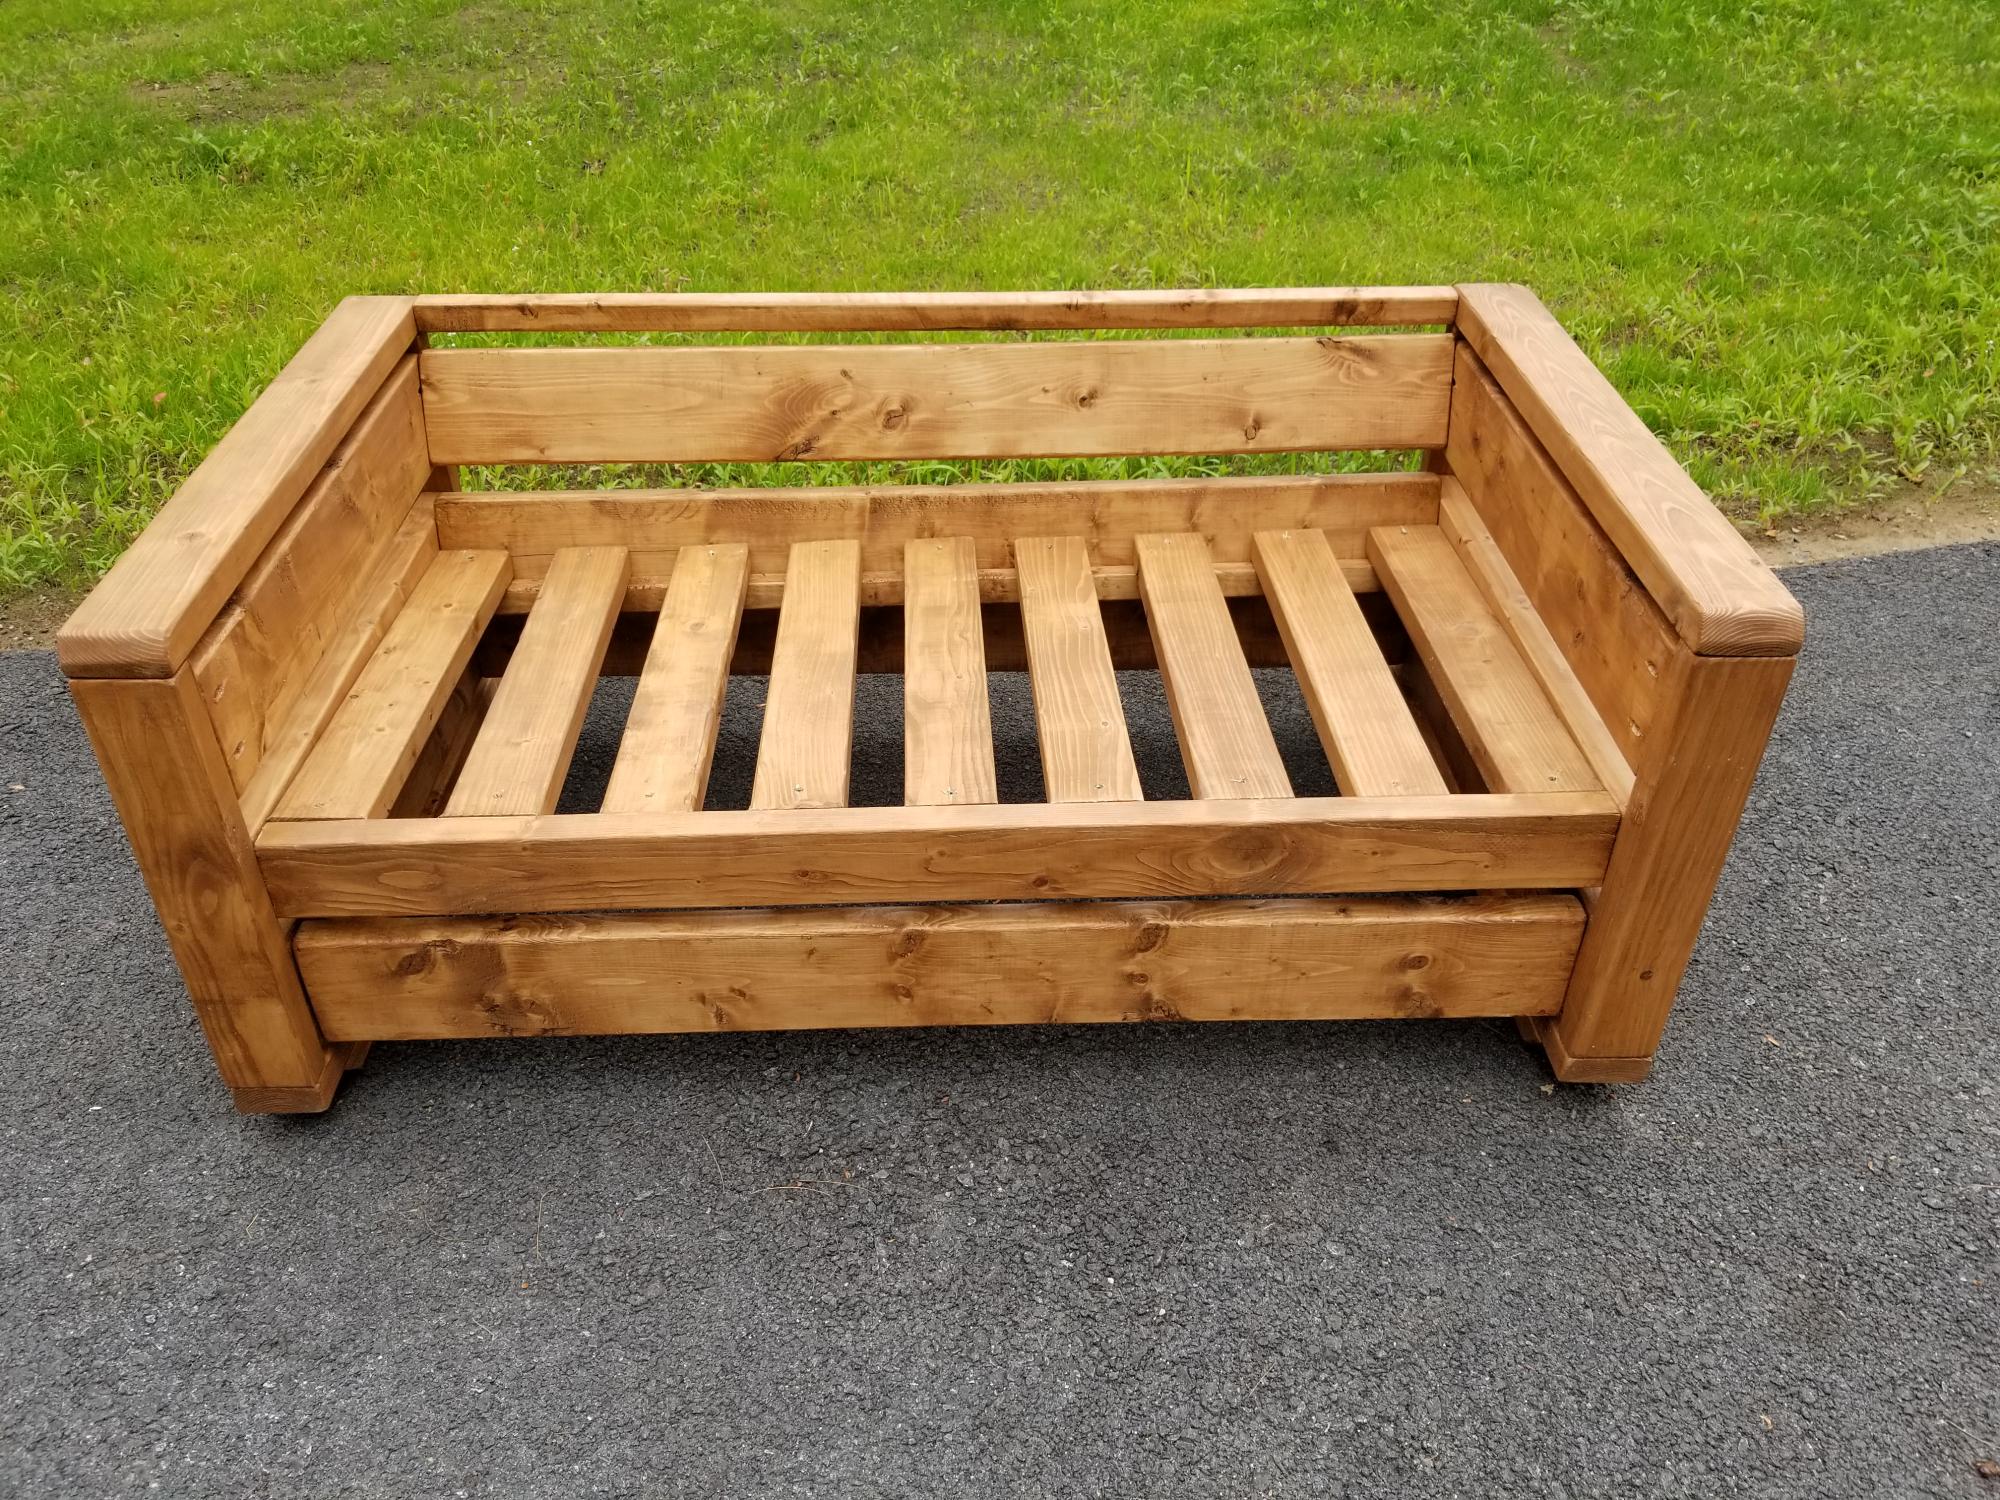
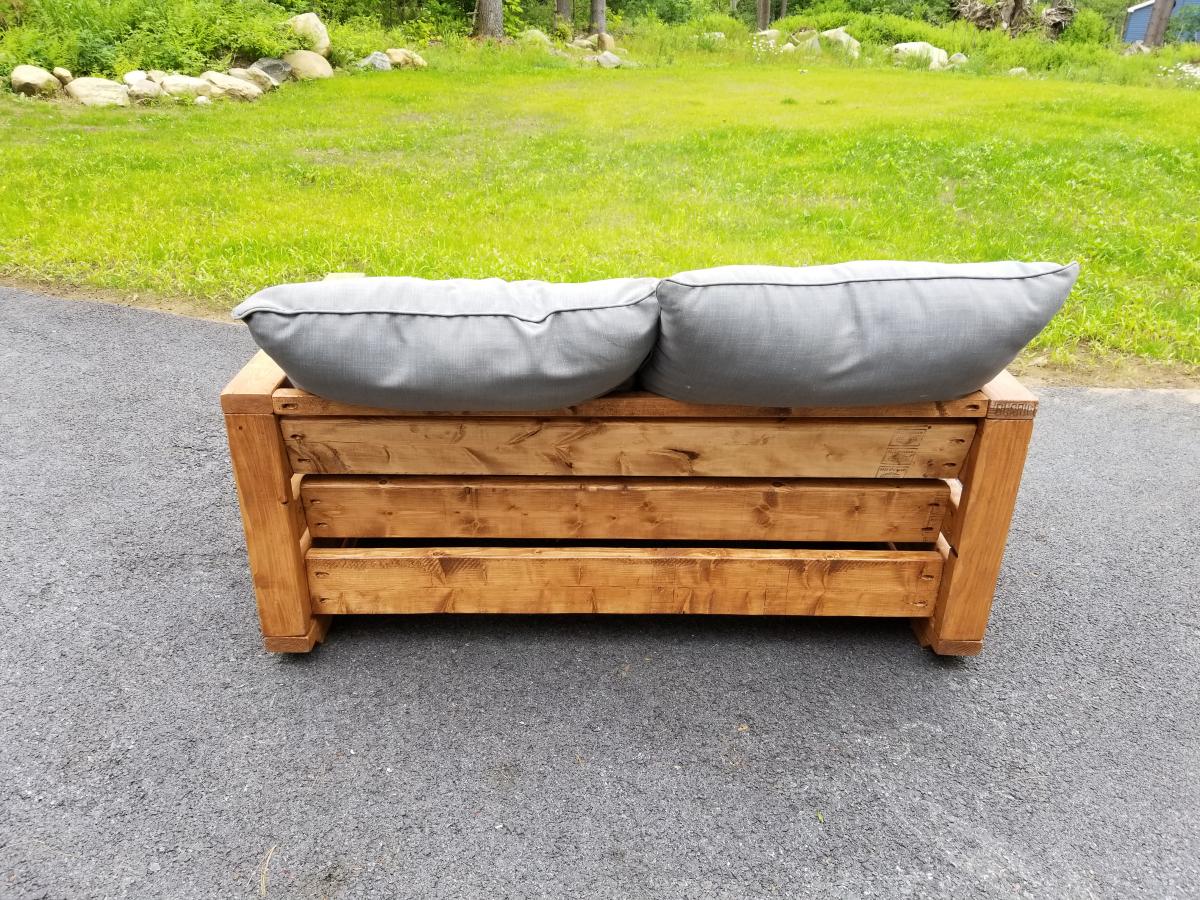
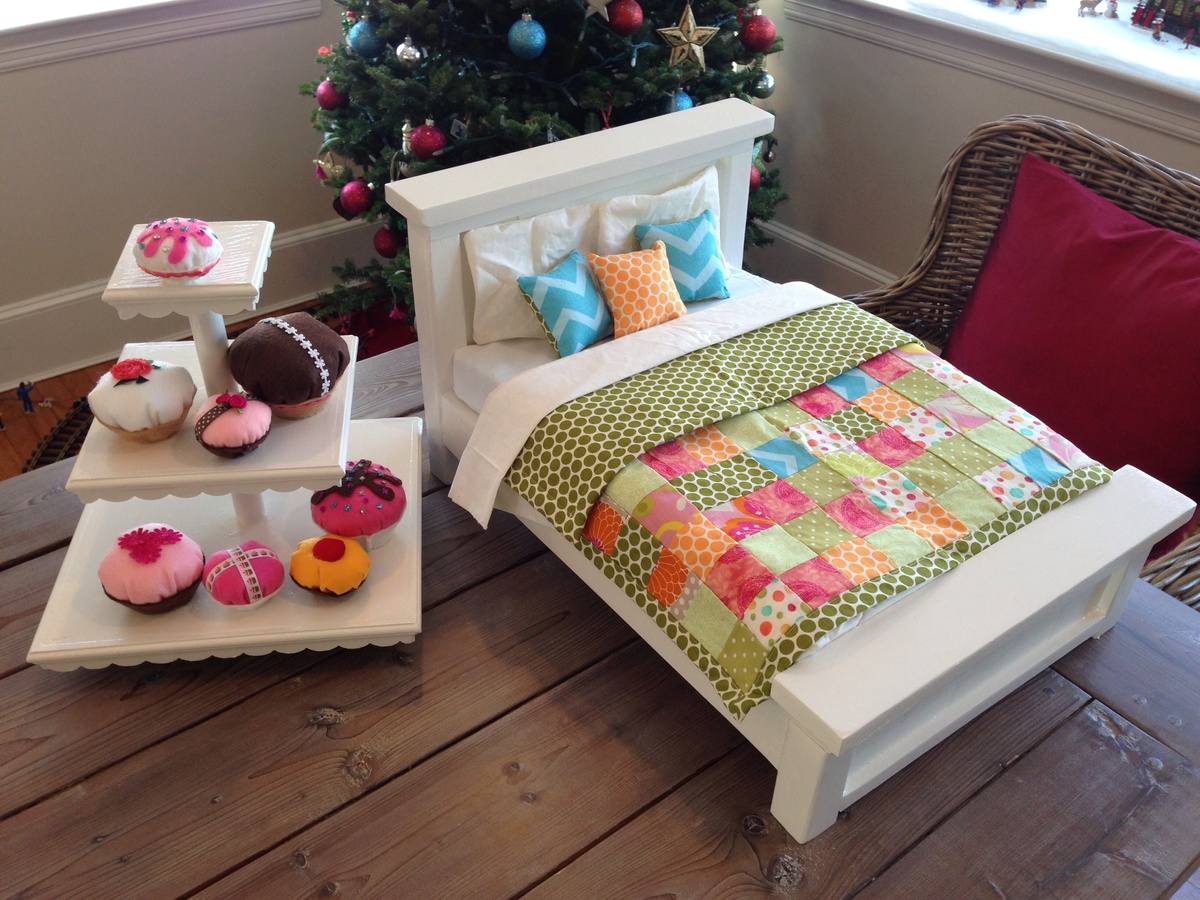
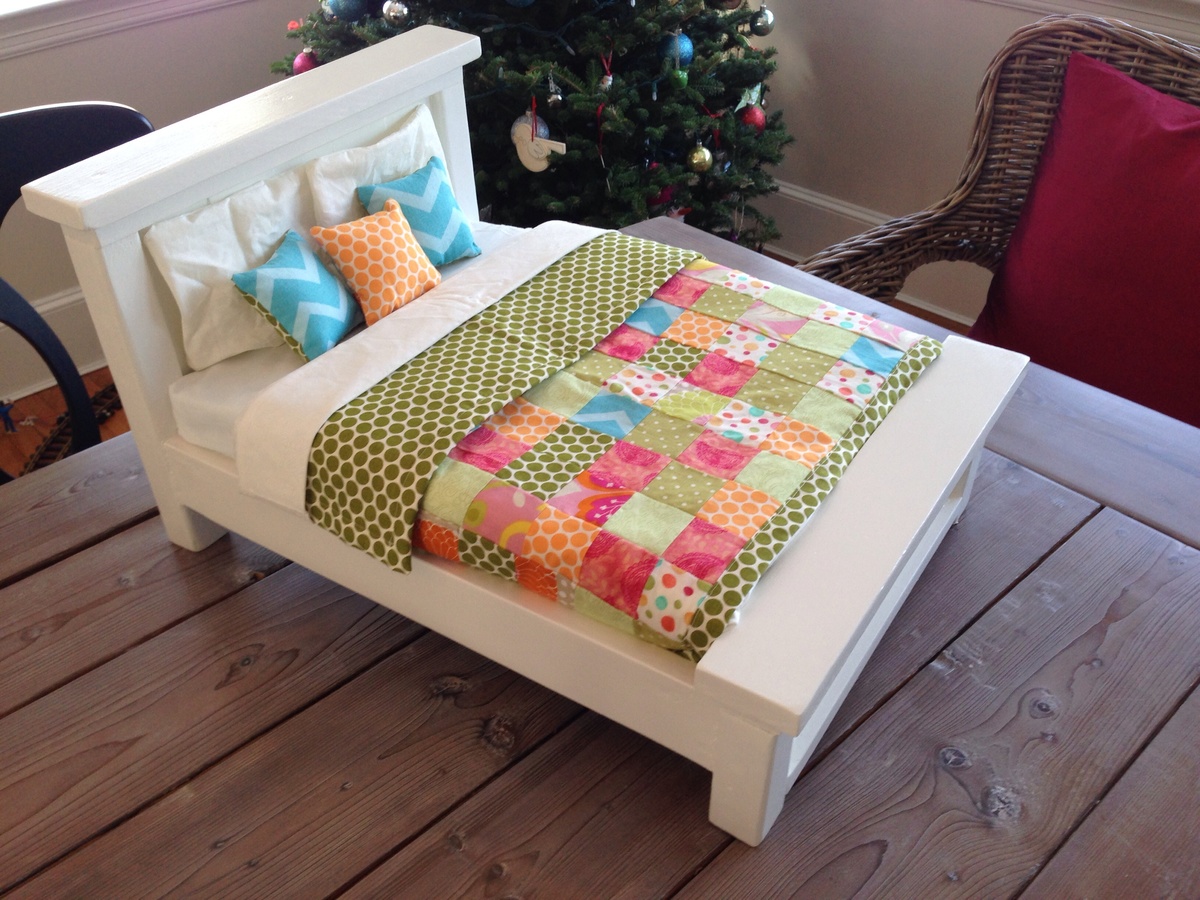
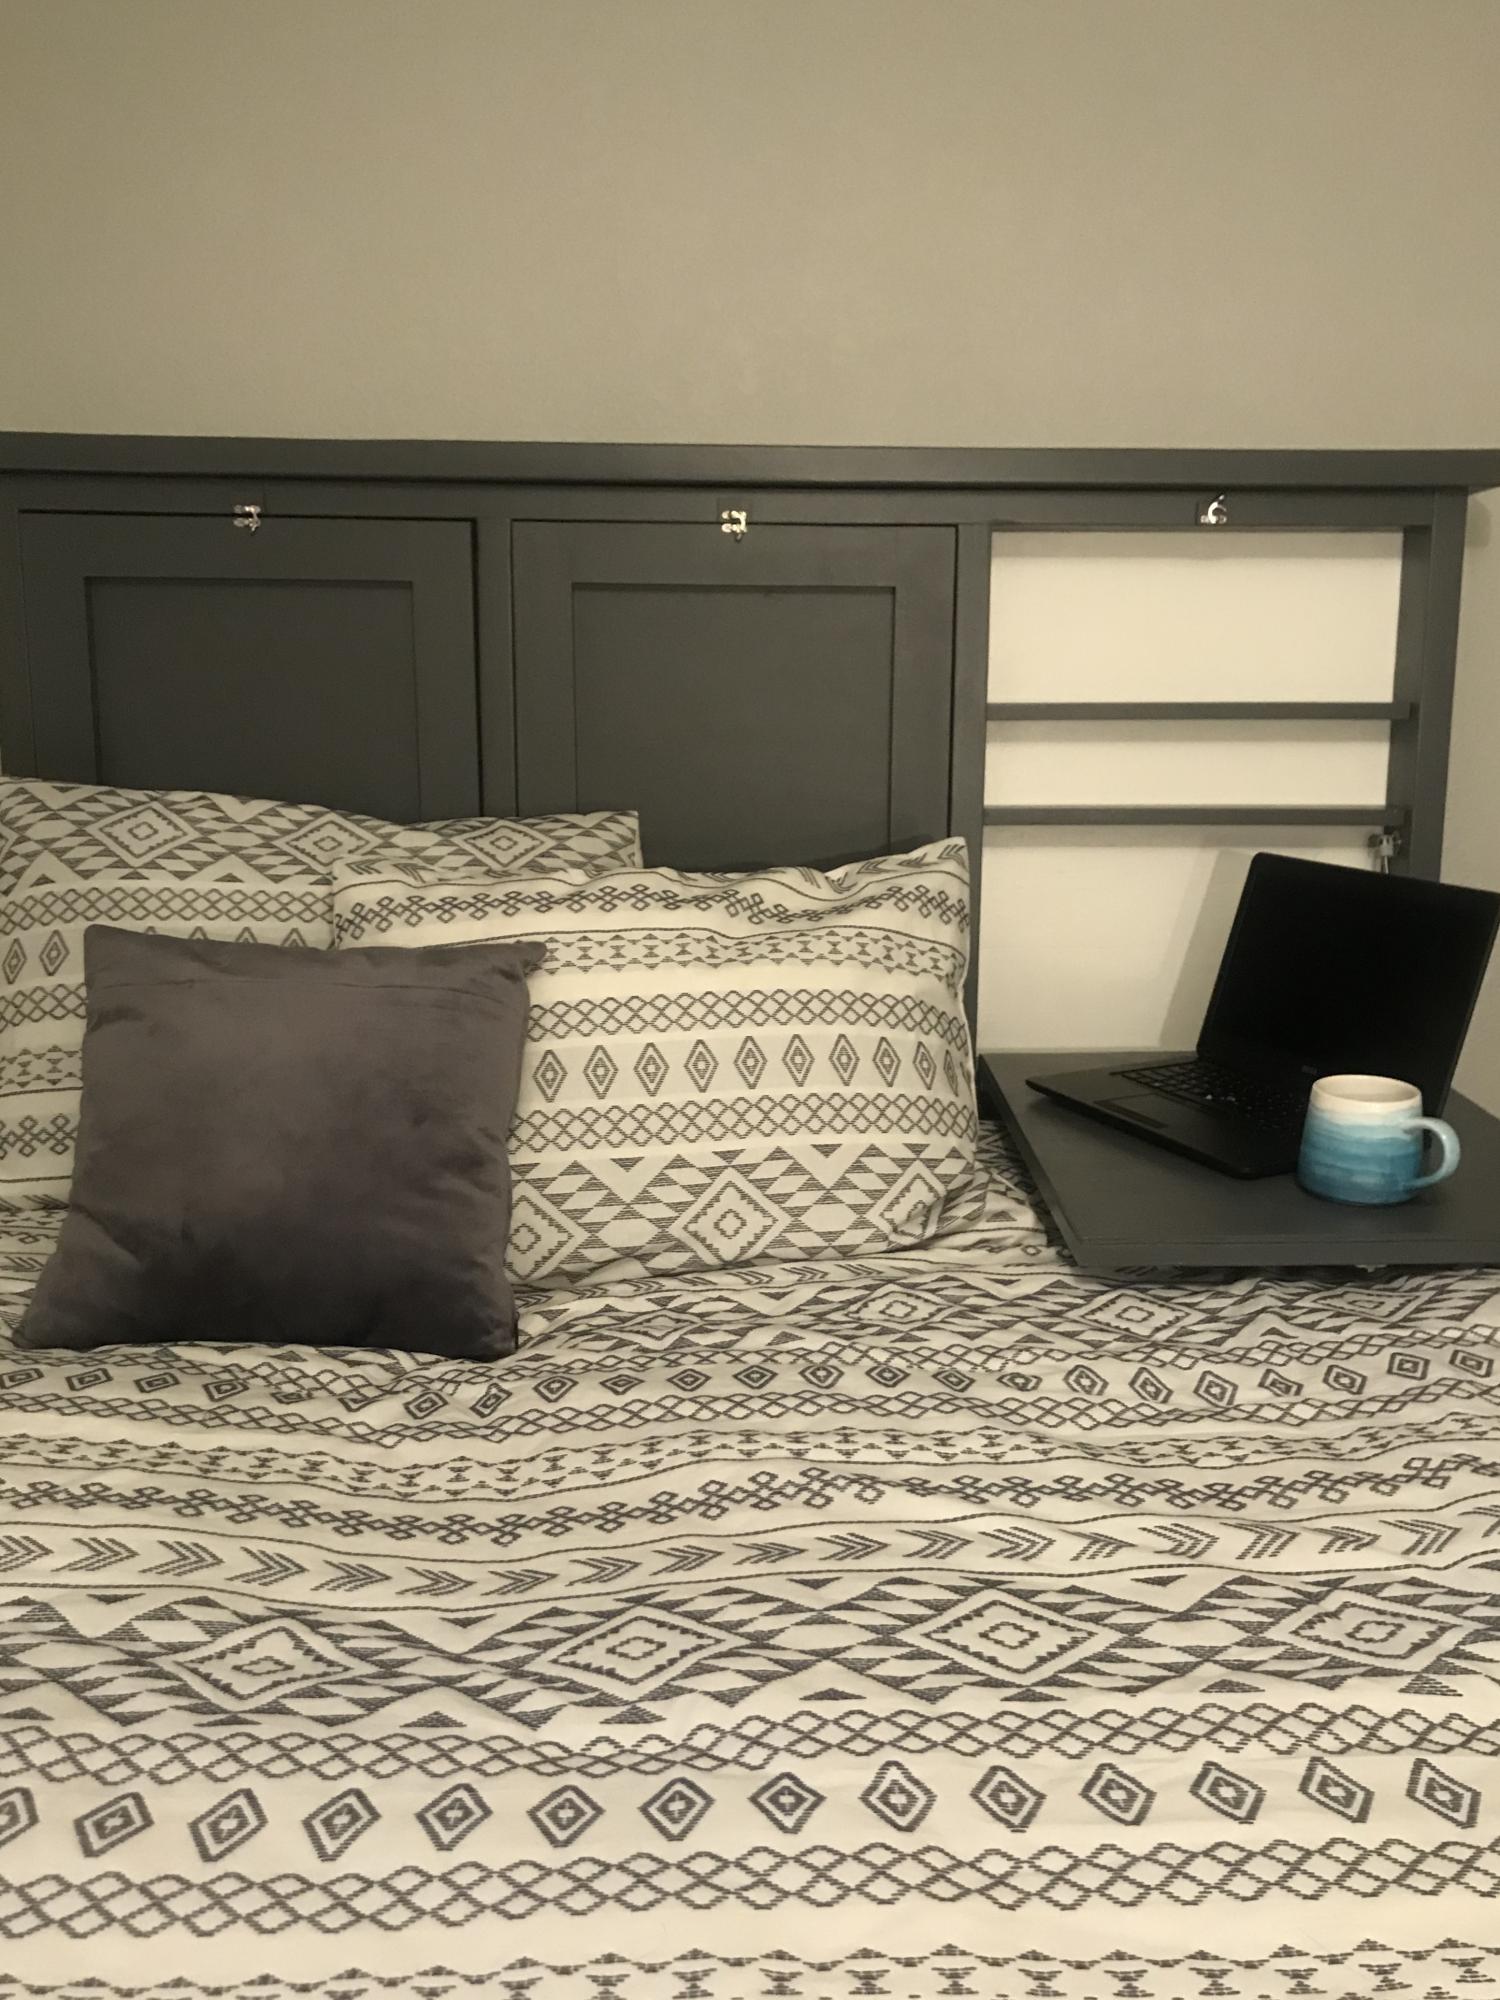
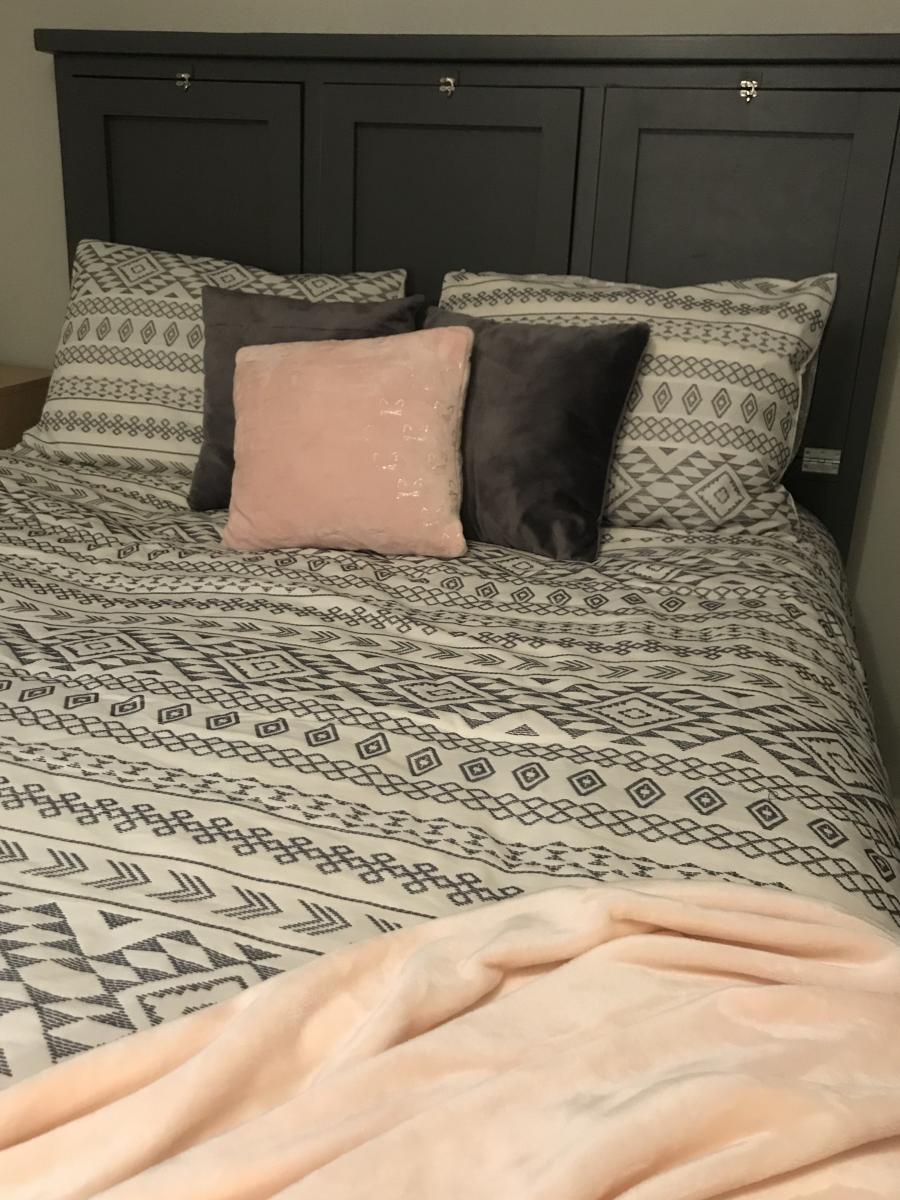
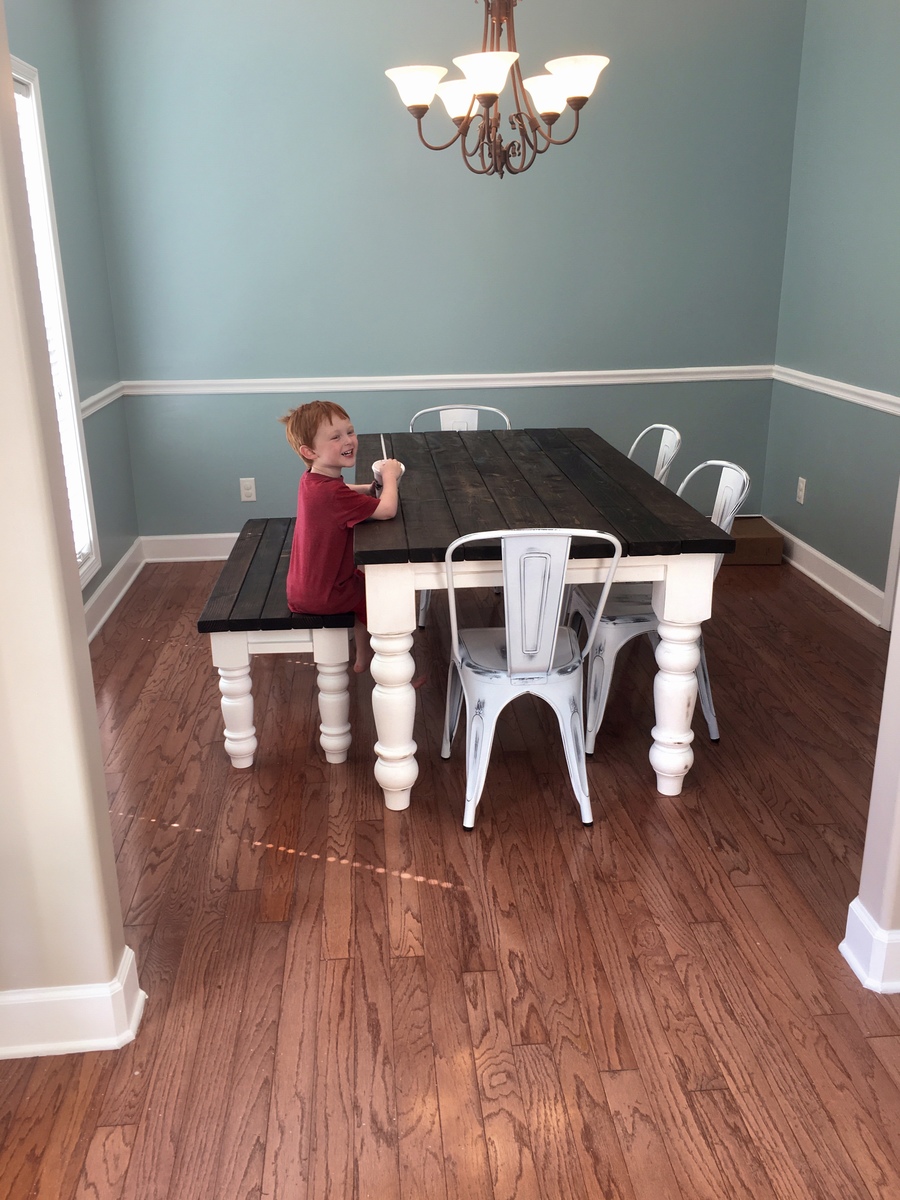
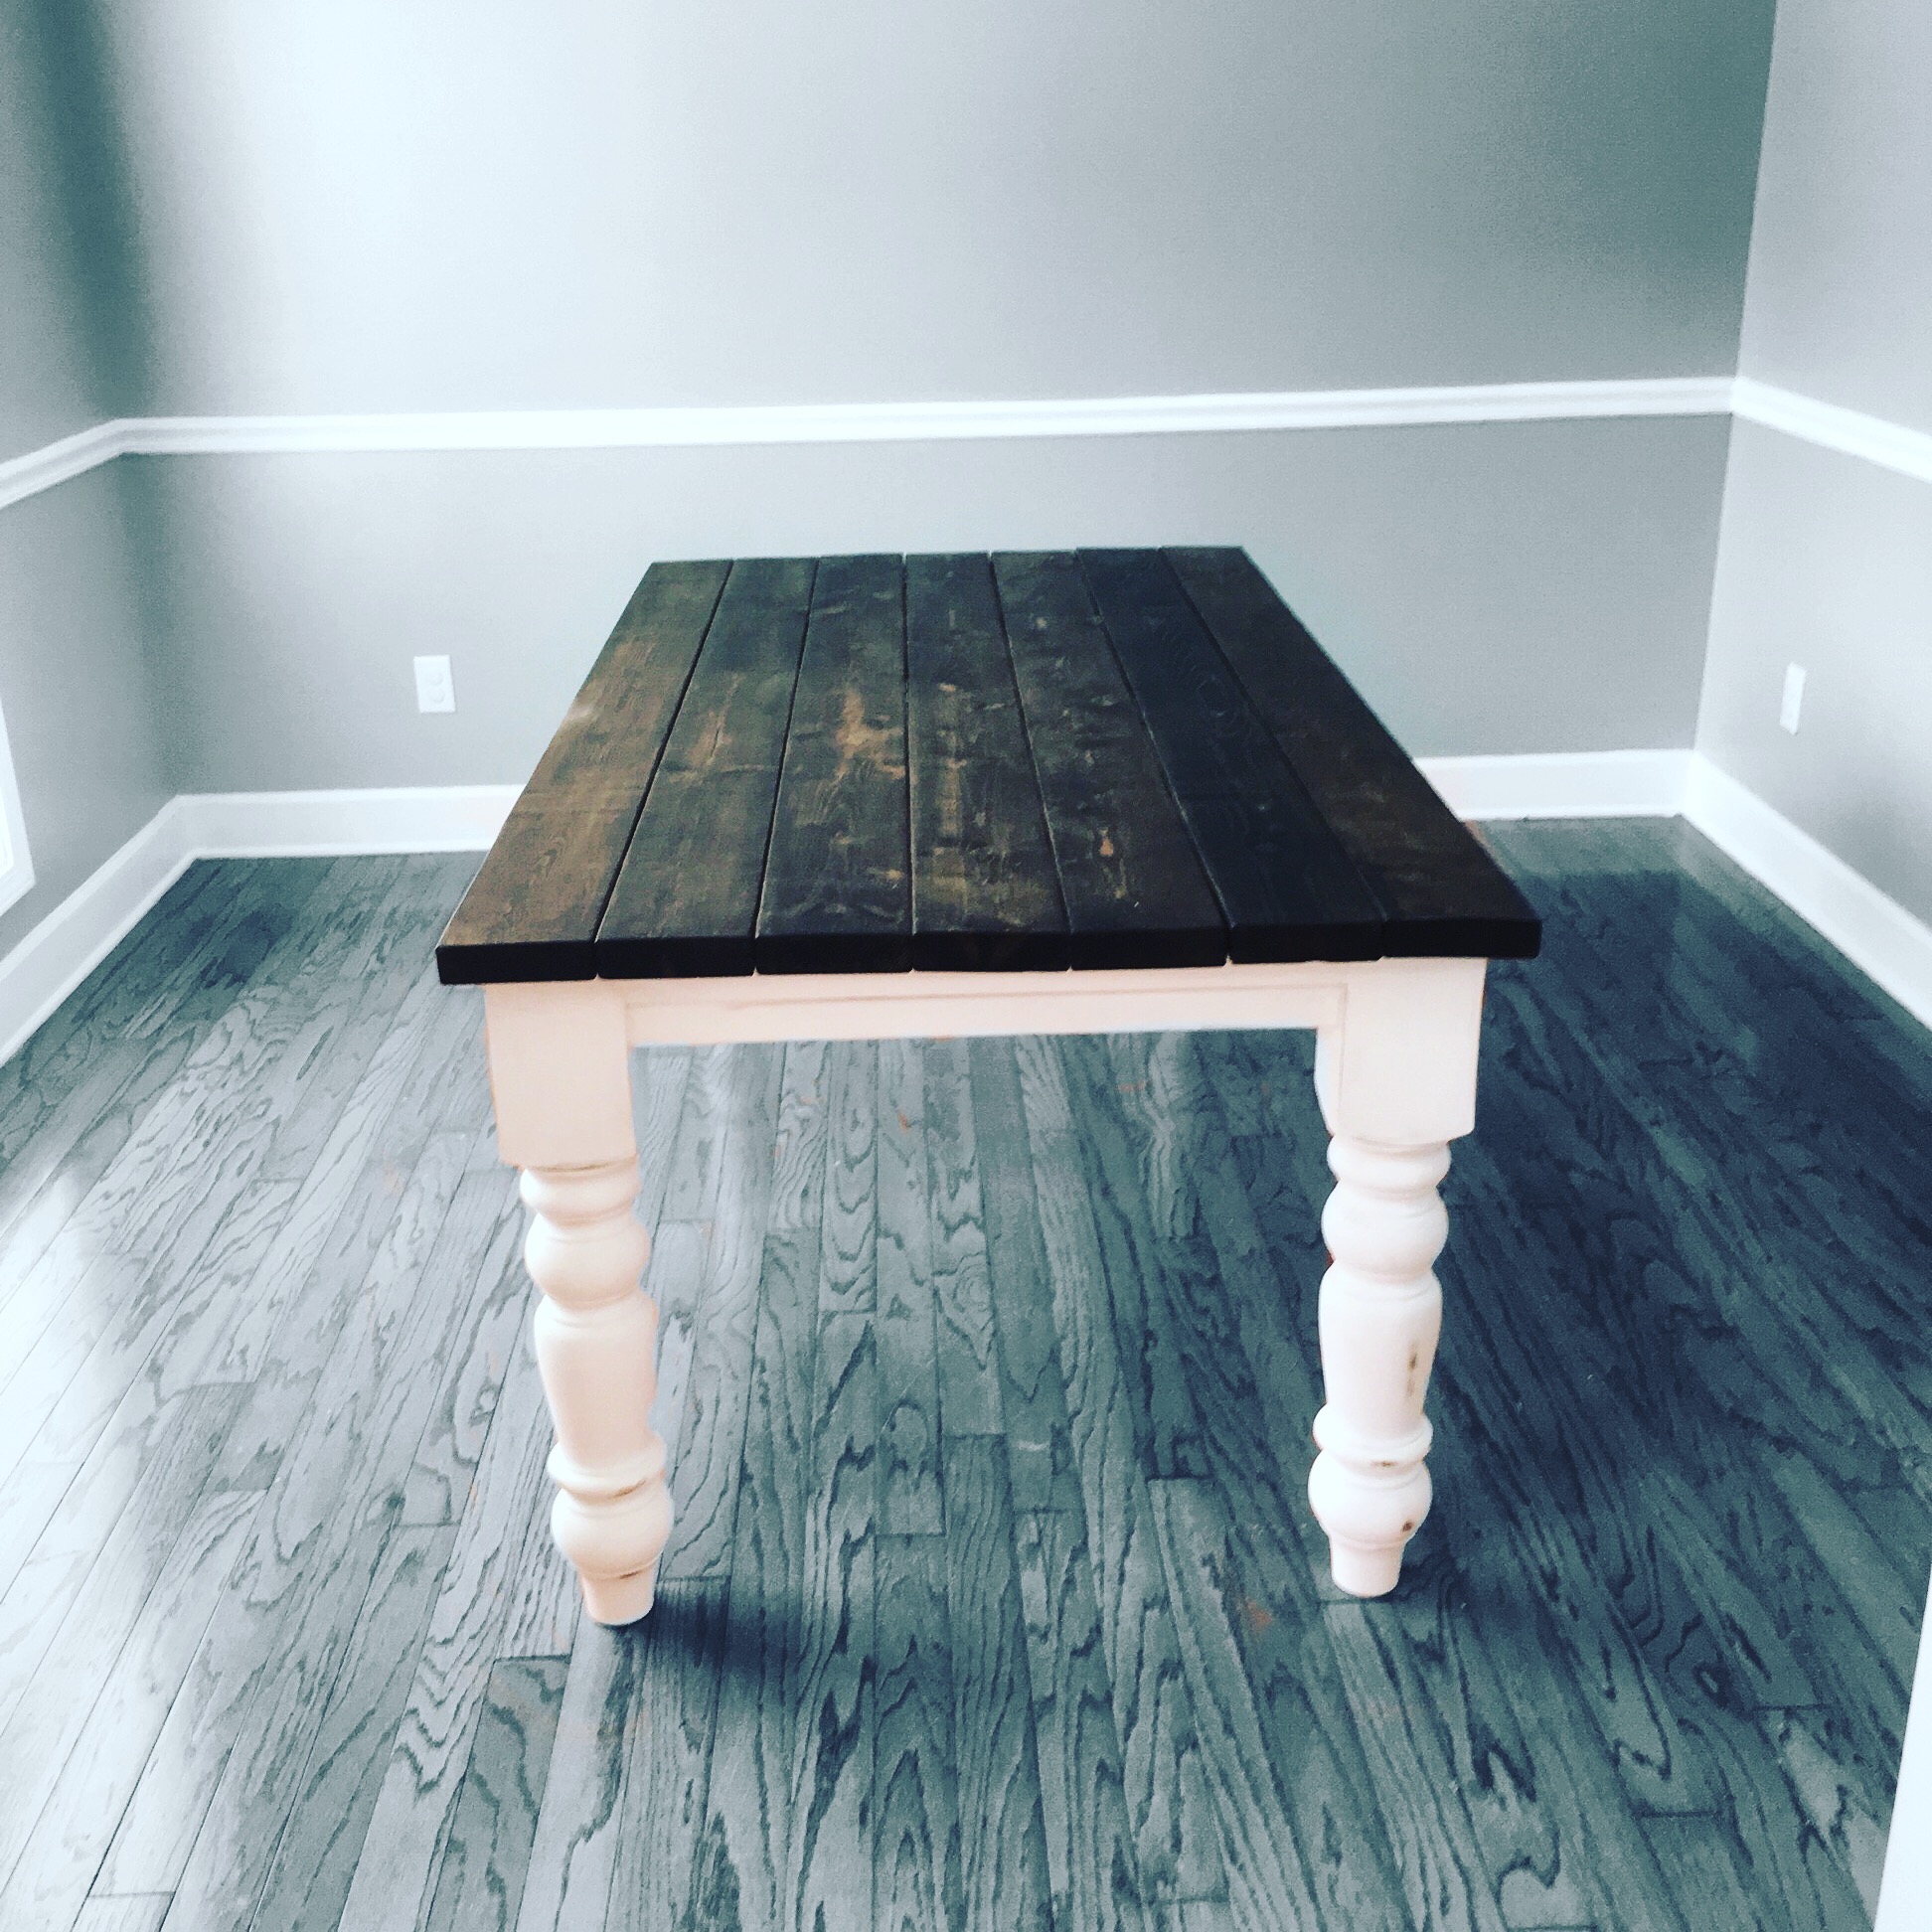
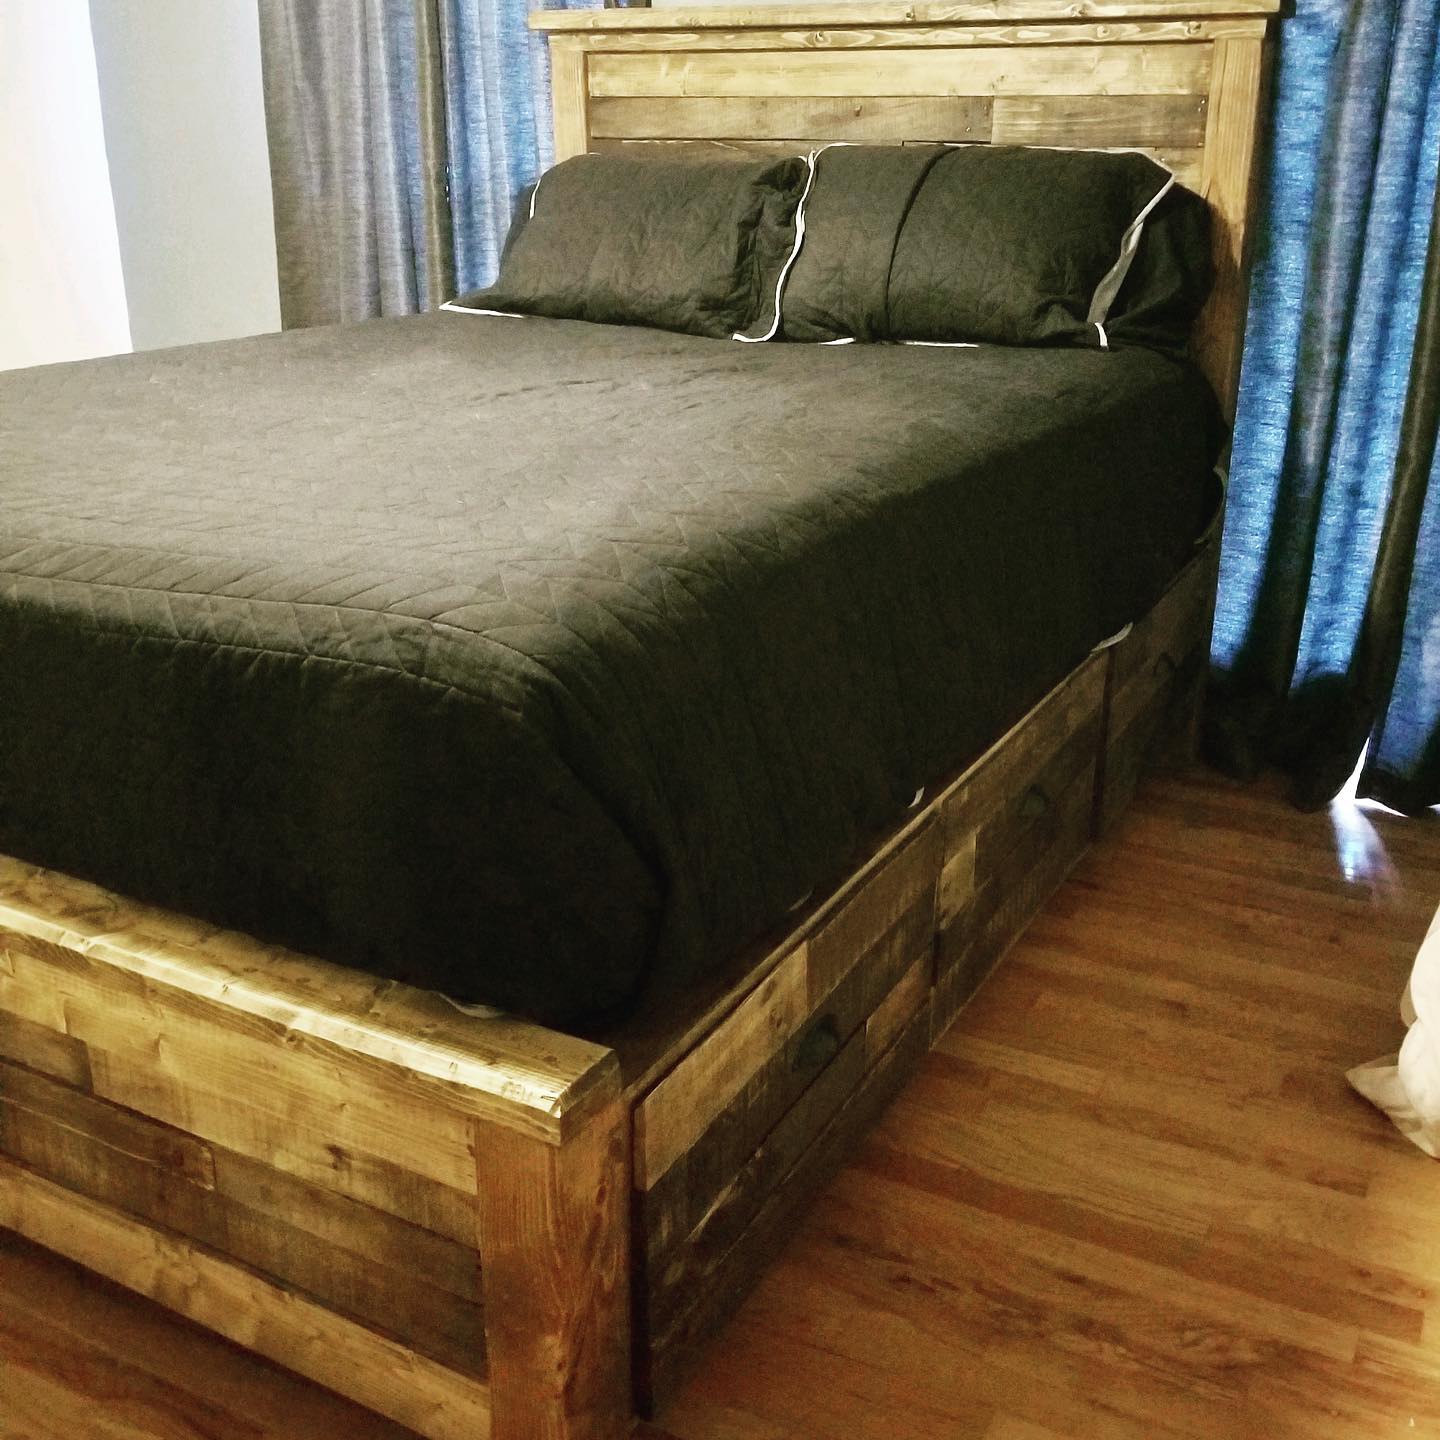
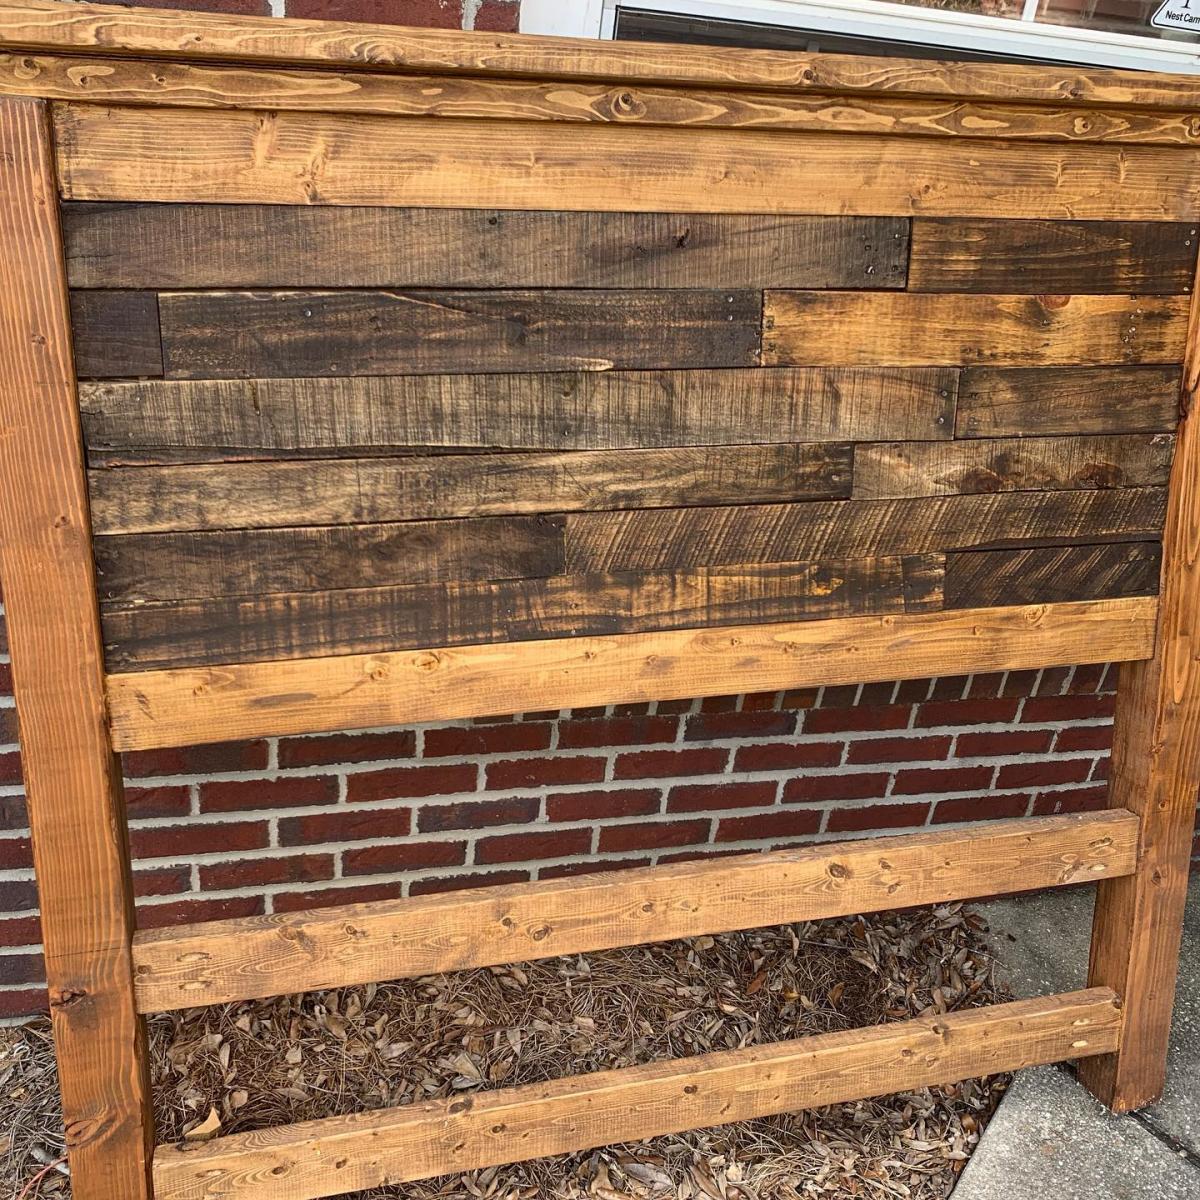
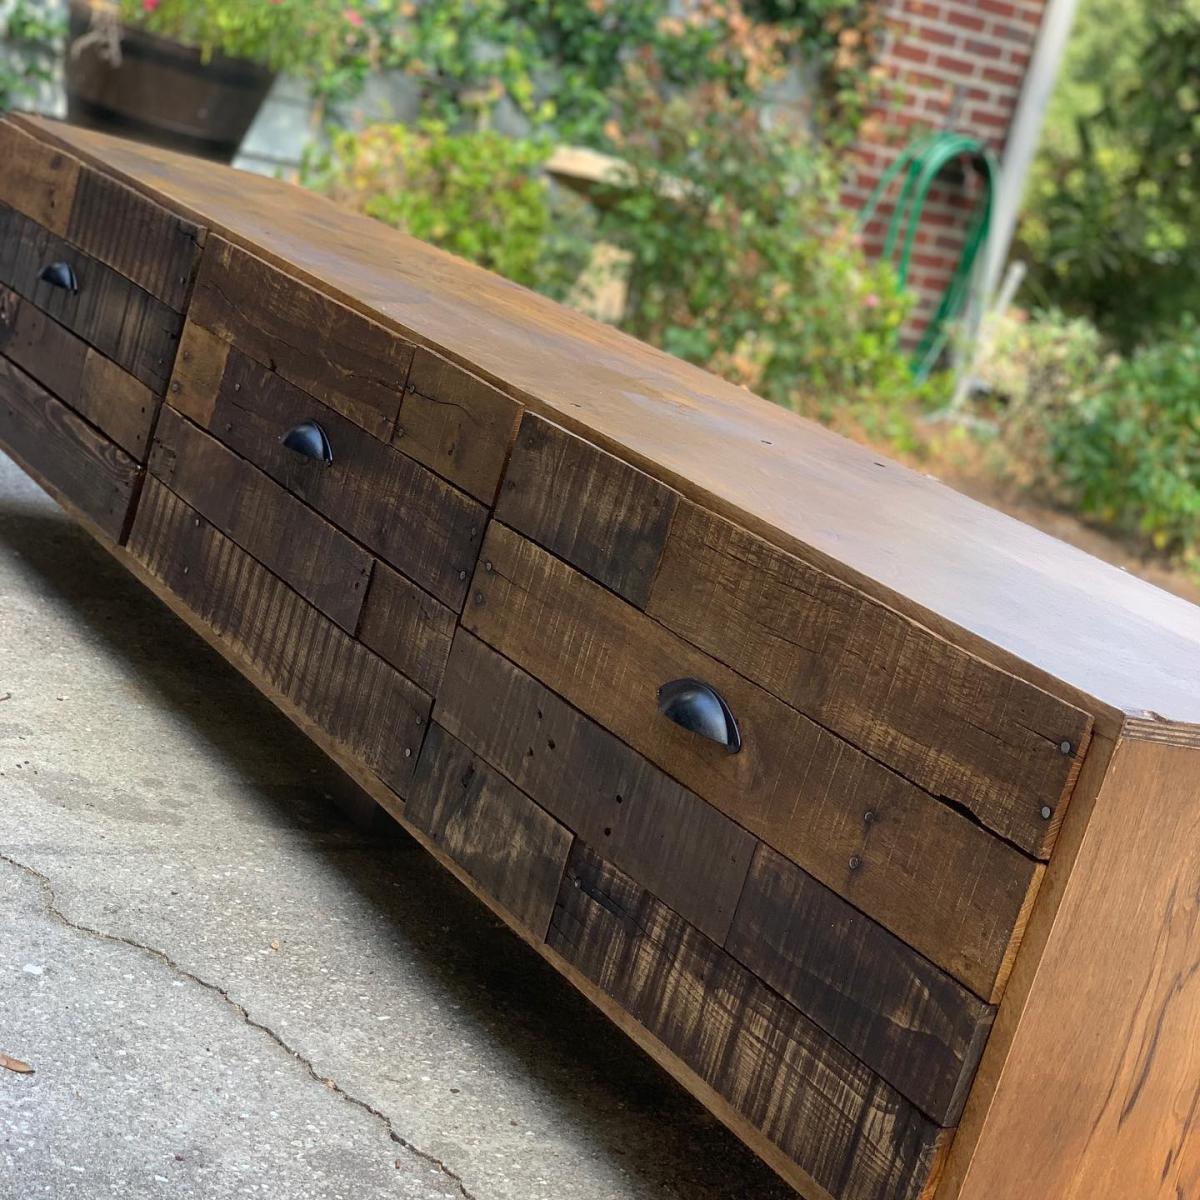
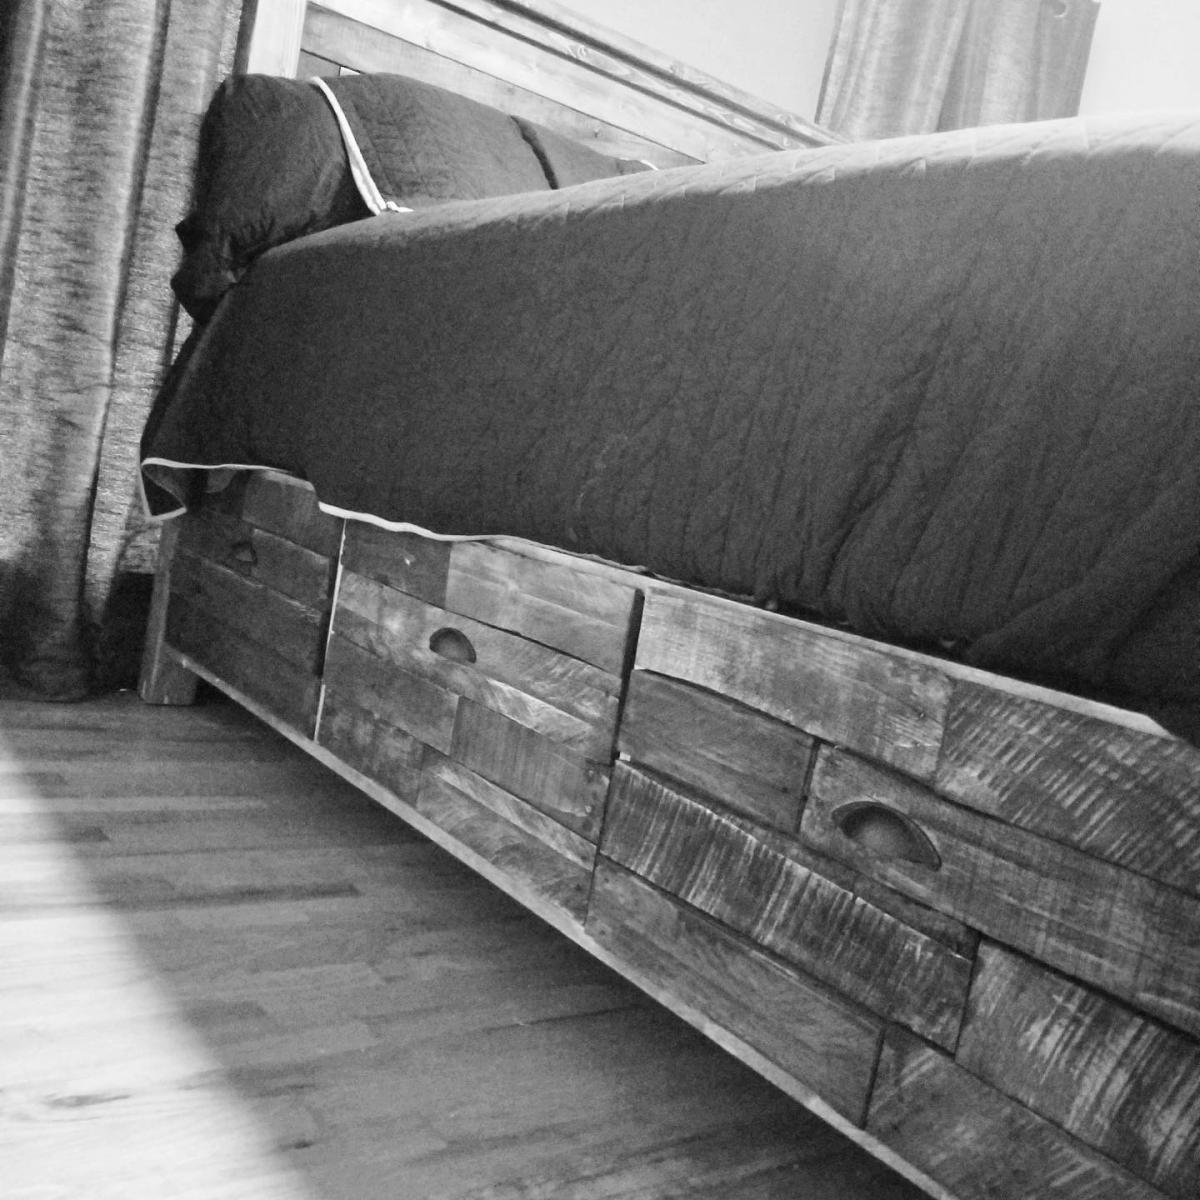
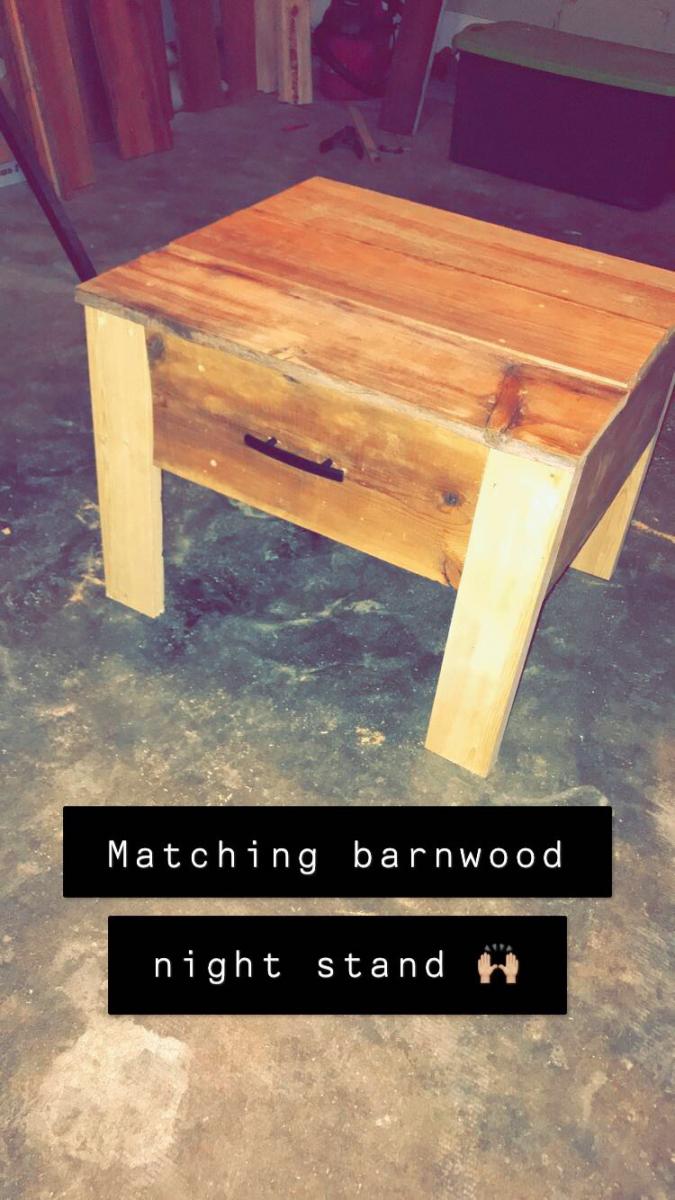
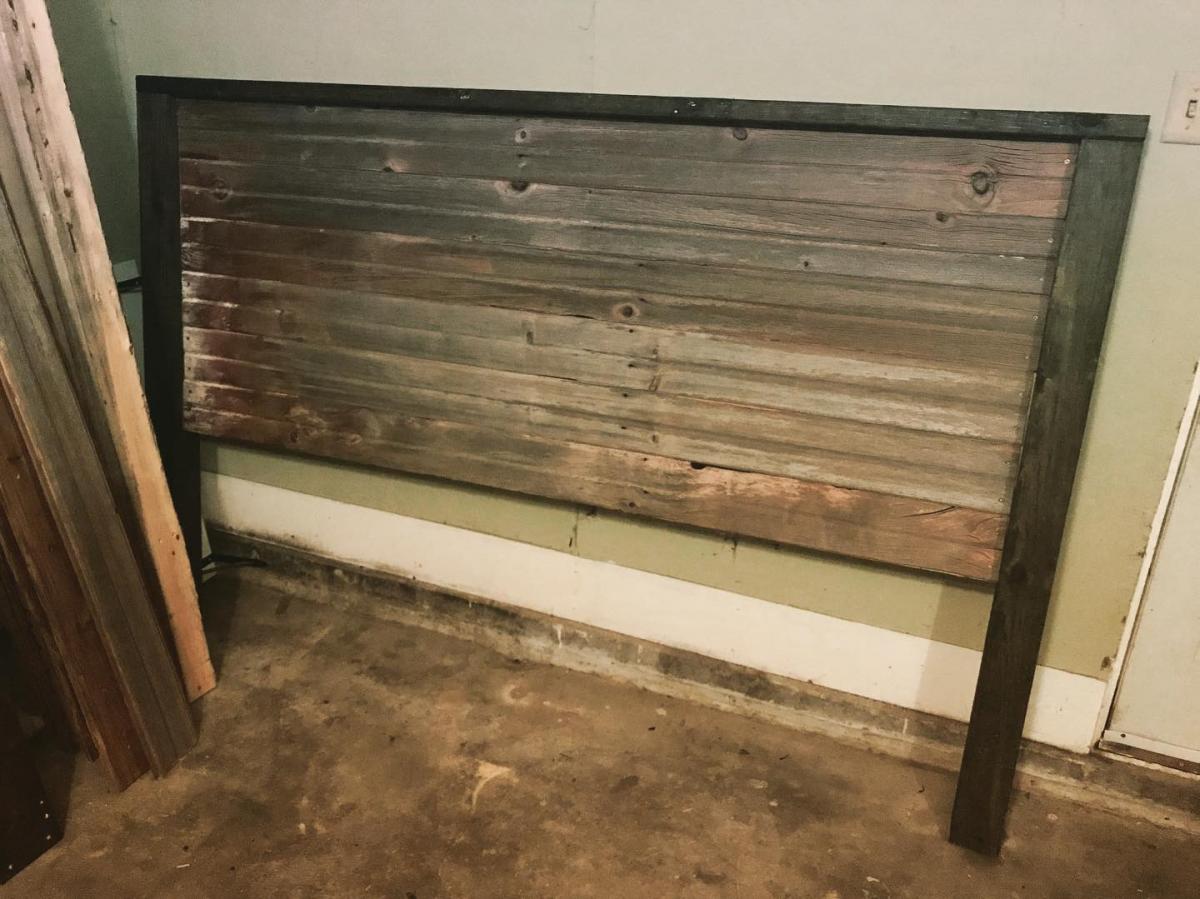
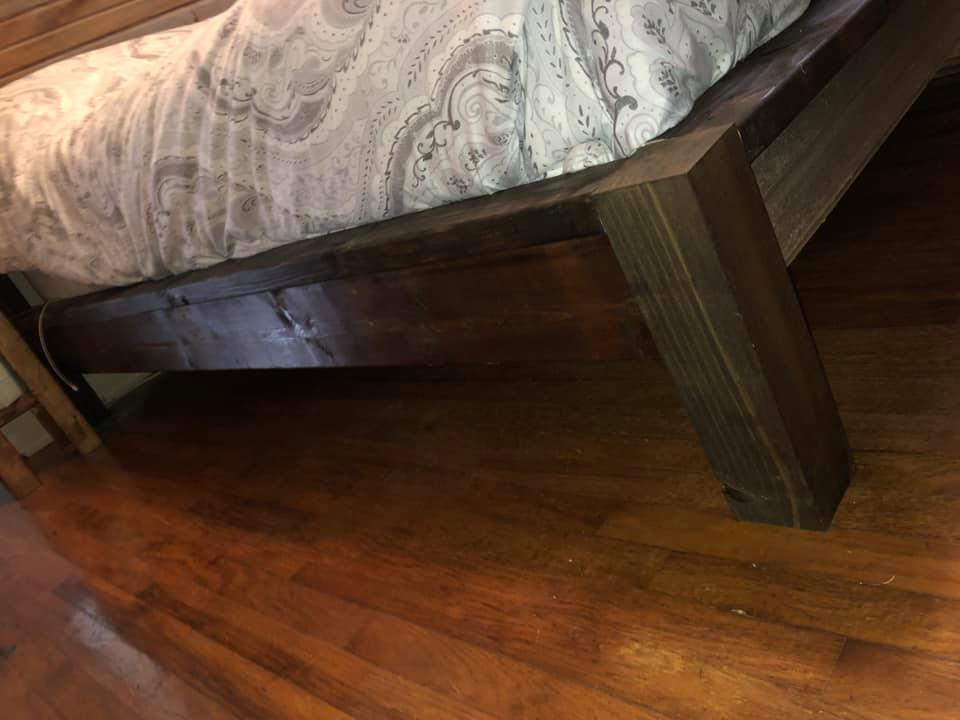
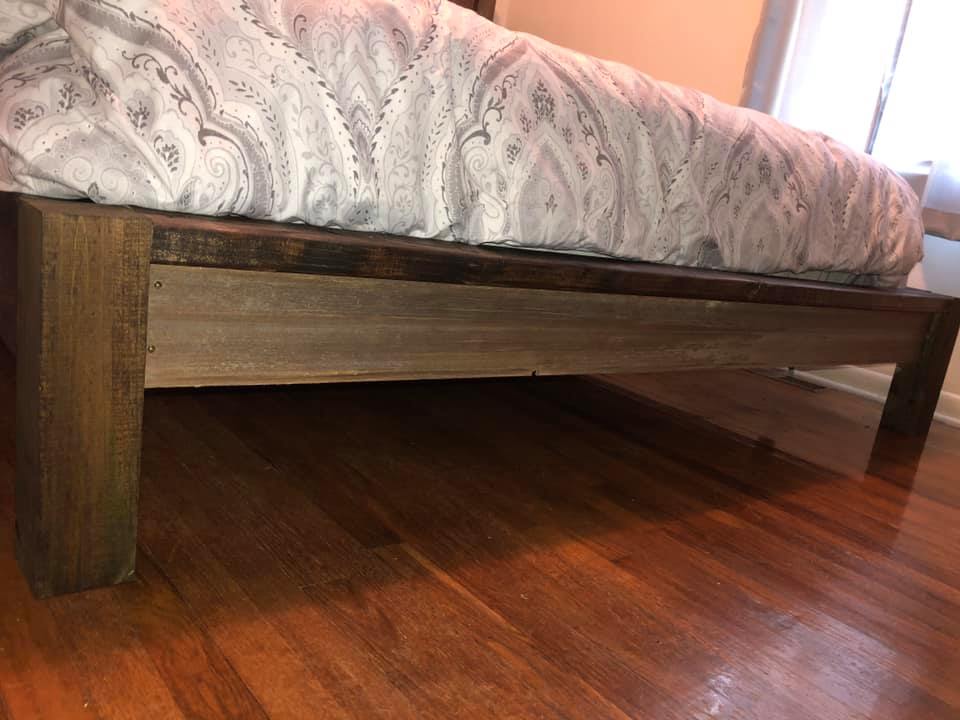
Modern Barnwood Bed Frame and End Table
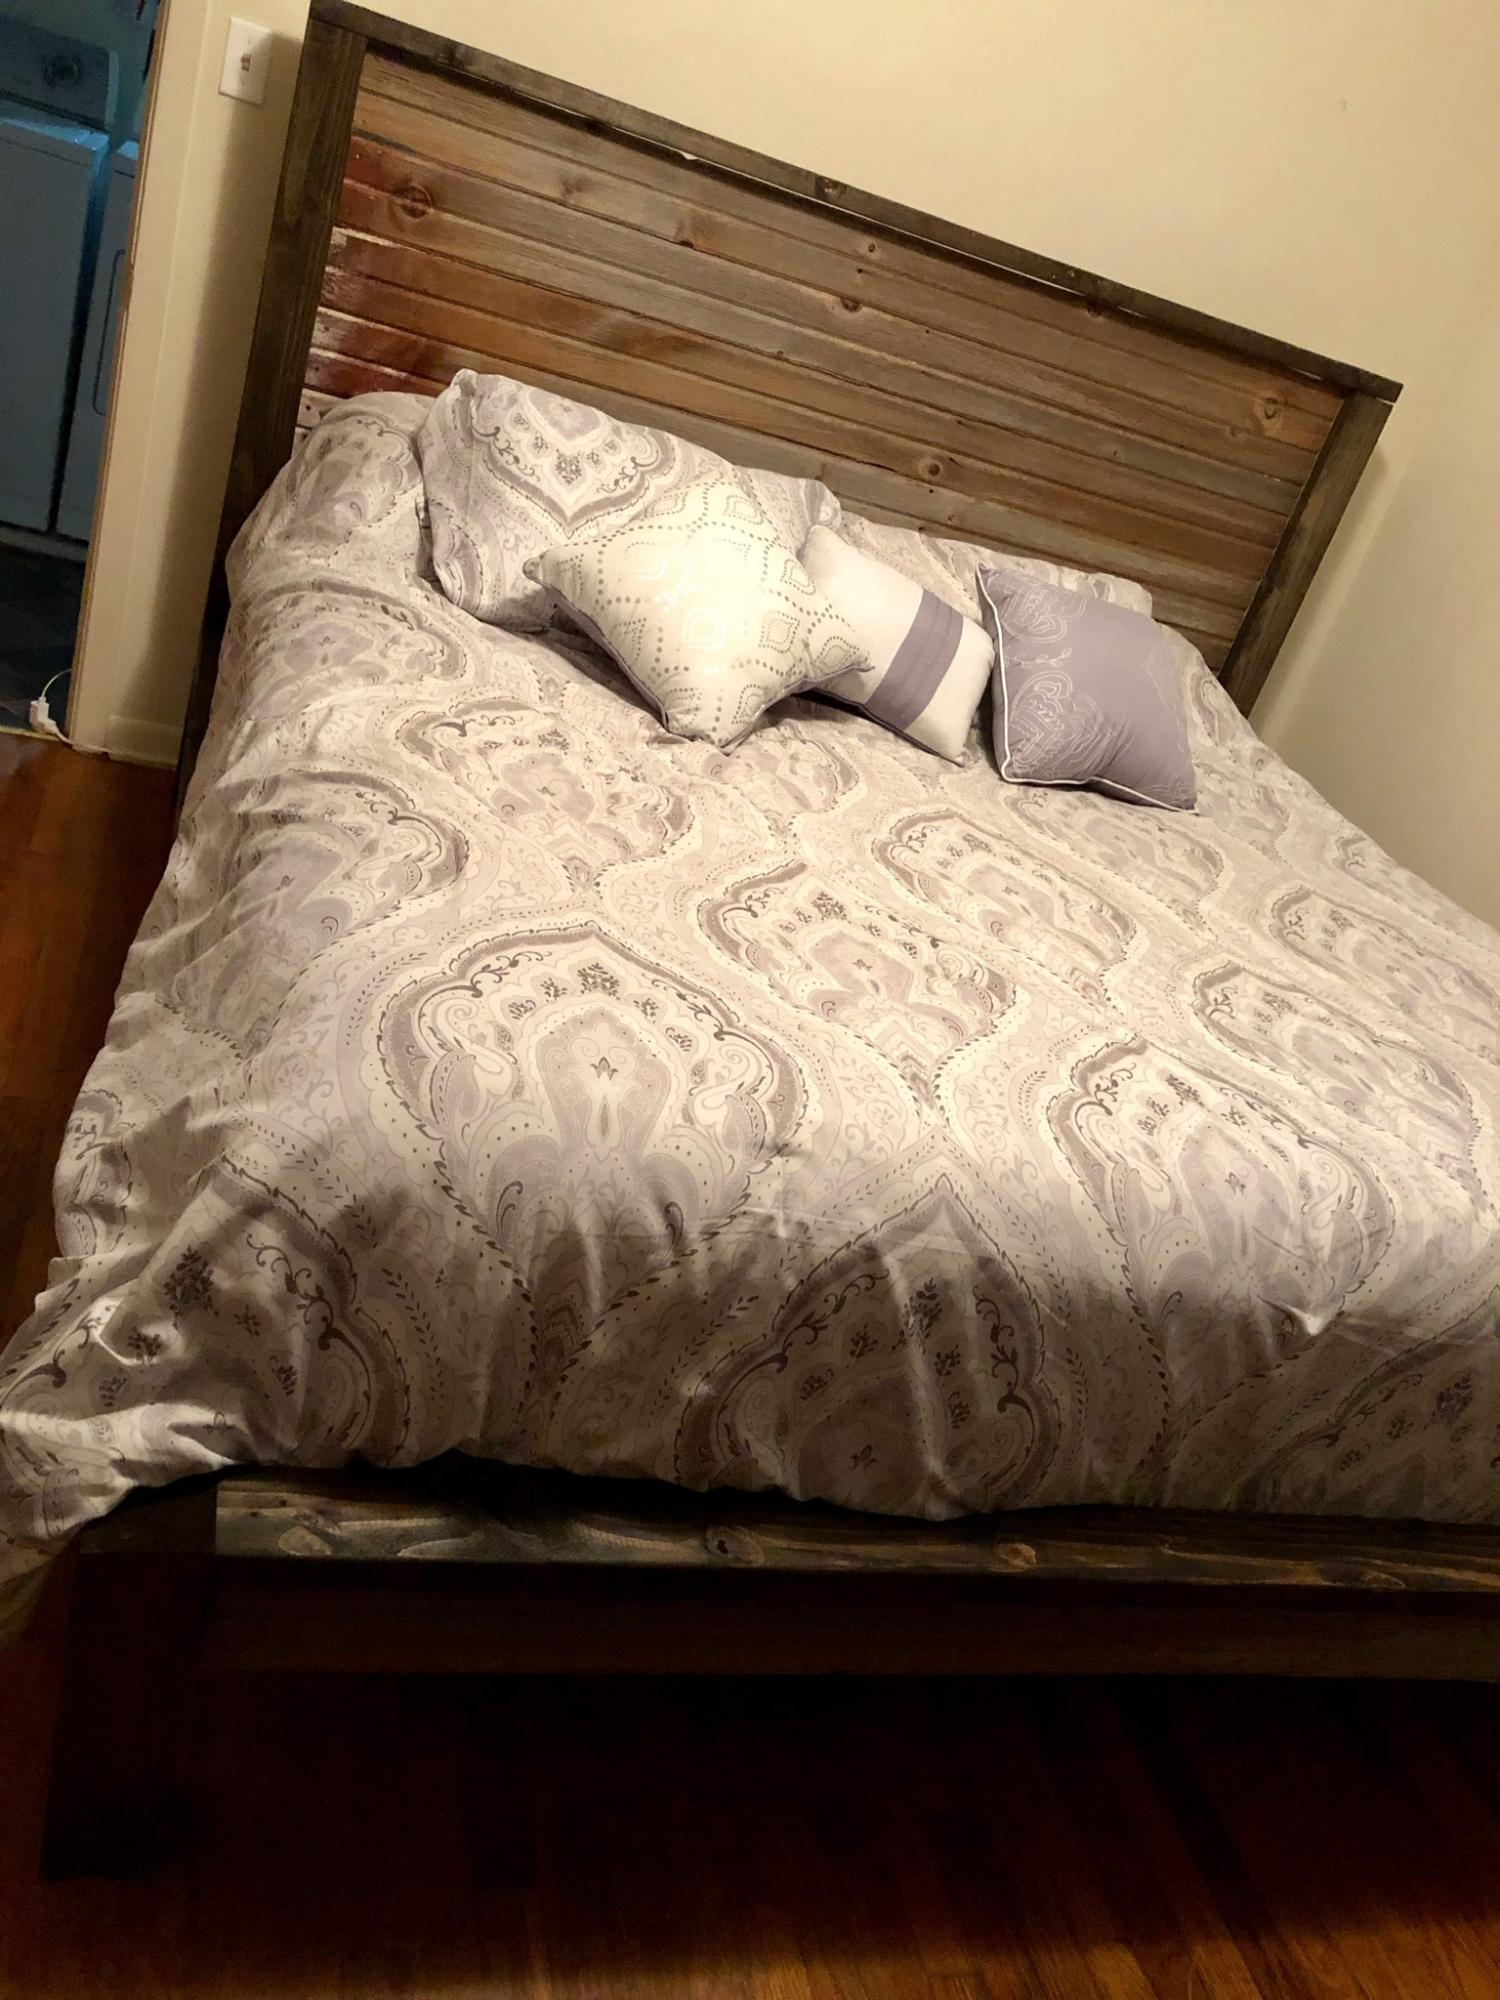
We built a bed frame off a different DIY website and never fell in love with it. We decided on Ana’s Modern Farmhouse and matching end table plans and decided to throw a local barn wood twist on it. We loved the look so much we didn’t sand or stain it, just gave it a good power wash. We really like the functionality of being able to take a few screws out to move and the fact that we could reuse our old barn wood headboard and make an end table out of it. Thanks for all your free plans!
Built from Plan(s)
Estimated Cost
$150 for both projects combined
Estimated Time Investment
Weekend Project (10-20 Hours)
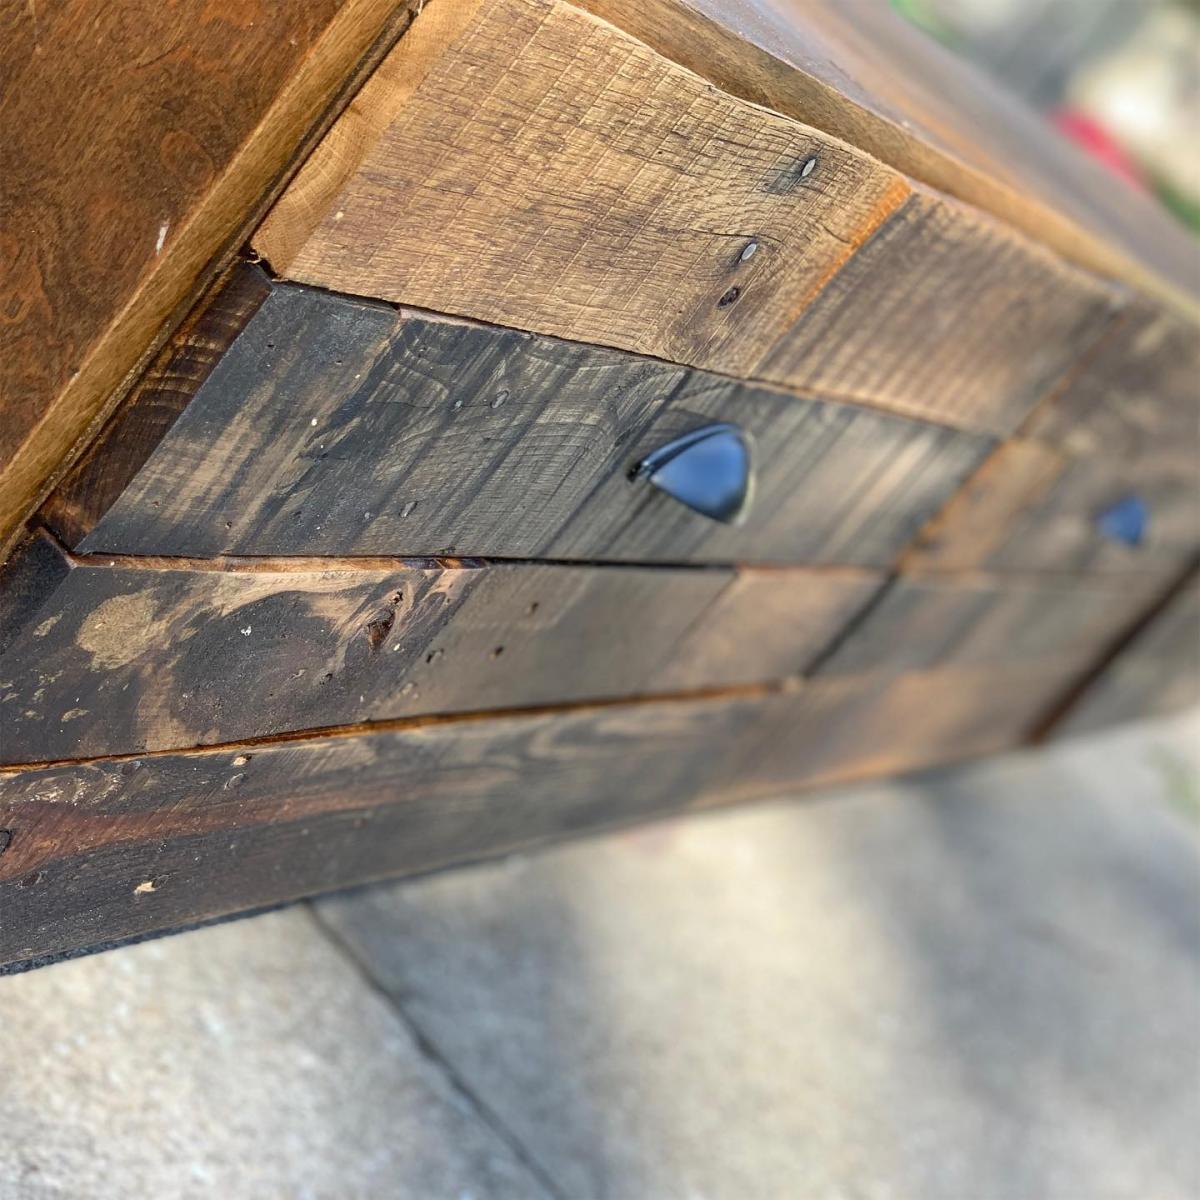
Finish Used
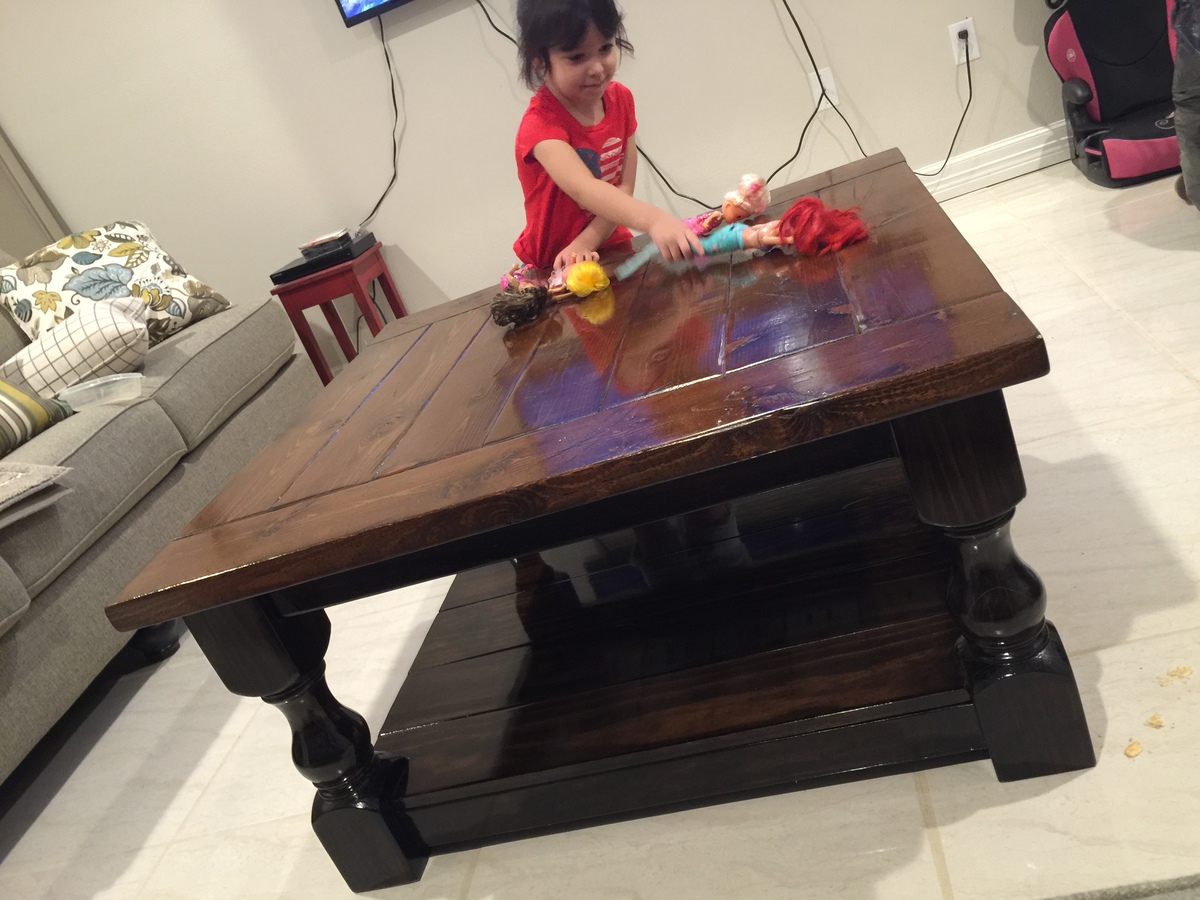
Minwax Jacobean
Recommended Skill Level
Intermediate