Rustic X console table
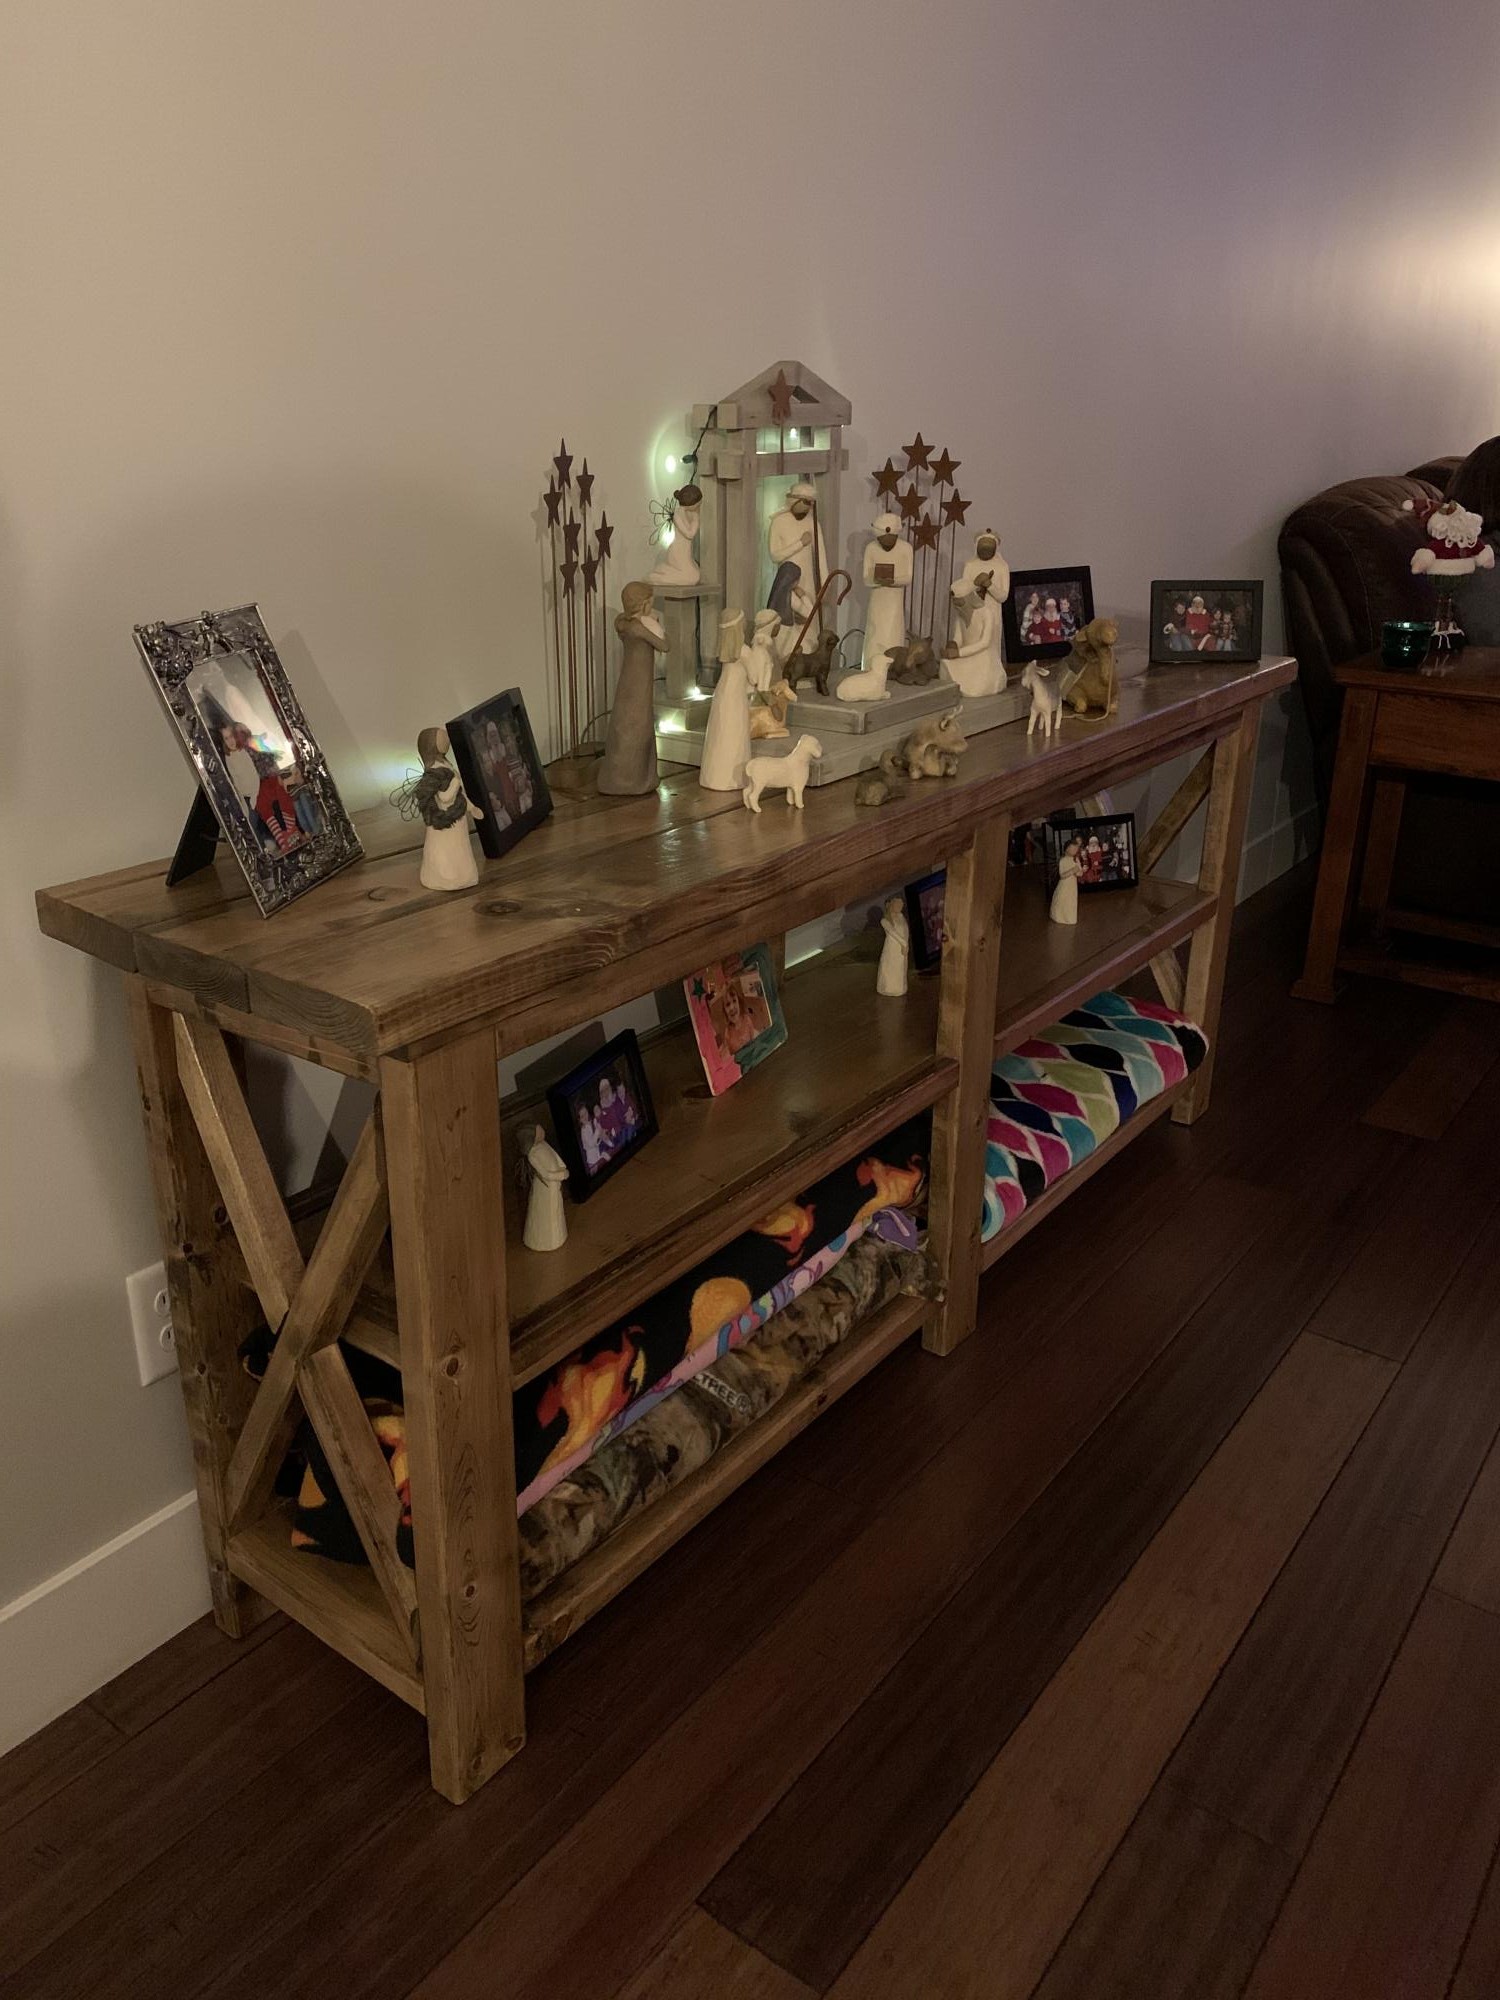
Absolutely love how this table turned out! So much fun building it with my daughter and teaching her how much fun it is to hold things!
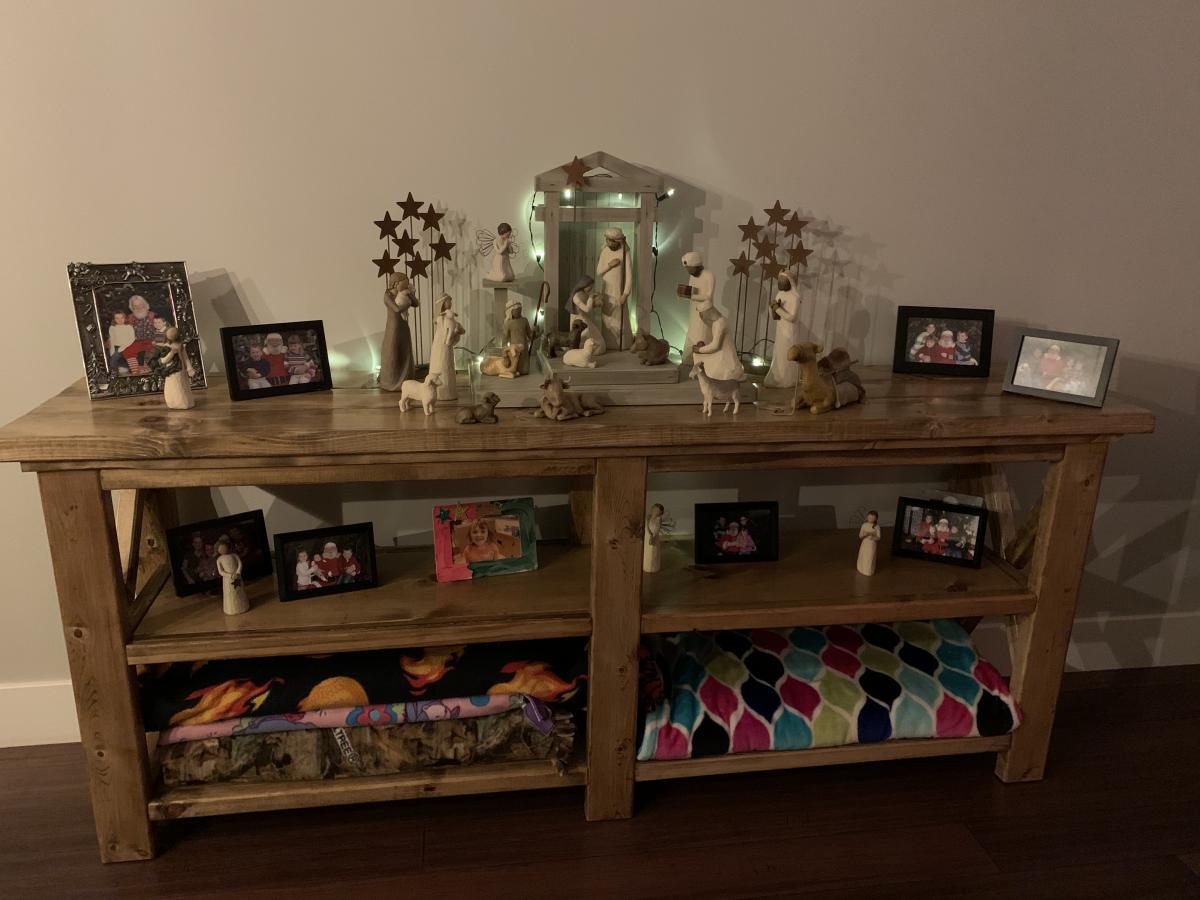

Absolutely love how this table turned out! So much fun building it with my daughter and teaching her how much fun it is to hold things!

This is my first attempt at a furniture project. I customized the Twin Farmhouse Bed plan to use leftover v-groove paneling for the planks and pre-primed MDF for the trim and headboard/footboard caps. I used pine 4x4s for the posts, cheap 1x4s for the rail supports, and 1/4 in white paneling ($10) under the mattress. Trim was nailed using standard 16 and 18 ga nailer. Used Spax screws for attaching the posts to the 2x6s behind the paneling and trim. Spray painted using Krylon paint primer and gloss finish. Spent a little extra on multiple coats of spray paint, but the finish was well worth it. The v-groove paneling required hand painting in the grooves for better white covereage on the final coat, but MDF soaks in the paint so it required more coats than the pre-primed trim needed.

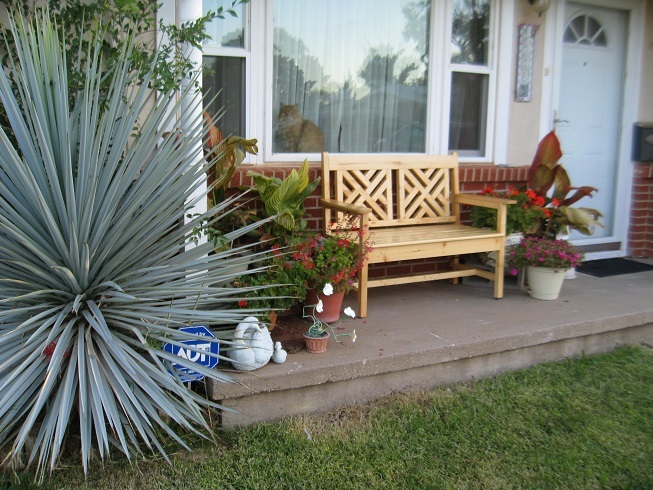
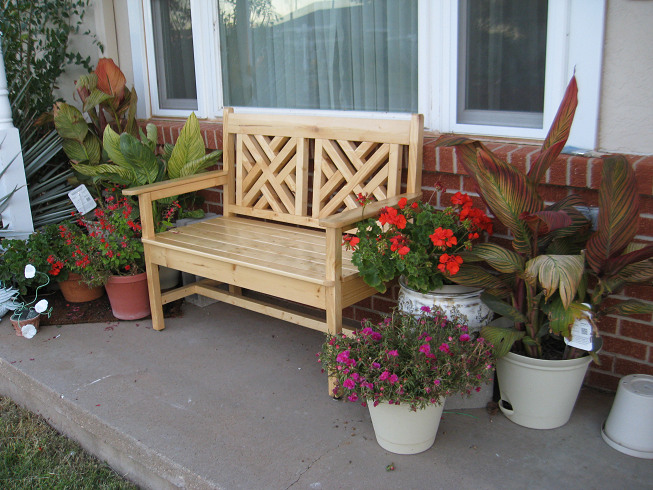
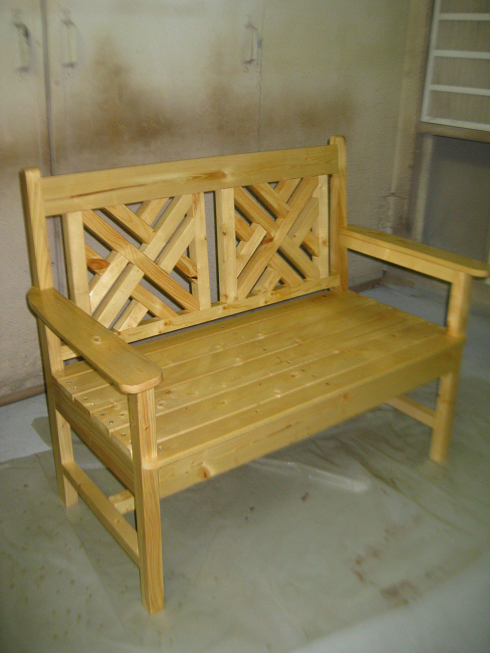
This took approximately a week to build, but was fairly simple. Drew arm rests freehand and applied 3 - 4 coats of Helmsmen.
Sat, 12/06/2014 - 12:27
I built this at the local college woodshop and I am very happy with how it turned out. Our comminity is so very lucky to have a community college that has a wood shop and a huge spray booth. (Wood Shop 1 & 2 as well as Cabinet Building 1 & 2)
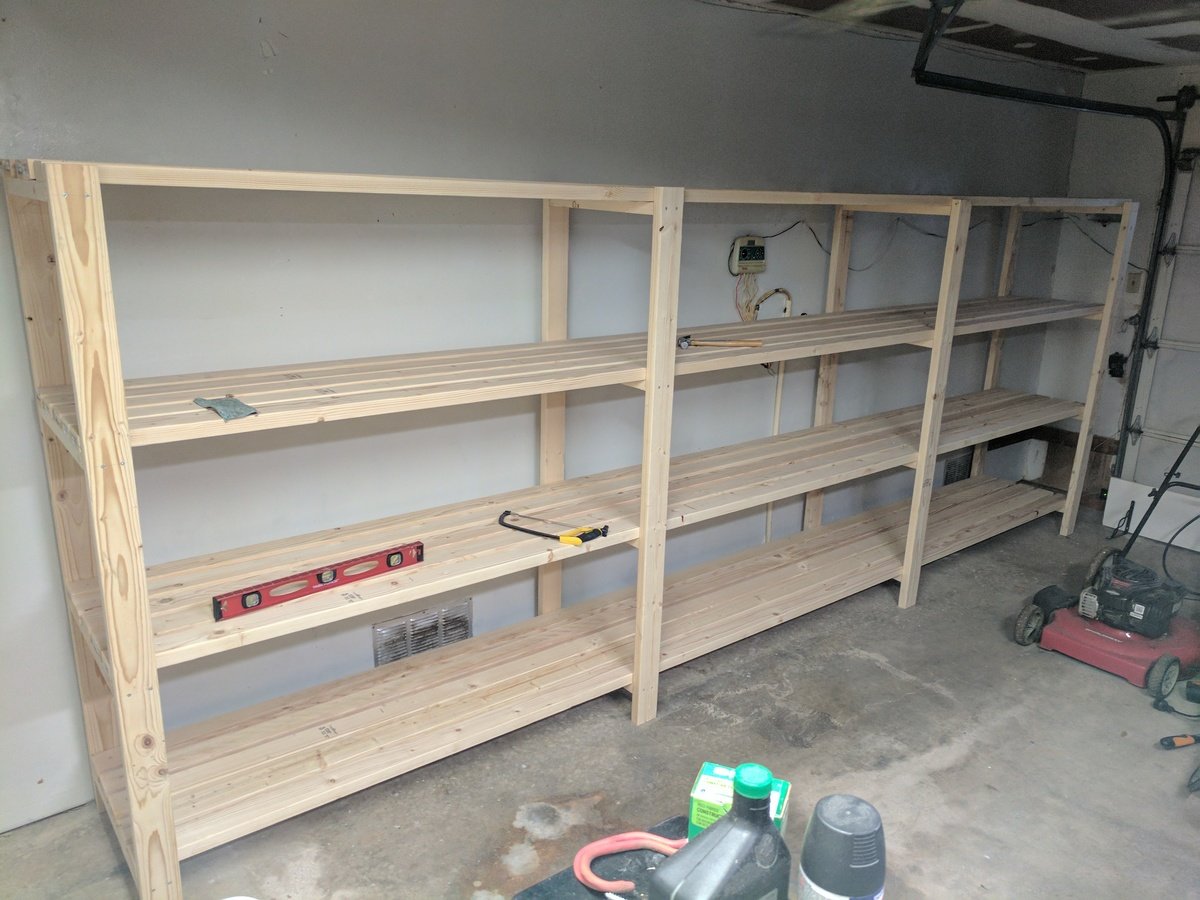
I made my shelves 16 ft by 6ft by 2ft - added another plank to each shelf to increase the width. I compensated for the slope along the garage wall by offsetting all the screw-in points in the front legs half an inch. This thing is HEAVY.
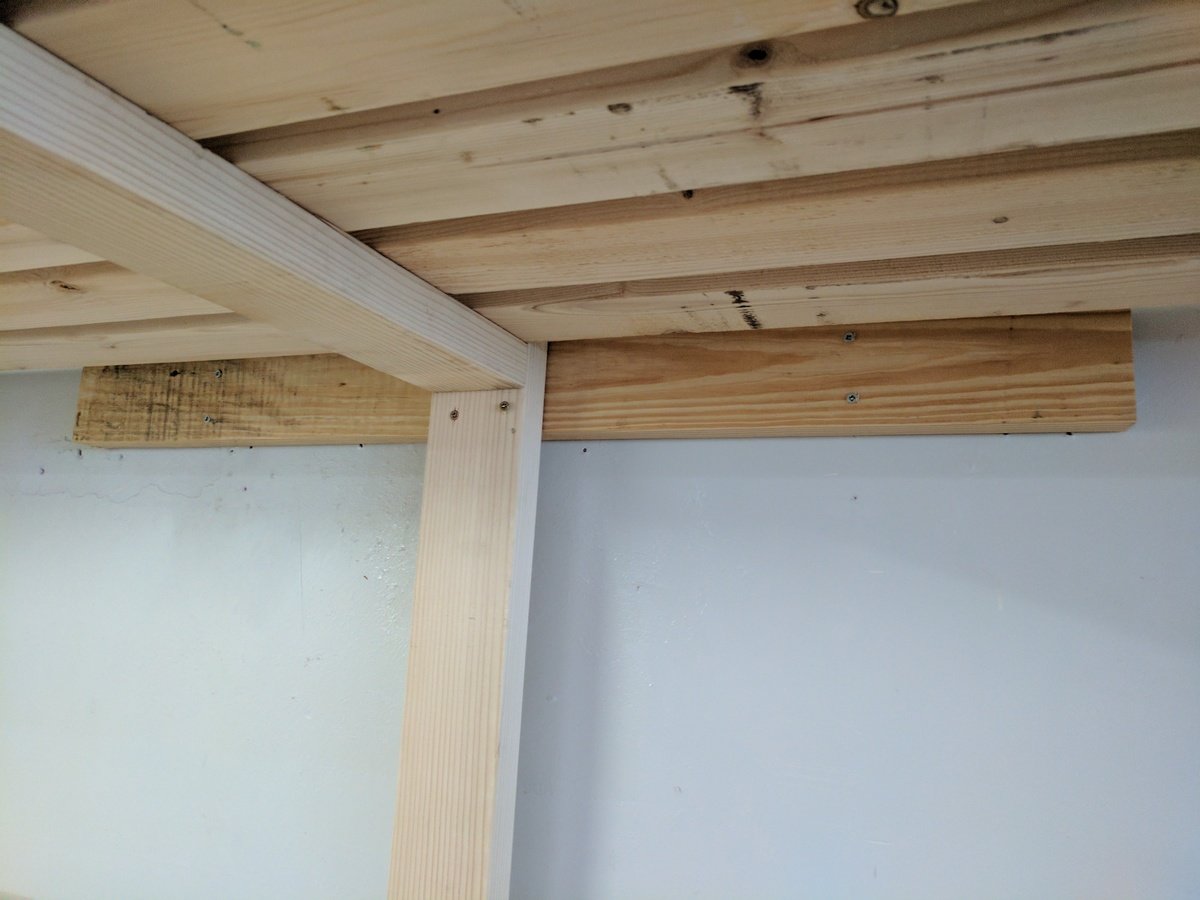
I anchored the unit to the wall by securing 2 scrap 2x4s to the studs - 1 at the 2nd set of legs and 1 at the far right legs - and screwing the unit legs into the 2x4s. This way, I didn't have to line the unit up precisely with the studs.
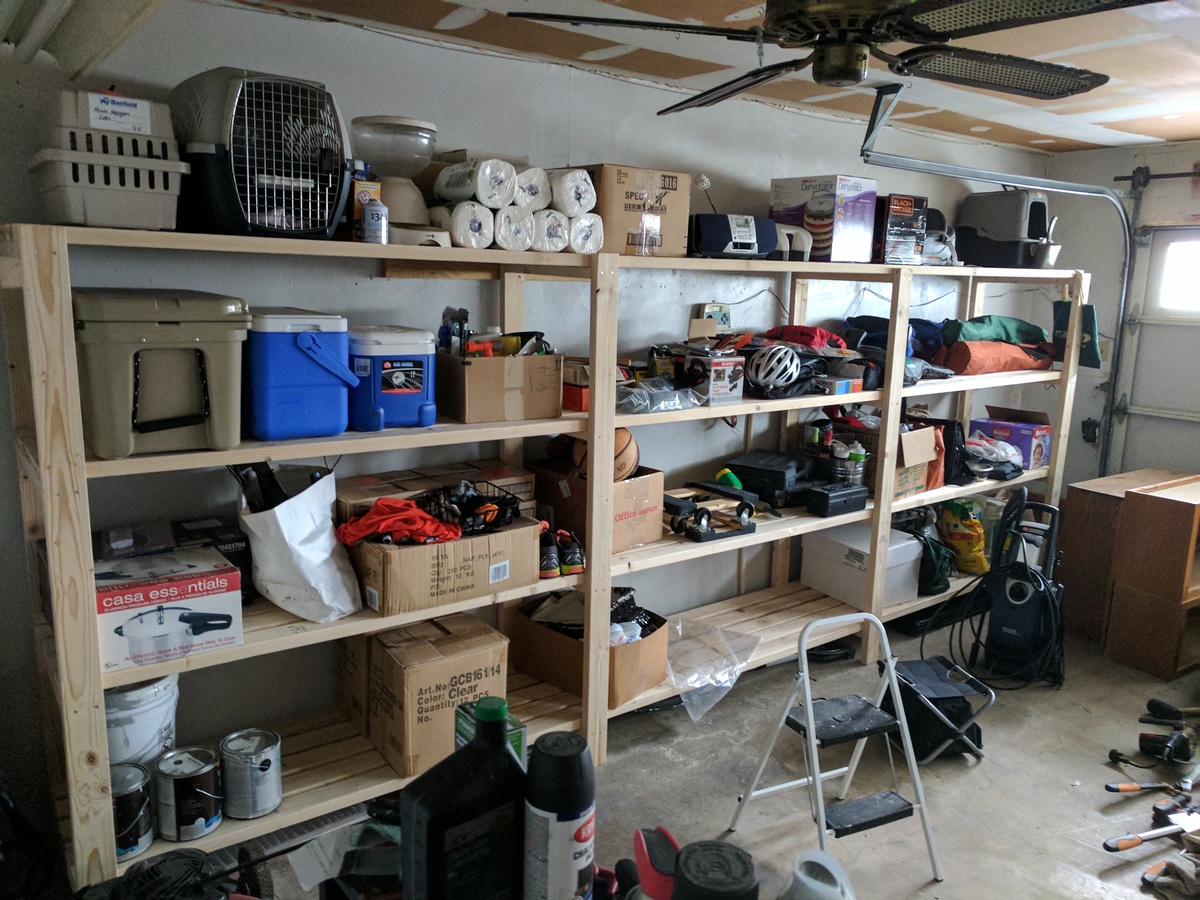
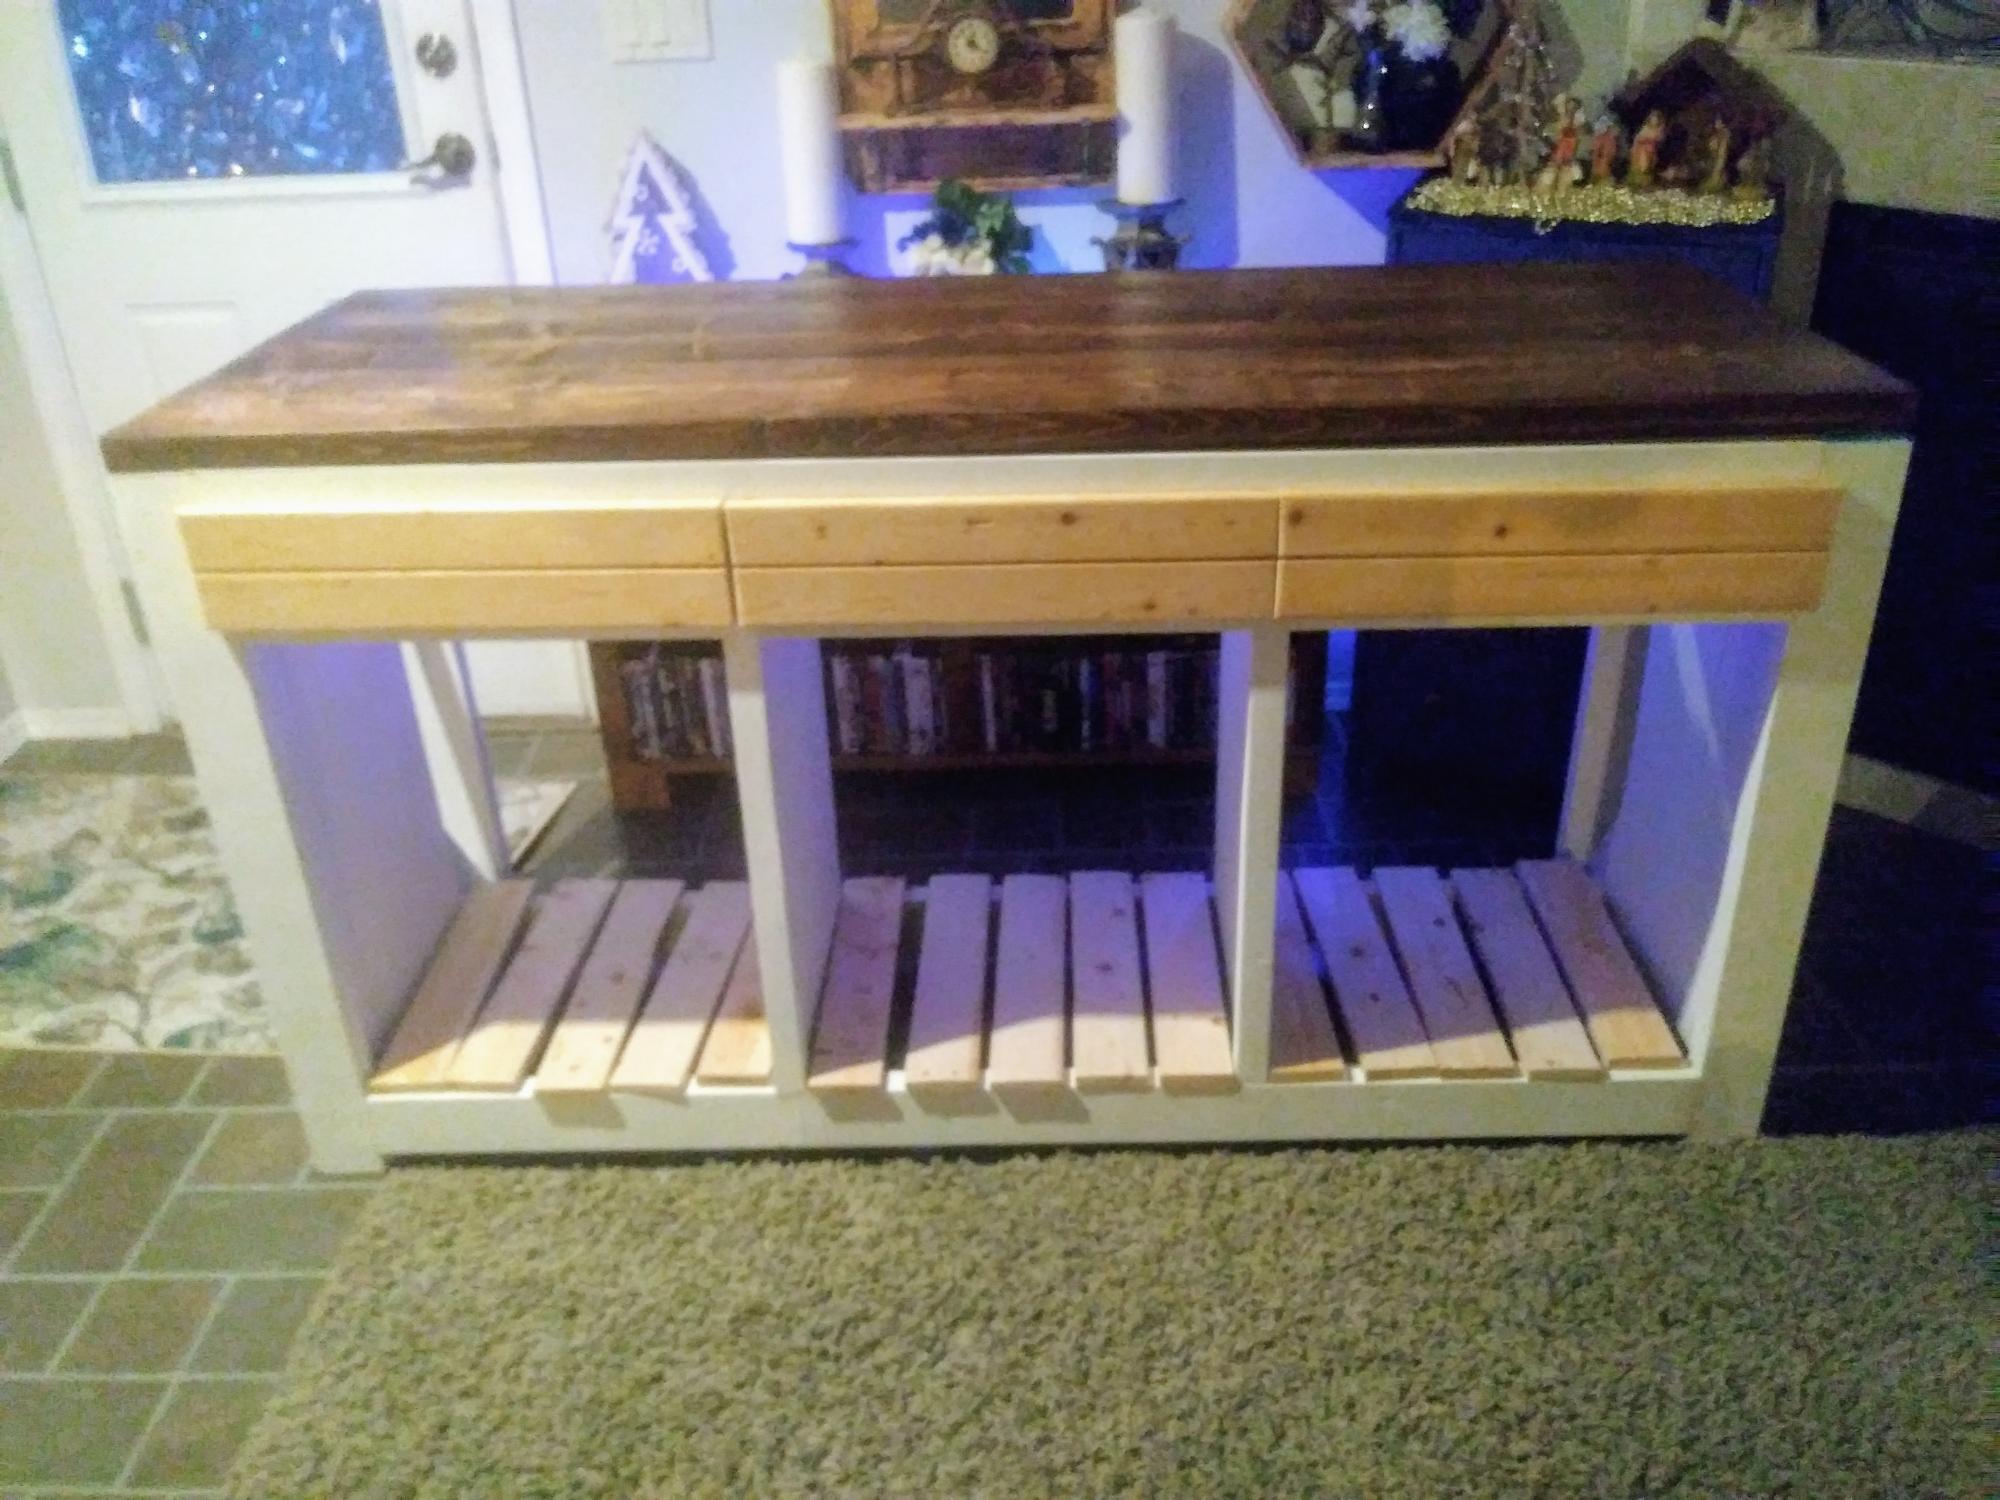
This was made using your plans as a start.
The client wanted extra long , and adjustable shelves. It's almost done.
I had to modify the drawers a little because they wanted more under storage, and I had a tough time with the flush drawers , so I slightly modified that as well. So thanks for my first advance build :)
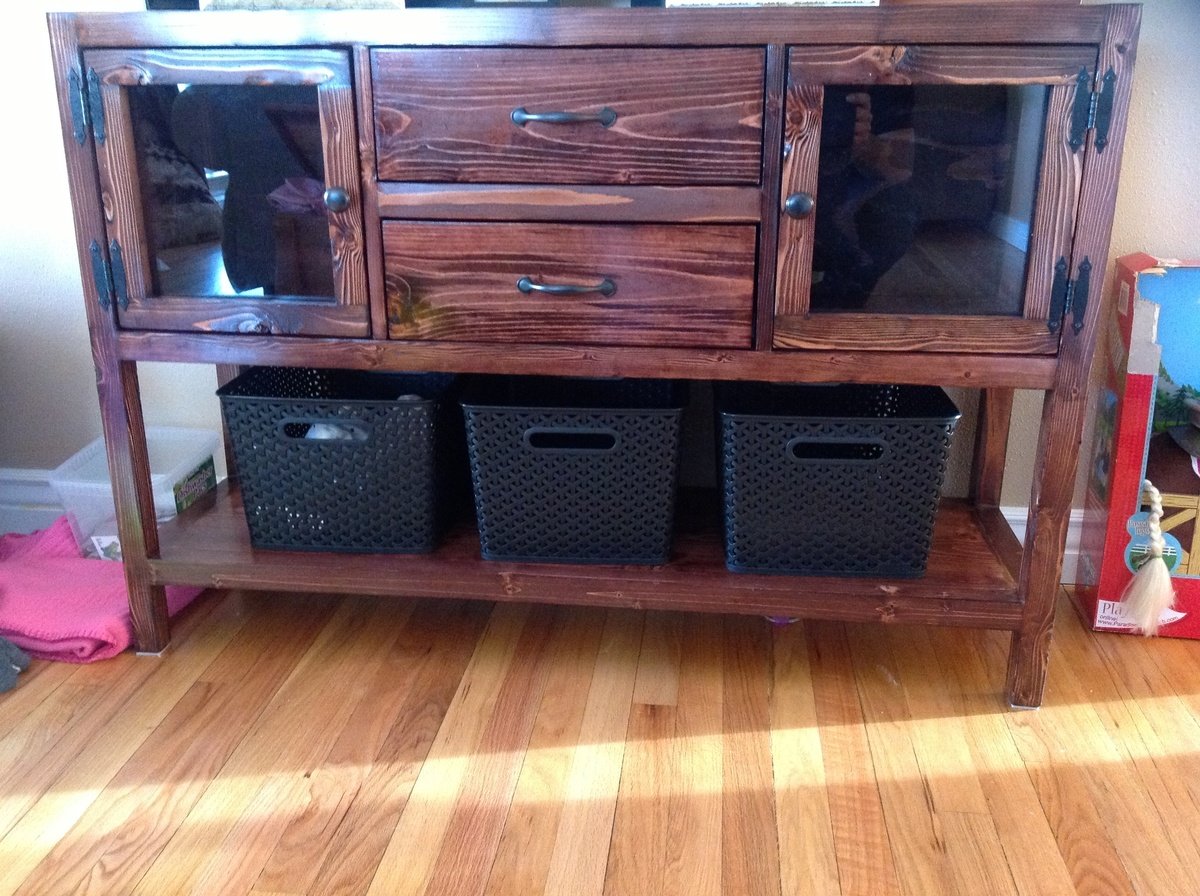
This project was tough using pine since, from the big box store it's hit or miss on getting long boards that are straight. But clamps and sanding worked affectively. There were a few little nuances but for the most part it turned out great! It took me a while since it's cold here and the stain/polyurethane took a little longer than I would have liked.
This is a chair I made from the Super Easy Adirondack Chair plan from your website.
Fri, 12/05/2014 - 18:01
This has to be T H E cutest chair I've ever seen! Keep up the great work.
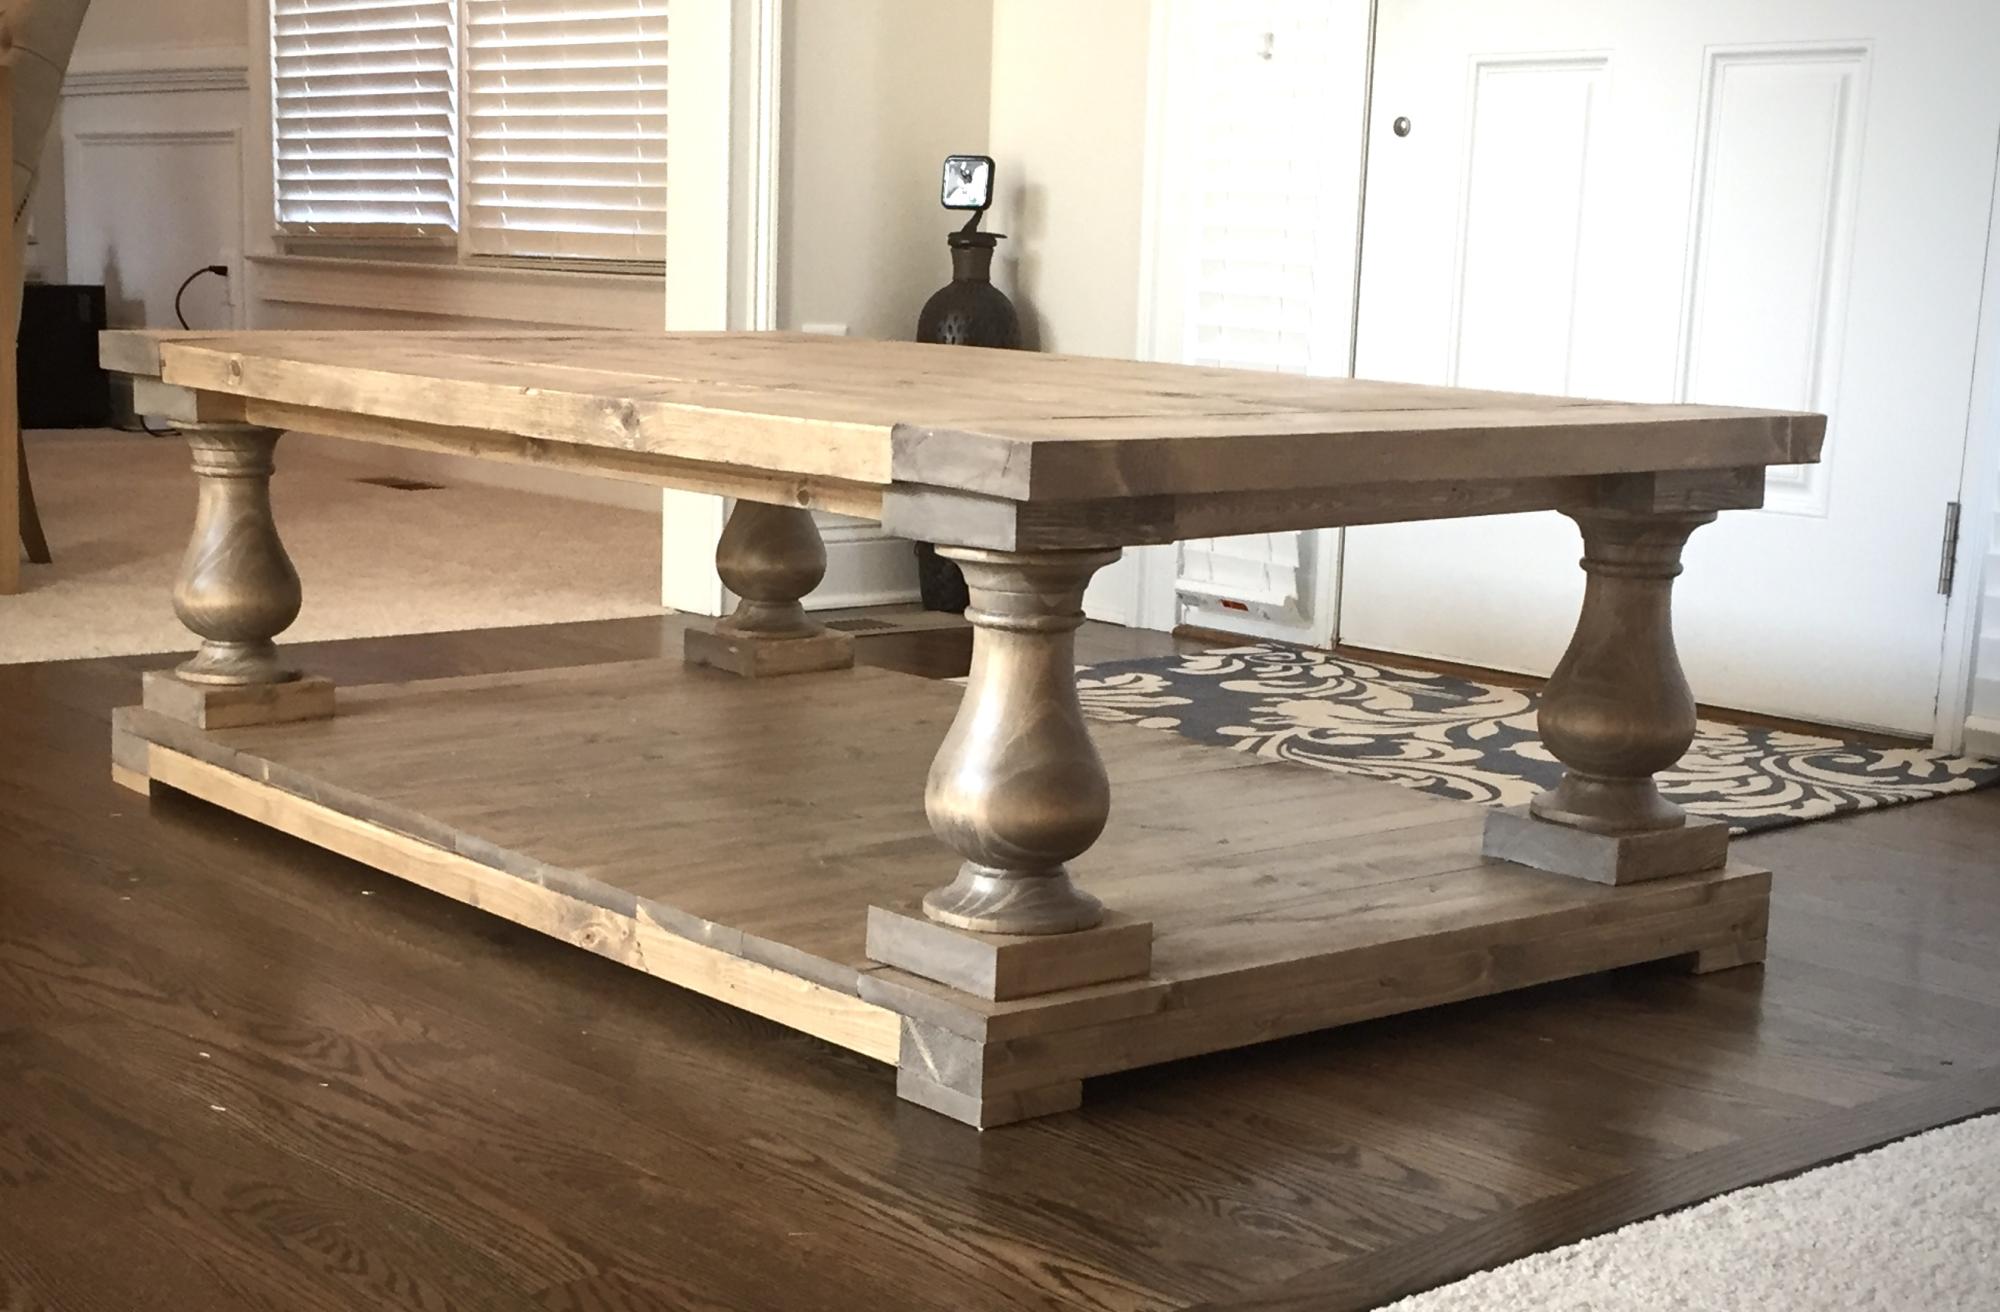
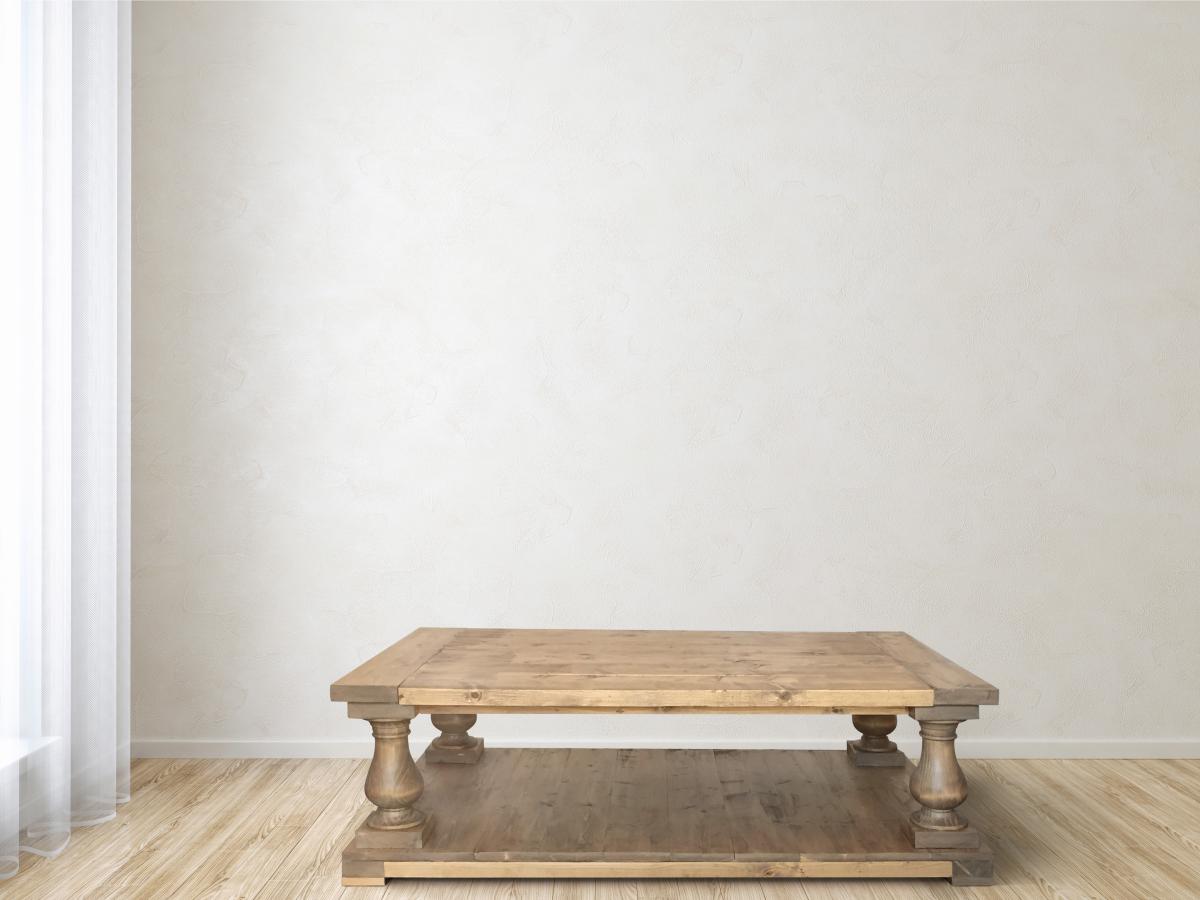
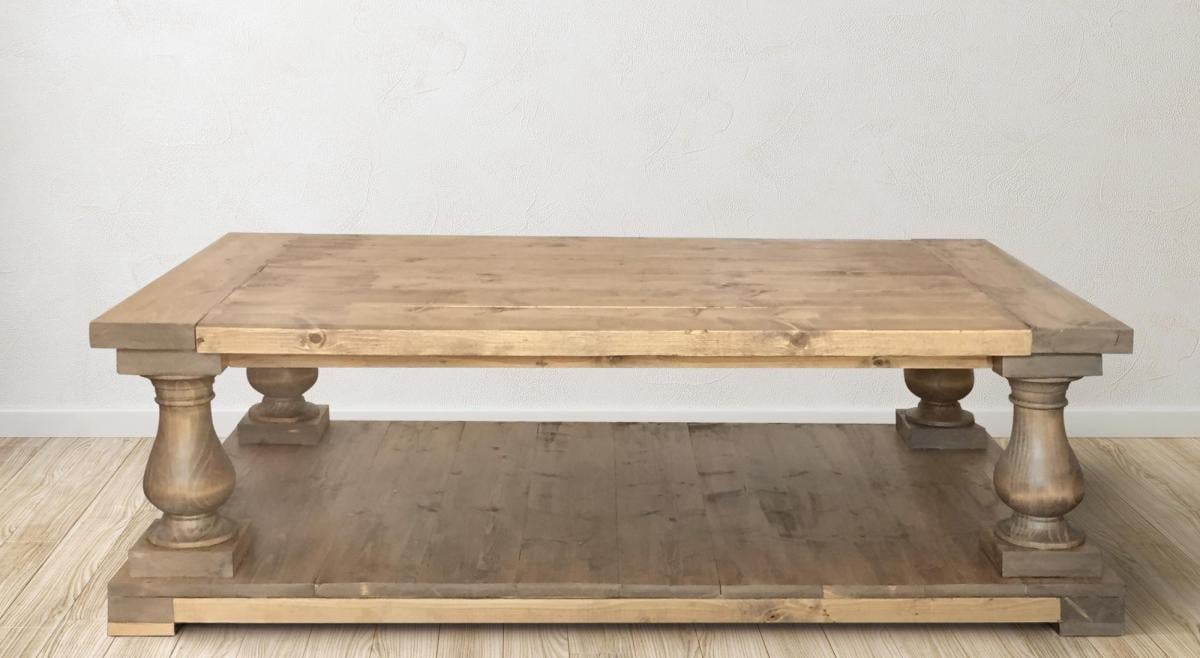
Made from plans, no modifications. I've made it twice, once in a weathered natural look and once with a darker stain.
Tue, 05/14/2019 - 08:16
They turned out beautifully! What stain/finish did you use for the weathered natural balustrade table?
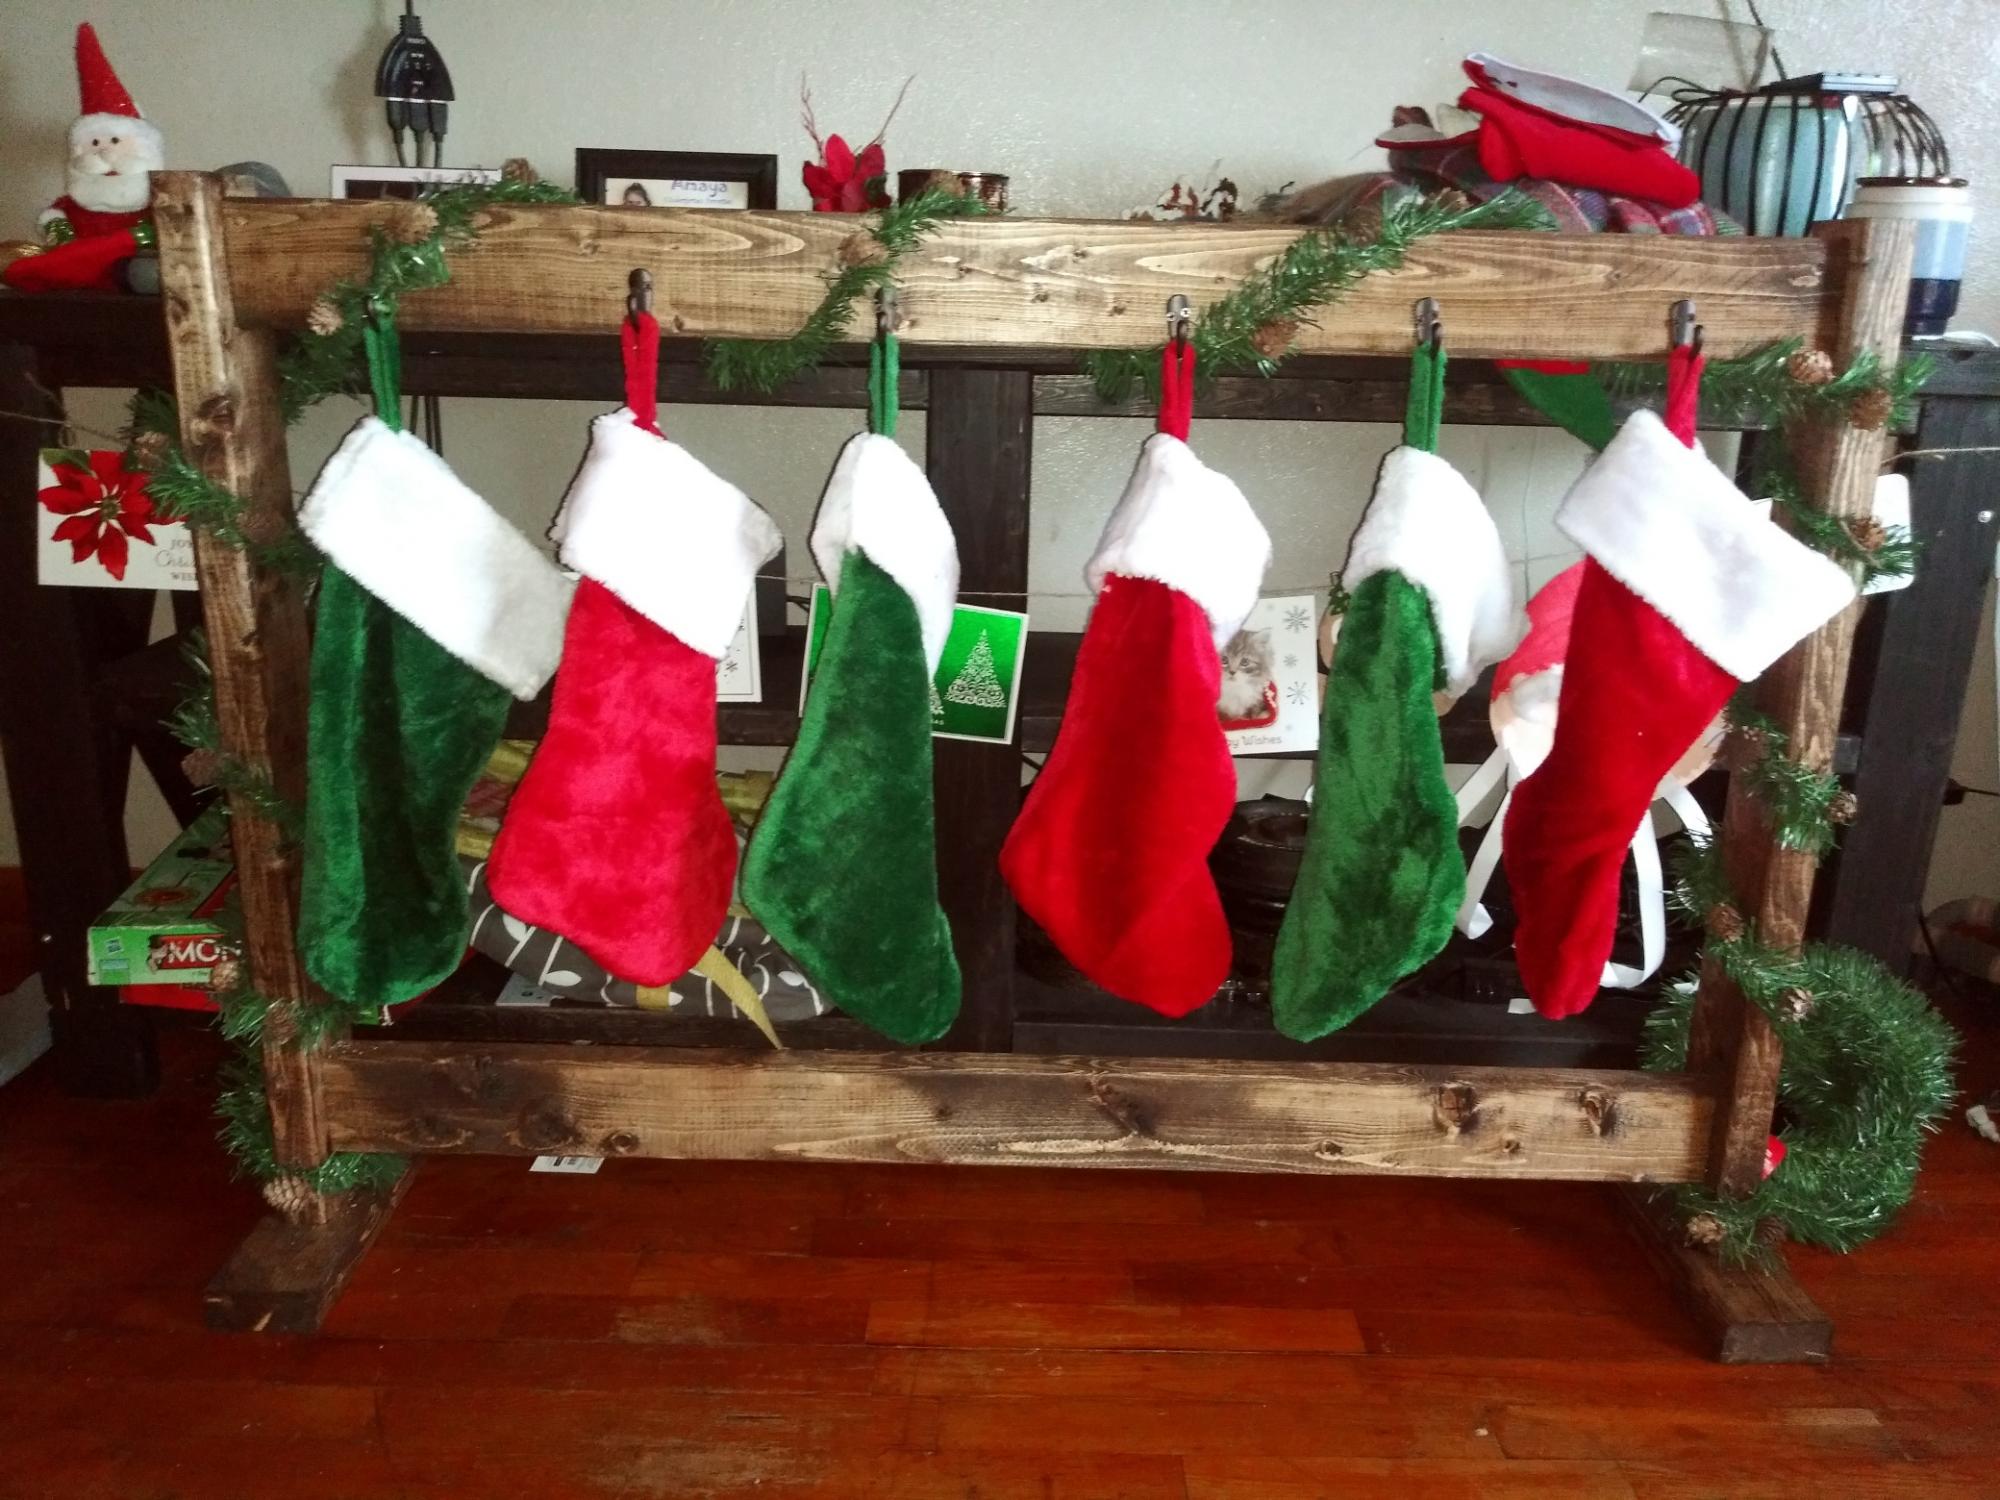
Made this for my little ones. They loved it! Merry Christmas!! <3

Hubby and I were tired of seeing our shoes lined up on the wall when we walked in the house. We also wanted something that we could store our snuggies in when we aren't using them.
This was a GREAT weekend project for us to do together!!!
Fri, 05/24/2013 - 05:09
I was wondering where did you get this piece or the step by step to build it thanks.
I fell in love with a Printer's Collection media cabinet at the Pottery Barn, but I couldn't afford the $$$ price tag. So I decided to build it myself. Theirs was made out of pine but I made mine out of birch. It wasn't very hard to build, it just had a lot of pieces. I made 3 pieces, the center being 3 sections, and 2 shelf sections on the ends. I thought it turned out great and fits our space perfectly.
Sun, 12/07/2014 - 17:07
Charae22, this is verympressive work! Your build looks like a piece one would find in a fine furniture store for a few thousand dollars. You have built something that will surely be a family heirloom.
Fri, 01/16/2015 - 16:53
Hi Charae22,
I love this version!! I am trying to find all the plans to make the media cabinet, but I am wondering if you wouldn't mind sharing your plans for your media cabinet?
Built this using Anna White's "MIMI'S FAUX MANTLE" but instead of using crown molding I elected to use STONE TILES in neutral tones and finished the surround and mantle in white giving the piece a nice soft appeal. The building plans were easy to follow and took about 2 days to complete the whole process (because of drying times) not to mention how reasonable the cost was. I already had the tiles, adhesive, and paint from left over projects.
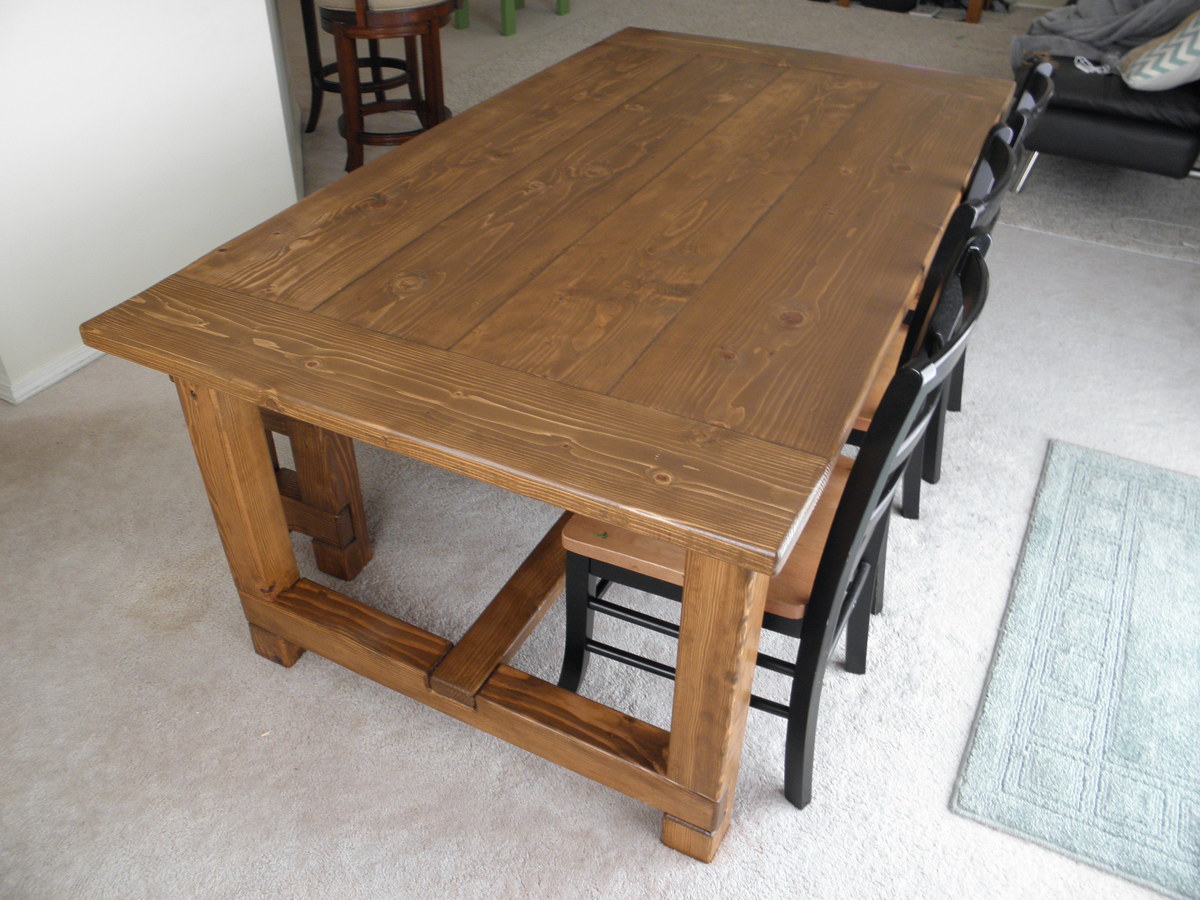
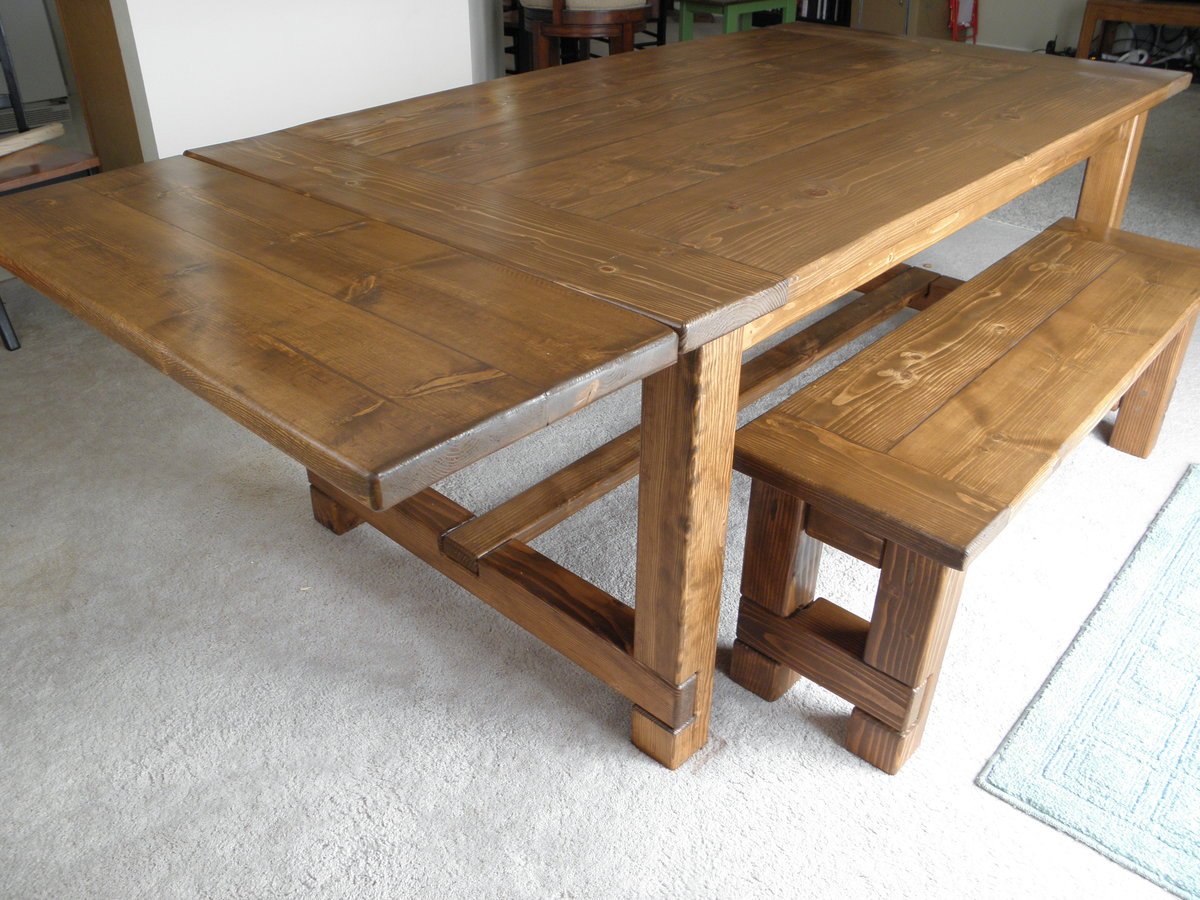
My second farmhouse table, and much easier this time around! Like the first one I built, this one was modified from Tommy's plans (see link below) which was modified from Ana's plans on this site.
Before I put everything together, I used a 1/2" round-over bit on a trim router to round the edges of each piece individually, then sanded each piece individually. After everything was routed and sanded, I joined it all together--it kind of reminds me of Lincoln Logs now!
One other thing I did differently with this table, is I filled in the cracks with a darker wood putty. I love that it has the plank lines without the crevice for crumbs, etc. to fall into.
I finished with Rust-oleum Early American stain and Rust-oleum poly in semi-gloss.
I'm having trouble linking the plans, so again--these are modified from the Farmhouse Table Update Pocket Hole plans on this site, and also from this site: http://tommyandellie.com/?p=2582
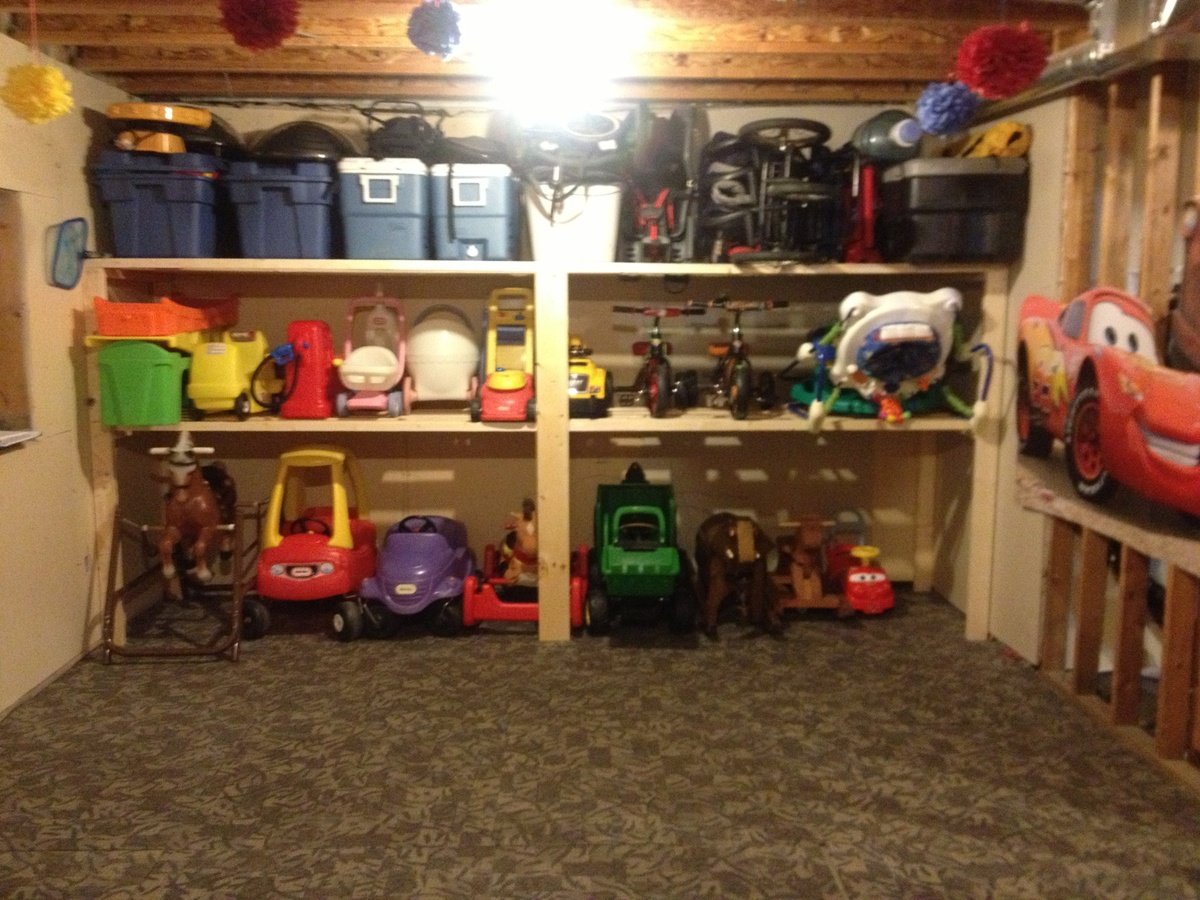
I needed something to get the camping stuff, toys, strollers and everything else organized and up off the floor of our unfinished basement so my boys can ride their trikes inside over the winter. This was perfect! Just changed it slightly (made it deeper) to accommodate some larger items. Thanks again Ana!
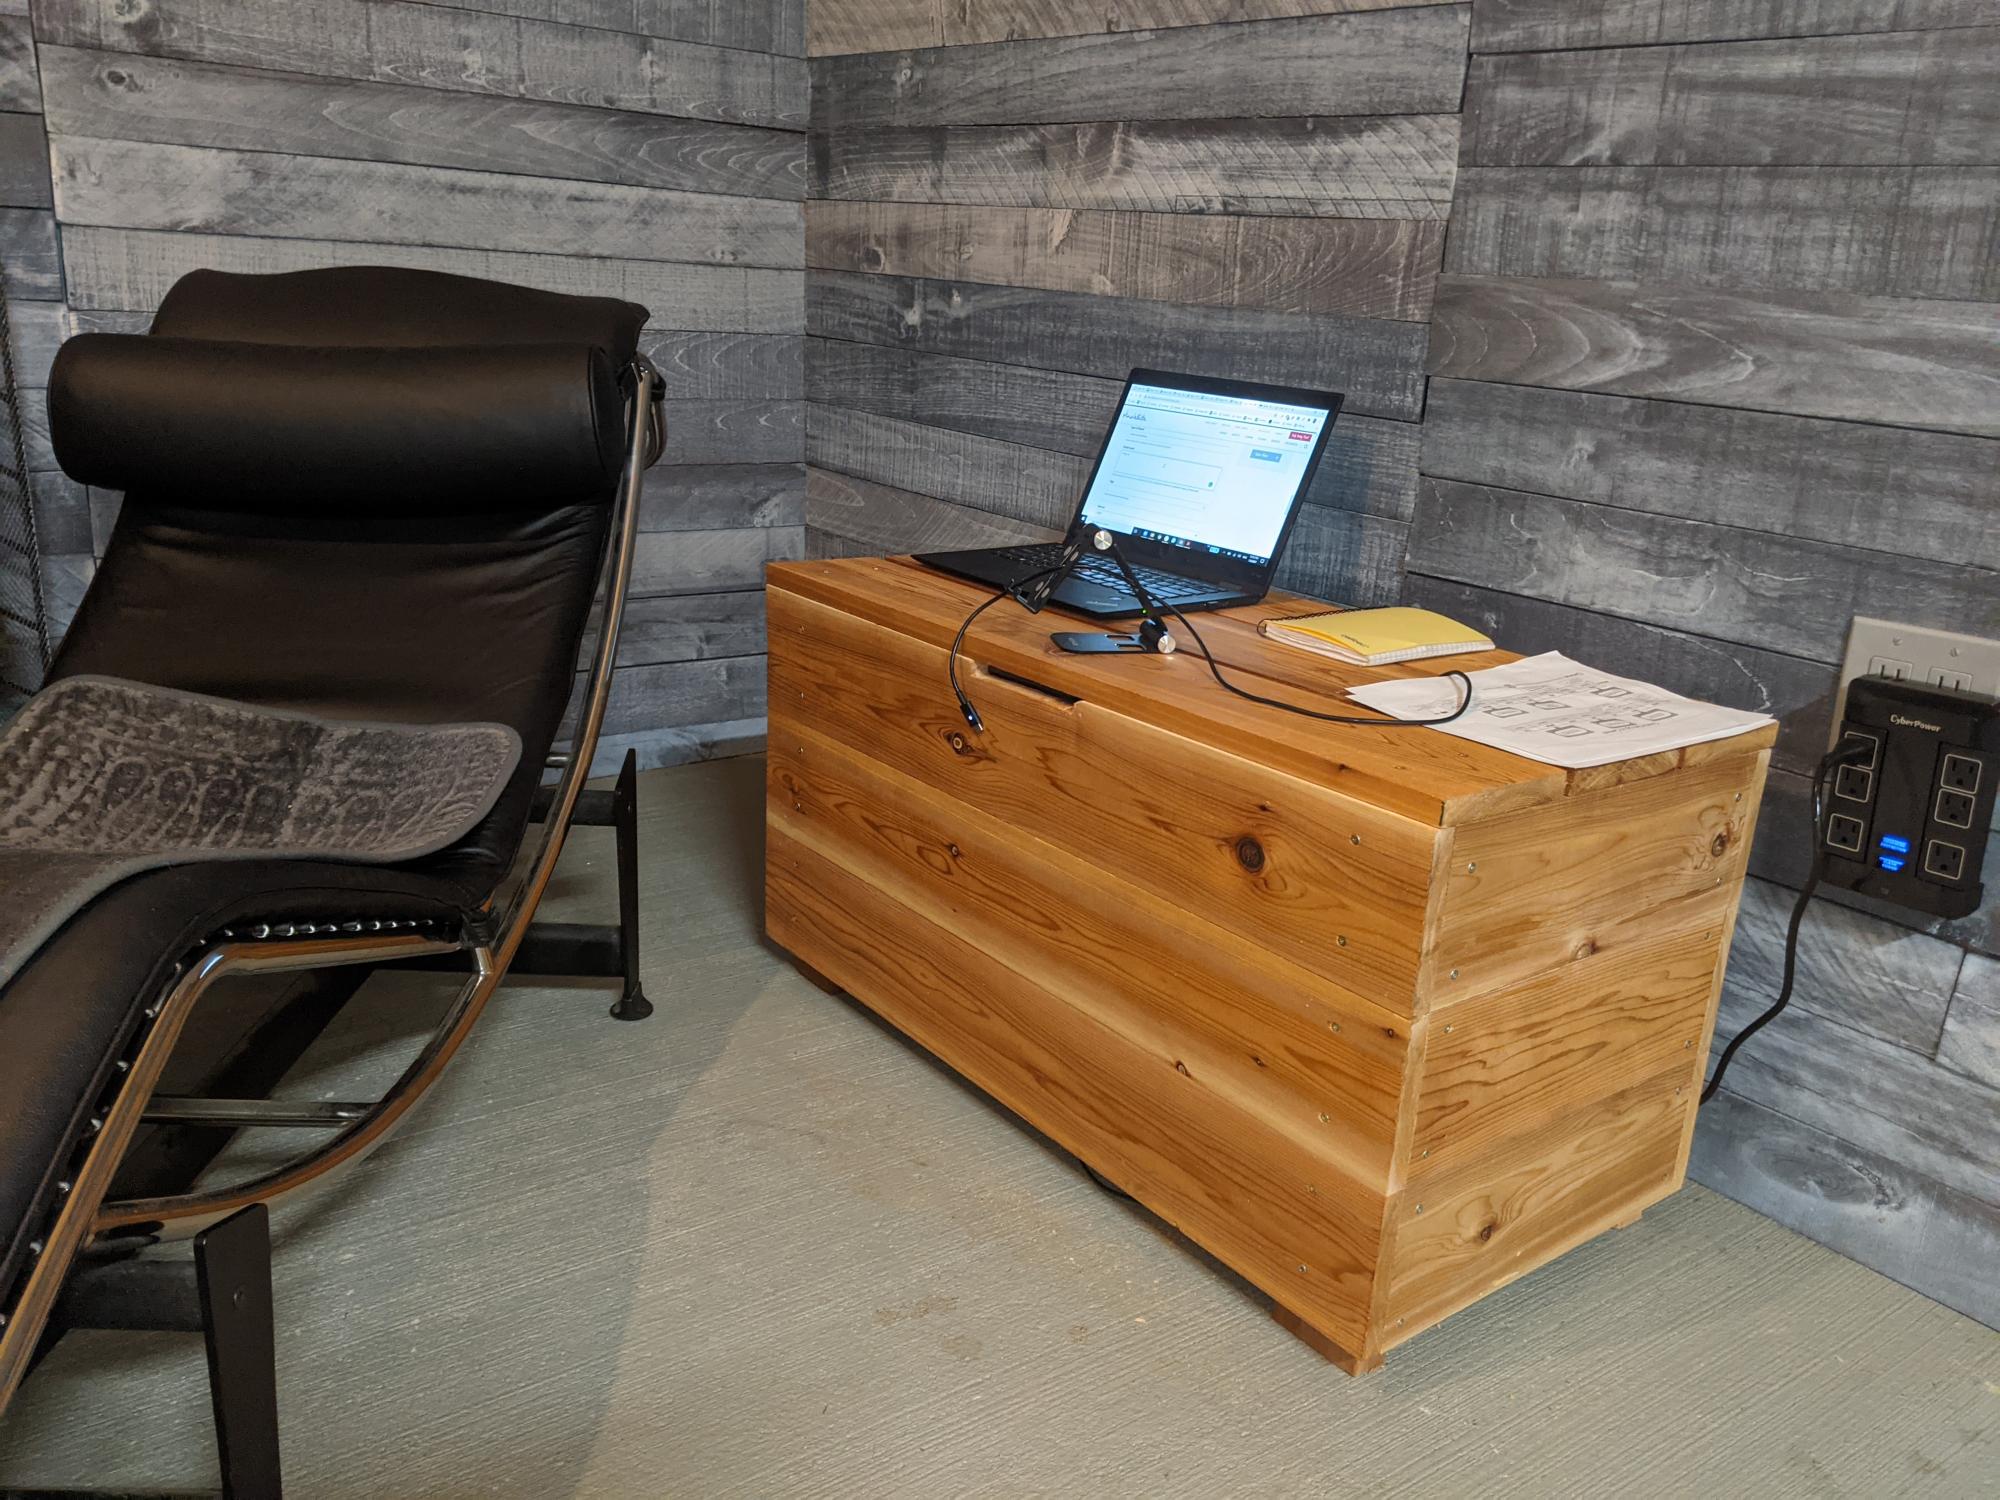
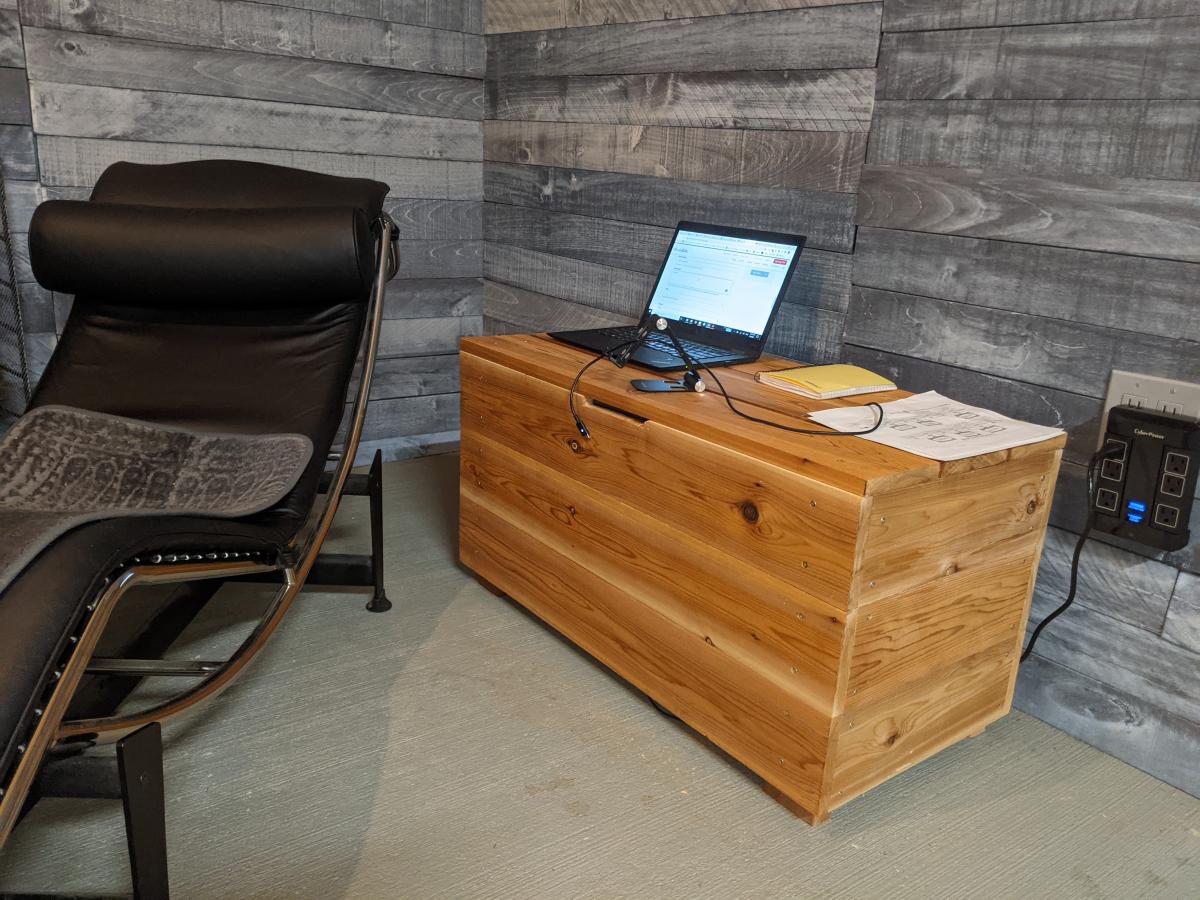
I decided it would make a nice simple side table for my home office and show off the beauty of cedar by using oil.

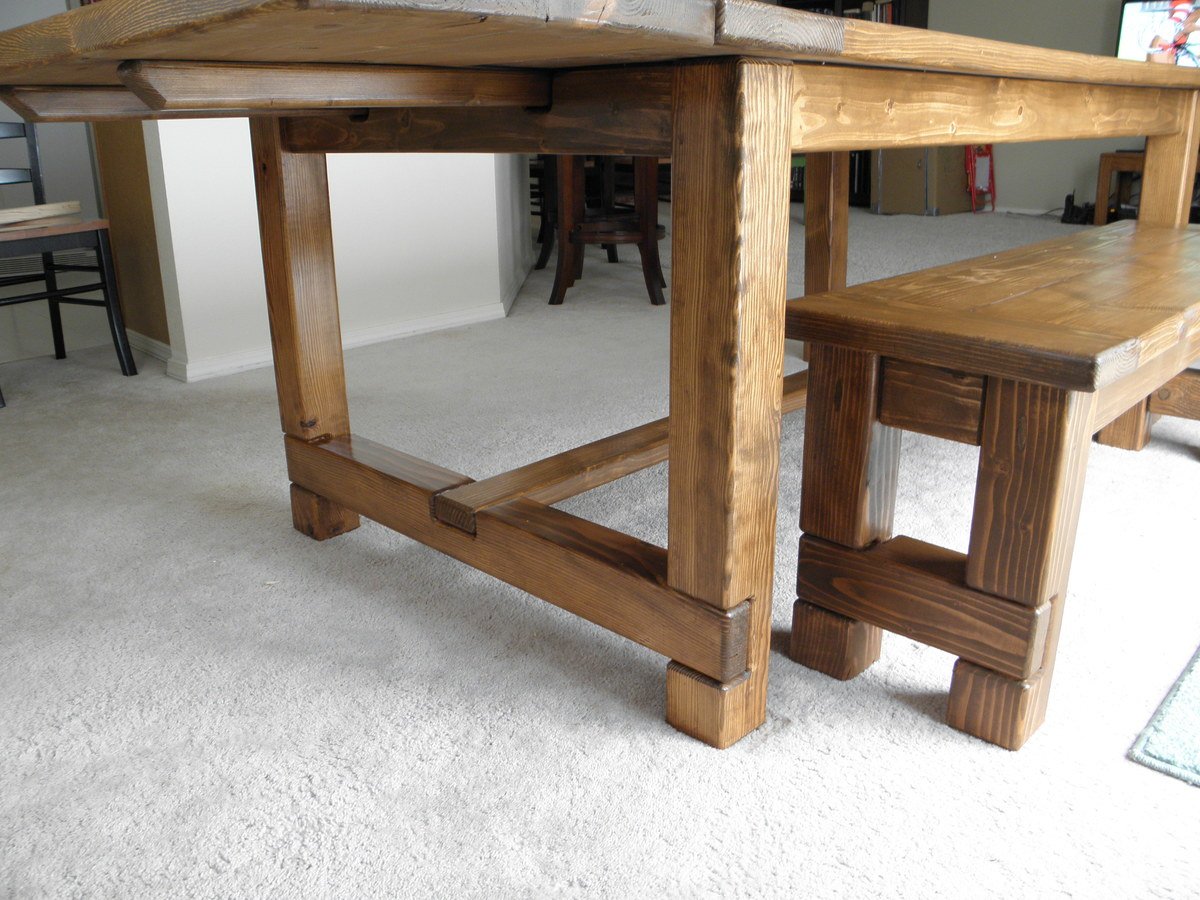
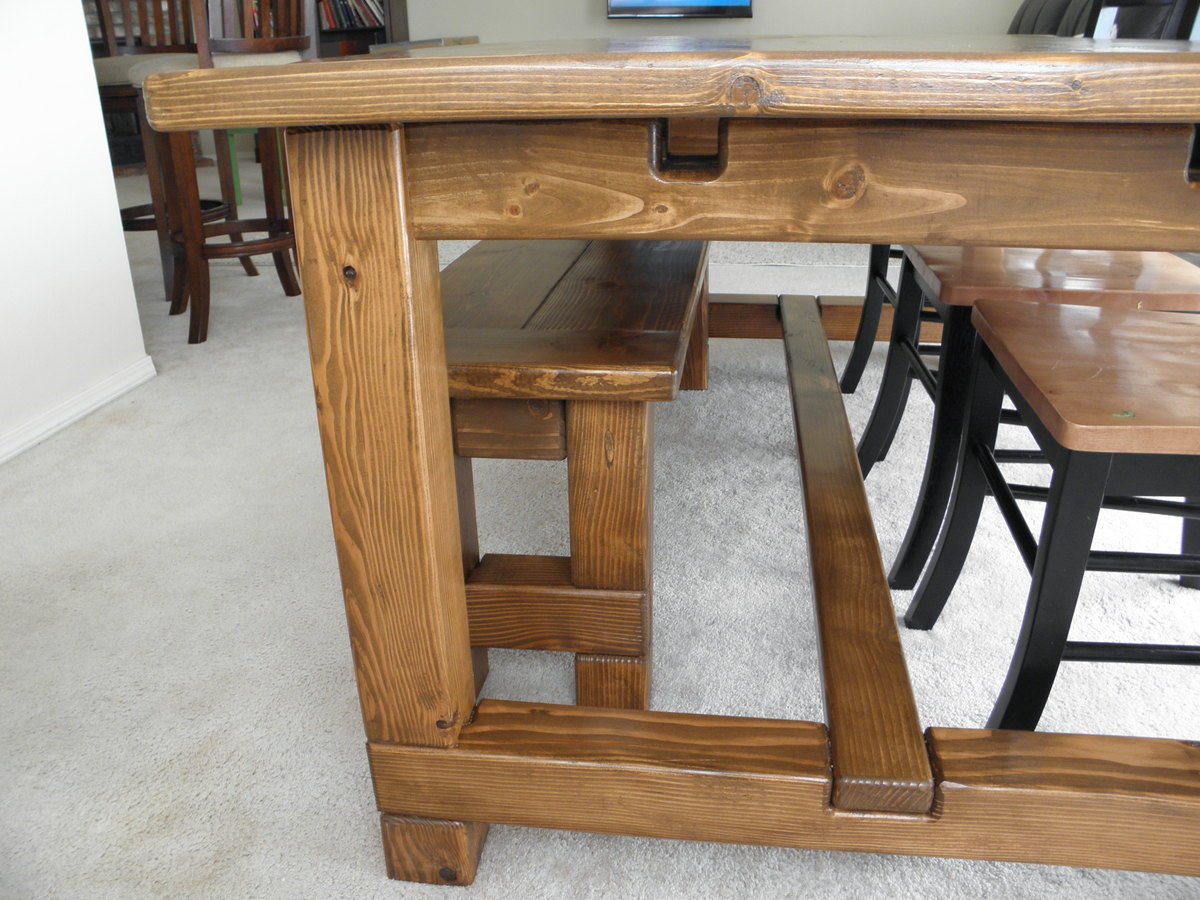
I basically stuck to the plans, but I shortened the length of the table just a touch, and lengthened the bench to fit just inside the legs. I also used 2x4s for the legs, tapered them for aesthetics (similar to some other posters), and reinforced them with "L" brackets to reduce the wobble. We finished it with Semigloss white paint, Minwax Honey stain, and Minwax Gloss Polyurethane.
If I can make this table, just about anyone can.

Mon, 11/07/2016 - 11:29
Your table is beautiful!
Do you remember how you tapered your legs? I'm trying to figure out if I can do it without a table saw.
Thank you!
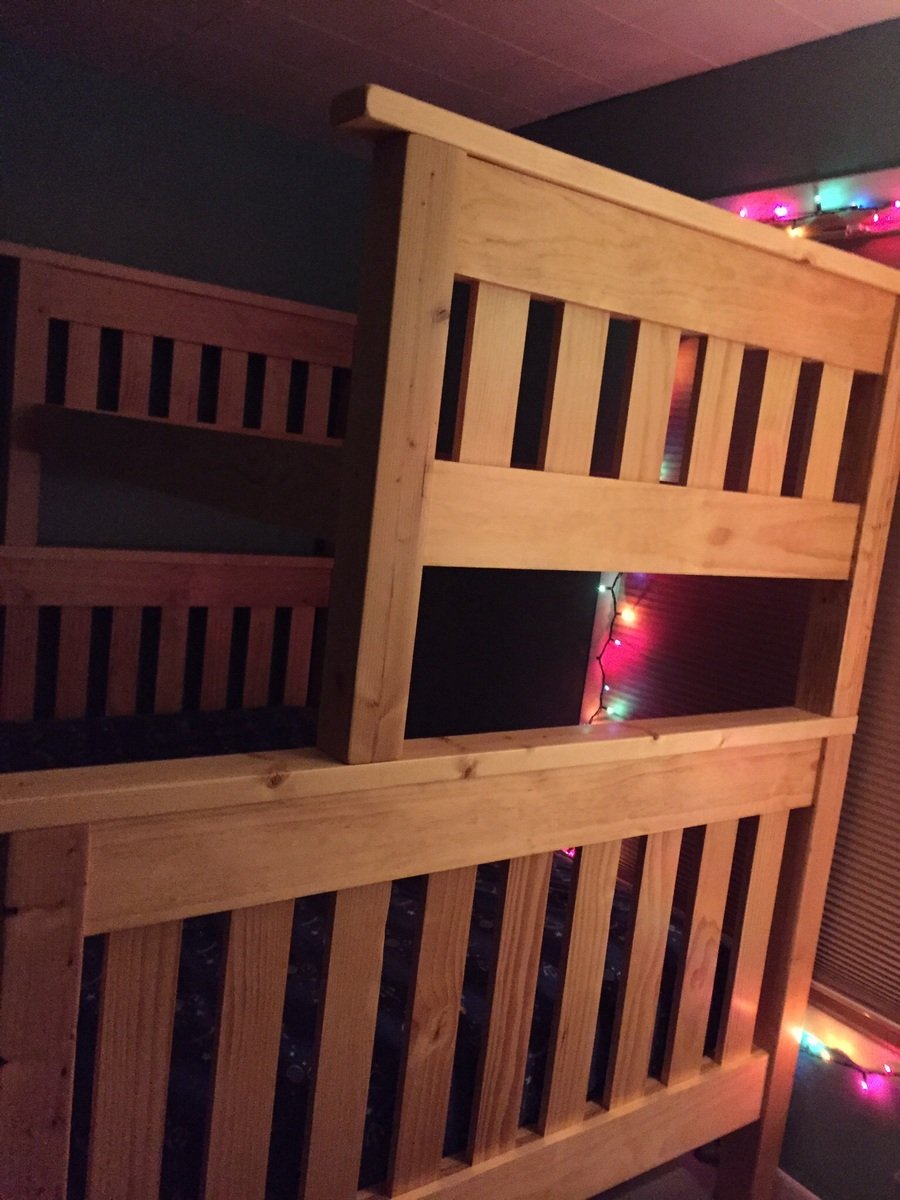
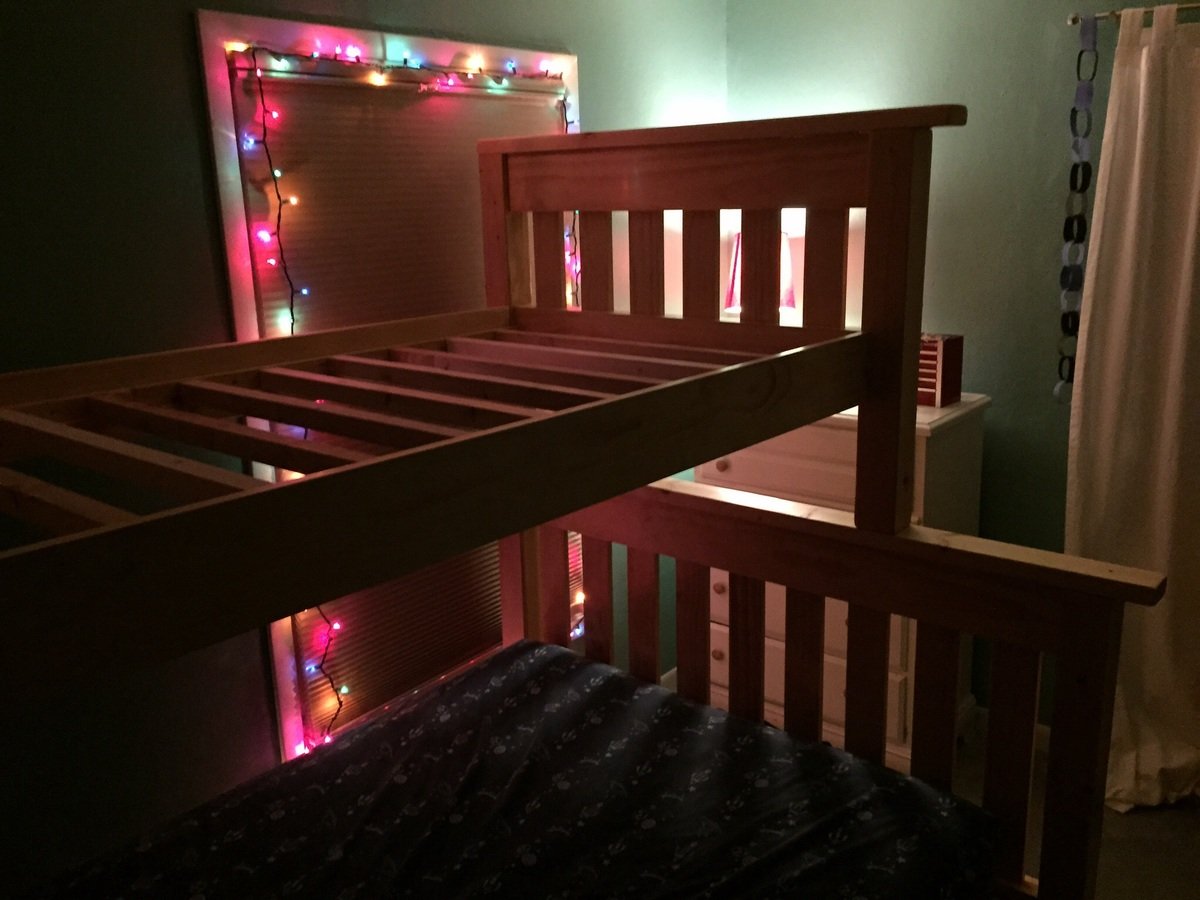
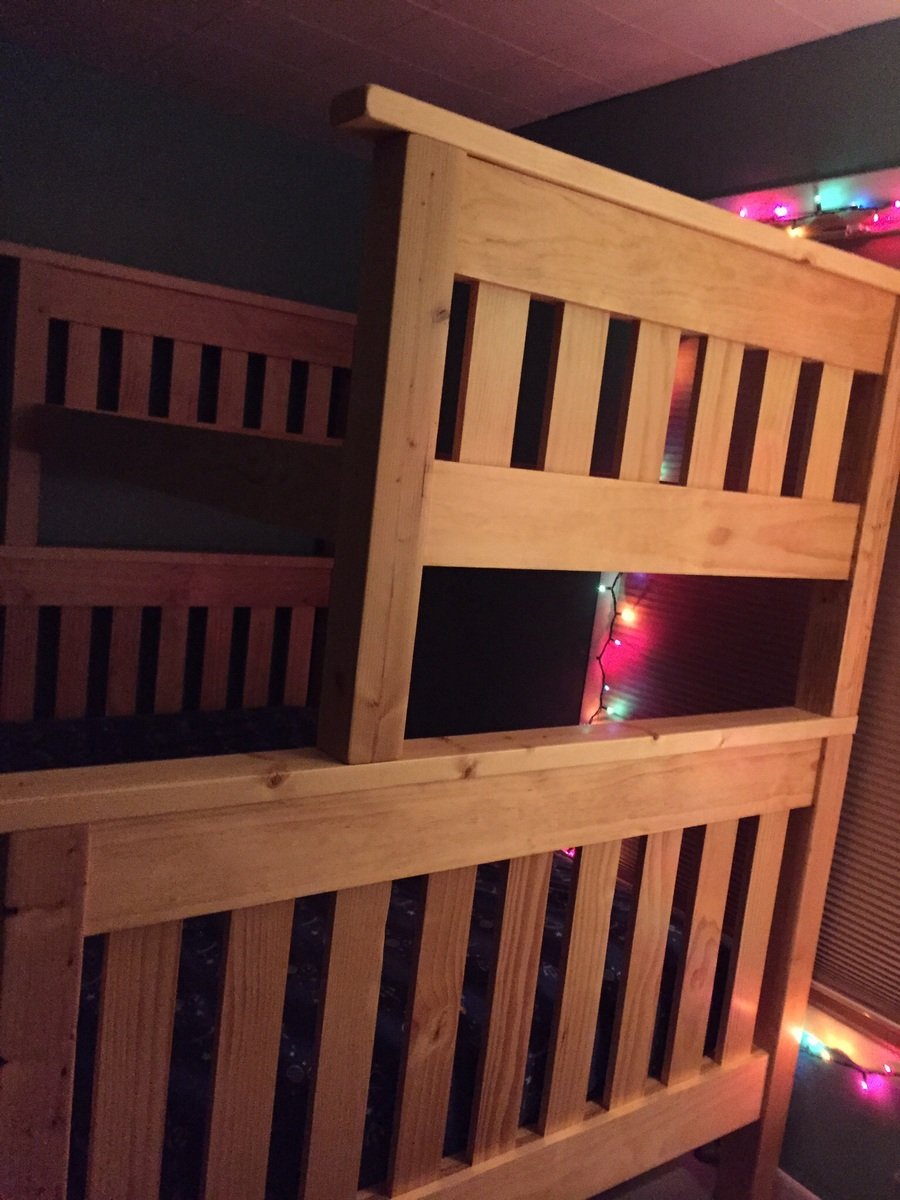
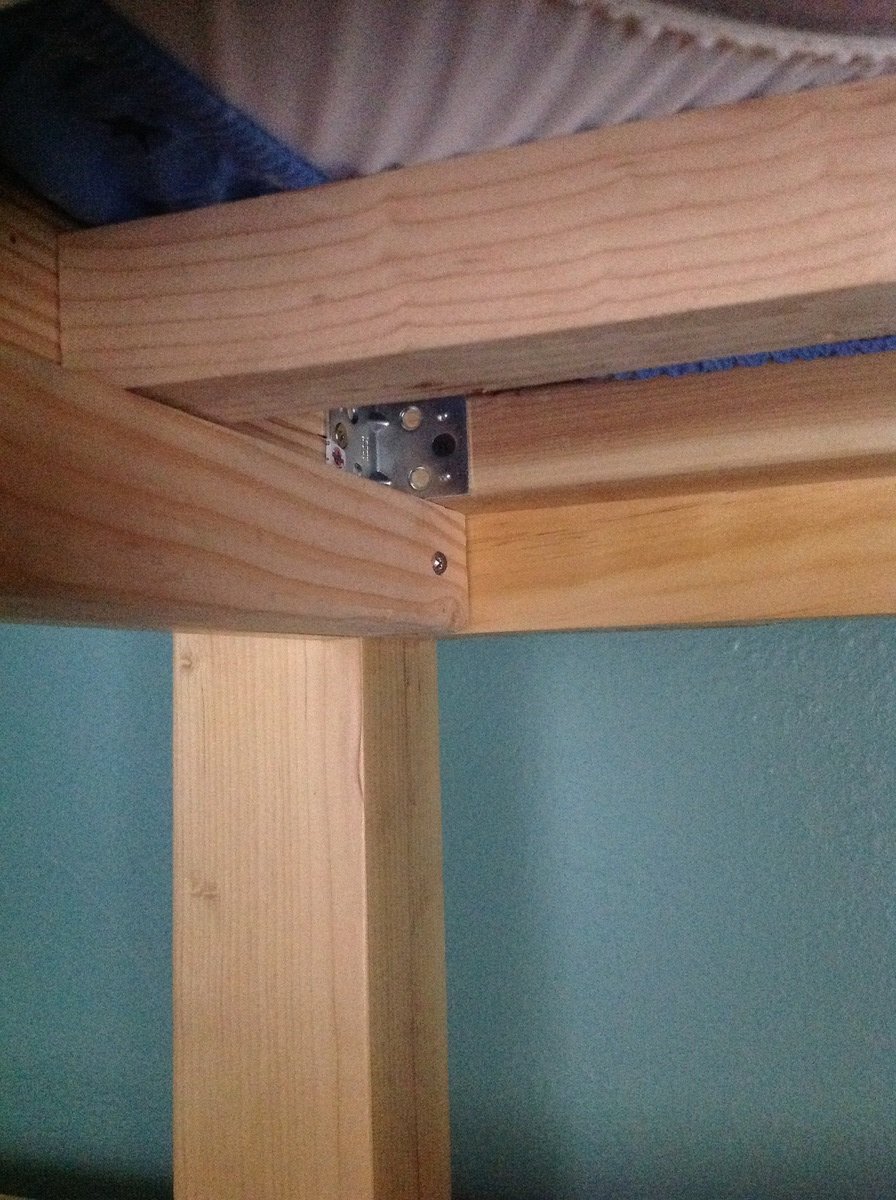
We started this late 2013 and finished it June 2014. We used an old IKEA bed hardware for the middle support for the full mattress. We had to use Hemlock Fir "white wood" for the 4x4's (found at Menards in Wisconsin). We used Satin polyurathane from Minwax and allowed a month for the fumes to die down. My boys and guests seem to enjoy the bed.
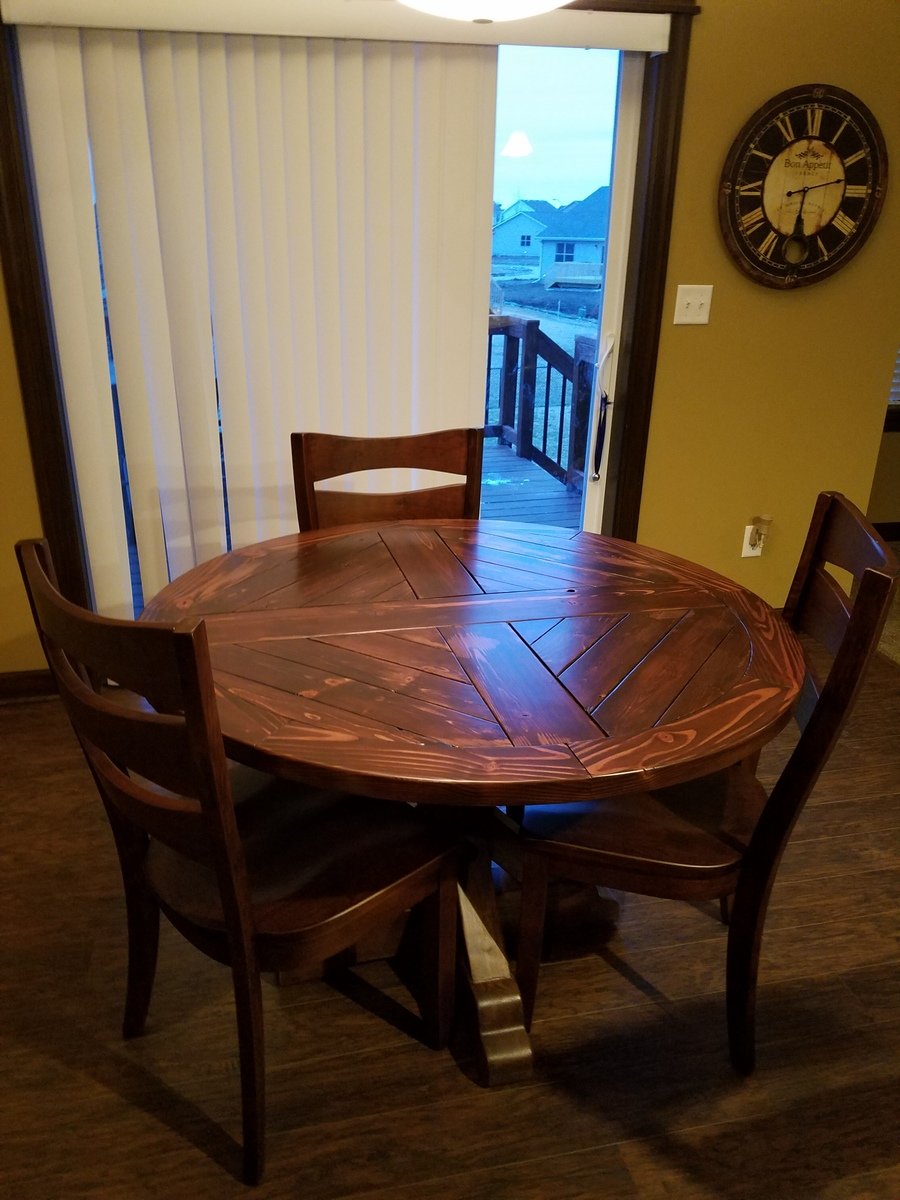
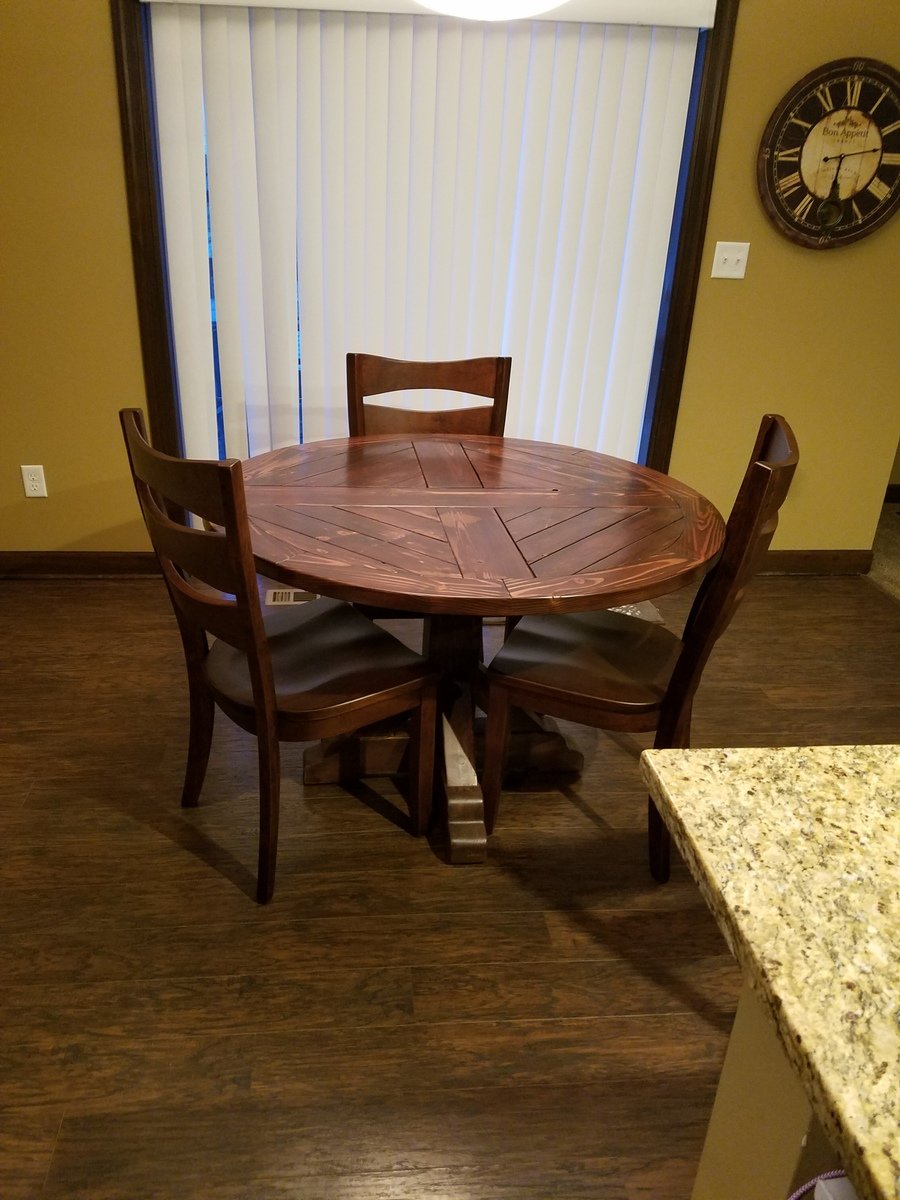
I moved to a new house and the table I had was way to big. I decided to make one. I found a picture on here of one I liked. I made some changes to the design and built it myself!
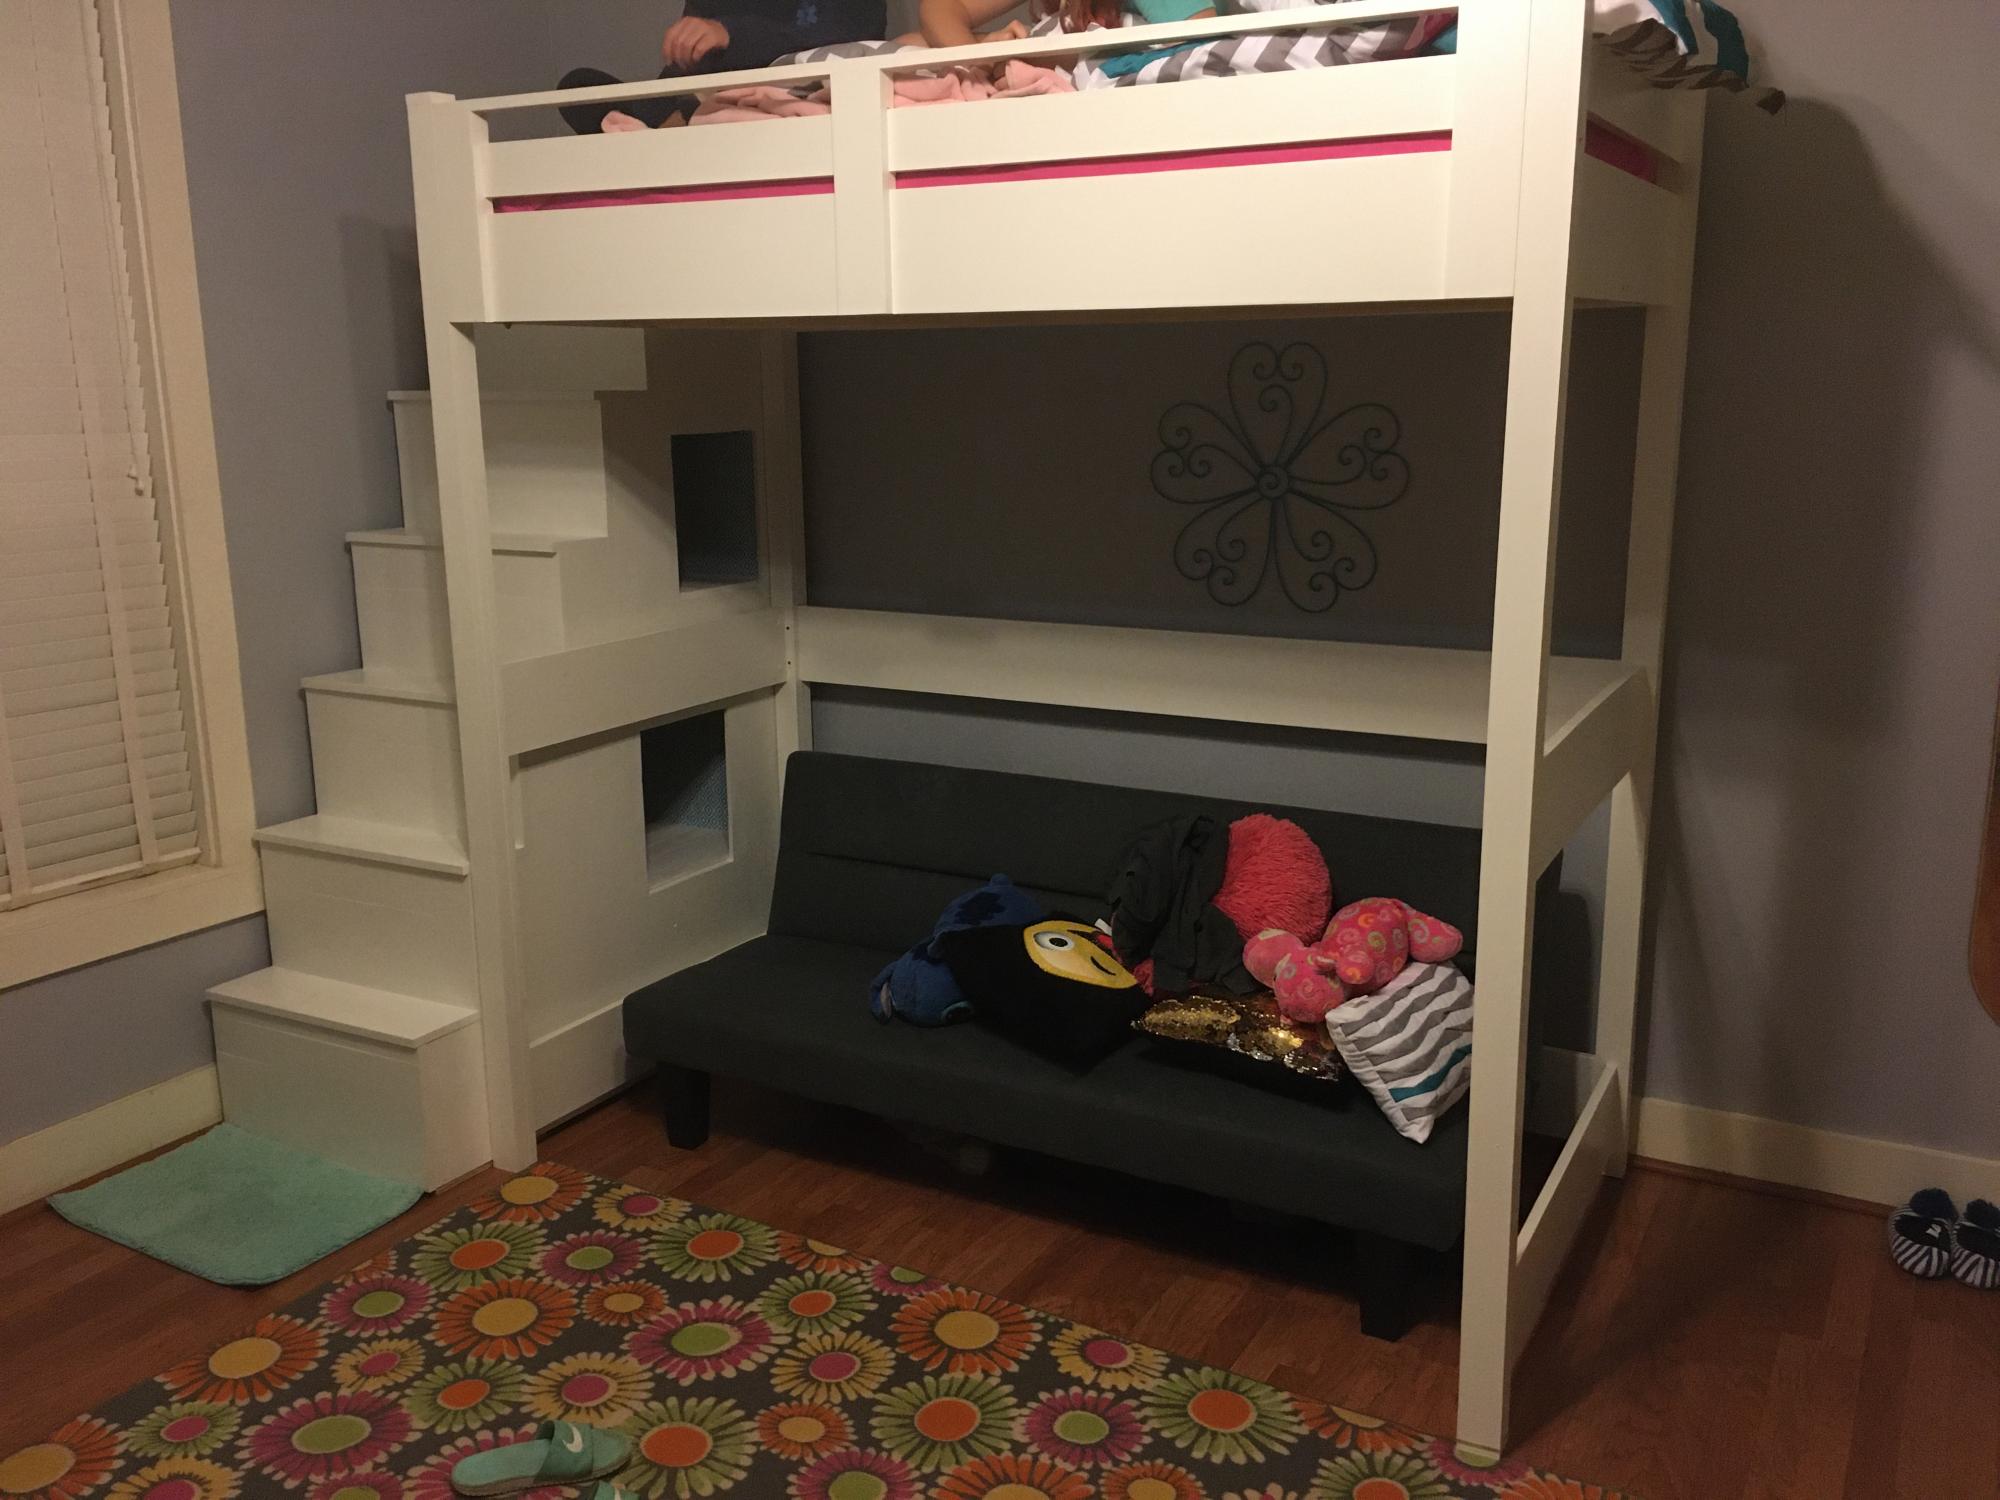
My daughter had been asking for a loft bed that she could place a futon under. This plan was exactly what I needed! I made the bed taller so she would be able to stand under it (we have 10’ ceilings - old house). And, I replaced the ladder with a staircase with built-in cubbies.
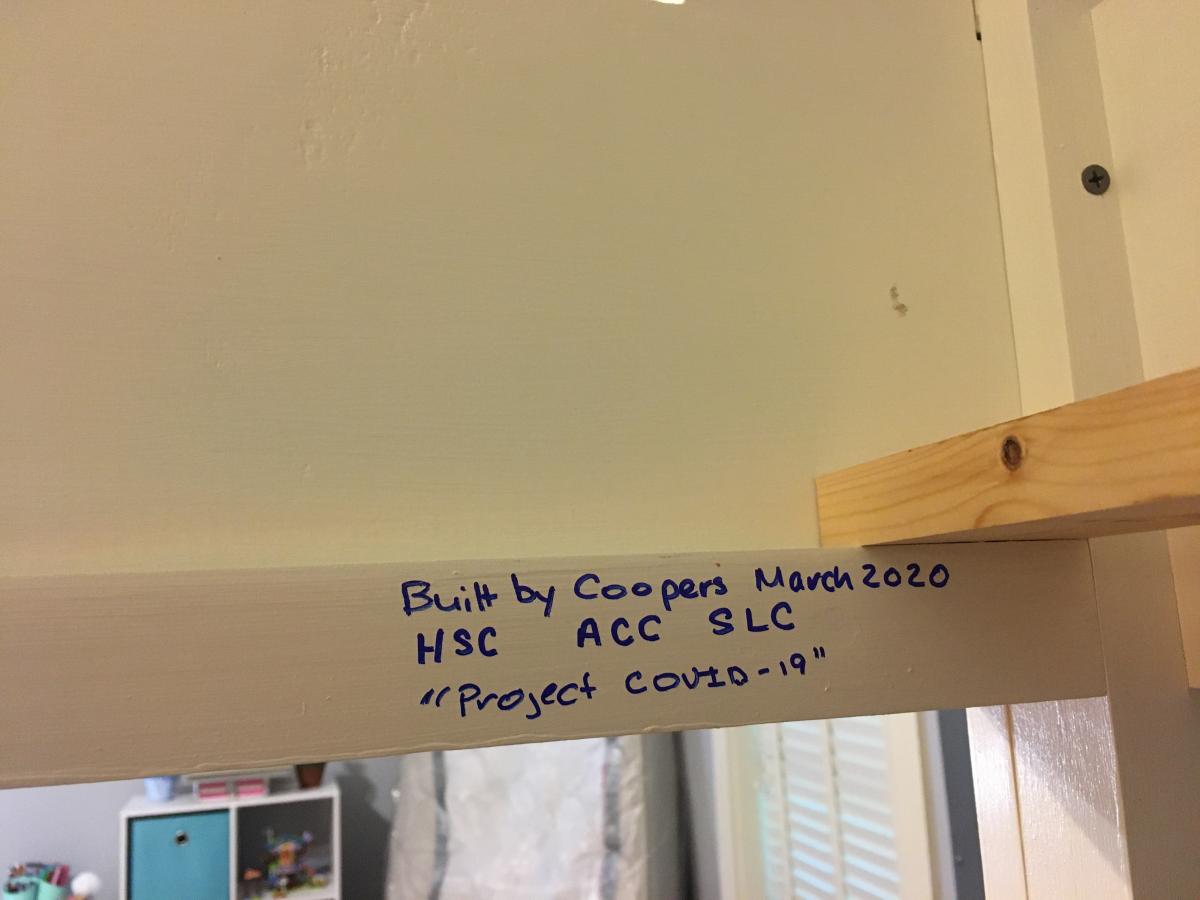
This was our first project of 2020 and we started it during the first part of the quarantine, so it got named “Project COVID-19.”
Sat, 01/09/2021 - 09:49
Great mods making it higher and the stairs look great too! Thanks for sharing:)
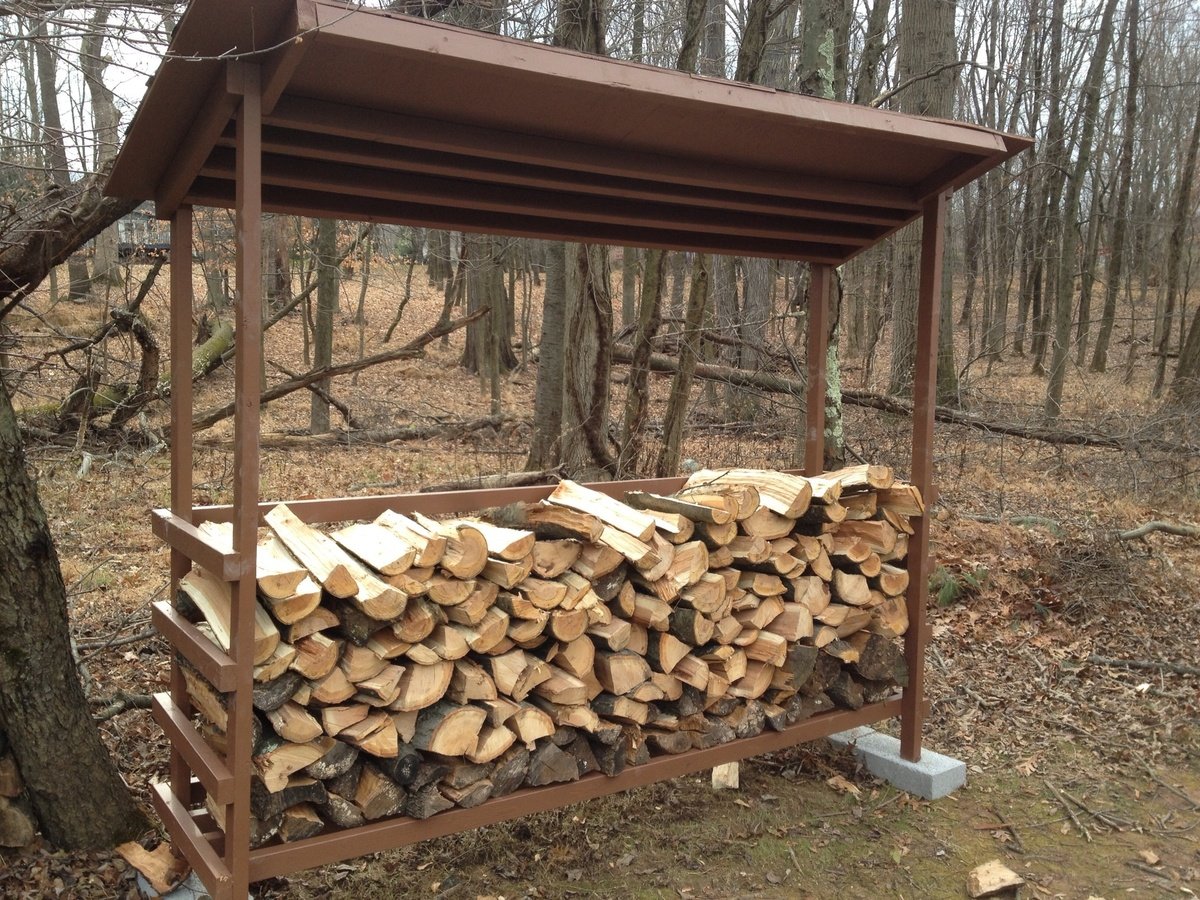
Build this firewood shed over one weekend and stained it the following weekend. This was my first project and I only received a little help from my boyfriend. Can't wait to start my next project.