Fish Adirondack Chairs and Stools
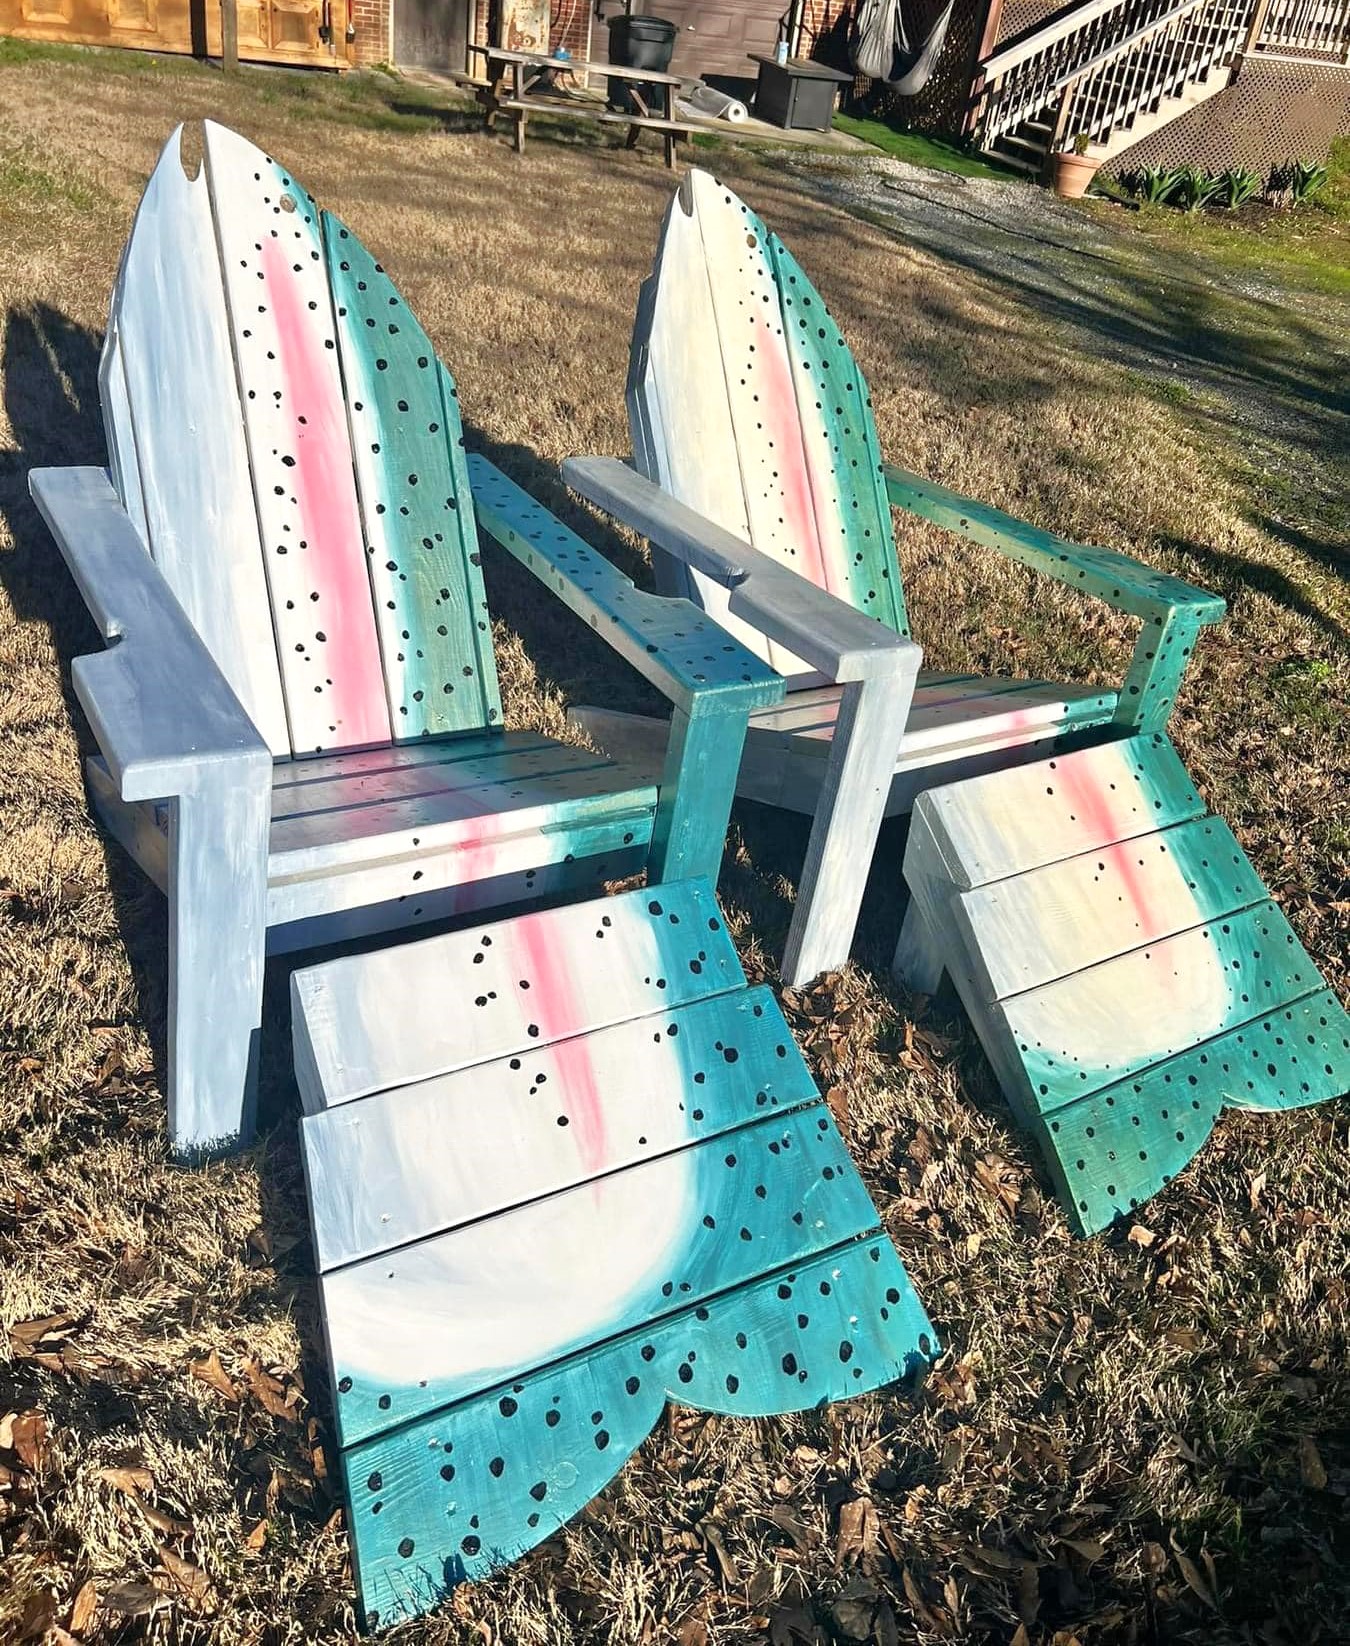
I have used your plan, to build several of the 2x4 Adirondack chairs, made a few modifications here and there but basically the same frame.
Built from Plan(s)
I have used your plan, to build several of the 2x4 Adirondack chairs, made a few modifications here and there but basically the same frame.
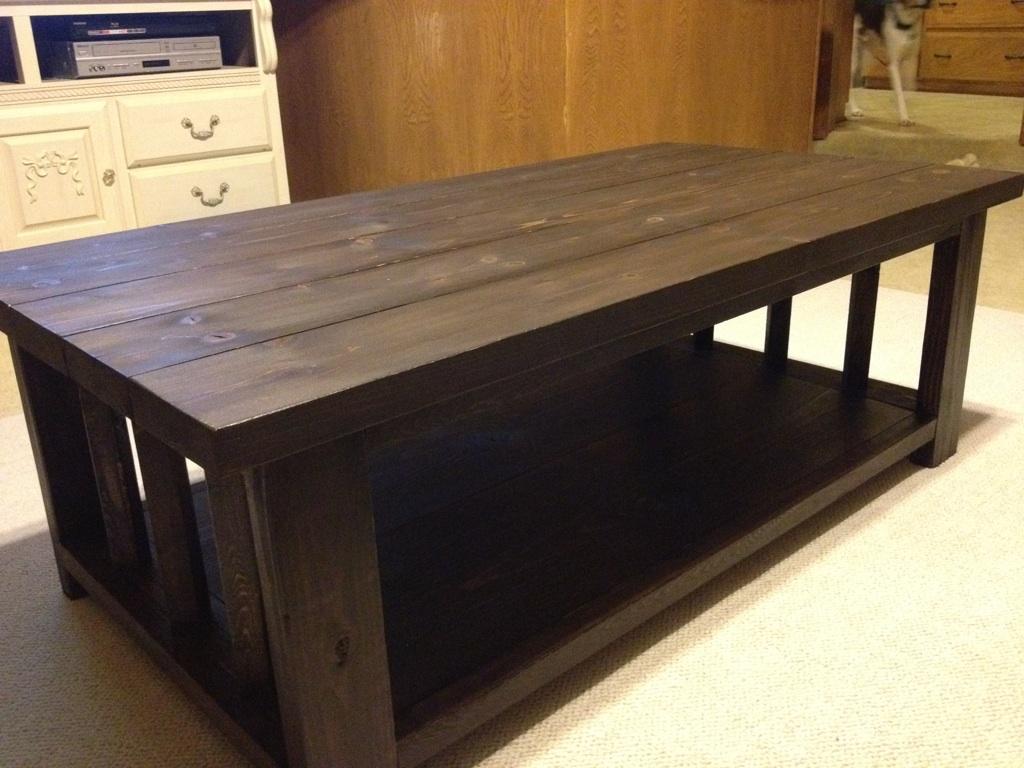
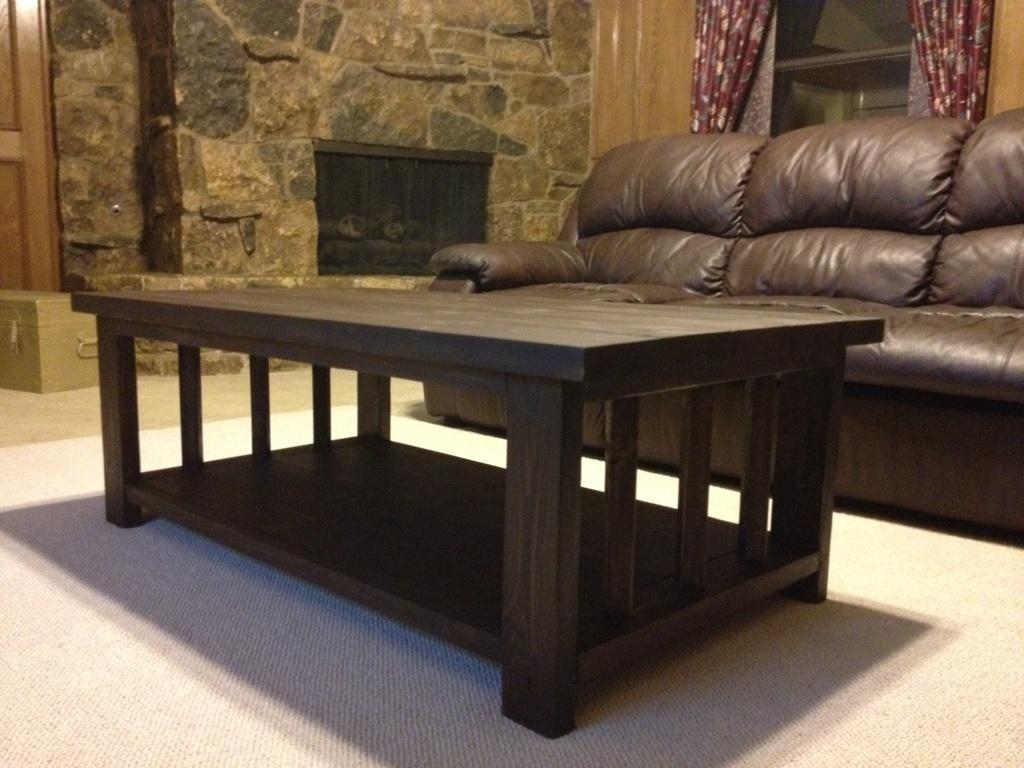
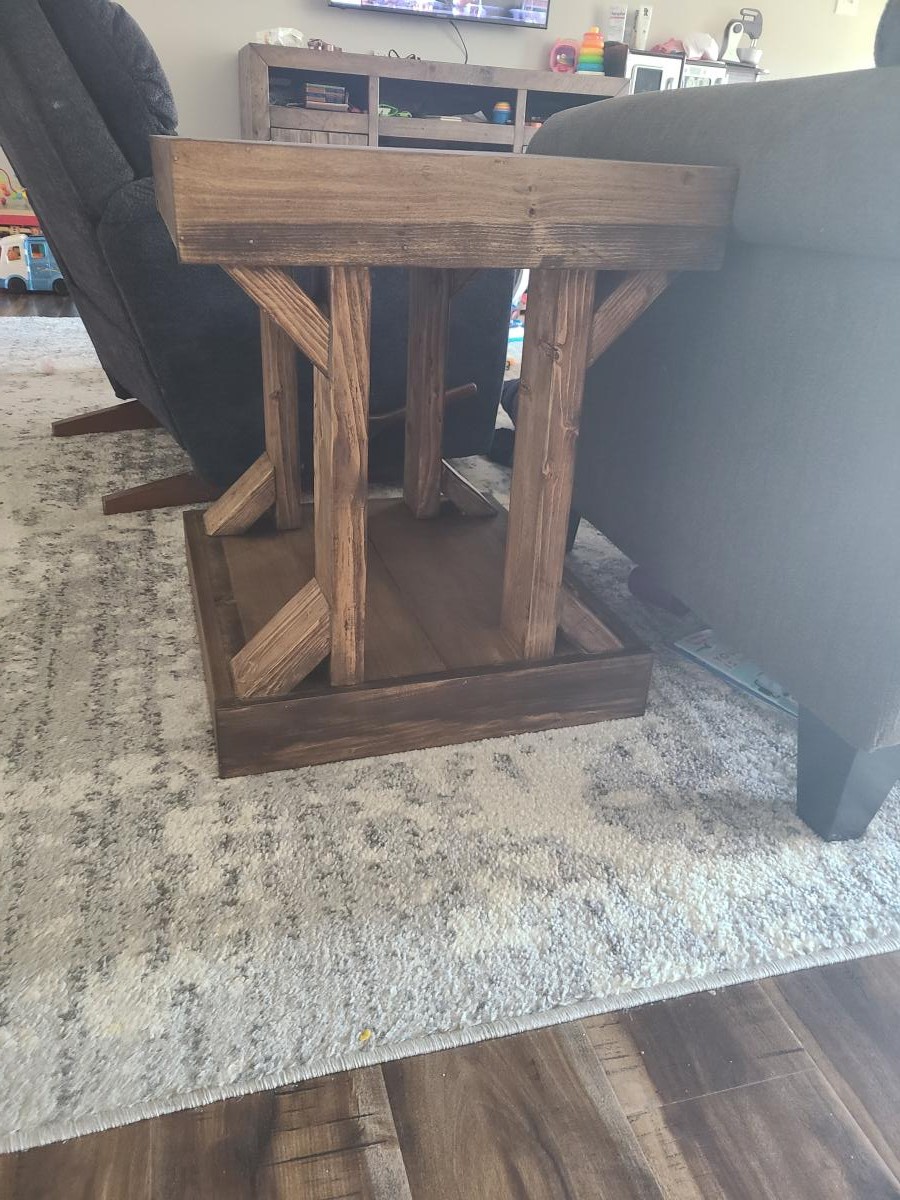
Plans are from the Rustic X Coffee Table. Since my miter saw only can make miter cuts up to 55 degrees it was too tough to make exact 60 degree cuts. My wife and I decided to put columns on the sides of the table instead of X's. I think the table looks really good without anything on the sides as well. Also, we added some addition table top supports with two, 2x2s, placed horizontally across table.

Fri, 01/05/2018 - 23:05
The table looks great. I am thinking of building one soon myself. I noticed you built this quite a long time ago. Have you had any problems with the table warping or splitting? Did it hold up well over time? Thanks!
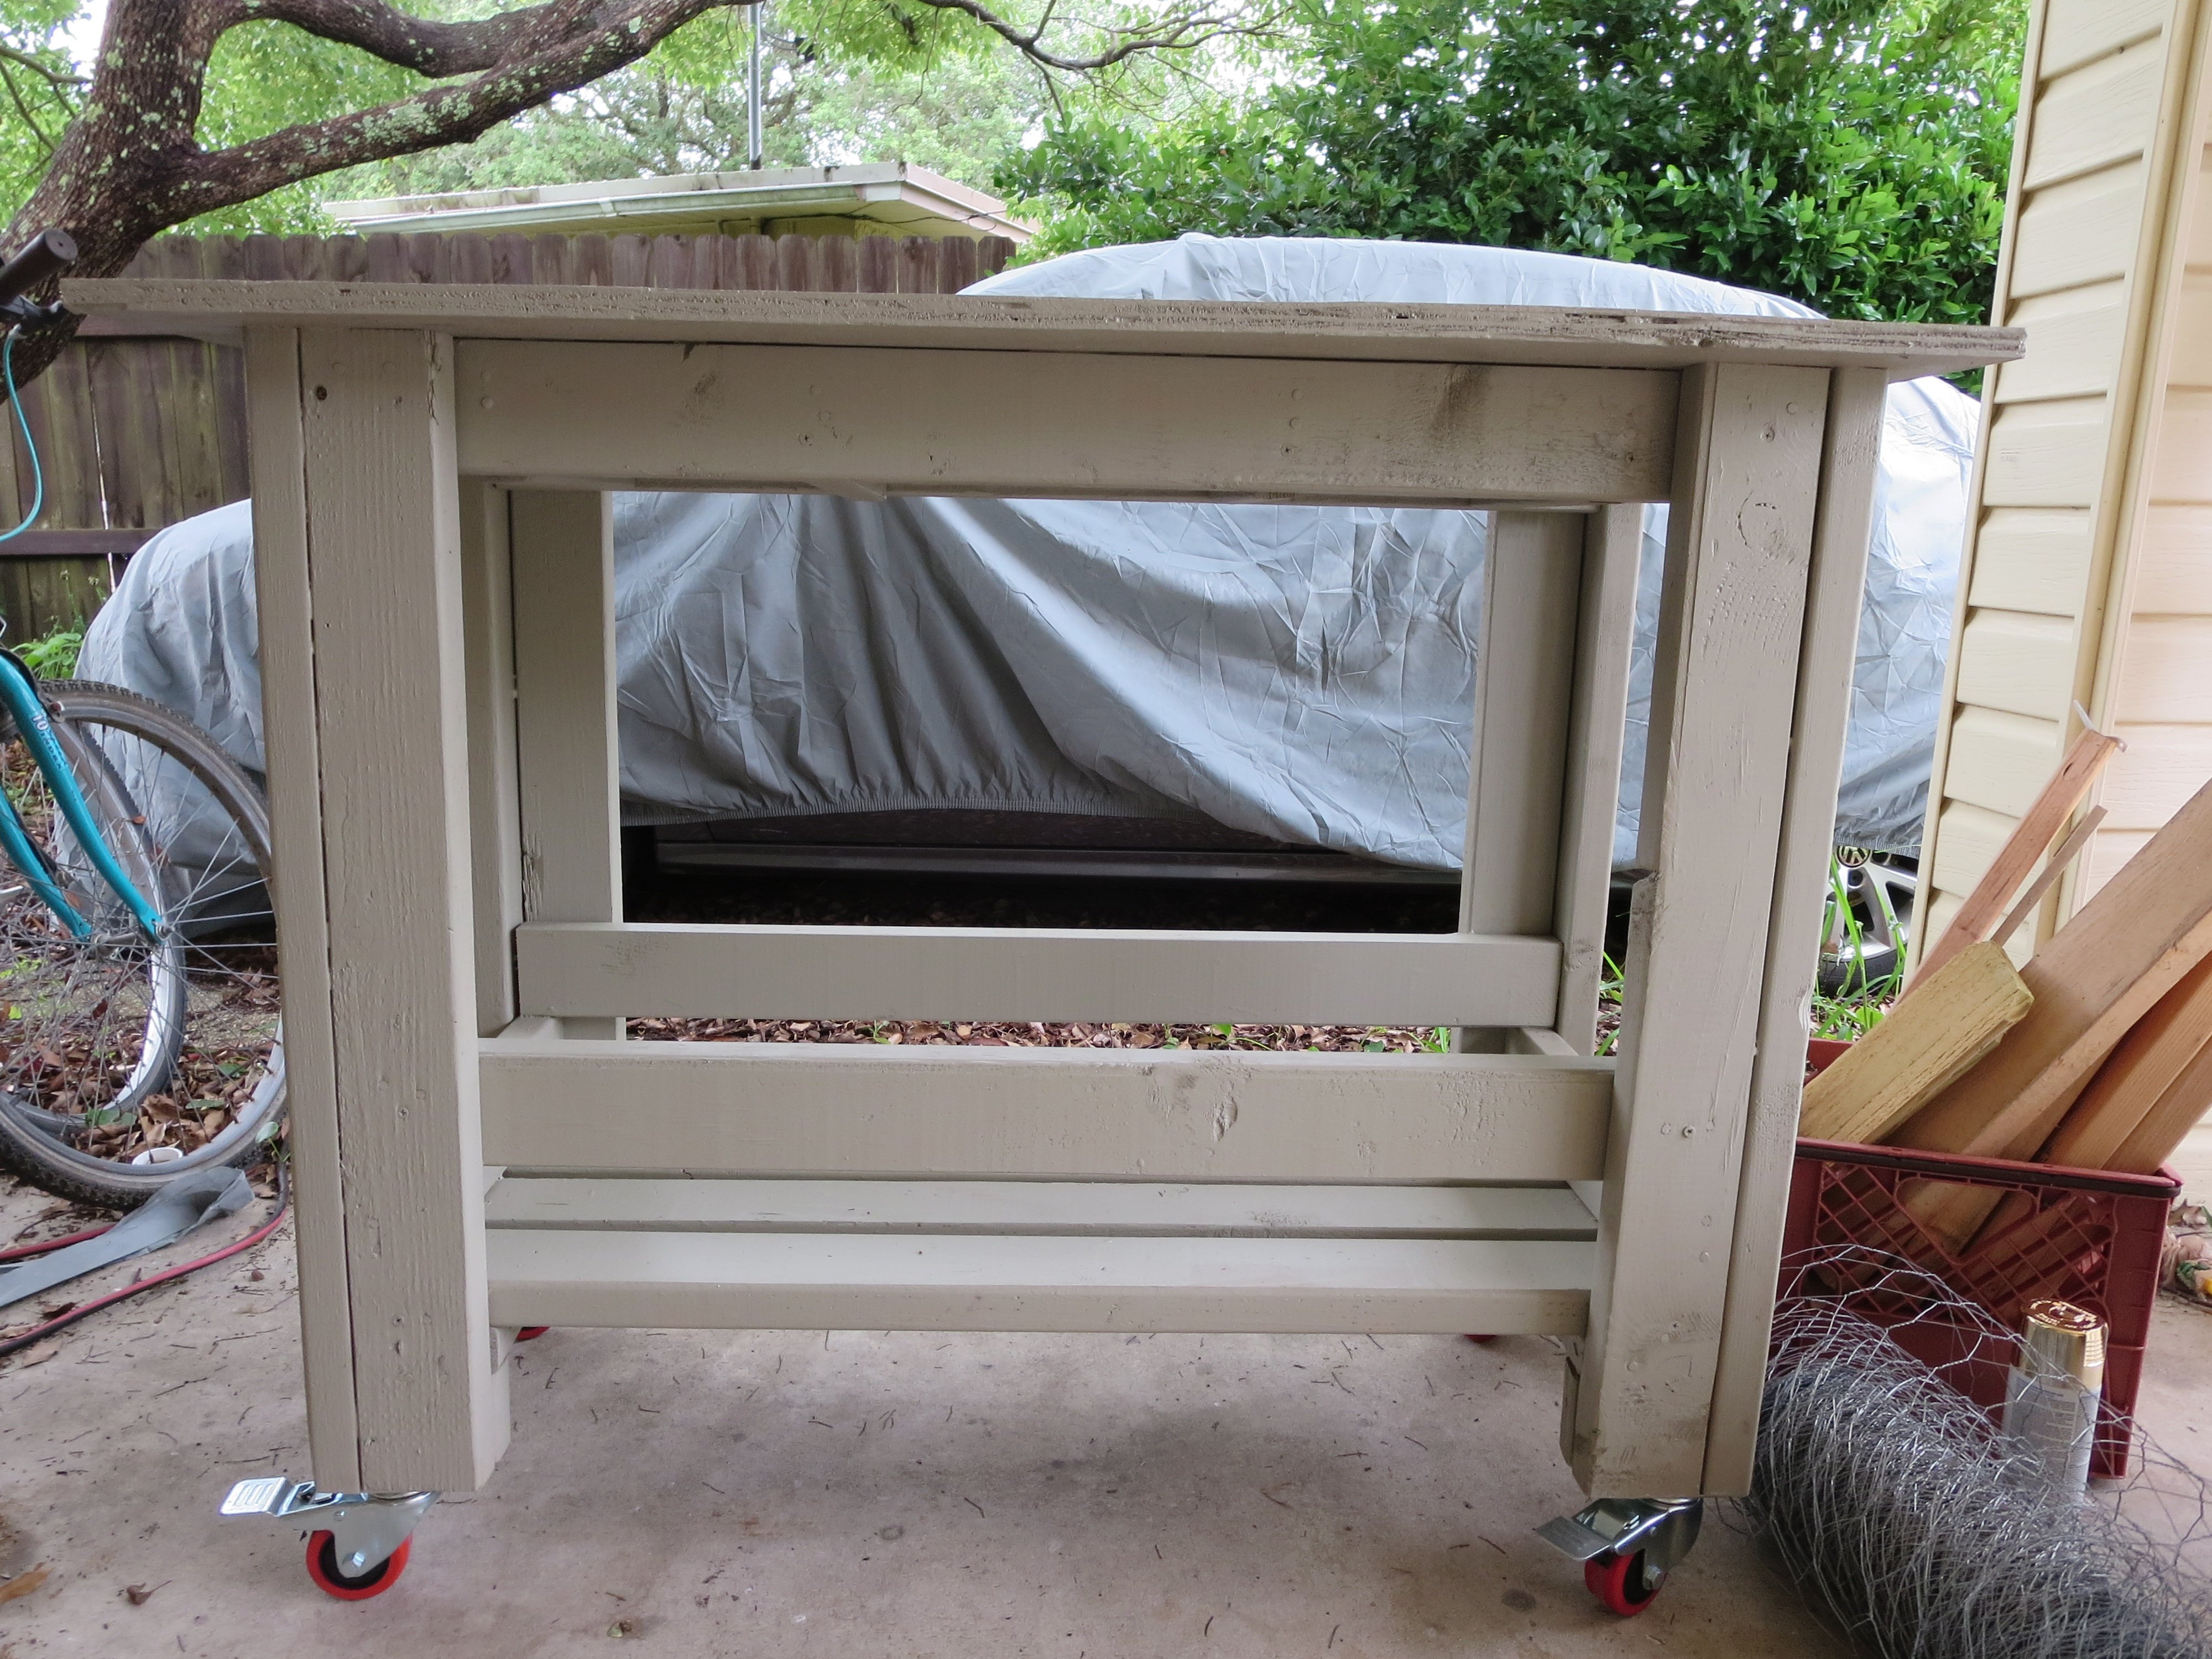
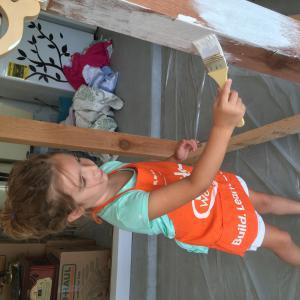
I was inspired by this workbench post to create a workbench, especially since I needed one! I painted it with exterior paint and added wheels. I also added extra wood around the bottom to make it sturdier.
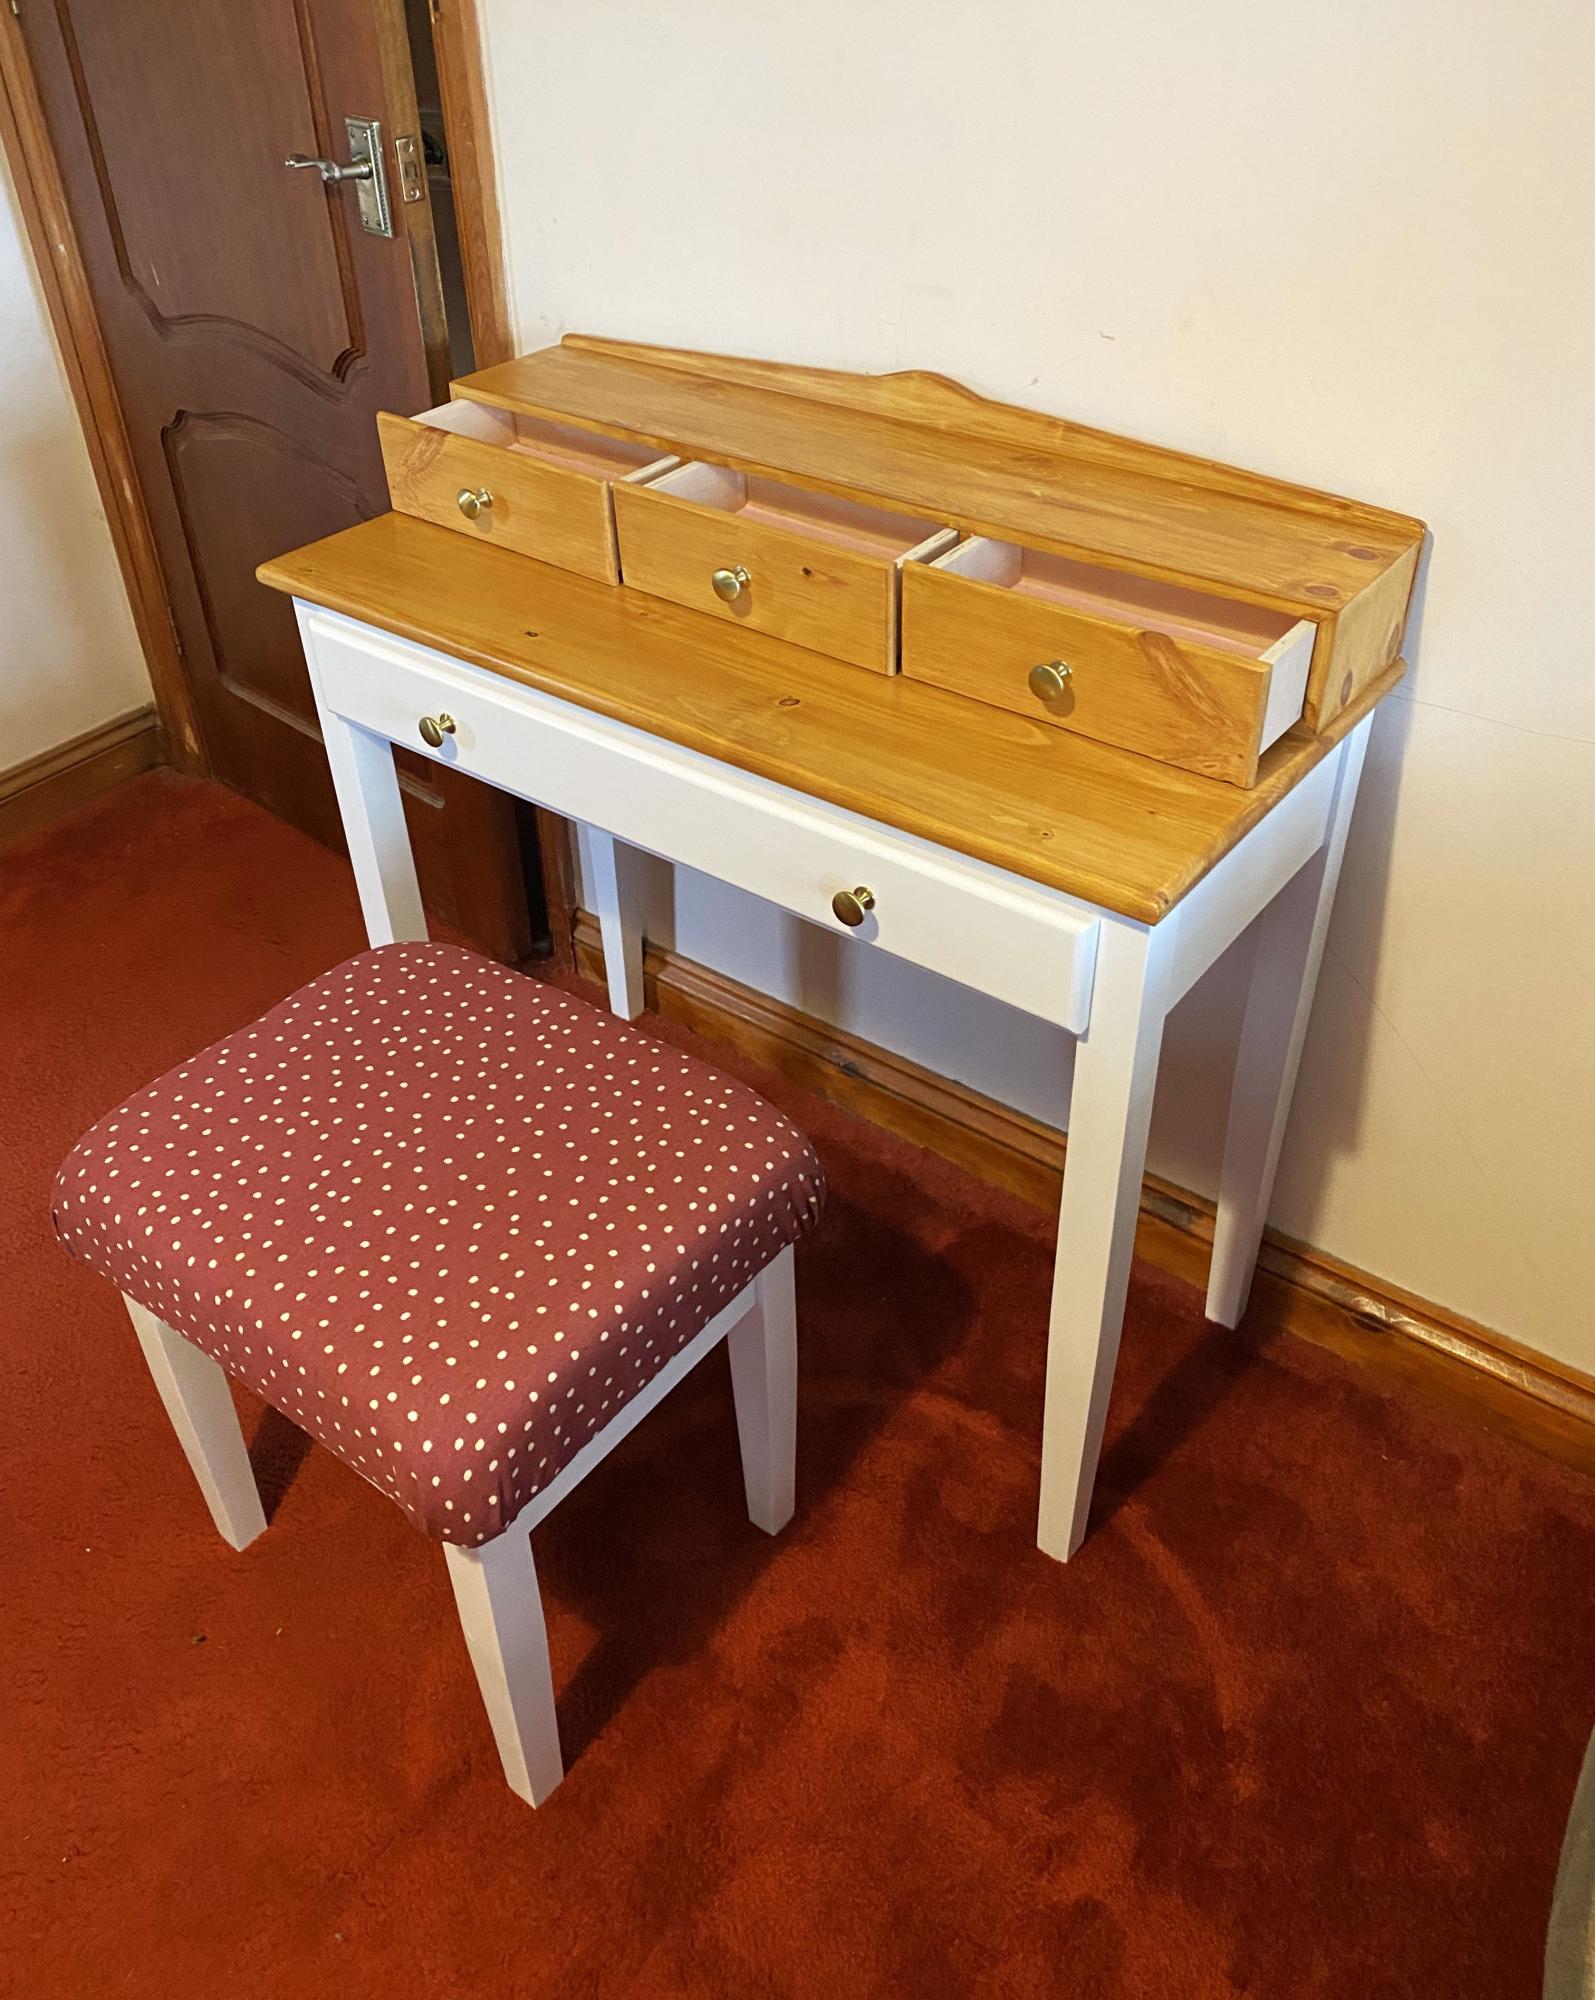
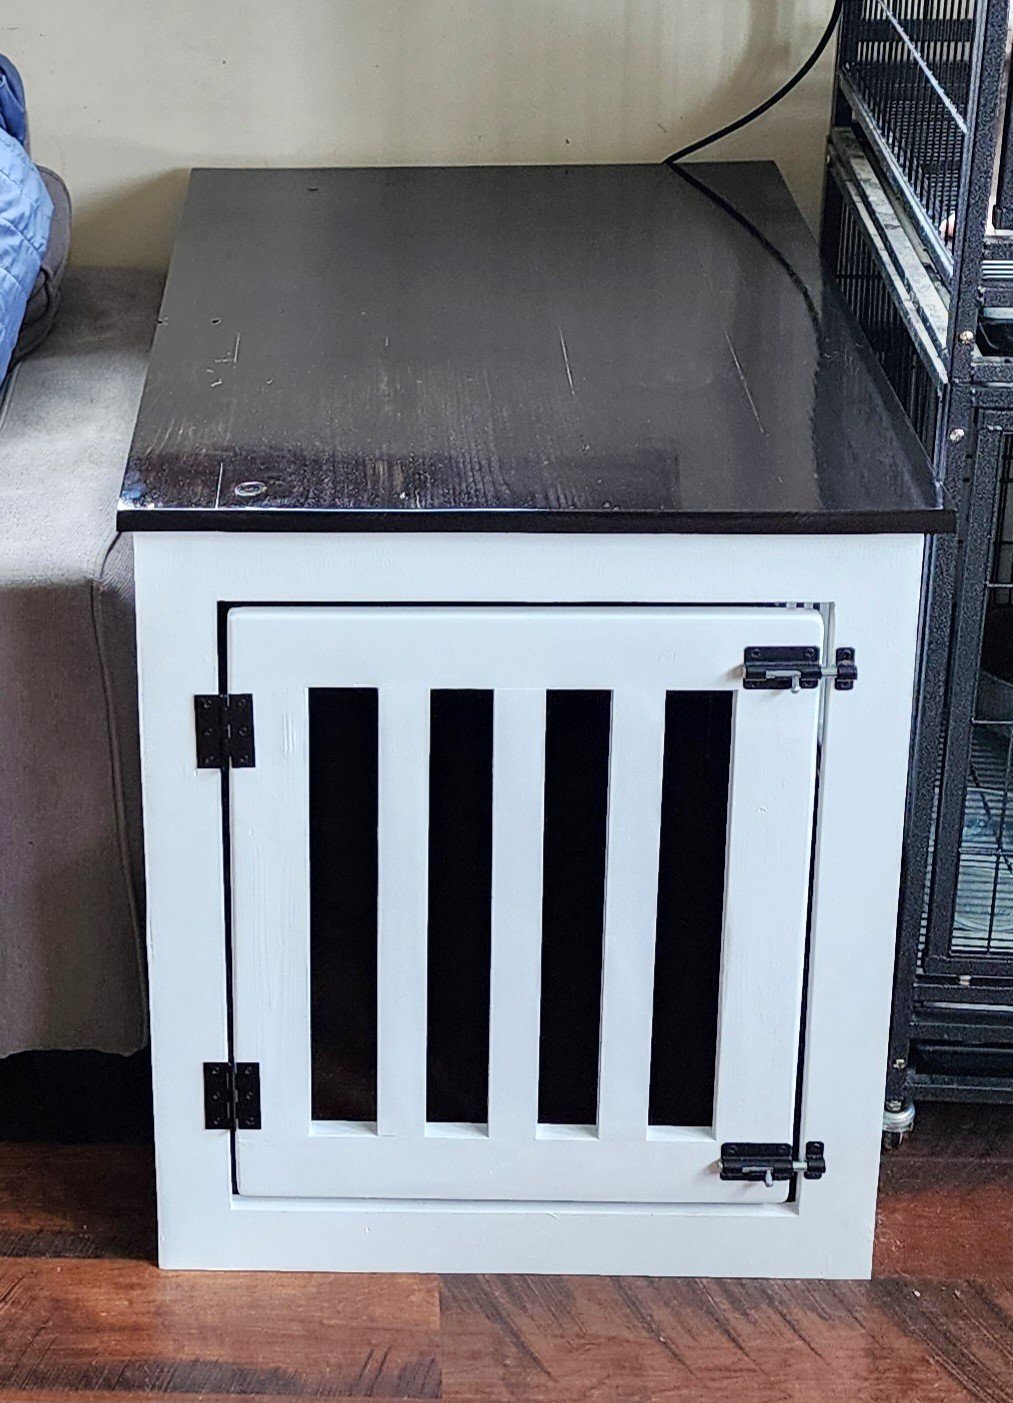
Instead of just screwing the rails to the bed, I used bed rail hooks to connect the bed for easy disassembly.

I am so thrilled to share this. My very first build and I am so happy with it and so excited to share the build. My very first ever build of any kind whatsoever. I am inspired and buying a new home. Thank you for all the plans that will be so helpful to me with the upcoming house.


Made this out of free wood I got from my workplace.
A. Clark
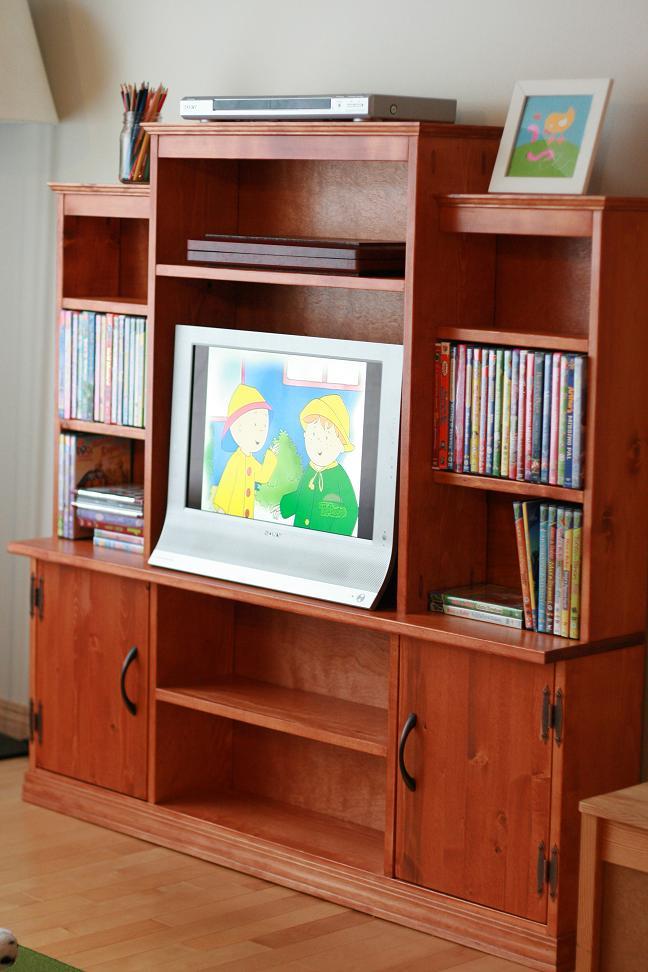
The minute I saw this mini media stand I knew that I would have to make it for our playroom. I tweaked the measurements slightly since my wood sizes were slightly different from Ana. This was a pretty easy build for me and I would consider myself a beginner.
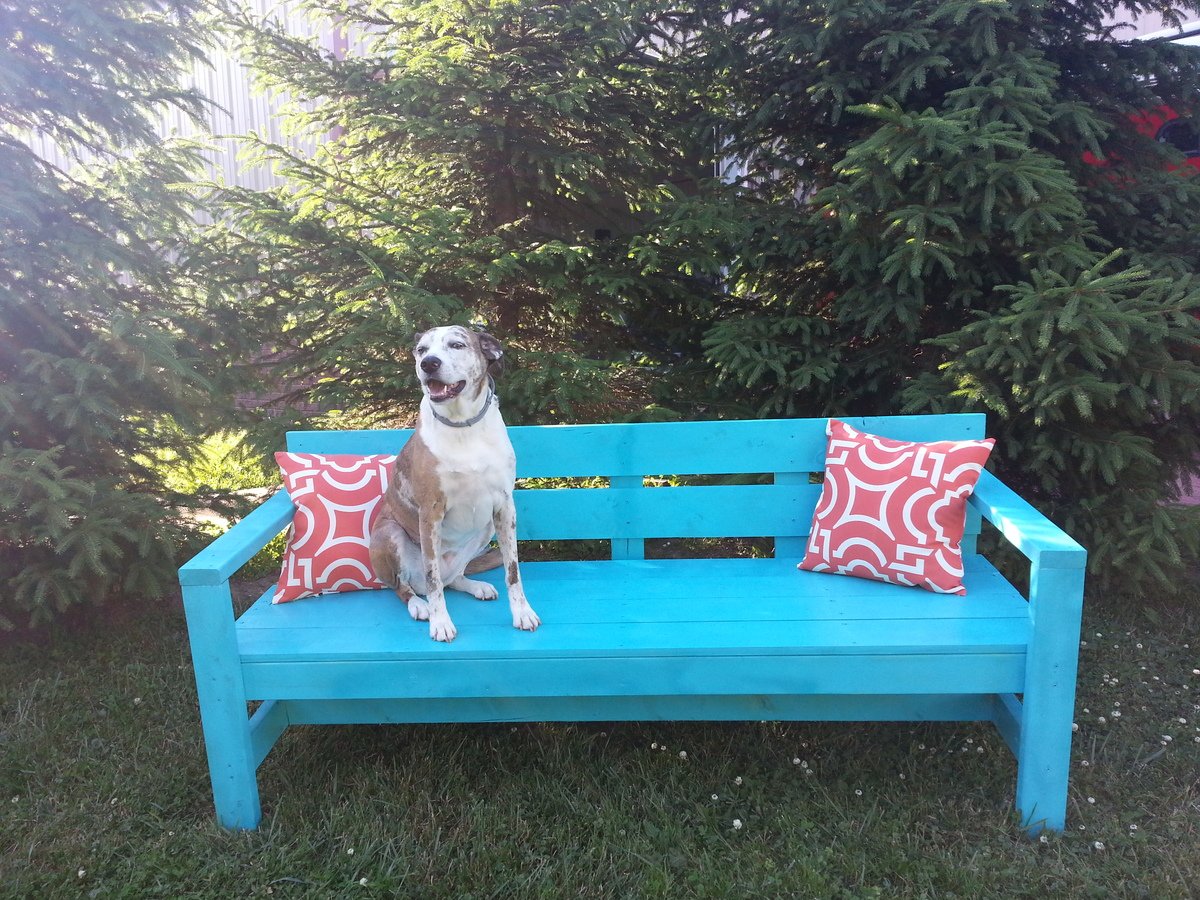
This was my wife and I's first Ana White project. We are now hooked, and loved spending time together building something we will enjoy for years, and our dog mindy of course was the first to test our beautiful bench out!
Thanks Ana,
Steve & Courtney

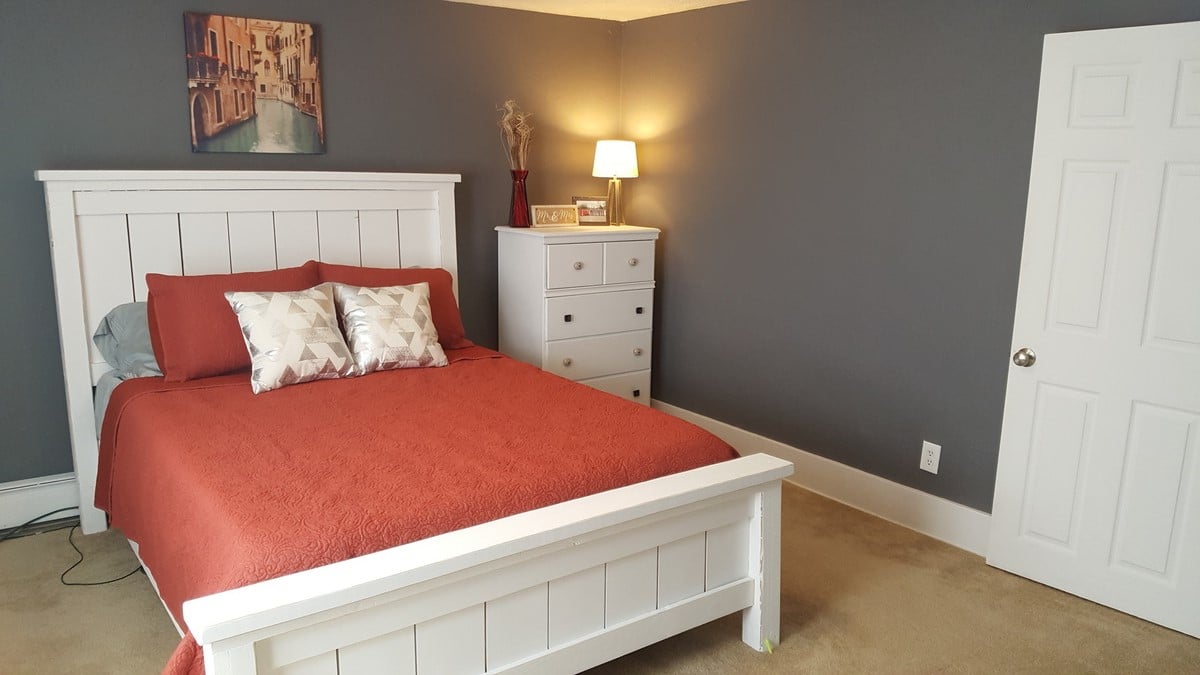
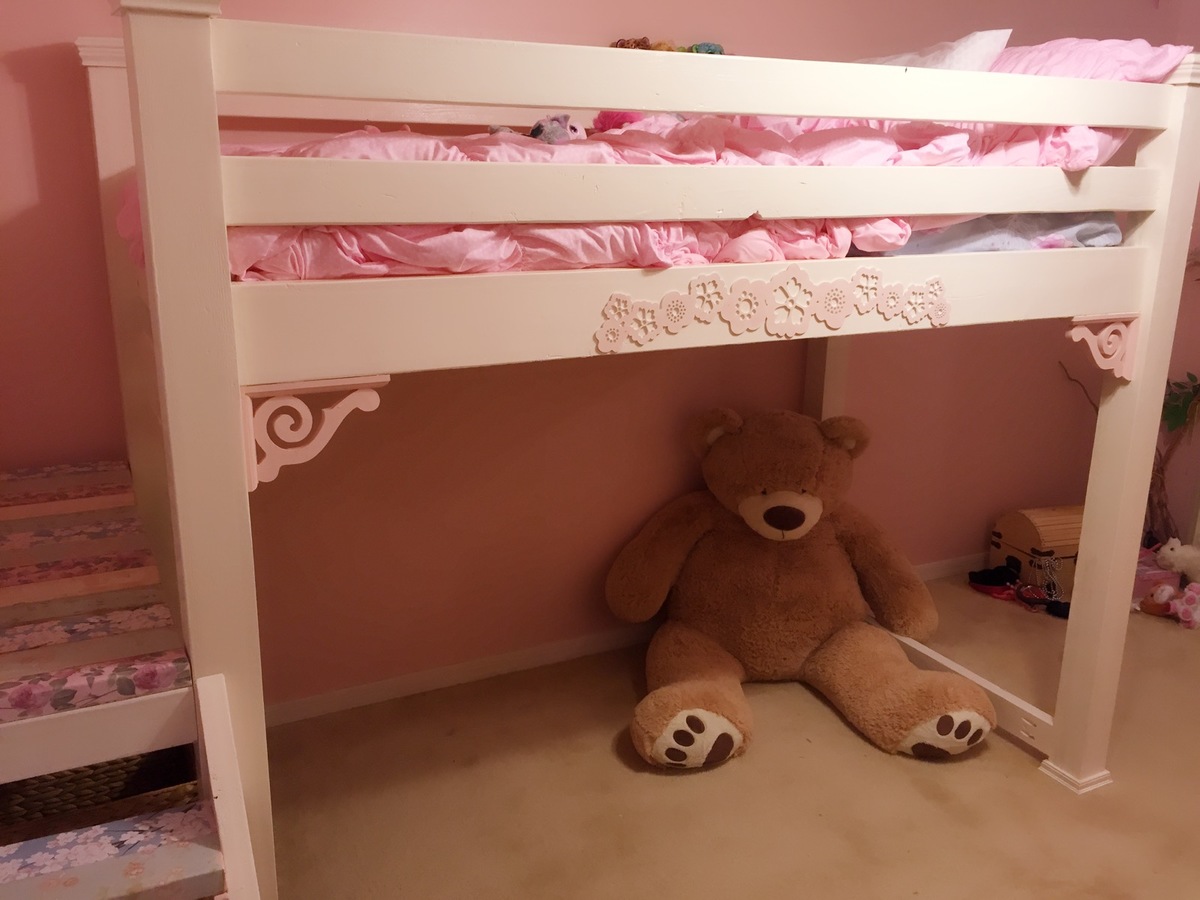
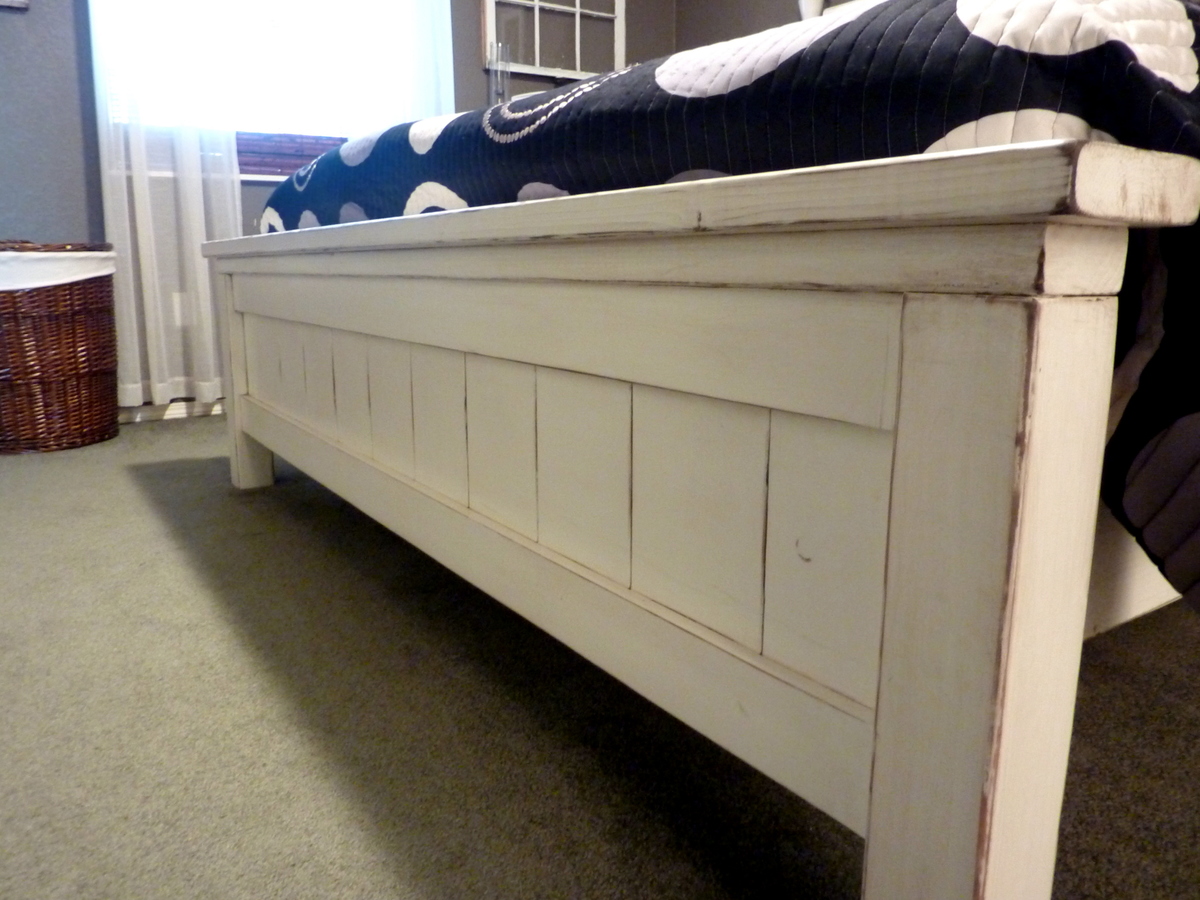
My husband and I just moved into a new home with our 3.5 year old little girl. We wanted to utilize the space in her room as efficiently as possible yet still accommodate her request for the "most beautiful bed in the whole world!" We found your plan and decided to adapt it to her style...and this was the end result!!! Thank you so much for the plans, we both love your work!


Wed, 09/14/2016 - 03:59
I didn't realize until after we posted that we needed to form an account :) This was our project.
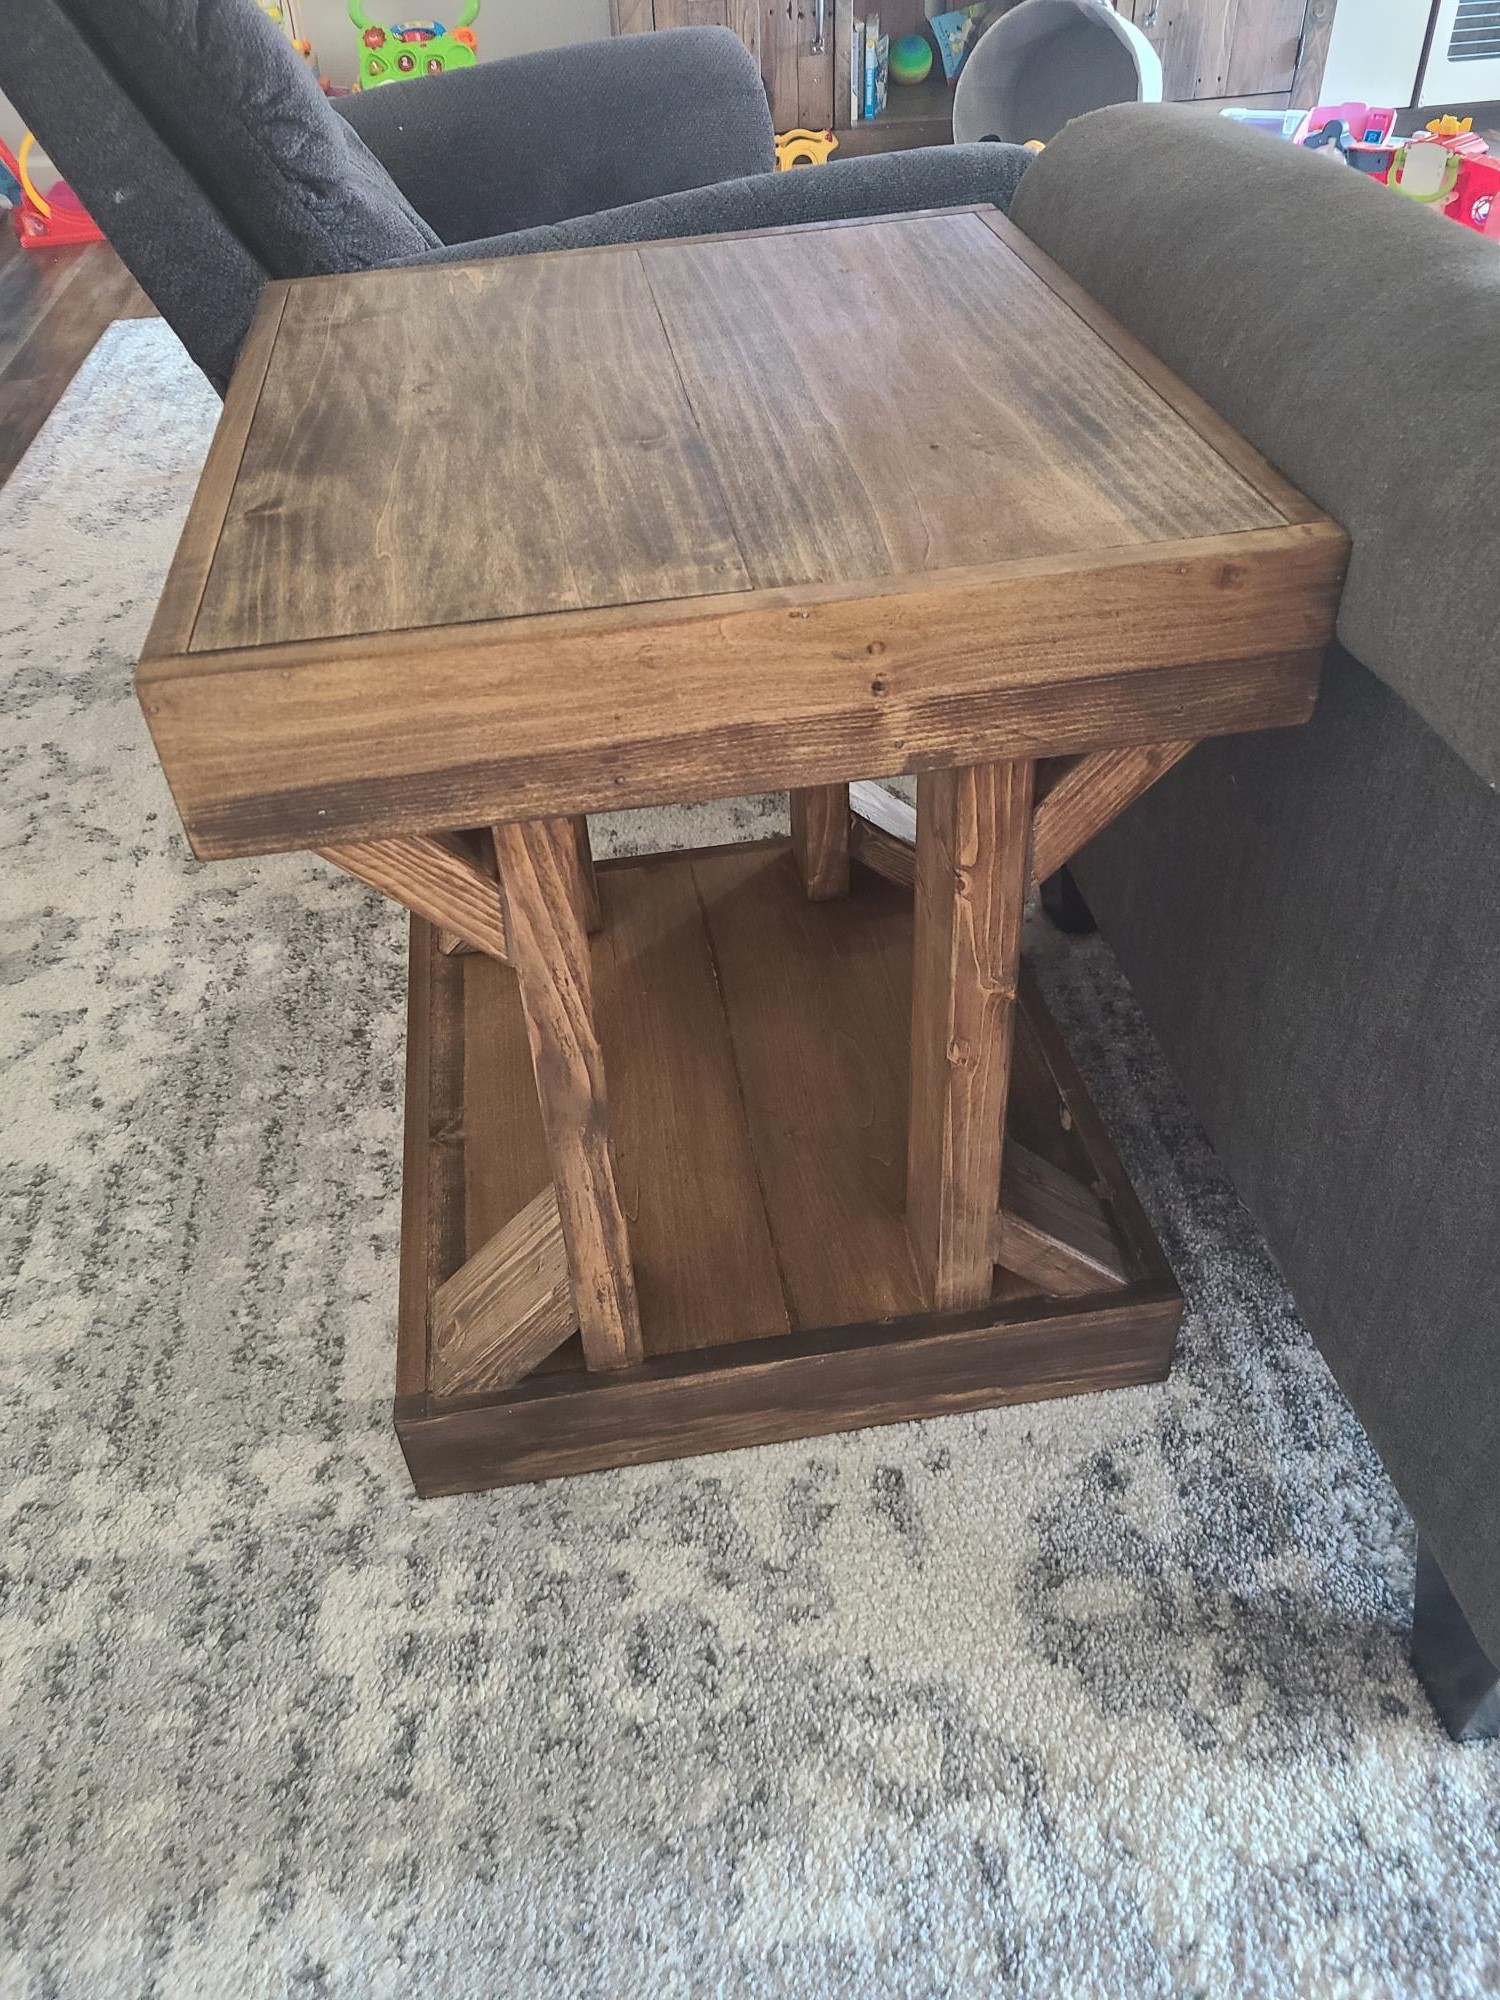
My first project since getting a miter saw! I'm so proud of how they turned out. We needed sturdy side tables so our toddler can't pull them down onto herself & these fit the bill. I dont have a brad nailer so had to pound in the nails by hand, which made it take a lot longer.... overall for me was a week & a half long project with 2 littles to care for at the same time. I used walnut stain, 2 coats. Can't wait to do another project!
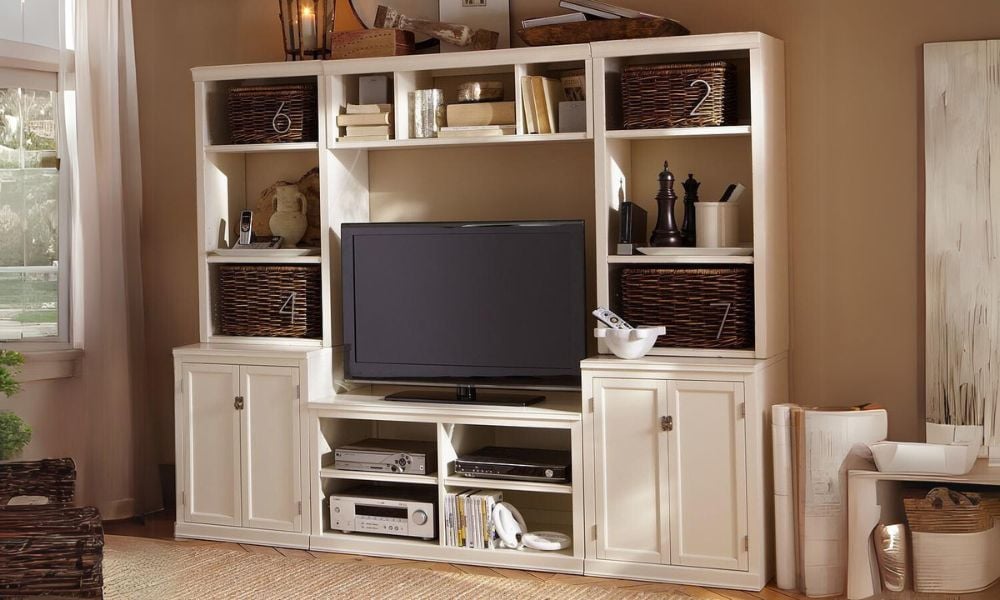
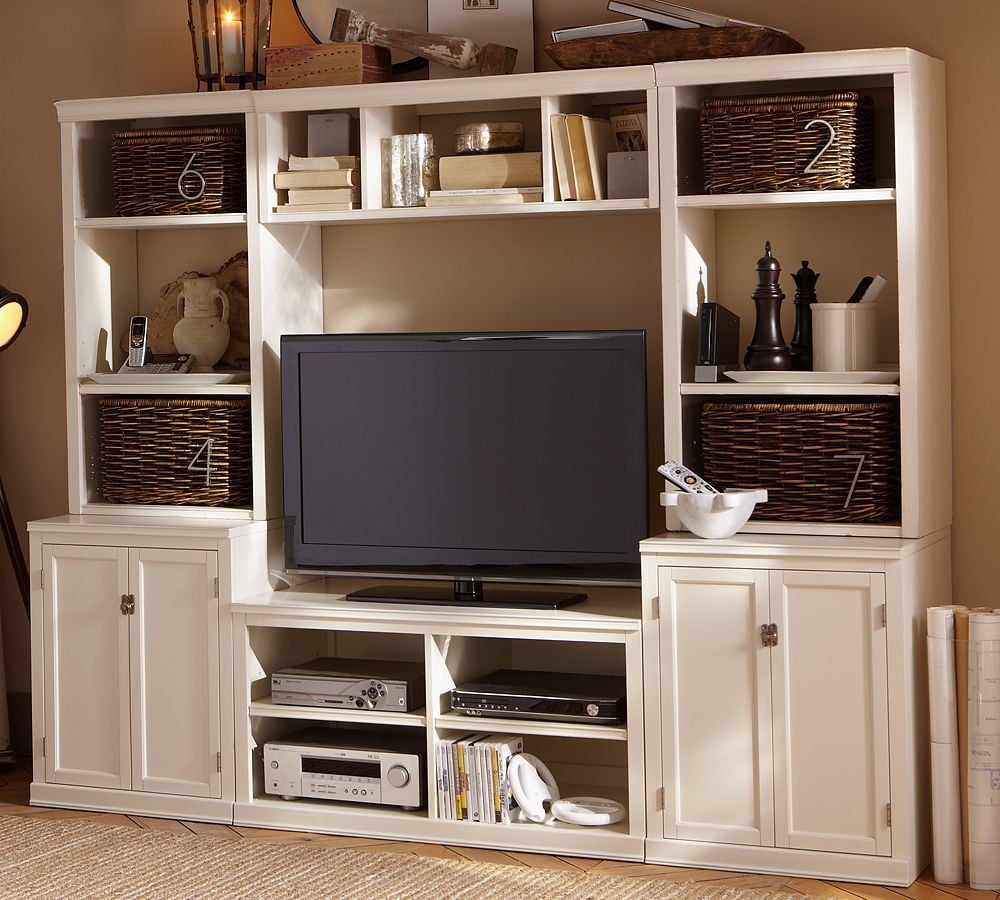
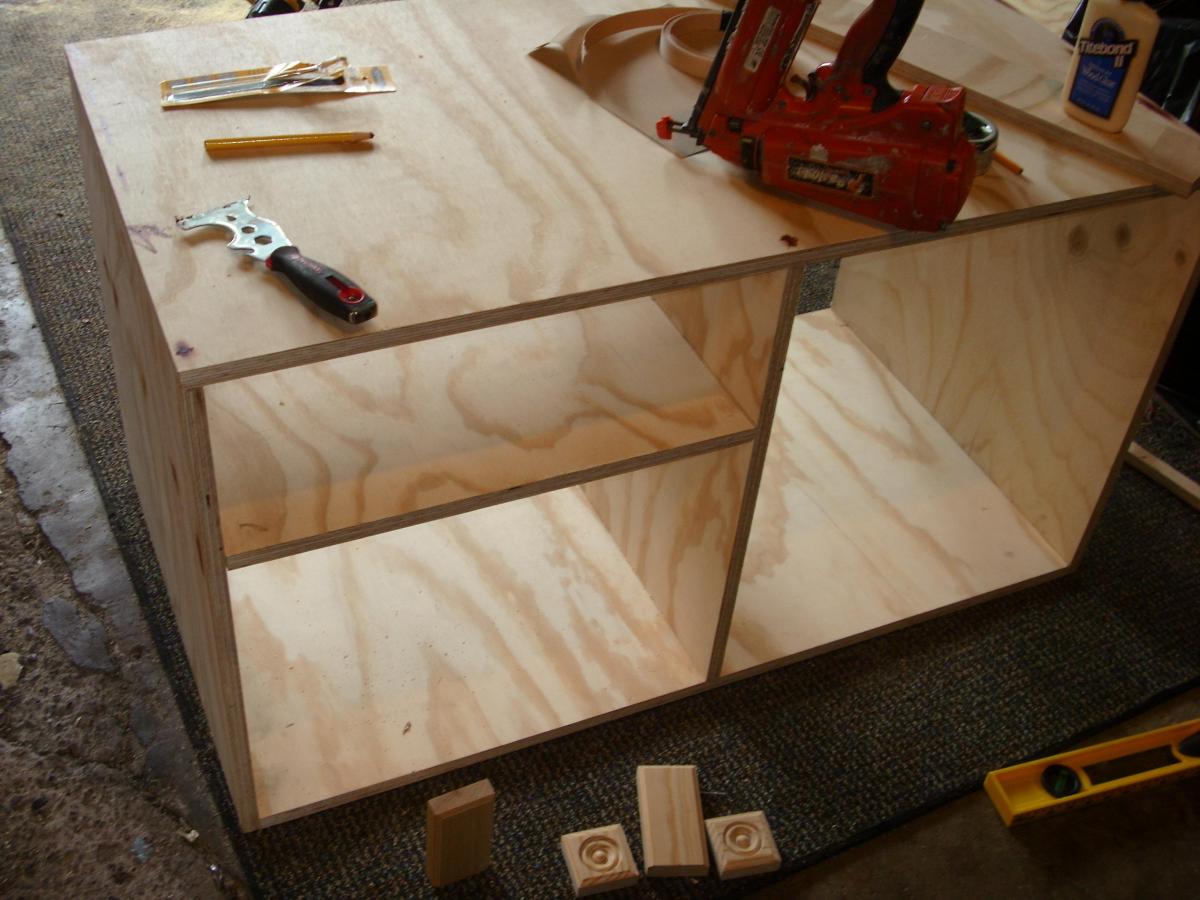
My husband and I have started our first DIY project! I was on PB website and found the Logan Media suite and fell in love their was just one problem I can't afford to pay 2,000 or more for an entertainment center. So I drew out the plans for it and went to my husband with the idea and he was all for it!! He really likes to build outside of work he enjoys it and we have a lot of fun together as couple. Were not completely finished yet and I will update this blog once were done but for now this is what we got.
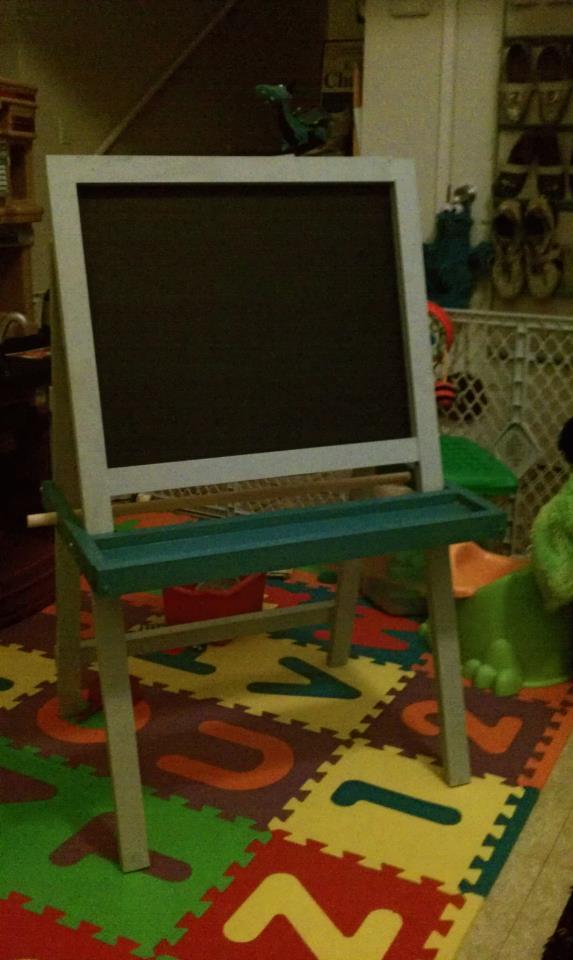
This was my very first woodworking project. It took me longer than it should have due to my unfamiliarity with power tools. Overall I would say that this project is a pretty easy build. The plans were clear, and I only made a few changes/additions. I increased the overall height of the chalkboard by 4" and attached the back legs with a hinge rather than screwing straight into the back of the chalkboard.

Sun, 08/26/2012 - 04:00
This really came out nice and welcome to the community. Love the idea of the hinges; smart idea! If you painted directly onto bare wood, without applying primer first, that would be a cause of the paint not taking evenly. The bare wood can be like a sponge so primer helps with it adhering to the wood.
Tue, 08/28/2012 - 22:53
Thank you spiceylg for the help. I should have applied primer first, but the spray paint I used said that no primer was necessary. After the first coat didn't take I should have went back and applied a primer coat.

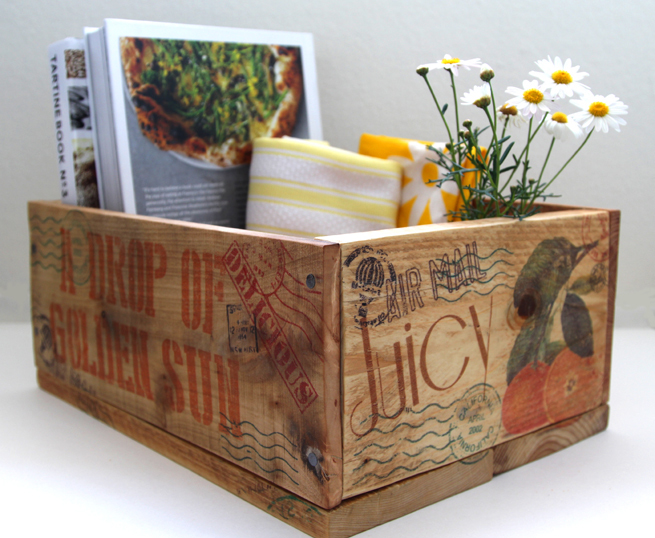
These crates are inspired by vintage farm and orchard crates, made from discarded pallets, and personalized with a
easy image transfer method using only wax paper and inkjet printer. At
the end you will also see some fabulous diy failures so you can get a
more consistent result with this technique. Also included is a nice homemade non-toxic furniture wax recipe to finish the crates! You can find the full detail tutorial here- http://www.apieceofrainbow.com/diy-pallet-wood-crates-easy-image-transfer/


Thu, 06/19/2014 - 21:44
Pinned and bookmarked! Thanks for sharing. I will definitely be using this info to make cool stuff!
In reply to Pinned and bookmarked! Thanks by Pam the Goatherd
Thu, 06/19/2014 - 22:22
thank you! have lots of fun pam! =)
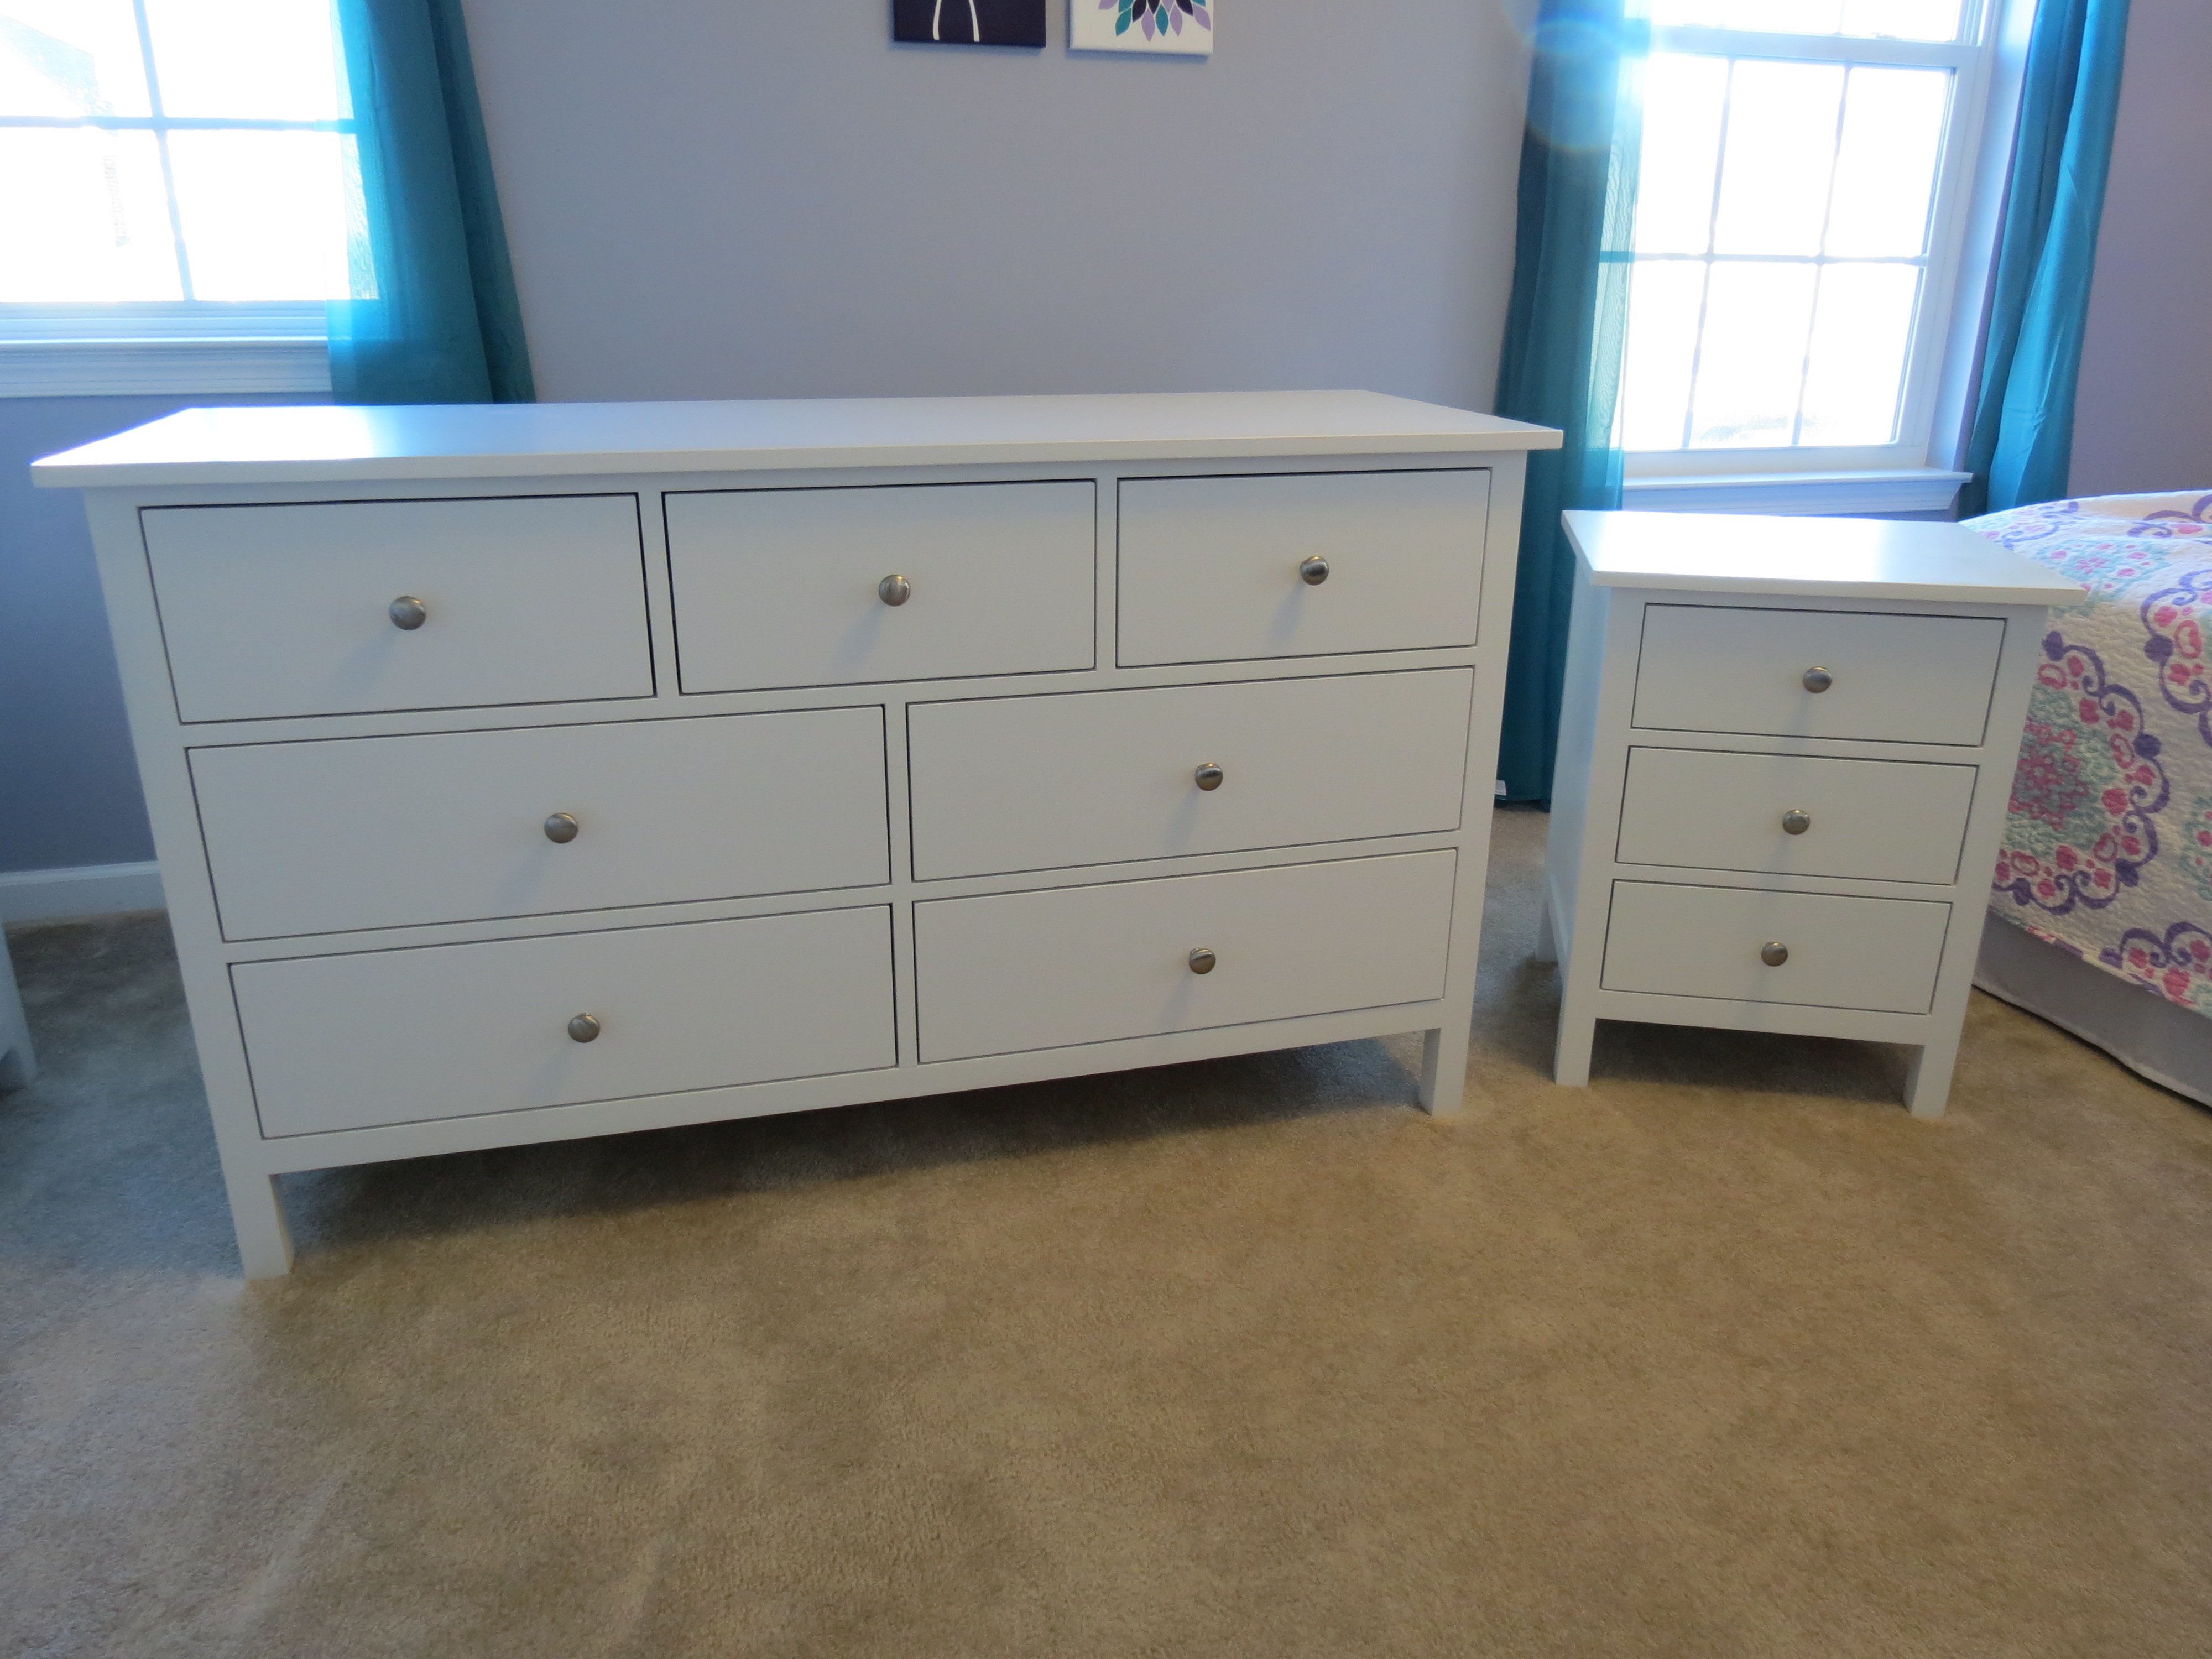
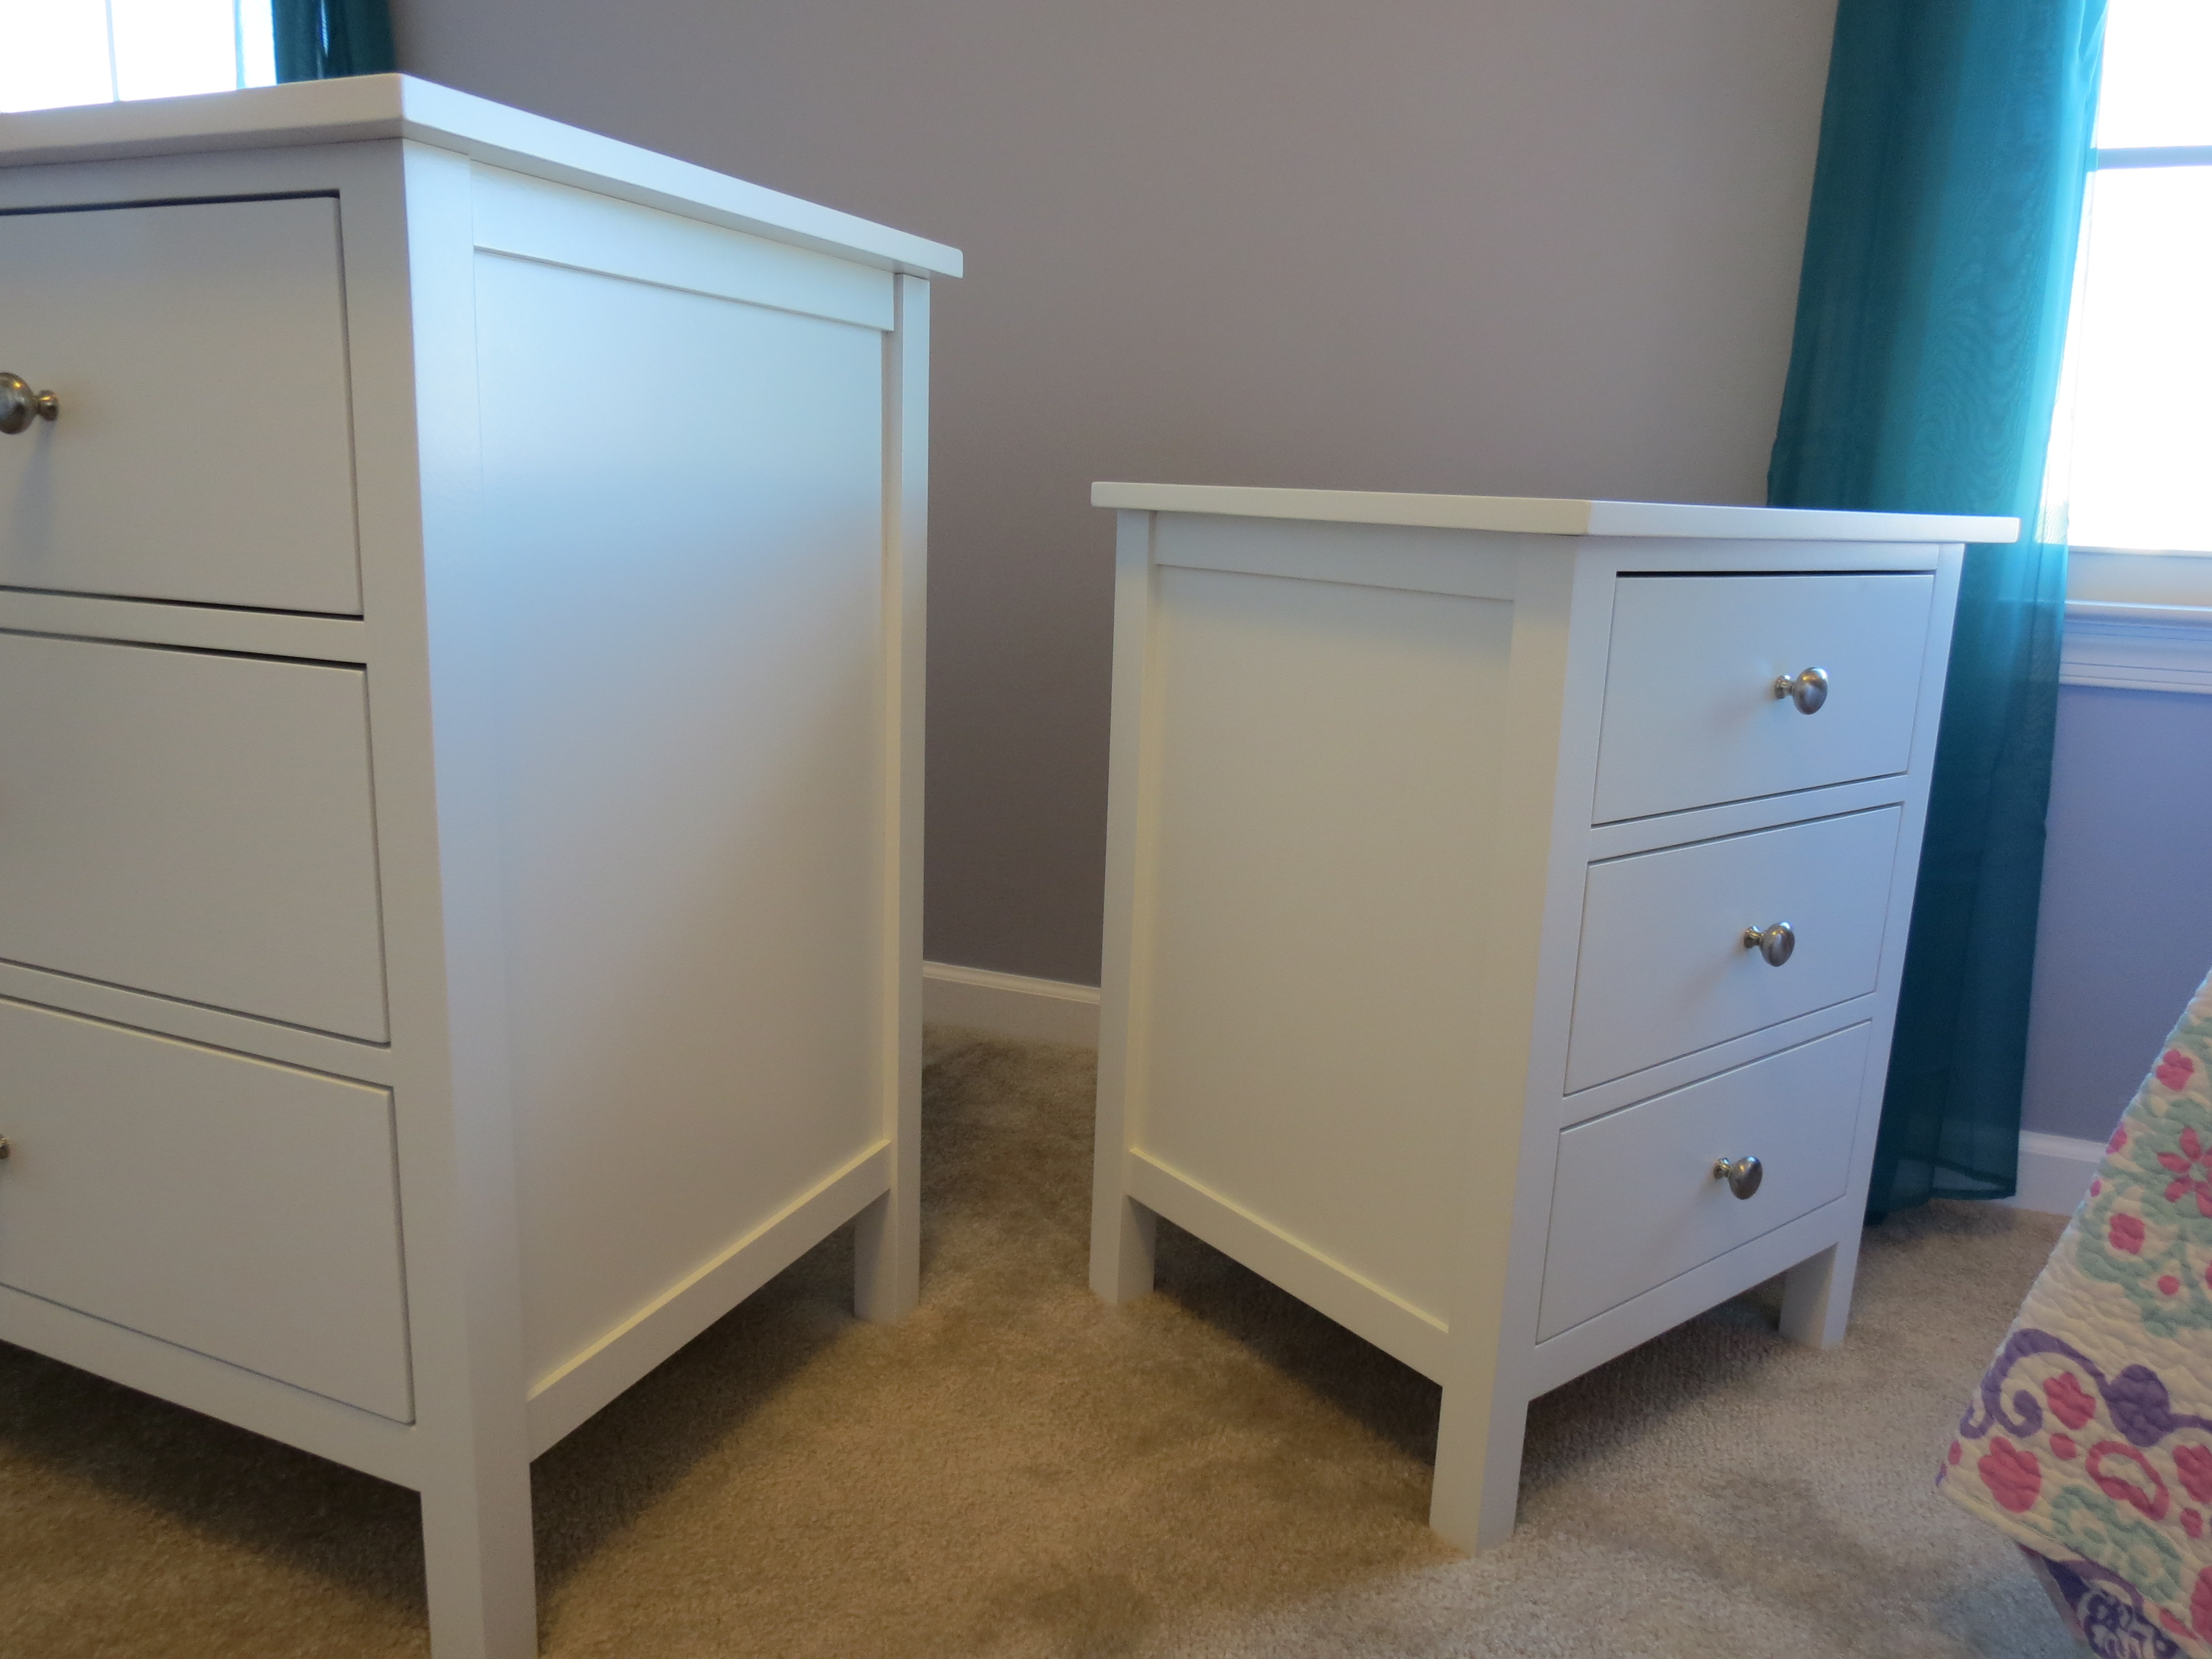
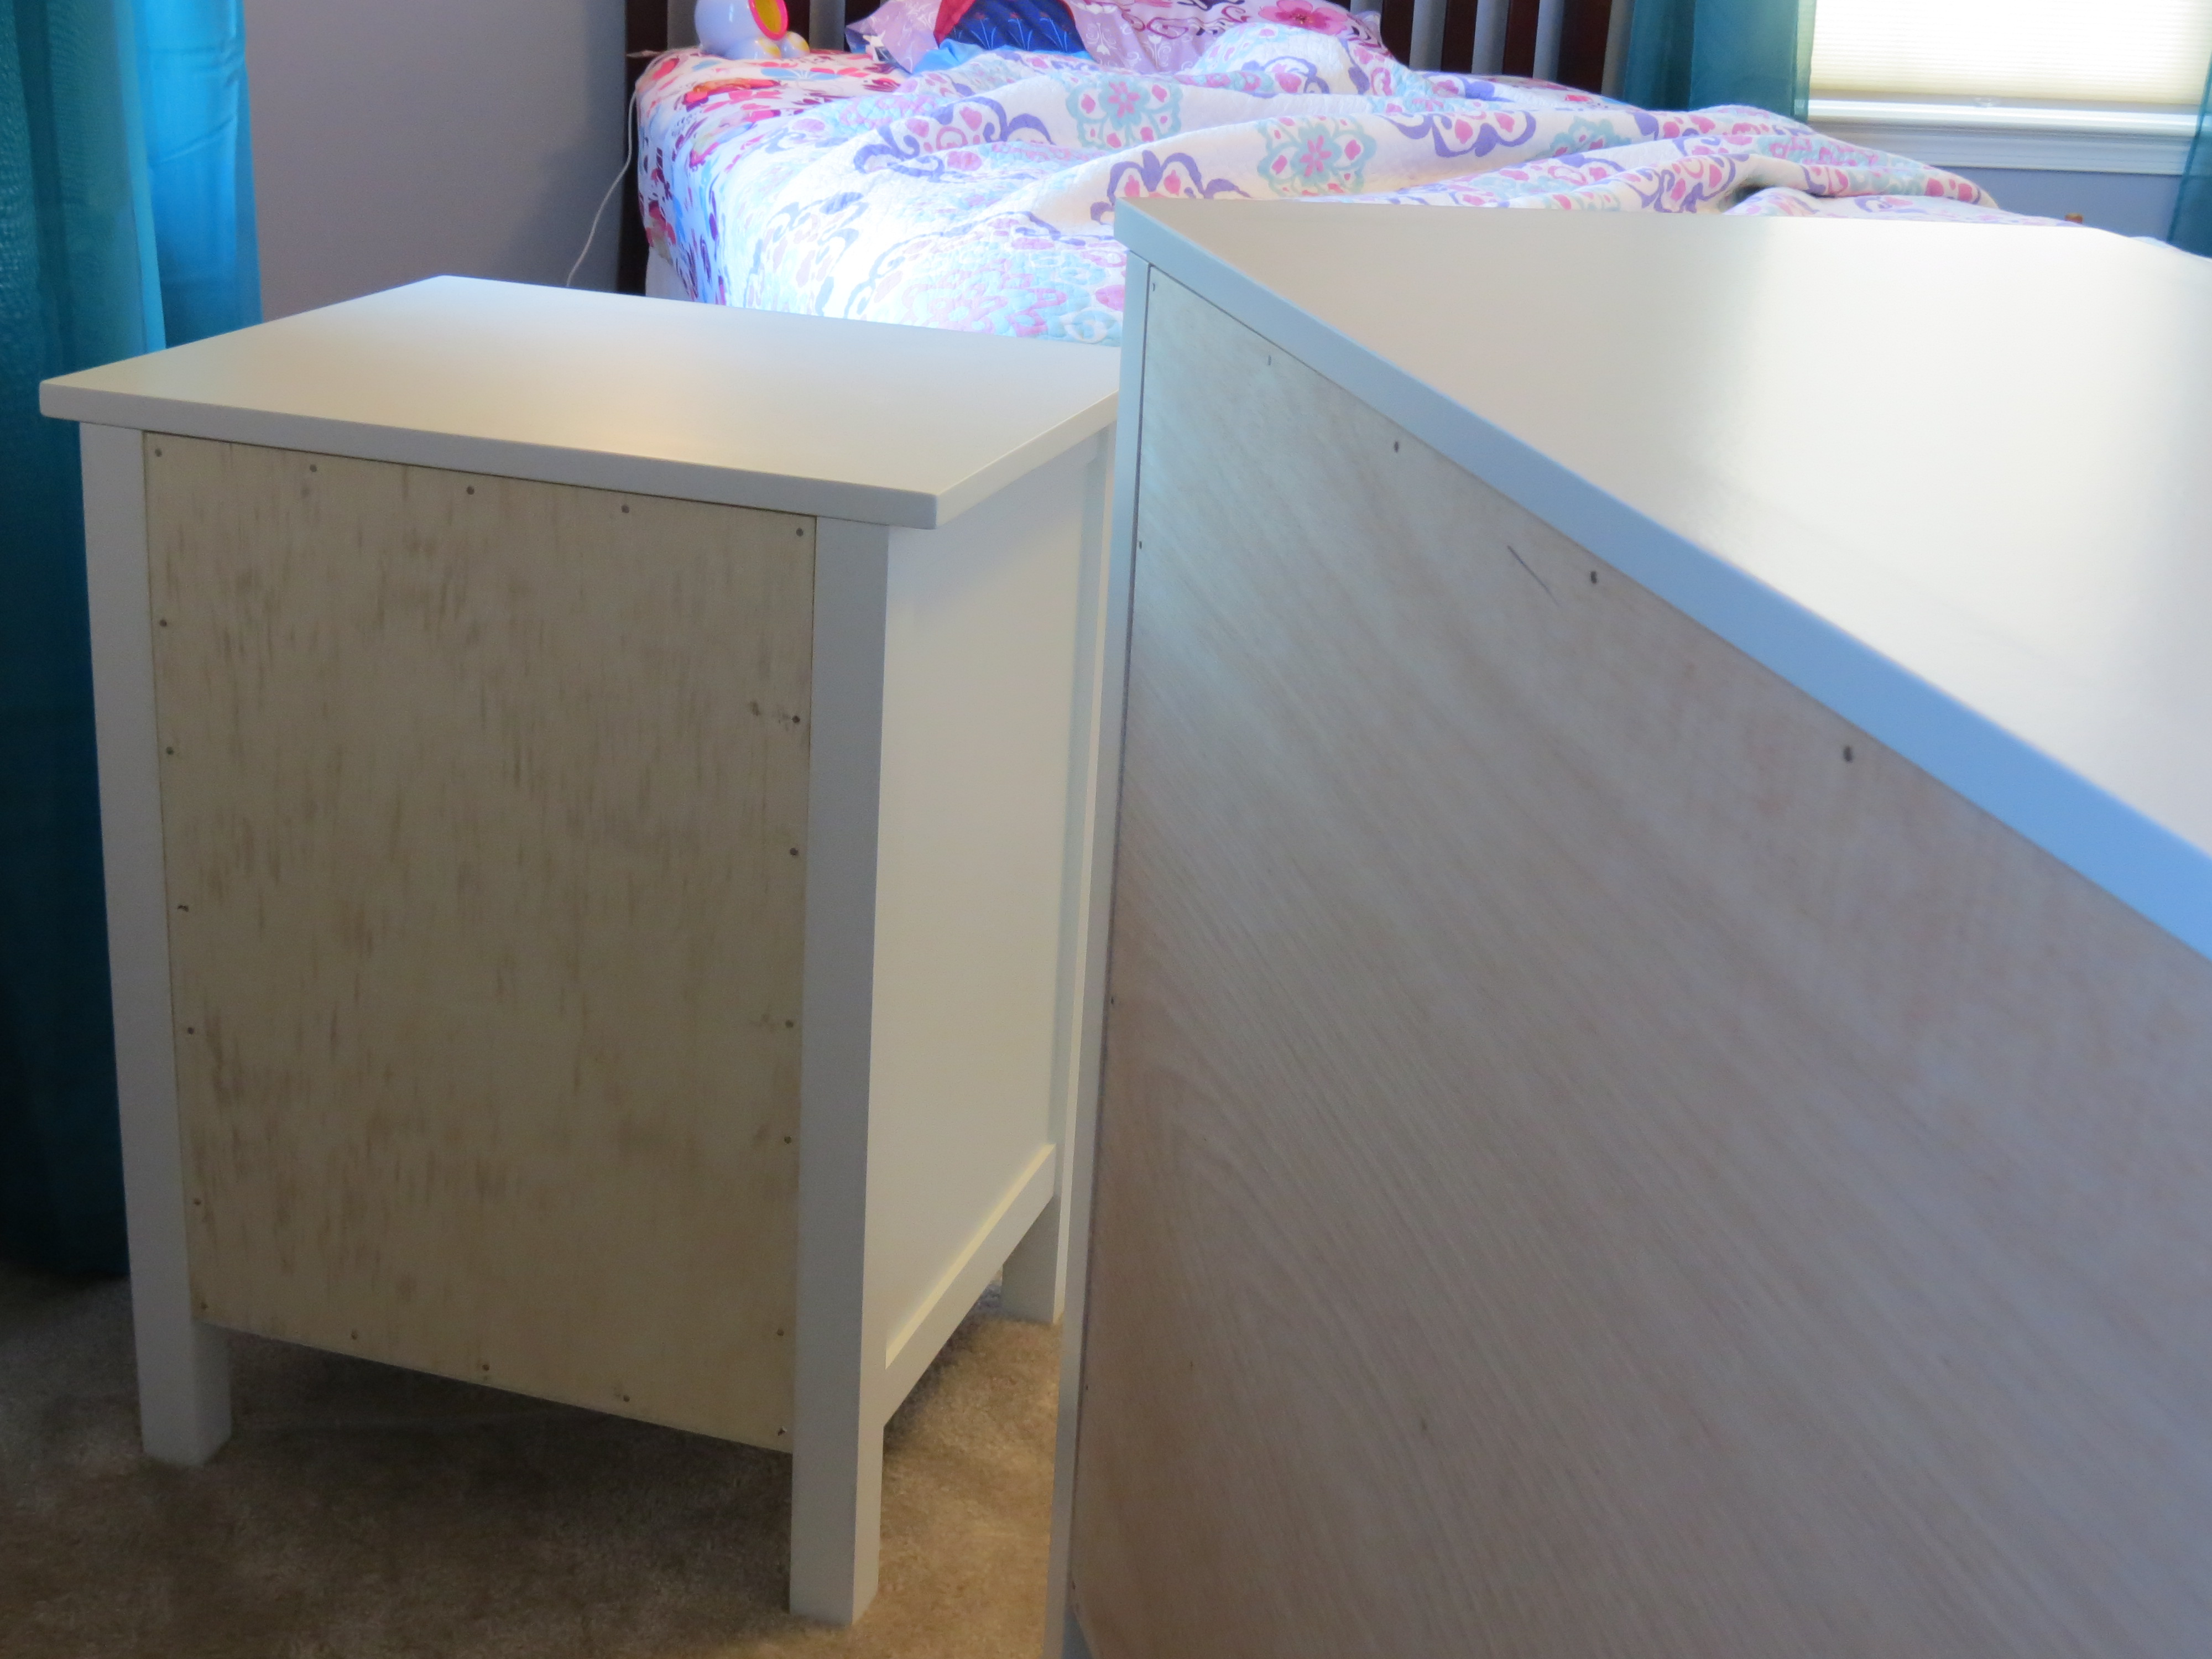
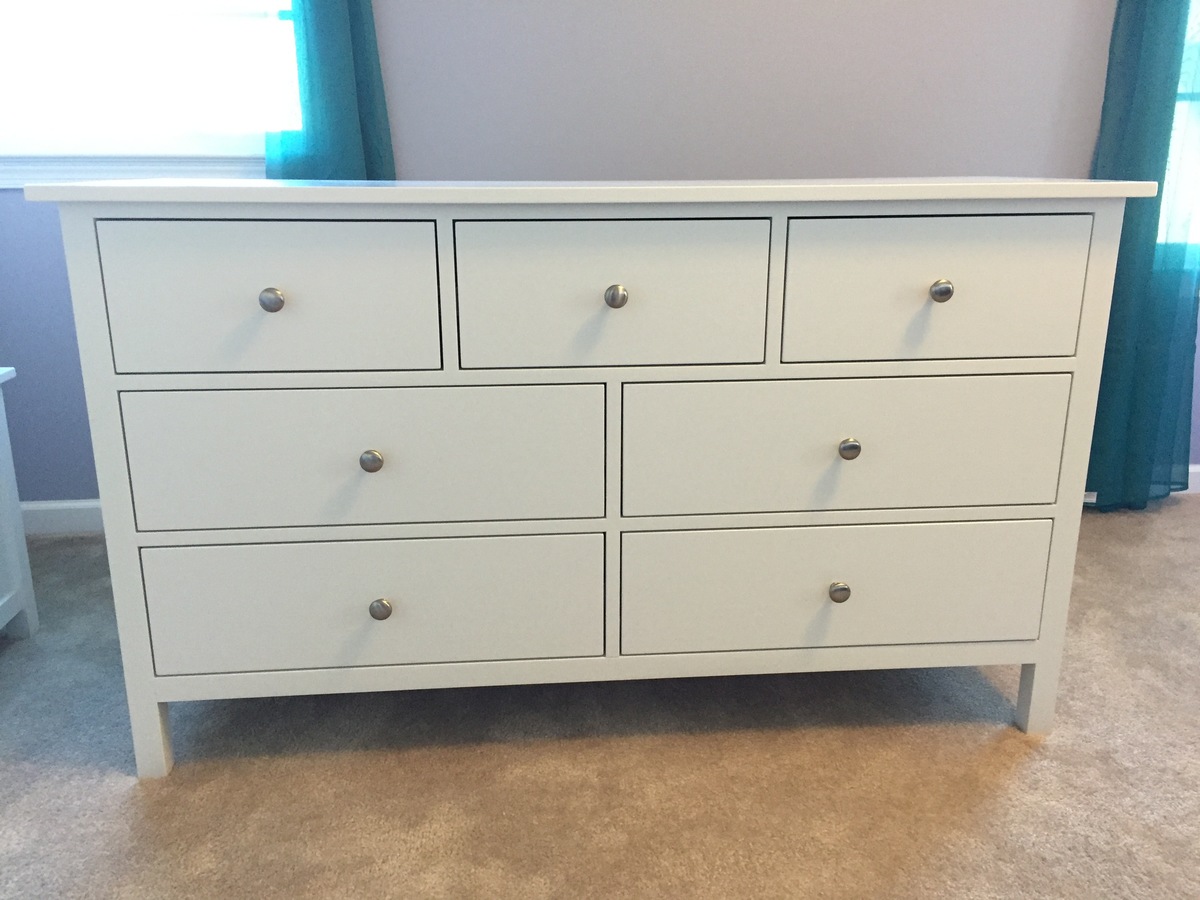
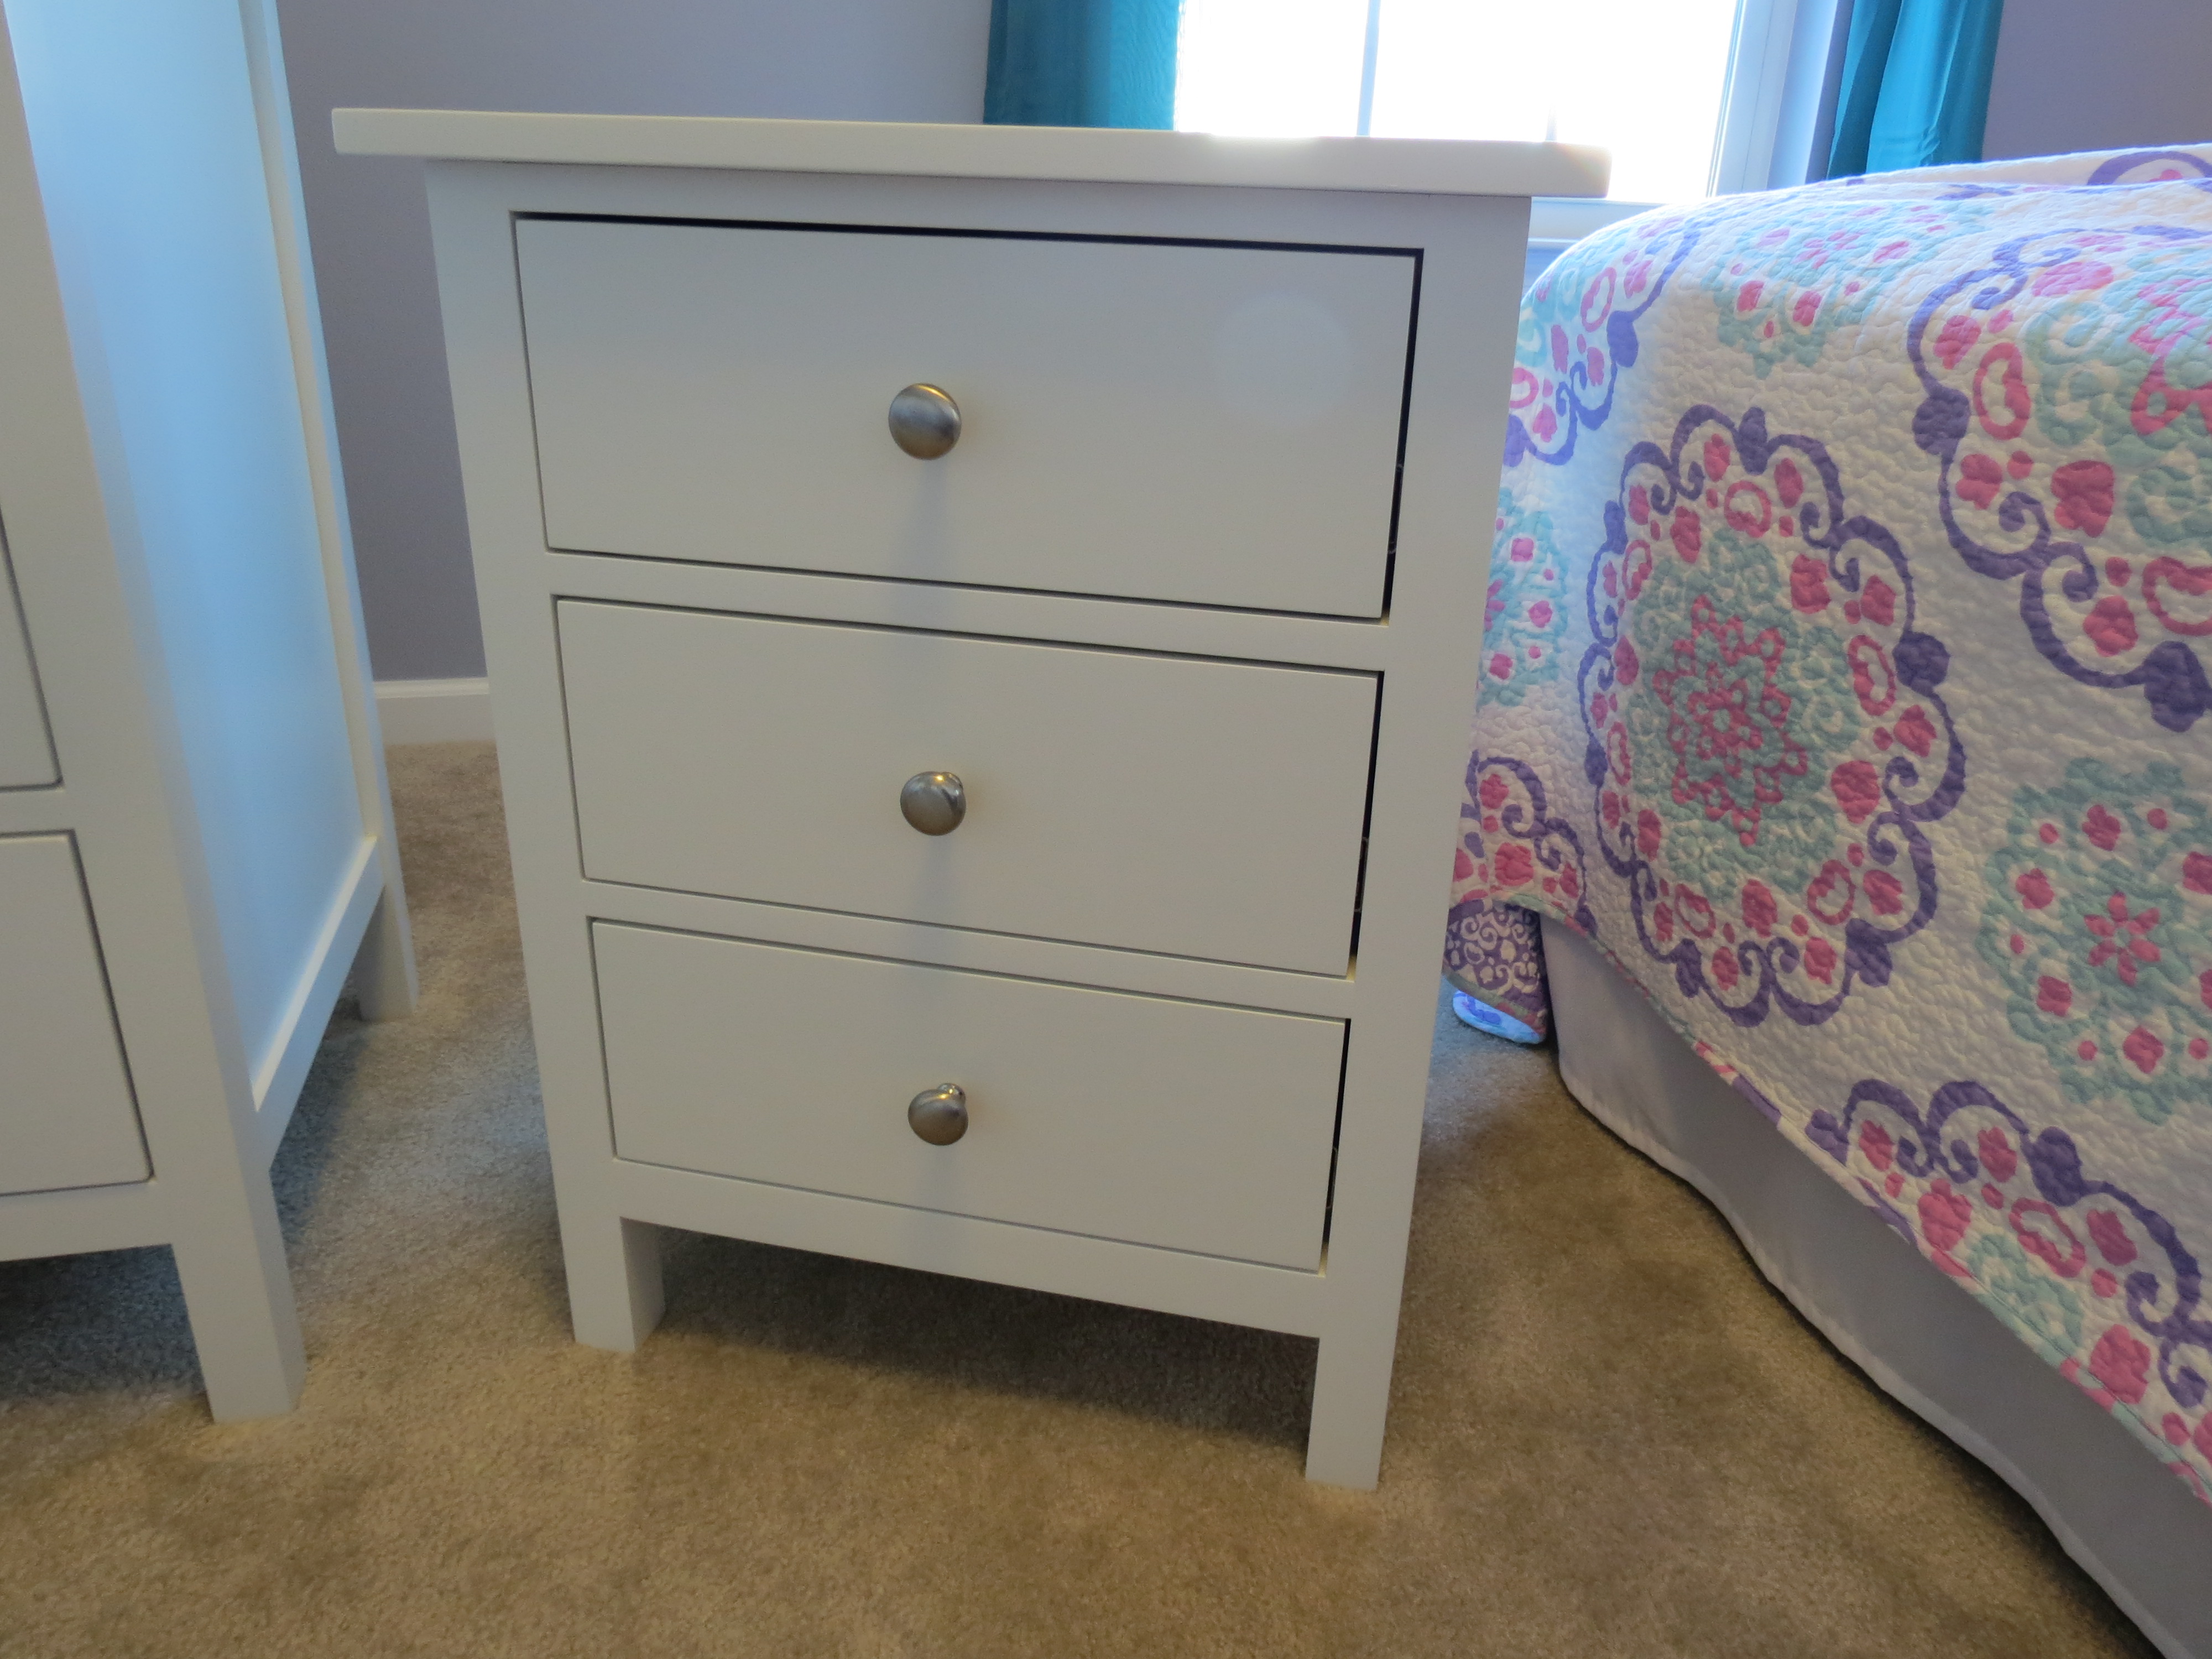
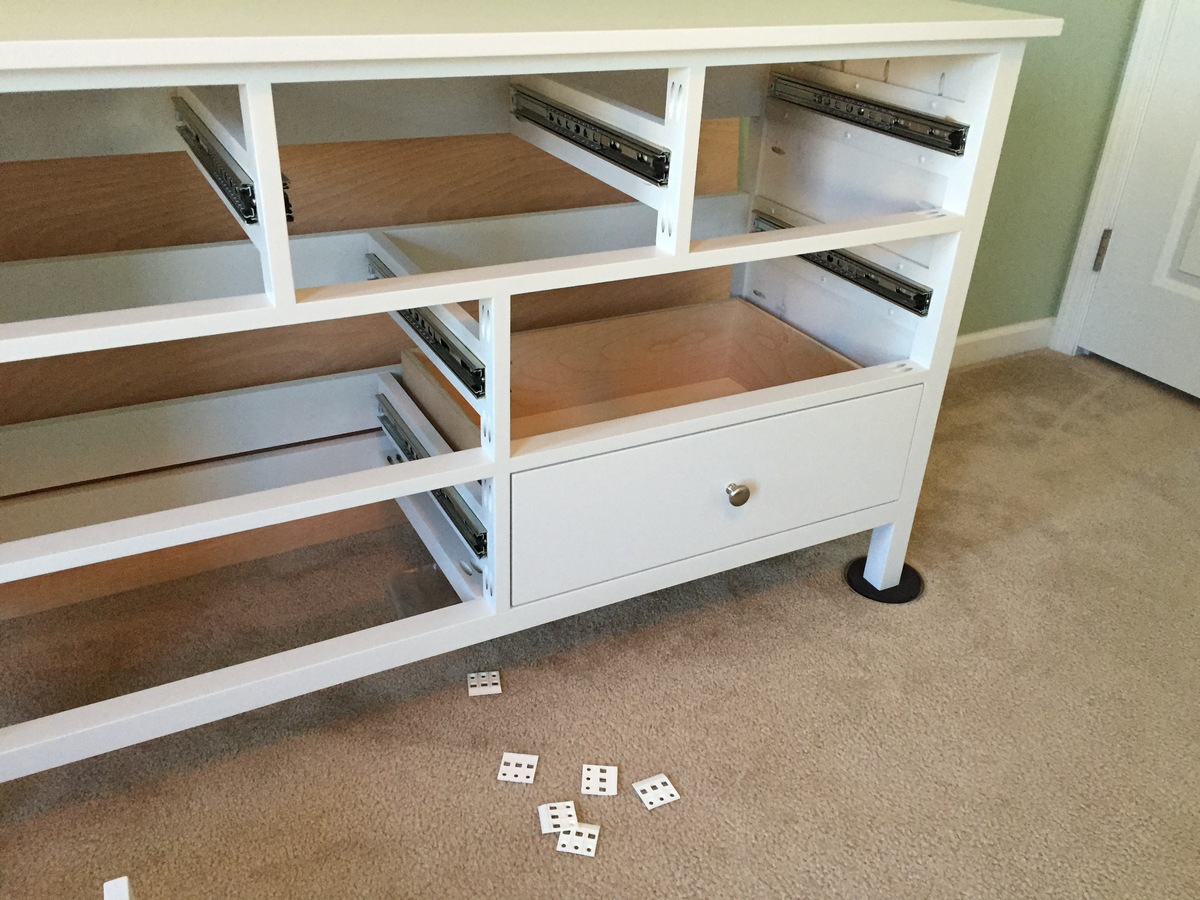
I made this dresser and nightstand for my oldest daughter when we moved her into her "big girl" room, as we were expecting a second daughter who would take the nursery. I ended up modifying the design a bit with the side panels to have them more closely replicate the multi-layered look of the actual Pottery Barn dresser. I wanted to add a nightstand to have another matching piece for more storage. I ended up taking some average dimensions from other kid's nightstands online and designed and built it in the same style and manner as the dresser.
The overall project took WAY more time than i thought it would but I'm very happy with the way it turned out. This was the first time that I used a router to cut grooves in the drawer box pieces to slide in and lock the drawer bottom in place. Also, this was my crash course with an HVLP sprayer as well. Hopefully, these pieces will be able to handle all of the abuse my 3 year old daughter will surely give them. Thanks to Ana for the wonderful plans! Also, thank you to Ed for his detailed write-up on his modifications, http://www.edhart.me/2015/05/how-to-build-a-kendal-extra-wide-dresser/.
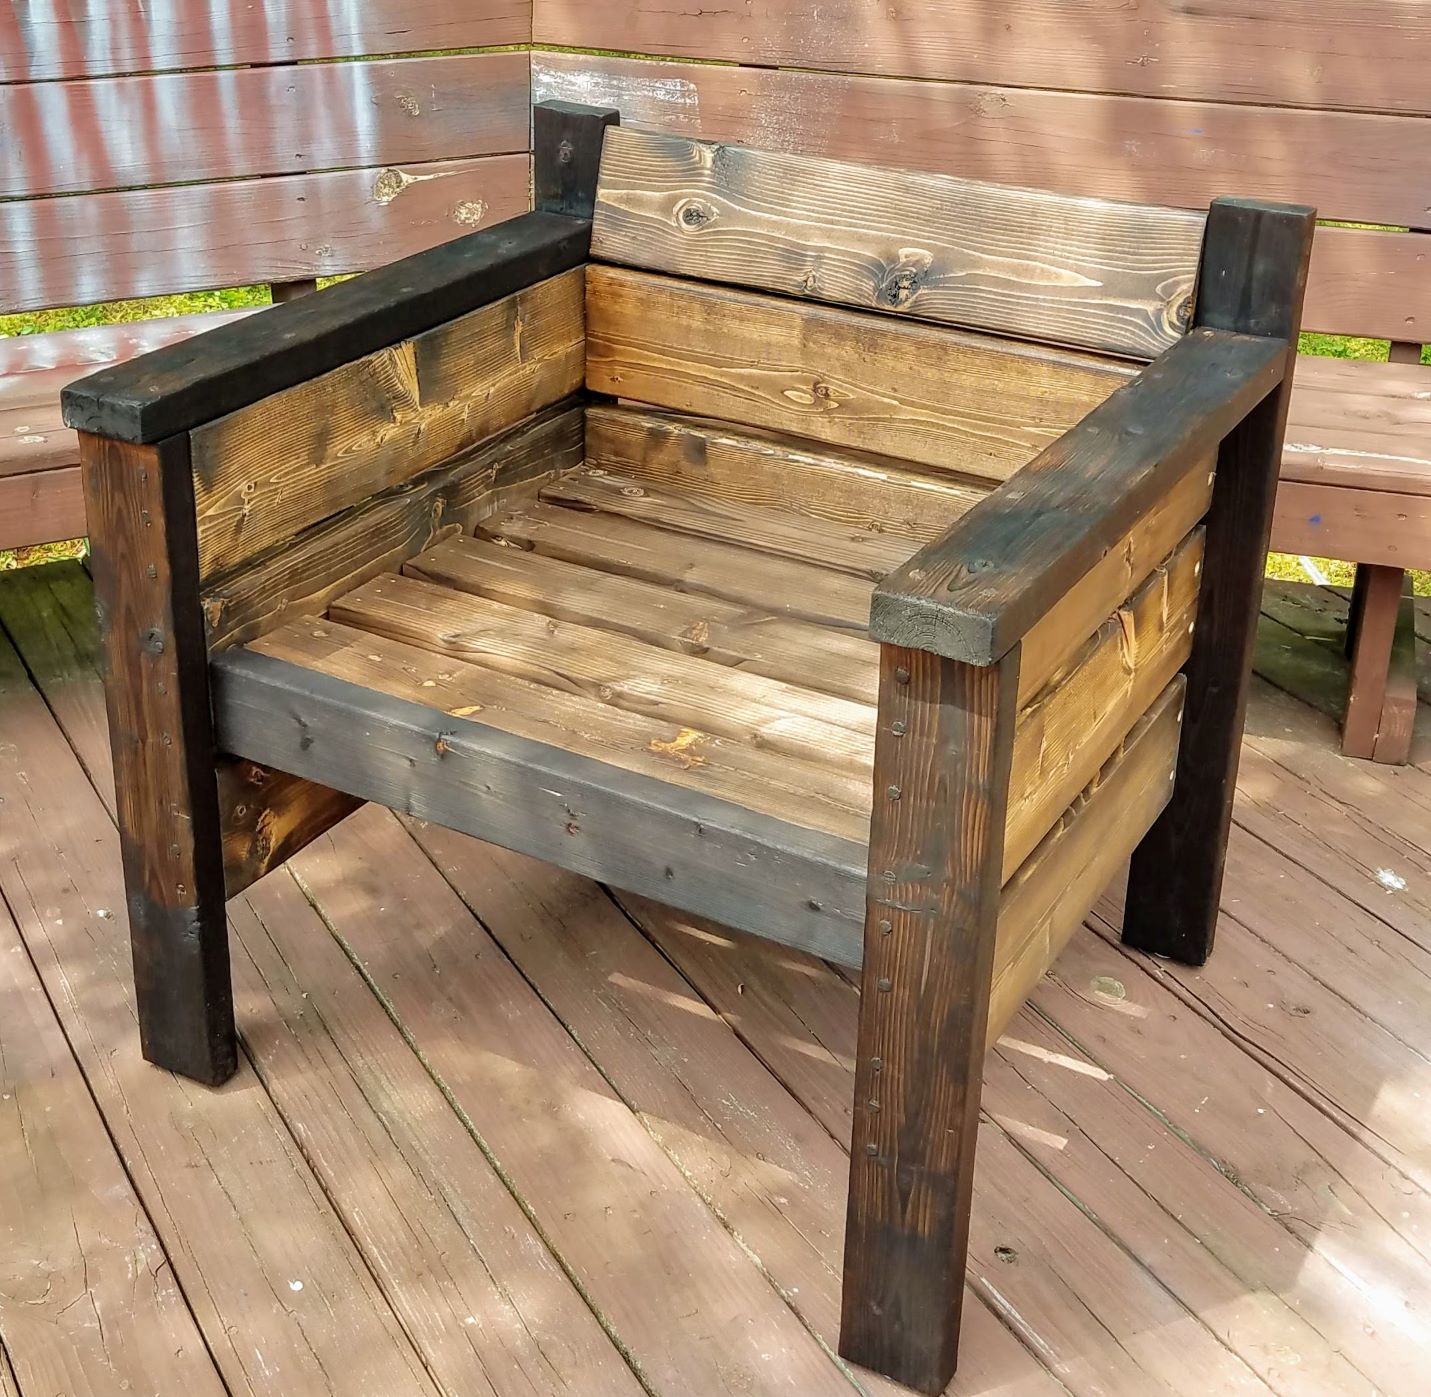
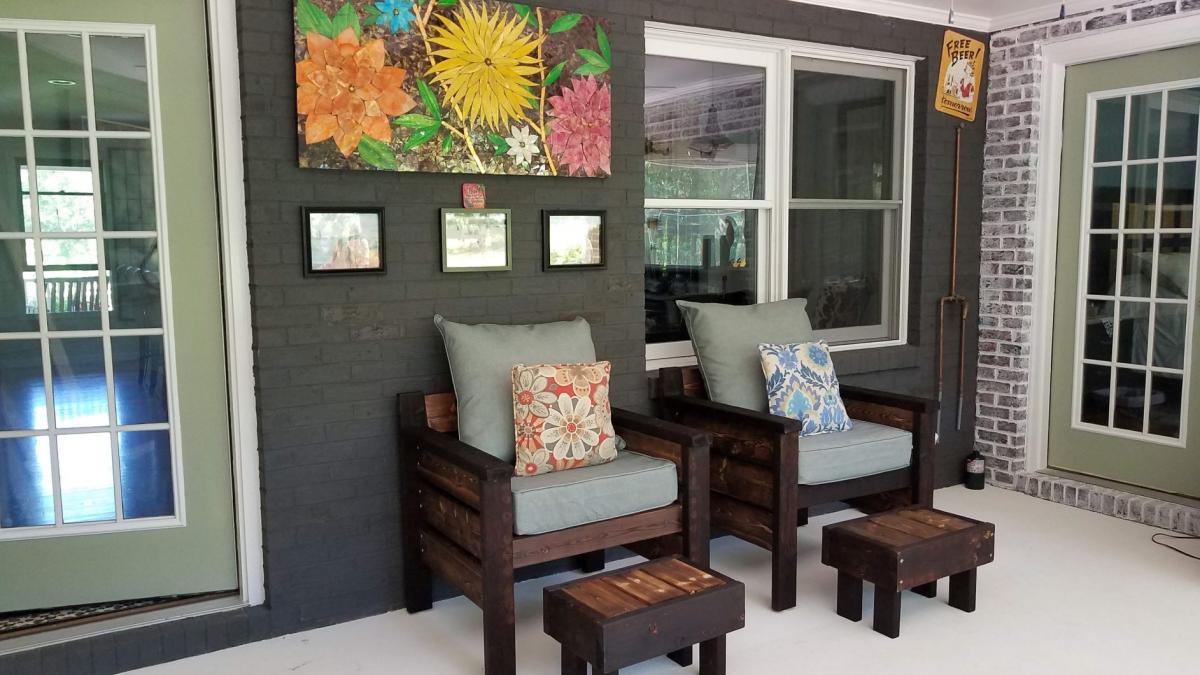
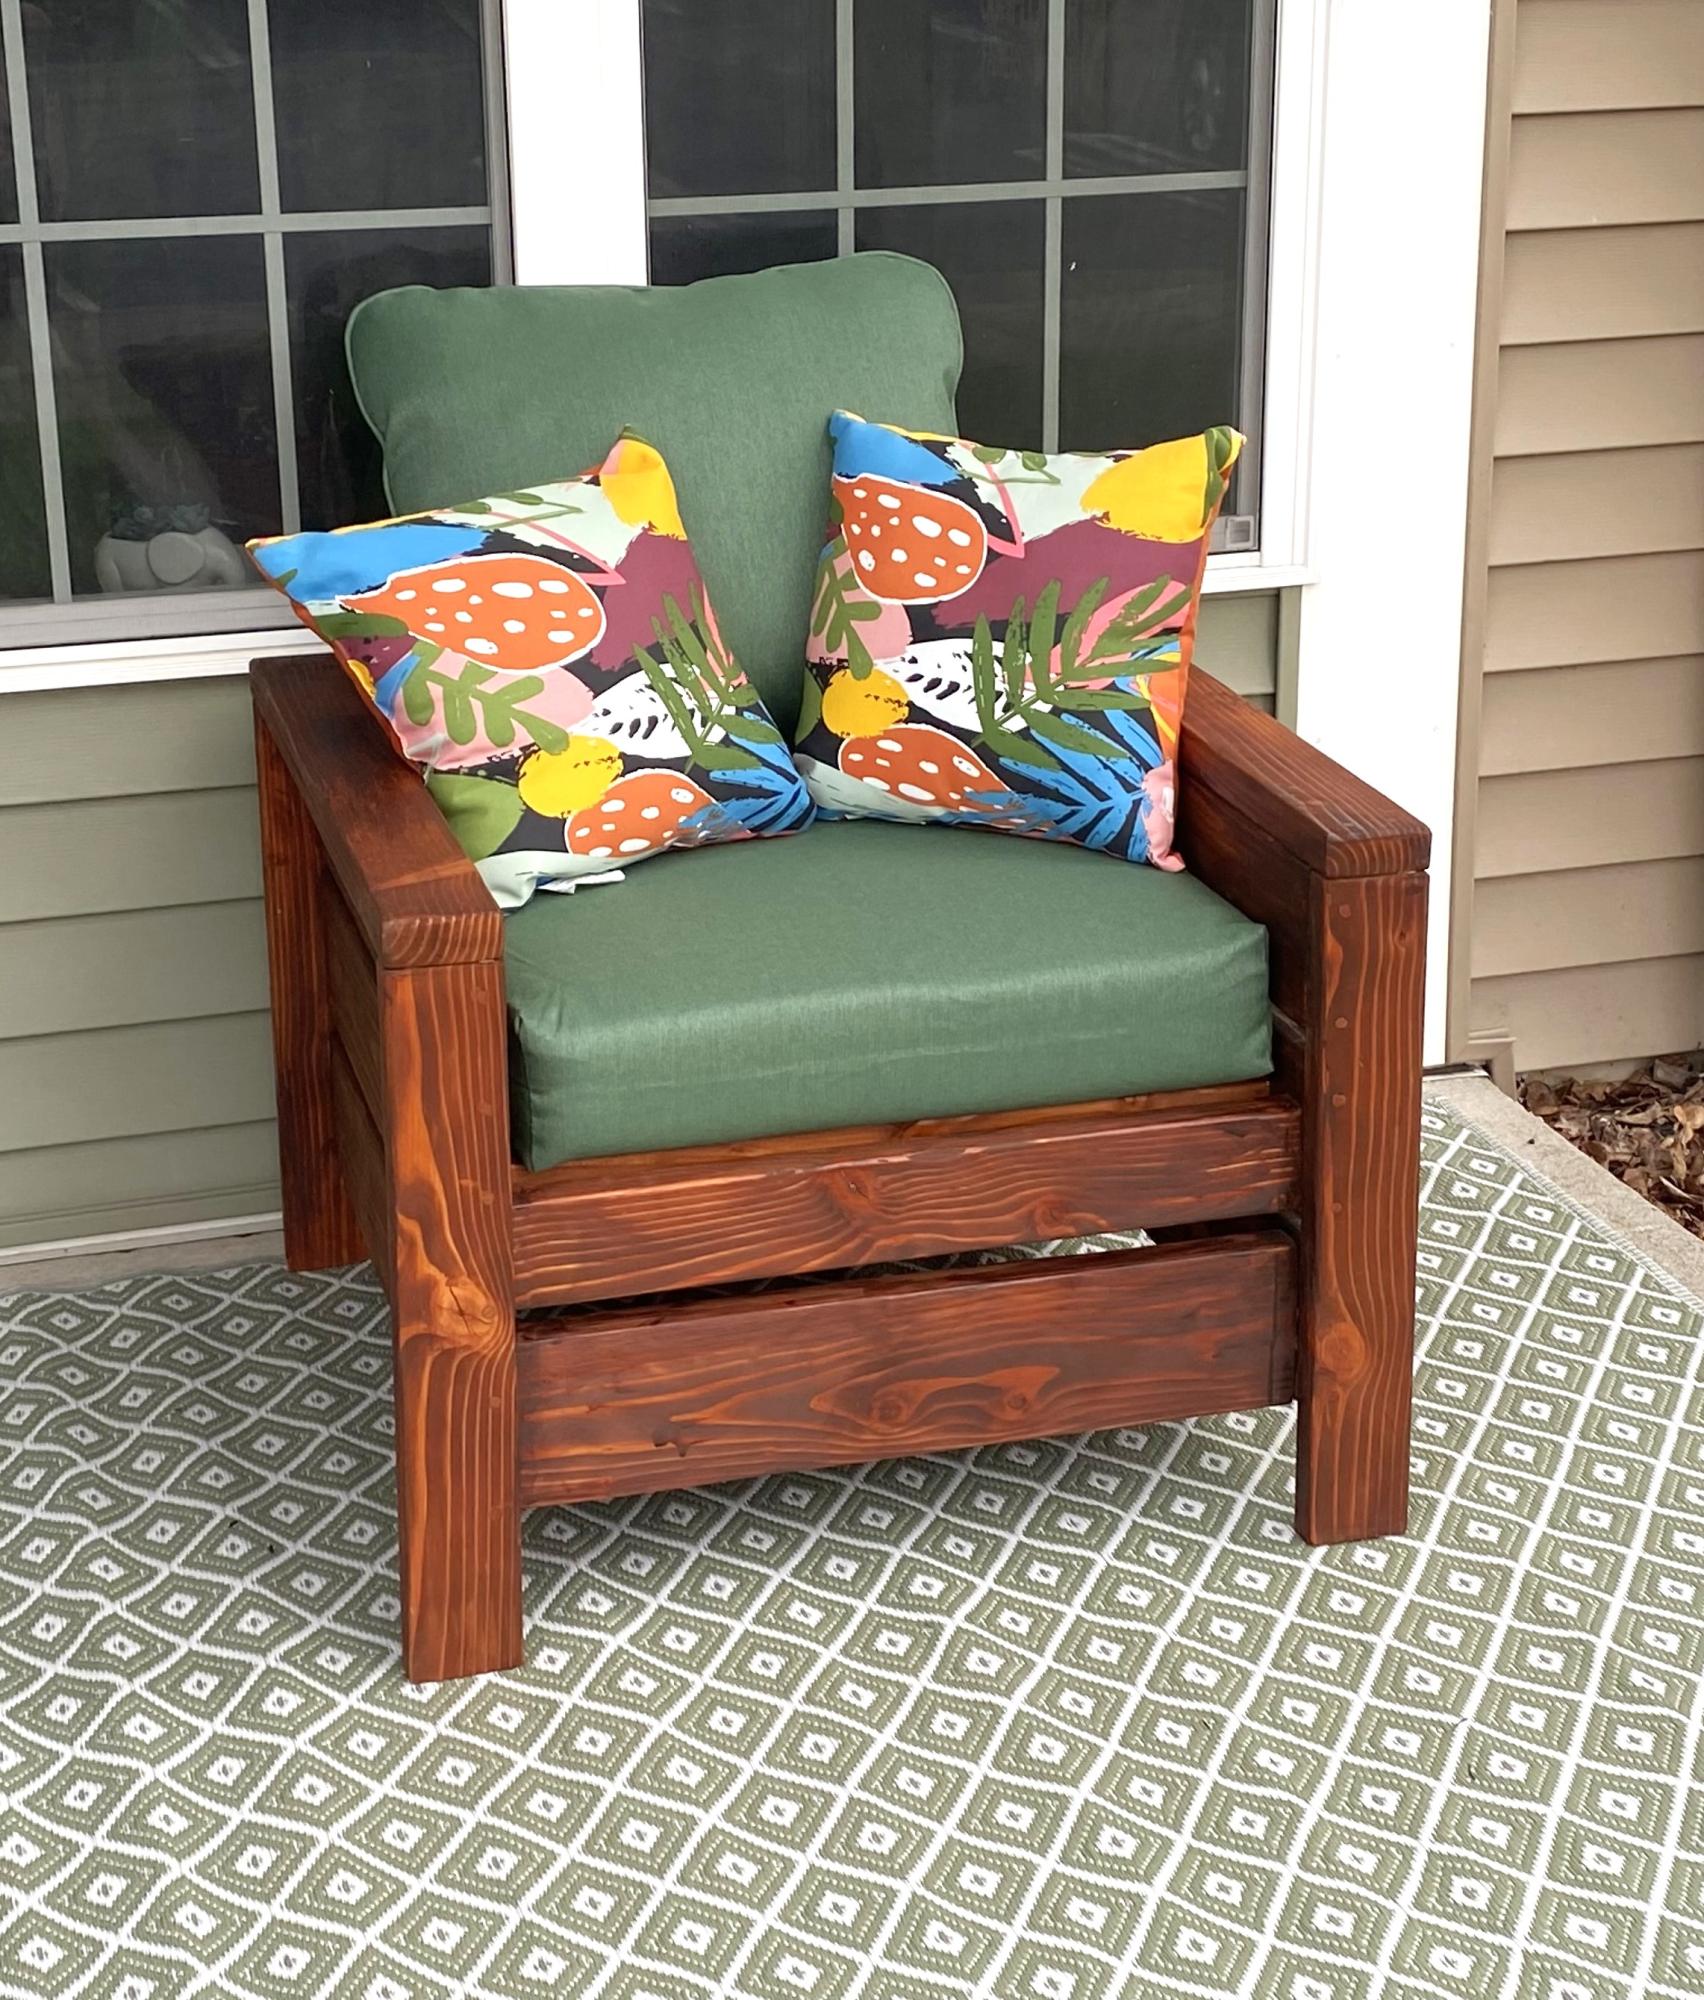
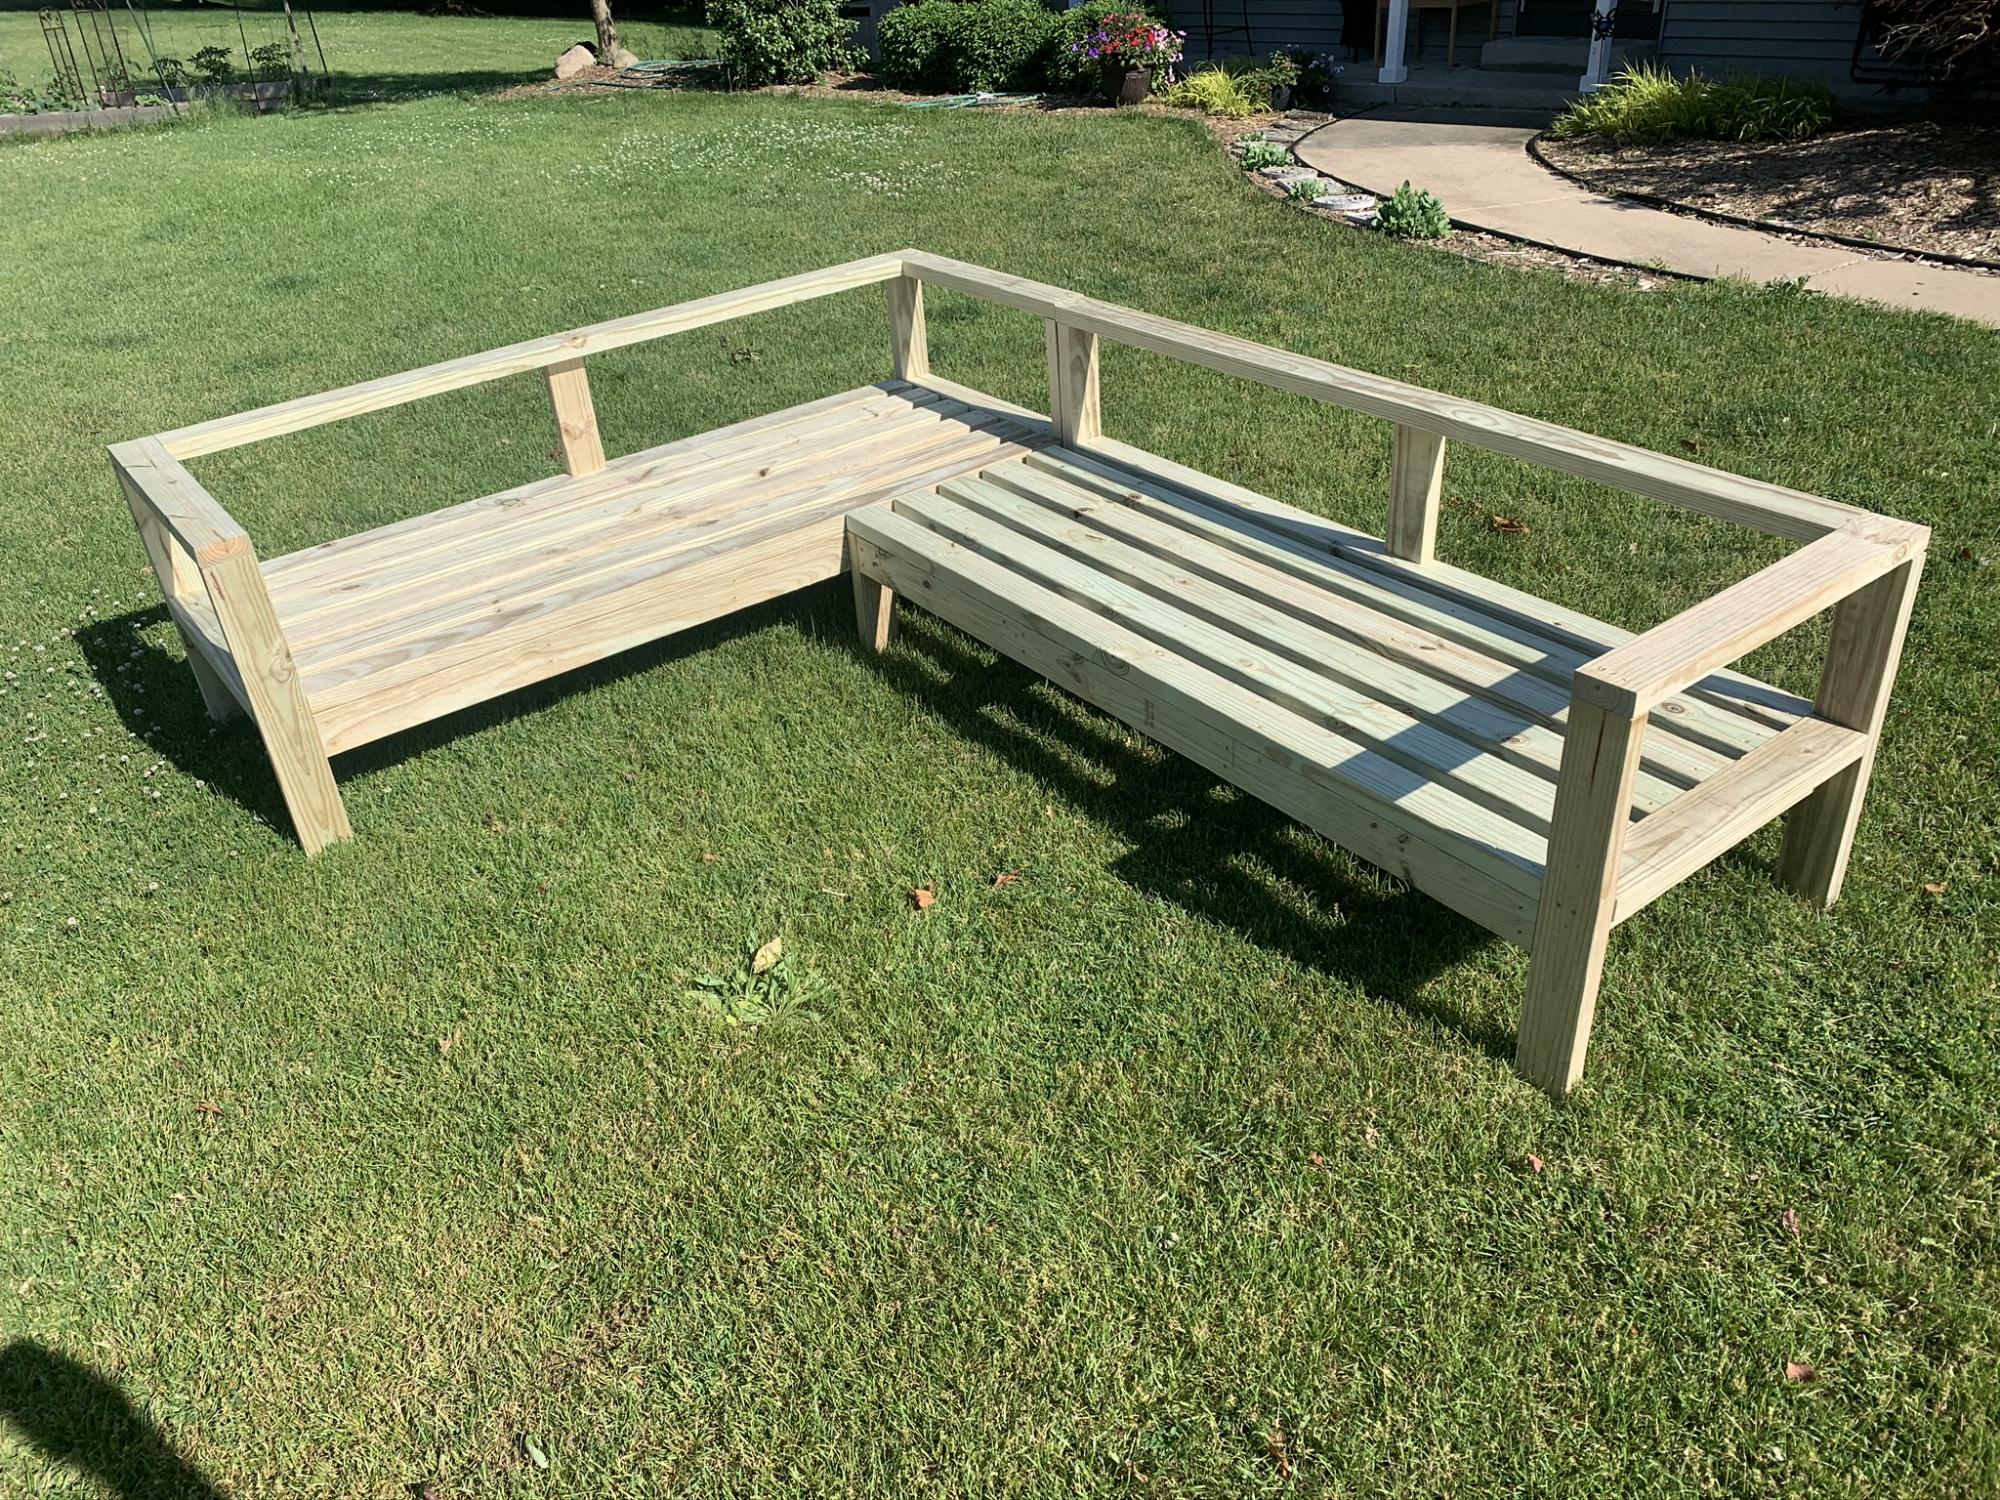
After renovating our screen porch at the onset of Covid, I searched online for an indoor patio furniture. As you probably guessed , with my limited budget, I couldn't find "affordable" and "quality" in one product . ALAS! Ana White's website and her Modern Chair Plans appears in my search. After reviewing her easy to use plans, my husband and I were confident we could tackle the project. With a few modifications, we are very pleased with results. Modifications: Added one additional 2 x 6 providing a higher backrest ; increased the chair height 3"(for us, making it easier to get in and out of the chair); and, used dowel rods to fill screw holes. Also with the extra leftover material, my husband made ottomans that under the chair for easy storage.
We love the results and use them daily! Thank you Ana for sharing your plans!
I used dowels in the screw holes.
Mike Kimble
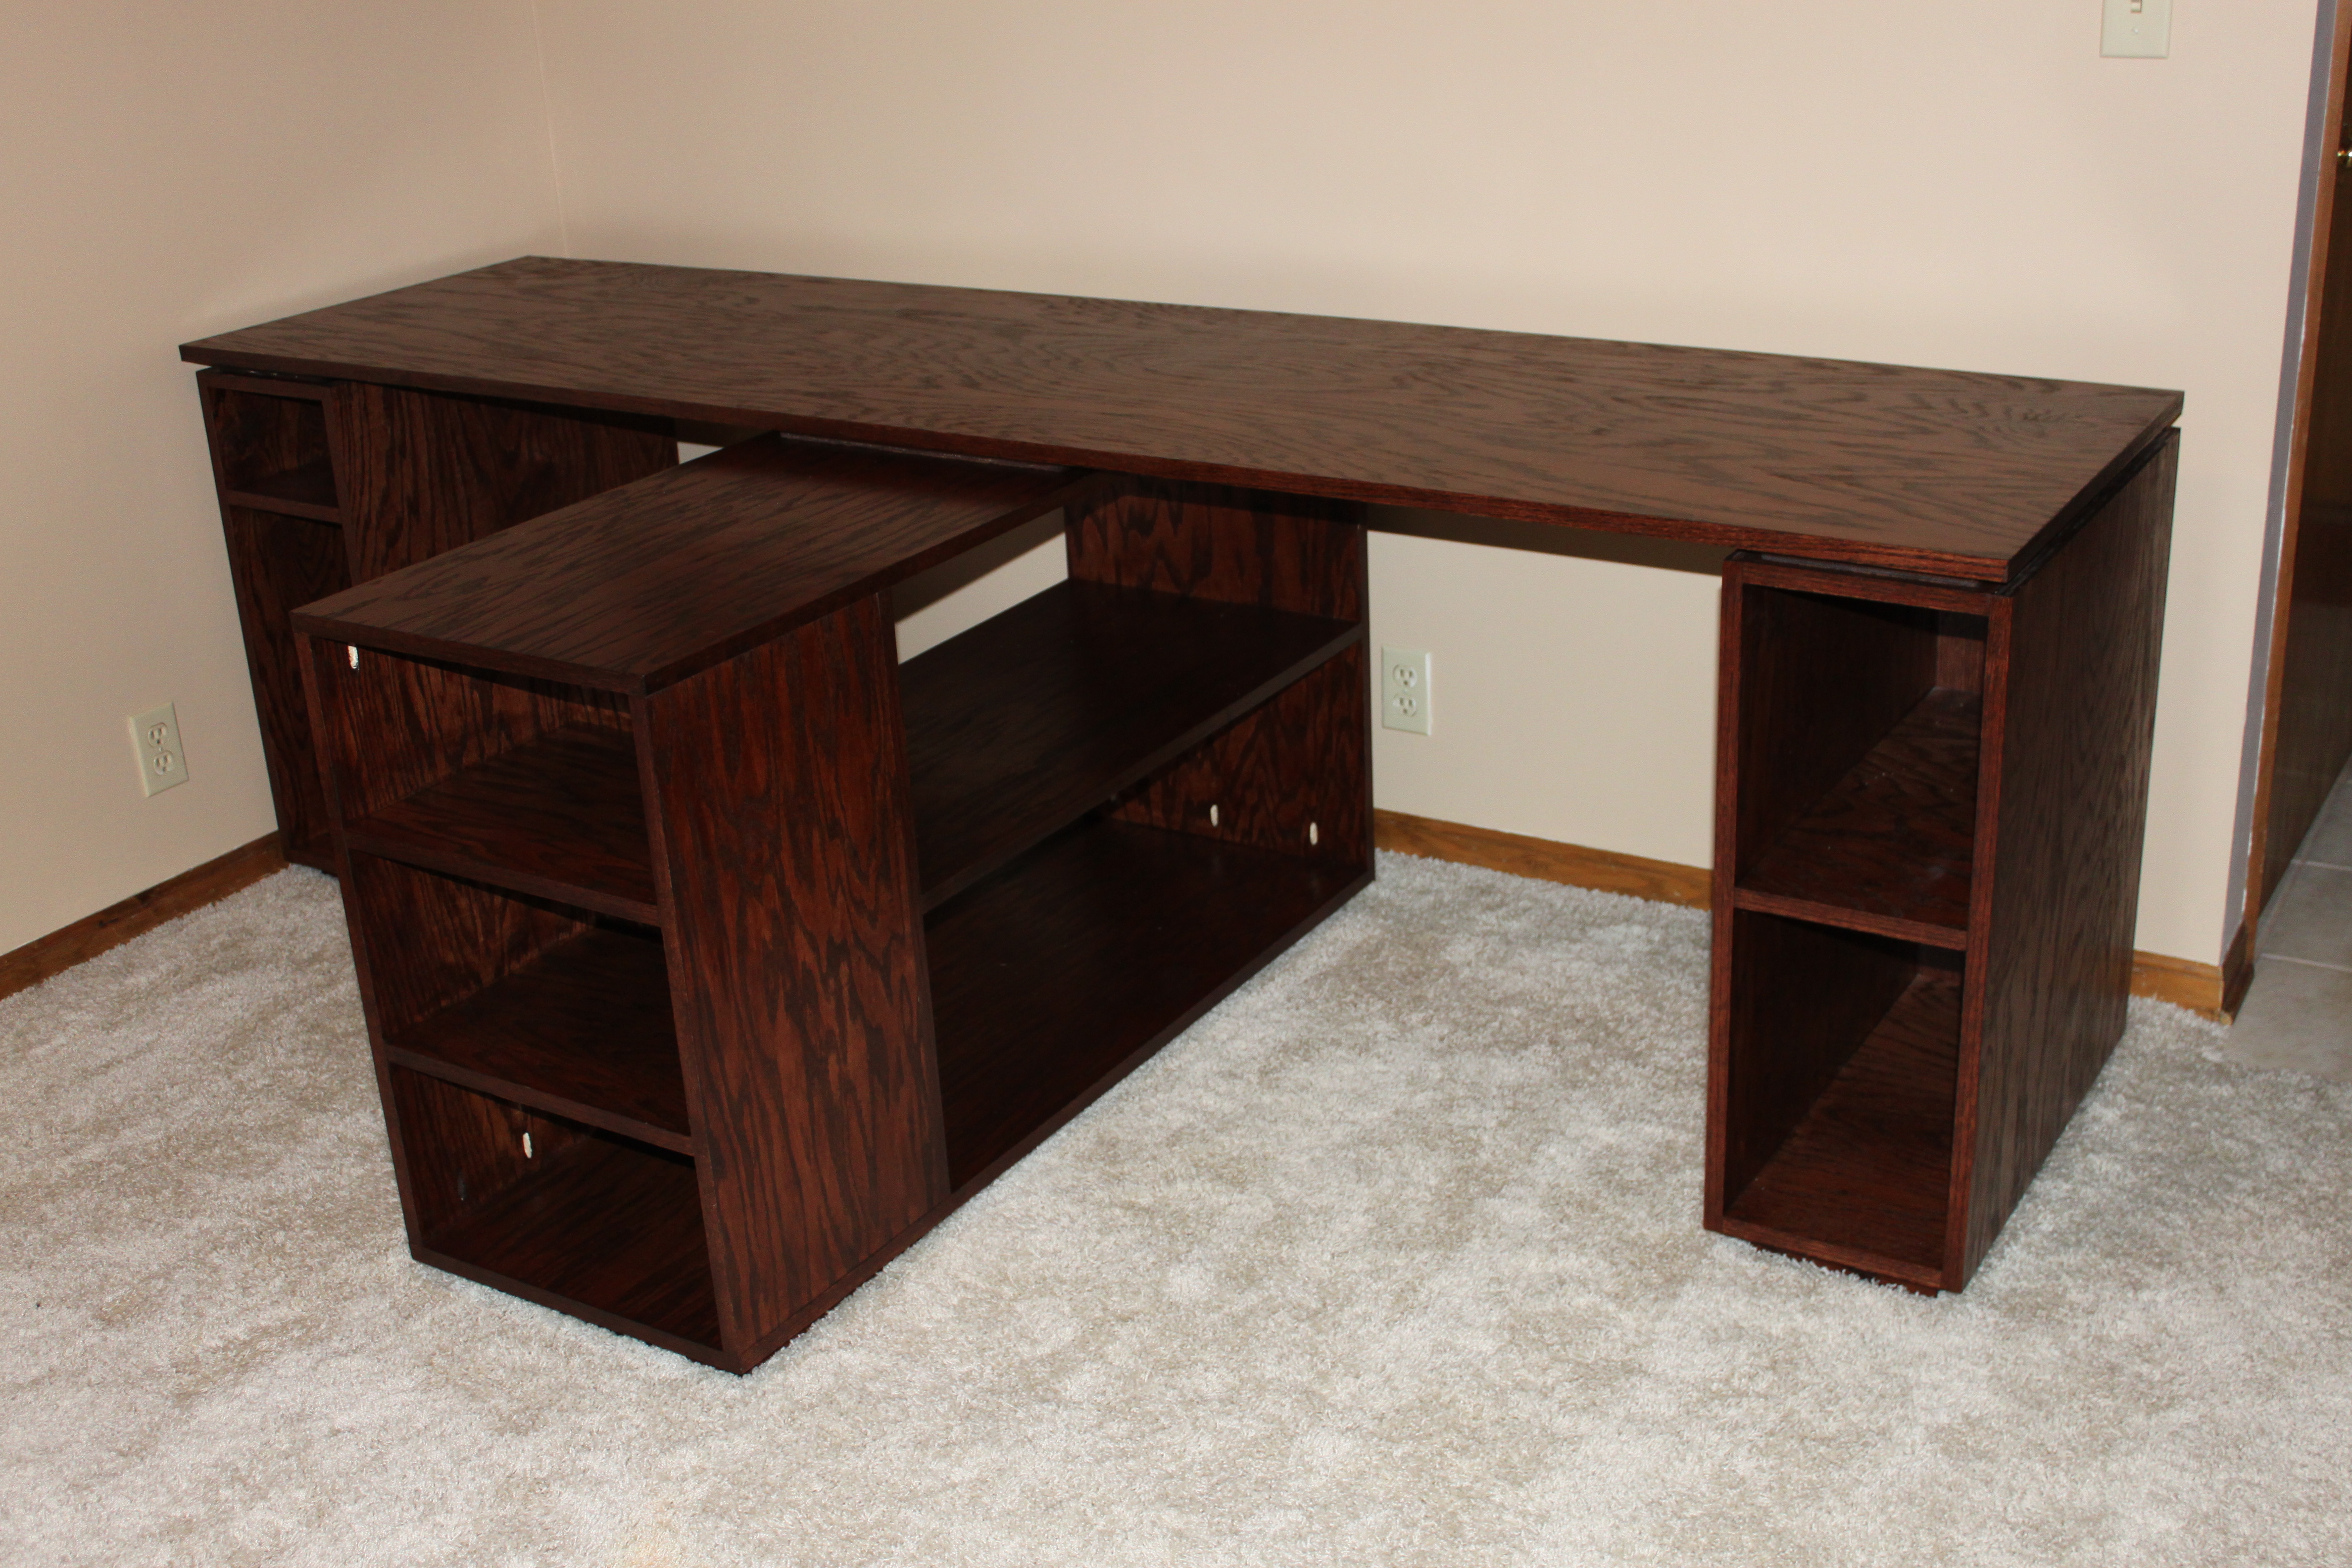
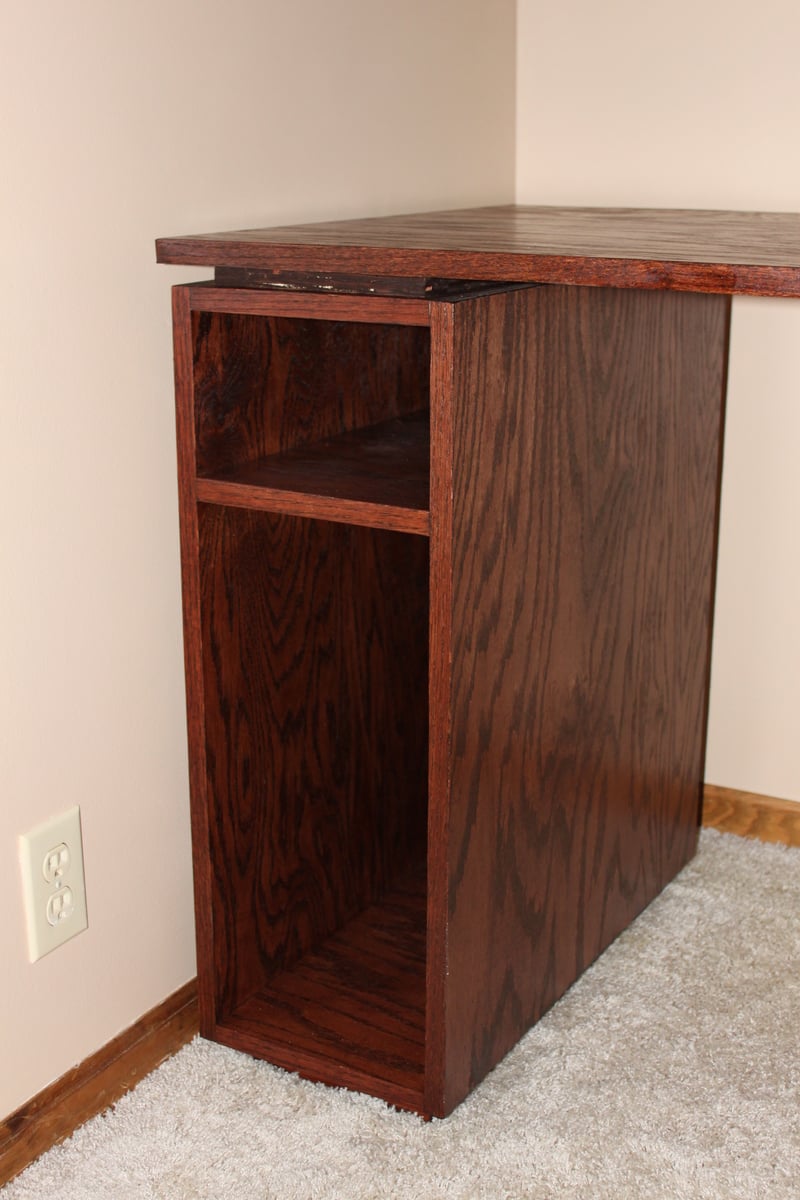
When my husband and I both started grad school, we needed space for both of us to work on our computers at the same time (after the baby went to bed!). I couldn't find exactly what we wanted to fit the space, so we built it! We got the Kreg Jig, which worked wonderfully! You can see some pocket holes in the picture, but they were hidden once we put all our stuff on the shelves. Our space was smaller than Ana's, so we made the two end units narrower (they still fit our CPUs and we used a doorknob hole drill bit to put cord management holes in the back panel). We love it! We built our deck before, but this was our first foray into furniture-making. We had fun and it turned out so well that we have a list of things to build next (we're thinking a murphy bed).
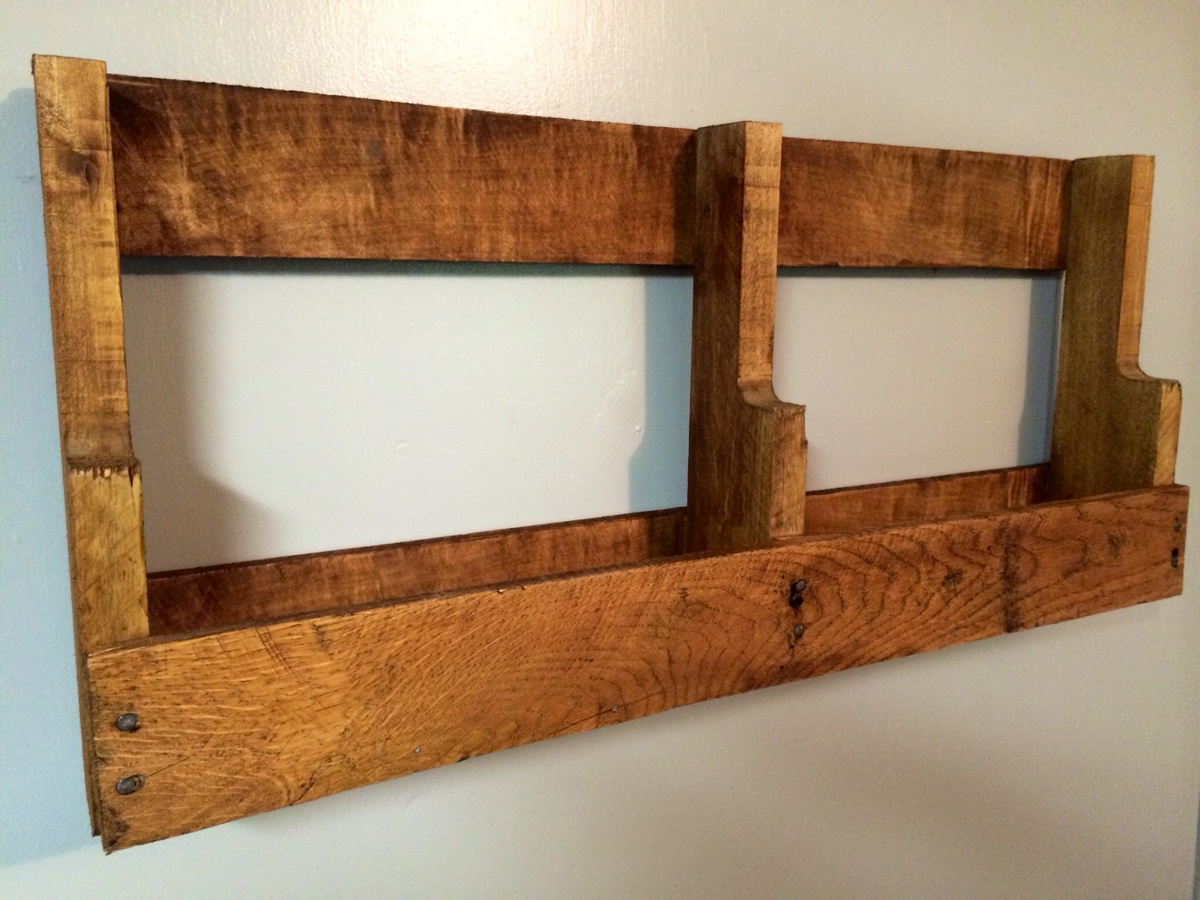
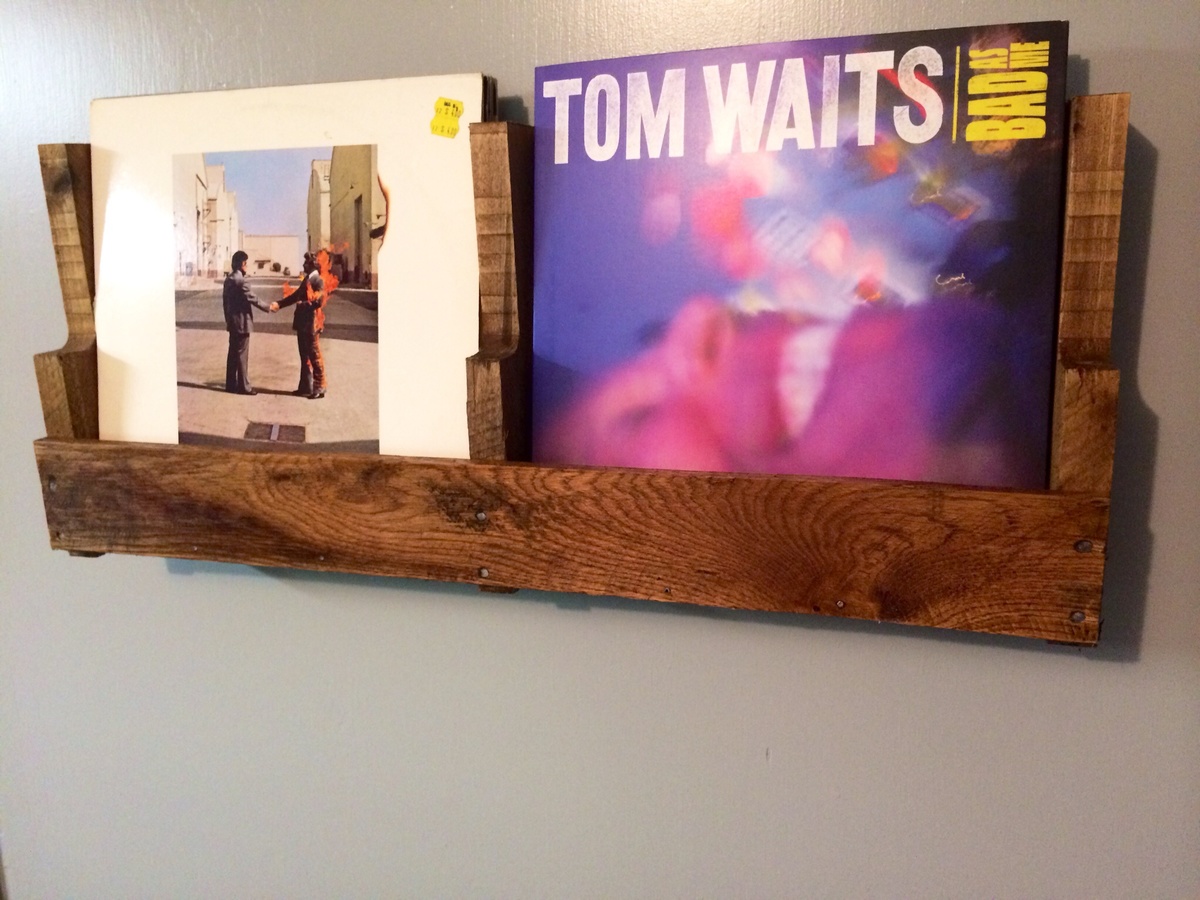
Free, quick, and easy!
Mon, 06/23/2014 - 05:47
Very cool shelf and record holder for my mom cave. Free, easy, and stylish.

We used these instructions for this project. This is for our king size bed. We used premium pine wood from Lowe's and Home Depot. The boards weren't 100% perfect, so on the back side we had to attached a piece of wood vertically and centered to straighten them out. For the stain we used Minwax Honey 272 and applied a coat of polyurethane (clear satin).
Decided to add extra support between top rail and seat. I envisioned some sitting on the rail while partying so I thought it could use a little strengthening. This is a good build for a beginner.