Community Brag Posts
Outdoor Sofa.............Thank Ana
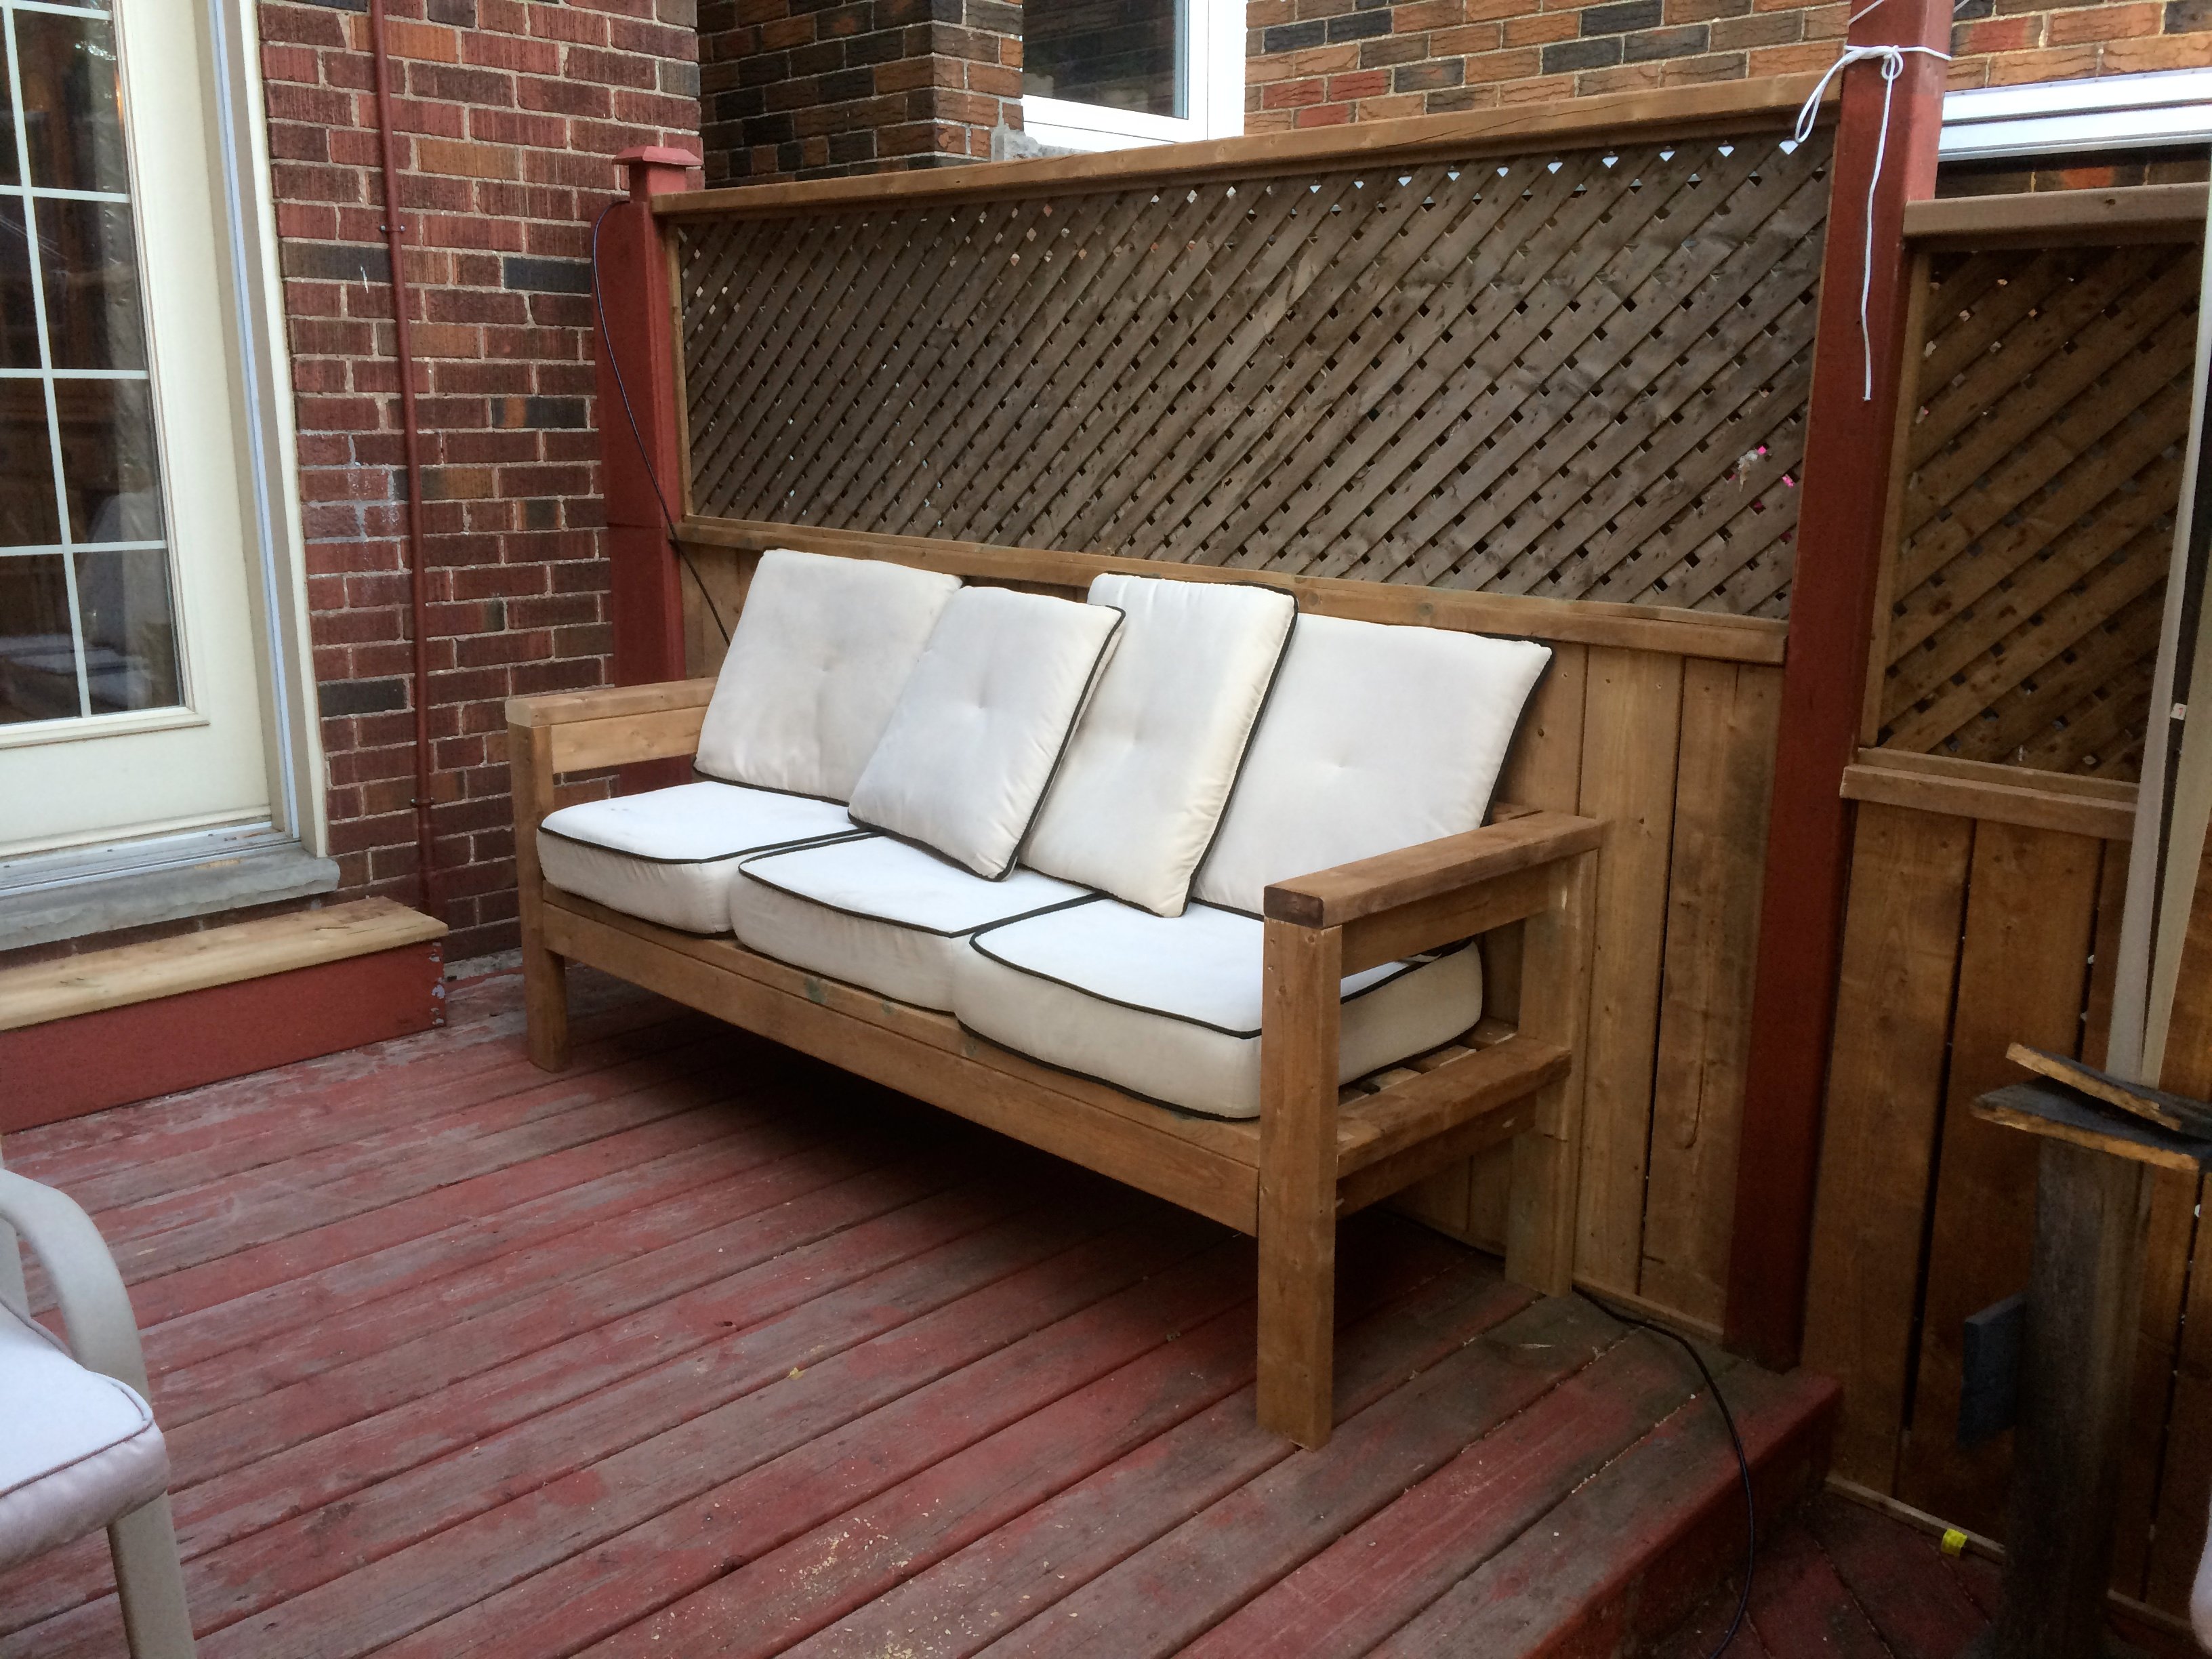
Thanks SOOOOOOO much for the Plans. I had fun building this and my Mother will be so happy to have it.
I'm sure she will be spending more time on the deck this summer.
Cheers, from Toronto
Chris,
Estimated Cost
$85
Estimated Time Investment
Afternoon Project (3-6 Hours)
Finish Used
unfinished
Recommended Skill Level
Beginner
A Frame Chicken Coop
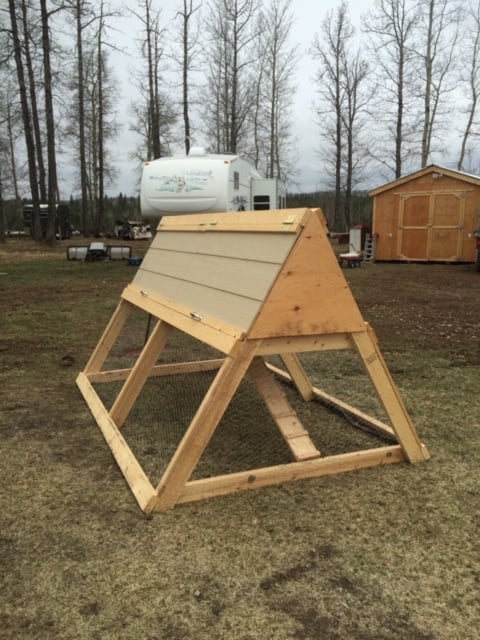
I built this chicken coop a few years ago for my cousin. I was happy with the plans, and the ease of the build, and she was happy at how easy it was to move. **This picture does not show the wheels installed.
Built from Plan(s)
Estimated Cost
$150 CAD
Estimated Time Investment
Day Project (6-9 Hours)
Recommended Skill Level
Intermediate
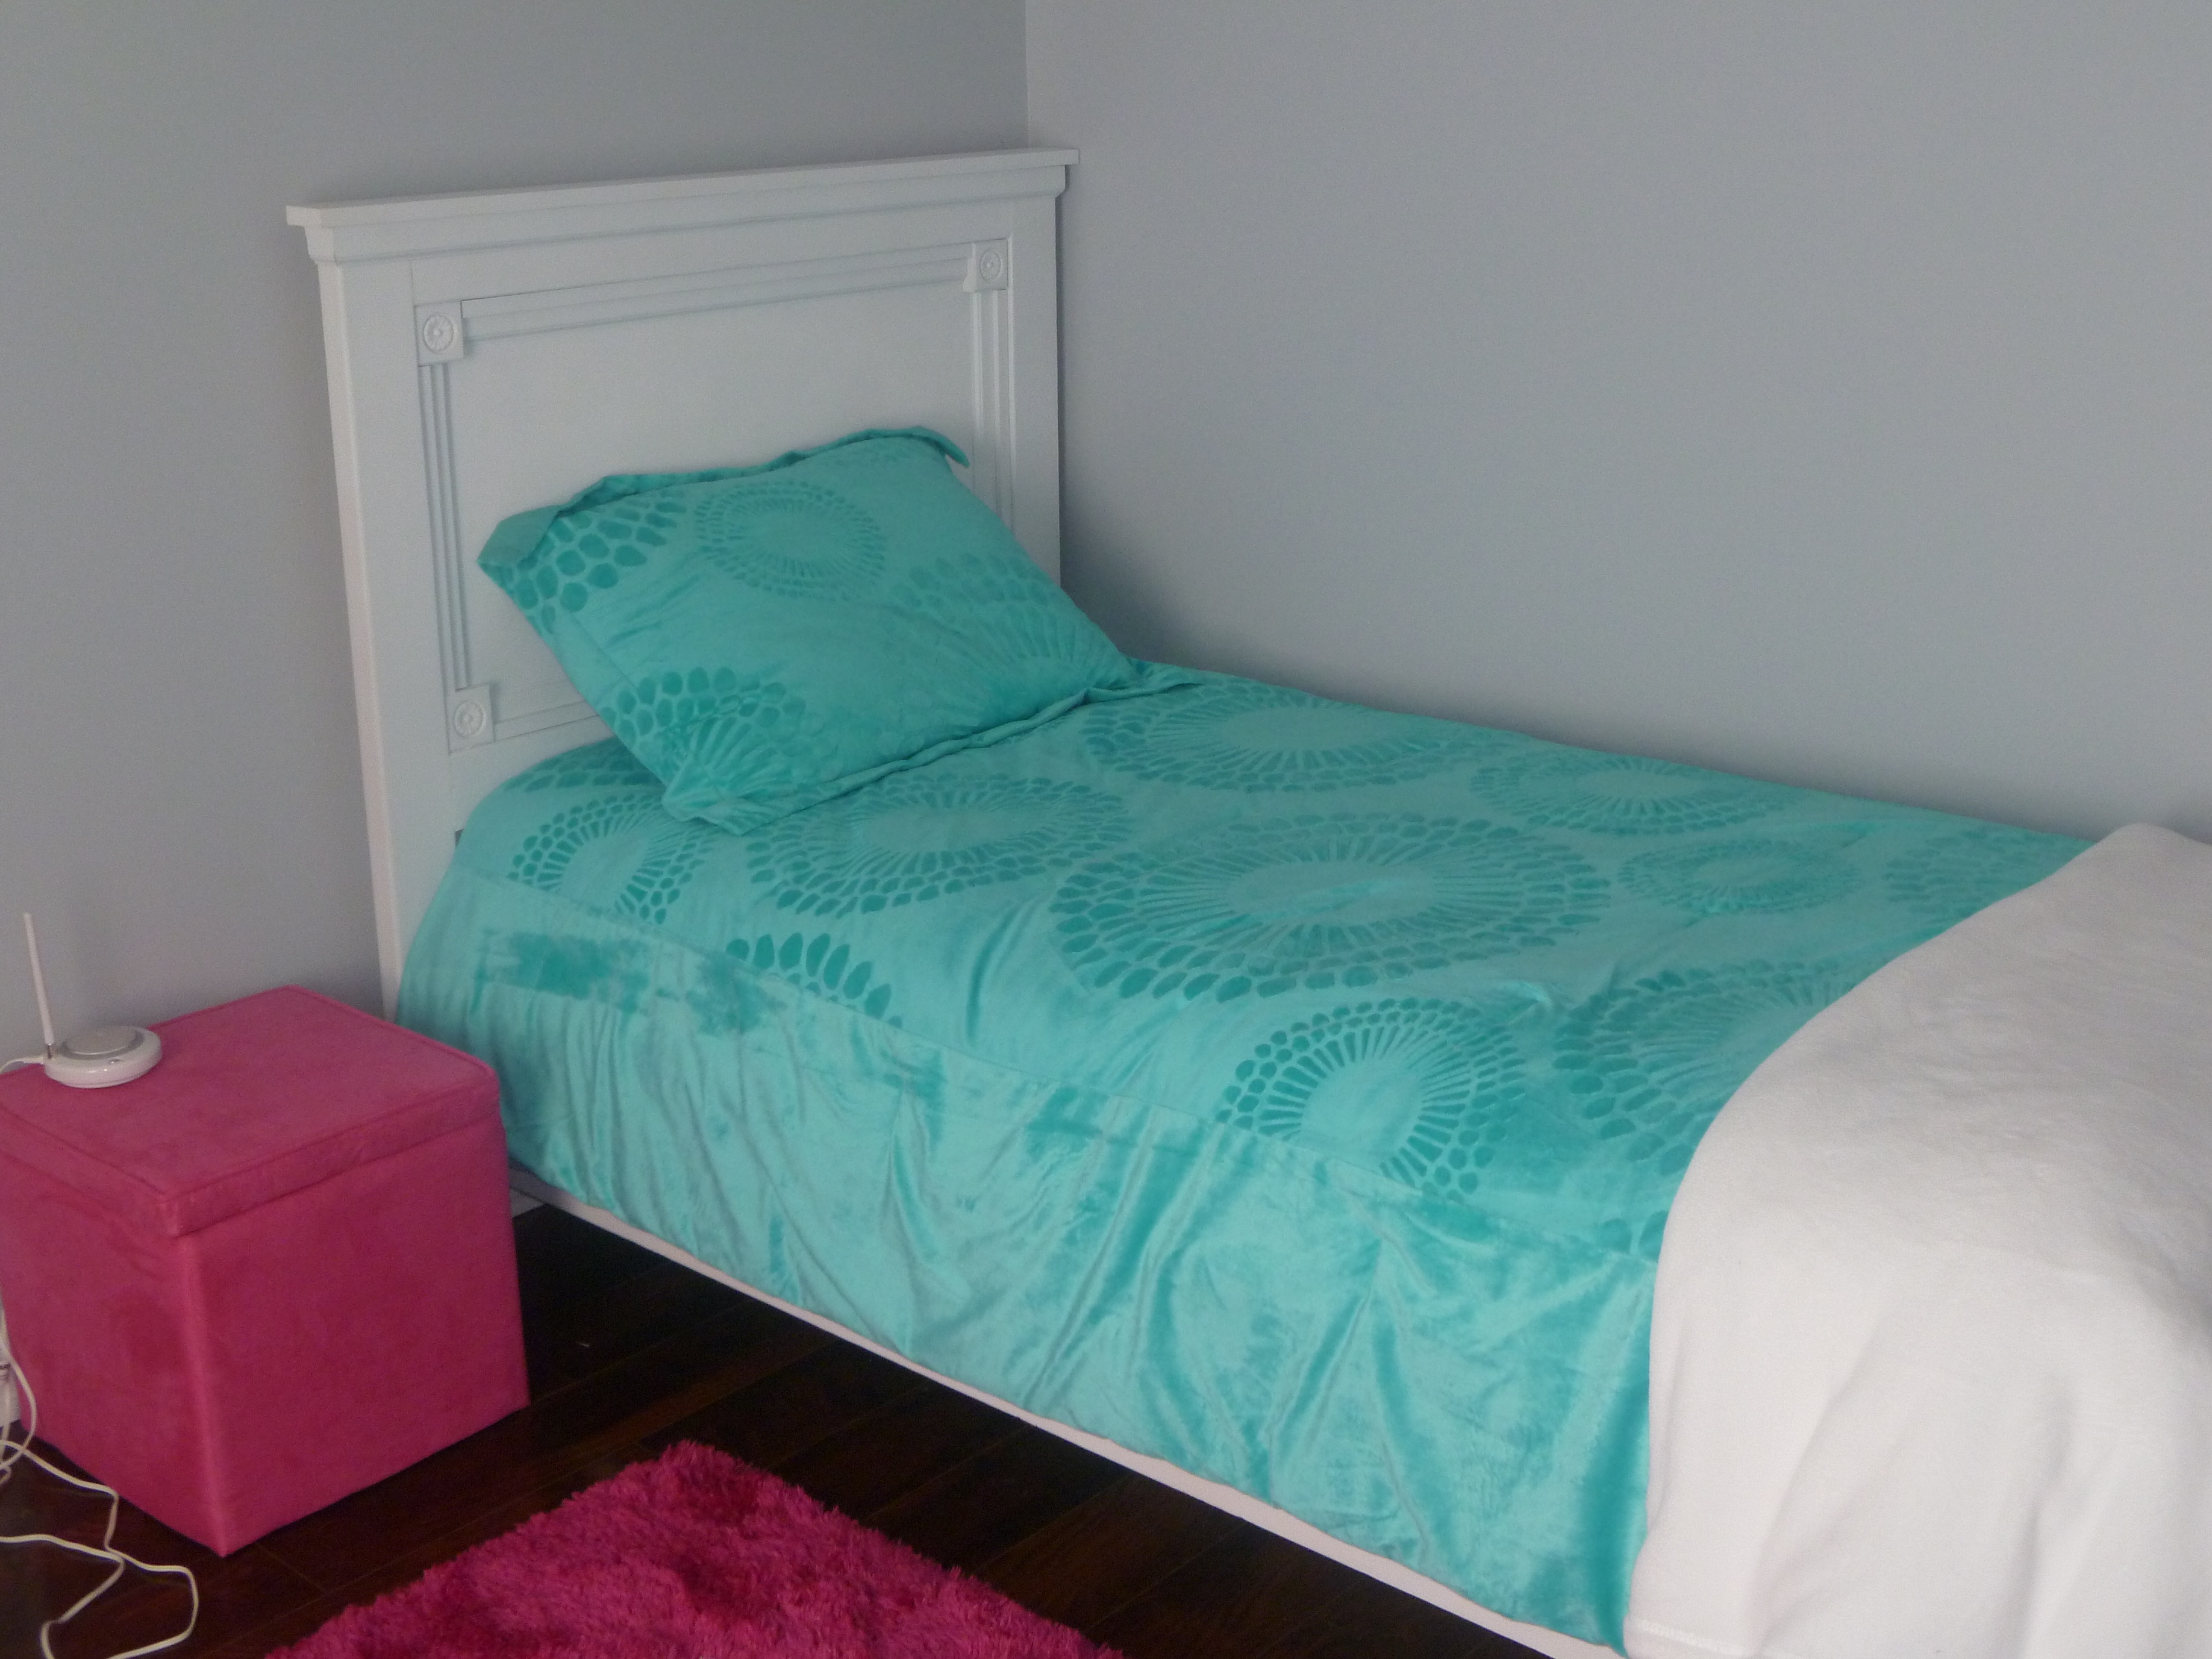
Cabin Farmhouse Bed
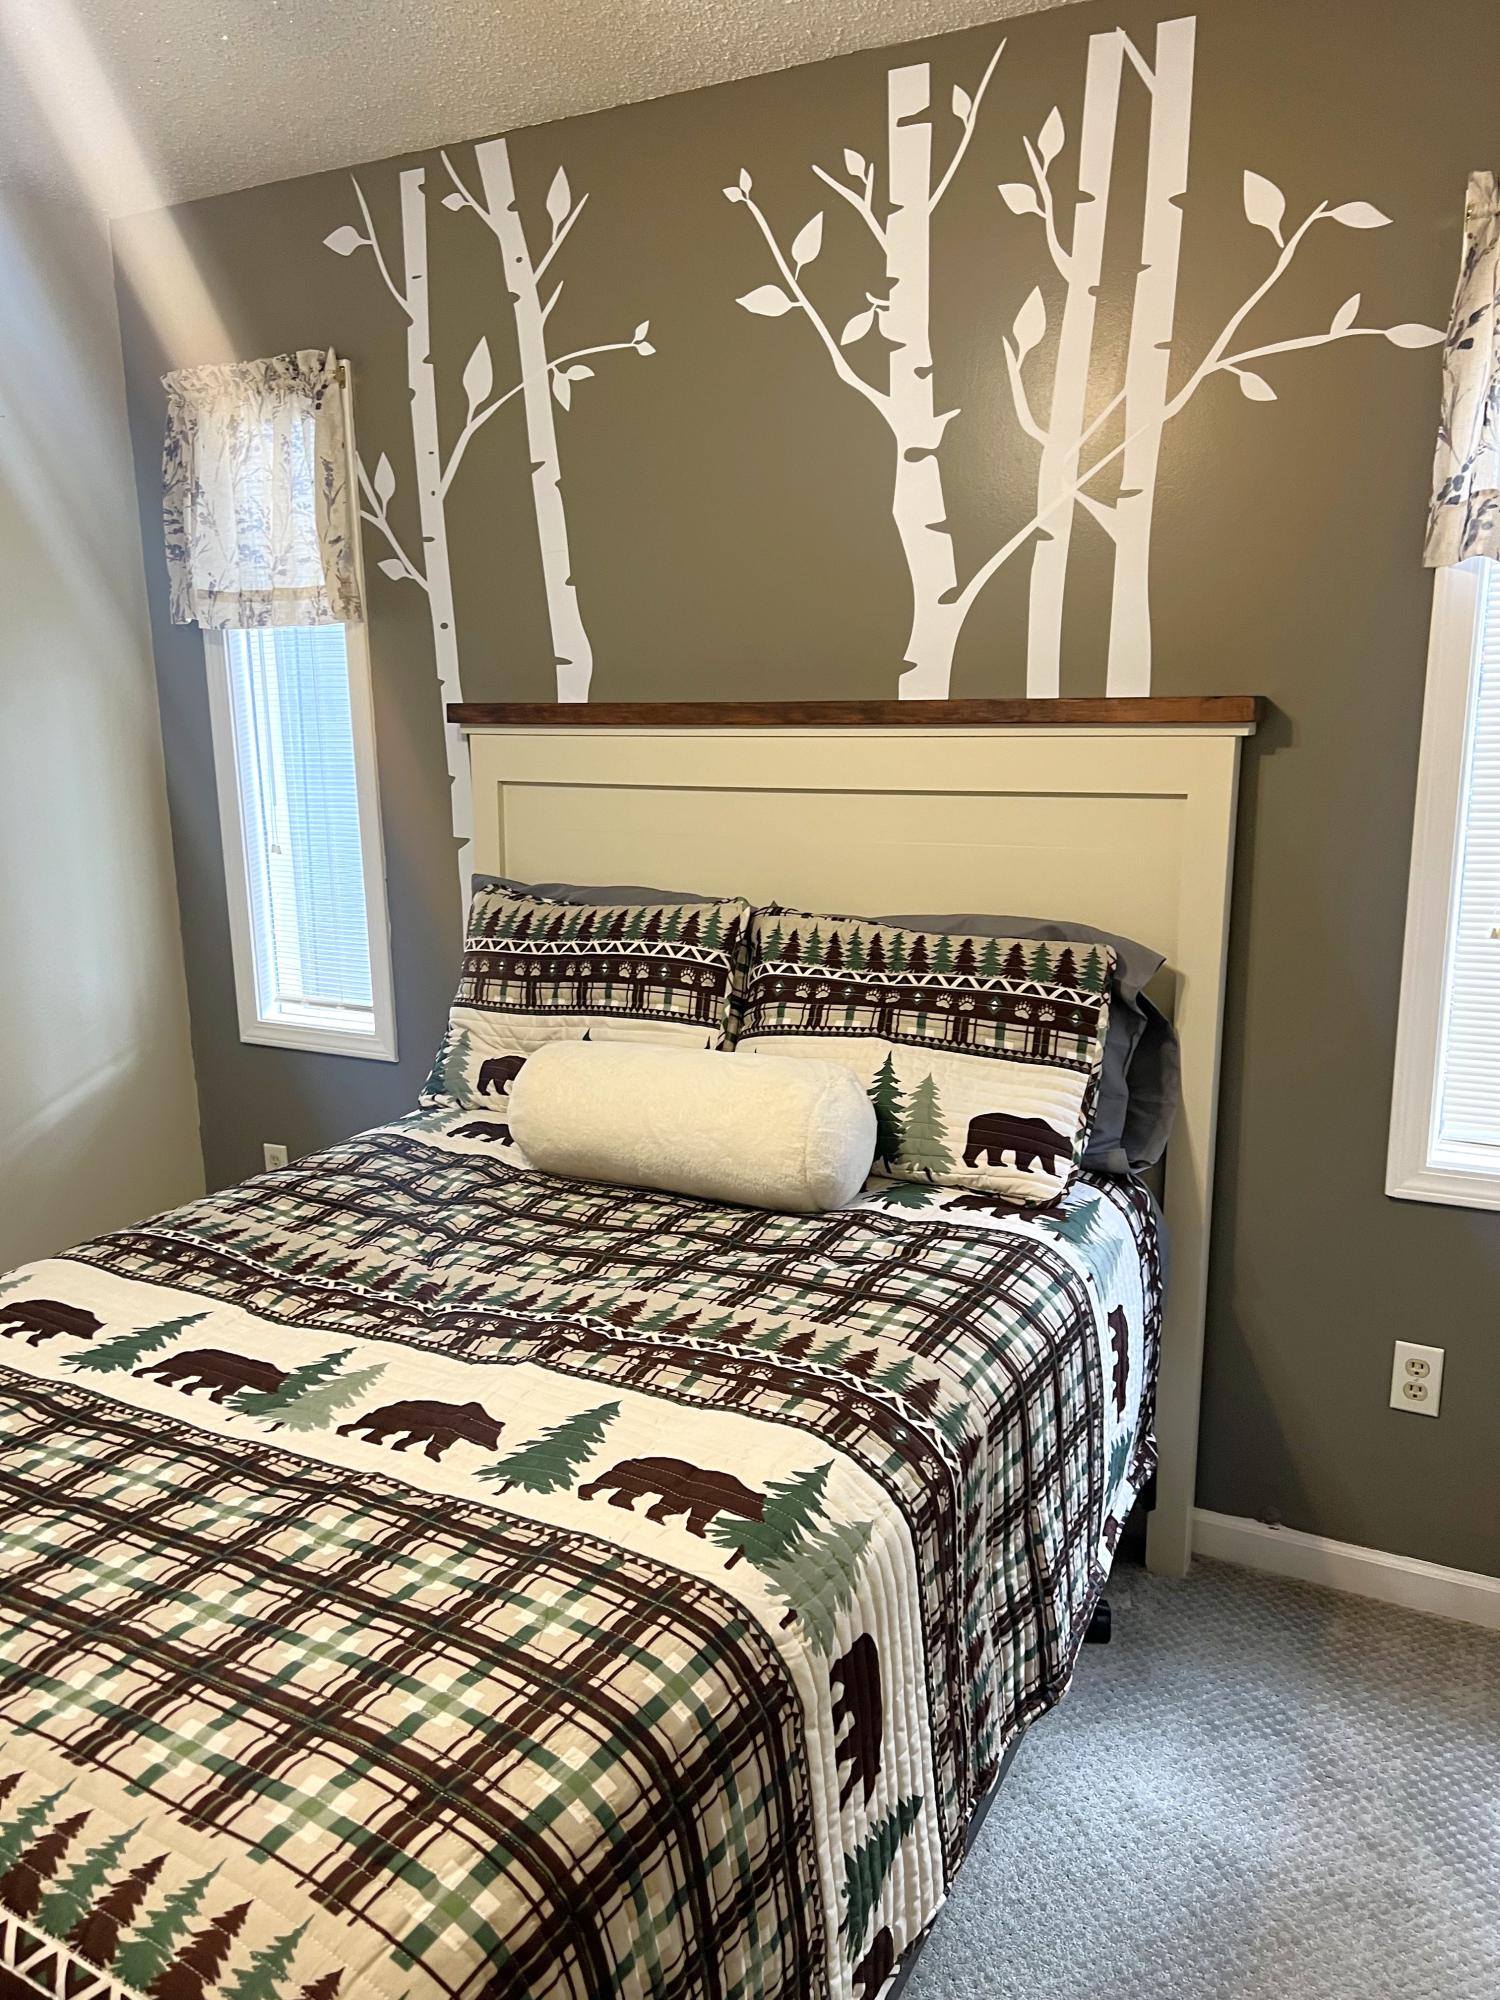
This project was so easy and fun to make. Love the way the instructions are laid out.
David Van Dyk
Built from Plan(s)
1st project
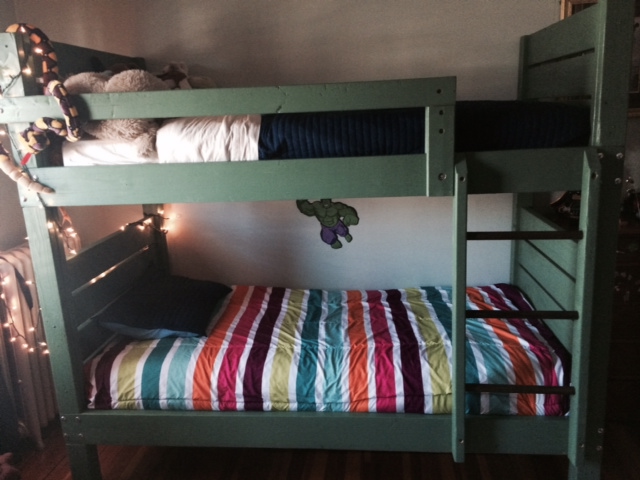
Built a set, used this as an entertainment stand below the TV, mactching coffee table done and end table to go with it. Altered the plans (dimensions) a little to accommodate my room. Love this site! Thanks Ana!
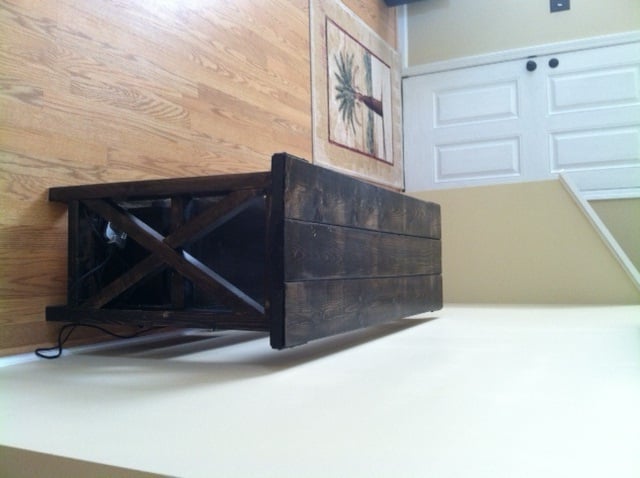
Estimated Time Investment
Weekend Project (10-20 Hours)
Recommended Skill Level
Beginner
Peanuts Adirondack Chair for Kids
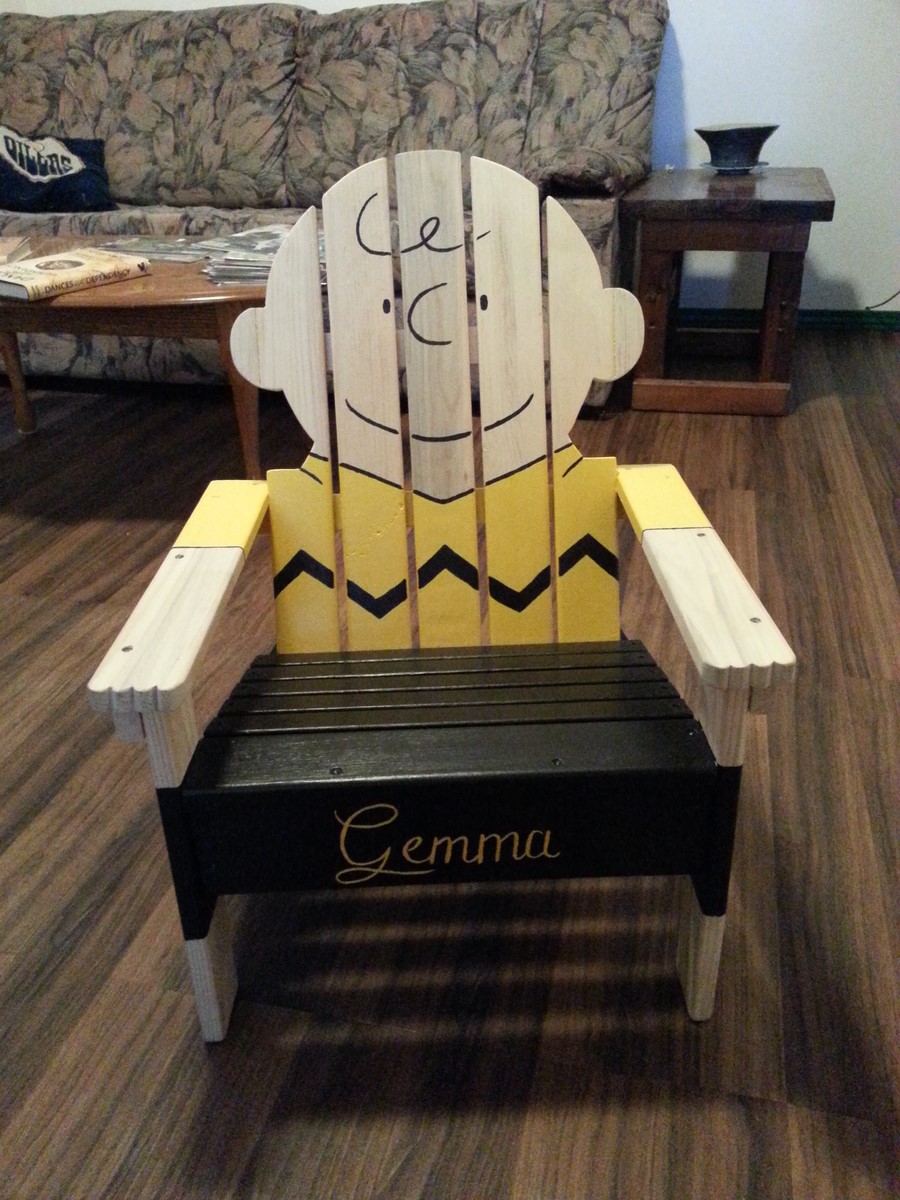
Had just watched the new Peanuts movie.Kind of liked it.
Built from Plan(s)
Estimated Cost
$100
Estimated Time Investment
Week Long Project (20 Hours or More)
Finish Used
Varathane. Many coats of paint along with a lot of taping. All outdoor water-based from primer to Varathane
Recommended Skill Level
Intermediate
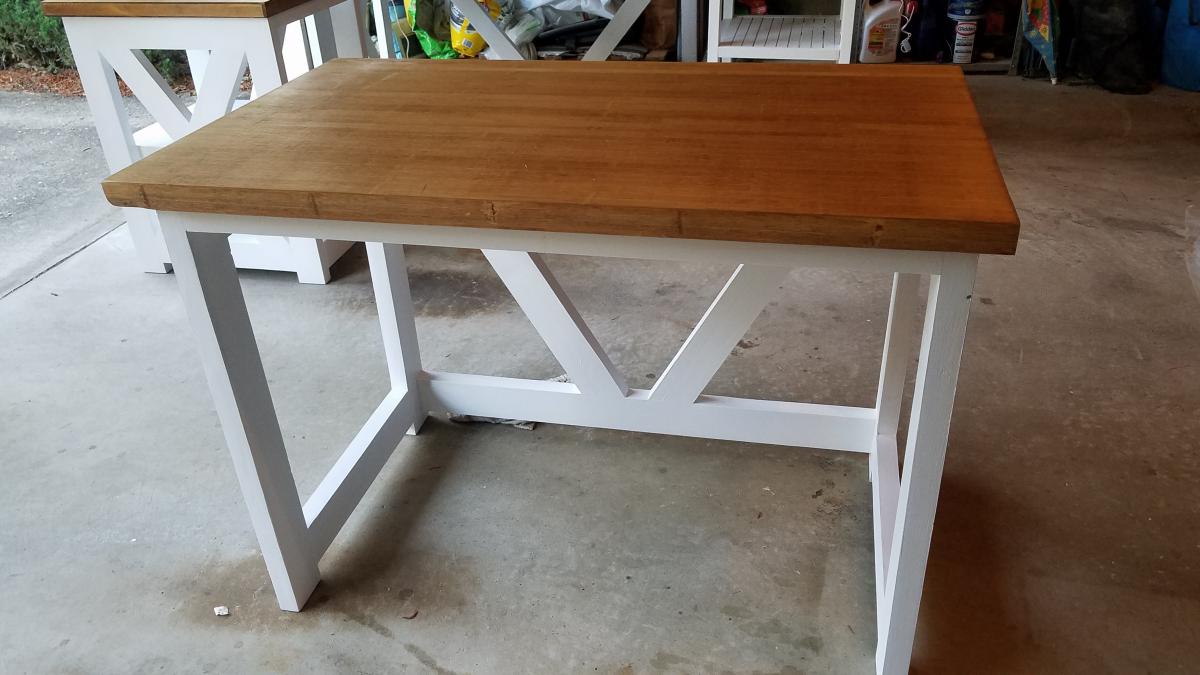
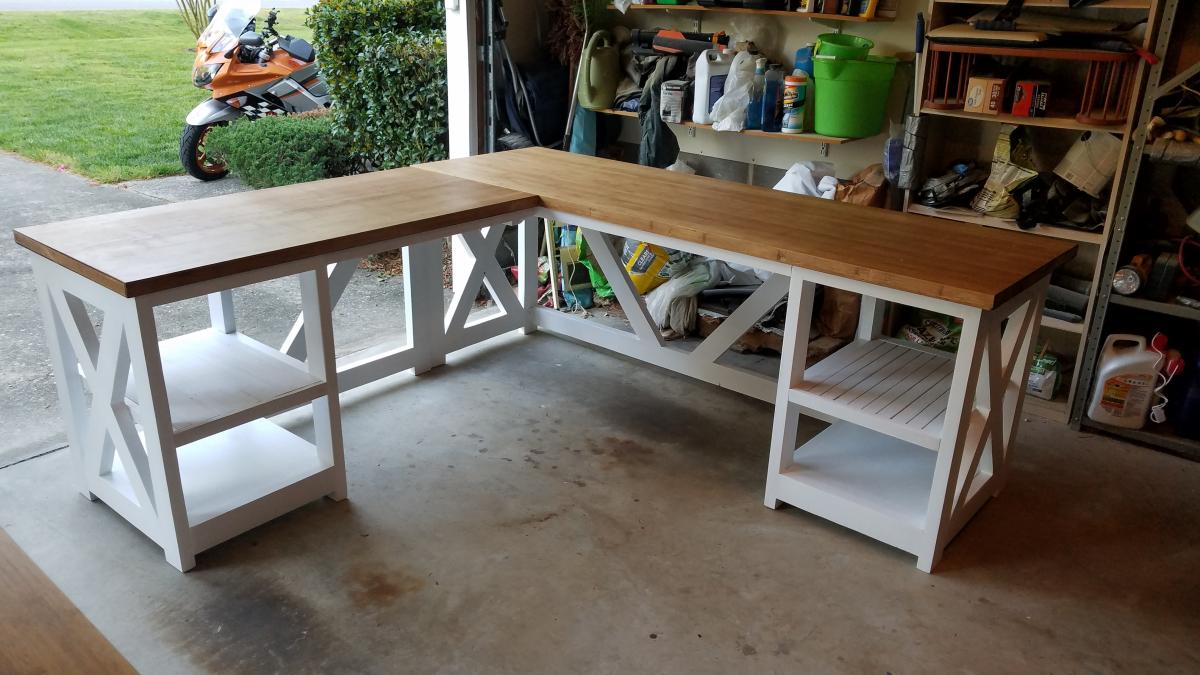
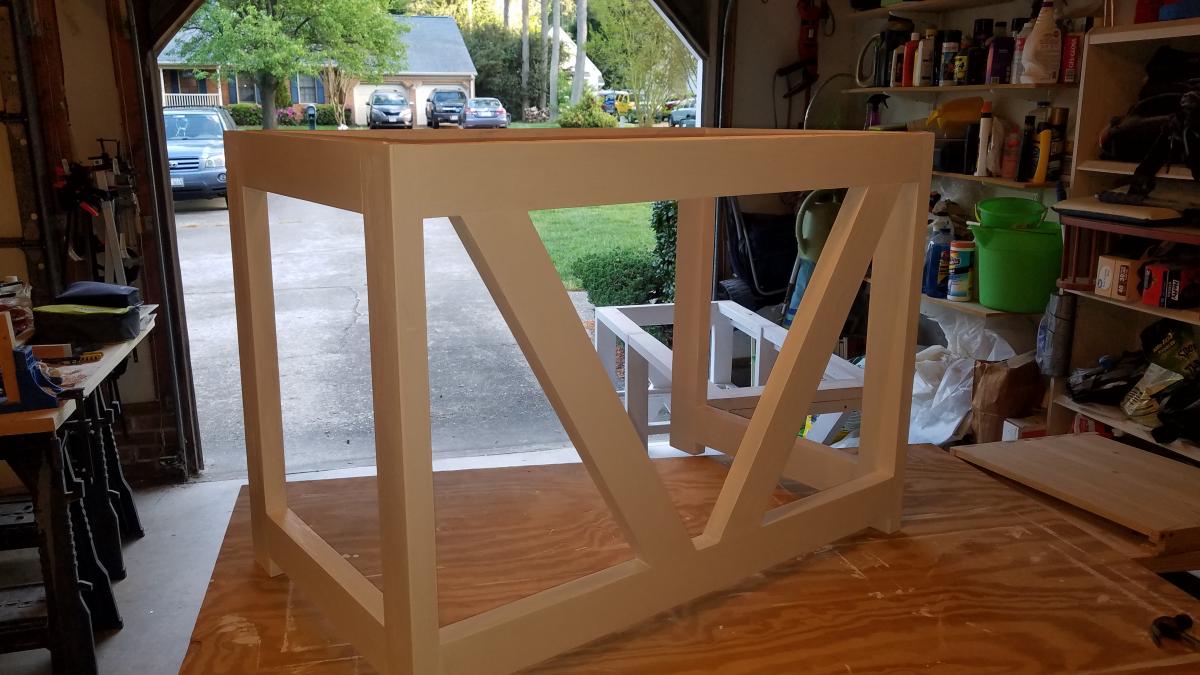
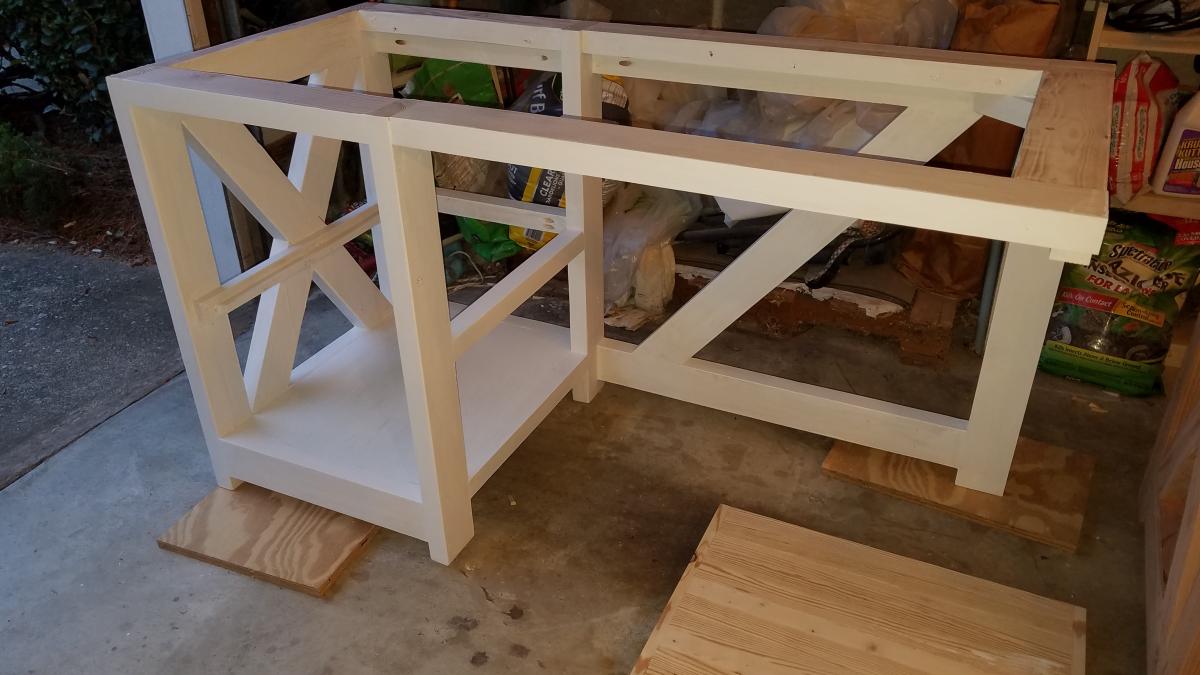
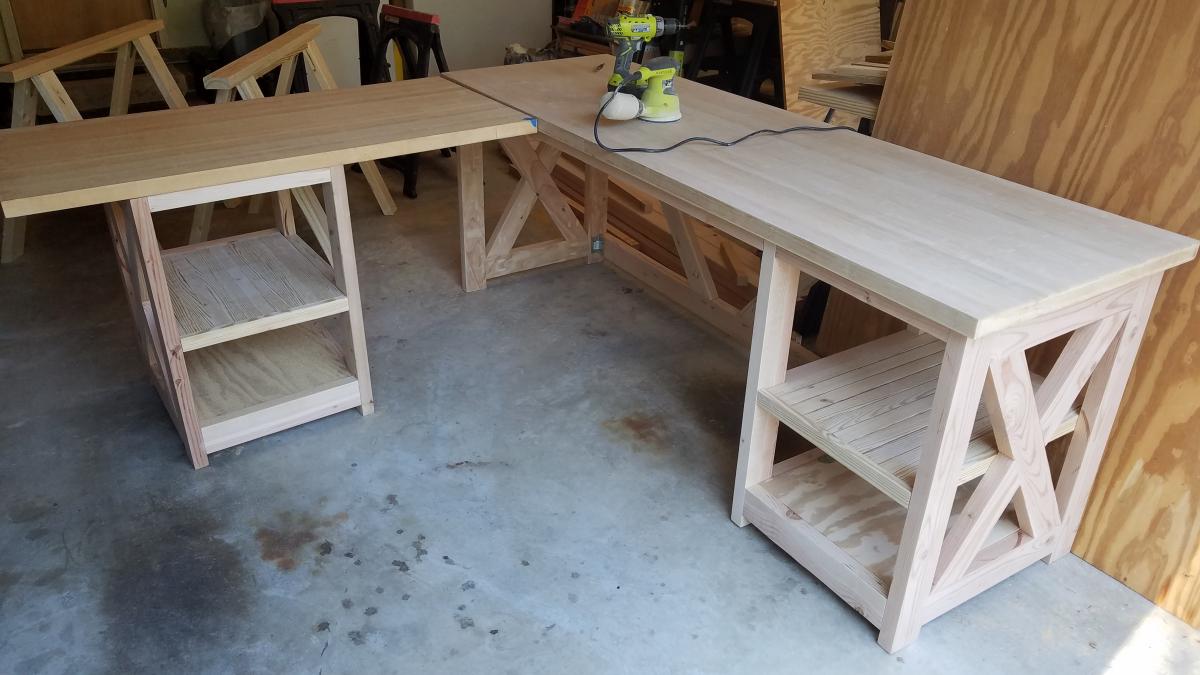
Rustic X Desk
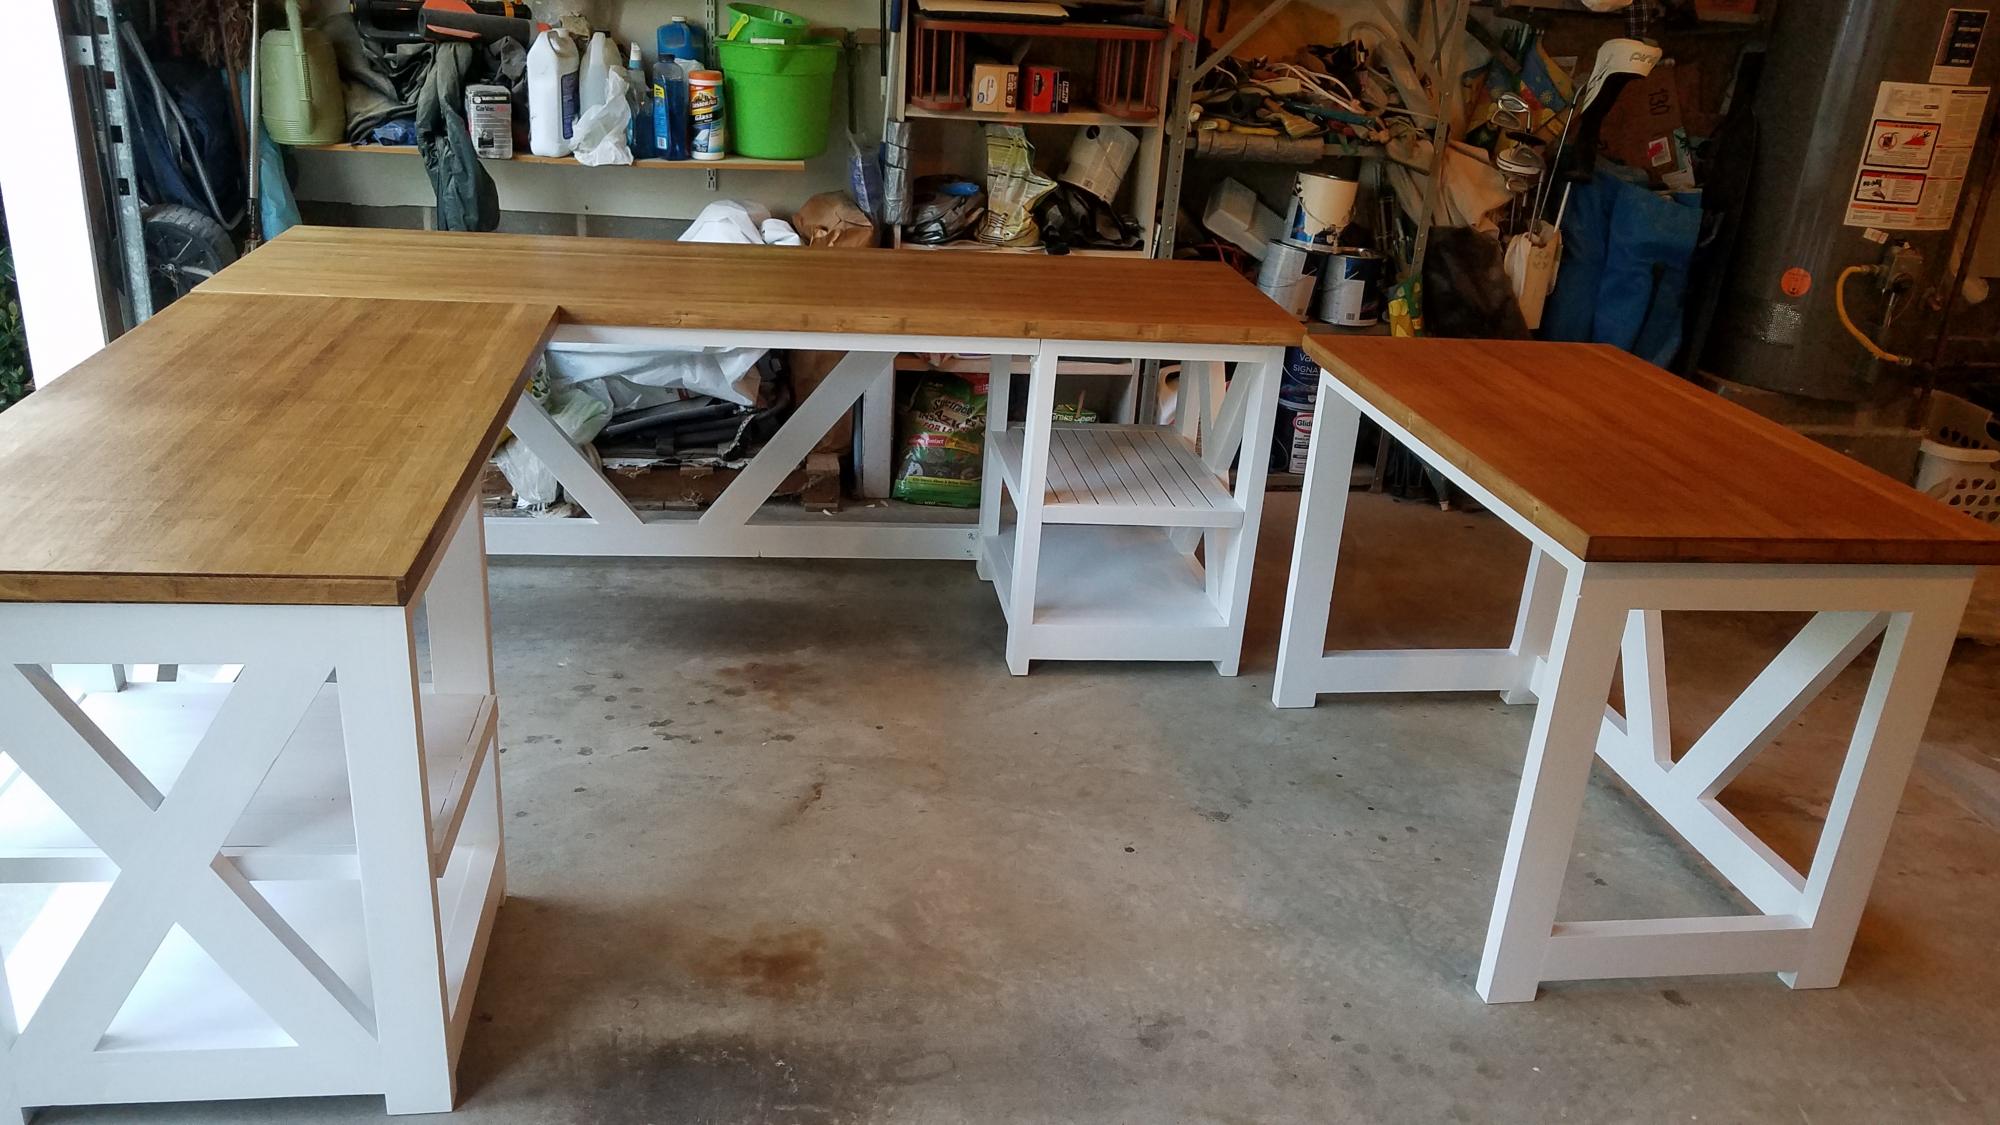
I built this L shape desk based on Ana White's rustic X desk plan. I would not have attempted this without her guidance. Love how this turned out, probably the nicest project I've ever done. Thanks Ana!
Built from Plan(s)
Estimated Time Investment
Week Long Project (20 Hours or More)
Finish Used
Tops are Watco Dark Walnut with wax finish, prime and paint the legs
Recommended Skill Level
Intermediate
Comments
Tue, 05/26/2020 - 09:34
Looks great!
This is awesome! My son and I are looking to build an L shaped desk for him and this looks to be the one. Any thoughts on how I would mount a computer tray beneath? Think there is enough clearance below the 2x4 without hitting knees?
Thanks!
DIY Charcuterie wth Watco Food Safe Finish
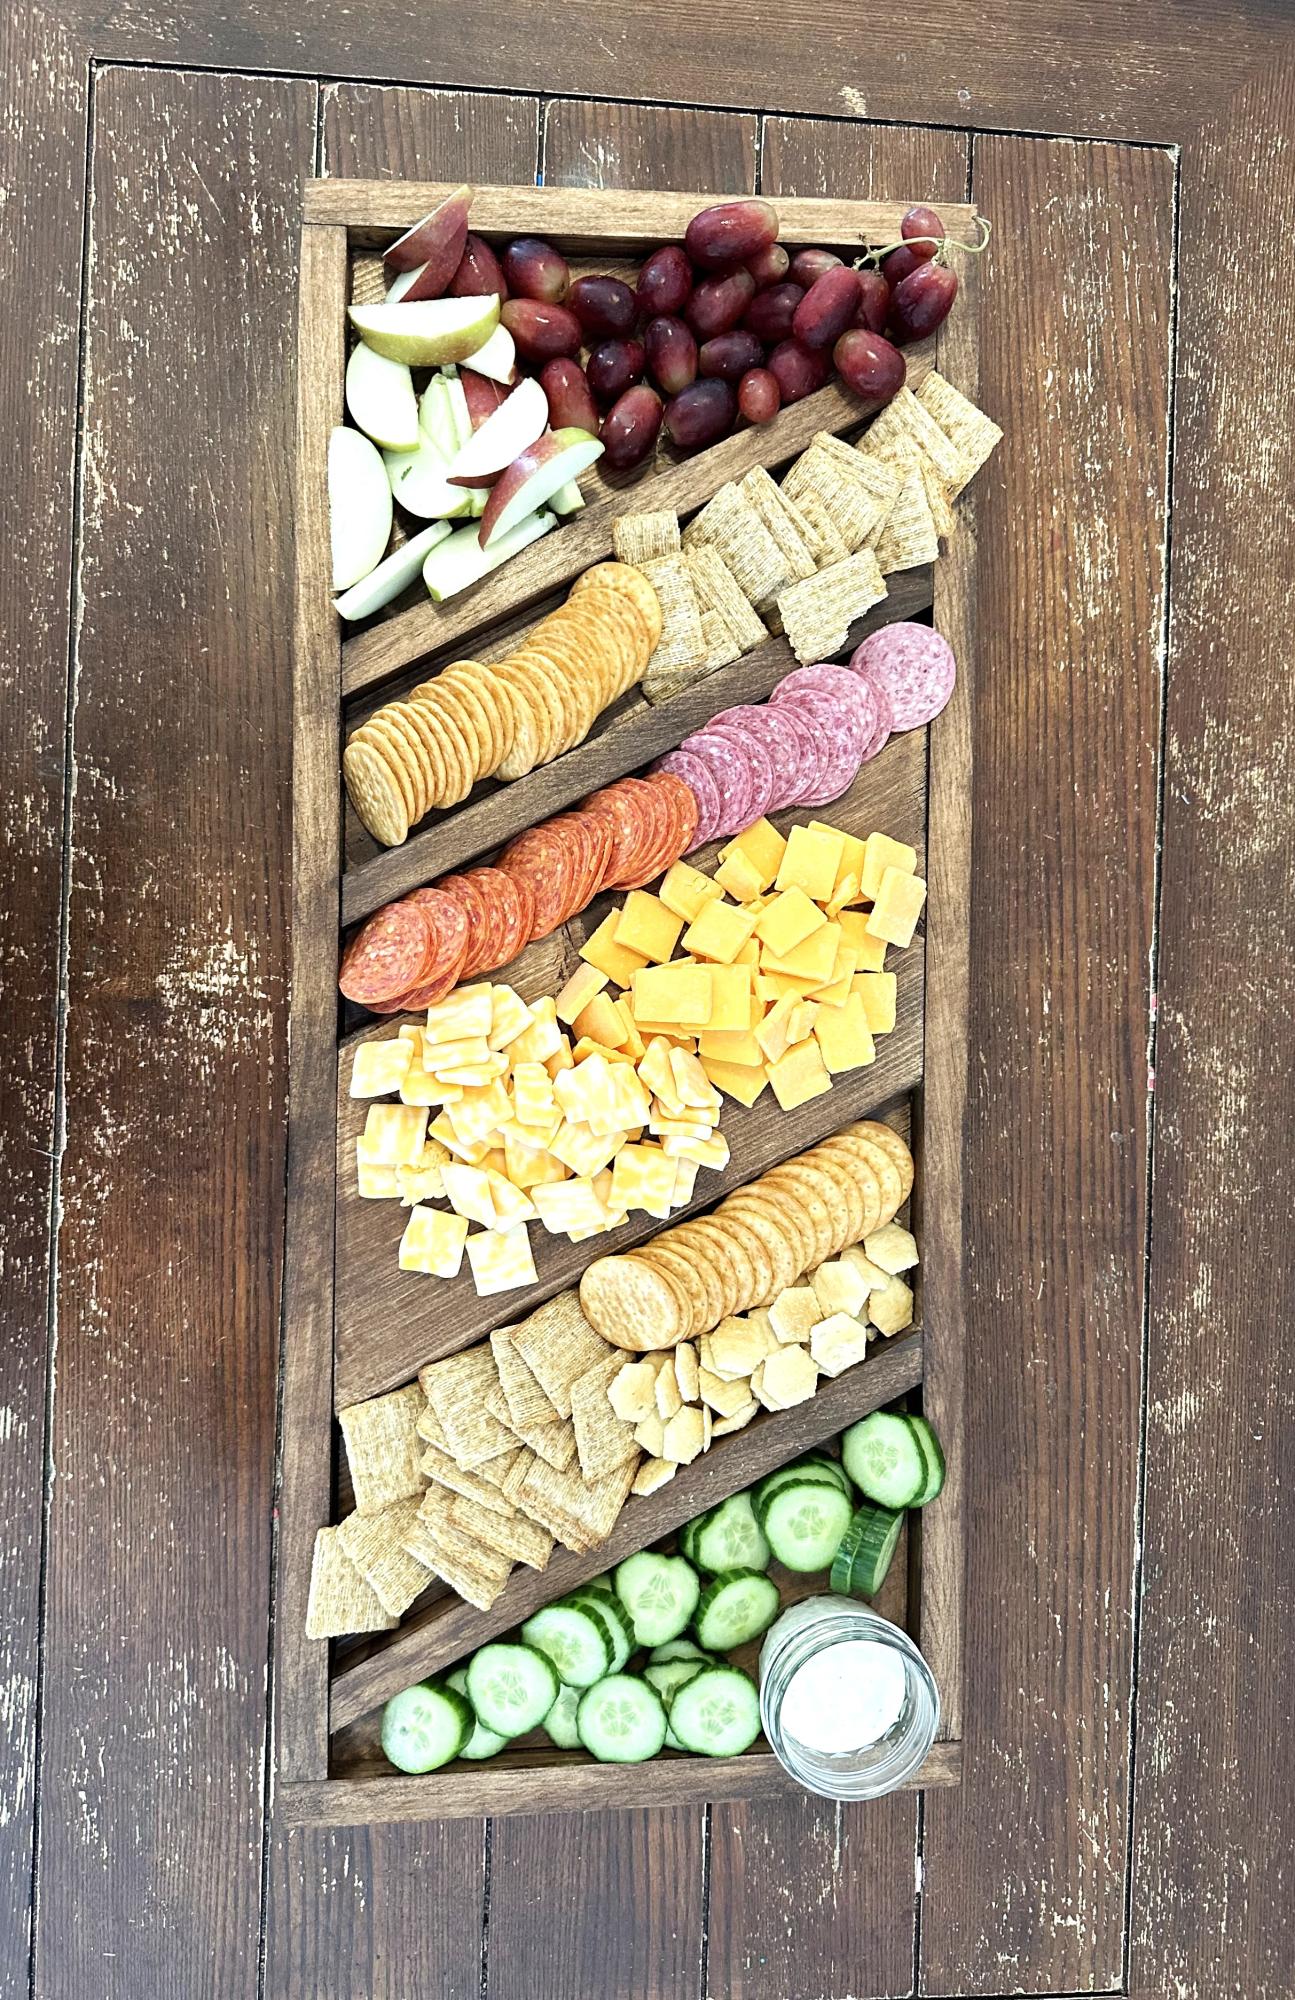
I made this charcuterie board for my niece and her family as a thank you for giving me an old miter saw they were not using… I have made a few now as gifts, and realize ….
Something “ made” means so much more to the recipient,
Because in the making we give our heartfelt generosity…
The stain is Watco food safe finish in hazelnut.
Ltr08
Built from Plan(s)
Seasonal And Holiday
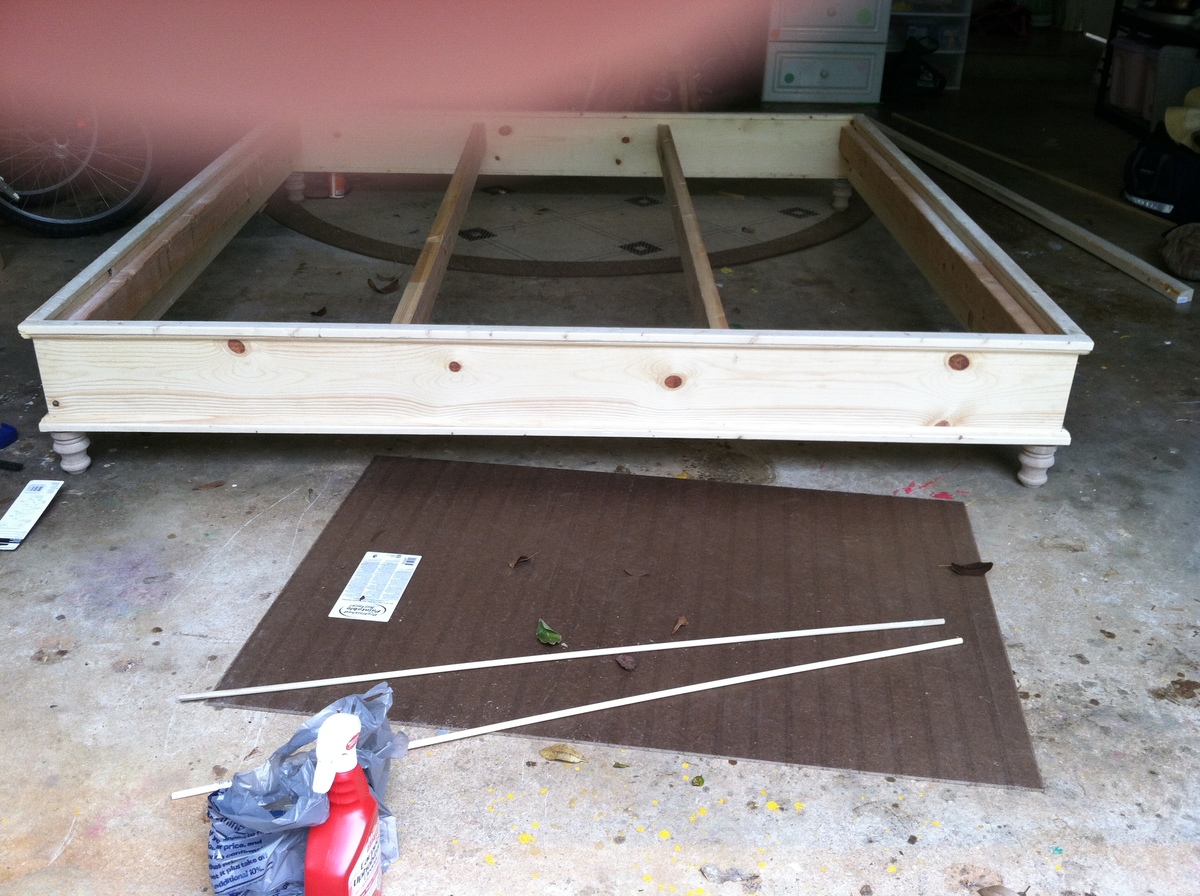
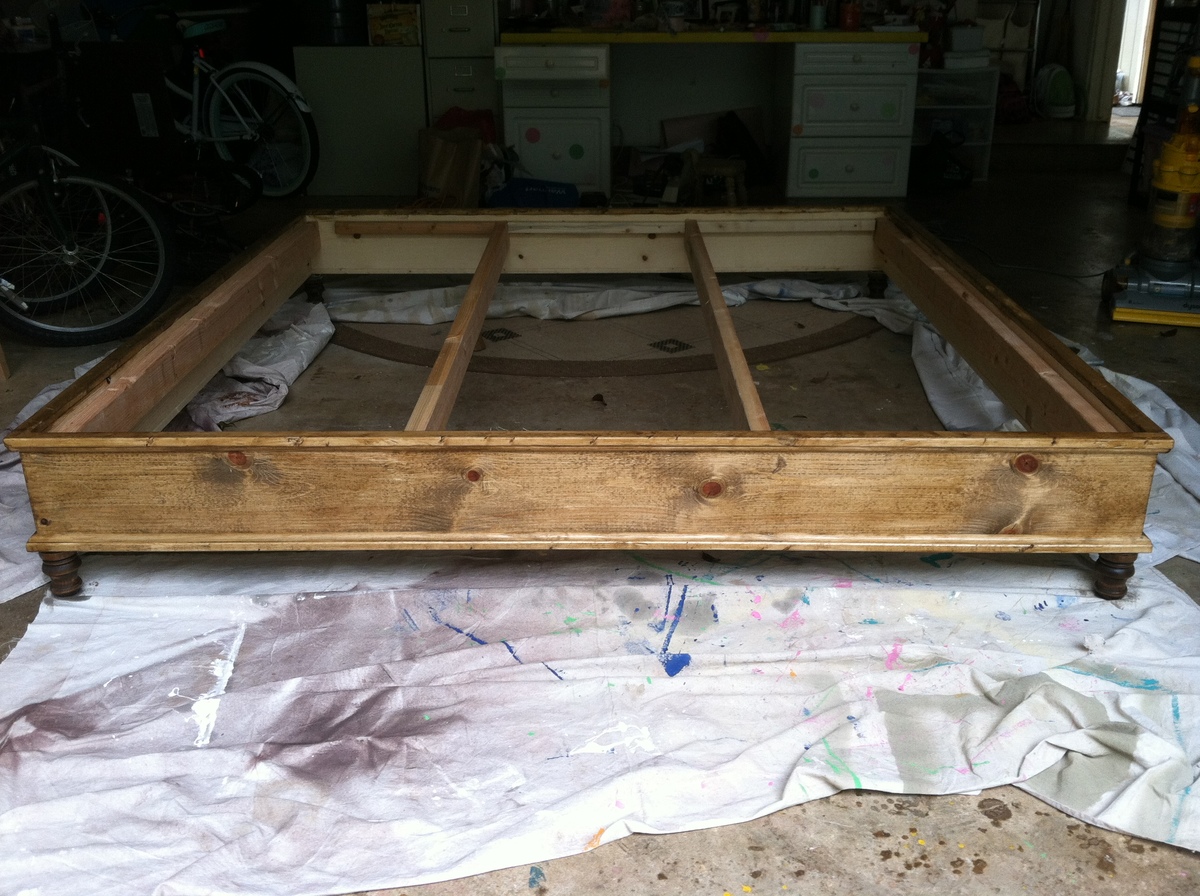
King Size Platform Bed
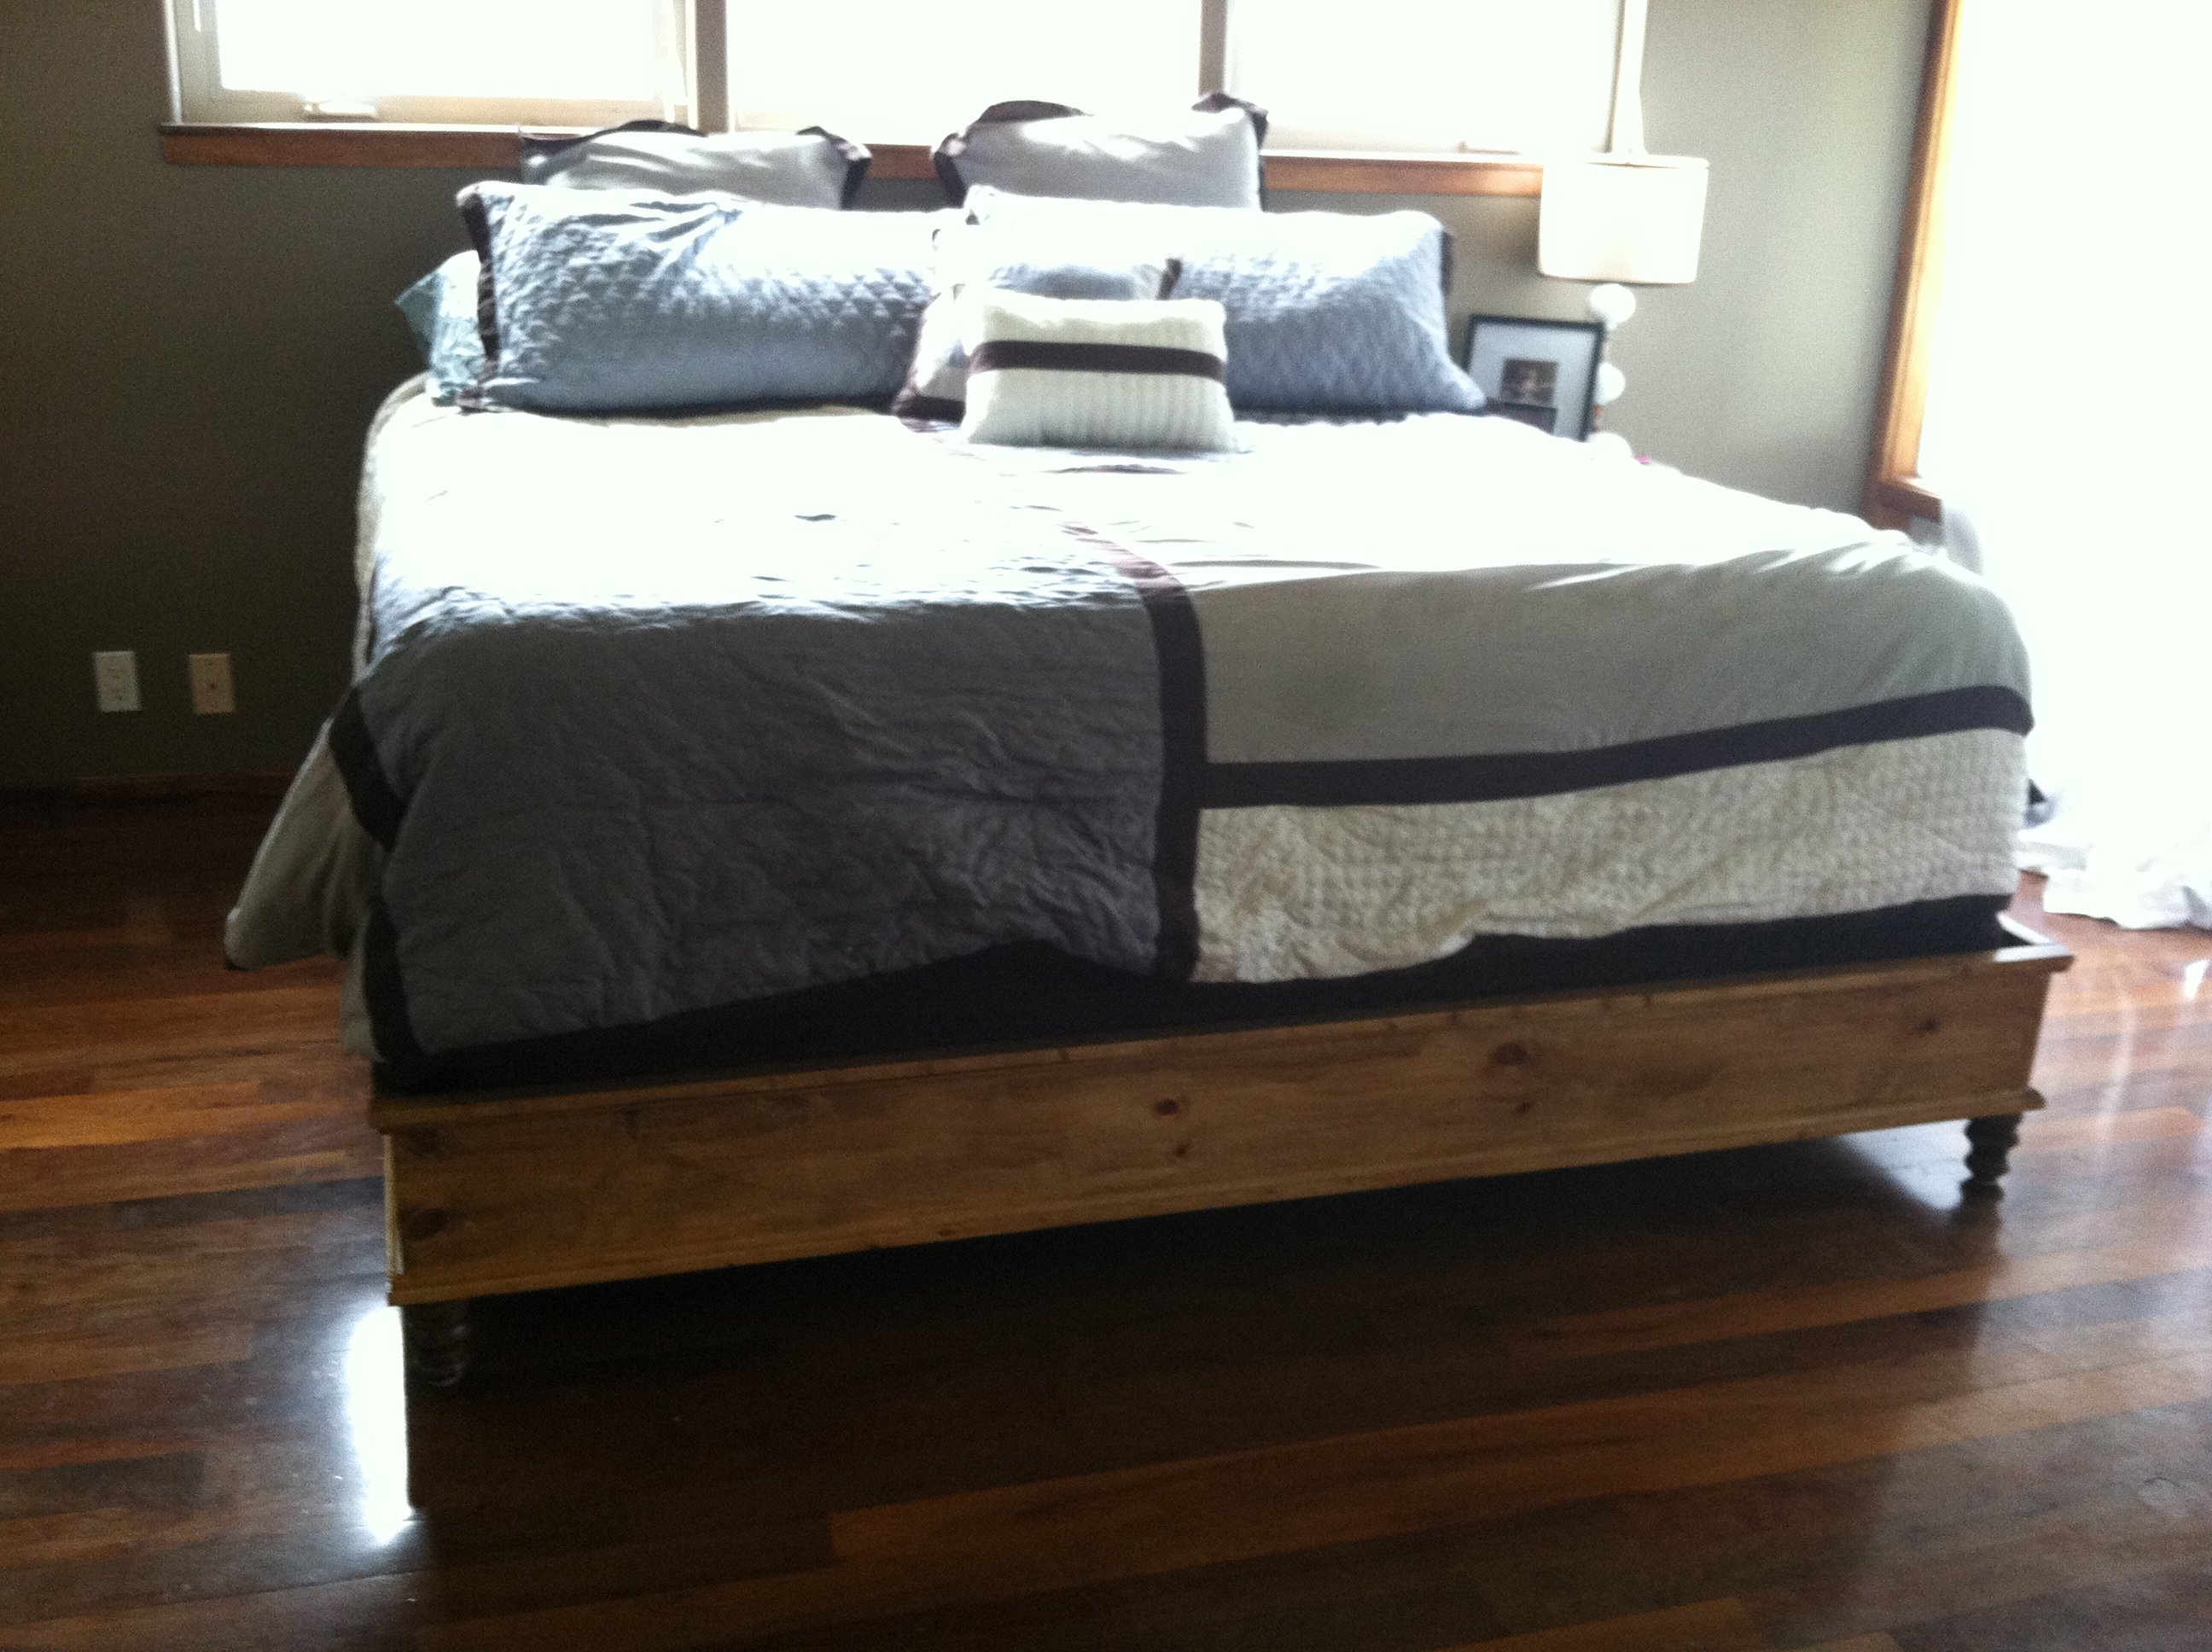
After building my daughter's beds and some outdoor day beds, I finally got around to building a bed for my husband and I. I altered the plans to a king size bed. I added a second 2x4 in the middle for support and around the inside edges as I used the box springs to make the bed taller. Using the kreg jig really made this project so easy. I also used 1x8's instead of 2x8's because I couldn't find those in Hawaii anywhere, except pressure treated wood. It still turned out great.
Thanks for the wonderful plans!
Built from Plan(s)
Estimated Cost
$125
Estimated Time Investment
Afternoon Project (3-6 Hours)
Finish Used
I used cabot stain in antique walnut with a cabot satin poly over it.
Recommended Skill Level
Beginner
Comments
Mon, 06/25/2012 - 19:40
King platform bed
I LOVE this bed! I'm asking my husband to build it and I was wondering if you could email me the dimensions for the plans of a king size Chestwick Platform bed? I'm pretty sure he could figure them out on his own, but I'd love to make it easier for him :) Love your work!
In reply to King platform bed by Katie Saldivar (not verified)
Sun, 07/22/2012 - 11:58
dimensions
I made the bed 80 x 79
Tue, 10/26/2021 - 10:48
cut list for the king size measurements
Amazing! can you please provide the cut list for the king size measurements?
Thank you!
Maple Mission-Style Farmhouse Table
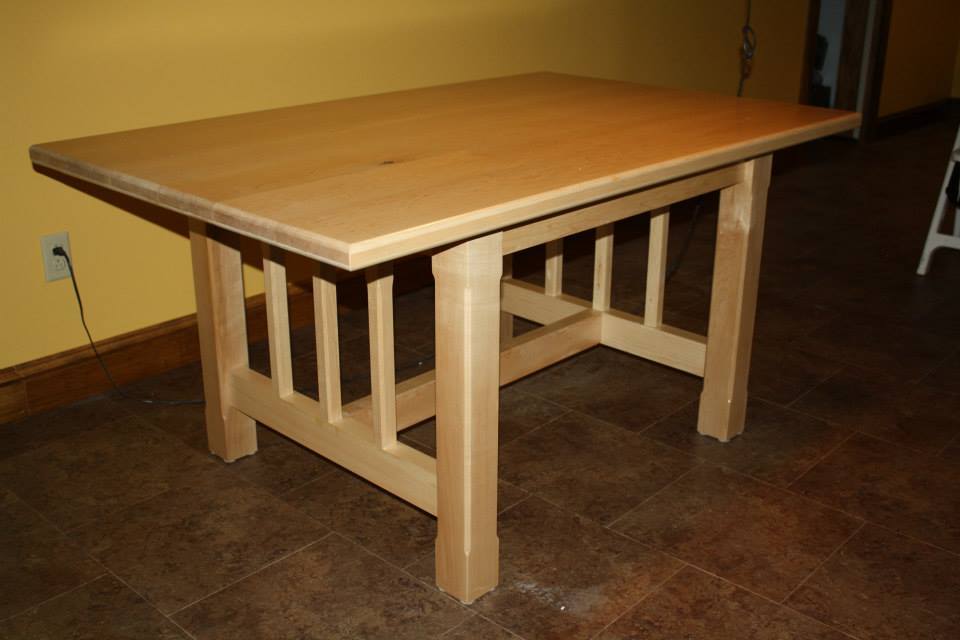
Using the Farmhouse Table plans I just modified them to the dimensions I thought would be best for my space. Tried mortise/tenon joinery on the legs and that took a lot of time since it was my first time. The table top is put together with pocket hole joinery. I love my Kreg Jig.
Recommended Skill Level
Intermediate
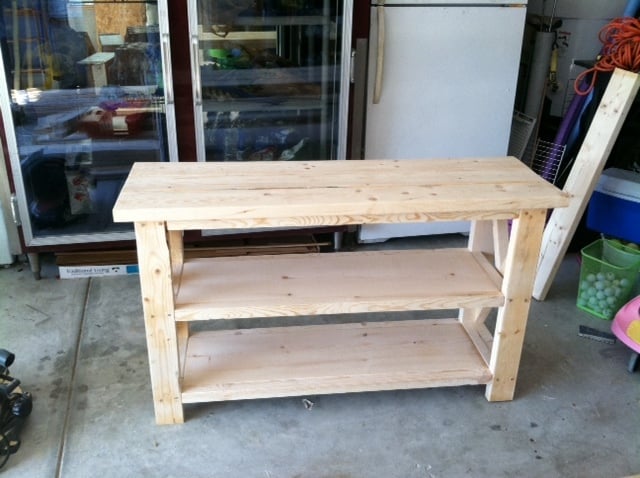
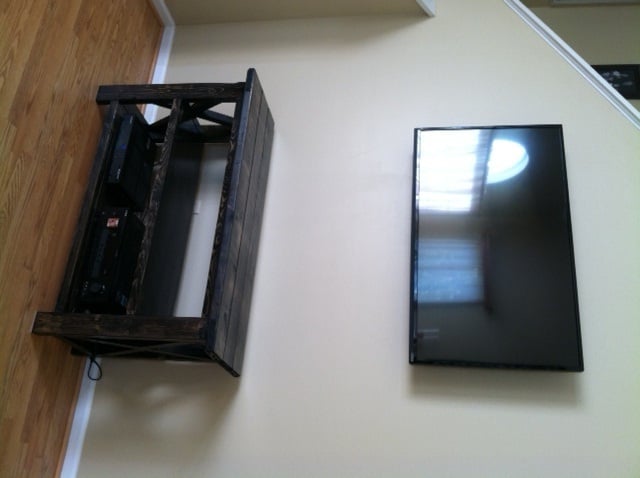
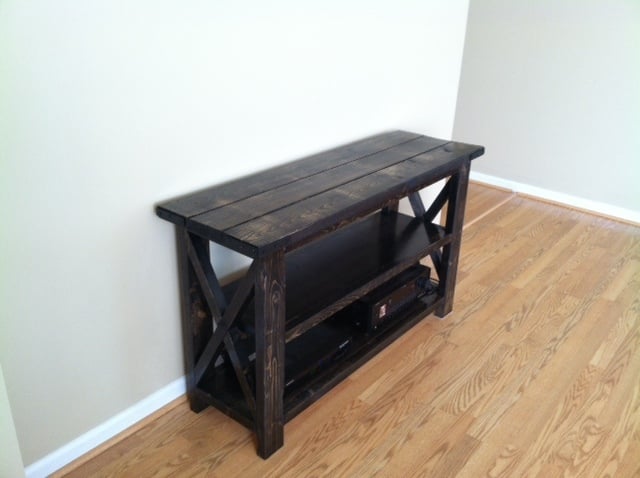
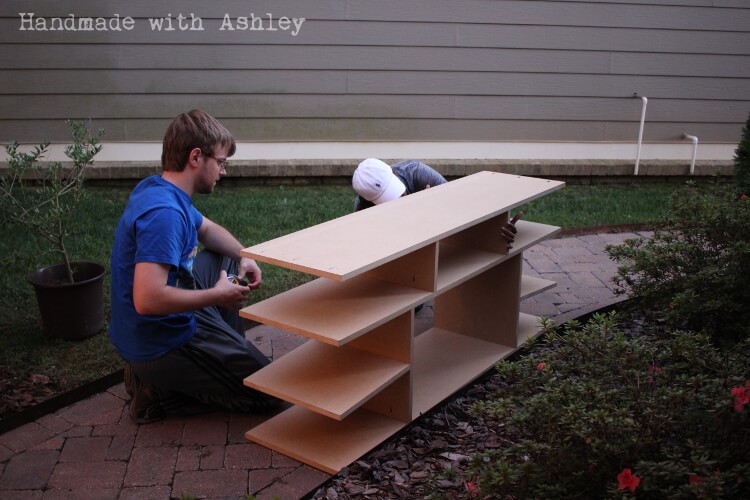
DIY Media Console
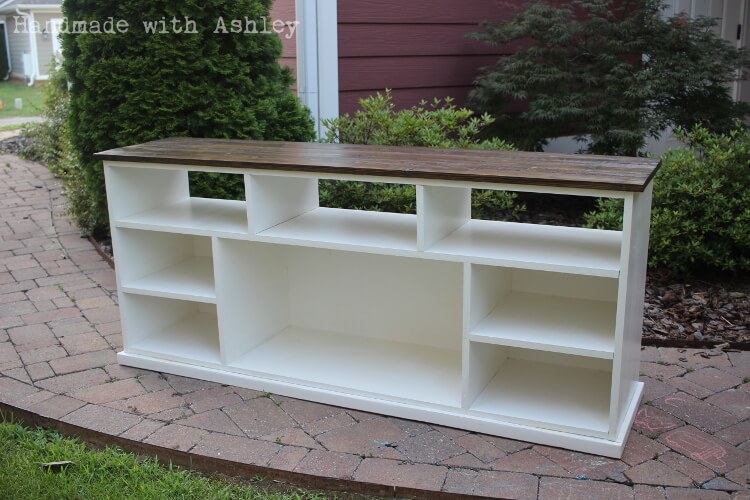
Several months ago, my sister approached me with the request of helping her build a media console for her home. We left off the doors and drawers in favor of having open shelves. We worked on this project over the course of several weekends and my sister is very happy with the final result!
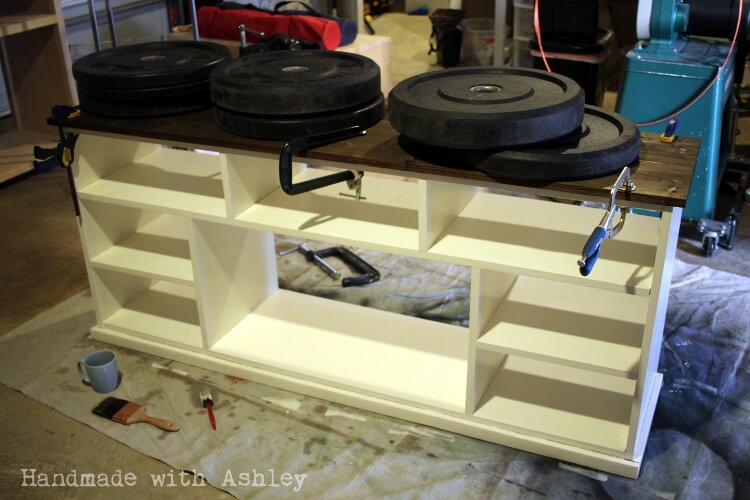
Built from Plan(s)
Estimated Cost
$150
Estimated Time Investment
Week Long Project (20 Hours or More)
Finish Used
Minwax Jacobean, ECOS Paints WoodShield Satin Varnish
Recommended Skill Level
Intermediate
Holiday Wood Table Runner
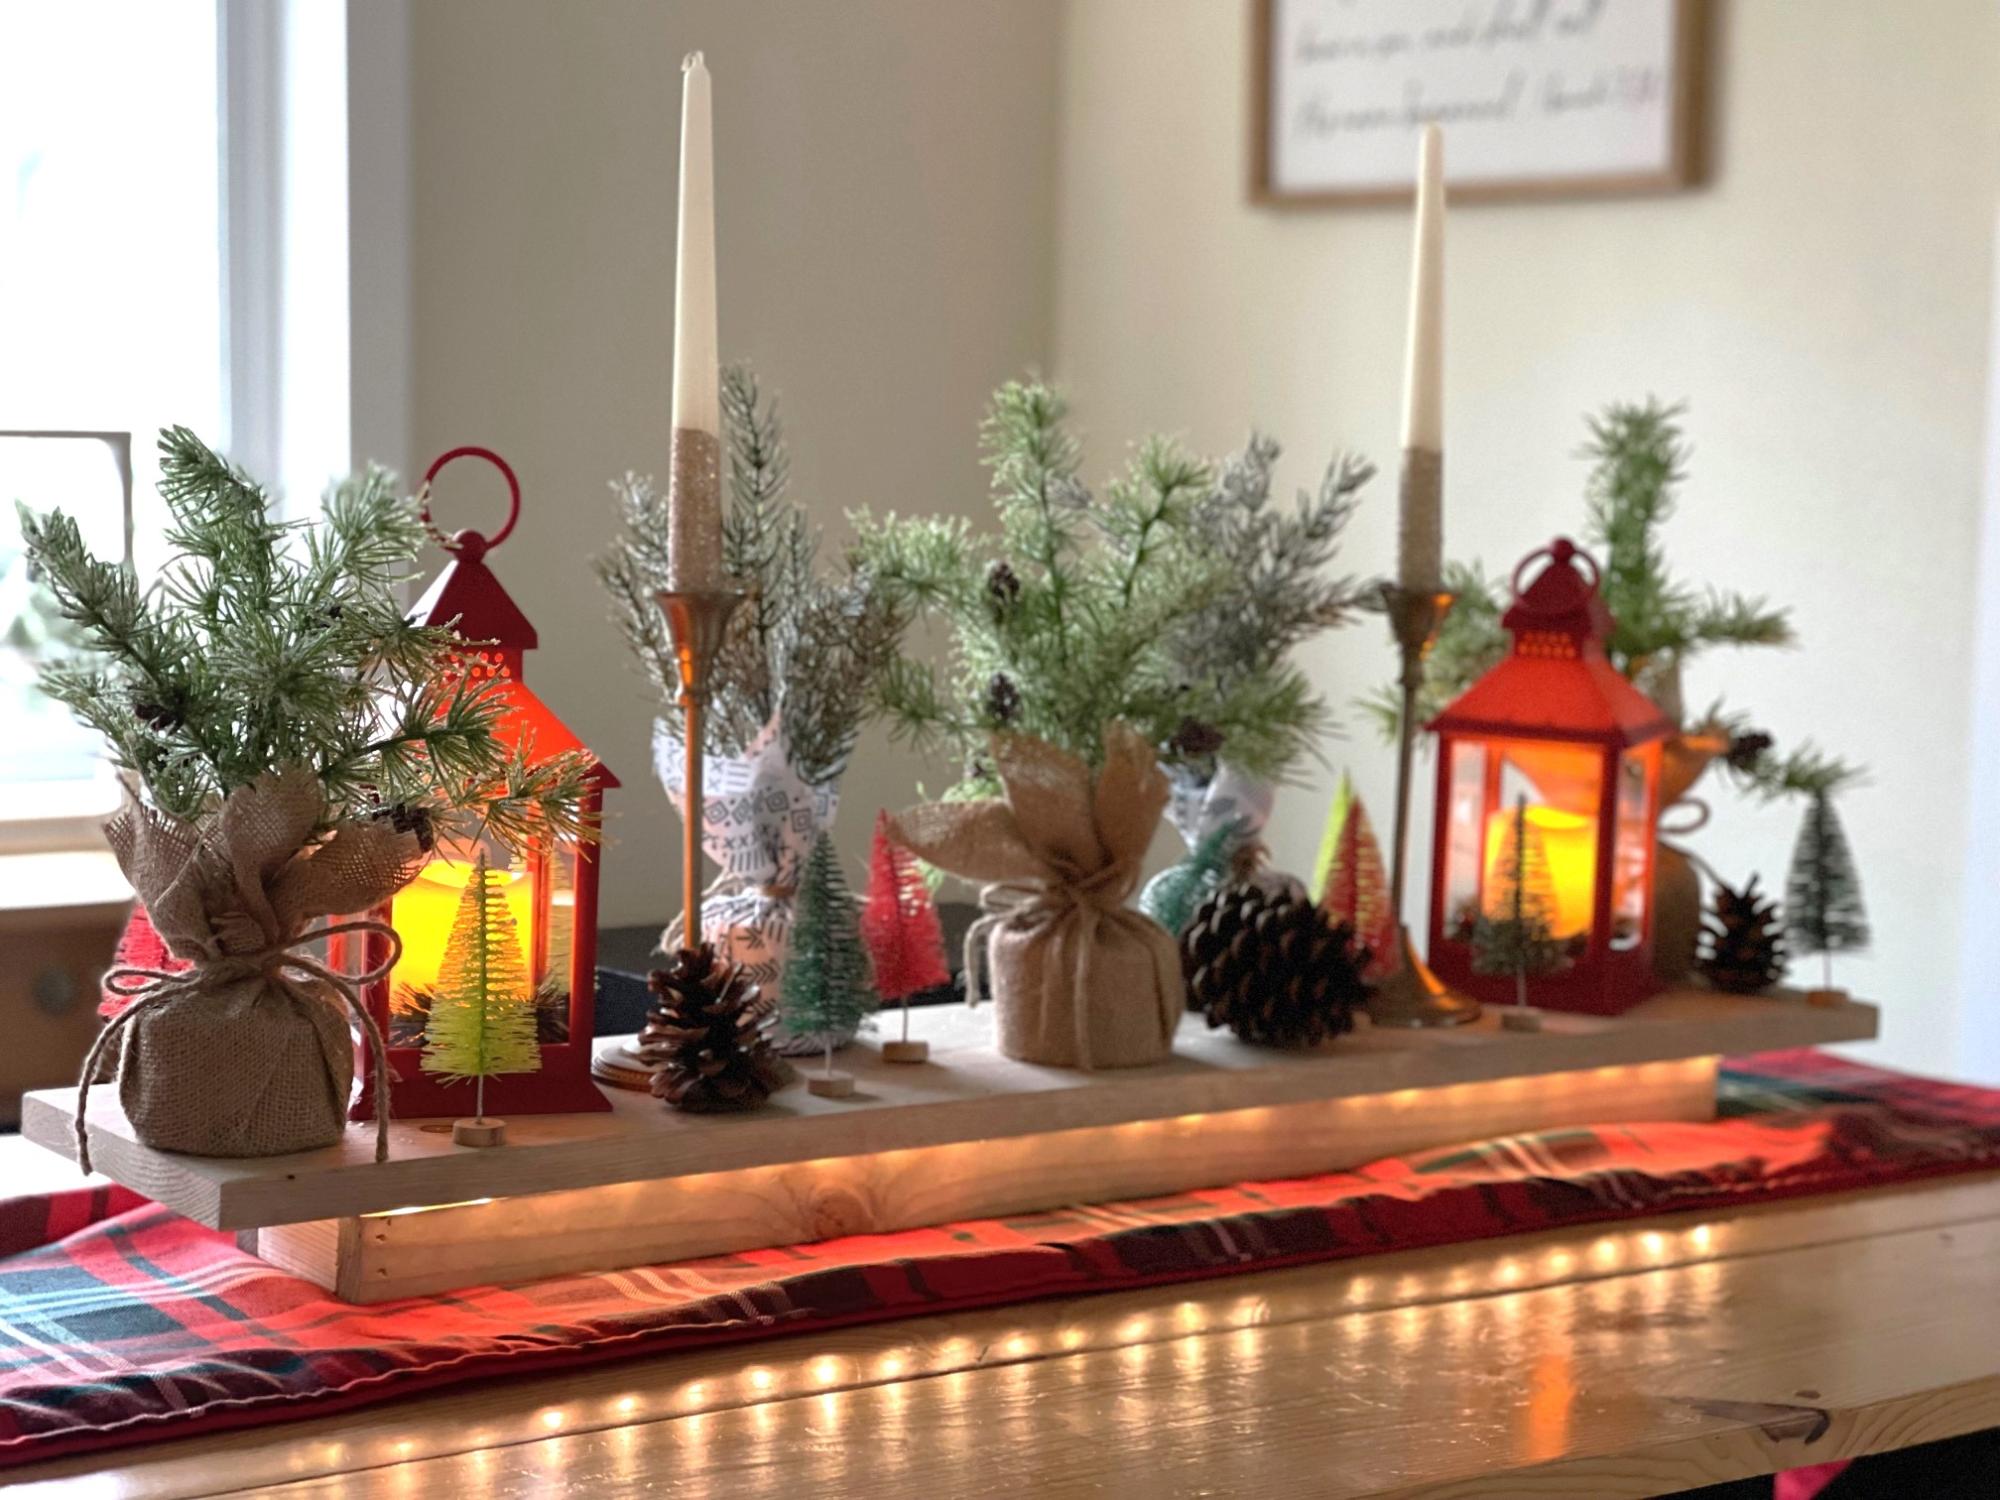
I switched out my fall pumpkin decor for Christmas decor!
Built from Plan(s)
Seasonal And Holiday
Extra Large Shoe Shelf
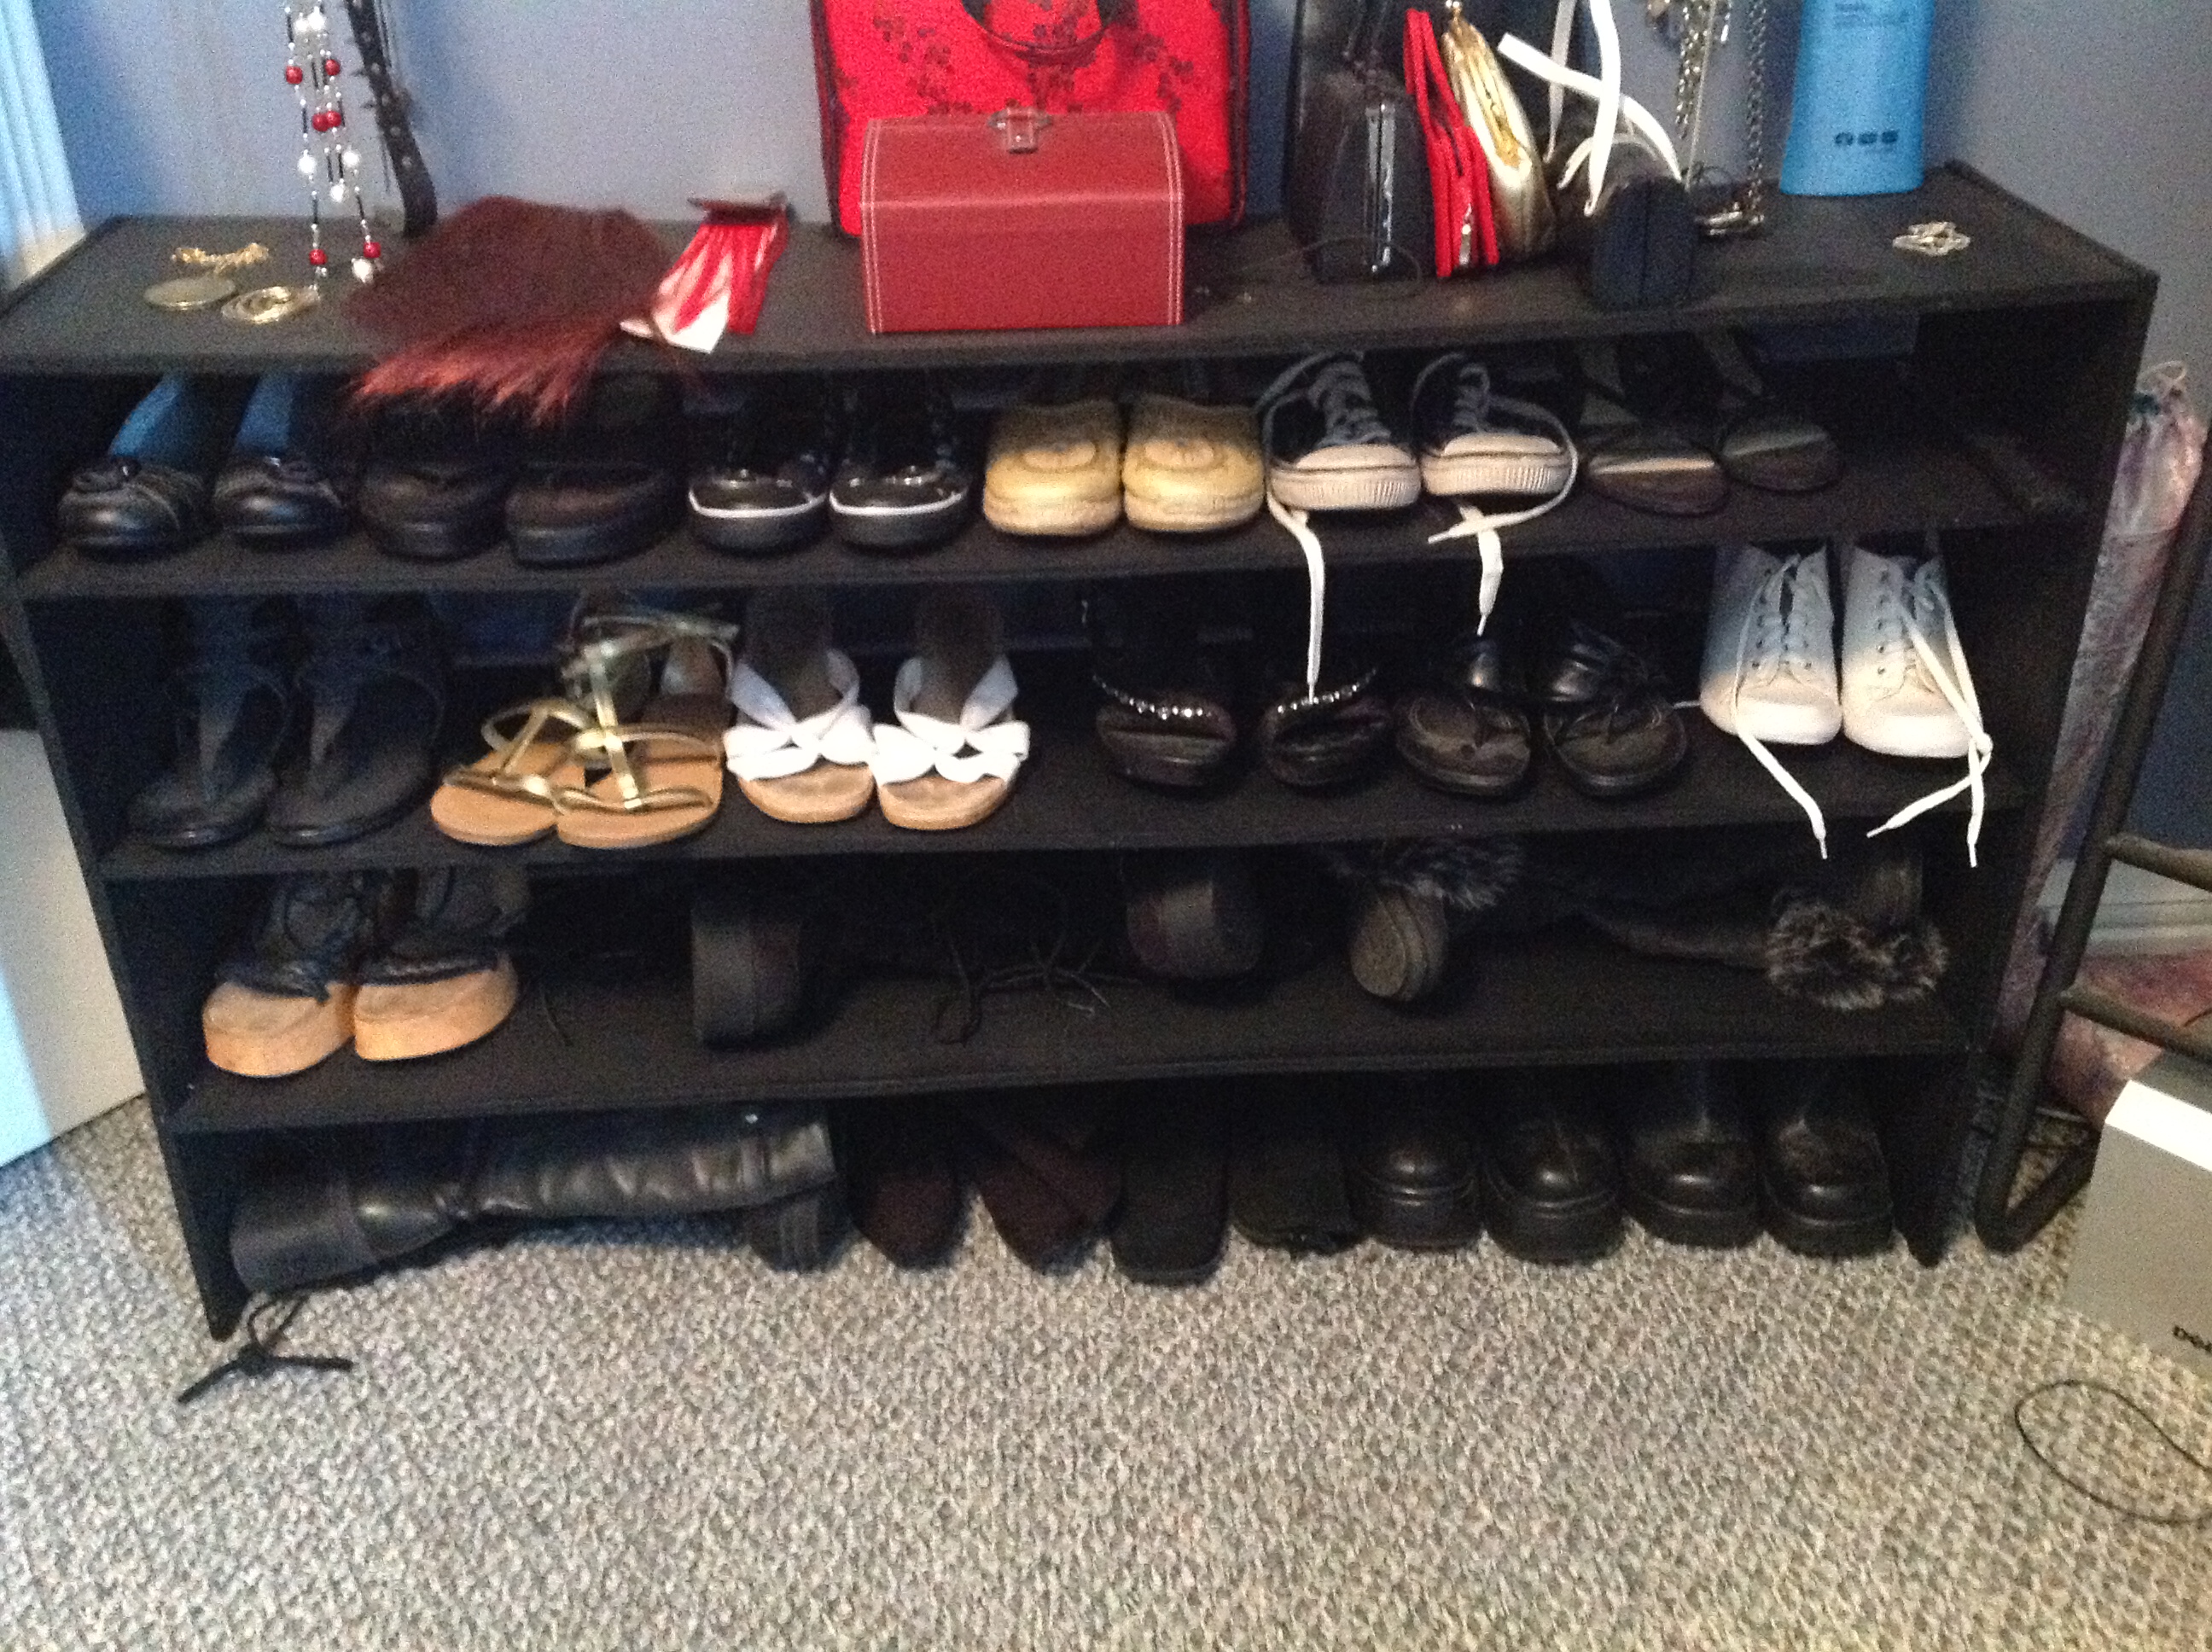
Like just about every woman, I have LOTS of shoes! Well I couldn’t find an attractive enough shoe rack to fit in with our “Closet” furniture. We use an entire bedroom that our bedroom is connected to because the closet in that bedroom is minuscule. Anyway the closest I came was a simple design from the particleboard stacking closet unit line, you all know what I’m talking about. Well the problem was that they were $10 each & I would have needed like 6 of them & they didn’t come in black, which I tend to like because it doesn’t show dirt & that way all the furniture in the house is interchangeable if I feel like moving things around. I had plywood left over from my bed project so I just copied the design but made it a bigger single unit.
Estimated Time Investment
Afternoon Project (3-6 Hours)
Finish Used
Valspar Flat Black Indoor/Outdoor Enamel
Recommended Skill Level
Beginner
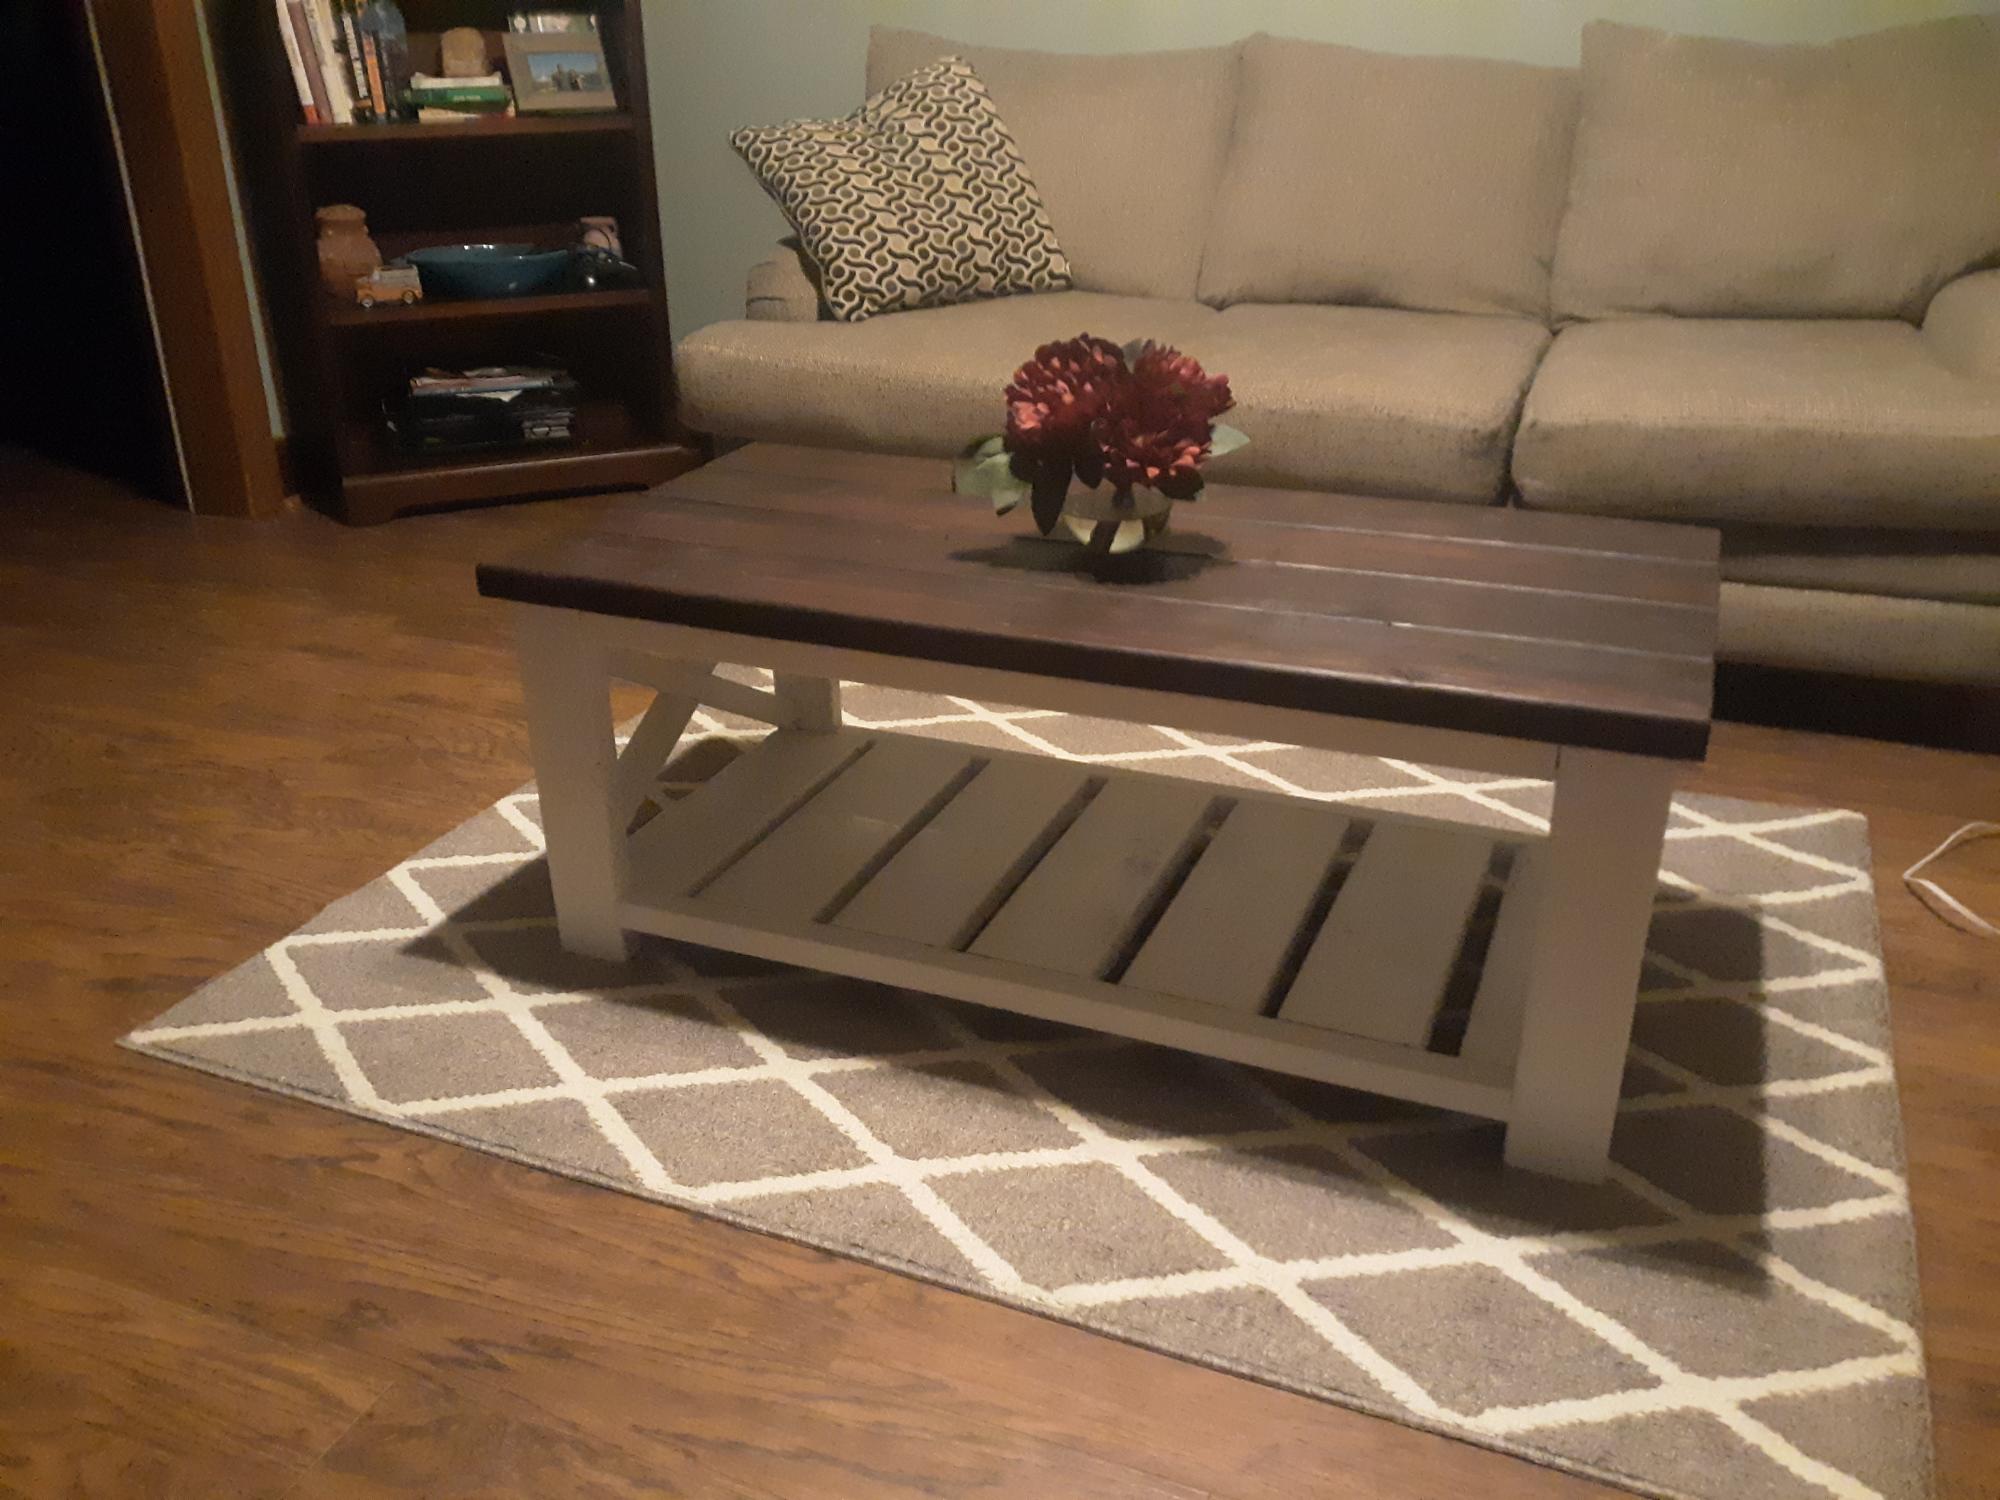
Chalkboard Coffee Table

So I used the tryde coffee table plans and modified to size I wanted. For the top I cut off round edges on my table saw and them laminated with glue and pocket screws. I used 2 coats of the chalkboard paint allowing to dry 24 hours for each coat

Built from Plan(s)
Estimated Cost
75
Estimated Time Investment
Day Project (6-9 Hours)
Finish Used
Valspar Chalkboard paint
Colonial Maple Minwax stain
Colonial Maple Minwax stain
Recommended Skill Level
Starter Project
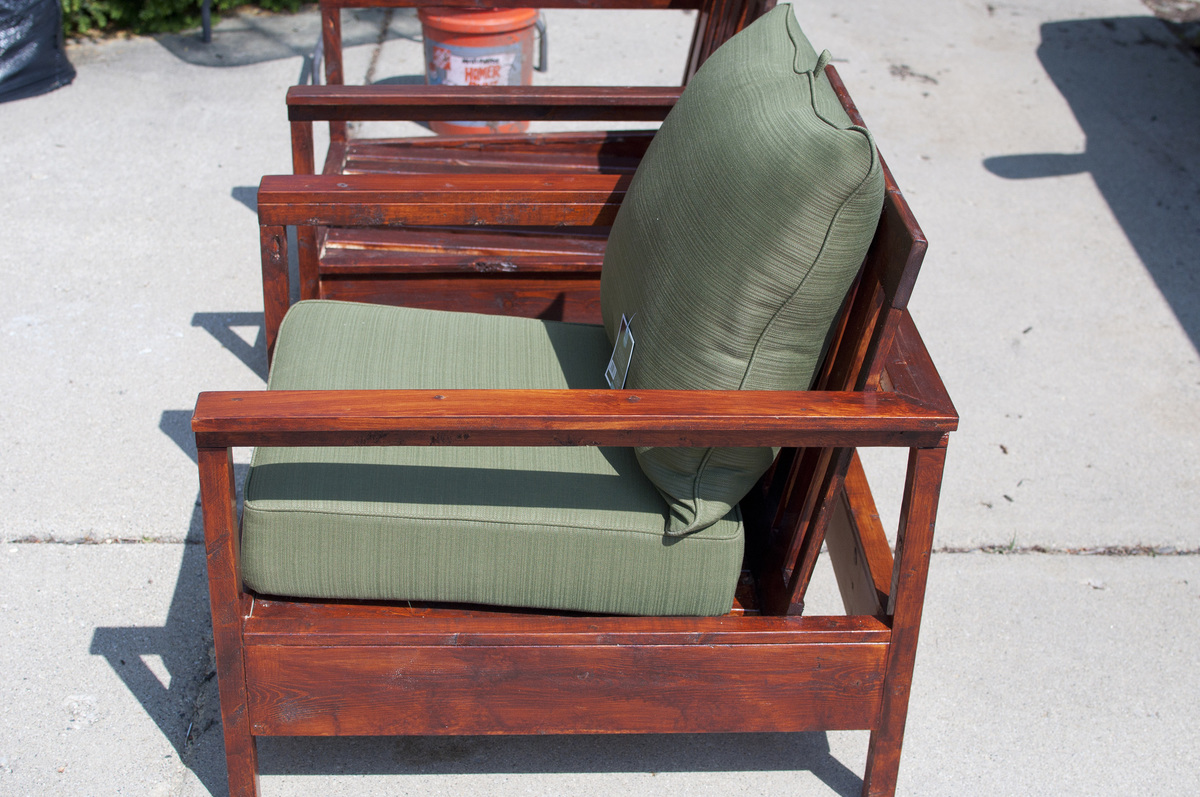
Outdoor couches
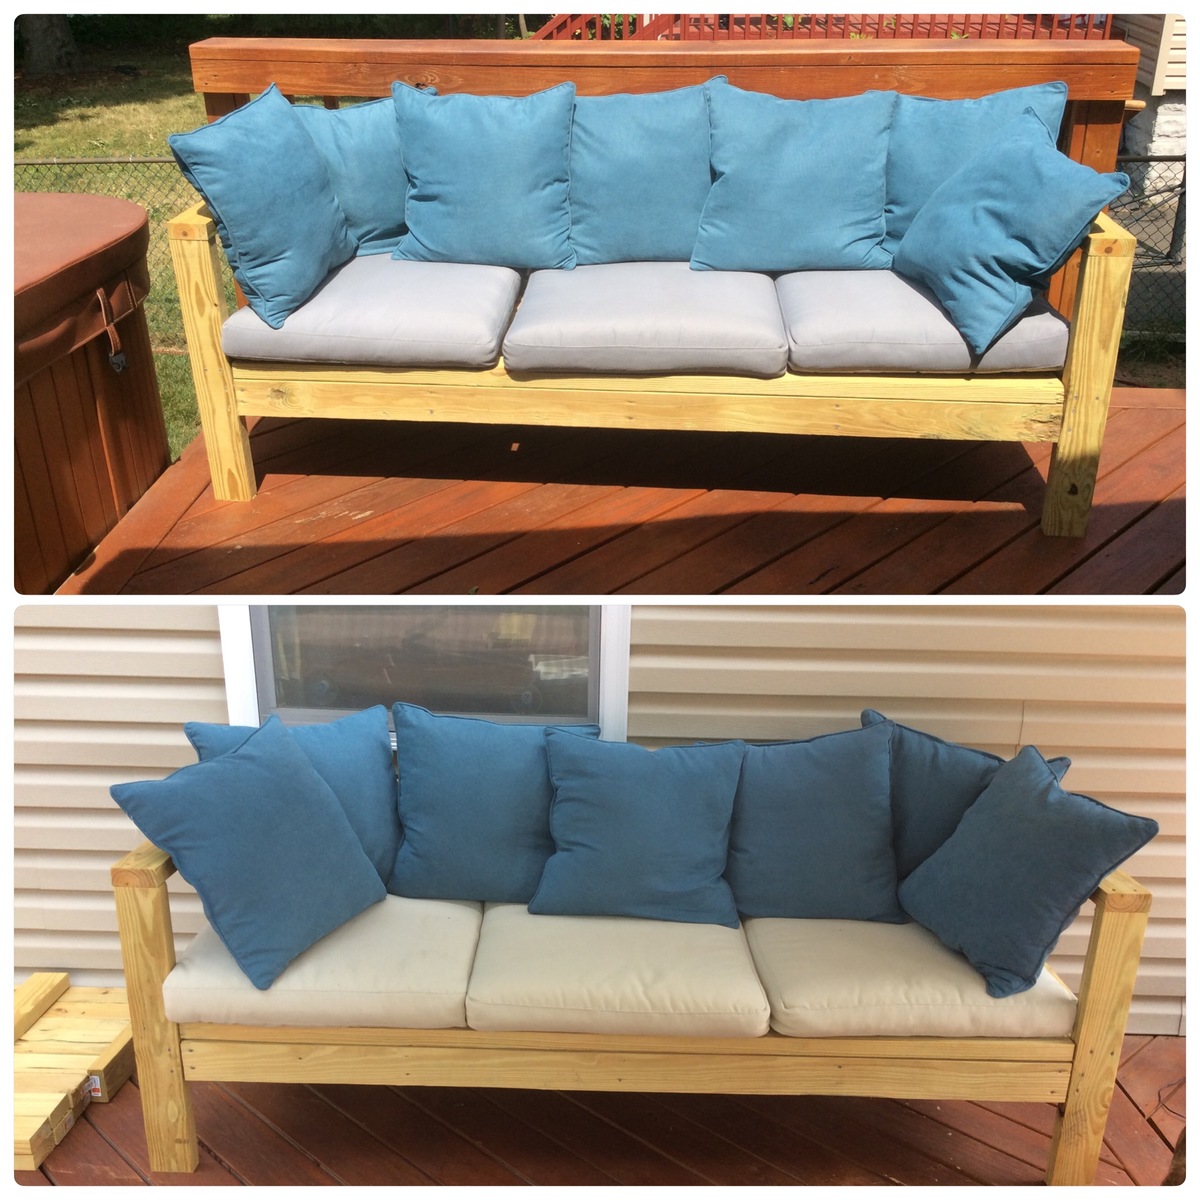
Started off with the intention of buildings the 2x4 sectional. Decided on building two couches instead to be able to move around based on needs. The biggest expense were the cushions ( found the back pillows on clearance). Plan to stain later.
Estimated Time Investment
Day Project (6-9 Hours)
Recommended Skill Level
Beginner
Farmhouse Coffee Table
Worked on this table last week to save me some money on buying one from a store. This was my first ever time in my life building something on my own and I was surprised how easy it was. Came out better then I expected.
Estimated Cost
50
Estimated Time Investment
Afternoon Project (3-6 Hours)
Recommended Skill Level
Beginner
Farmhouse Console Table
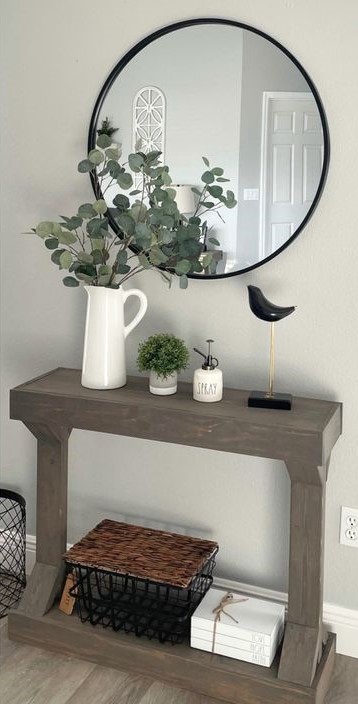
Modern Farmhouse Console Table by Home with Jules
Built from Plan(s)
Barstools

A 30" tall bar stools inspired by the plan simplest stool.
Built from Plan(s)
Estimated Cost
$ 40- $60
Estimated Time Investment
Afternoon Project (3-6 Hours)
Finish Used
valspar white paint
Recommended Skill Level
Beginner
Comments

Fri, 07/20/2012 - 05:32
I like your design. Finally
I like your design. Finally made an account and will be making matching ones. Thanks for the inspiration. If the better half doesn't like the first one I will have a new stool for my workbench

Tue, 09/04/2012 - 15:20
by adjusting circular saw
by adjusting circular saw depth and using chisel and hammer and lots of sanding :)
Coffee table
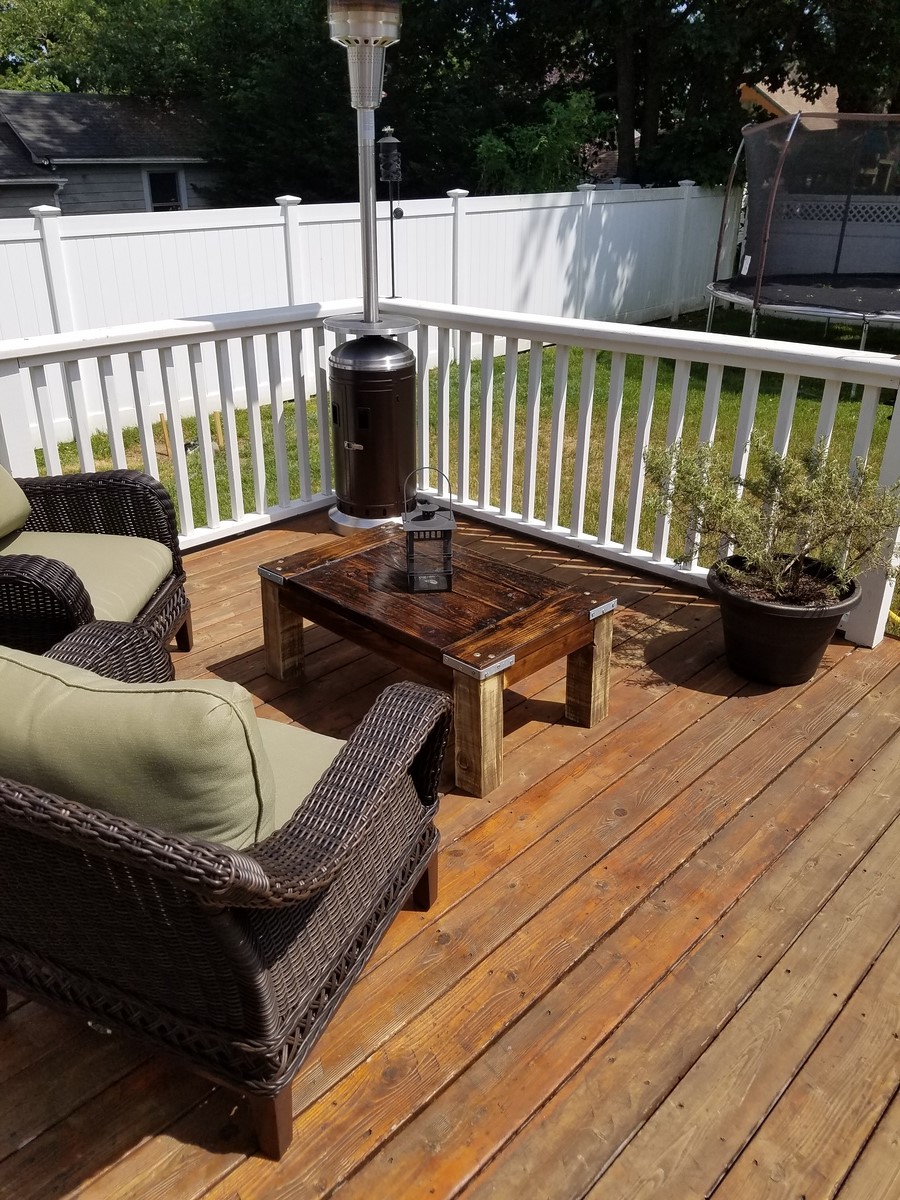
Outdoor coffee table. Used 2x6 for table top. Legs are 4x4 pressure treated wood. Stain is white vinegar and steel wool mix.
Built from Plan(s)
Estimated Cost
30.00
Estimated Time Investment
Afternoon Project (3-6 Hours)
Finish Used
White vinegar and steel wool with black tea
Recommended Skill Level
Beginner
Braden Bench and Hutch
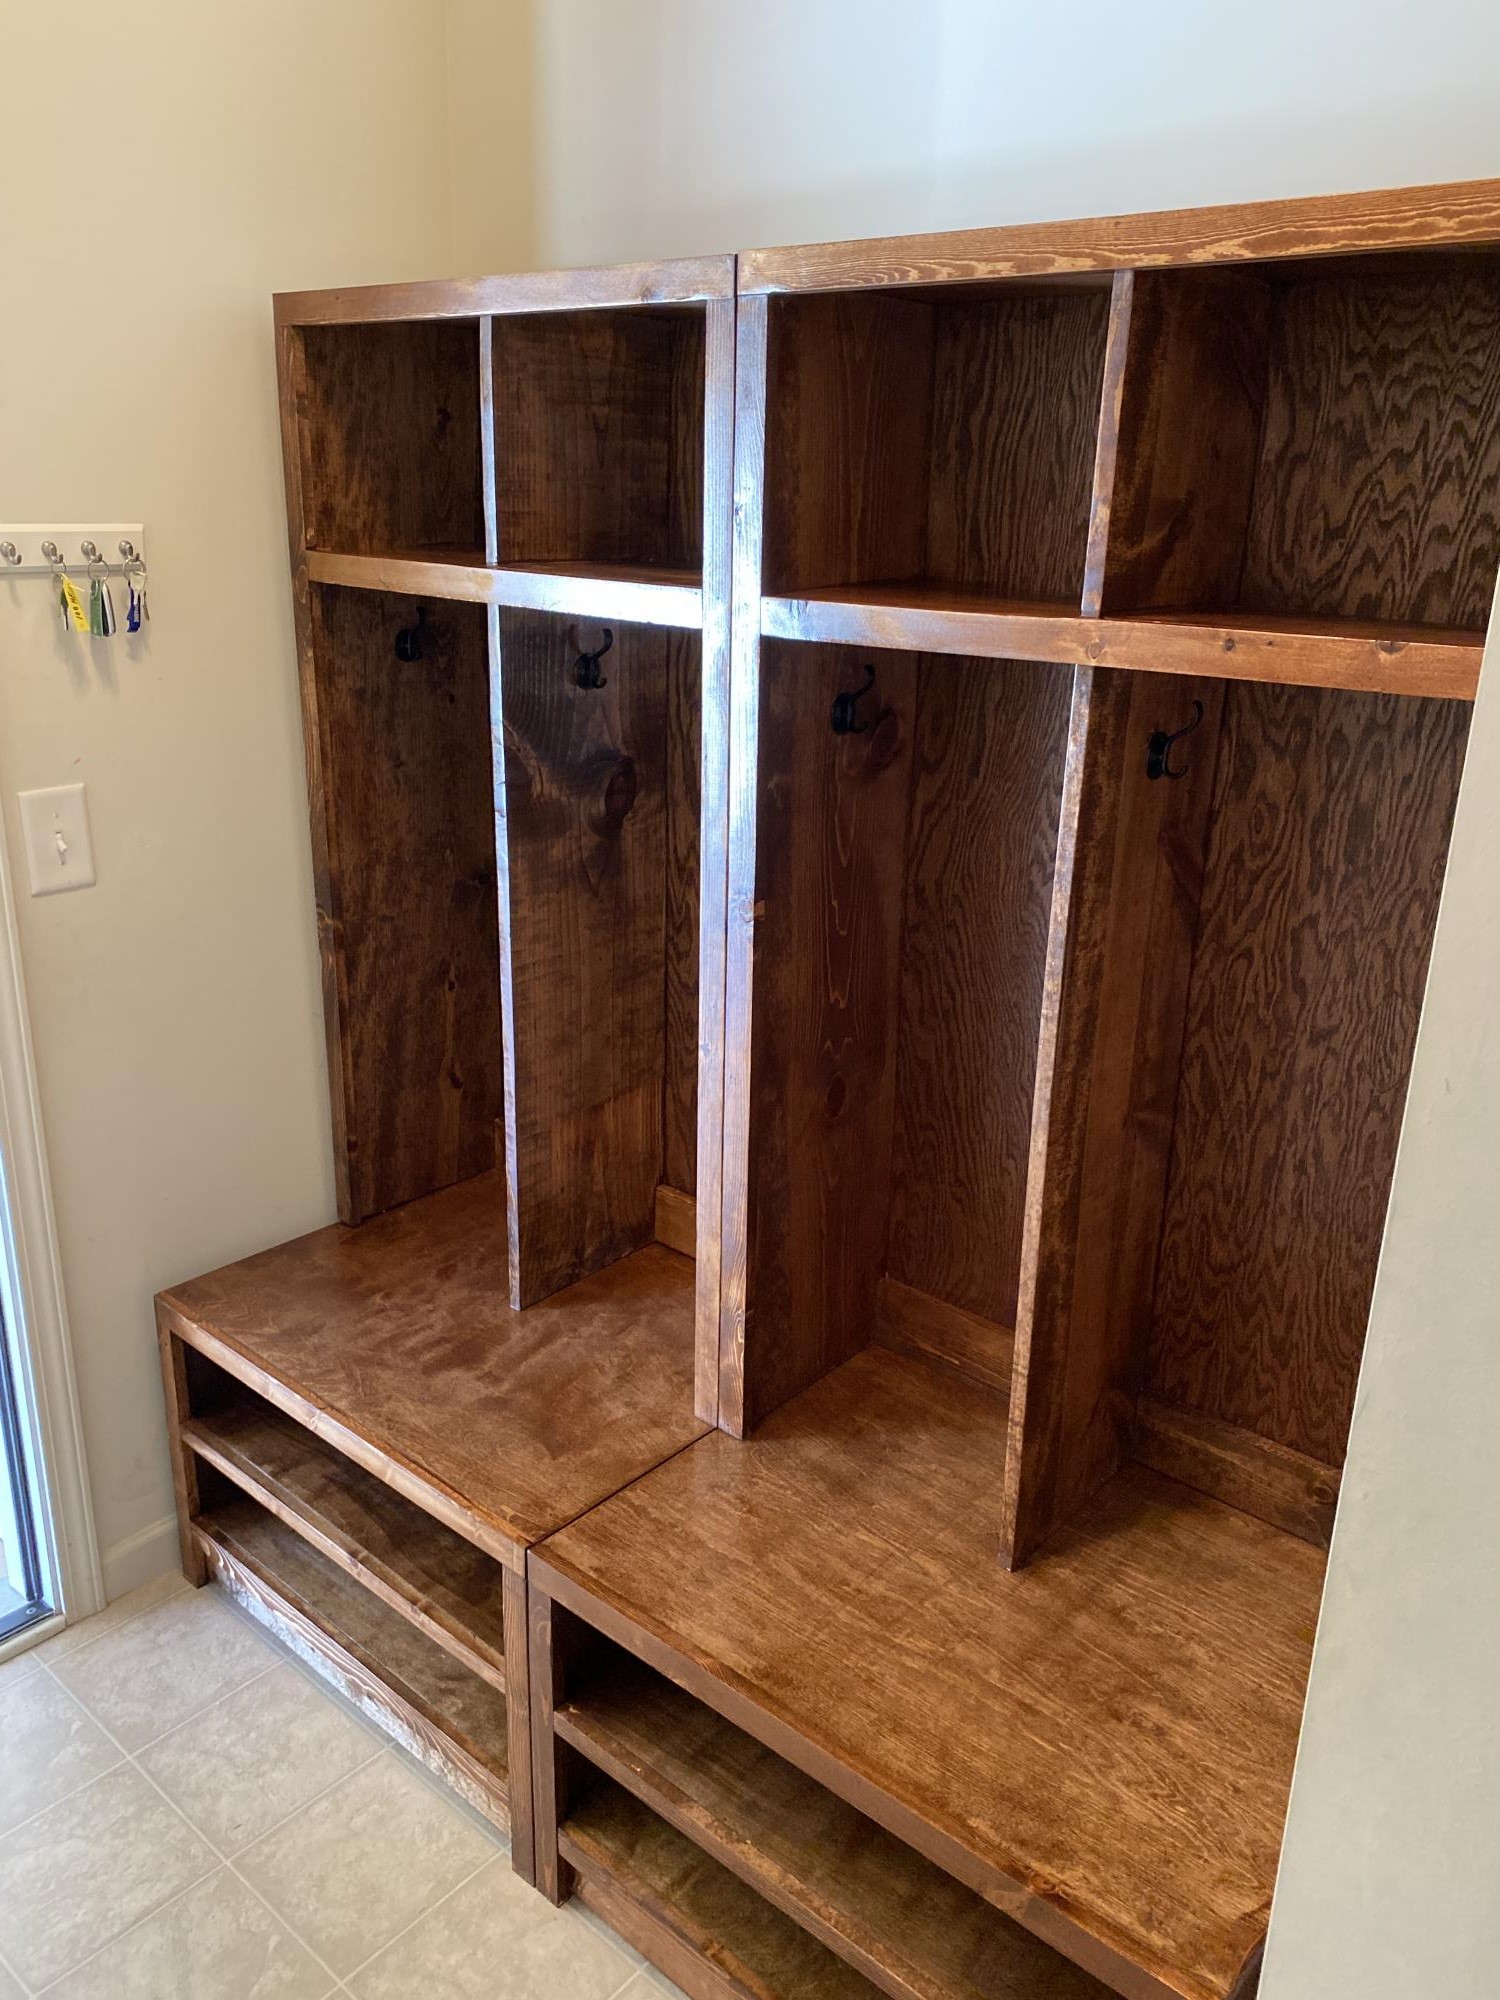
Took the standard Braden Bench/Hutch plans and used a English Chestnut stain to really make them pop. If used a few plans from this site but this one turned out the best. Unfortunately I didn’t have enough space to use the mail sorting hutch plans for a middle locker.
Estimated Cost
150.00
Estimated Time Investment
Week Long Project (20 Hours or More)
Finish Used
English Chestnut stain and multiple coats of polyurethane. Sanding after each coat of poly.
Recommended Skill Level
Intermediate