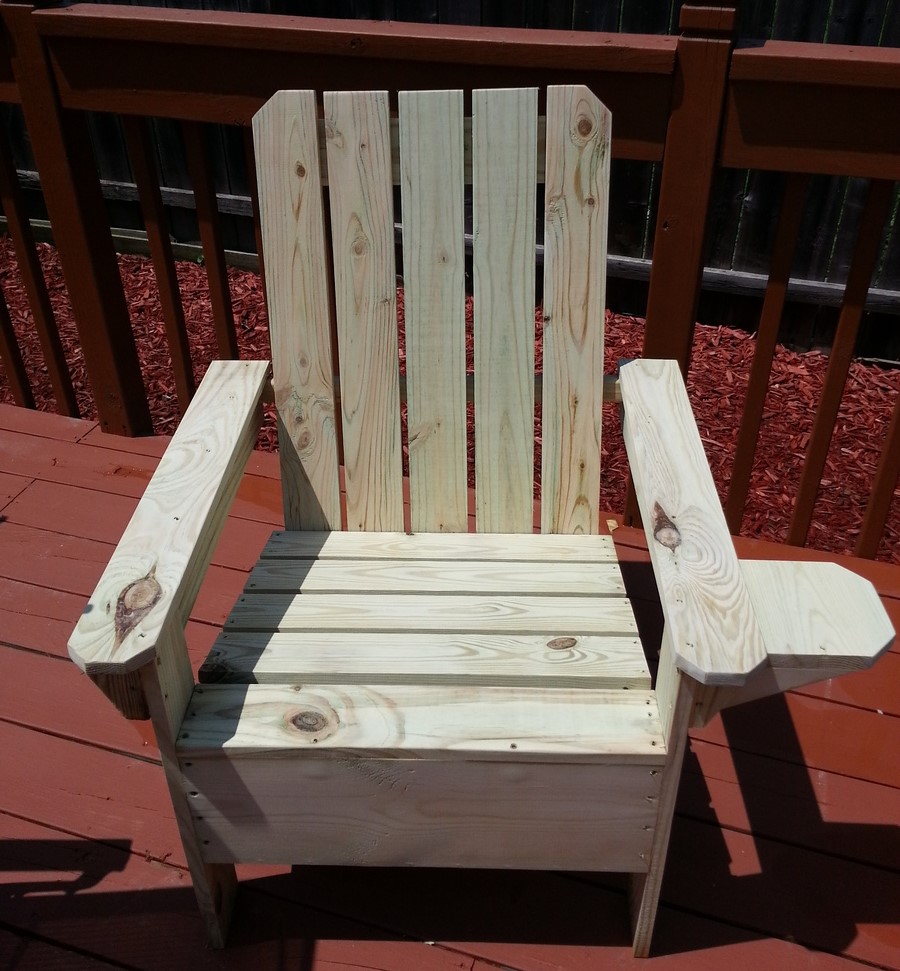
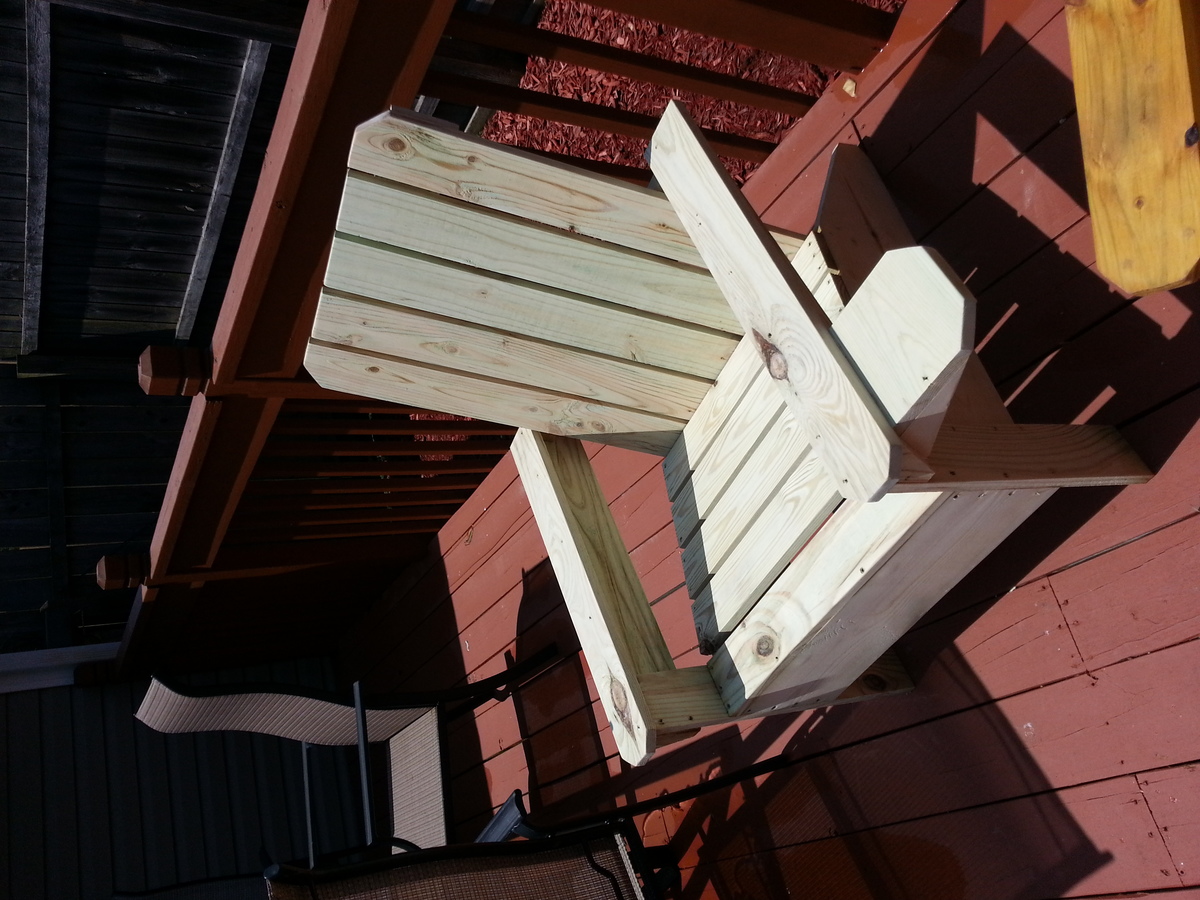
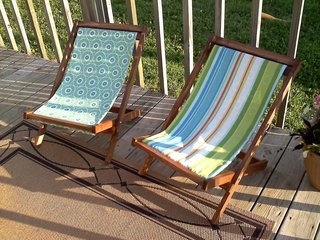
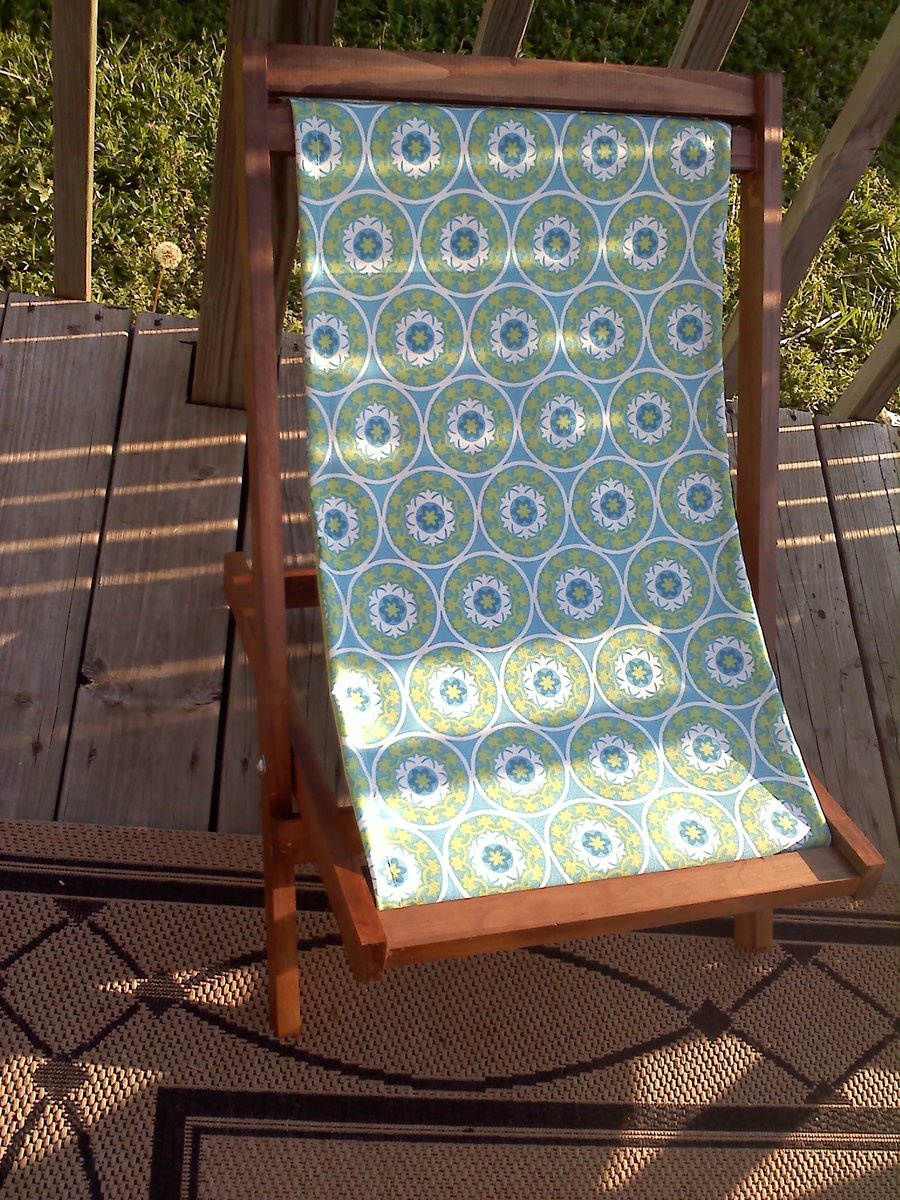
Adirondack chairs
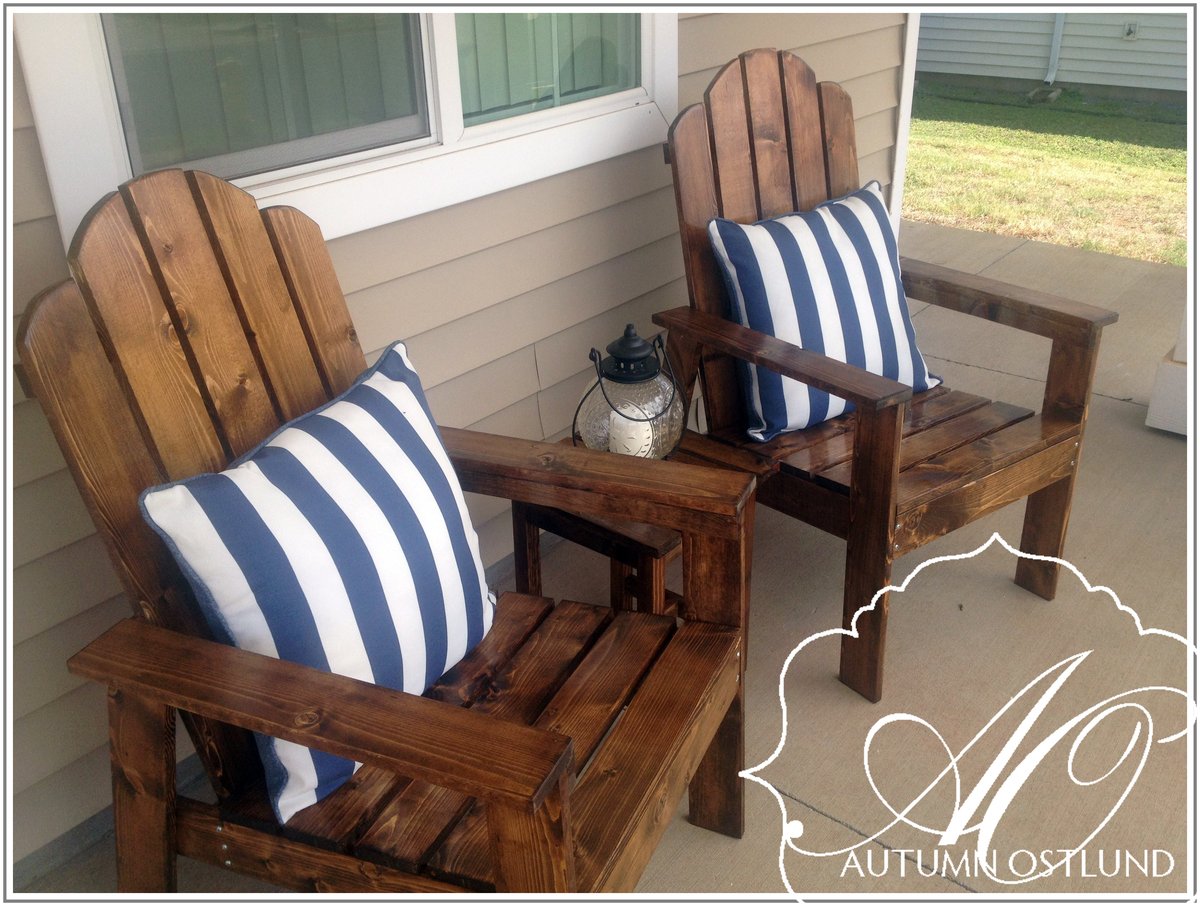
I built two of these for my front porch. Love them!
Great plan and project. I added a cup holder with left over lumber. Added some 45 angles to give it some dimension. Screwed and glued almost everything from the back to avoid any screws
The Beauty Queen described a headboard with shiplap and sort of cottage style. I modified the Ana White plan to fit my needs and the wife’s taste. I used the preprimed shiplap and 1x material from the big box store so it was a little more expensive but still very reasonable. Then I made side tables.
Used your youtube instructions for the square planters and revised them to create these! Thank you so much for your video it helped me so much. I was trying to make a small backyard for my dog at my condo without breaking any rules not to have a fence. Gary loves it!
Wed, 03/09/2022 - 14:10
Those look awesome and create a nice barrier! Thanks for sharing:)
I had been dying to make this bed for awhile but first I needed to convince my husband that it really would be okay to let his sentimental old headboard go. He doesn't like change. Obviously I eventually won. This bed is absolutely bomb proof! I built it as a platform bed and plunked a brand new memory foam mattress on it. We love it!
The main thing I learned on this build is to measure and make sure something will fit where its supposed to go! I had already edited the plans to be the width I wanted, but not the height. They were about 6 inches higher than my couch :D I had to pry them apart and re cut them!
Decided it was time to use up some scrap wood and build a coffee table.
Now I need to get wood to actually make the matching end tables.
1x8s and 1x4s for the top and 2x2s for the legs and underside braces
Hope this help to inspire others on how to use up their scrap wood
I turned my legs (woot woot!) but you could buy legs that are 3x3" @ 18". This was a simple build using pocketholes + glue joinery and using glue + nails for the shelf and tops. To allow for seasonal expansion of wood I spaced the wood on shelf and top slightly because I built it in the dry winter.
I used a Dark Walnut stain first and went back over with a light coat ("dry brushing") of a sage green paint. Lightly distressed edges.
I have more pictures and details on my website: http://www.theprojectlady.com/2018/02/diy-tutorial-chunky-coffee-table-…
Happy building everyone! It's so rewarding, right!??
I used aromatic cedar for my version, finished on the outside with brush-on lacquer. It is a bit smaller than specified in the plan. I added a removable box insert for small toys and trimmed the feet. The hinges are Rocker lid-stay hinges. These required some modification of the top, and a transom chain to prevent over-opening, so I would go with the hinge method shown in the original plan and add internal lid stays.
I love the library cart idea, but needed something for my 4 yo and 7 yo crafter/artists to use to keep their supplies on hand and contained. I modified the cart to have 2 shelves (not angled). The top shelf is converted to a tray to keep supplies stable as the cart is moved around on its wheels. Stores in the closet and can be pulled out to use.
This was a quick morning project. It took an hour and a half to cut and build I have not done the finish yet but it won't take longer than an afternoon.I am available to do builds for people who like what they see and dont want to pay retail price for this stuff. check out my profile.
http://ana-white.com/users/daddydrew
Fri, 07/19/2013 - 13:43
You did a great job with the table, but I think you are way off on the time estimate. I just finished making the same table and two matching benches to go with it and there is no way that I could make the table in 2 hours.
In reply to Fancy X Table by Newfey
Fri, 07/19/2013 - 13:53
Two hours was just for the one bench that is unfinished.
Thu, 01/05/2017 - 15:44
How do you attach the table top. Im no master craftsman but I have the table and tabletop built but the plans on the website dont say how to attach. Im assuming pocketholes but I have no idea where or how to do it. Can you lend any help on this?
This was a fun and easy project to make the little guy happy on a slow Saturday. If you don't have the right tools, avoid the metal stripping. This project can look just as good without it, and it is the projects most time comsuming feature. Good luck building your own "Wahweegon" (how my son says it).
We built this for the grandkids about 5 years ago; now they're all grown out of it so it's our new gardening shed.
I used the plans for the craft desk and modified it a little. I made the top like a lid that just sits on top so I can take it apart easier. I also put on full extension drawer glides and made the drawer larger. This took me quite a long time because I was working on it and studying for finals! Well worth it though!
This was our first project. We needed storage for my son's small room and this worked out perfectly!
Sat, 10/04/2014 - 20:20
This was my first project too!! I just finished today & mine went in my son's closet. Tomorrow I'll install 4 rails (an upper & a lower one on each side of the tower for hanging his clothes) and the project will be complete.
My next project is very similar to what you've got shown here - a tower on either side of his window, with another one on it's side & the feet removed.
Great job!!
Camille
I had an old wine box that I decided to shabby chic. I added some manila handles. Check out my blog for more details and pictures:
http://www.woodworkingfourdummies.com/blog/wine-box-makeover
Cheers
Ian
We used the barn door console plans as a base to make the built ins and the faux fireplace mantel plans for the center! We love everything this site has to offer!!
We decided to make 2 of these chairs, and like others have said, we needed one more 1x2@ 8ft to get all of the cuts. Other than that small hiccup, there were no issues and we really enjoyed making these. We used pine wood for the frames and stained them in Mirimax's "English Walnut". The fabric is from Joanns which cost me $11.99/yd (40% off). I wasn't planning on spending that much but after all of the supplies these chairs actually cost us close to $20 a chair. If I would have shopped around for better prices, I could have likely found them, but wanted to get them done soon! These would make a great gift!
Tue, 06/07/2011 - 14:08
These turned out adorable! The fabric is charming! Love!
I made this for my nephew's 1st birthday! I followed others advice and pre-drilled and it worked pretty well :)
Comments
Debi G
Wed, 07/17/2013 - 08:11
Looks great!
Well done!
MrCoffee
Wed, 07/17/2013 - 19:52
Great job. I really like the
Great job. I really like the way the finish turned out.
tevenden
Mon, 04/20/2020 - 10:03
Porch chairs
On your chairs you made, the link is for an Adirondack but the picture has more flat seat than the plans. Please advise.