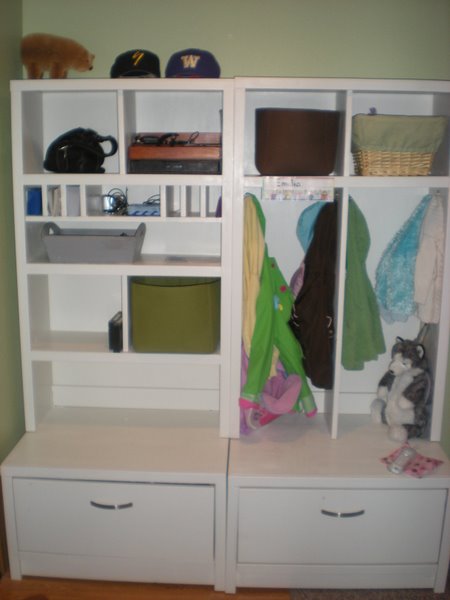
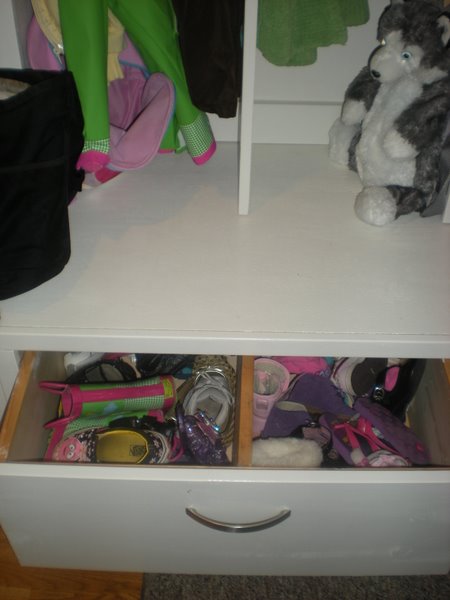
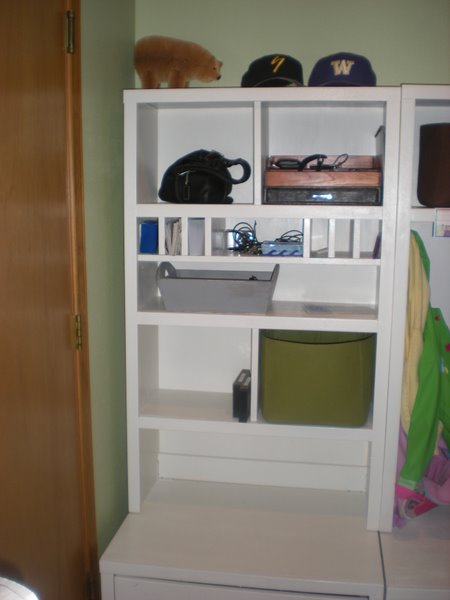
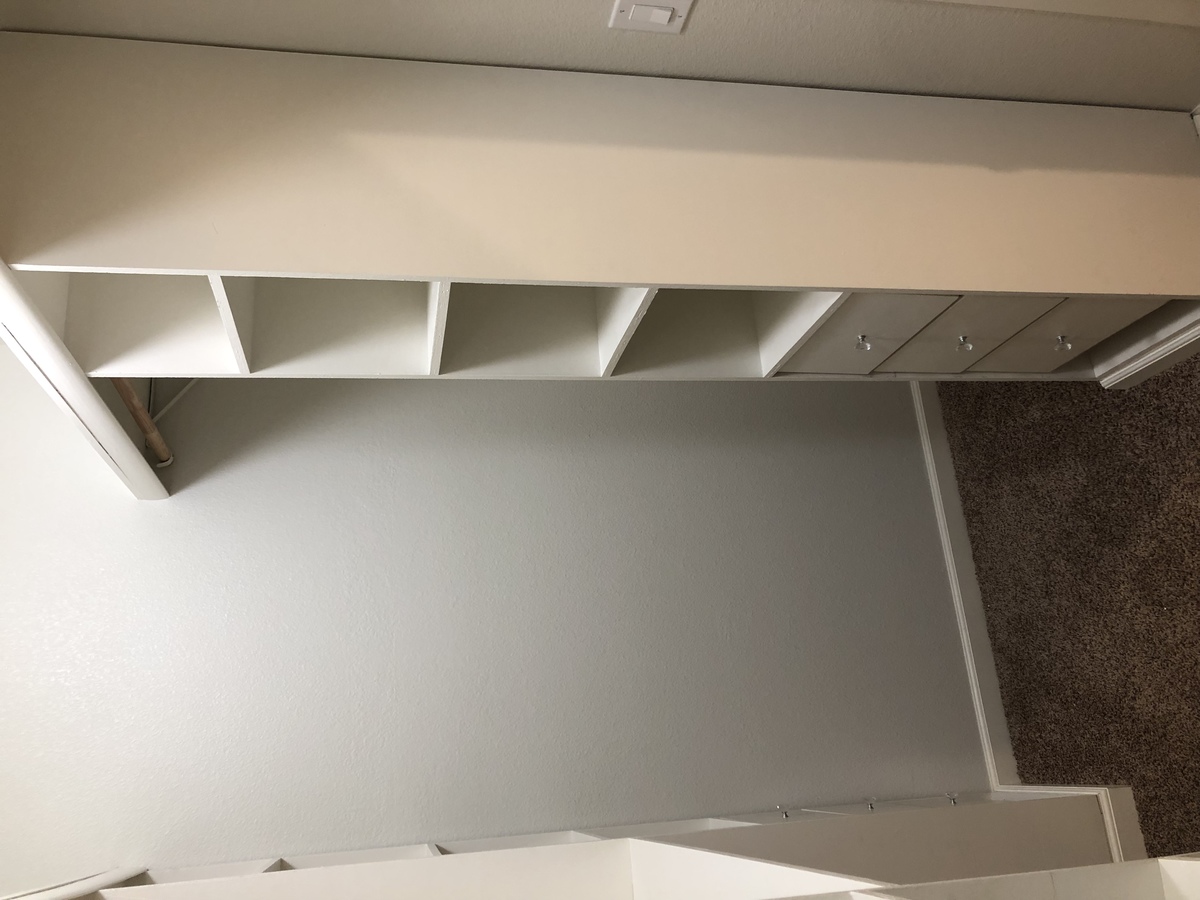
Master Bedroom Closet from mess to the best
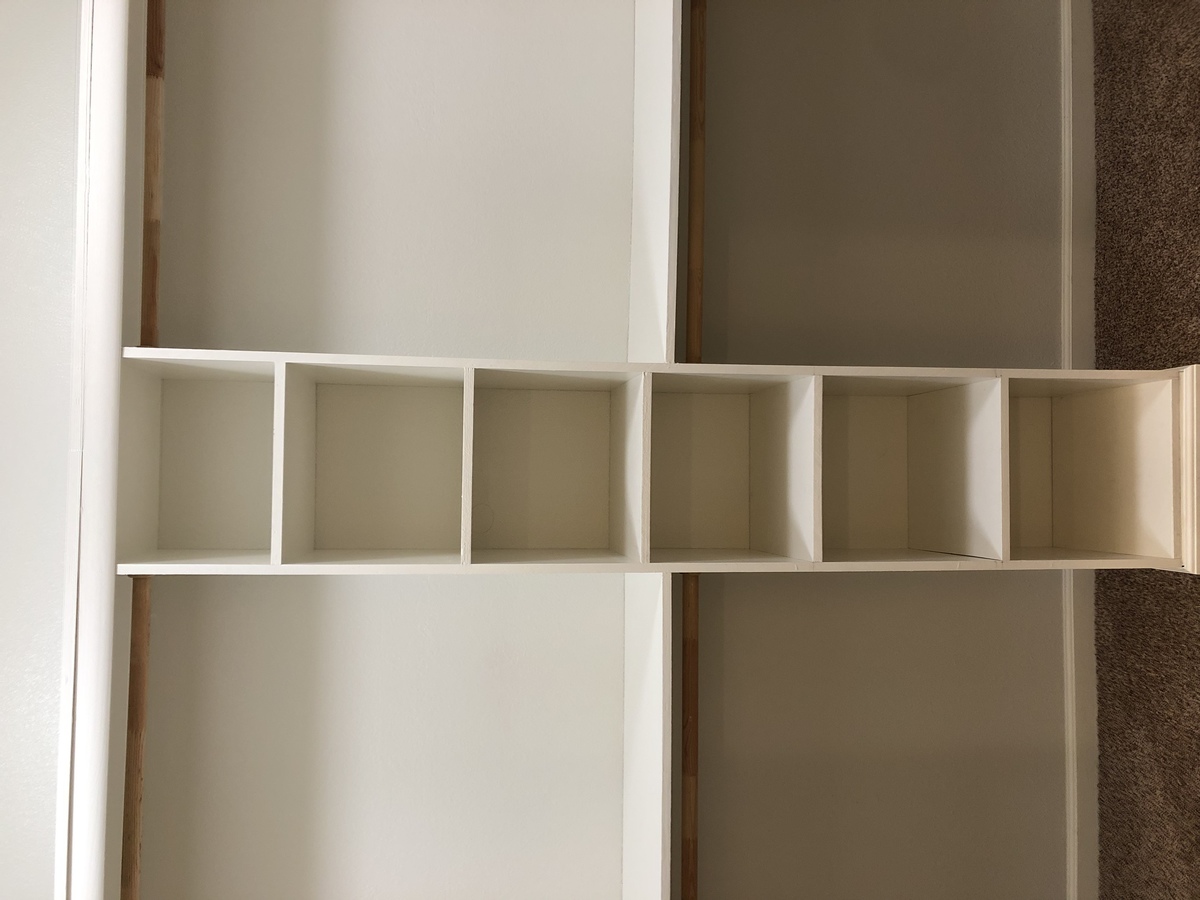
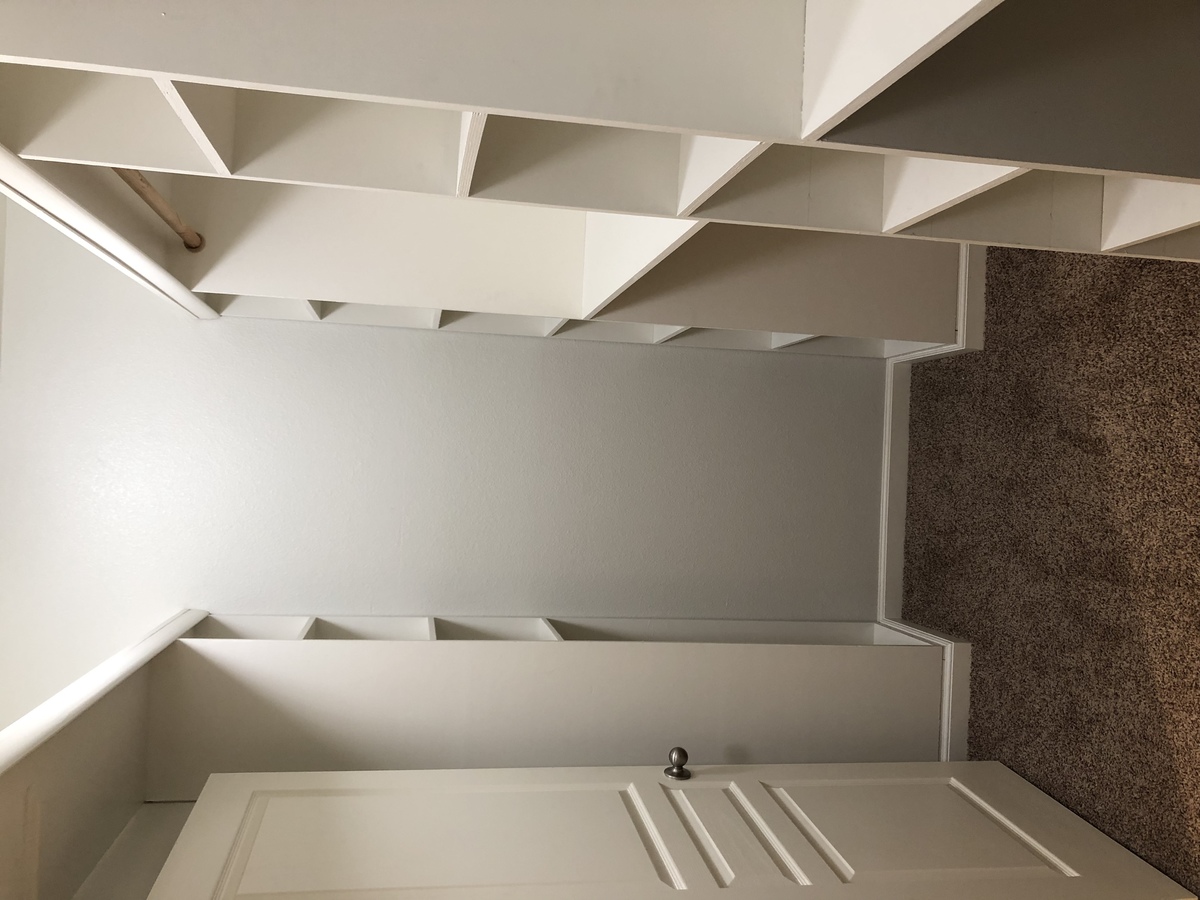
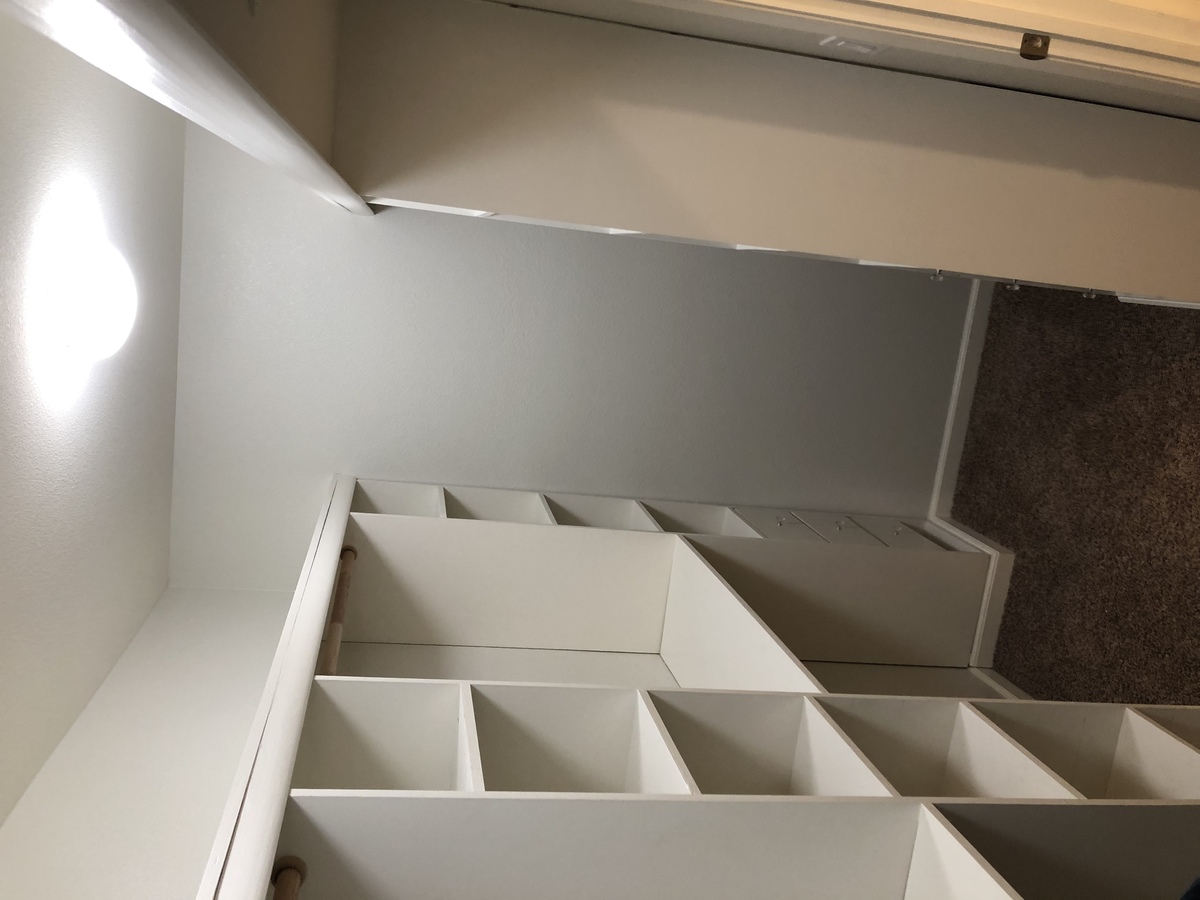
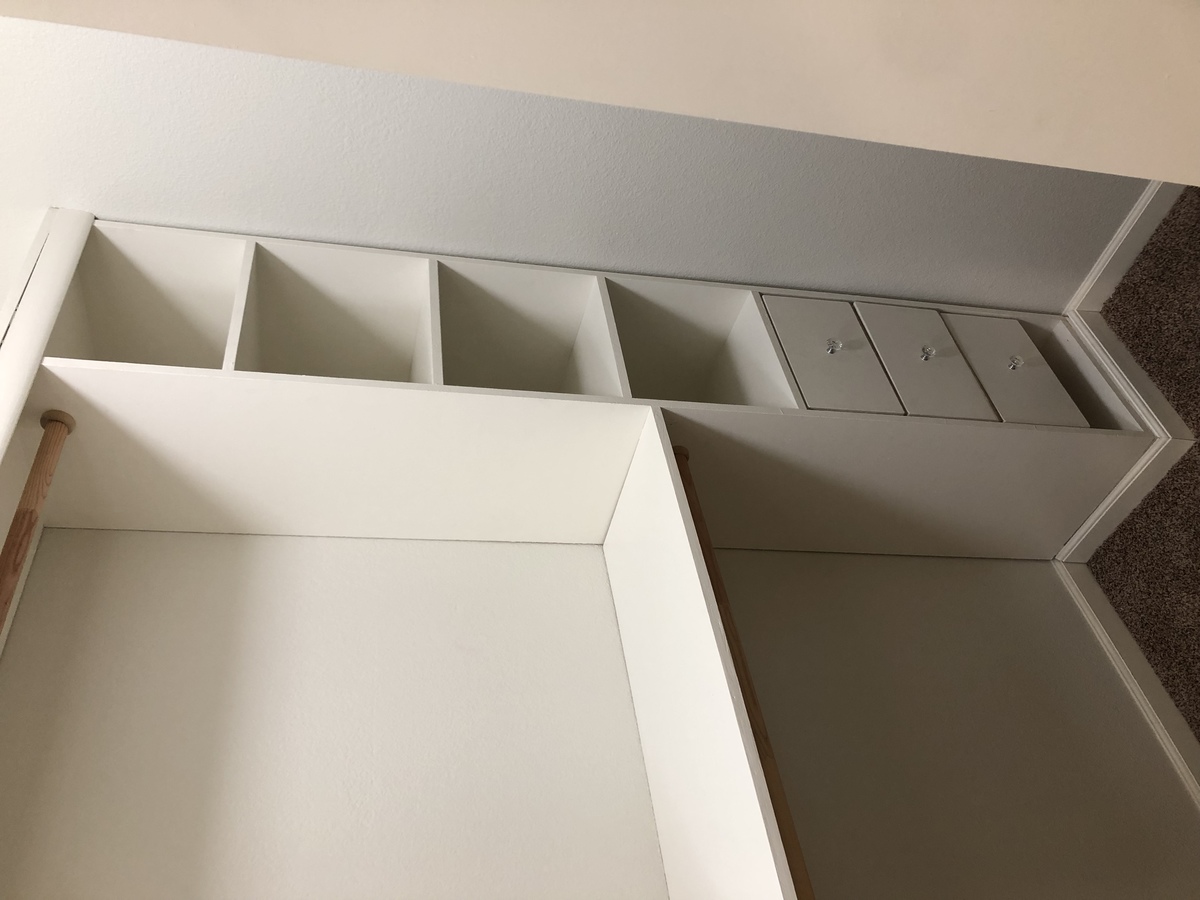
We took the original plans and made them work for our 5’6” x 11’ closet. We added a ft to the top because we have tall ceilings. We made 5 towers to create a u shape with shelving on the top. I also left one small bar long to hang dresses and the rest we double hung. We adjusted cubbies and drawers based on where we needed them. We were able to save by using old drawer slides from a falling apart ikea dresser. (We cut them down with a grinder). We had an overflowing closet mess and now we have a beautiful closet. I wish the directions had a little bit more detail like average clothes hanging heights and bar distance from the wall. There was also no link to the suggested drawers or cubbies but we found them with a simple search.
Estimated Cost
$400
Estimated Time Investment
Weekend Project (10-20 Hours)
Finish Used
I used a satin paint in the color trim of our home. I used satin I stead of gloss because that’s what I had on hand but It created a great sealed cleanable surface.
Recommended Skill Level
Intermediate