Dream dollhouse for Lila

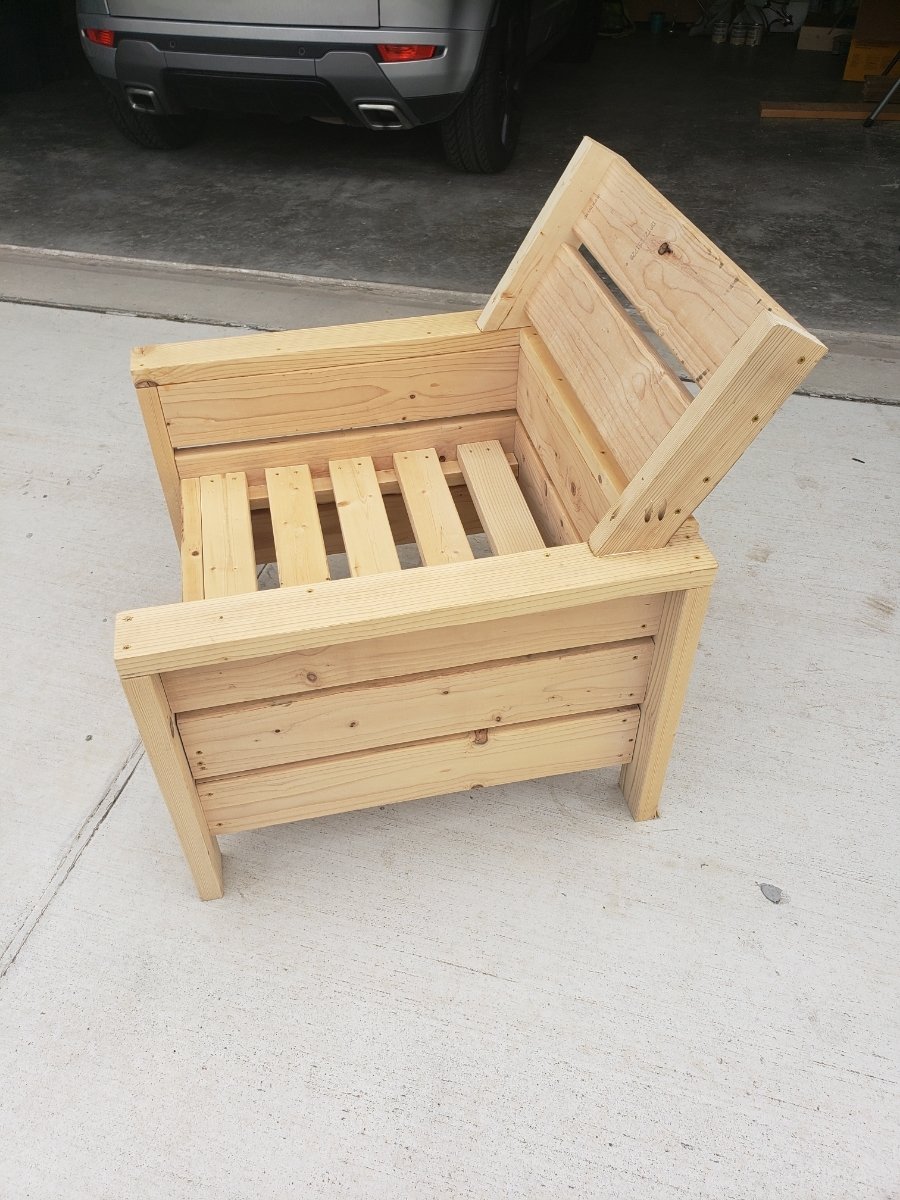
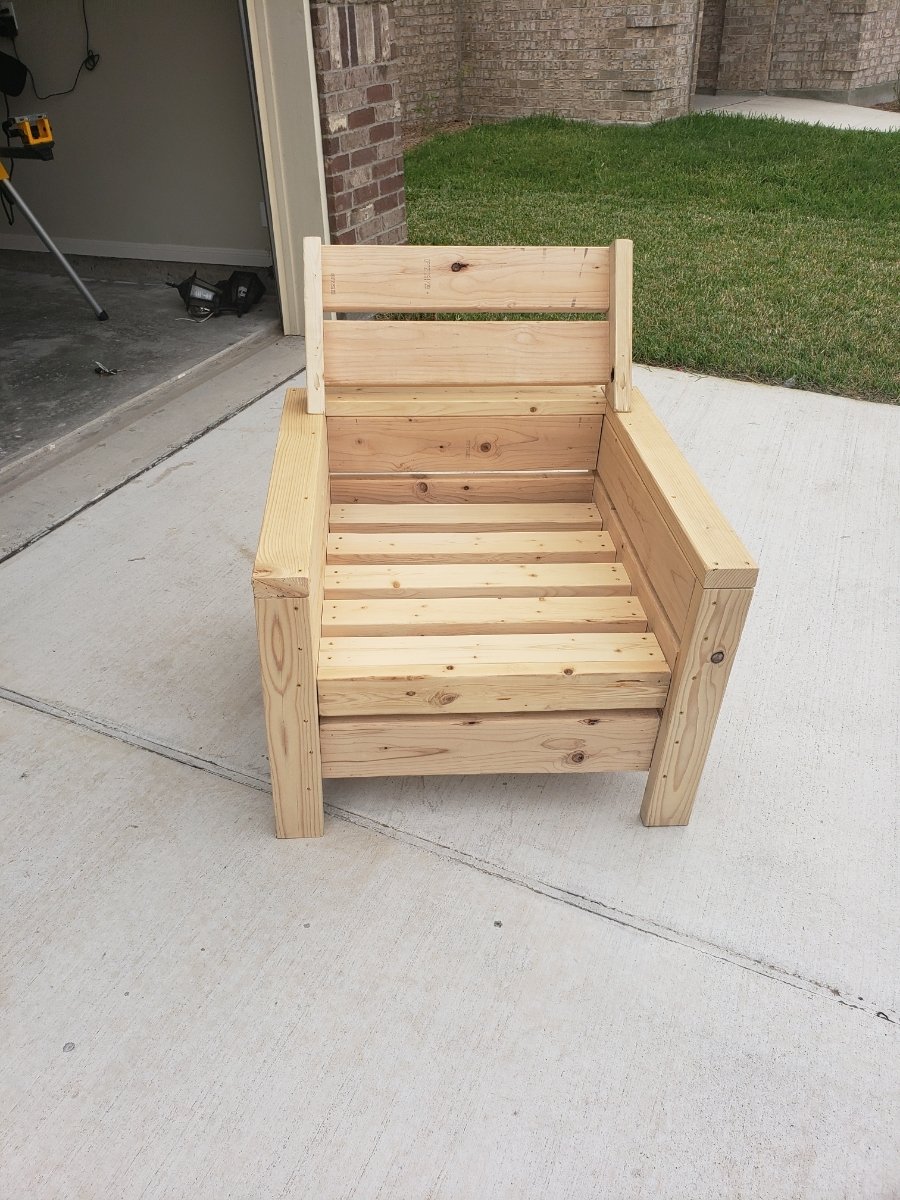
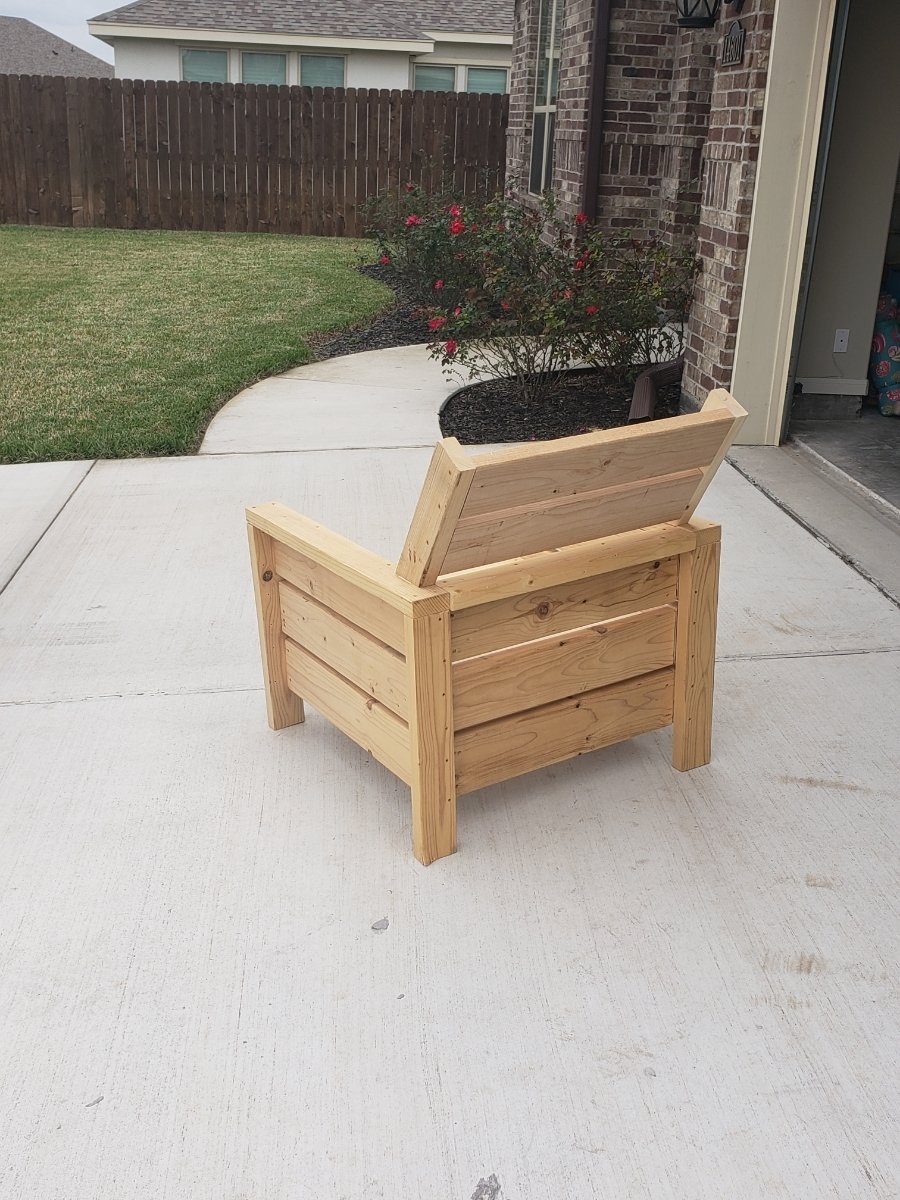
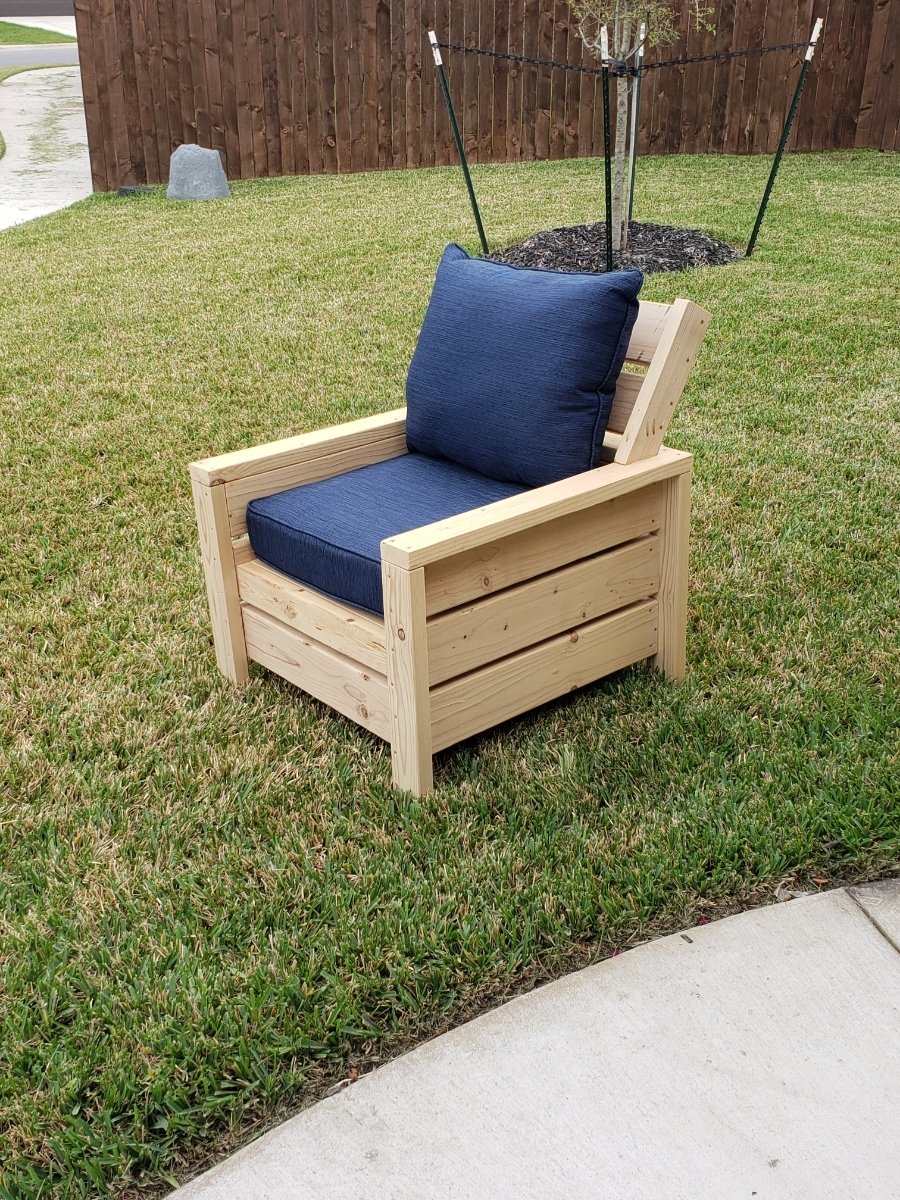
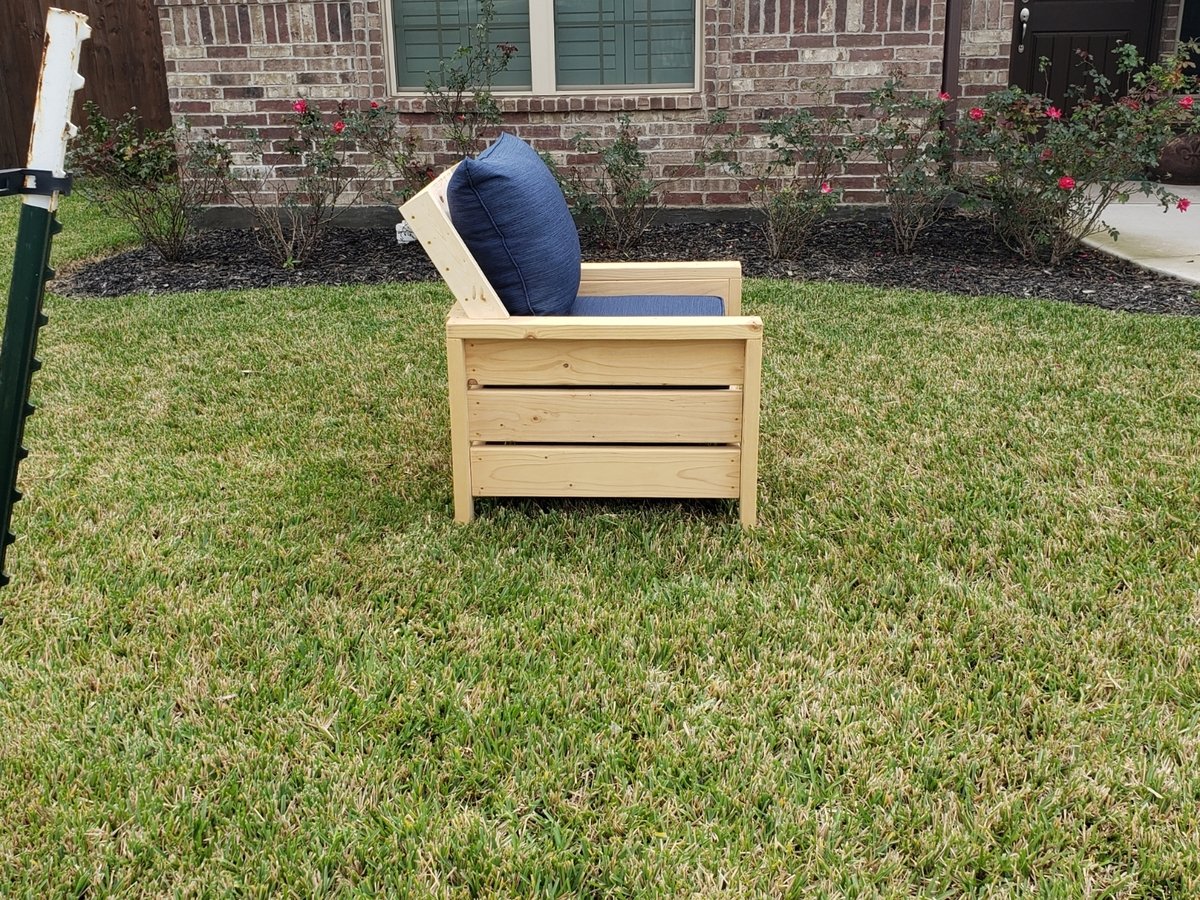
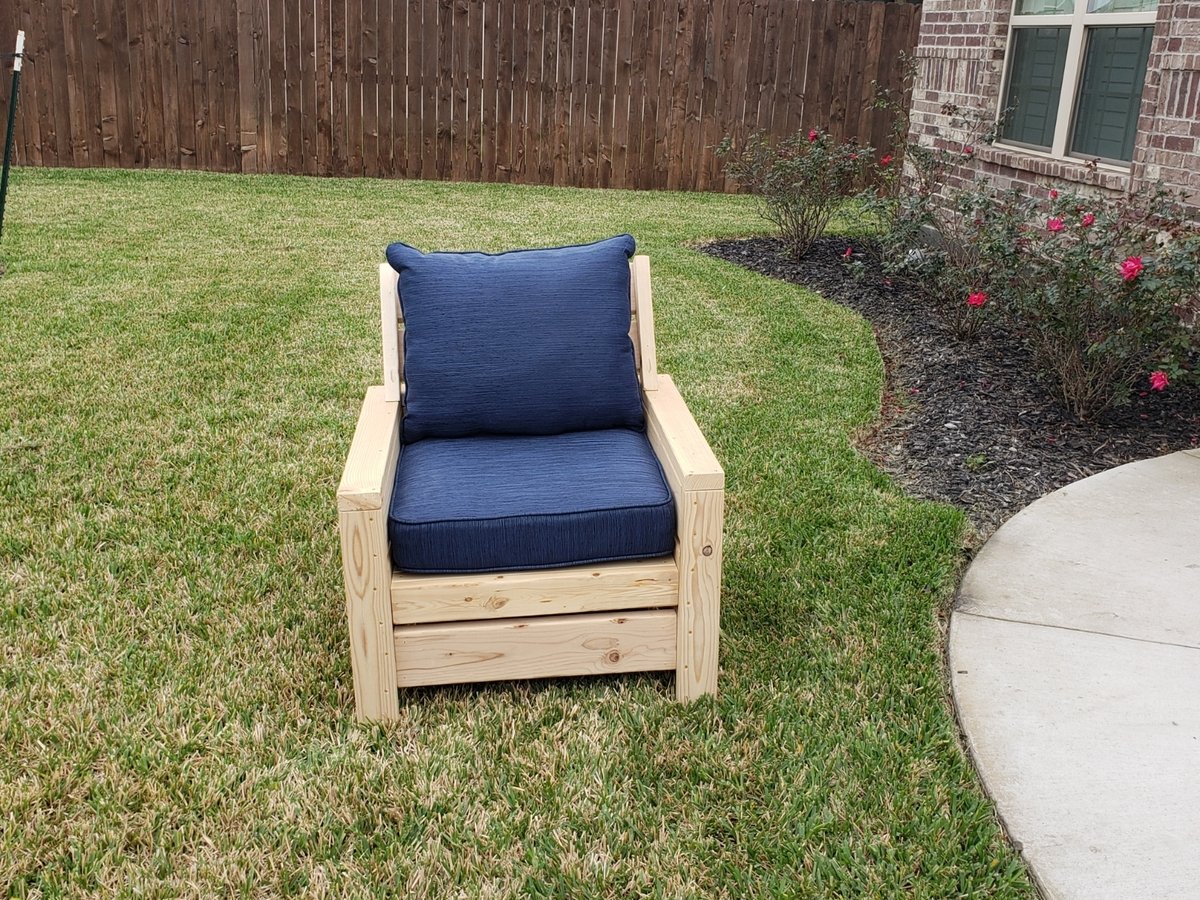
I built this for my daughter's Christmas present this year. It was a fun project that you can do in a weekend if you hustle. The size a girth of this dollhouse is surprising. Do yourself a favor and take measurements of doorways and hallways to make sure it will fit. It is nearly the size of a Lazyboy chair when finished. The best part of this project is the unlimited number of ways it can be customized. Scrapbookpaper for walls , painted walls, carpet for floors, tile flooring, stained flooring and so on. My daughter loves it and yours will too.
Built from Plan(s)
Estimated Cost
$100
Estimated Time Investment
Weekend Project (10-20 Hours)
Finish Used
Stain was a light oak from minwax. I bought rough Lumber and sanded it down to 220. I recommend anyone to spend extra money and get better quality or even oak 2x2's. It would have made this dollhouse pop. I bought paper from a craft store. They carried the paper that looks like wood paneling and bricks. I simply added a mantle made from a 1x1 by glueing and nailing it into place. I placed a piece of carpet from a bath mat on the bottom floor with heavy glue. The roof is a piece of luan paneling that I cut out and painted. I made the stairs a little different in that I angled the ends of some 1x2's and added 4 steps to each one. I predrilled holes and put in a finish nail and added glue to make them nice and tight. My daughter loves it. You have no idea how big this dollhouse is and how heavy it is until you get started. If you have small doorways you should consider assembly in the room it will be in.
Recommended Skill Level
Beginner