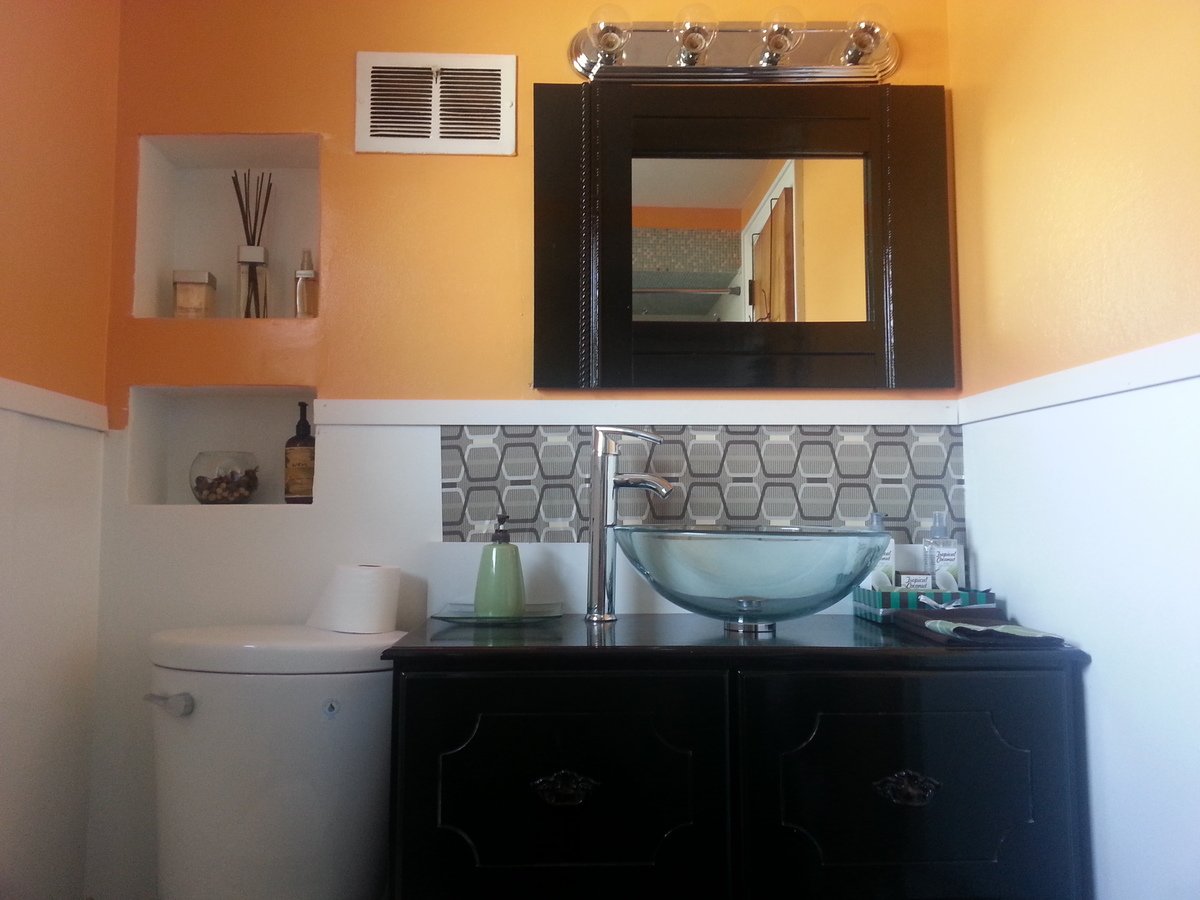
Simple Play Kitchen Sink
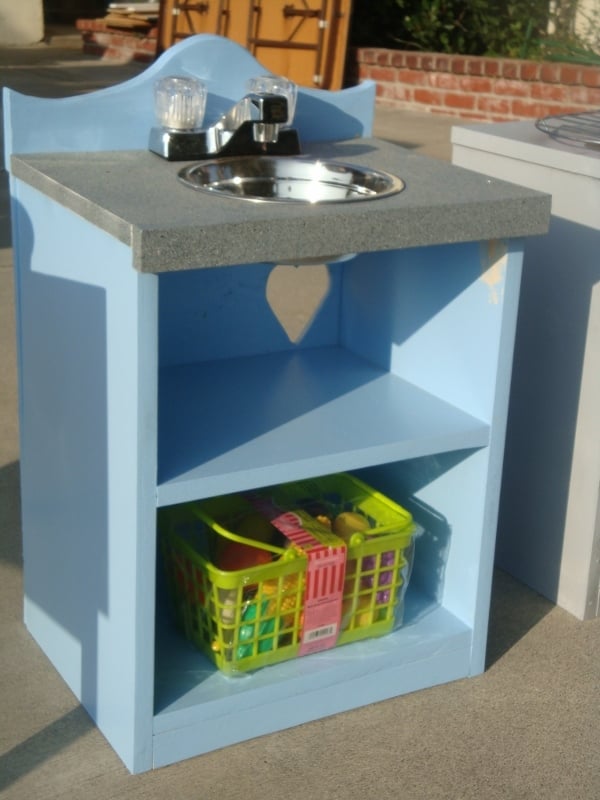
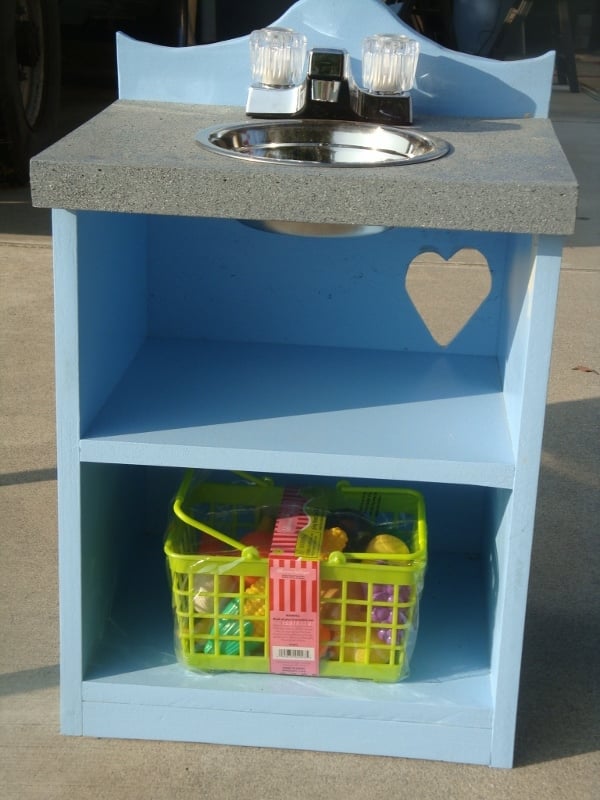
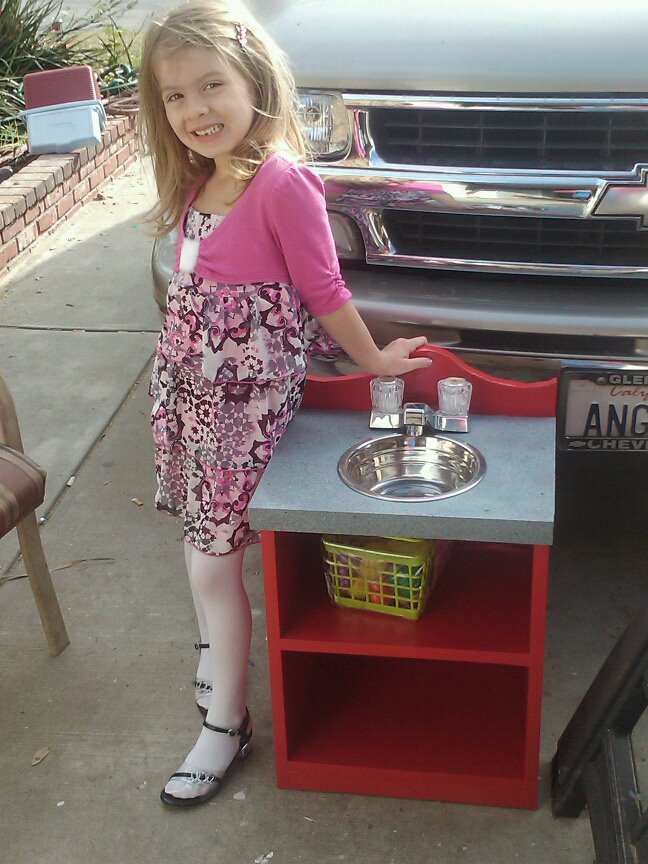
This is the first sink that I made, for one of my nieces of course, and when the other niece saw it, she started campaigning for one of her own. They are extemely easy to build, used my trusty Kreg jig, and on the back, hinged, is a painted, plain top, so when they're tired of using the sink, the top can come off, and instant nightstand! I used the home depot brand sink fixture, 10.00, and a dog dish for the sink. I added a "granite" top, and since this pic, I've sewn the 3 tier curtains. There are 2 different sinks in the below pics.

Built from Plan(s)
Estimated Cost
45.00 around there
Estimated Time Investment
Weekend Project (10-20 Hours)
Finish Used
kilz tinted to match colors, 2 coats, light sand, red on one, and icey blue on the other.
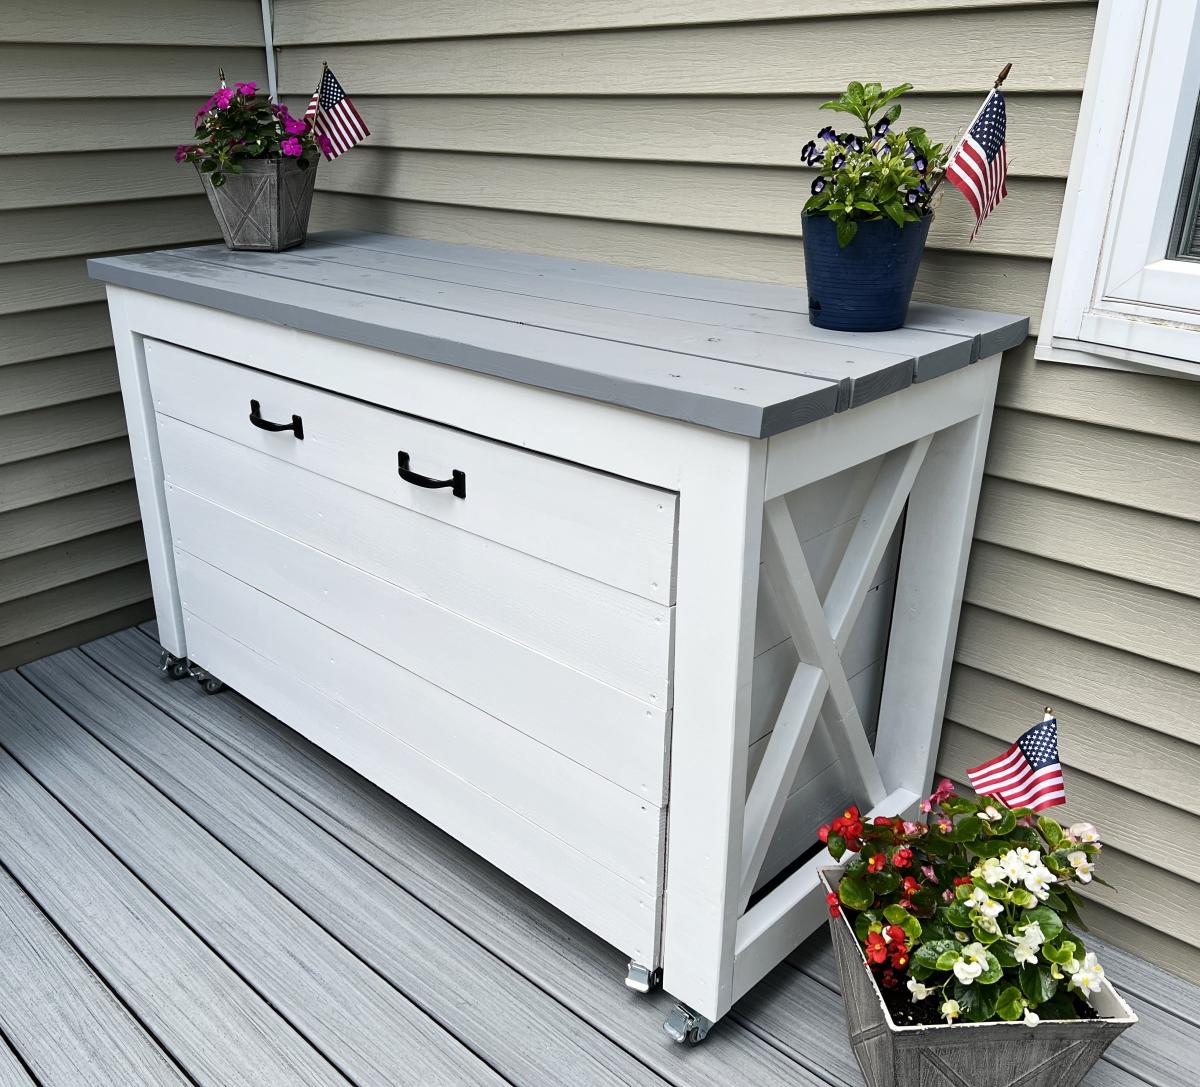
For the countertop, mixed a handful of playsand into light grey paint, when dry, sprayed top (before fixtures and sink added) with Krylon grey granite stone faux finish. Let dry completely, then it's very important to spray clear coat of Polyurethane over this and let dry. if you use a brush, you'll remove the "granite" finish. I've since done a pink one with tile countertop, just haven't grouted it yet.
For the countertop, mixed a handful of playsand into light grey paint, when dry, sprayed top (before fixtures and sink added) with Krylon grey granite stone faux finish. Let dry completely, then it's very important to spray clear coat of Polyurethane over this and let dry. if you use a brush, you'll remove the "granite" finish. I've since done a pink one with tile countertop, just haven't grouted it yet.
Recommended Skill Level
Intermediate


Comments
JoanneS
Wed, 02/08/2012 - 18:18
So cute!
Love the 'granite' countertops - what a creative idea! Also the little heart cut out -- just precious. :)
angiemicn
Wed, 02/08/2012 - 22:00
:)
Thank you so much, my niece drew the heart, I cut it out, can't take all the credit :)...nice place to put plugs through, she has her Hello Kitty radio on that shelf, so she can "listen to her music when she cleans!"