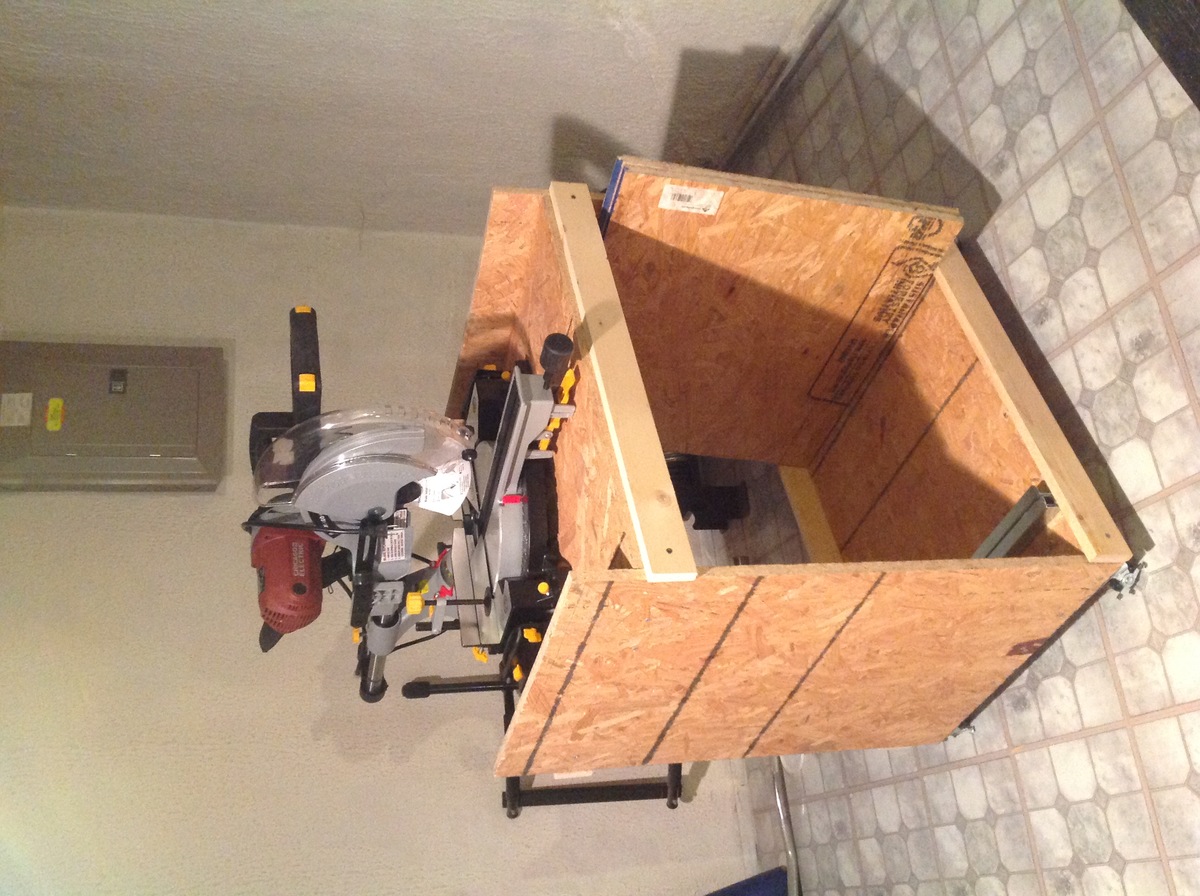
Raised Planter with Drip Water Hose Built-in
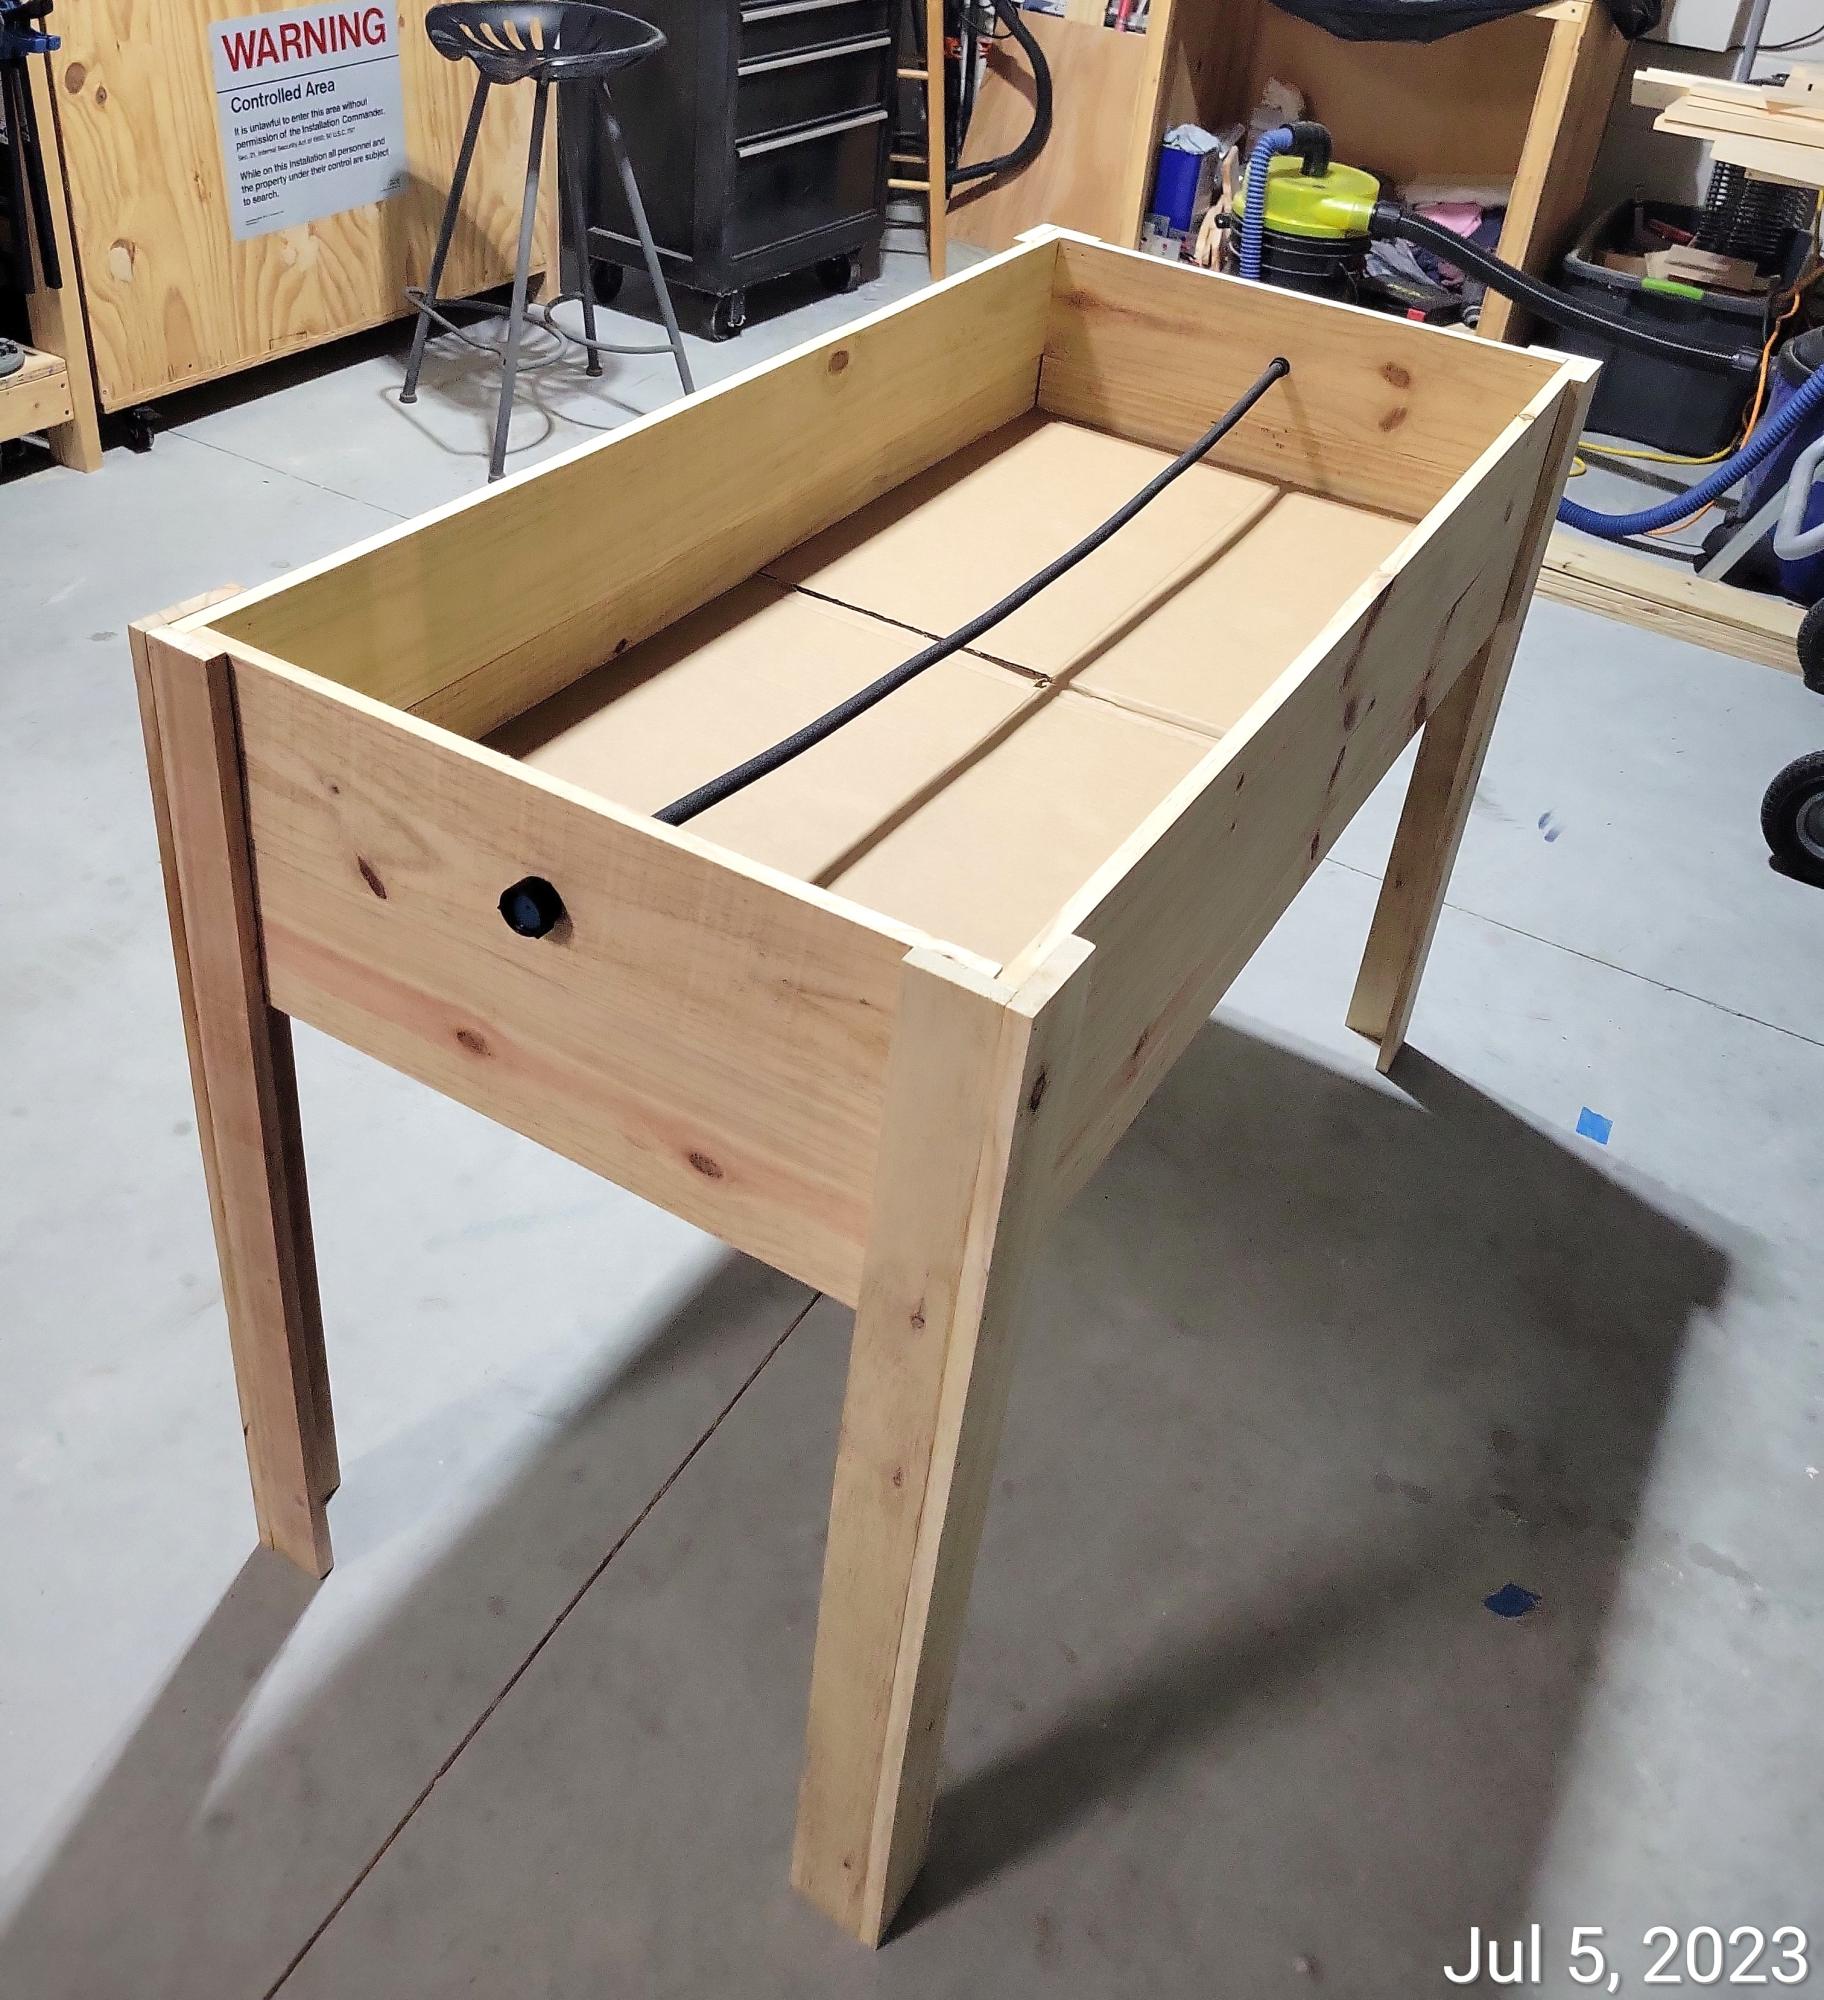
Raised planter with water hose.
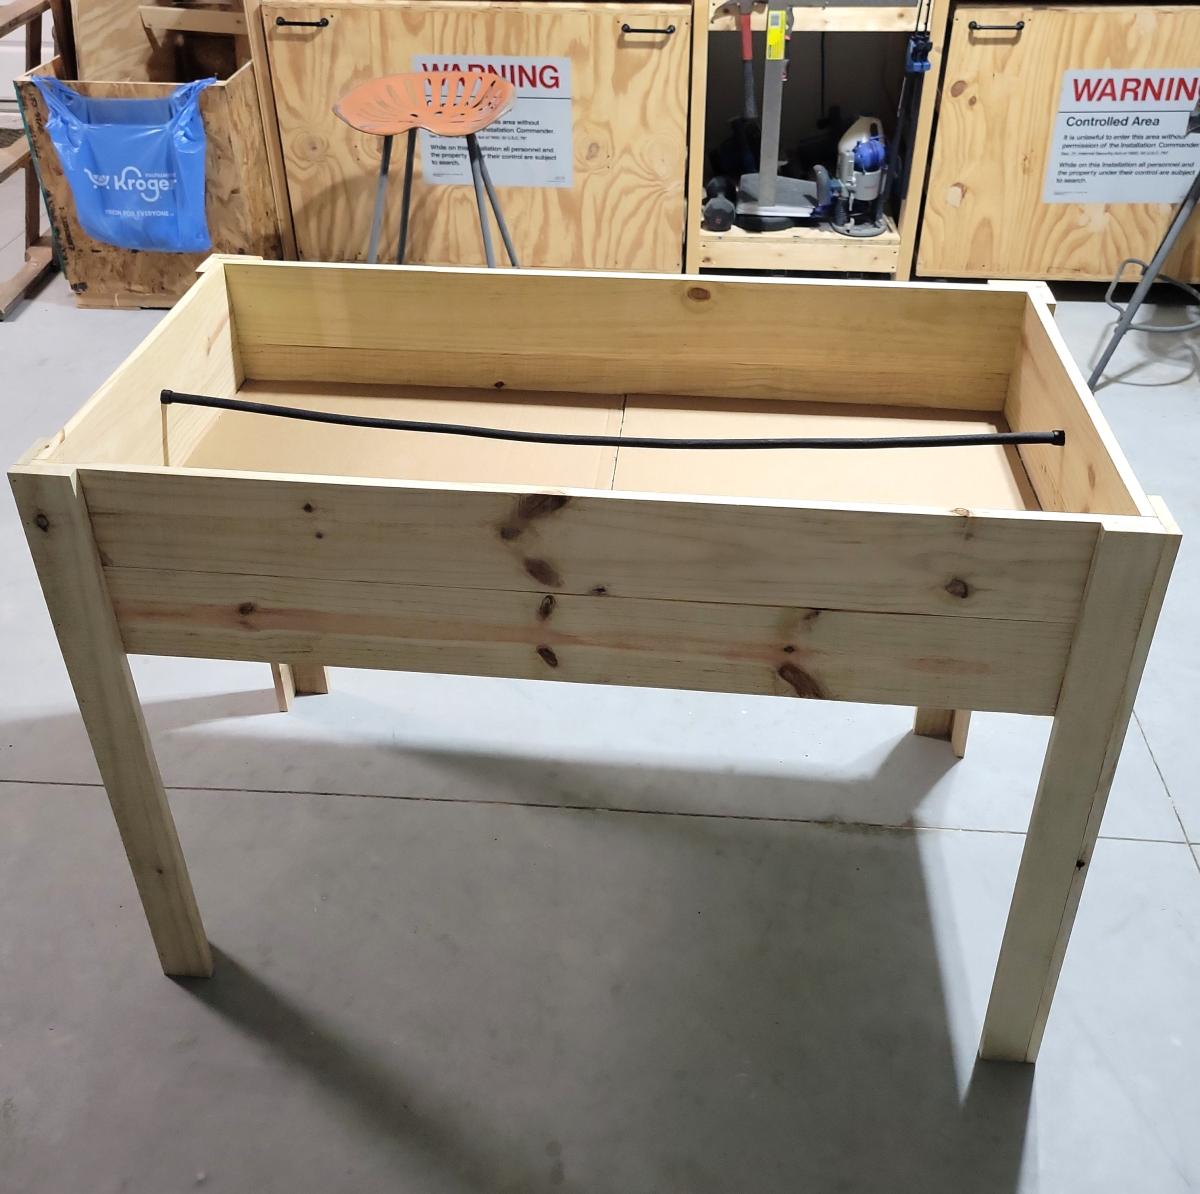
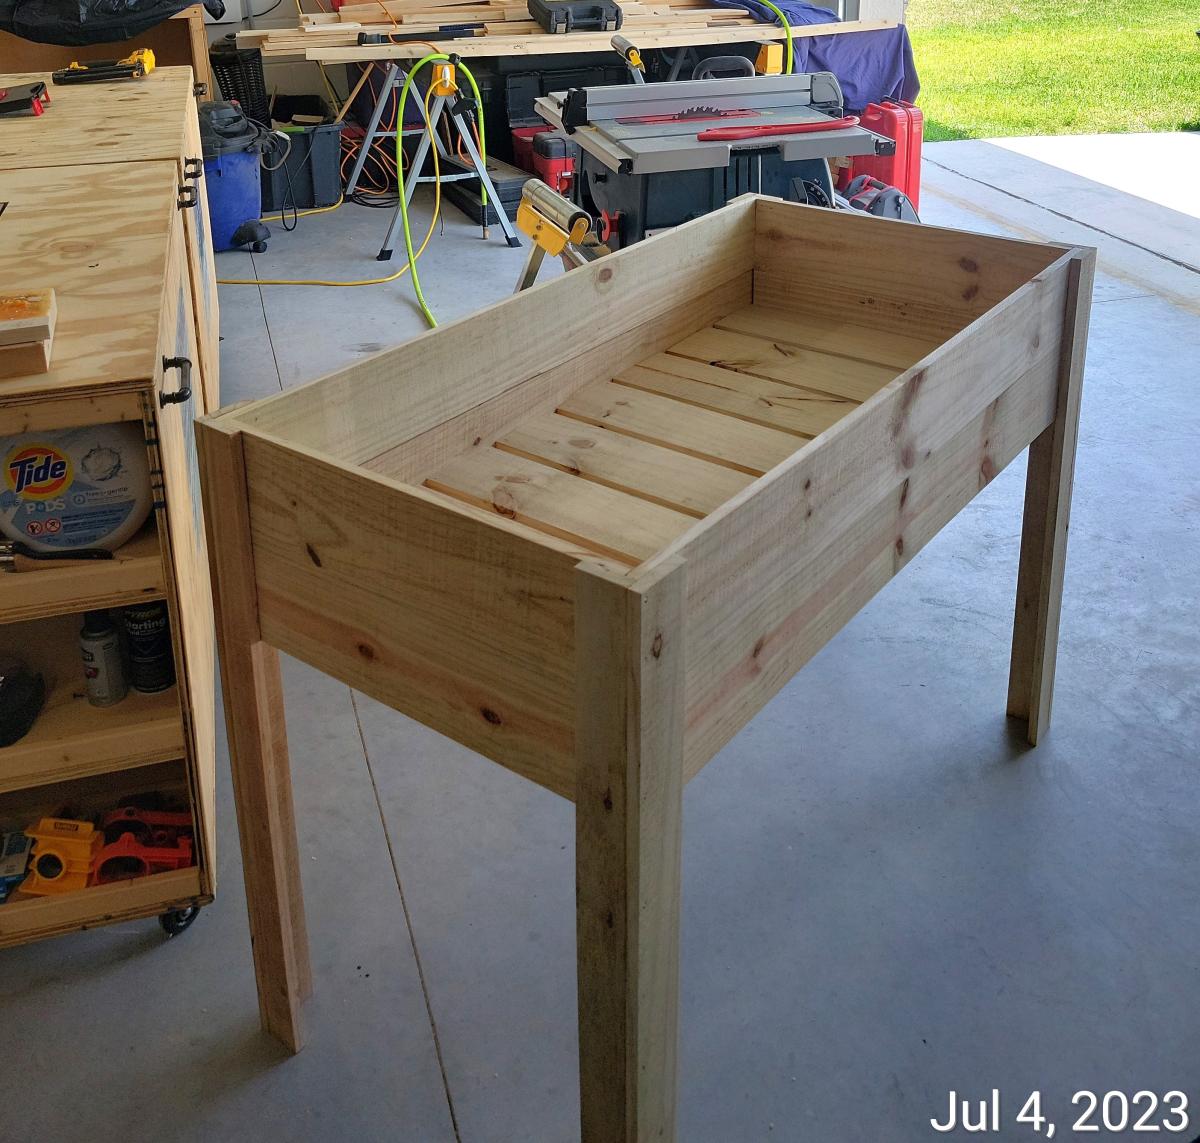
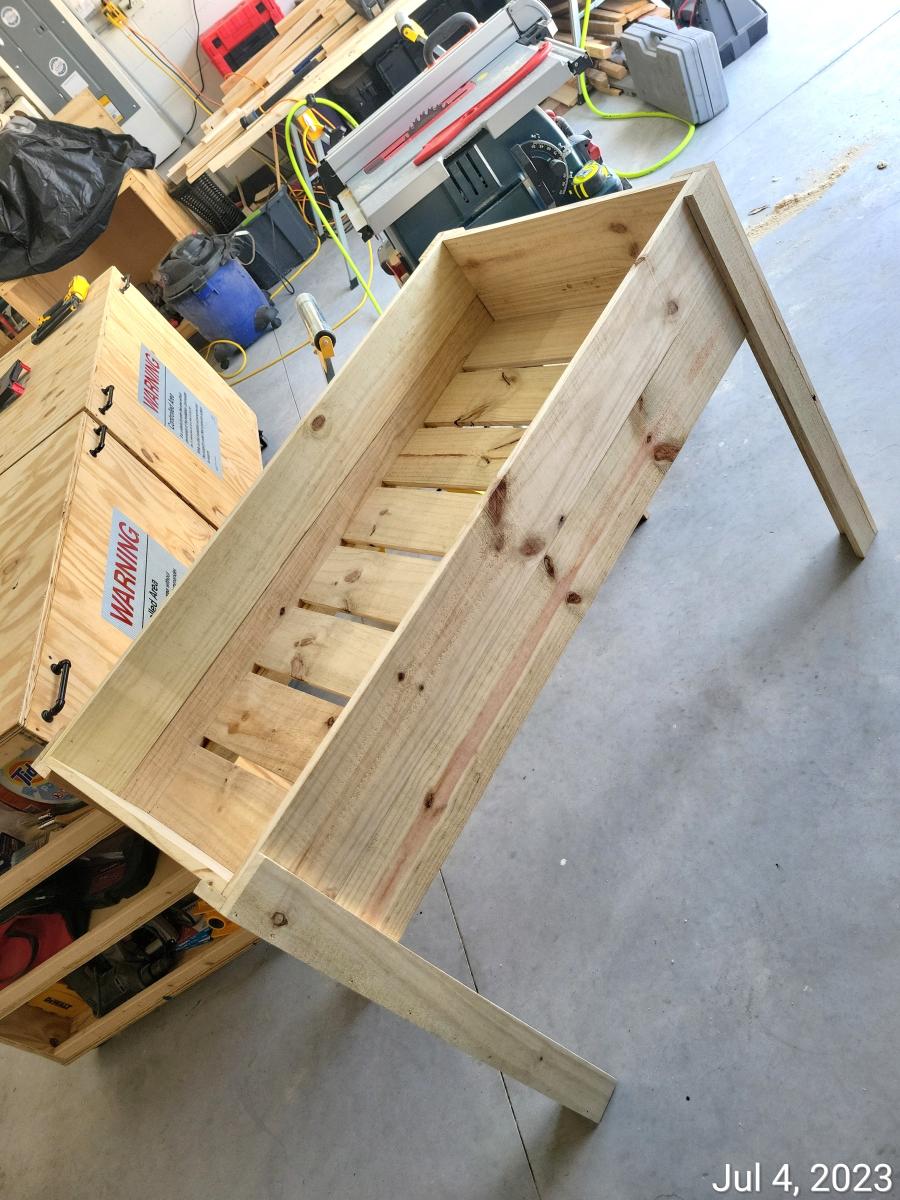

Raised planter with water hose.


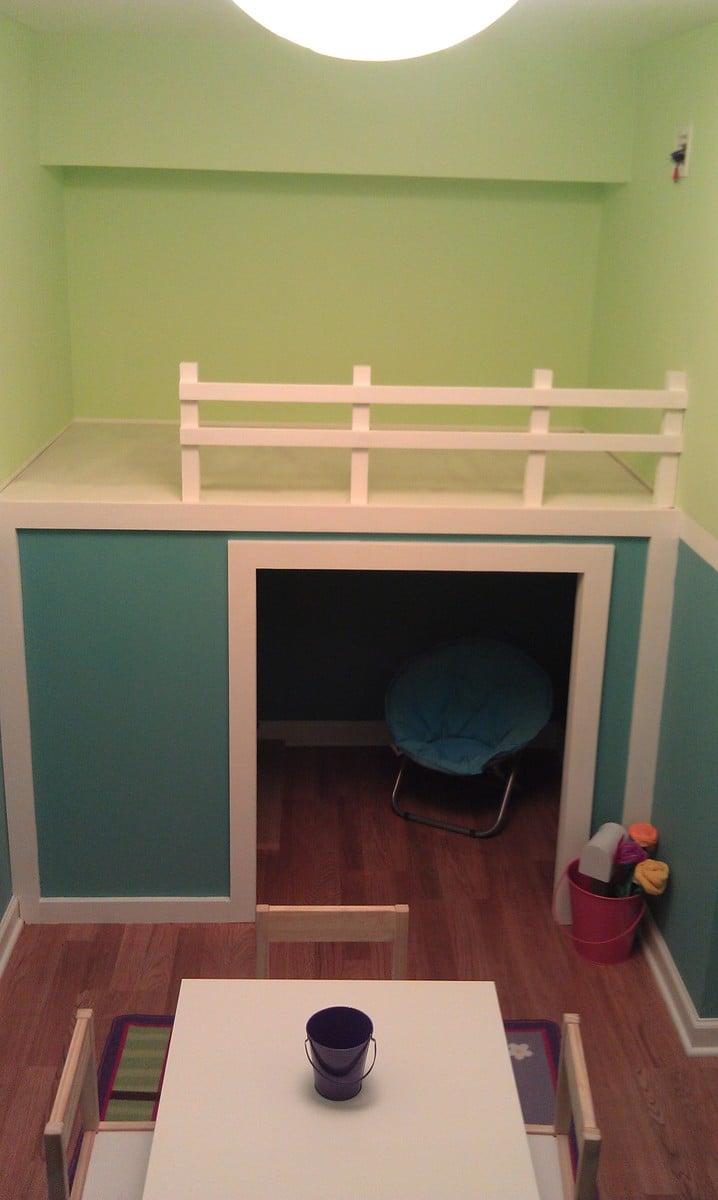
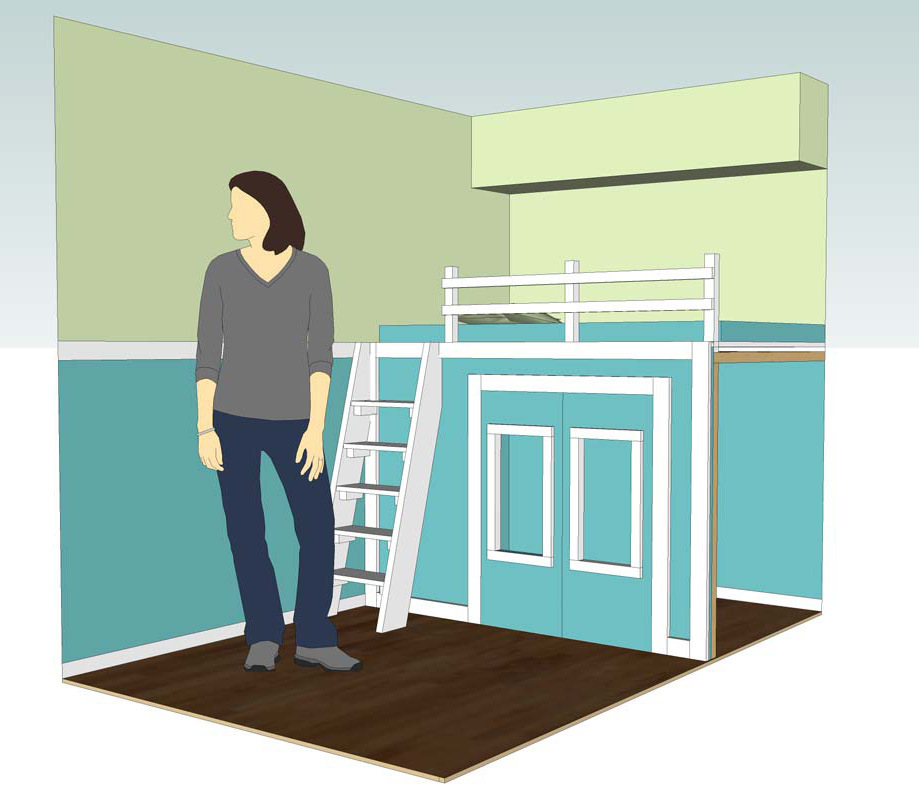
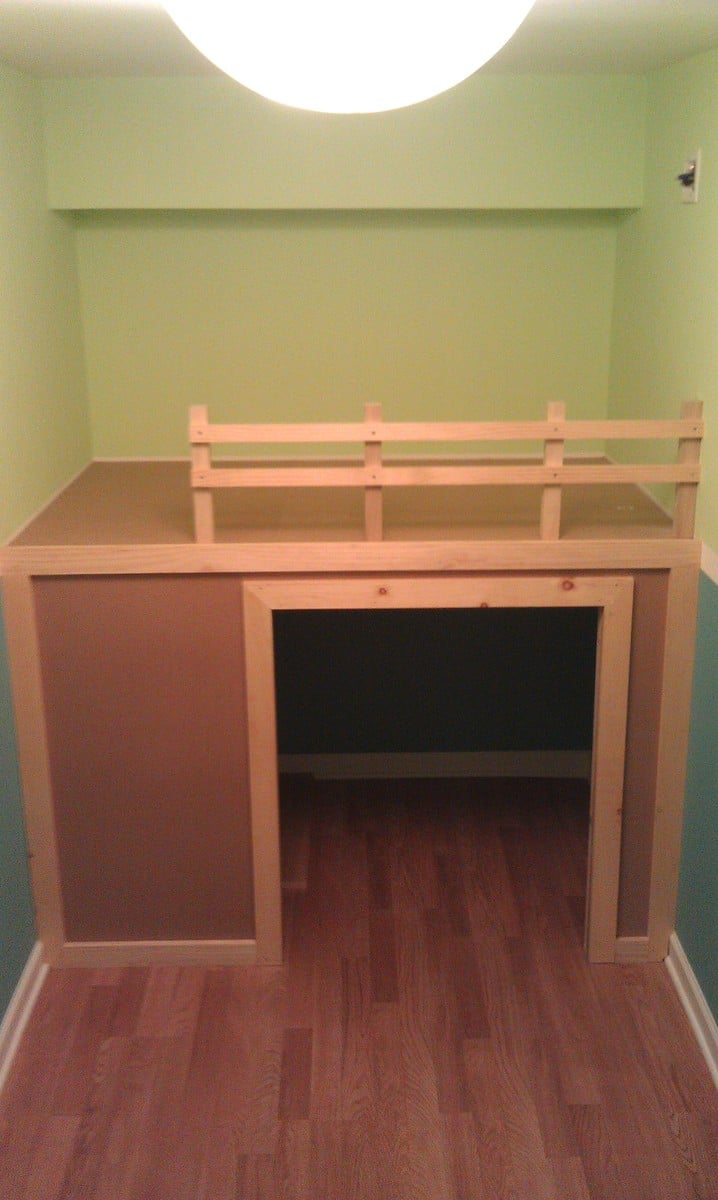
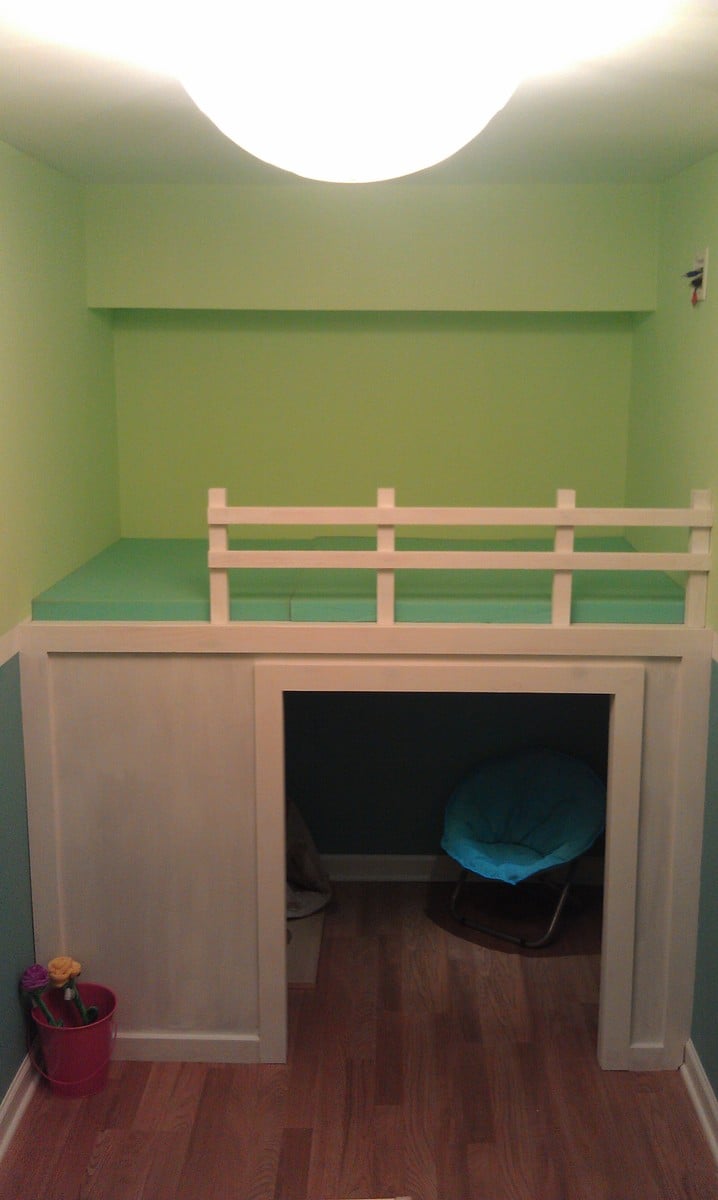
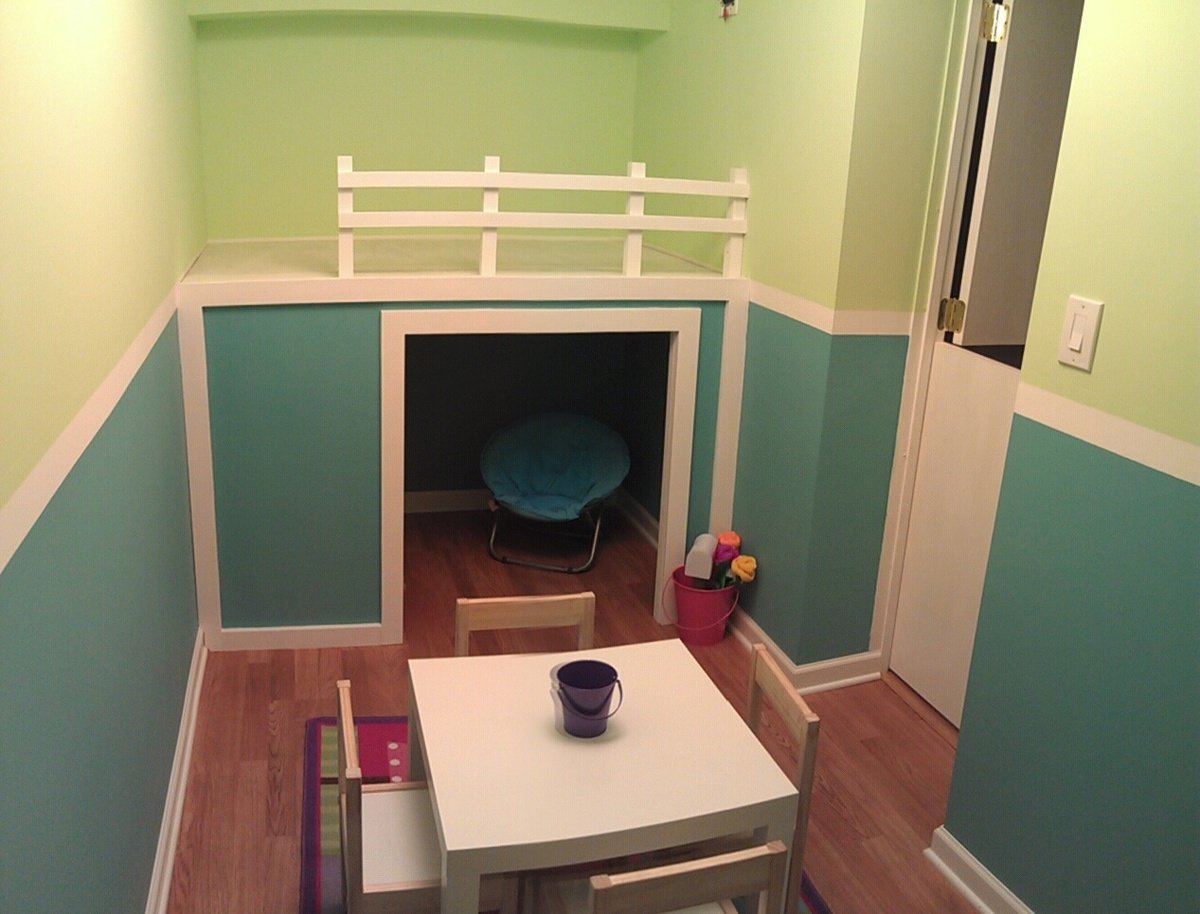
We had a small 6’x13’ storage room that we wanted to make into a playroom for our daughter. I saw the “Playhouse Loft Bed” project here and wanted to do something similar. With limited space I had to redesign the plans to make it fit. I eliminated the side walls from the plans and made cleats on the three walls to hold everything up. This actually saved a lot of money and time. As this was simply going to be a place for my daughter and friends to play and watch movies I did not worry about the size of the mattress. I simply went and had some foam cut that I am making a cover for. We are building a ladder that will go on the left side as well doors. It is dark inside so I was able to find motion operated puck lights that stay illuminated for 45 minutes at a time. So if she forgets to turn them off then they will go off by themselves to save batteries. This was a fun project. The most time consuming part was the planning. I did everything in Sketchup. This made it simple when it came time to build. The house itself went up fast. I spent the next few days filling holes, sanding, and of course painting. None of which too a long time but I was not in any rush. I also made a Dutch Door to go along with the room.
Thu, 03/01/2012 - 06:00
You did a great job! I see lots of fun places in that room for storage too.
I used cleats on my loft bed that's still in process... but mine is queen sized and into the corner. I am doing the measure as you go thing, so it's taking a long time.
It's like a little theater room! Toddler sized!
Mon, 03/05/2012 - 07:45
This has definitively been a fun project. There are still a ton of things I want to do for the rest of the room. My little girl goes in every morning to play.
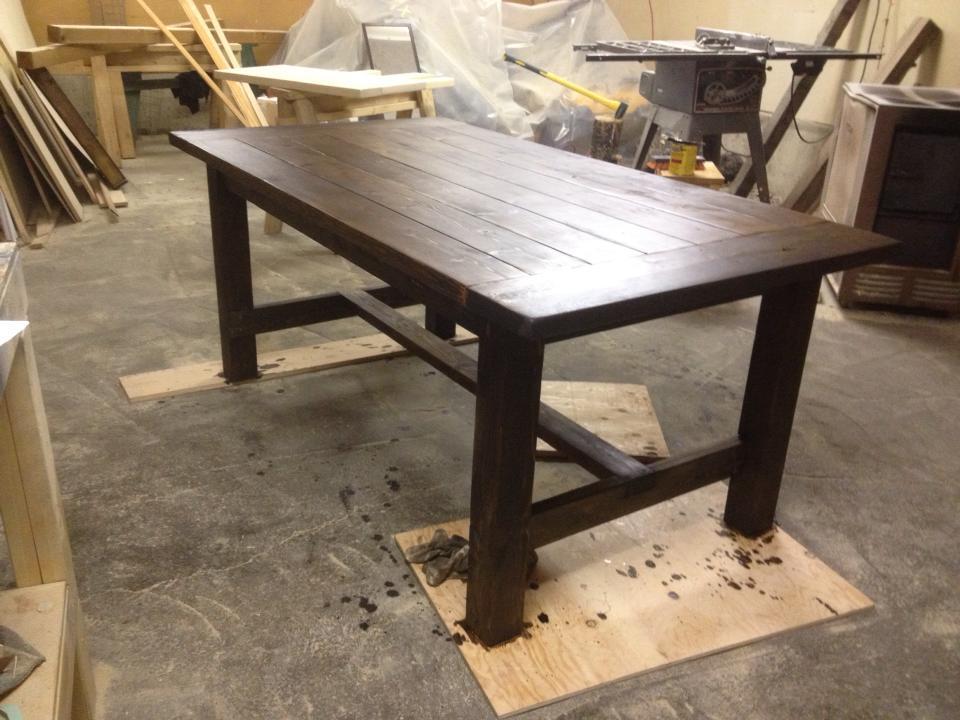
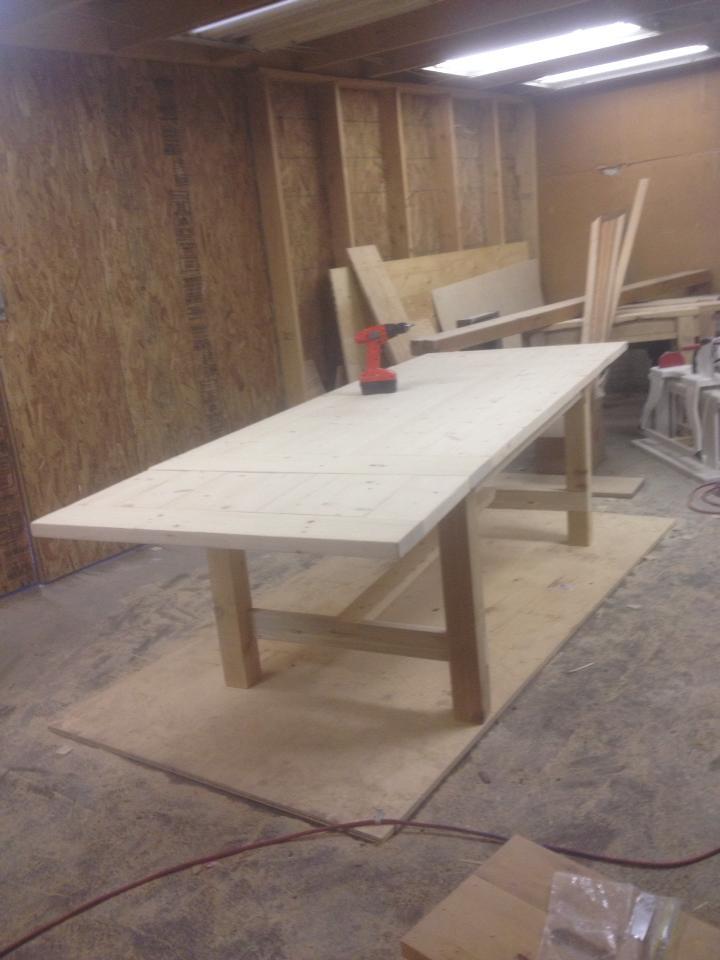
This was the second table I built - it was much improved on my first and was for my sister as a Christmas present. It has 4x4 legs that I notched out with a circular saw for the legs and a spruce top. I modified the length down to 6' for her house but added extensions on the end that make the table up to 9' long when fully extended.
Tue, 09/23/2014 - 13:42
How was the epoxy worked out in the cracks?
And separation or trouble?
Went with a black, high gloss finish which I sanded down with 220 grit sandpaper to soften the look. Cut up a birch tree from the backyard, back-lit the logs with two strands of orange Halloween lights from the dollar store (we drilled a hole in the bottom back for the plug for the lights).
Added a remote extender so we don't have to open the front middle door in order to operate our streaming devices.
Love to be able to decorate this for the holidays--can hardly wait for Christmas!

Had tons of fun making this potting bench from Ana used a few different boards but, overall had a great time
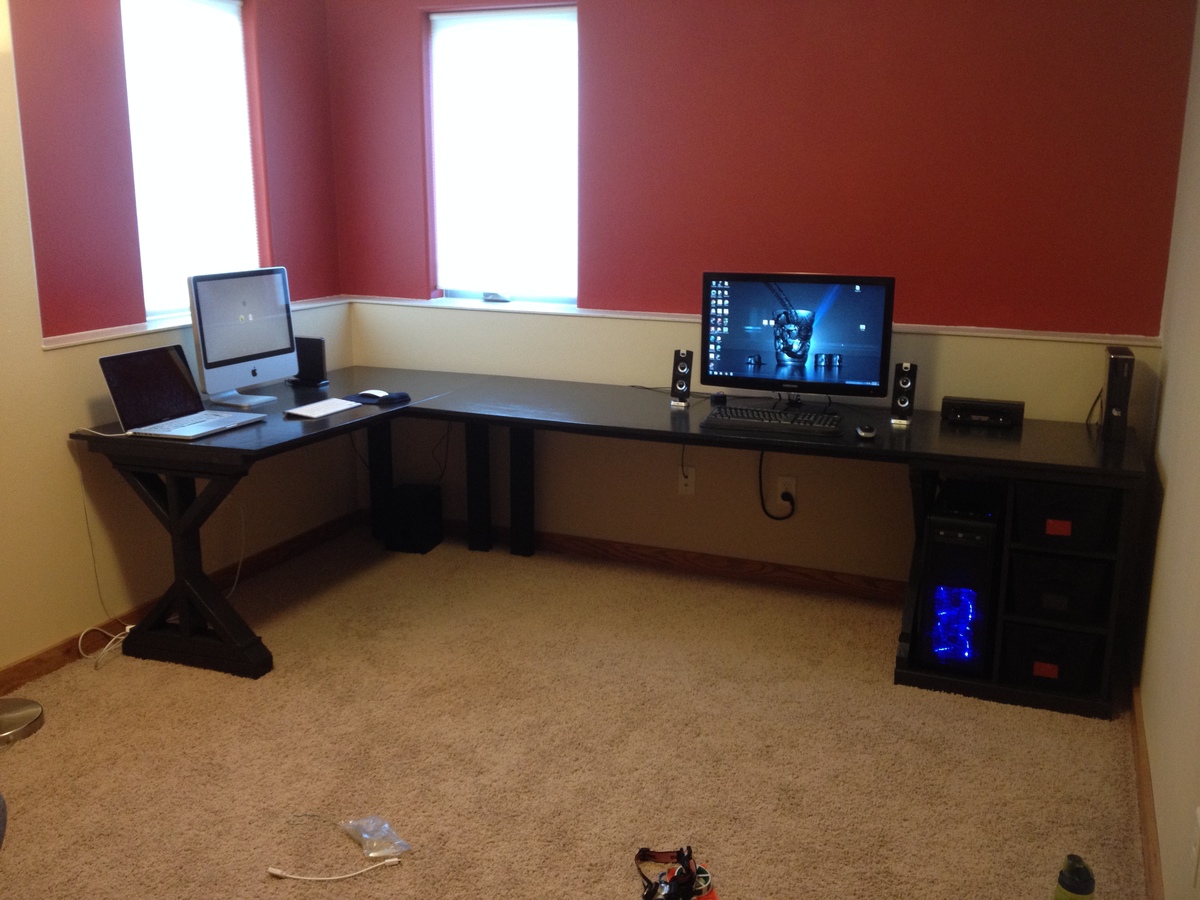
This desk was made using the "Fancy X Desk" and "Modular Office Base" plans. A CPU enclosure was added with a similar "X" design. The top is 3/4'' plywood with 1x2's and 2x2's providing the framing. A 1x4 runs down the back of the desk with a cord try to hide cables.
Mon, 06/08/2015 - 08:46
I am not able to find the plans you are referring to. Is there a way you can comment with direct link
Thu, 01/07/2016 - 15:16
HI, The desk is awesome and I thought I would make this my first attemt at building something.
But I am unable to find the instructions.
Please help.
Thank you.
Sun, 01/10/2016 - 08:46
Ok after reading the subject matter I realized that this is the merging of two different desks.
Can you post a photo of how you joined them.
The support for such a long desk is my concern, with out it having any middle support or at the the corner?
Thank you.
Sun, 01/10/2016 - 08:47
Ok after reading the subject matter I realized that this is the merging of two different desks.
Can you post a photo of how you joined them.
The support for such a long desk is my concern, with out it having any middle support or at the the corner?
Thank you.
Tue, 01/12/2016 - 14:52
Hi,
Could not find attached plans. I did see the same comments before too for the same project.
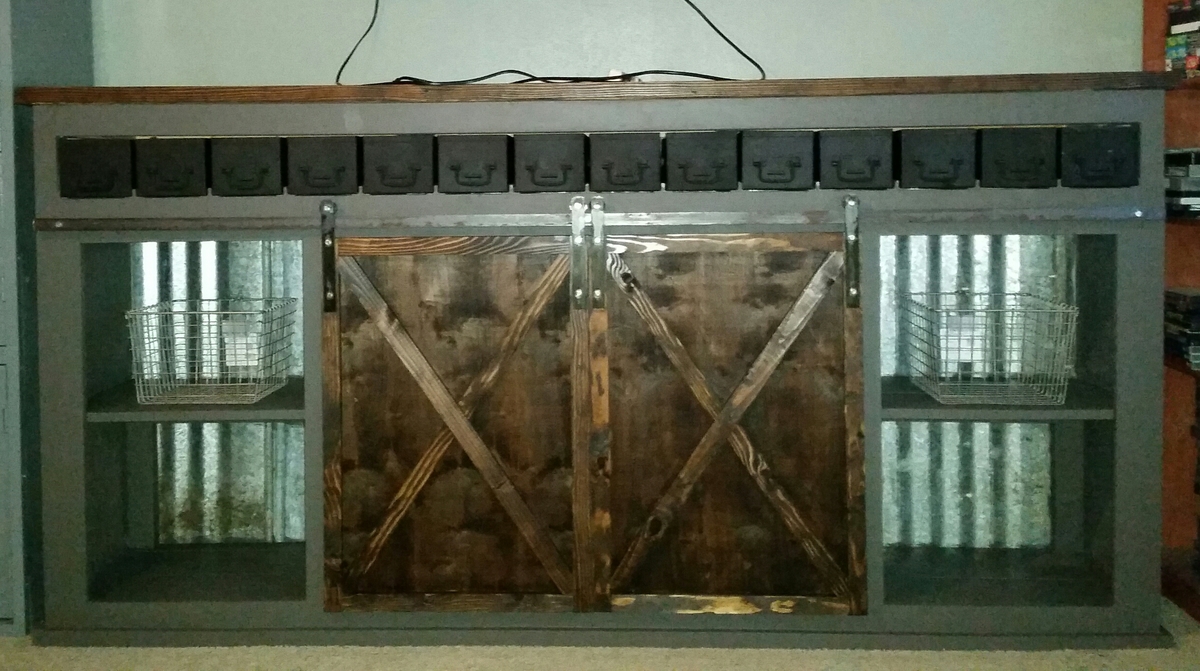
Fun project
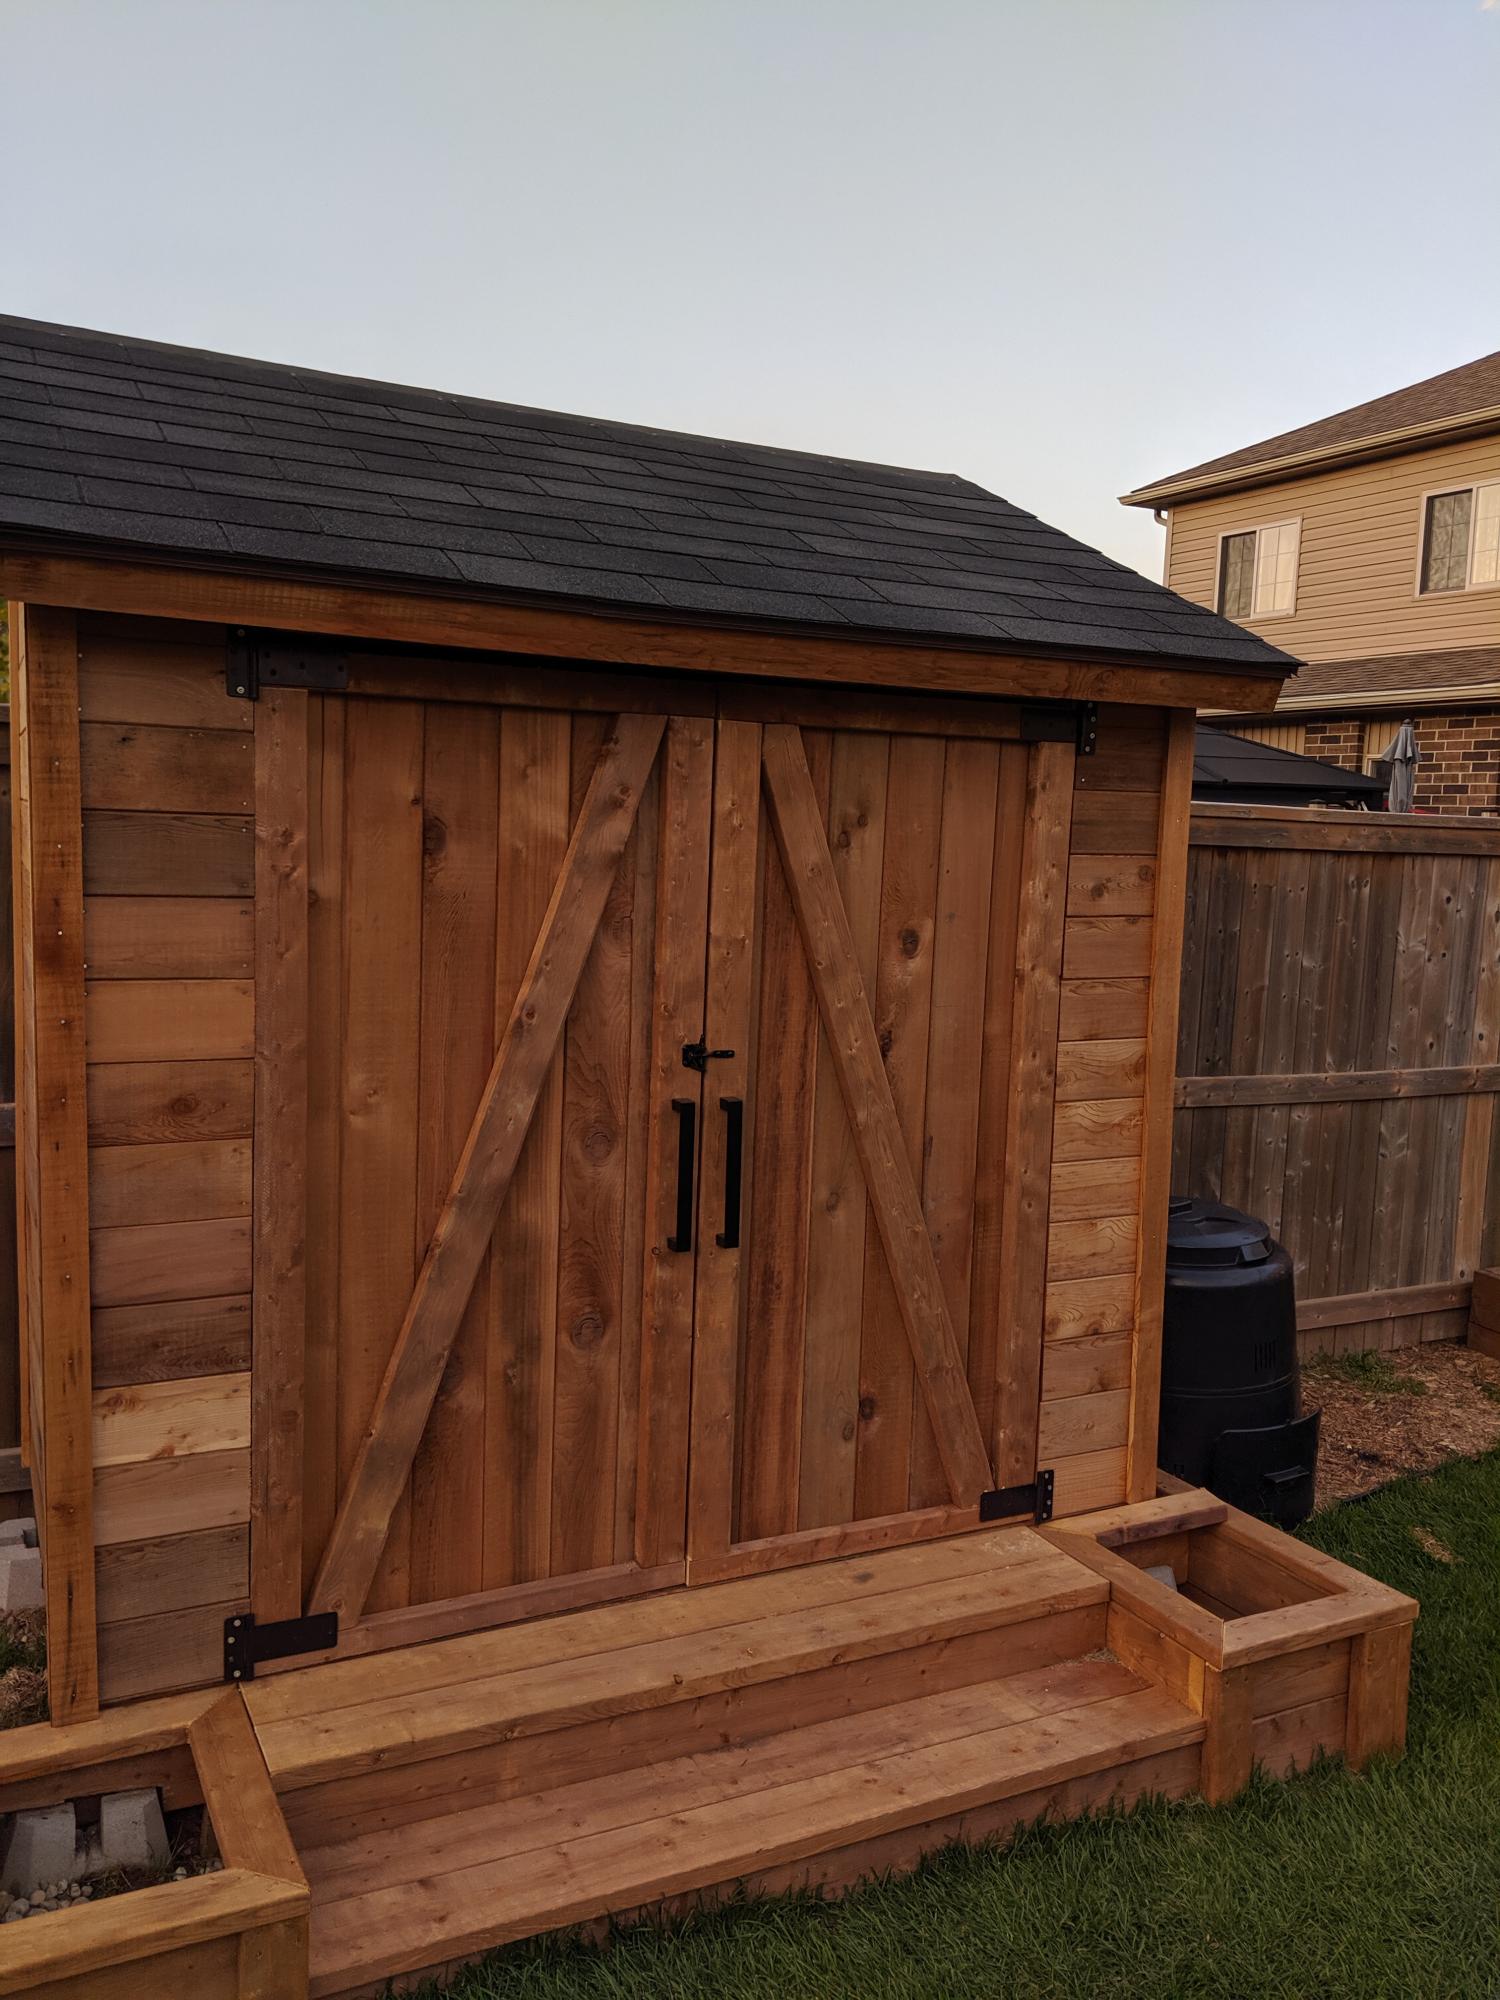
Cedar shed with planter box stairs. Both plans modified slightly to fit my needs. Siding is tongue and groove cedar. All other wood is brown pressure treat. Planter box stairs were sized and positioned to hide cement posts. Sorry for only one photo. Finally finished and ran out of time with good weather here in Canada. Will post more with weather permits. Thanks again for your plans. I've also built night stands and a farmhouse dining table.
Not sure if I linked the proper stairs plan. Was https://www.ana-white.com/woodworking-projects/outdoor-planter-steps-or…
Sat, 11/21/2020 - 18:14
This shed is beautiful! what were the end dimensions of your shed?
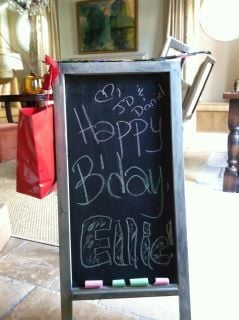
For my niece's birthday, we used Rayan's plans (over at the Design Confidential) to build an industrial folding chalkboard sign. I used 1/4" MDF for the chalkboards for smoothness and 1x2 pine for the frame, stained one coat of ebony & one coat of rustoleum "sunbleached" stain. I totally forgot to take pictures before we dropped it off, but it was super easy and a real hit!
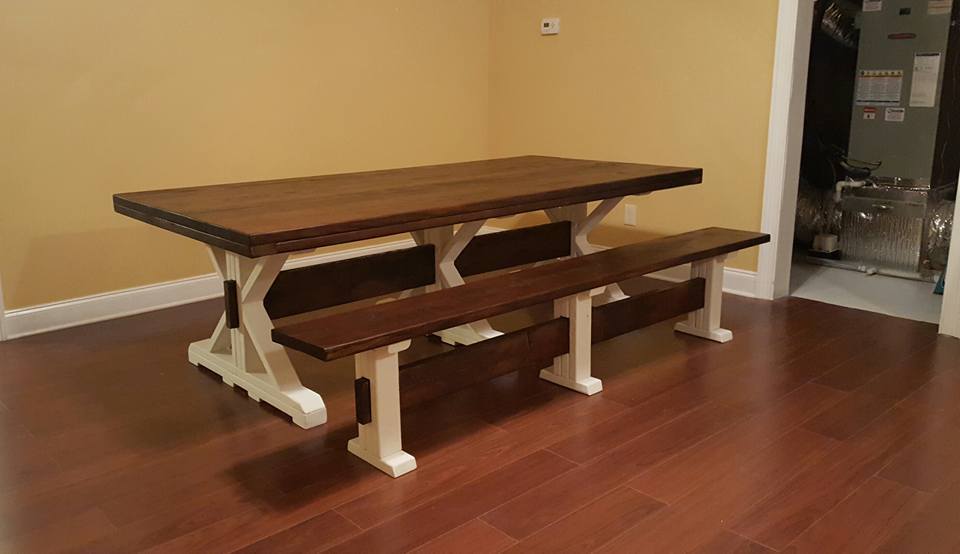
Inspired by the Fancy X farmtable plans. Added a crossbeam mid legs. Stained top and center beam chalk painted legs. Bench inspired by the table just minus the diagonal pieces.
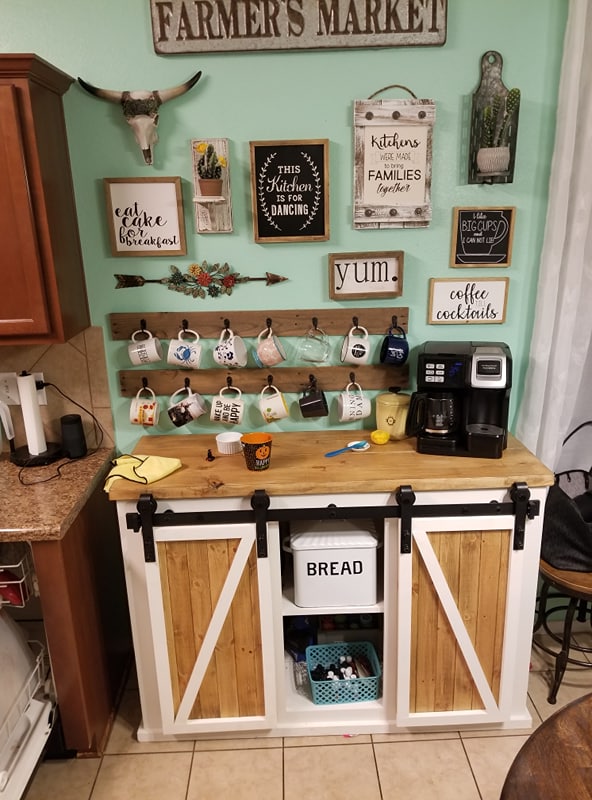
build to fit area
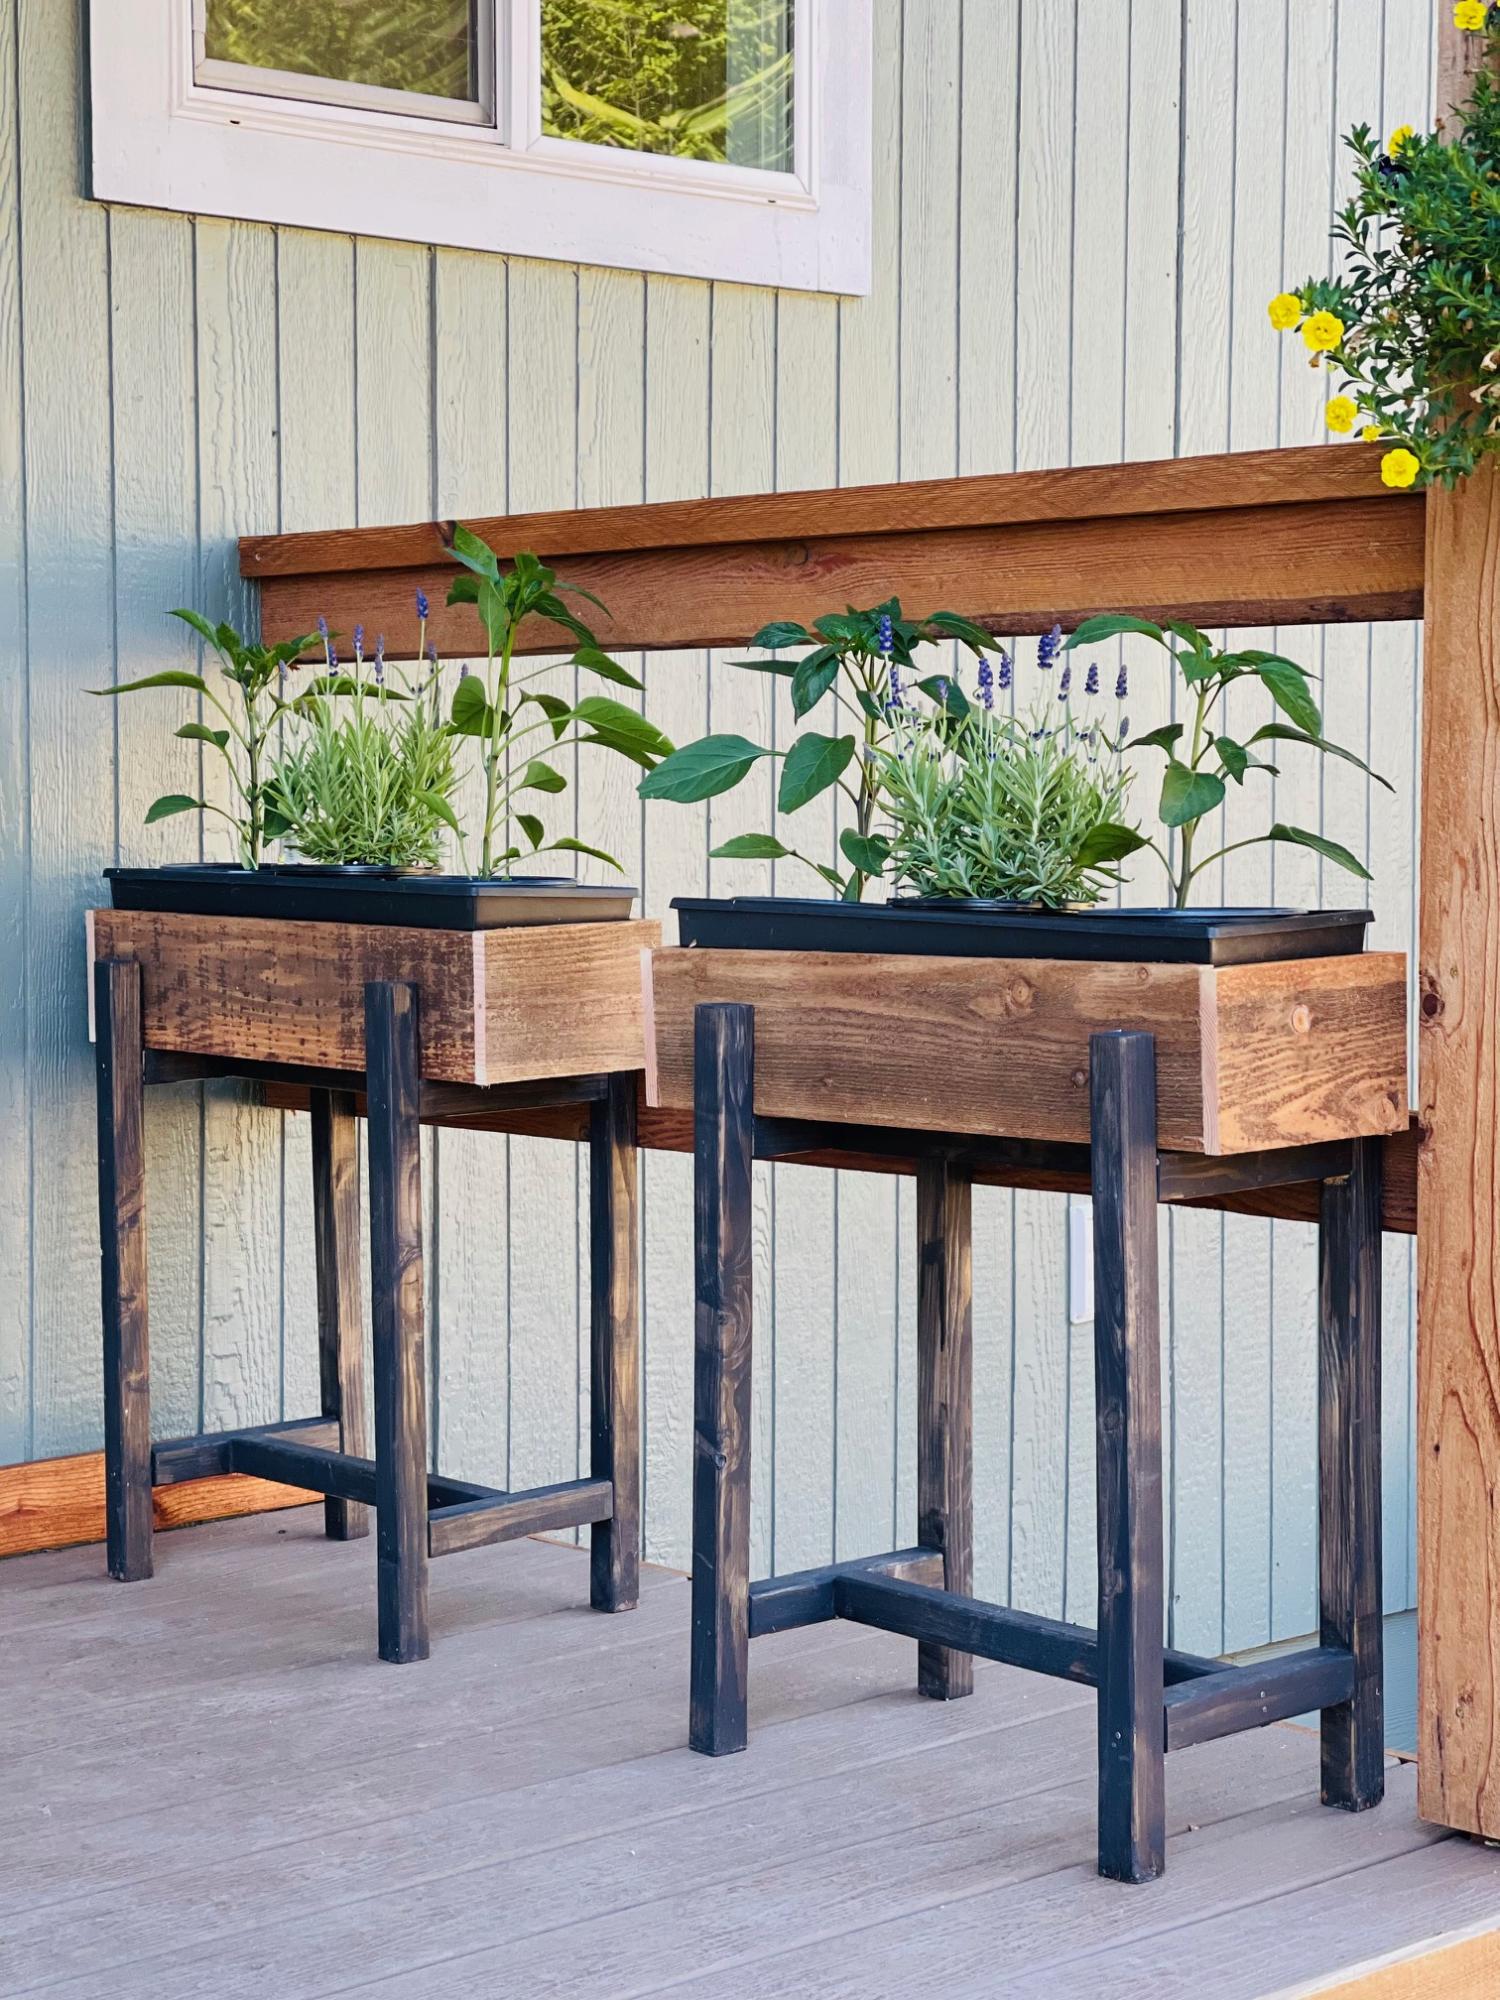
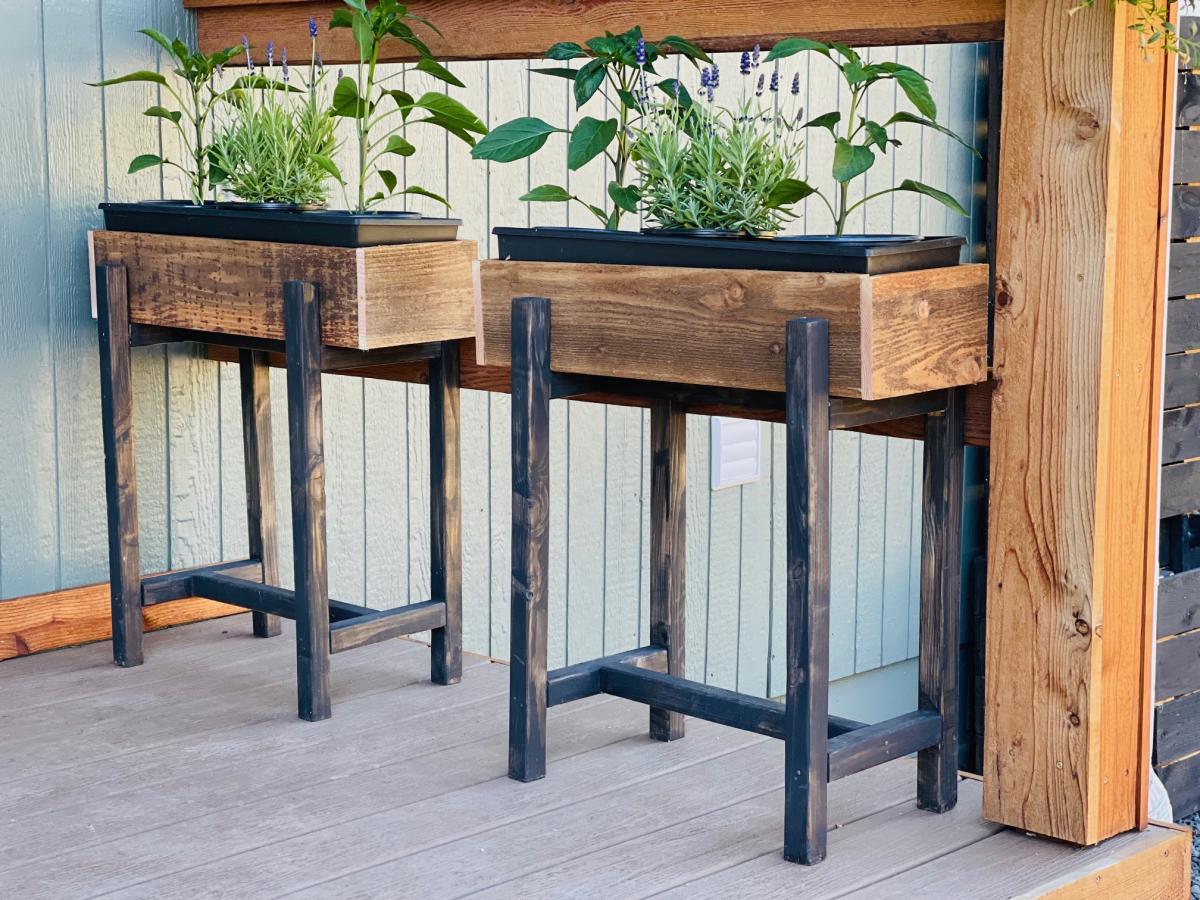
Easy build and I like how I can just set planters inside the top box and change out easily!
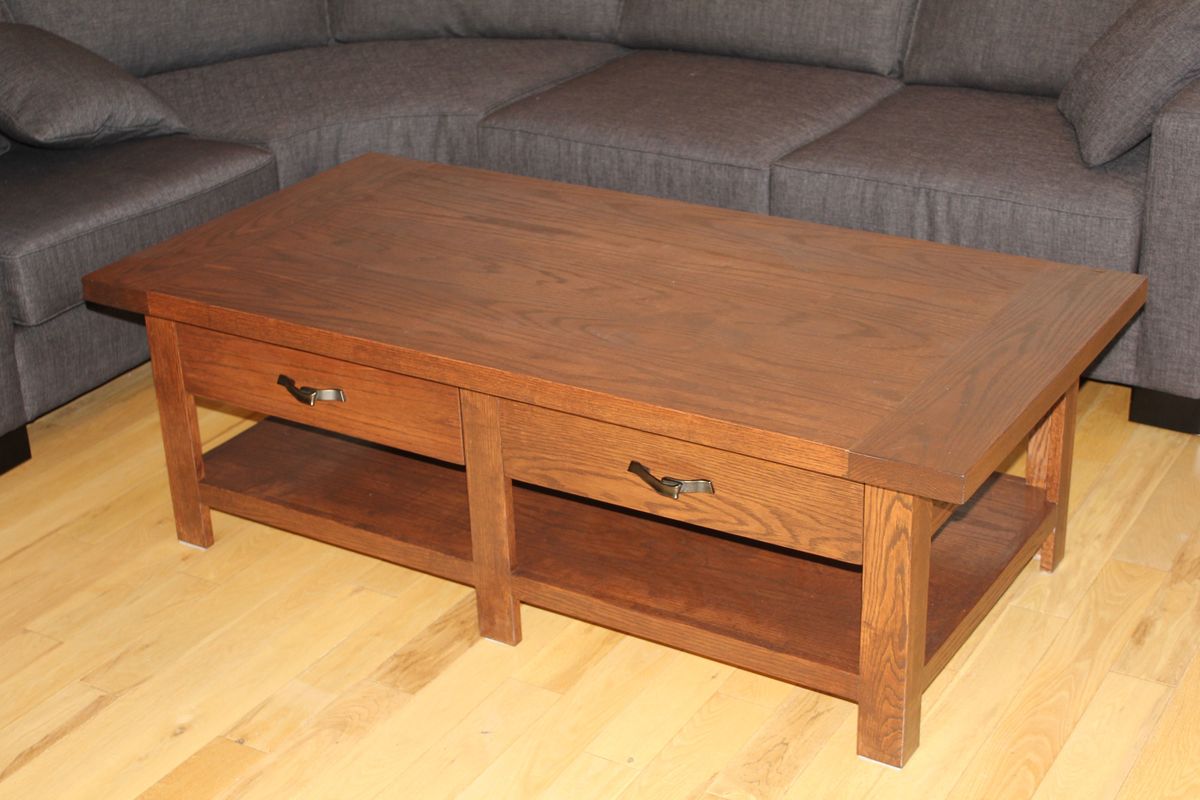
After searching for months for a coffee table I found one and put my DH to work. This is his first time making any type of furniture and I think he did an awesome job. We used Red Oak for the table and it weighs a ton :)
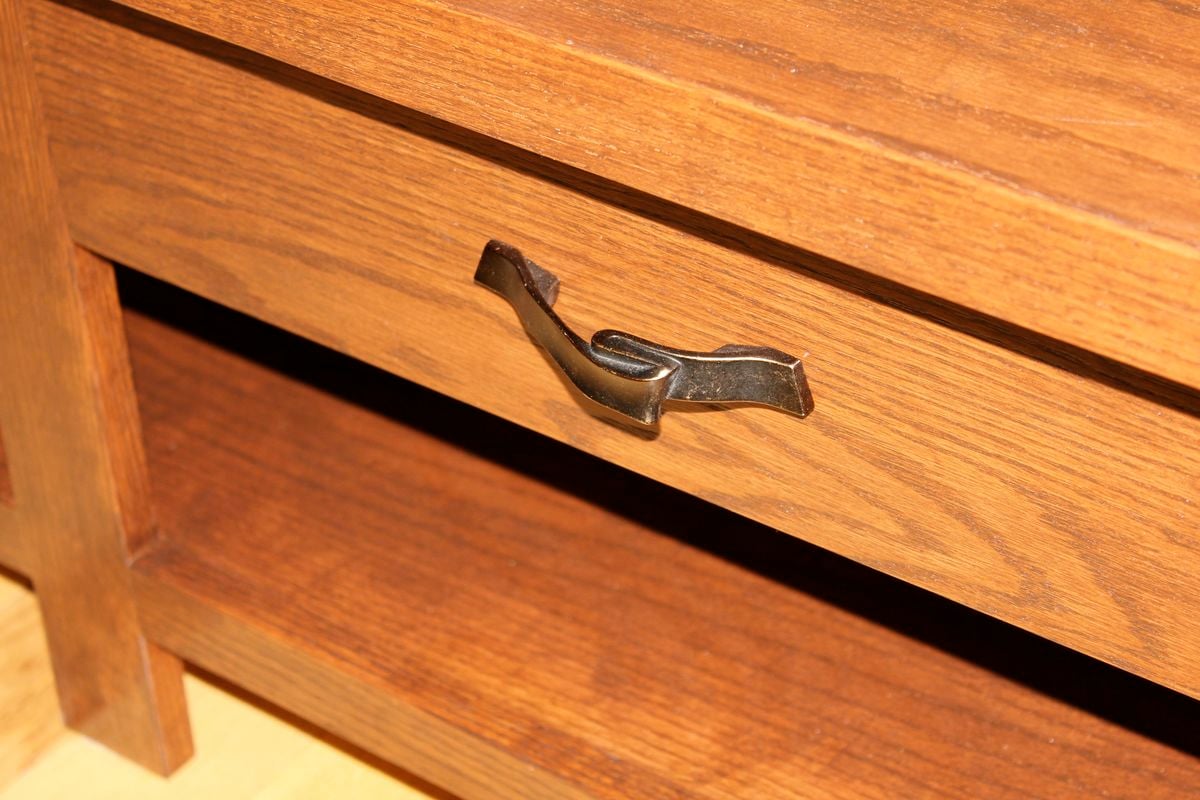
Sun, 03/11/2012 - 17:03
We found the handles at Lee Valley 'Diva Suite'
http://www.leevalley.com/en/hardware/page.aspx?p=52433&cat=3,49938&ap=11
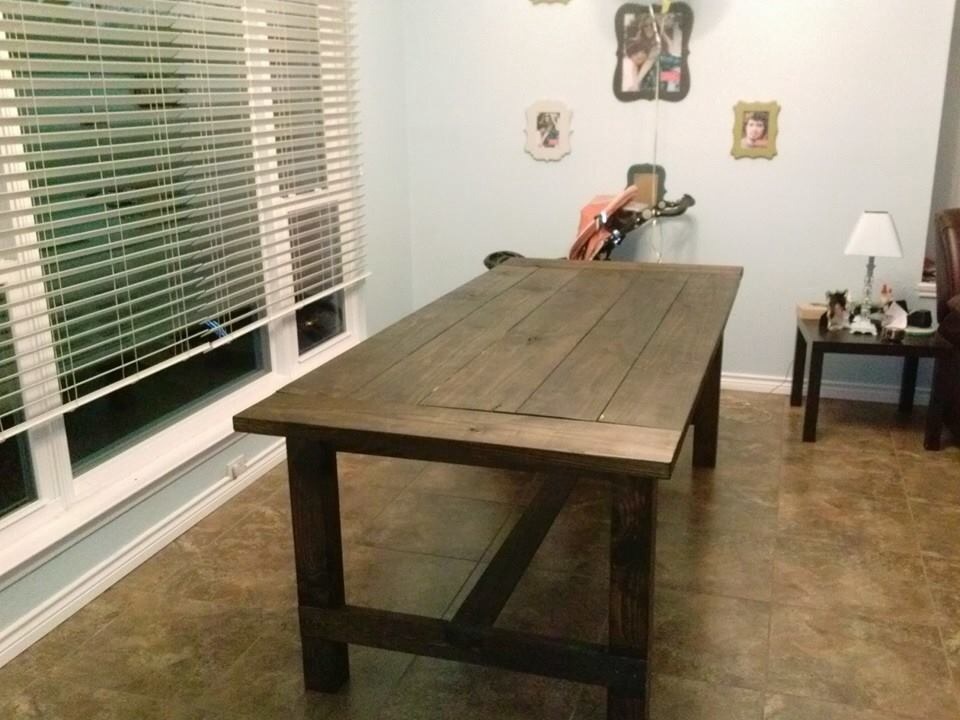
This plan was spot on but i do suggest when sinking the pocket screws to secure the table tank it slow and do not over sink them they will protrude from the table top. This was fun to build.
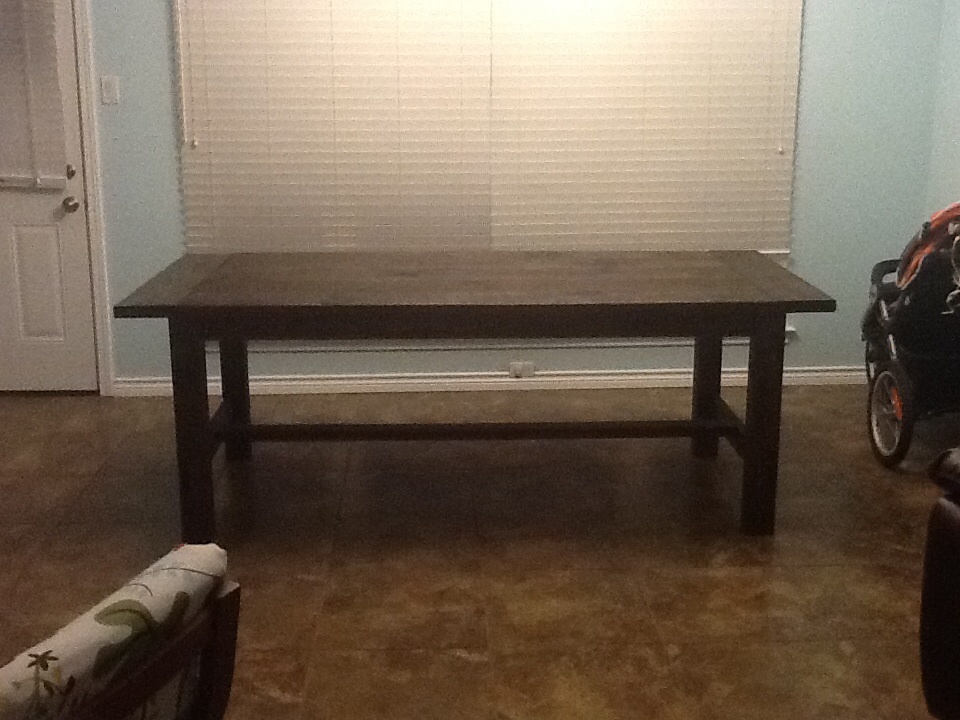
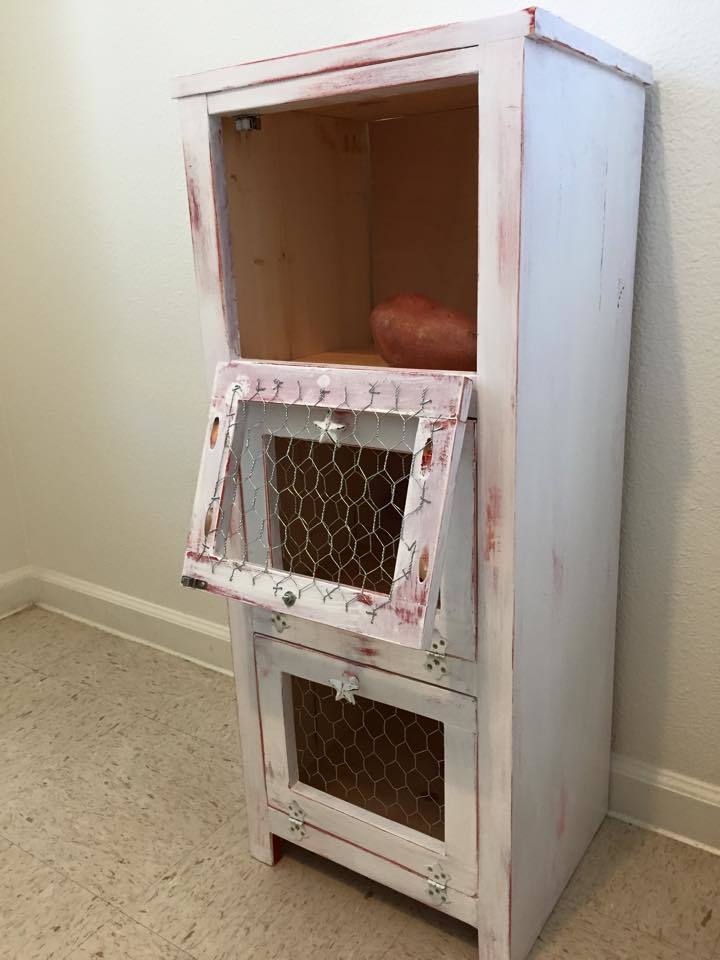
I loved this plan. It was my first build from Ana White plans and a true jumping off point for my imagination. I used pine boards, matte red underneath and semi-gloss white top coat. Steel wool was my tool for the distressing.
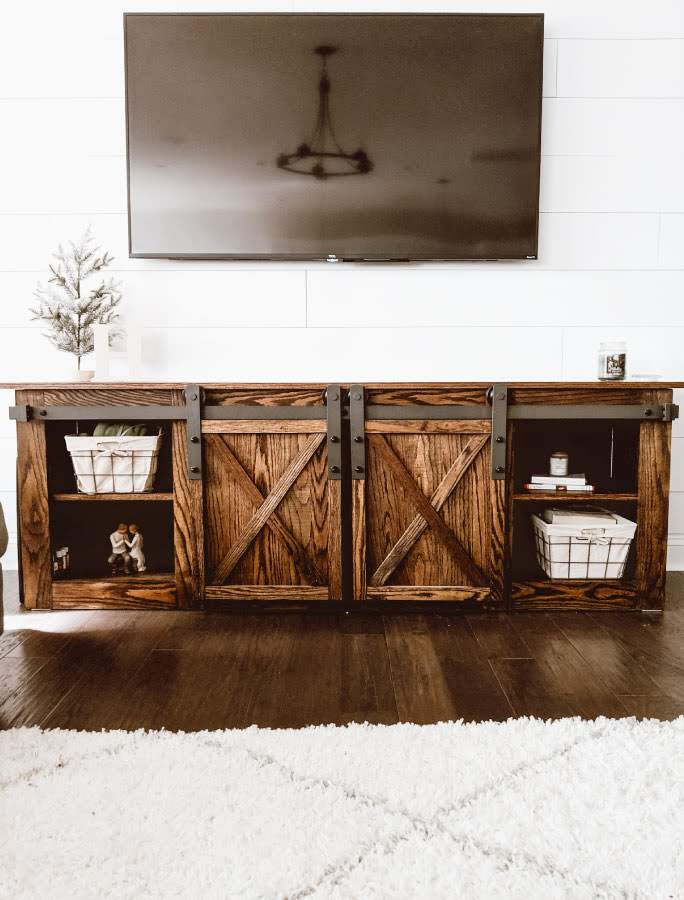
This was the second piece of furniture that my husband and I ever made. We had built a coffee table that had a lift up top so that we could eat dinner on the couch and store all of our board games. Once we tackled that, I thought we could conquer the world (even though the table was pretty basic). So when my now-husband was about to move into his first apartment without a roommate and I saw it as an opportunity to decorate my own place (even though I wasn’t living there). Luckily,he agreed it was time to get rid of his tiny Ikea TV stand that was probably 2ft off the ground and not a great height for a TV, and agreed to build this awesome TV console with me. To this day, it’s still my favorite piece of furniture in our house.
Sat, 11/09/2019 - 14:12
Love this, needing one in my front entry way. How long did it take?
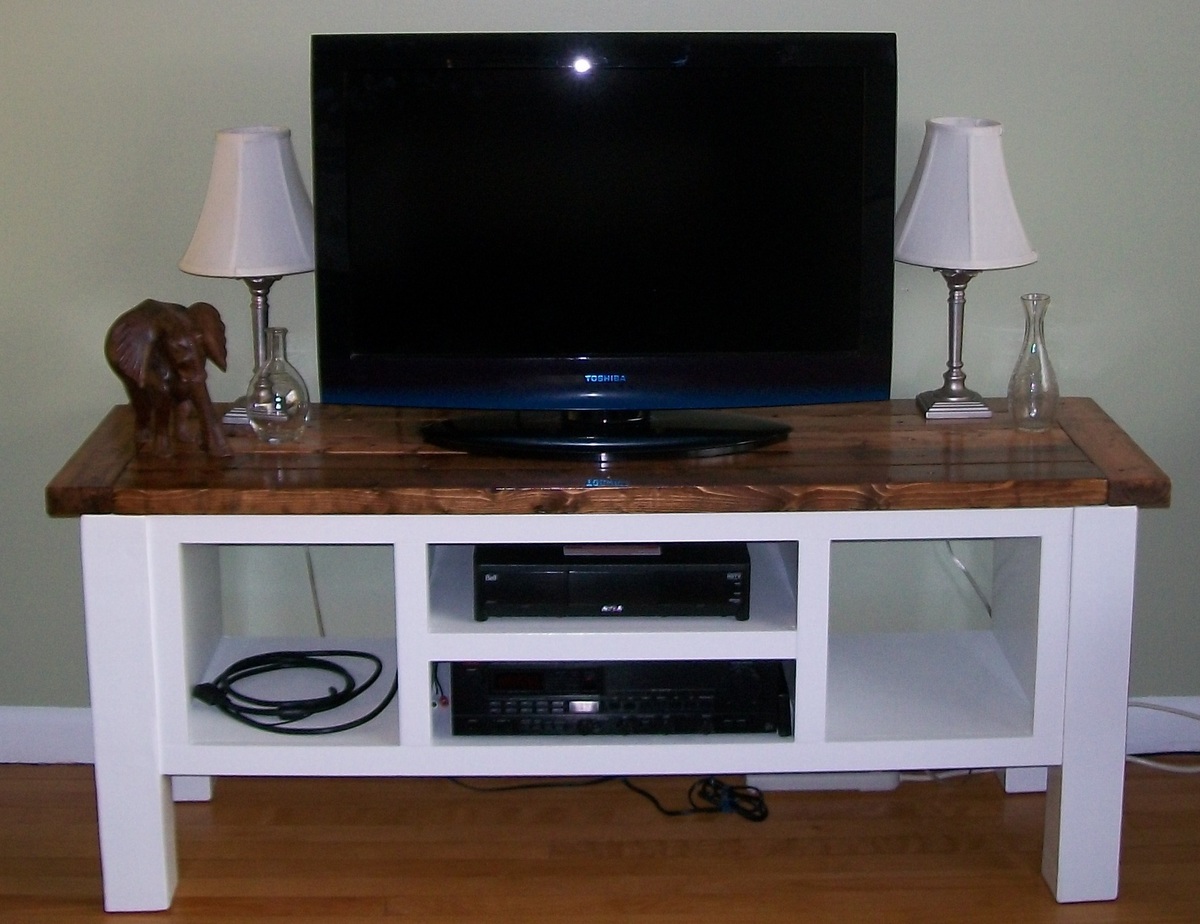
This was our first build, so it was definitely a learning process! We followed the plans pretty closely, with a few minor modifications to suit our needs. The finish was inspired by CreativePineapple's stain/white paint combo - we loved it so much that we had to do our own version!
The center console section was built out of 3/4" MDF - we knew we were going to paint, as opposed to stain, and it was quite a bit cheaper. We primed and painted this section as we went, as we knew that getting our hands/brushes into the cubbies after assembly would be difficult. This added to the time to finish, but it did make for an easier (and probably more even) paint job.
The side panels and back (not shown - we still need to do cutouts for cords before we attach) are 1/4" plywood. The legs are untreated SPF 4x4s, and were definitely where we ran into the most problems. Finidng untreated 4x4's was difficult enough, and when we finally found one that didn't have a ton of chunks and dings in it, we had problems with wood cracking when we got it home. We waited until the wood had acclimatized to our home and stopped cracking, wood-filled the cracks where we could and tried to position the legs so the cracks were facing the console, and hidden. Luckily, this approach was successful, and you can't tell that cracking was an issue. In retrospect, I probably should have just gone with cedar, particularly since we weren't staining it and it wouldn't have mattered that it was different from our other pine boards.
The only placed where we really differed from the plans was adding additional trim to the front section, as opposed to edge binding. The trim was simple 1x2s, similar to the bottom trim.
We primed and painted the entire white bottom section before attaching the top, which was made of stud-grade spruce 2x4's. We used a wood conditioner on the spruce before staining, as it is such a soft wood. The stain was left on for 15-20 minutes before wiping, as we knew we wanted a darker, richer colour. Two coats were required to get the shade we wanted (3 on one board which wasn't soaking up the stain as well). We then finished with 3 coats of Varathane Diamond Wood Finish, to get an especially glossy finish.
Wed, 03/14/2012 - 19:29
You better not stop with this project - absolutely beautiful!! The finish looks amazing...I am wondering if you used a rag or a sponge brush to stain the top? I am very new to staining furniture, so any tips would be appreciated. :)
Sat, 03/17/2012 - 09:22
Thanks! We used a foam brush, as we had a bunch hanging around, and just wiped ta the end with a rag. We also left our wood conditioner overnight, contrary to the package directions, which we heard allows it to sink in and dry more evenly. Other than that...we'd never stained before in our lives, so don't be afraid to just give it a go!
Fri, 03/16/2012 - 16:01
i can't seem to find the detailed plans for the console. do you happen to have them? thanks!
Sat, 03/17/2012 - 09:23
There's a link in the post above (after "From Plan")
Mon, 03/19/2012 - 07:36
maybe safari doesn't like the link for this one. no detailed plans will open
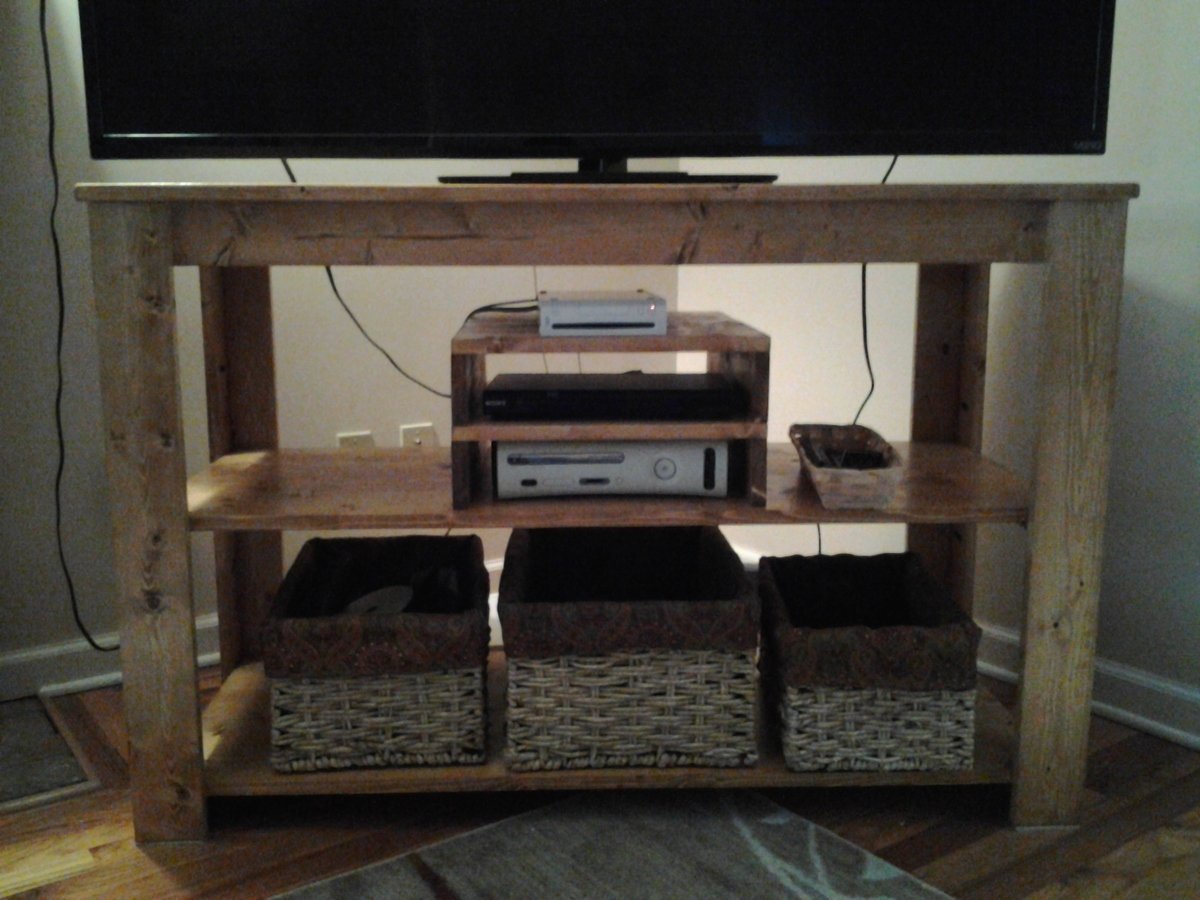
We were blessed with a LARGE TV for Christmas. Totally unexpected. So I needed to build a table for it to sit on. I previously made a narrow farmhouse table and liked the look of it. So I decided to make a smaller version with two shelves underneath. To reduce clutter, I built a couple of "towers" for the x-box, dvd, and wii to sit on (2 half boxes with 1x4 sides with 1x4's nailed across the top.) Dimensions of table are 48 inches long x 22 inches wide x 32 inches tall. (TV is a 60 inch and I think it fits great!) I used pocket holes and 1.25 inch pocket hole screws to attach everything-except I nailed the shelves down to the supports using 1 1/4 inch finishing nails and used 1.25 wood screws to attach legs to apron and supports to legs. I ripped the 1x4's down to 3 inches on the leg front and 2.75 on the sides to make them uniform. Also the aprons I ripped down to 3 inches wide. The shelf supports are about 1.5 inches wide and the shelves themselves are about 18.5 inches wide.
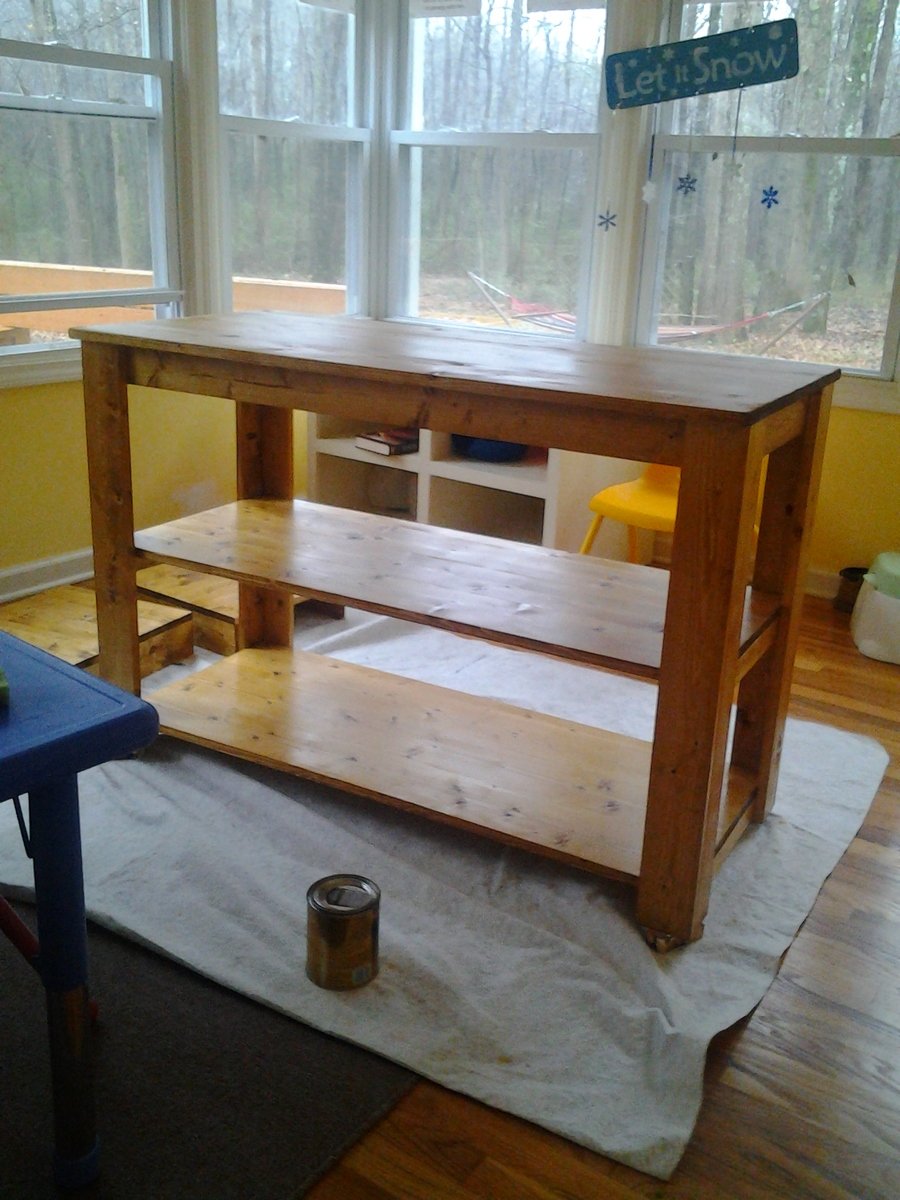
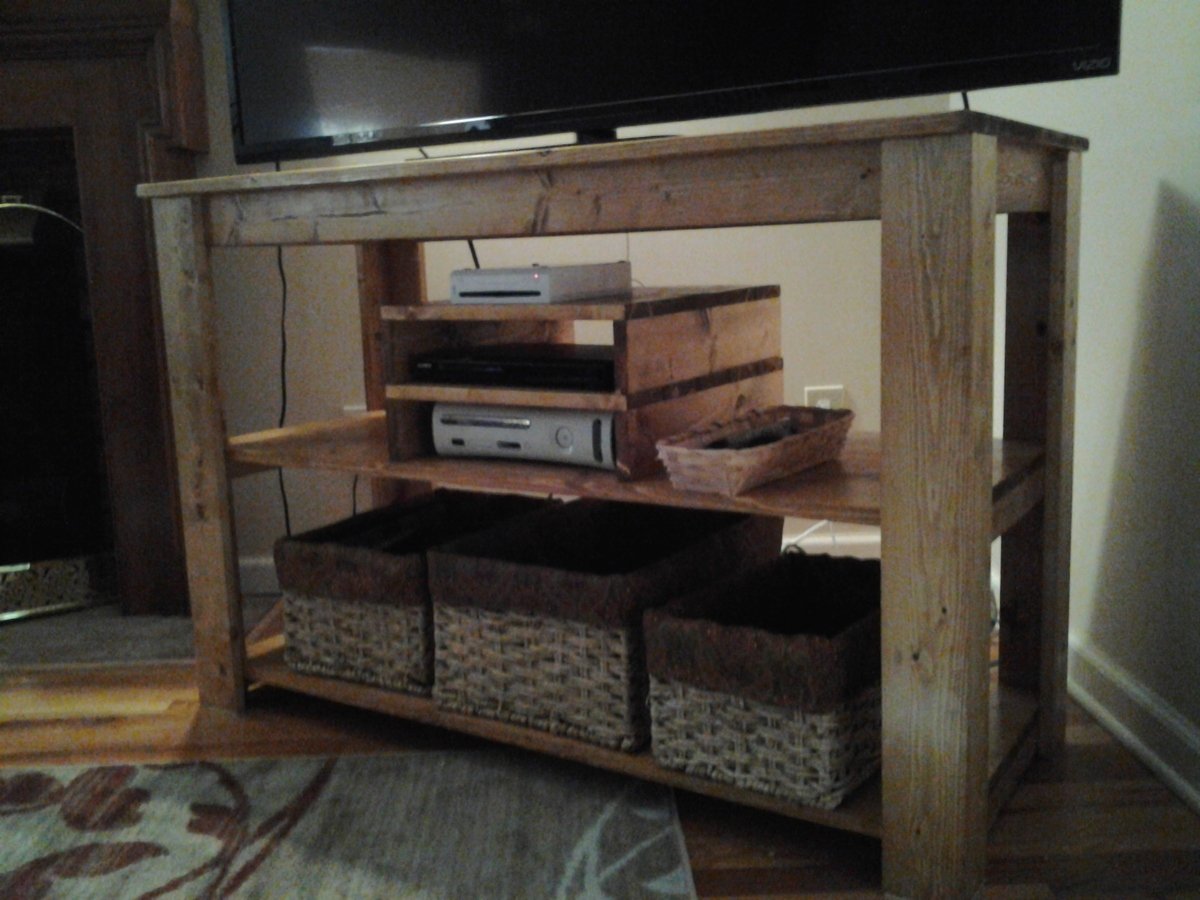
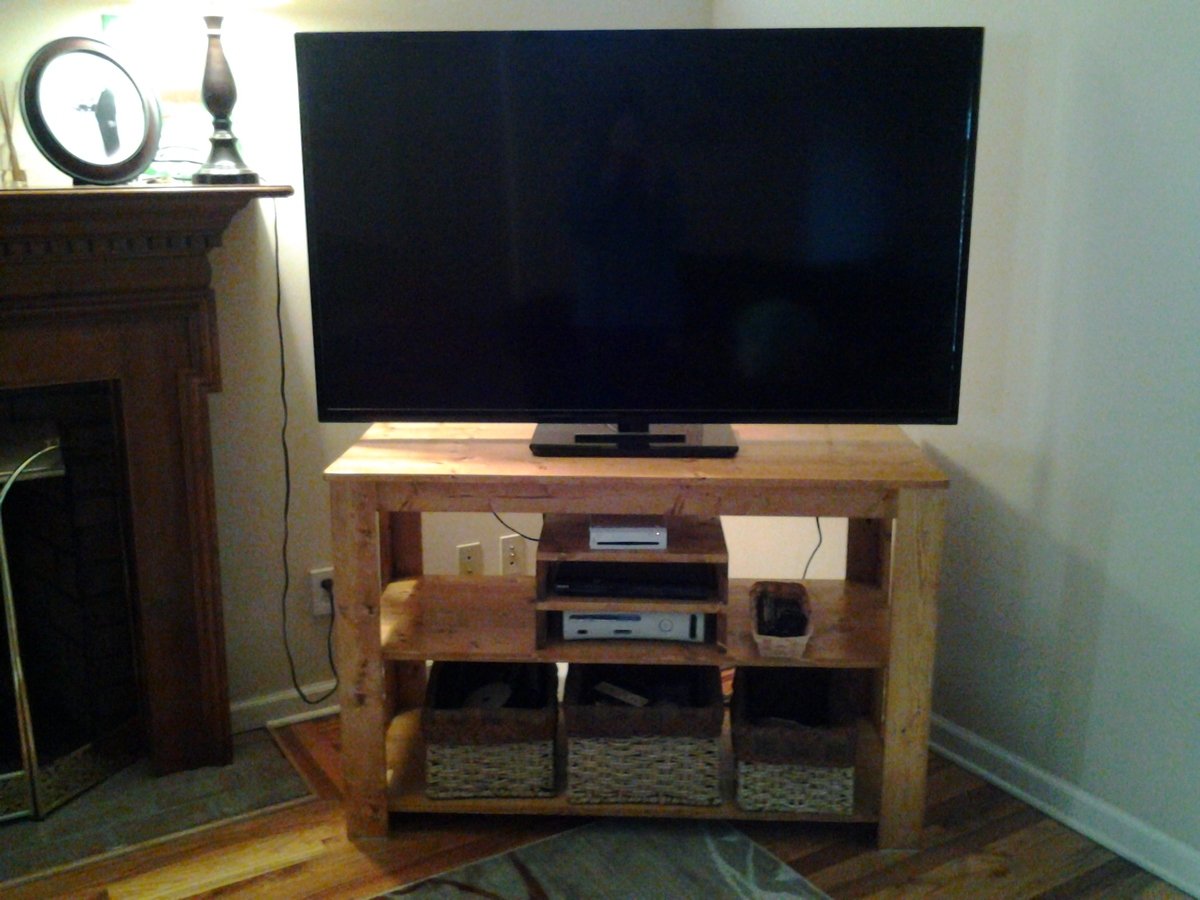
I forgot to add the height of the shelf when I measured for the placement of the two by two shelf supports, but it still turned out well.
