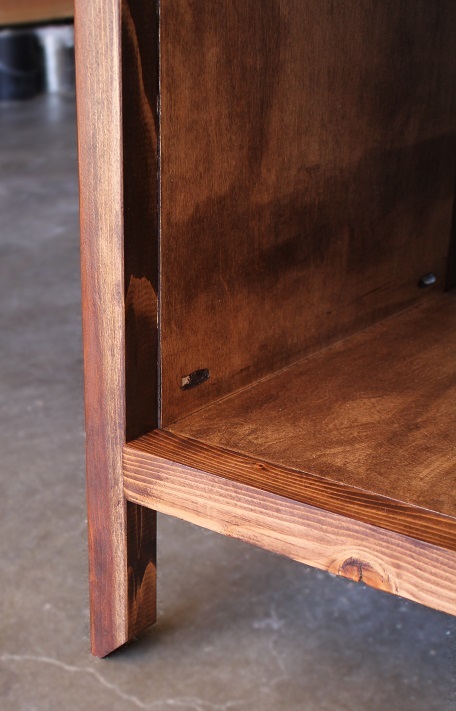
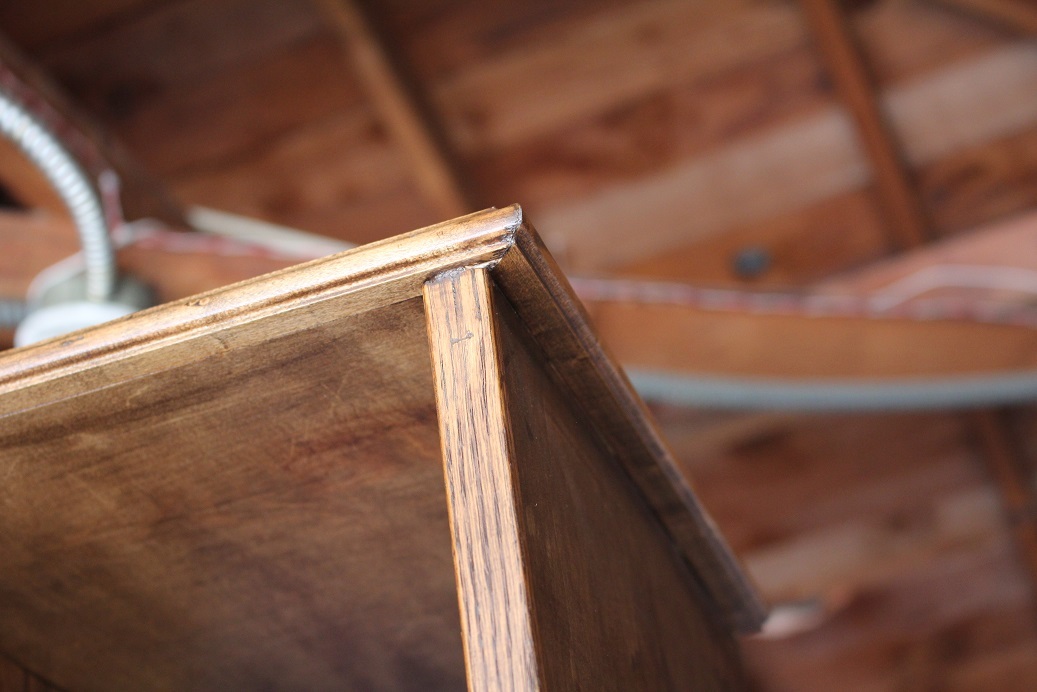
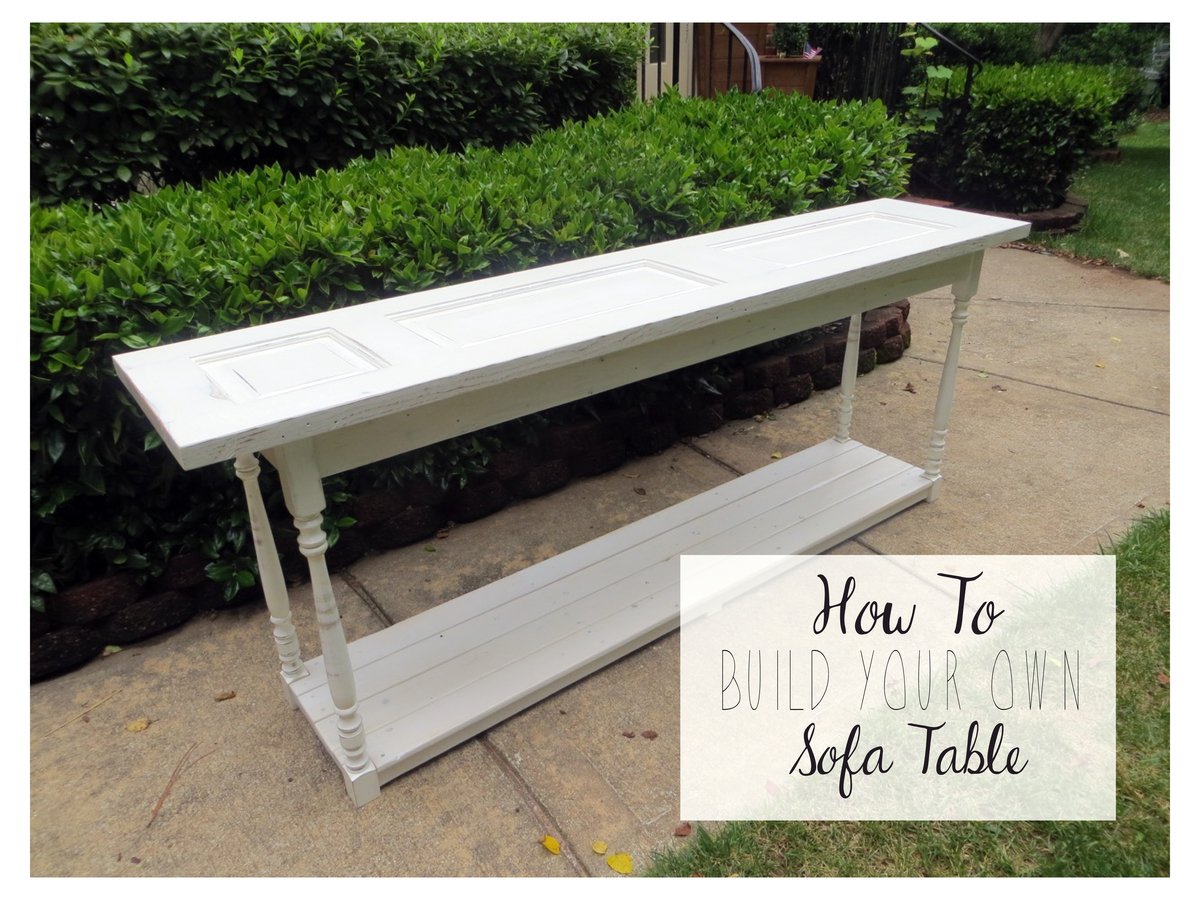
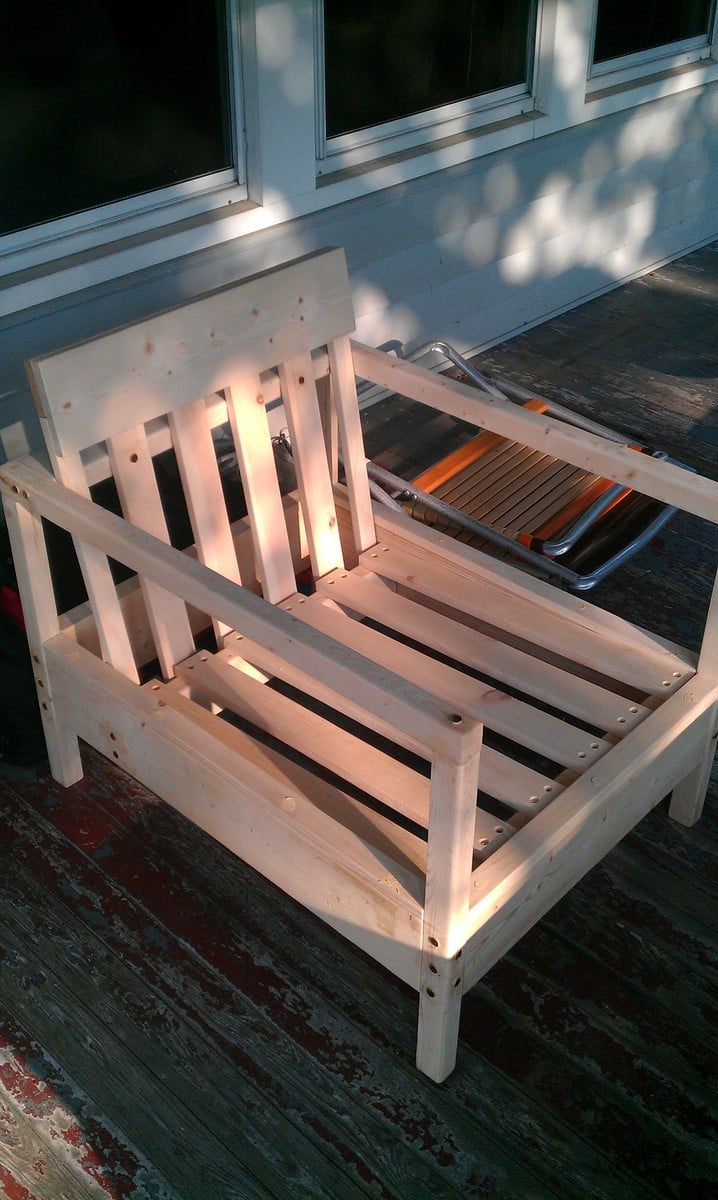
Community Brag Posts

18” Doll Bunkbed

Submitted by ewebrat on Fri, 07/24/2020 - 13:12

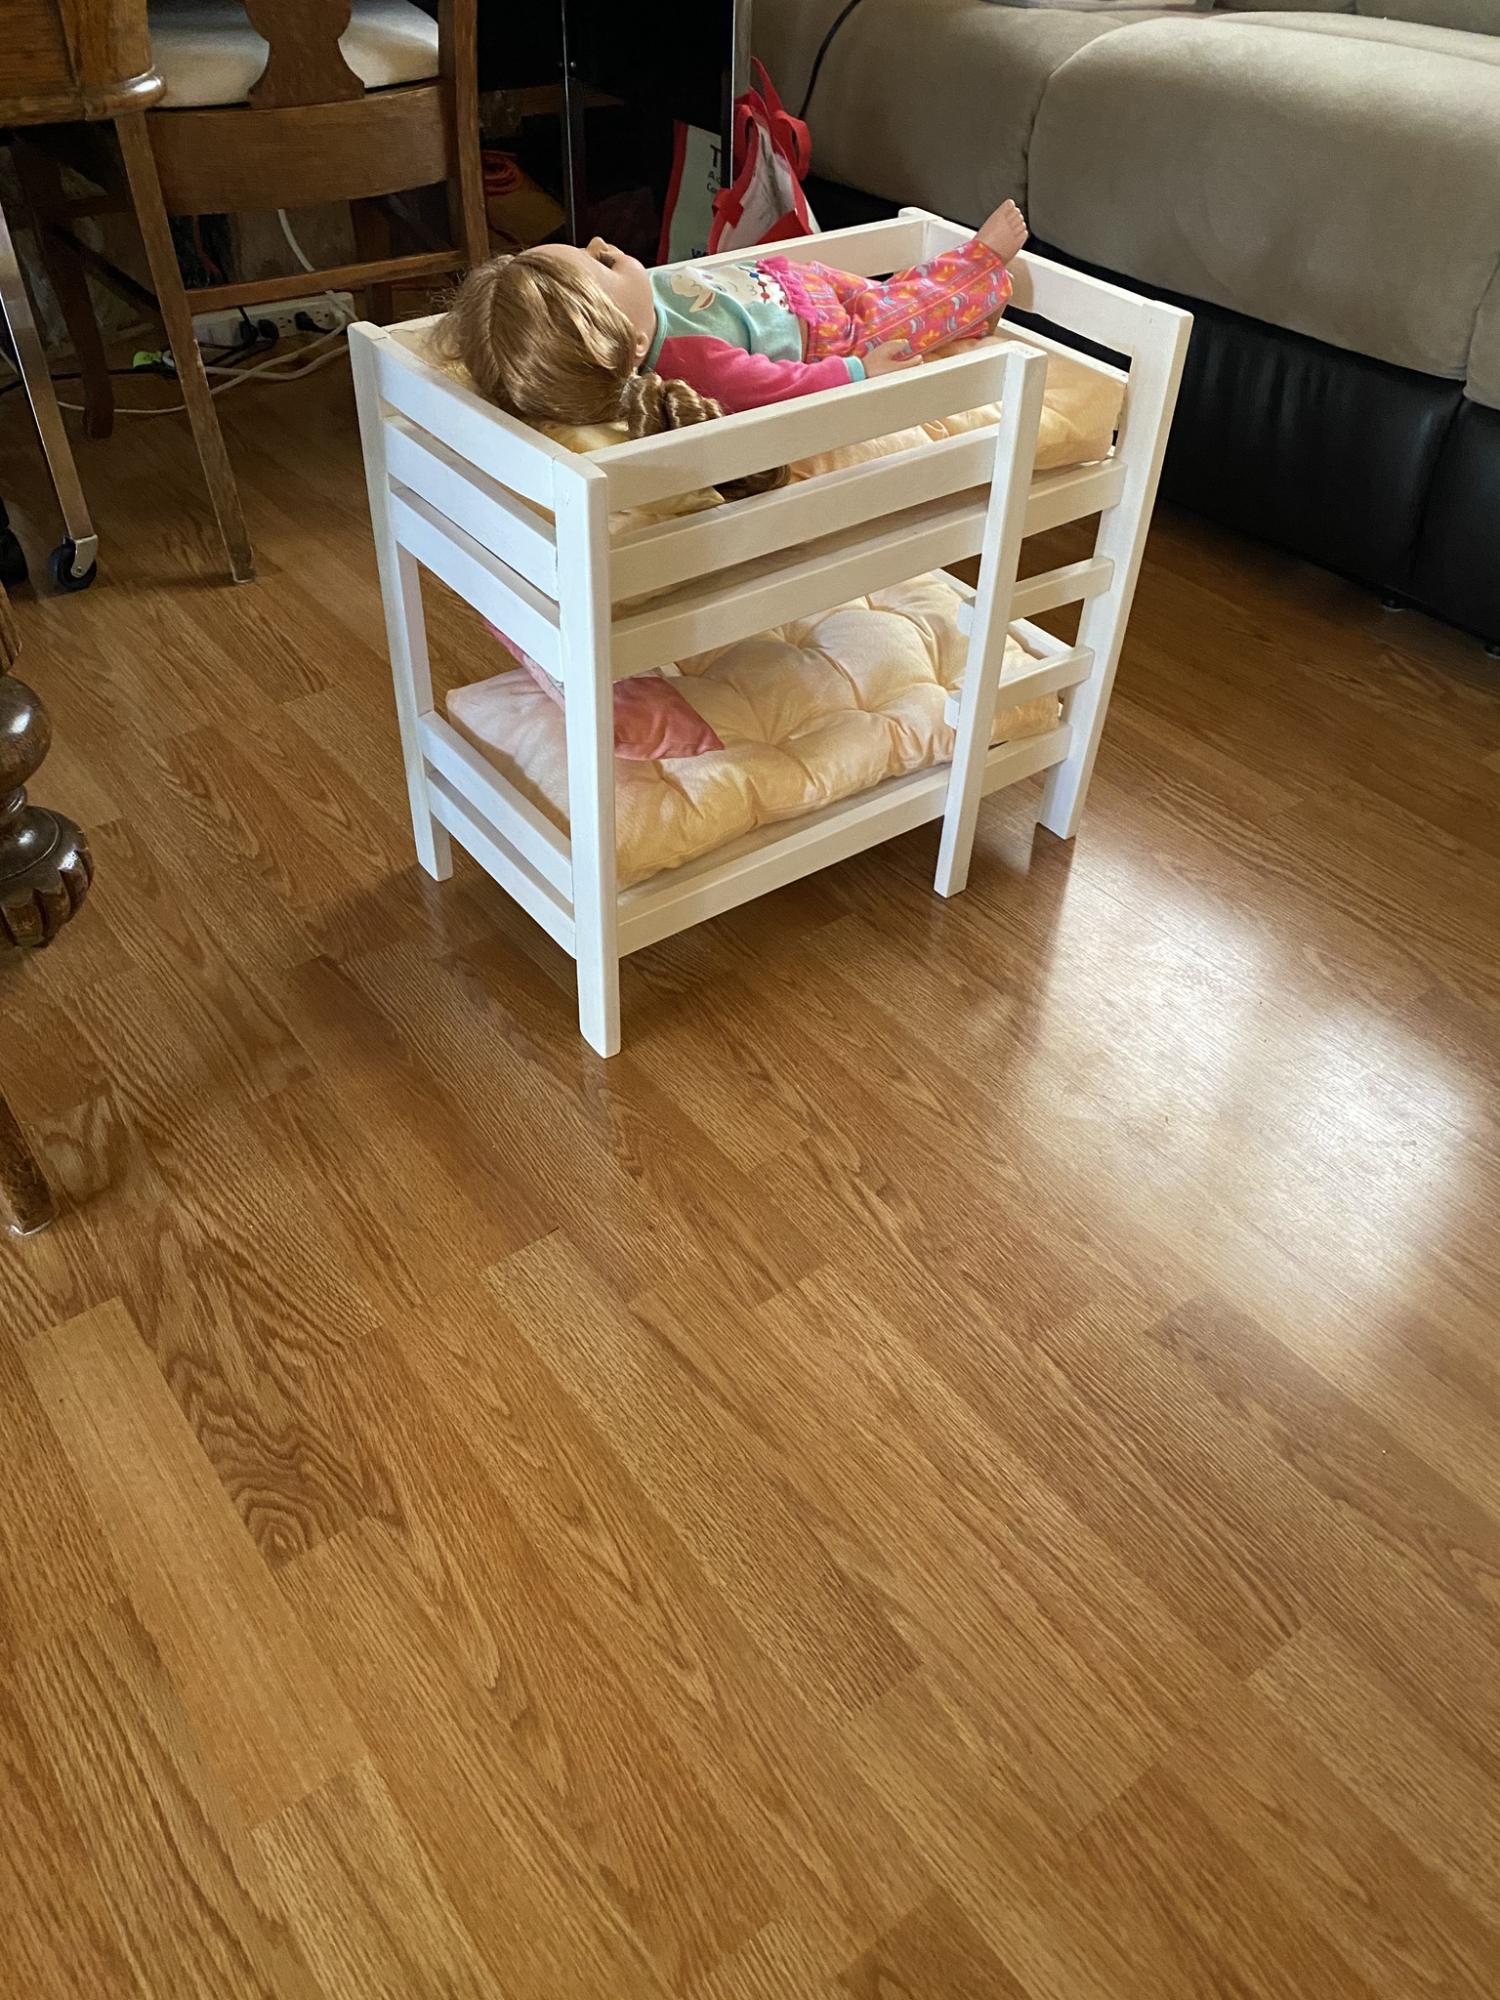
Awesome plans, Ana. Had to fight with not being able to get nice straight 1”x2” boards, and refused to go buy anything bigger to rip from. But overall, it turned out super nice and my granddaughter loved it. Already have a request for another one from her cousins 😊

Estimated Cost
$65
Estimated Time Investment
Afternoon Project (3-6 Hours)
Finish Used
CIL Semi Gloss - Vintage White
Recommended Skill Level
Beginner

Great Corner unit

Submitted by bas.beer on Mon, 10/01/2012 - 17:56

Hi,

My name is Bas and I am presenting my first project to you.
I am new to this website and after I saw all the beautiful handmade furniture I could not wait to get started. It started a few weeks ago, when I bought a single tablesaw for five dollars at a garage sale. Never having done anything with wood before I was pretty curious how I would be able to do this.

I started off a few nights ago by buying materials that are described on the shop list.
I had to work at night in a dark garage as I work during the day which made it a bit more challenging than expected.
I just made sure to take my time and to do it step by step which in the end worked out great. I am very happy with the results and it's definitely a great addition to our home.

I've had a friend ask me to build her one as well, which I can't wait to start building.

Please let me know if you have any questions or feedback. Thanks to Ana White and all those others that have inspired me so far.

Bas

Estimated Cost
140.00 CAD
Estimated Time Investment
Weekend Project (10-20 Hours)
Finish Used
White Primer and Benjamin Moore Advance Grey Paint
Recommended Skill Level
Beginner

Comments

spiceylg

Mon, 10/01/2012 - 18:44

Beautiful job, especially for a first project. I'm always amazed when people take on big projects for their first one. Welcome to the community!

Channing Desk and Hutch

Submitted by brittanyj on Fri, 07/25/2014 - 09:07

Made this desk custom for a friend and I am so happy with how it came out. Took around 4 days with finishing. I didn't put a back on it because drilling those holes for cords always goes rather splintery. If he wants a back we can easily put it on. The top ended up having strange coloring with the Dark Walnut stain, I think because of the wood filler, but I like it because it gives it a rustic old world kind of look. I saved a lot of money by hounding the scrap bin at Home Depot several times a week, looking for wood on Craigslist, and raiding my leftover stash. I modified the side so there was a tower partition and a shelf on shelf pins- courtesy of Kreg shelf pin jig. I used moulding I had sitting around to cover the exposed edges of plywood.

Estimated Cost
30
Estimated Time Investment
Weekend Project (10-20 Hours)
Finish Used
wood conditioner, Rustoleum Dark Walnut stain, floor poly (just what I had lying around). Applied stain with sponge brush, then wiped excess. same for conditioner. poly applied with paintbrush.
Recommended Skill Level
Intermediate

Tufted Parson Chair

Submitted by johnana on Sun, 11/06/2016 - 02:41

I was in need of two more parson chairs. So, I thought that I could maybe buy them from the same place I originally purchased my set, but they only had something close. I don’t mind mismatch when it reasonably works together. These did not. So I started my search…. Anything I liked was either out of stock, or way too expensive. I’ve been making and updating a few furniture pieces lately, but never made any chairs or stools. Why not? I guess I thought that they were too intimidating. I started doing some research on the web and learned that they are intimidating. But then there is a very talented person out there by the name of Ana White. She has plans for a parson chair that really made me say that this is not as hard as I thought. So I used her plans as a basis for my own. I used left over pieces of wood I had from another project. So why not try one and if it works I’ll do the second one.

I did however make a few changes to make it my own.

Estimated Cost
$30 for Two
Estimated Time Investment
Weekend Project (10-20 Hours)
Finish Used
Minwax Wood Shades Espresso. you can find the instructions at https://homeessentialsweb.wordpress.com/2016/11/06/parson-chair/
Recommended Skill Level
Intermediate

Farmhouse Coffee Table

Submitted by Anonymous (not verified) on Sun, 07/26/2020 - 21:41

This was a fun project to build! It took about 1.5 hours to build start to finish, with another couple of hours to stain and then seal.

Estimated Cost
$43
Estimated Time Investment
Afternoon Project (3-6 Hours)
Finish Used
Dark Walnut stain and Satin Sealer
Recommended Skill Level
Beginner

Rolling Lumber Cart

Submitted by rc5woods on Sun, 06/30/2024 - 12:26

Built this wood storage for my garage! So much nicer than getting wood off the floor! Finished it in one day!
My only suggestion is don’t cut the four tie in pieces until you have the rest finished! Two of mine were too short. Thanks Ana, you have given this retired teacher a new purpose!

Wranglerstar Greenhouse

Thank you Ana for the excellent plans. We have been talking about this for months and are excited finally have a greenhouse. We live in the mountains and this will help extend our growing season. Please tell Ram thank you from the Wranglerlerstar family.

Built from Plan(s)
Estimated Cost
$750
Estimated Time Investment
Week Long Project (20 Hours or More)
Finish Used
stain
Recommended Skill Level
Advanced

Comments

jnow8687

Sat, 08/31/2019 - 12:34

Did you extend the base height? I want a greenhouse to enclose trees that do not do well in the winter and I think I would like to raise the base height a foot or so.

Easy Build Wood Headboard, King Size

Floating headboard made for a friend of mine. Didn't have a picture of it mounted in their room but I wanted to get it up here anyway.

Estimated Cost
$70-$80
Estimated Time Investment
Afternoon Project (3-6 Hours)
Finish Used
Minwax Stain (Dark Walnut) and one layer of polyurethane
Recommended Skill Level
Intermediate

Farmhouse Inspired Sofa Table

Submitted by danicarby on Tue, 11/08/2016 - 04:25

This was a very fun project for me!  I love turning unwanted-old things into something beautiful and usuable!  I built thit table using a reclaimed door and old railing spindles but you could easily improvise by using dimensional lumber for the top and buying new spindles or using 2x2's if necessary!  This took me a few days because I built as I went and made sure it was just right.


Guess what?  I built it for $37!!  The door and spindles were a great find at my local Habitat for Humanity store - check yours out!


I have a building tutorial on my blog so you can make one too!

Estimated Cost
$37 - plan for around $50 if reclaimed materials aren't being used
Estimated Time Investment
Weekend Project (10-20 Hours)
Finish Used
White Washed Latex Paint and Polycrylic Protective Finish
Recommended Skill Level
Beginner

Farmhouse Queen Bed

Submitted by frmoody on Tue, 07/28/2020 - 17:35

I have built two of these modern farmhouse beds. One from the original farmhouse bed plans and one from the updated plan. This bed was basically the original plan but with the headboard and footboard built with horizontal boards. I did not like the revised farmhouse bed plans and the sides were way to heavy and more complex than they had to be. The were also supported only by pocket screws but I did block underneath each end to add more support. For the slats I also purchased #1 prime 1 x 4's as opposed to construction grade. They were nice and smooth and no need to sand or paint.

Estimated Time Investment
Week Long Project (20 Hours or More)
Finish Used
Customer just wanted a very light white finish so I used a diluted white paint more as a wash and then a couple of coats of matte varathane.
Recommended Skill Level
Intermediate

Comments

mmade

Sat, 02/20/2021 - 21:02

I love this! It’s exactly what I want. It’s like the mix of Ana’s two different farmhouse bed plans. I like the horizontal boards instead of the vertical and I didn’t want the ledges on the side trails. Thanks for showing me the way. :)

Bookshelf Caddy

Submitted by Anonymous (not verified) on Mon, 07/01/2024 - 13:28

Perfect size for my granddaughter. She loves it. Project turned out great. Thanks for the plans Ana! 

Trevor


Built from Plan(s)

Simple White Patio Sofa

This was one of my favorite DIY projects. It's so much more affordable than buying patio furniture, and the building instructions make it sturdy as ever.

I built this with my fiance, who you'll see in the image of the in-progress bench. It was a snap for us, since we have a fair amount of experience building our own furniture. With the right tools, this project can take only two days, including wait time in between coats of paint and varnish.

We made our sofa to fit the cushions we found, and thus, the sofa is actually 84" wide, instead of 72" wide. By doing this, we also eliminated the need for a love seat, and instead are in the process of making two chairs to match this sofa. All in all, our patio will seat 6, which is what we were aiming for.

TOOLS
The most important part of making this an easy, fun project is having the right tools. I highly recommend you purchase or borrow:
- Compound miter saw
- Kreg jig
- Square head screws (stripping these is nearly impossible)

Estimated Cost
$300 (including cushions)
Estimated Time Investment
Weekend Project (10-20 Hours)
Finish Used
Exterior satin white (stay away from spray paint, since it's less efficient and more costly)
Exterior spar varnish in aerosol can for extra outdoor protection
Recommended Skill Level
Intermediate

Comments

Console Table

Submitted by missytoe on Thu, 07/31/2014 - 08:14

This is my first Ana White project and it came out great. We used the Kreg Jig for the first time and it's awesome! I put a coat of Rustoleum Weathered Gray on first, which has a blue tinge to it. Then I added two light coats of Minwax Provincial (basically wiped it on and then back off...didn't let it sit). Finished it off with two coats of Minwax Wipe-On Poly, which is super easy to use and great for items that need a little protection. The only downside for me is that I have discovered that I am apparently allergic to pine resin which throws a major roadblock into building pine furniture!!! I end up with an itchy rash and face swelling when I around the freshly cut or sanded wood. Totally sucks. So I may have to have hubby do the cutting and sanding.

Estimated Time Investment
Day Project (6-9 Hours)
Finish Used
Rustoleum Weathered Gray on first, which has a blue tinge to it. Then I added two light coats of Minwax Provincial (basically wiped it on and then back off...didn't let it sit). Finished it off with two coats of Minwax Wipe-On Poly,
Recommended Skill Level
Beginner

Table

Submitted by Anonymous (not verified) on Sun, 11/13/2016 - 17:45

Table

Estimated Time Investment
Weekend Project (10-20 Hours)
Recommended Skill Level
Beginner

Kids Toy Outdoor Storage Box

Submitted by MattCad on Sat, 08/01/2020 - 20:28

First time making anything half decent and it turned out ok. Followed the Cedar Box plans with a few adaptations. I live in regional Australia so used different materials, also extended the length. Used an app on the phone to convert the measurements to as close as I could. Worked out well, a few teething issues but does the job.

Estimated Cost
70 AUD
Estimated Time Investment
Day Project (6-9 Hours)
Finish Used
Intergrain Merbau Stain
Recommended Skill Level
Beginner

Comments

Simple Outdoor Chair

Submitted by mhineman on Thu, 10/11/2012 - 08:56

I made this chair as a part of an outdoor furniture set including a loveseat and coffee table (also featured on this site). Very simple and easy to follow instructions..I did not have a jig to create the pocket holes, so I decided to leave the screws exposed and then cover them with wooden dowels sanded down. It created a little more work but added a little more character.

Estimated Time Investment
Weekend Project (10-20 Hours)
Finish Used
Shellac only
Recommended Skill Level
Beginner

Superman theme Loft Bunk Bed

Submitted by frenchy619 on Sun, 08/03/2014 - 22:29

My son is now 5 years old and needed a new big boy bed. His bedroom is tiny so finding the plan for this kind of bunk bed with an opening area underneath was perfect to have the space to play and have an area to store his toys. This was my first and biggest piece of furniture that I've built and I did it all by myself. My wife helped with the painting. Following the instructions was simple and easy. I picked the Superman theme because my son's middle name is Kal-El, which is Superman Kryptonian name for those who aren't superhero geeks like me ;)
Overall an easy and fun project. Took me approximately 1 week (working on it each day for 2-3 hours after work) to cut and prep all the wood pieces. The painting took about 3 days for 3 coats of paint. The assembling took about 2 hours.

Estimated Cost
$150-$175
Estimated Time Investment
Weekend Project (10-20 Hours)
Finish Used
paint
Recommended Skill Level
Beginner

Fence Picket Shed

Submitted by EDempsey on Tue, 08/04/2020 - 11:45

Using the Small Cedar Shed plans as inspiration, I created this 3'x6' shed using pressure treated fence pickets as the siding. I also made the shed one foot taller than the original plans to have a taller single door instead of the double door in the plans. Used 2x4 framing to strengthen the shed. Overall, I am pleased with the results. This was my first time constructing any type of building.

Estimated Cost
$475
Estimated Time Investment
Weekend Project (10-20 Hours)
Recommended Skill Level
Beginner

DIY Outdoor Furniture

Submitted by Anonymous (not verified) on Mon, 07/15/2024 - 12:30

I am 64 years old living in South Africa and recently taken to woodworking. Converted my garage to a workshop and thoroughly enjoying it. Wife want to move my bed to the garage now. Lol.

Ana White's plan on the her website was easy to follow. Something I learnt in my short time in woodworking, your project doesn't have to be 100% perfect. As long as you happy with the end result that what counts. Thank you Ana White. I enjoy your website for making easy for us rookies.

Farhad Coovadia

Seasonal And Holiday
Back