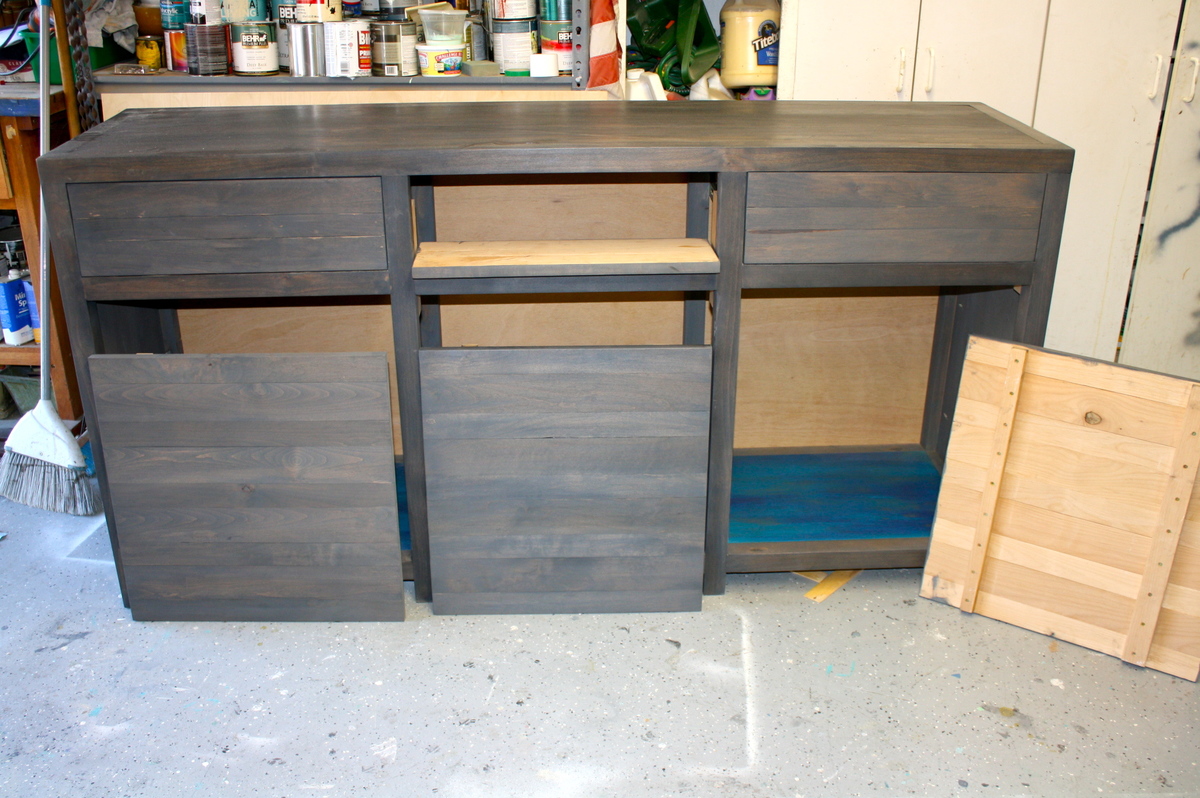
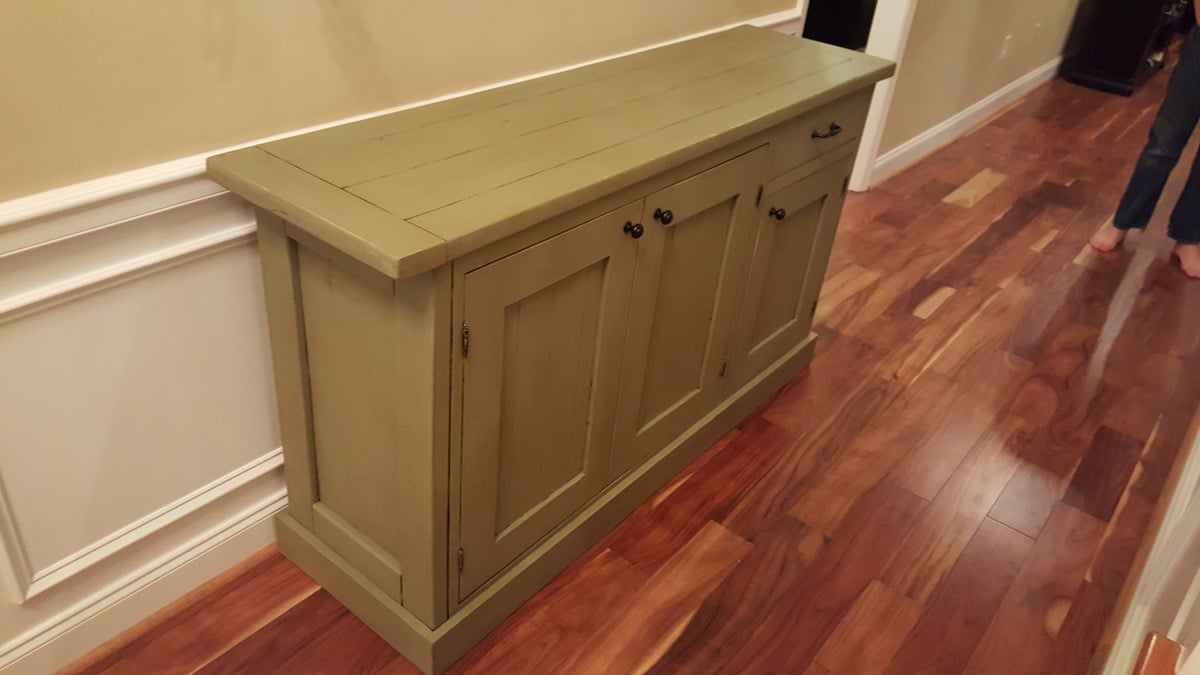
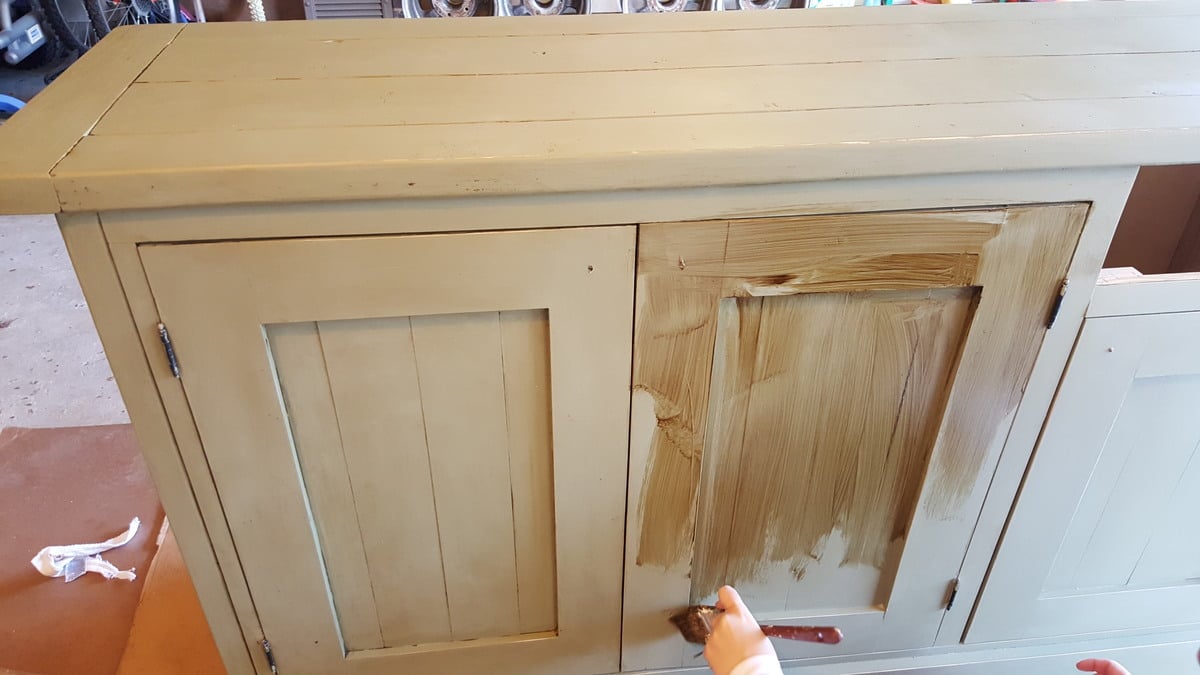
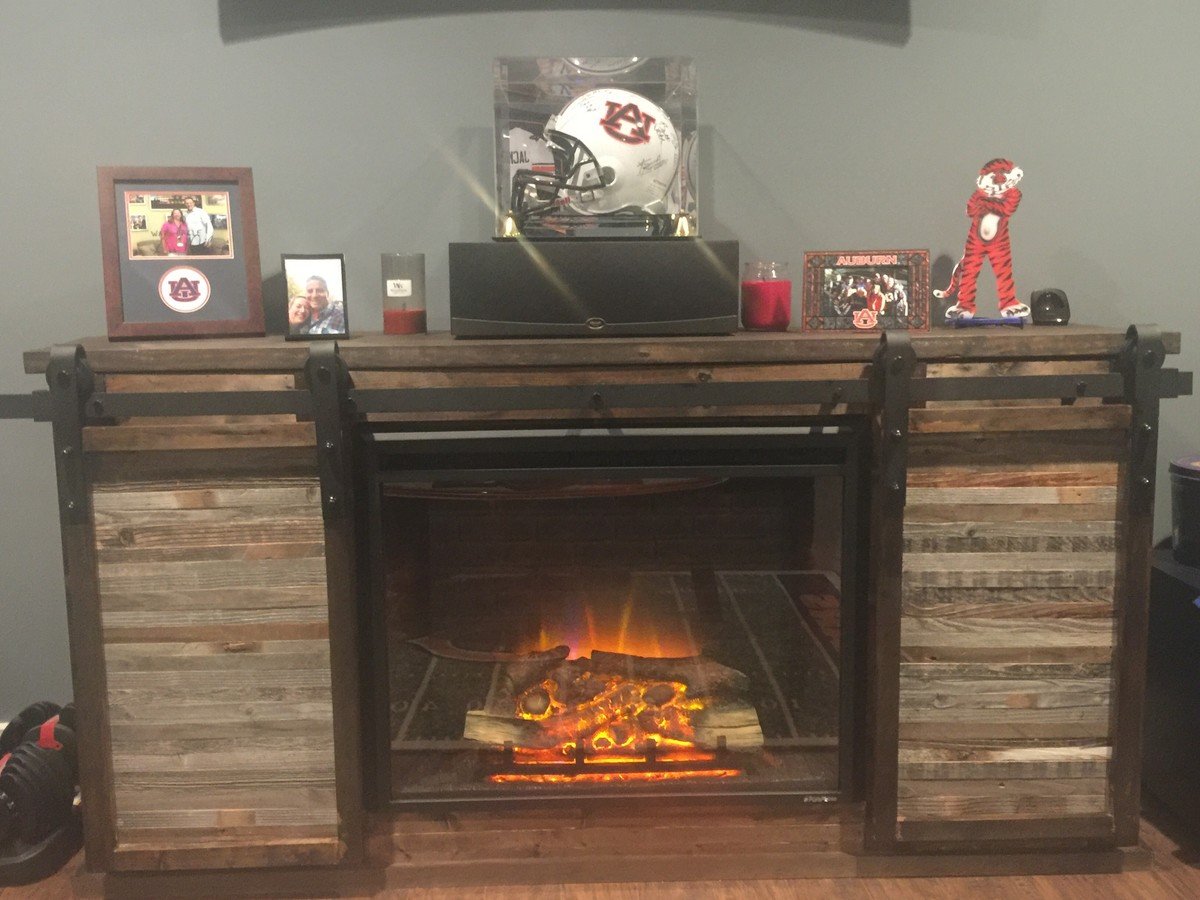
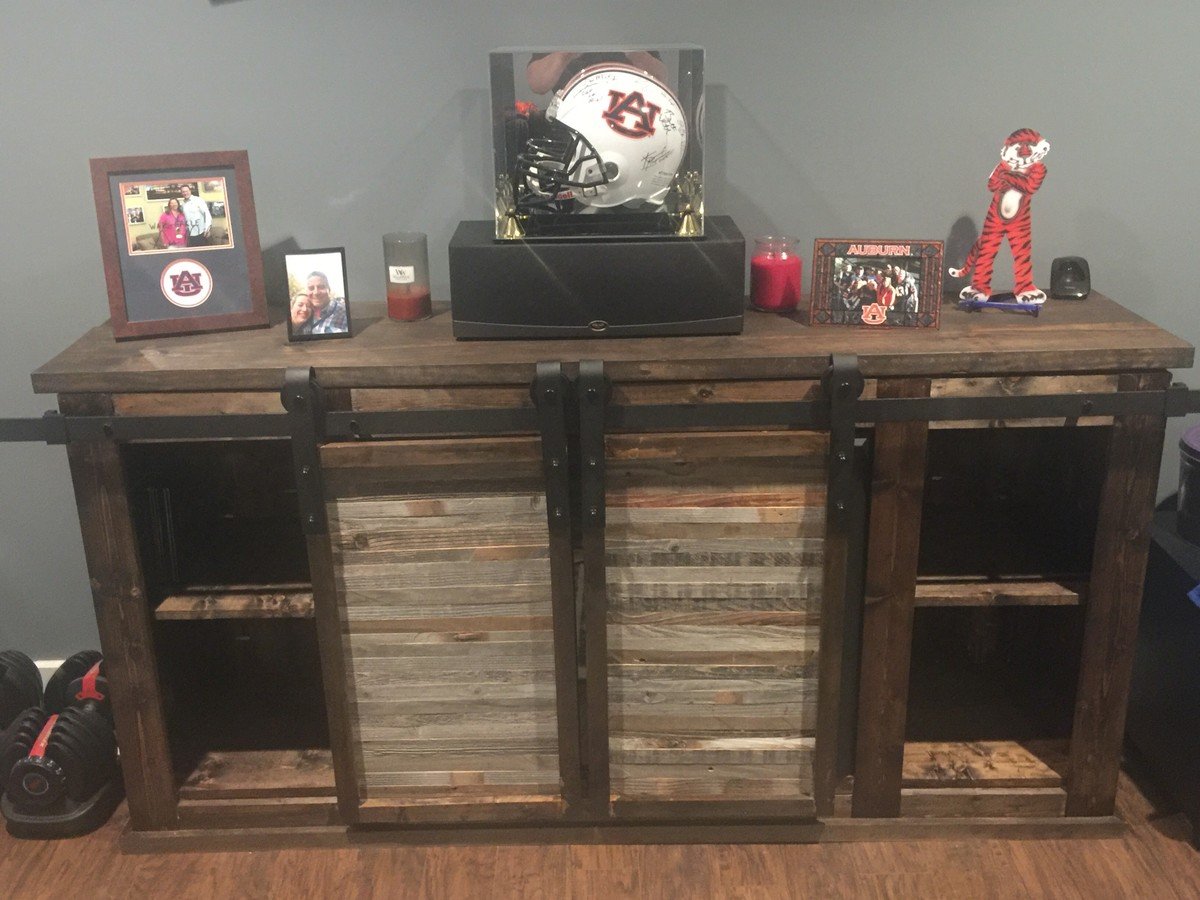
RH knockoff triple cabinet sideboard
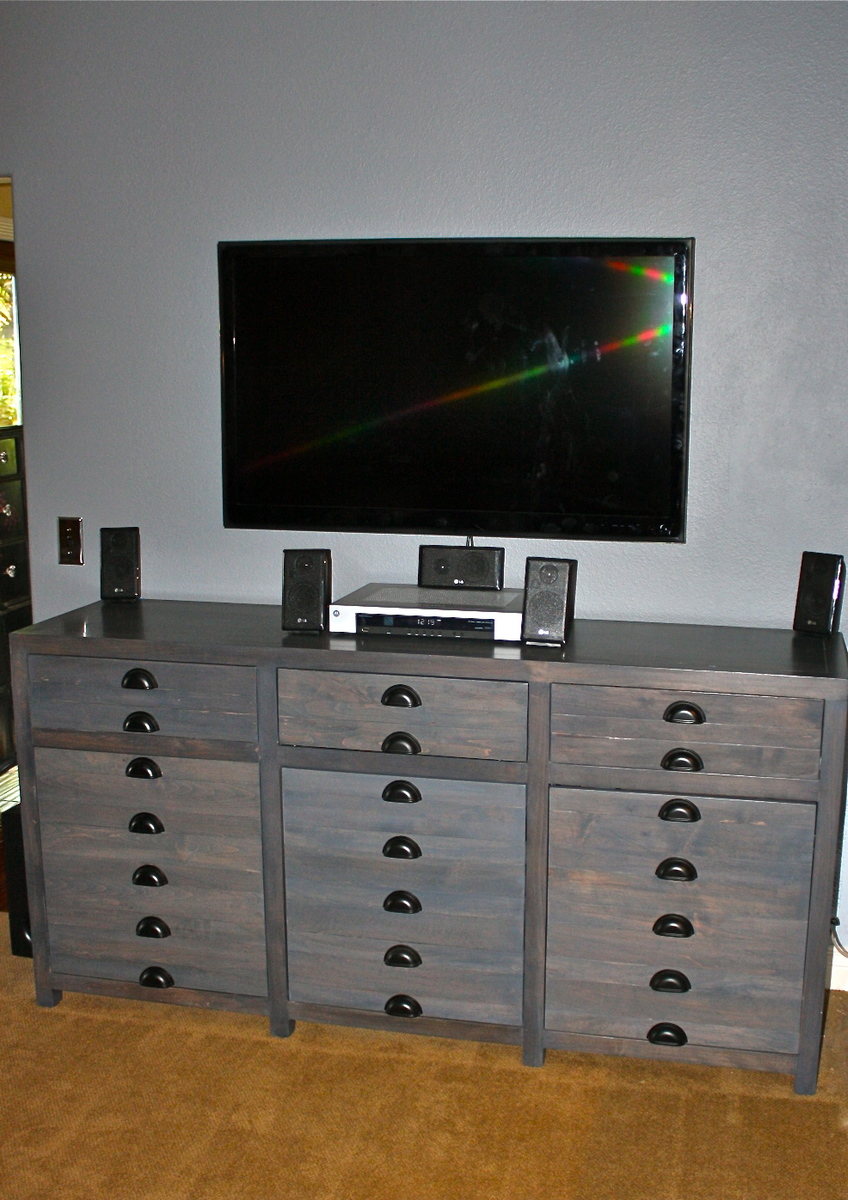
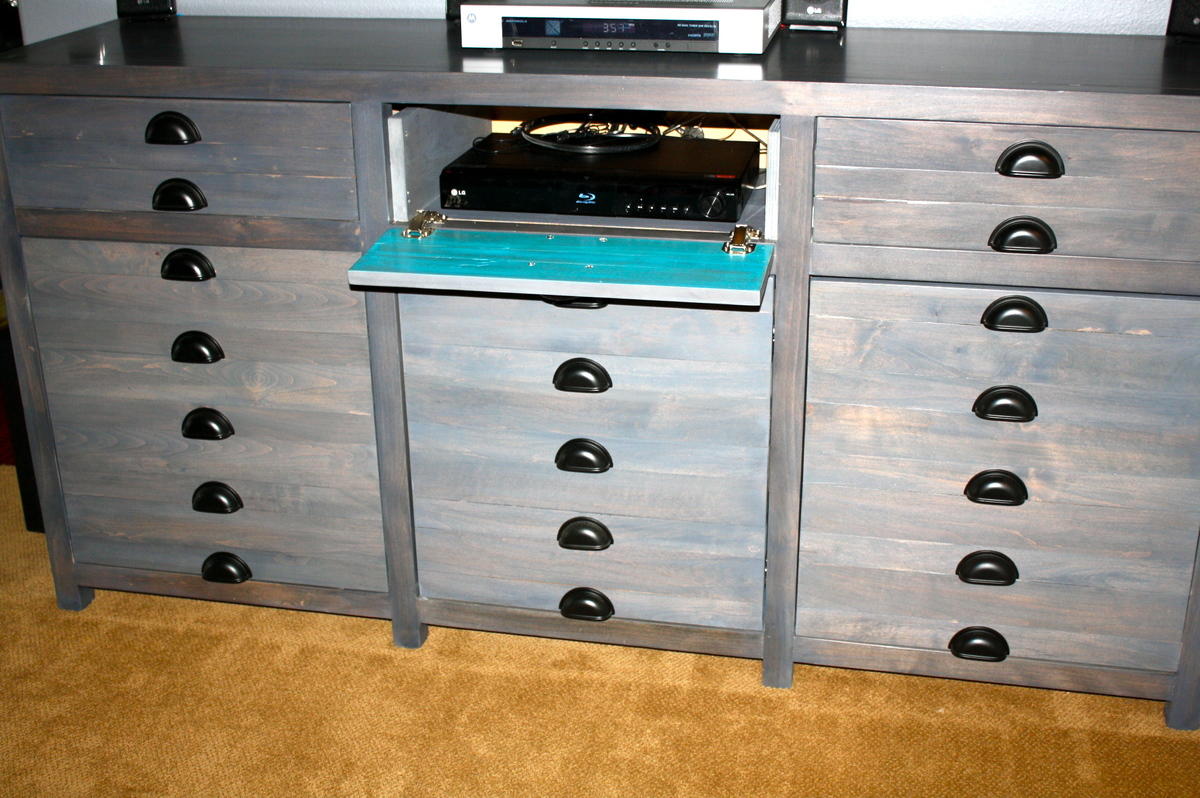
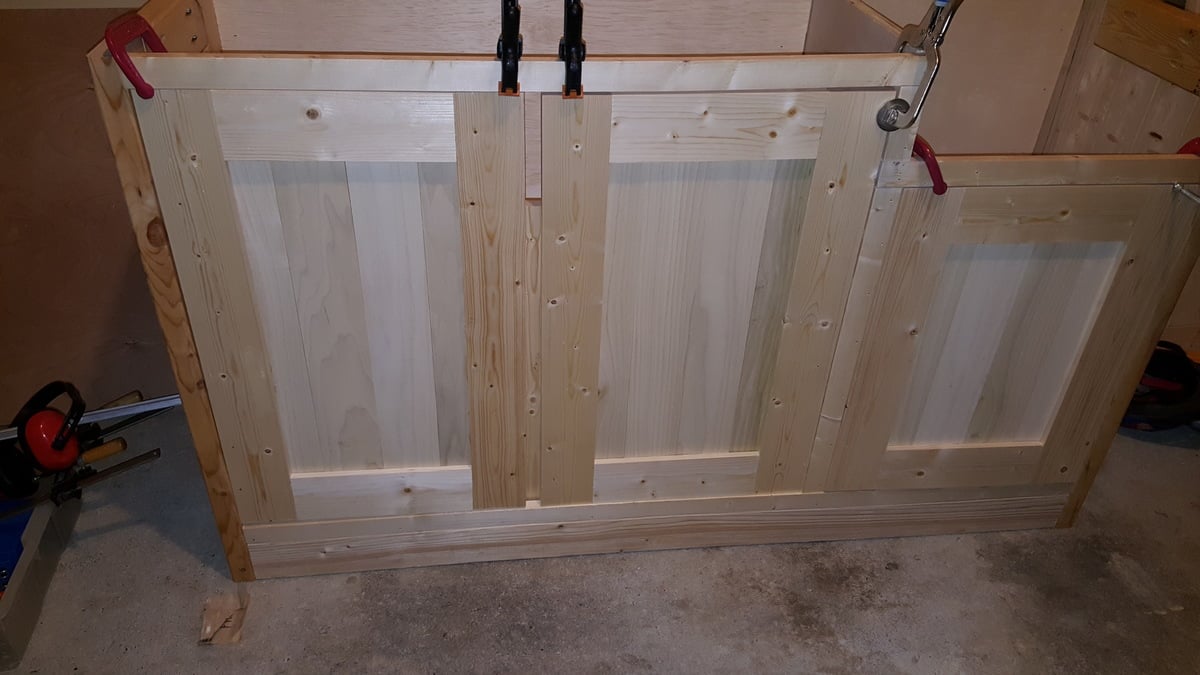
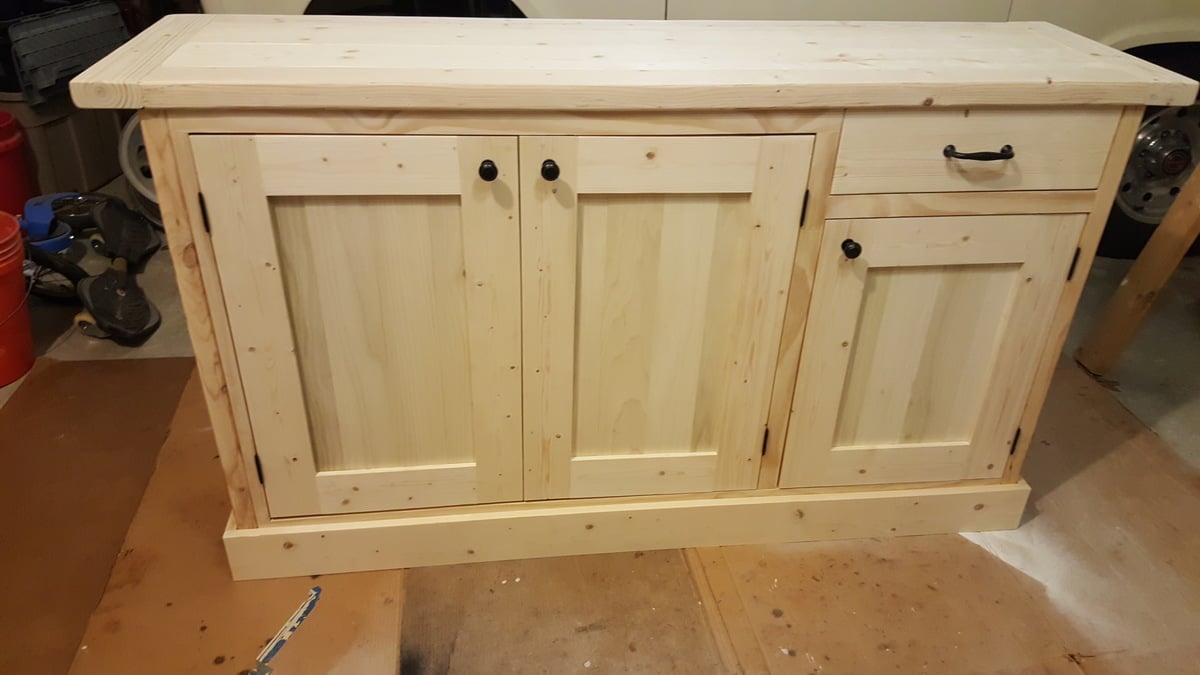
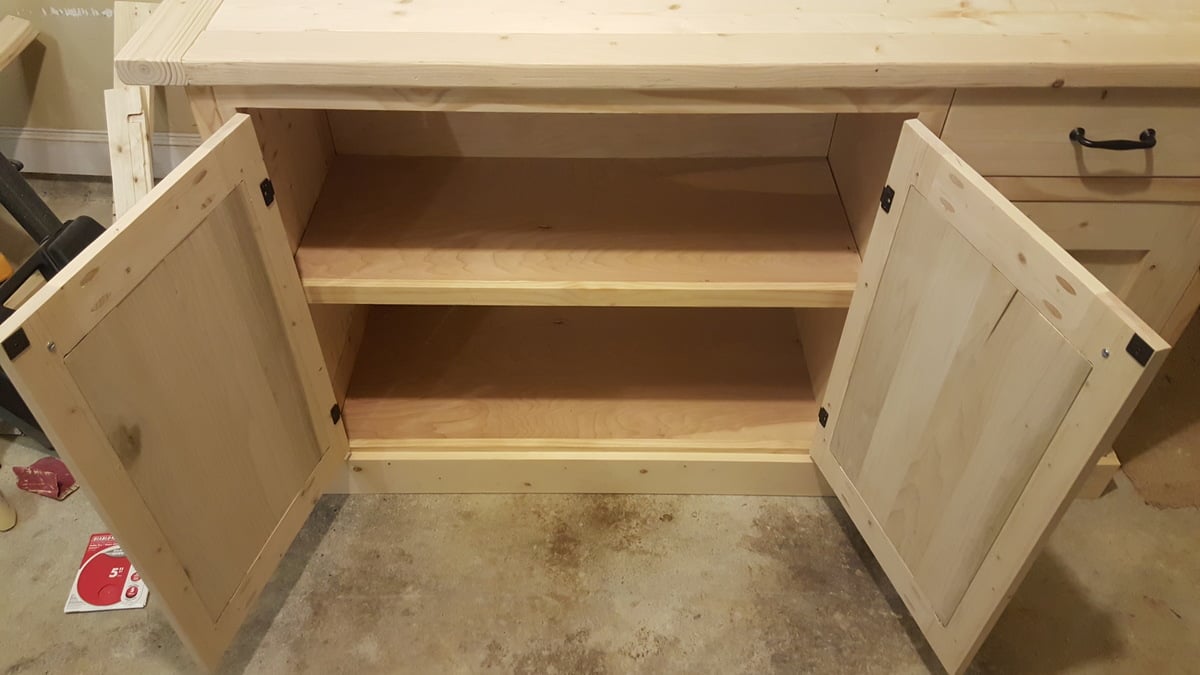
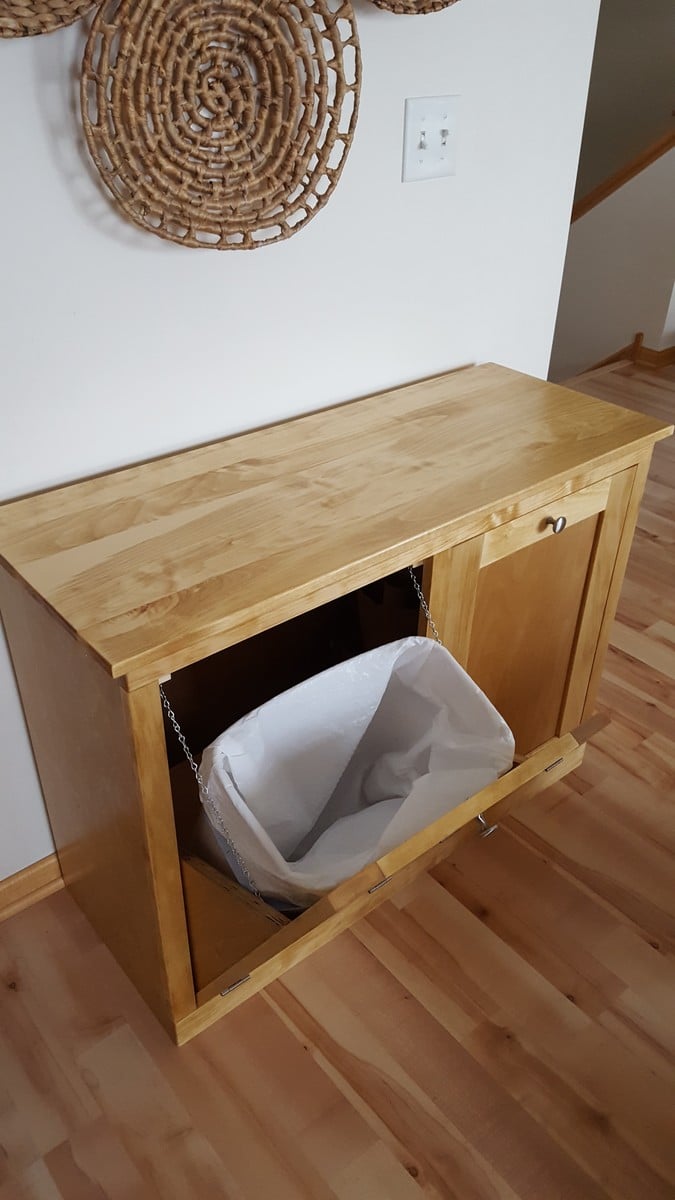
After seeing Ana's plans and how Jen Woodhouse at "House of Wood" finished it, I wanted one too! Ana's plan are very thorough and Jen's blog showed a very detailed version of how she completed it. I made a few changes, such as the pull down drawer front to conceal the DVR player and I inset the top rather than have an overhang.
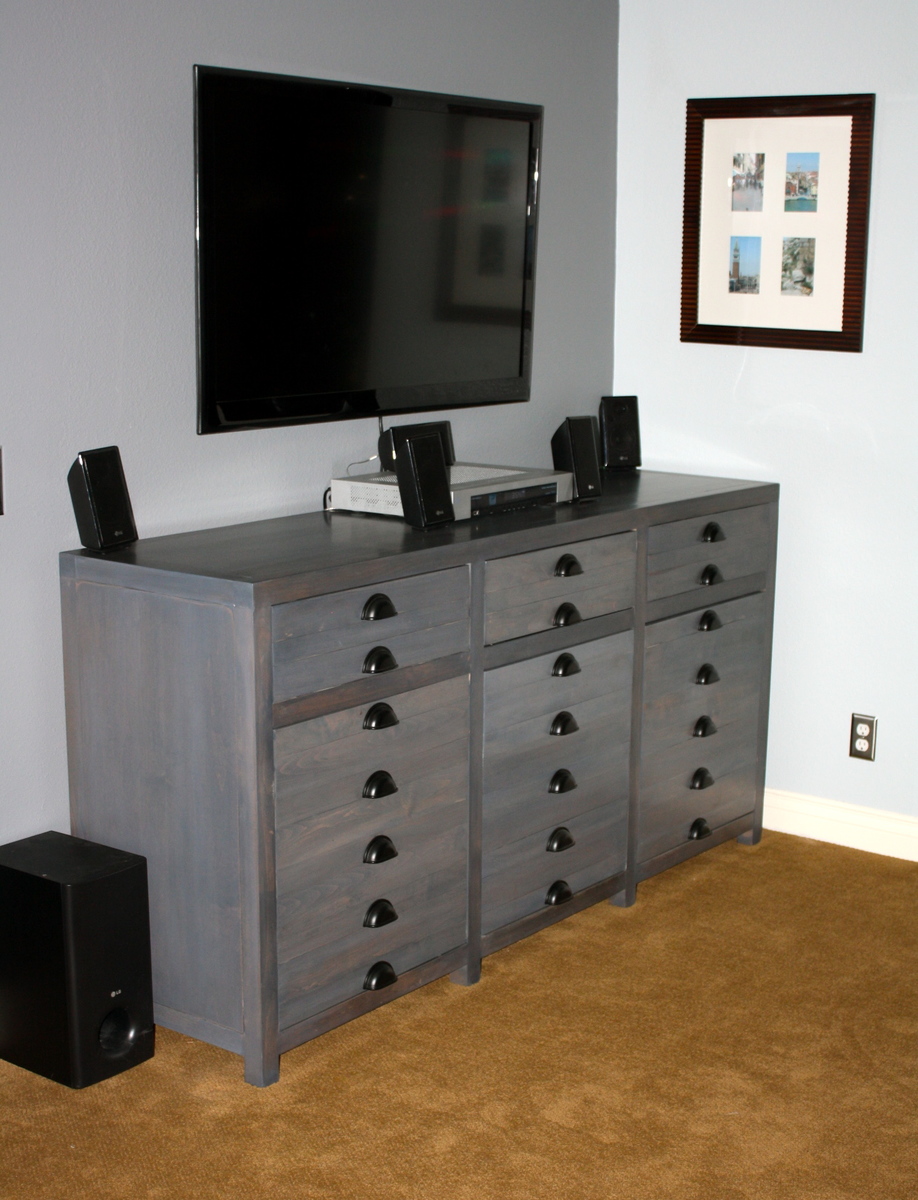
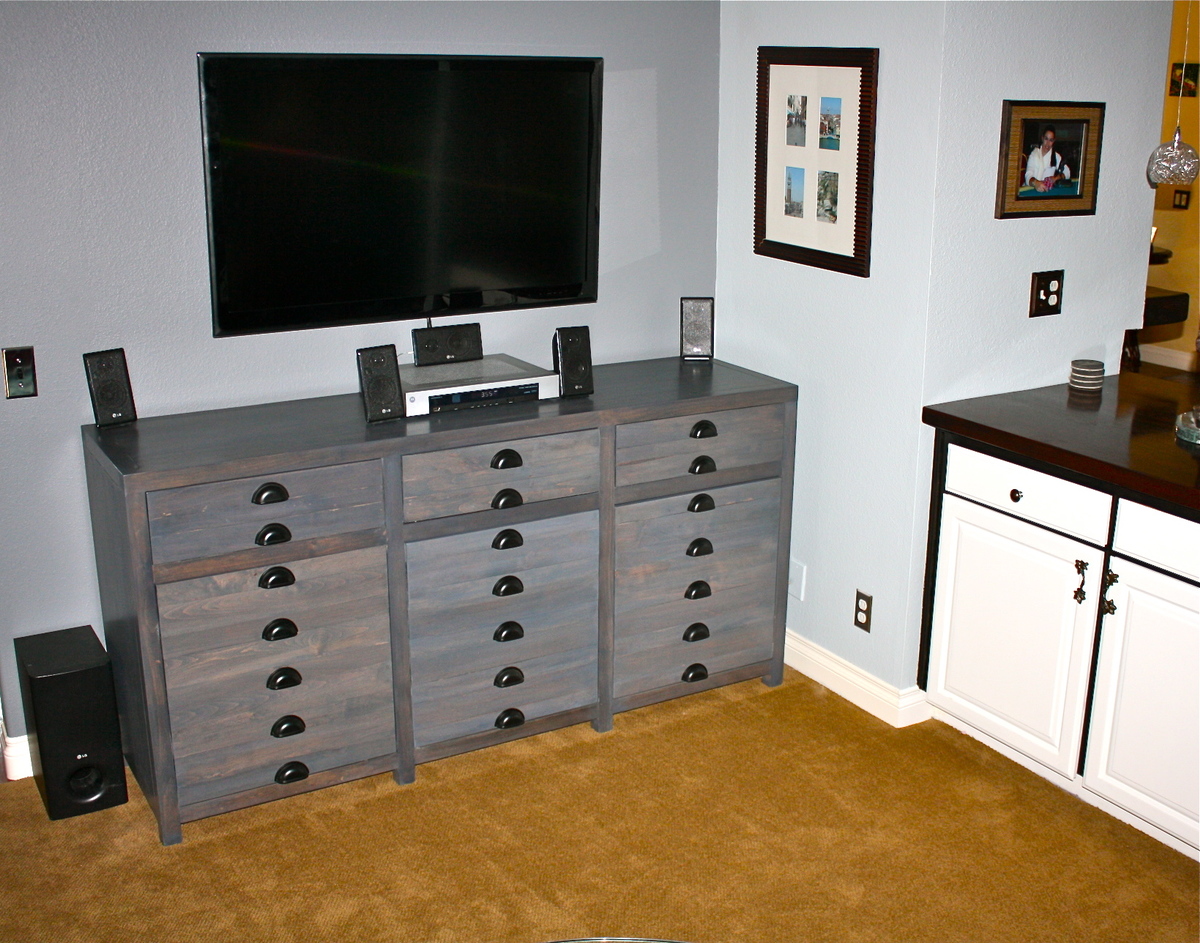
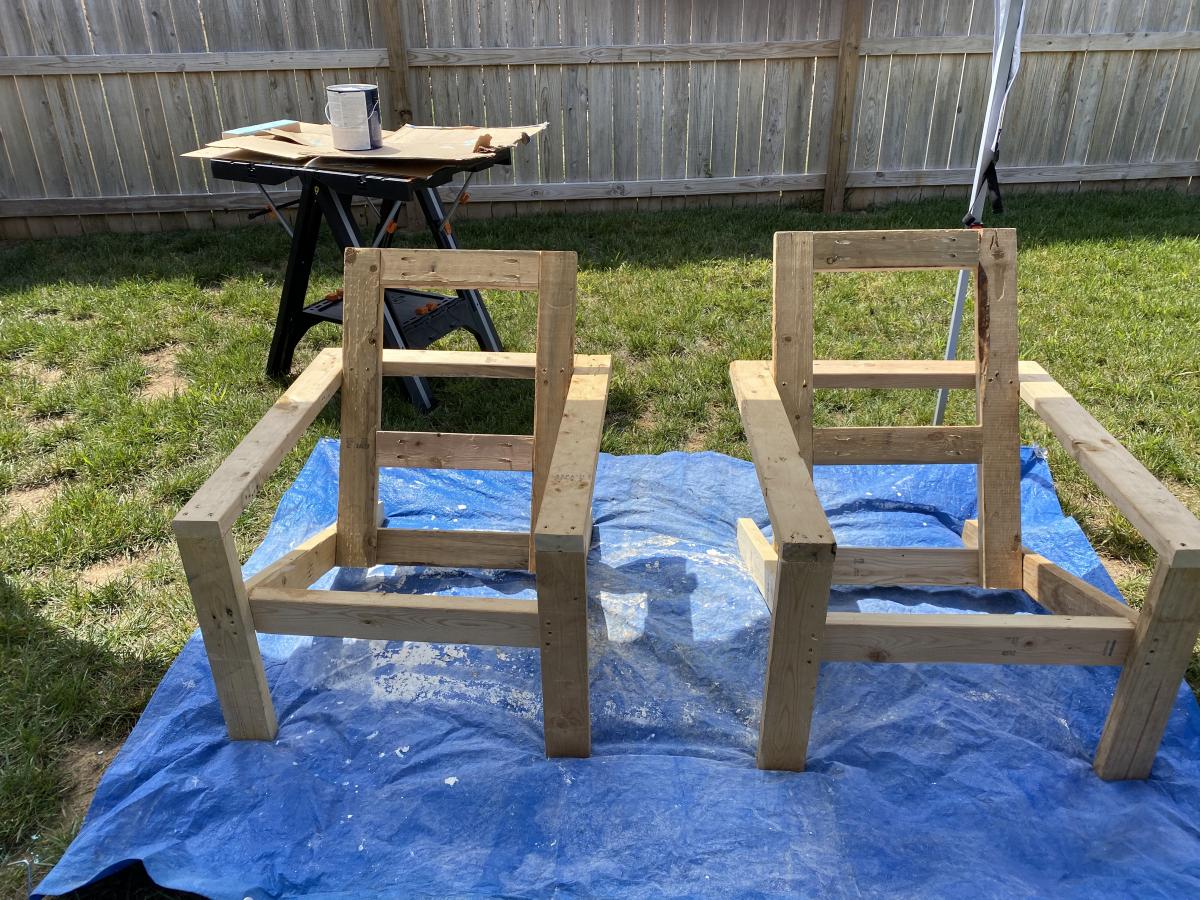
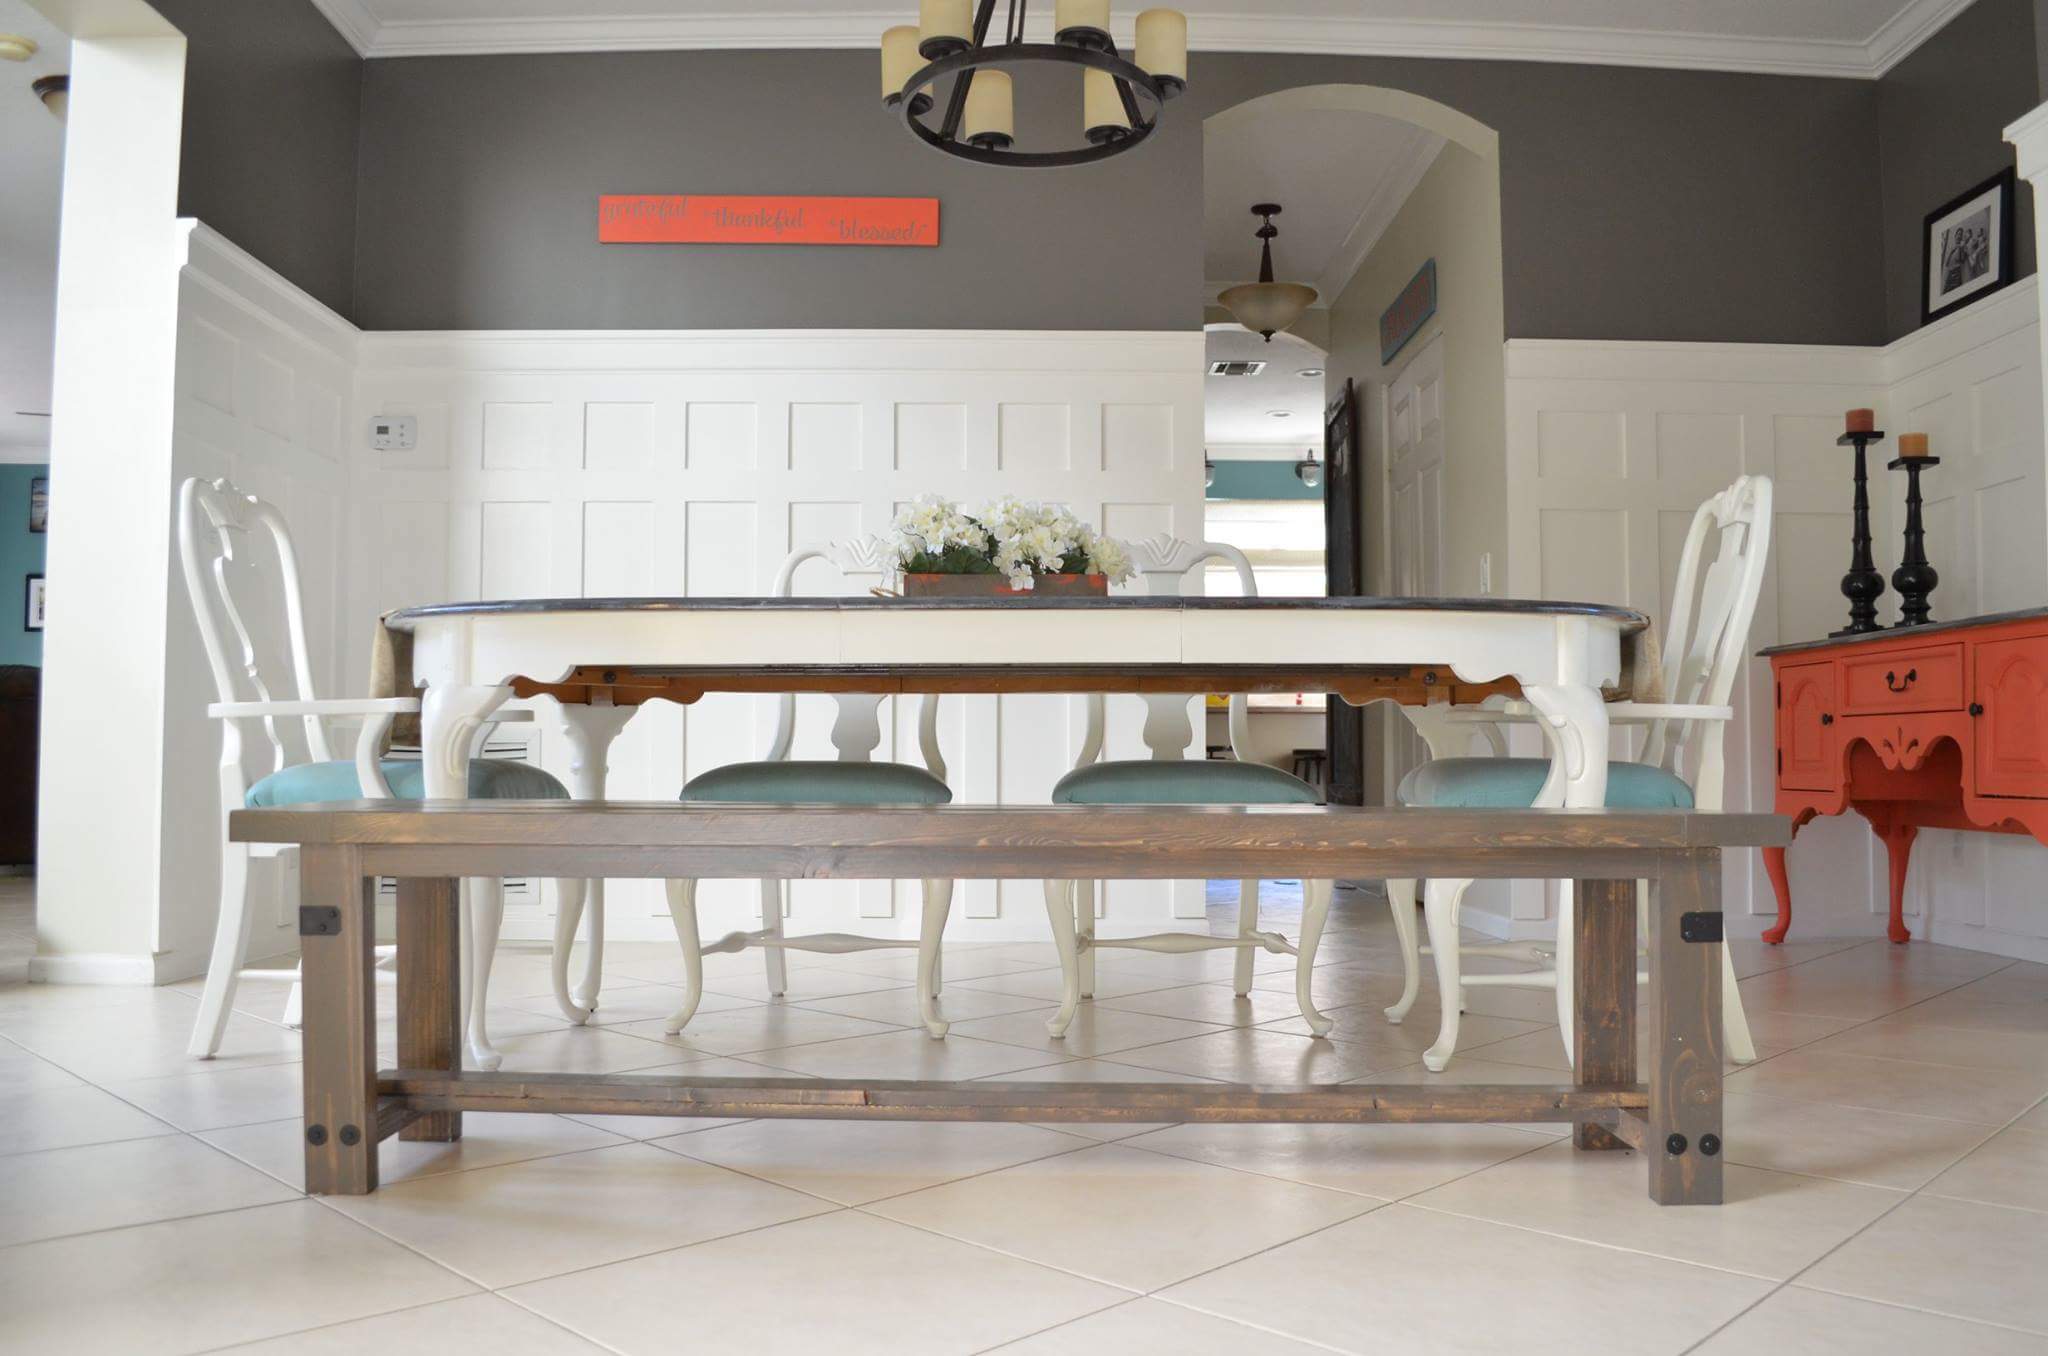
It was quite a bit of work but totally worth it! The piece turned out beautiful.
Thanks Ana!!!! Beth.
Makemeprettyagain.blogspot.com for complete details
Built from Plan(s)
Estimated Cost
wood and hardware....$500
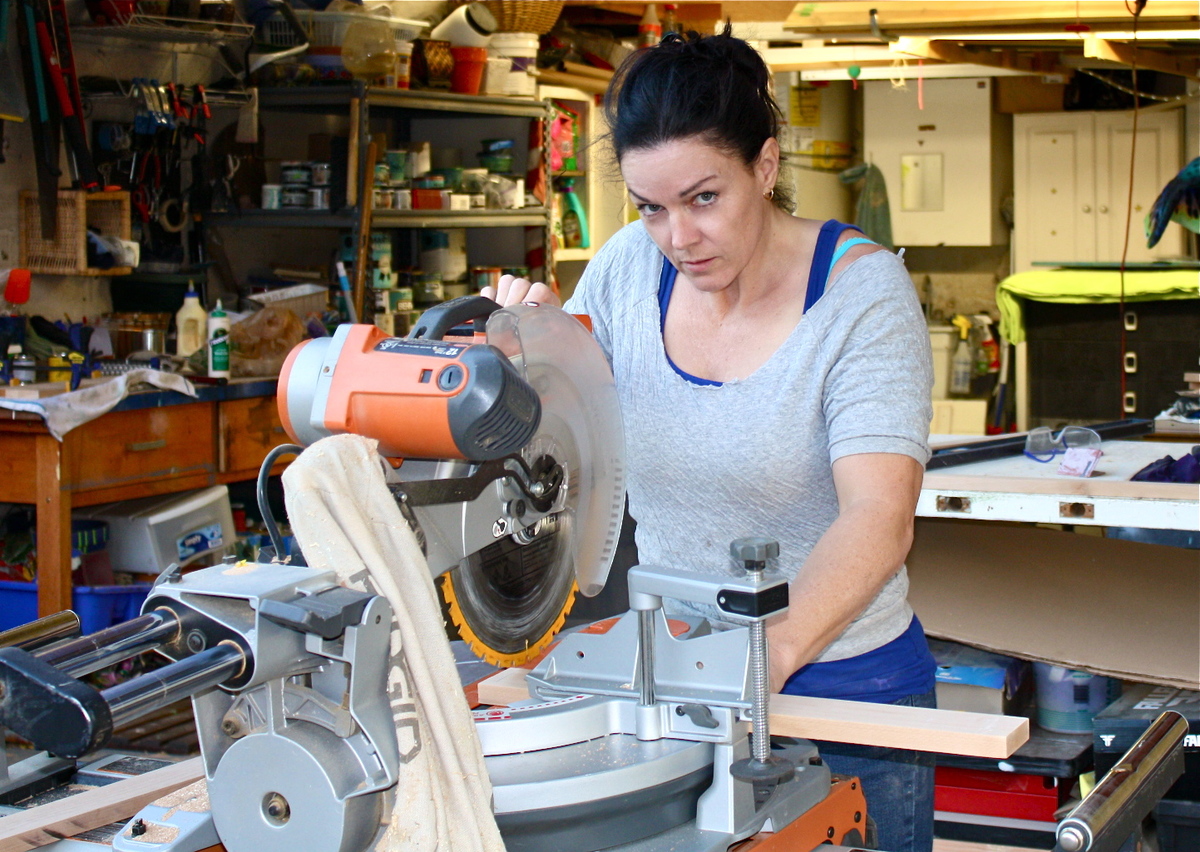
Estimated Time Investment
Week Long Project (20 Hours or More)
Finish Used
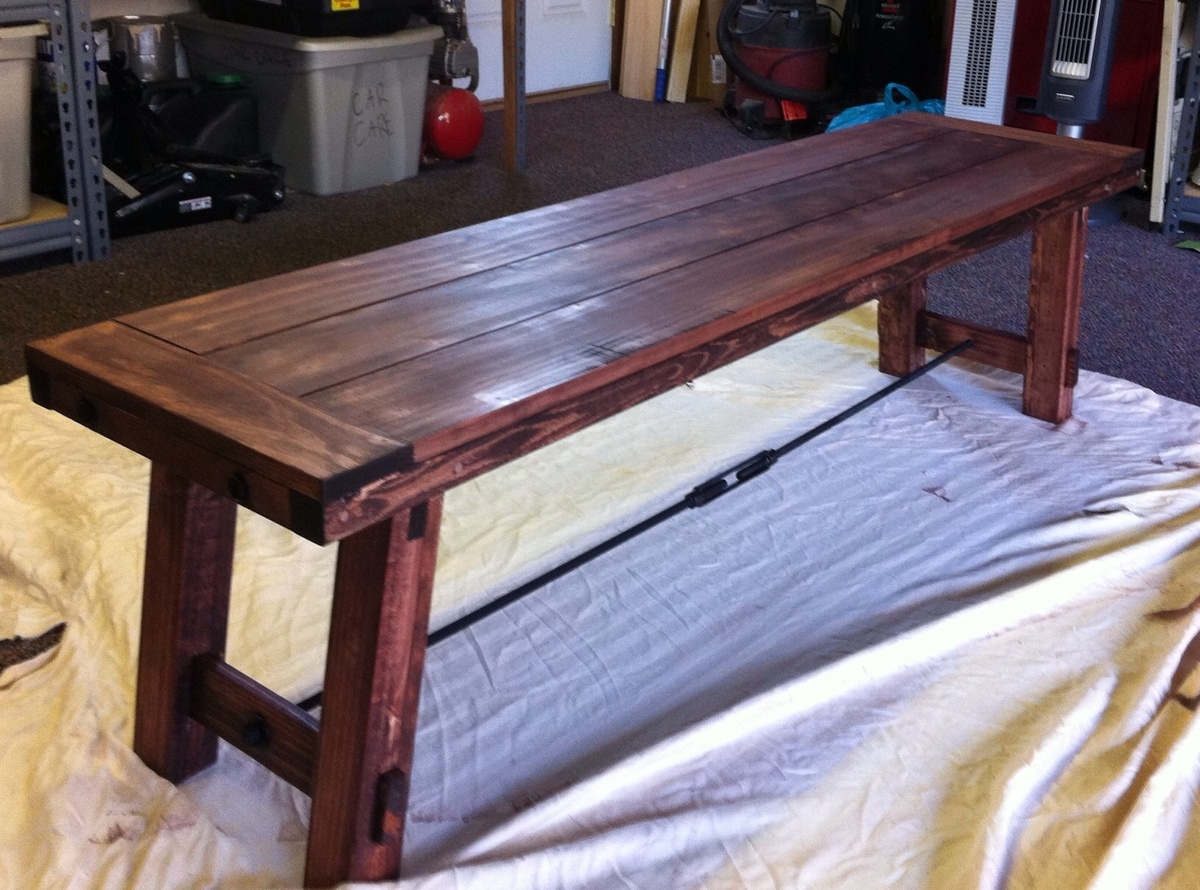
Deft-satin water based finish. 4 coats on top and 1-2 on the rest.
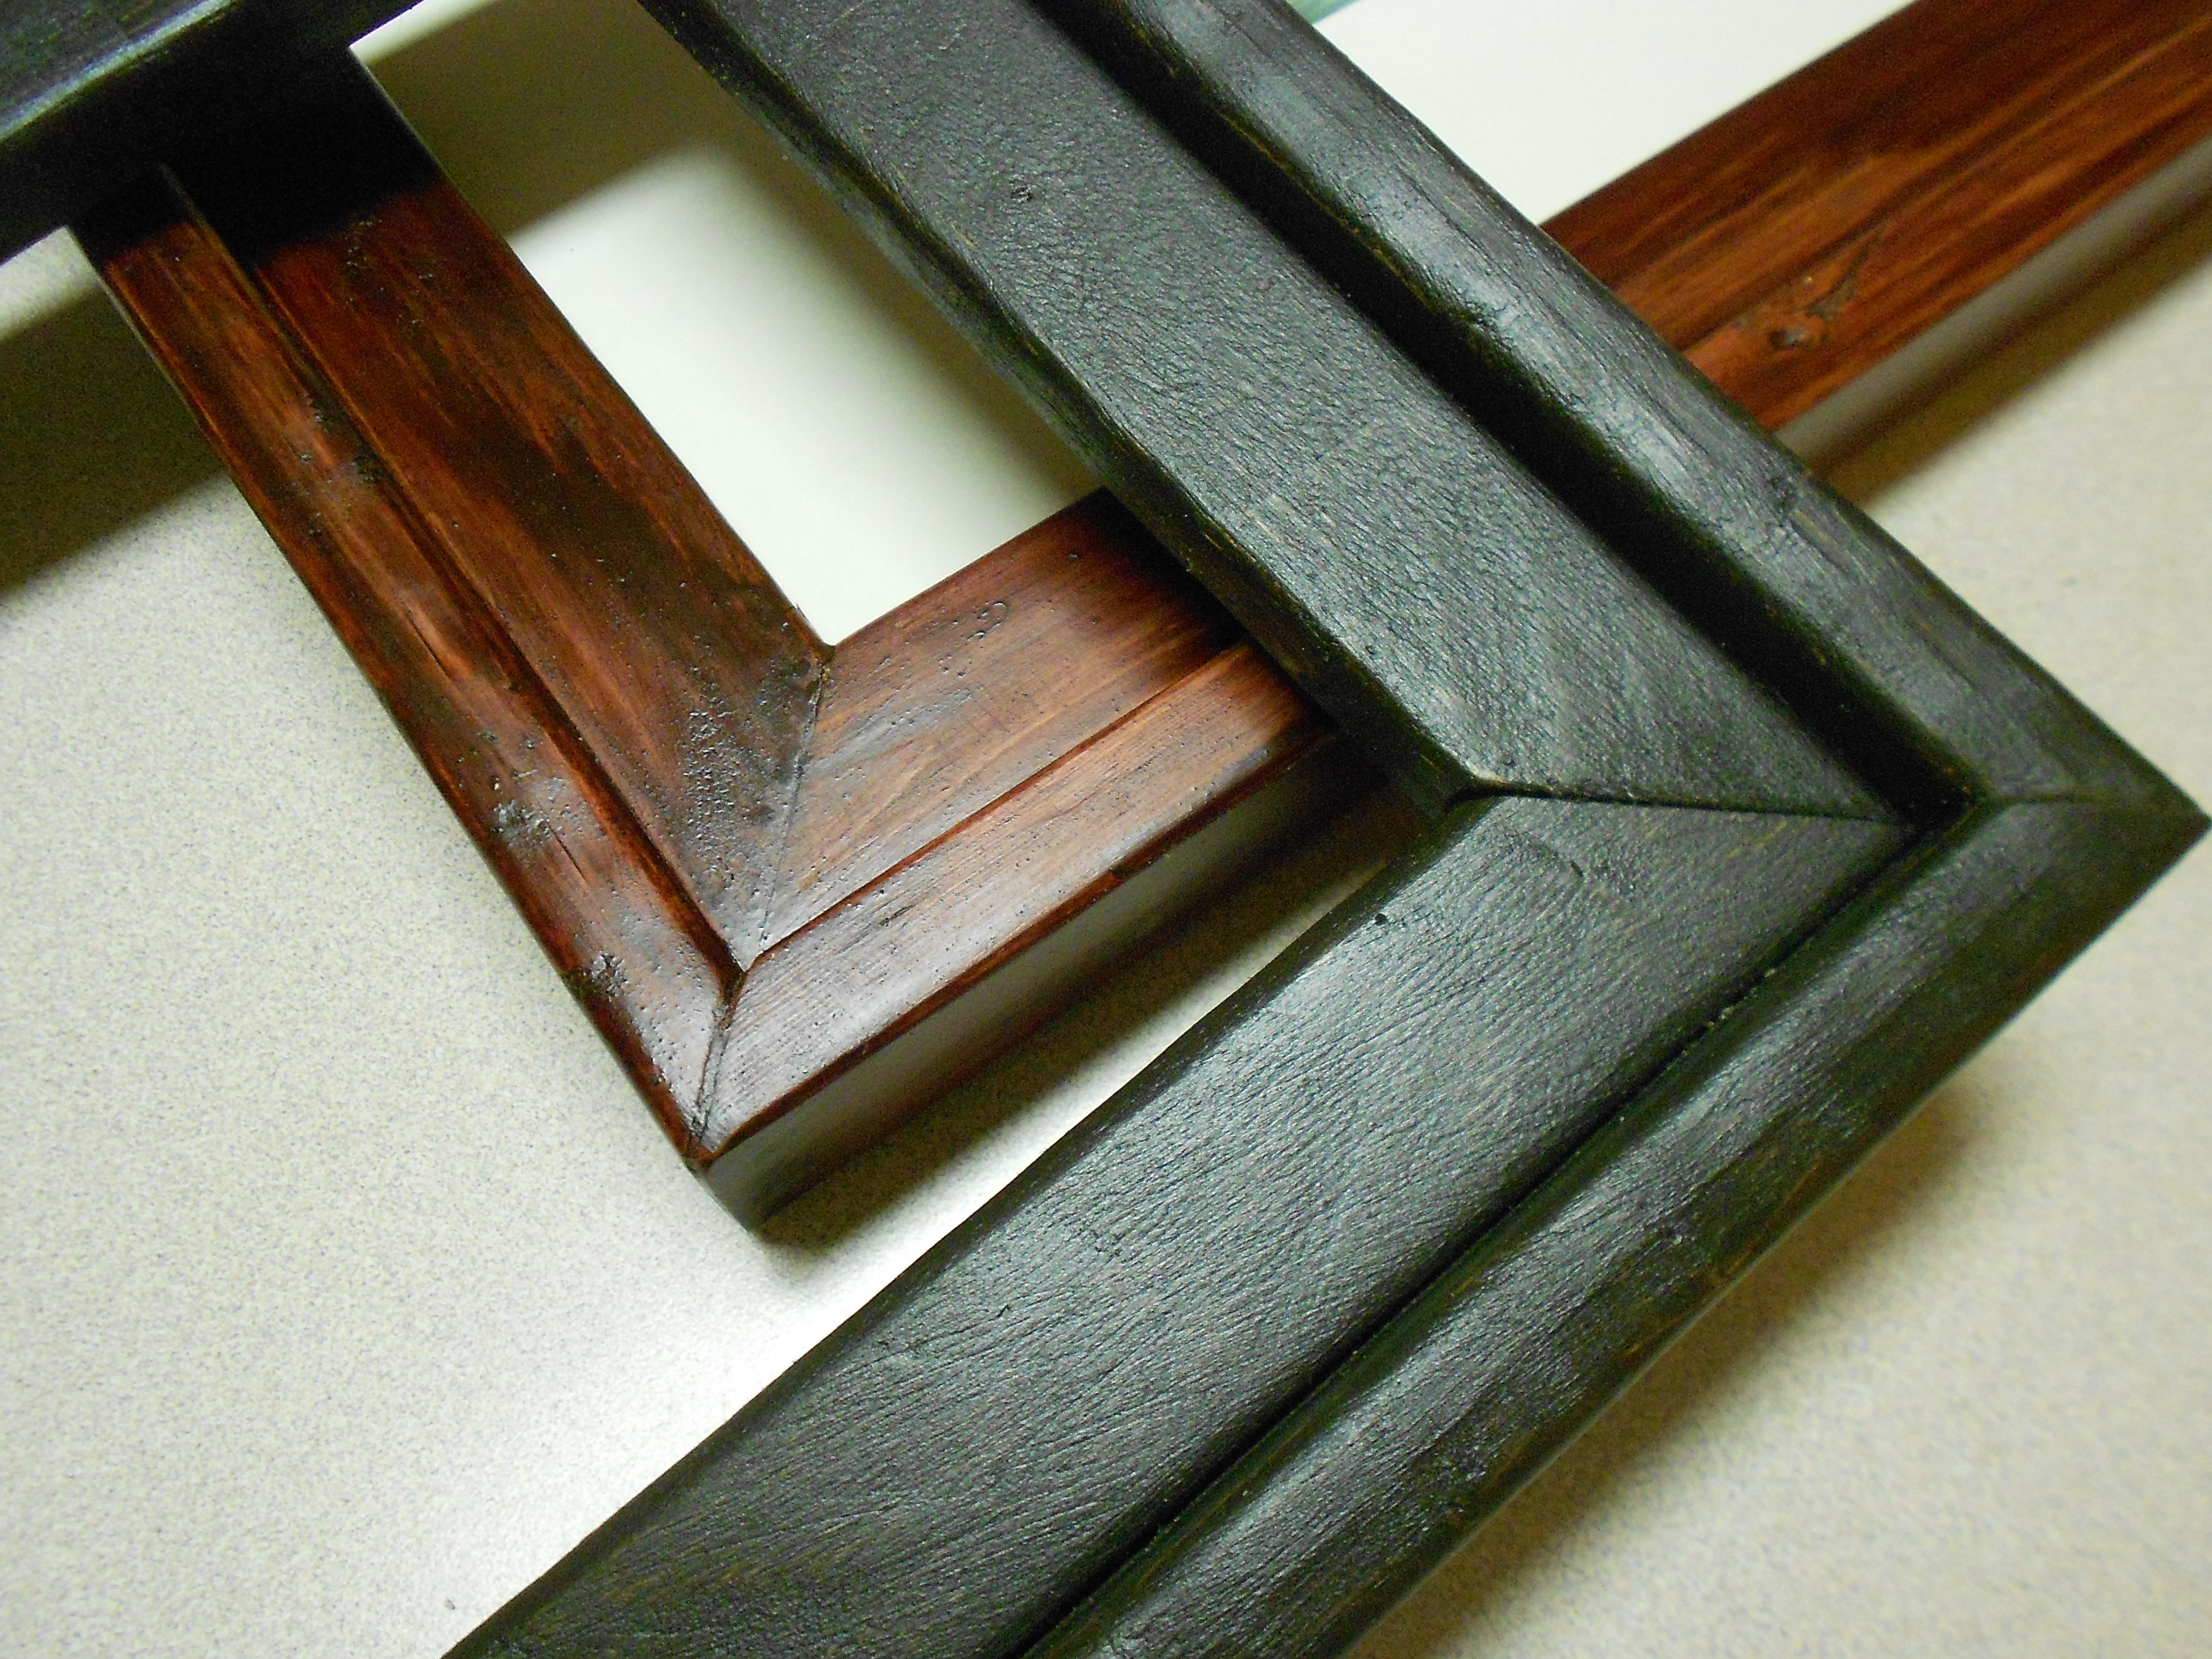
Varathane gray and ebony mixture for the stain. See blog for application tips.
Varathane gray and ebony mixture for the stain. See blog for application tips.
Recommended Skill Level
Intermediate


Comments
itzann
Sun, 11/04/2012 - 05:28
Beautiful job!
Love this. Looks like a lot of work, but what a nice functional piece of furniture! I have always loved that style of drawer pull.
-Ann